Cookhouse Concrete Floor Staining
By Scott Orr
September 2021 – $250 Cash Winner
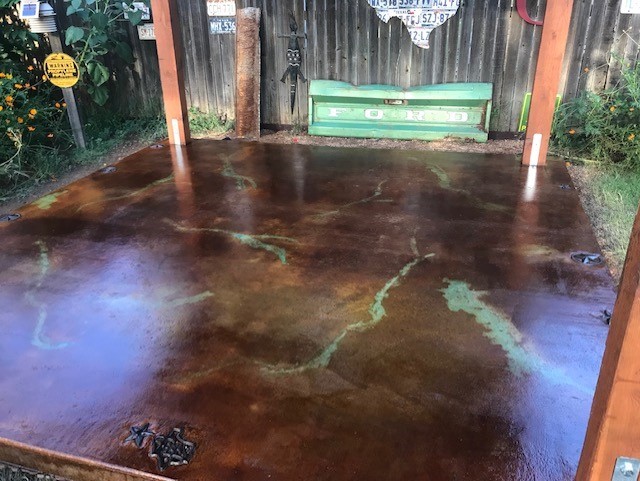
Turn your cookhouse concrete floors into a work of art with concrete acid stains. Acid staining is do-it-yourself staining project that provides a reliable, high impact flooring choice that won’t break the bank.
1. Prepare Concrete Before Staining
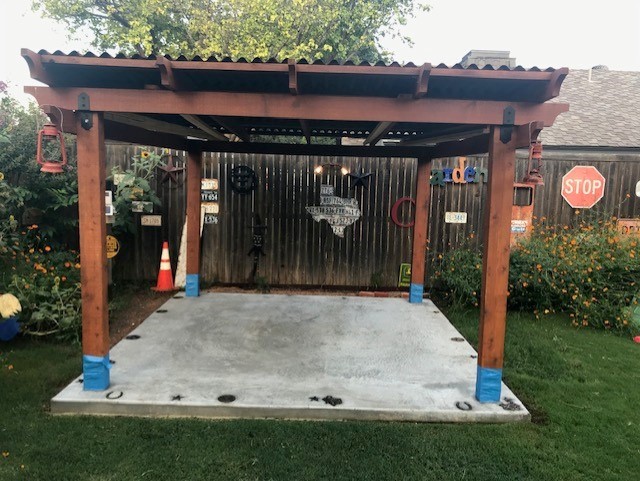
I had fiberglass reinforced concrete poured for a back yard cookhouse. Waited 60 days for concrete to cure before acid staining.
I washed the concrete with a concrete cleaner that contained a mild etcher. The concrete was very clean to start with so it was a pretty easy process.
For detailed instructions on concrete surface preparation click here
DIYer Tip: Be patient! Watch the “how to” videos featured on this website. If you have a question don’t be afraid to call or email customer service. They respond quickly, professionally and are very helpful and friendly.
2. Apply Acid Stain Colors
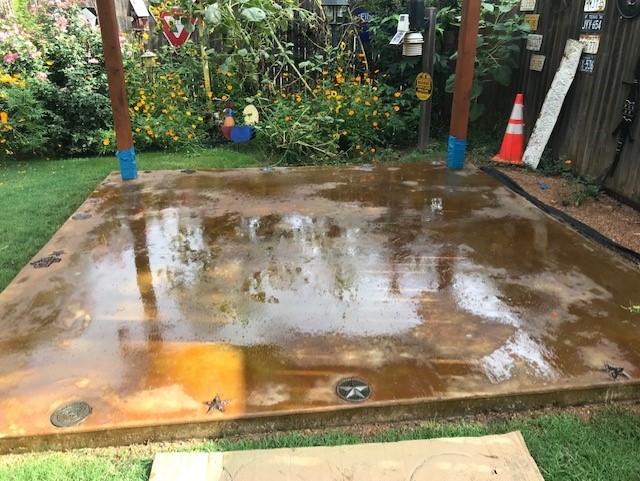
I tested Everstain acid stain colors on one corner and had excellent reaction.
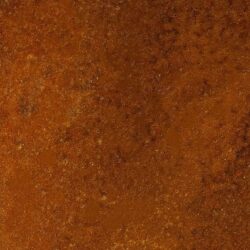
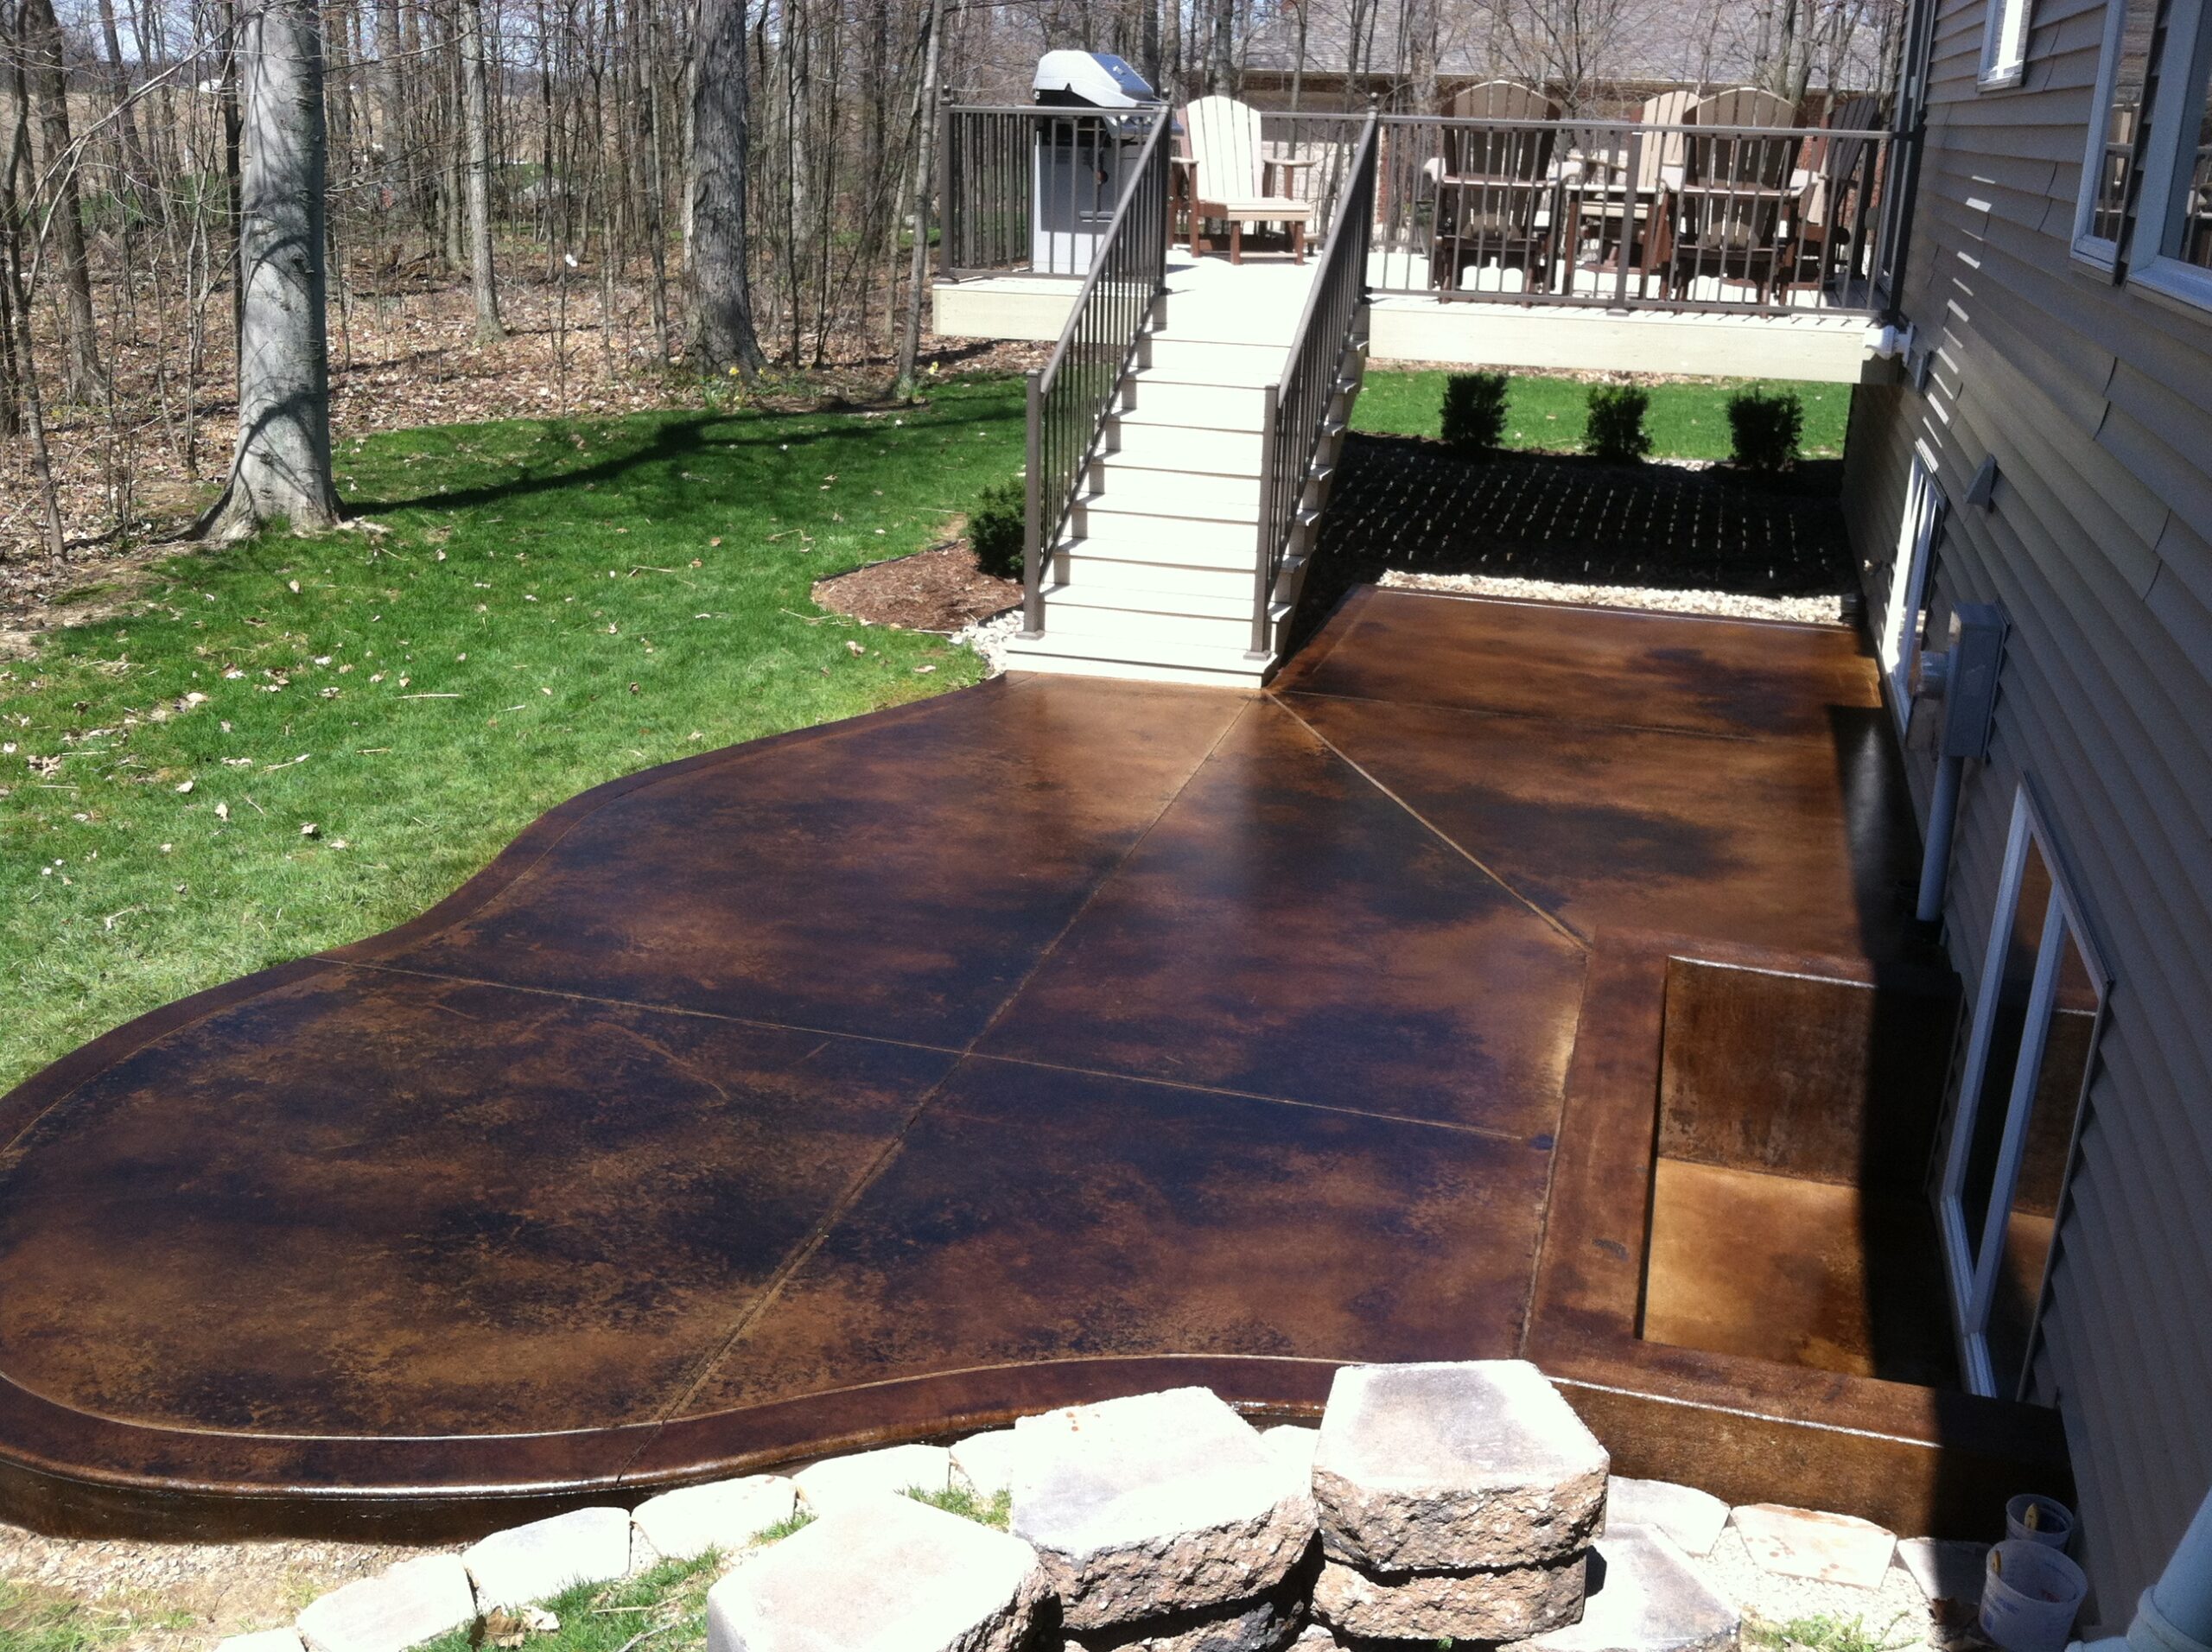
I sprayed on 2 quarts of English Red *diluted 1:1 using a pump-up sprayer for the first coat. I waited 4 hours, then sprayed undiluted English Red for the second coat for a marbling effect.
*DIYer Tip: If you want a marbling effect, use a lighter color for the first coat instead of cutting with water. You will get a better reaction with undiluted acid. This is the only thing I wished I had done differently
I let the acid stains dry for 6 hours. Temperature was in the mid 80s to low 90s so drying time was fast and reaction had ceased.
I sprayed a water mix of the neutralizers that came with my kit and neutralized and rinsed thoroughly .
Safety while applying stains is very important. Remember to use long sleeves, pants, goggles and gloves while working with the acid stain.
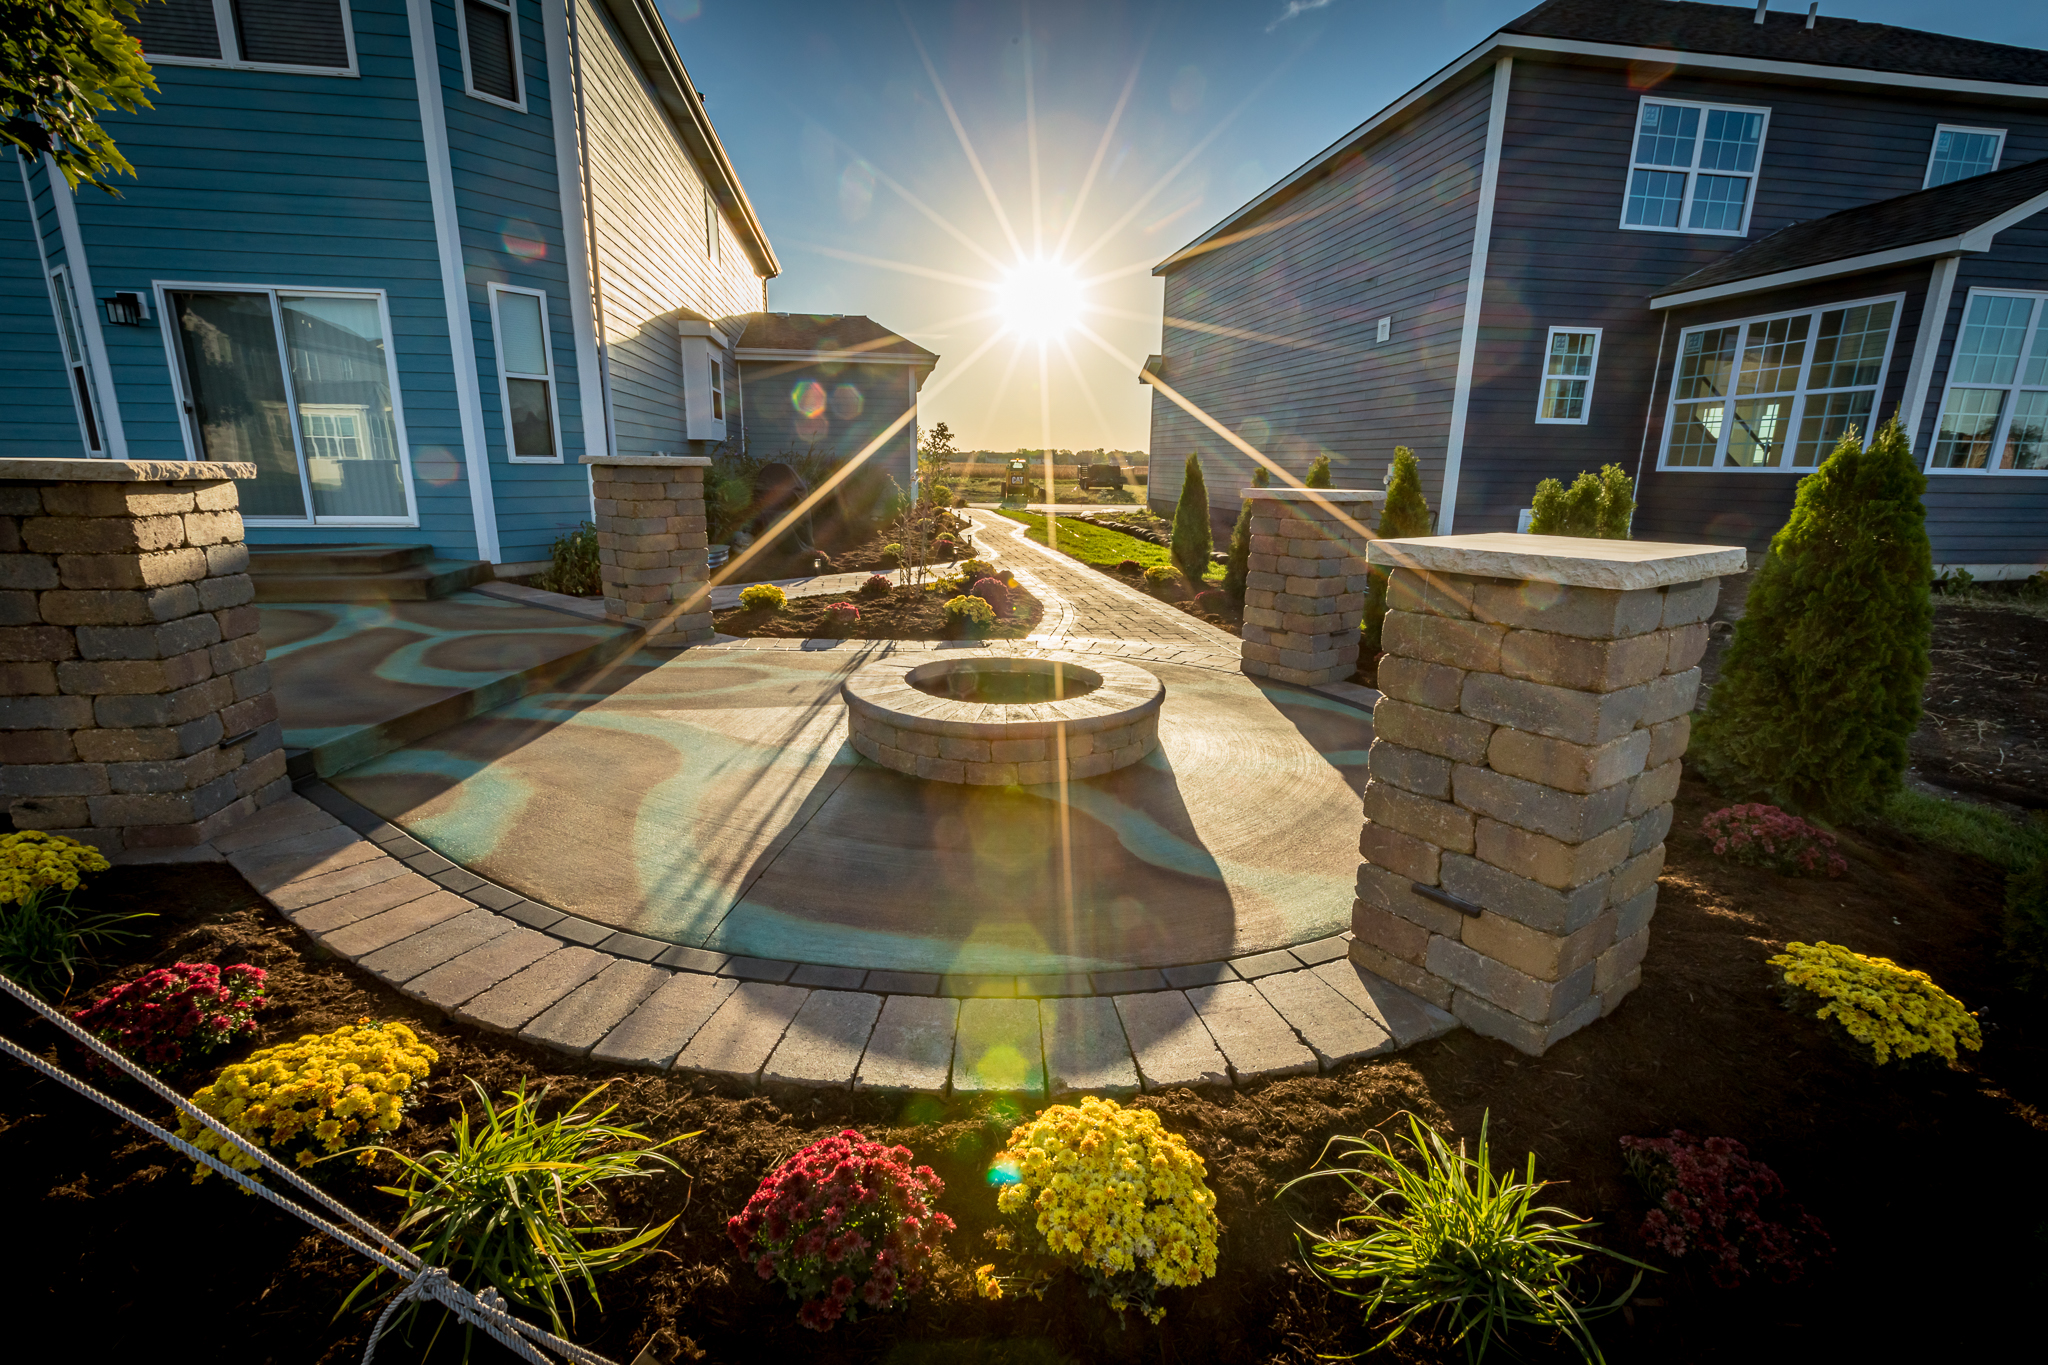
After the base staining was complete, I used a small spray battle to apply 2/3 qt of undiluted Azure Blue. I used a piece of cardboard with ripped edges as a guide when applying the blue attempting to obtain a vein effect. With remaining 1/3 qt of Azure Blue, I mixed one tablespoon of Miracle Grow powder and obtained a much deeper blue mixture.
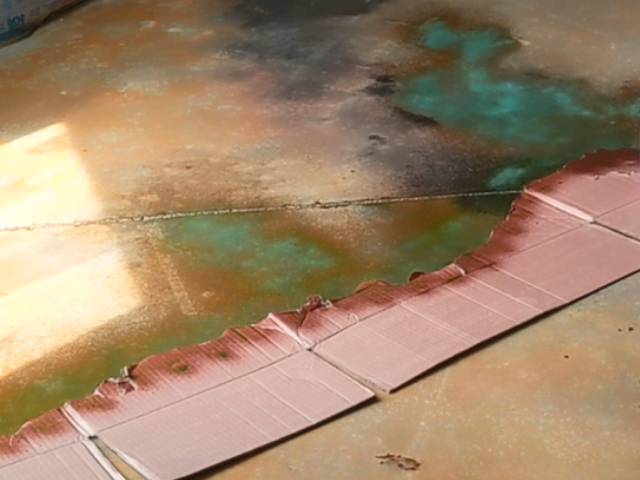
Then I used a small hand sprayer to spritz and gently pour Miracle Grow mix on some of the veining to bring out some deeper blues.
Then I used the remaining English Red and hit a few spots that were lighter than desired to darken those areas
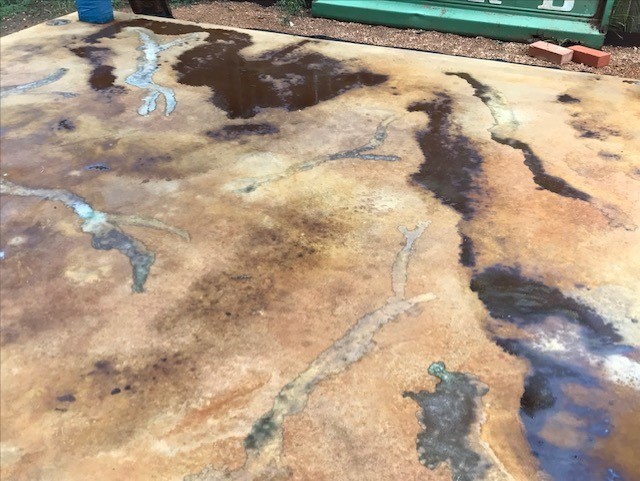
DIYer Tip: Due to it being hot herein Texas and my project outside, I hung tarps to keep sun from hitting concrete after applying the acid stain so drying would not hastened and a good reaction would have time to occur.
Do not apply acid stain to hot concrete as the liquid won’t have time to soak in due to evaporation and will leave a lot of powdery residue which is wasted product
3. Apply Concrete Sealant
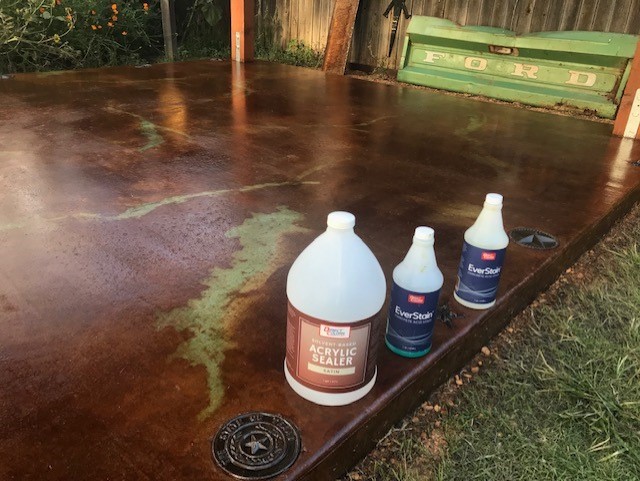
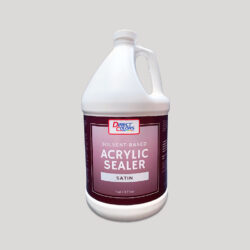
I waited 24 hours of drying time on the first coat of Solvent-Based Acrylic Satin Concrete Sealer
I applied the second coat of sealer the next day and stayed off the concrete for a few days.
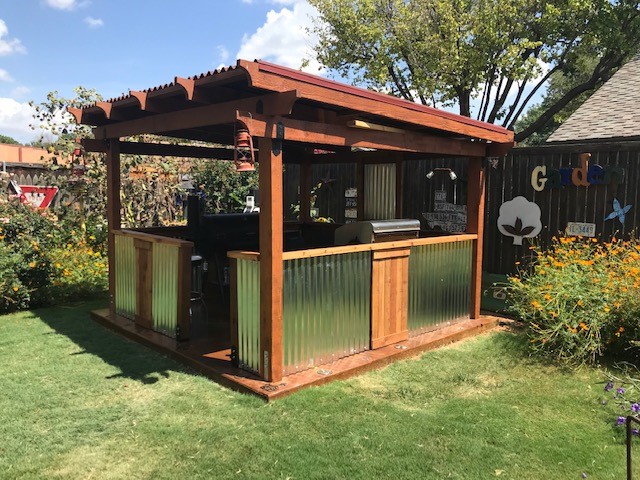
Pro Tip: If rolling sealer, roll first coat in one direction and the second coat in the other direction. For example east – west then north – south to get even more coverage. I always roll on sealer to obtain good coverage.


