How To Color Your Indoor Concrete Floors Using Concrete Dye
by Kiley Tate-Potts
February 2021 – $250 Cash Winner

Welcome to our simple guide on how to use concrete dye. This is a great way to change the color of your indoor concrete floors. It’s easy, cheap, and can really change the look of rooms like basements or any room with concrete floors. We’ll show you each step to make your floors look great.
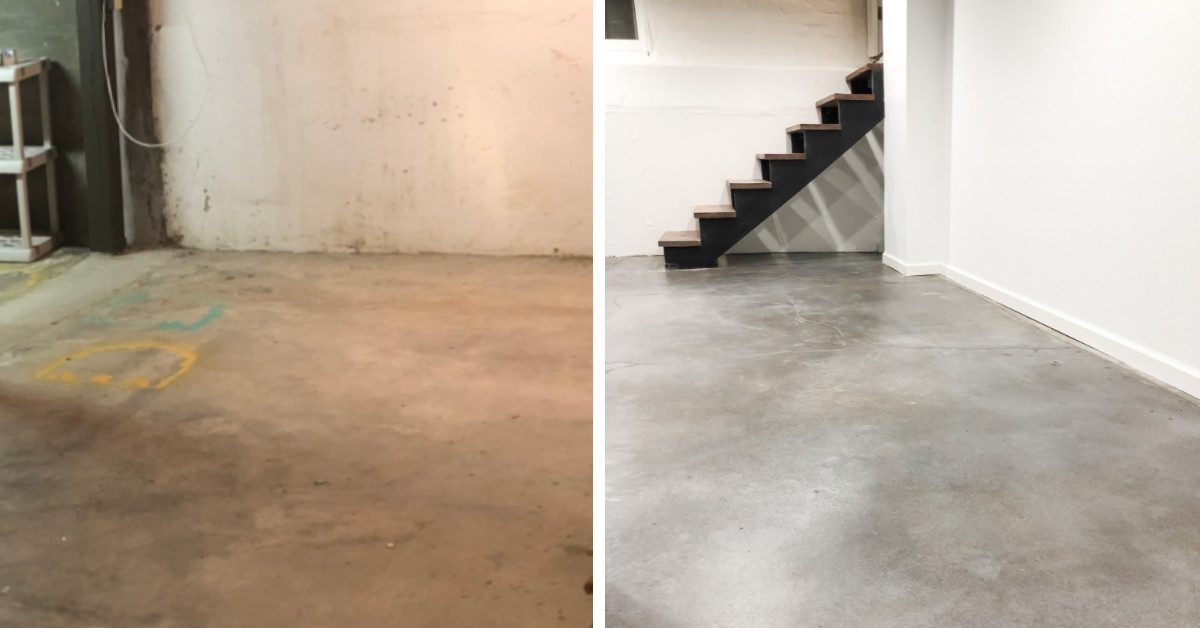
Step 1: Get The Surface Ready
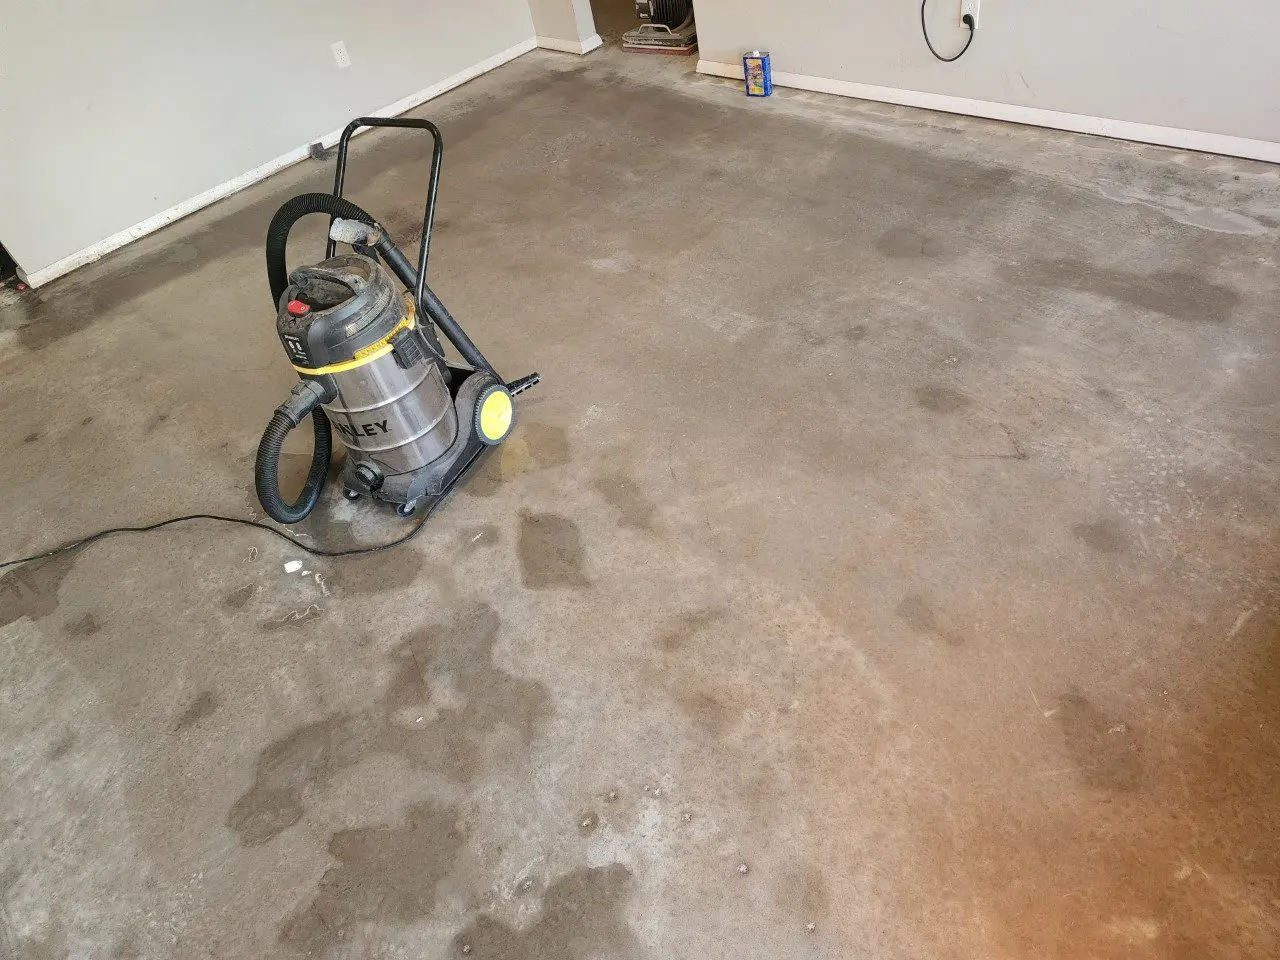
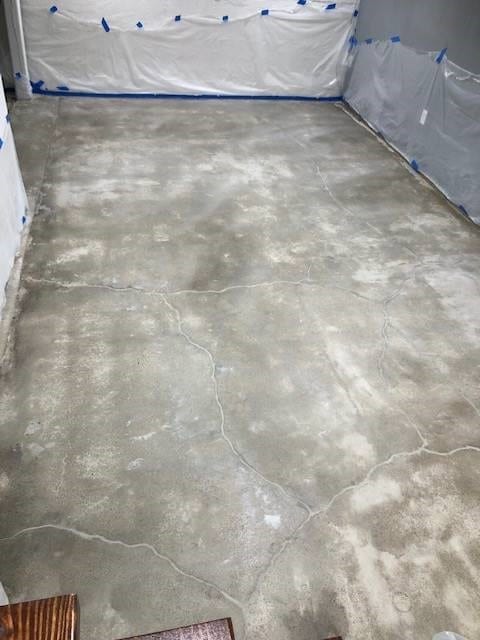
Before you start adding color, you need to clean your floor really well. You want to get rid of any dust, dirt, oil, glue, or anything else that might stop the dye from sticking to the concrete. Try using a strong organic cleaner, scrub it in with a plastic brush, and rinse it off with water. If you can’t wash it away with water, try using a wet/dry vacuum, mop, or even a window-cleaning tool to remove the water and help it dry quicker.
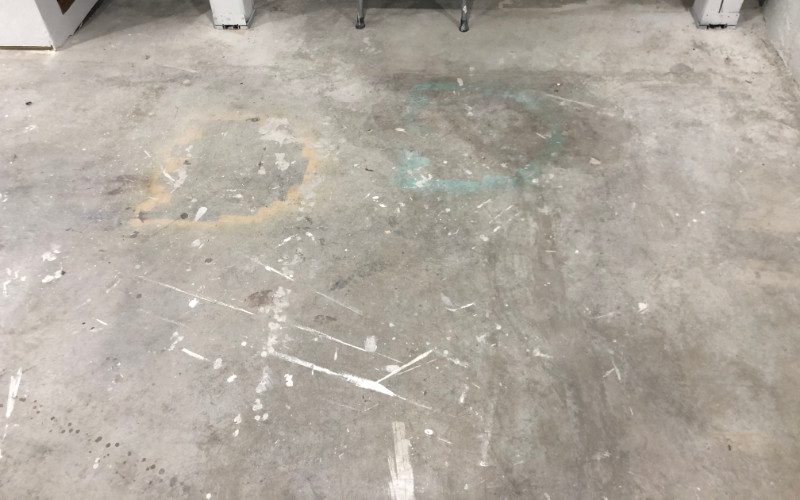
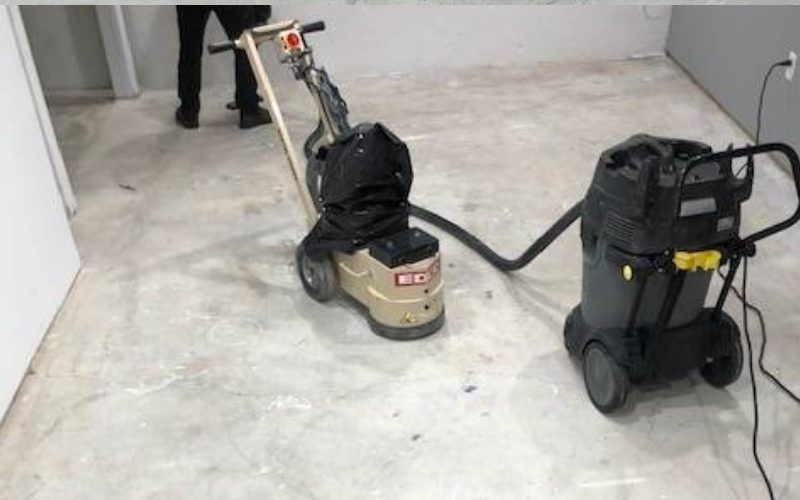
If there’s old paint or stains, you might want to use a concrete grinder. This will help remove the old paint and give you a clean floor to work with. Be ready, though – this will make a lot of dust.
Step 2: Fix Any Cracks
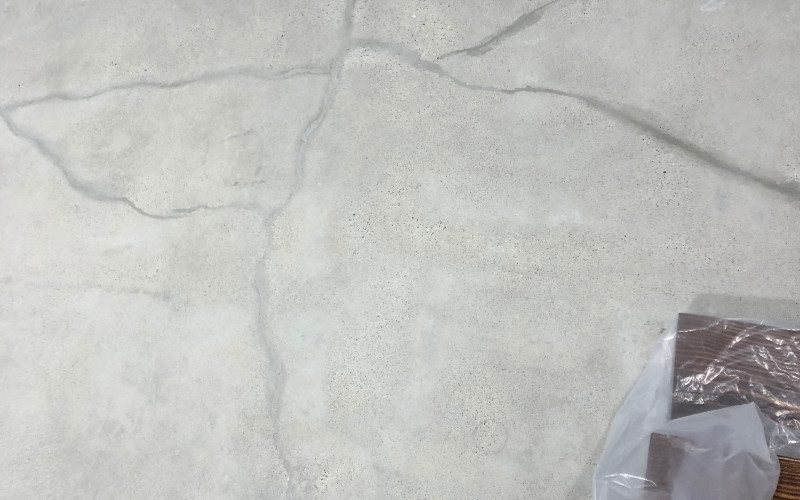
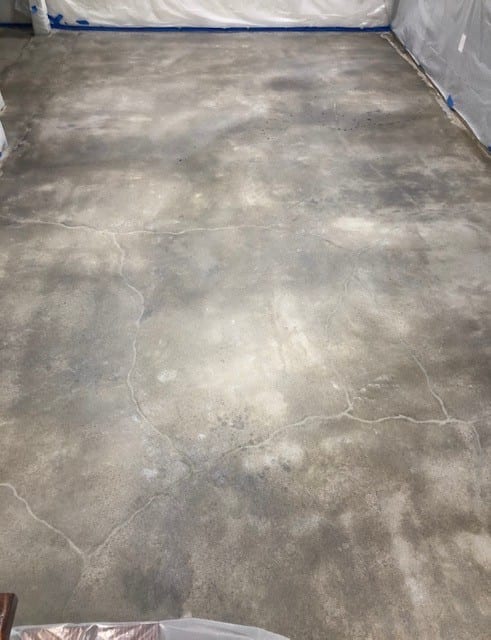
You want the color to be even, so fill in any cracks or rough spots in the concrete. Use a special compound meant for patching concrete to fix any small cracks.
It’s really important that you don’t apply acetone Vibrance™ Dye on your floors if they’re too cold or too hot. The floor needs to be warmer than 40°F but cooler than 95°F. So check your floor temperature before you start.
If it’s too cold, you can turn your central heating on or use other heaters to warm it up. But if it’s too hot, you’ll have to wait until it cools down.
Remember to switch off your heating and any overhead fans when you’re actually putting the dye on, and only turn them back on after the dye is dry. If you’ve got underfloor heating, you should set it to 60-65 degrees before you start, and make sure to turn it off while you’re applying the dye.
You can turn on fans and heaters again after you’ve applied the dye to help it dry faster.
Step 3: Mix And Use The Concrete Dye
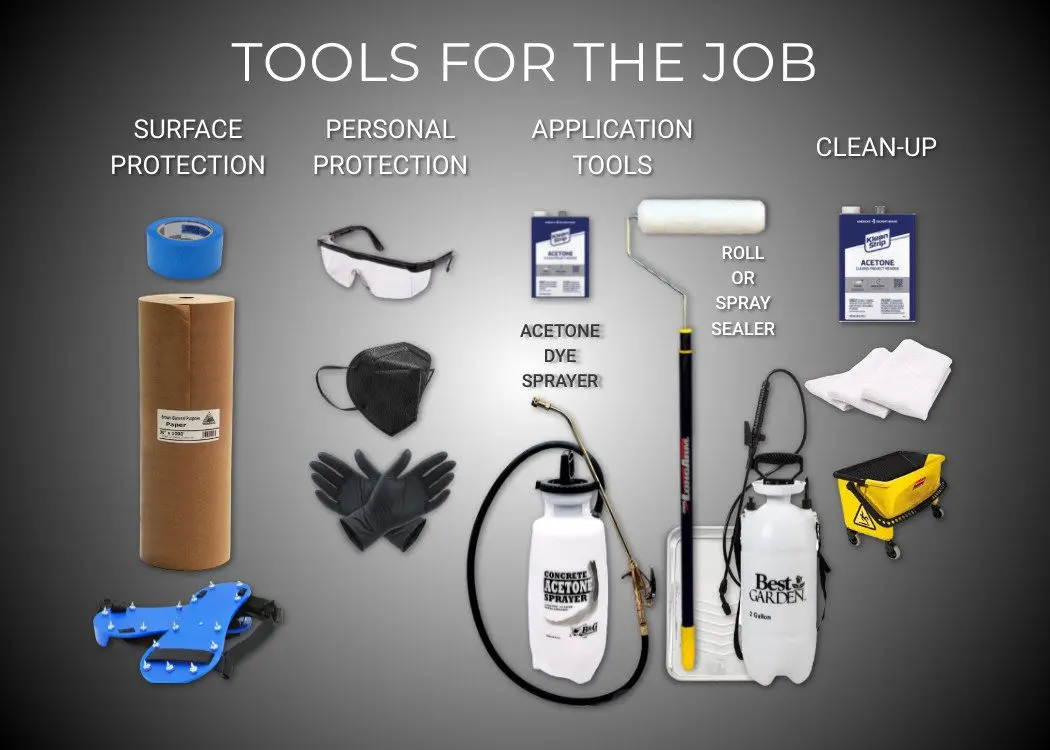
CAUTION: Be careful when you’re mixing the concrete dye with acetone. You shouldn’t use an electric mixer to do this inside the sprayer because acetone is highly flammable and can easily catch fire. So, use a stick to stir it or just shake the container really hard. Also, always use acetone where there’s plenty of air moving around and keep it away from anything hot, any sparks, or open flames.
Next, you’re going to get your dye ready. Pour the dye into a can of acetone, close the lid tightly, and shake it really well for about 20 seconds. Let this mix sit for about an hour before you use it.
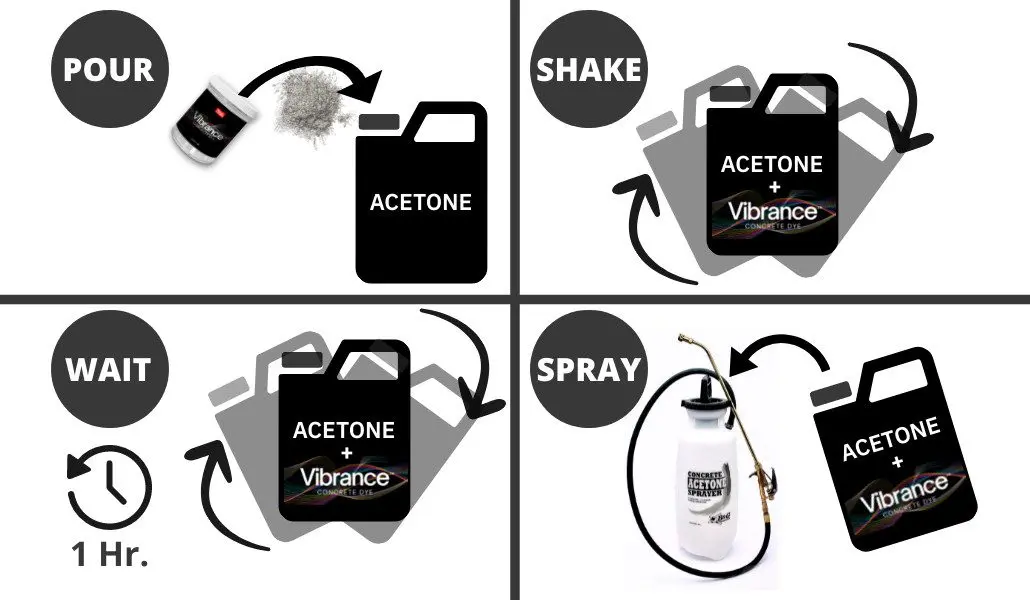
Take any filters out of the acetone dye sprayer. Put the acetone-dye mix into the sprayer. Shake it again.
Remember, you need to use a special sprayer that’s made for acetone to put this product on. You can’t use the regular sprayers that you might use for decks or fences.
And if you’re using a big sprayer, like a 3-gallon one, don’t hold it by the pump handle when you’re spraying. Hold it by the strap and tilt it so it’s at an angle between 30 and 45 degrees.
Now you’re ready to apply the dye on your floor. Use the sprayer to apply the acetone dye on in a kind of circular motion, and make sure to overlap the areas you spray a bit. Shake your sprayer often to keep the dye from separating.
Make sure you put the dye on in thin layers – you don’t want it to puddle. If you want the color to be deeper, you can put on up to four thin layers. If you’re going to put on more than one layer or more than one color, it’s a good idea to wear shoes with spikes on them.
After you apply the acetone dye on, you need to let it dry for at least eight hours before you seal it. You can use a dust mop or a mop made from microfiber to gently clean up any extra dye that didn’t stick to the floor.
Step 4: Seal The Floor
When the dye is completely dry, you can seal it. Put on two layers of your chosen sealer. But make sure each layer dries all the way before you put the next one on.
Step 5: Put On Floor Wax
To keep your sealed concrete floor looking great for longer, you might want to put a floor wax on top. This adds another layer of protection and can help you avoid needing to seal it again in the future.
Step 6: Enjoy Your New Floor
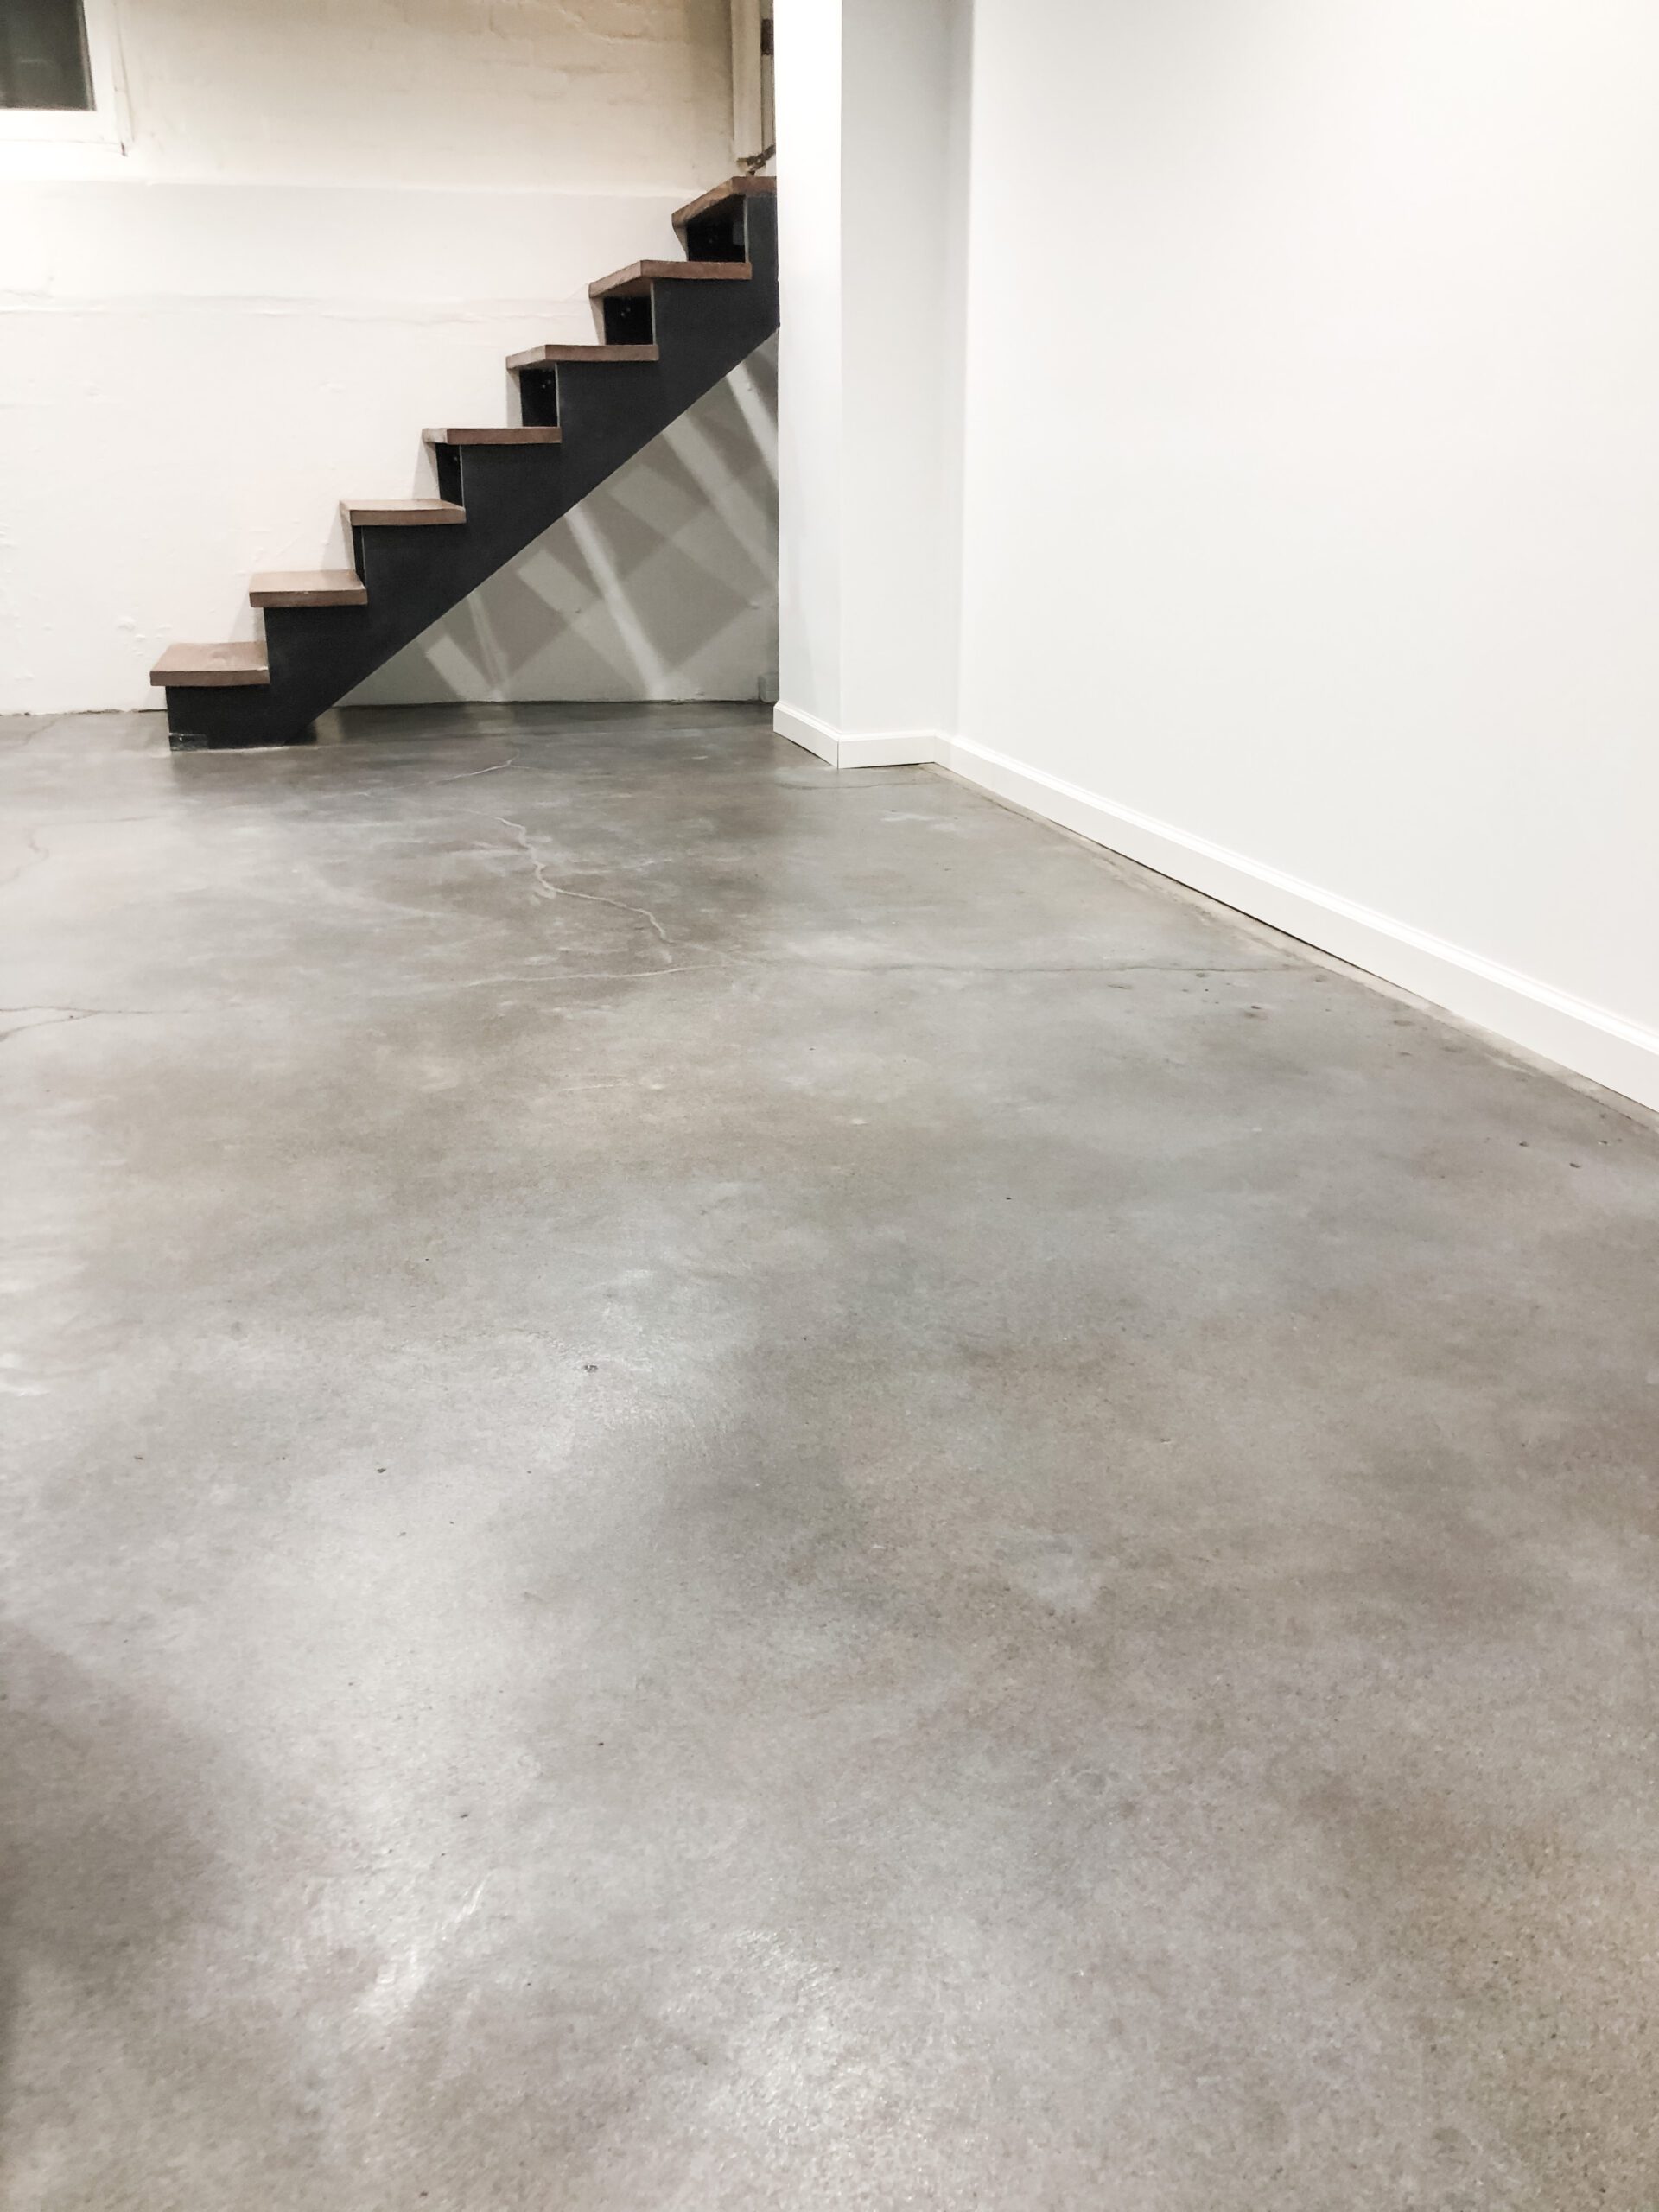
Well done, you’ve changed the color of your indoor concrete floor! With good cleaning, careful dye application, and a protective layer, your floor should keep its new look for many years.
And there you have it! If you enjoyed this project and want to explore more, we invite you to check out our “Stormy Gray Vibrance Dye: Your Ticket To DIY Magic!” collection. It’s full of other DIY projects that will help you continue to create and transform your spaces. We can’t wait to see what you do next!
Tip: How to Fix Spots Where the Concrete Dye Isn’t Even
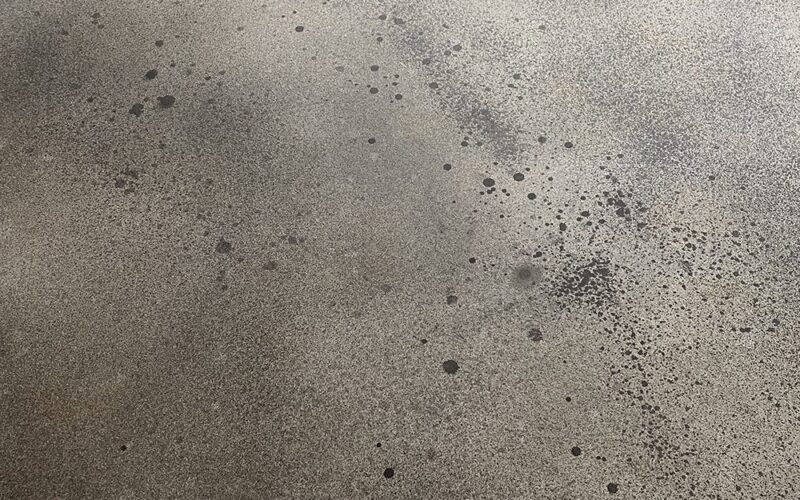
If you’ve got areas on your concrete floor that don’t look right, follow these steps:
- Make sure you’re using a sprayer that’s made to be used with acetone. This helps the dye stick to the floor.
- If you see the sprayer dripping, stop and figure out why.
- Check the seals on the sprayer tip are sitting right, and see if the pressure in the tank is okay.
- If it does drip, stop spraying and wait 4-6 hours. This gives the dye time to dry and stick to the floor.
- To get rid of extra dye, take a cotton cloth and some acetone and gently dab at the spot until it’s less noticeable.
- Your color might look a bit strange after you do this. Once your sprayer stops dripping, lightly spray more dye over the strange-looking area and blend it in with the surrounding floor.
- Be careful not to walk on the dye before it’s dry and hard. If you do, it might stick to your shoes and come off, or the color might get smudged if you drag your feet.


