Staining Interior Floors with Colored Concrete Sealer

What is Colored Concrete Sealer?
Colored concrete sealer, also known as tinted concrete sealer, is a special non-yellowing, UV-resistant acrylic copolymer, and pigment blend.
Water-based colored sealers have low odor, making them an excellent choice for interior applications.
Step 1: Surface Preparation

The surface must be clean, free of any debris, and de-laminating sealer. Floors that have been previously painted must be stripped using a high-quality sealer and paint stripper.
Colored concrete sealer can be applied to previously sealed concrete as long as the sealer is properly adhered to the surface and is not flaking, tacky, milky, or otherwise damaged.
Remove tough stains using ProClean concrete cleaner and degreaser concentrate.
When recoating over previously applied sealers, always use the same type of sealer. For example, recoat using a water-based sealer if that is the type of sealer originally applied to the concrete.
Floors that have been previously carpeted must be stripped of all carpet glue using a high-quality mastic/glue remover or grinder.
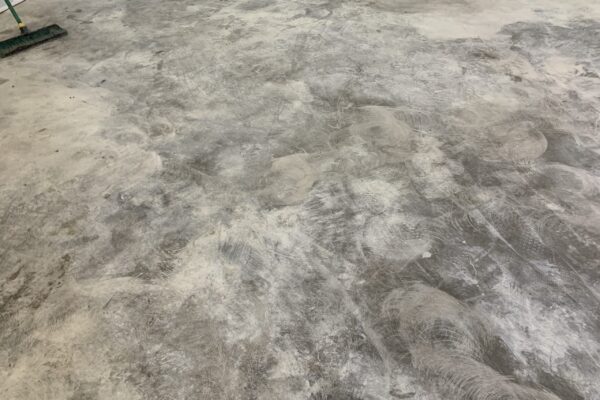
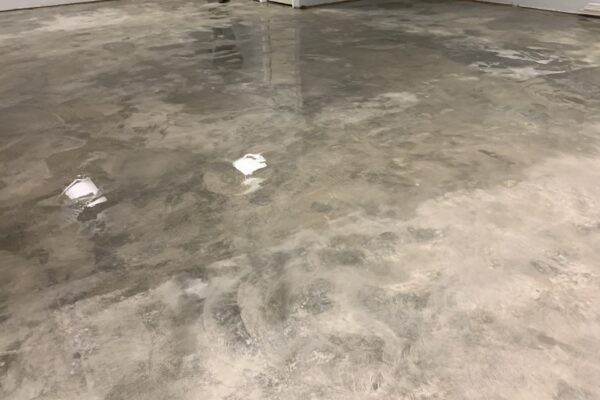
Important: Failure to completely clean the concrete surface may result in concrete sealer adhesion issues.
Allow the concrete surface to dry completely before AcquaTint™ water-based tinted sealer application.
For the full guide on surface preparation, click here.

Surface Prep Tips
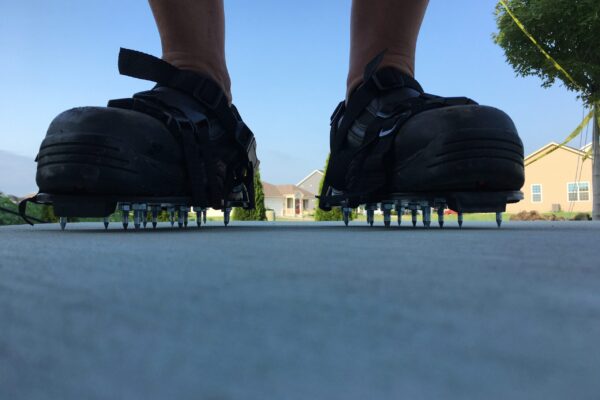
- Wear spiked shoes if using a concrete etcher.
- If you choose not to wear spiked shoes, do not step in the area where CitrusEtch™ has sat for 20 minutes (which is pretty dry in most areas at that point) prior to rinsing.
- If so, your sneaker prints will etch themselves into the floor while rinsing. These areas will require sanding.
Step 2. Colored Concrete Sealer Application
Protect the surrounding areas from backsplash. Use drop cloths and firm cardboard and do not apply tape to surfaces recently coated with a colored sealer, as the adhesive may remove the coatings.
Shake the colored concrete sealer vigorously and pour it into the pump-up sprayer or paint tray.
Apply a light coat of AcquaTint™ to the floor.
Back-roll with a ⅜-inch nap roller to make sure the coats are as even as possible to avoid blotchy areas.
Sealer Application Tips
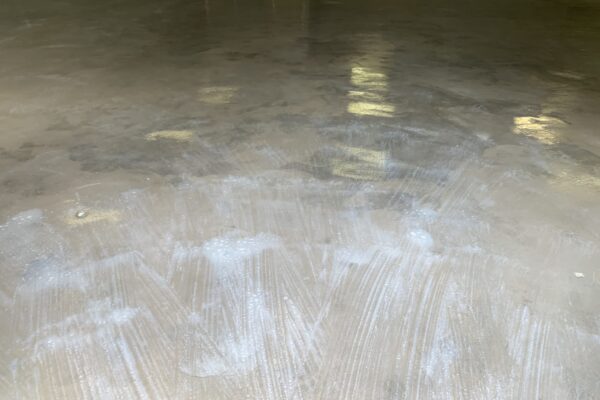
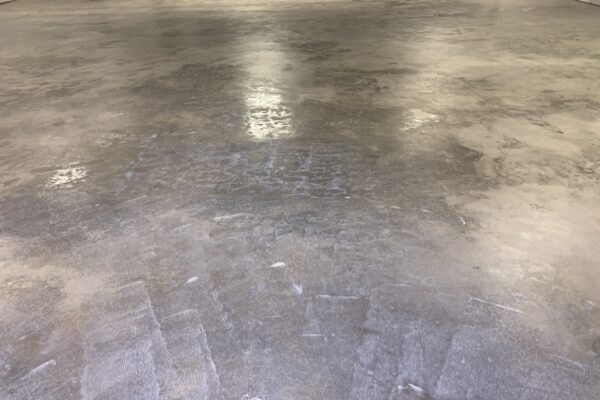
- Only put a small amount into your tray and always wet the roller by rolling it in the bottom of the tray to continue to mix what is in the tray. The pigment settles out pretty quickly but is manageable.
- Apply some pressure to the roller before moving the roller from the tray to the floor to avoid dripping material from the roller.
- Always stir before adding more sealer to the tray.
- Use a coffee can or smaller container to transfer well-mixed colored sealer into your tray.
- Work in small sections at a time (6′ x 4′).
- Move quickly but don’t freak out over lap marks. You will get them, but rolling over them a second or third time as you work the small section helps. Then, the next coat rolls in the opposite direction which further helps them blend in.
- Back-roll the final roll before you move on to the next section.
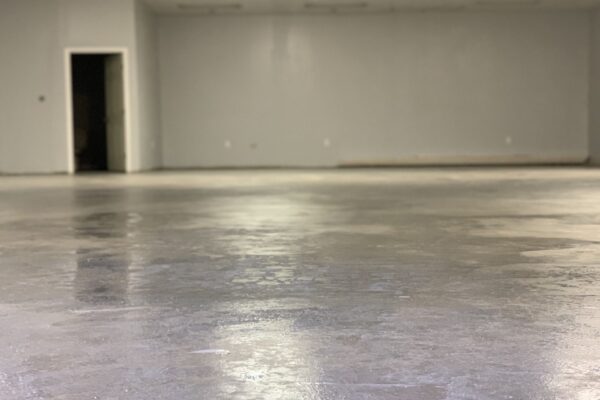
Keep the roller evenly and consistently loaded with a colored sealer at all times during application to avoid roller marks and streaking.
Allow AcquaTint™ water based sealer to dry for 12 hours.
Apply a second coat of AcquaTint™ colored concrete sealer.
Allow drying for another 12 hours.
DO NOT walk on wet sealer as it will leave permanent impressions on your surface. Cover your feet with plastic bags to protect your floor finish during application.
Step 3. Concrete Floor Wax Application
Apply concrete floor wax with a trim pad or foam mop with a wringer attachment.
Soak the applicator in warm water and shake or wring out excess before use.
Pour the wax into a paint or wallpaper tray and saturate the applicator.
Press out excess and push a thin milky coat onto the surface. The product will appear milky when applied but will clear as it dries.
Smooth out any foaming that may appear on the surface.
Floor Wax Application Tips
Allow drying for at least 12 hours between coats.
The final coat should dry for 24 hours before moving furniture or heavy objects across the floor. We suggest waiting 48-72 hours before driving over the surface or allowing parked vehicles.
Concrete Sealer Color Ideas
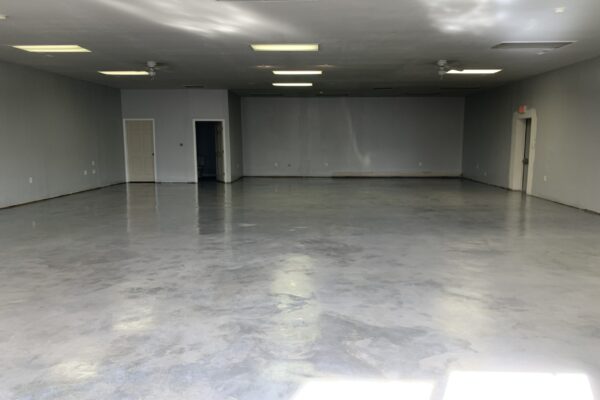
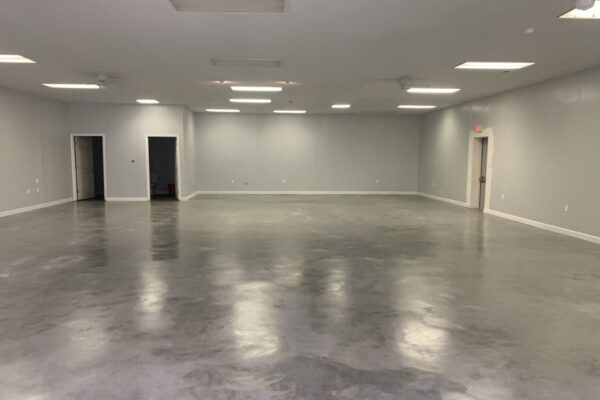
Silver Simplicity
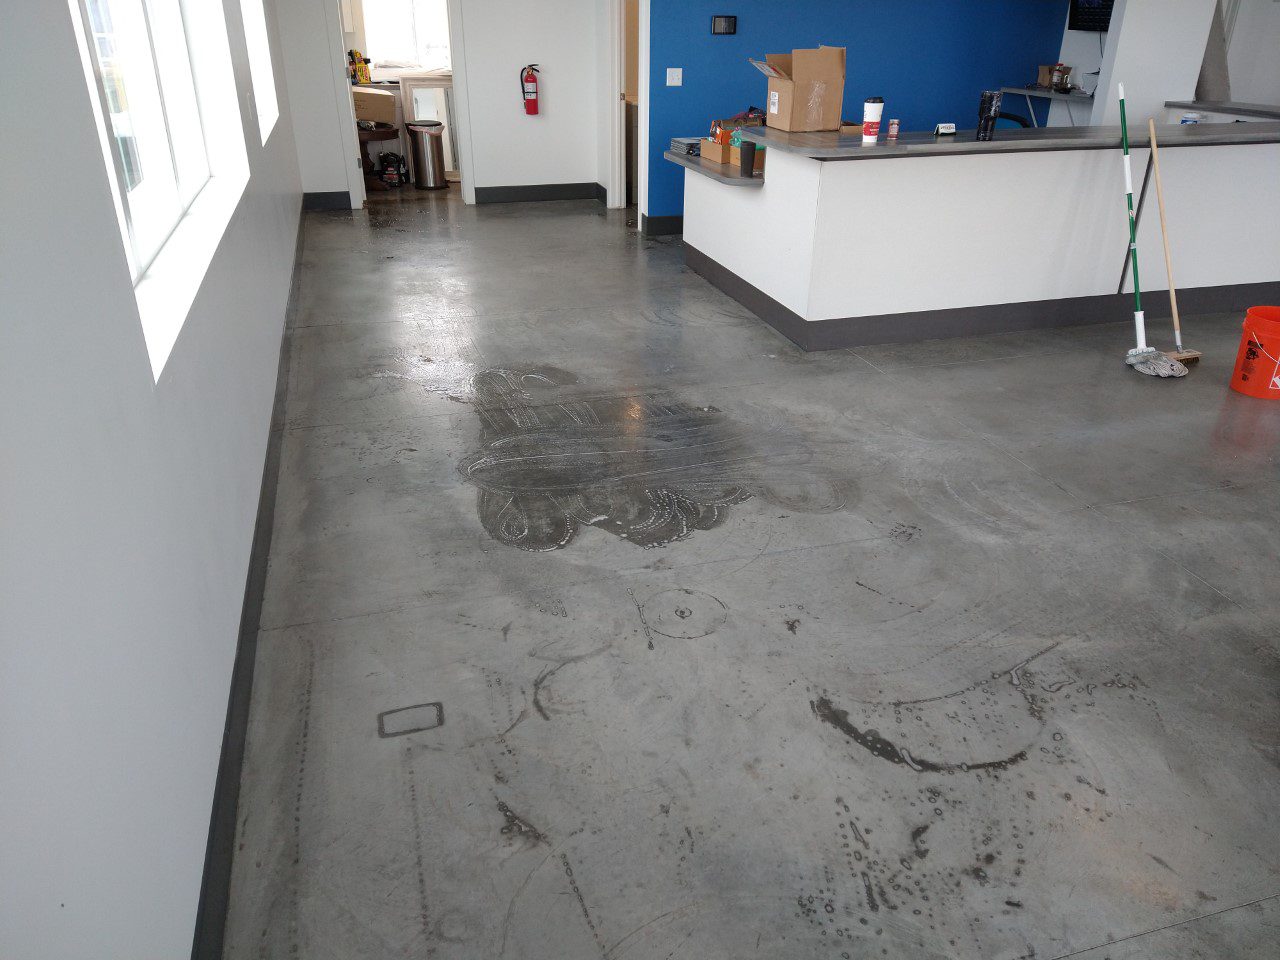
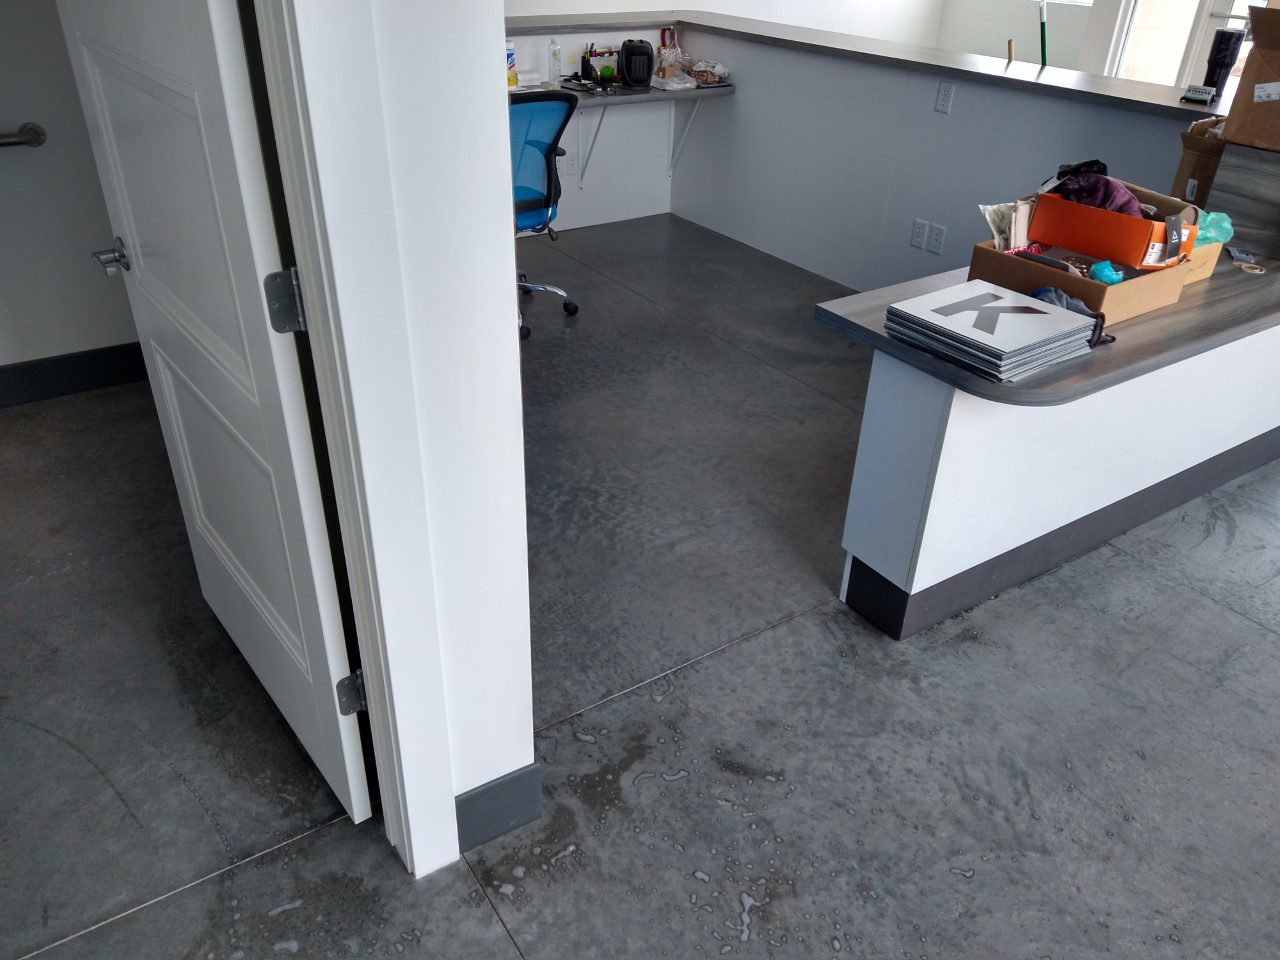
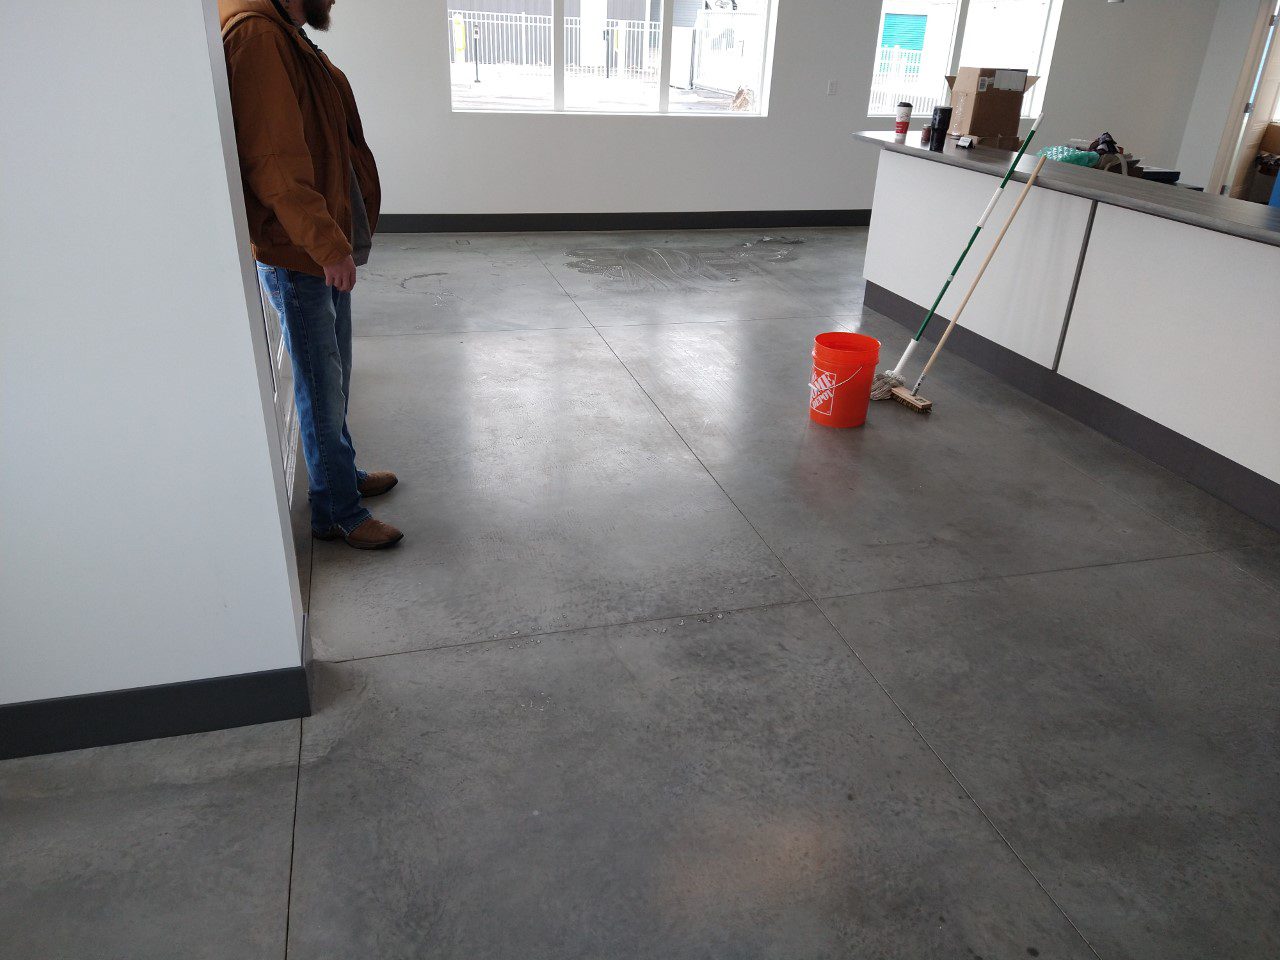
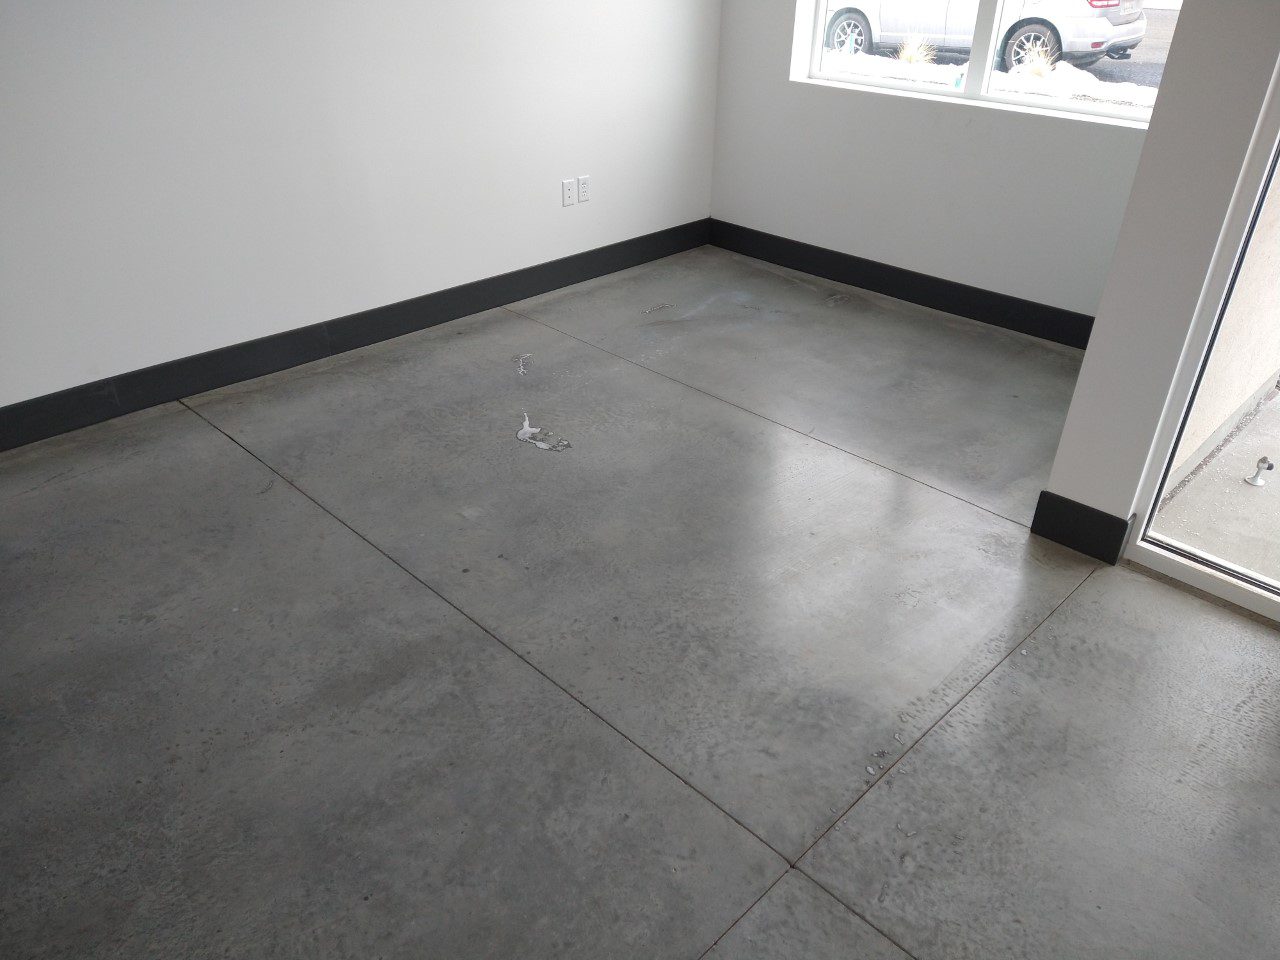
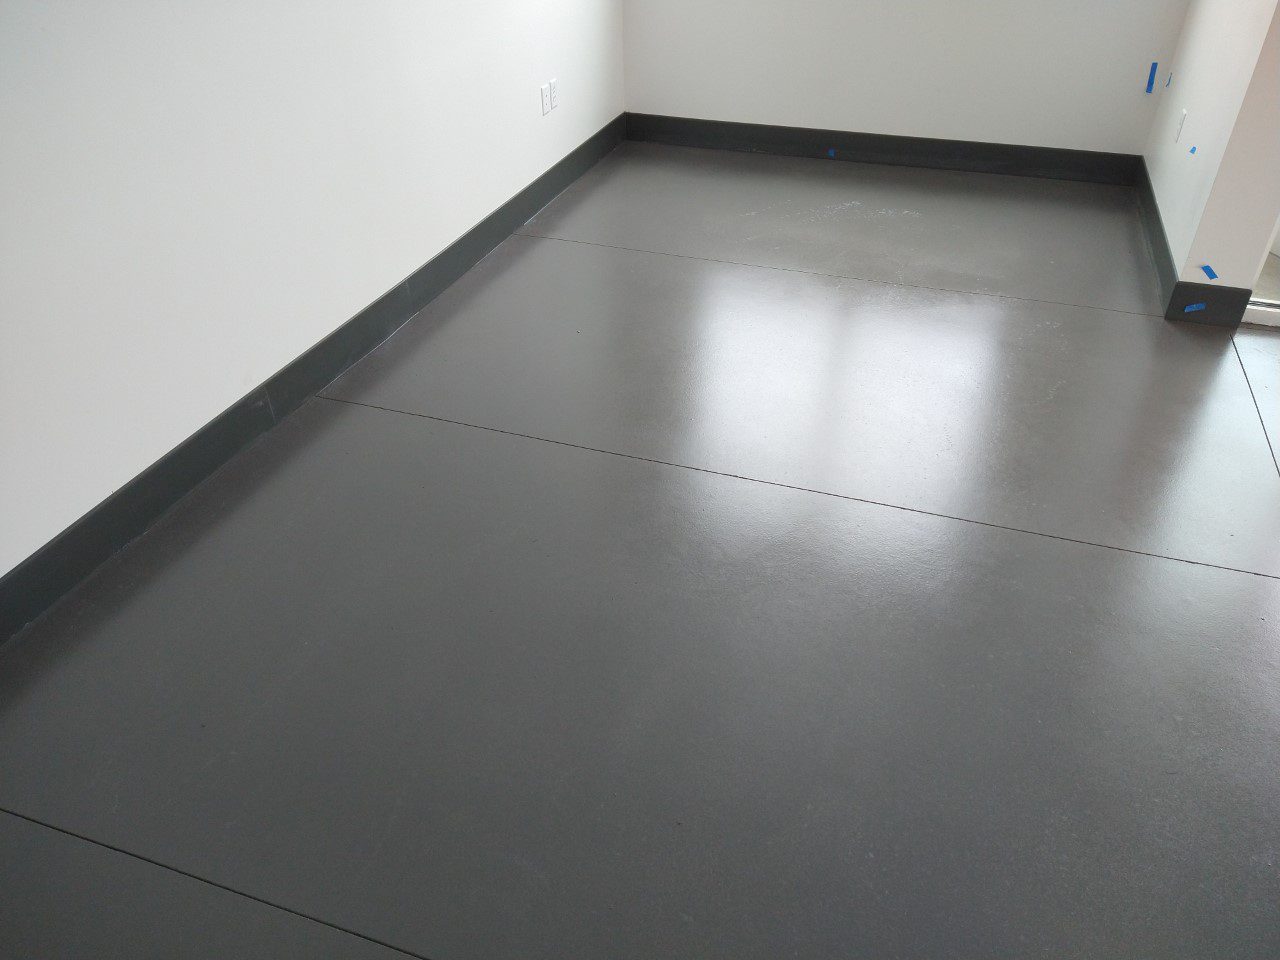
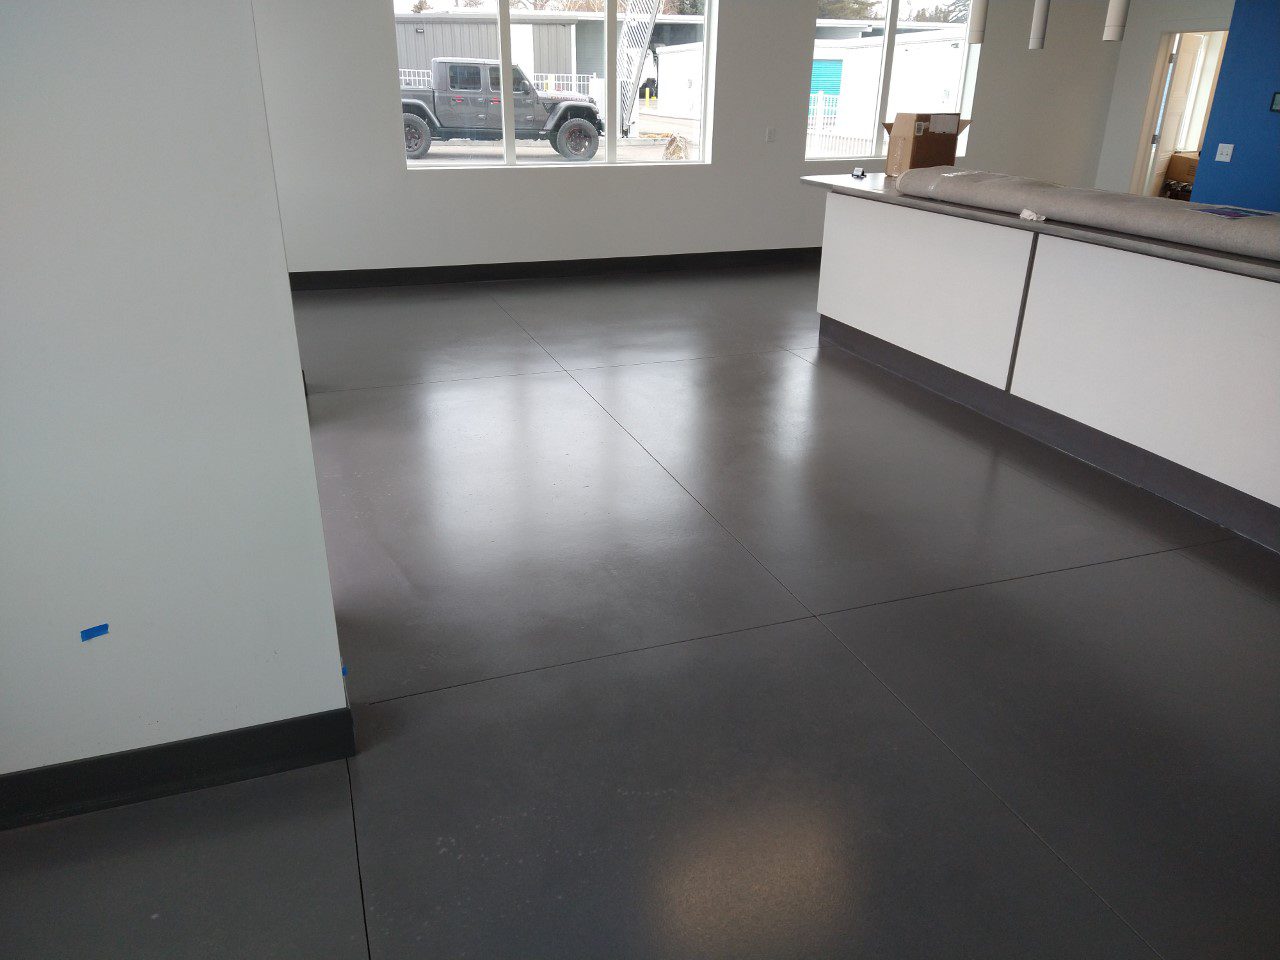
This commercial space really looks spiffy after applying some silver colored concrete sealer.
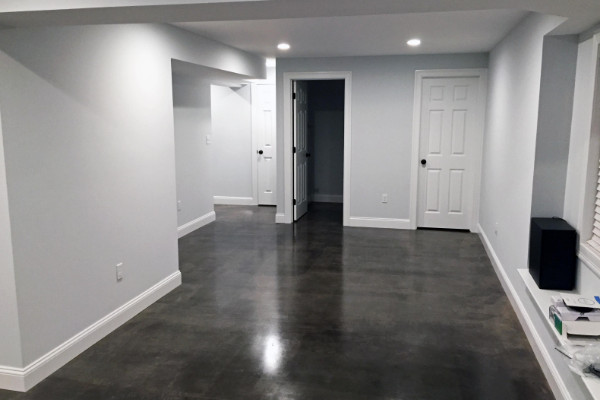
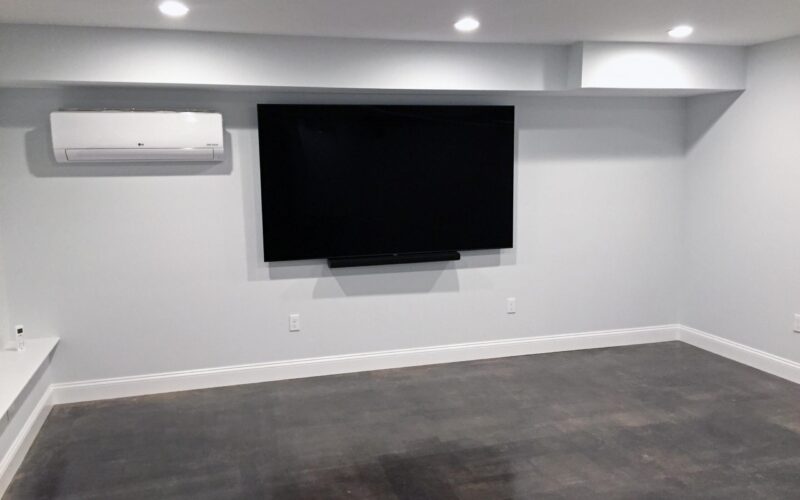
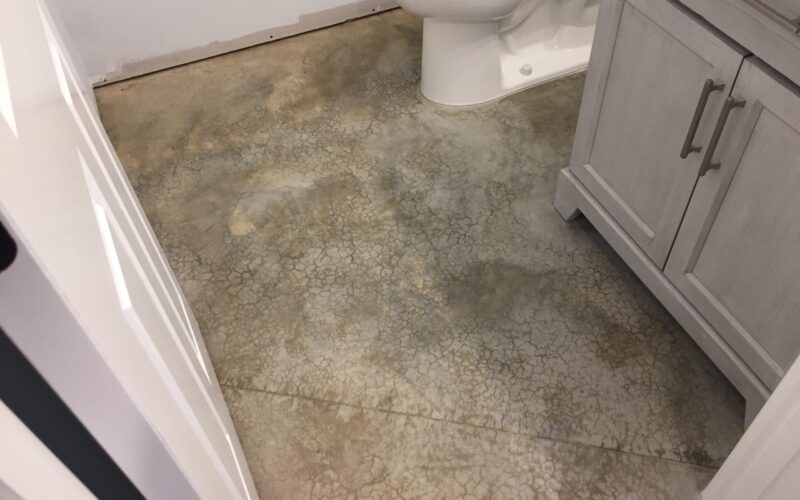
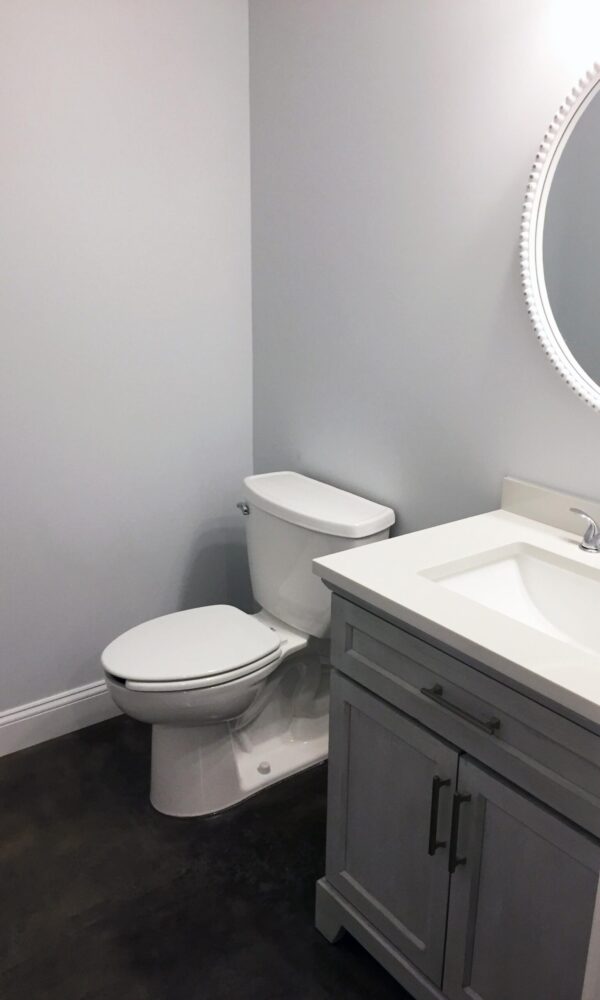
Clean & Modern
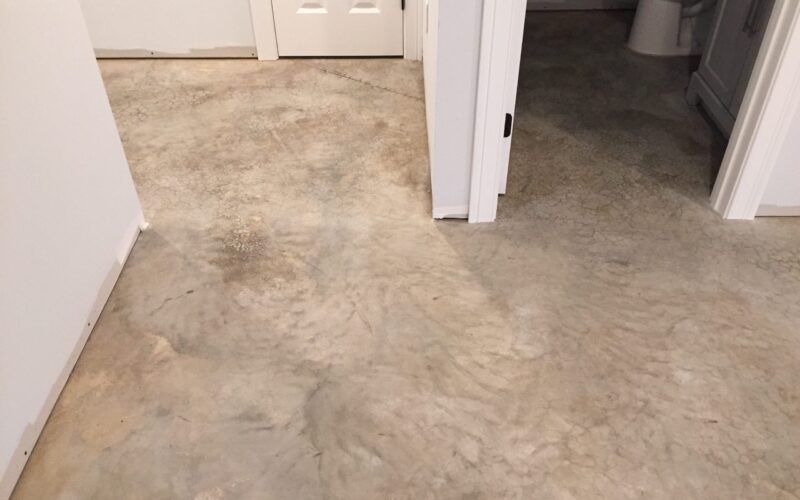
Have you ever seen a basement look so fresh and modern? Our customer used AcquaTint™ water based sealer to protect their basement floor while adding a little bit of color. We can’t get over how elegant and professional it looks!
Graffiti Art
Our DC customer is a professional artist, but this was their first time dealing with concrete stain and a large-scale project. When their stain sprayer wasn’t working quite as intended, they improvised – creating random graffiti-like splashes of charcoal. What a unique look!
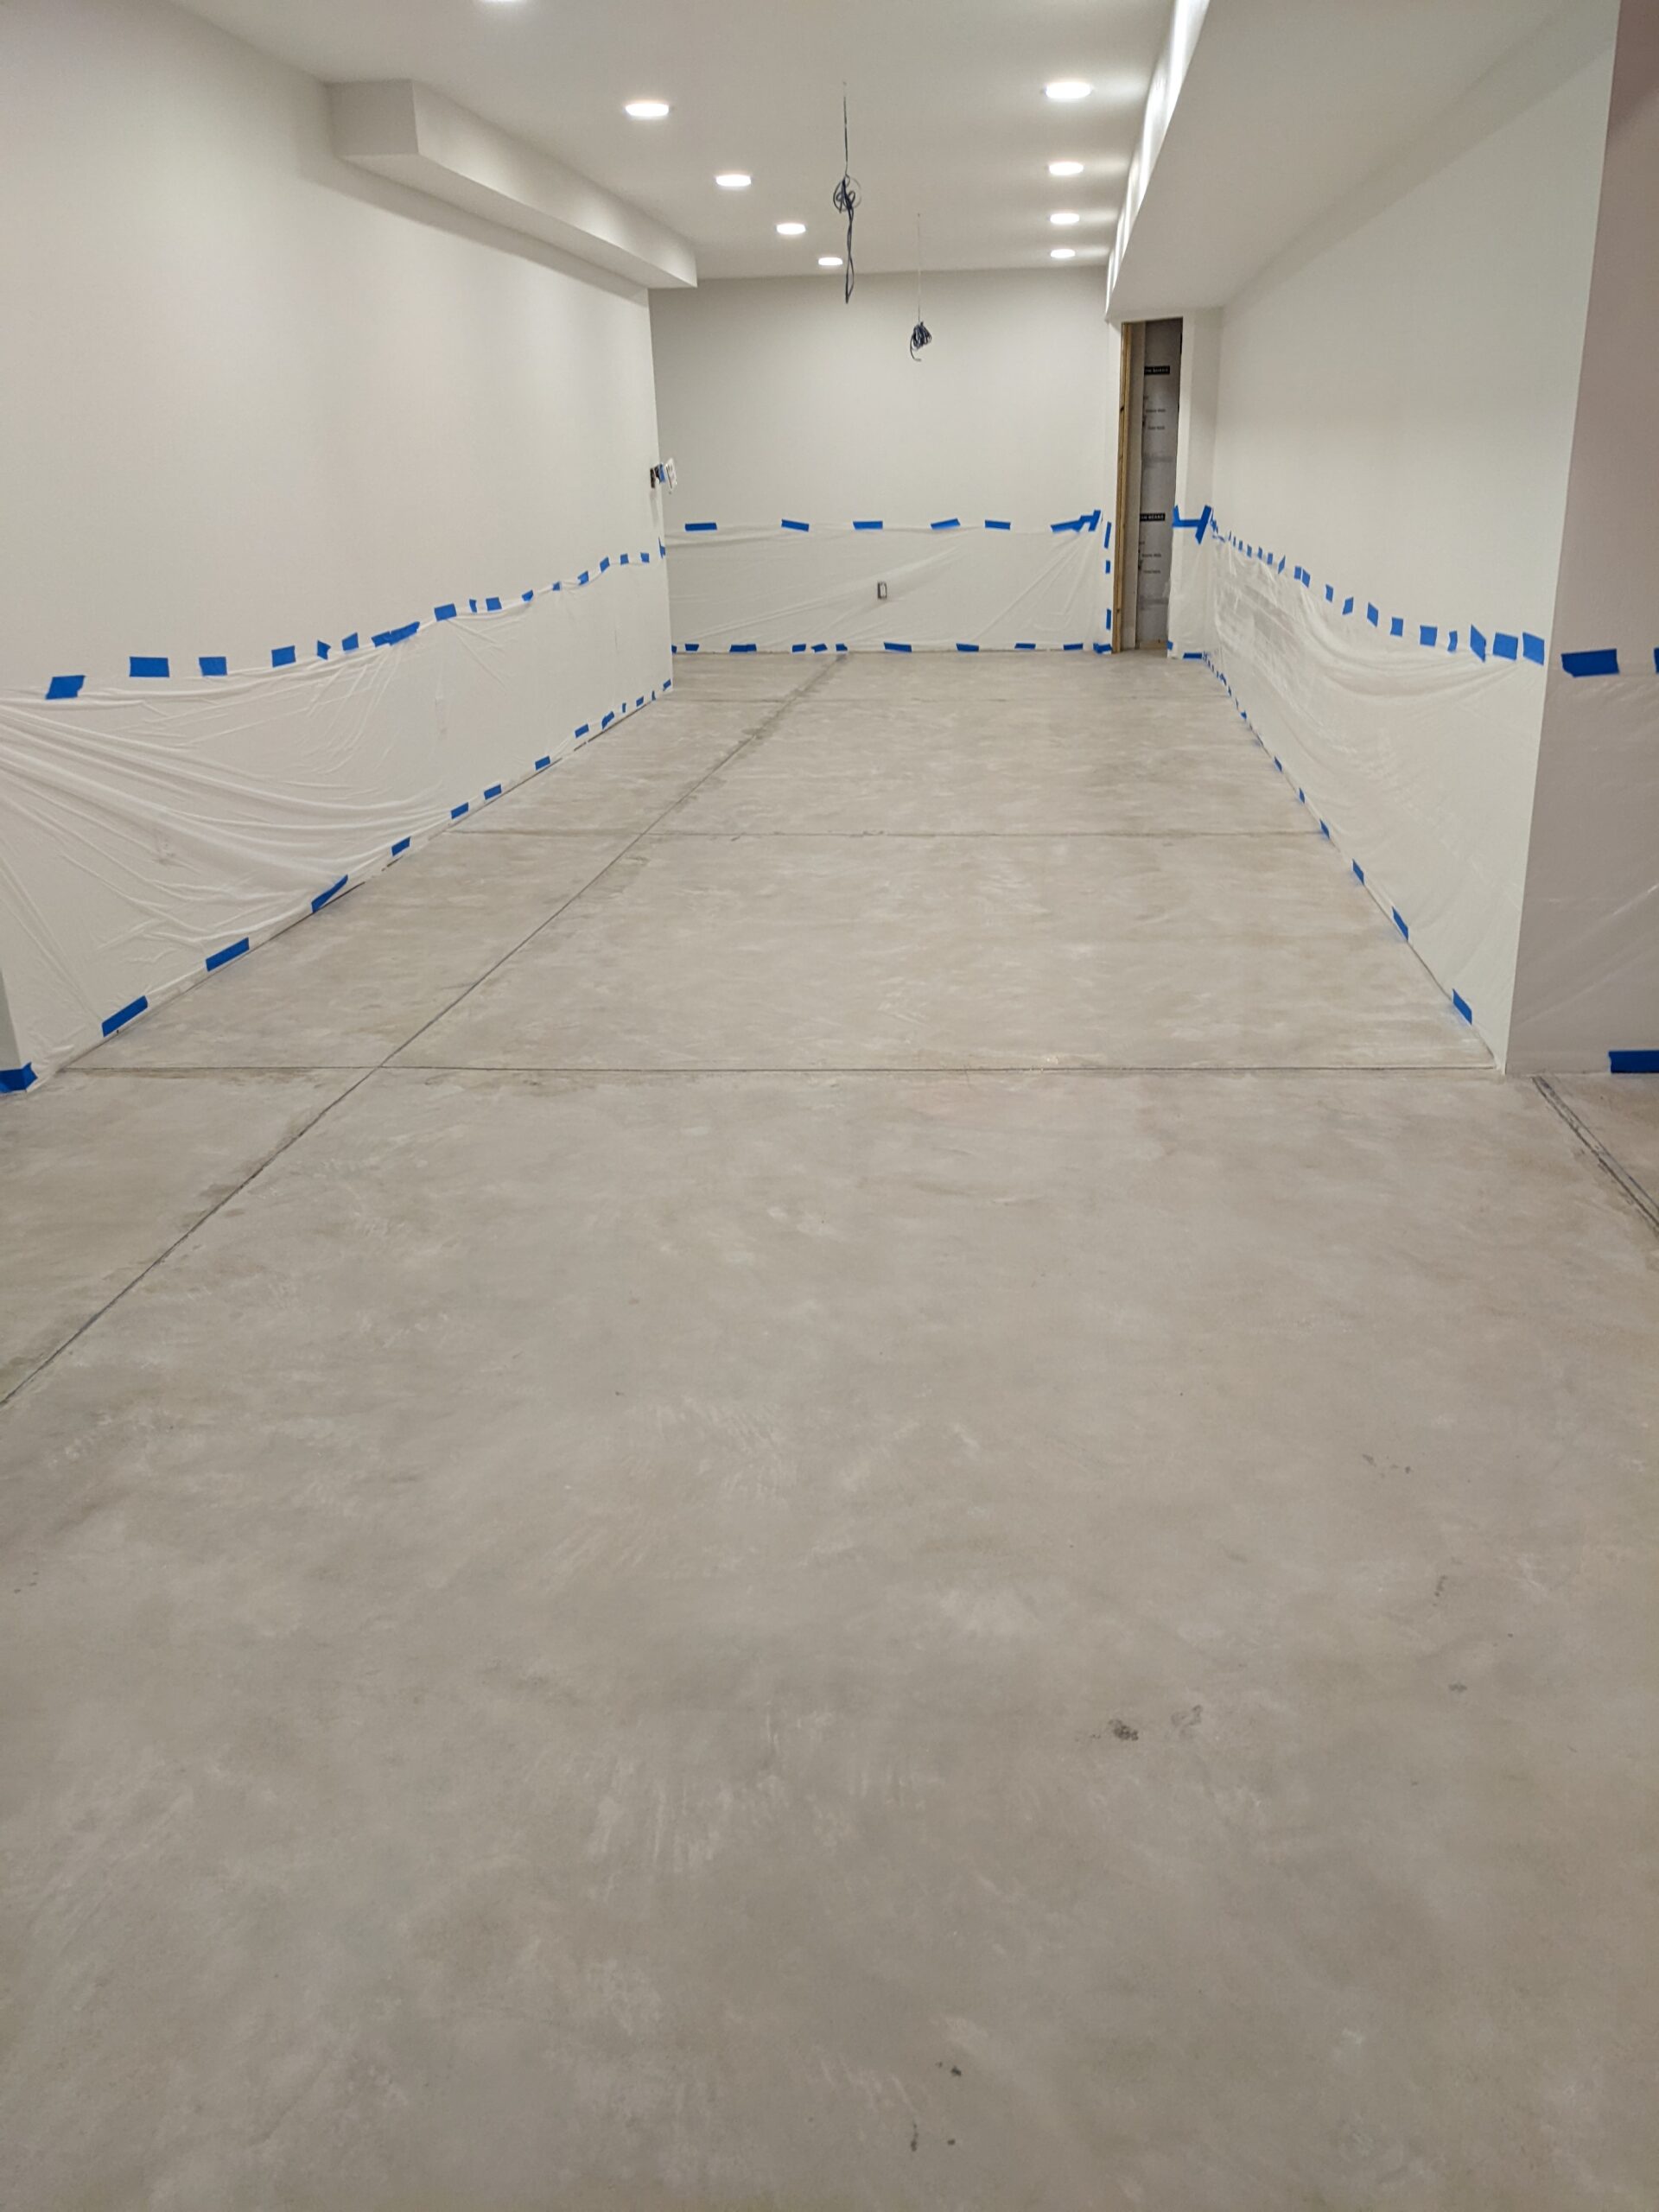
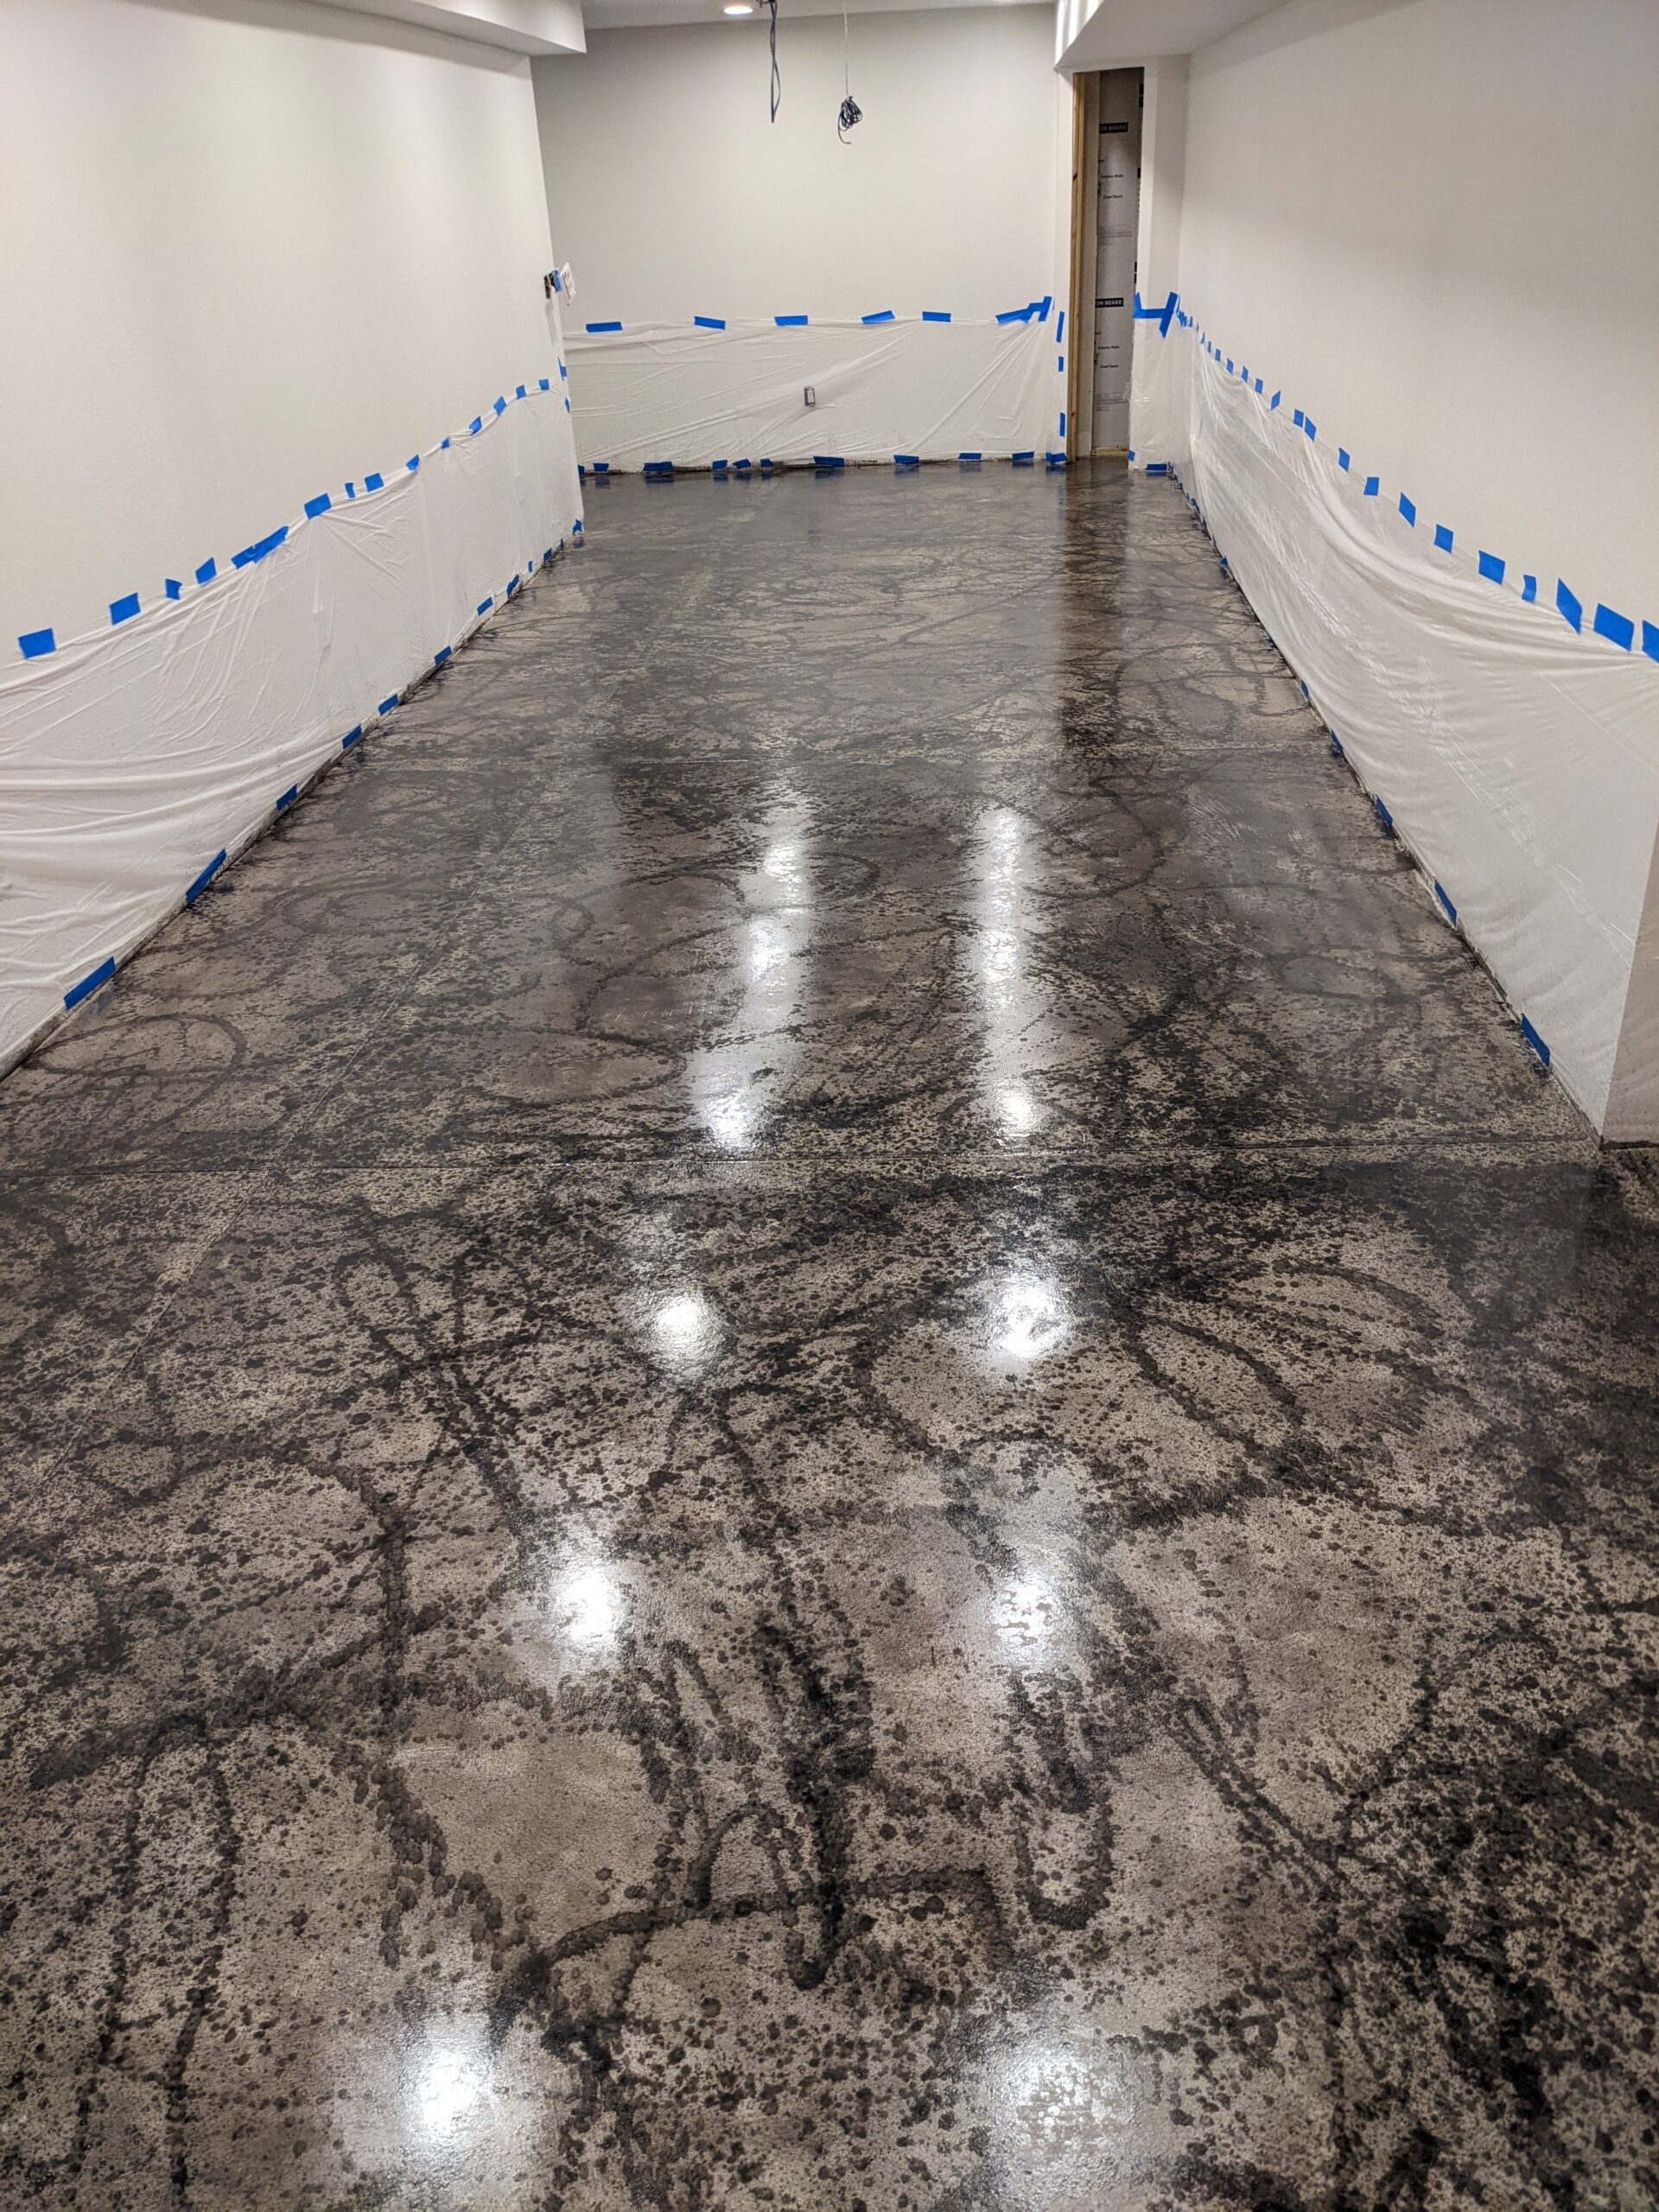
- Project Completed In: 6 day(s)
- Estimate of Square Footage: 1800 sq. ft.
- Project Description:
I have an unfinished 1800sf basement. I wanted to keep the integrity and durability of the concrete floors.
The floors had been grinded before any work had started.
First was cleaning up drywall dust, mud and paint off floors. Some was scraped off and then washed with diluted pine sol and water and finally just with plain water. This took about 6 hours everytime, constantly dumping the dirtied water.
I am a professional artist but this was my first time with concrete stain and such a huge scale.
The sprayer I used spit and dripped out the paint so I had to change my original plan to random graffiti-like splashes of the charcoal color. Spraying the initial design took 4-5 hours and 2/3 of the 5 gal charcoal. I let that dry 24 hours before starting 2nd coat of lighter gray.
I used a 3/8″ 9″ roller to apply lighter gray over splashed charcoal. Because I was creating a mottled, random look, it was impossible to roll on in one direction as is suggested. It created lines I didn’t like. Rather, I went heavy in some areas and left the lightness of one coat in other areas, always careful to cover bare concrete. The lighter gray helped to soften the contrast of the lighter areas and the charcoal. This effect took about 2 of the 5 gal. container. Because of the sheer size of the floor, it took 6-7 hours.
After waiting 24 hours, I began 1st coat of wax with a 9″ Shurcoat paint pad. It was very had to tell where I covered because of the mottled nature of the colors. After 4-5 hrs. I applied a 2nd coat of wax, noticing some areas had a higher sheen to them. I wasn’t sure why this was happening but it helped create depth on the floor.
The next morning, I applied a 3rd coat of wax, a bit heavier to achieve the desired high gloss look. That was left to cure a full 24 hrs. I used 4 of the 5 gals. to do all 3 coats of wax. Each coat took about 4-5 hours to complete.
Personal Tips:
Aquatint settles very quickly and must be constantly stirred.
Enjoy the way the stain works when using more than one color.
Make sure you have very good lighting to apply both stain and wax.
Direct Colors Products Used:
-
- 5 gal Aquatint Charcoal
- 5 gal Aquatint Gray
- 5 gal high gloss wax
Other Products Used:
-
- 3/8″- 9″ roller
- 9″ Shurcoat paint pad -3, one for each coat of wax
- 2 gal Chapin premier sprayer
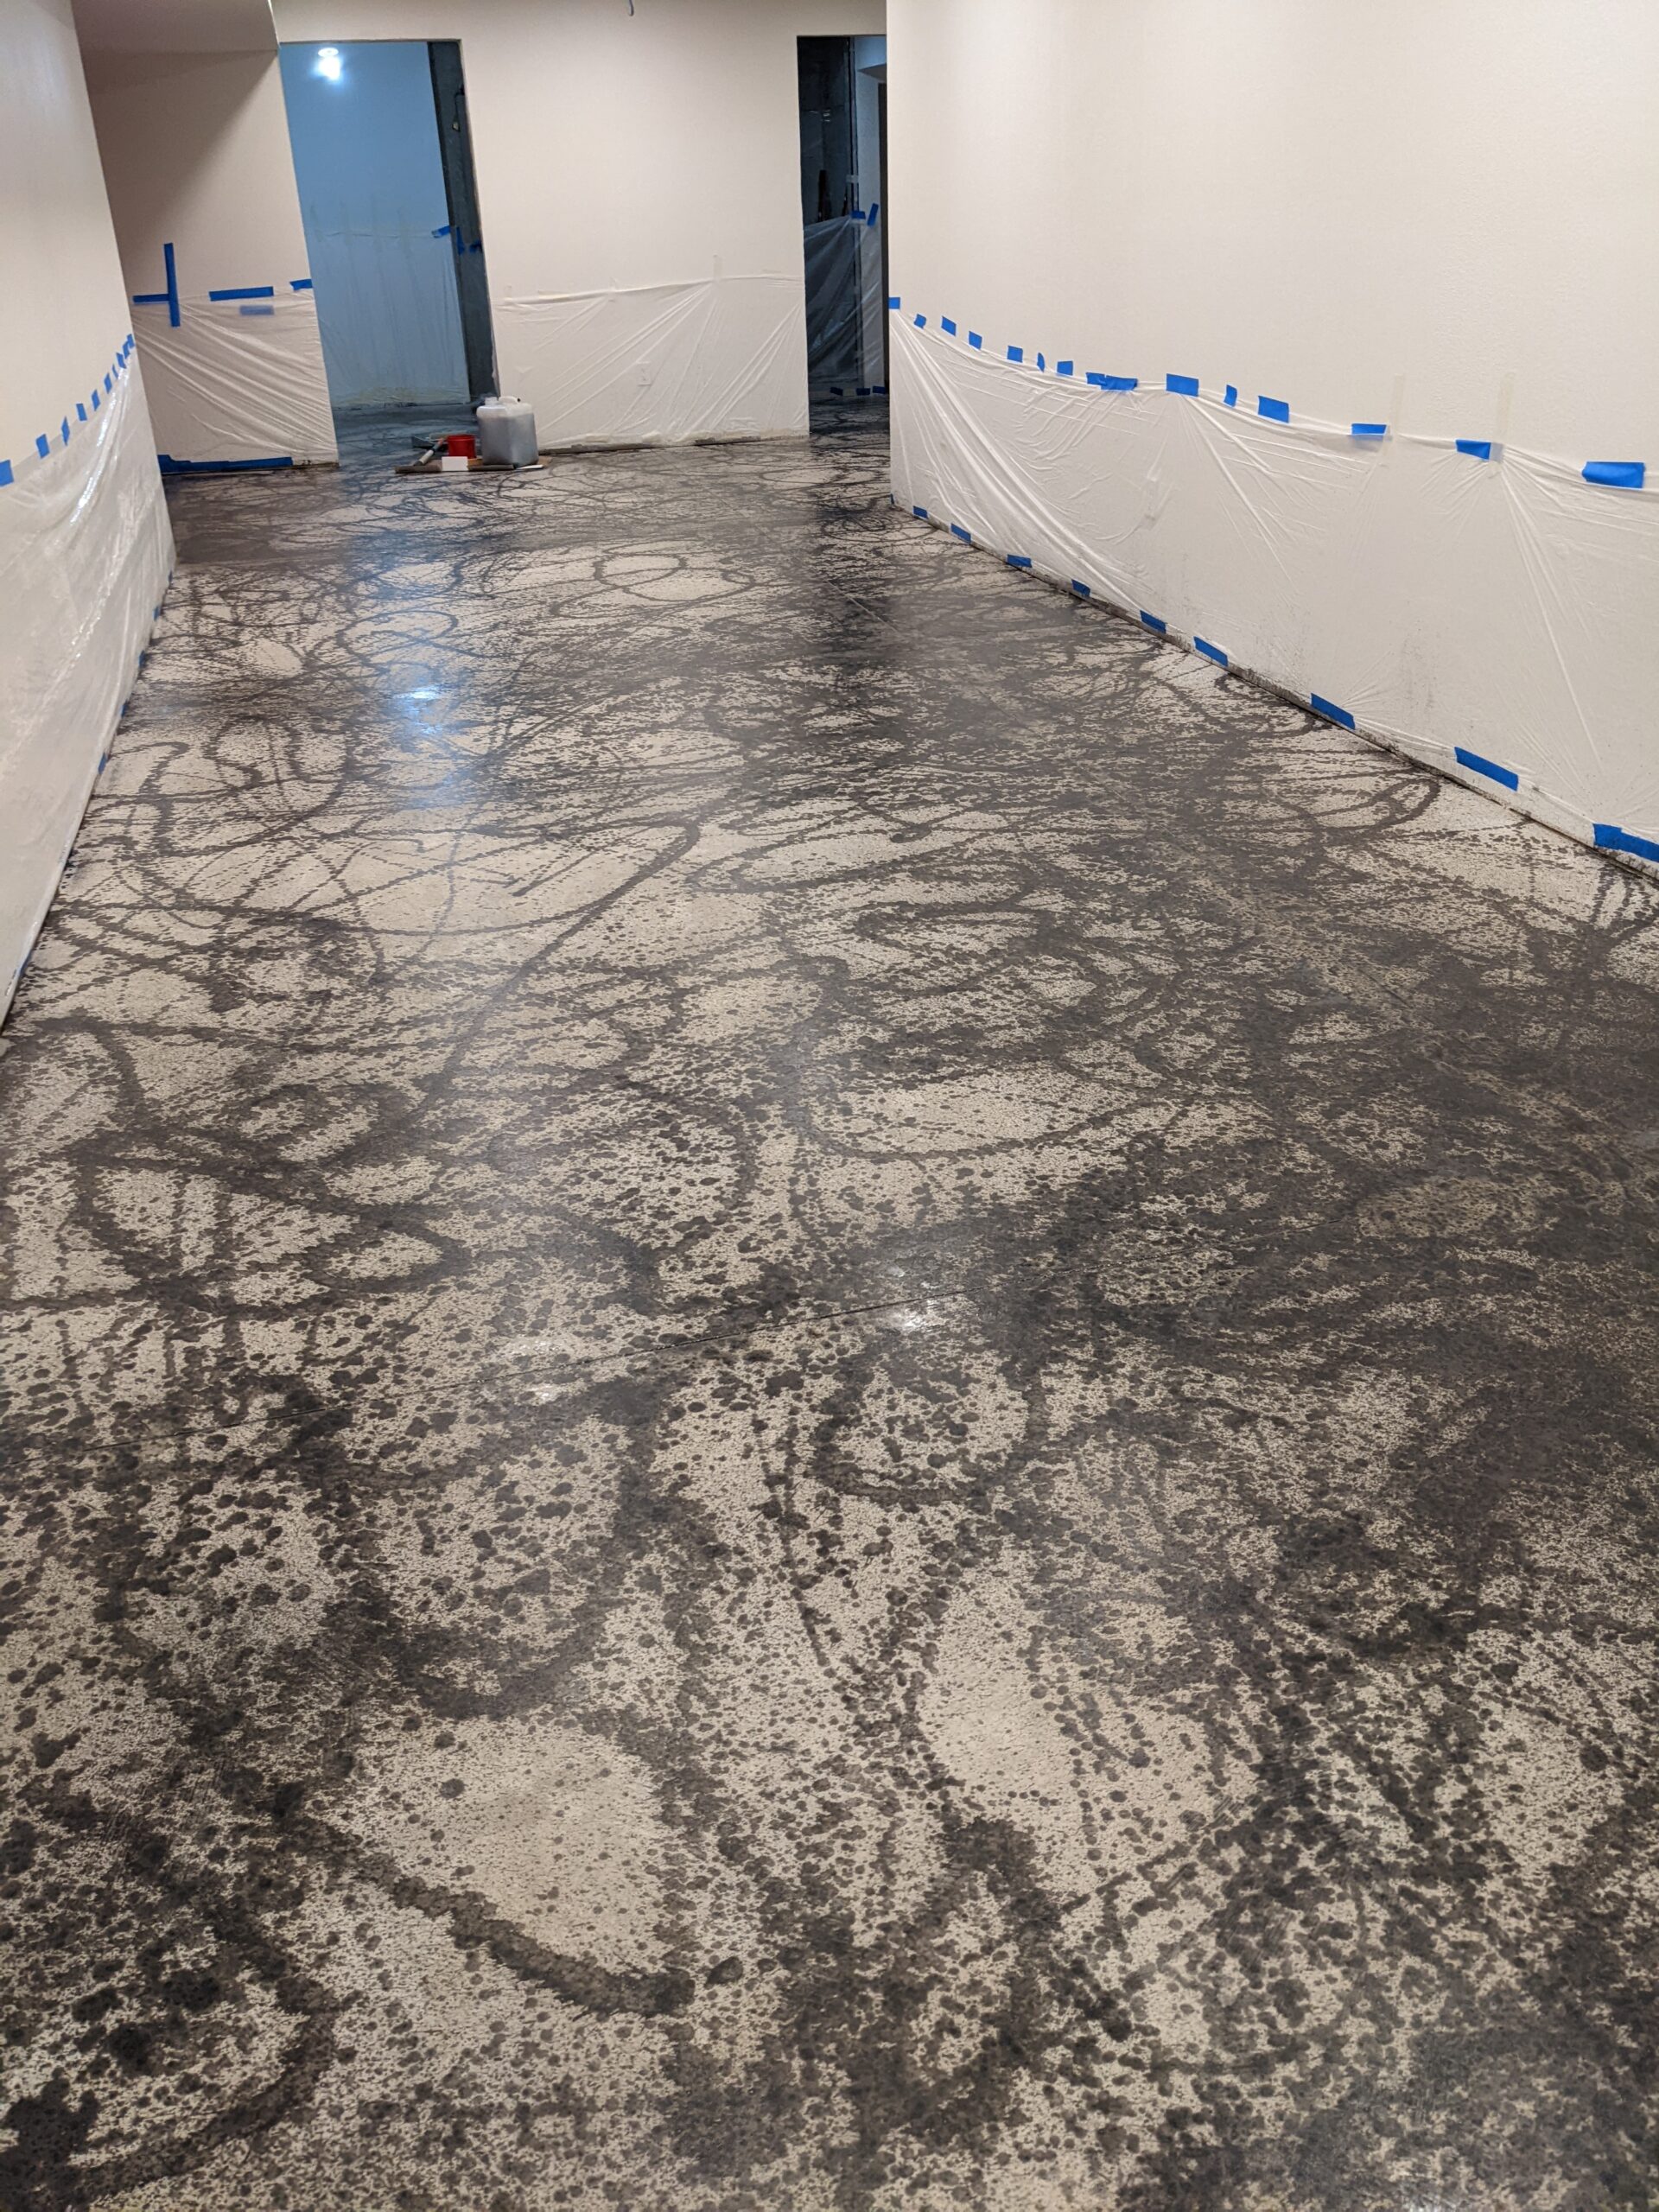
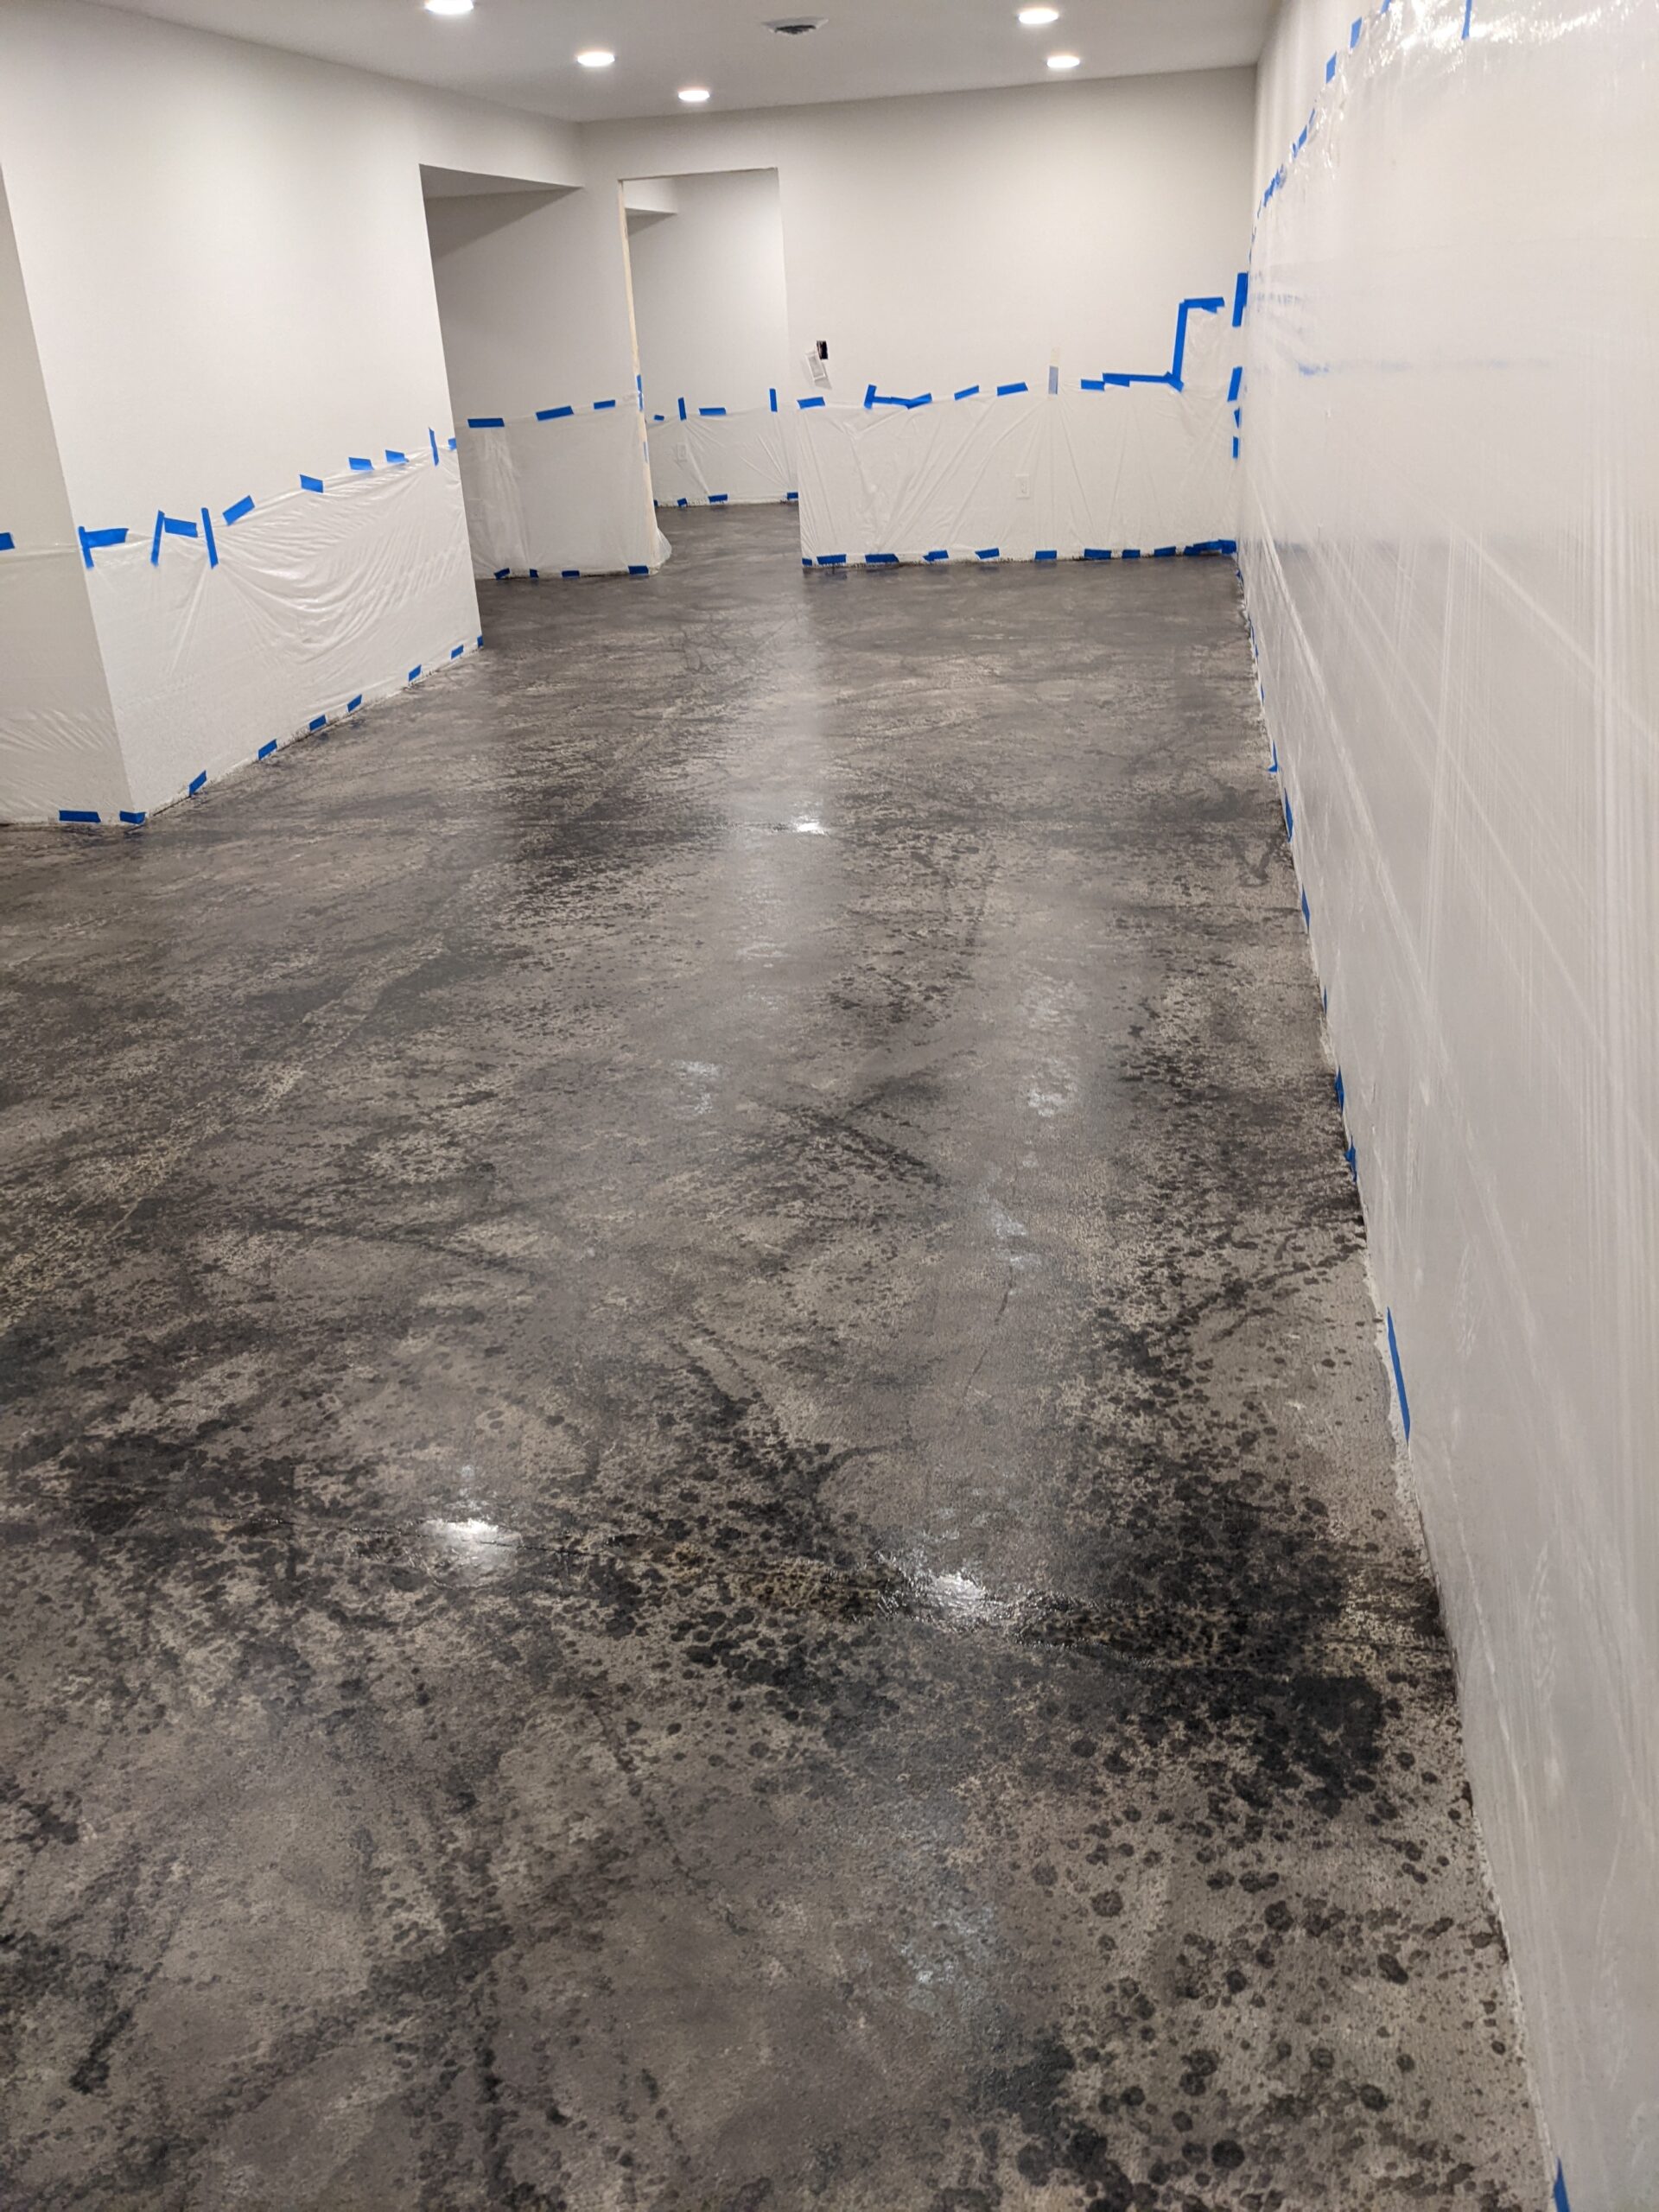
Accentuating Concrete Swirls
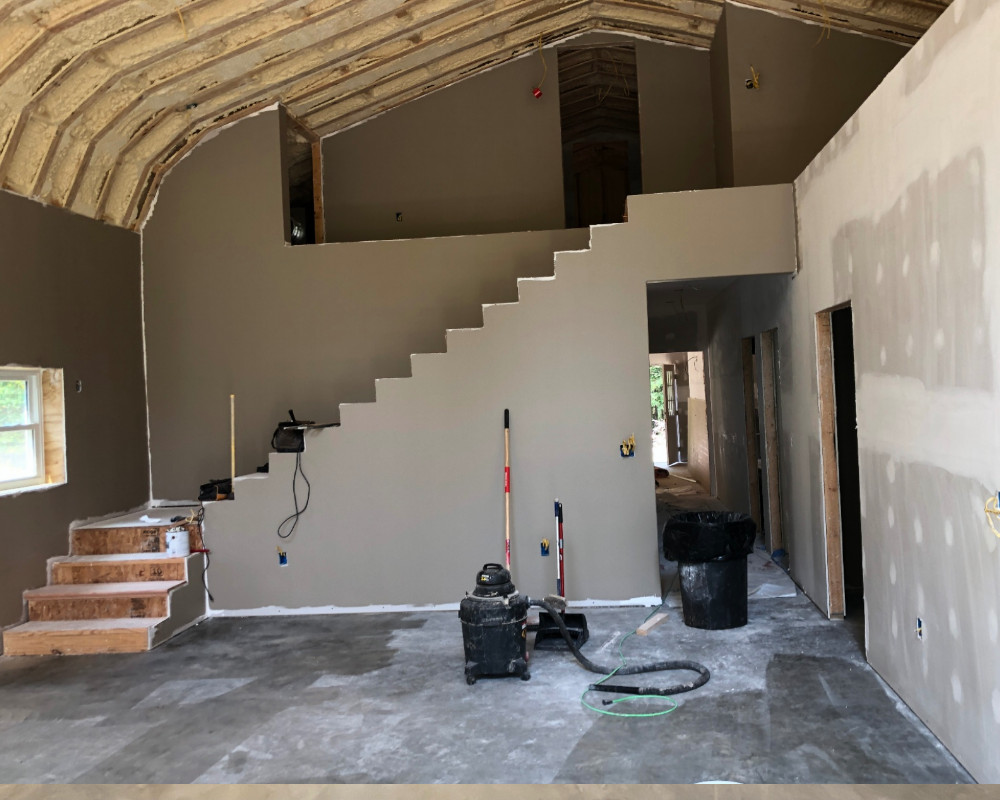
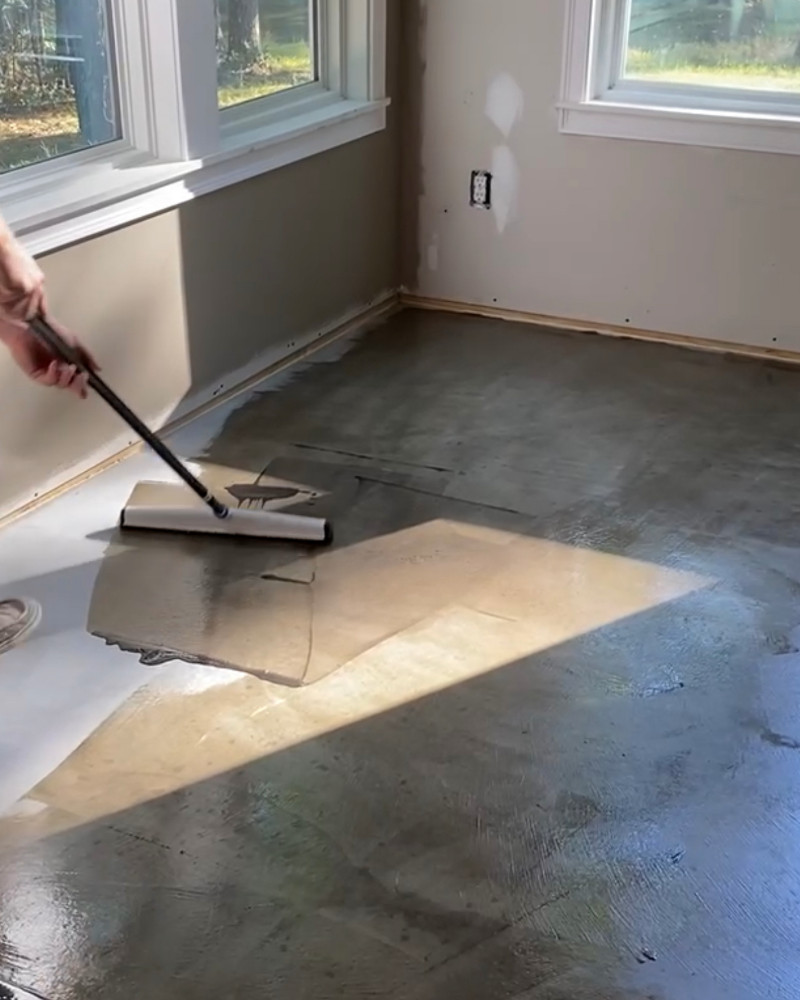
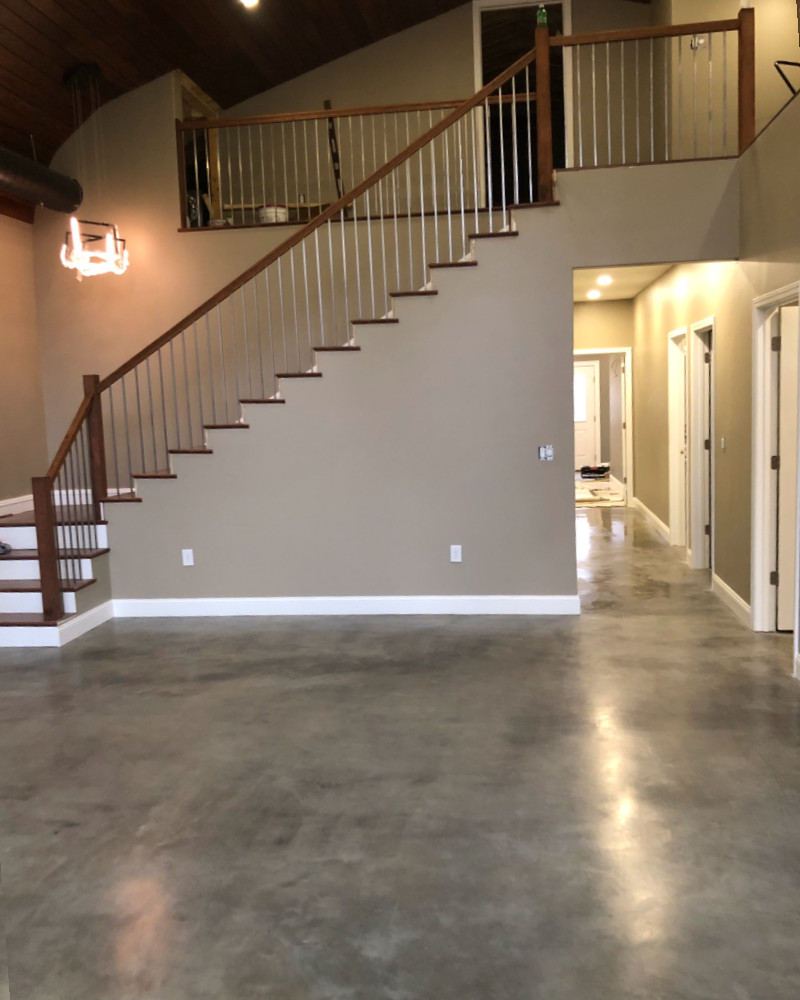
There’s nothing like completing a tough DIY project yourself! This customer felt that adding sealer to their concrete was a “rewarding project”. They knew they wanted a concrete stain that was transparent yet durable, and AcquaTint was the product that ticked all the boxes.

- Project Completed In: 3 day(s)
- Estimate of Square Footage: 1500 sq. ft.
- Project Description:
We are finally all moved in and getting around to showing you all our results! We knew we loved and wanted to accentuate the power trial swirls and marbling effect. We spent hours and many test products under where our cabinets would be, but look no further direct colors has the perfect product. We ended up choosing the tinted sealer. We knew we wanted a very transparent but durable stain.
Essentially all we did was thoroughly clean the dust and construction grime off the floors with degreasing soap and let that dry a few hours. We then came back and cleaned our floors THREE more times with the direct colors degreaser, two of which were rinses. This alone took a full day for 1500sqft. Once this dried we were ready to stain. We tried many methods (sprayers, sponges, rags) and the best we came across for a super transparent look was a 18” floor squeegee! It worked awesome. Like any paint project it is all in the prep work and the actual staining process was over before we knew it, maybe 1.5hrs. After this we let it dry for a day and covered in plastic to finish construction. Once we were ready to move in we washed it again, then immediately waxed the entire floor(last picture) as you can see the floor is almost a living feature of the house as it changes color and hue based on lighting effects. Overall this was a rewarding project that we are happy to have done ourselves! Have fun!
Personal Tips:
Clean clean clean, have all supplies organized and clean up (acetone, in our case) ready. Have an extra applicator (spray gun squeegee etc.) on hand in case yours fails/breaks
Direct Colors Products Used:
-
- 1 qt ProClean Degreaser
- 1 gal Aquatint Charcoal
- 1 gal Satin Acrylic Sealer
- 1 gal Satin Floor Wax
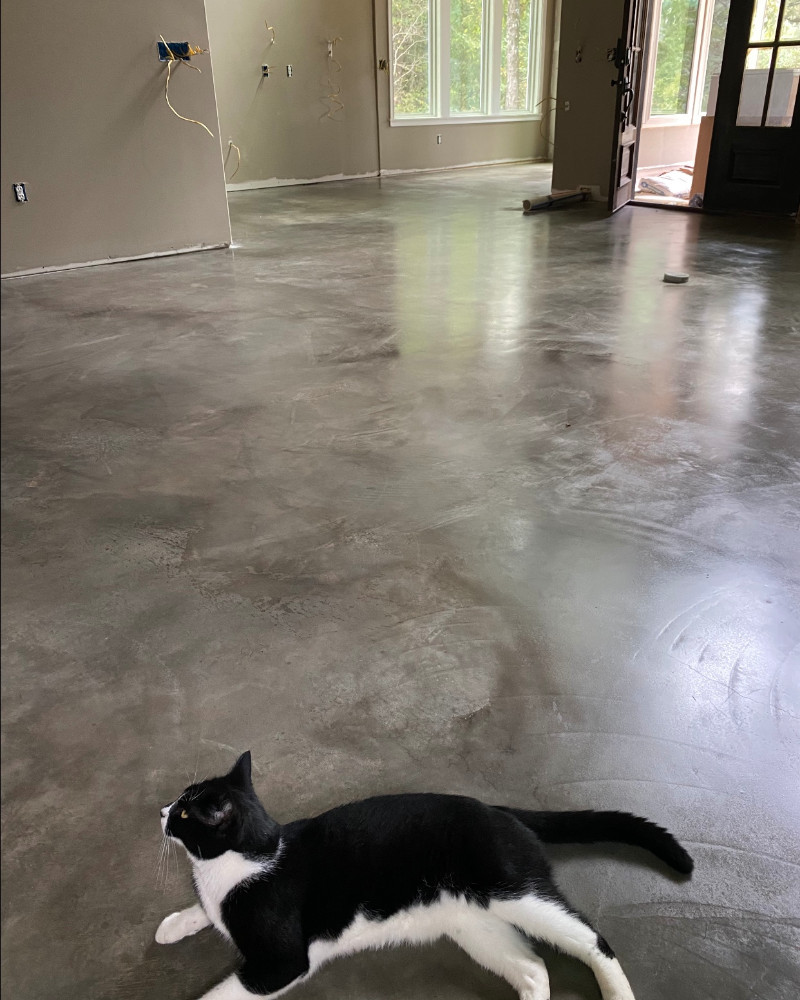
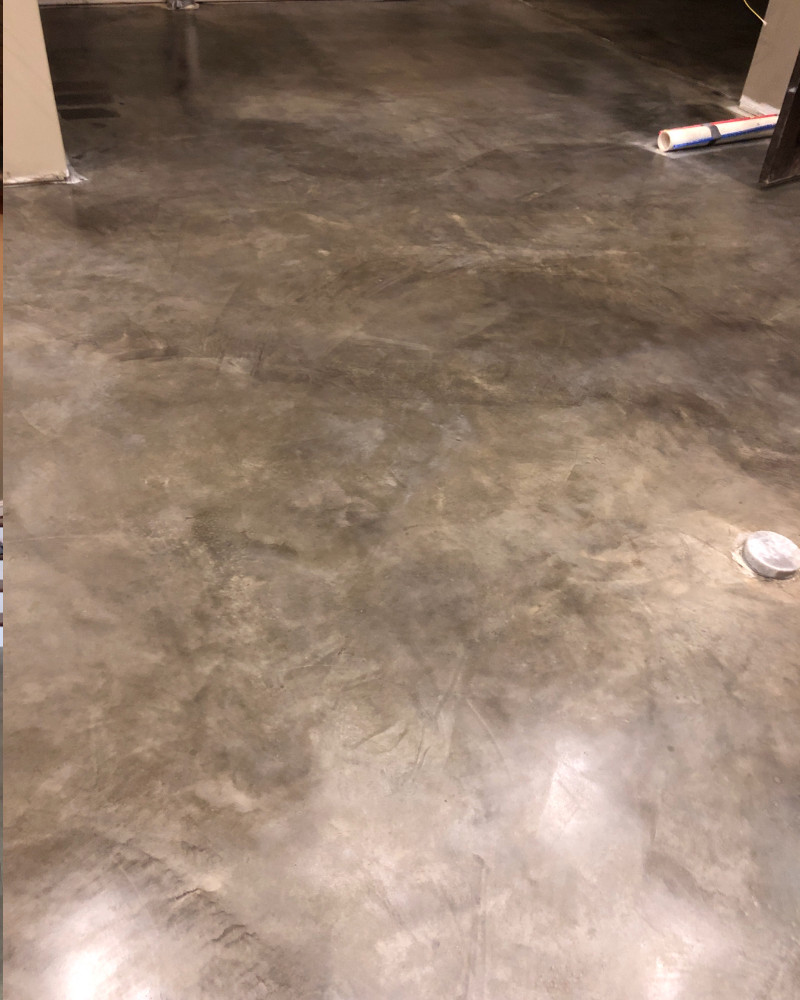
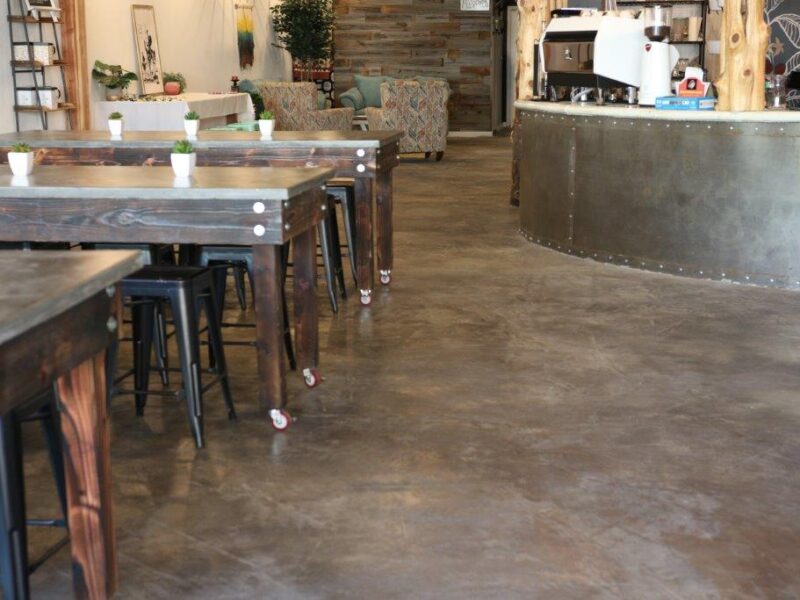
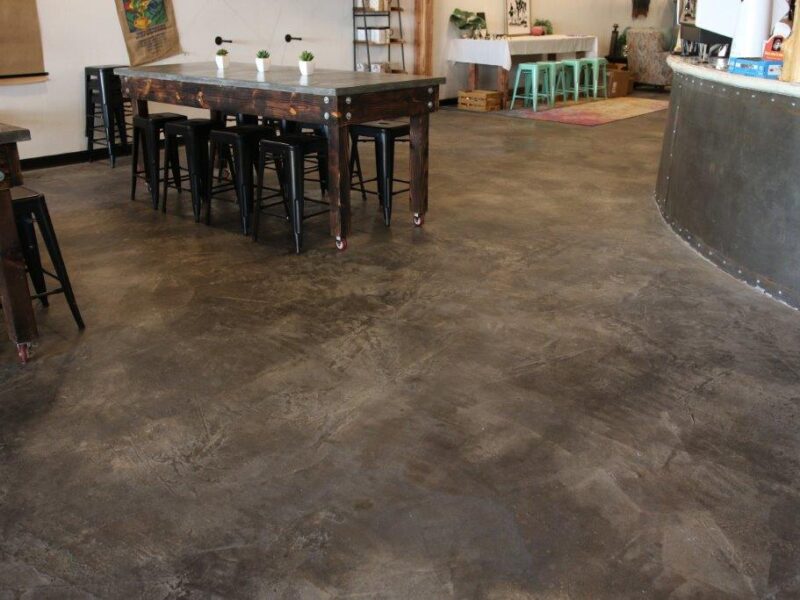
Coffee N’ Crafts
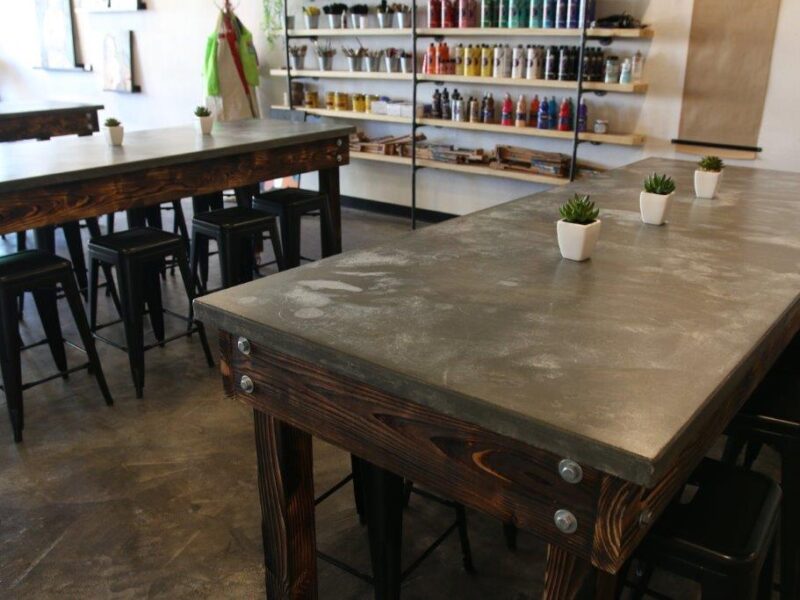
The method used to apply tinted concrete sealer depends on the look you want to achieve. For Coffee N’ Crafts, a marbled, varied color was the mission for Brad Carlisle from William B. Carlisle Design. The best part about this renovation? They performed a complete space upgrade without having to rip up the concrete floor!
