Stained Concrete Pool Deck Renovations by DIY Enthusiasts
Explore budget-friendly concrete pool deck makeovers by DIY enthusiasts. Get inspired by before-and-after photos showing how stains, sealers, and overlays can refresh faded or cracked decks with color and style.
By Justin Richardson
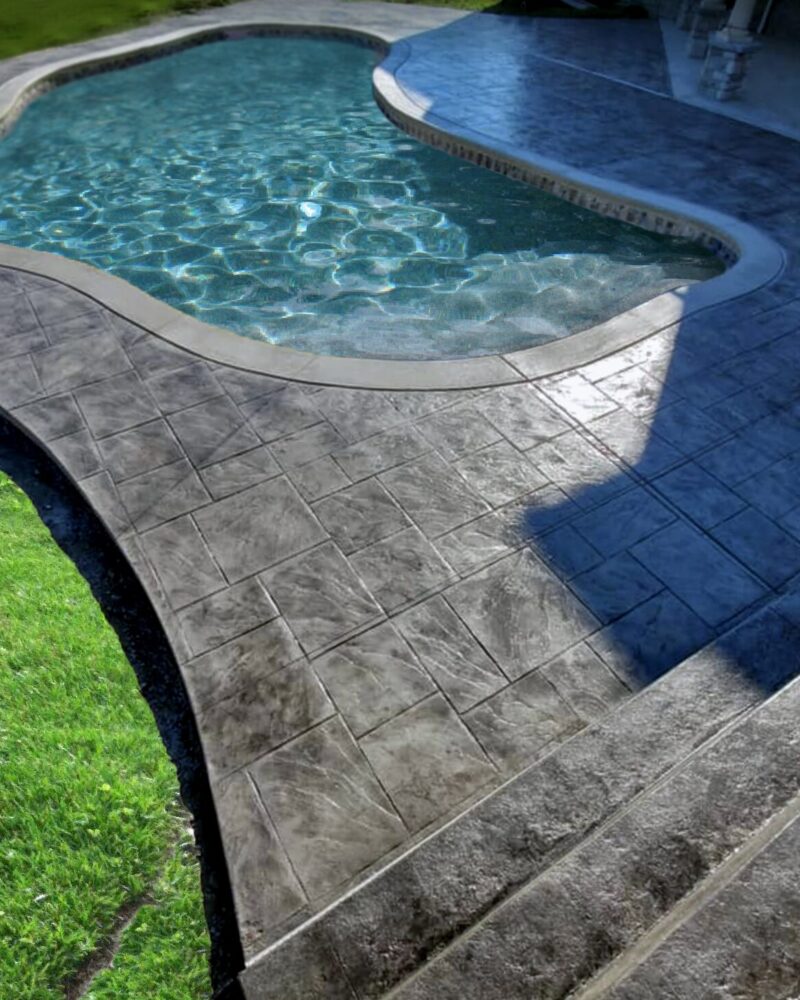
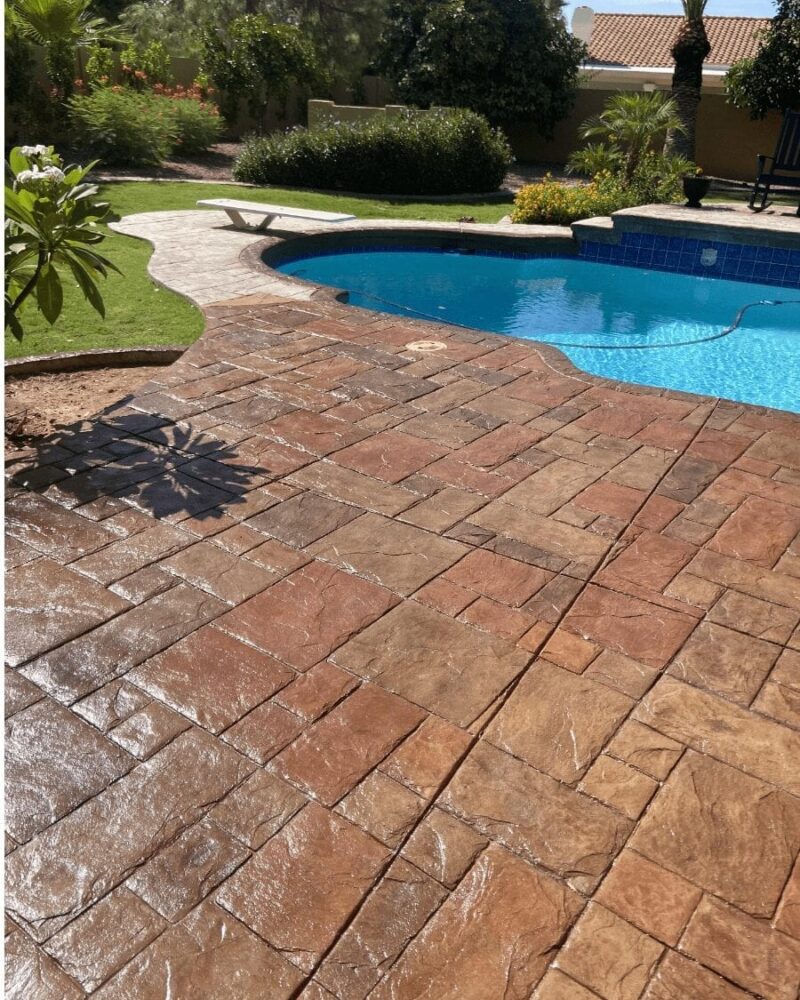
Café Royale Stamped Concrete Pool Deck Transformation
A stunning transformation of a stamped concrete pool deck using Café Royale Antiquing™ stain. The rich, natural tones bring new life to the outdoor space, creating a warm and inviting atmosphere.
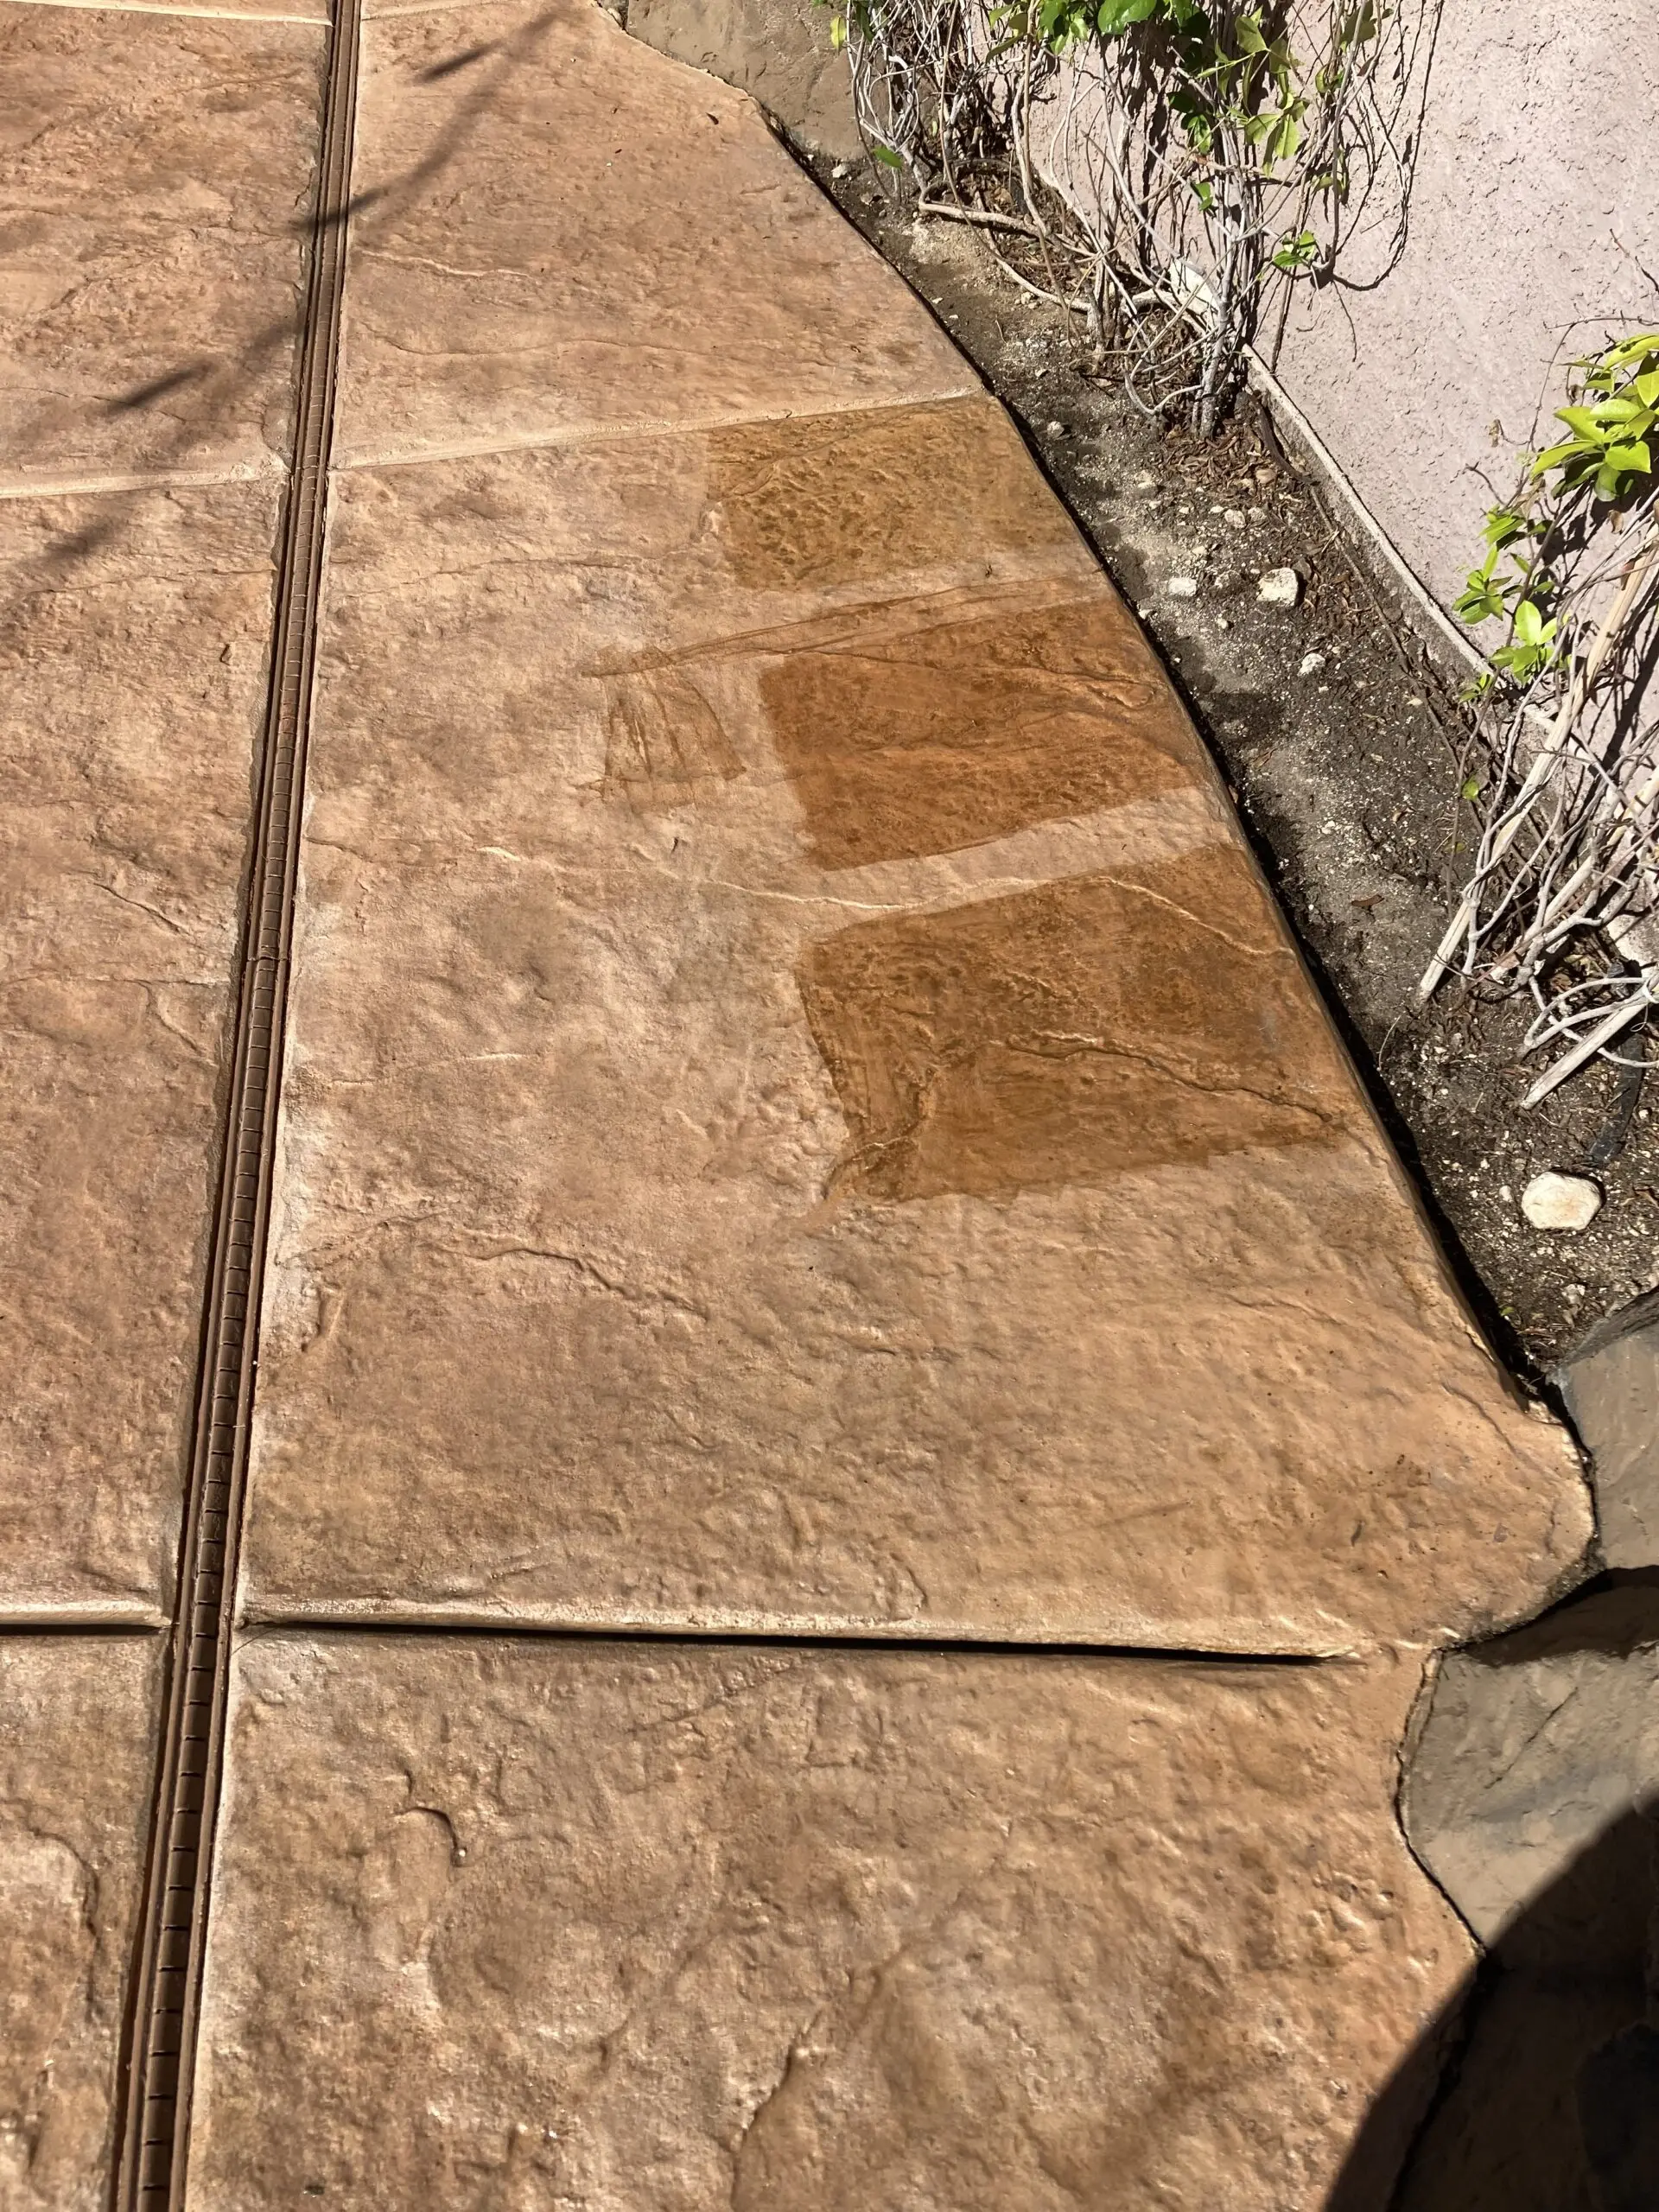
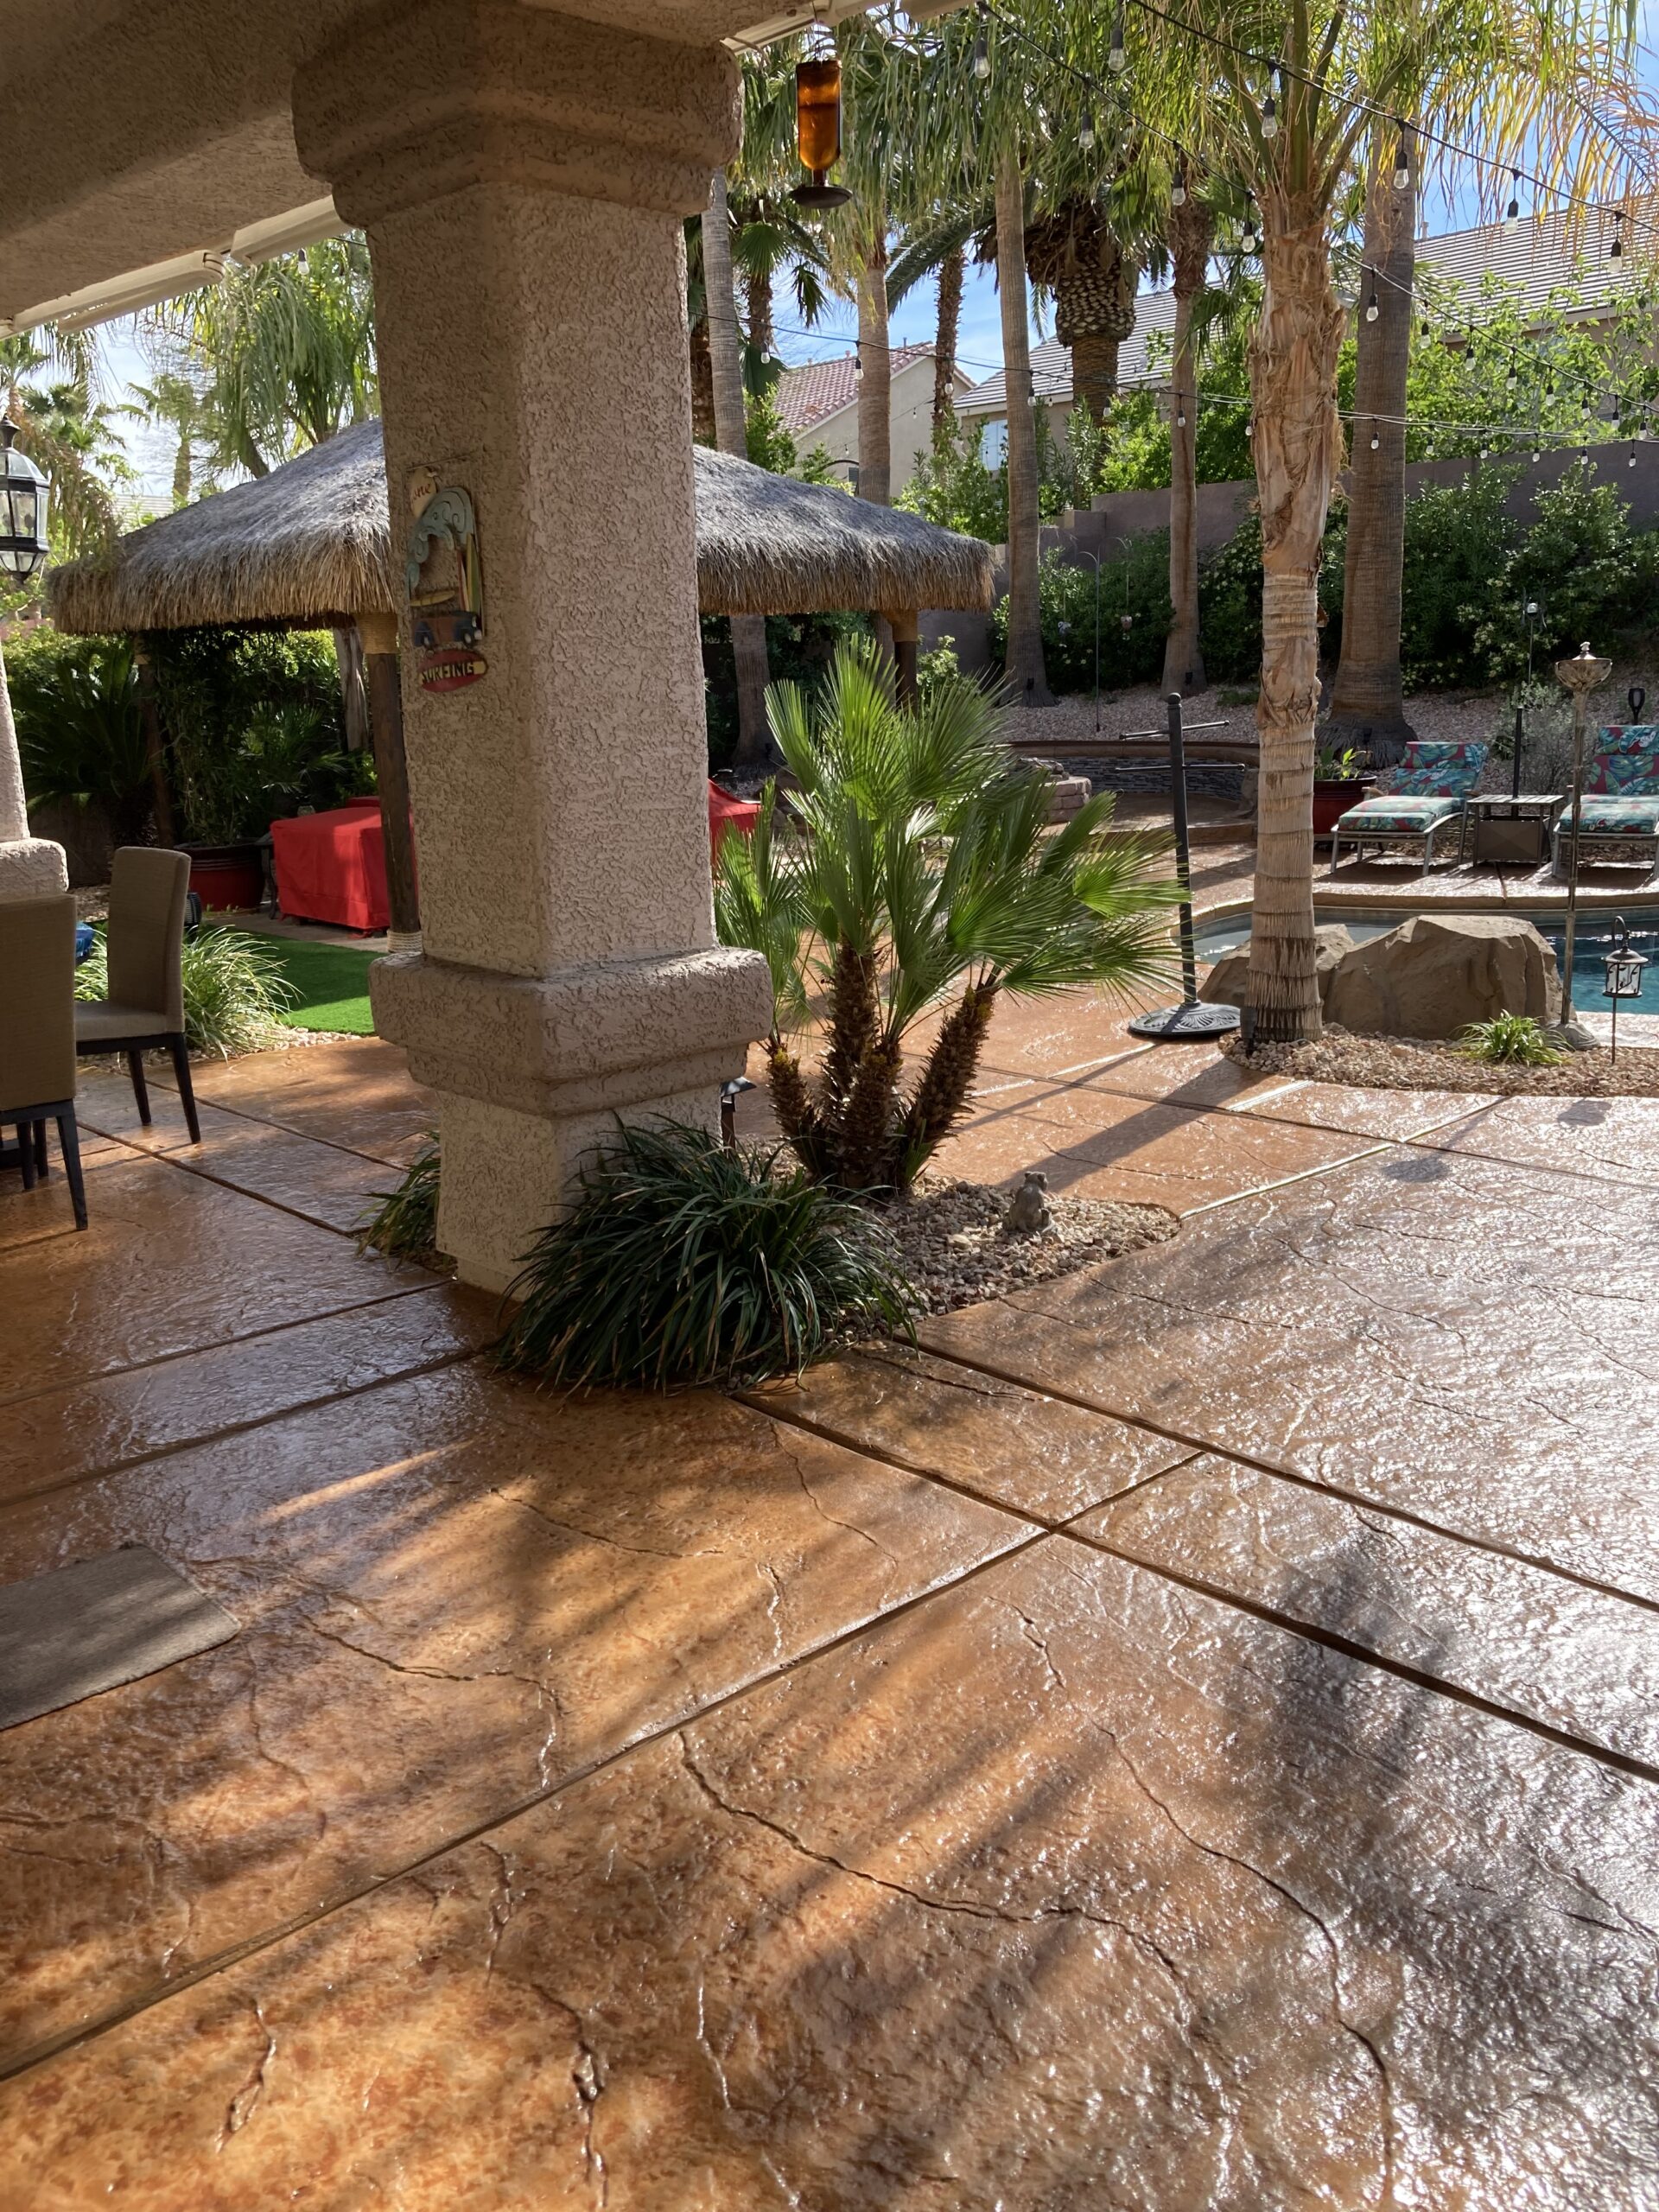
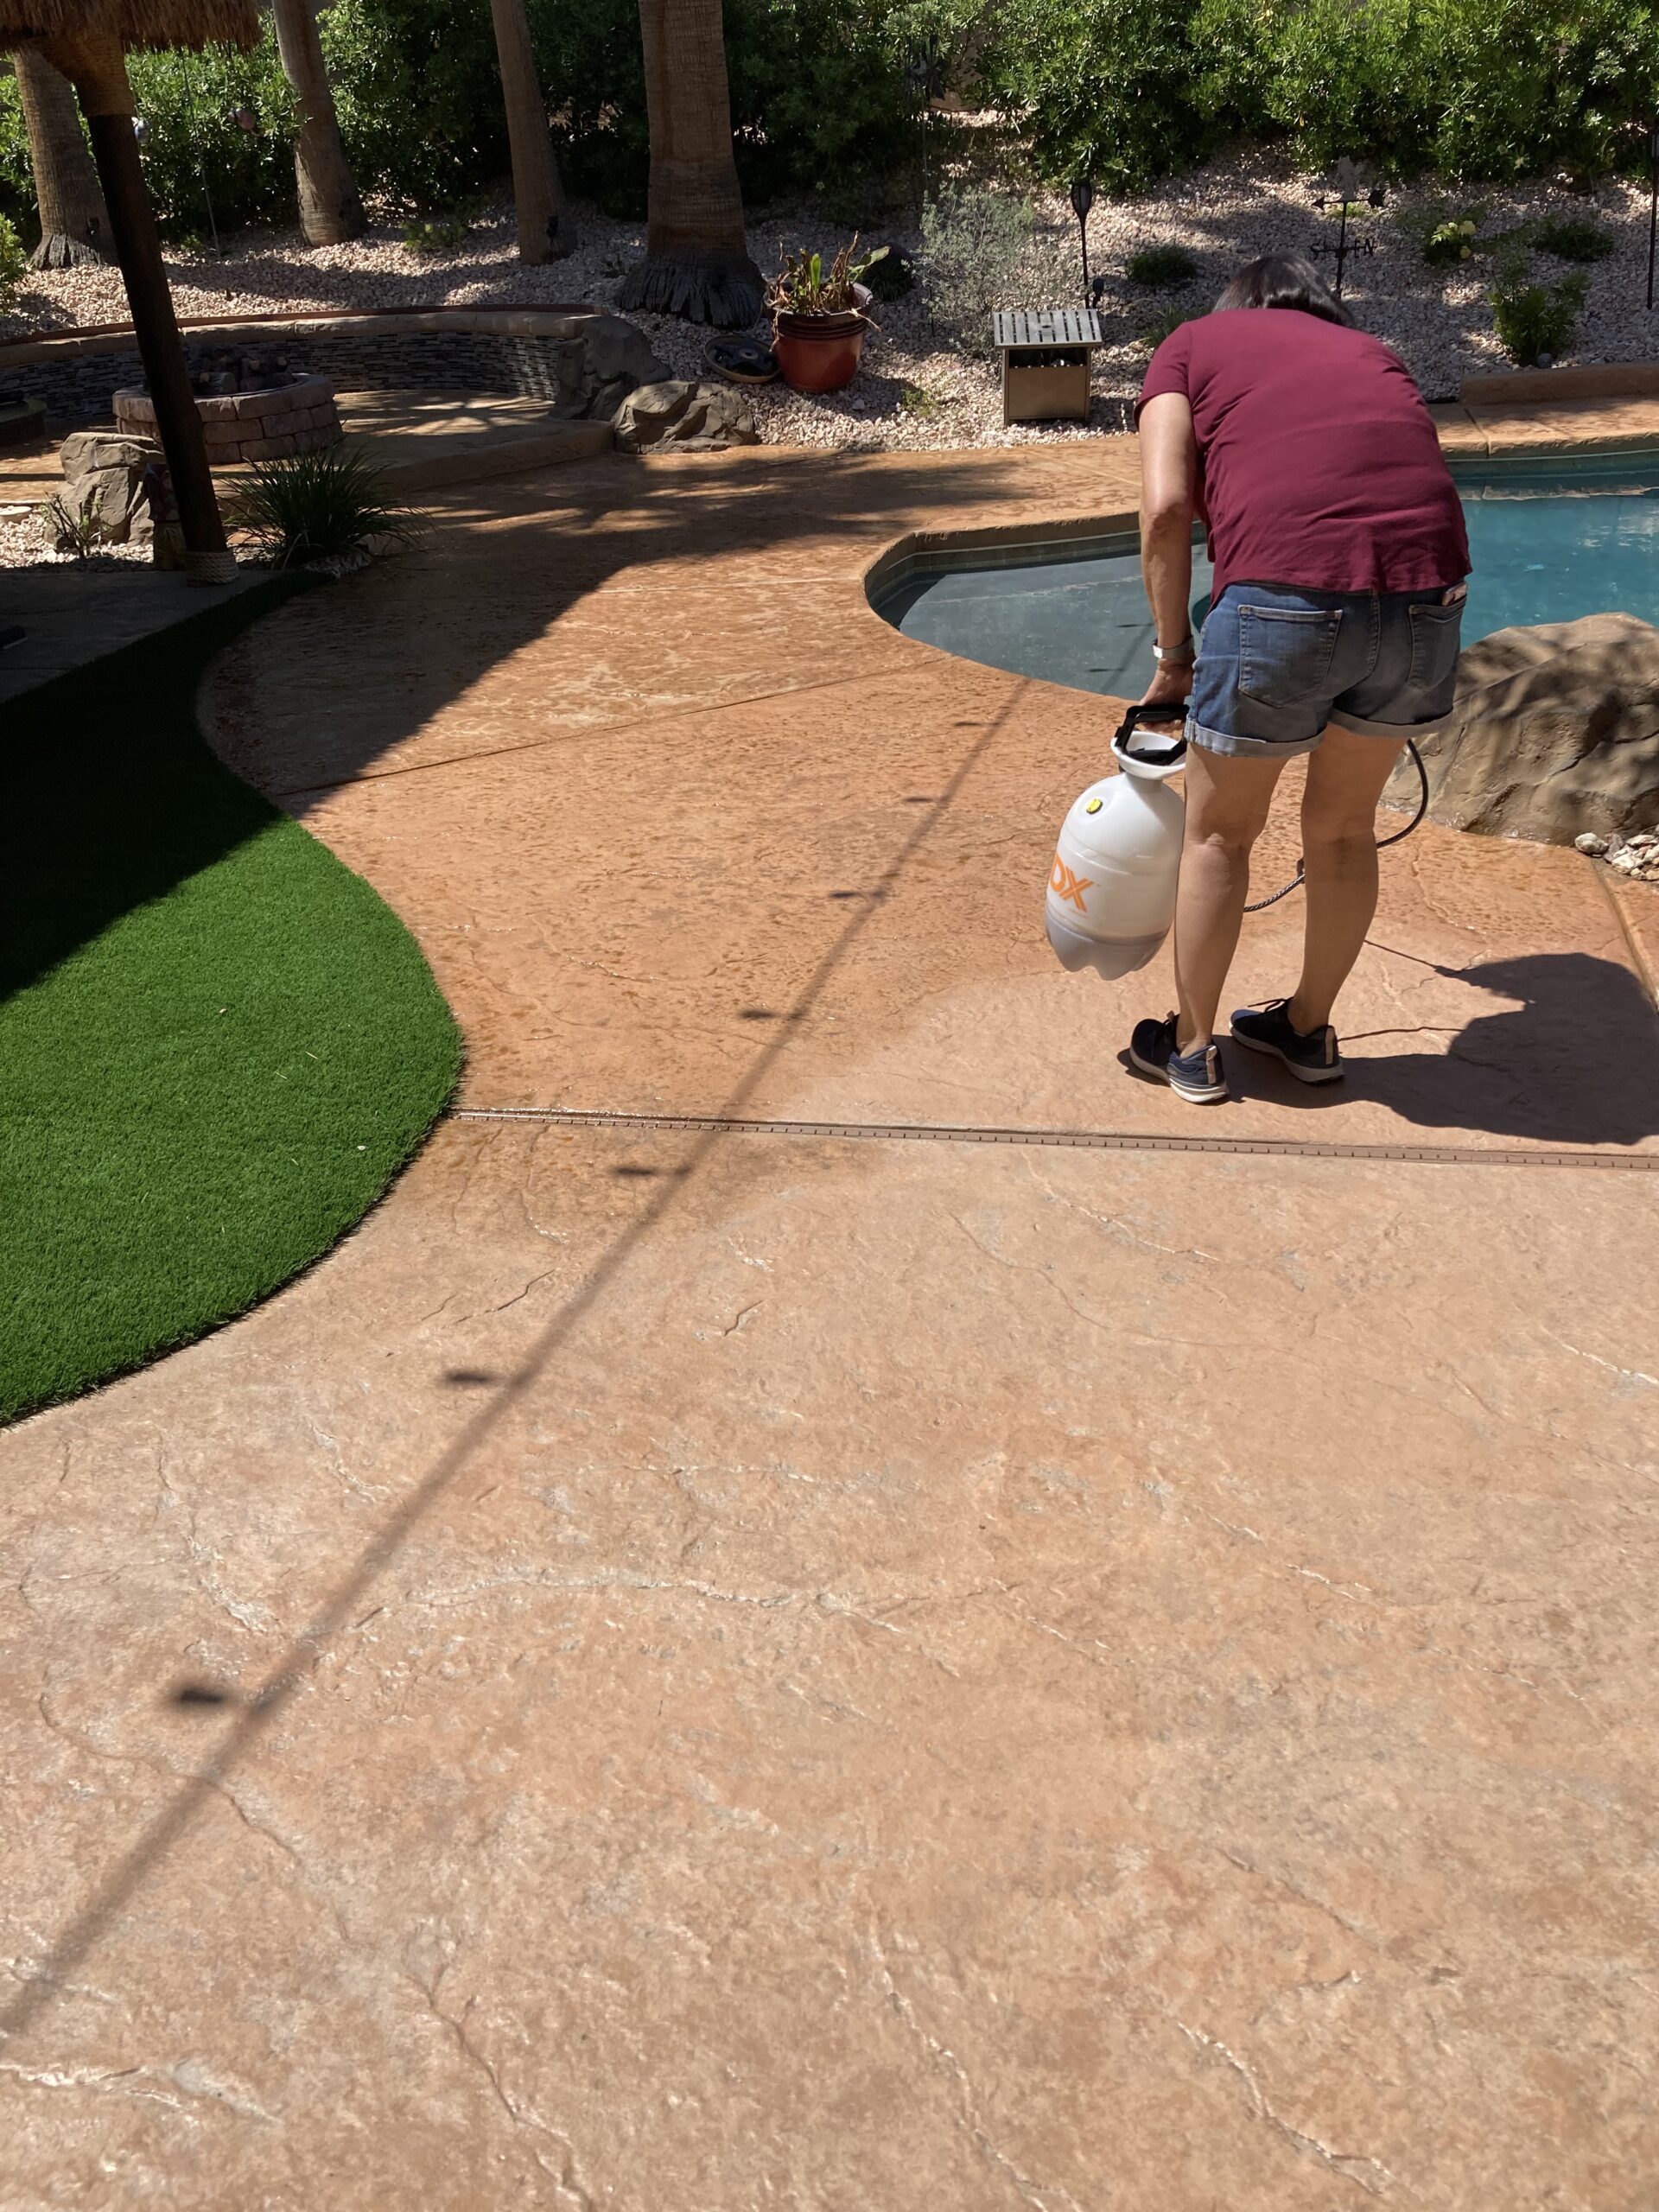
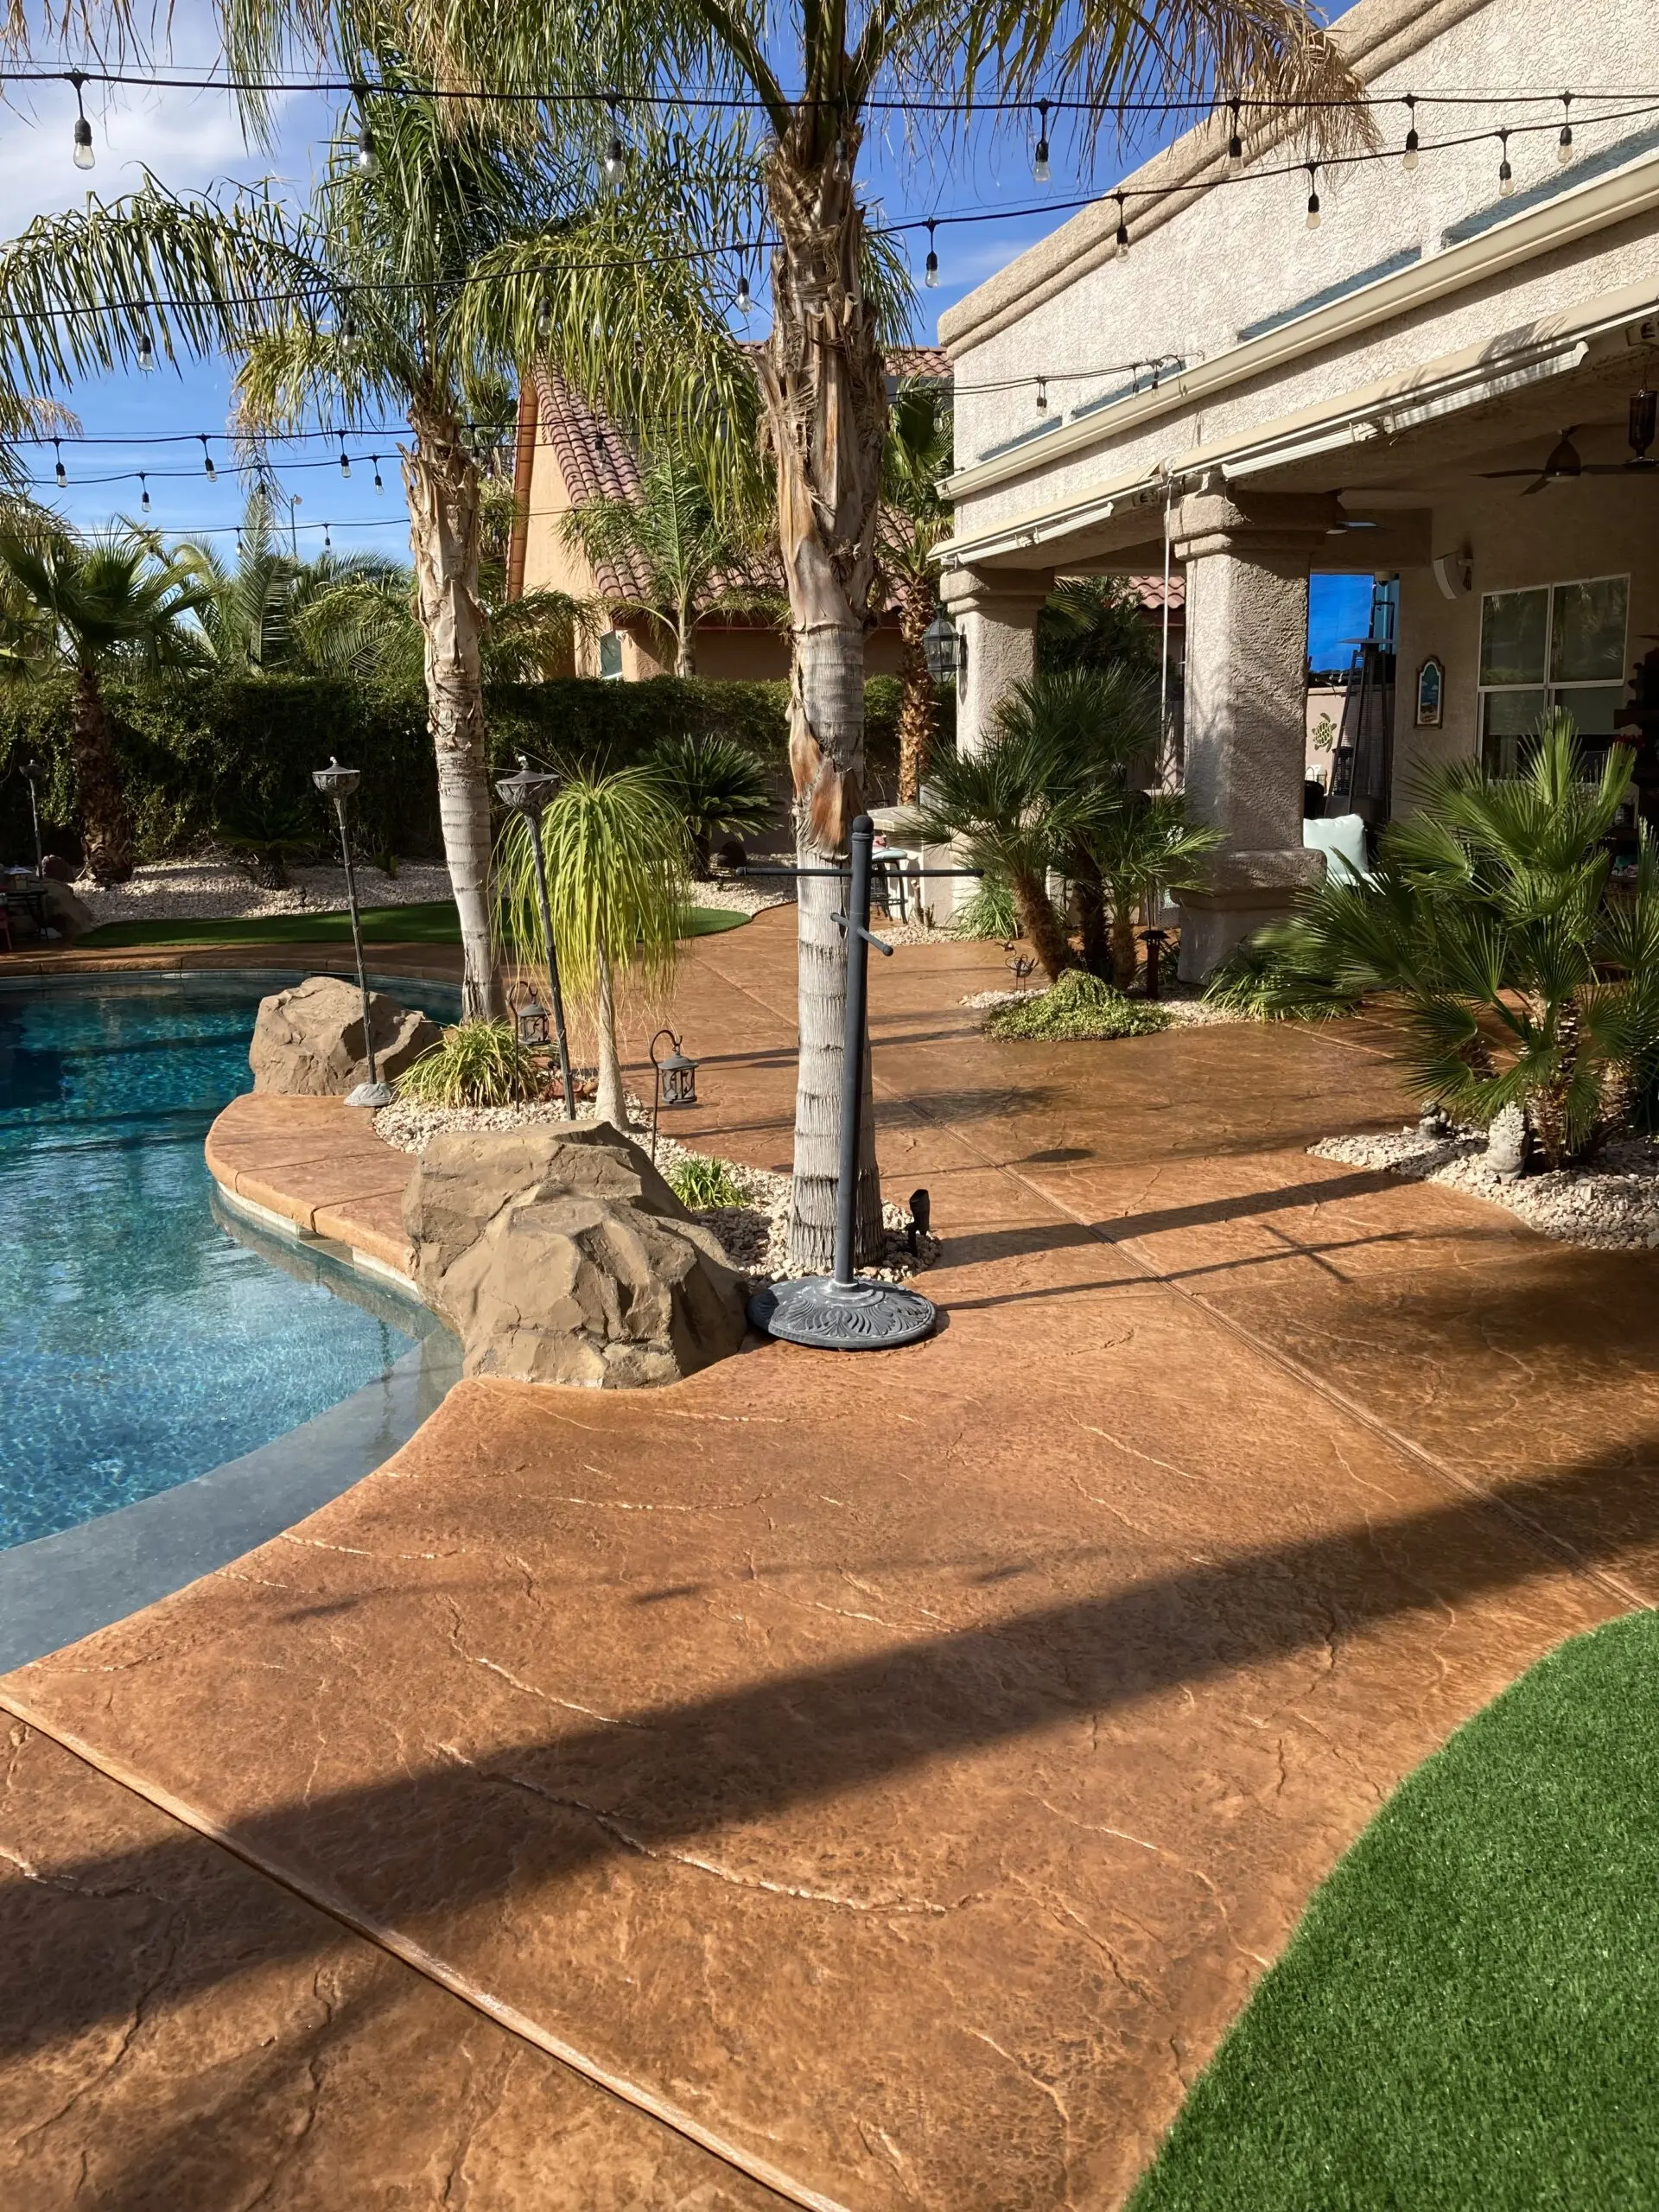
Poolside Paradise: Stamping, Staining, And Sealing A Concrete Deck Into Gray Elegance
Imagine basking in the sun by your pool, your eyes leisurely scanning the artistry of your transformed stamped concrete deck – sounds like a pool owner’s paradise, right? This is the delightful reality we achieved, turning a once bland pool deck into a striking showcase with the magic of Antiquing™ Stain and a double dose of EasySeal™. The poolside ambiance has never been so inviting! So, why wait? Dive into this transformation tale and get ready to make your concrete pool deck the envy of the block!
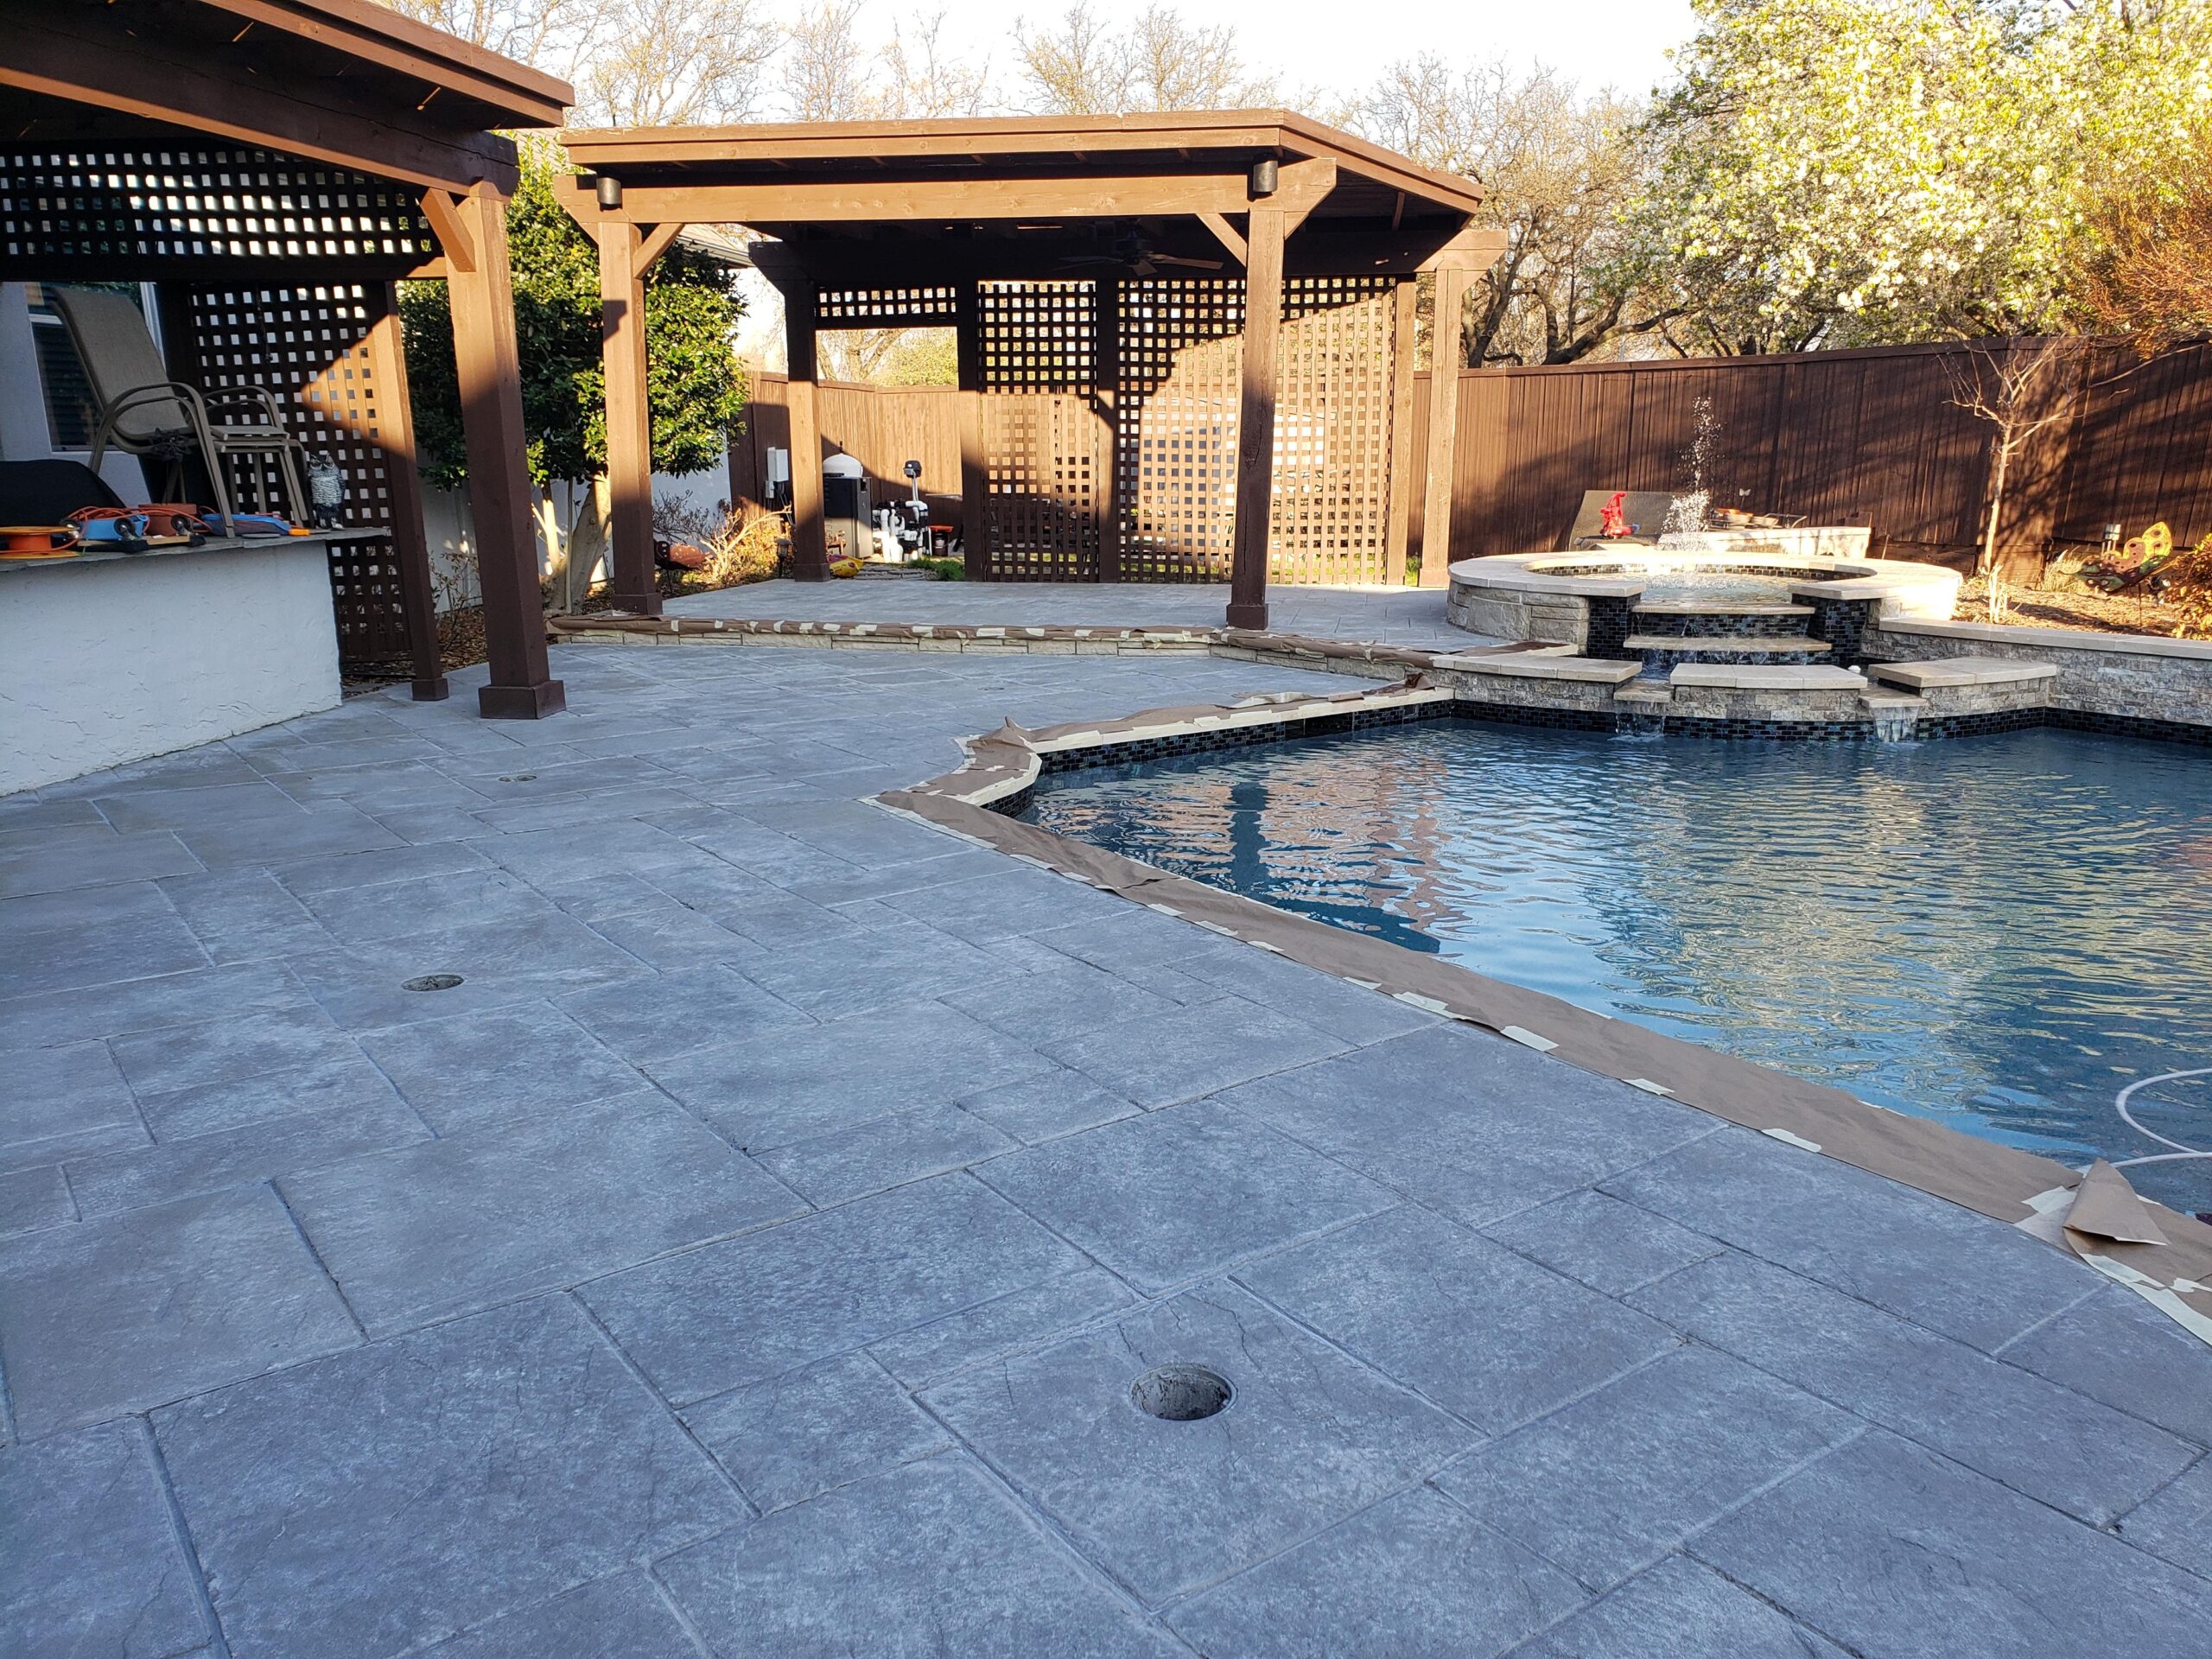
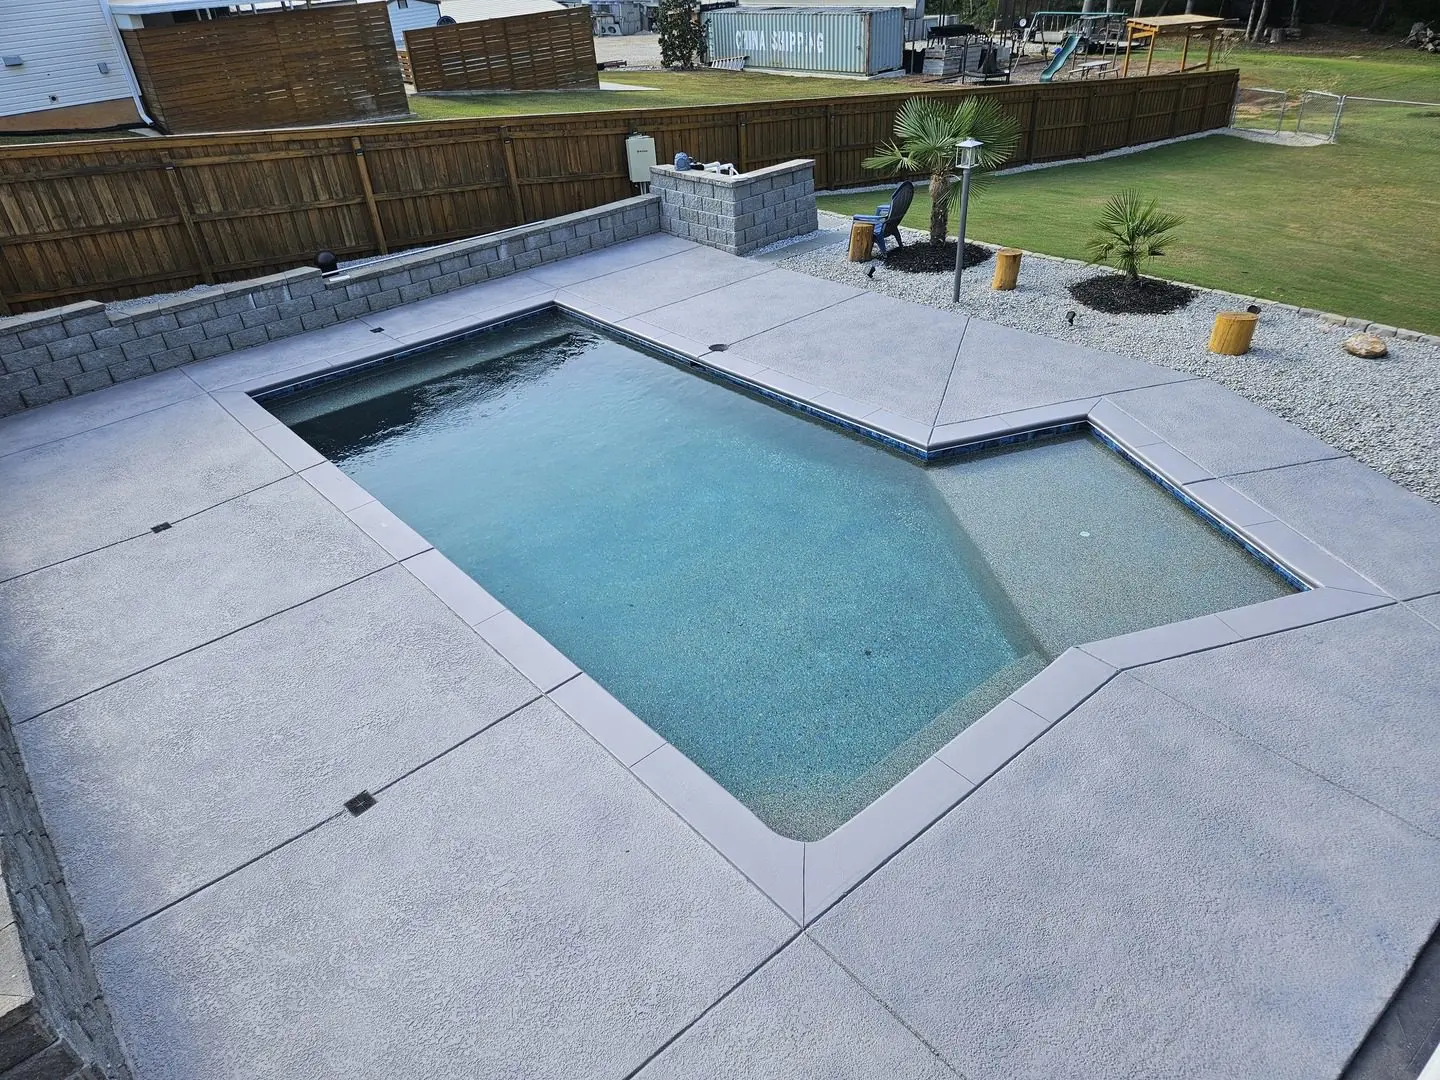
Reviving Colors: A Stamped Concrete Renaissance with Antiquing Stains and EasySeal
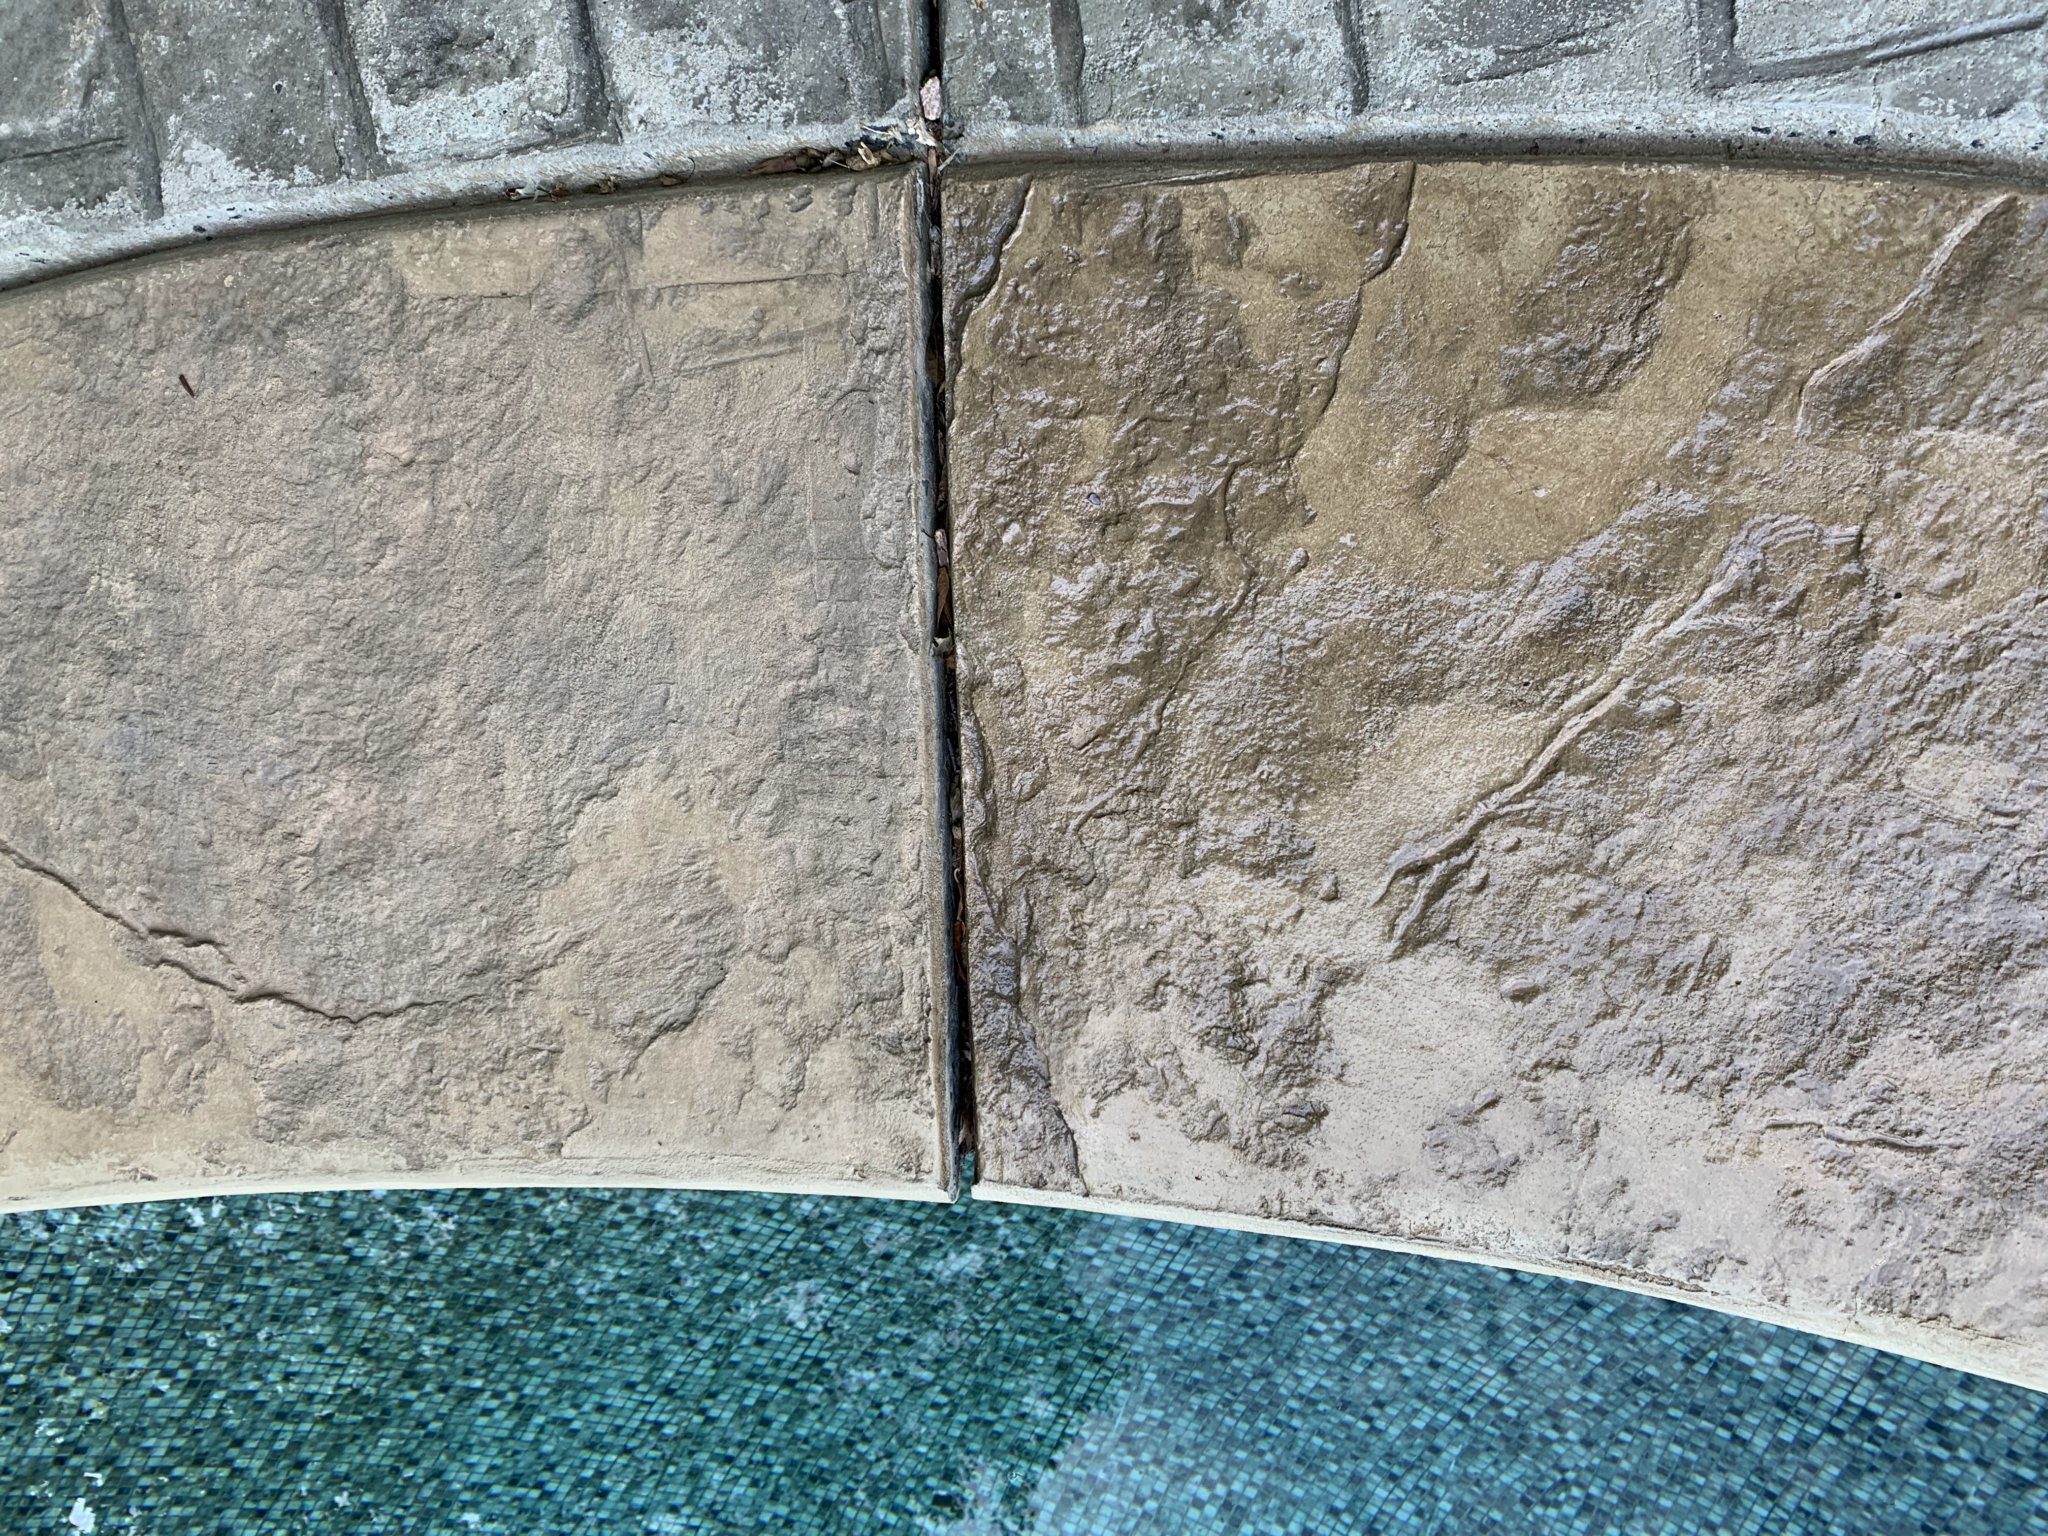
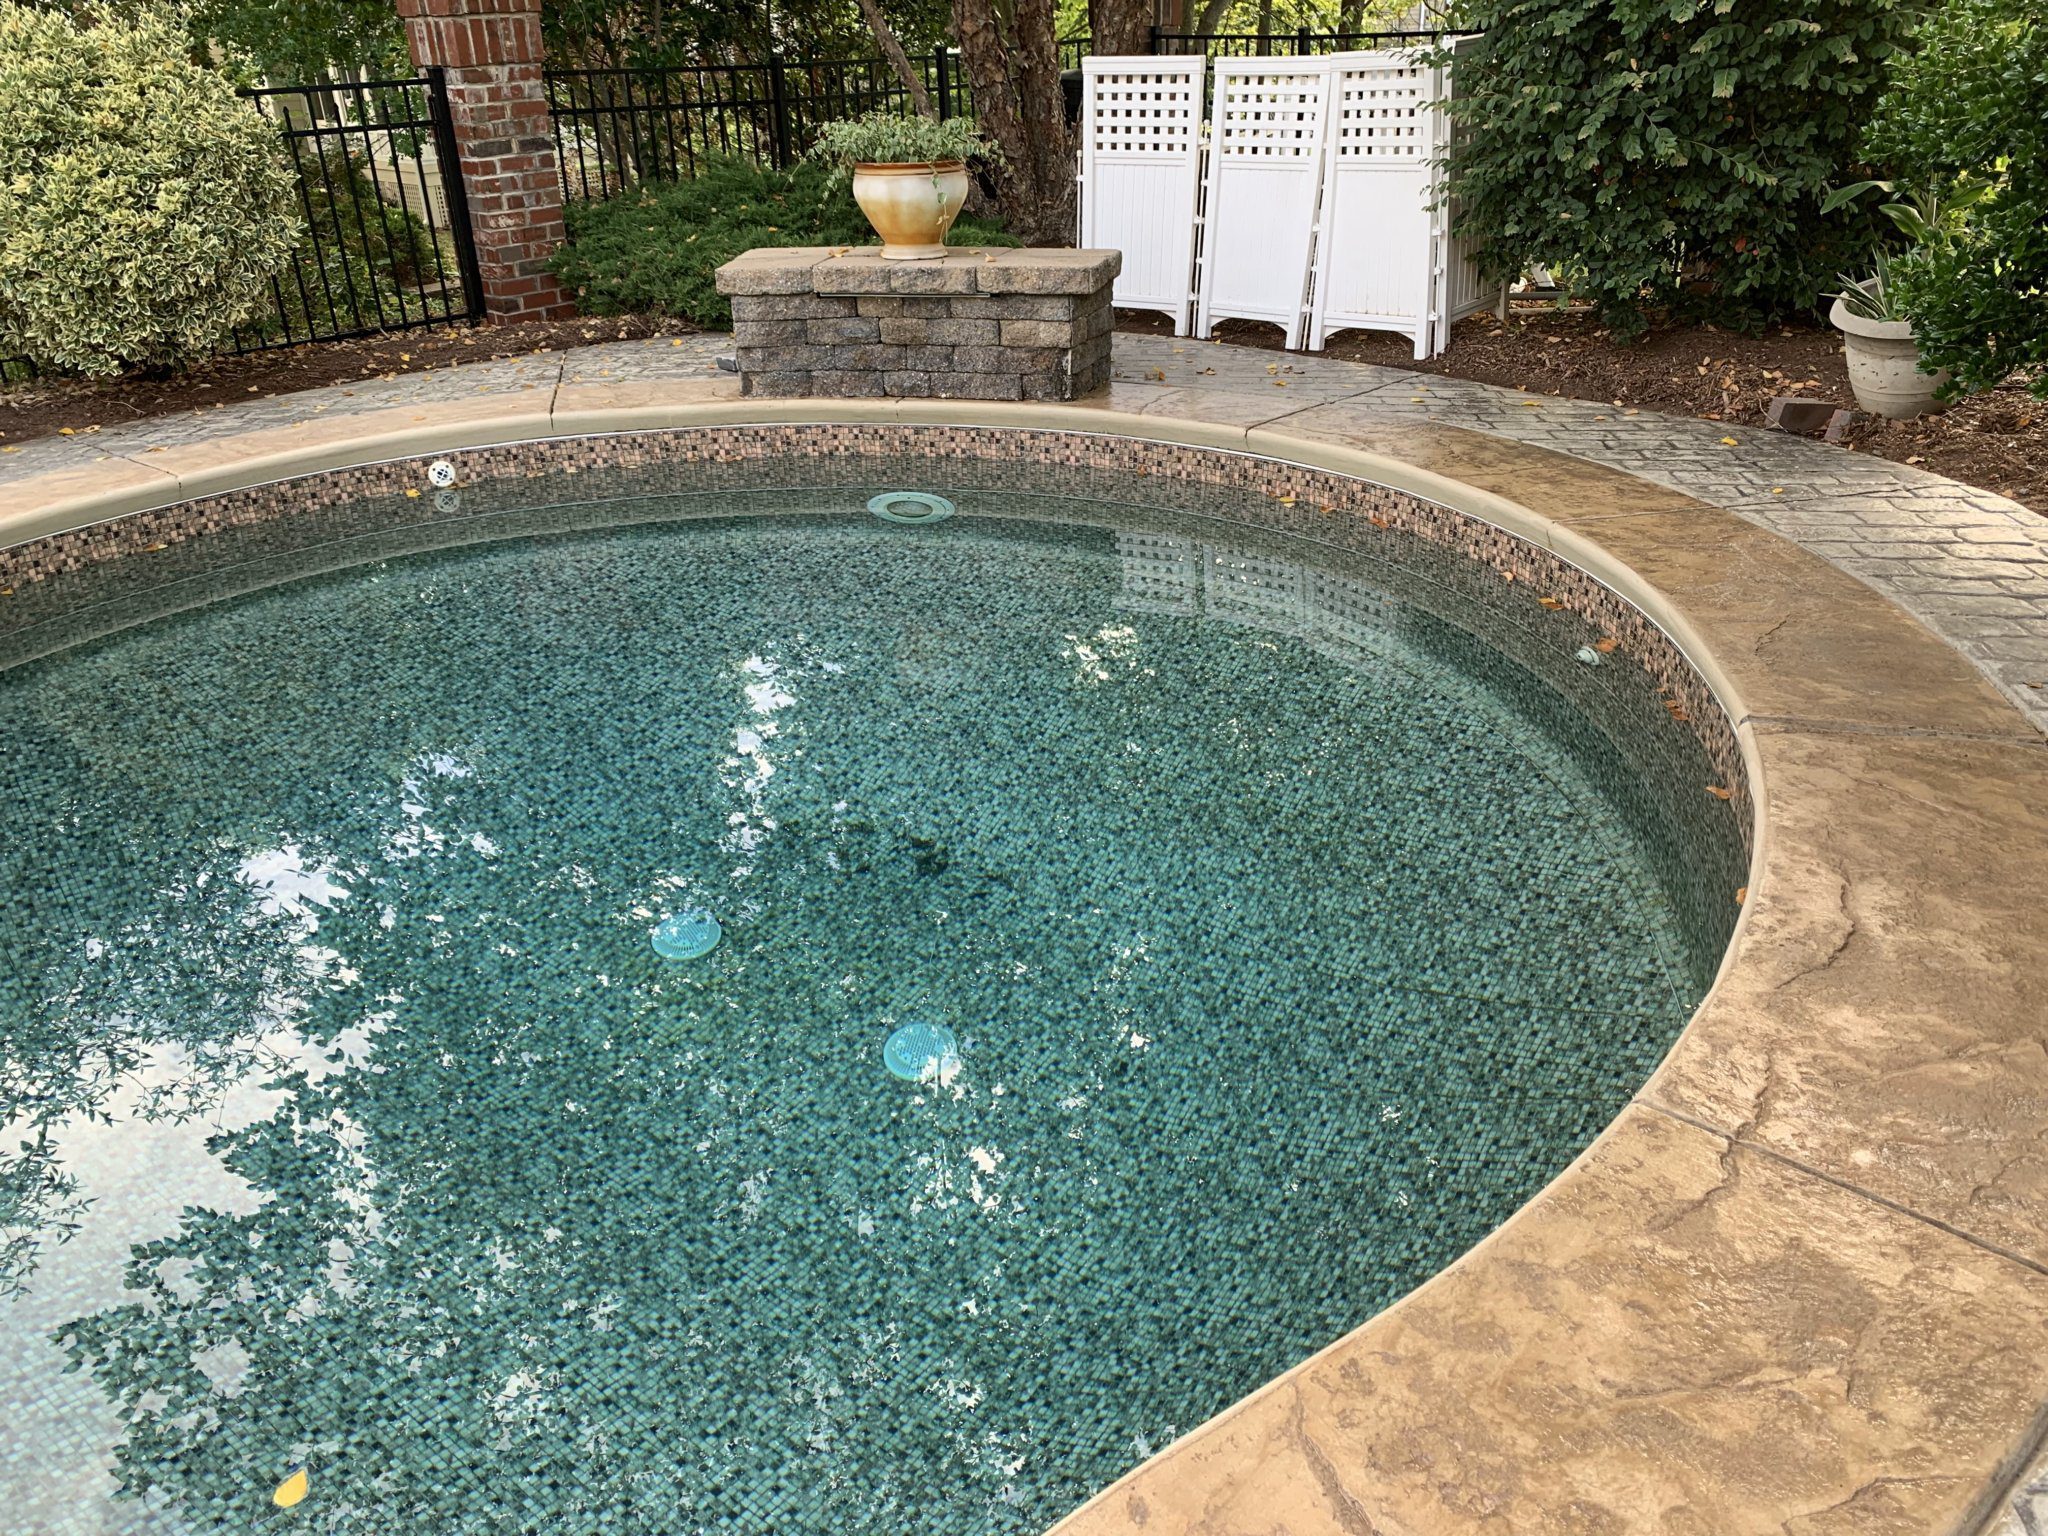
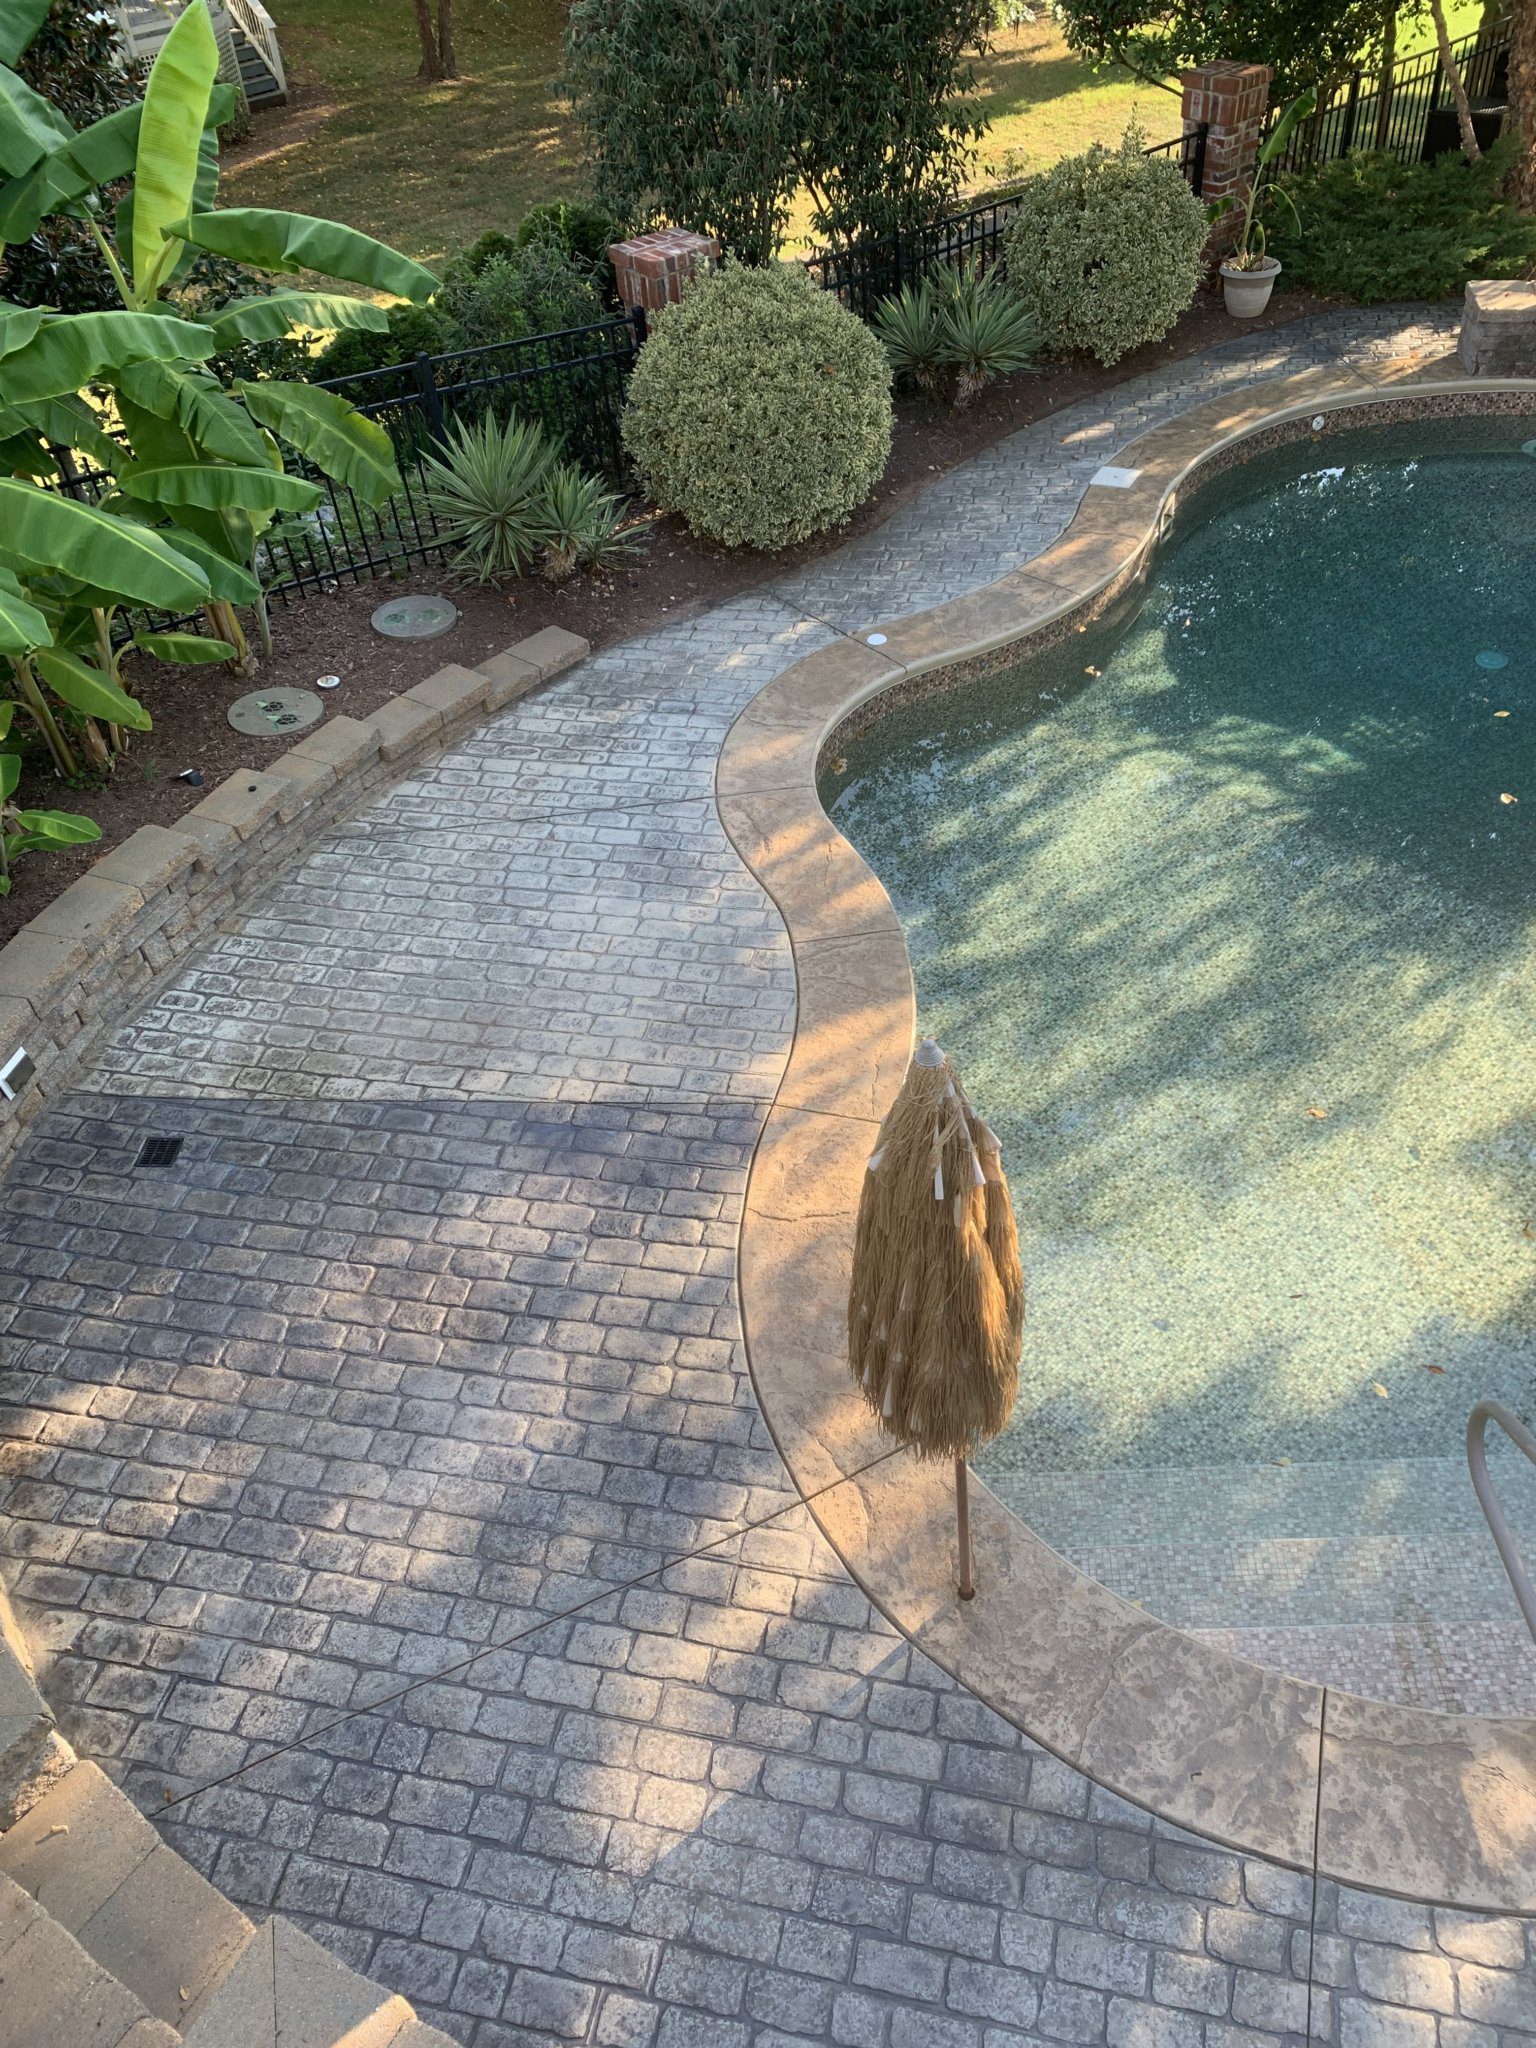
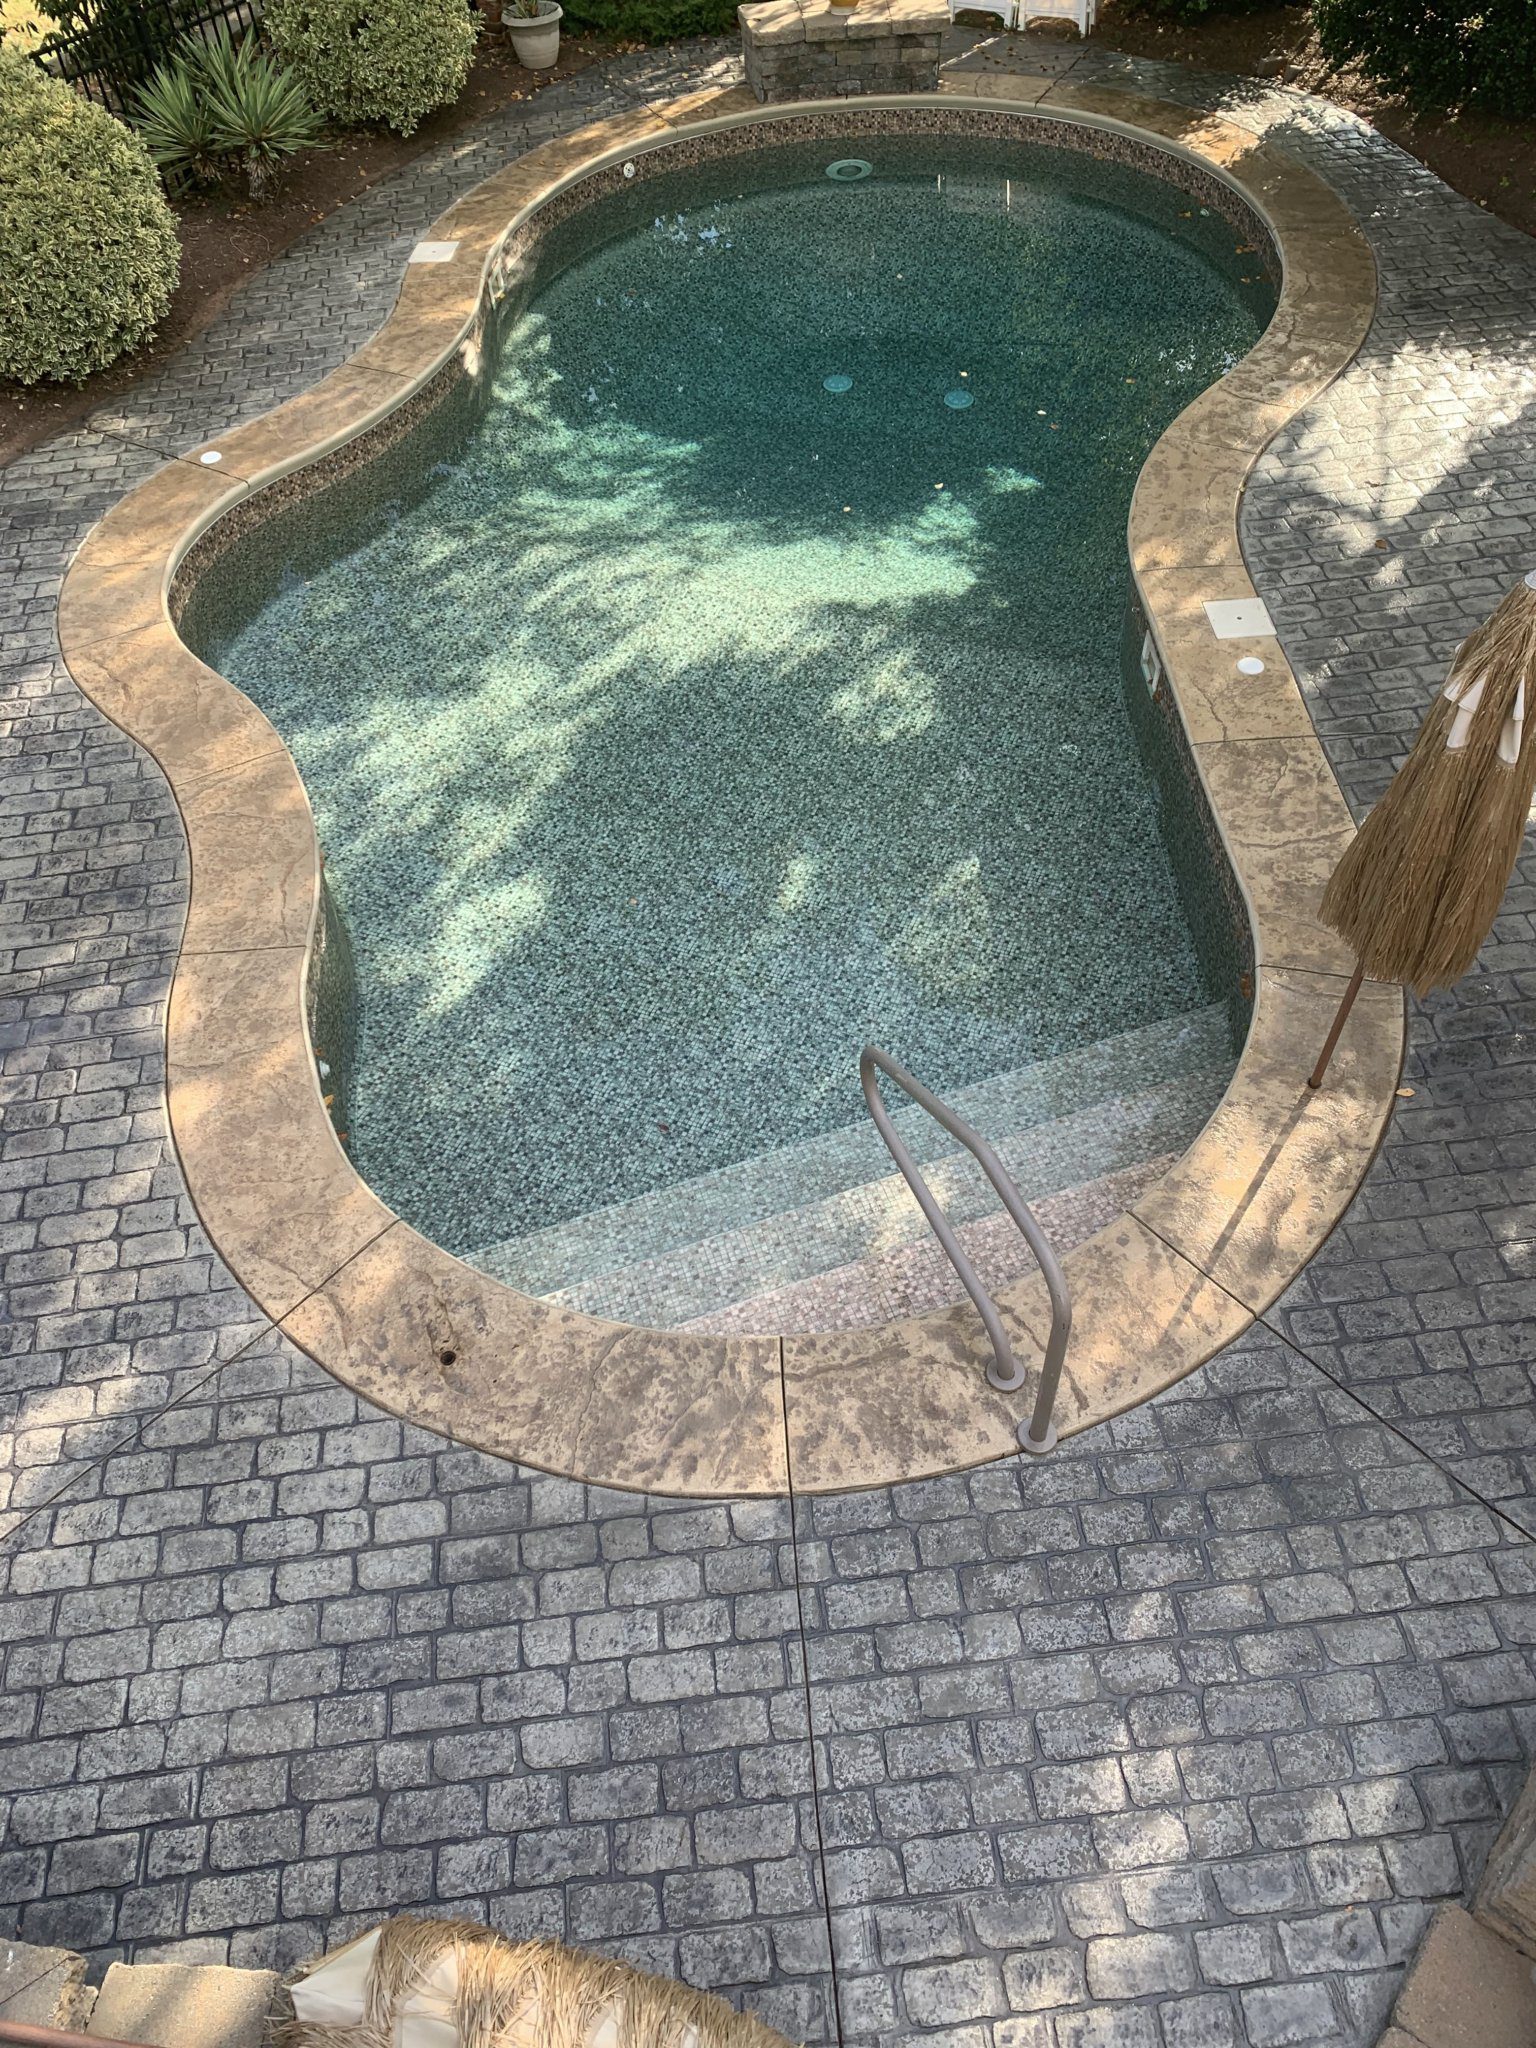
Picture a 12-year-old gray stamped concrete pool deck with a khaki perimeter, fading under the sun’s relentless rays. We used to seal it every 2-3 years, all the while longing for a solution that could restore its original charm without resorting to paint. Enter Direct Colors Antiquing Stain and EasySeal Kit – the answer to our DIY dreams! With two Charcoal and one Khaki kit in hand, we embarked on a four-day restoration adventure that saw our pool deck bloom with renewed vibrancy. The result? A stunning, professionally-looking pool deck that gleams with original color and shine, all achieved by a 62-year-old DIY enthusiast. So get ready, grab your roller brush, and let’s dive into this fun, rewarding transformation journey!
Project Info:
- Project Completed In: 4 day(s)
- Estimate of Square Footage: 757 sq. ft.
- Project Description:
Pool deck is stamped concrete gray color with a khaki colored perimeter around pool that was done 12 years ago. We sealed the deck every 2-3 years as we thought the only way to revive the color was painting the stamped concrete which we did not want to do as we wanted to keep the color dimension it had.
When we found the Direct Colors Antiquing Stain and EasySeal Kit it seemed to be the answer for a DYI project to meet our needs and to give the pool deck an uplift.
I ordered 2 Charcoal Antiquing Stain & EasySeal Kits and 1 Khaki Antiquing Stain & EasySeal Kit to see if it would give us the results we wanted. I contacted Direct Colors and spoke to a Rep who answered my questions and reviewed the instructions for prep and application.
I began with the pool perimeter and was impressed as I completed my second coat of stain. After I applied the two coats of sealer I was amazed and impressed with the results! I couldn’t wait to continue my project!
I completed the project with ease in 4 days (the delay was having to wait for my additional order as I wanted to make sure it provided the results that the Direct Colors advertised). As a 62 year old woman this was a fun, easy, and rewarding DYI project that gave us professional results. Our pool deck has been restored to its original color and shine thanks to Direct Colors Antiquing Stain & EasySeal Kit! - Personal Tips:
1. Read all instructions and contact Direct Colors Rep to answer questions or clarify and steps
2. Have all product and materials ready – have a tarp available in case of rain after you stain
3. If stamped concrete has a lot of crevices rolling on stain and brushing works best
4. Sprayer works best to get even coats of sealer
5. Have fun with this project – you can achieve professional results as a DYI - Direct Colors Products Used:
5 Gal. Charcoal Antiquing™ & EasySeal™ Satin Kit
1 Gal. Khaki Antiquing Stain & EasySeal™ Satin Kit - Other Products Used:
Chapin 1 gallon sprayer
Roller Brush with long handle
Paint brush
Rolling in the Khaki: A Stamped Concrete Revival
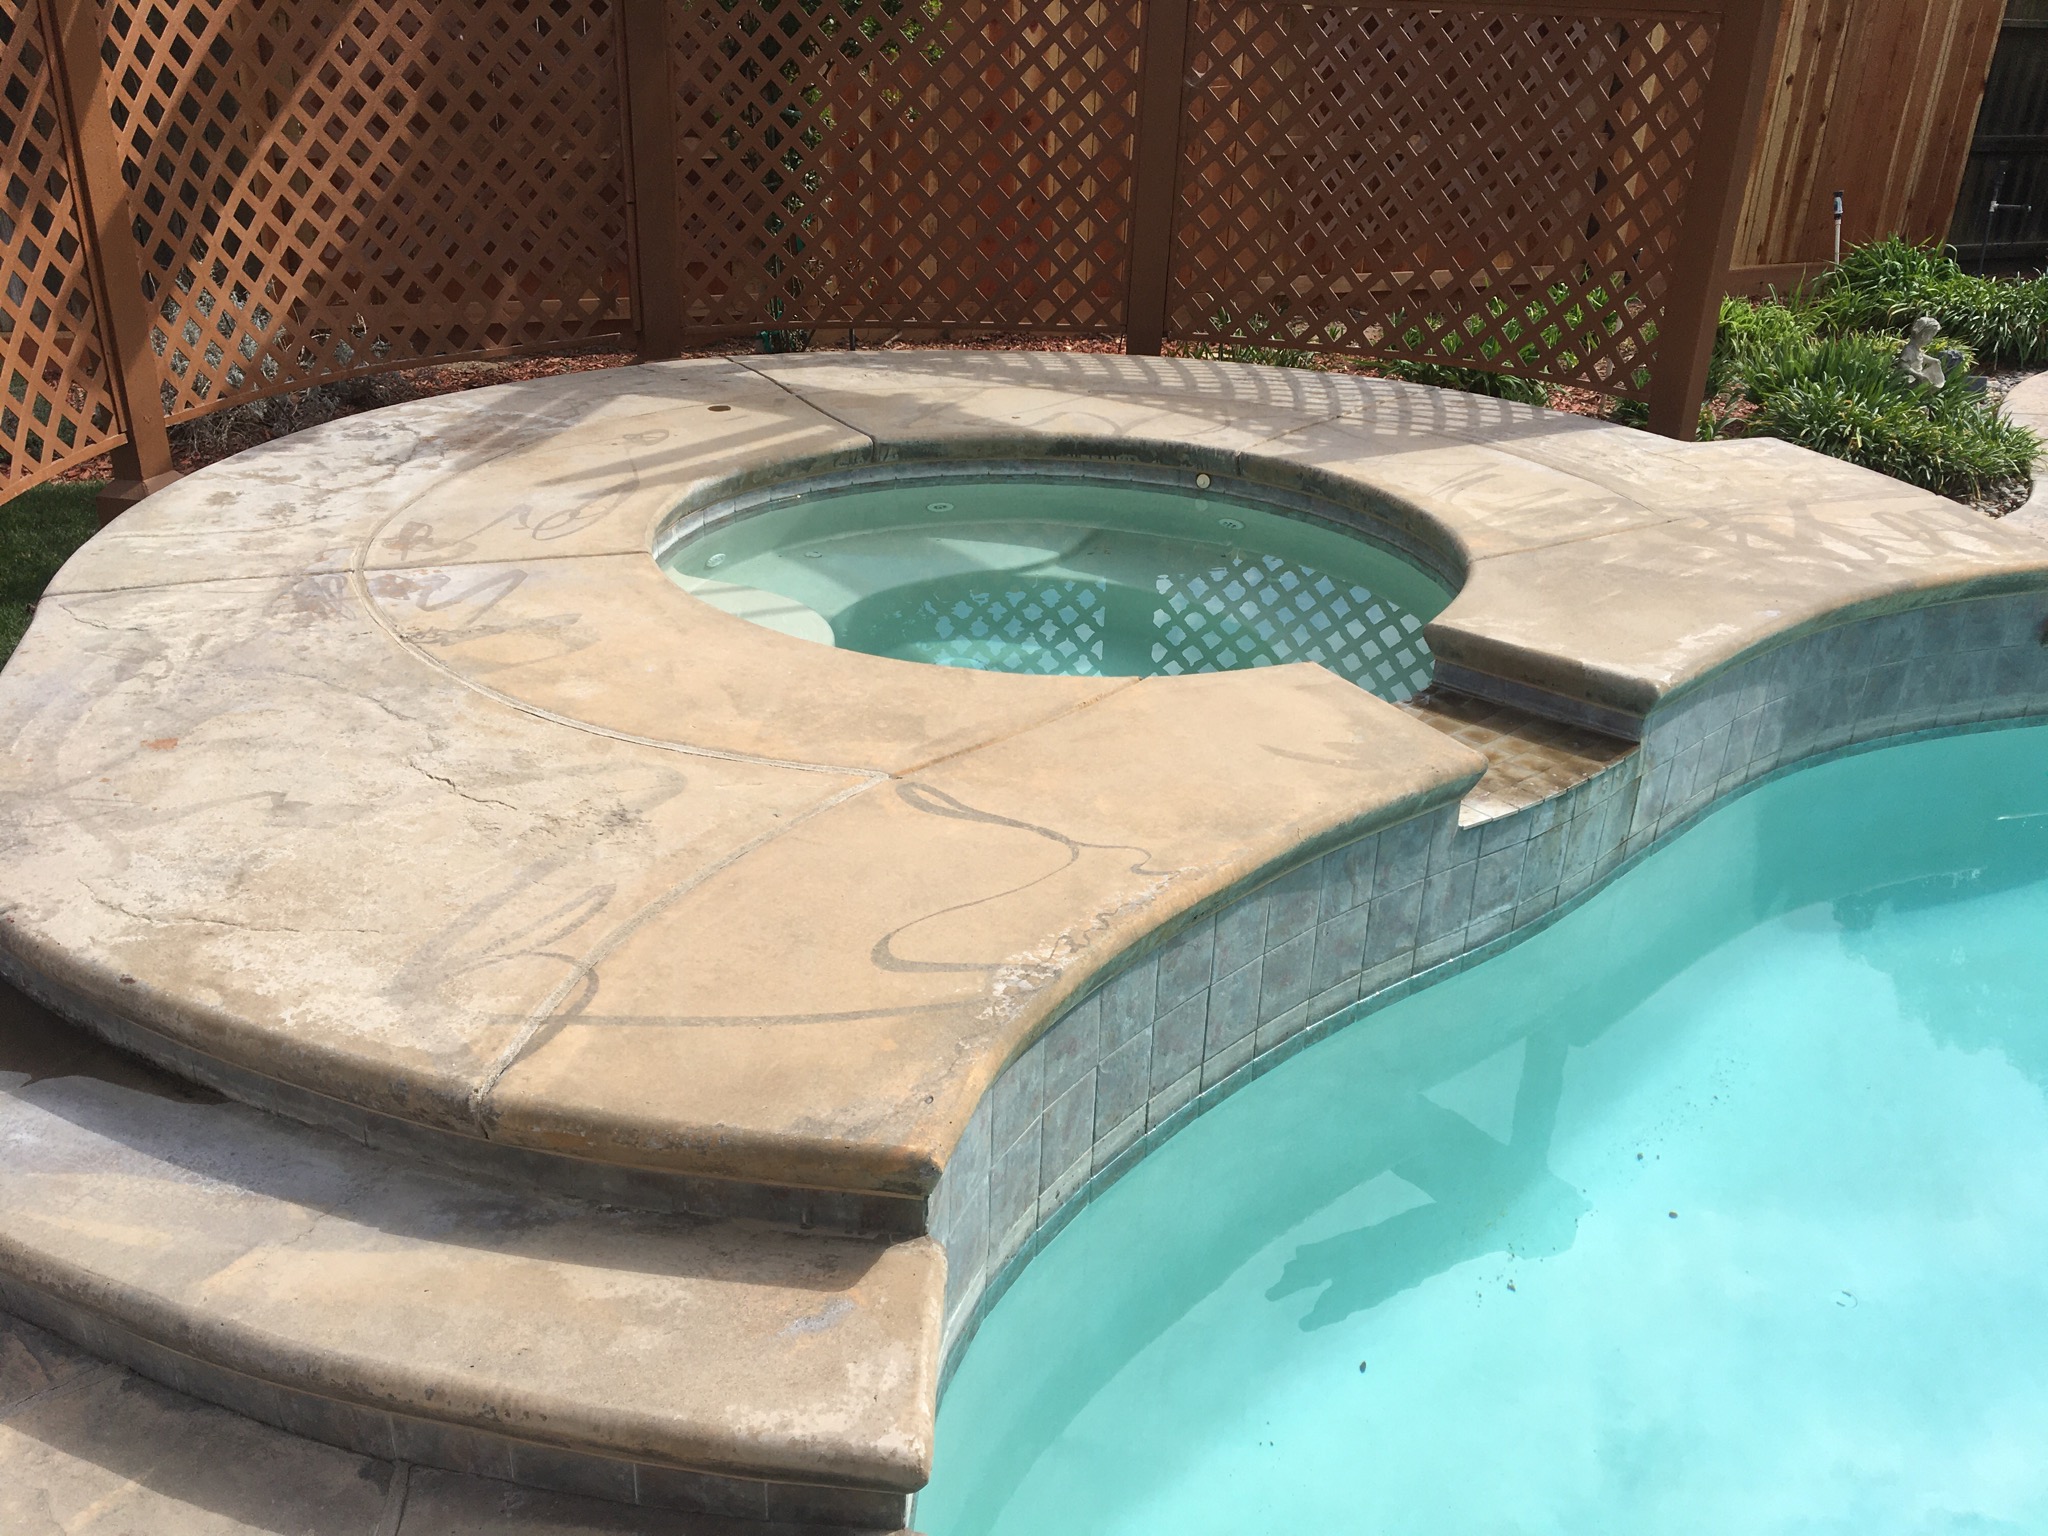
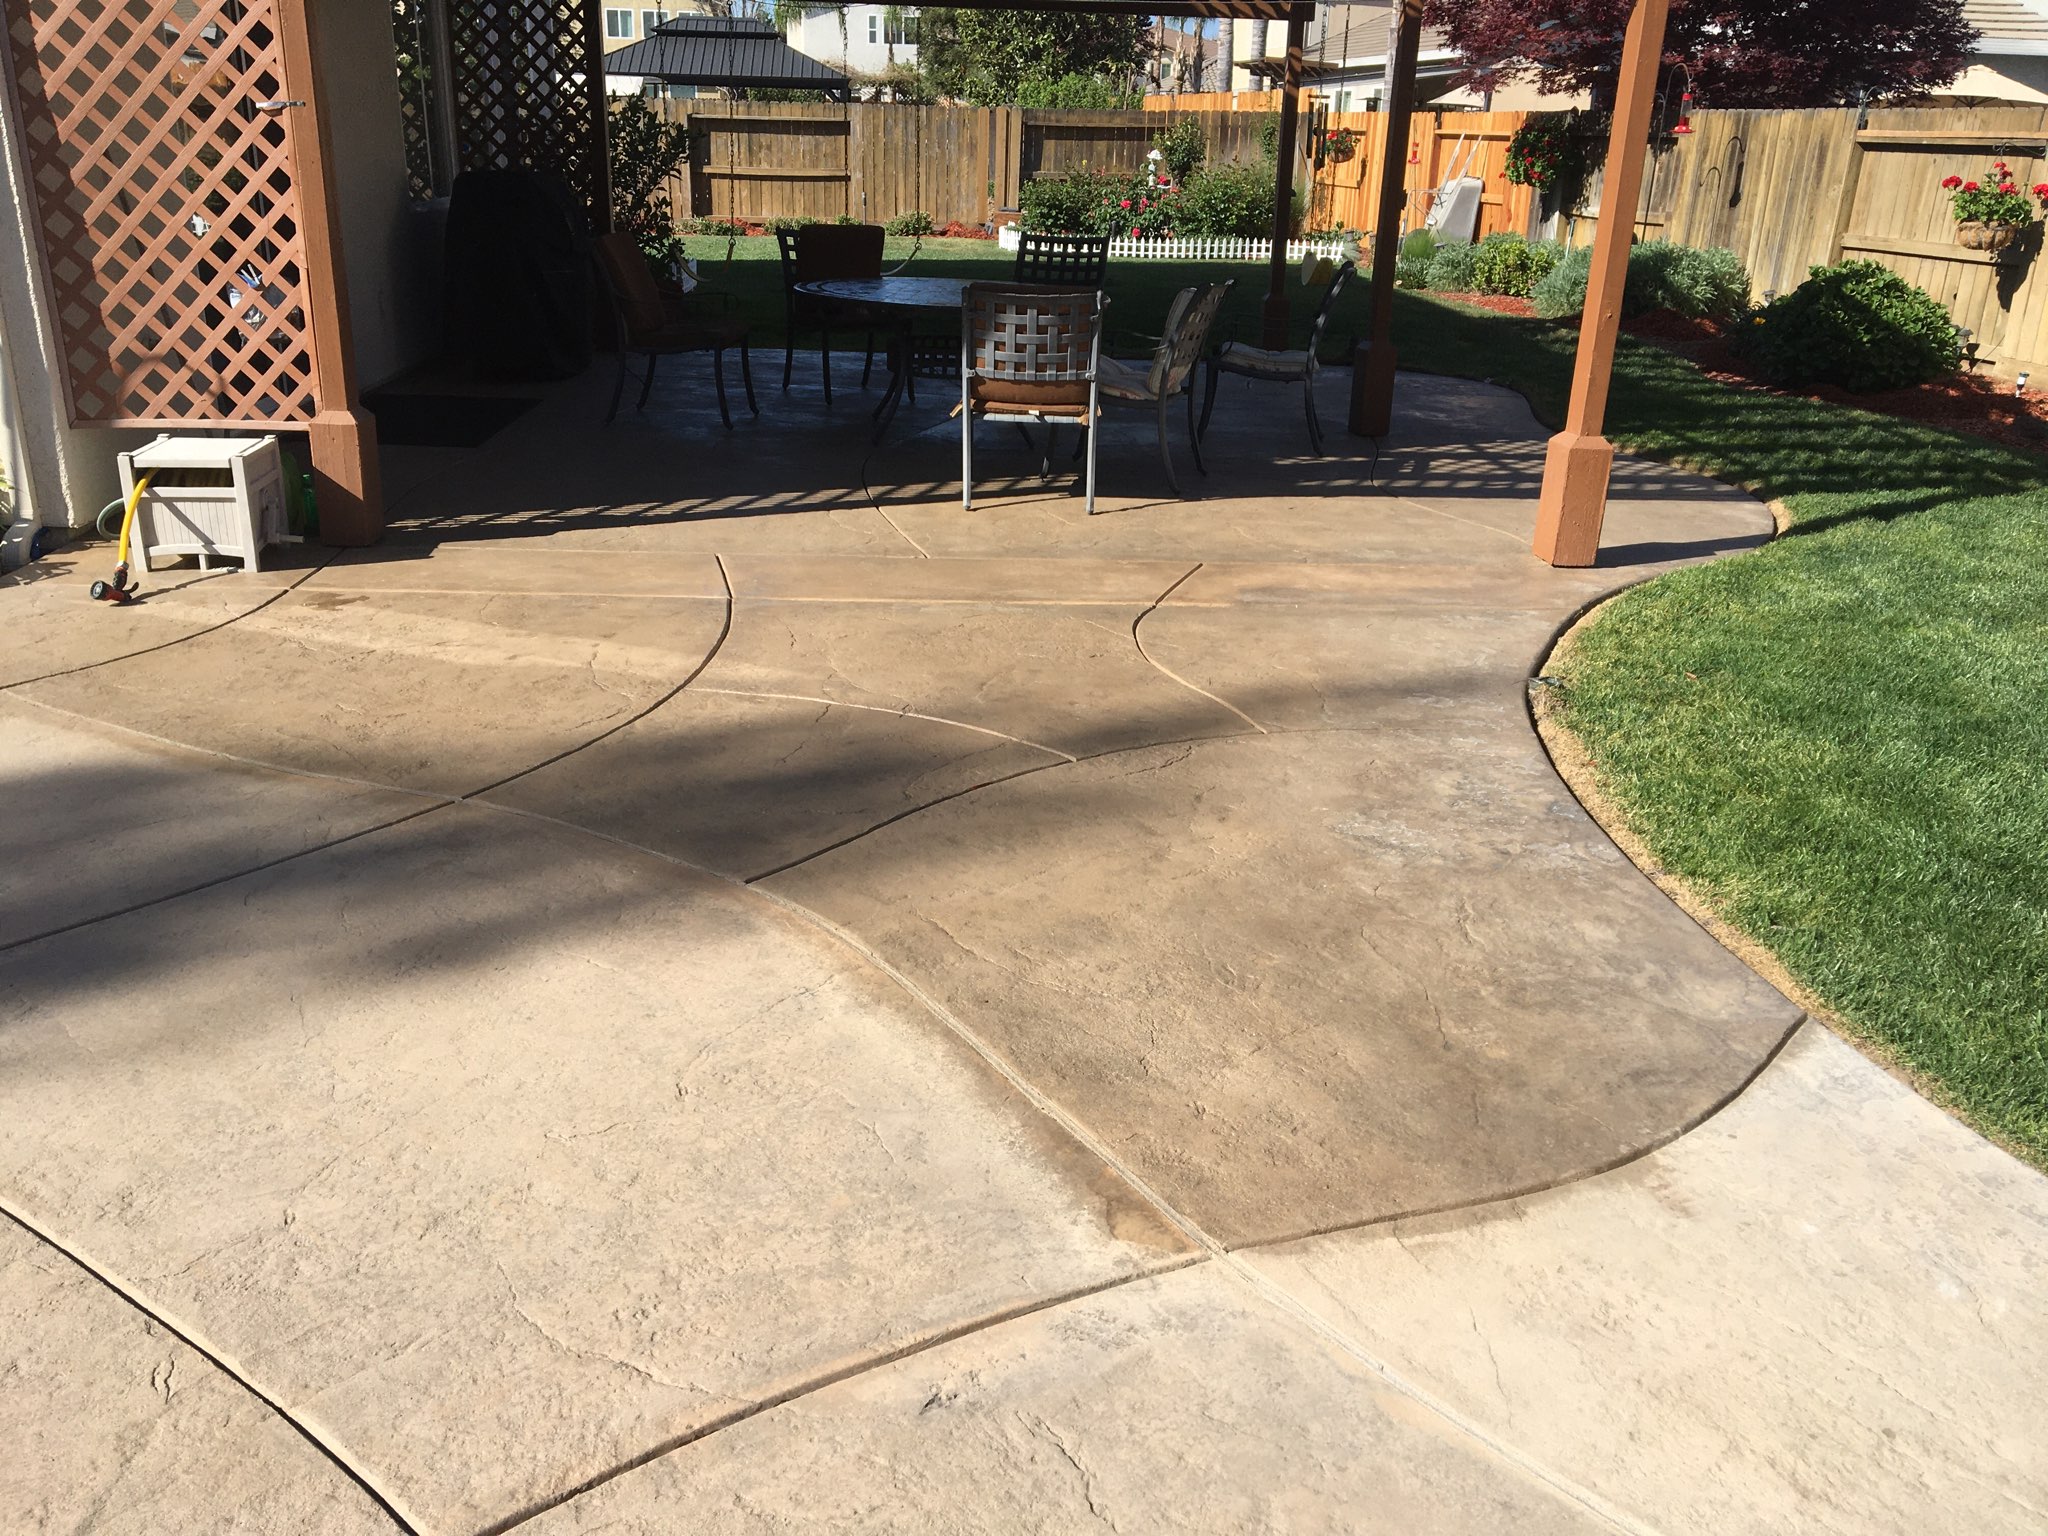
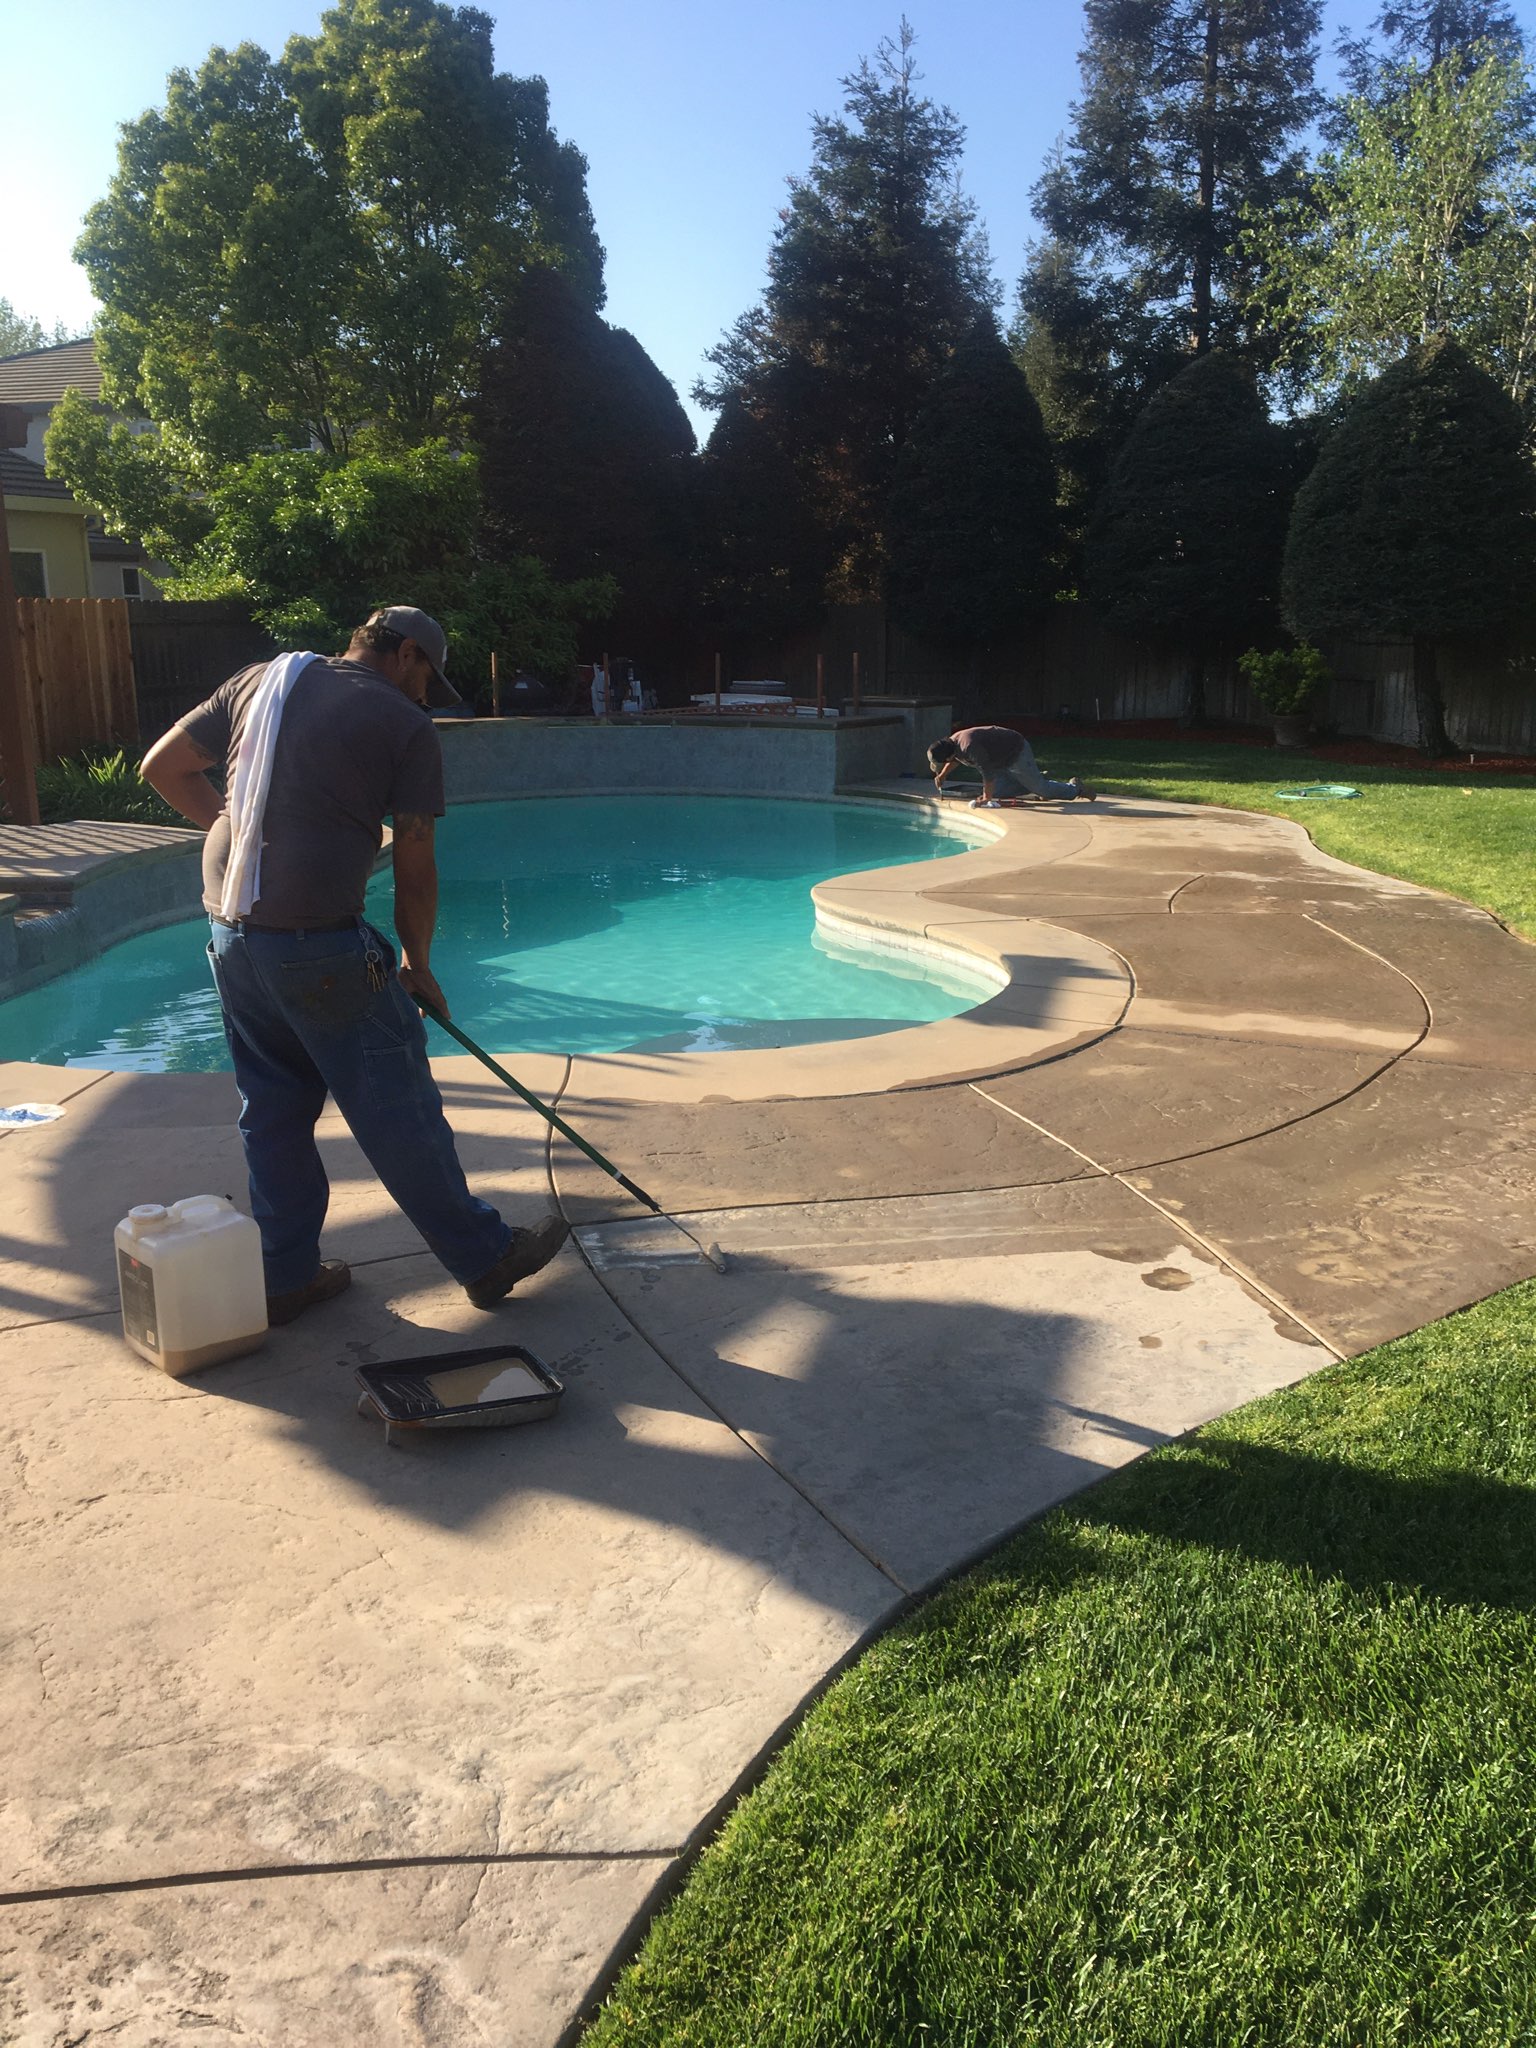
Get ready for a poolside revamp that’s as stylish as it is practical. This project saw a large faded stamped concrete patio, spa, and pool surround area get a new lease on life with the help of an Antiquing stain in a chic Khaki color. But here’s the twist – instead of spraying, the stain was applied using rollers for a more controlled and even finish. To top it off, an EasySeal satin sealer was used, with a second coat mixed with a Slip Resistant Additive for safer, slip-free fun in the sun. One pro tip to remember – keep those garden sprinklers off while working! The results are simply beautiful – and proof that sometimes, the roller is mightier than the spray.
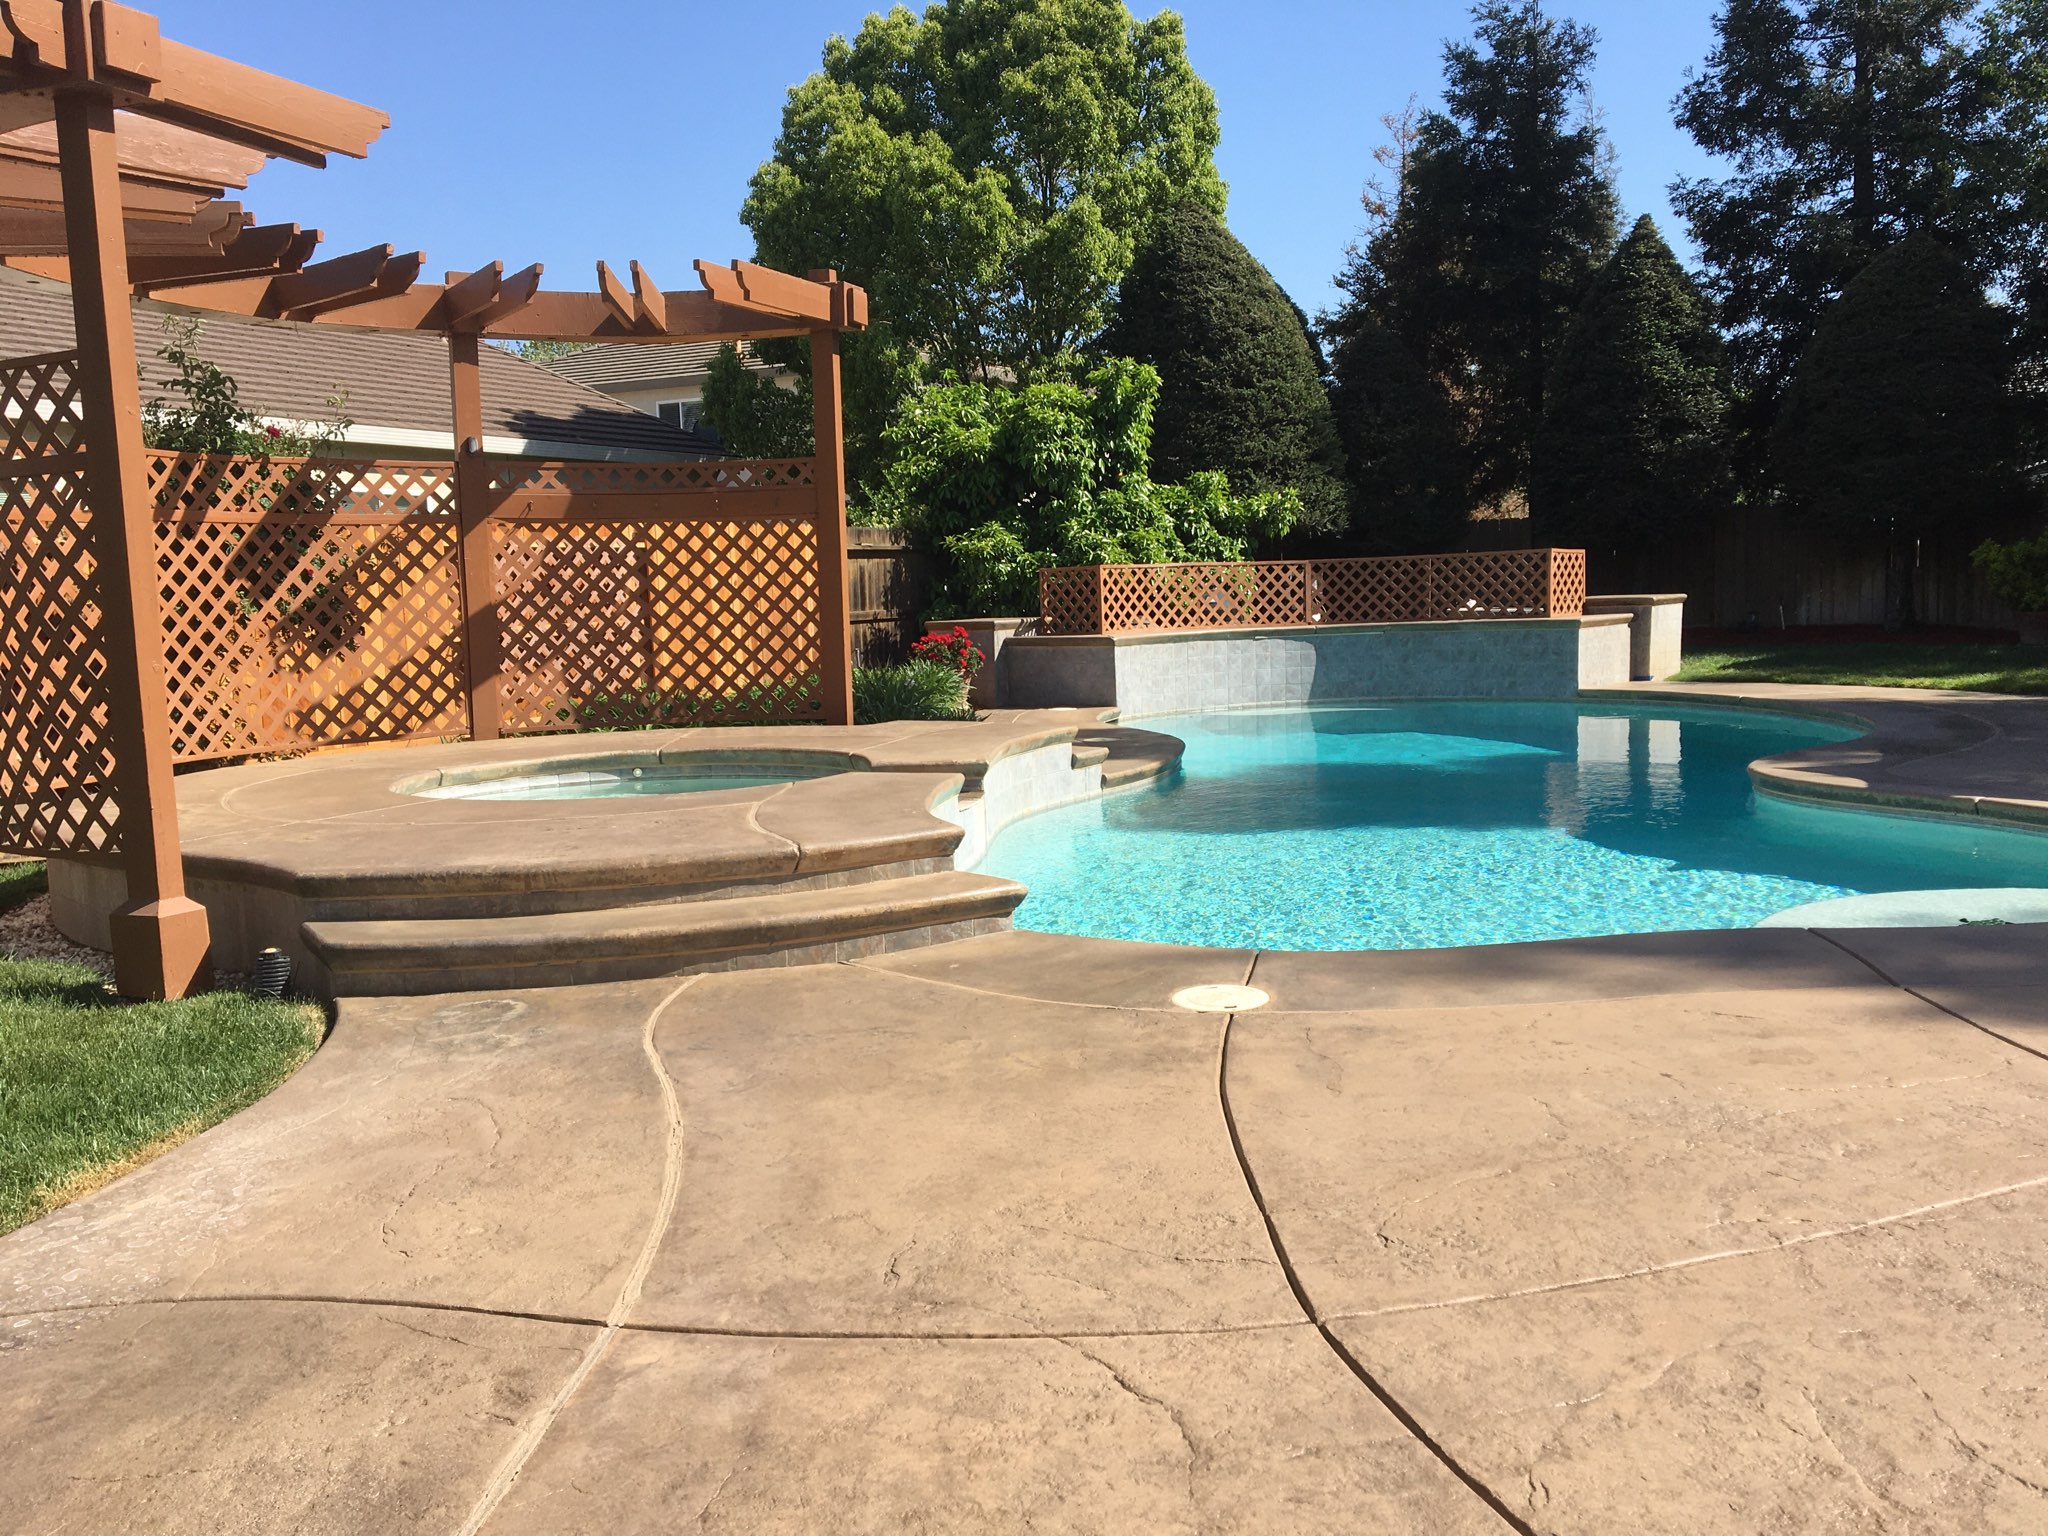
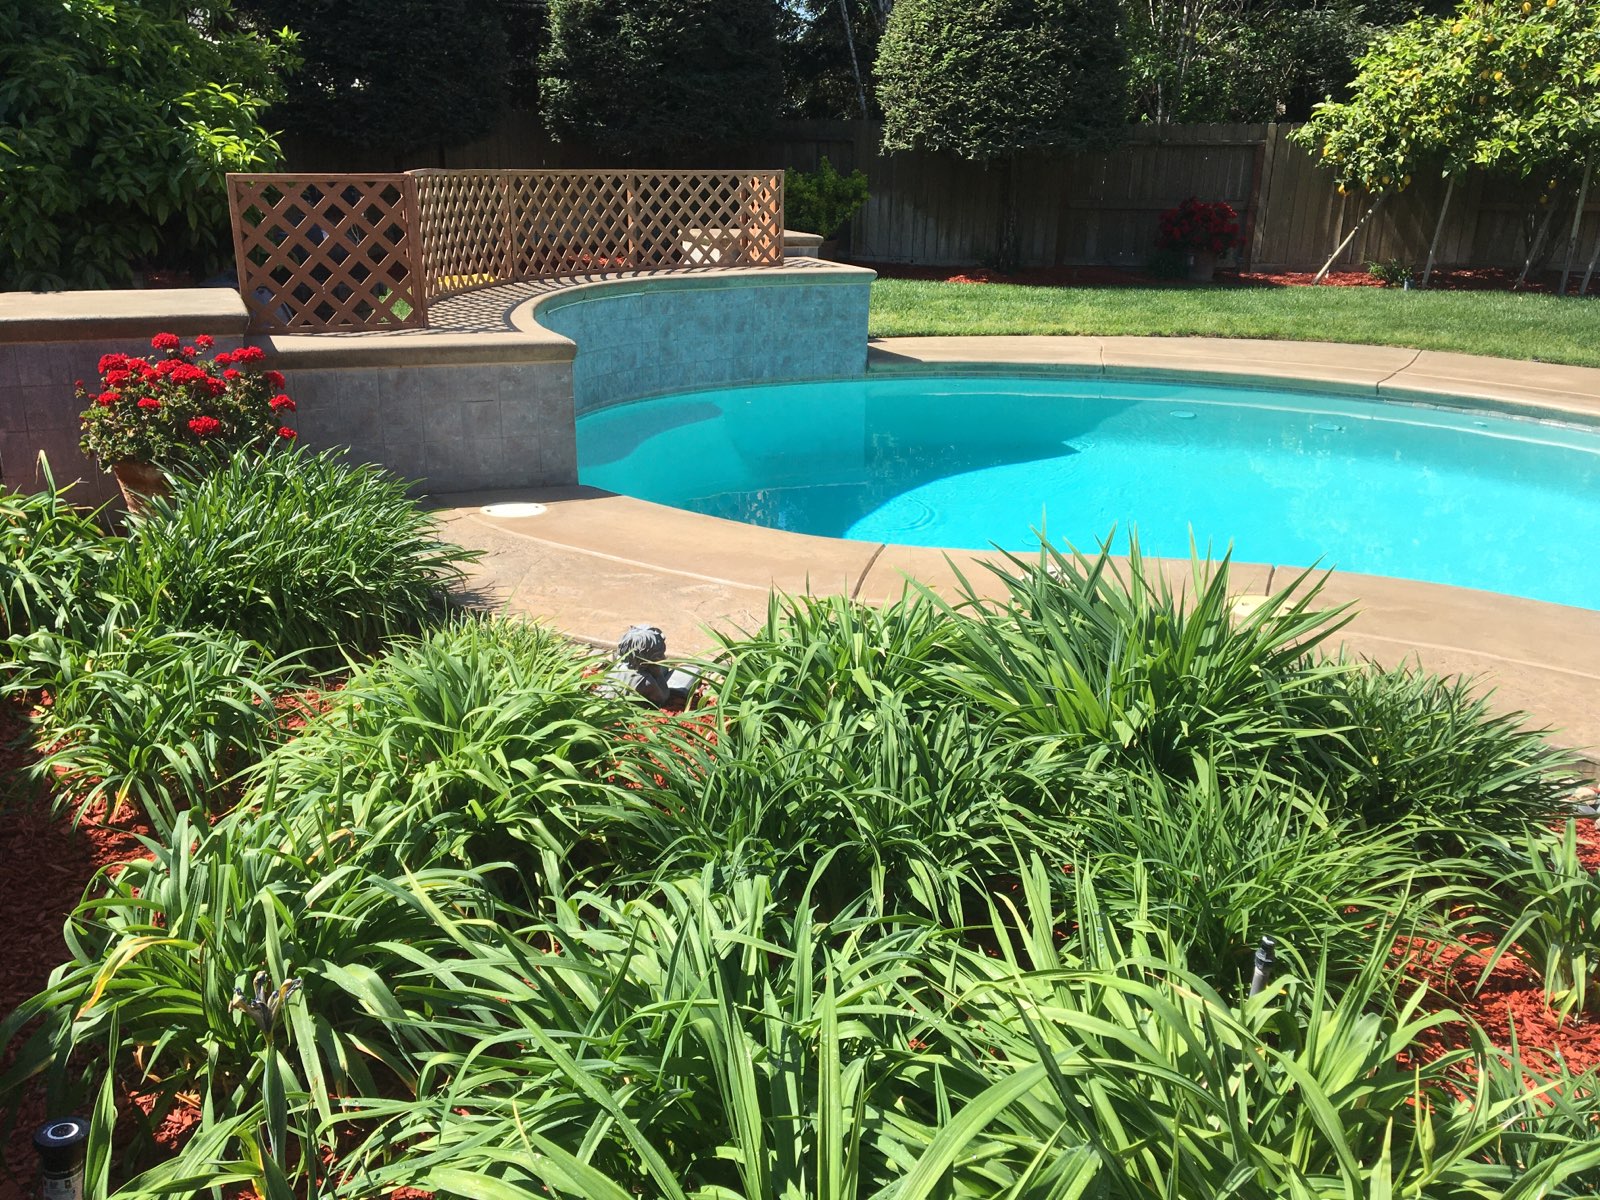
Cracking the Code: Reviving a Stamped Concrete Pool Deck with Cumin Antiquing Stain
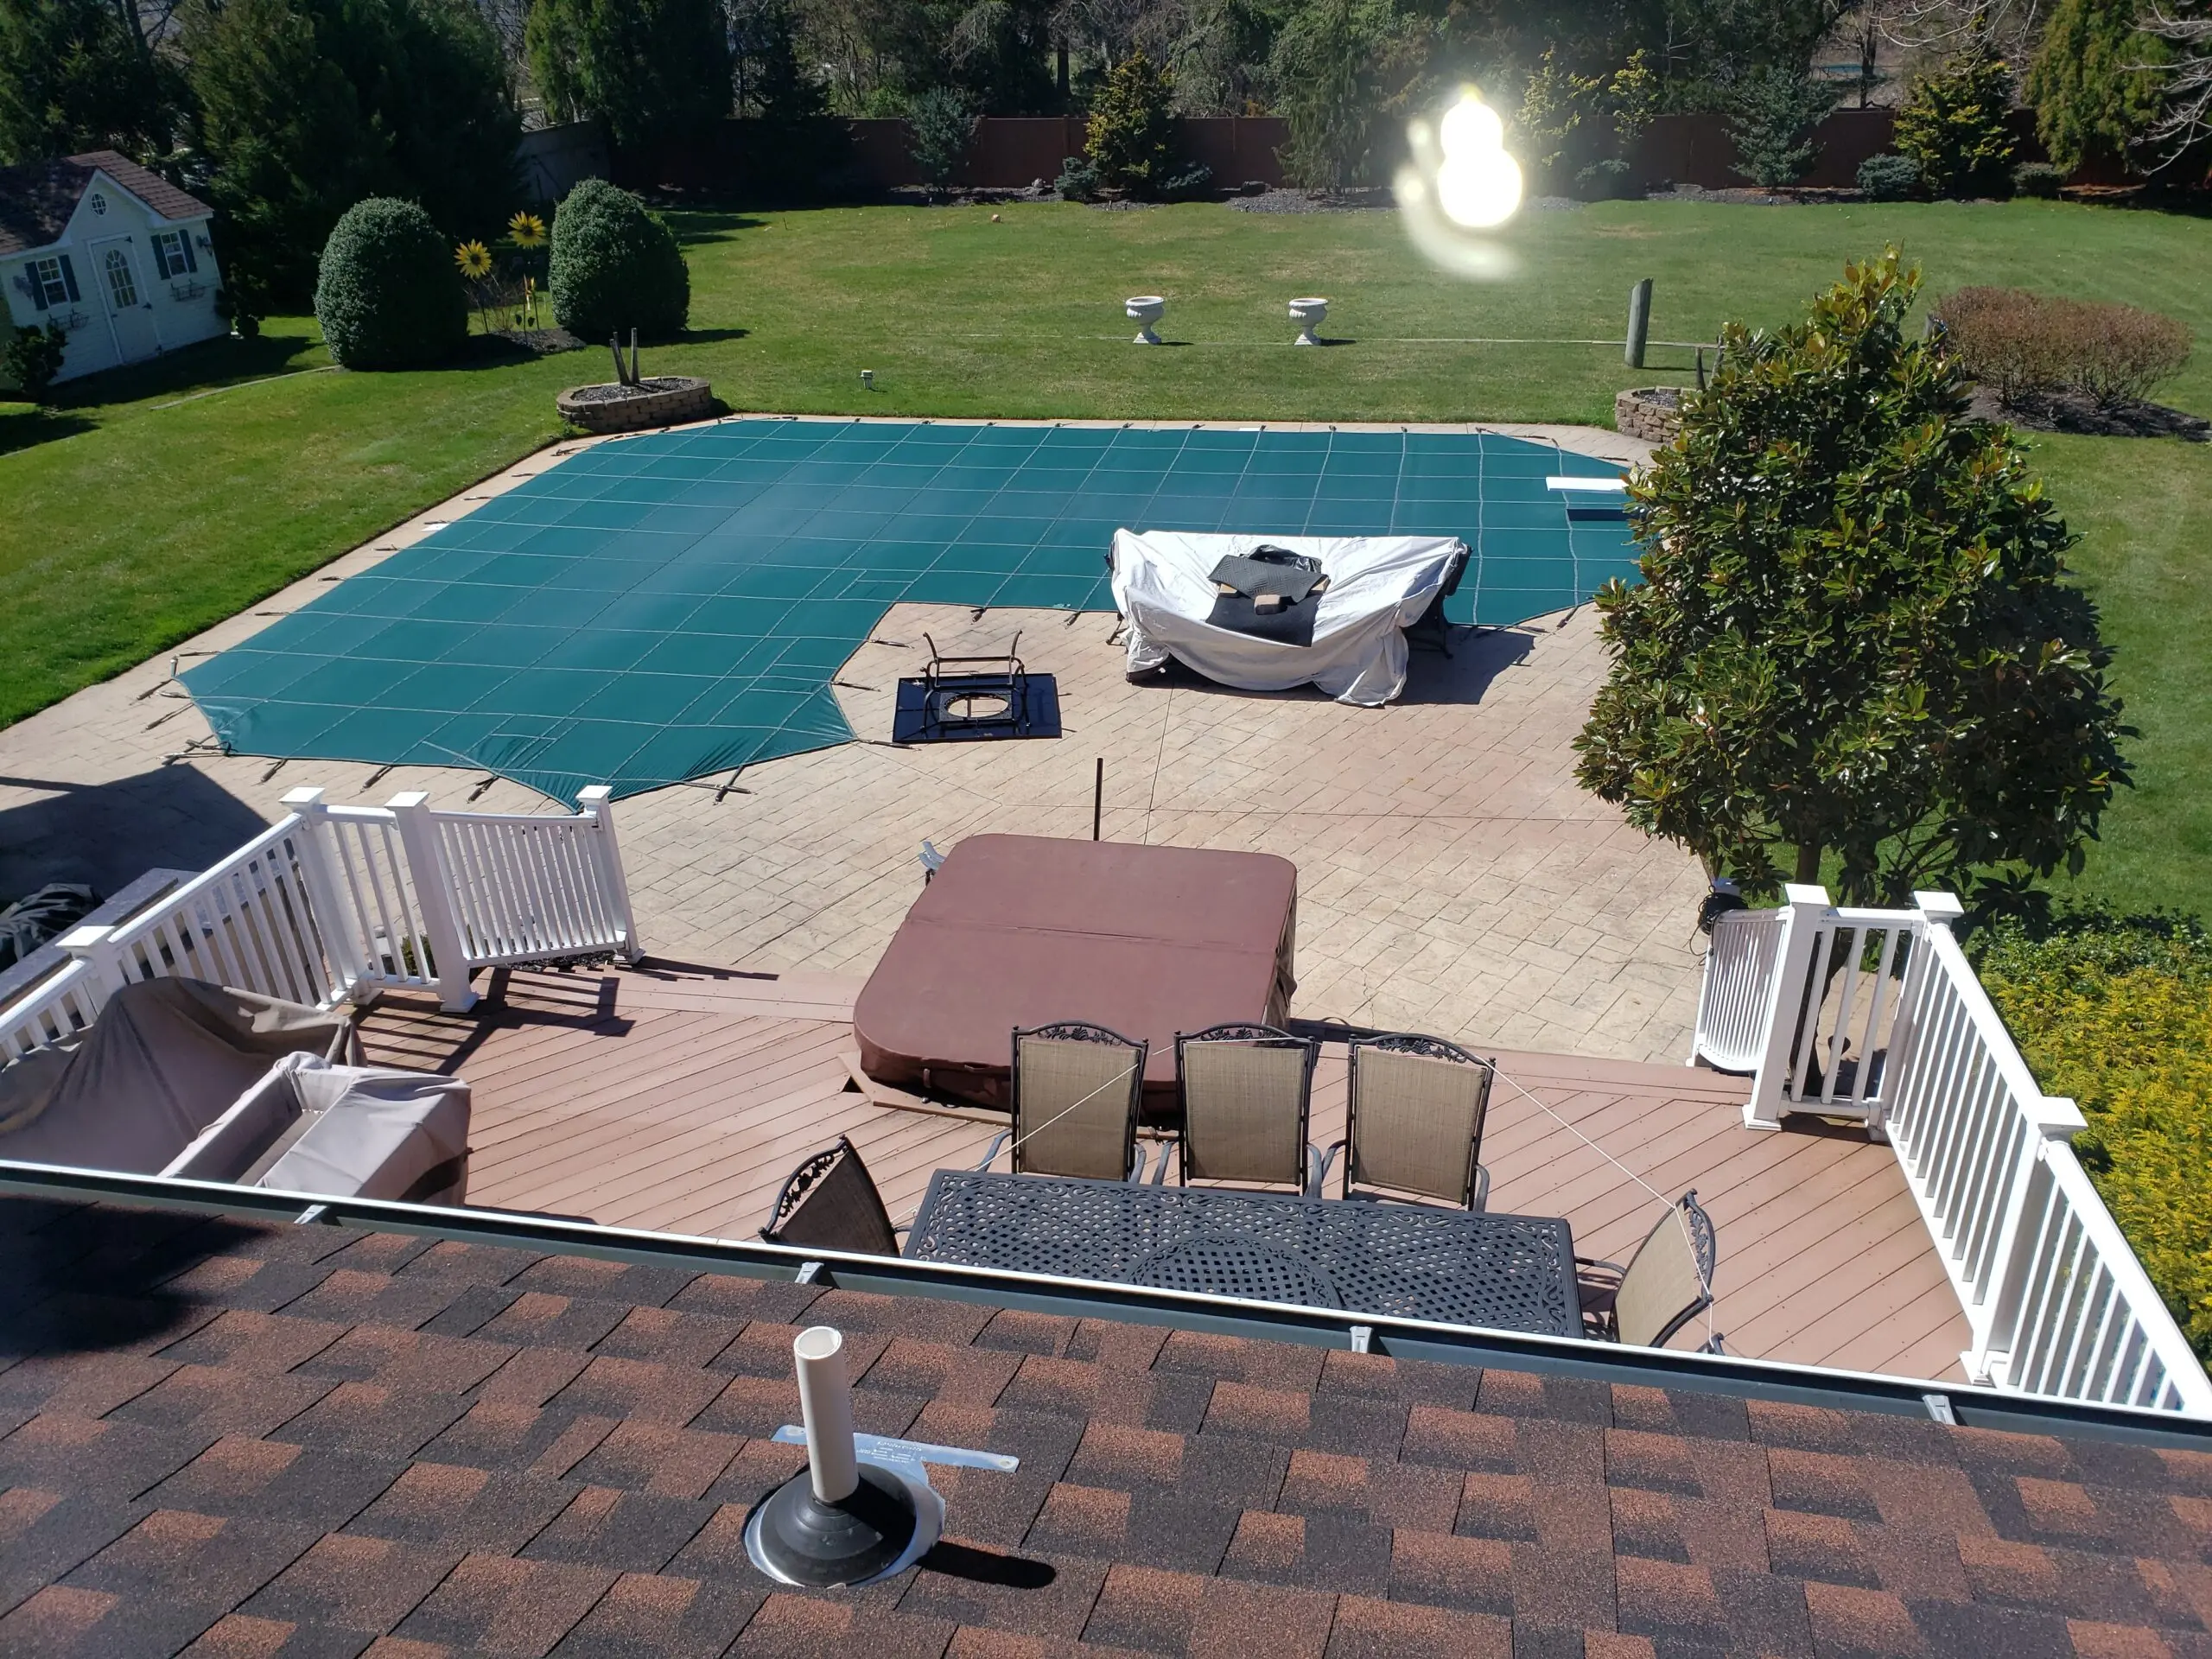
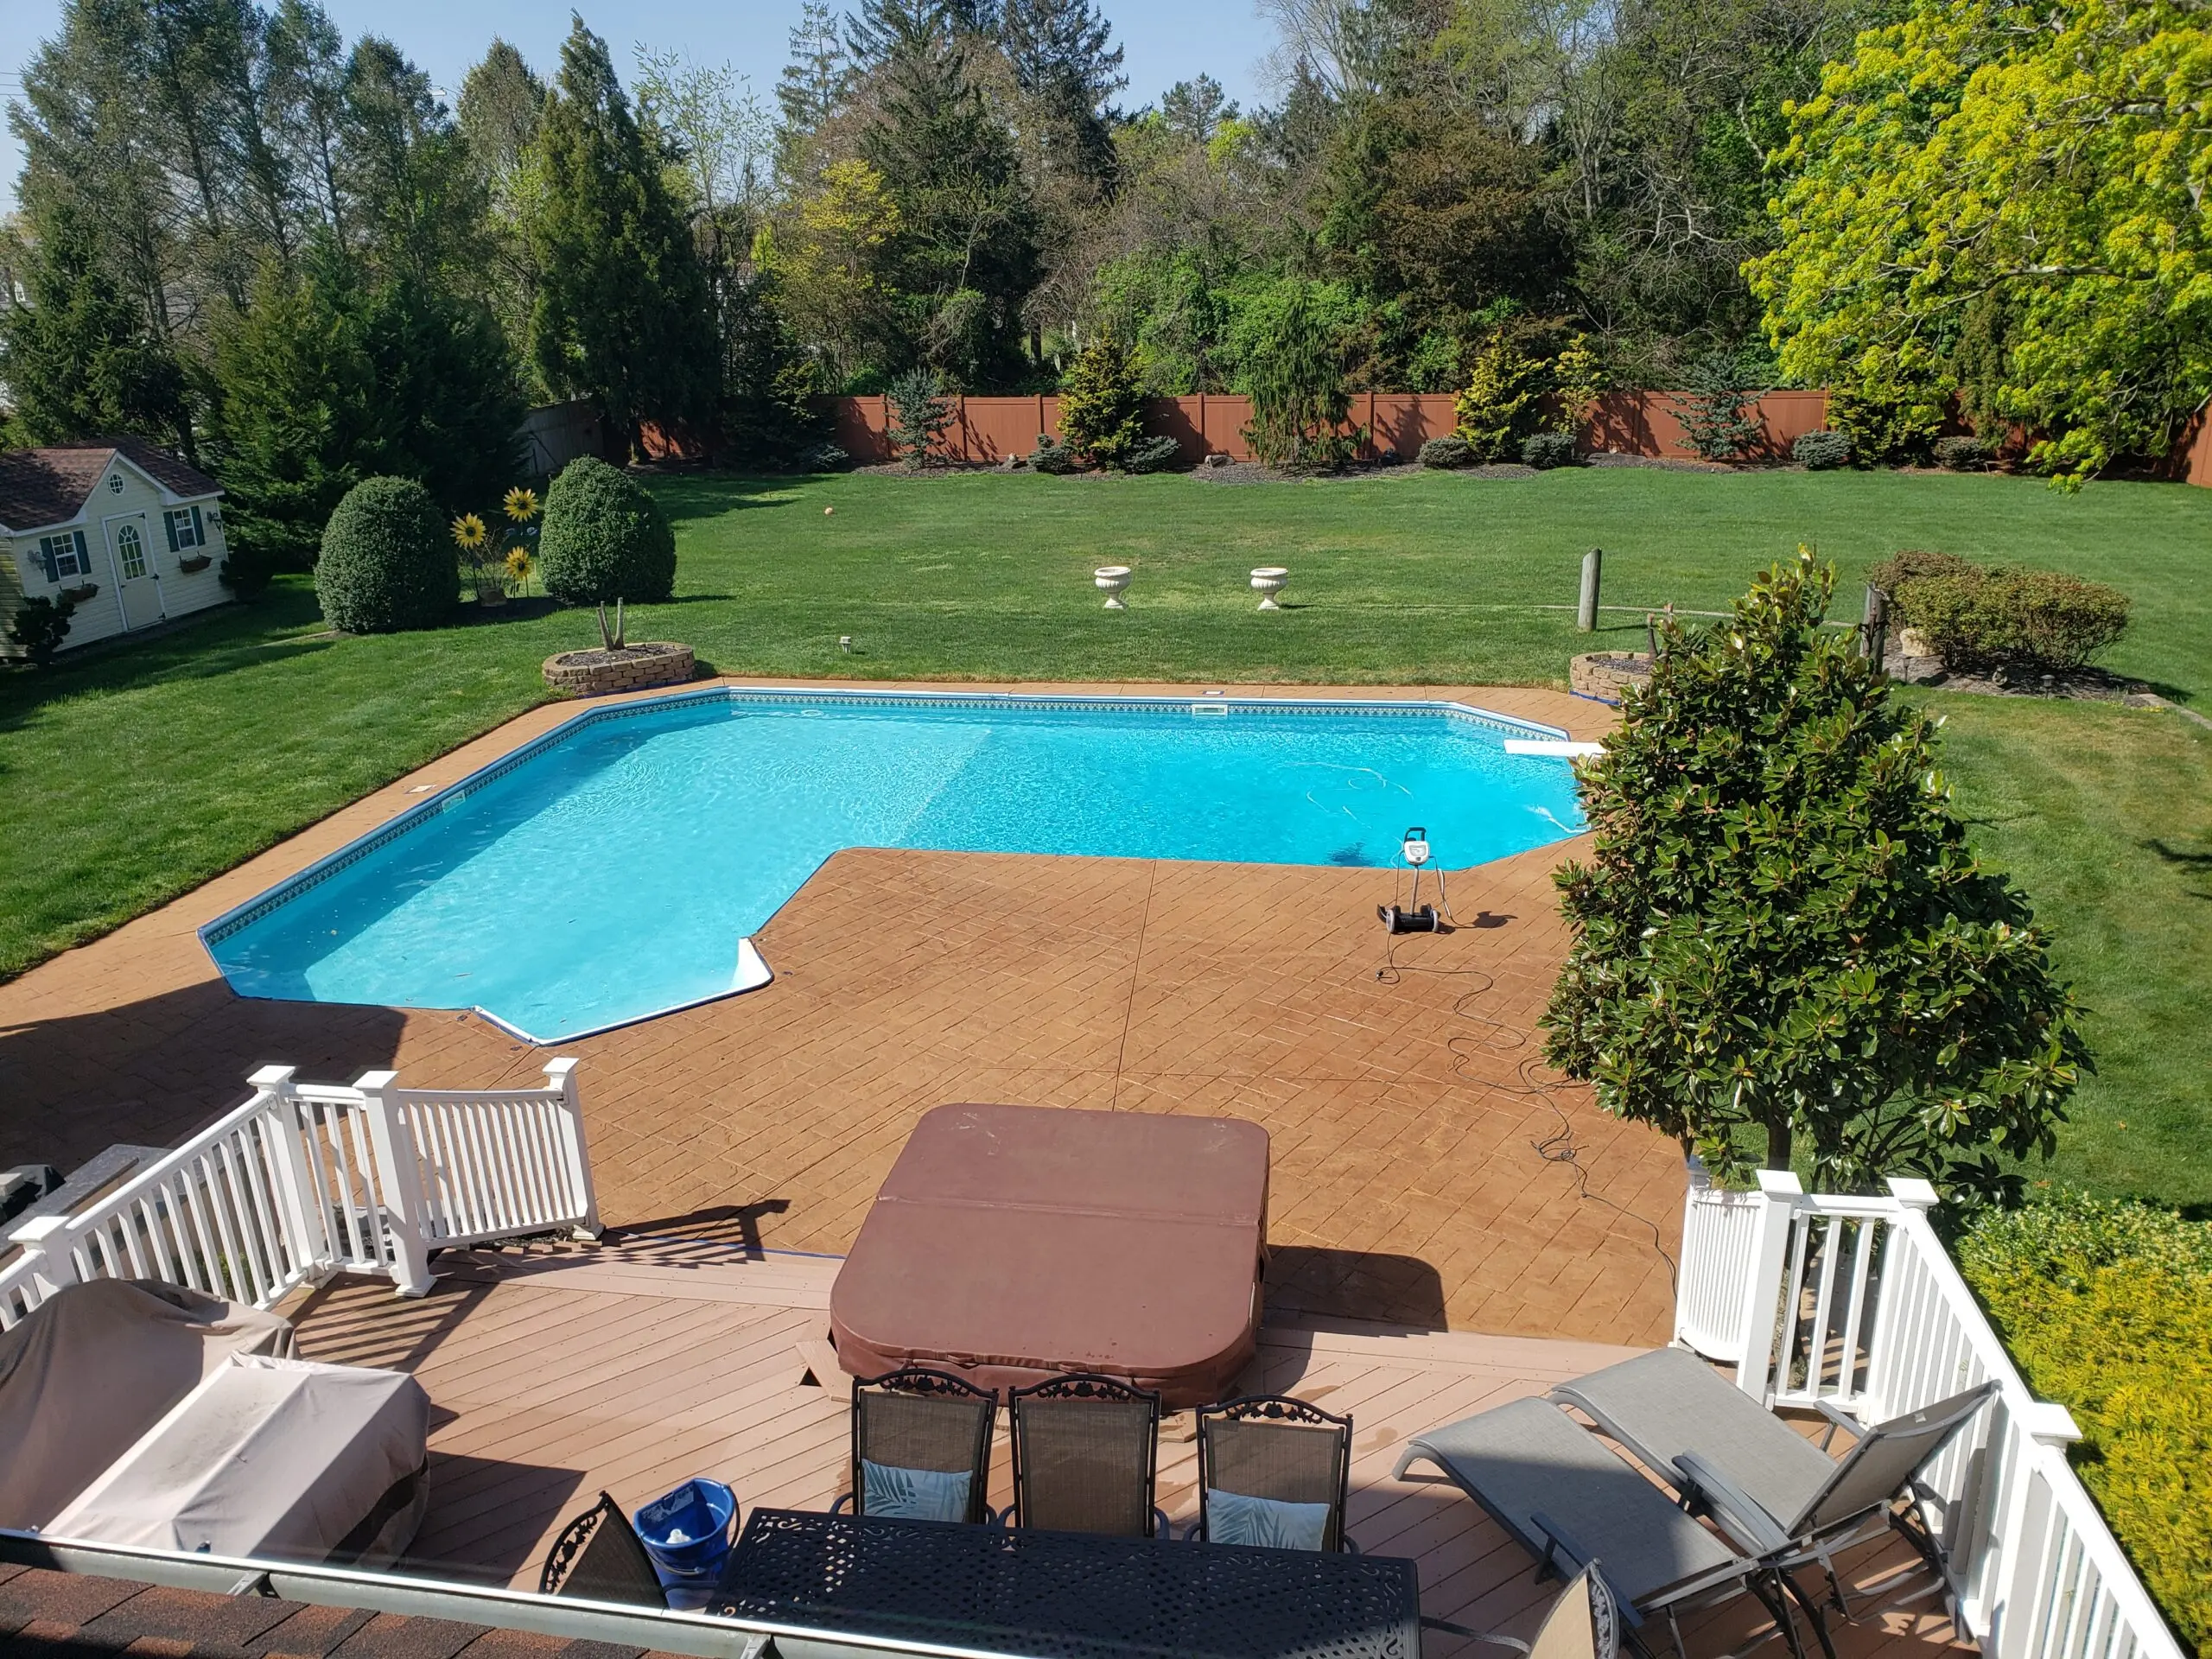
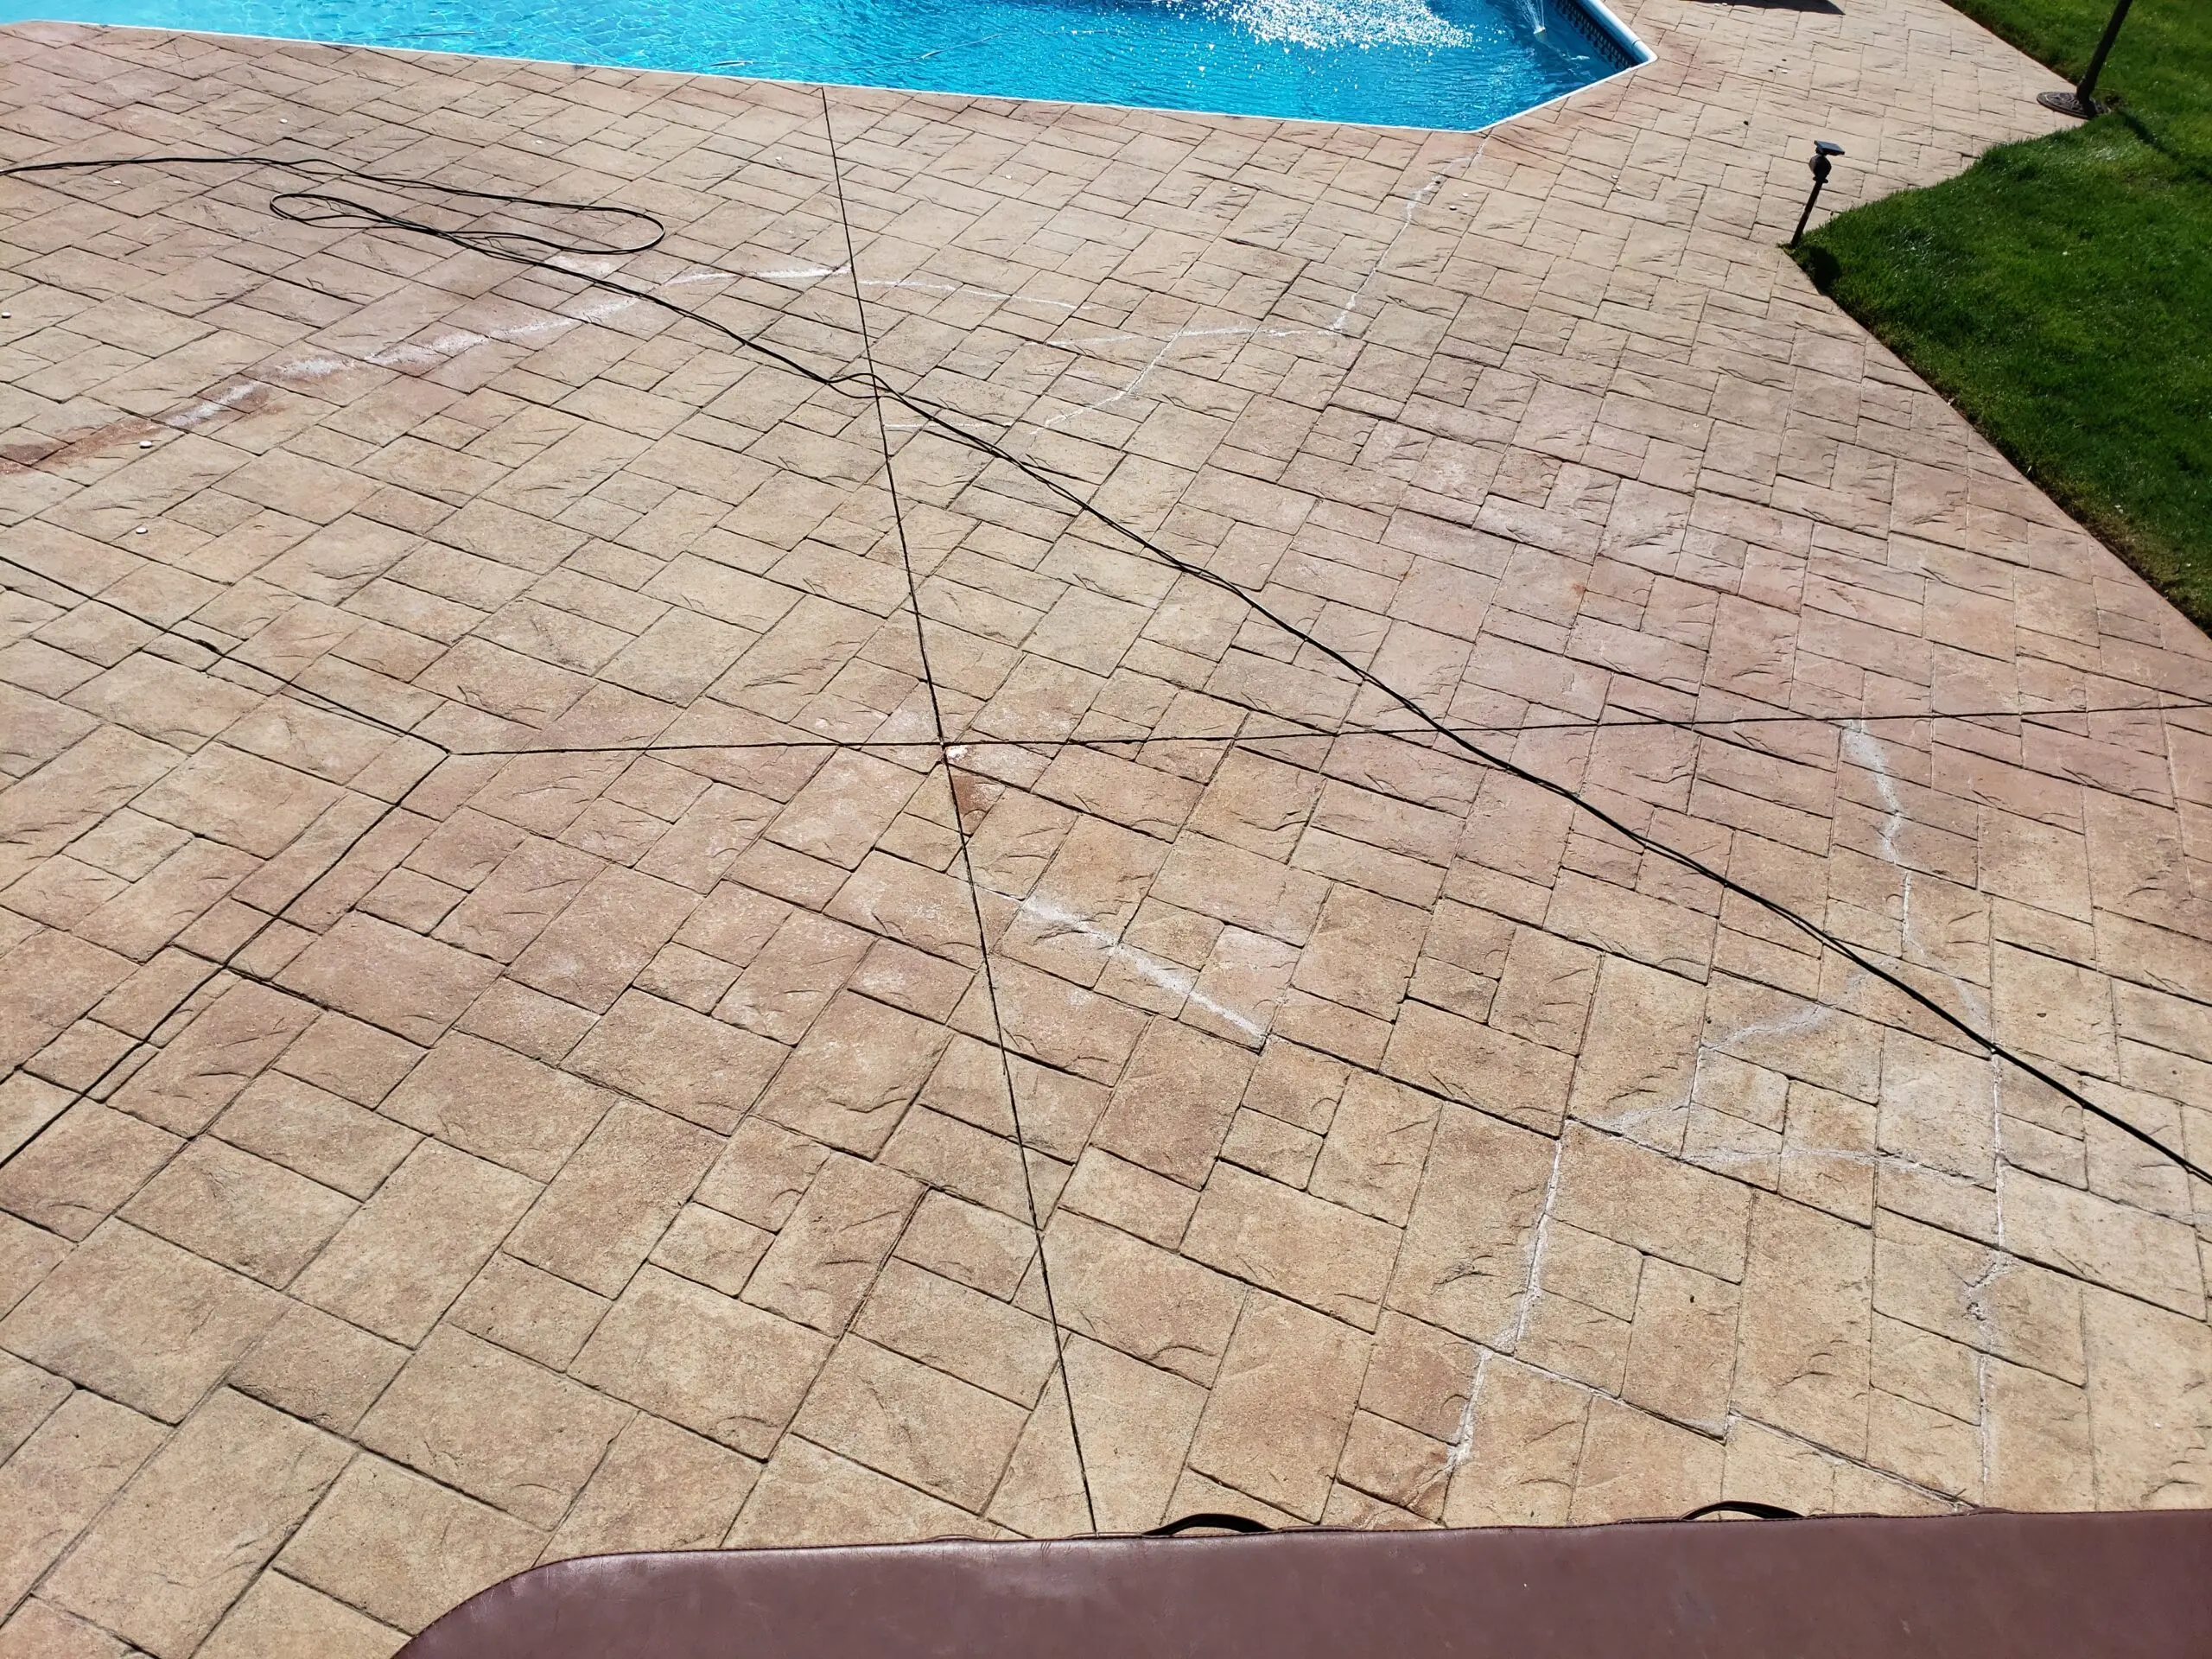
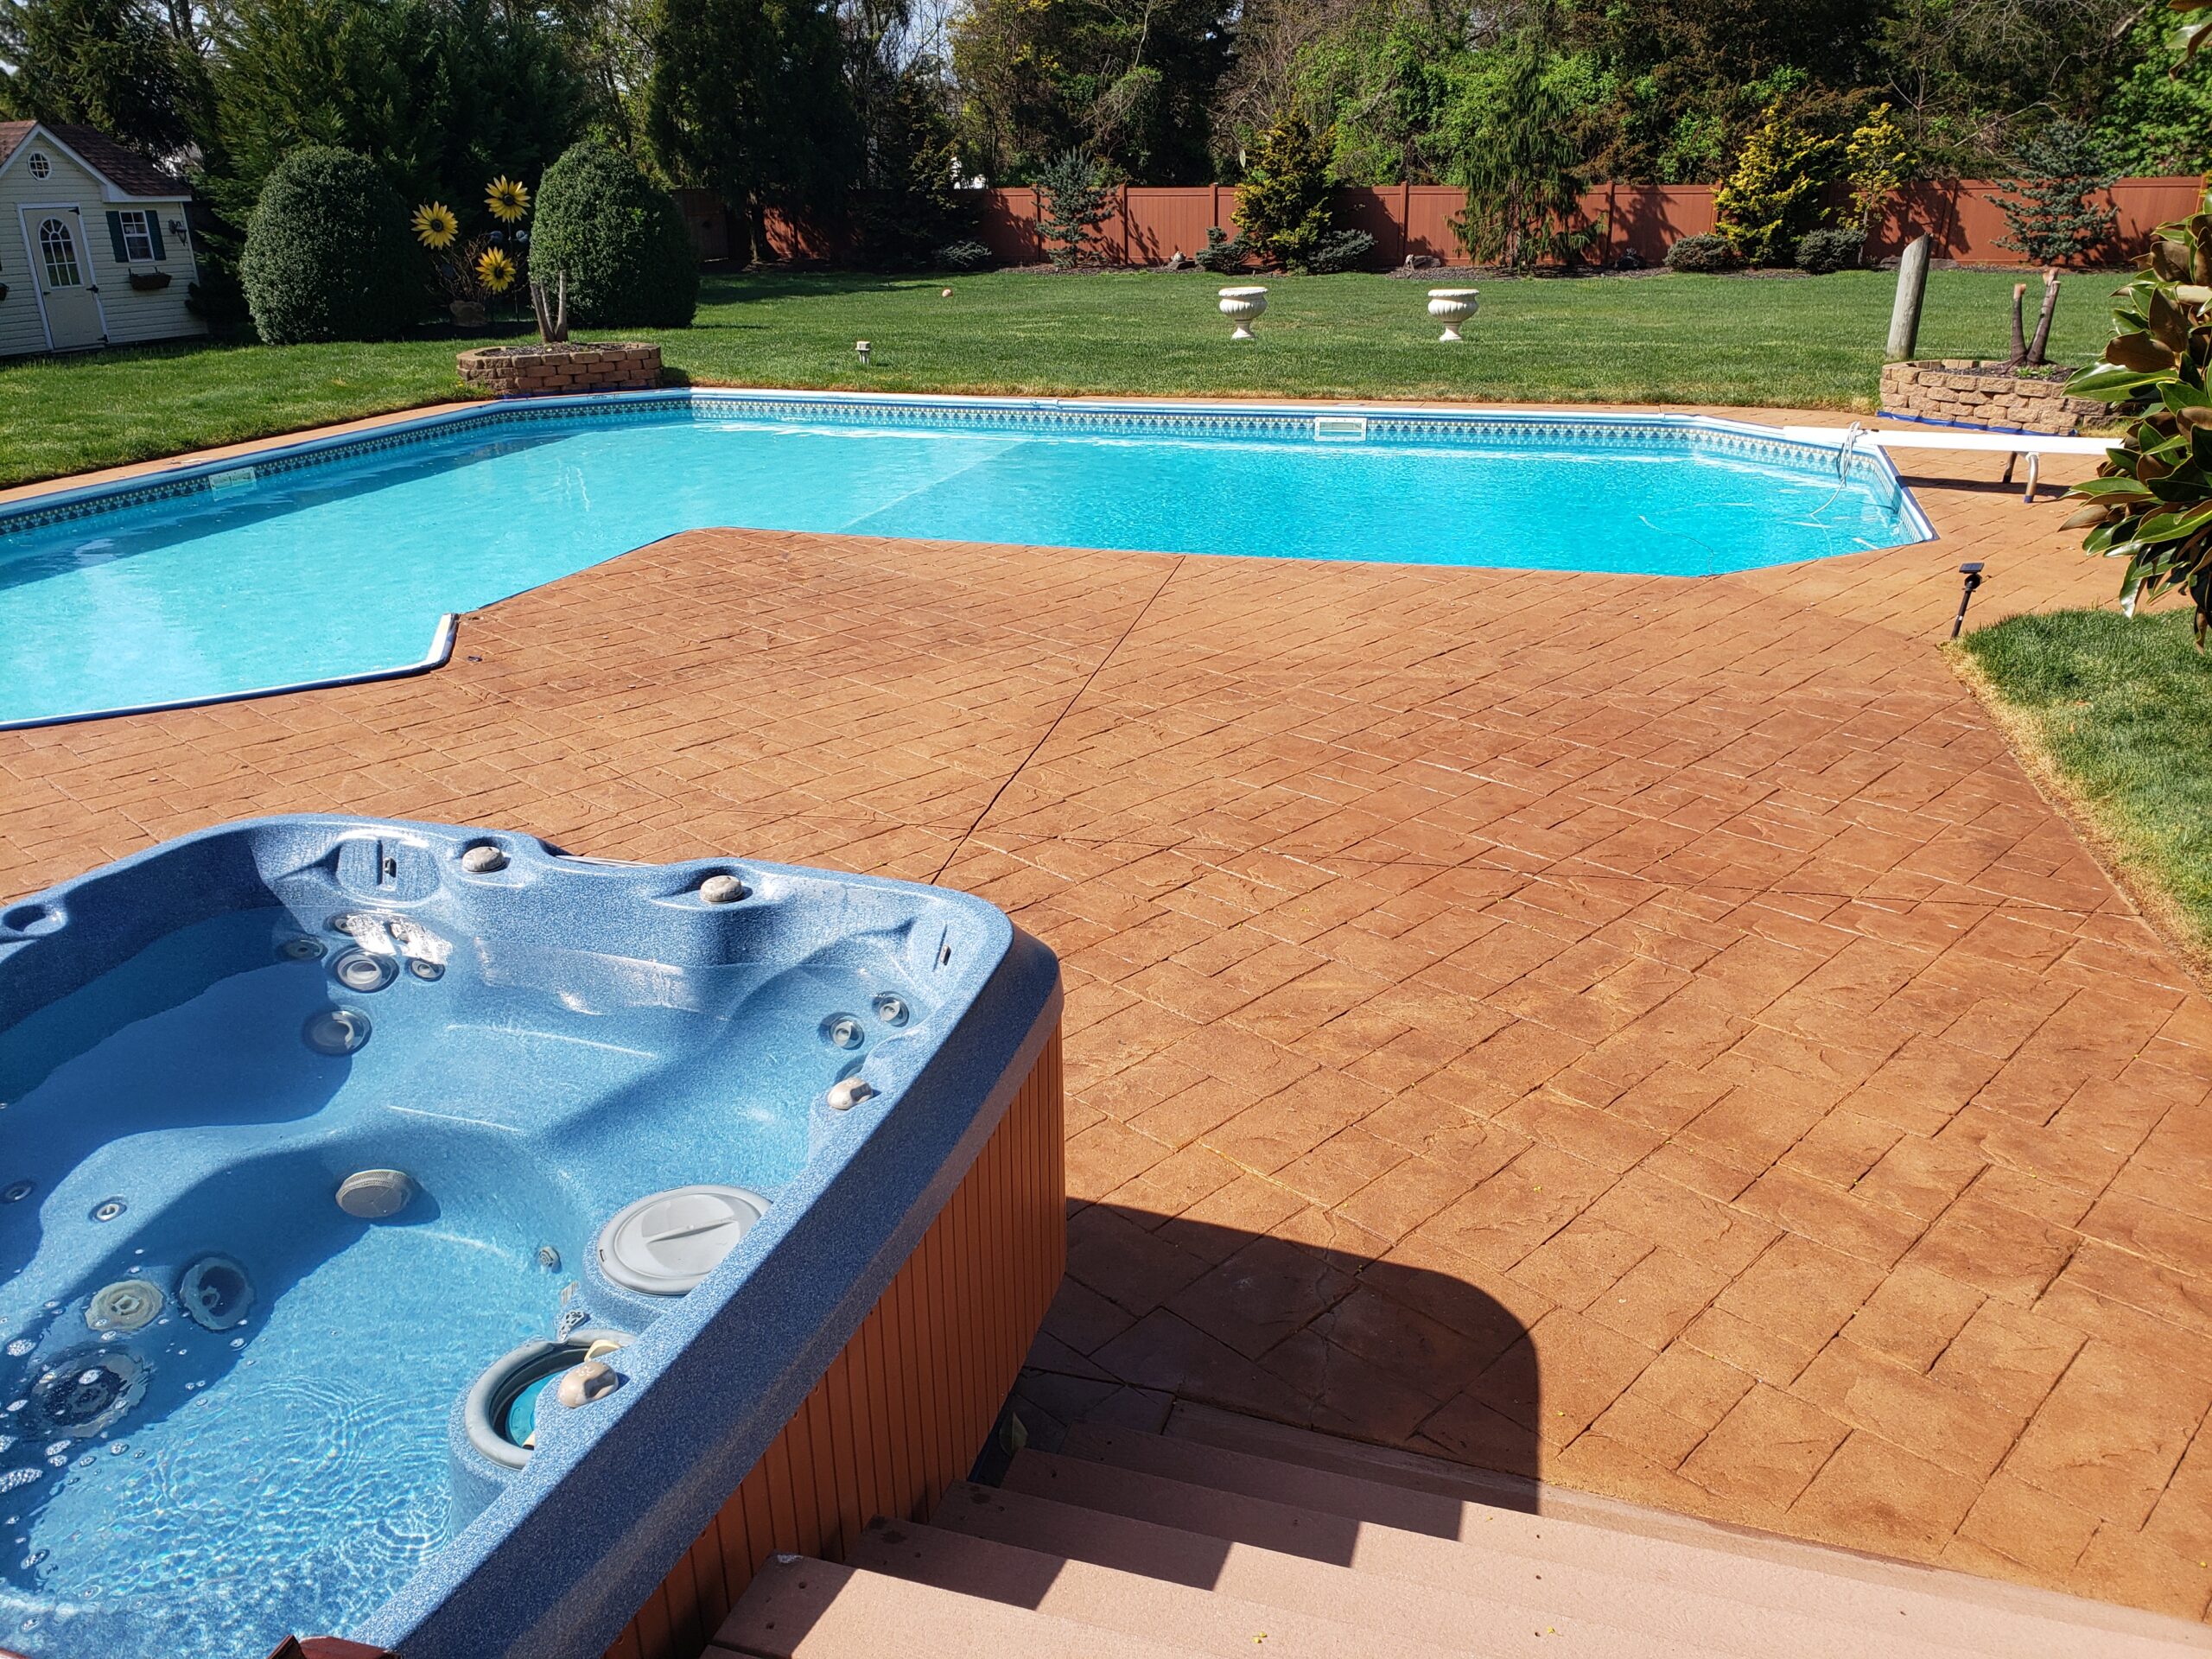
Imagine a stamped concrete pool deck, its last staining a distant memory from 10 years ago. That was our canvas, ready for a much-needed color revival. Armed with Direct Colors Cumin Antiquing Stain and satin EasySeal, we embarked on a DIY adventure of re-staining and sealing. The journey had its challenges – a crack sealer that defied our staining efforts, a failed paint job, and a grinding session that left us wanting more. But, as every DIY enthusiast knows, each project is a chance to learn. So, let’s dive in and learn from our staining saga, turning each stumble into a stepping stone for your own pool deck transformation!
Project Info:
- Project Completed In: 3 day(s)
- Estimate of Square Footage: 1200 sq. ft.
- Project Description:
Restraining stamped concrete around pool. It was last stained 10 years ago. - Personal Tips:
I used a crack sealer that stated it was paintable but found it didn’t pick up the stain. I tried painting over the filler which made it look even worse. Stripped the paint, tried grinding off the crack sealer, and sealing over it but I still wS not 100% happy. In retrospect, I would have used a different crack sealer and have been very specific in just filling the crack and not feathering it in. - Direct Colors Products Used:
3 x 5 Gal. Cumin Antiquing™ & EasySeal™ Satin Kit
3 x 16 Oz. Slip-Resistant Additive (5-gallon mix) - Other Products Used:
Rollers and trays from Home Depot
Sealing the Deal: A DIY Adventure in Reviving a Porous Concrete Pool Deck
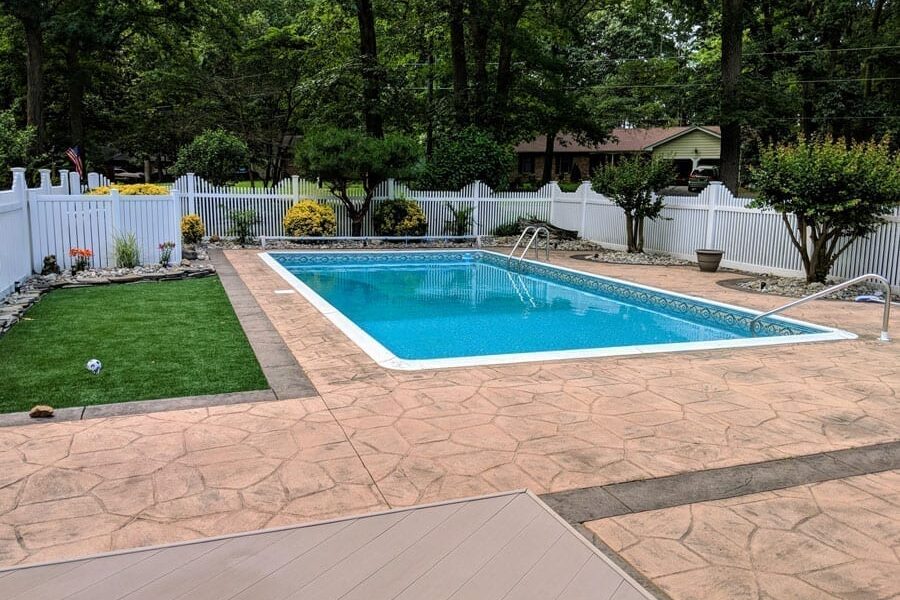
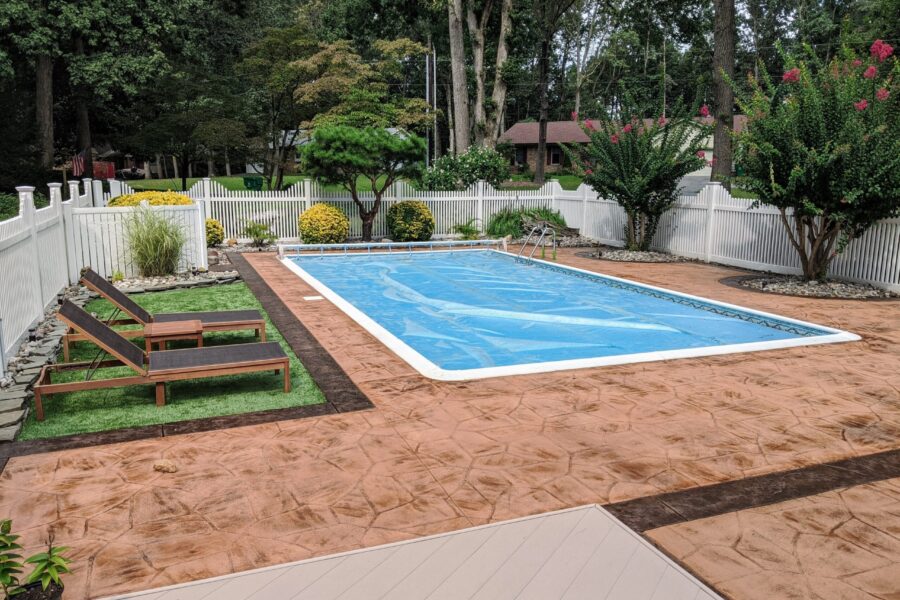
Ever wonder what it takes to breathe new life into a porous concrete pool deck? Join us on a DIY journey as we transform our pool deck with Direct Colors Antiquing Stain in Driftwood and Cumin, sealed with EasySeal Satin for lasting protection. With a power washer, a pump sprayer, and plenty of perseverance, we took on the challenge of stripping old sealer, degreasing, and sealing in layers. Sure, it took a little longer than we expected, and yes, we had to tarp off mid-project to wait for extra sealer, but the results were worth the wait! Dive in and discover how this week-long adventure turned a worn-out pool deck into a poolside haven, and pick up a tip or two for your own DIY project.
- Which Direct Colors products did you use?
- Antiquing Stain DIY Kit Antiquing Stain in Driftwood 3 gallons
- Antiquing Stain in Cumin 3 gallons
- EasySeal Satin Sealer 11 gallons (very porous concrete with 3 layers)
- What other products did you use to complete your project?
- Pump sprayer
- Painter’s solvent (xylene not available in my state) for clean up and previous sealer stripping
- Power washer
- How long did your project take to complete? Longer than anticipated, which is where my tips come in to play 1 week of stripping old sealer 1 day for Direct Colors ProClean Degreaser and drying overnight 3 days sealing 3 layers letting them each dry overnight (ran out of sealer and tarped off for 1 week before being able to apply more sealer in 2 more consecutive days)
- Personal tips about your project that may help another Direct Colors customer do one of their own. “Make sure you have proper measurements, and buy extra sealer for extremely porous concrete. It is better to have extra to have in the future to reseal than to run out and have to tarp off the project until you can get more. If you do not have to strip your old sealer, don’t!”
From Worn to Wow: Breathing New Life into a Faded Stamped Concrete Pool Deck
Imagine a pool deck clad in stamped concrete, its once vibrant colors now faded, worn, and a far cry from its glory days. That was our starting point – a canvas desperately in need of a makeover. With a power washer in hand and a commitment to thoroughness, we stripped away the old, worn-out sealer, prepping the surface for its transformation. Choosing a cool day to apply the stain and sealer with a handy 1-gallon pump sprayer, we successfully avoided any heat-induced bubbling. The outcome? A pool deck rejuvenated, now a delightful sight to behold. So, ready for your pool deck revival? Let’s dive into this transformation journey!
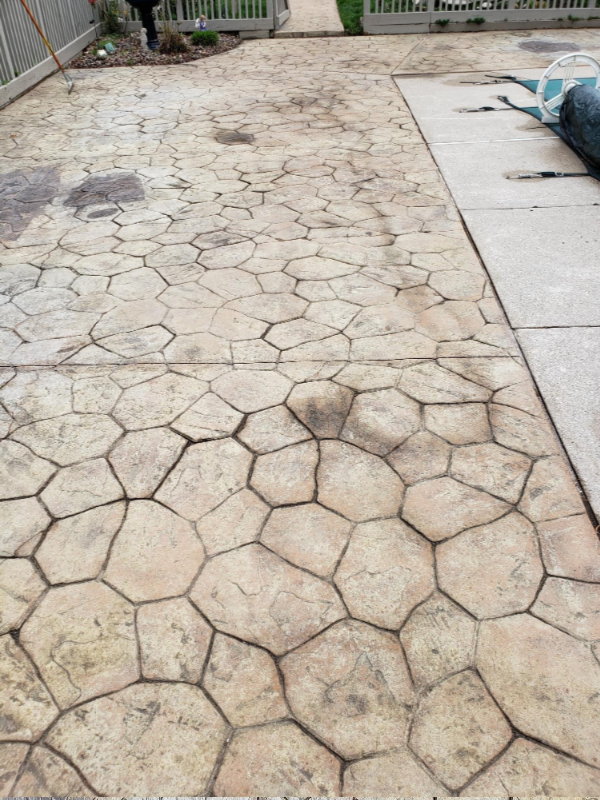
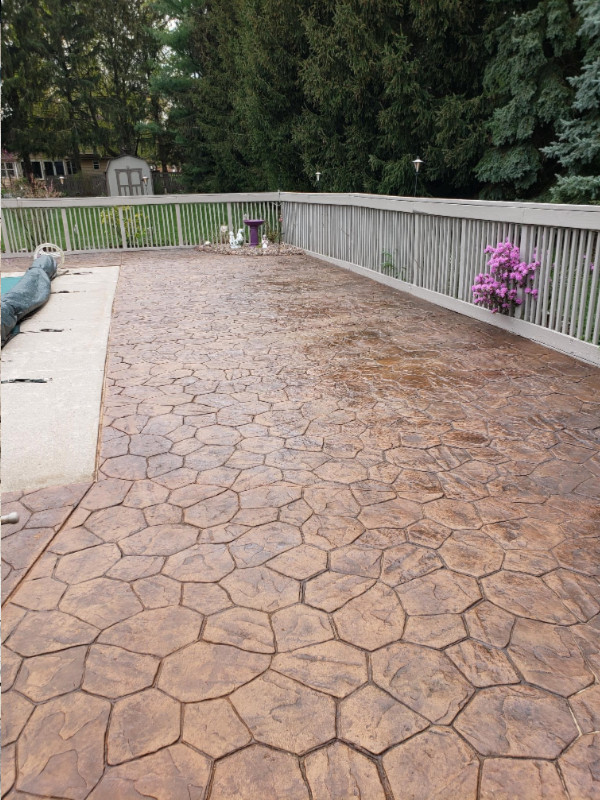
Project Info:
- Project Completed In: 2.5 day(s)
- Estimate of Square Footage: 1400 sq. ft.
- Project Description:
stamped concrete around pool deck - Personal Tips:
Make sure old sealer is completely warn off, power wash several times to remove old sealer. I applied both stain and sealer in a cooler day- mid 60’s, the low temperature seemed to help the sealer bond to the stamped concrete without bubbling from a high temperature. I applied both stain and sealer using 1 gallon pump sprayer, it was lighter to handle and carry during application. - Direct Colors Products Used:
3 x 5 Gal. Cumin Antiquing™ & EasySeal™ Satin Kit
3 x 16 Oz. Slip-Resistant Additive (5-gallon mix)
Dual-Tone Delight: A Poolside Concrete Transformation
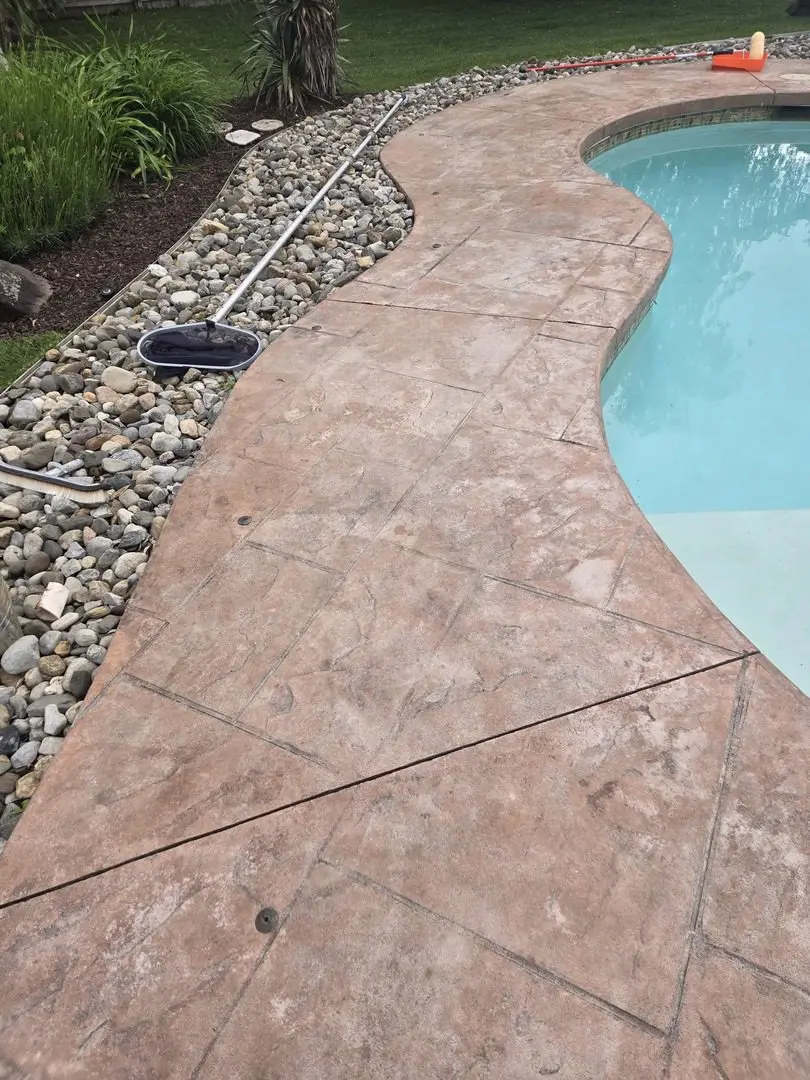
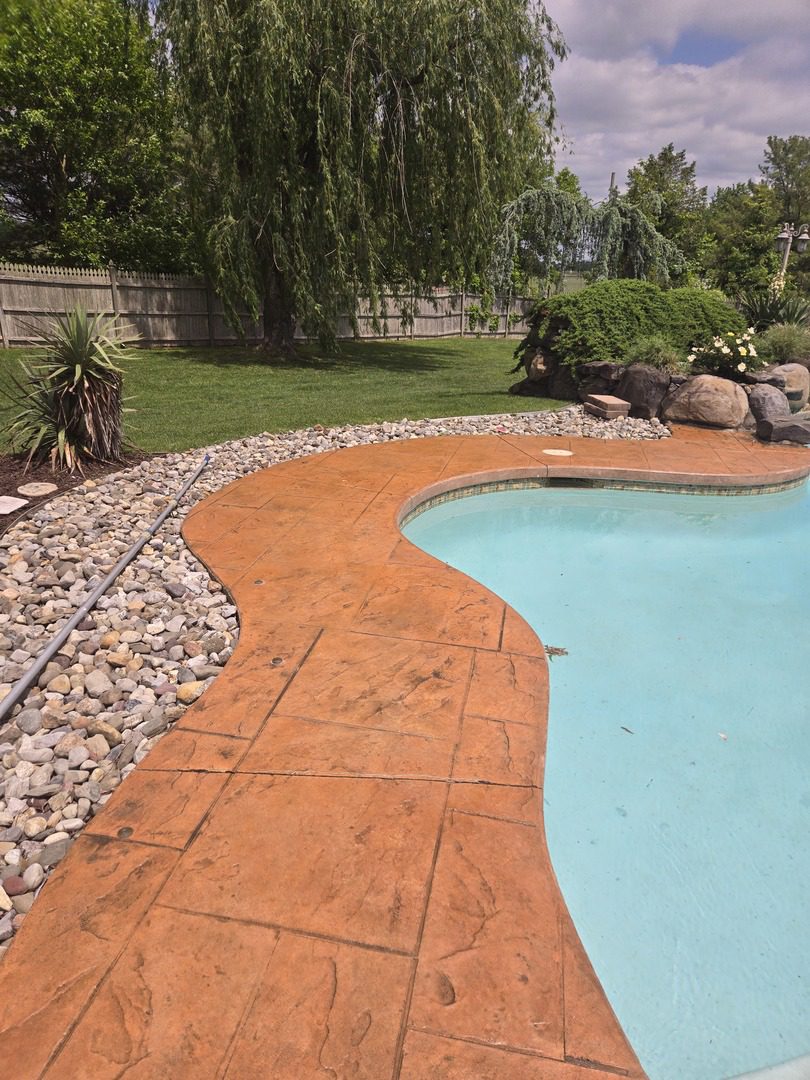
Dive into a project featuring a fresh concrete pool surround, artfully stained in a mottled blend of Terracotta and Driftwood Antiquing stains. After patiently allowing the concrete to cure, a stunning two-toned look was achieved. The key to success? Preparation! Experience the creation of a vibrant, textured poolside retreat that’s sure to inspire your next DIY project.
Sealing the Show: A Solo Journey to Revive a Stamped Concrete Pool Deck
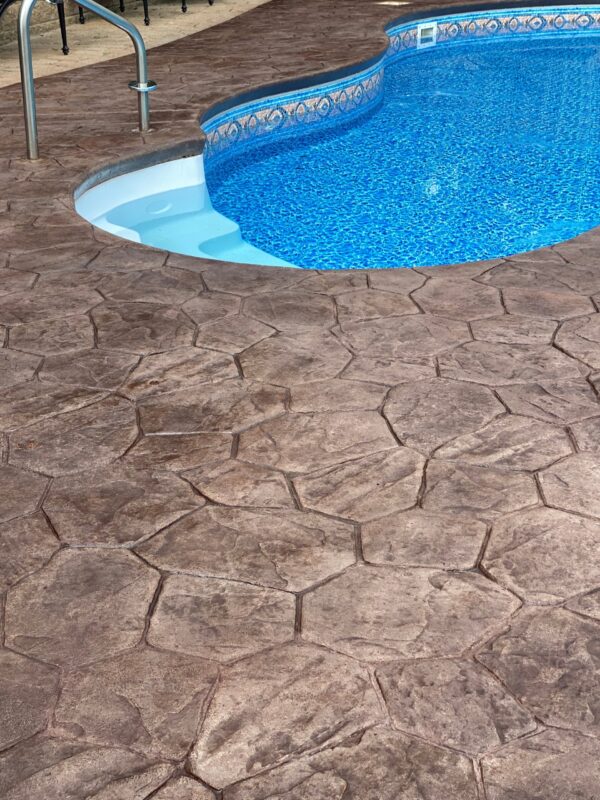
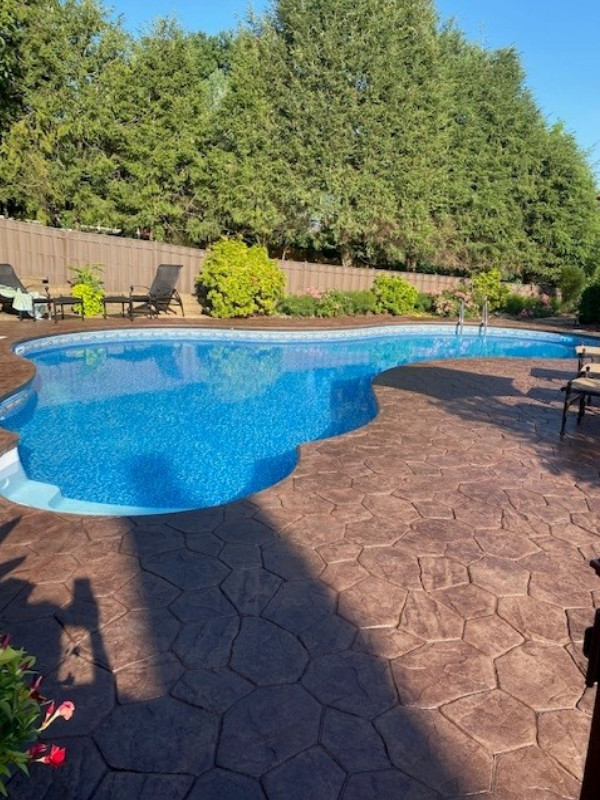
Imagine a 13-year-old stamped concrete pool deck, its surface scarred by years of staining and sealing with mismatched materials. That was our DIY battleground, calling for a restoration mission that spanned over a month of nights, weekends, and sunny days in rain-prone Pittsburgh. With a power washer, Citrus Strip and Peel, and the reliable duo of Antiquing Stain (Aztec Brown) and EasySeal Satin Sealer, the deck underwent a three-coat makeover that brought it back to its former glory. The result? A stunning transformation achieved single-handedly by a DIY novice. So, ready to pick up that gallon of stain and take on your pool deck project? If we can do it, so can you! Let’s dive into this DIY adventure together.
Project Info:
- Project Completed In: 5 day(s)
- Estimate of Square Footage: 600 sq. ft.
- Project Description:
I have stamped concrete that needed stripped and power-washed (this was a project of 13 years of stain and sealer from other vendors materials that needed removed), It took at least a month from being only able to work during nights and weekends and non-raining days. Otherwise I had almost a week in a 1/2 to stain and finish waiting for a sunny/clear day (we get lots of rain in Pittsburgh). I think it took a total of 5 days cause I ran out of materials and needed to re-order. and the concrete was so porous I needed three coats. Stain dried fairly quickly and sealer took two days in between to dry applying two coats. - Personal Tips:
Don’t be hesitate to put that third coat on to achieve your look. I got exactly what I wanted and so happy and proud. I am one person (a woman) who was able to take on this project and do it alone (never once have I lifted a gallon of stain or applied it, and if I can do it, you can too! - Direct Colors Products Used:
1 Gal. Aztec Brown DIY Antiquing™ & EasySeal™ Satin Kit
5 Gal. Aztec Brown Antiquing™ & EasySeal™ Satin Kit
16 Oz. Slip-Resistant Additive (5-gallon mix) - Other Products Used:
citrus strip and peel for stripping and a power washer
Bringing Back the Brown: A Stamped Concrete Pool Deck’s Return to Radiance
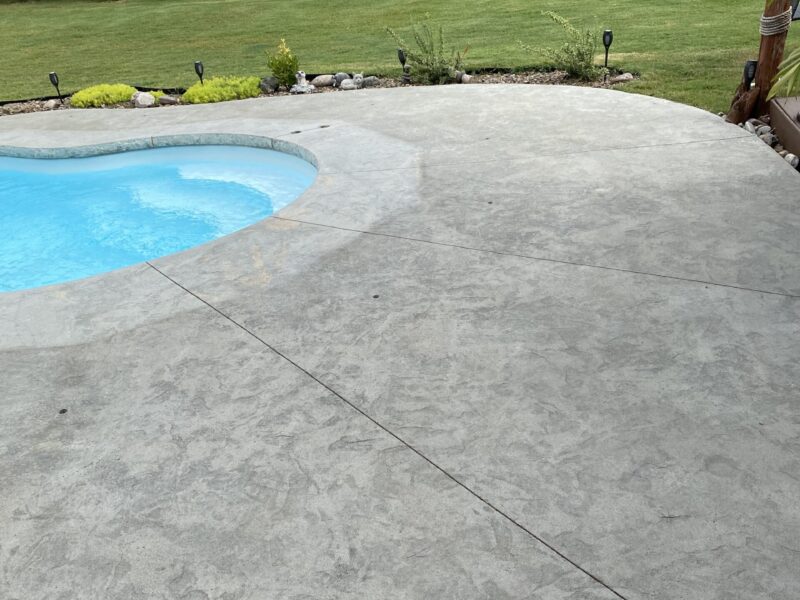
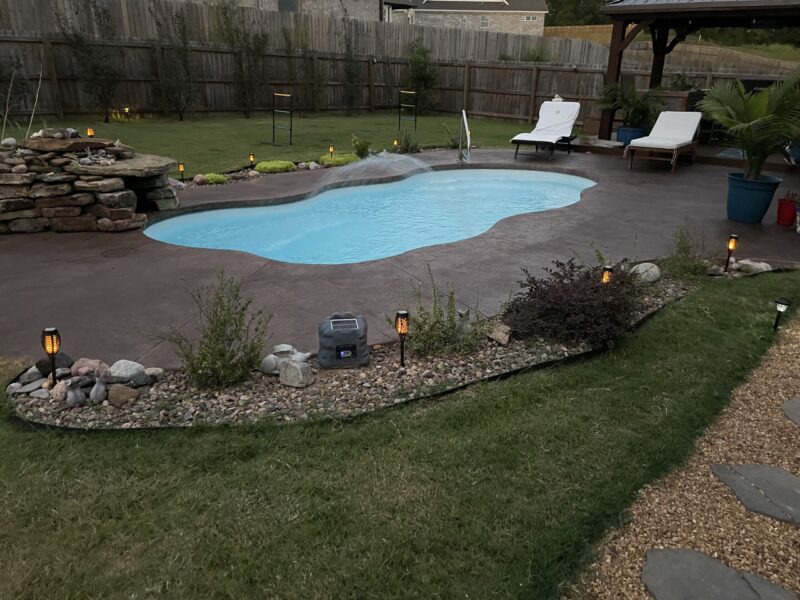
Picture a pool deck, its once crisp stamped concrete now marred by unsightly stains and discoloration. With pressure washer in tow, we scrubbed away years of wear and tear, prepping the deck for its vibrant comeback. The magic potion? Aztec Brown Antiquing stain, followed by a protective layer of AcquaSeal Sealer. The transformation was nothing short of astonishing! With a sprayer as our weapon of choice and a few handy tips up our sleeves (like turning off that pool filter system), we turned this worn-out pool deck into a stunning aquatic stage. Ready for your own pool deck revival? Join us on this DIY journey and let’s make your pool deck the star of the show!
Project Info:
- Project Completed In: 3 day(s)
- Estimate of Square Footage: 250 sq. ft.
- Project Description:
Our pool deck was just plain cement and it was very stained and discolored.
After pressure washing the area and letting it dry for 3 days, we applied the Aztec Brown, let it dry for 24 hours, and then applied the second coat.
After 24 more hours, we used the AcquaSeal Sealer. - Personal Tips:
Spraying the color versus wiping it on is definitely the way to go. Turn off your pool filter system until the job is complete, just in case you overspray your sealer. We have a salt water pool and the sealer solidified on the surface of the pool, but was easily removed using the net skimmer. - Direct Colors Products Used:
1 Gal. Aztec Brown DIY Antiquing™ & EasySeal™ Satin Kit
16 Oz. Slip-Resistant Additive
Golden Glow: A First-Time Staining Success Story
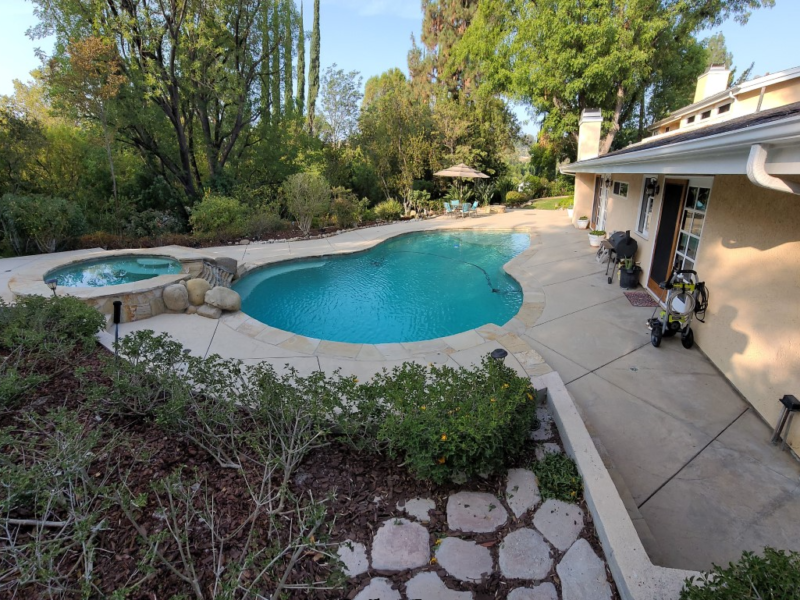
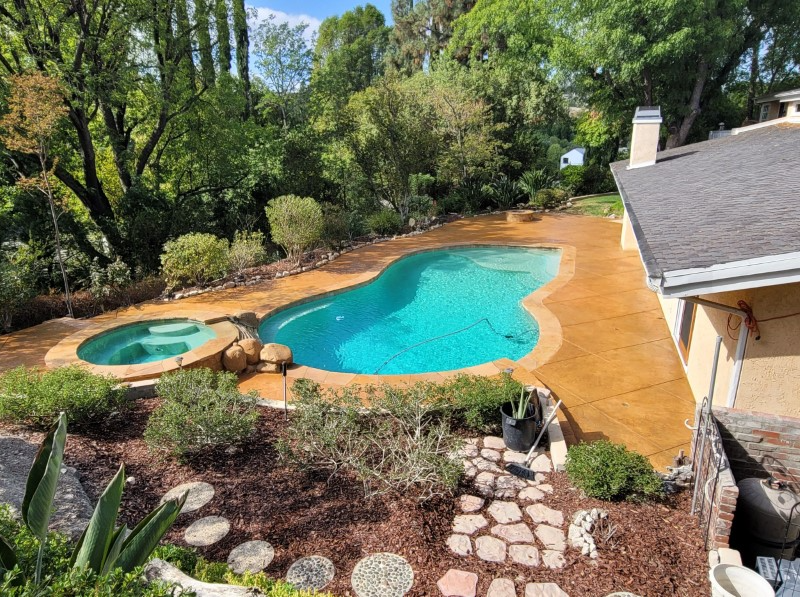
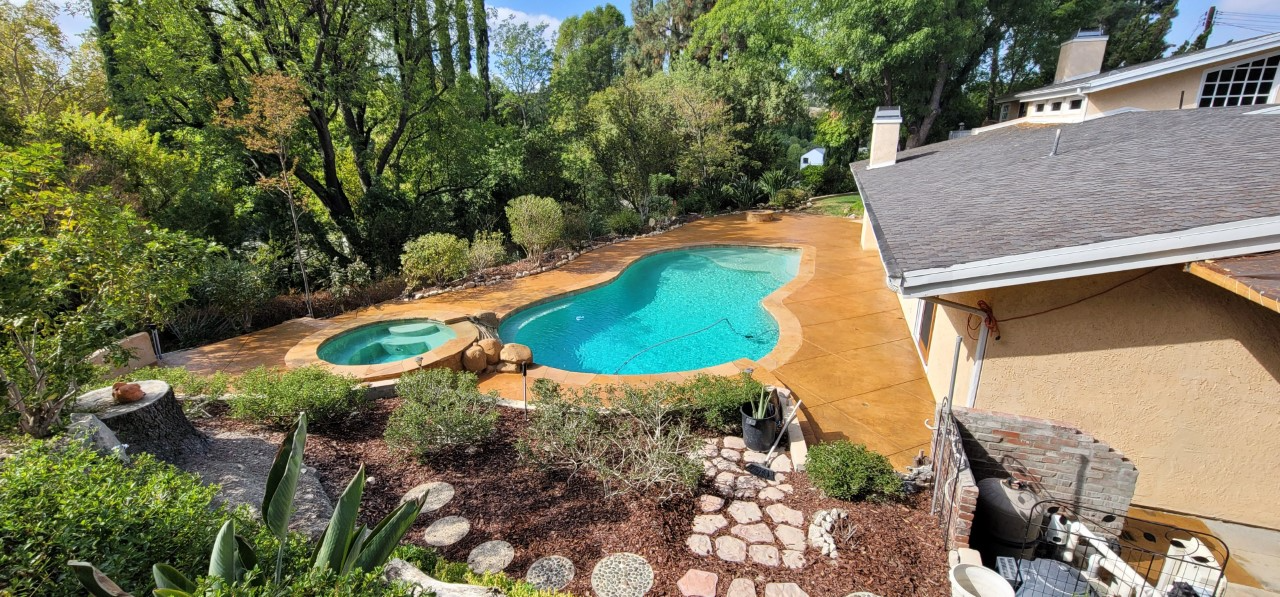
Follow a DIY novice as they venture into their first staining and sealing project on a 2000 sq. ft. outdoor stamped concrete space. With a fading backyard and determination, they navigate through Direct Colors’ resources, opting for Yukon Gold Antiquing Stain and Solvent Based Acrylic Satin Concrete Sealer. Learn from their seven-day journey – from power washing to final sealing, their trials with a nap roller, and eventual triumph with a pump sprayer. Their key to success? Proper surface prep and the right tools. The outcome? A beautifully revived backyard concrete haven.
Project Info
- Project Completed In: 7 days
- Estimate of Square Footage: 2000 sq. ft
- Project Description:
This was my first experience staining and sealing outdoor stamped concrete. After doing a little research online, I found Direct Colors. Their website was easy to navigate with all the resources and products necessary to get the job done.
I emailed them for a project consultation and received a response the very next day with the answers to all my questions, along with the links to everything I needed to get the job done. I wanted to stain and seal approximately 2,000 sq ft of stamped concrete in my backyard that had faded over a 10-year period. I immediately ordered the Direct Colors sample kit and decided to go with the Yukon Gold Antiquing Stain and the Solvent Based Acrylic Satin Concrete Sealer. Prior to staining and sealing,
I power washed the concrete, making sure it was completely clean. As soon as that dried, I was ready to apply the first coat of stain. Considering this was my first time staining and sealing concrete, the project went quite smoothly and I was extremely happy with the overall results. I was a little reluctant to use the pump sprayer at first, as I thought I would end up putting too much on and wasting a lot of product, so I decided to apply the stain and sealer with a nap roller, around the pool and fire pit area.
After finishing that section, I decided to use the pump sprayer to finish the rest of the concrete starting by the big tree in my pictures and ending at the gate, on the other side of the house. Glad I did, because using the pump sprayer vs. the nap roller was like night and day. The amount of area I covered using the nap roller, I did in a fraction of the time using the pump sprayer. The whole project took me about 7 days, where I probably spent 4 of those days working and the rest, allowing the stain and sealer to dry.
- Personal Tips:
Buy a pump sprayer. The time it took to spray the stain and sealer vs. rolling with the nap roller was like night and day. (Important Note: If you have acetone based dyes in your stain or sealer, buy a pump sprayer that’s acetone resistant, otherwise the acetone will ruin the sprayer hose, seals and gaskets.)
Surface preparation is extremely important when it comes to your final overall look. - Direct Colors Products Used:
4 x 5 Gal. Yukon Gold Antiquing™ & EasySeal™ Satin Kit
4 x 16 Oz. Slip-Resistant Additive (5-gallon mix) - Other Products Used:
2300 PSI power washer
Paint Stripper for concrete
Concrete Cleaner and Degreaser
Paint brush
Scrub brush
Stamped Concrete Pool Patio Restoration with Yukon Gold EasyTint™ Tinted Sealer
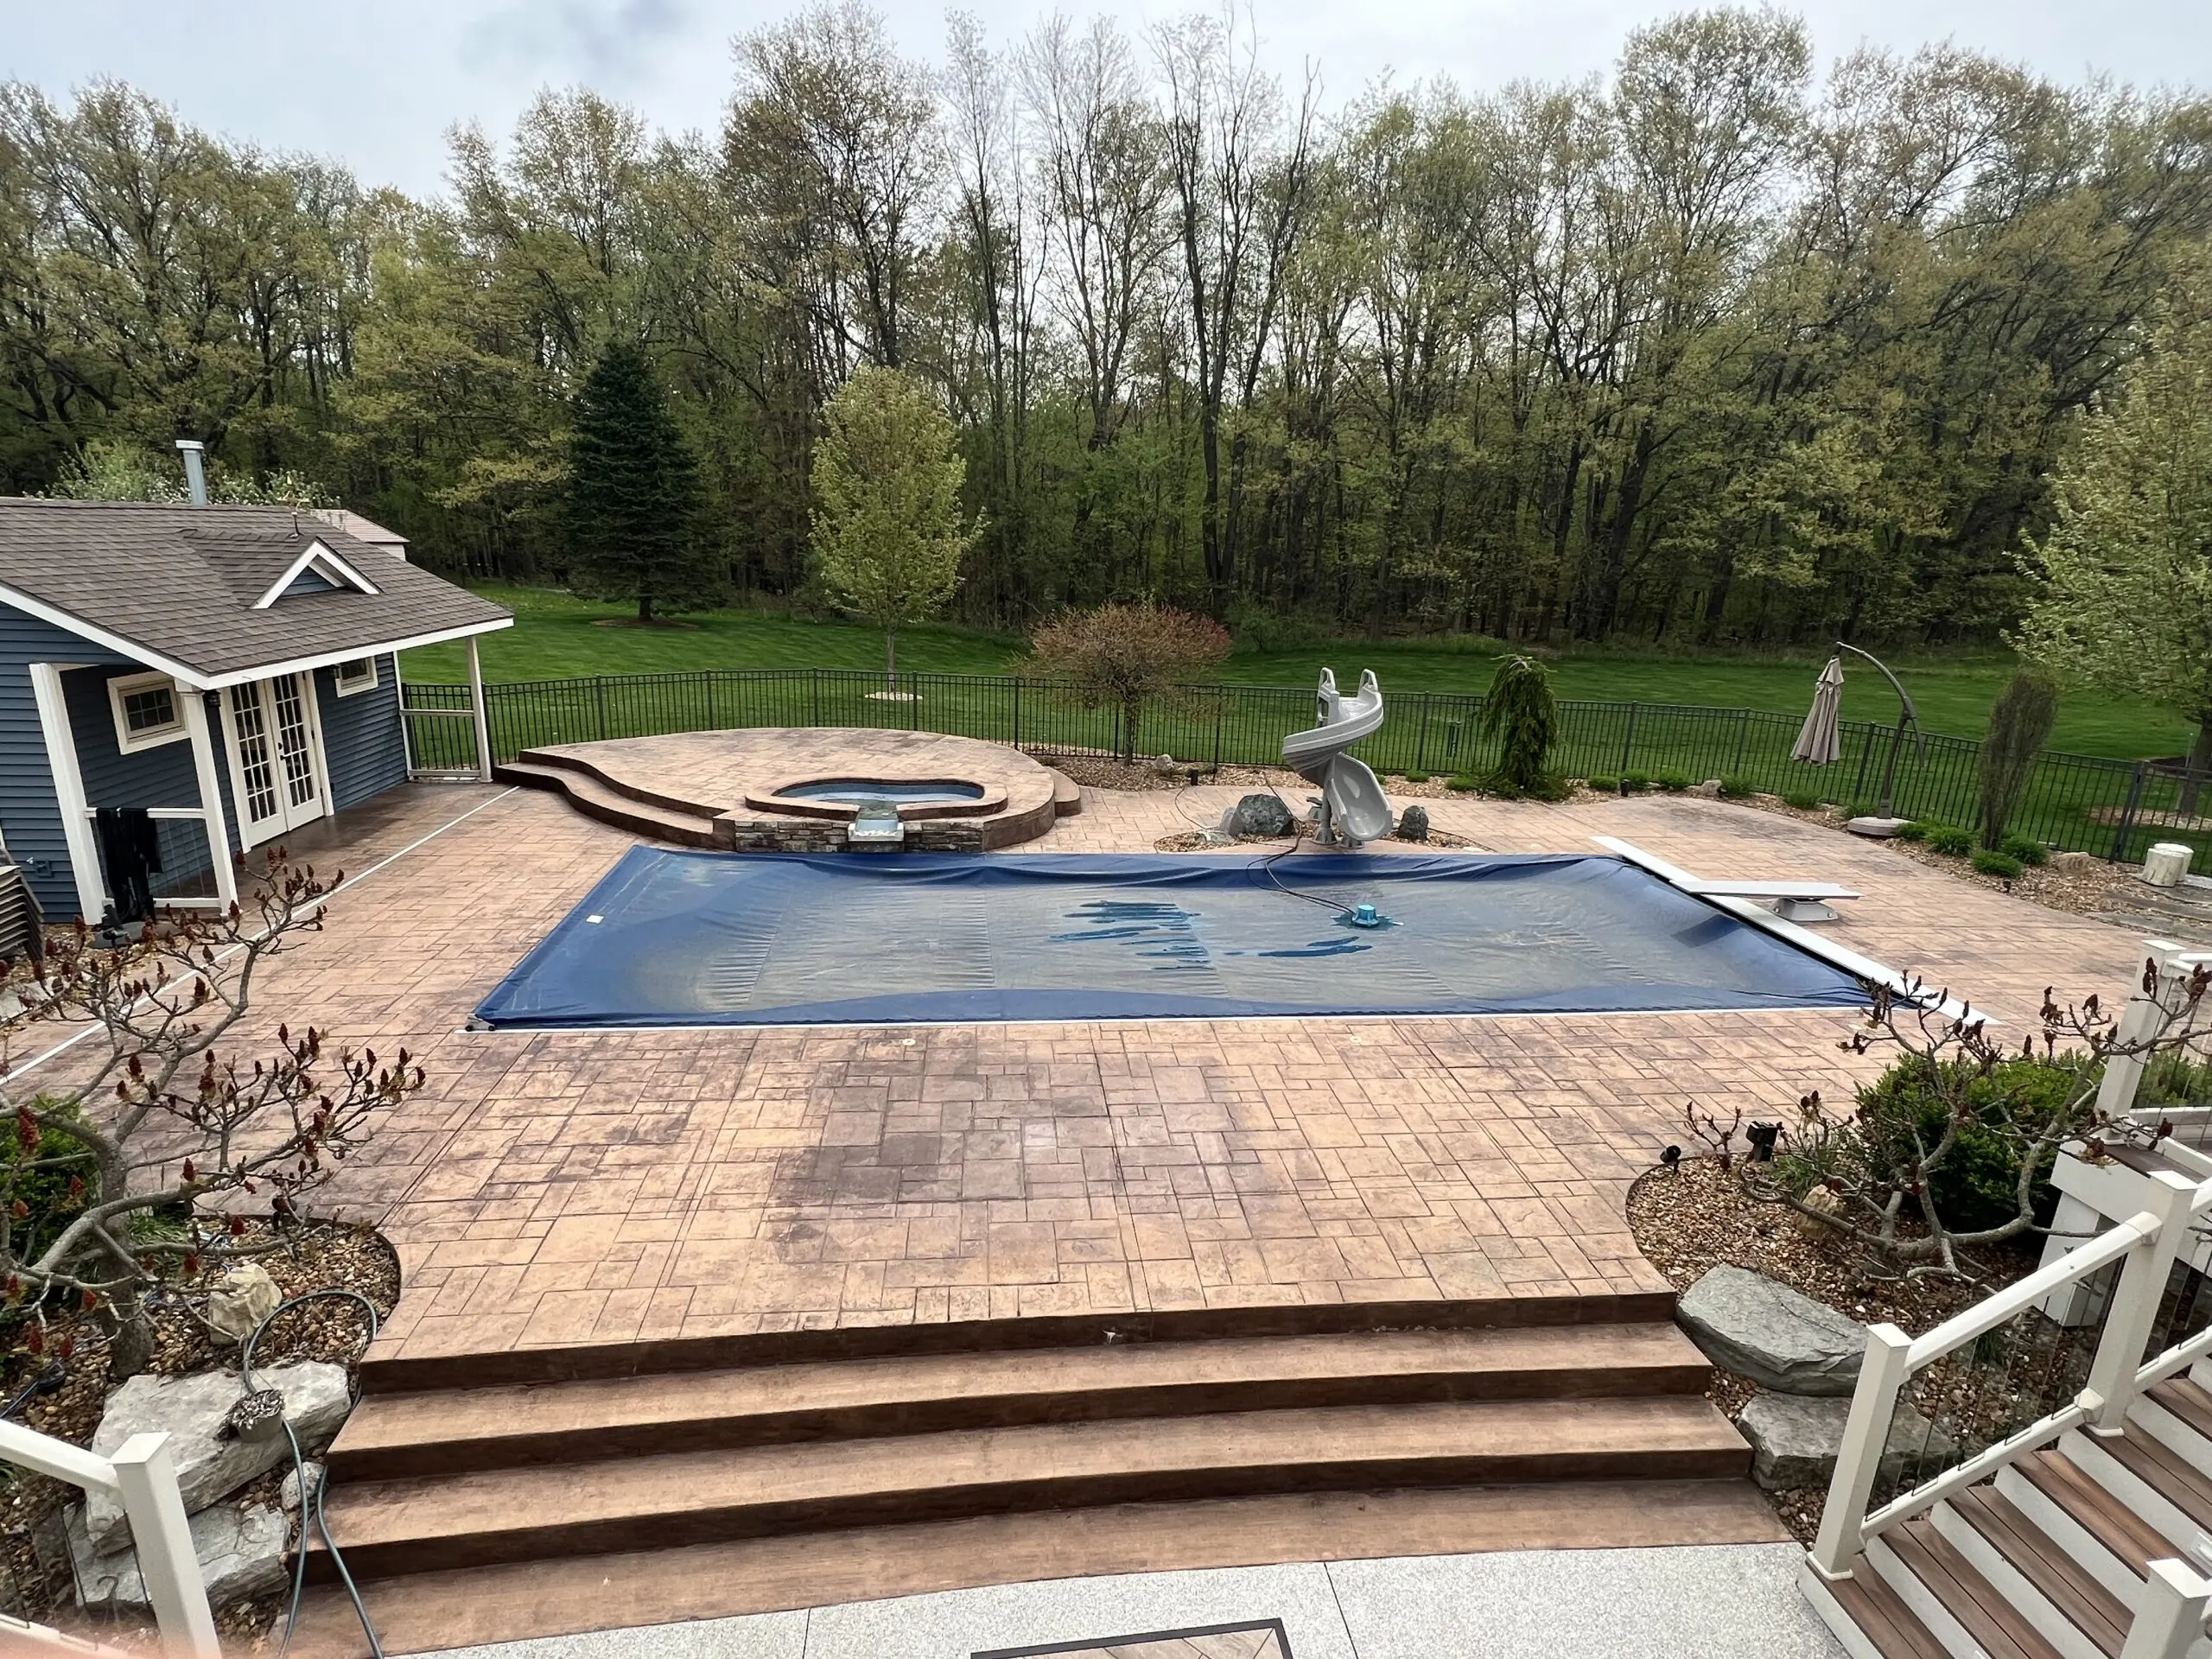
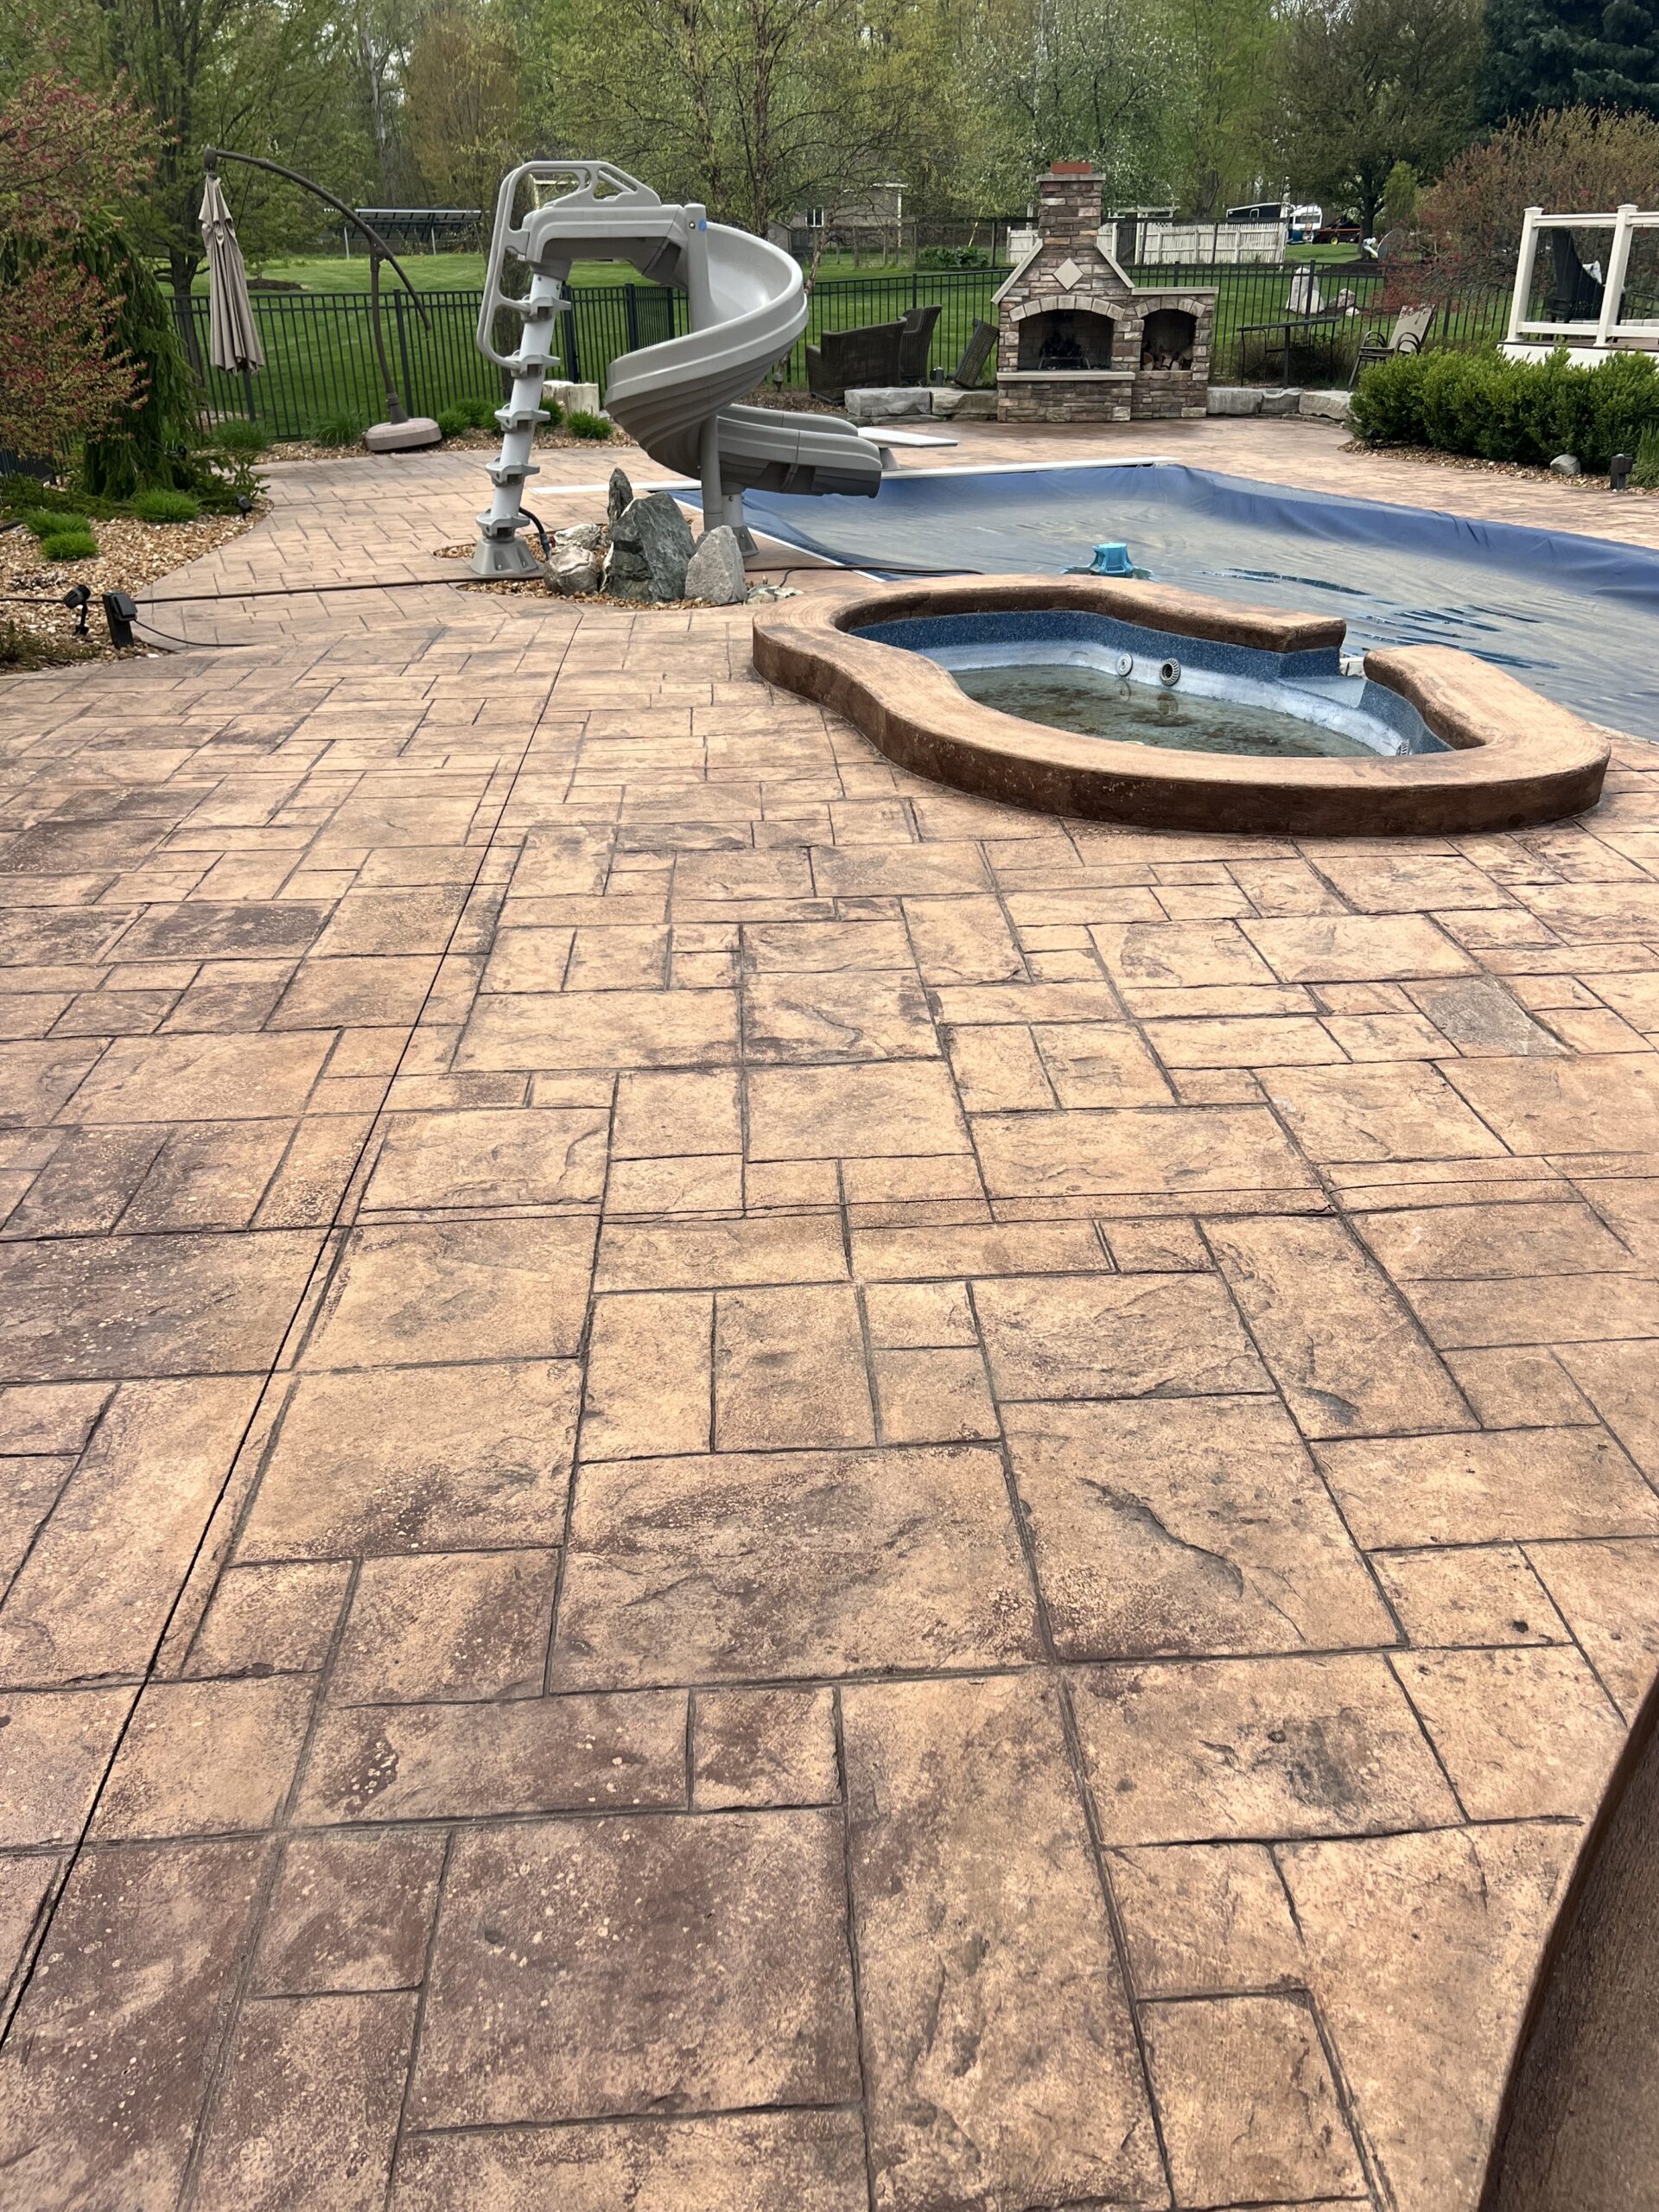
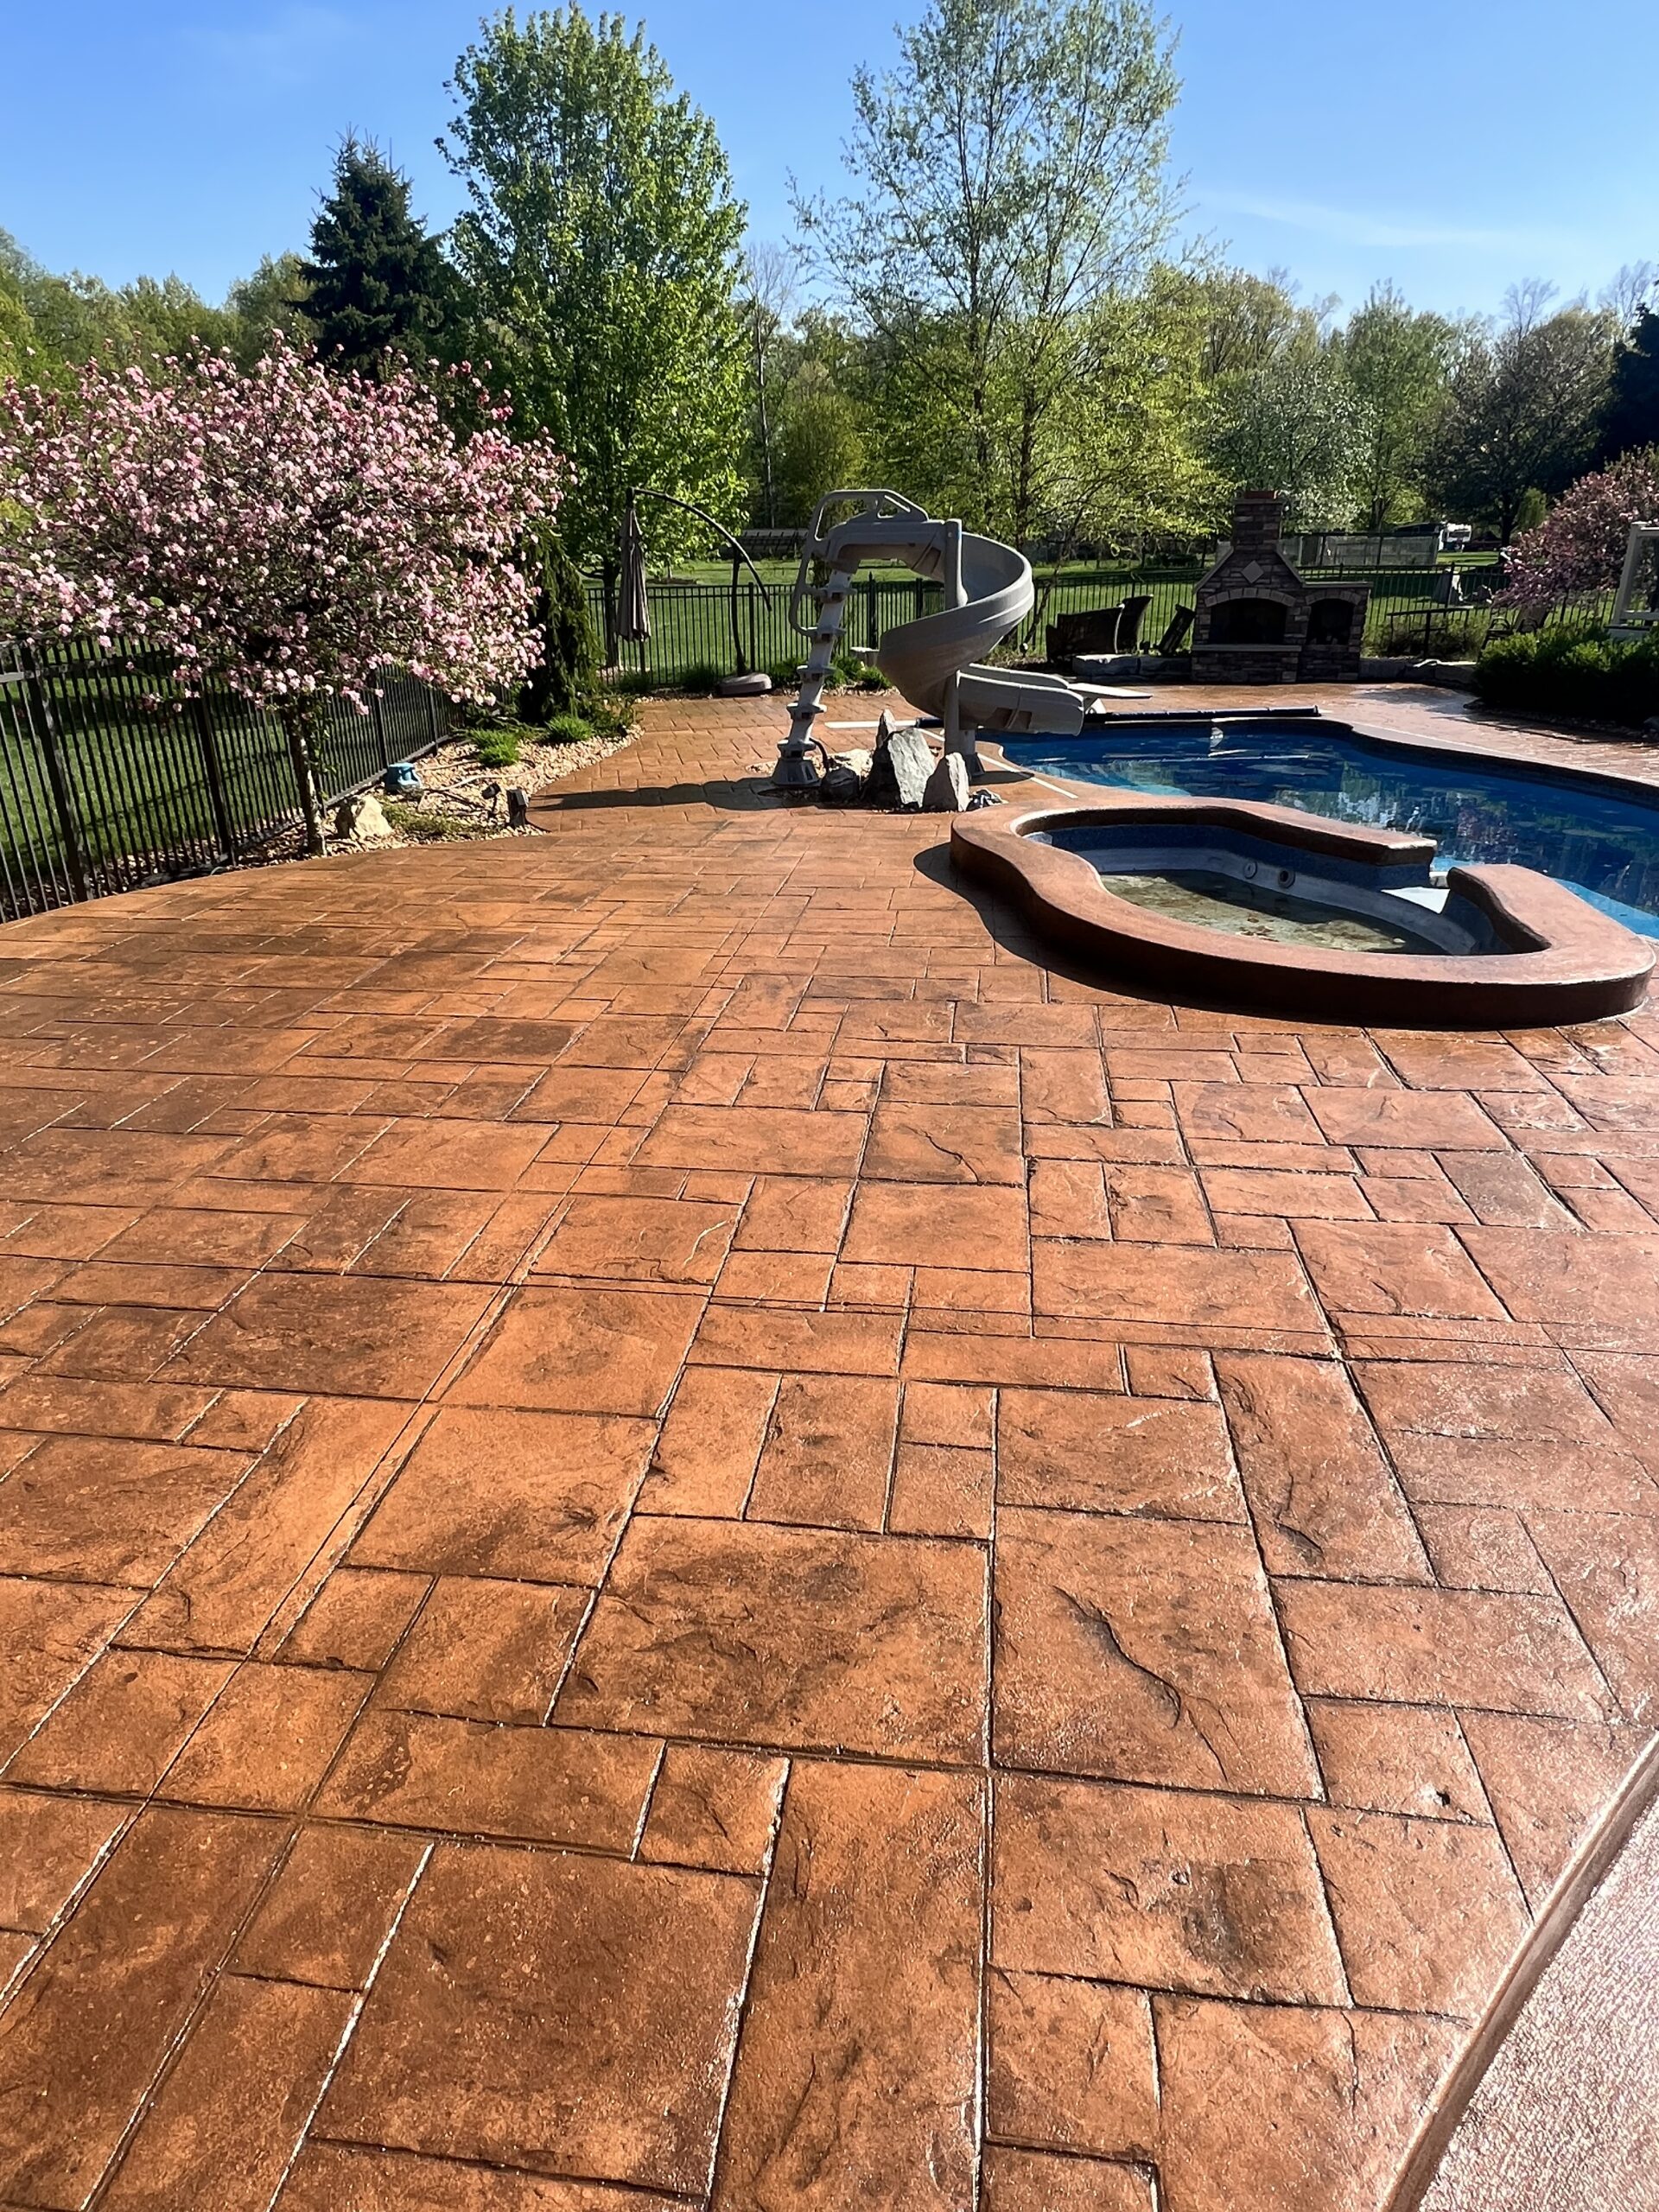
This Michigan pool patio was restored with Yukon Gold tinted sealer to withstand harsh weather and salt water. After applying two coats of tinted sealer and a clear satin coat, the patio now has a fresh, warm look. The DIY project took 20 hours and transformed the outdoor space into a vibrant backyard.
Project Info:
- Project Completed In: 3 day(s)
- Estimate of Square Footage: 1400 sq. ft.
- Project Description:
Our Michigan pool patio takes a beating with winters, wind, rain and salt pool water. We used direct color 5 years ago using tinted sealer with a clear coat top and it held up, more so under rugs and furniture as you can see in the darker spots on the before pic. We had done a darker stain then but the patio gets to be around 130 degrees in peak summer days, so we picked Yukon Gold this time for a warmer still brown, less dark option. We applied 2 coats of easy seal tinted sealer on separate days and the 3rd day we used the easy seal clear satin coat. Without a sprayer, we rolled and filled in the stamped concrete with 3/8 in paint rollers and paint brush for those hard to reach spots. This application took two people a total of 20 man hours for the area we had. We used 10 gallons of tinted sealer and about 3 gallons of clear sealer to coat. I am beyond thrilled with the result and feel like I have a brand new backyard again! - Personal Tips:
If you don’t have a good sprayer, we found the sealer just clogs and wasn’t worth the time spent, which is why we rolled it and also didn’t have to worry about over spray. 18in rollers were great at getting more area done quickly and if your patio gets too hot and your coat gets too thick, you will have bubbling, but to me, it’s always better looking than the original anyway. - Direct Colors Products Used:
2 x 5 Gal. Yukon Gold EasyTint™ Satin
2 x 5 EasySeal™ Satin Concrete and Paver Sealer
2 x 16 Oz. Slip-Resistant Additive (5-gallon mix) - Other Products Used:
Just paint supplies, rollers, brushes, sponges, rags, gloves, tarp
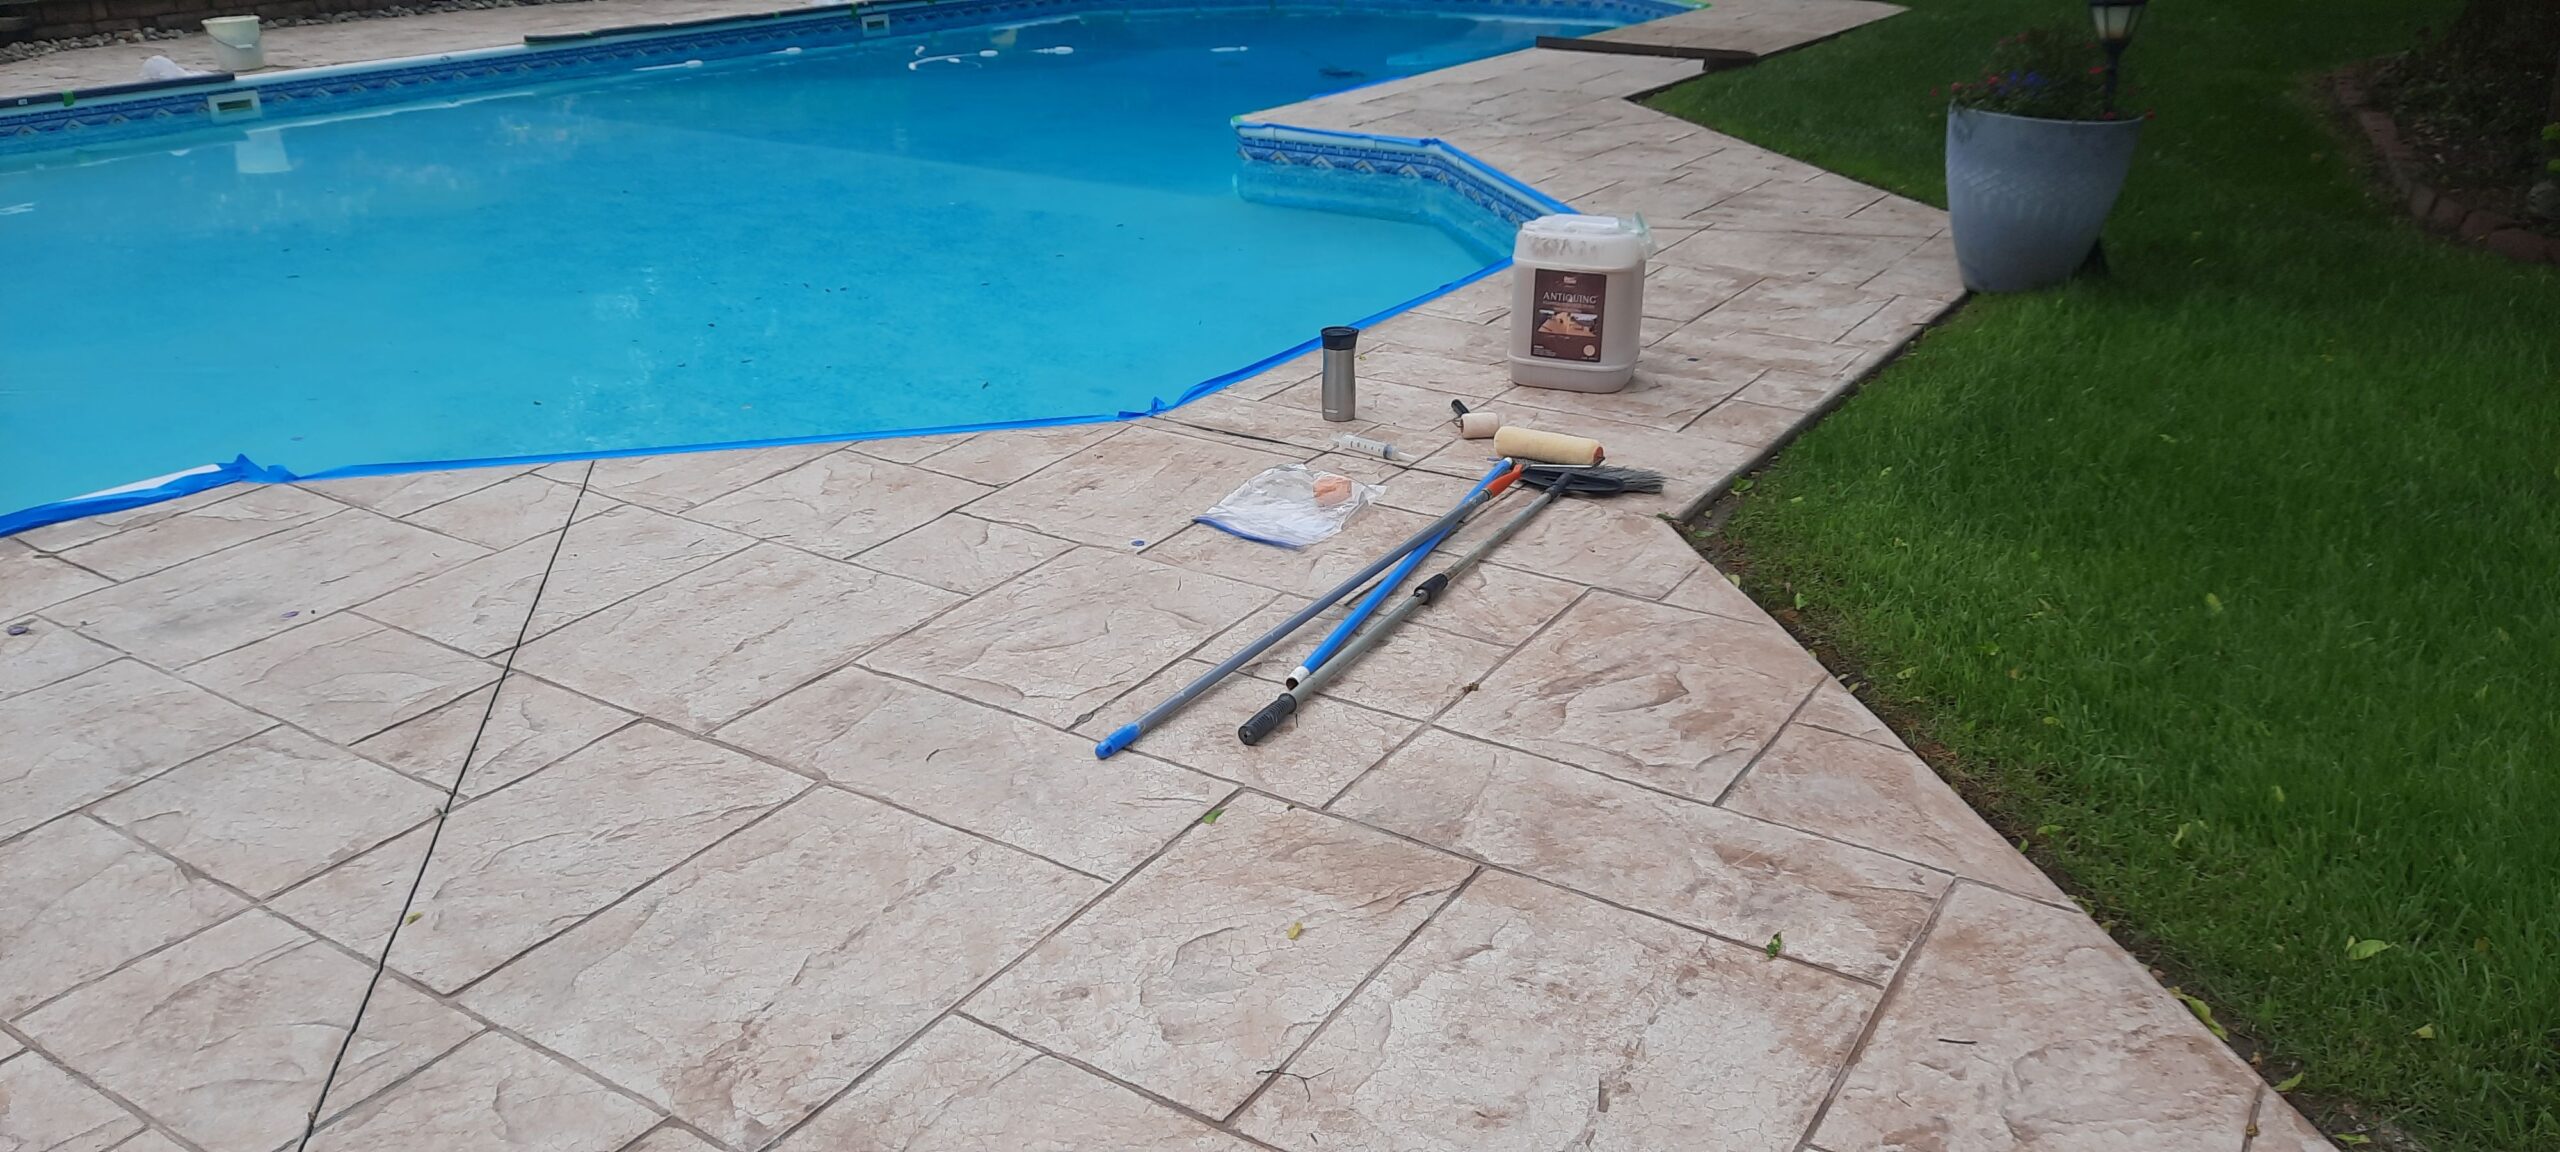
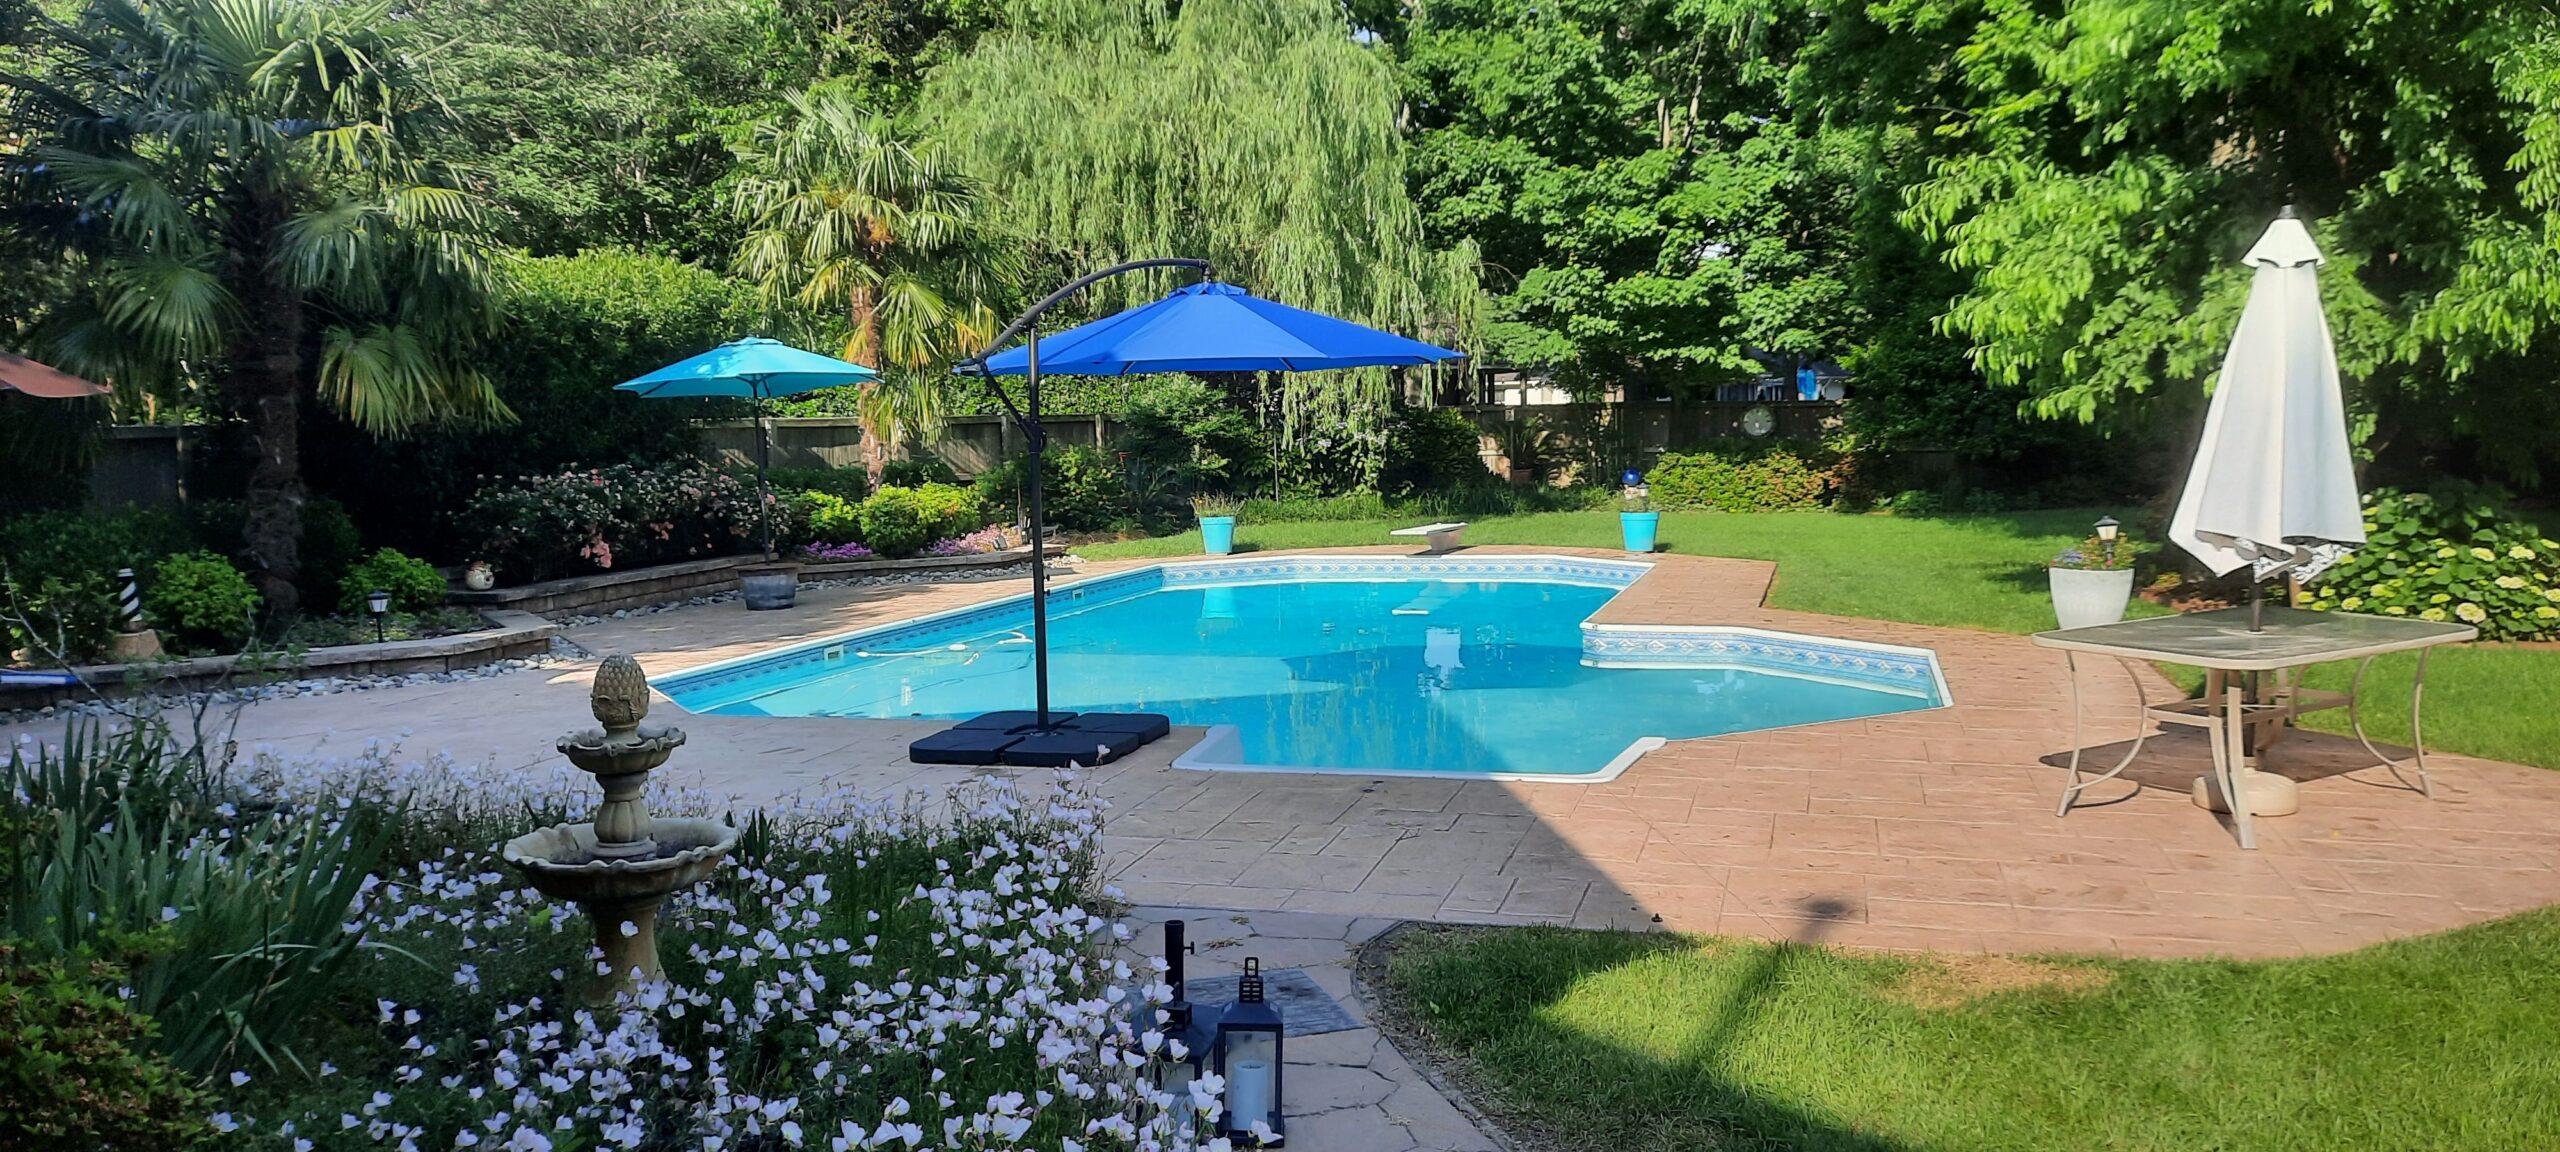
Stamped Concrete Pool Deck Revived with Tan Antiquing Stain
See the transformation of a stamped concrete pool deck from faded and worn to refreshed and vibrant with Tan Antiquing stain. The before-and-after images highlight the dramatic improvement in color and finish.
Concrete Redemption: The Power of Antiquing Stain
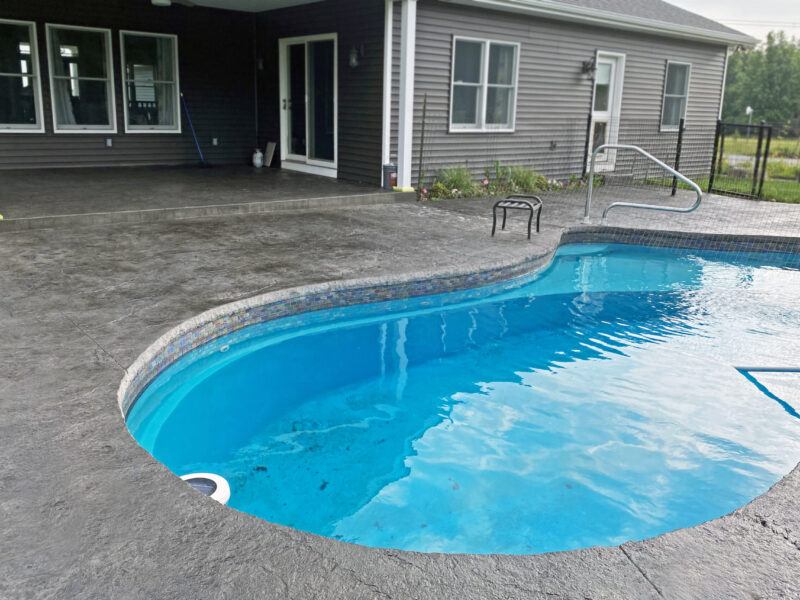
Learn how a ruined dark charcoal stamped concrete was saved from disaster! This project highlights the transformative power of careful planning, proper sprayer use, and the magic of EasySeal high gloss sealer and Black Antiquing stain. The end result? A stunningly revived pool area from what was once a botched job.
Project Info:
- Project Completed In: 5 day(s)
- Estimate of Square Footage: 1100 sq. ft.
- Project Description:
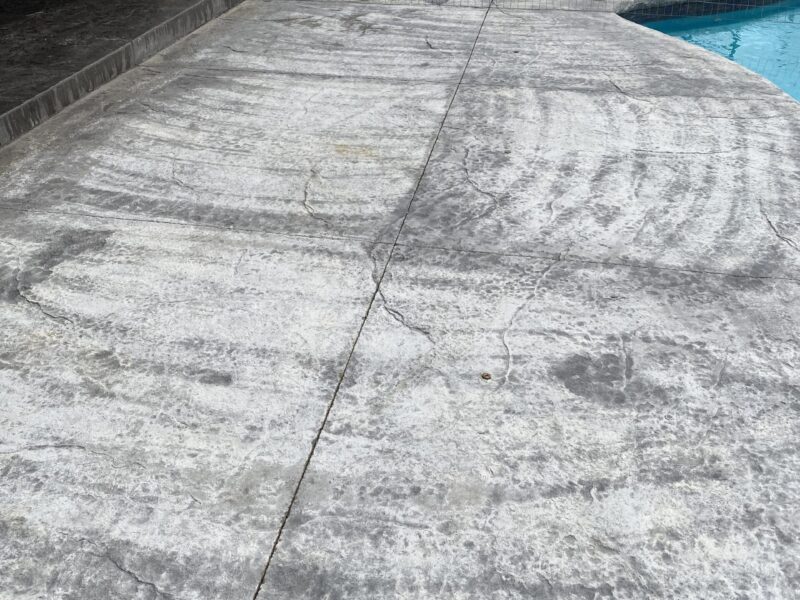
Our original stamped concrete was supposed to be a beautiful dark charcoal color. However, the installers were in a hurry and power washed it too soon. They destroyed the color and sealer, leaving weird power was streaks. Your product saved our stamped concrete! - Personal Tips:
Plan! We had a large area around a pool along with a back porch. We had to do it in stages. We have large dogs, so we had to fence off sections at a time. Secondly, we used a sprayer to apply the antique stain. You should agitate the sprayer fairly constantly to keep the pigment evenly dispersed. - Direct Colors Products Used:
1 Gal. Charcoal DIY Antiquing™ & EasySeal™ Satin Kit
2 x 5 Gal. Charcoal Antiquing™ & EasySeal™ Satin Kit
2 x 16 Oz. Slip-Resistant Additive (5-gallon mix) - Direct Colors Products Used:
Solvent based acrylic high gloss sealer and Black antiquing stain.
DIY Revamp: Poolside Paradise Restored!
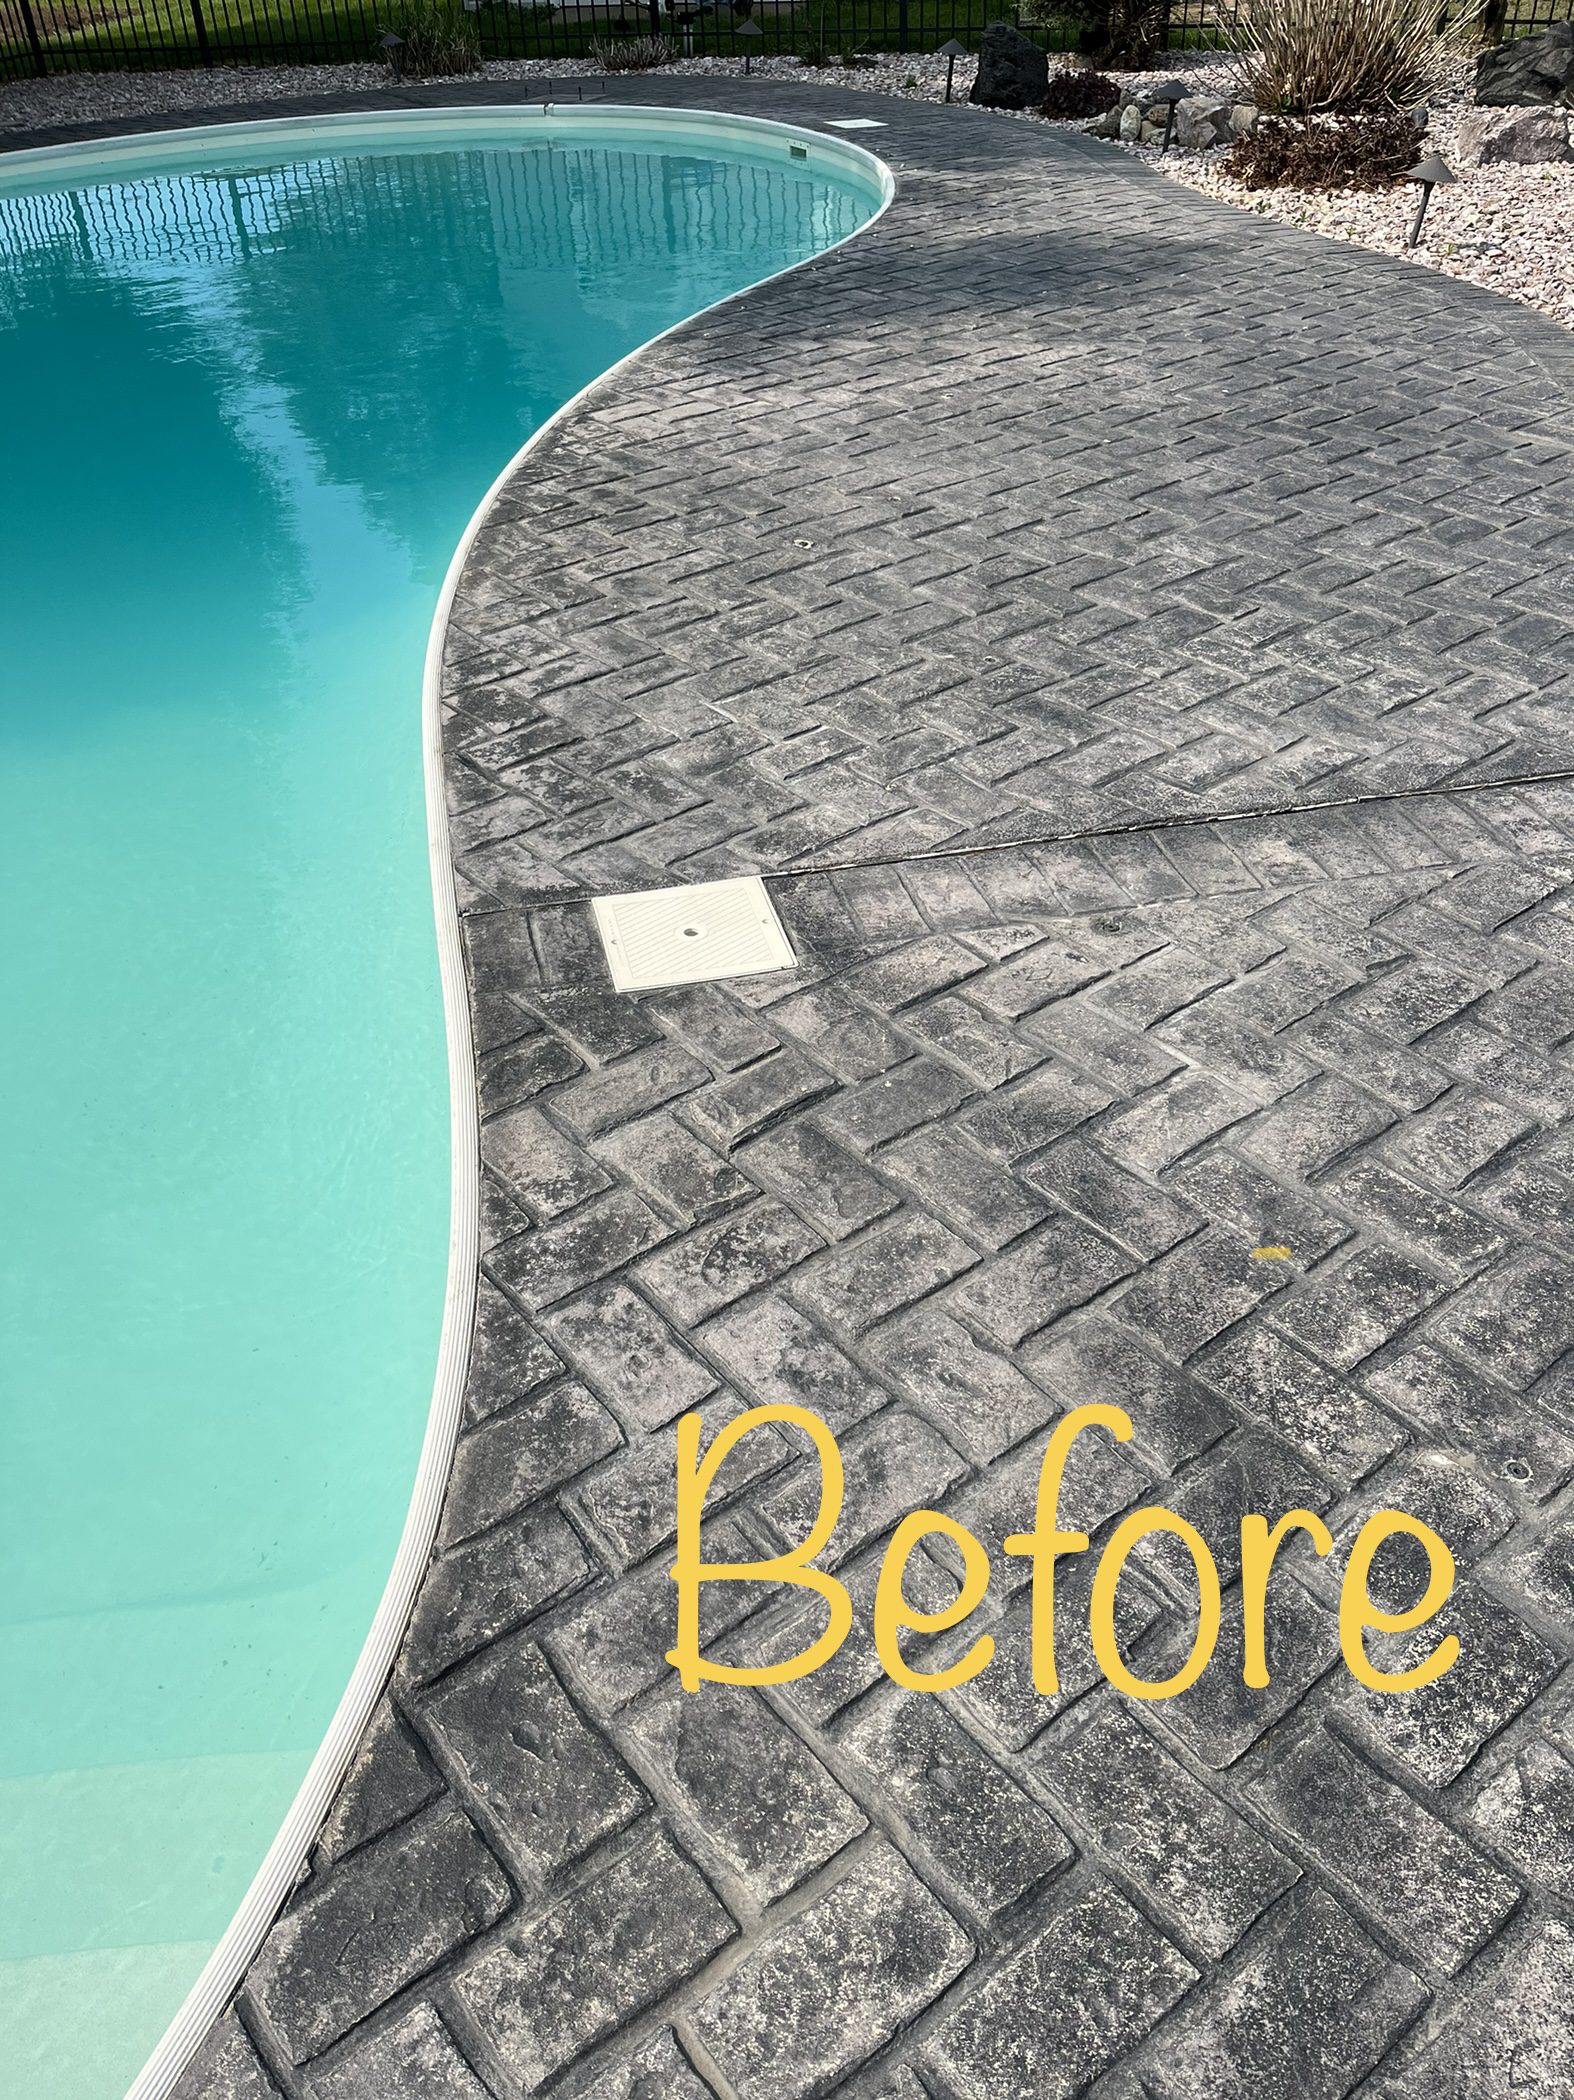
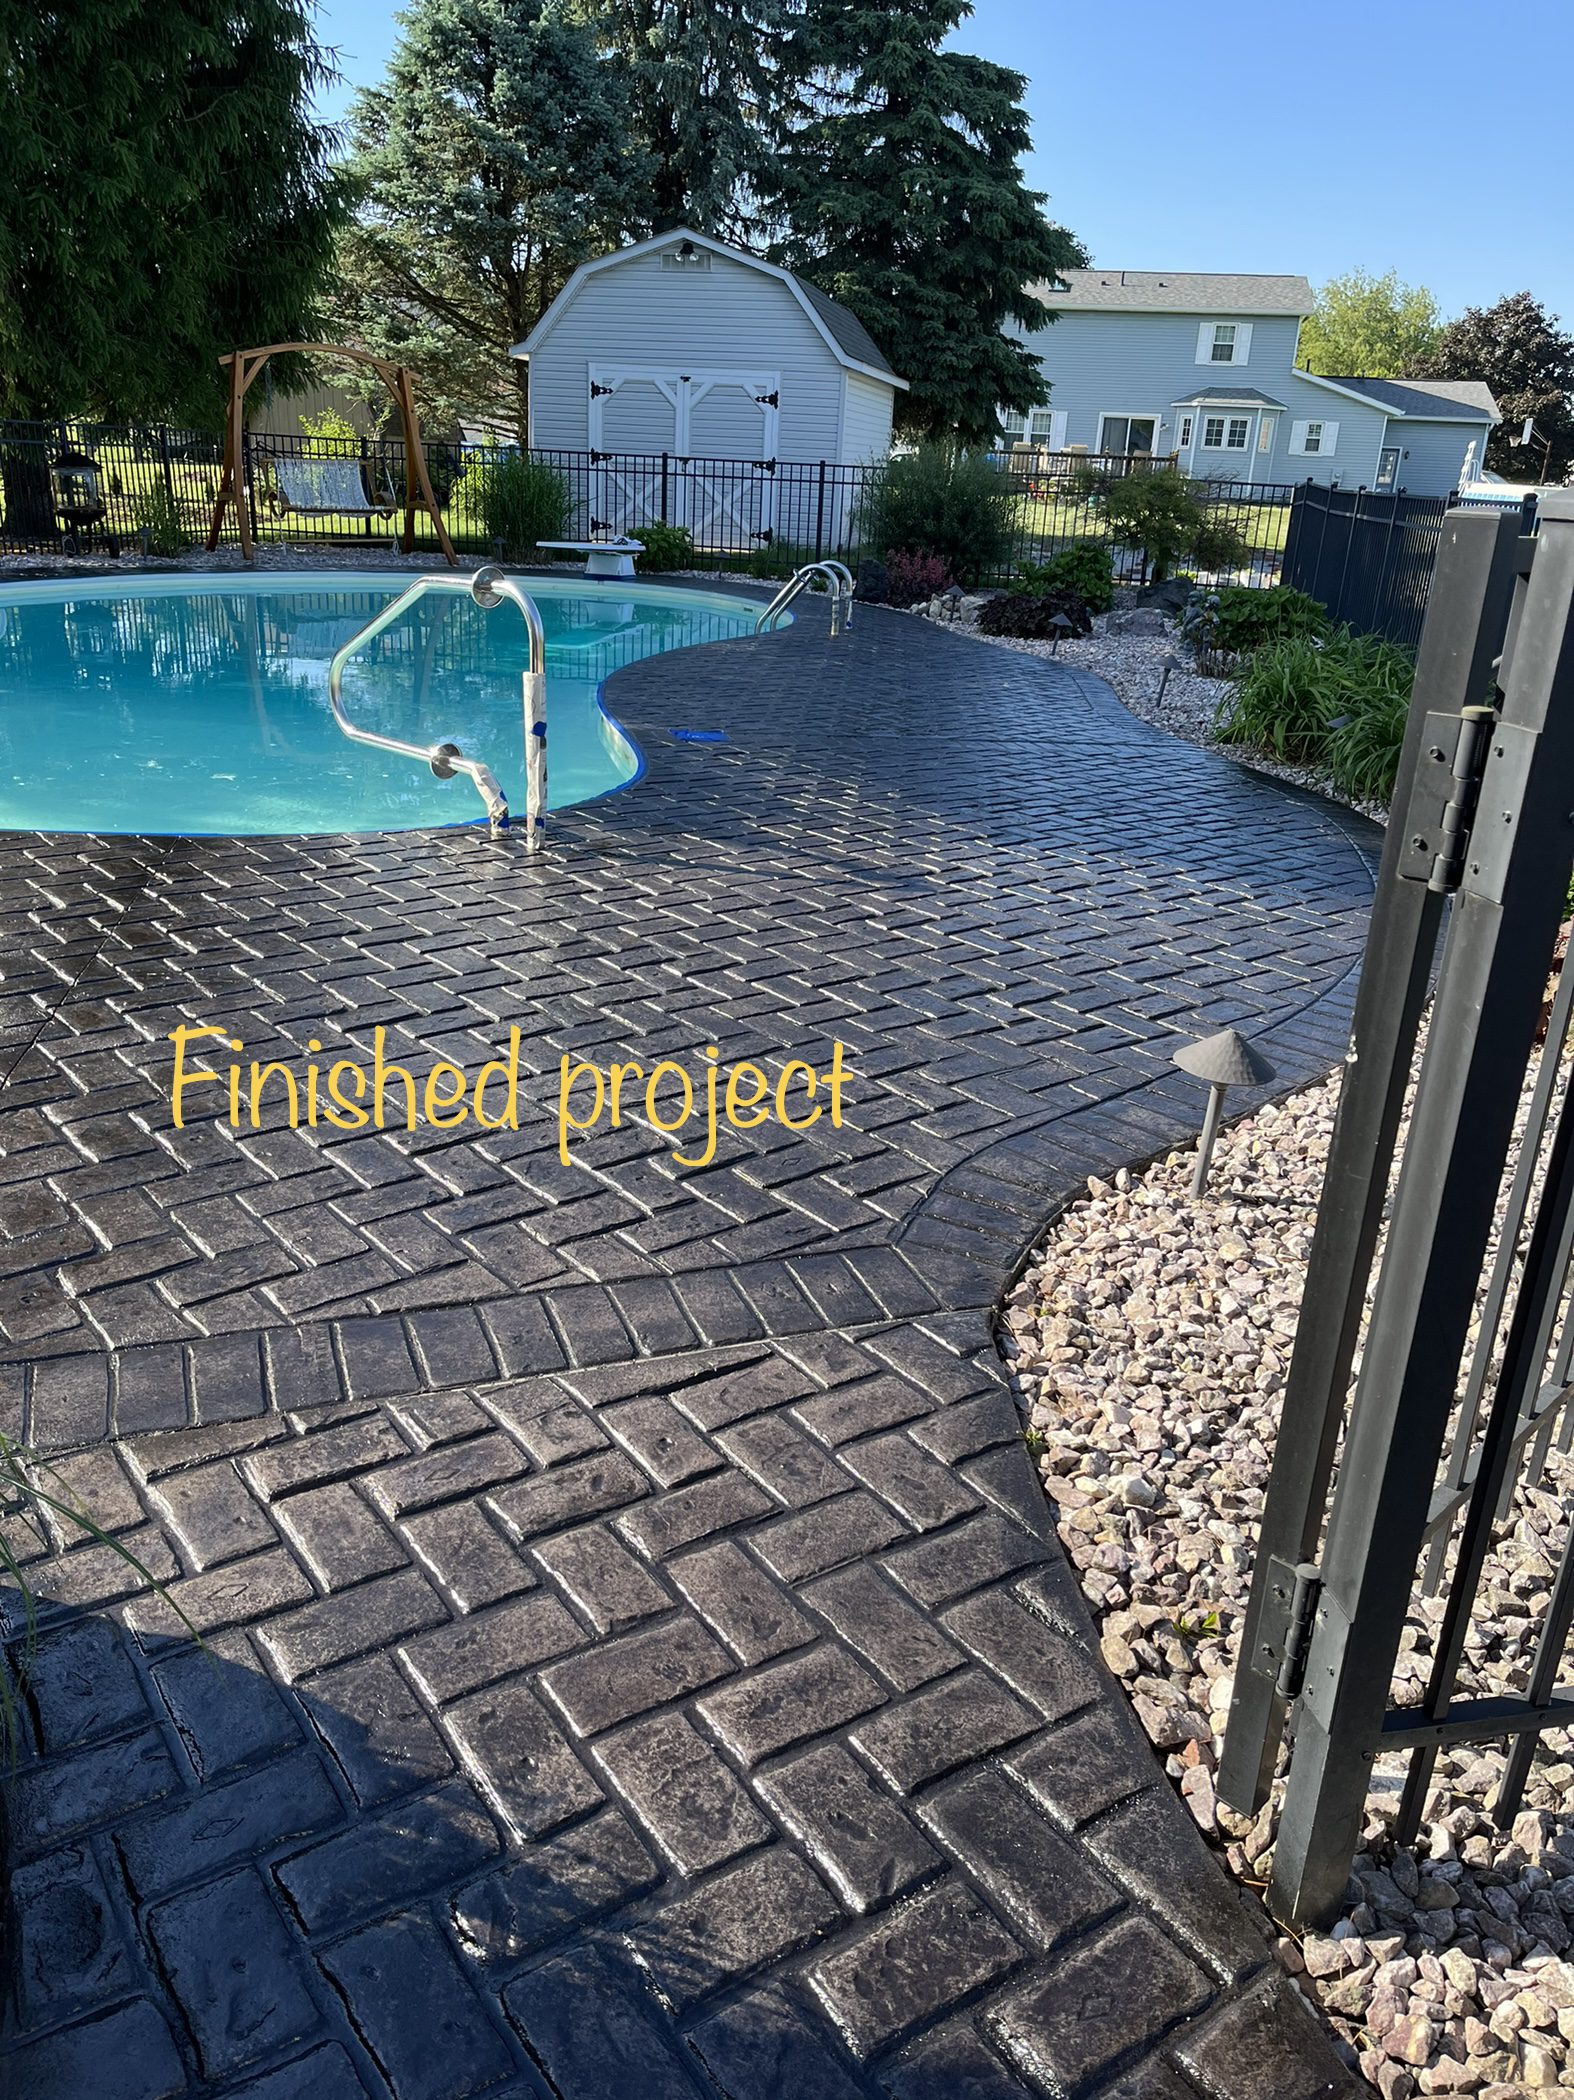
Join a DIY-loving family as they embark on a two-day journey to restore their neglected 800 sq. ft. stamped concrete pool area. After 19 years and only one sealing, they revive the concrete using antiquing stain and sealer. With just a weekend of pressure washing, staining, and sealing, they turn the clock back on their concrete, making it look as fresh as the day it was installed. Learn from their personal tips on handling the job in windy conditions, ensuring a beautifully refreshed, modern-looking pool area. No DIY skills? No problem! This project is a testament to the ease and transformative power of the right products.
Project Info:
- Project Completed In: 2 day(s)
- Estimate of Square Footage: 800 sq. ft.
- Project Description:
Sooooo we are a DIY family that let a stamped concrete area around our pool go for 19 years with only sealing it once after it was installed with a big box store sealer. After lots of research I ordered a sample of the antiquing stain and sealer. I was so impressed with the ease of this I thought this is a project I can do myself unlike most that I find and my husband has to complete. I ordered the 5 gallon buckets of each and started on a Friday with pressure washing the area. Started early Saturday morning with the stain and did a second coat that afternoon. Finished up on Sunday with two coats of sealer. The ease of this product was amazing. So simple for anyone to do regardless of your diy capabilities. Wishing I had done this sooner. Have received so many positive compliments. Took the concrete back to its original appearance after 19 years of neglect. Makes our pool area so refreshed and modern looking once again. - Personal Tips:
If In a windy area have a second person hold a piece of cardboard to prevent over spray. We bent a piece of cardboard to go around curved areas that had stone that we didn’t want to stain. - Direct Colors Products Used:
2 x 5 Gal. Charcoal Antiquing™ & EasySeal™ Satin Kit
2 x 16 Oz. Slip-Resistant Additive (5-gallon mix)
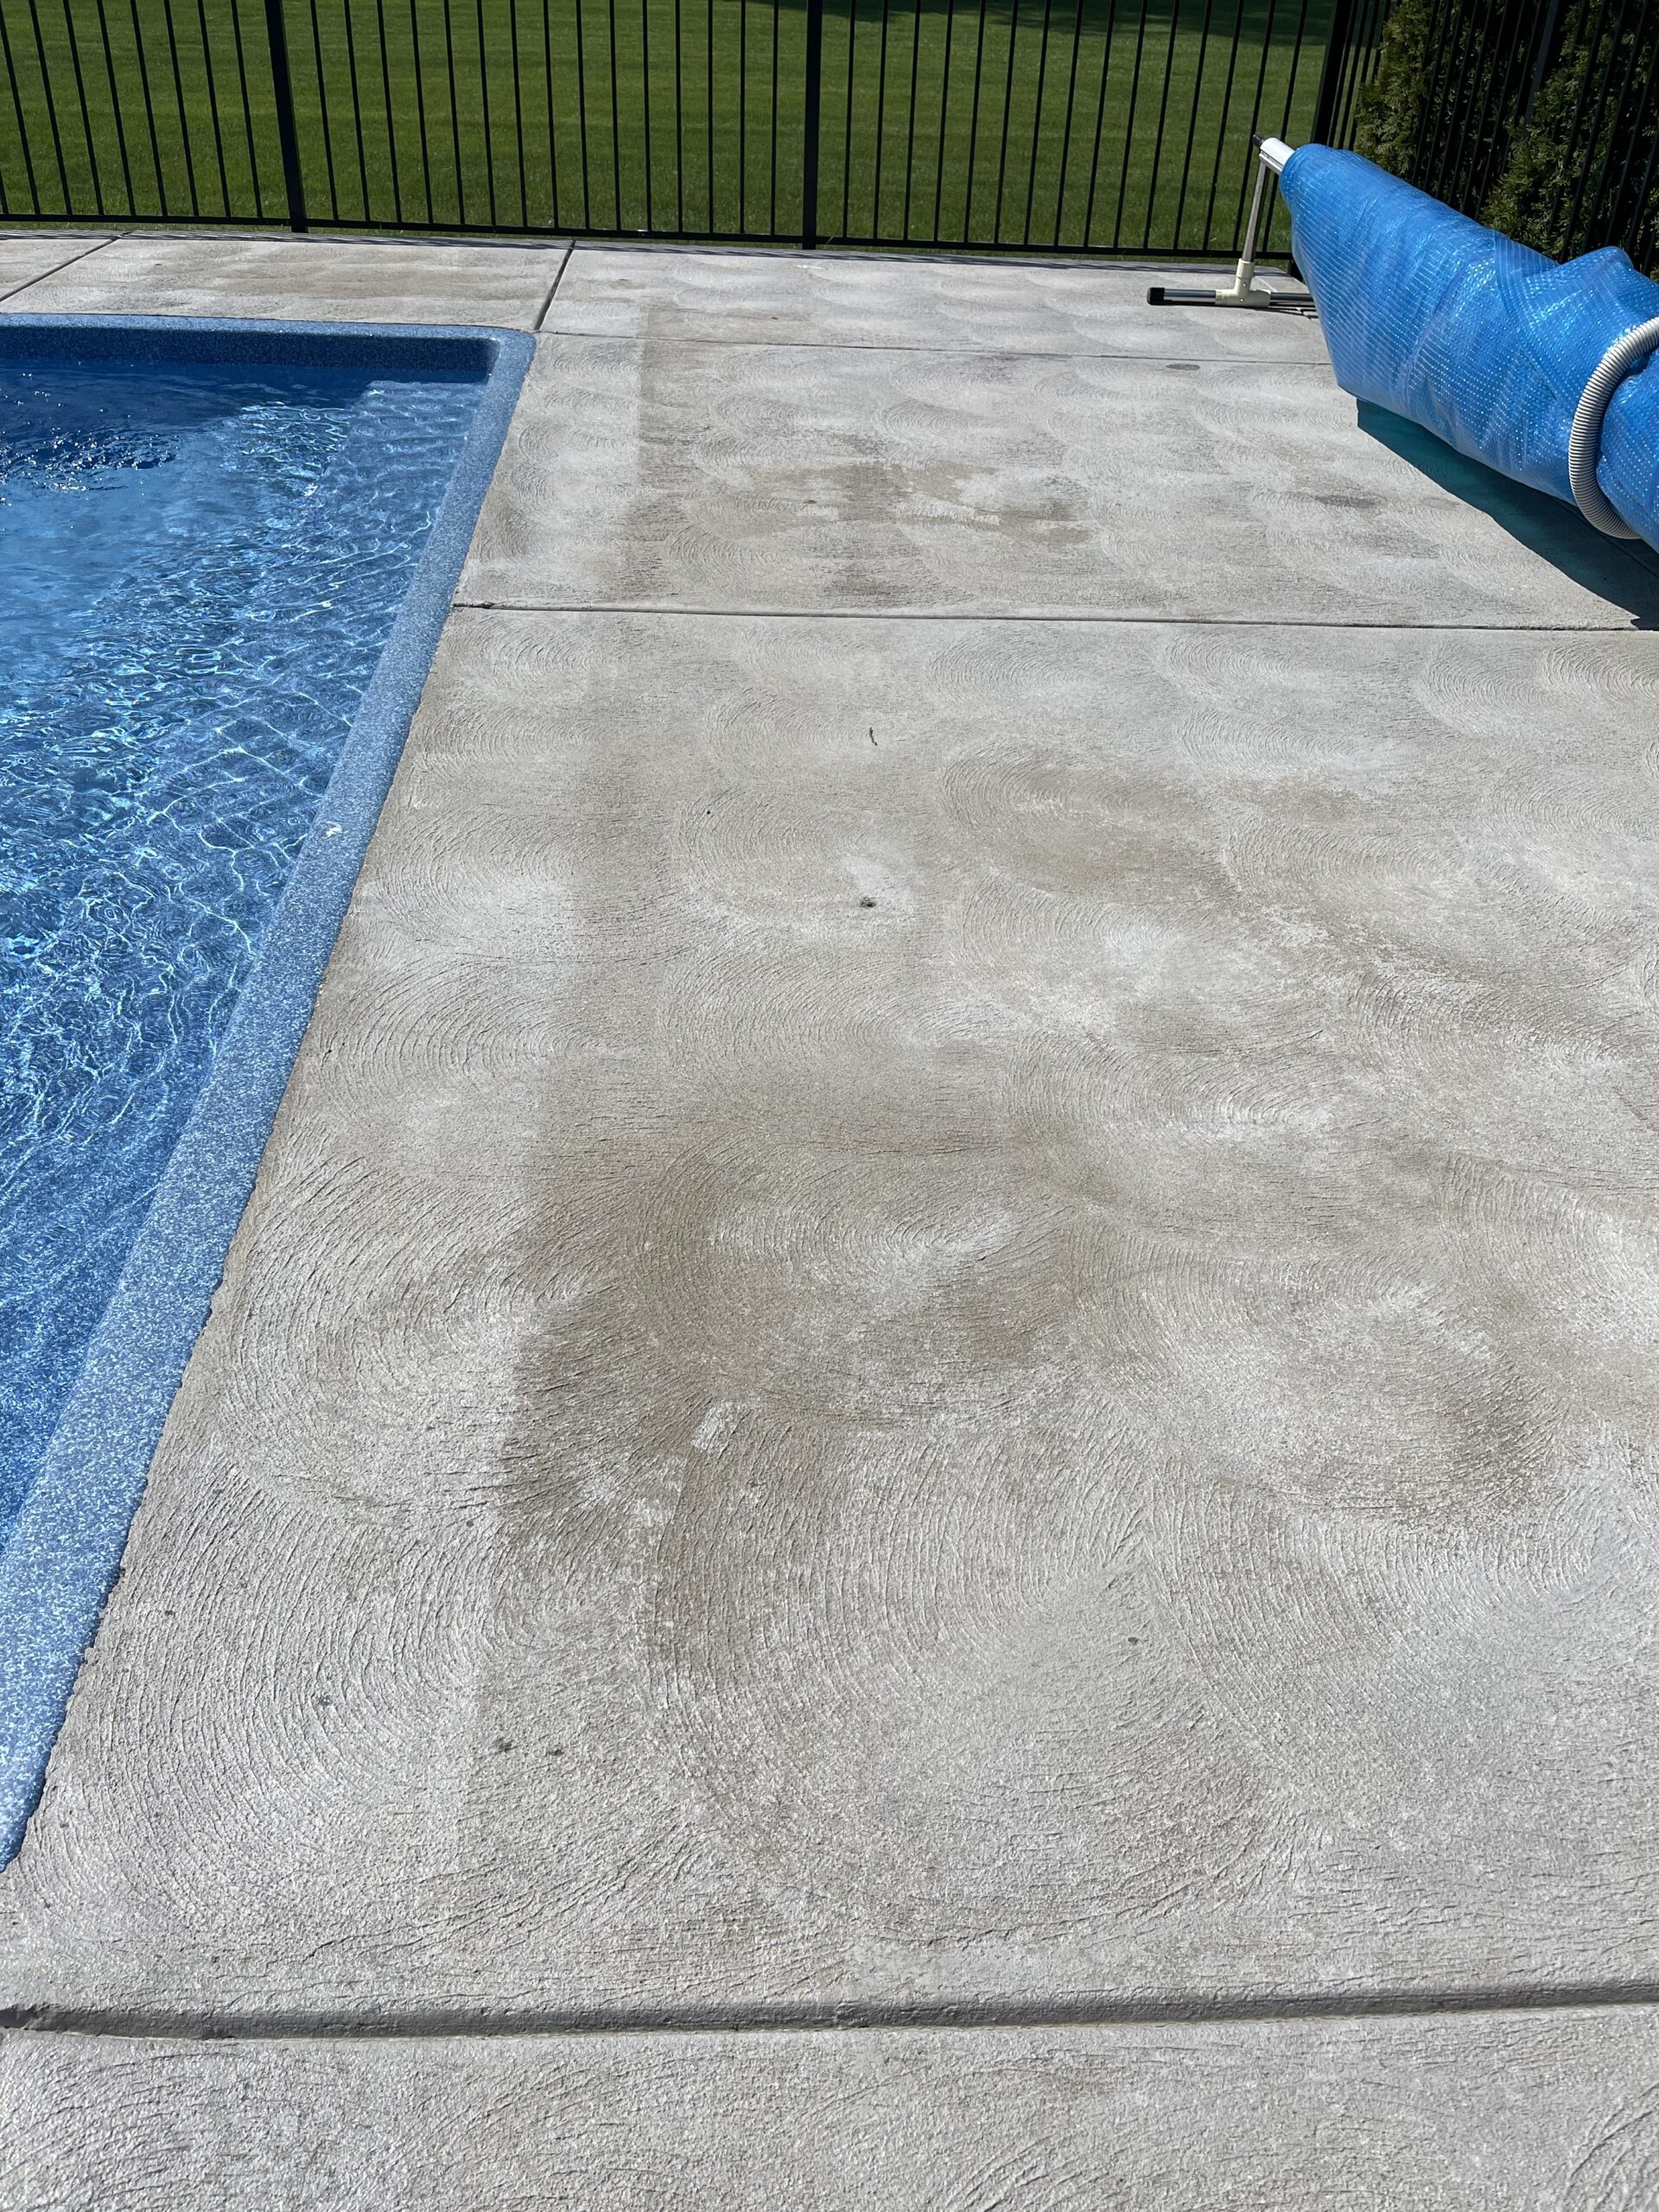
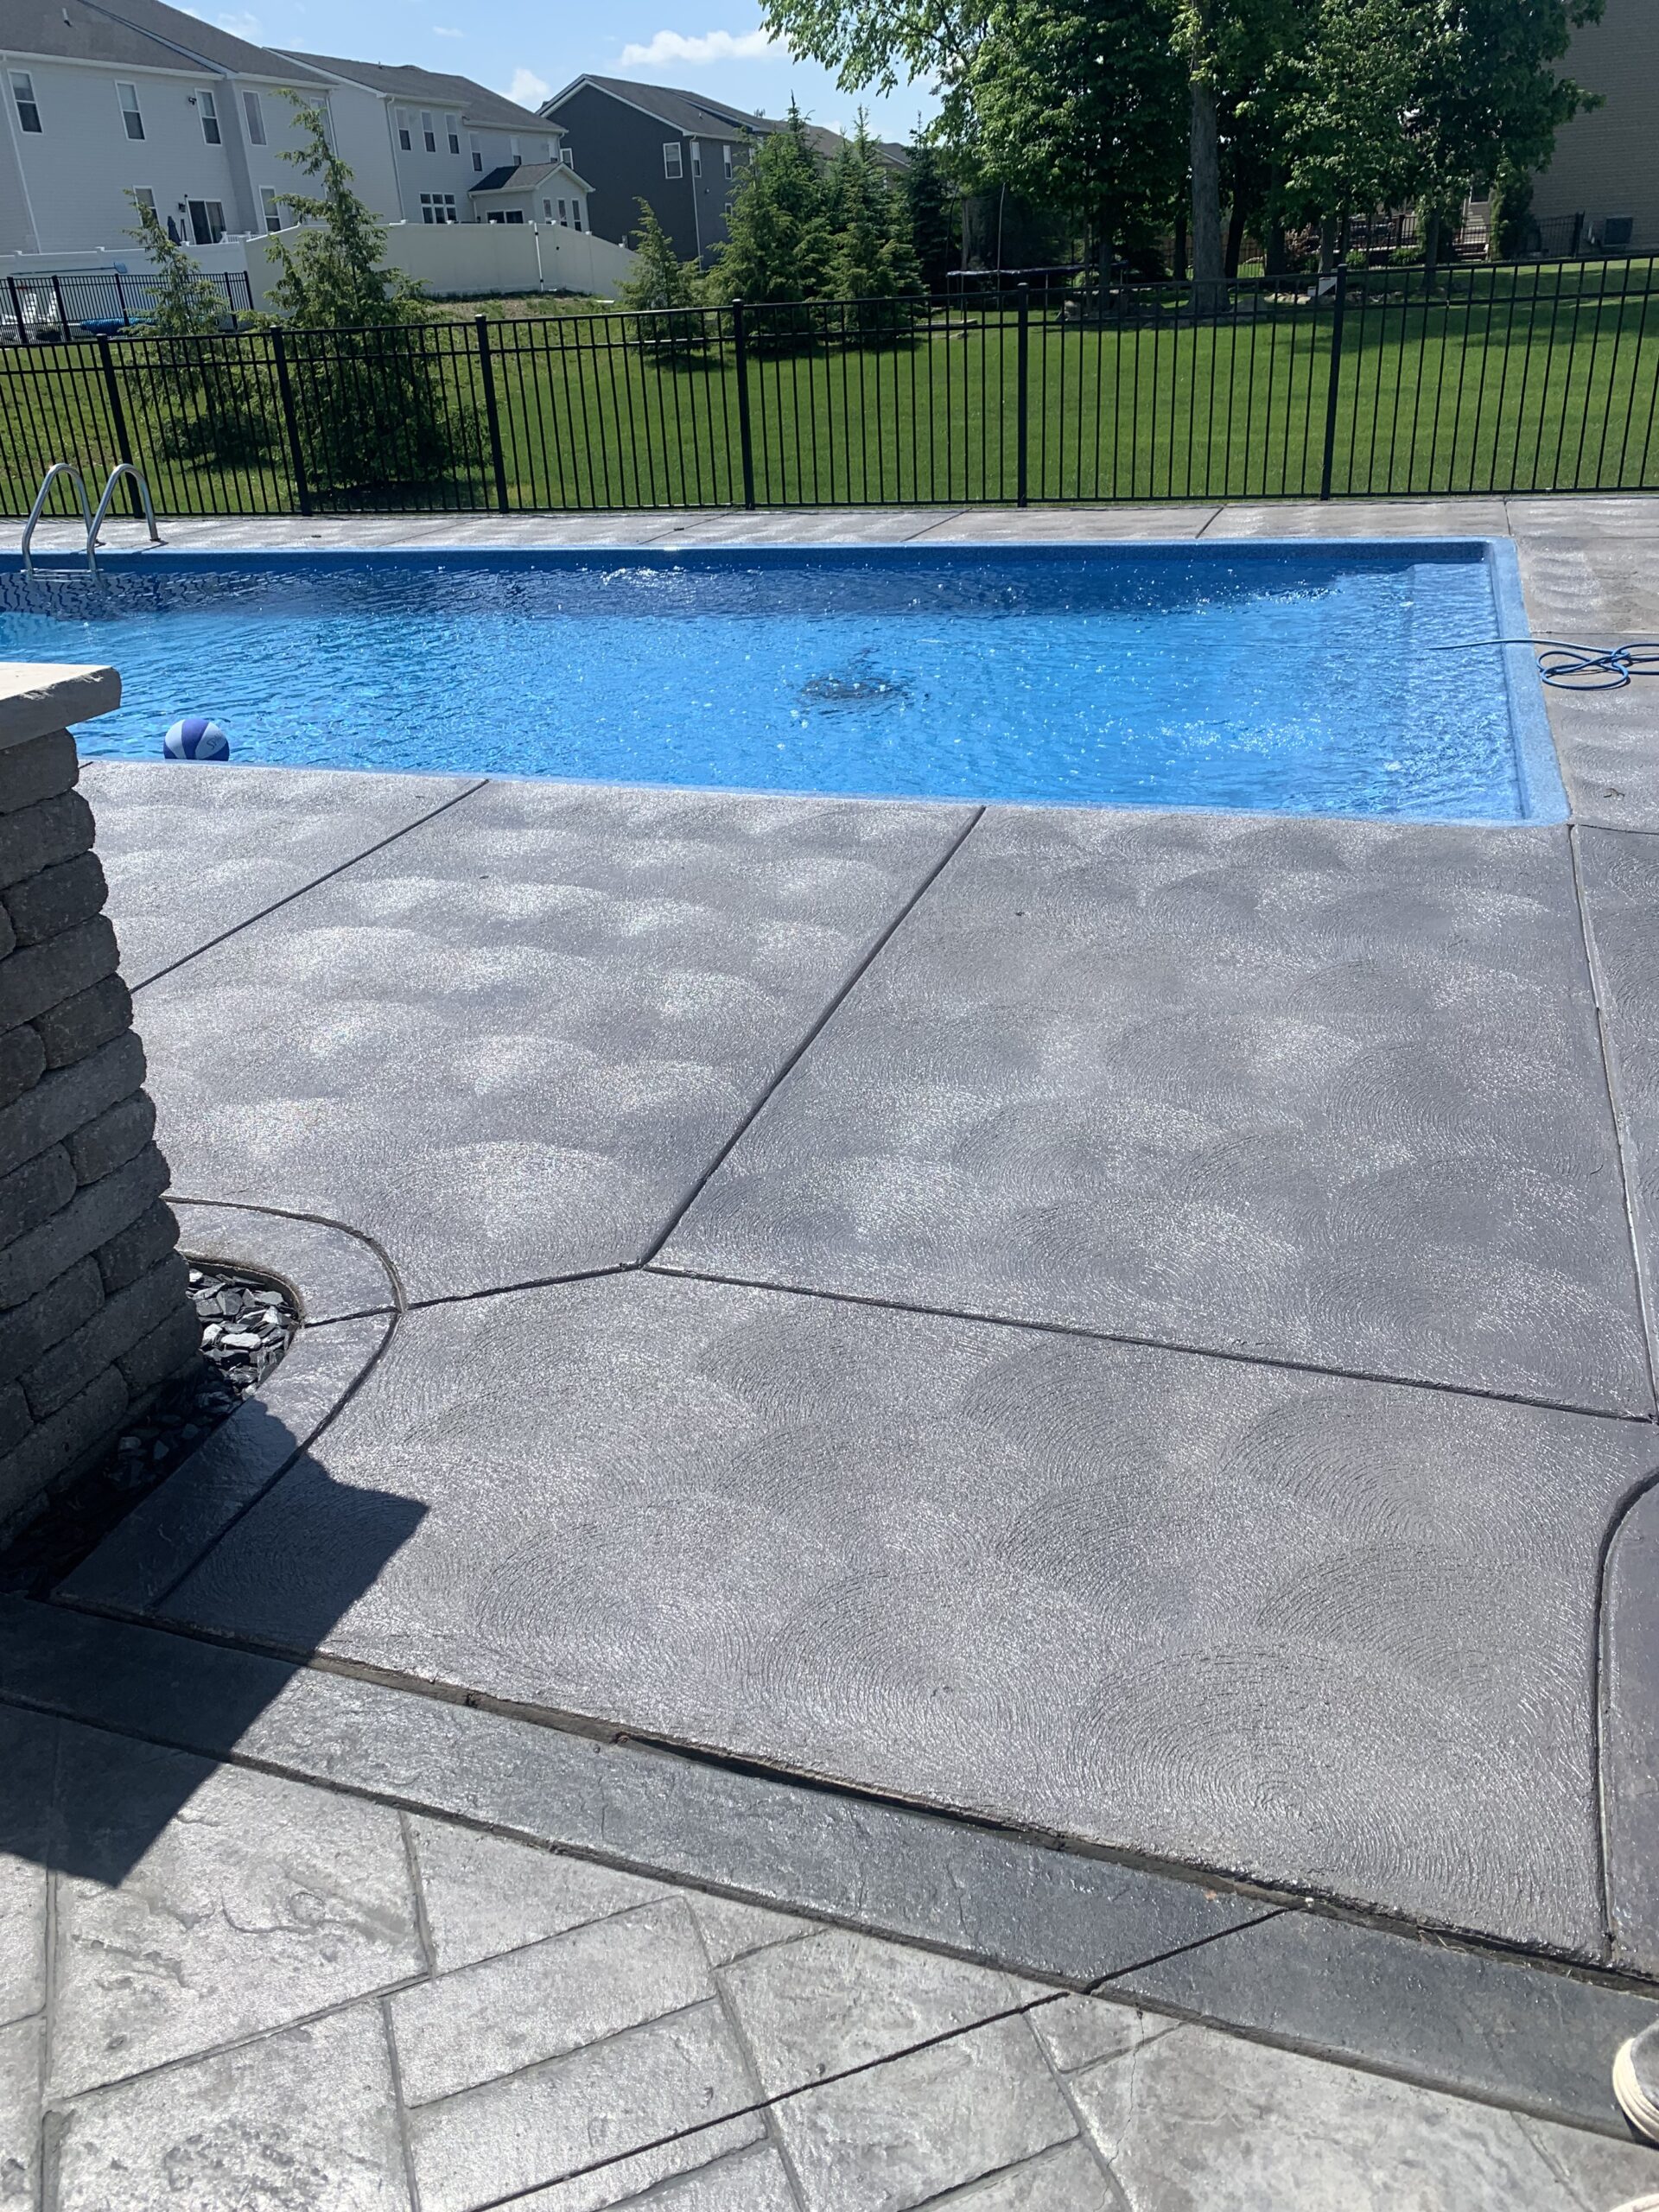
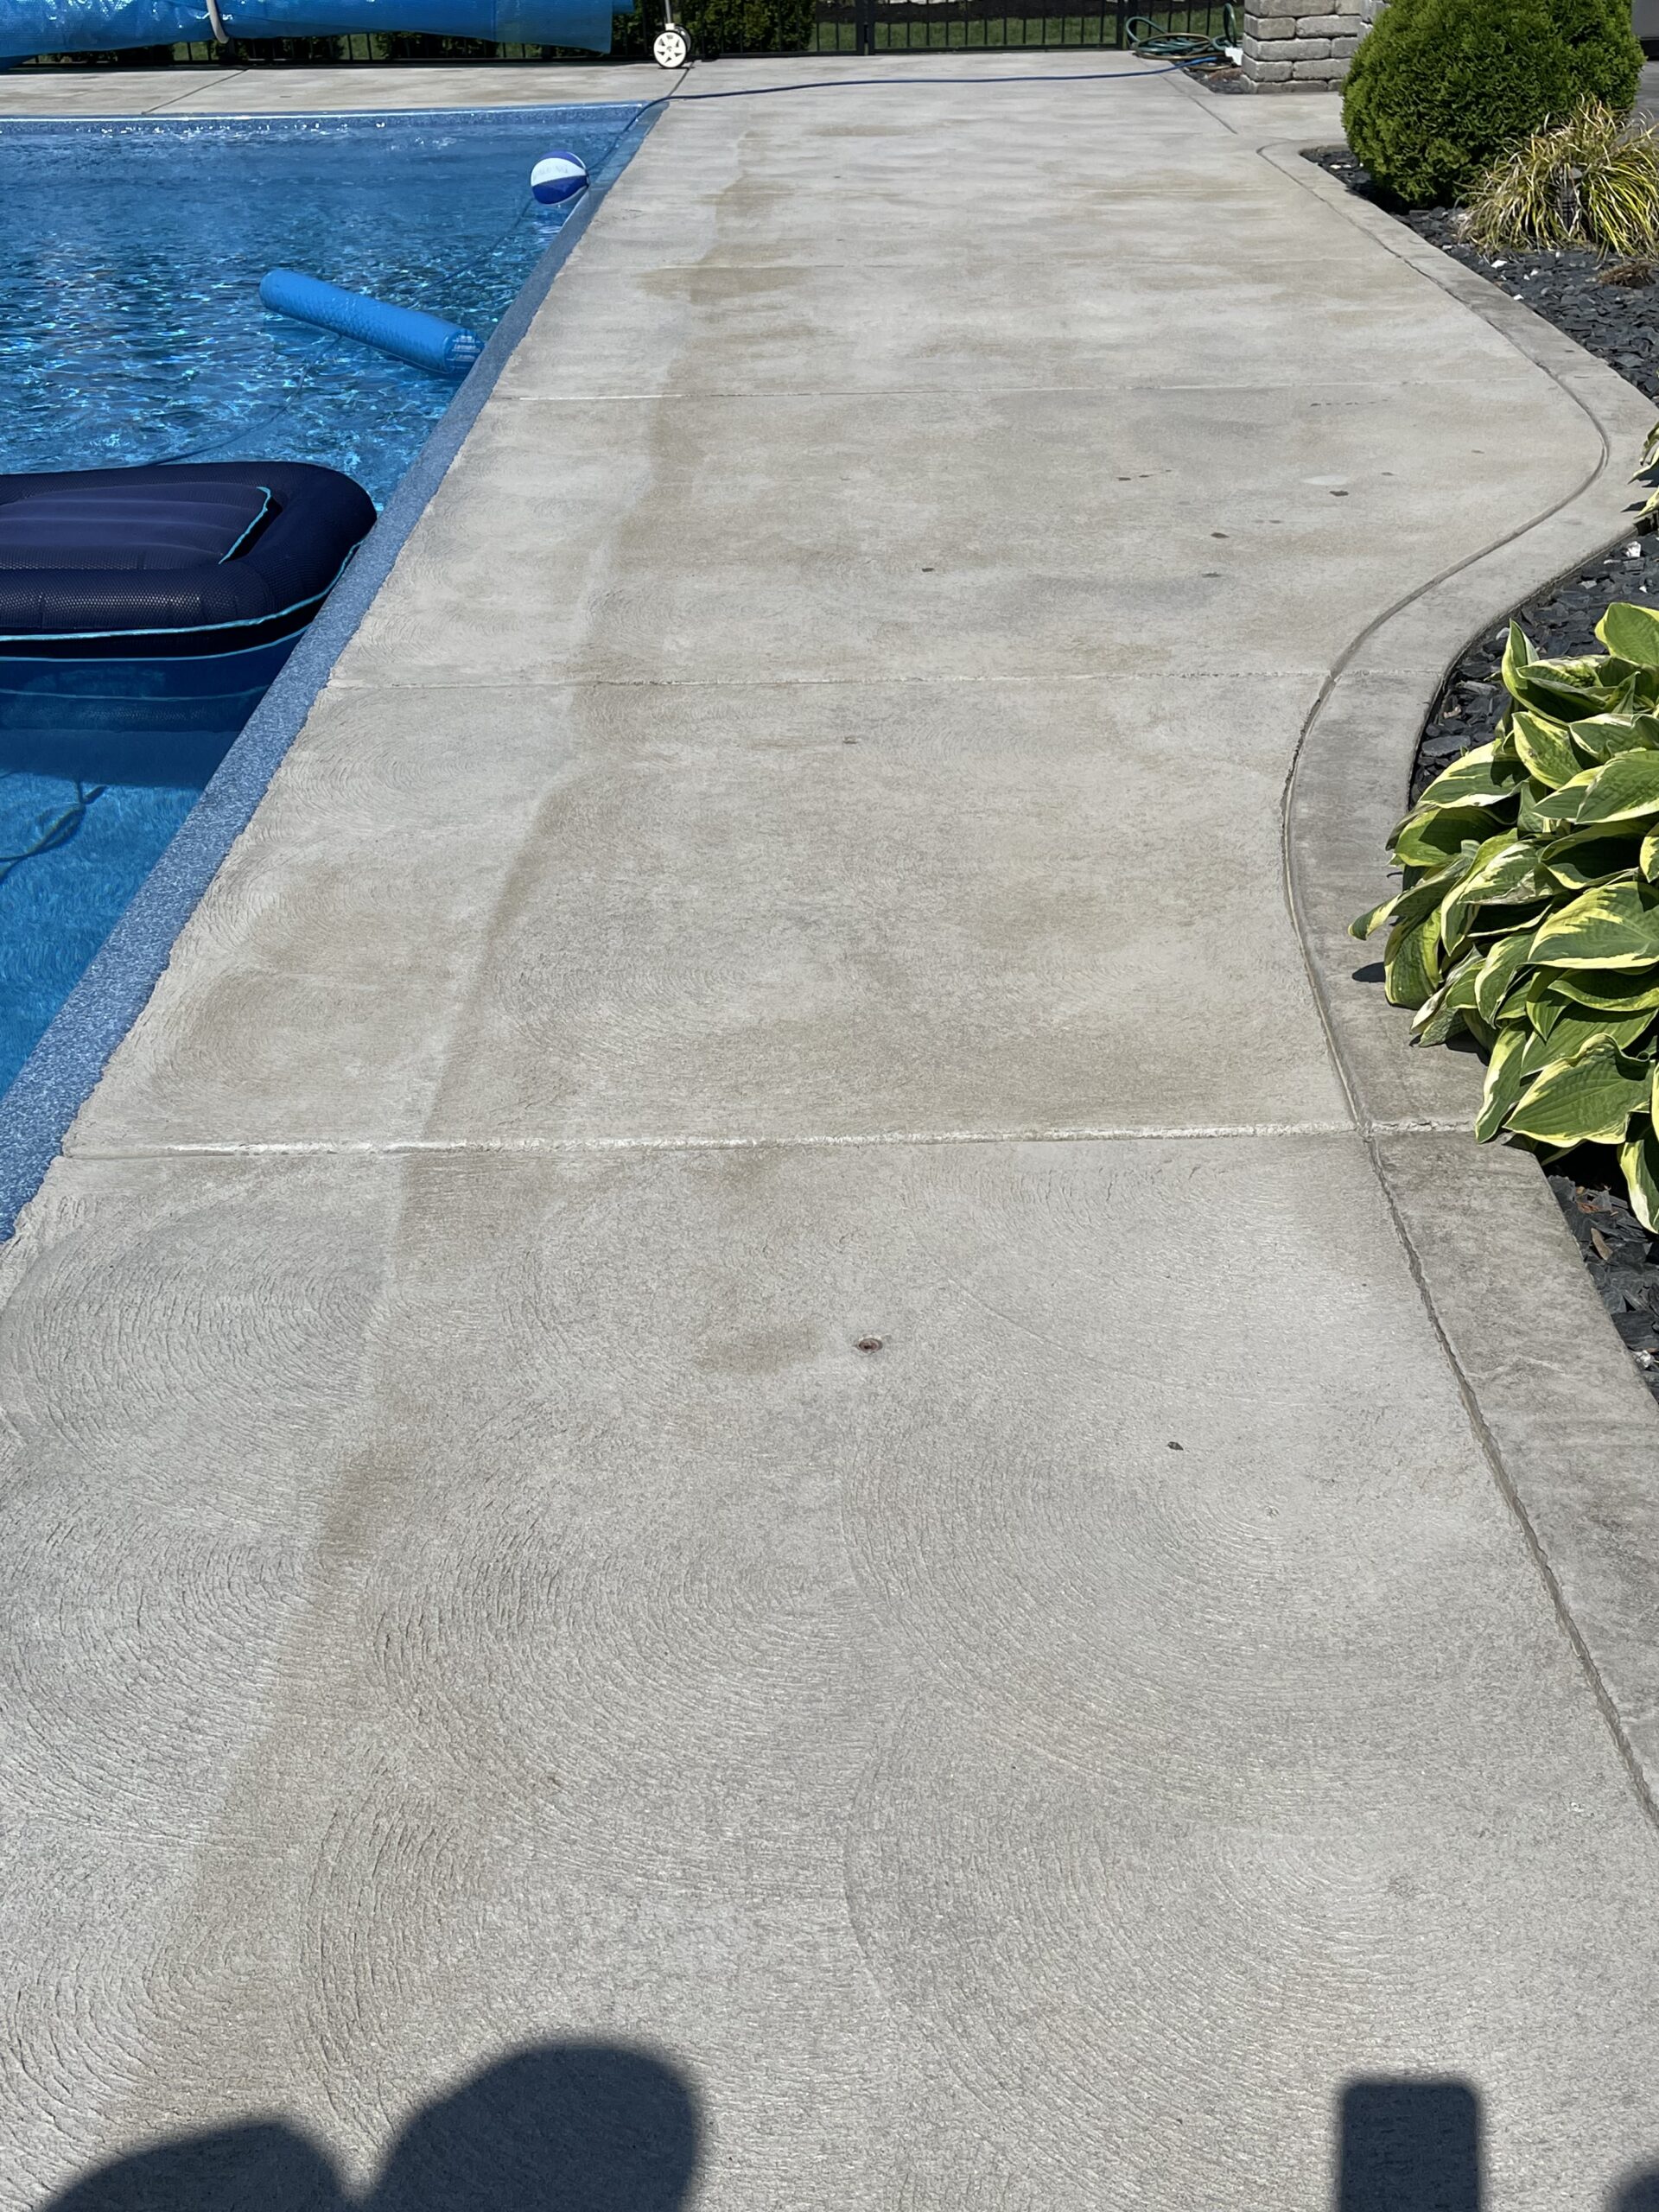
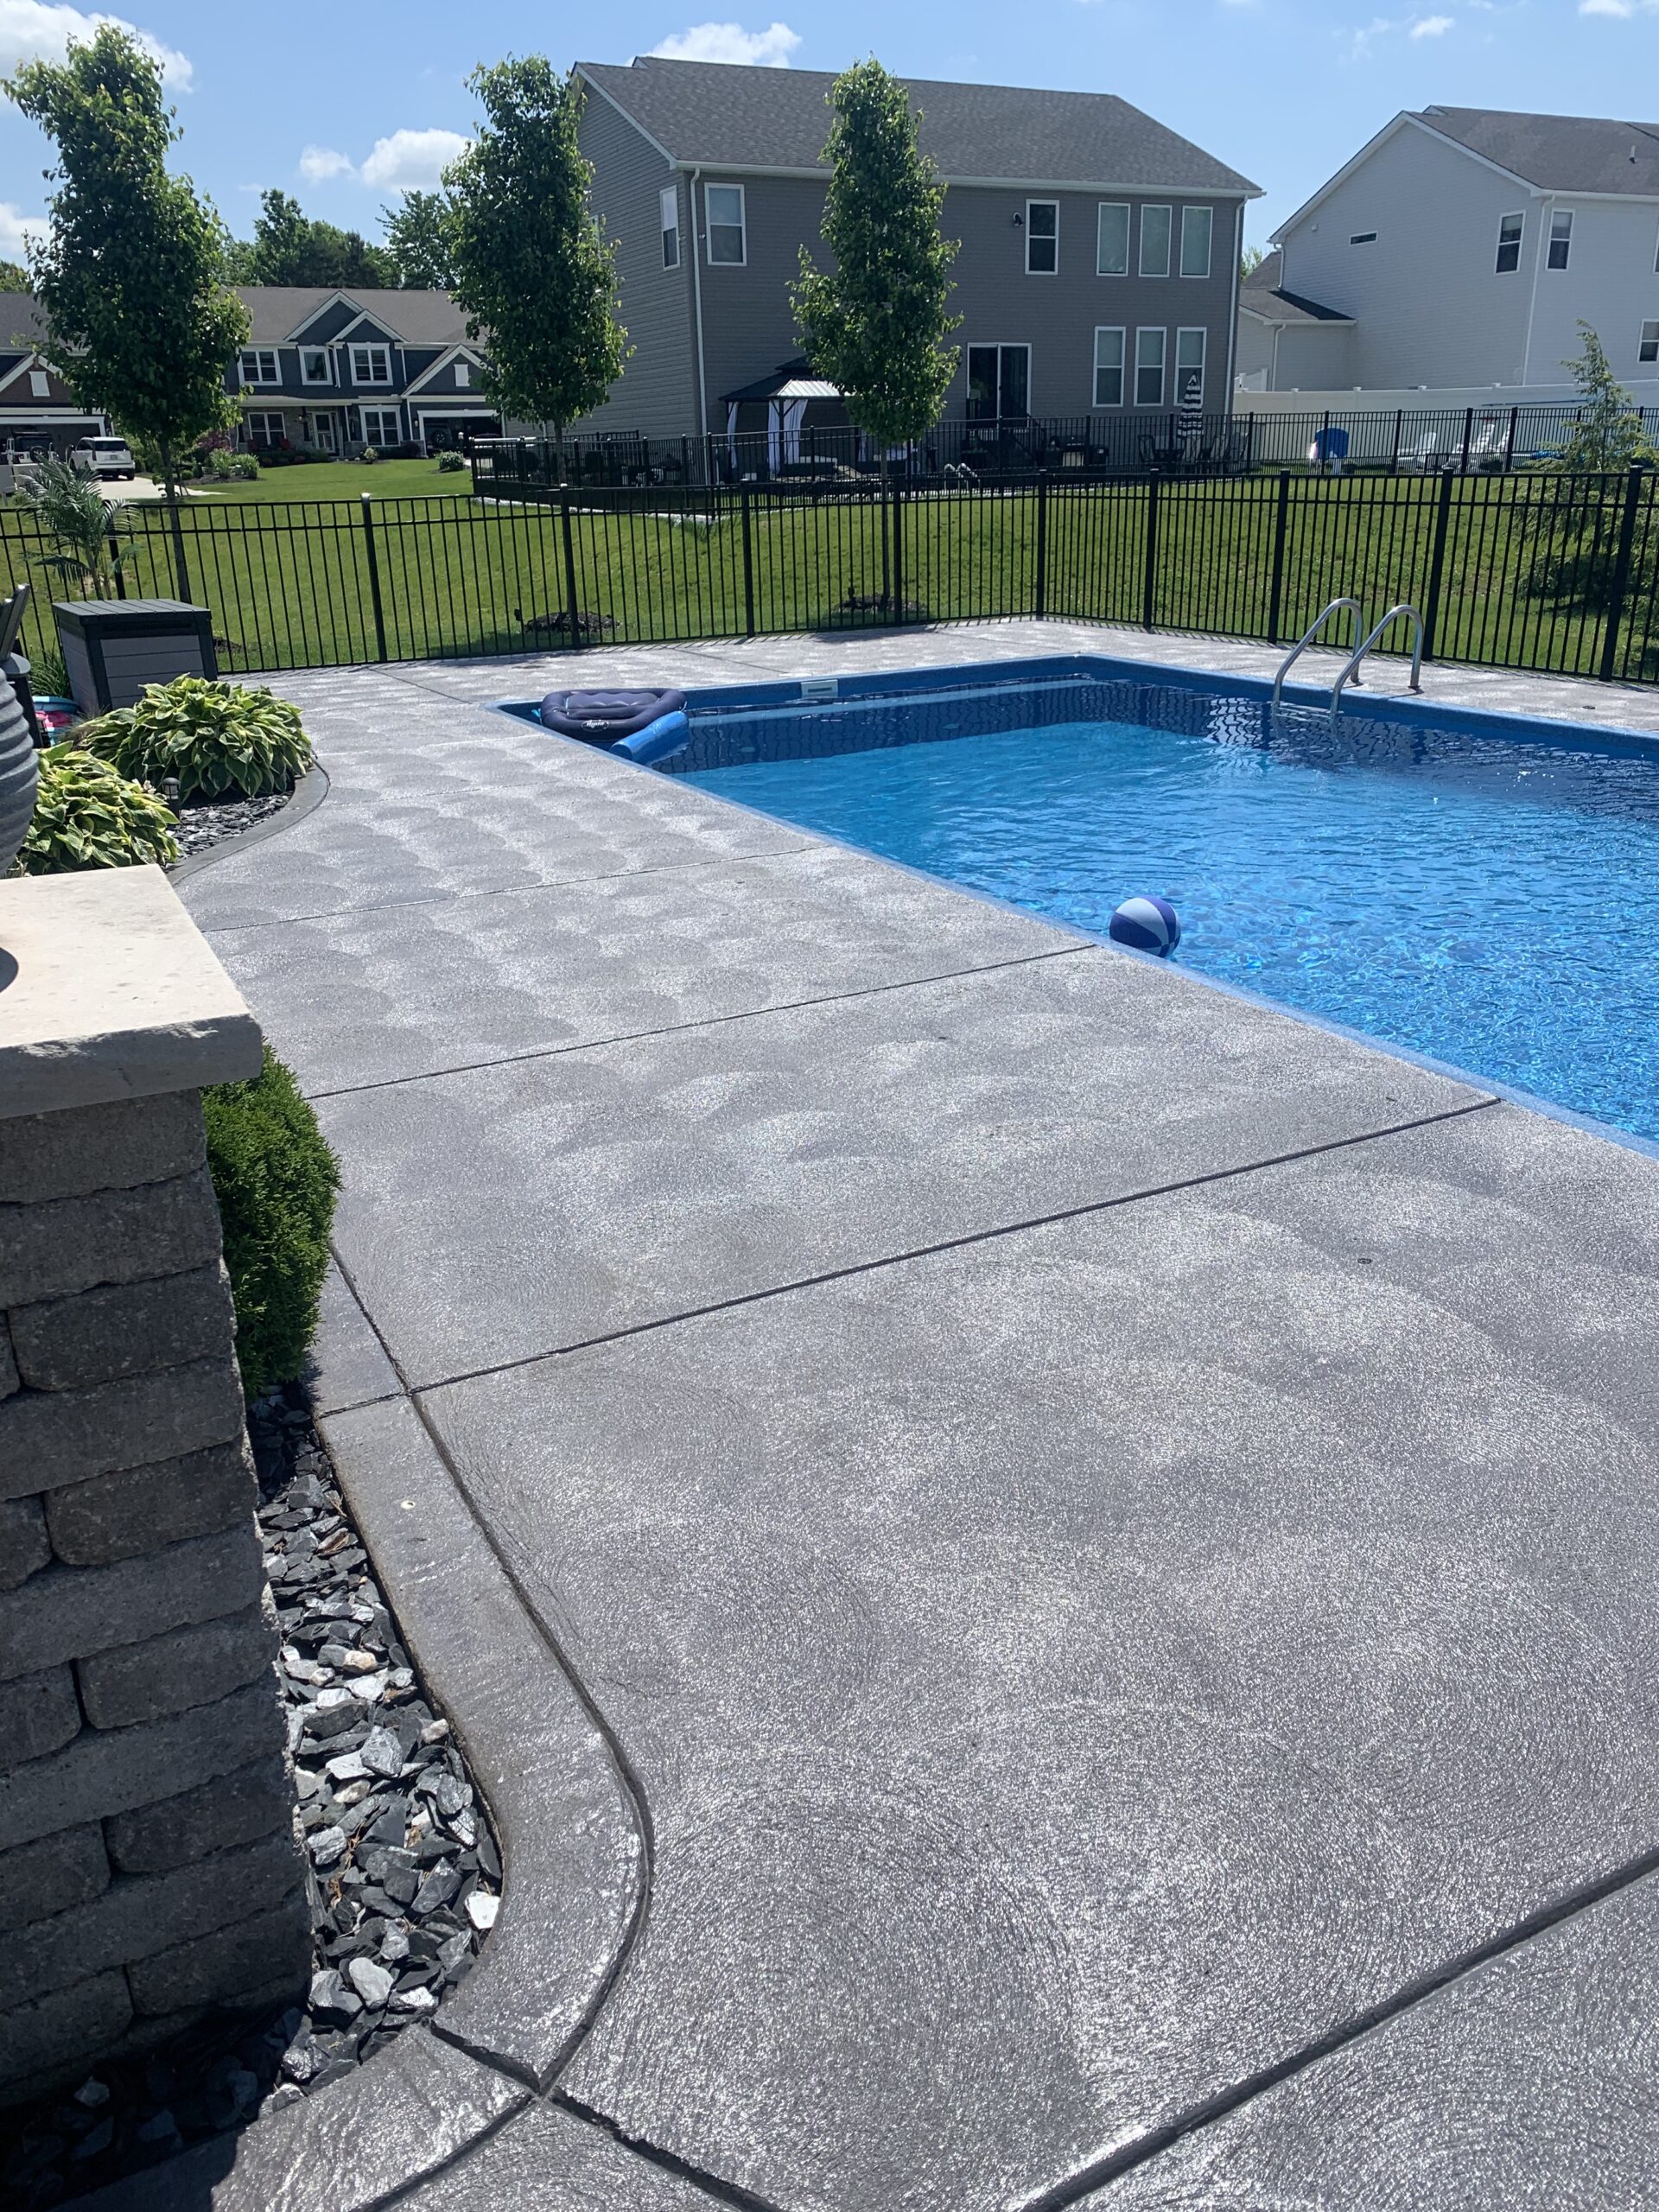
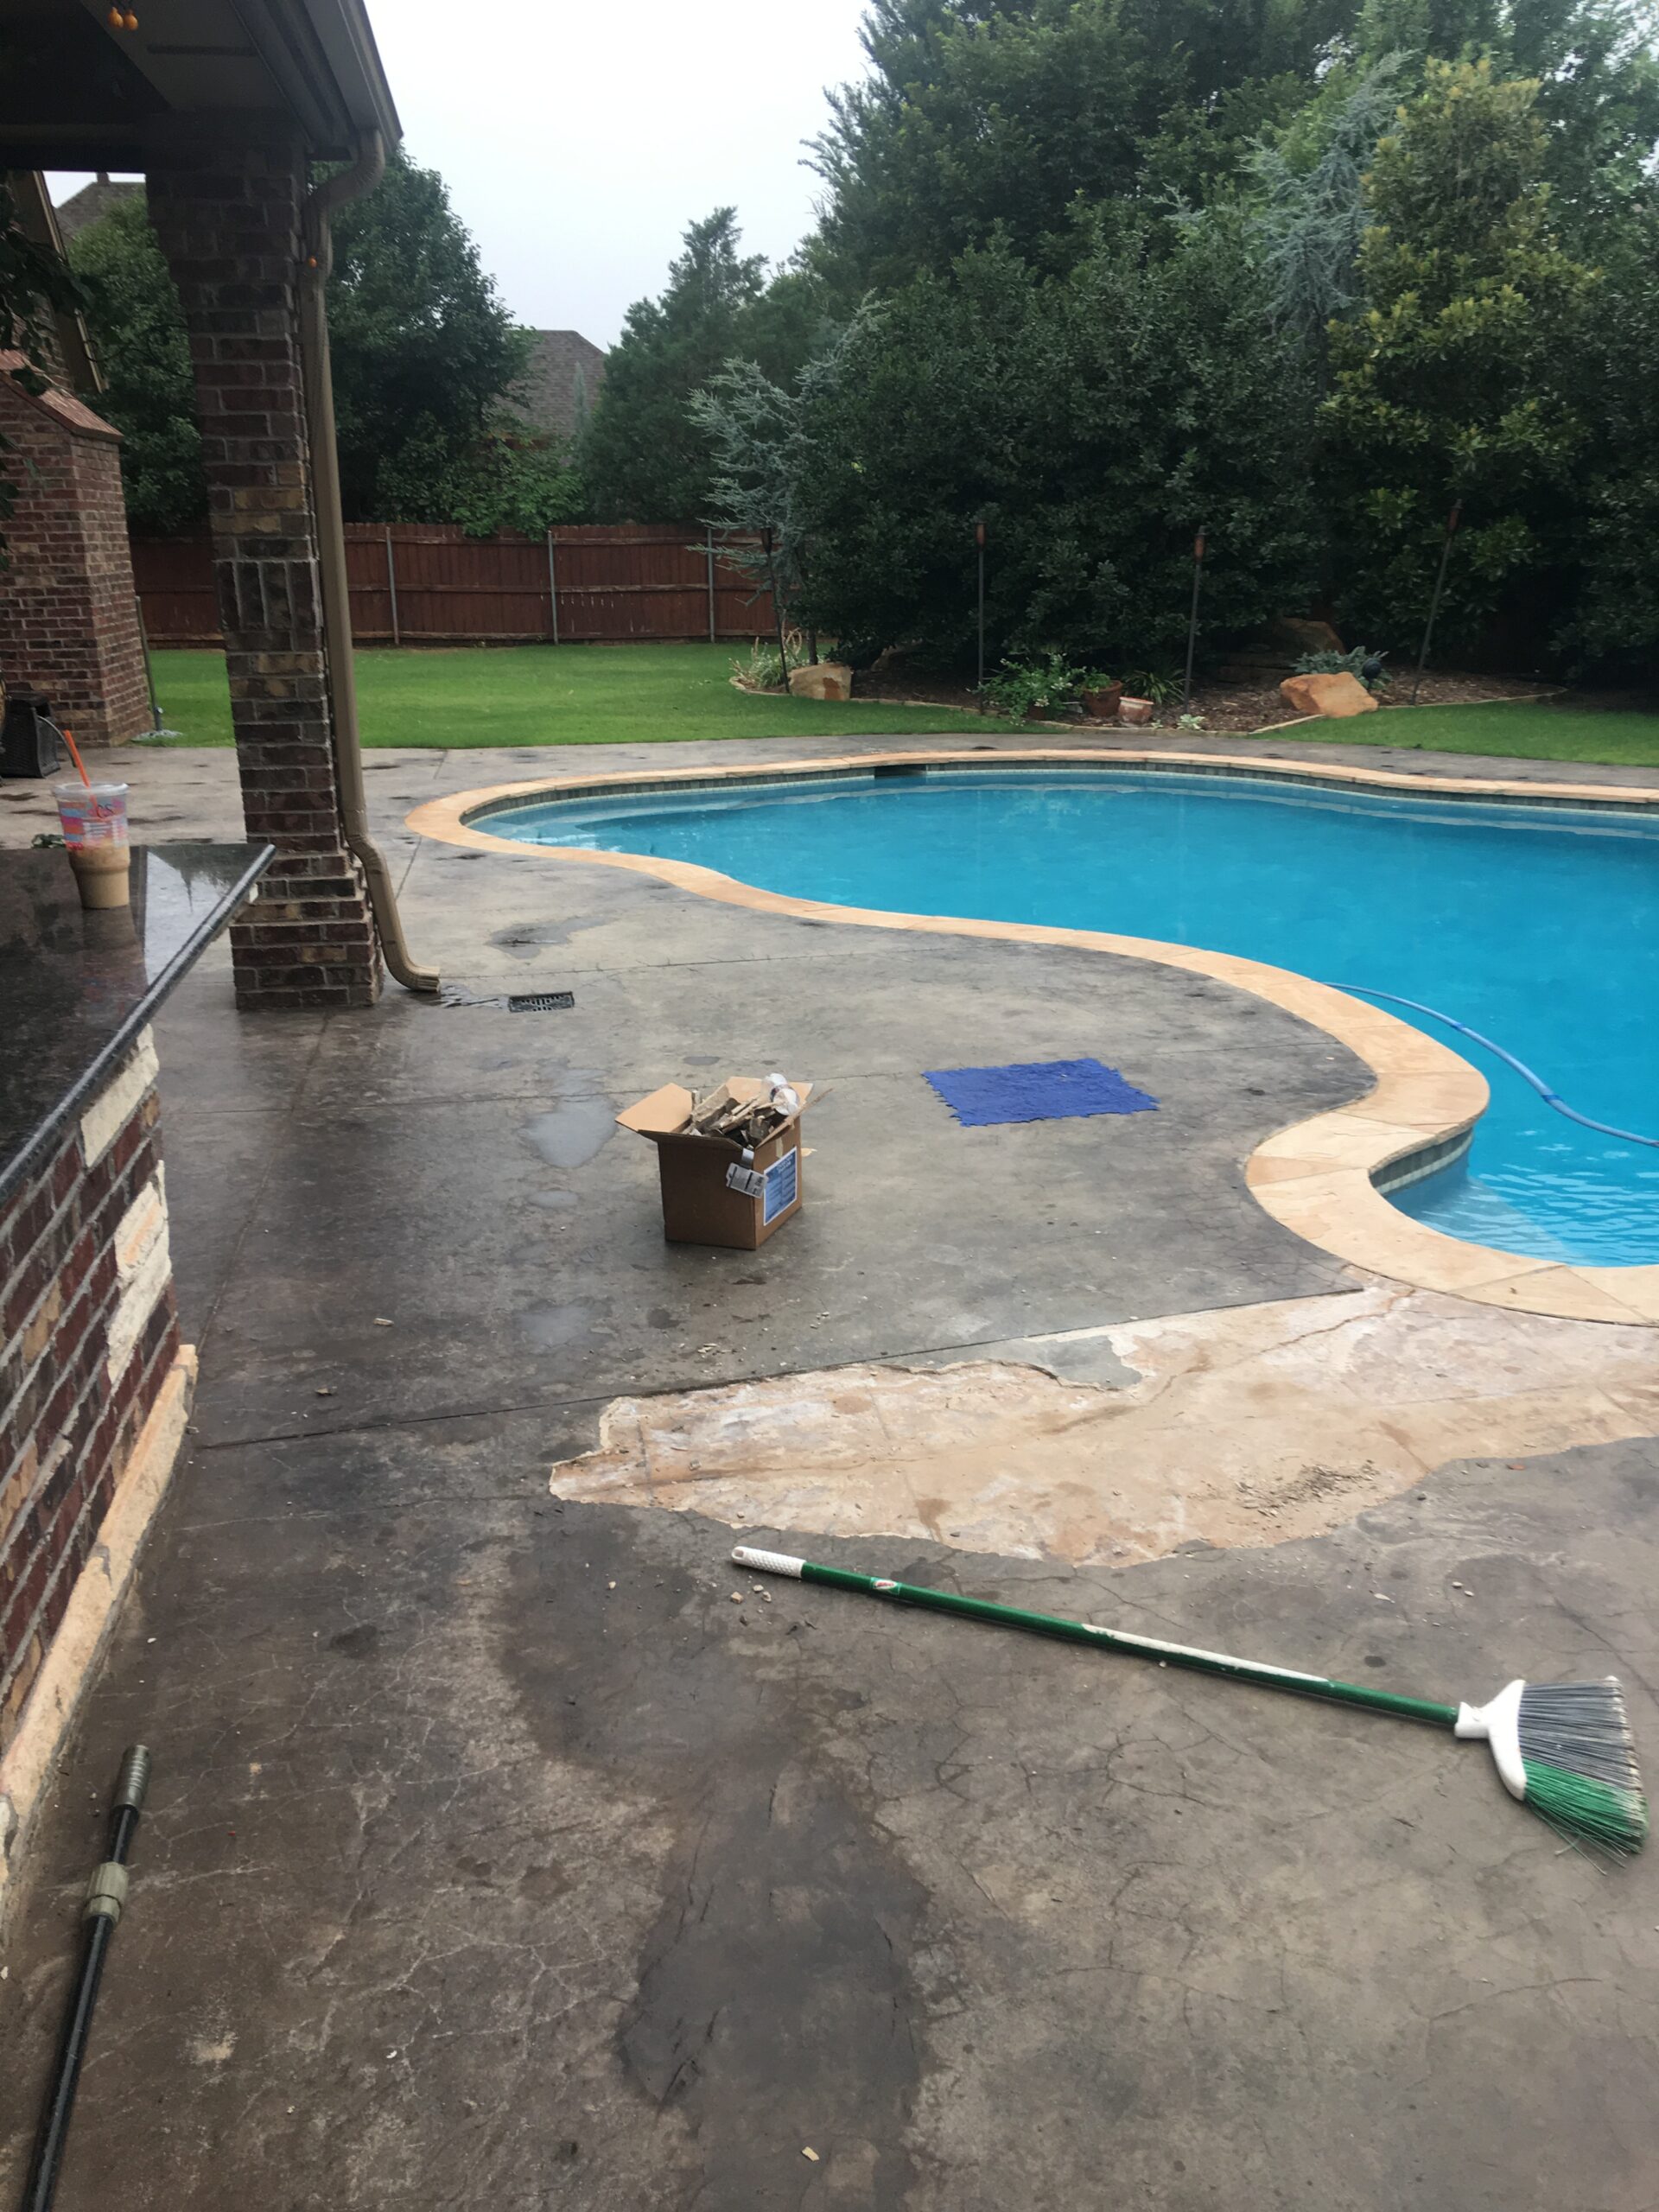
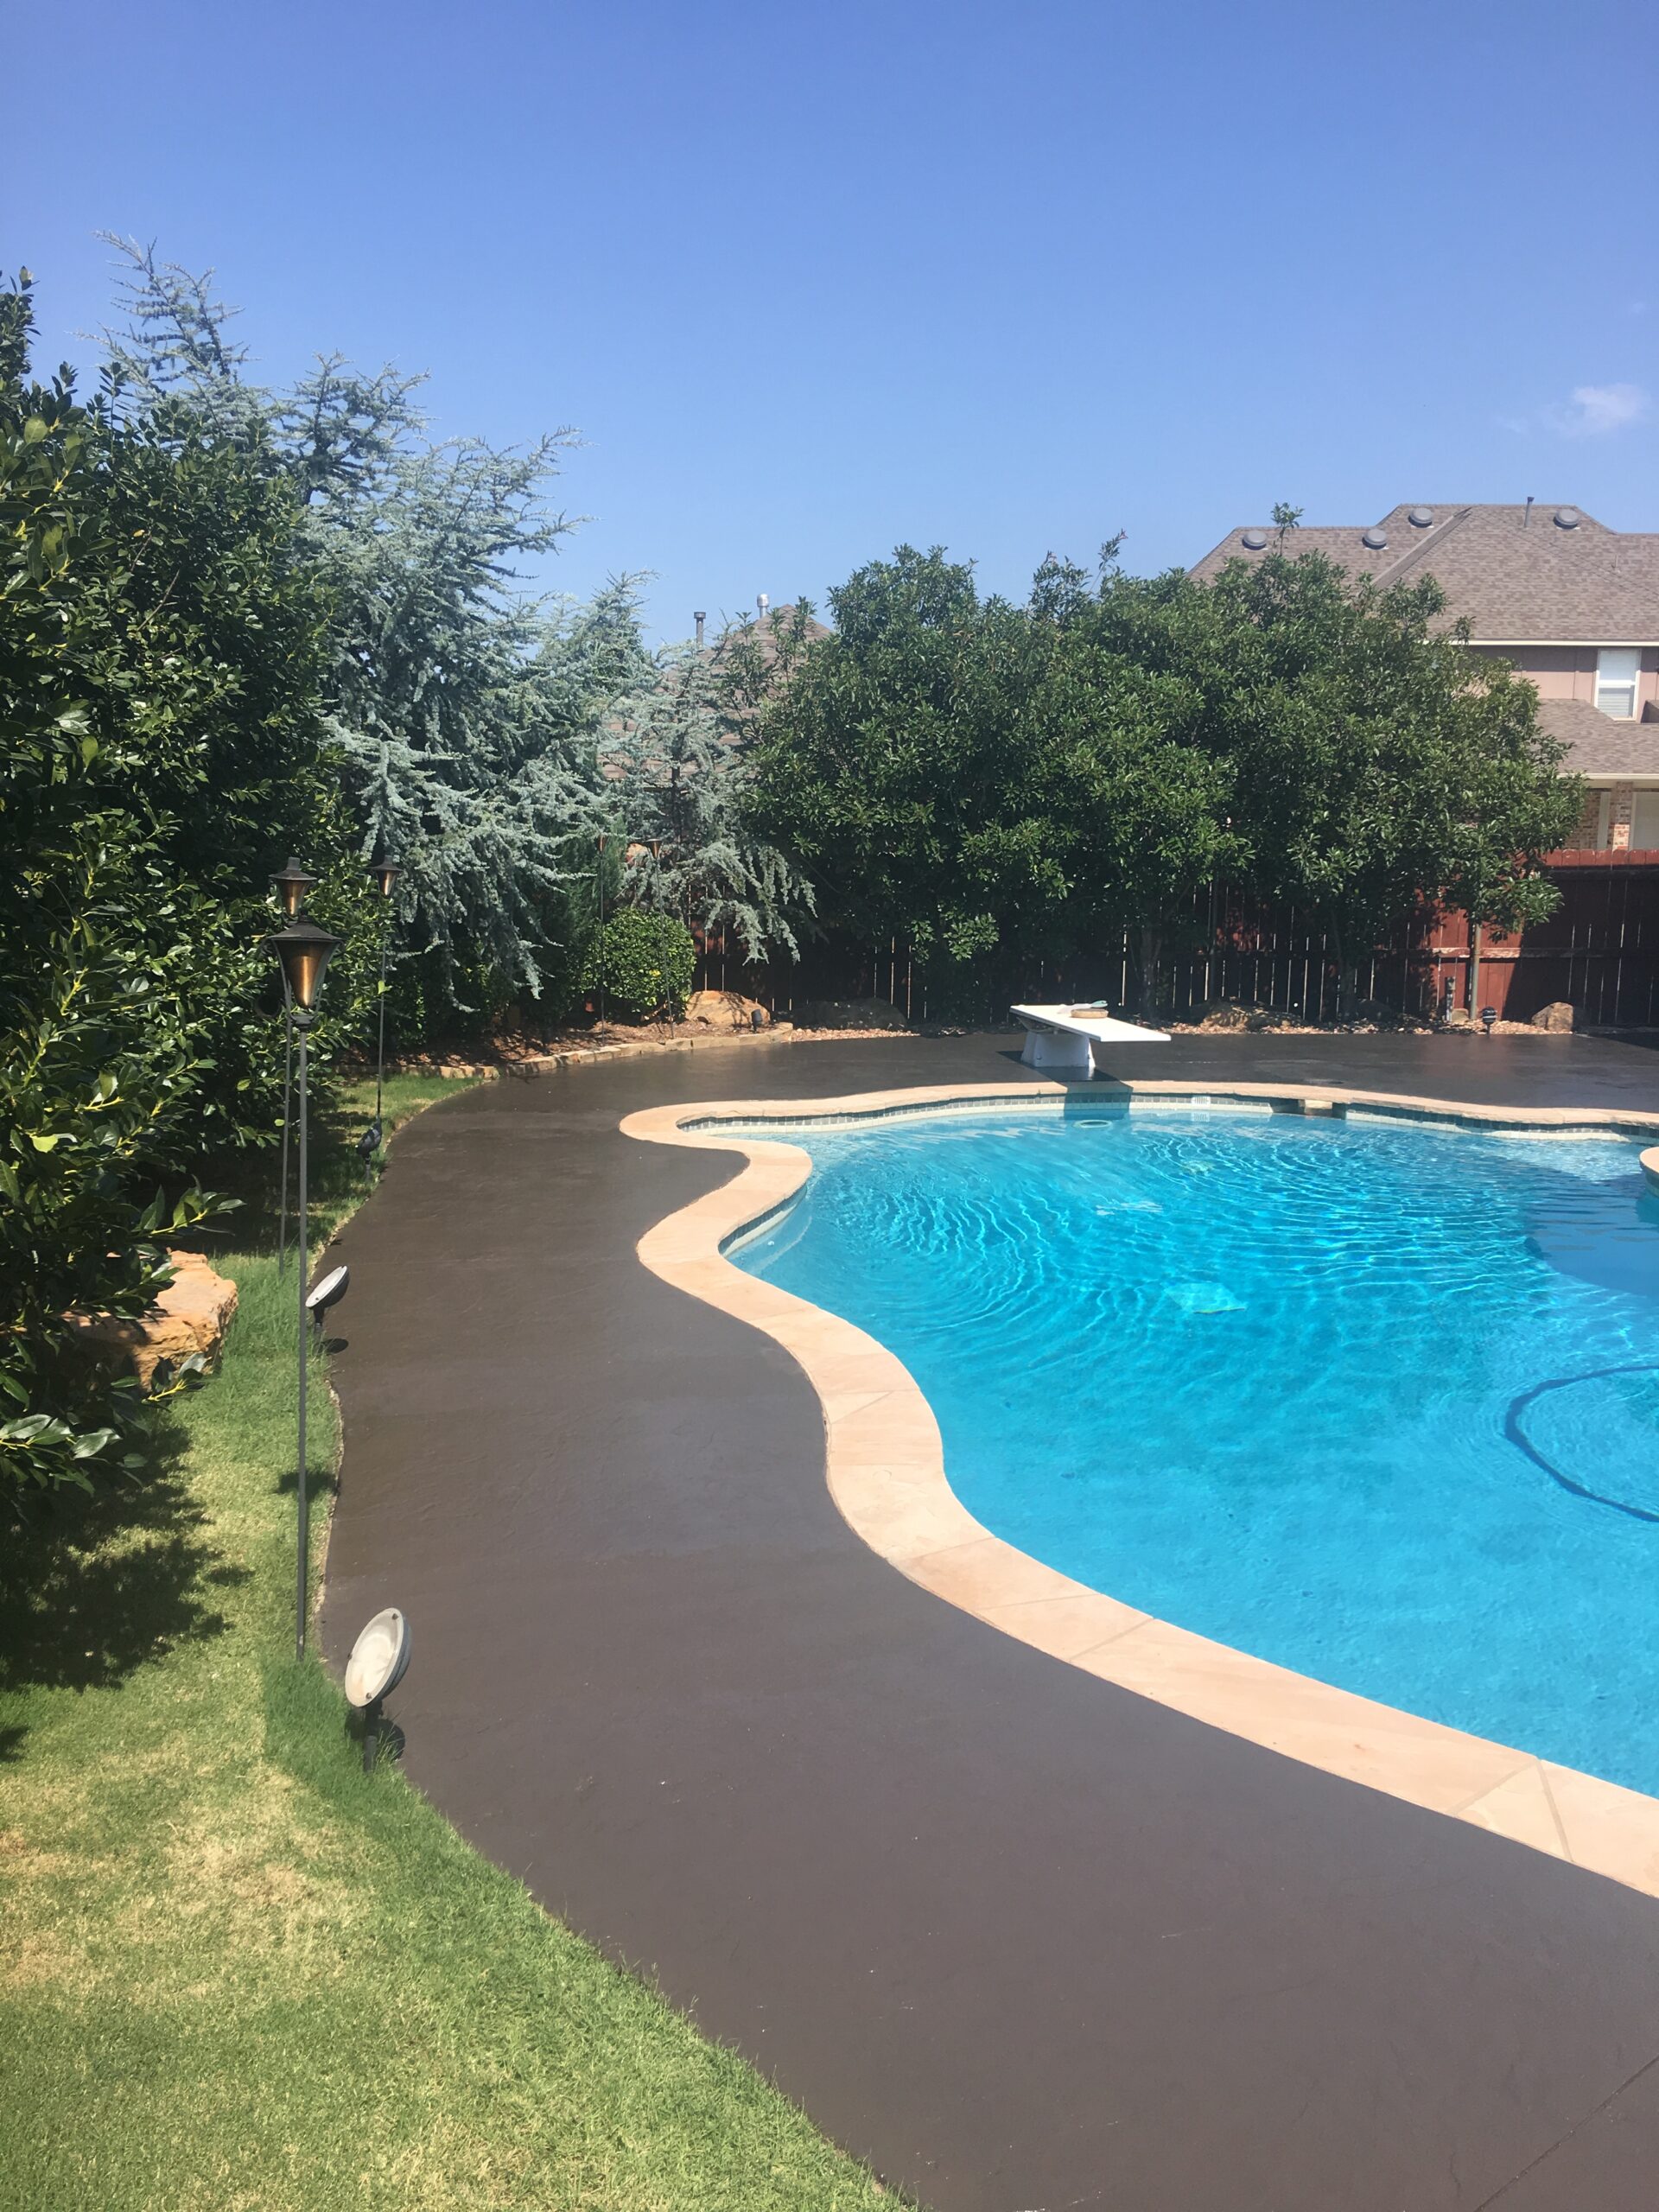
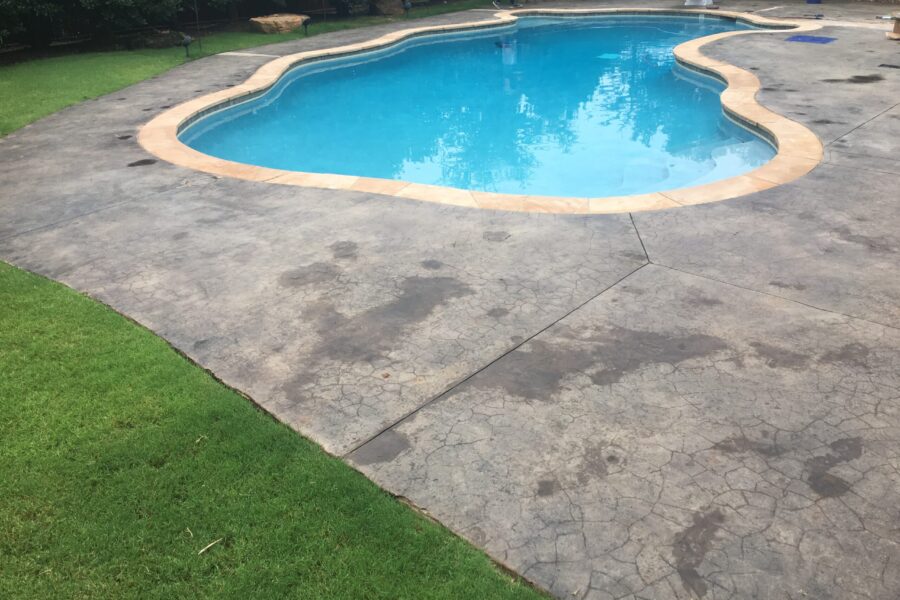
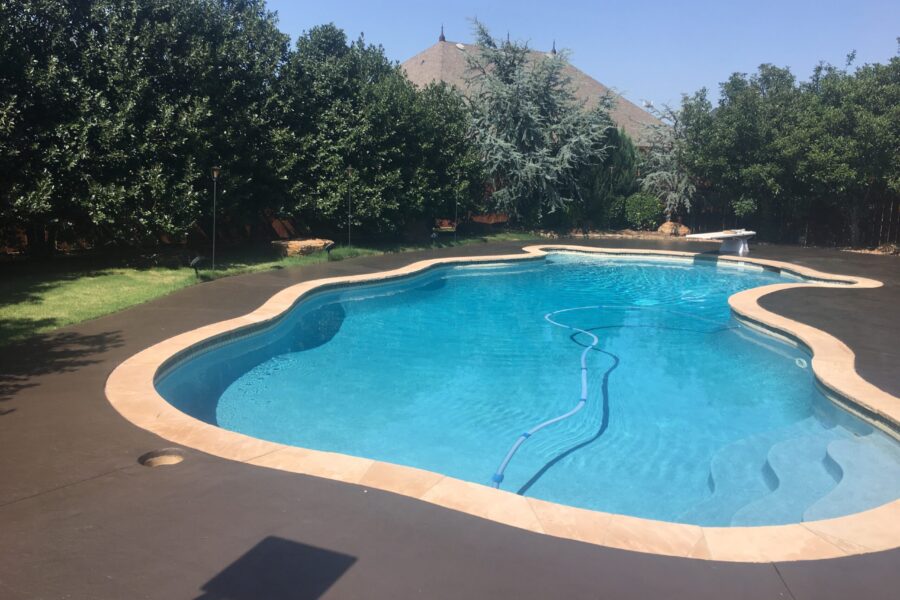
The Gray Whirlpool Revamp: From Blotchy Blues To Sleek Satin Swirls
Wave goodbye to the blotchy, stained pool deck that even a pressure wash couldn’t fix! Step into our world where we took the “Plain Jane” swirl concrete finish pool deck and transformed it into a sleek, satiny dream using EasyTint™ Gray. So, jump on this DIY wave with us, and remember – a minimum of two coats is your golden rule for achieving that perfect shade of satin sophistication!
Poolside Pizzazz: A Concrete Overlay Transformation
Dive into a project that breathes new life into a damaged, peeling pool deck! Witness the transformation as a drab concrete surface gets a refreshing makeover with Resurface-It concrete overlay and a dash of Chocolate EasyTint. The result? A stunning poolside oasis ready for summer fun!
Deck Re-Decked: A Concrete Pool Makeover Story
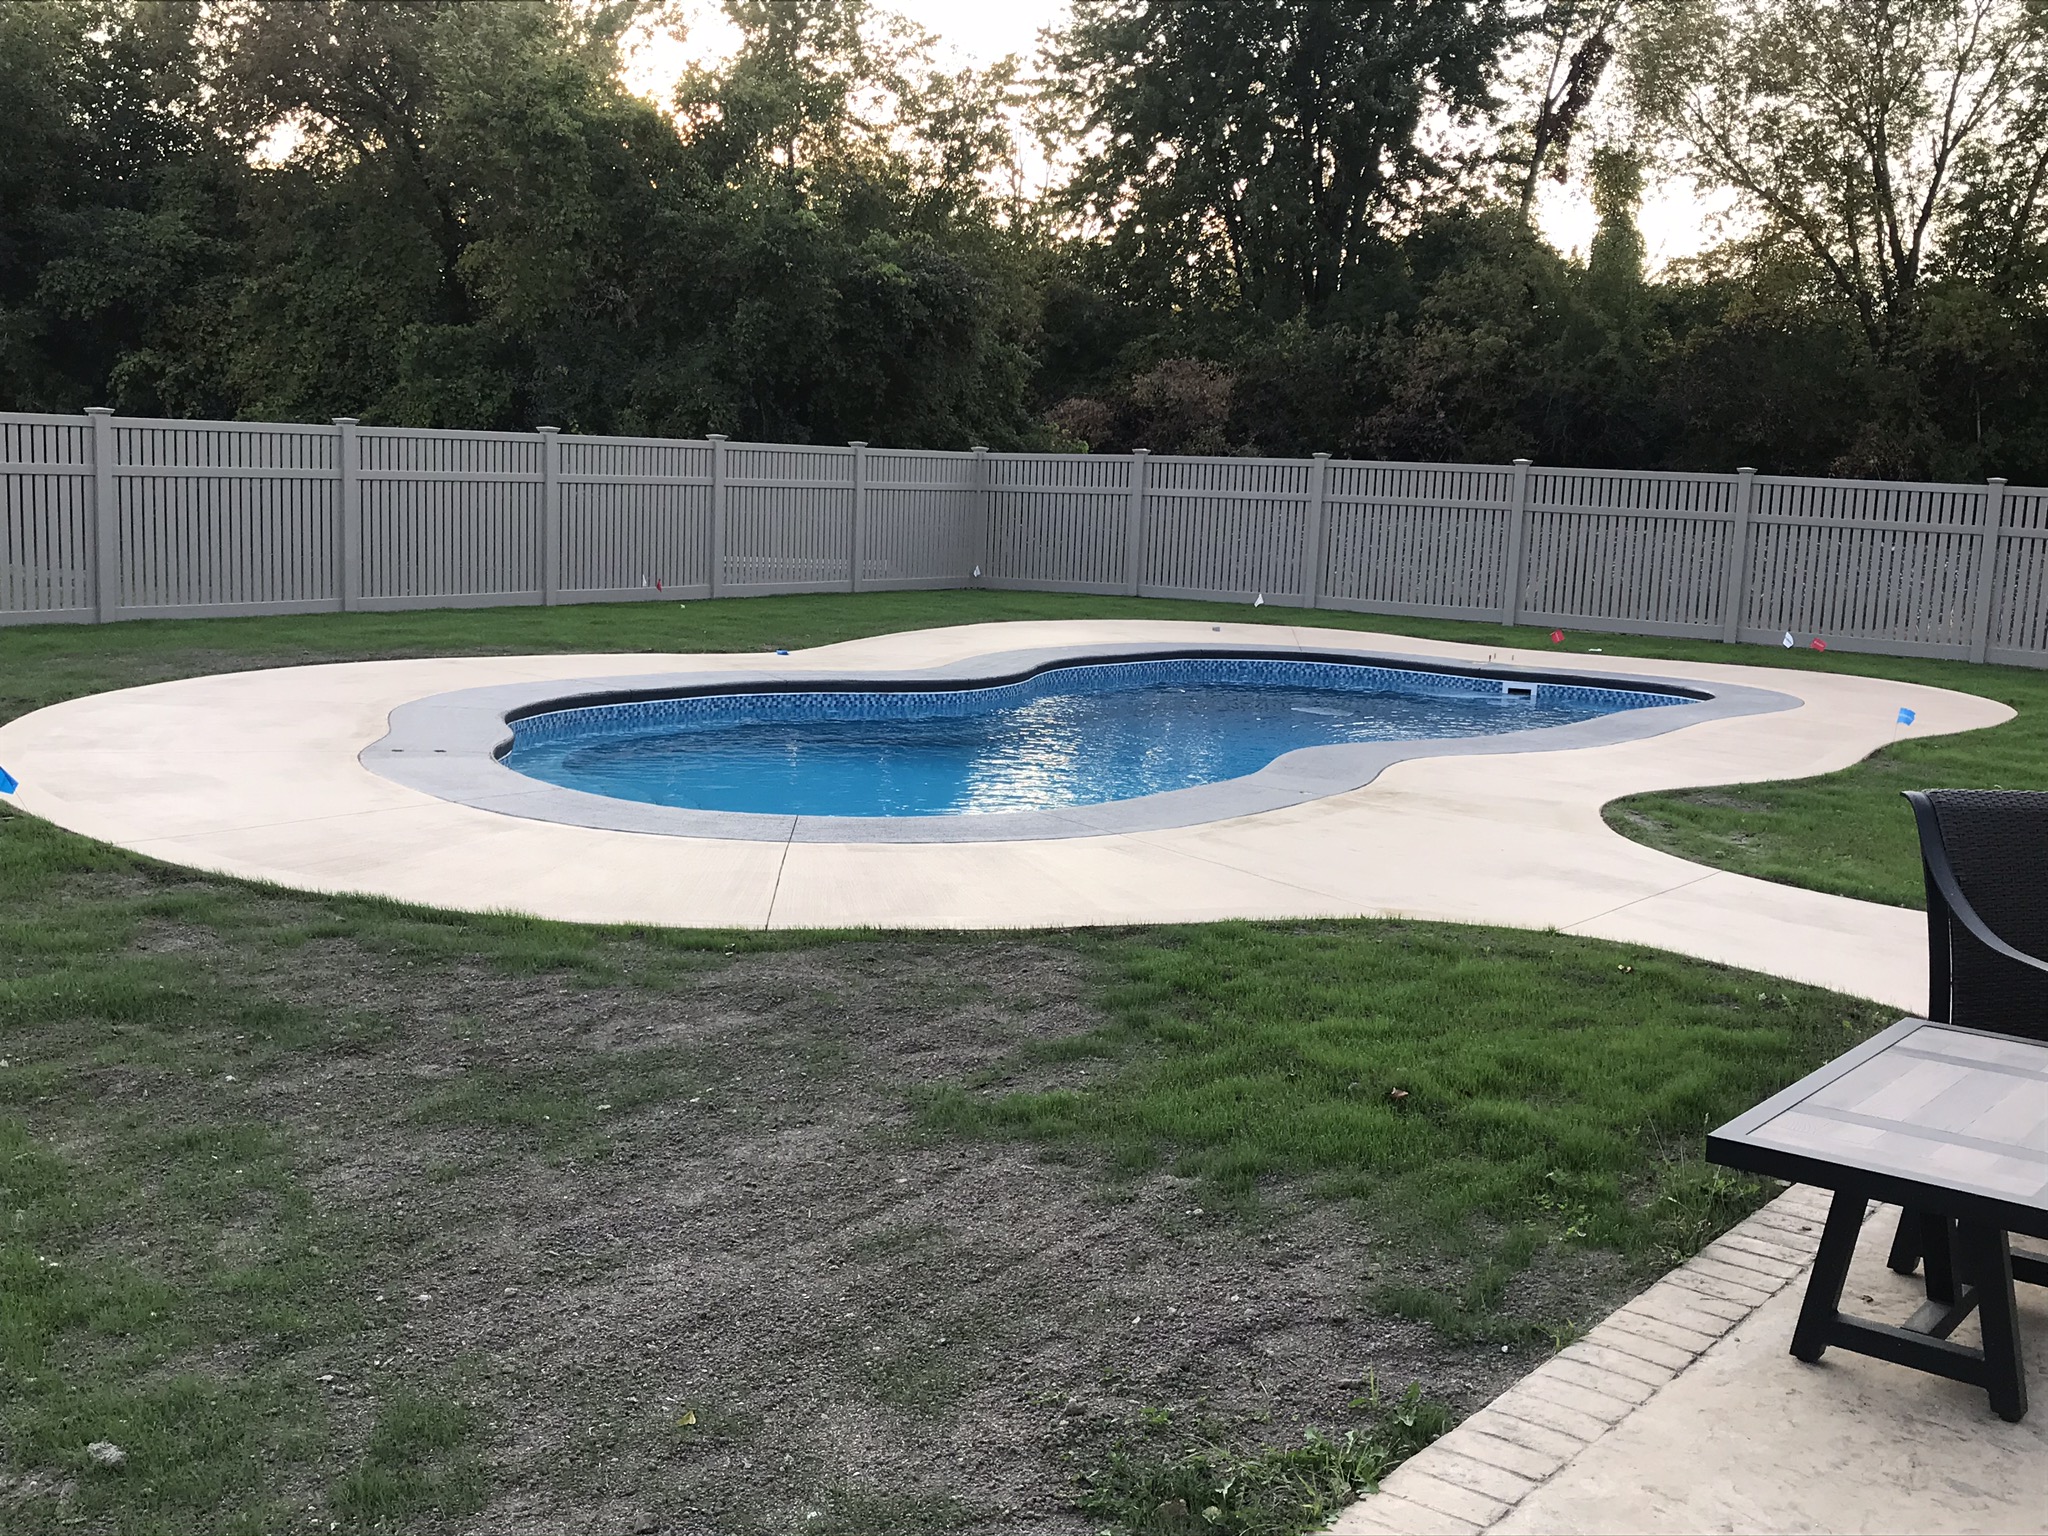
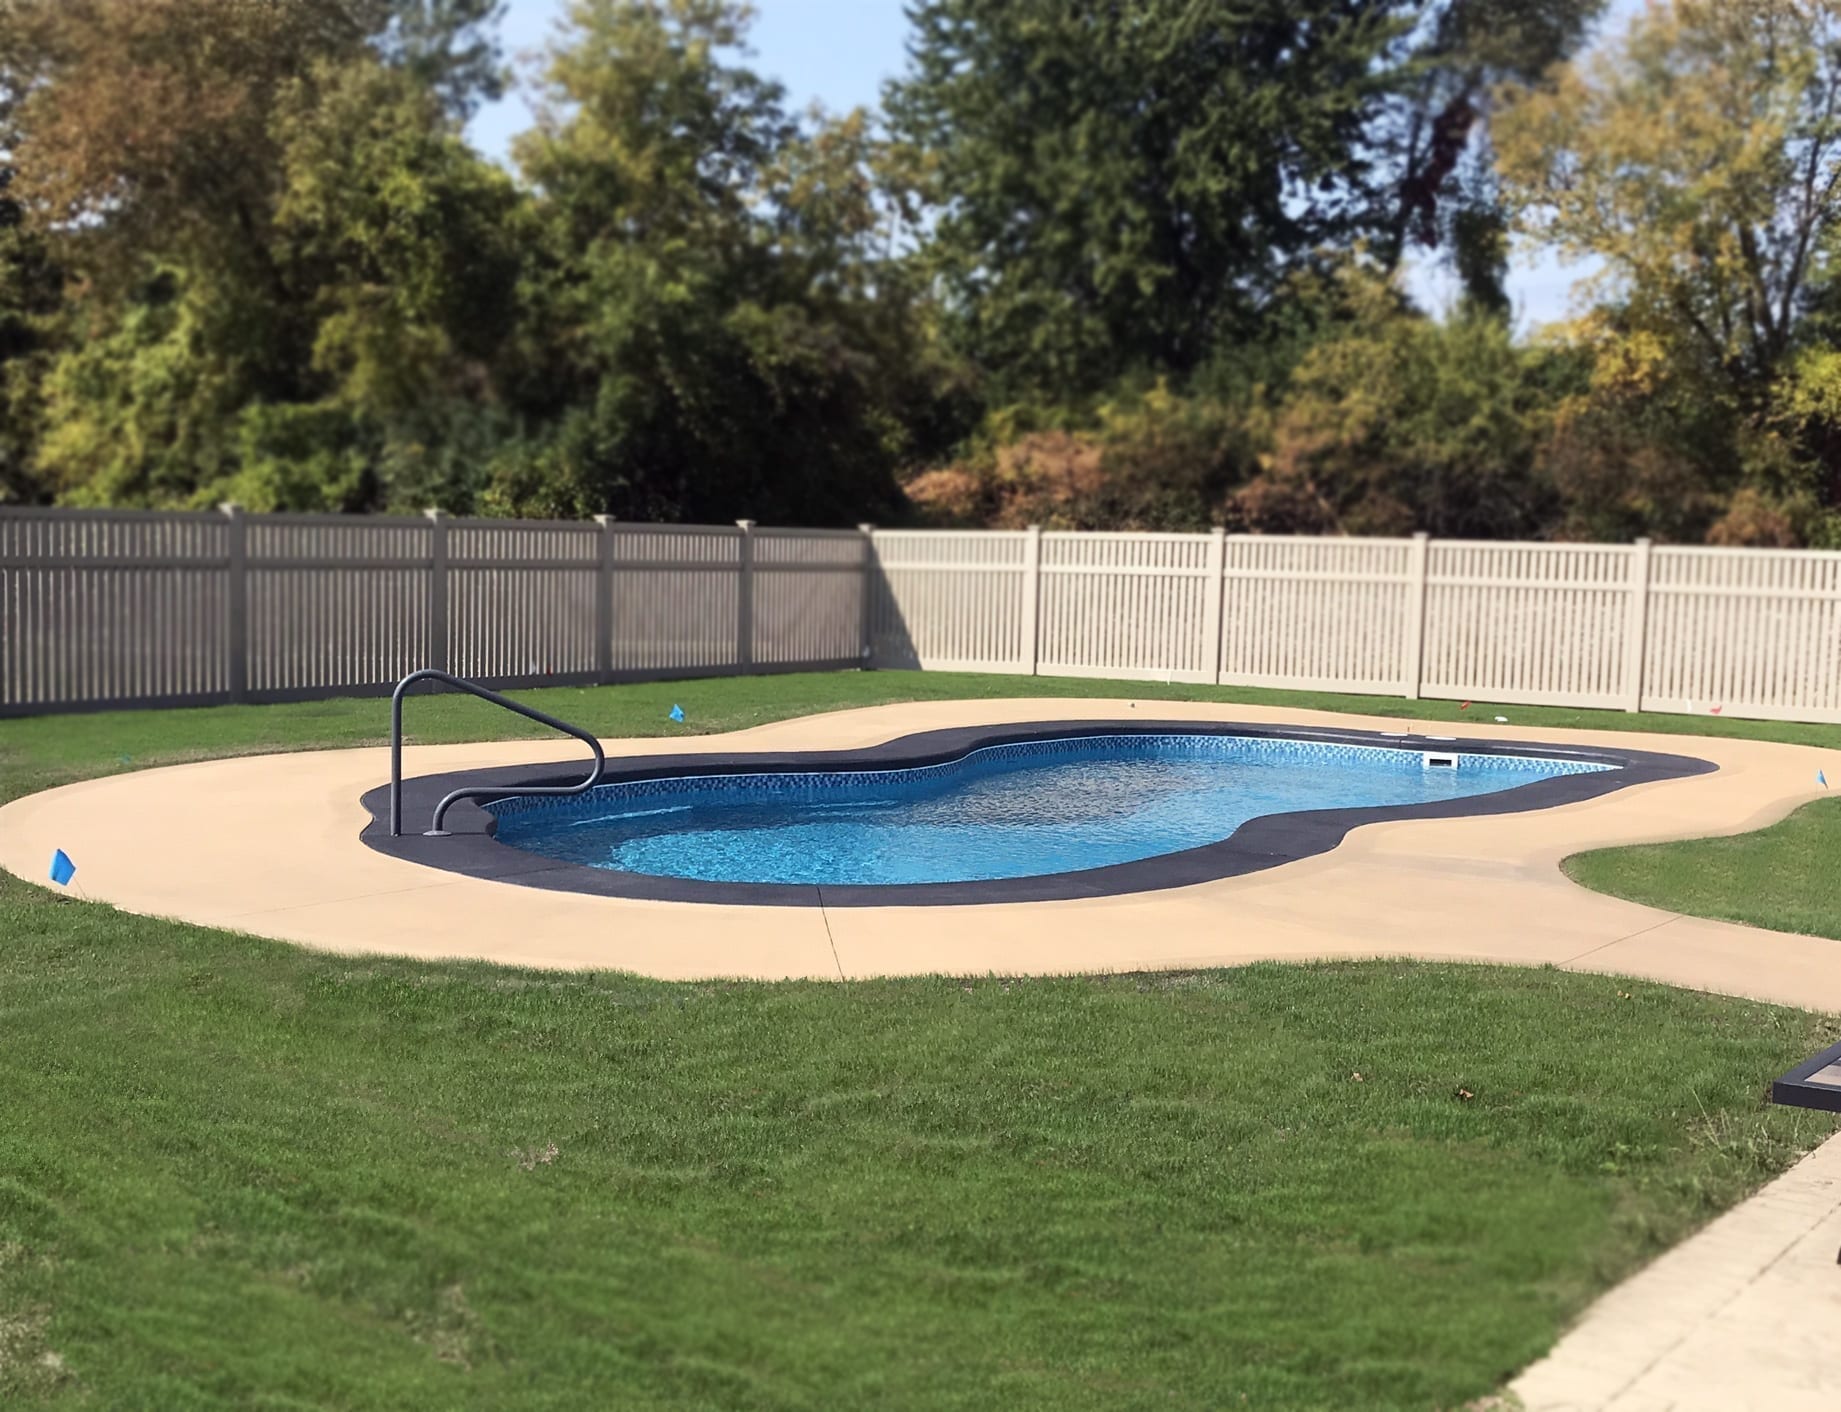
Witness the transformation of a faded broomed concrete pool deck! With the use of Khaki stain for the deck and Charcoal for the coping, a simple yet stunning makeover is achieved. Learn how Direct Colors products and their expert support team can empower you to take your DIY project from conception to completion with professional results. No need to overthink, just dive in!
Project Info:
- Project Completed In: 1 day(s)
- Estimate of Square Footage: 800 sq. ft.
- Project Description:
Faded broomed concrete pool deck and coping - Personal Tips:
Don’t over think it! You are capable of achieving professional results with these easy to use quality products from Direct Colors, especially with their highly qualified product support team only a phone call away! - Direct Colors Products Used:
5 Gal. Khaki EasyTint™ Satin
1 Gal. Charcoal EasyTint™ Satin
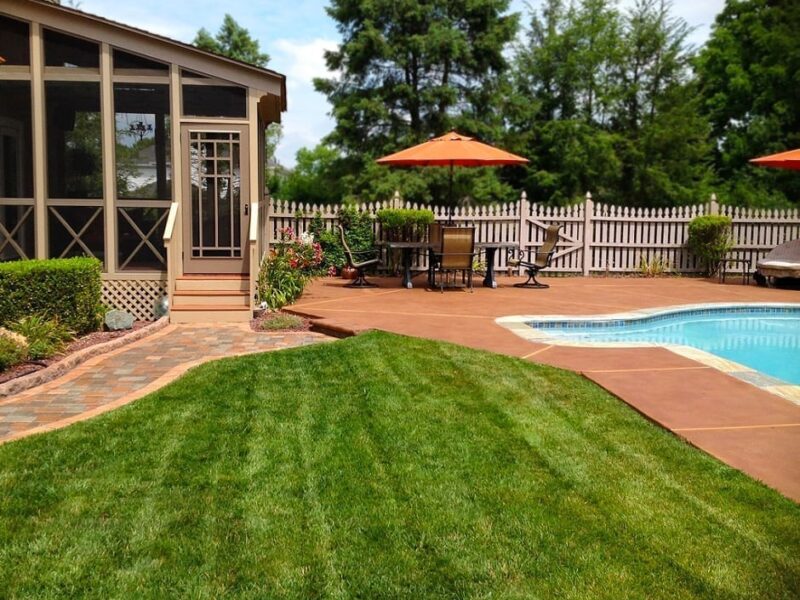
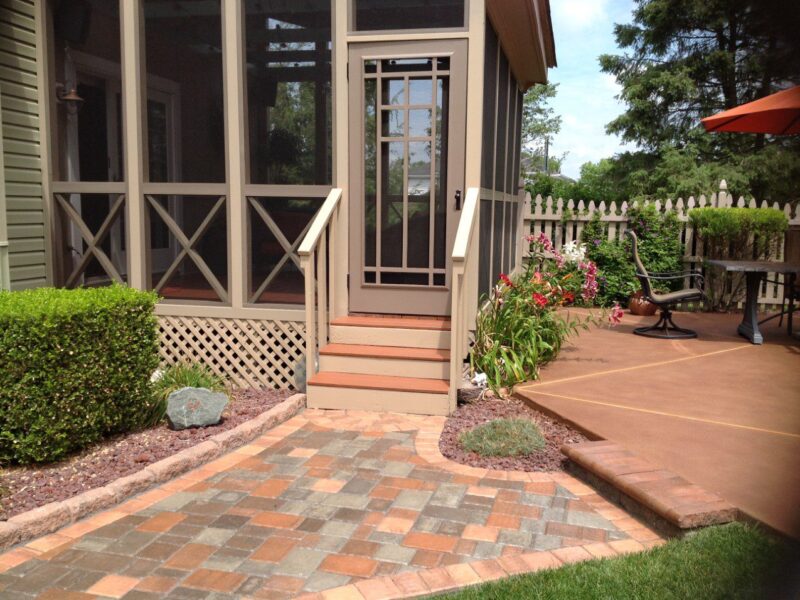
Rustic Russet Revamp: Harmonizing Pool Deck & Paver Walkway
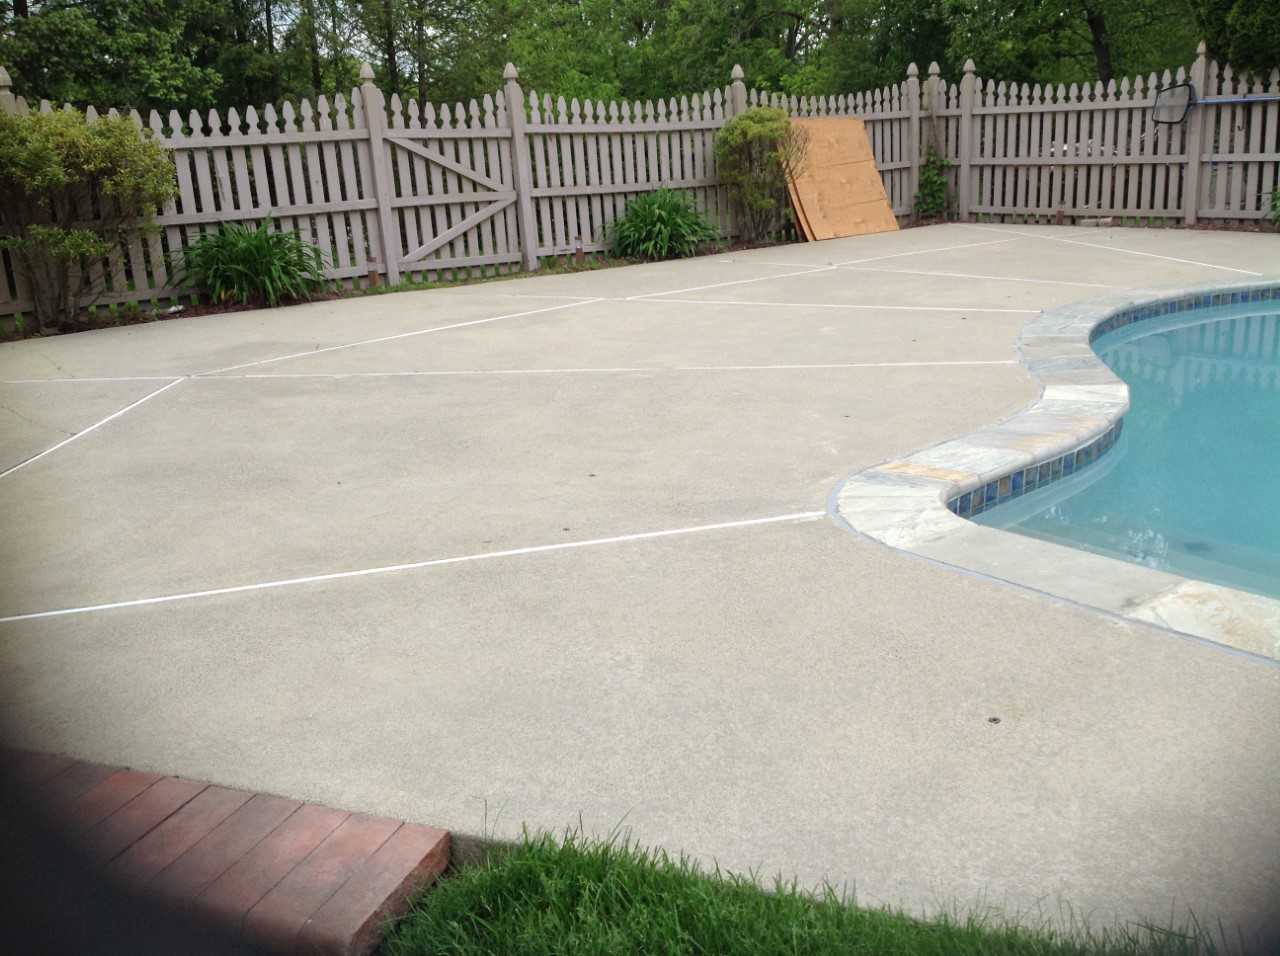
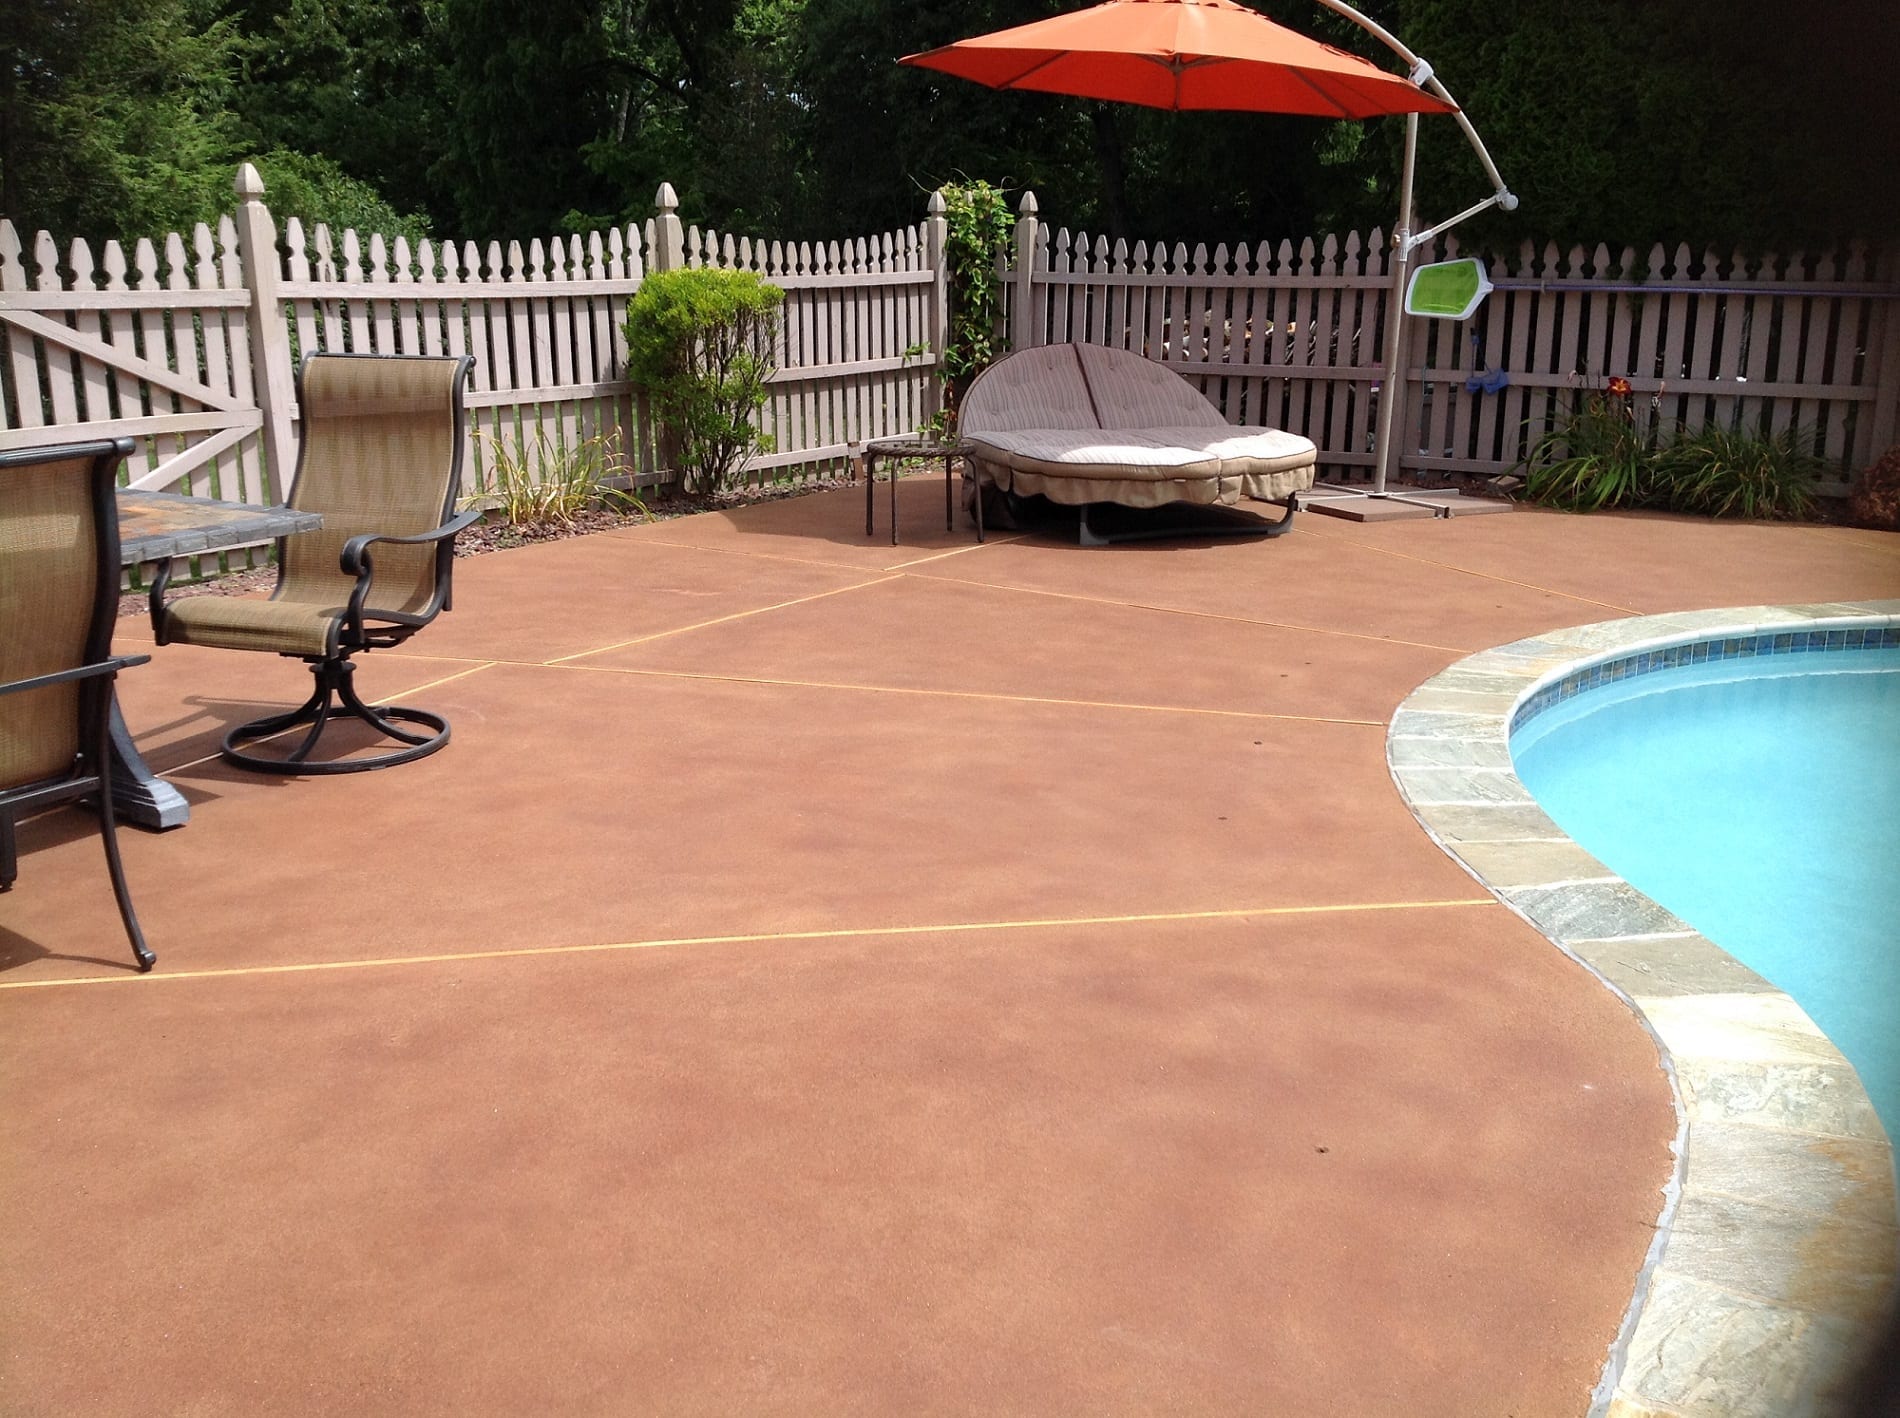
Step into a project that artfully unites a smooth, scored concrete pool deck with a multicolored paver walkway and home deck. Utilizing Russet Antiquing stain, the new pool deck addition is perfectly tinted to complement the existing outdoor aesthetics. A tale of harmonizing hues, this project demonstrates how strategic staining can create a seamless outdoor sanctuary.
Paver Perfection: A Poolside Revival Tale
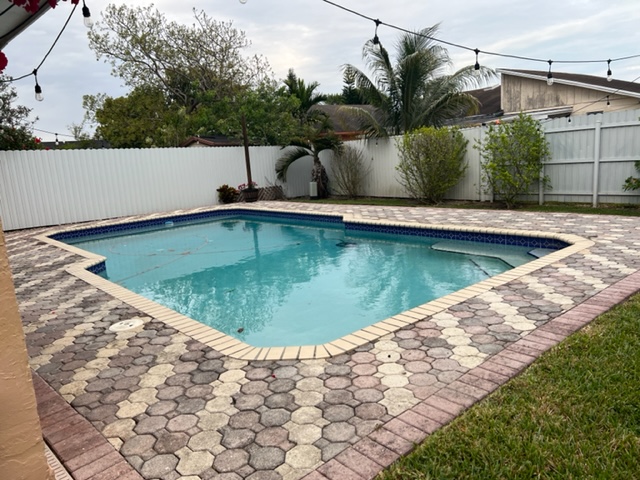
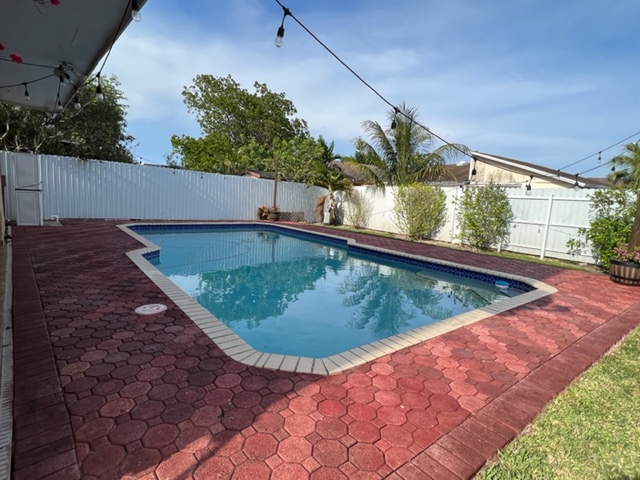
Join the journey of rejuvenating faded multicolor pavers around a swimming pool. Discover how Milano Red and Chocolate Portico Paver Stains, combined with EasySeal satin sealer, breathe new life into the pool area. Learn from the DIYer’s experience in maintaining color uniformity and their success with a brush over a sprayer. A project not just about transformation, but also about learning and adapting techniques for the best results.
Project Info:
- Project Completed In: 4 day(s)
- Estimate of Square Footage: 450 sq. ft.
- Project Description:
Stain and Seal pavers around swimming pool - Personal Tips:
My main problem was to keep the color uniform around the area. The pigment goes down to the bottom very easy and the beginning of the gallon is always lighter. I had better results using a brush and small bucket than the sprayer. - Direct Colors Products Used:
1 Gal. Milano Red Antiquing™ & EasySeal™ Satin Kit
1 Gal. Chocolate Antiquing™ & EasySeal™ Satin Kit
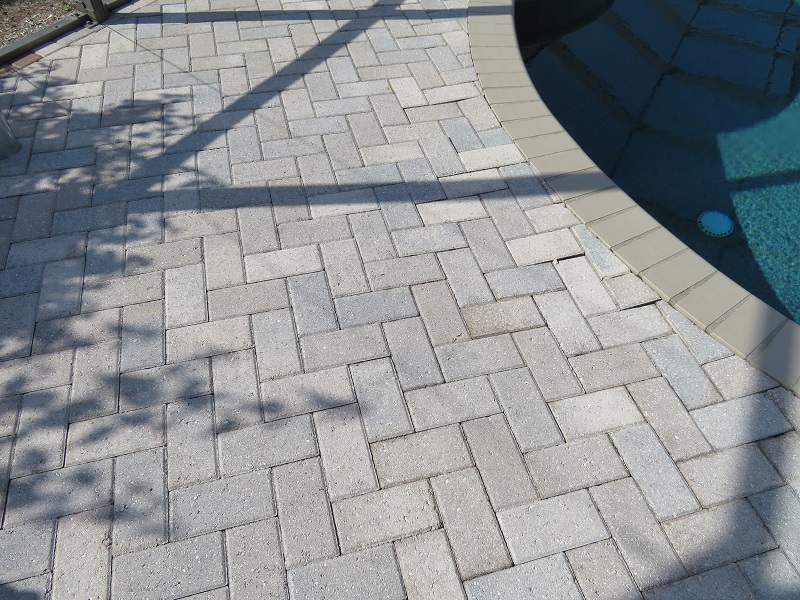
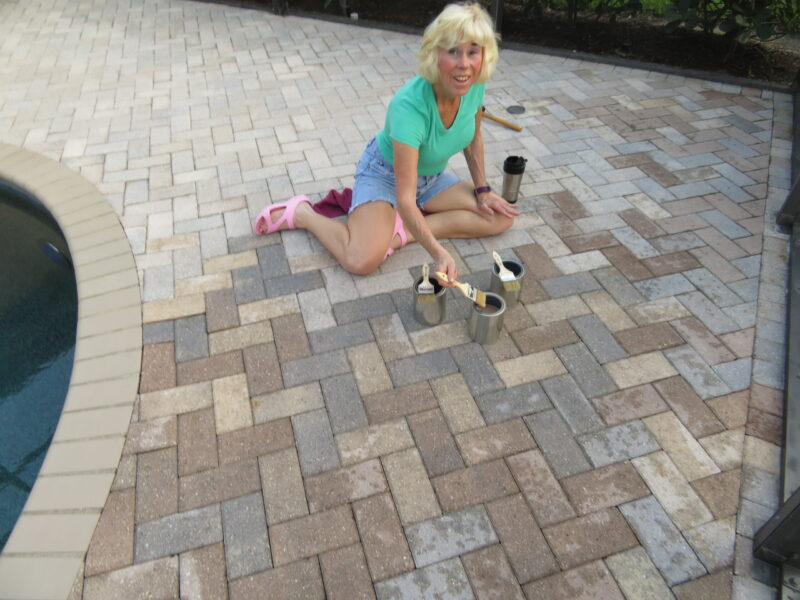
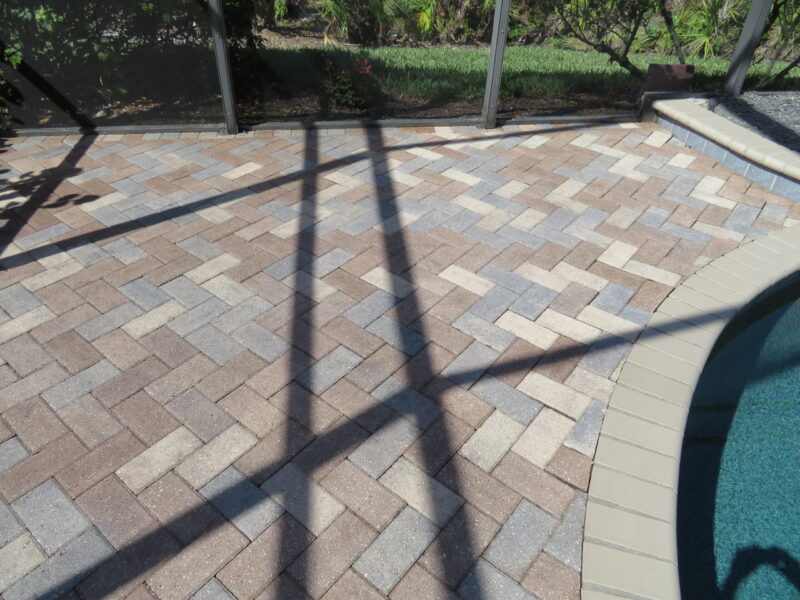
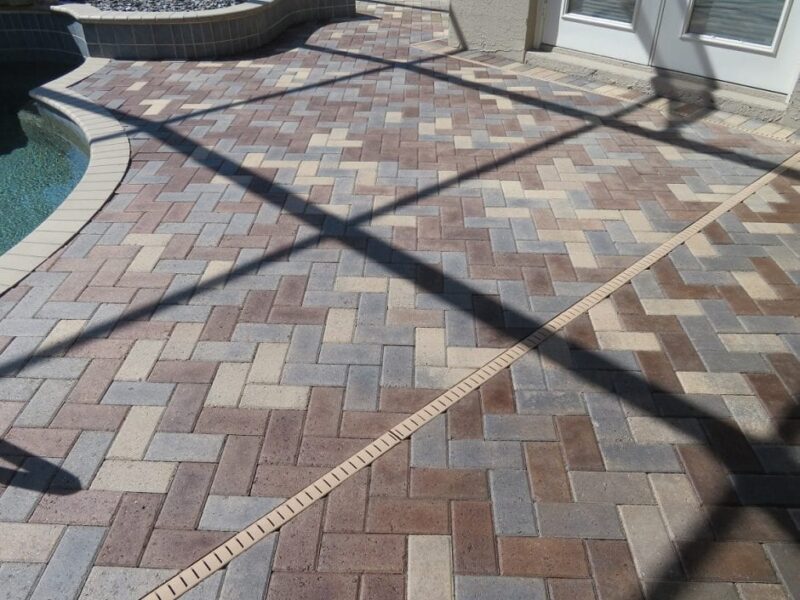
Paver Palette: A Poolside Brush-Stained Transformation
Immerse in a project that revamps faded multicolor pavers around a swimming pool using paint brushes. With the vibrant hues of Aztec Brown, Khaki, and Silver Gray Portico Paver Stain, watch a once dull salt-water pool deck transform into a vibrant outdoor oasis. An inspiring tale of color, creativity, and good old-fashioned brushwork!
Pool Deck Revival: A Show-Stopping Splash Zone
Dive into a project that transforms a drab pool deck into a vibrant, eye-catching oasis. With Direct Colors products, a DIYer revitalized their outdoor space, turning it into a neighborhood sensation. Discover their personal tips that cover the gamut – from prepping, testing, applying, to cleaning, and admiring the results. An inspiring tale of poolside transformation and DIY success!
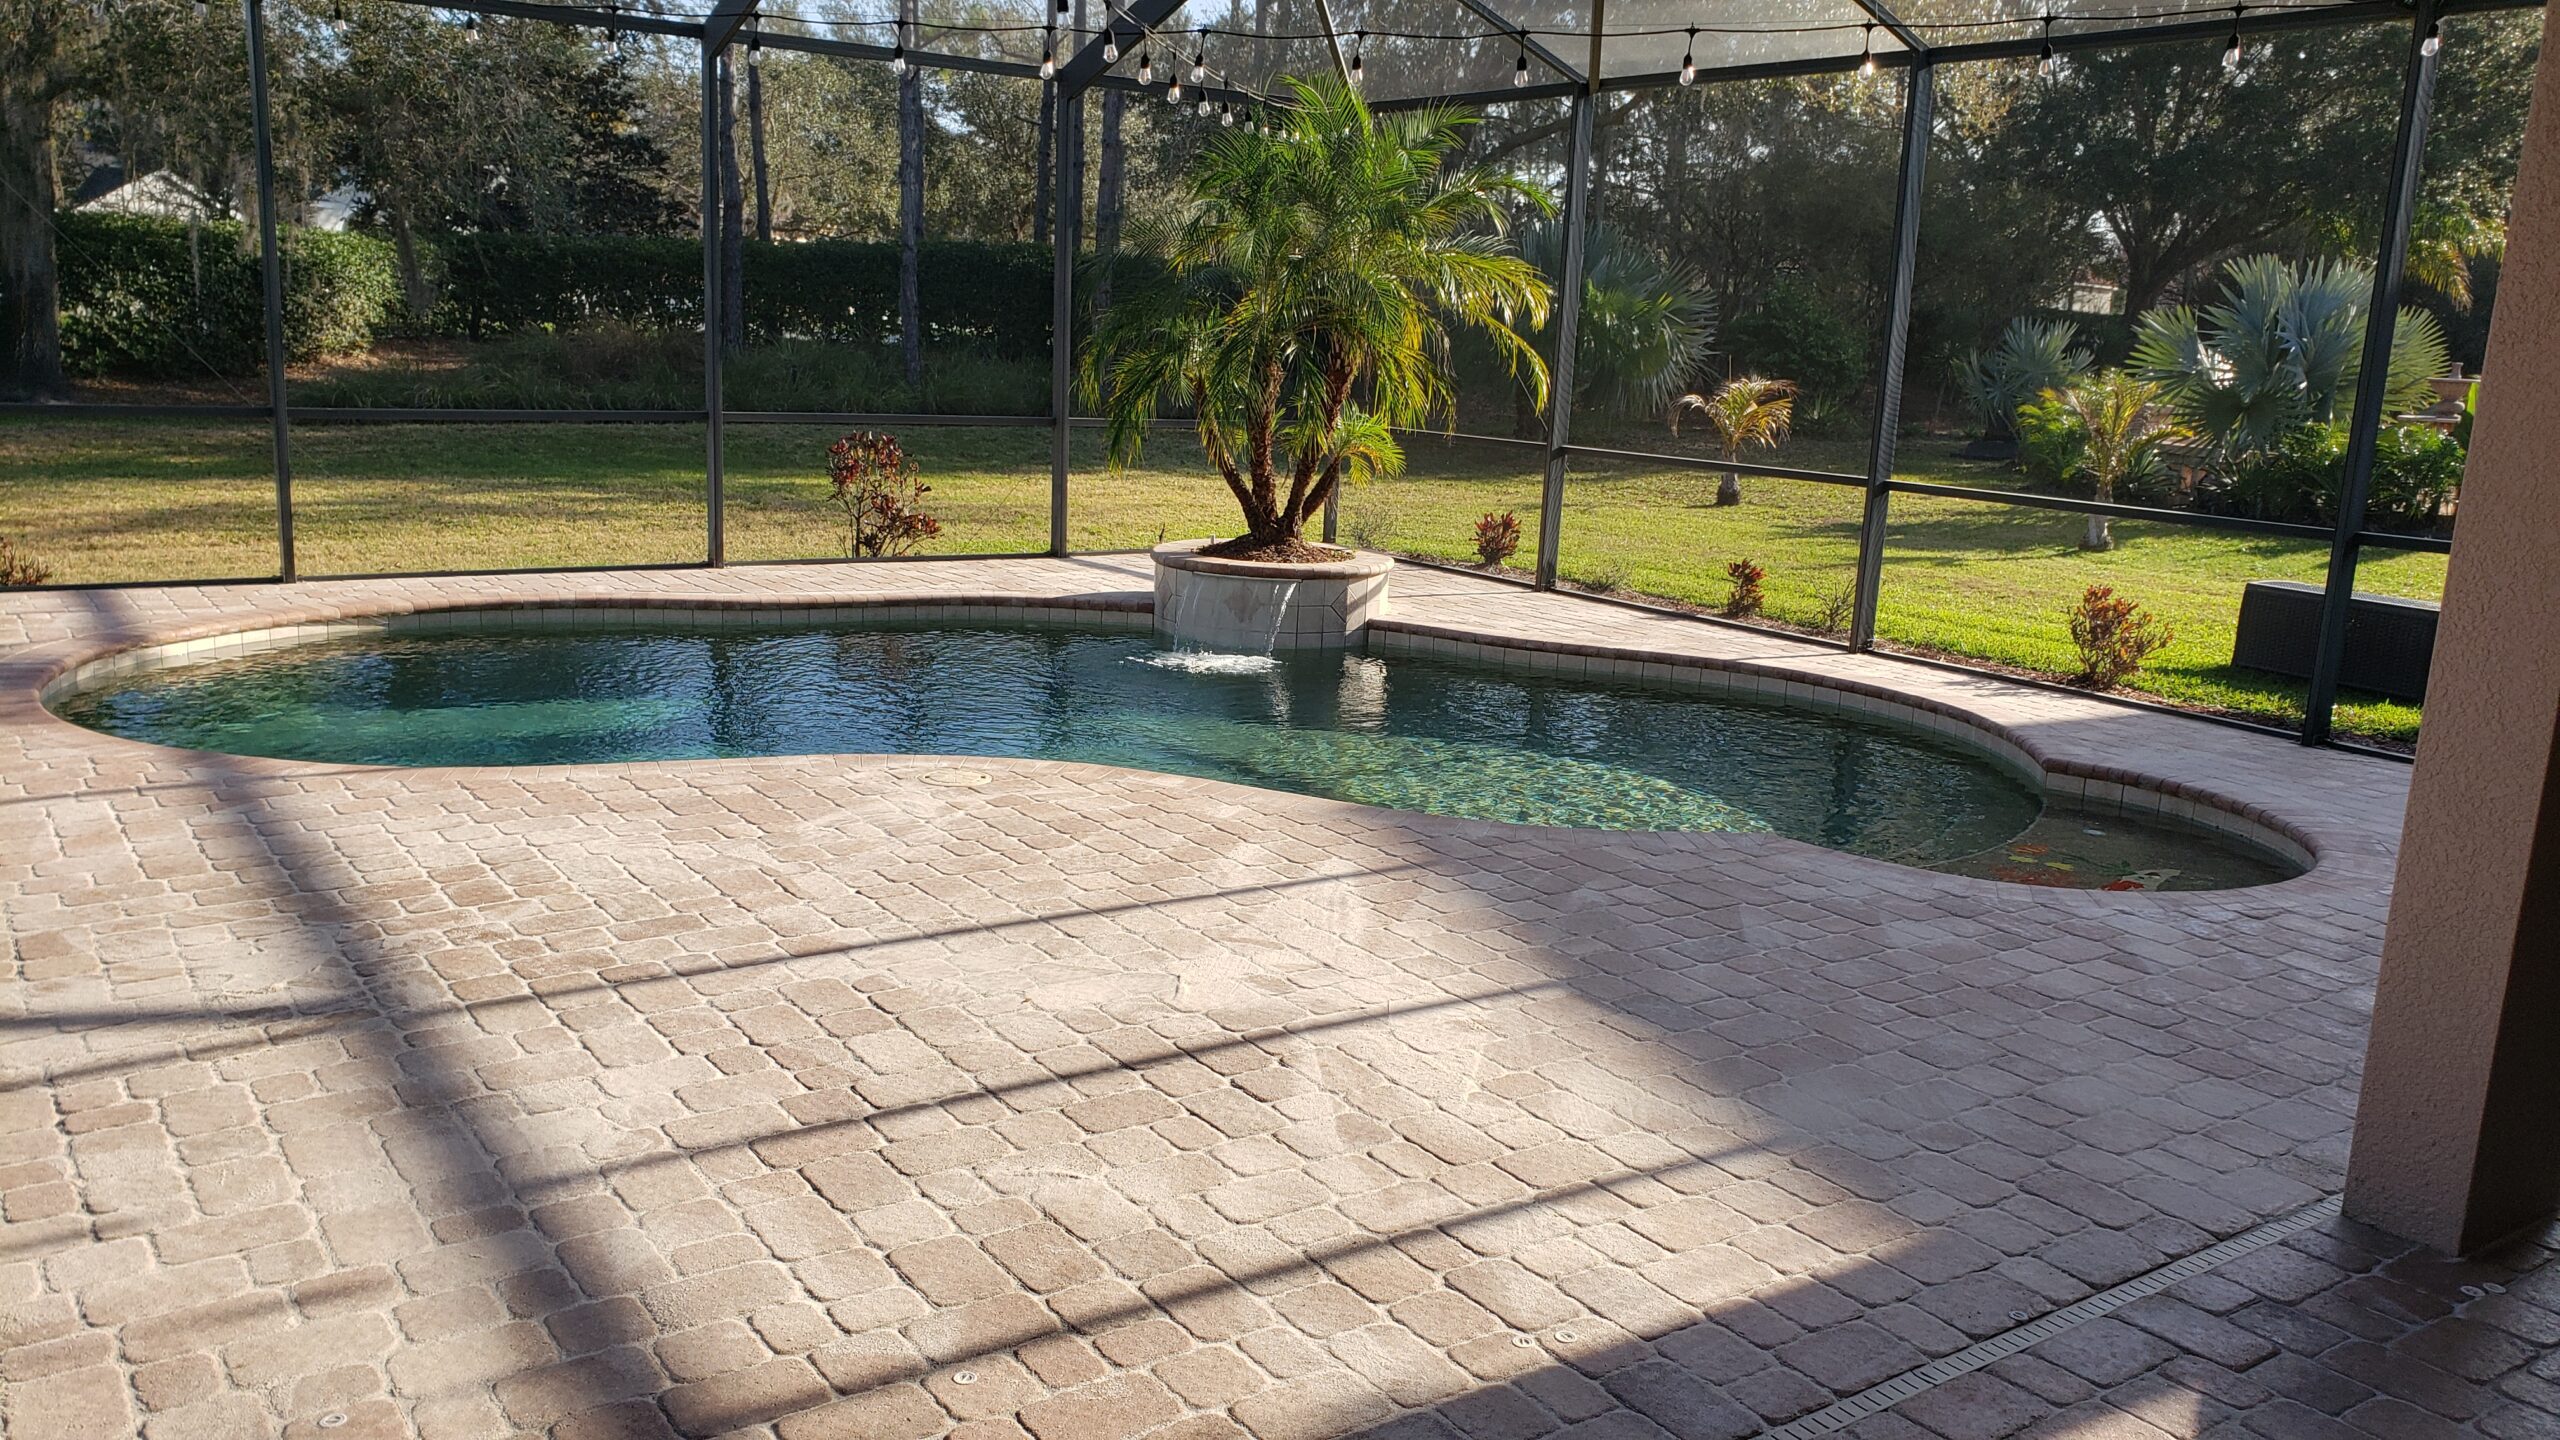
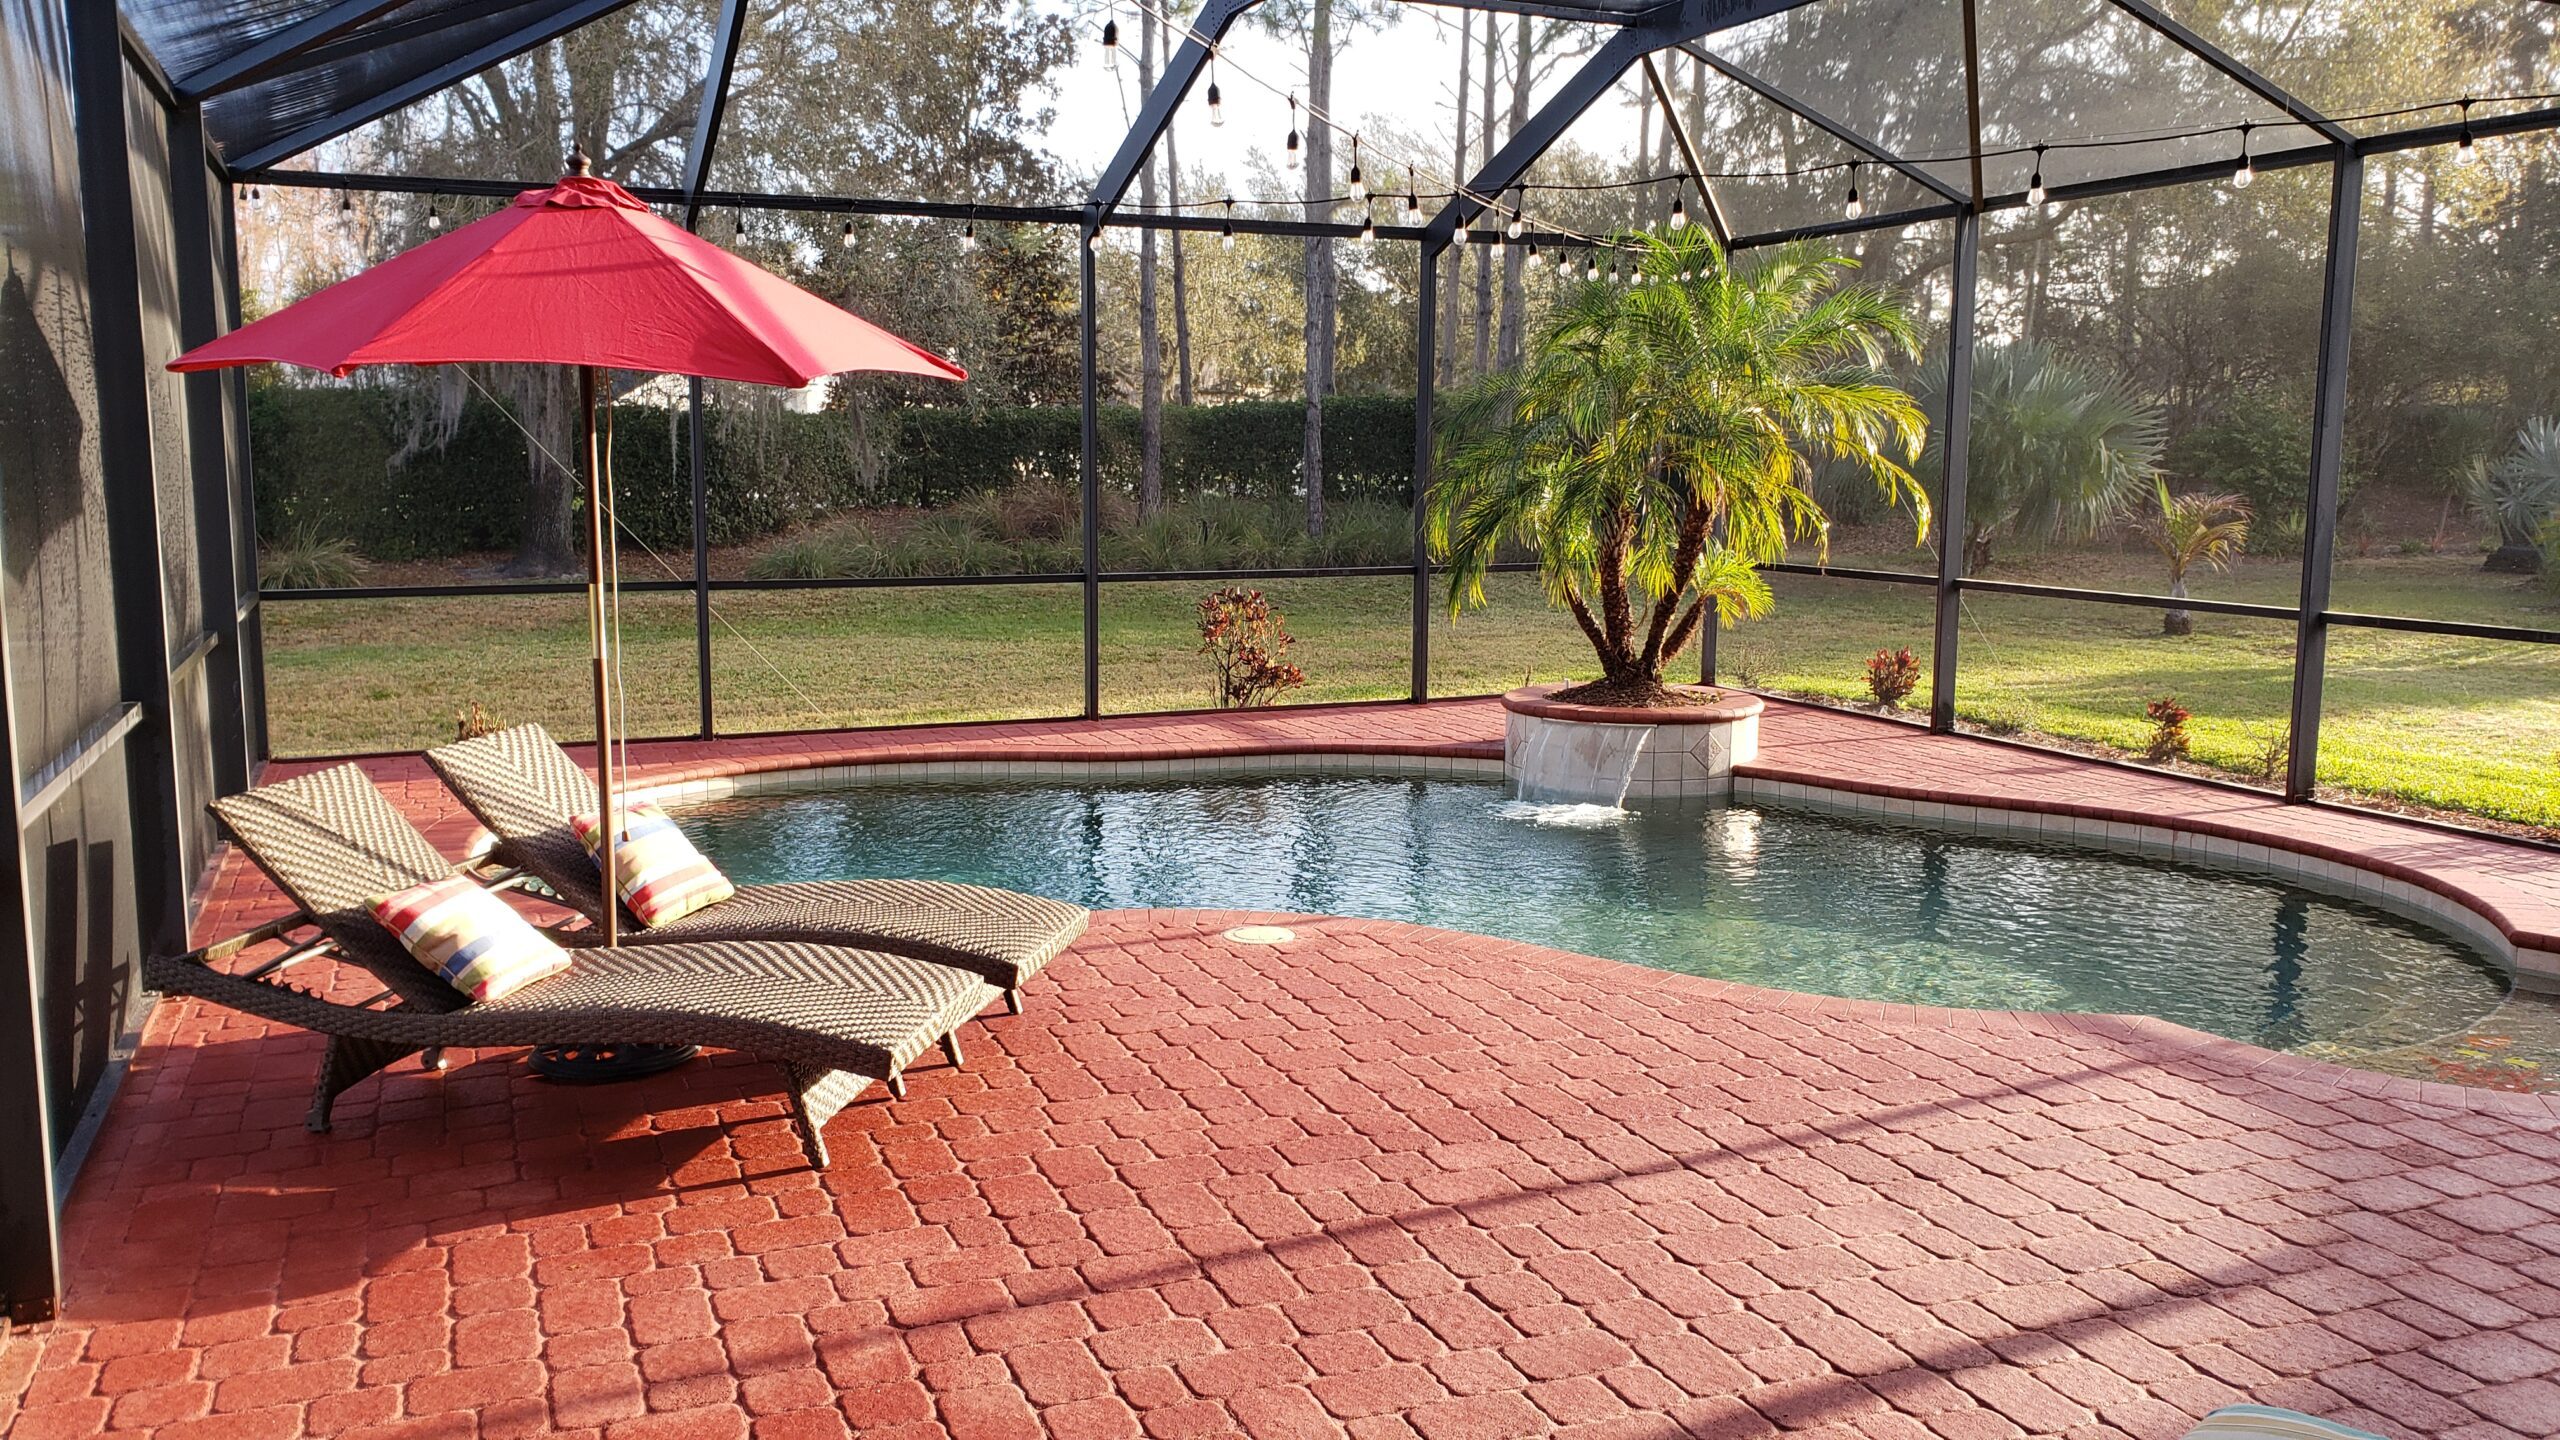
Project Info:
- Project Completed In: 3 day(s)
- Estimate of Square Footage: 2200 sq. ft.
- Project Description:
I have been searching for a way to rejuvenate my Driveway, walkway, and pool deck, and the only thing that gave me everything I needed was Direct Colors. We went from drab and sad to gorgeous and eye catching. The photos speak for themselves! The entire neighborhood is impressed. - Personal Tips:
I have many!
1. Do the hard stuff necessary for a great final product. Preassure wash, sand, and invest in the tools needed.
2. Spend the extra money for the sample kit! One on my initial colors was different once applied in a test area.All bricks are different.
3. I had a trim that I was painstakingly focused on and I should have done it afterward due to overruns. Footstep (oops!)
4. I cut in parts next to to house with a 3″ brush.
5. I used a garden pump sprayer and roller, but the sprayer struggles a little with a thicker fluid.
6. I used cardboard boxes to push back on overstay.
7. Don’t spray too close to the pool. It will gum up the filter.
8. If you have a bunch of sand in the cracks, you will need more tint sealer.
9. Use a good breathing mask!
10. Buy the xylene to use for cleanup.
11. Plan around the weather. You need a couple of days of dry weather. Add a day more than you think it will take.
12. Sit back and Marvel at your efforts! - Direct Colors Products Used:
5 x 5 Gal. Milano Red EasyTint™
Broomed & Buff: A Pool Deck Glow-Up
Maple Delight
