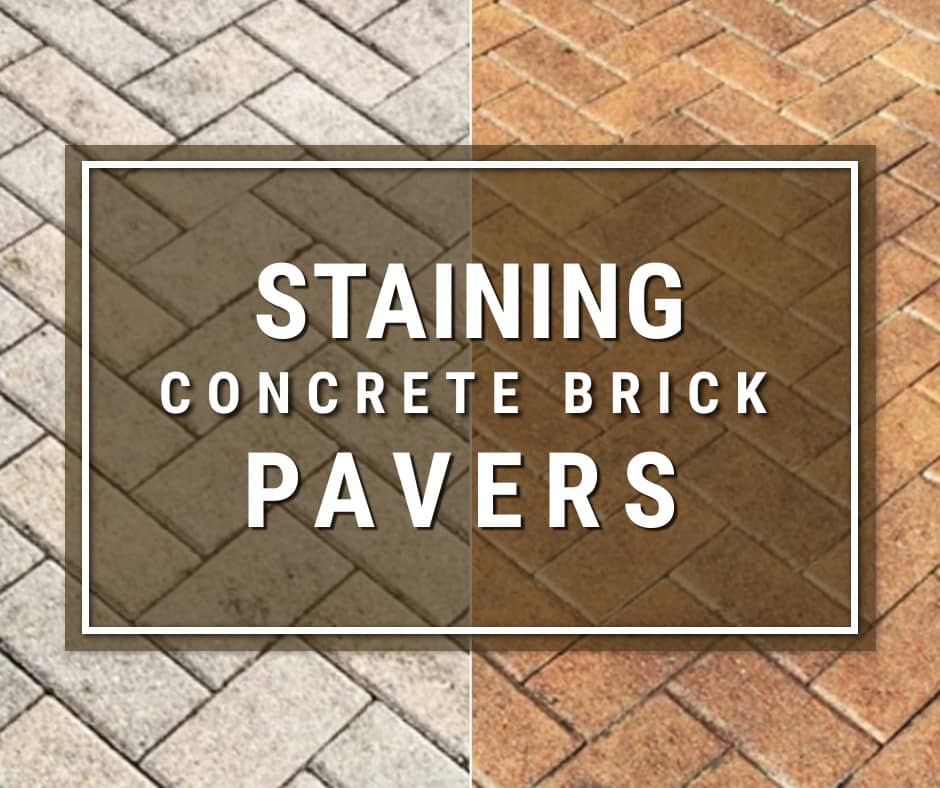
Transform Your Driveway with Concrete Stain: A Comprehensive Guide
by Justin Richardson
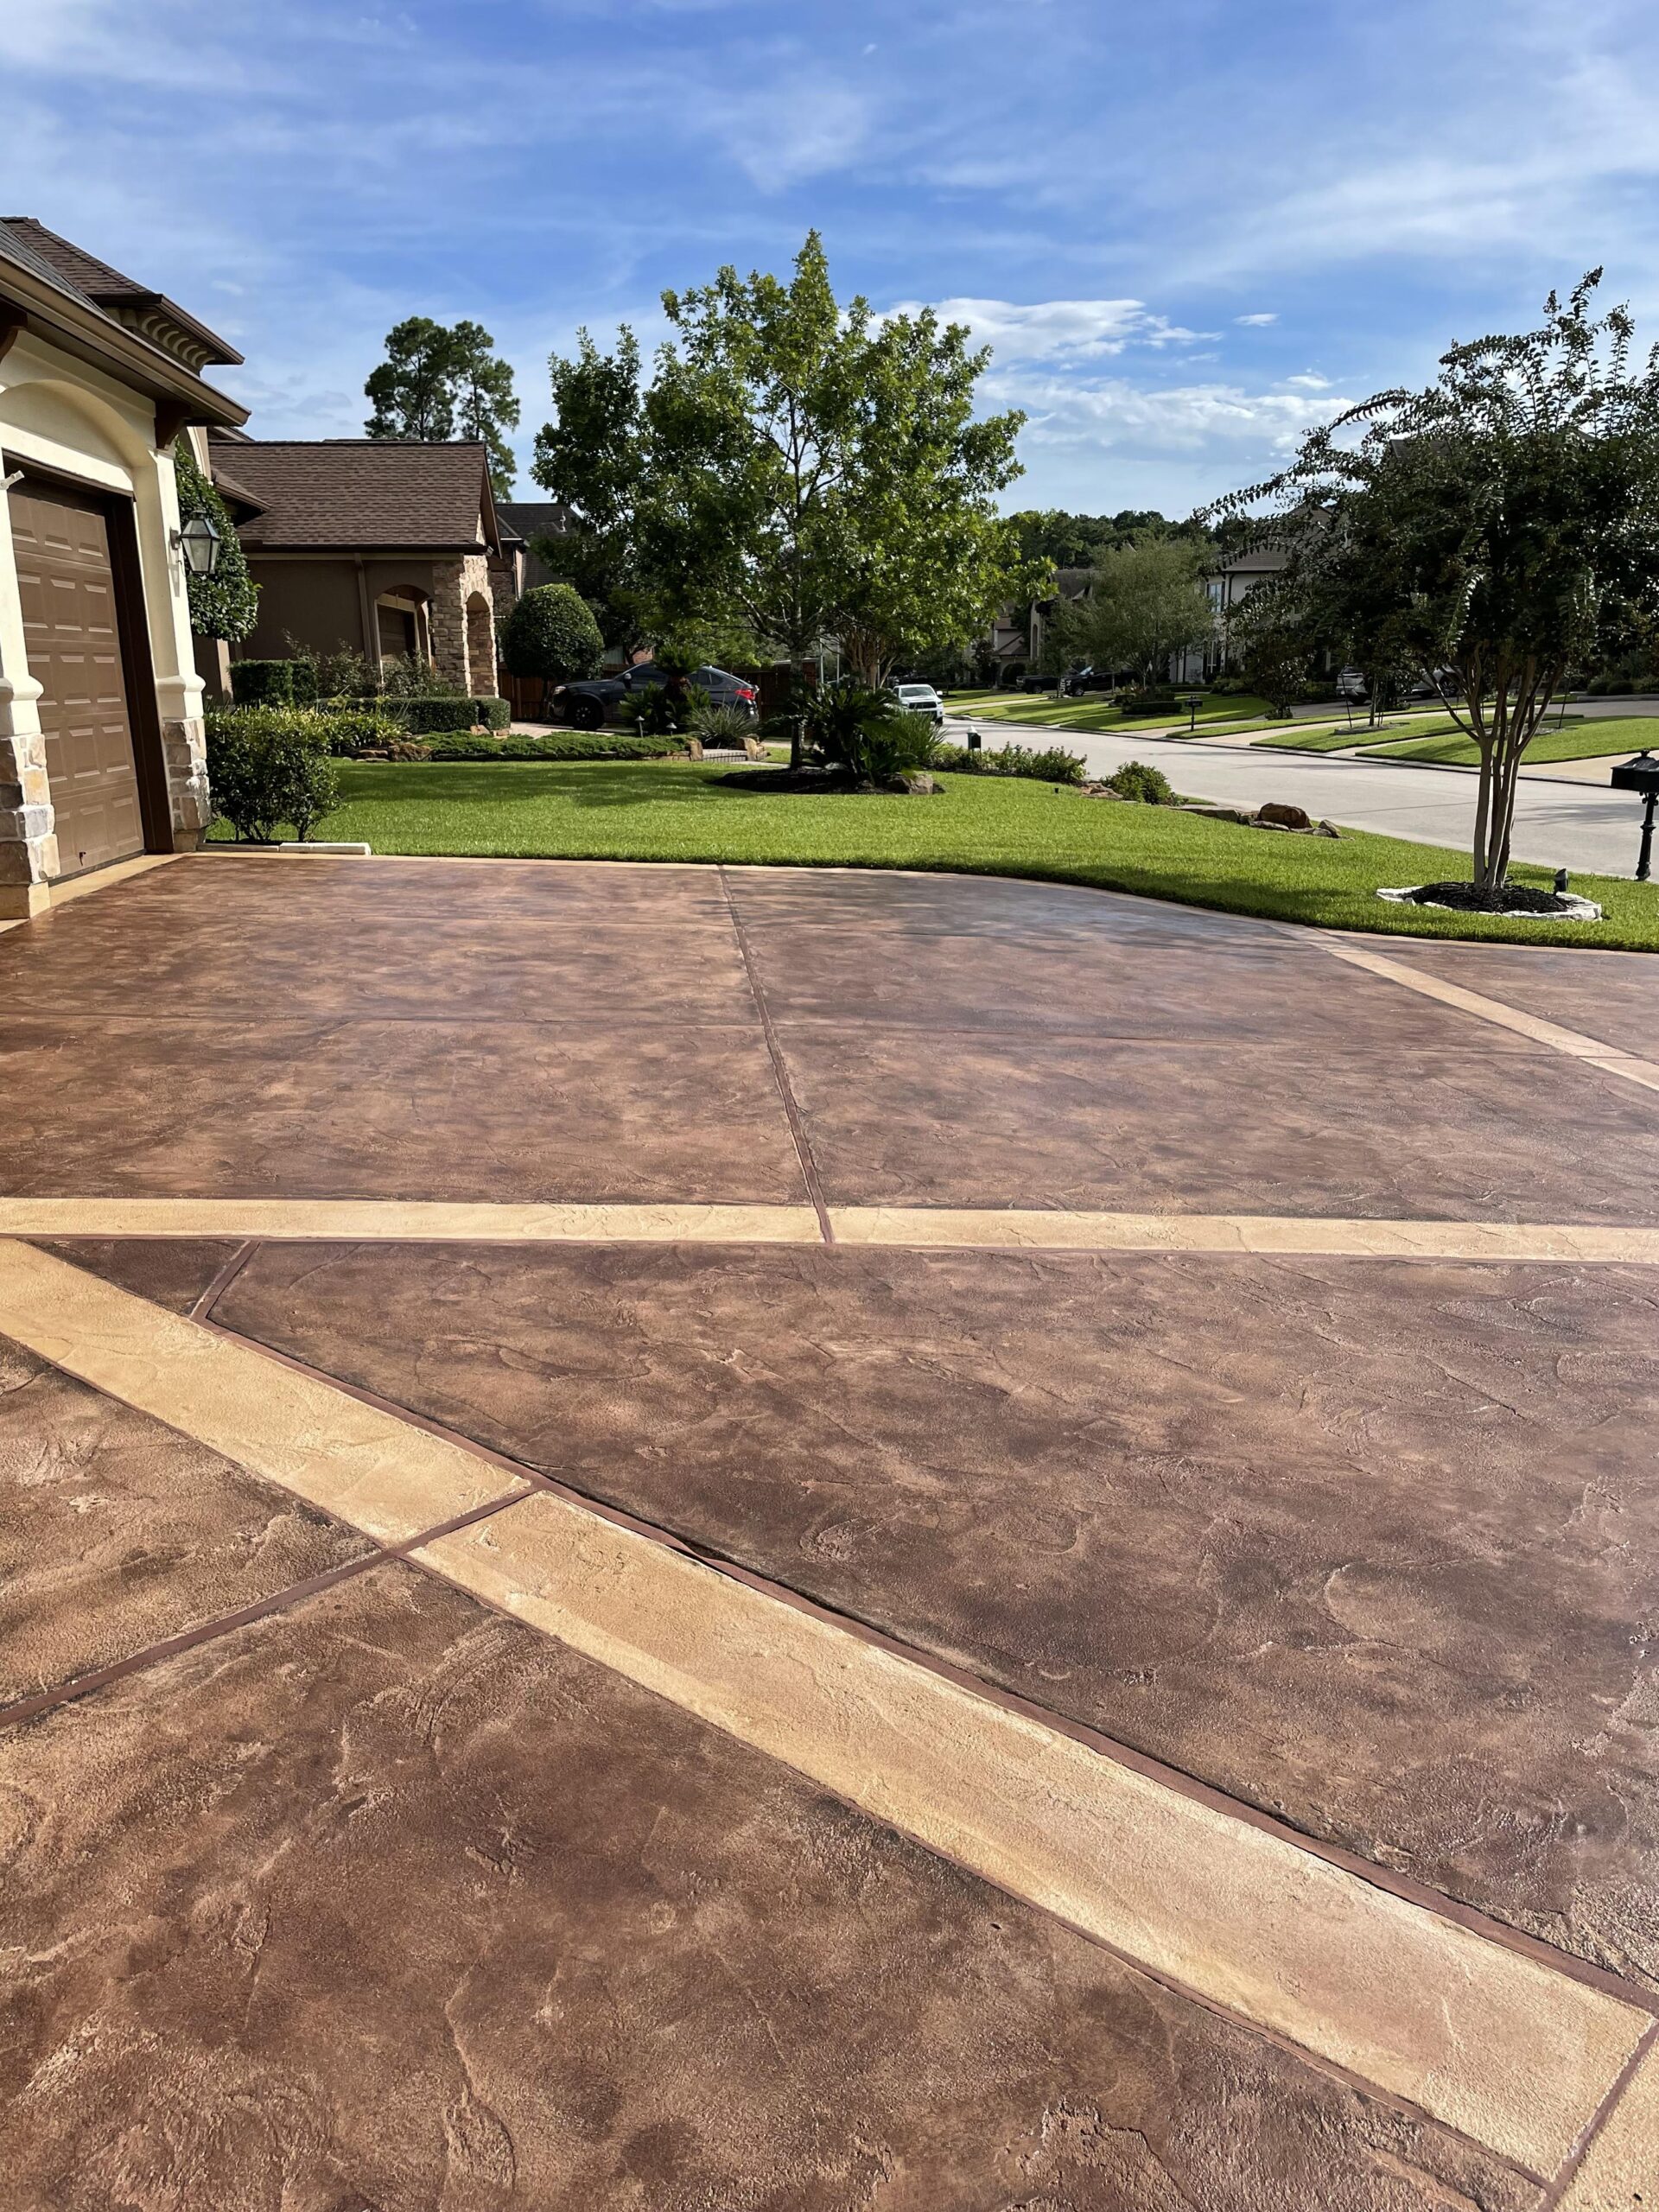
Concrete driveways come in different shapes, colors, and materials. Regardless of the type of driveway you have, there is one thing all homeowners share: they’re stuck with it. But what if we told you that you could give your driveway a brand new look with just a few simple steps? That’s right! With concrete stain, you can renovate your driveway to something beautiful and new.
In this guide, we’ll show you how to transform your driveway with concrete stain, whether you’re a seasoned DIYer or just starting out.
Step 1: Choose the Right Driveway Stain
When it comes to staining your concrete driveway, there are several options to choose from. Depending on the type of concrete surface you have, you can choose the best stain that will work best for you.
For broomed and stamped concrete driveways, the Antiquing™ stain is the perfect choice. This stain is designed to work best with this type of surface and will give you a mottled look.

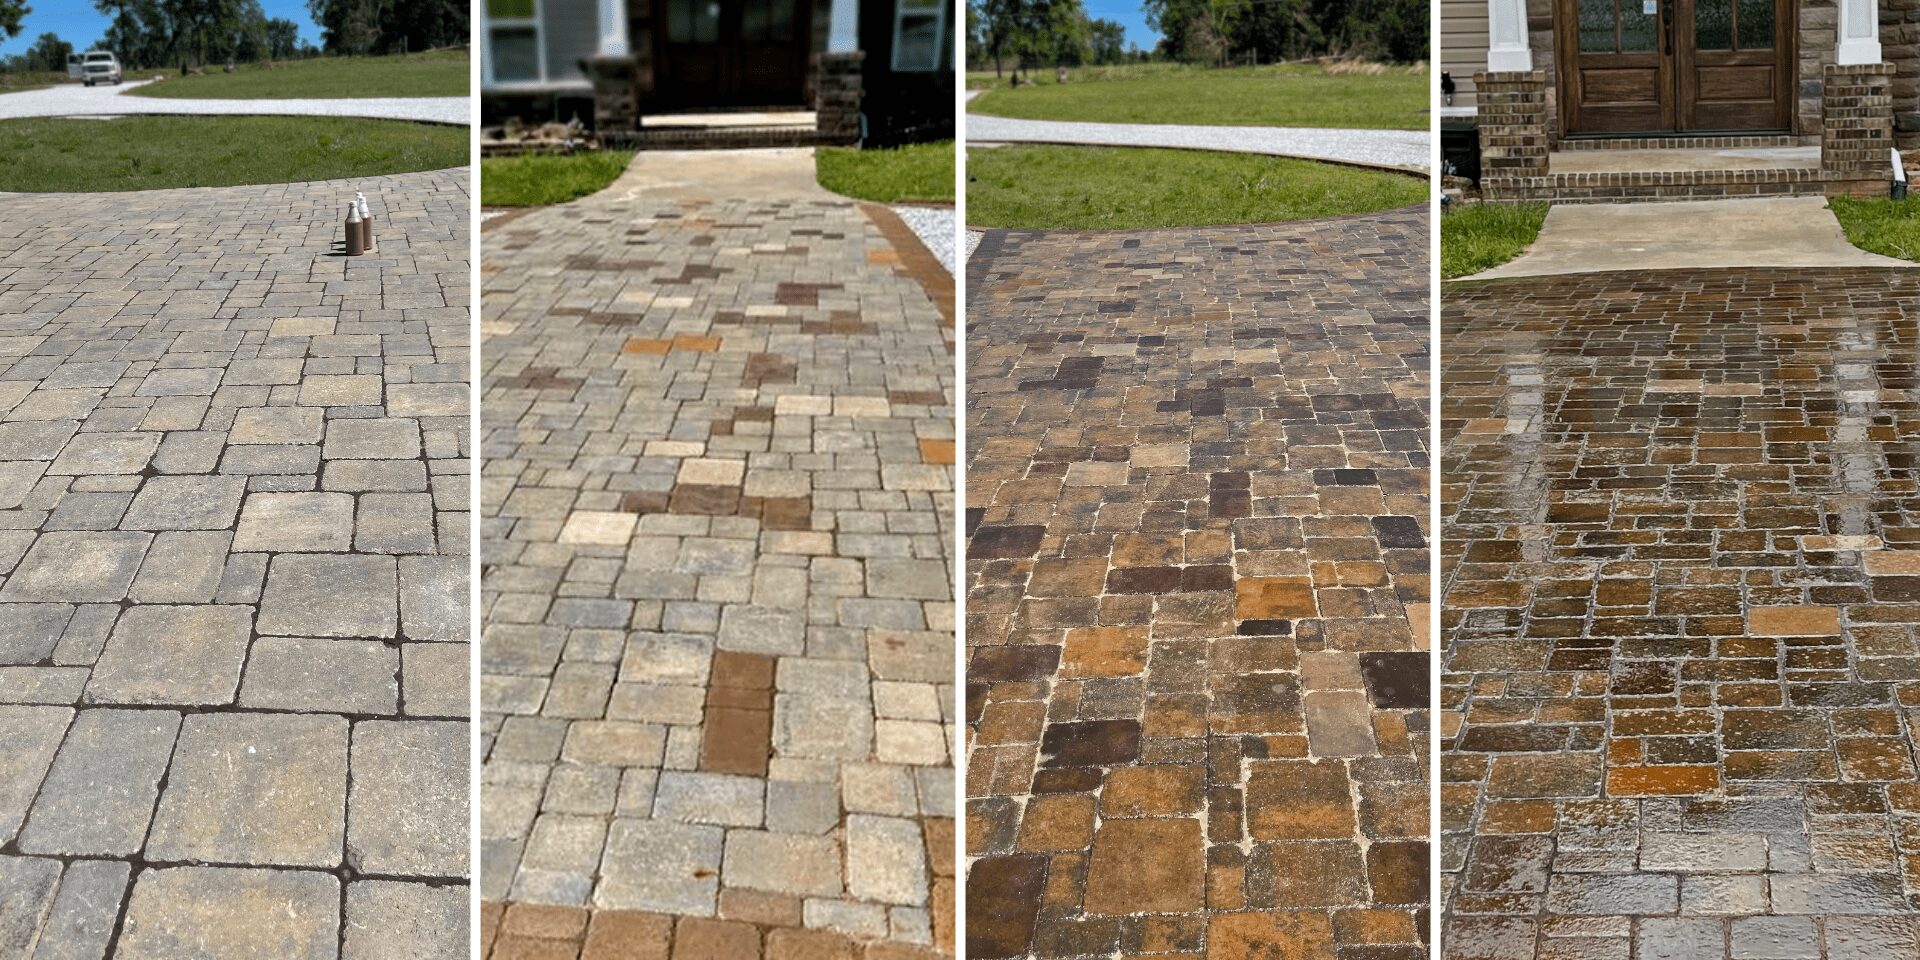
If your driveway is made of concrete pavers, the Portico™ Paver Stain is the way to go. This stain is specially formulated for porous concrete and will give you a beautiful and unique finish.
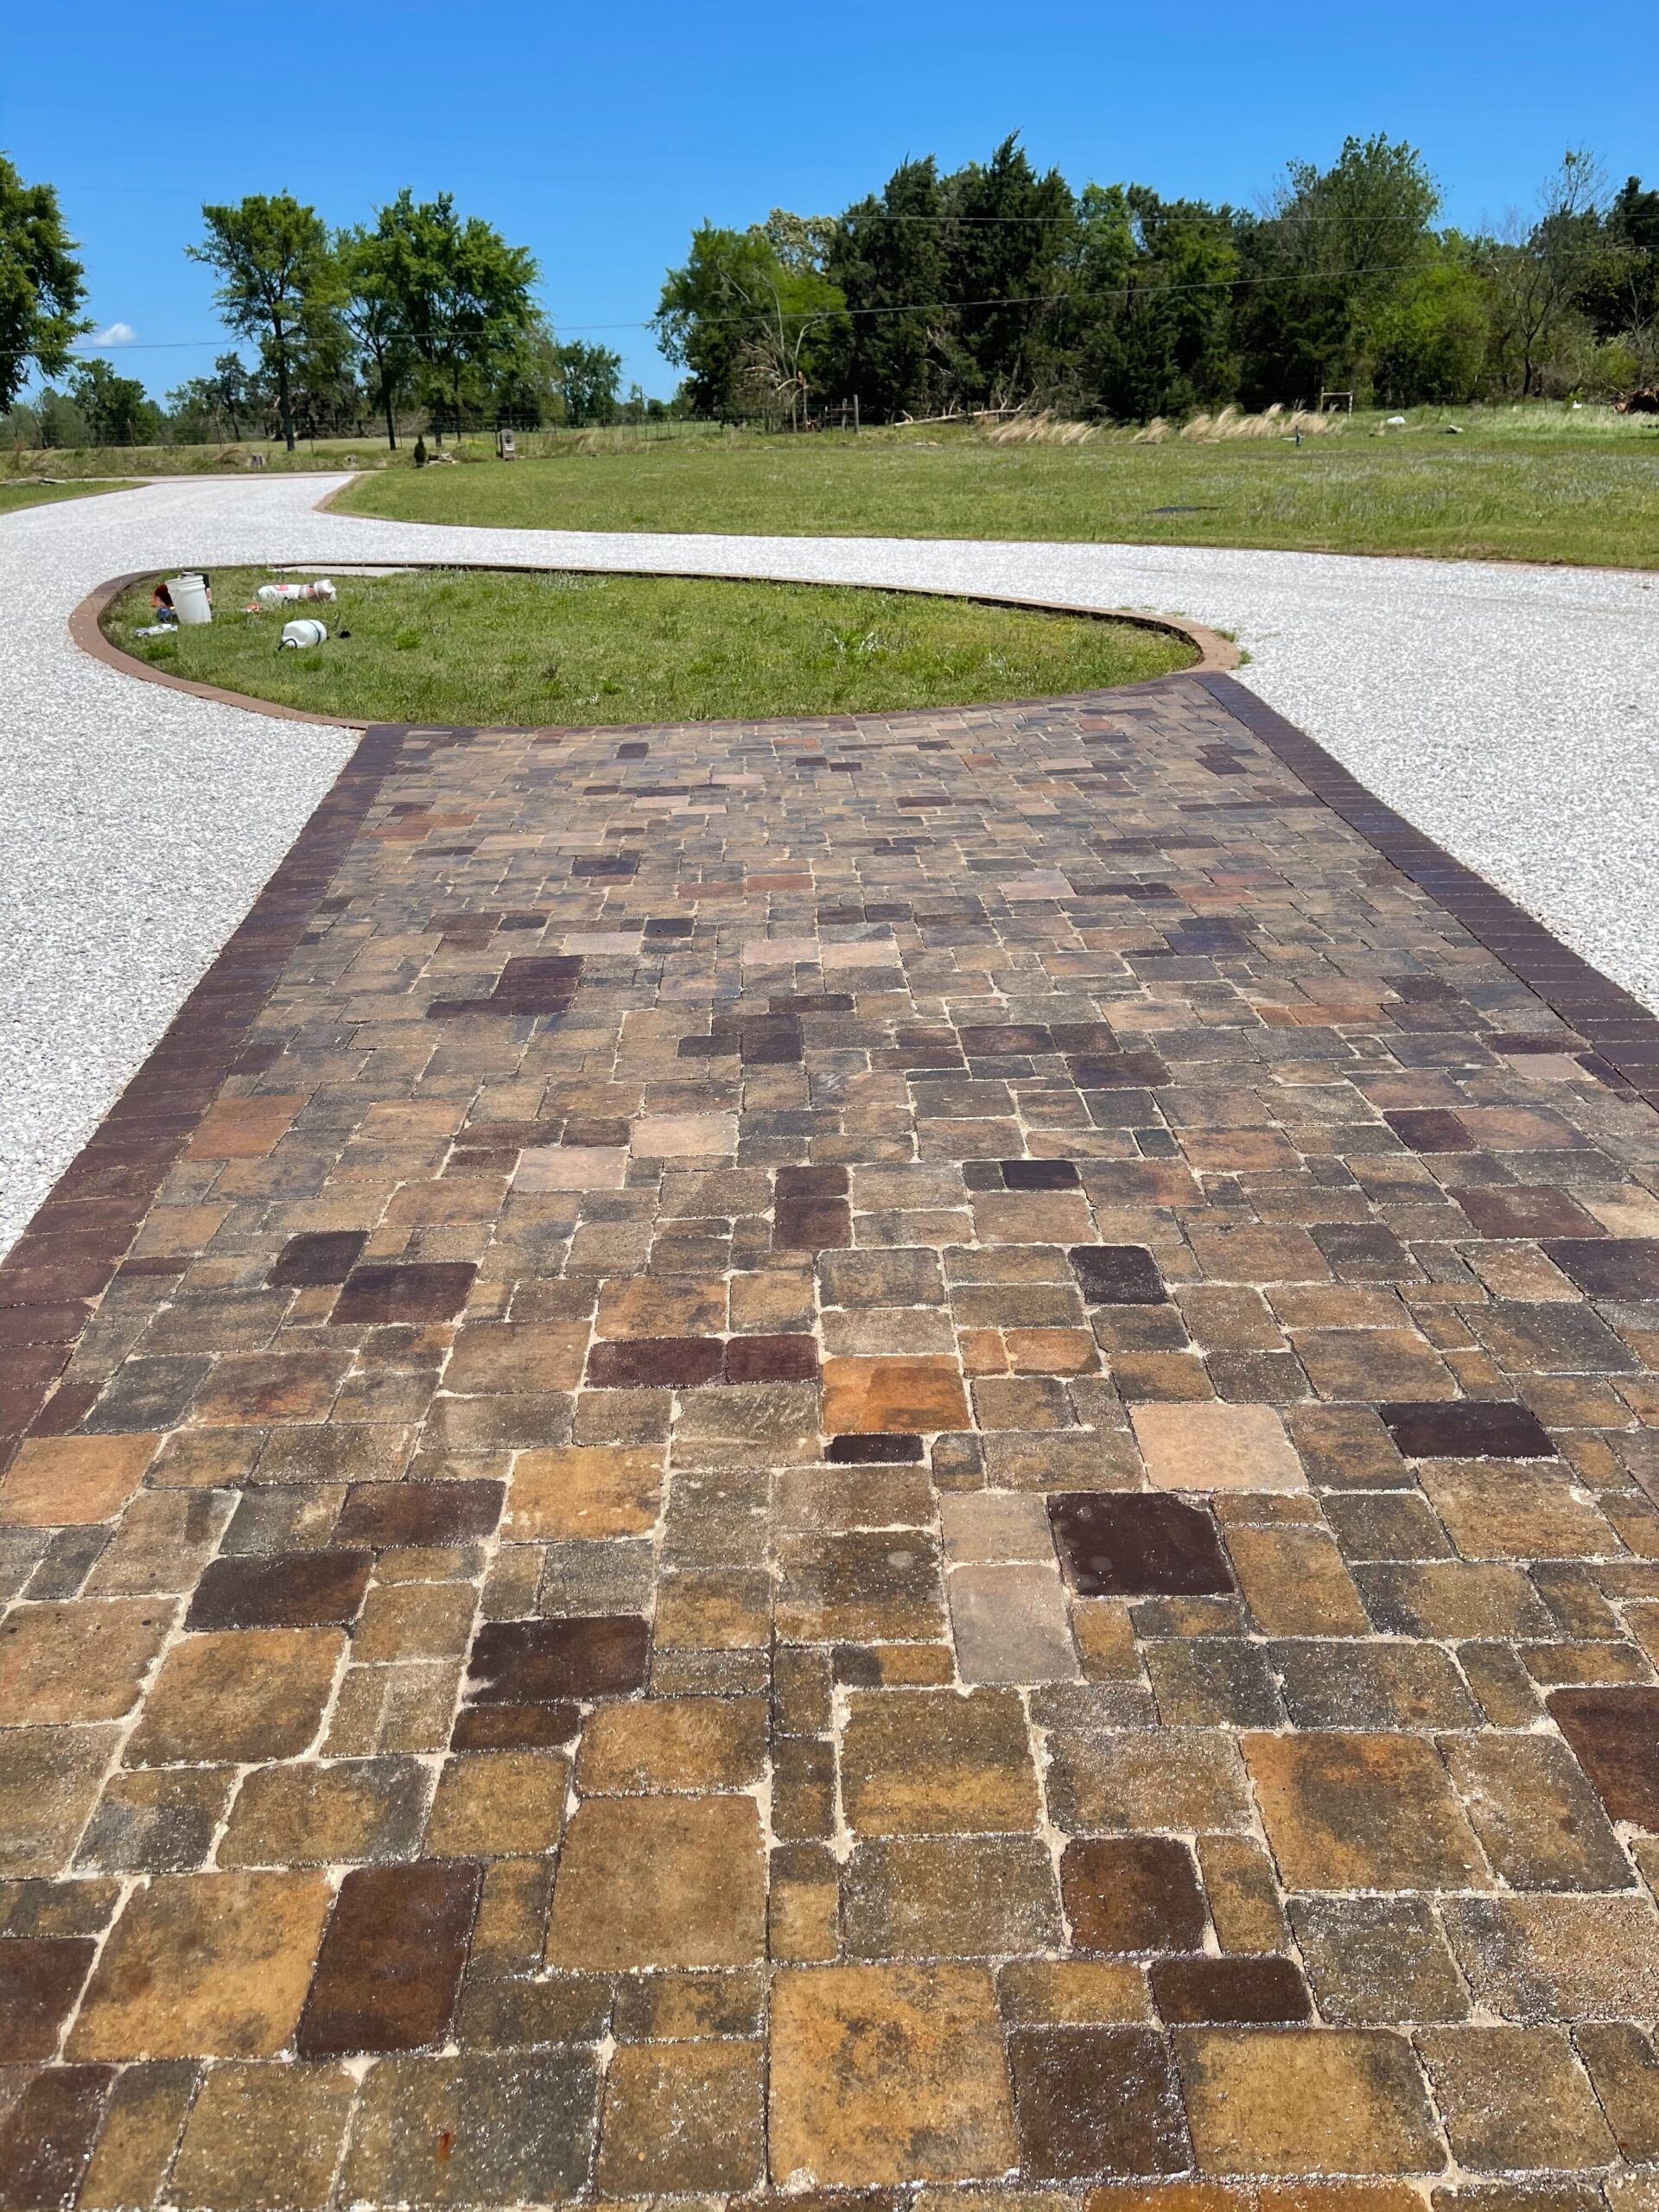
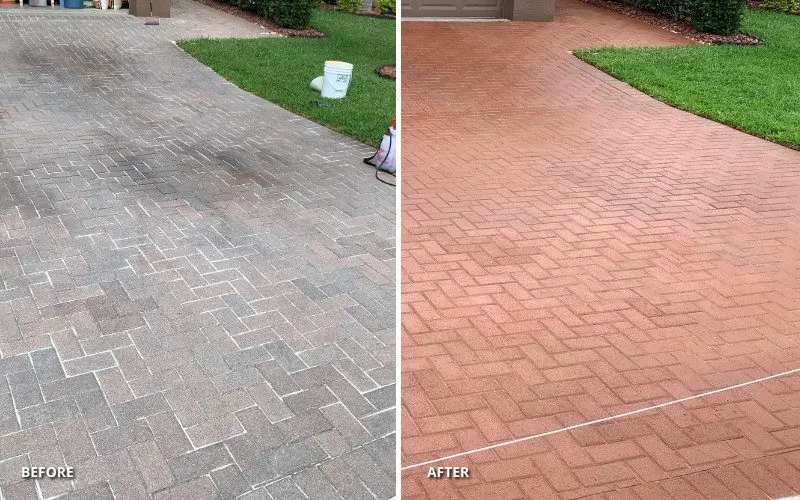
If you’re looking for an even color, the EasyTint™ is a great option. This stain is perfect for those who want a clean and uniform finish.
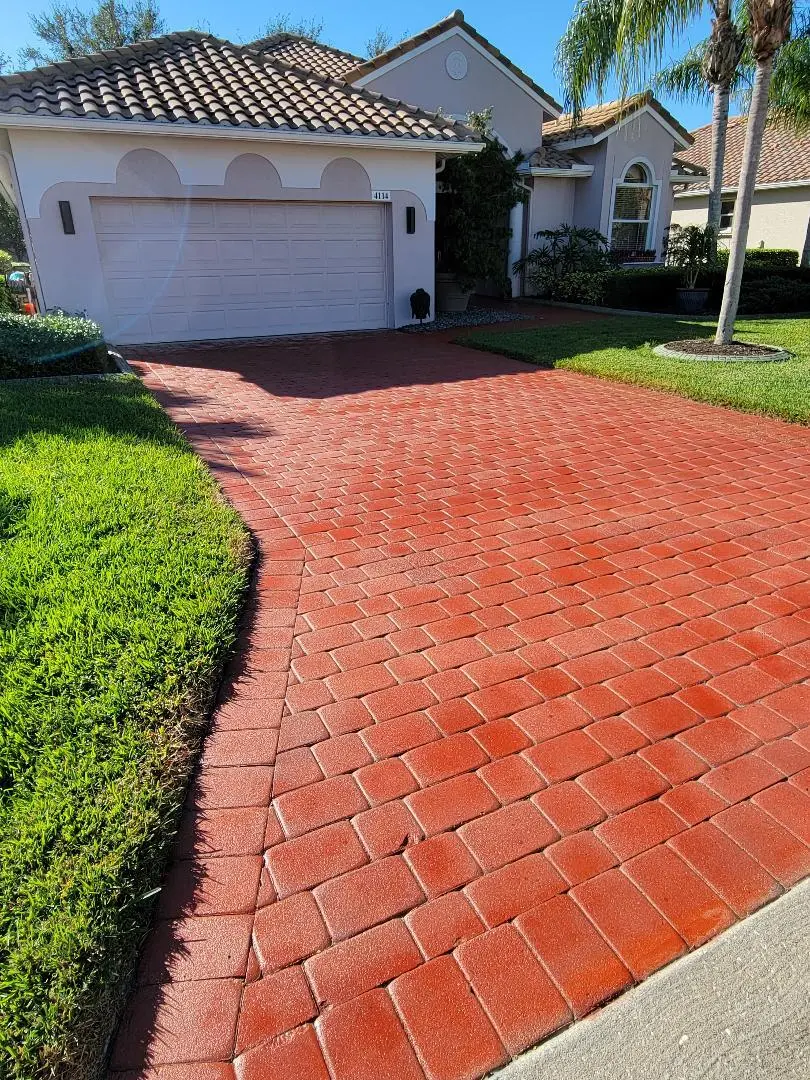
For those who are environmentally conscious, the Colorwave water-based ecofriendly stain is an excellent choice. This stain is both environmentally friendly and long-lasting, making it a great option for those who are looking to reduce their carbon footprint.

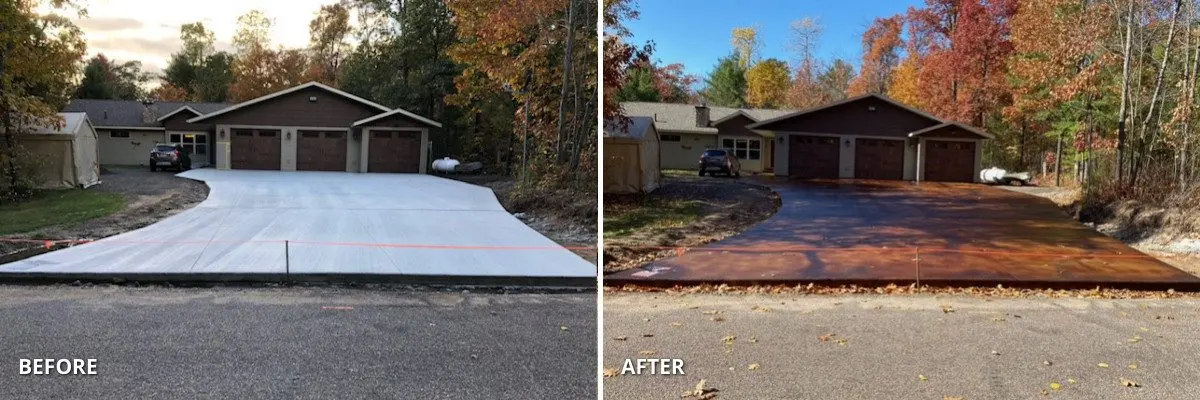
If you’re feeling bold and adventurous, the EverStain acid stain is for you. This stain reacts with your concrete slab to create a unique and one-of-a-kind color. Just keep in mind that acid stains are more intense and can be riskier, so make sure to do your research before choosing this option.
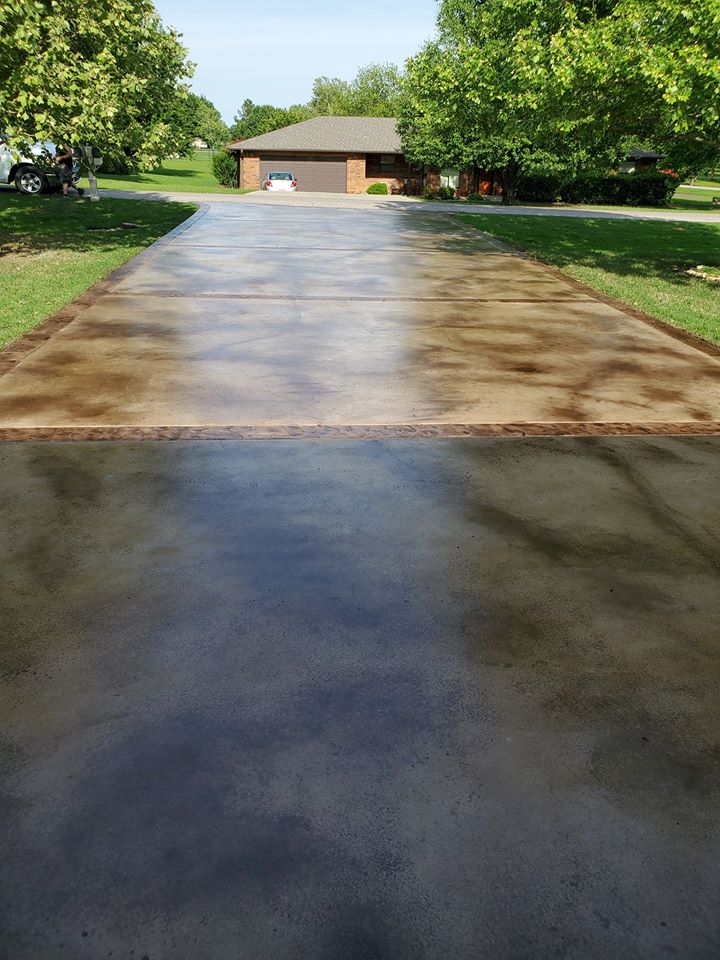
Regardless of the stain you choose, keep in mind that all concrete stains are semi-transparent. This means that they will not cover imperfections entirely like paint would, but they will not chip or peel and with proper seal maintenance, the color will last for decades.
Discover stunning stained concrete driveway designs in our Stained Concrete Driveway Gallery.
Step 2: Ensure Your Concrete is Ready for Staining
Before you begin the staining process, make sure your concrete patio has fully cured for 30 days.
Protect Your Surroundings
To keep your surrounding areas free from over-spray, cover walls, landscaping, and other nearby items with plastic drop cloths or paper. This will help keep your area clean and free from any unwanted stains.
Check for Previous Sealant
If your concrete has been previously sealed, you’ll need to remove the previous sealant before applying the stain. However, EasyTint can be applied over a previously applied solvent-based sealer.
To determine if your concrete was sealed with a solvent-based or water-based sealer, pour a small amount of Xylene on the surface and wait 20 seconds. If the surface feels tacky or sticky, it was sealed with a solvent-based sealer. If it does not, it was sealed with a water-based sealer.
Clean the Surface
Remove any dirt, oils, and debris from the surface using a scrub brush and ProClean Degreaser™. Test the surface’s absorption by pouring a cup of water in various areas. If it is not absorbed within five minutes, etch the surface with CitrusEtch™, then neutralize with ProClean Neutralizer™ and rinse thoroughly. Allow the concrete to fully dry before staining.
For more detailed information on how to prepare concrete for staining, check out the “How to Prep Concrete for Staining” guide.
Step 3: Applying the Stain
Antiquing™ and Portico™ Stains Application
- Prepare your pump-up sprayer by removing all filters.
- Shake the stain well before pouring it into the sprayer.
- Spray the stain on the concrete in circular motions with random overlaps.
- Wear spiked shoes to prevent any unsightly shoe prints on the newly stained surface.
- Shake the sprayer tank frequently to ensure an even and consistent color application. Start from a far corner to avoid any obstacles.
- If a second coat is desired, apply it without waiting for the first coat to dry.
- Don’t be alarmed if the color appears faint after the stain has dried, the sealer will bring the color to life and make it vibrant.
EasyTint™ Application
Option 1: Spraying Method
- Prepare your pump-up sprayer by removing all filters.
- Shake the EasyTint™ well before pouring it into the sprayer.
- Spray EasyTint™ on the surface in slightly circular motions with irregular overlaps.
- Shake the sprayer tank frequently to prevent the color from settling.
- Apply thin coats to avoid puddling.
- Wait 8 hours before applying a second coat (maximum of two thin coats).
- Check the cure by using a thumbnail to see if the coat is dented or scratched. If so, wait longer for it to cure before applying a second coat.
- Apply a second coat following the same method.
Option 2: Rolling Method
- Shake the EasyTint™ well before pouring it into a paint tray.
- Use a 3/8th nap roller to apply the first thin coat, rolling in only one direction.
- Do not apply pressure to the roller as it will cause streaking. Let the weight of the roller do the work.
- Wait 8 hours before applying a second coat (maximum of two thin coats).
- Check the cure by using a thumbnail to see if the coat is dented or scratched. If so, wait longer for it to cure before applying a second coat.
- Apply a second coat in the opposite direction, following the same method.
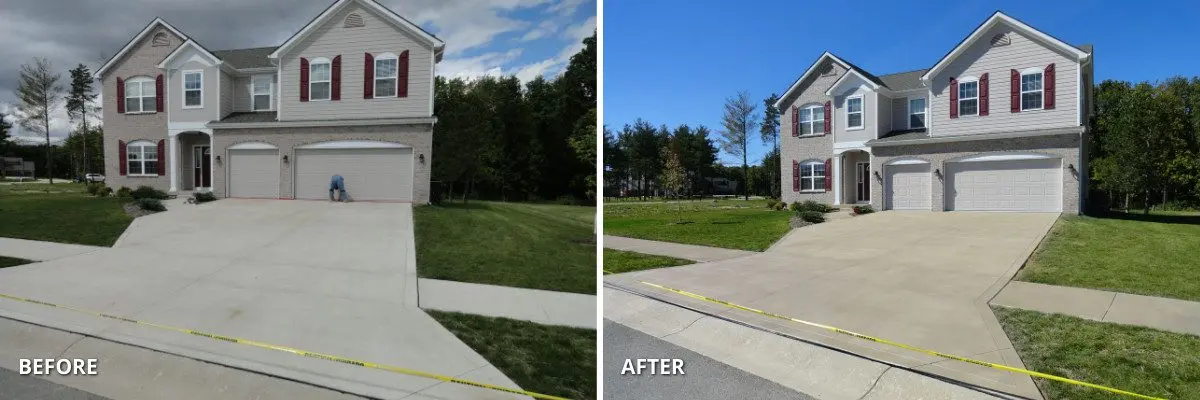
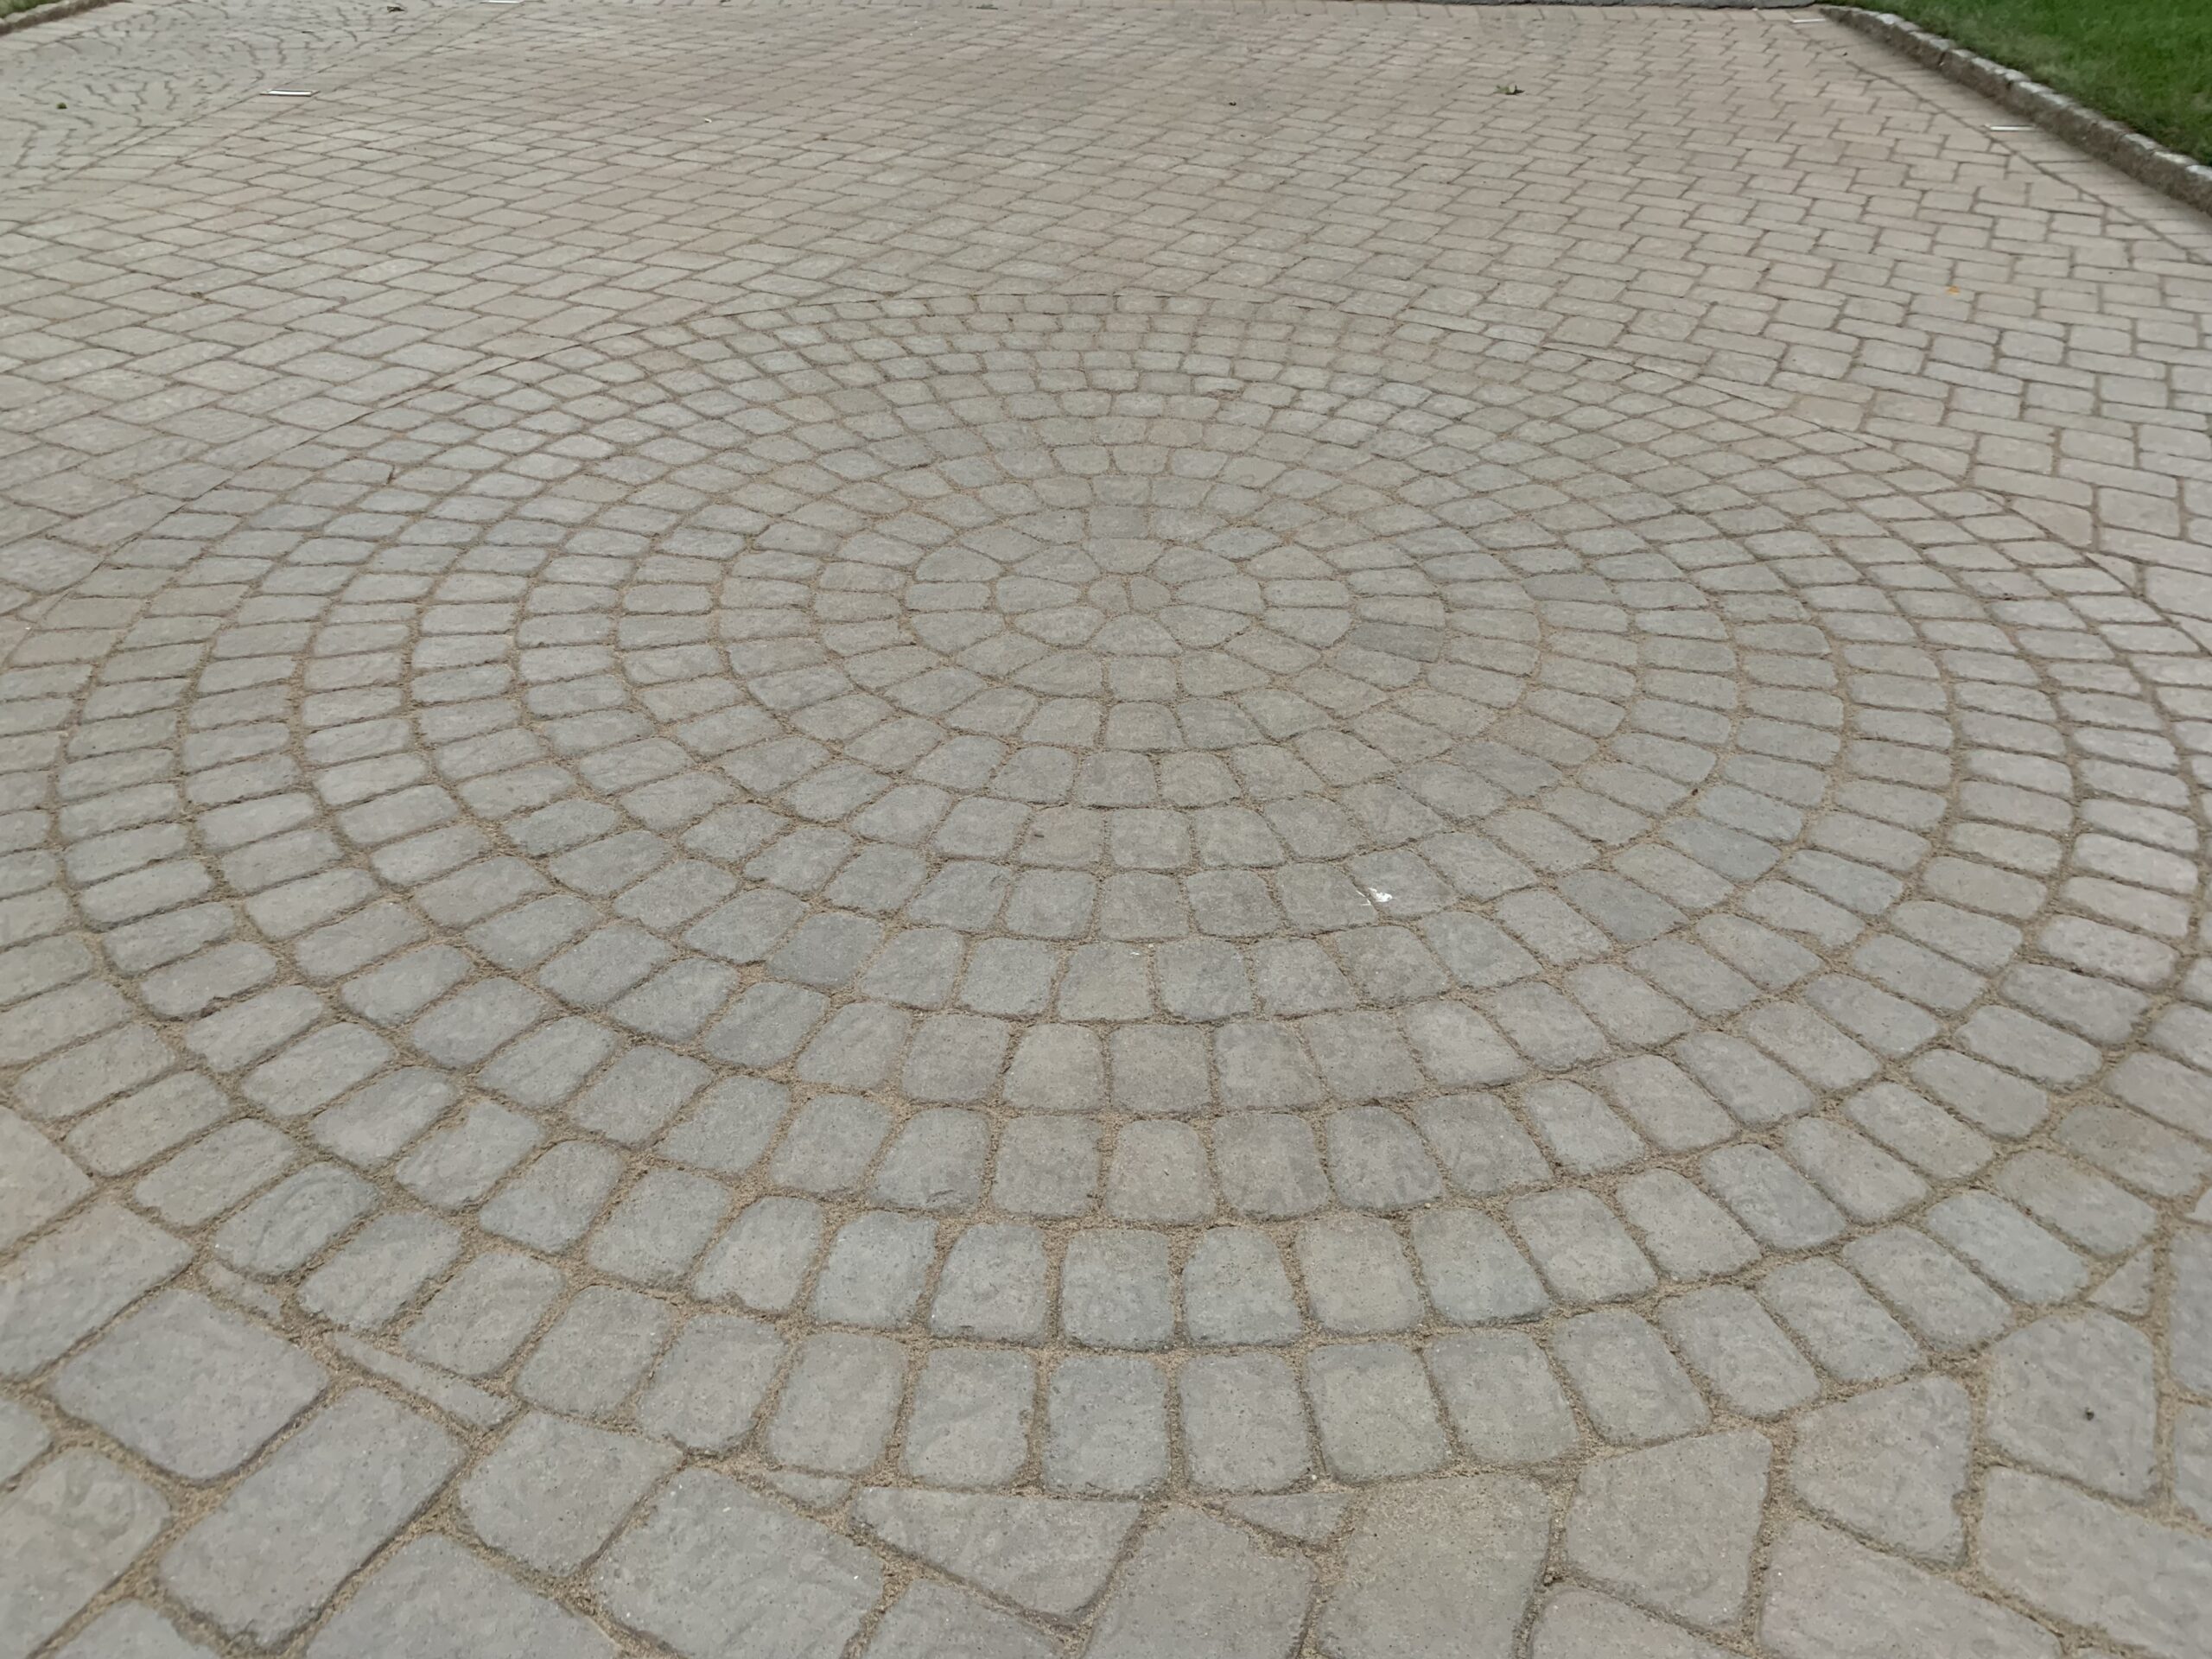
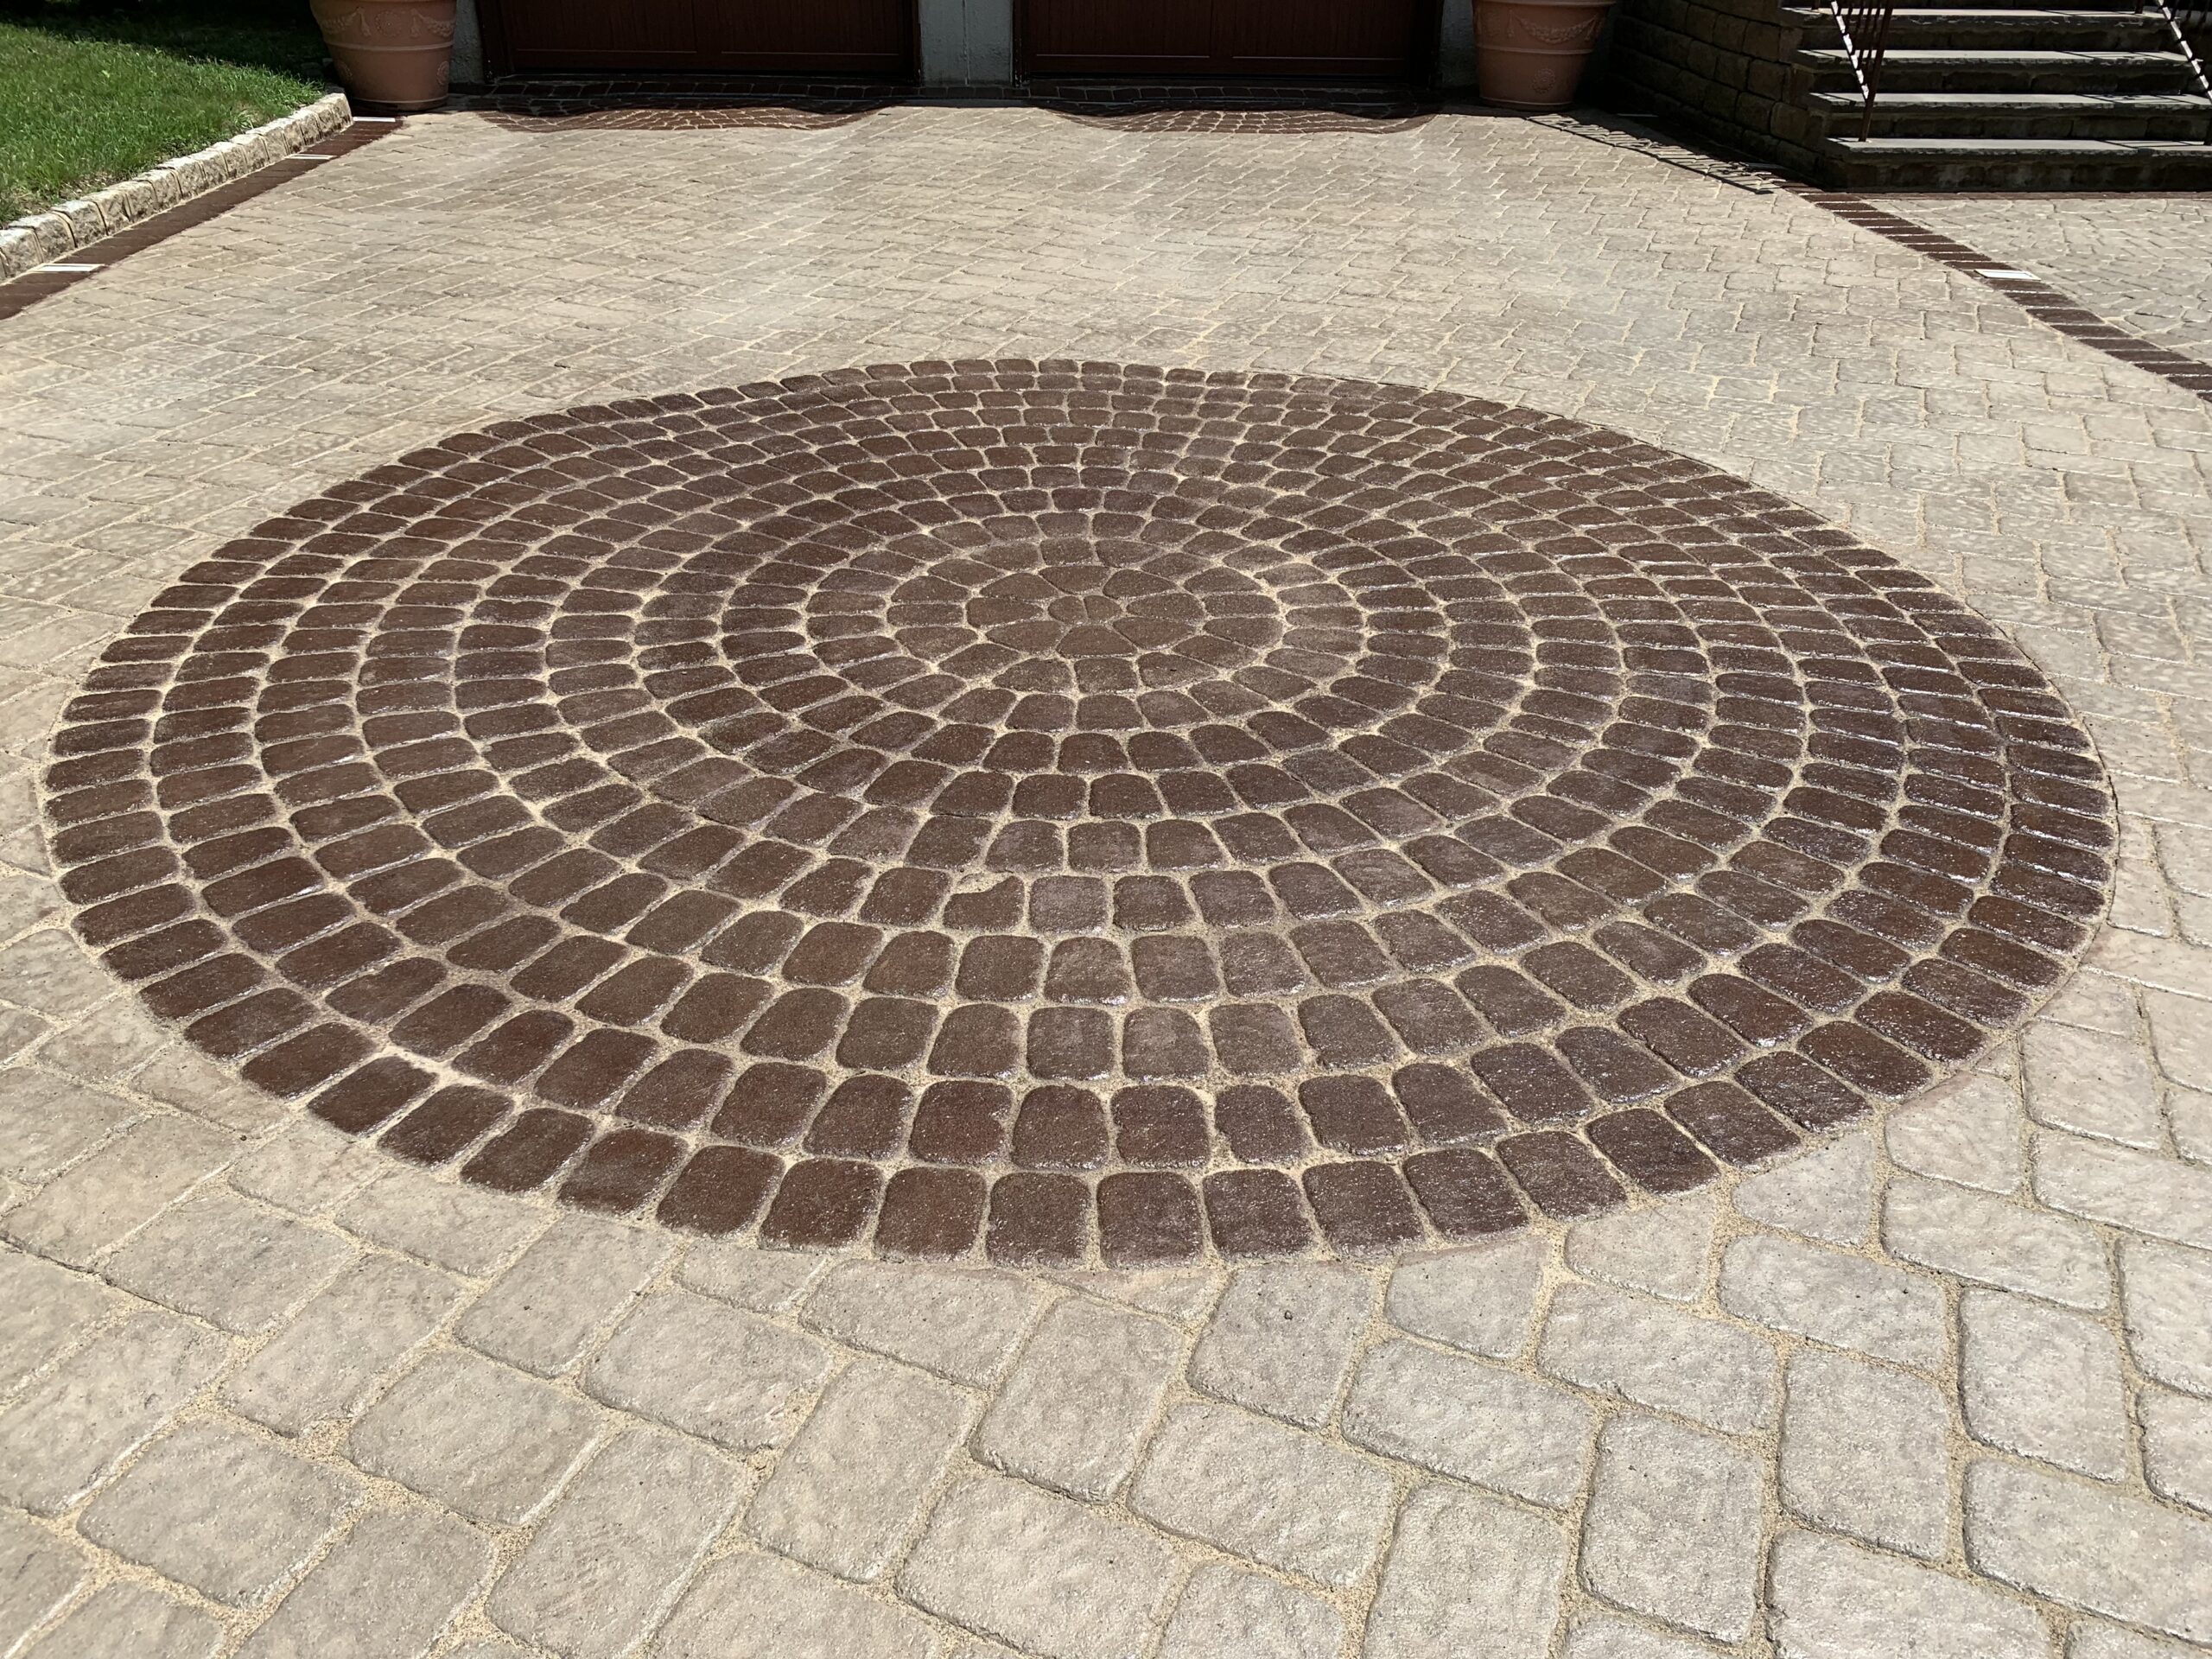
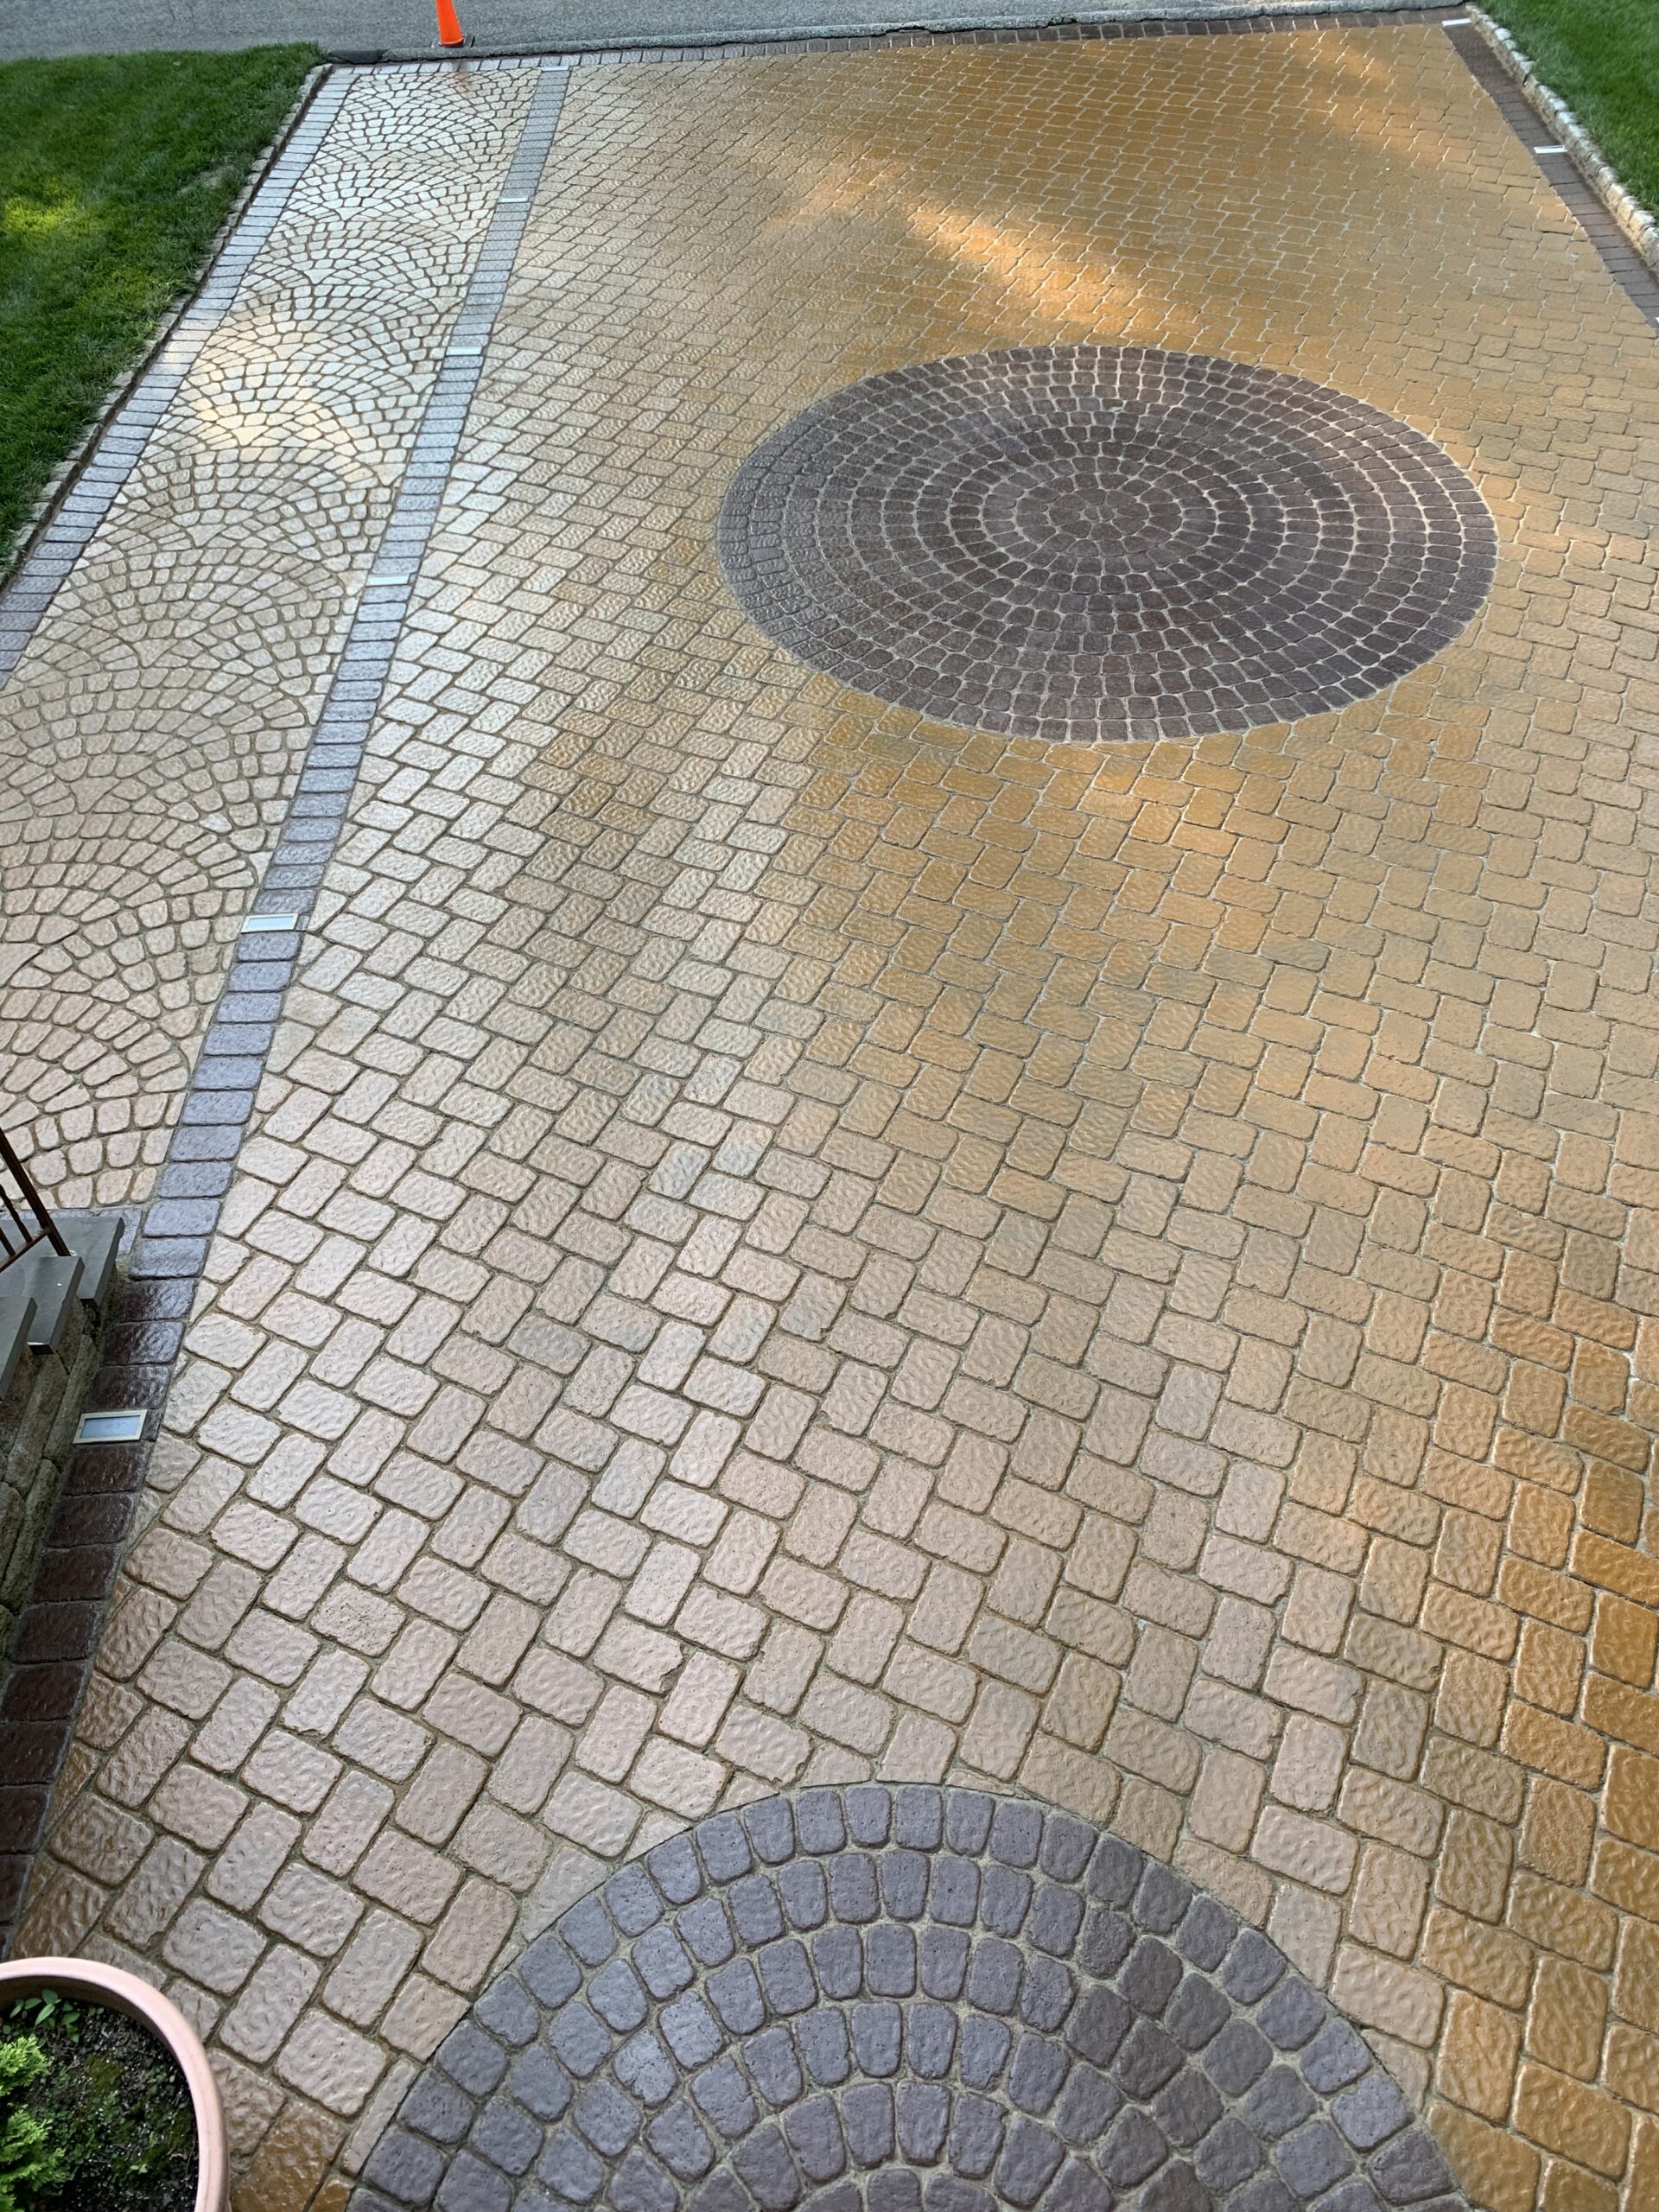
Check out this concrete driveway project featuring EasyTint™ and Portico™ stains for inspiration!
Vibrance™ Dye
If you’re looking for a cost-effective way to stain your concrete driveway, Vibrance™ Dye is a great option. However, it’s important to keep in mind that you’ll need to purchase acetone to dilute the Vibrance™ dye. Additionally, you’ll need an acetone-grade pump sprayer to apply the dye mixture, and it’s important to shake the mixture constantly during application to avoid clumping.
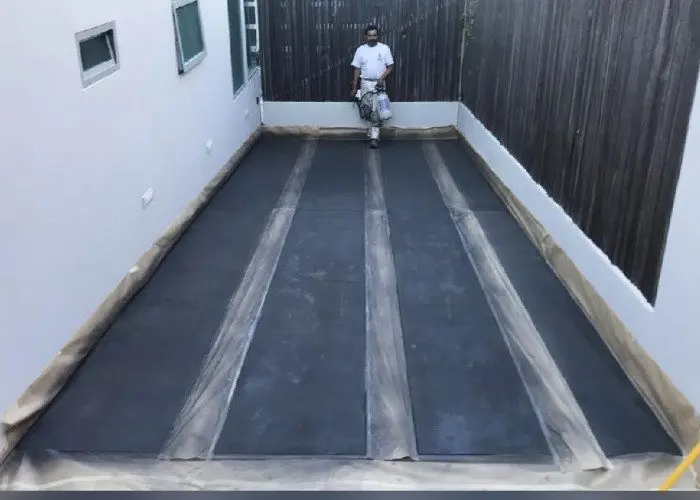
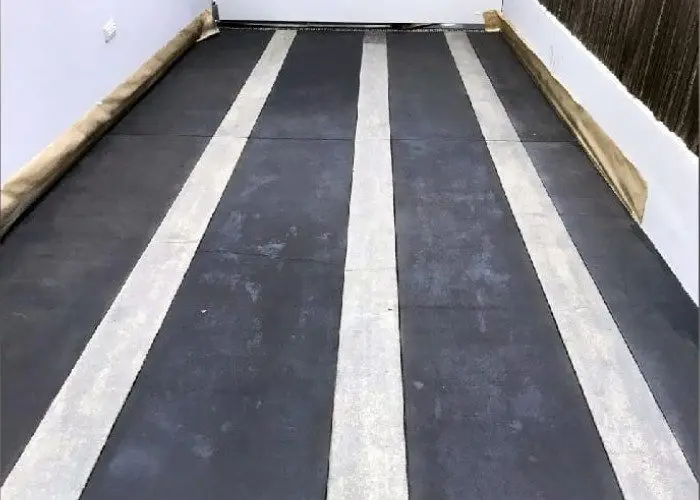
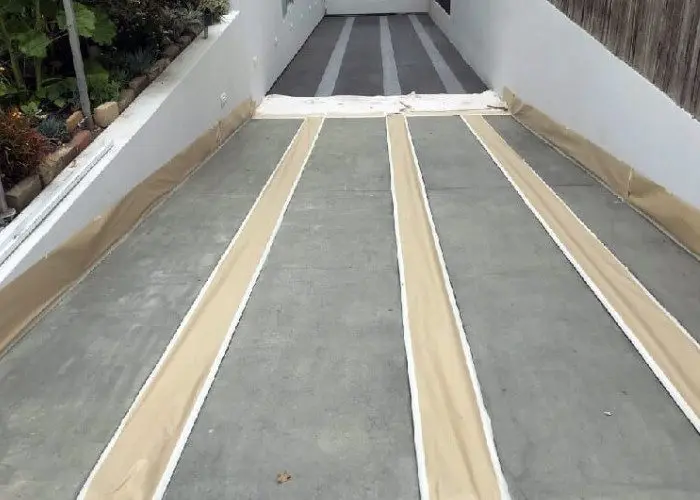
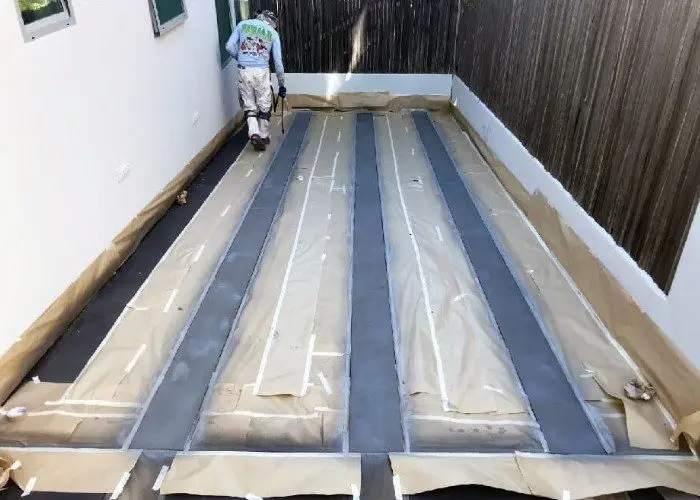
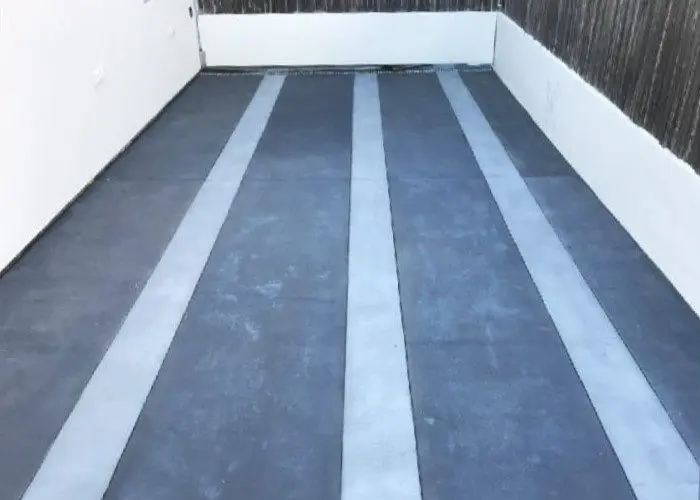
The result of using concrete dye is a more solid and complete color transformation, as seen in the project below where a Direct Colors contest winner created a stunning striped pattern with Stormy Gray and Light Slate Concrete Vibrance™ Dye.
IMPORTANT:
- Use an acetone-grade sprayer for the application of this product. Standard deck and fence sprayers cannot be used to spray acetone dye.
- When using a 3-gallon or similar large acetone sprayer, do not carry it by the pump handle while spraying. Carry the sprayer by the strap at a 30 to 45-degree angle.
Here are some tips for staining your concrete driveway with concrete dye:
-
- Start by spraying the mixture from North to South on the driveway surface.
- It is recommended to apply thin layers of dye.
- If you want a darker color, simply add more layers. Concrete dye dries almost instantly, so you can quickly see the results.
- To achieve the desired color, it is recommended to apply 3 coats of dye.
For a detailed and comprehensive guide on how to apply concrete dye, check out our How To Apply Concrete Dye Guide for tips and tricks on achieving the desired color for your driveway project.
CAUTION: When preparing the concrete dye mixture with acetone, it is important to use caution. Do not mix the dye and acetone in the sprayer using any type of electrical mixer. Acetone is highly flammable and using an electrical mixer could pose a fire risk. Instead, manually mix the dye and acetone using a stir stick or by shaking the container vigorously. As always, be sure to store and use acetone in a well-ventilated area and keep it away from heat, sparks, and open flames.
EverStain™ Acid Stain:
Want to learn how to achieve a beautiful acid-stained concrete driveway? Check out our in-depth guide, How To Acid Stain Concrete Driveways, for expert tips and tricks on the application process.
Staining Concrete Pavers
Patio pavers come in all colors, shapes, and sizes. But, sometimes they aren’t the exact shade you were expecting, or you aren’t as happy with it once it’s installed as you were when you bought it.


