Charcoal Outdoor Stains: Real DIY Outdoor Projects You’ll Love
Check out these awesome outdoor projects from our handy customers, all using our Charcoal Outdoor Stains. This page is chock-full of ideas to help you see just what you can do with our stains.
By Justin Richardson
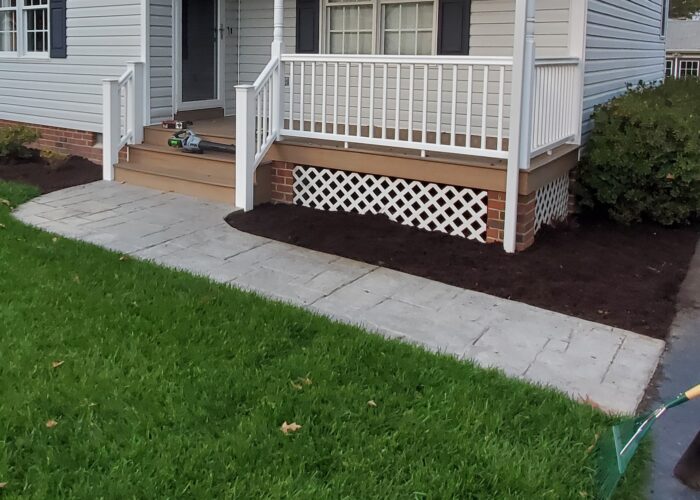
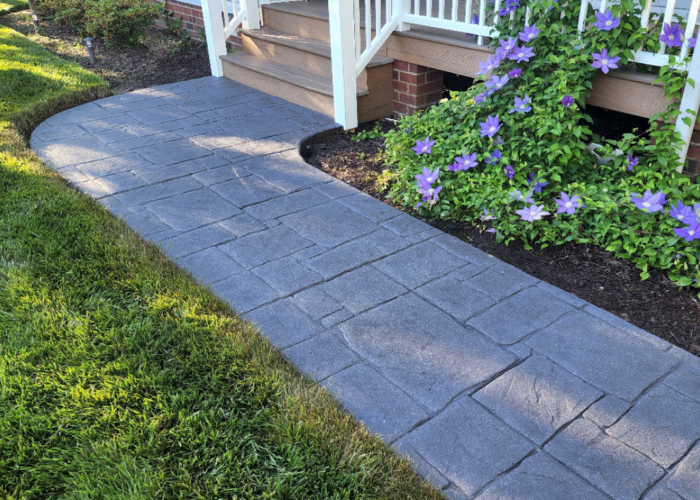
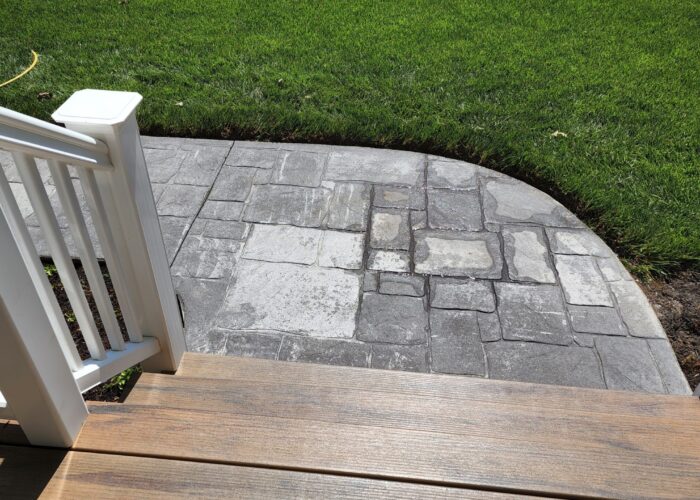
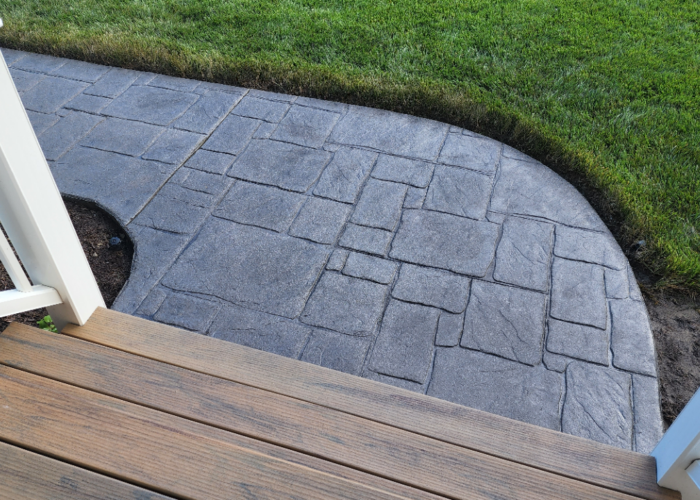
Stamped Sidewalk Rescue: From Worn Out to Waterproof
This DIY project gave a 20-year-old, color-faded stamped concrete sidewalk a complete facelift. After stripping the old sealer, the DIYer applied a fresh coat of our Charcoal Antiquing™ Stain, followed by a satin finish sealer. The result? A refreshed sidewalk that shrugged off the next day’s rain like a freshly waxed car.
Project Info:
- Project Completed In: 8 day(s)
- Estimate of Square Footage: 400 sq. ft.
- Project Description:
We’ve been wanting to try this since the basement floors were poured in November 2019. This 400 sq. ft. area will be a family/rec room. We decided to do the floors ourselves before the drywall, etc. goes up. For that, we have pros coming to complete very soon. Our basement is framed in and divided into three spaces; two will be completed and the third is a large storage area. We are so pleased with how this turned out we are going to do it during “phase two” of our basement remodel, applying it on the second living space which will include a laundry room, workout area a half bath.We are very amateur DIYers, so if we can do this anyone can! We chose to use desert amber and coffee brown as our two color acid stain process. Our home is mostly “French Country farmhouse”, but this space will be a little more casual incorporating industrial farmhouse and rustic elements, including a reclaimed wood feature wall, live edge bar area and sliding barn door. - Personal Tips:
Be patient! Watch the “how to” videos featured on this website. If you have a question don’t be afraid to call or email customer service. They respond quickly, professionally and are very helpful and friendly. If your surface requires etching, be sure to clean it thoroughly before it dries. Hence the photo with white shoe prints. Where your spikes when doing this. It took about 12 scrubbings and a hand sander to clean that up! - Direct Colors Products Used:
1 Gal. CitrusEtch™ Concrete Etcher
4 Oz. ProClean Neutralizer™
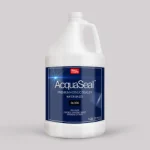
1 Gal. Desert Amber EverStain™ & AcquaSeal™ Gloss Kit
1 Gal. Coffee Brown DIY EverStain™ & AcquaSeal™ Gloss Kit
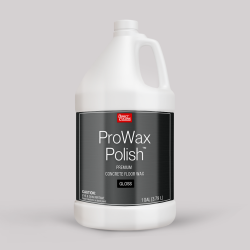
1 Gal. ProWax™ Polish Gloss
Every image in this gallery depicts projects using our concrete stains, shared by actual customers. However, due to the semi-transparent nature of the stains, the end look will be influenced by your concrete’s original color and condition. Outcomes may differ. For best results, we advise a test patch on your surface before full application to ensure desired appearance.
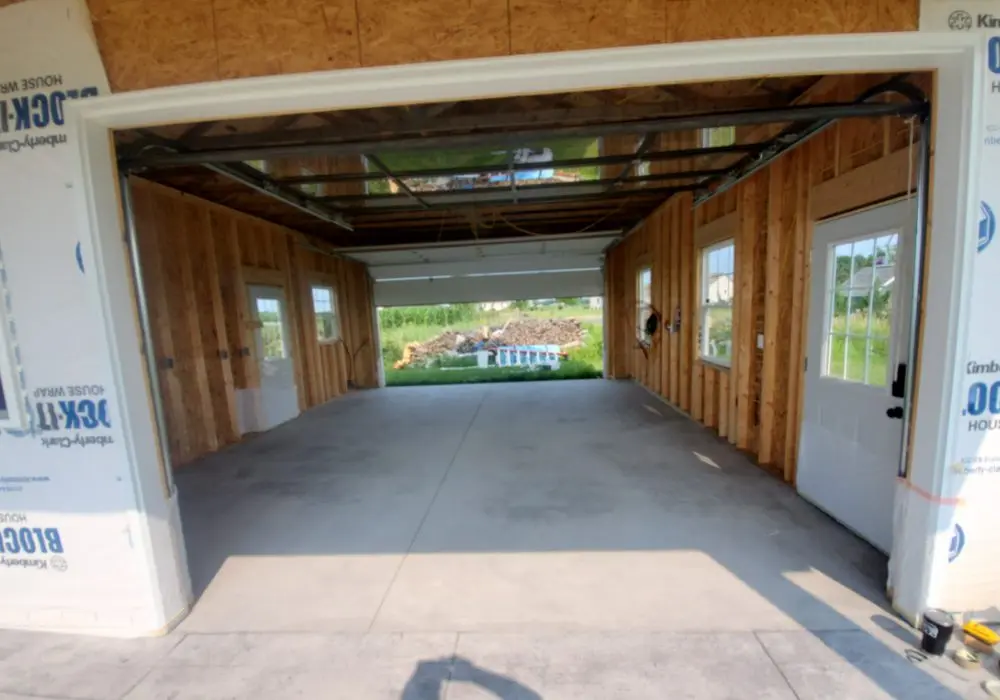
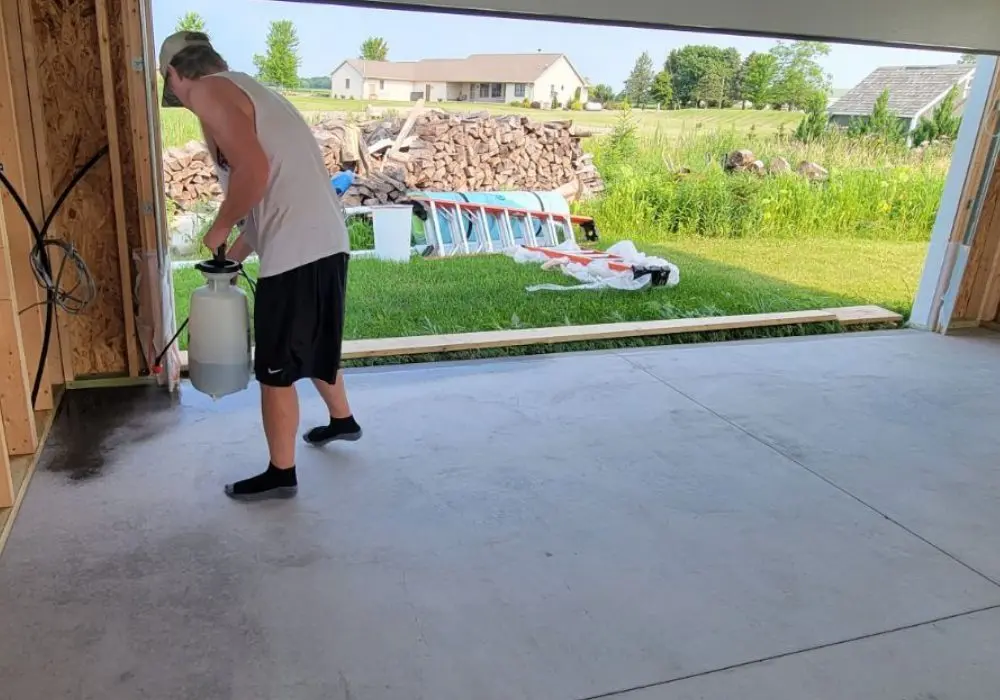
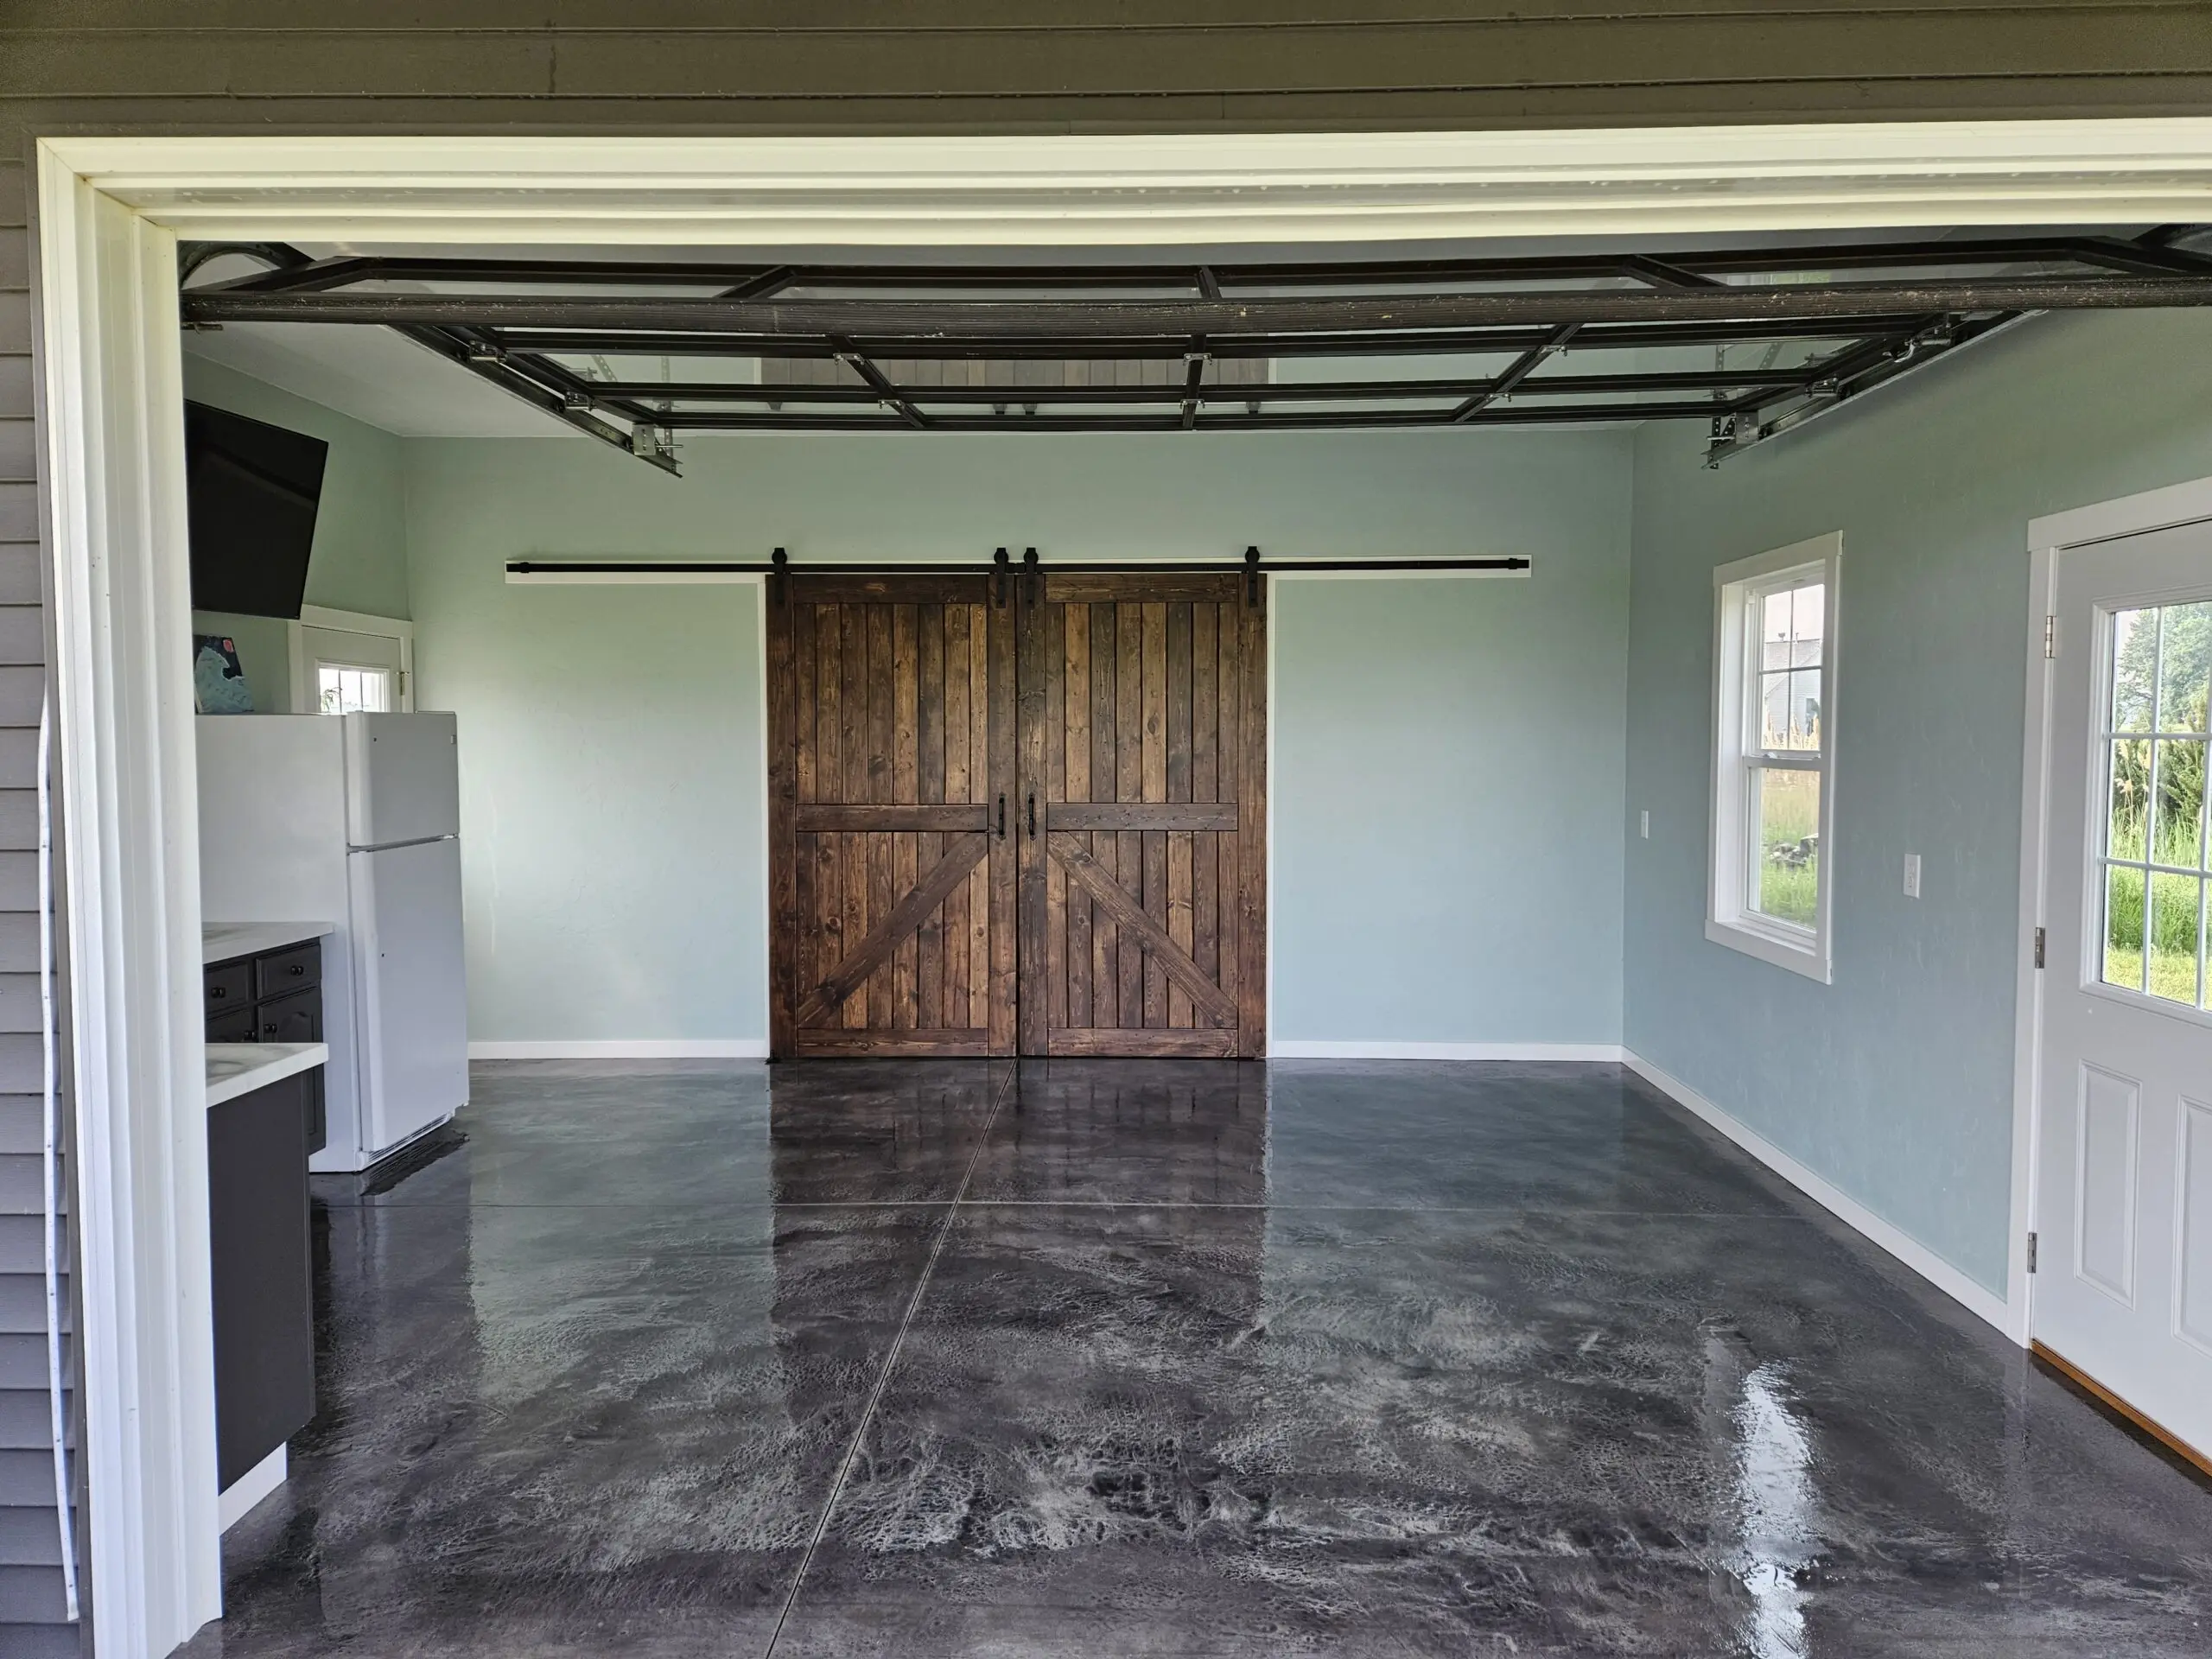
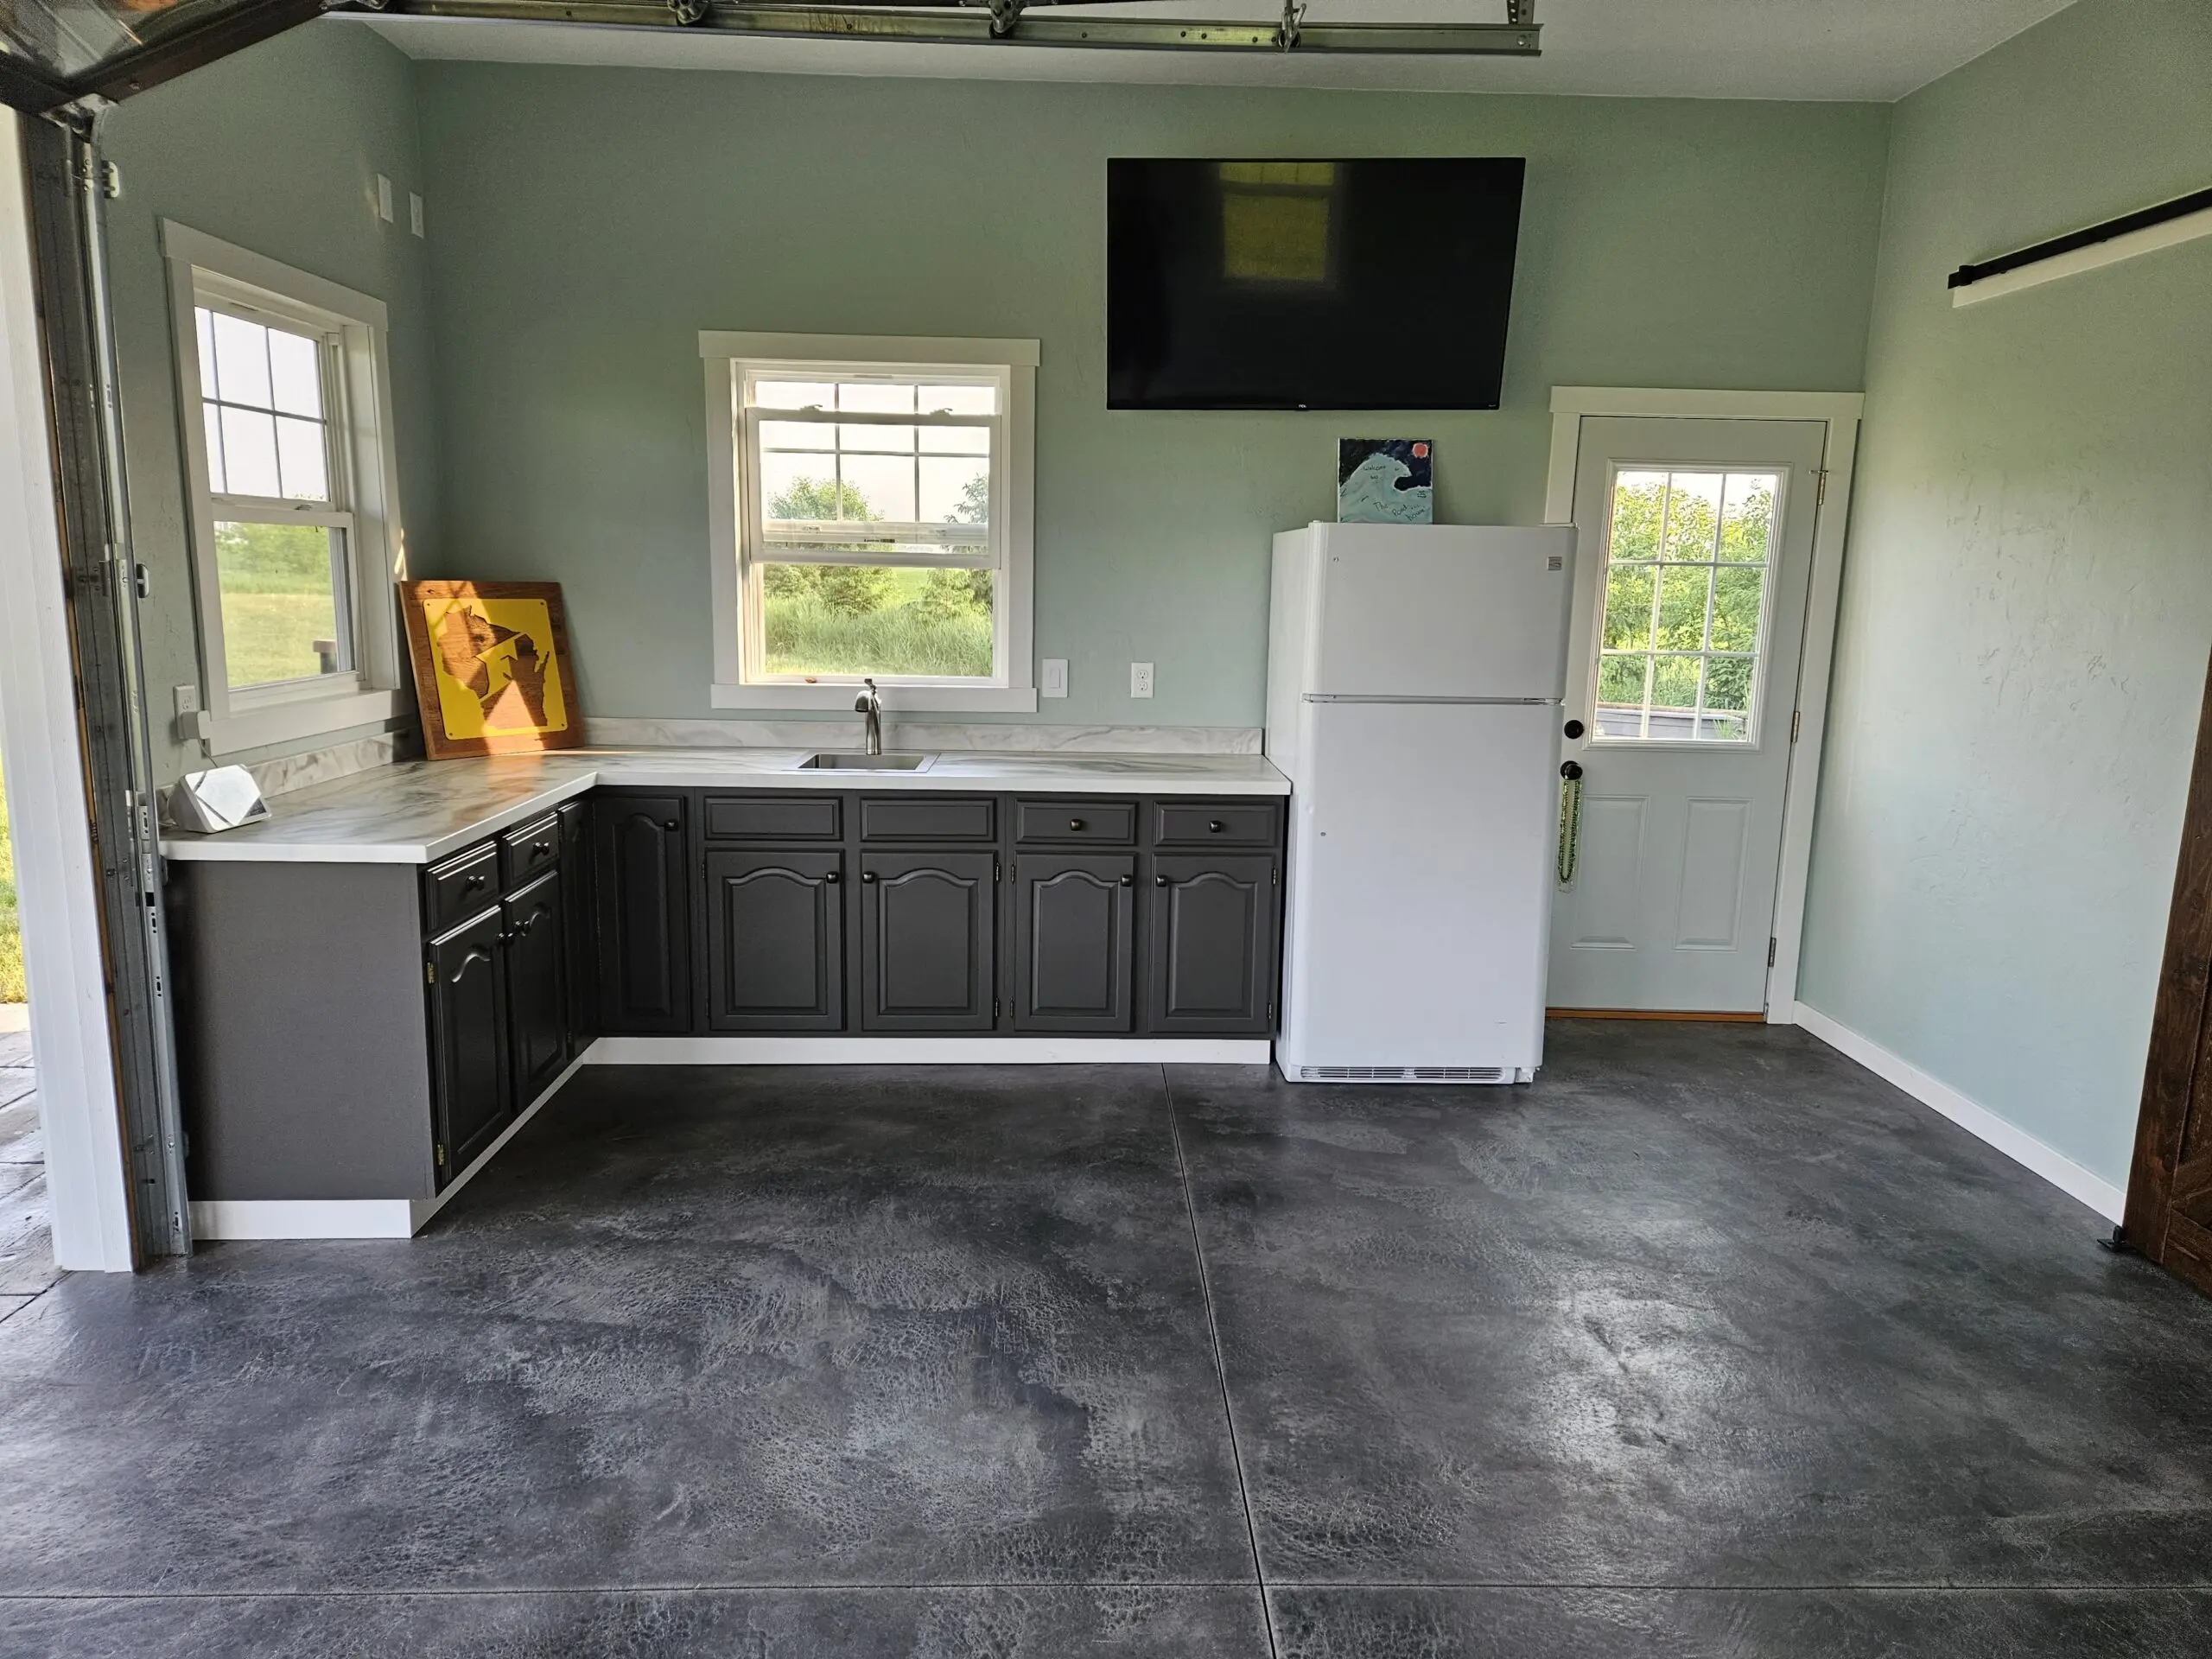
Party Garage Creation: From Scratch to Starry-eyed Stained Floors
This DIYer built a non-slip, hand-troweled concrete floor for a new party garage near their pond. Using our Antiquing™ Stain, they added an impressive touch to the textured floor. Lessons learned included using the correct footwear during application and using a fresh sprayer for the second sealer coat. Despite minor mishaps, the project was a success, with the beautiful stained floor earning praise from all visitors.
Project Info:
- Project Completed In: 8 day(s)
- Estimate of Square Footage: 400 sq. ft.
- Project Description:
We’ve been wanting to try this since the basement floors were poured in November 2019. This 400 sq. ft. area will be a family/rec room. We decided to do the floors ourselves before the drywall, etc. goes up. For that, we have pros coming to complete very soon. Our basement is framed in and divided into three spaces; two will be completed and the third is a large storage area. We are so pleased with how this turned out we are going to do it during “phase two” of our basement remodel, applying it on the second living space which will include a laundry room, workout area a half bath.We are very amateur DIYers, so if we can do this anyone can! We chose to use desert amber and coffee brown as our two color acid stain process. Our home is mostly “French Country farmhouse”, but this space will be a little more casual incorporating industrial farmhouse and rustic elements, including a reclaimed wood feature wall, live edge bar area and sliding barn door. - Personal Tips:
Be patient! Watch the “how to” videos featured on this website. If you have a question don’t be afraid to call or email customer service. They respond quickly, professionally and are very helpful and friendly. If your surface requires etching, be sure to clean it thoroughly before it dries. Hence the photo with white shoe prints. Where your spikes when doing this. It took about 12 scrubbings and a hand sander to clean that up! - Direct Colors Products Used:
1 Gal. CitrusEtch™ Concrete Etcher
4 Oz. ProClean Neutralizer™
1 Gal. Desert Amber EverStain™ & AcquaSeal™ Gloss Kit
1 Gal. Coffee Brown DIY EverStain™ & AcquaSeal™ Gloss Kit
1 Gal. ProWax™ Polish Gloss
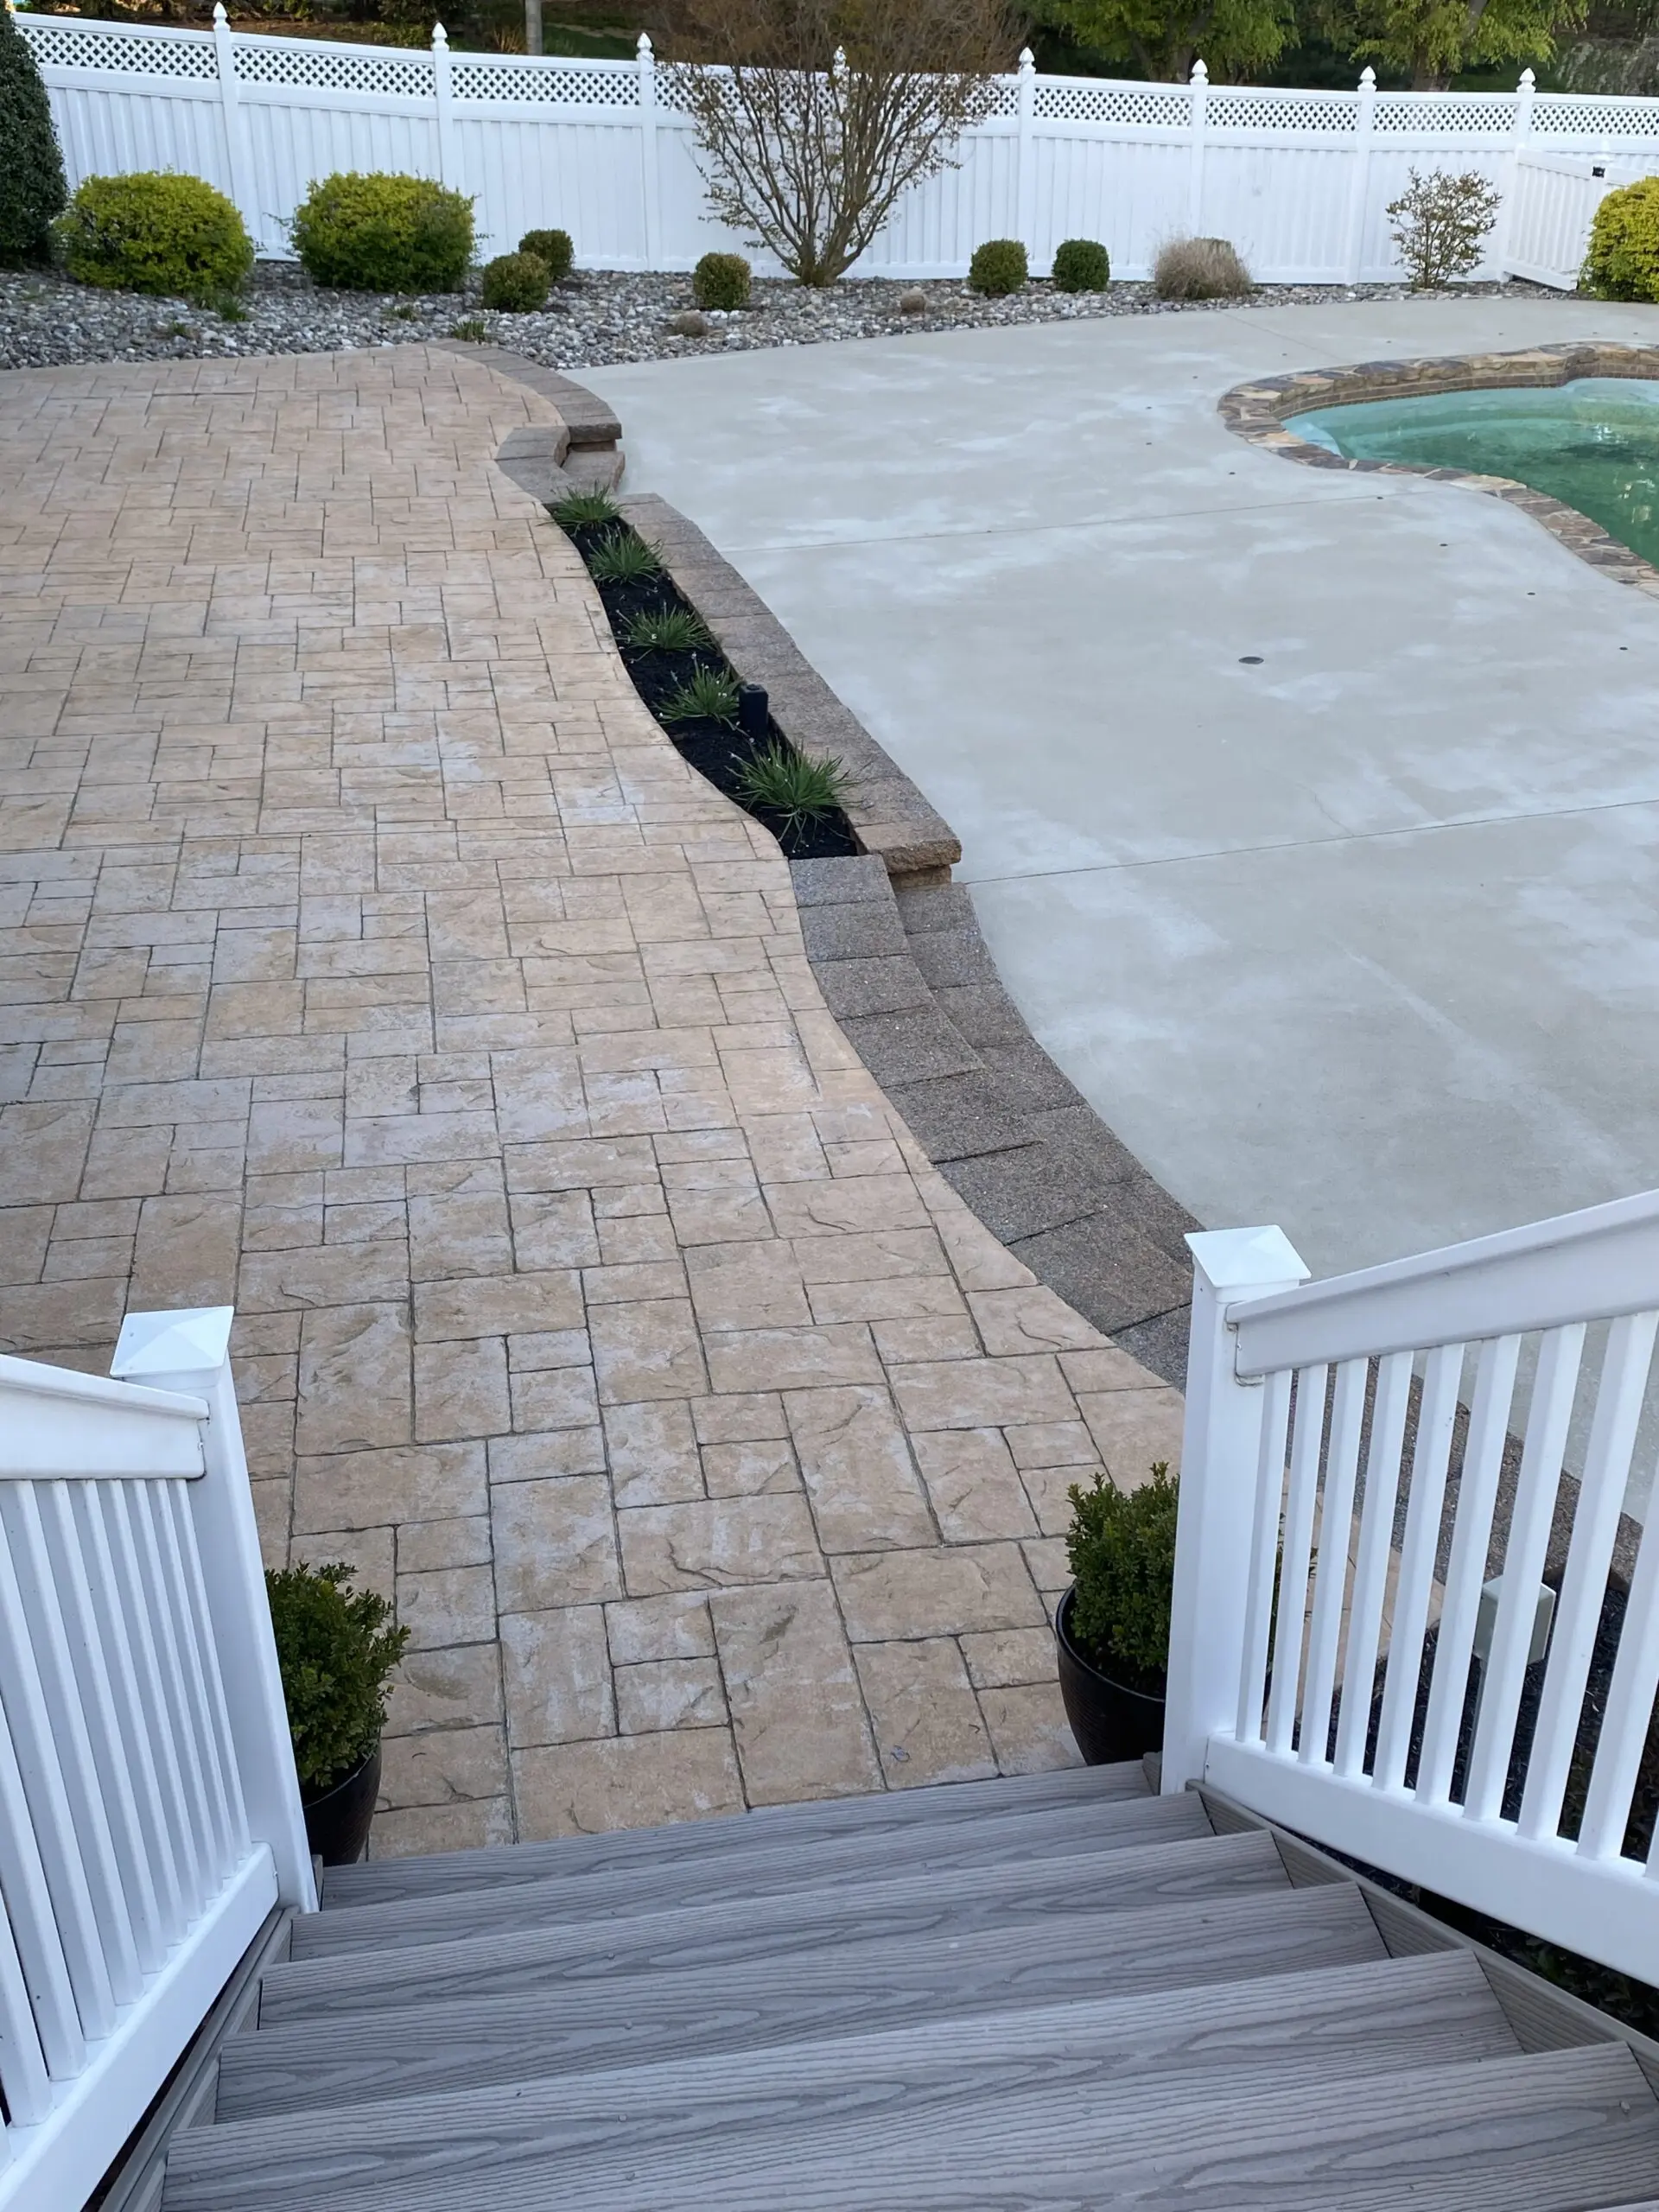
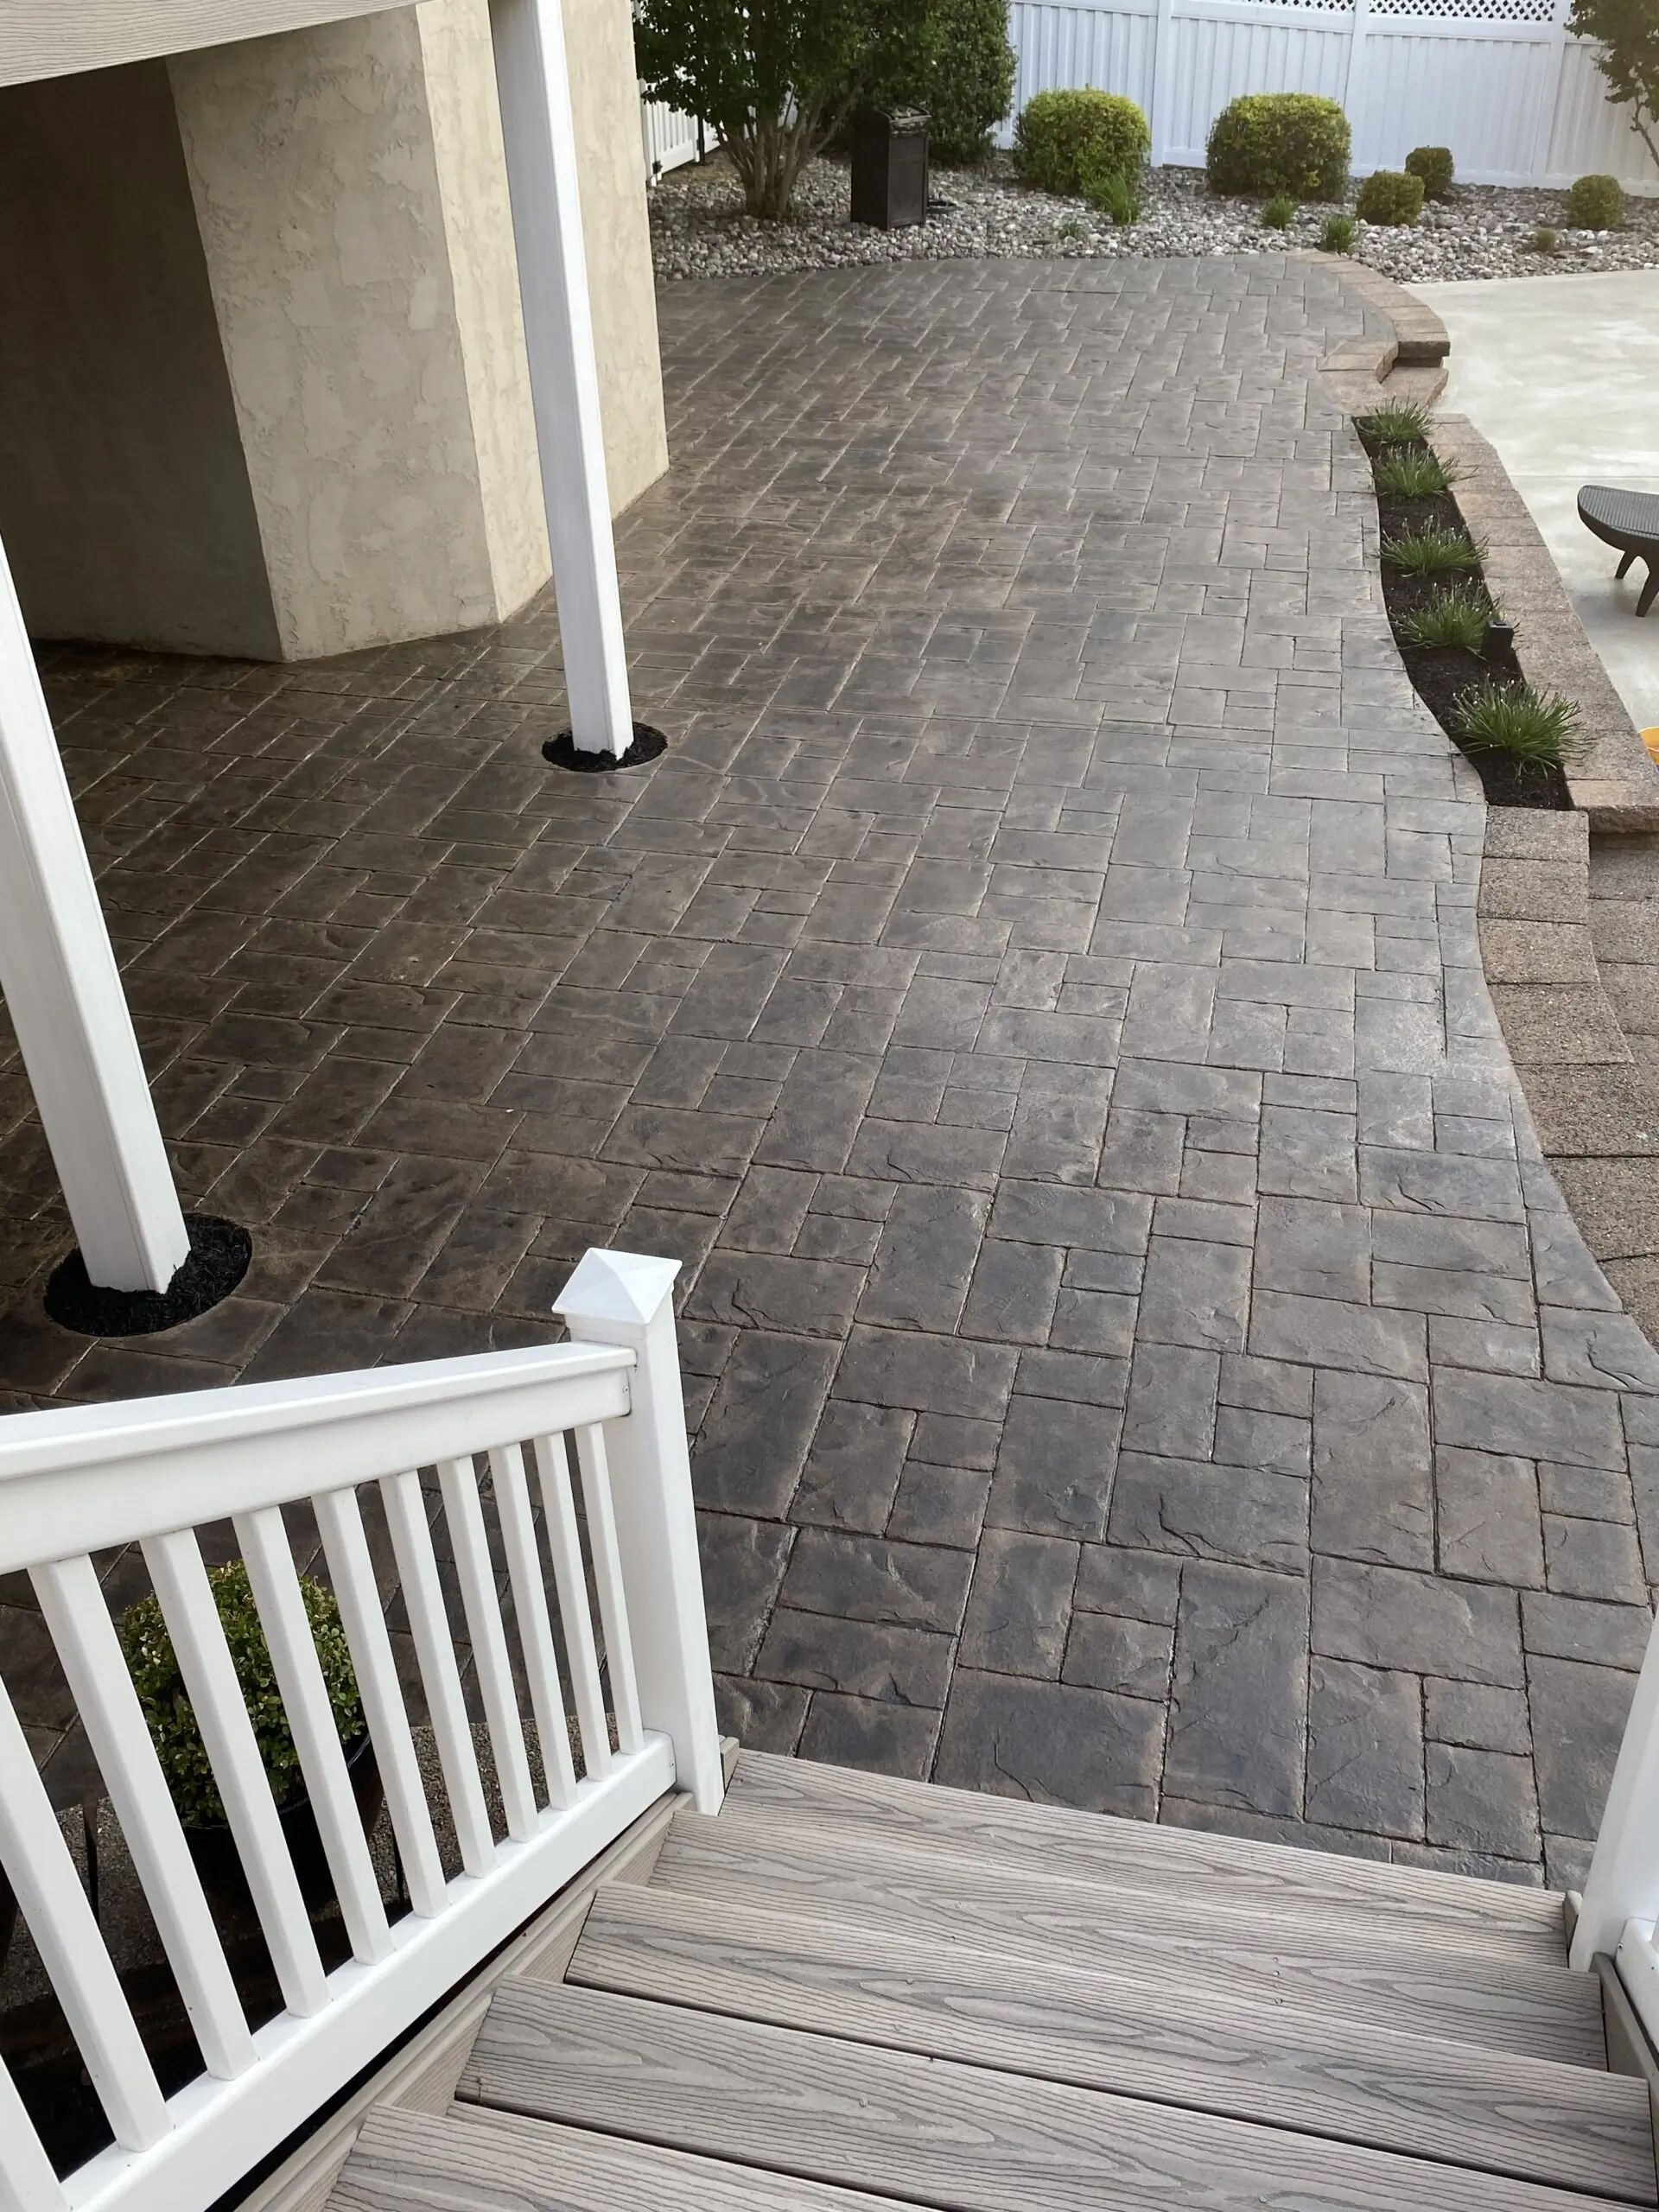
Brown to Charcoal: A Stamped Concrete Transformation
With our Charcoal Antiquing™ Stain, this DIYer transformed a 13-year-old, faded brown stamped concrete area into a chic, multi-toned space. Despite the challenges of prep work and weather, the project turned out stunningly, proving that the right tools and products can make a huge difference.
Project Info:
- Project Completed In: 8 day(s)
- Estimate of Square Footage: 400 sq. ft.
- Project Description:
We’ve been wanting to try this since the basement floors were poured in November 2019. This 400 sq. ft. area will be a family/rec room. We decided to do the floors ourselves before the drywall, etc. goes up. For that, we have pros coming to complete very soon. Our basement is framed in and divided into three spaces; two will be completed and the third is a large storage area. We are so pleased with how this turned out we are going to do it during “phase two” of our basement remodel, applying it on the second living space which will include a laundry room, workout area a half bath.We are very amateur DIYers, so if we can do this anyone can! We chose to use desert amber and coffee brown as our two color acid stain process. Our home is mostly “French Country farmhouse”, but this space will be a little more casual incorporating industrial farmhouse and rustic elements, including a reclaimed wood feature wall, live edge bar area and sliding barn door. - Personal Tips:
Be patient! Watch the “how to” videos featured on this website. If you have a question don’t be afraid to call or email customer service. They respond quickly, professionally and are very helpful and friendly. If your surface requires etching, be sure to clean it thoroughly before it dries. Hence the photo with white shoe prints. Where your spikes when doing this. It took about 12 scrubbings and a hand sander to clean that up! - Direct Colors Products Used:
1 Gal. CitrusEtch™ Concrete Etcher
4 Oz. ProClean Neutralizer™
1 Gal. Desert Amber EverStain™ & AcquaSeal™ Gloss Kit
1 Gal. Coffee Brown DIY EverStain™ & AcquaSeal™ Gloss Kit
1 Gal. ProWax™ Polish Gloss
Courtyard Comeback: Revitalizing Aged Stamped Concrete
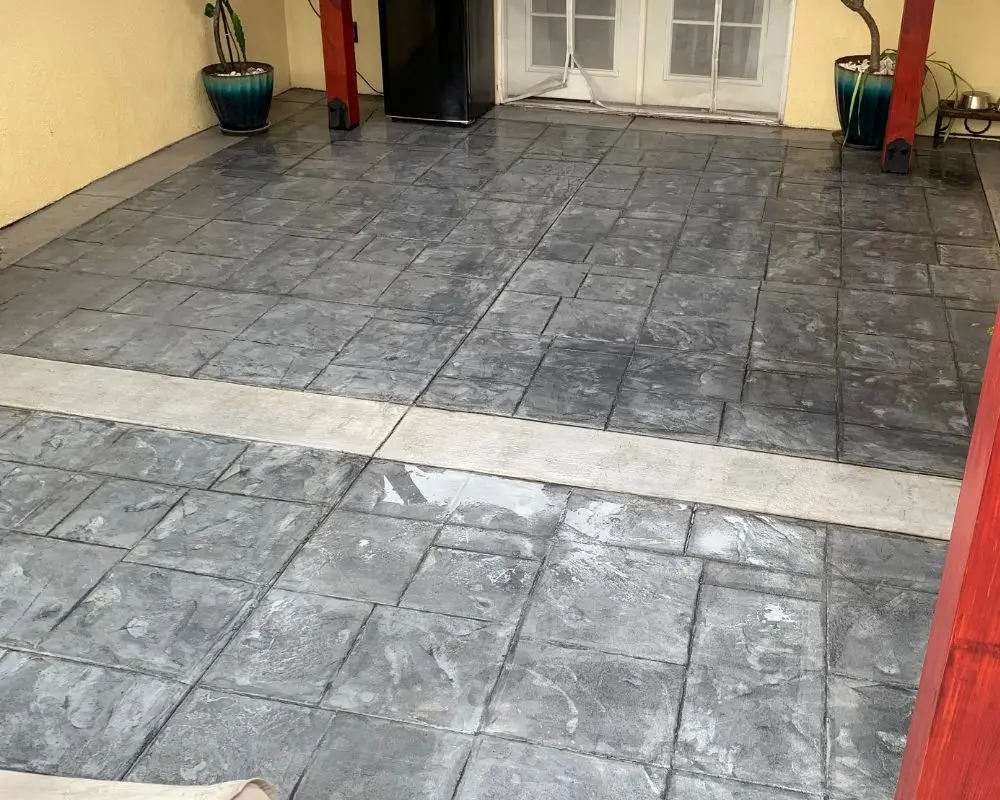
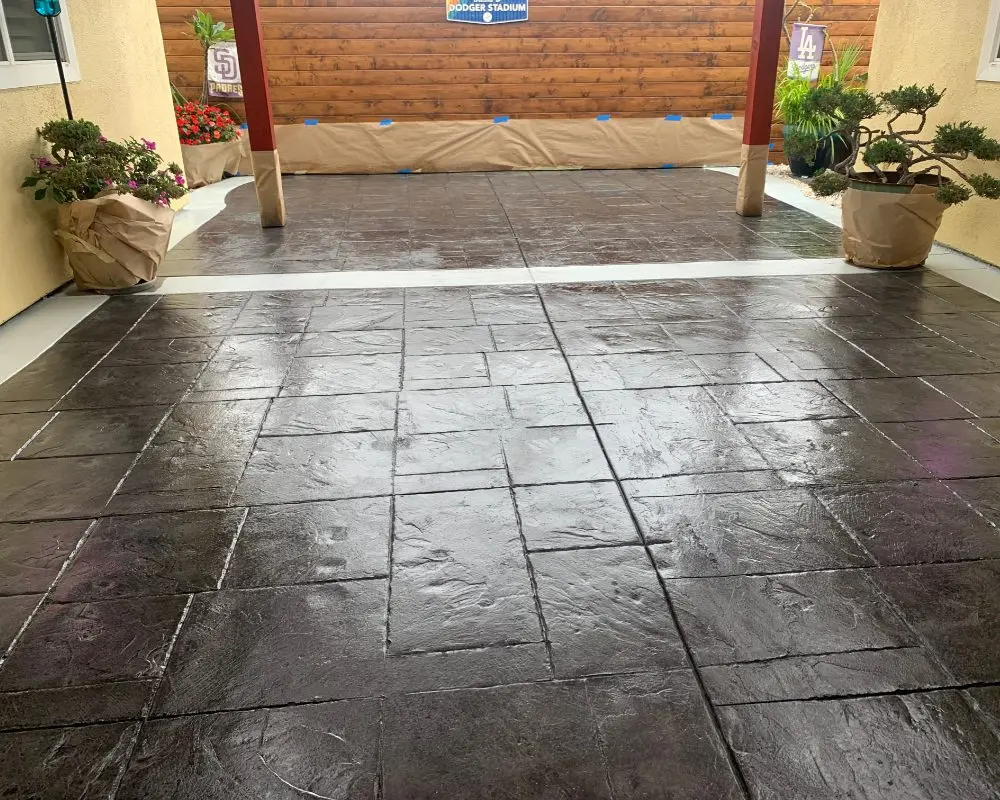
In this DIY project, our customer breathed new life into a worn-out stamped concrete courtyard. The process began with hands-on scrubbing, power washing, and thorough drying. After masking and dusting off the area, Charcoal Antiquing™ Stain was applied, immediately adding vibrancy back into the space. The finishing touch of EasySeal™ Gloss gave the courtyard an impressive makeover, inspiring the DIYer to use Direct Colors for all future stamped concrete projects. A key tip they shared is to limit traffic on the freshly stained area and to spray on the sealer for a perfect finish.
Project Info:
- Project Completed In: 8 day(s)
- Estimate of Square Footage: 400 sq. ft.
- Project Description:
We’ve been wanting to try this since the basement floors were poured in November 2019. This 400 sq. ft. area will be a family/rec room. We decided to do the floors ourselves before the drywall, etc. goes up. For that, we have pros coming to complete very soon. Our basement is framed in and divided into three spaces; two will be completed and the third is a large storage area. We are so pleased with how this turned out we are going to do it during “phase two” of our basement remodel, applying it on the second living space which will include a laundry room, workout area a half bath.We are very amateur DIYers, so if we can do this anyone can! We chose to use desert amber and coffee brown as our two color acid stain process. Our home is mostly “French Country farmhouse”, but this space will be a little more casual incorporating industrial farmhouse and rustic elements, including a reclaimed wood feature wall, live edge bar area and sliding barn door. - Personal Tips:
Be patient! Watch the “how to” videos featured on this website. If you have a question don’t be afraid to call or email customer service. They respond quickly, professionally and are very helpful and friendly. If your surface requires etching, be sure to clean it thoroughly before it dries. Hence the photo with white shoe prints. Where your spikes when doing this. It took about 12 scrubbings and a hand sander to clean that up! - Direct Colors Products Used:
1 Gal. CitrusEtch™ Concrete Etcher
4 Oz. ProClean Neutralizer™
1 Gal. Desert Amber EverStain™ & AcquaSeal™ Gloss Kit
1 Gal. Coffee Brown DIY EverStain™ & AcquaSeal™ Gloss Kit
1 Gal. ProWax™ Polish Gloss
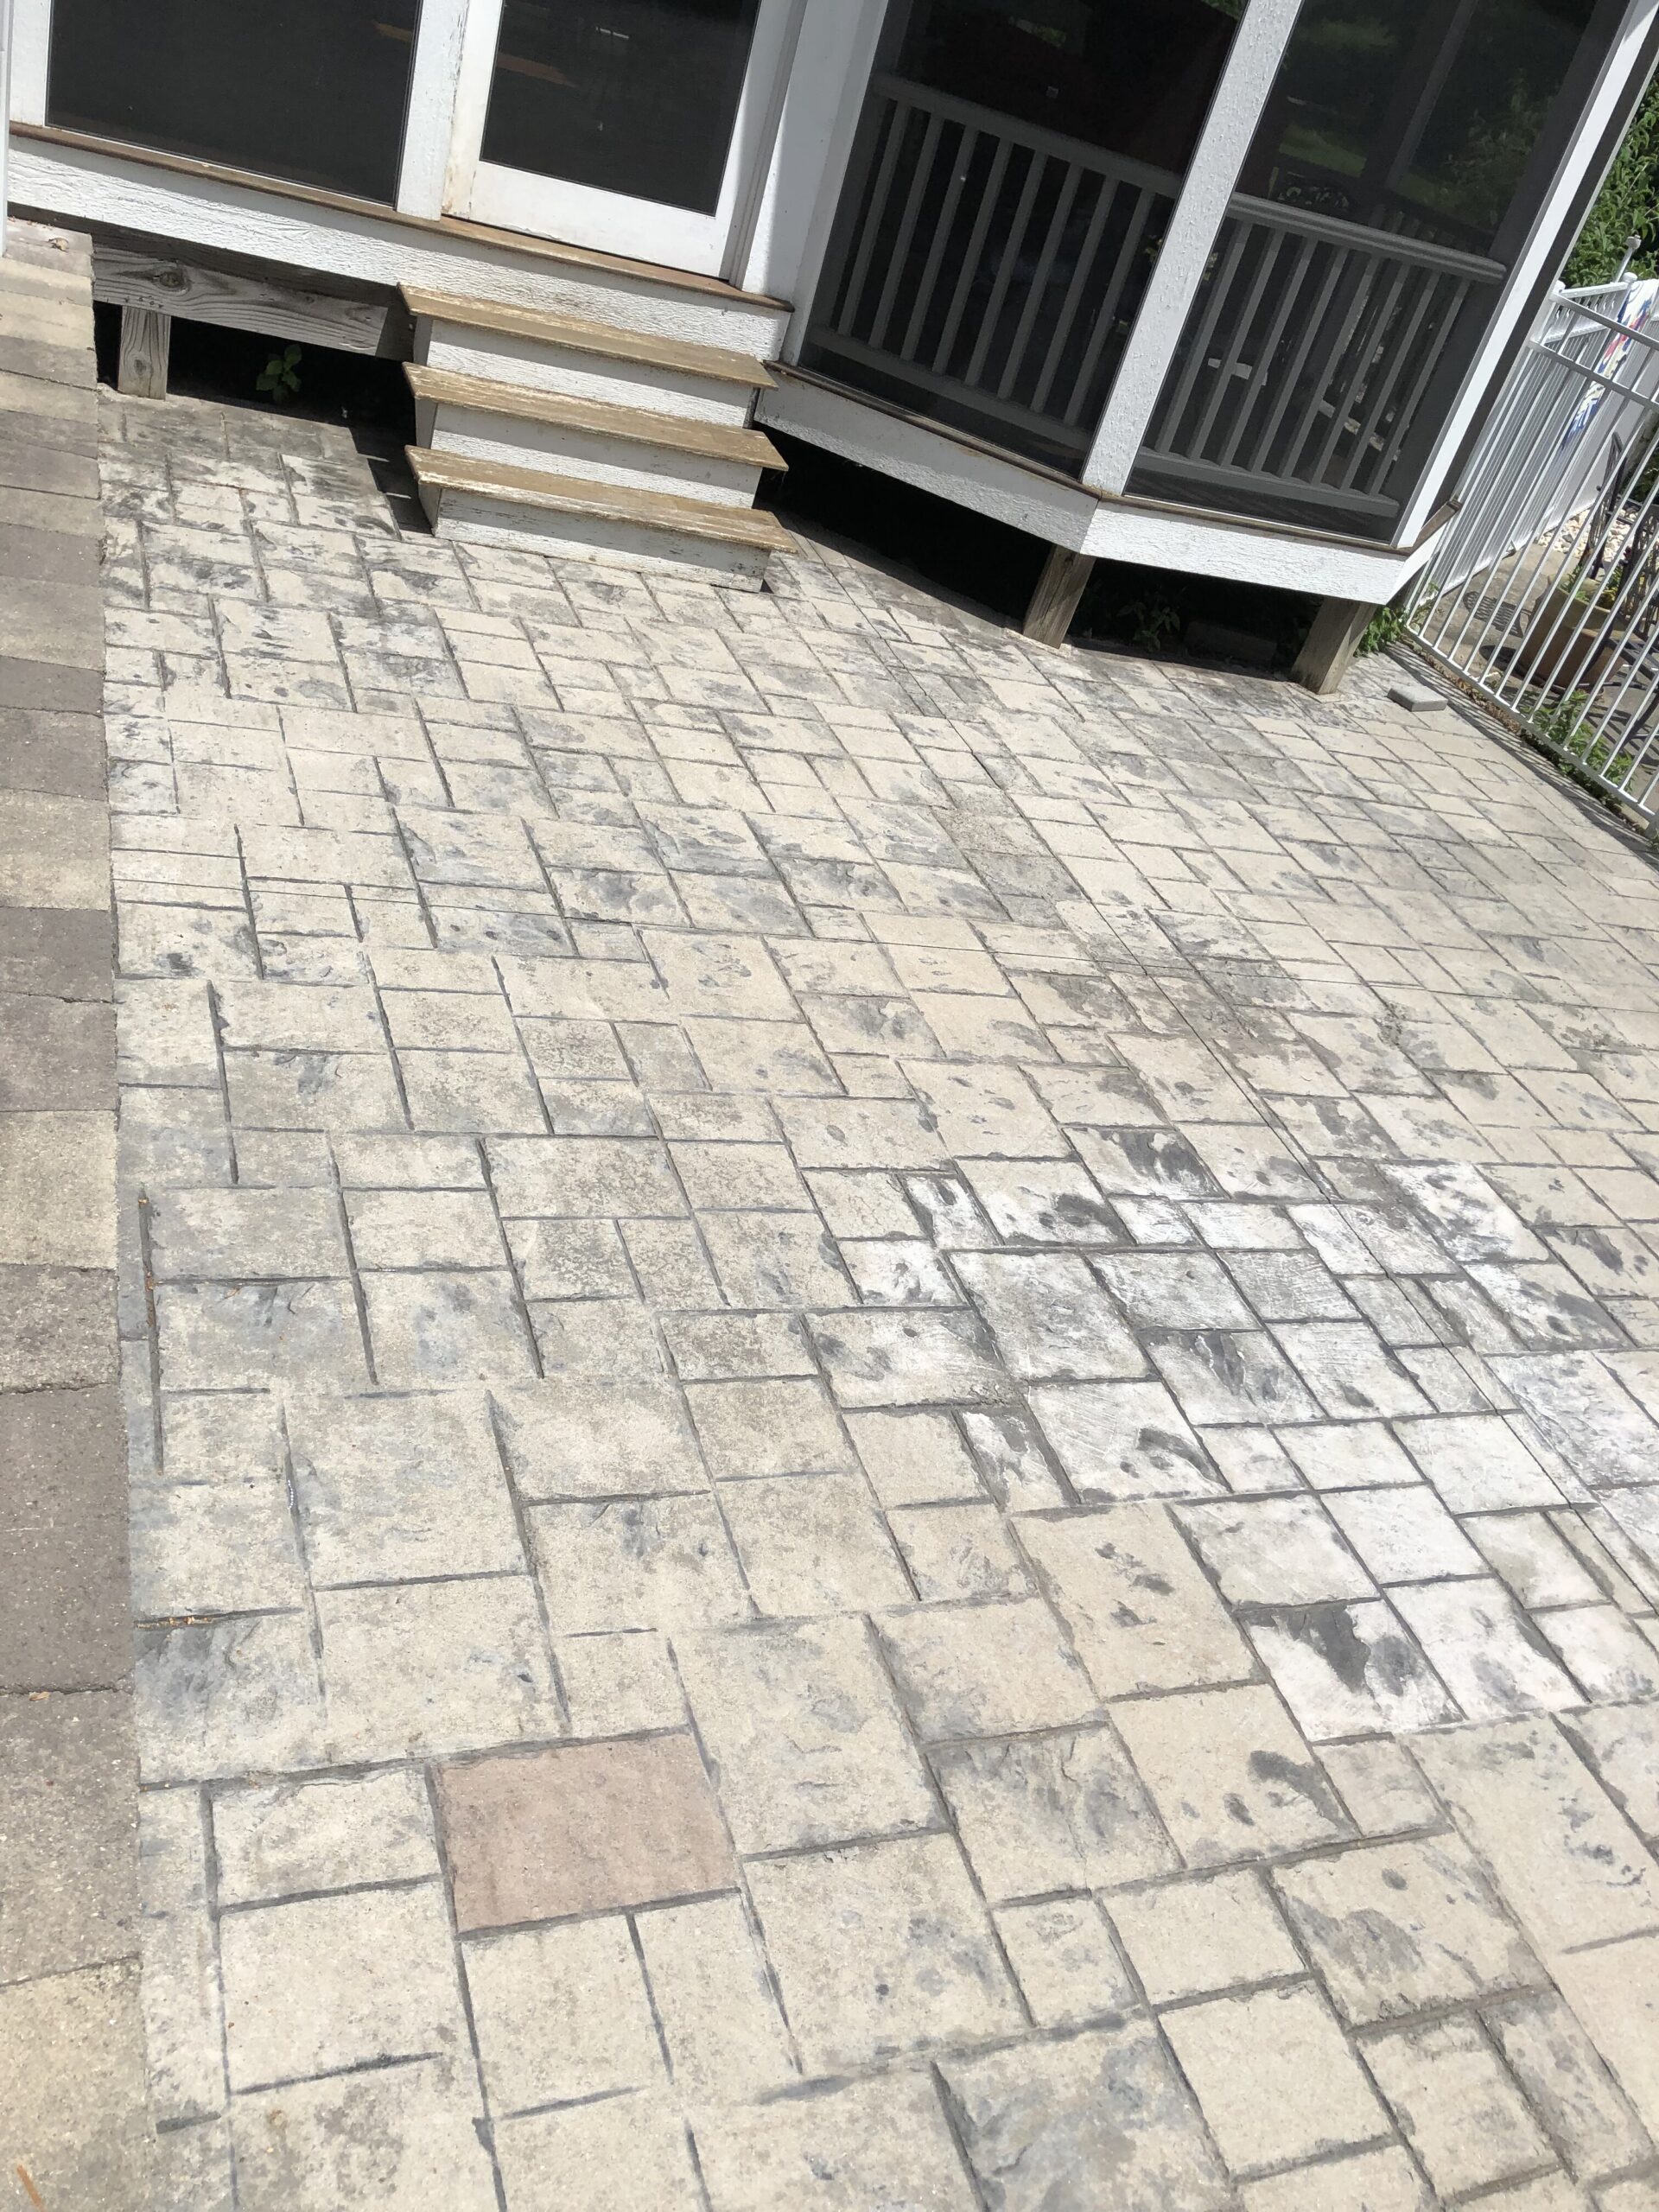
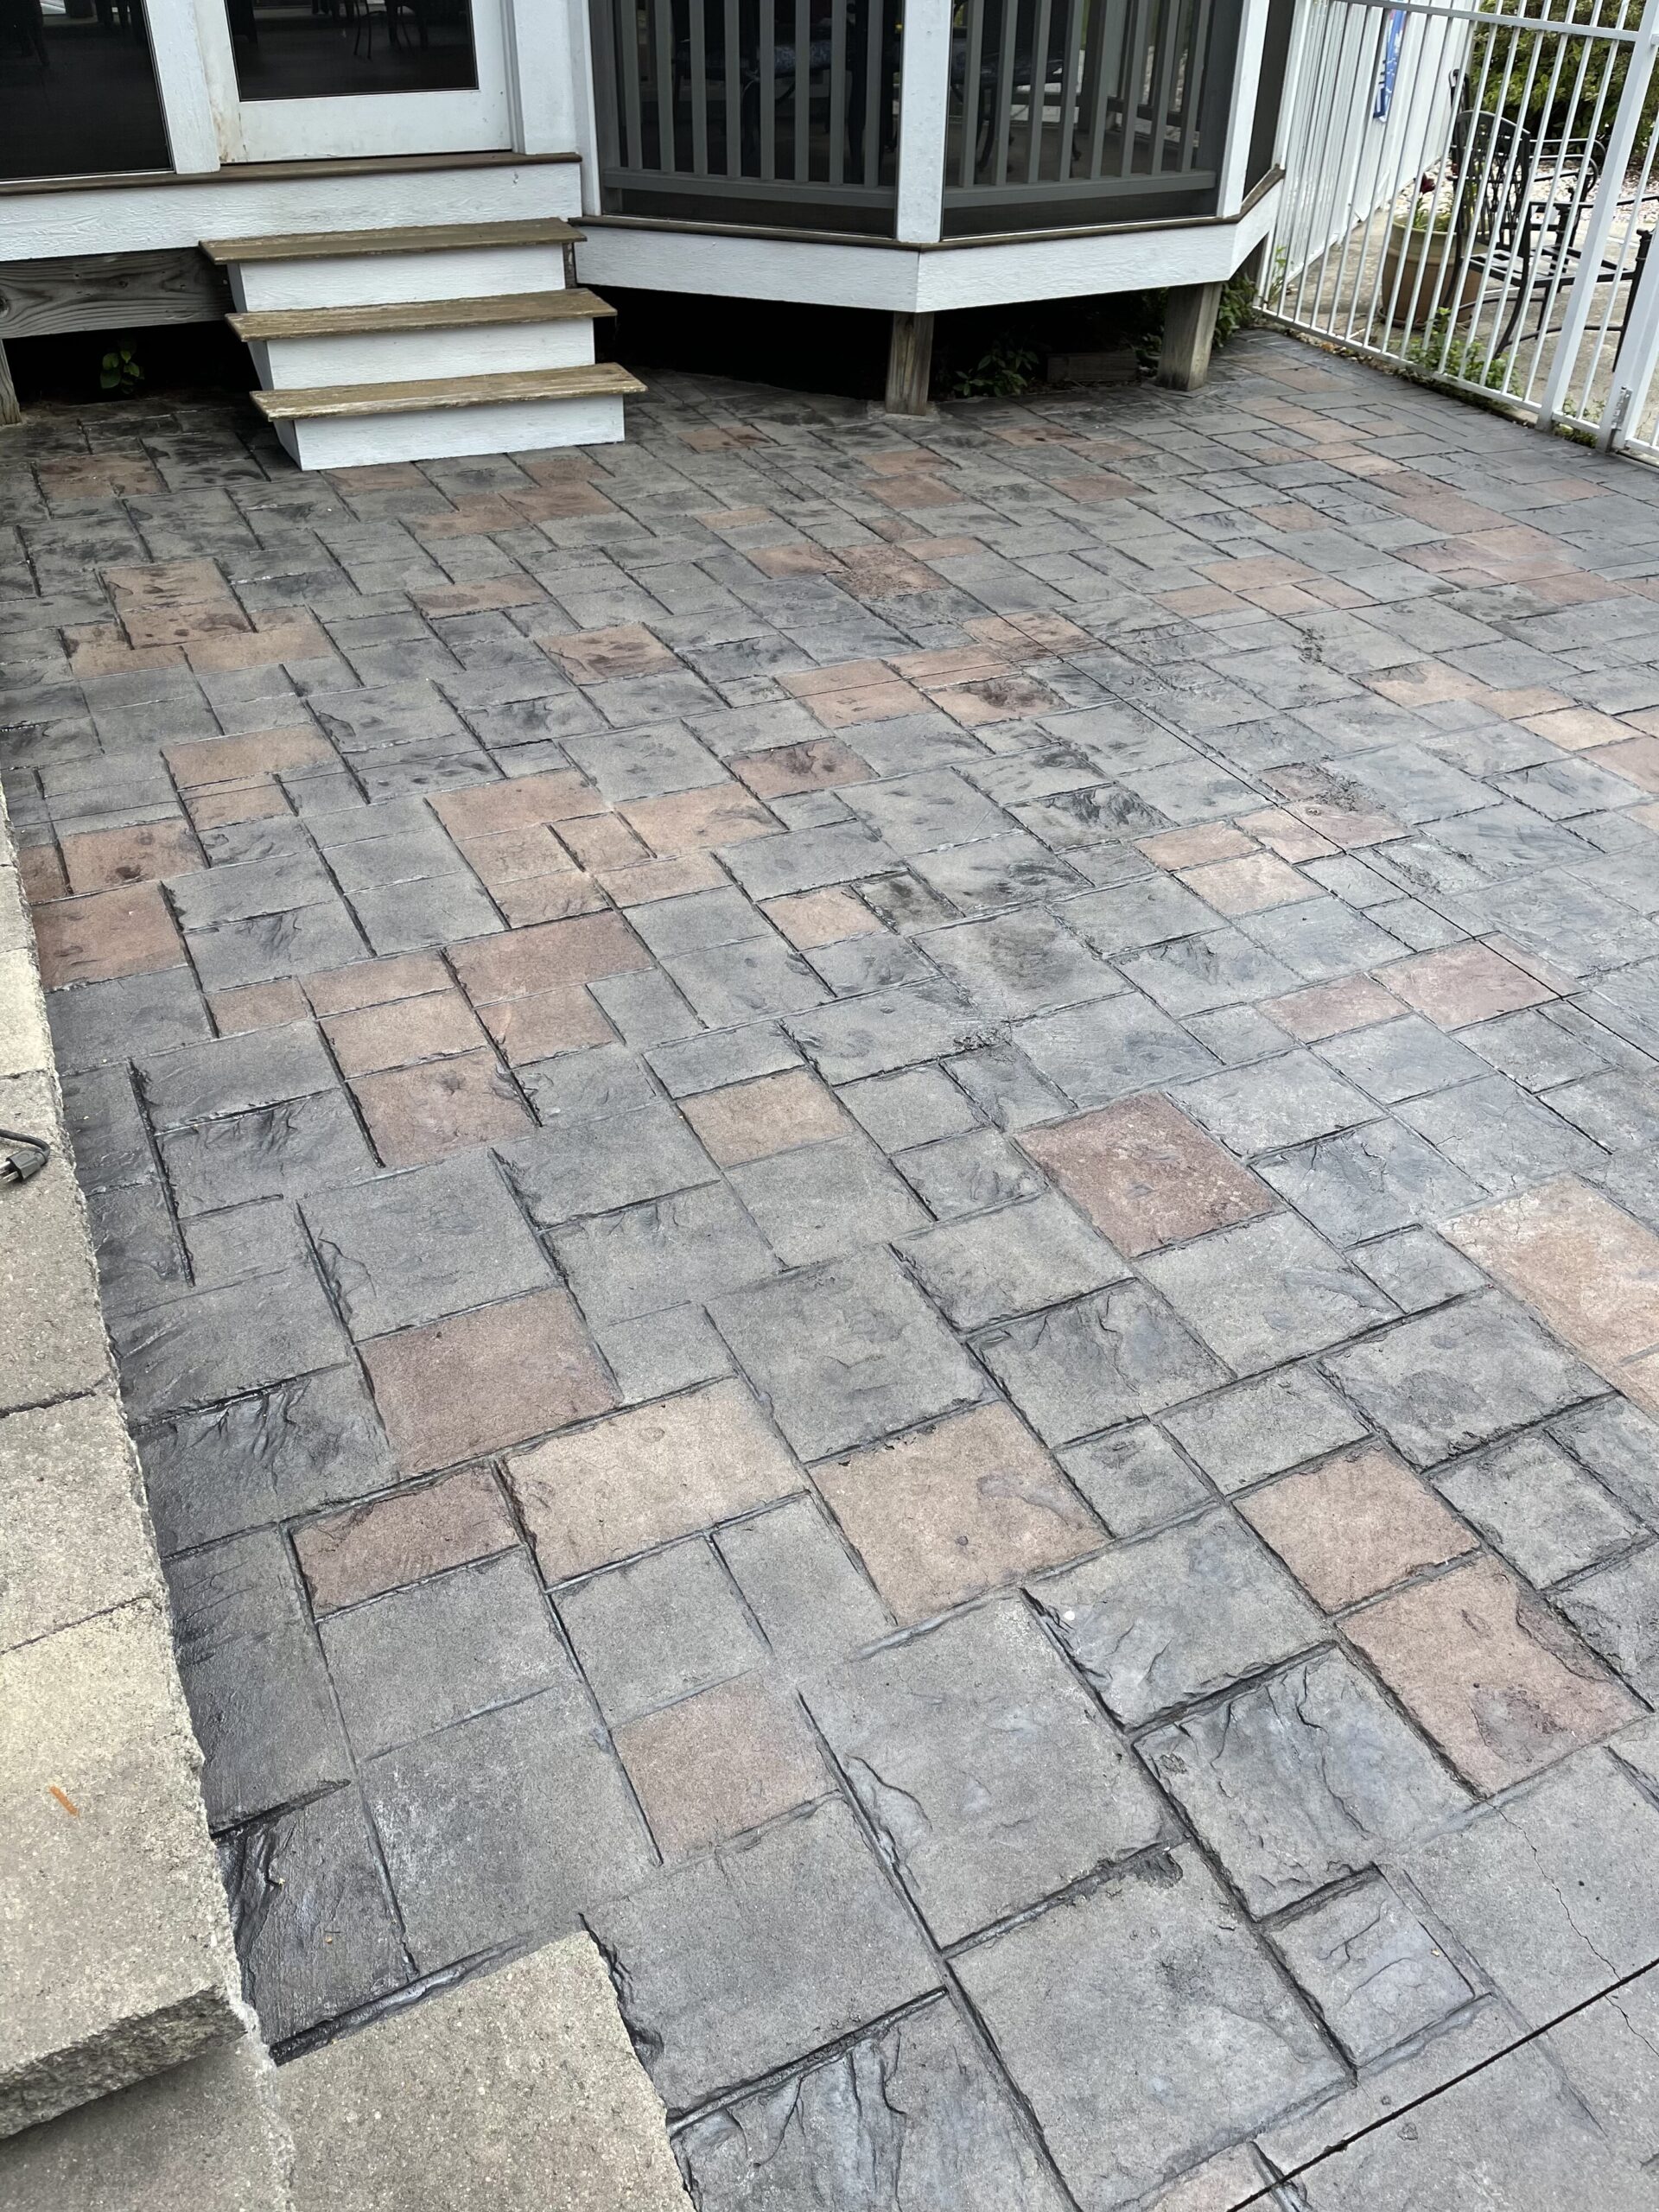
Walkway and Patio Refresh: Charcoal and Auburn Antiquing™ Stain Makeover
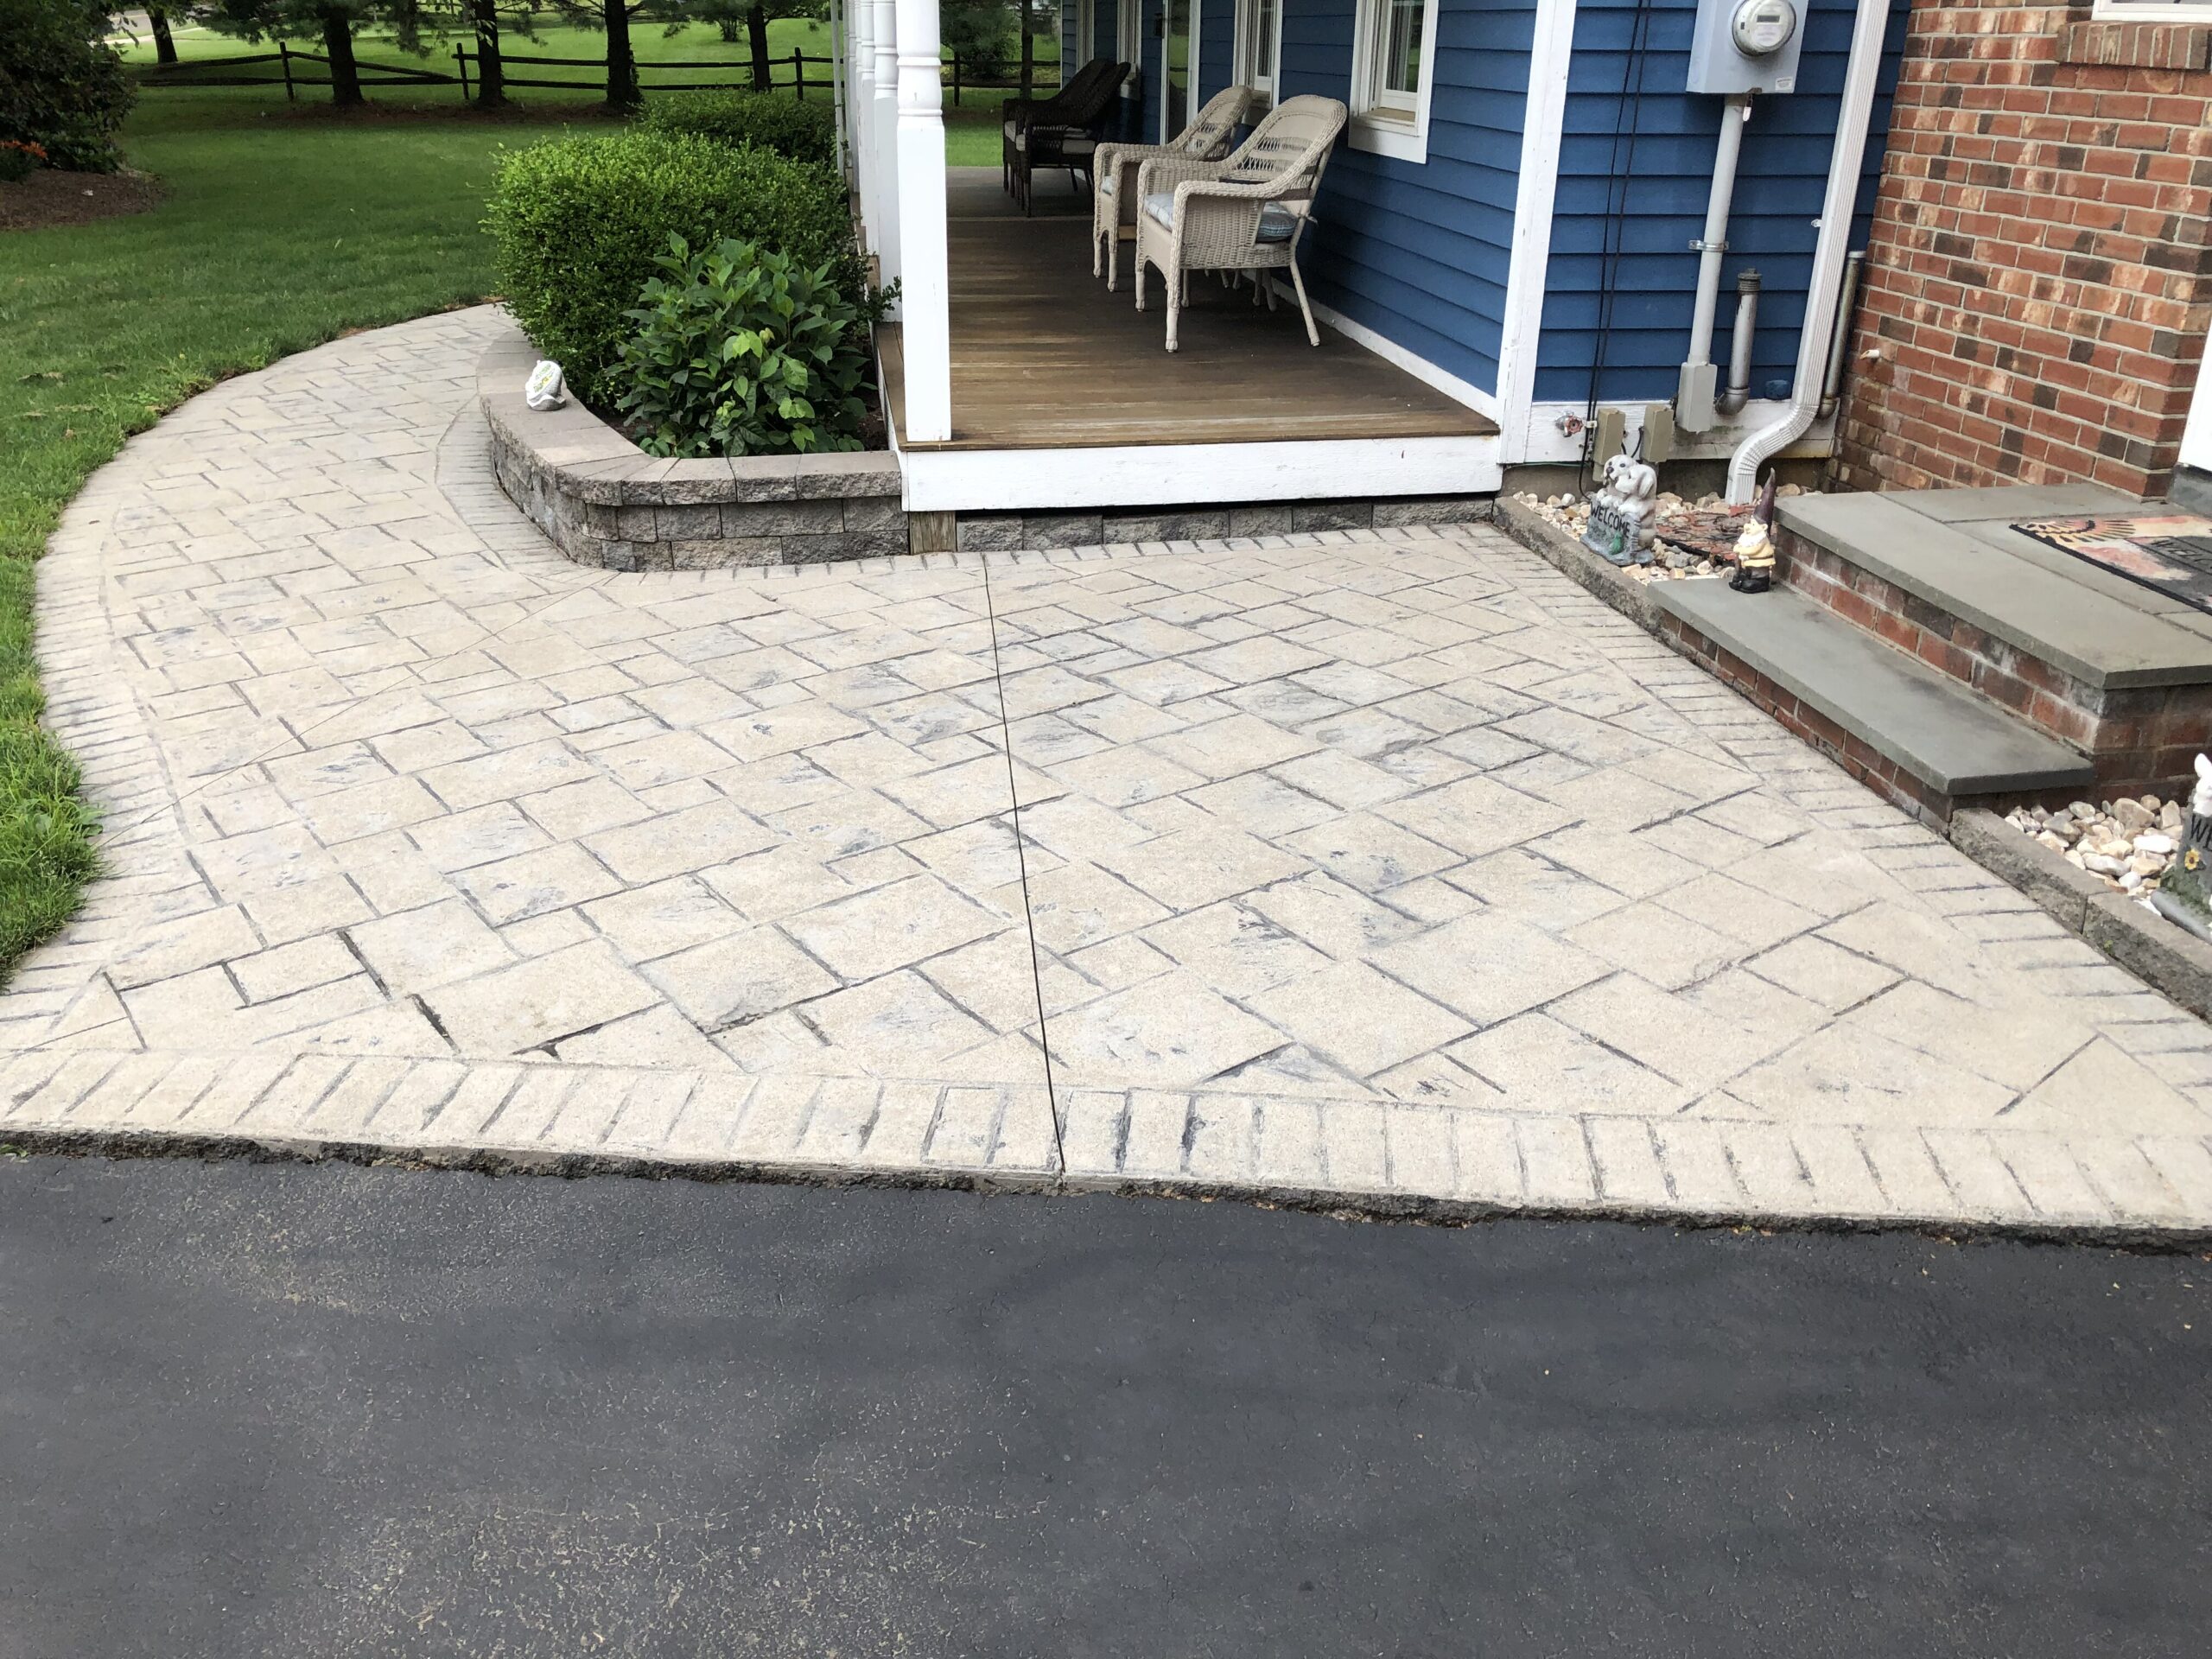
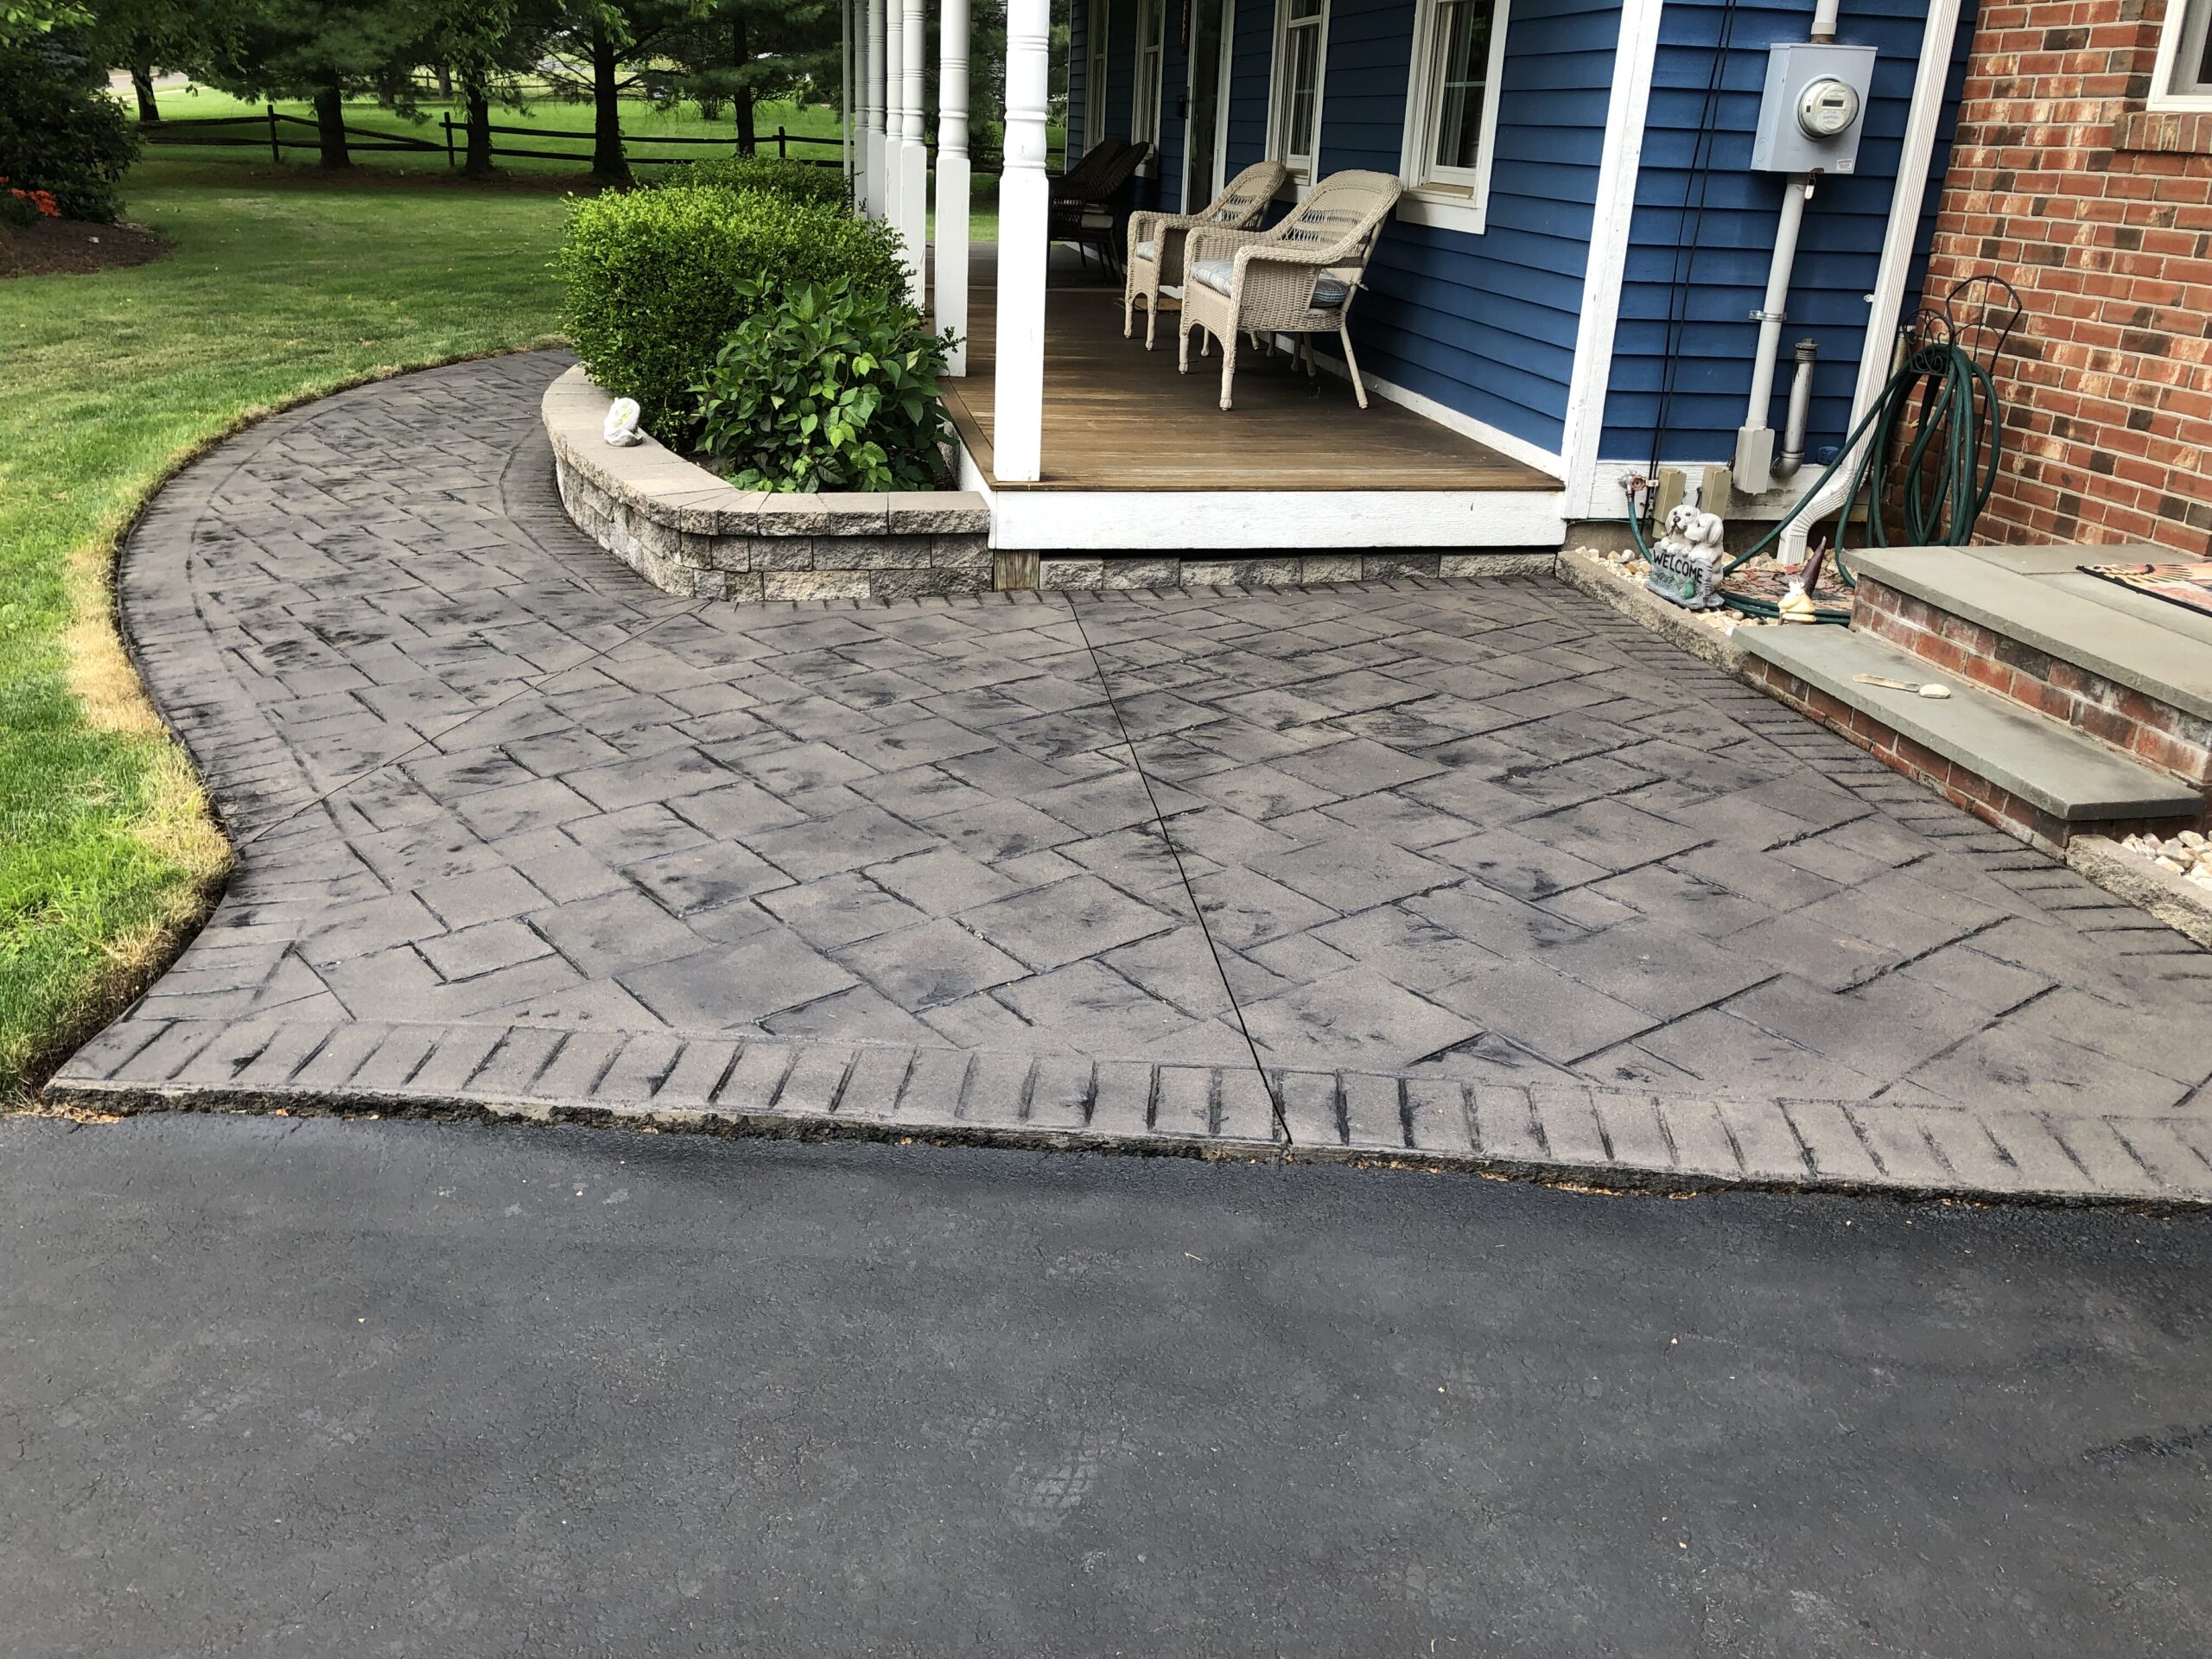
This project brought new life to a 12-year-old faded walkway and patio. The walkway was transformed using a two-tone approach with light and dark Charcoal Antiquing™ Stain, followed by a Satin EasySeal™ Sealer.
Project Info:
- Project Completed In: 4 day(s)
- Estimate of Square Footage: 225 sq. ft.
- Project Description:
My patio has some 35 year old redwood furniture that I decided to refinish which I did. Using Cabot’s wood finish and I sanded it down. After finishing noticing the gray concrete did not help appearance and I had bought some gel acid stain from direct colors pre-pandemic and never used them. Ended up getting Everstain Acid stain we 3 gallons of acid stain with neutralizer and sealant. I used some shoes with spikes and applied as directed by web site using a sprayer. Following advice of outlining the sections with the lighter color then using the Malayan buff filling in between the desert amber, then streaked it with the antique red to add dimension and almost create a look like grain in wood. I let it dry overnight to get maximum paint absorption then got it damp with light water and brushed with large broom. I then applied the sealant in 2 coats. The first coat was rolled on and the second was sprayed on. The most difficult part of project was moving the furniture off and back on patio. The prep work has to be done with power washing and taping up the sides of the house. - Personal Tips:
If you are going to spray use wide tape to block off things that you don’t want sprayed. I used 1 inch, probably should use wider if the wind catches it you got it on your house. - Direct Colors Products Used:
1 Gal. Desert Amber EverStain™ & EasySeal™ Gloss Kit
1 Gal. Malayan Buff EverStain™ & EasySeal™ Gloss Kit
1 Gal. English Red EverStain™ & EasySeal™ Gloss Kit
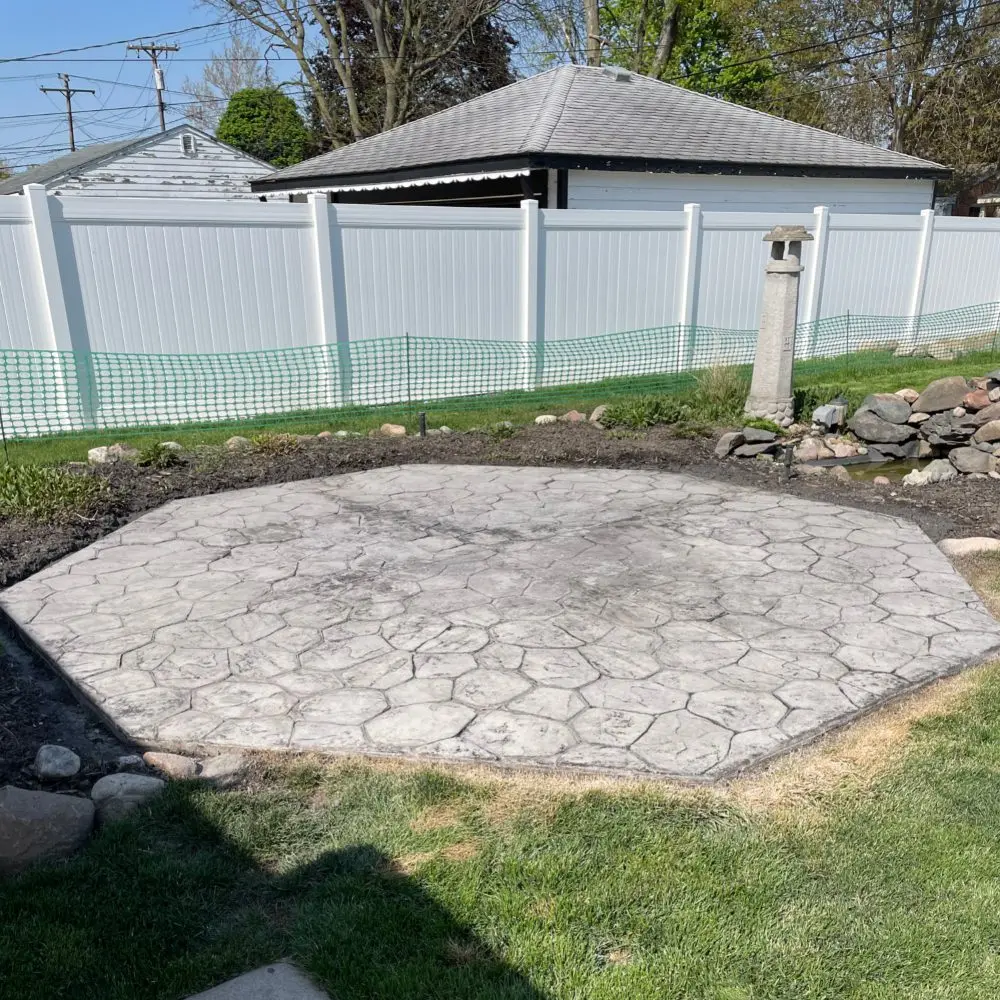
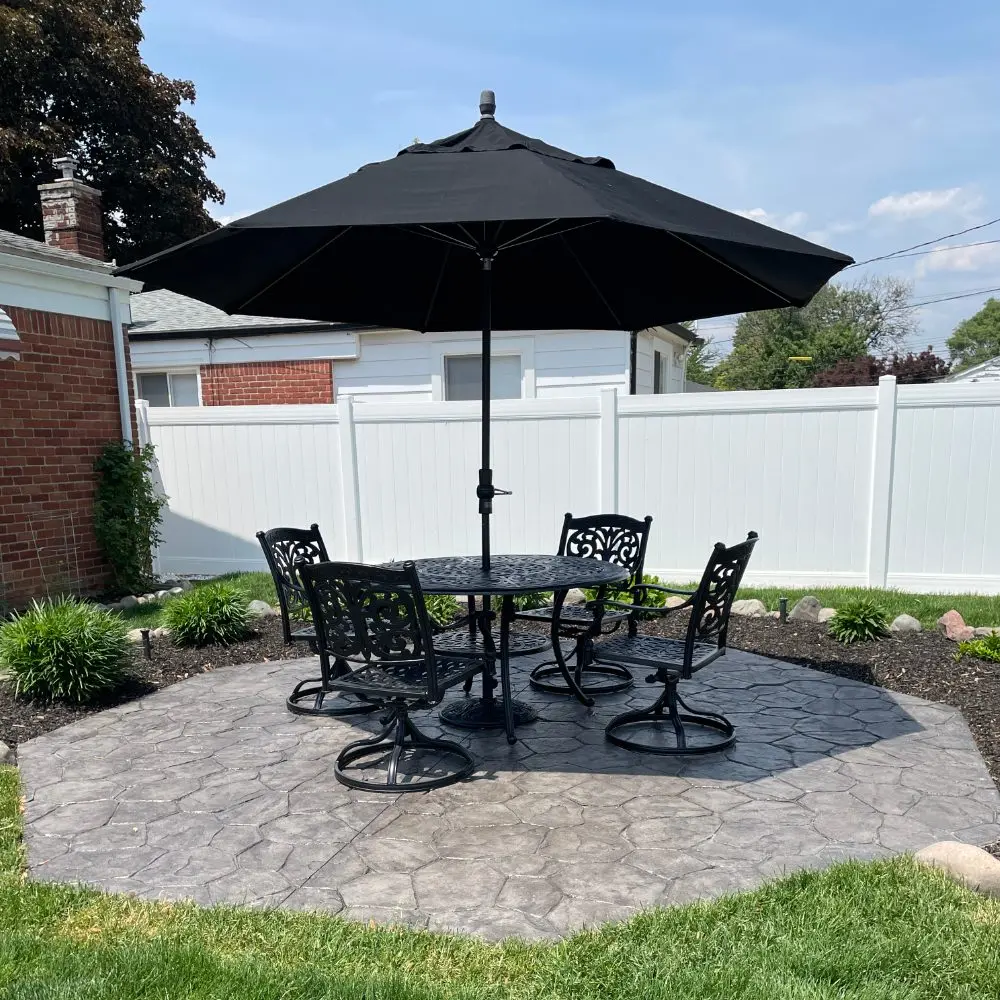
Self-Taught Patio Makeover: From Neglected to Stunning
This DIYer took the plunge to revive a neglected, faded patio after finding no professionals for the job. Armed with our DIY Antiquing™ Stain Kit and the helpful advice of our patient customer service, they tackled the project with enthusiasm. After a meticulous process of soy gel stripping, degreasing, staining, and sealing, they watched their patio spring back to life. The highlight? A new self-stained concrete block step that matched the patio perfectly. A key tip: always consider the weather for outdoor projects and shake your stain well before and during spraying.
Project Info:
- Project Completed In: 10 day(s)
- Estimate of Square Footage: 1100 sq. ft.
- Project Description: We just moved in to our new construction home after 19 long months of building (timeframe due to the pandemic).
We installed a hydronic radiant floor system in our basement and didn’t want to cover it up with carpet or LVP so we started researching other possible options. We ended up on Pinterest and that’s how discovered Direct Colors. We explored their website & galleries and really liked what we saw so we called and asked a few questions & the next day we ordered a DIY trial kit to try out & help us decide colors & combinations to get te look we wanted.
We chose the EverStain DIY kit in Coffee Brown & Desert Amber along with the Satin Acrylic sealer.
Overall, our project took roughly 10 days start to finish and we are absolutely thrilled with the results. - Personal Tips:
– Highly recommend doing the DIY trial kit! It really helped us decide which colors we needed to achieve the look we wanted & it also gave us really good insight to the entire process.
– We ended up a little short on the Everstain and had to order another gallon because I underestimated how much product we’d need to achieve a “marbling” effect using the wet on wet method. I watched all the technique videos but didn’t take into account the extra amount of product we’d need to allow for some pooling of the acid stain in the areas we wanted darker. The space we acid stained was approximately 1100 sq ft and I only ordered enough Everstain for 1200sq ft. so I ordered an additional gallon of coffee brown to finish the floor.
-We rented a ride-on floor scrubbing machine that also sucked up water which I’d highly recommend over hand scrubbing if you have a large area to clean & prep. It really saved our backs!
-Embrace the imperfections of your concrete. Don’t expect perfect results on a floor that wasn’t perfect to begin with. Our basement was poured earlier this year & while prepping it to etch, we found several rough spots, a few trowel marks, a couple small chips and a long, narrow crack. We just blended all the flaws into our marbling technique design & they blend in so well it’s really hard to spot them now. - Direct Colors Products Used:
1 Gal. Desert Amber DIY EverStain™ & AcquaSeal™ Satin Kit
1 Gal. Coffee Brown DIY EverStain™ & AcquaSeal™ Satin Kit
1 Gal. Coffee Brown EverStain™ & AcquaSeal™ Satin Kit
1 Gal. ProWax™ Polish Gloss - Other Products Used:
Rust oleum 3-in-1 cleaner, degrease, etch
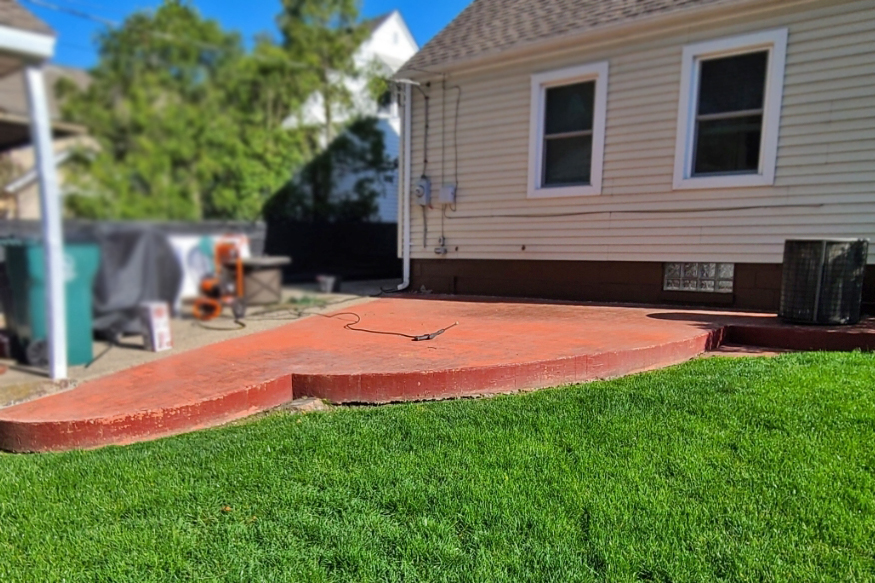
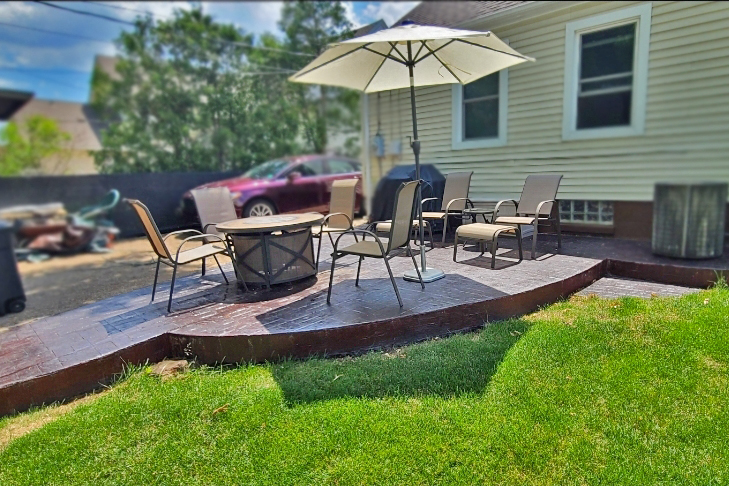
No More Ugly Orange Concrete Patio
If you are covering an old color that is very bright, make sure to buy enough stain. It took me multiple layers due to the bright orange that was there before. Other than that, it was a rather simple process.
Project Info:
- Project Completed In: 180 day(s)
- Estimate of Square Footage: 40 sq. ft.
- Project Description:
We wanted to upgrade the kitchen in our ‘Hunting Camp’/seasonal home, and decided to create our own concrete countertops. Through much trial and error, testing of concrete and colors, we are finally done! Many of our test pieces have become park bench for ourselves and our friends.
Included are before, during and after pictures, plus one of the first park benches.
For the countertops, we used acid stain in Coffee Brown, Desert Amber and Seagrass. Through the testing, I learned to go easy on the Coffee Brown and to not be afraid of the Seagrass! I also learned to ‘just walk away’ and let the acid stain do its thing without overdoing it.
We love the final outcome and want to thank Direct Colors for their continued help and urgent assistance at each step along the way! Your customer service is top notch!
Personal Tips:
I would recommend doing small test pieces before a big project to figure out what color combinations and techniques you like. It is so important to know that, to a very large degree, you cannot control the final outcome, but with research, practice, and patience, anyone can do this. - Direct Colors Products Used:
1 Gal. Desert Amber DIY EverStain™ & AcquaSeal™ Satin Kit
1 Gal. Coffee Brown EverStain™
1 Gal. Seagrass EverStain™
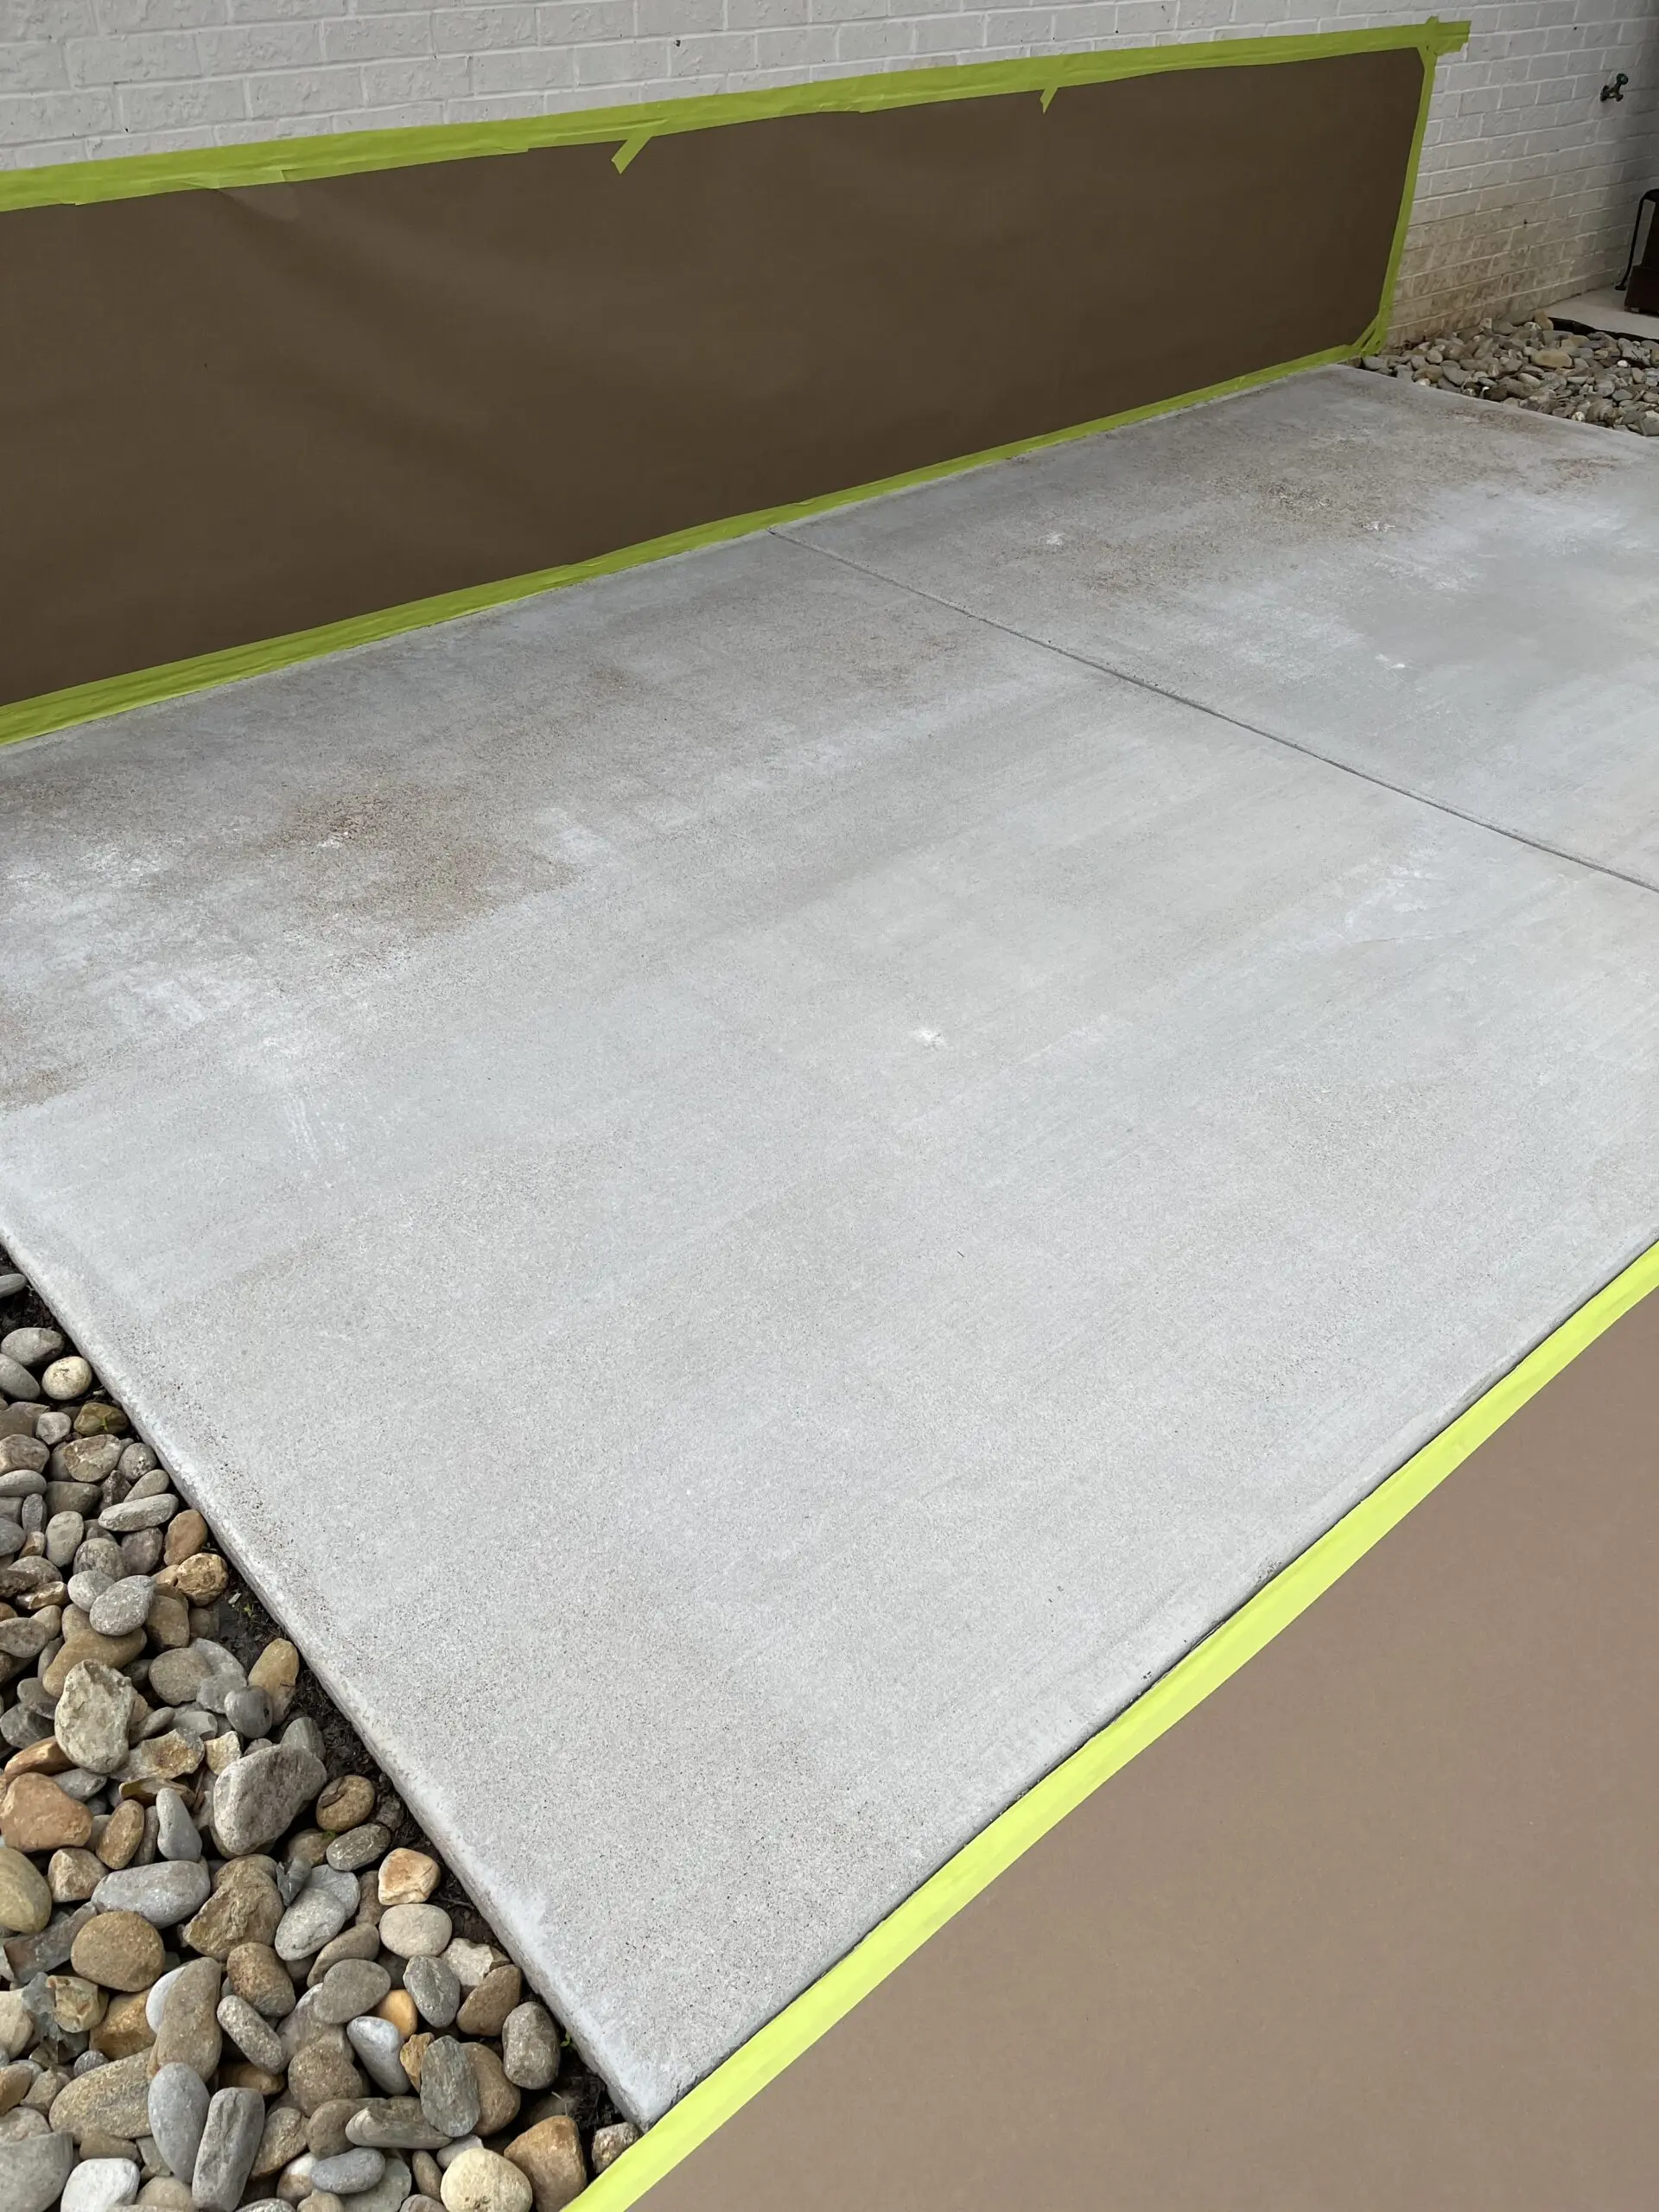
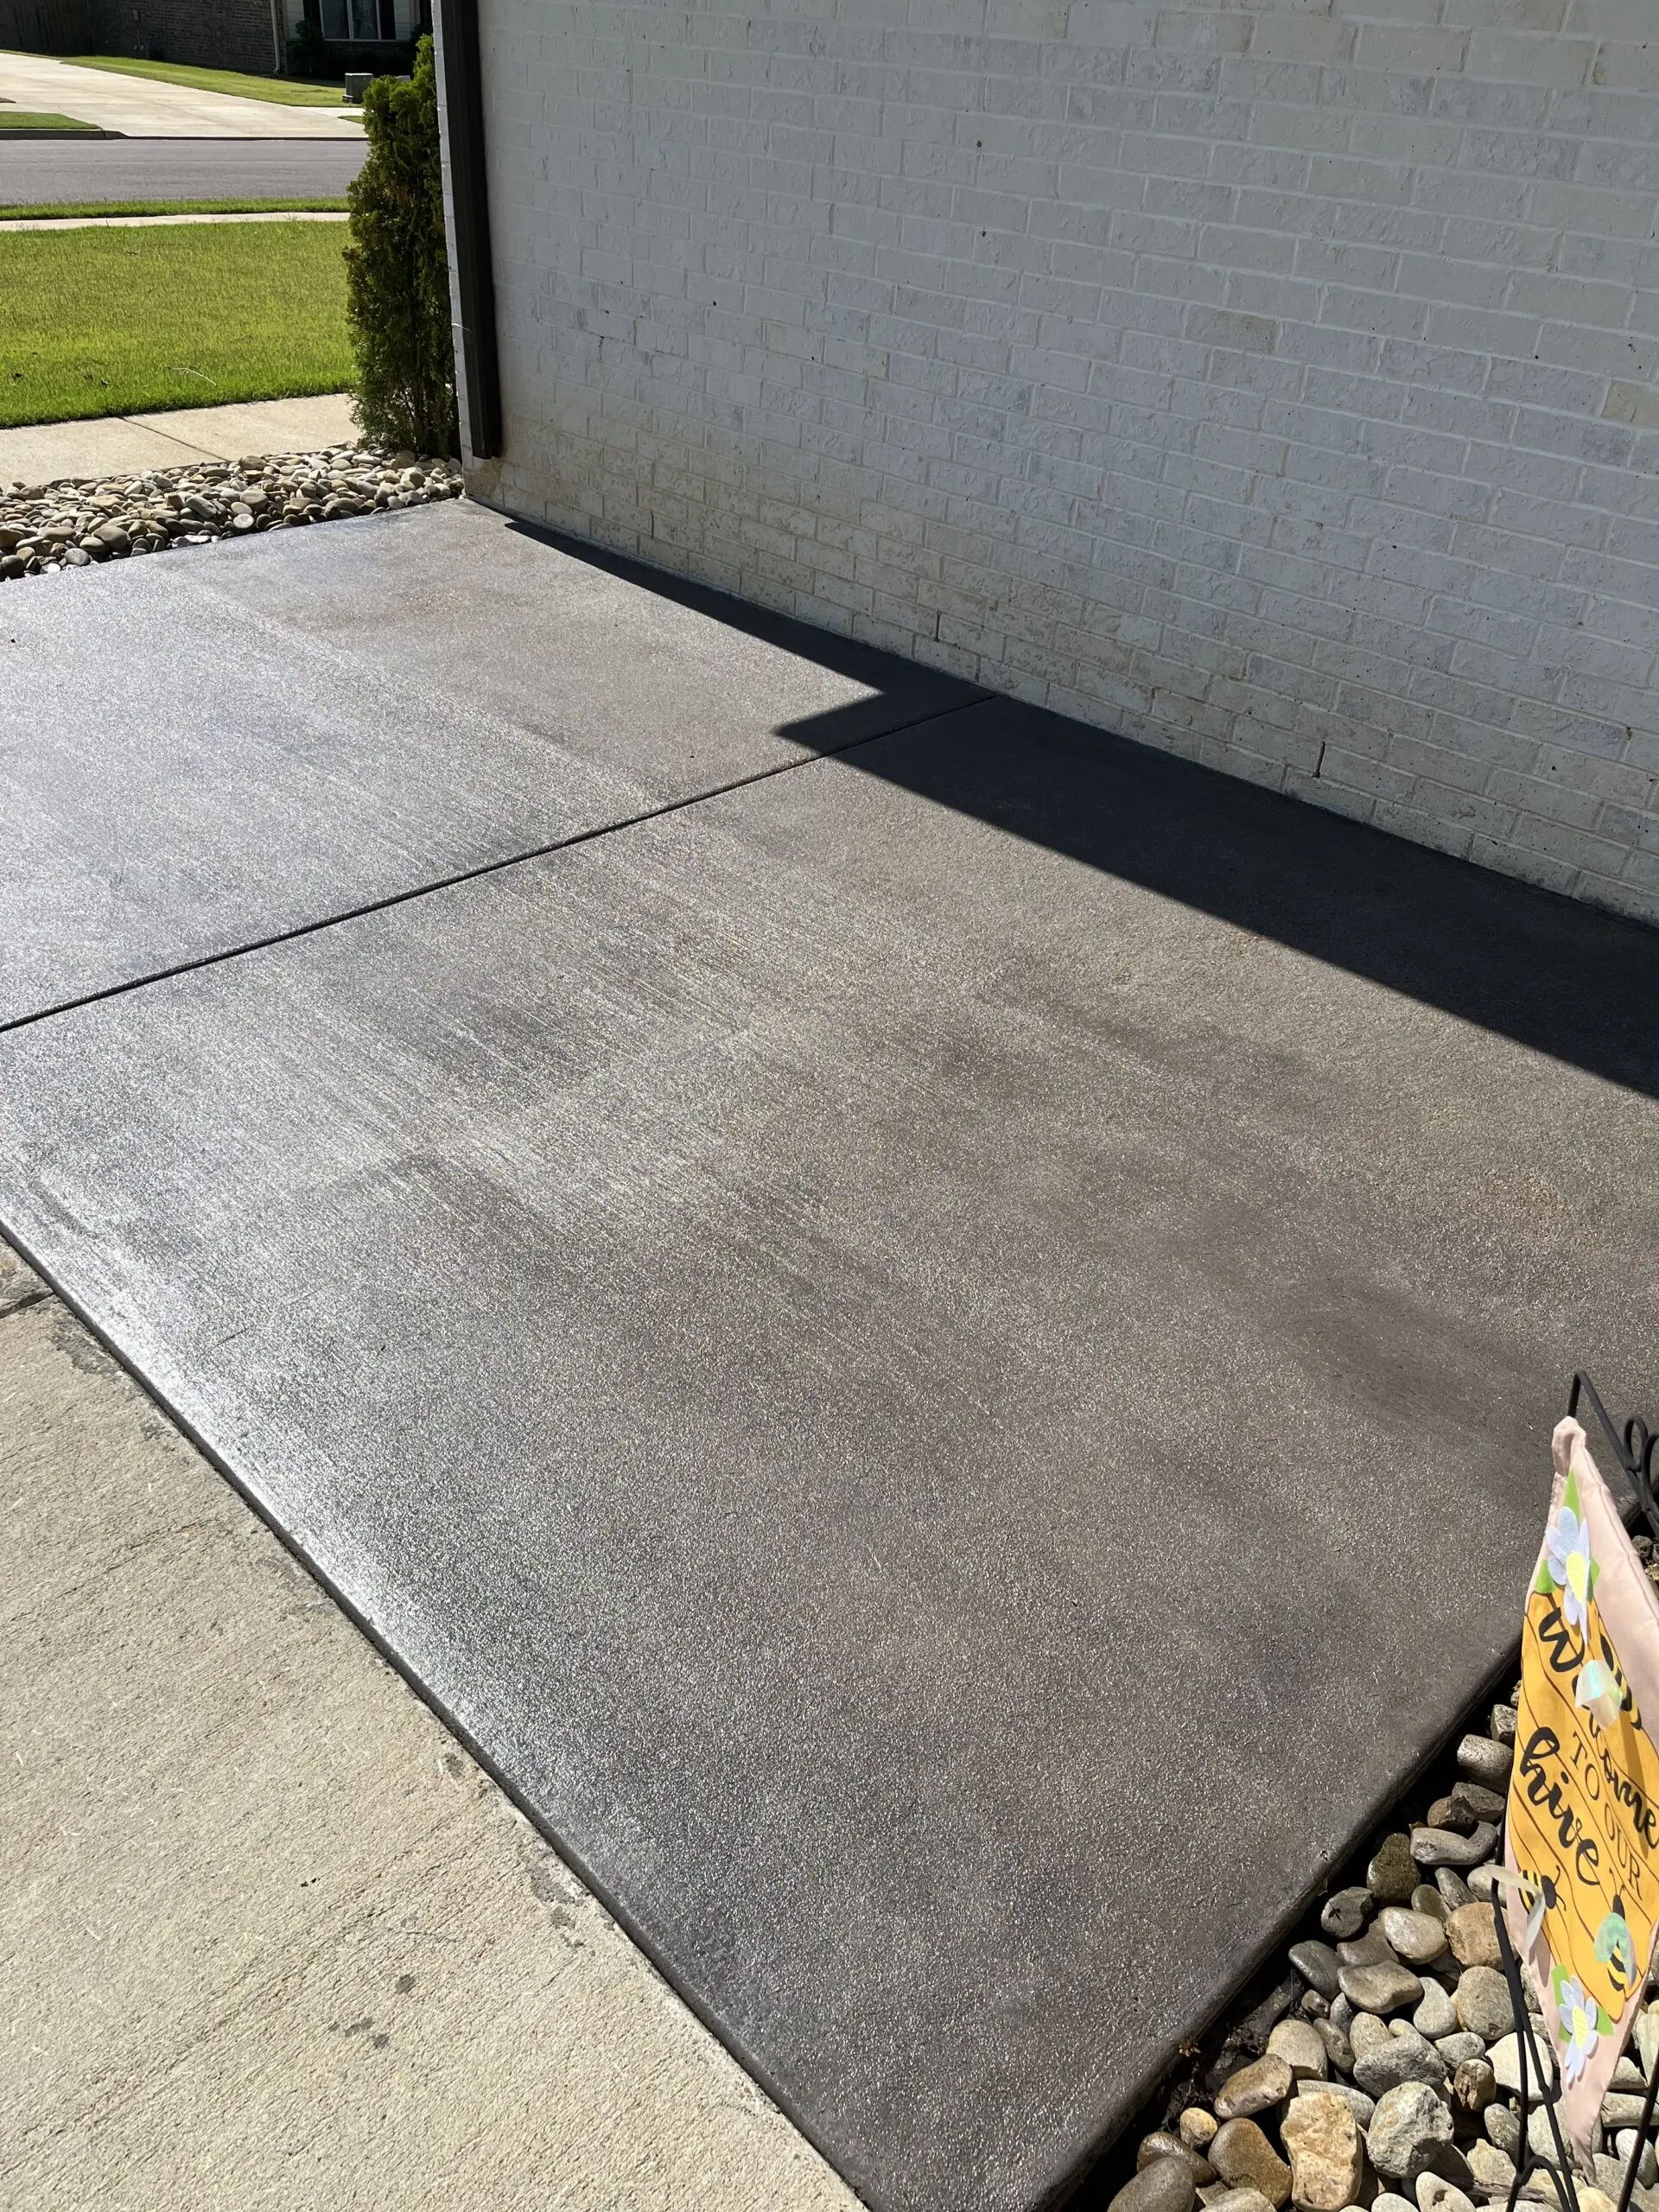
Efficient Makeover: Broomed Concrete Patio Revamp
In this project, our DIYer rejuvenated a front patio made of broomed concrete using our Charcoal Antiquing™ Stain and EasySeal™ Satin DIY Kit. The pro-tip for this job: Spray in 100 sq ft increments to ensure efficient usage of stain and maintain proper mixing within the sprayer. An easy and effective way to transform your outdoor space.
Project Info:
- Project Completed In: 7 day(s)
- Estimate of Square Footage: 500 sq. ft.
- Project Description:
I created my own pavers using a mold and colored cement. However the cement color wasn’t entirely consistent or rich in color, so I decided to acid stain the blocks. - Personal Tips:
Spray the entire area with light color, go back and paint brush the dark areas. - Direct Colors Products Used:
Desert Amber, coffee brown, solvent based satin sealer.


