The Beauty of Crimson Red Stained Concrete: A Gallery of DIY Projects
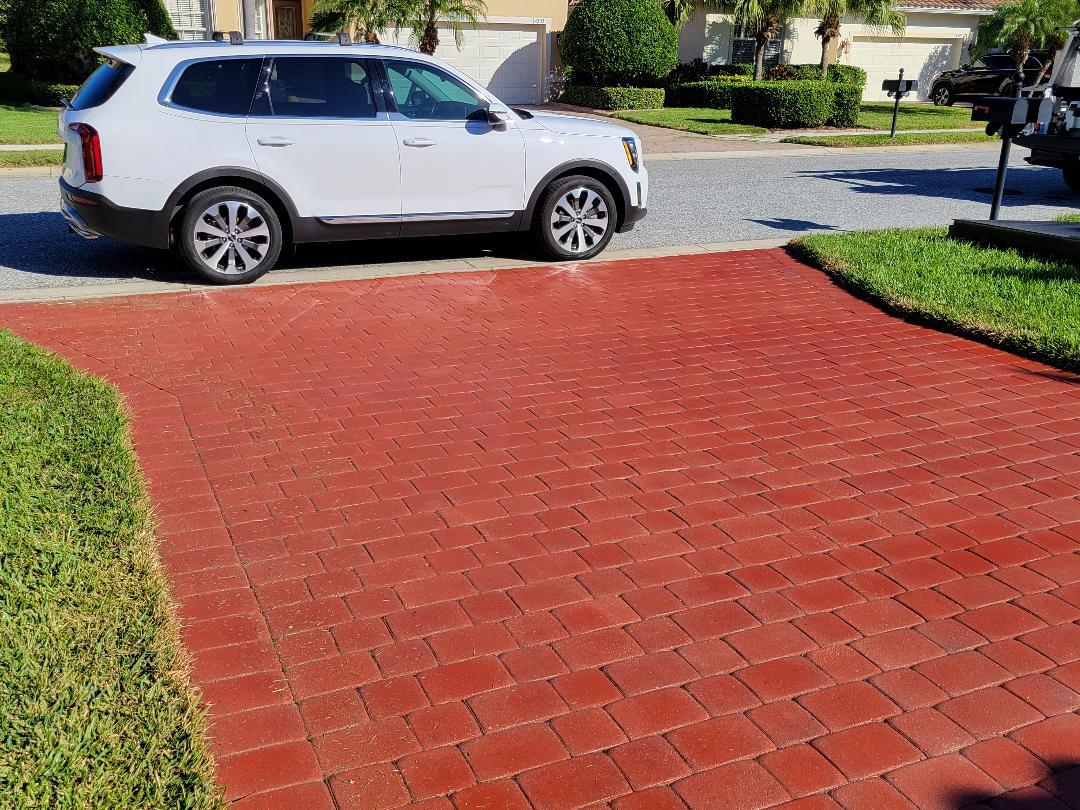
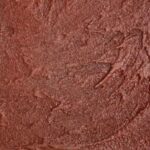
Crimson red stained concrete is a unique and versatile option for adding character and depth to your concrete surfaces. The rich, warm tones of crimson red can create a striking contrast against any color scheme, and with various application techniques, the possibilities are endless. In this gallery, we’ve compiled a collection of inspiring red stained concrete projects to showcase the beauty and potential of this distinctive design element. From patios to driveways, pool decks, and more, you’ll find examples of different application techniques on various concrete finishes. Get ready to be inspired by the bold and captivating charm of crimson red stained concrete.
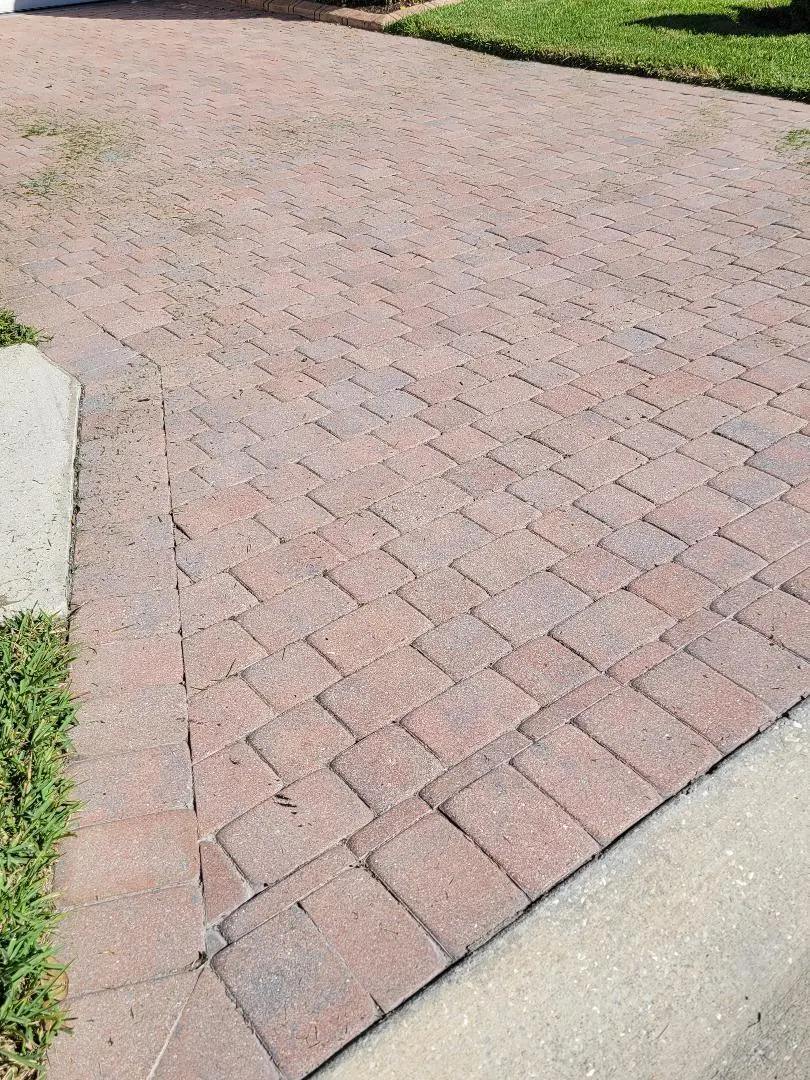
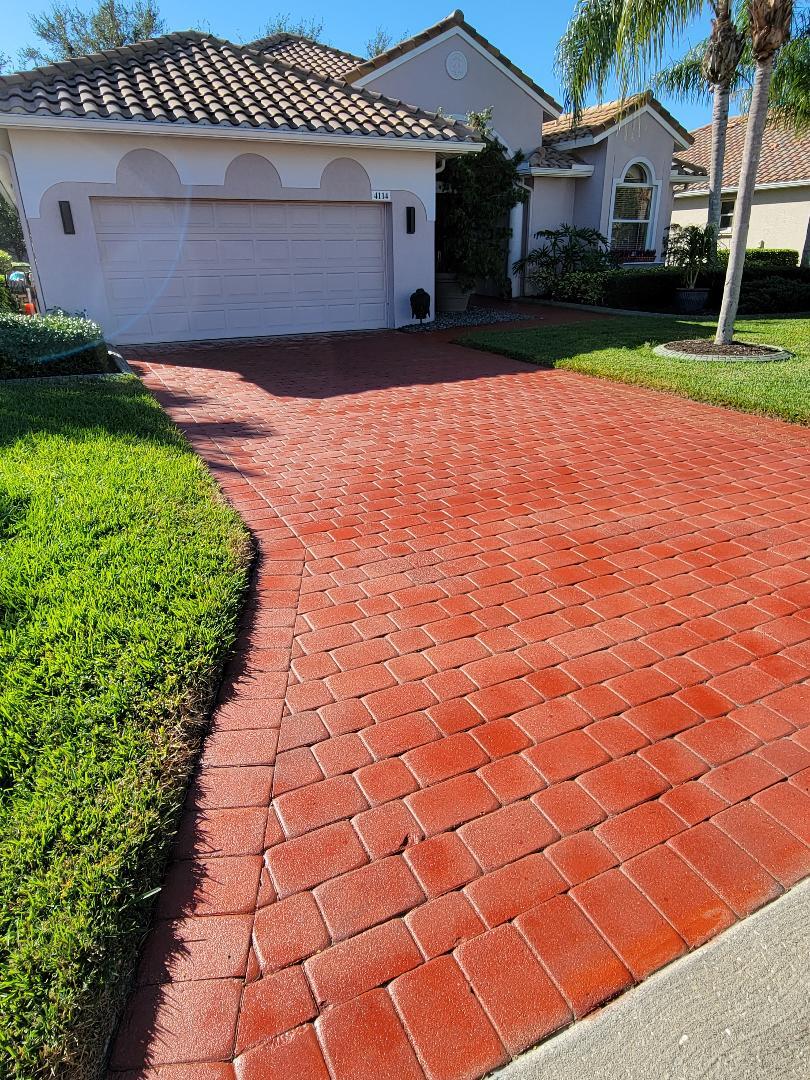
Looking for more inspiration to elevate the look of your driveway? Check out our Stained Concrete Driveway gallery, complete with a how-to guide and expert staining tips. Discover the endless possibilities of stained concrete and transform your driveway into a stunning and unique design element.
Designing a Unique Paver Border: Enhancing A Concrete Paver Patio with Two Stained Colors
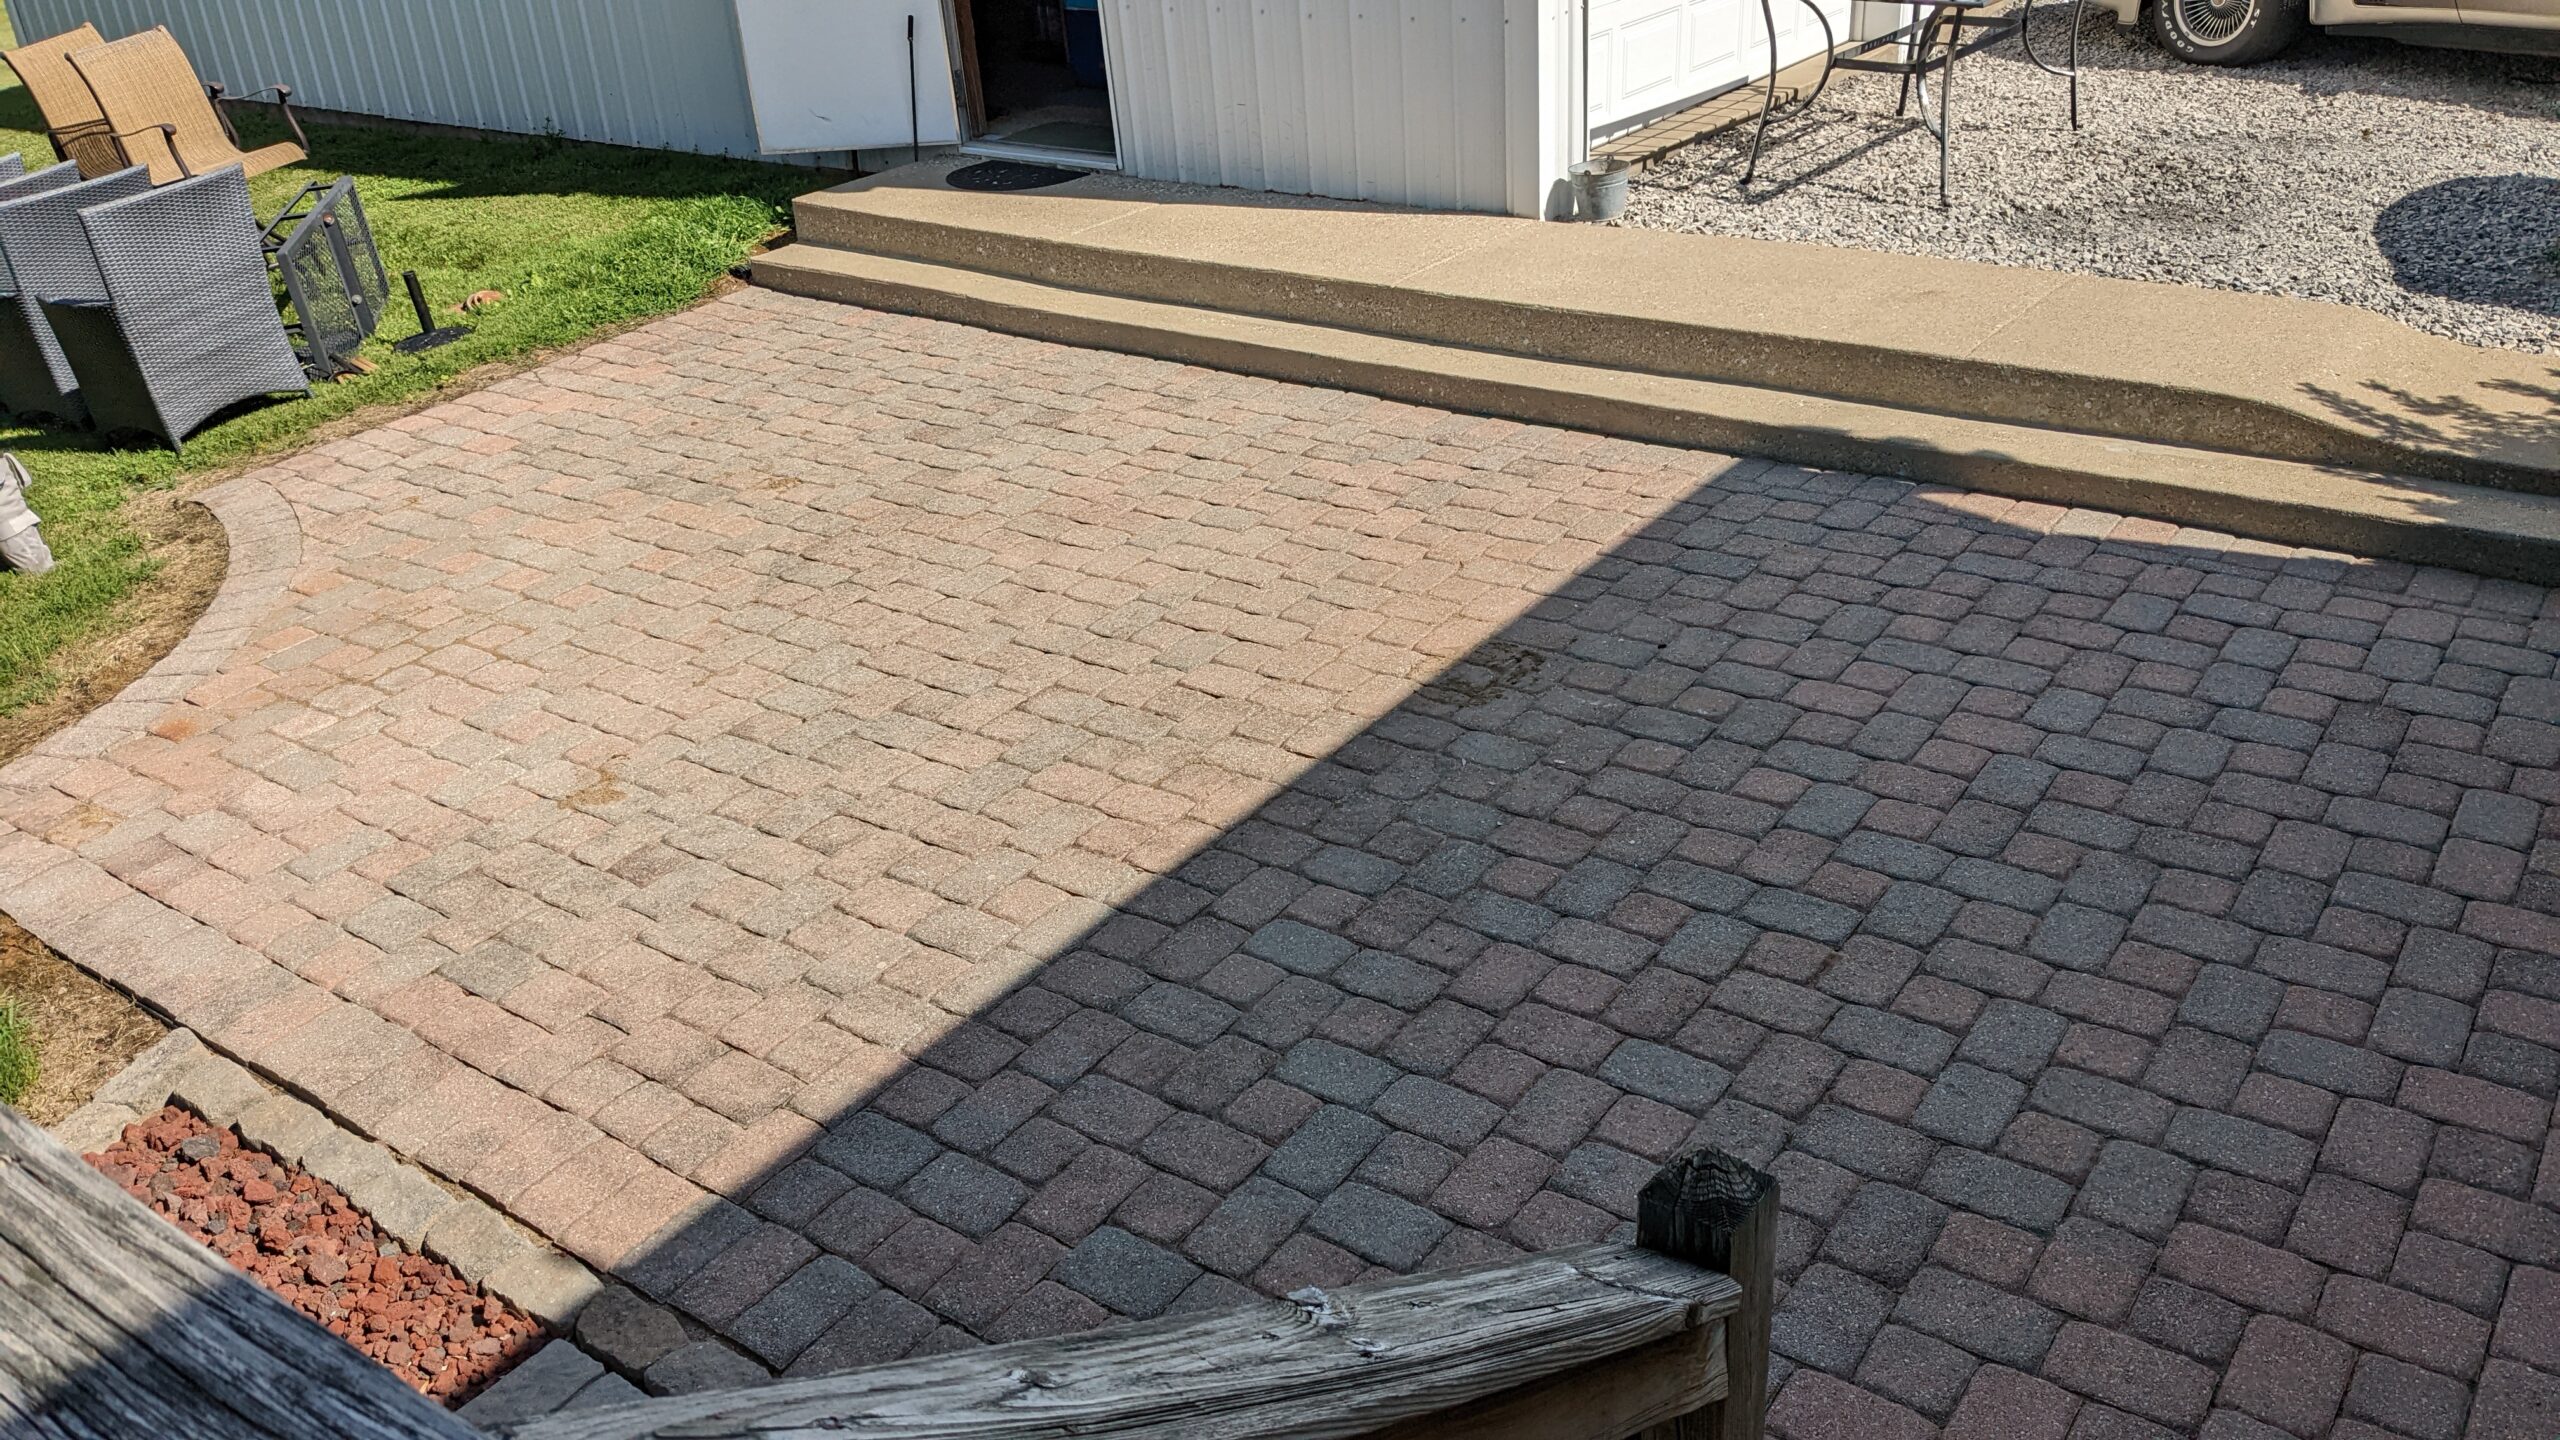
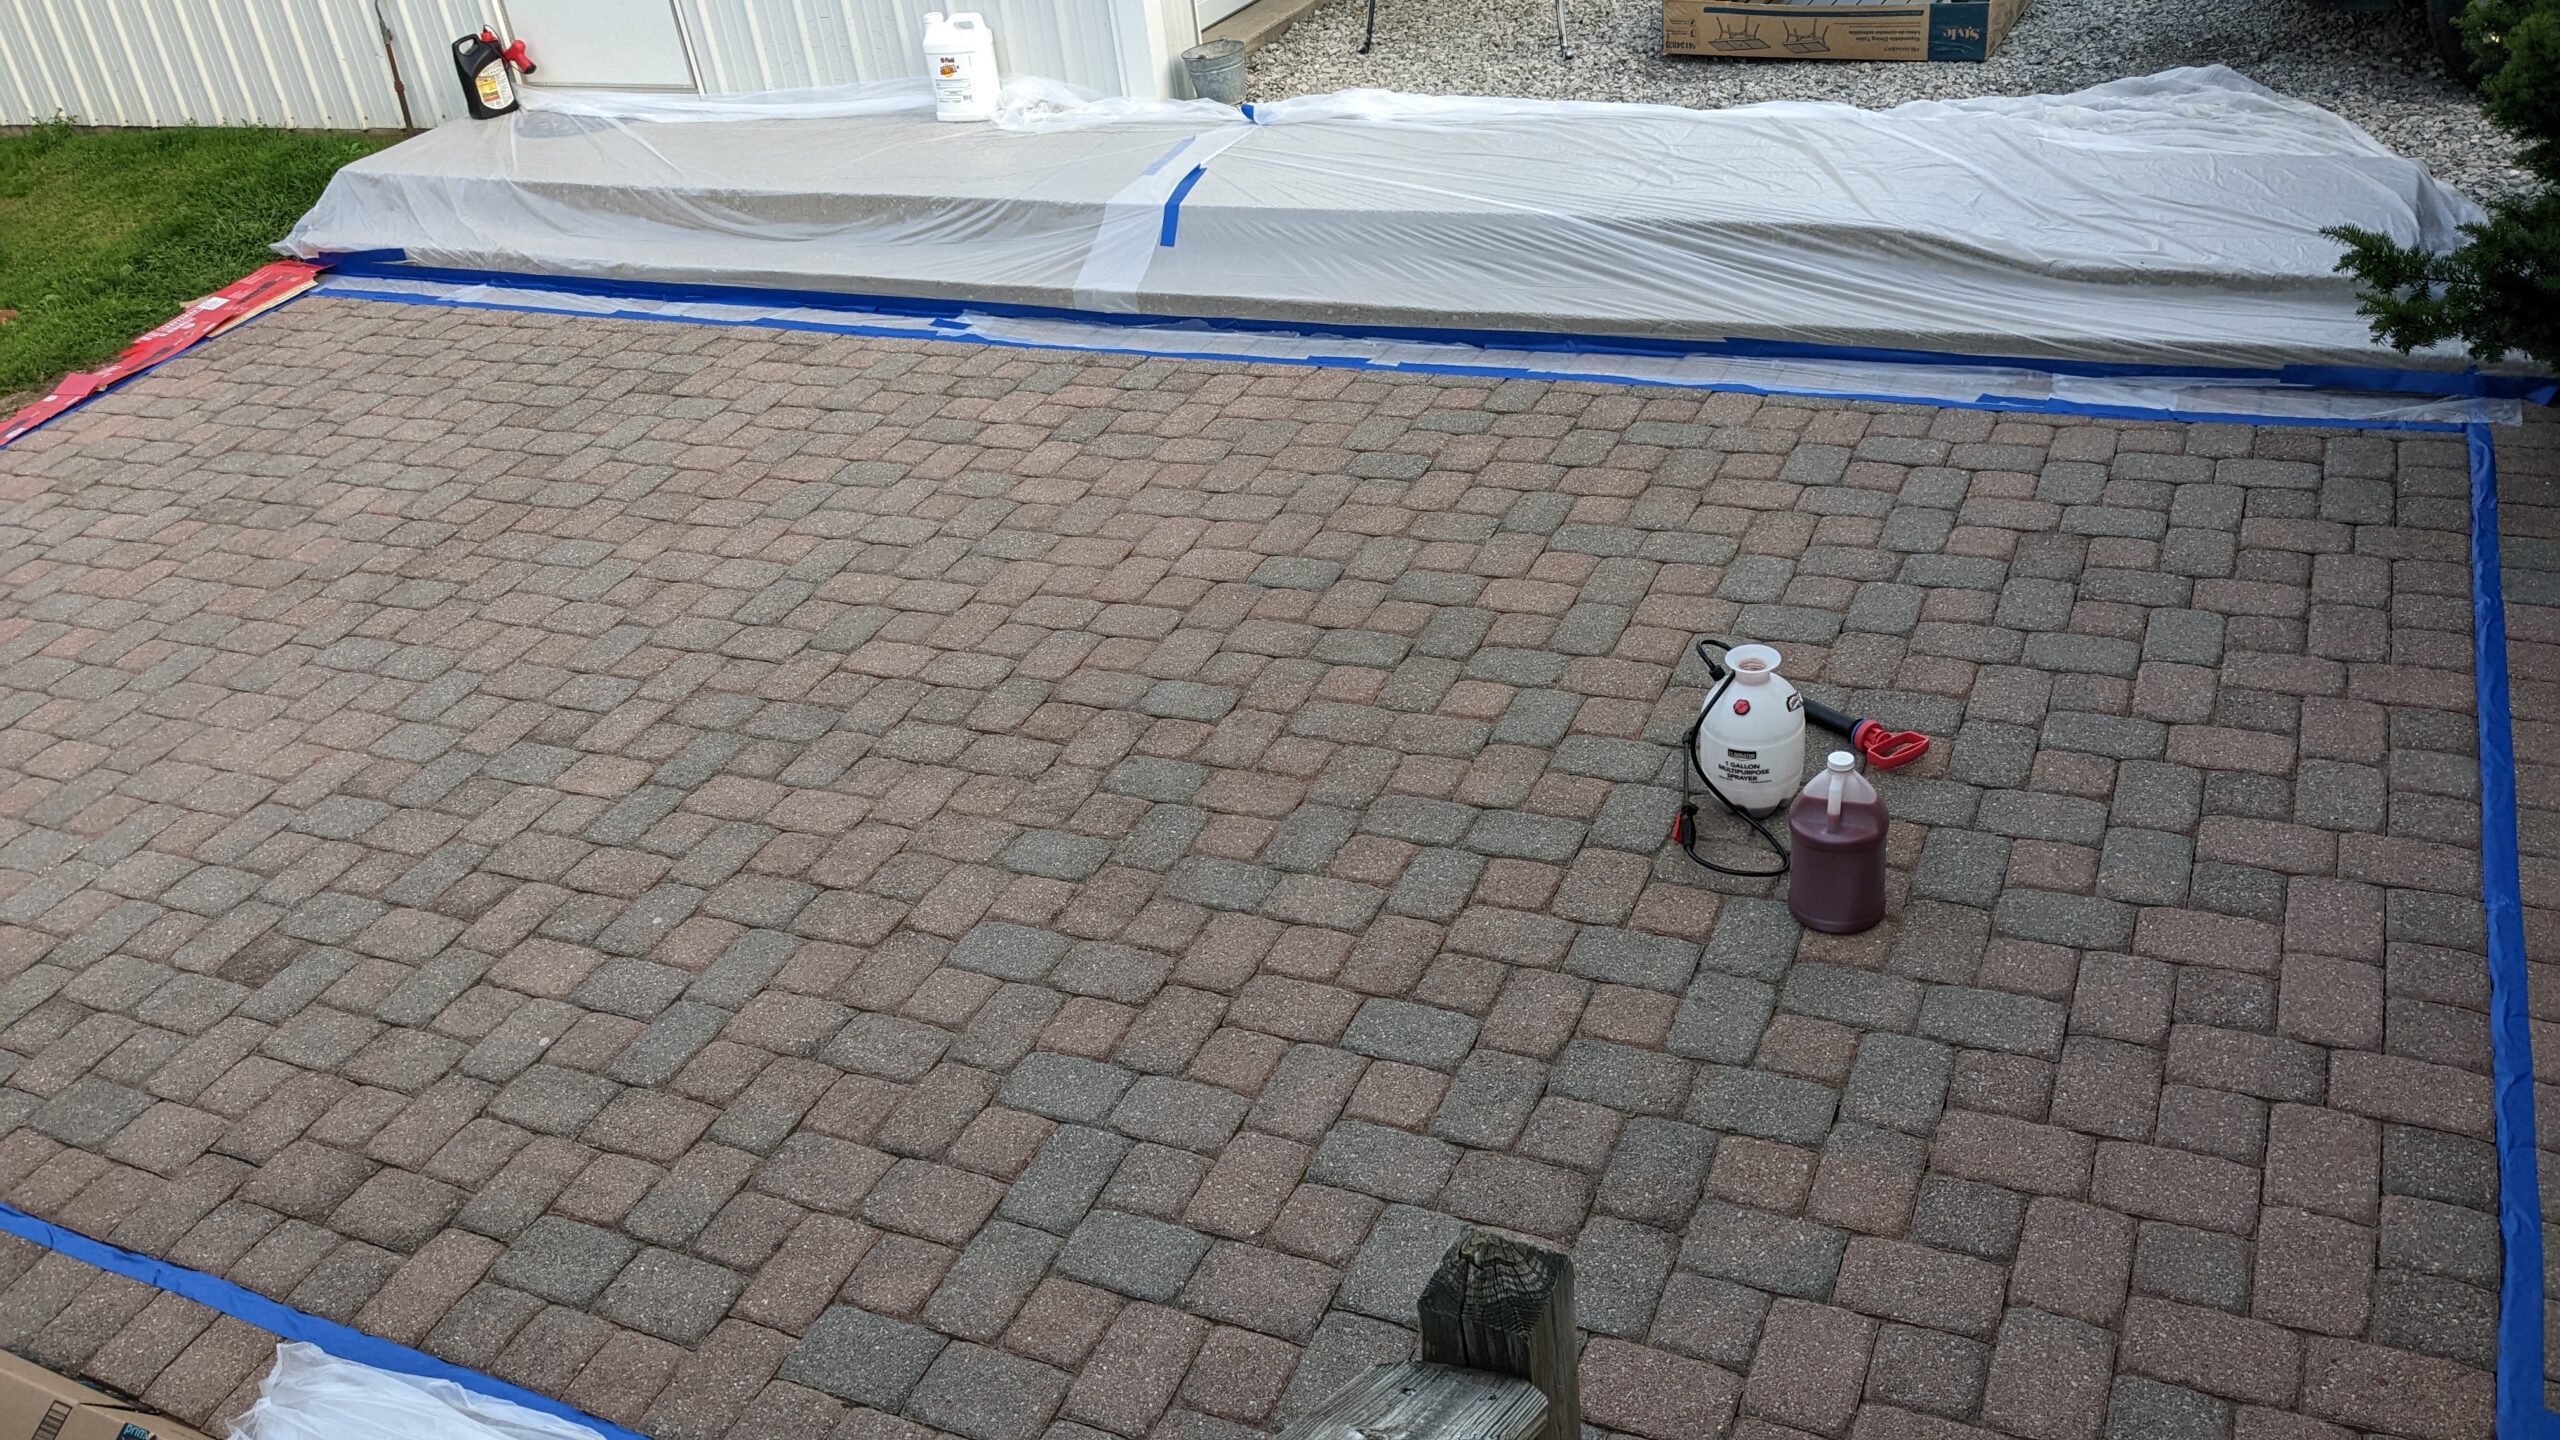
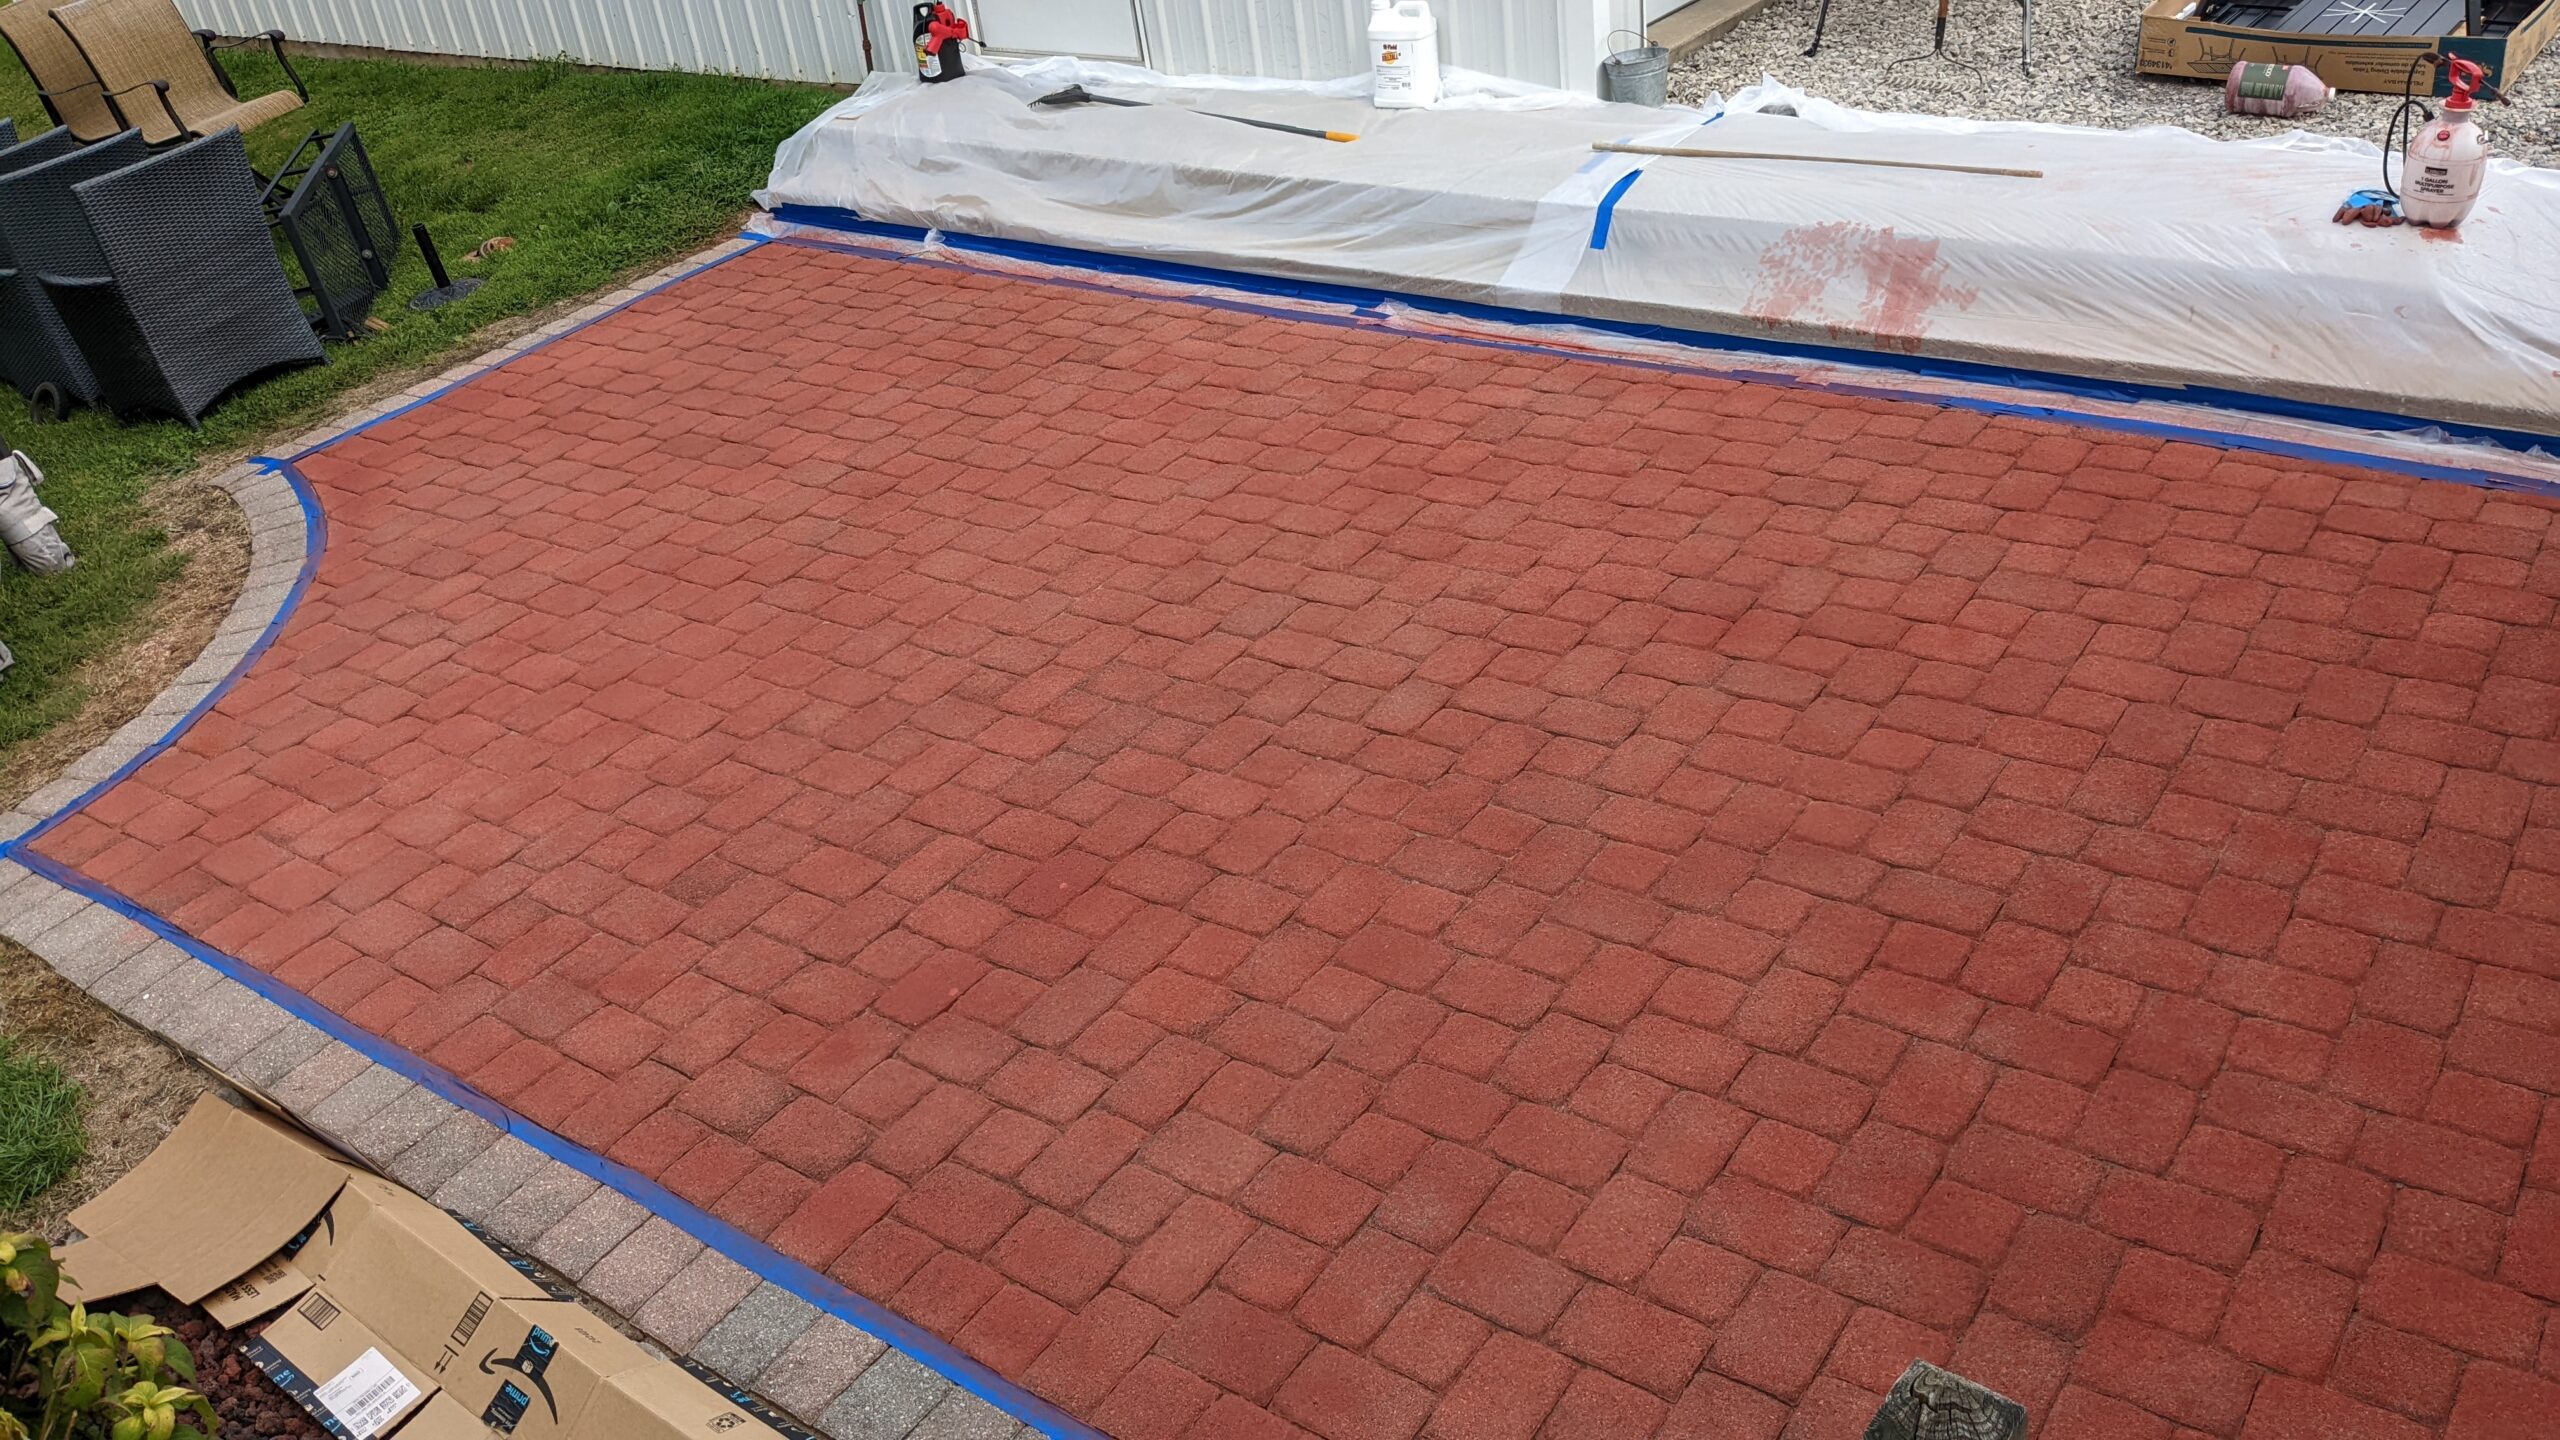
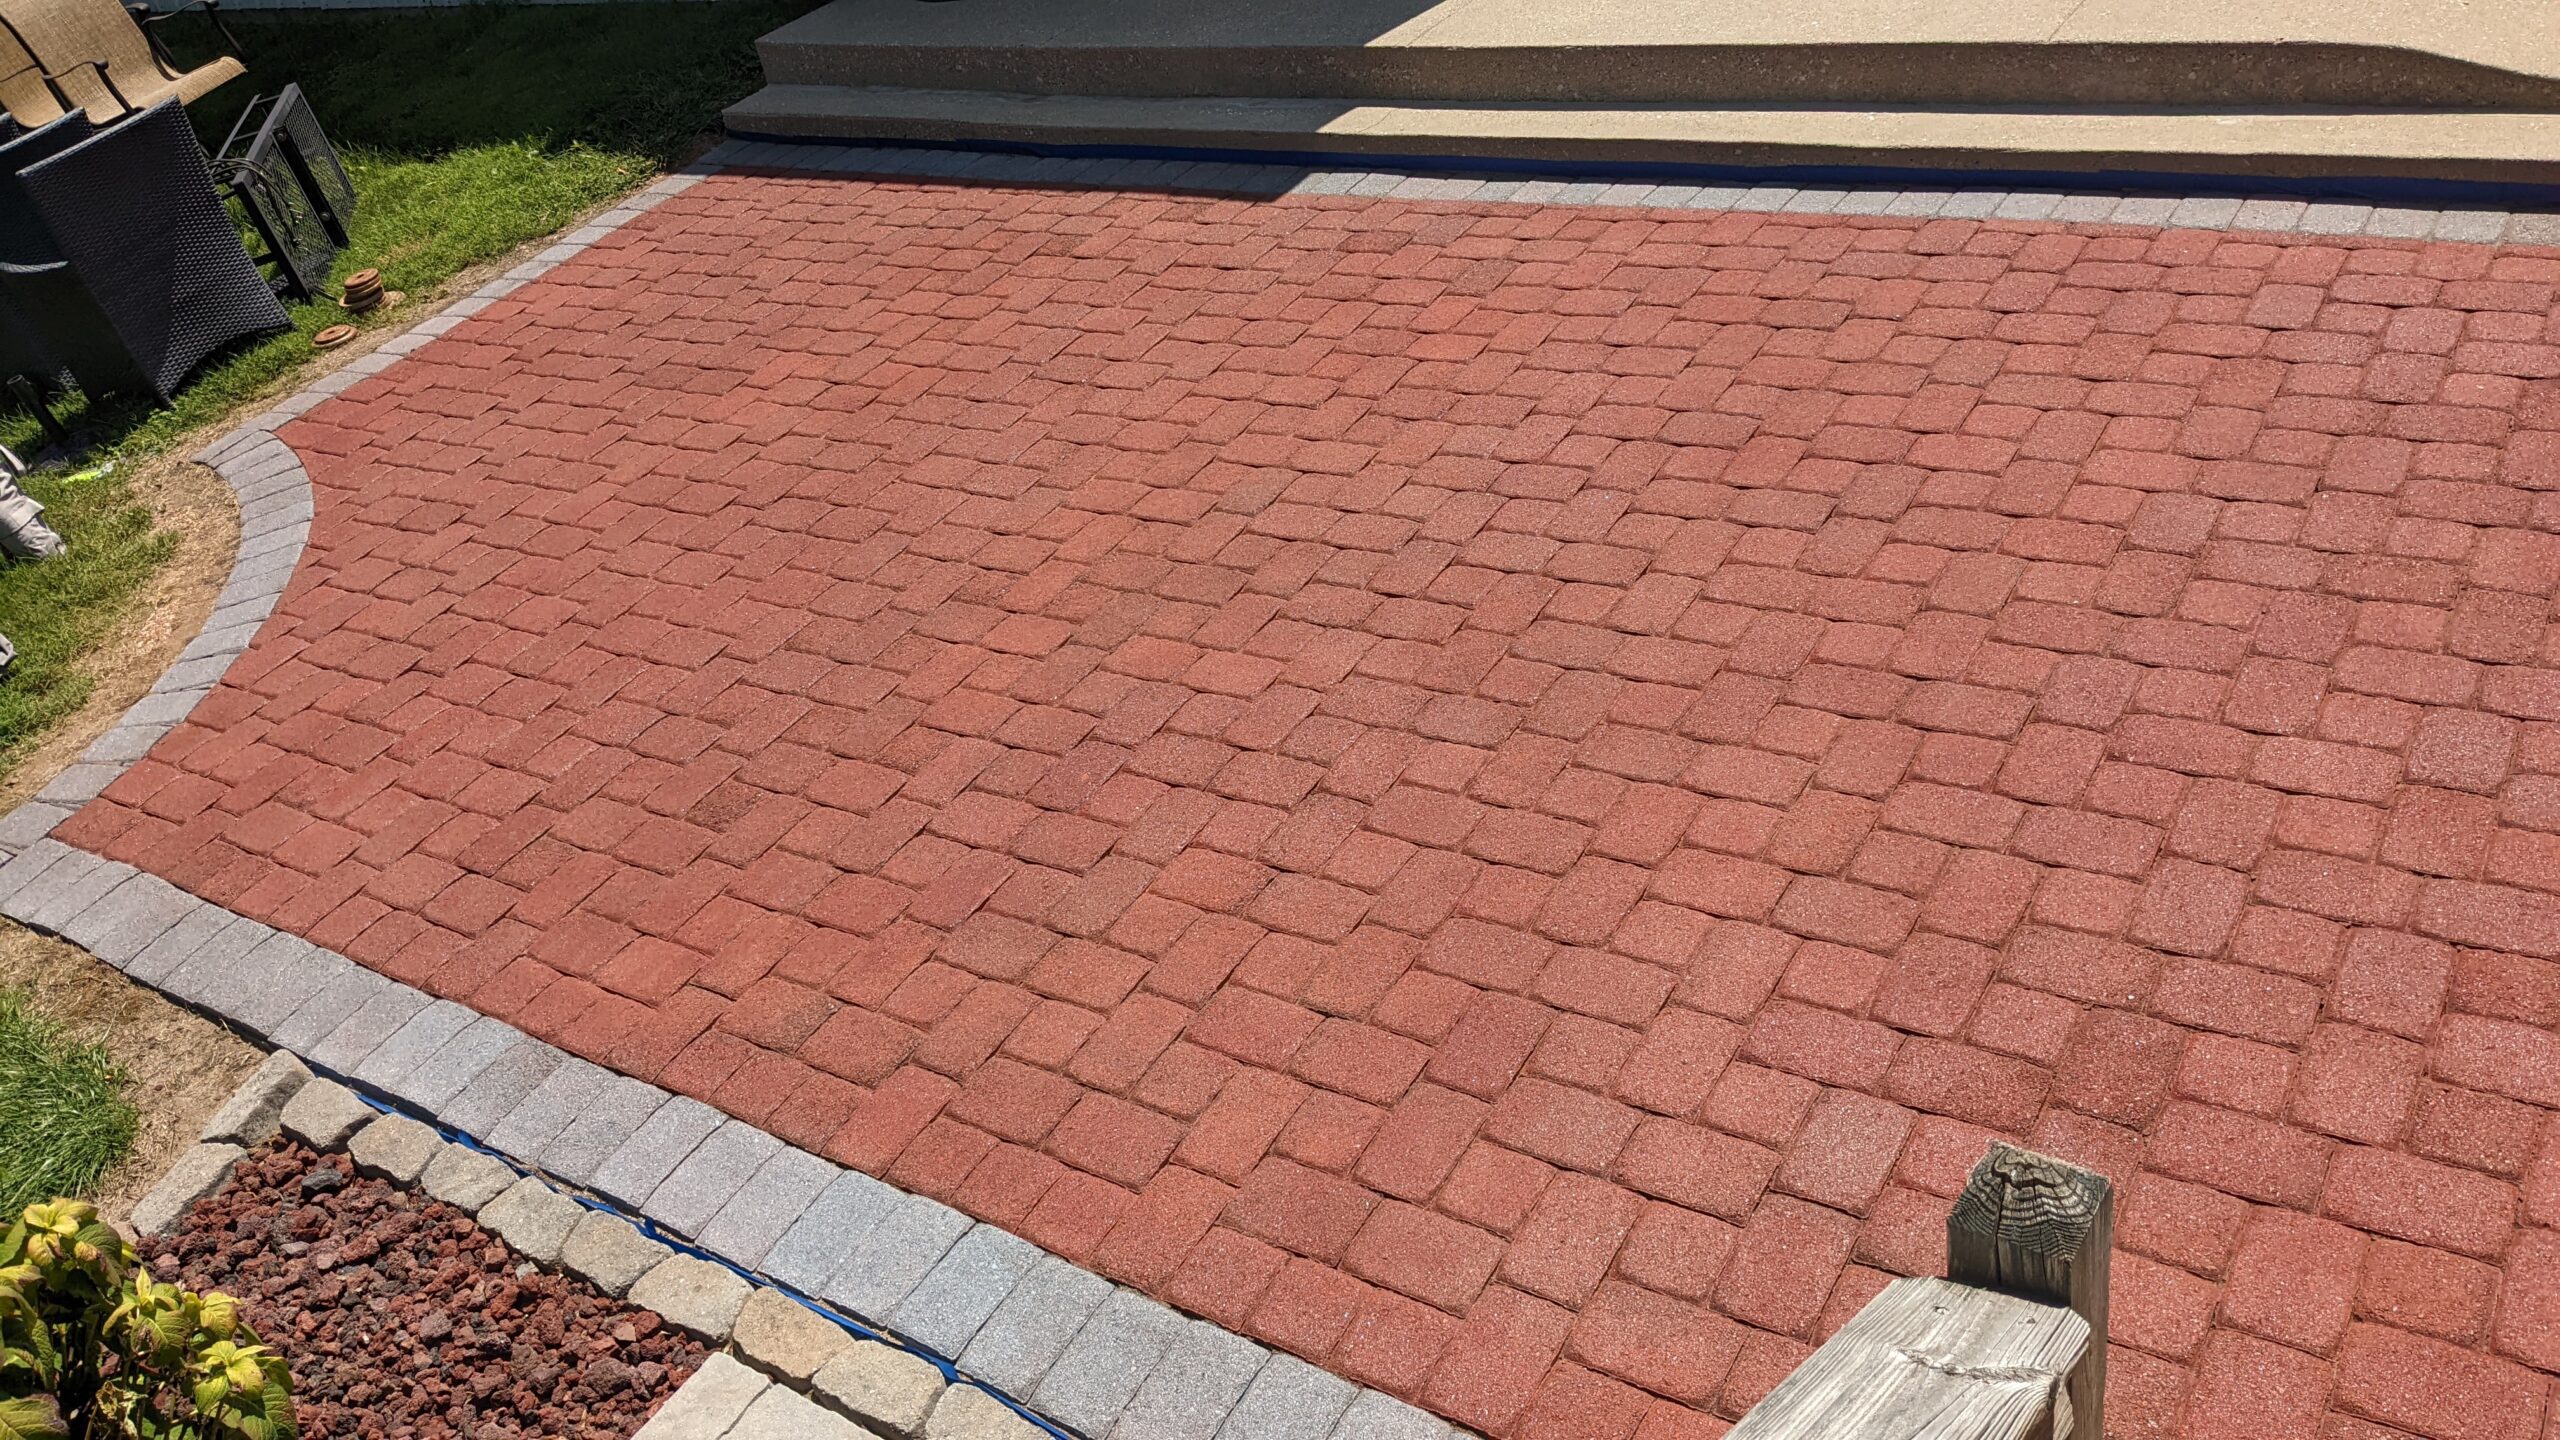
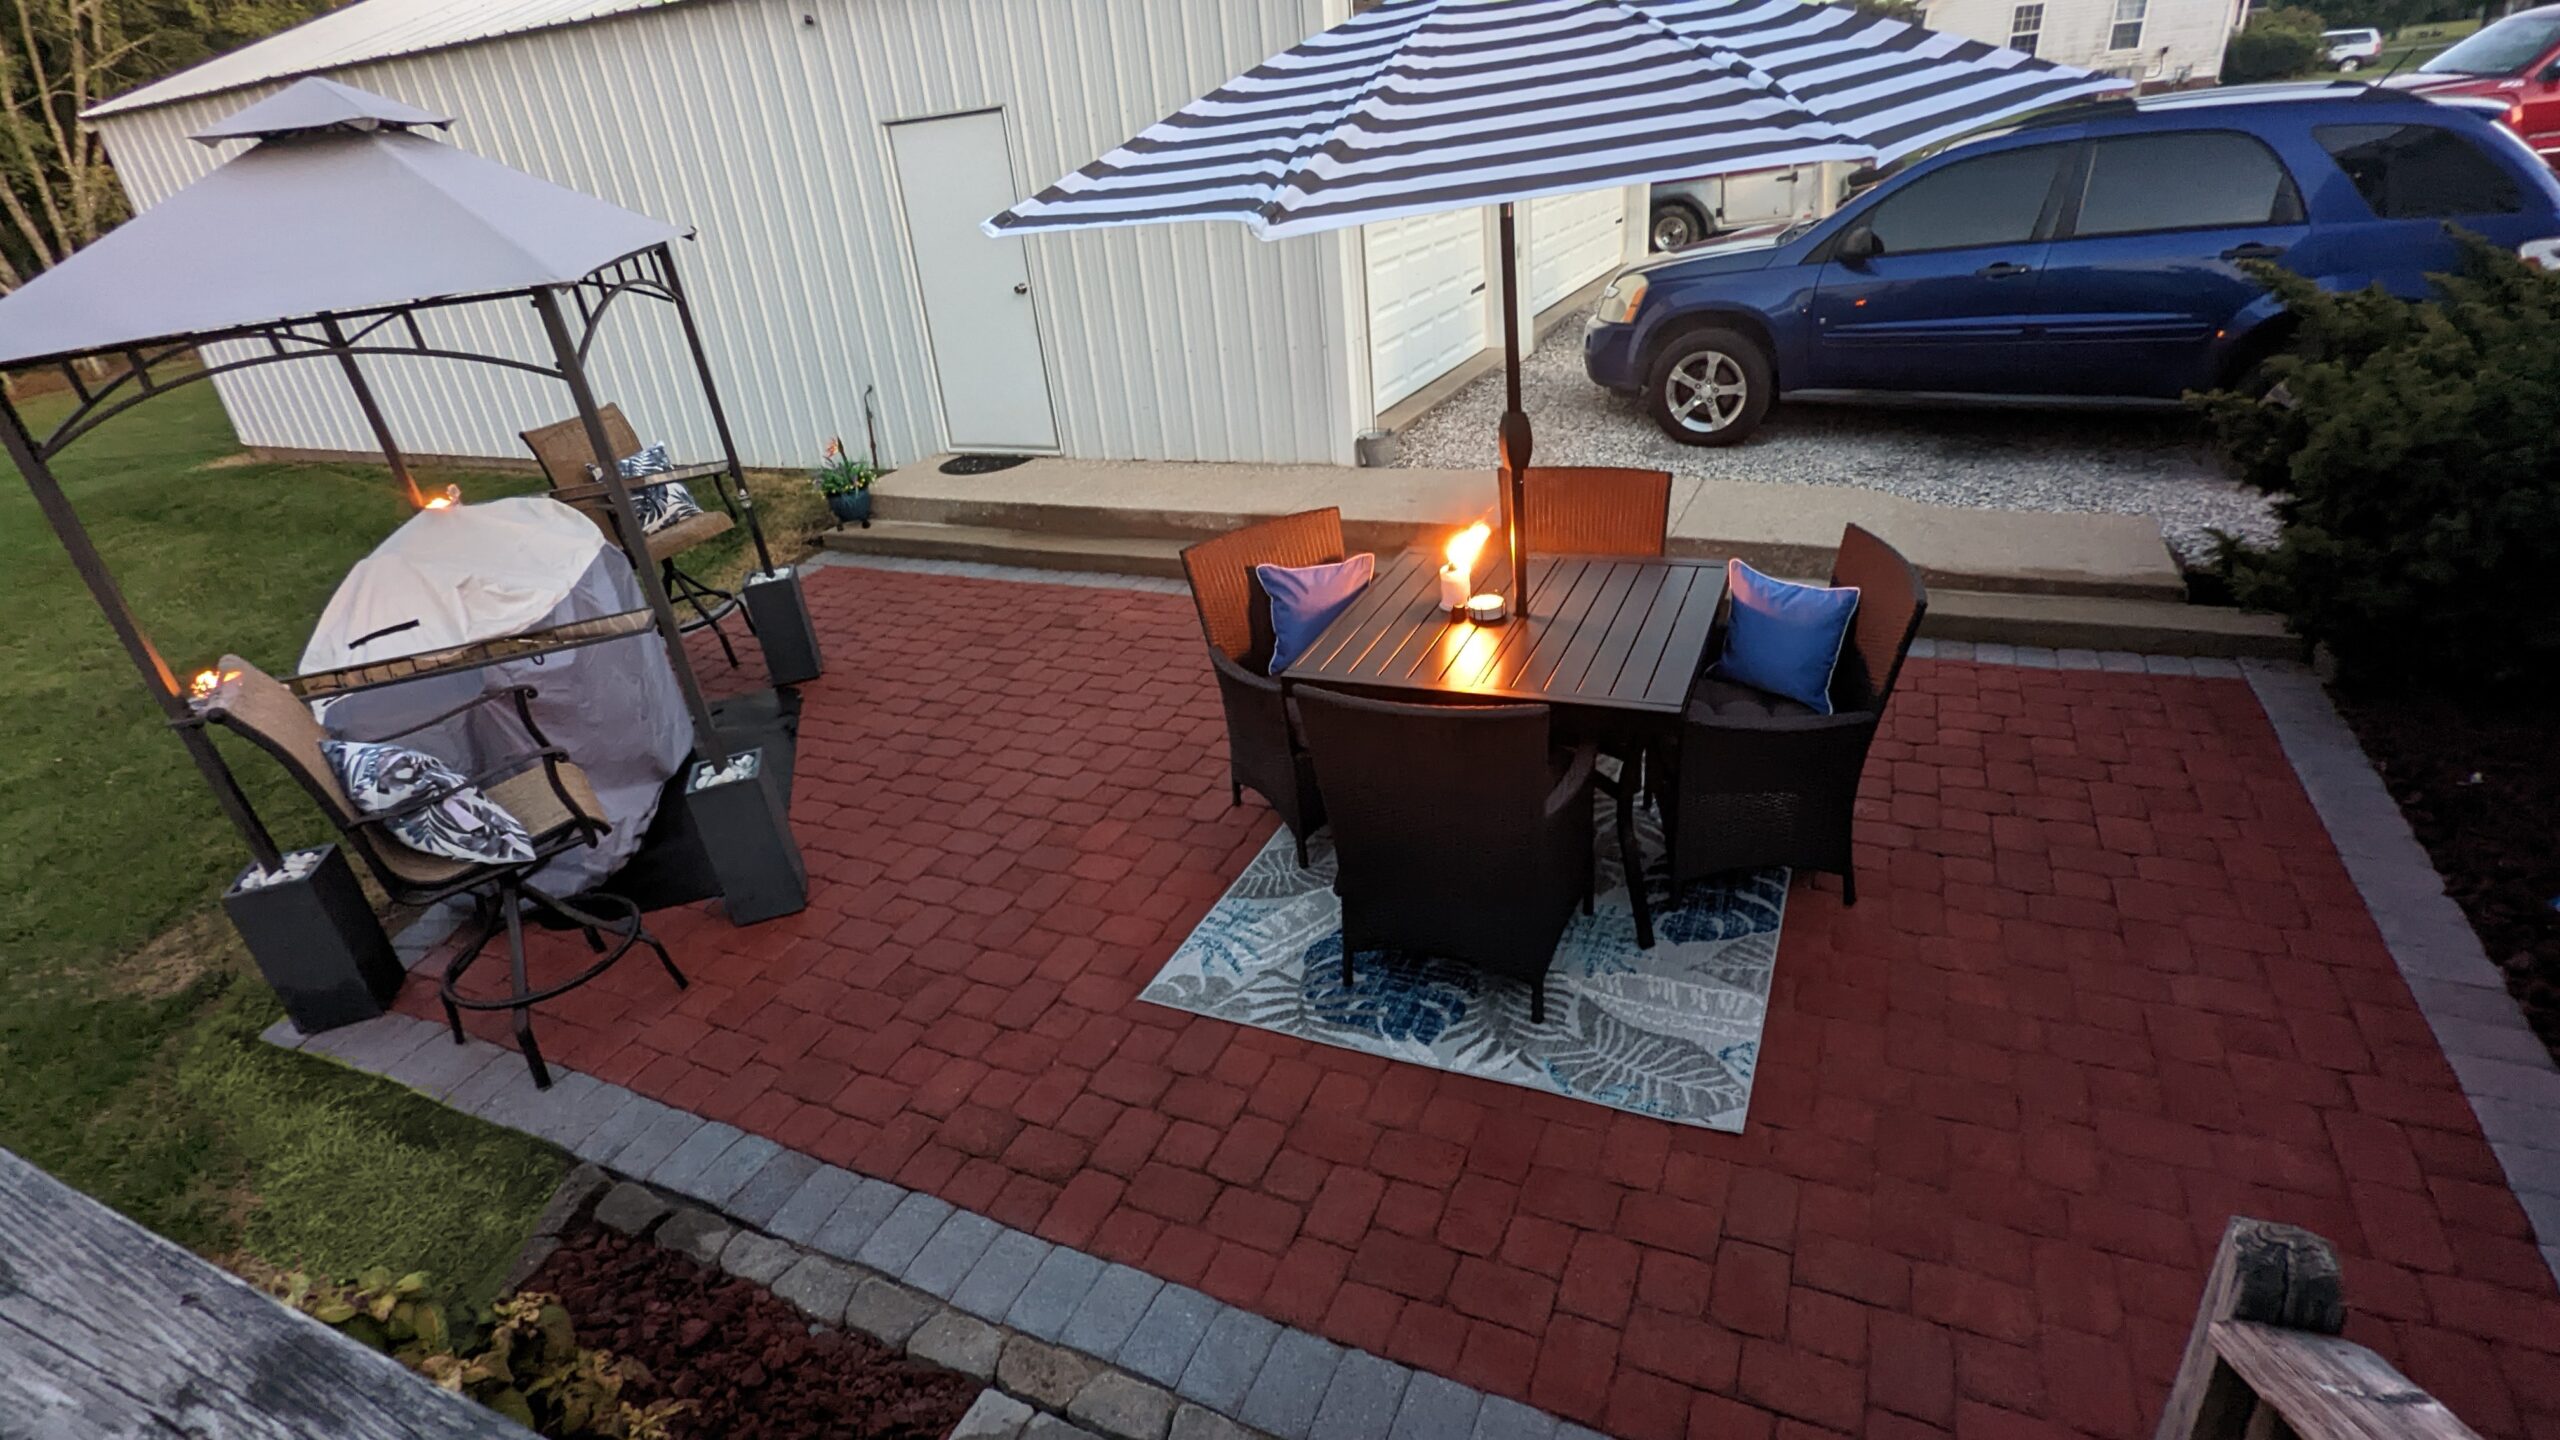
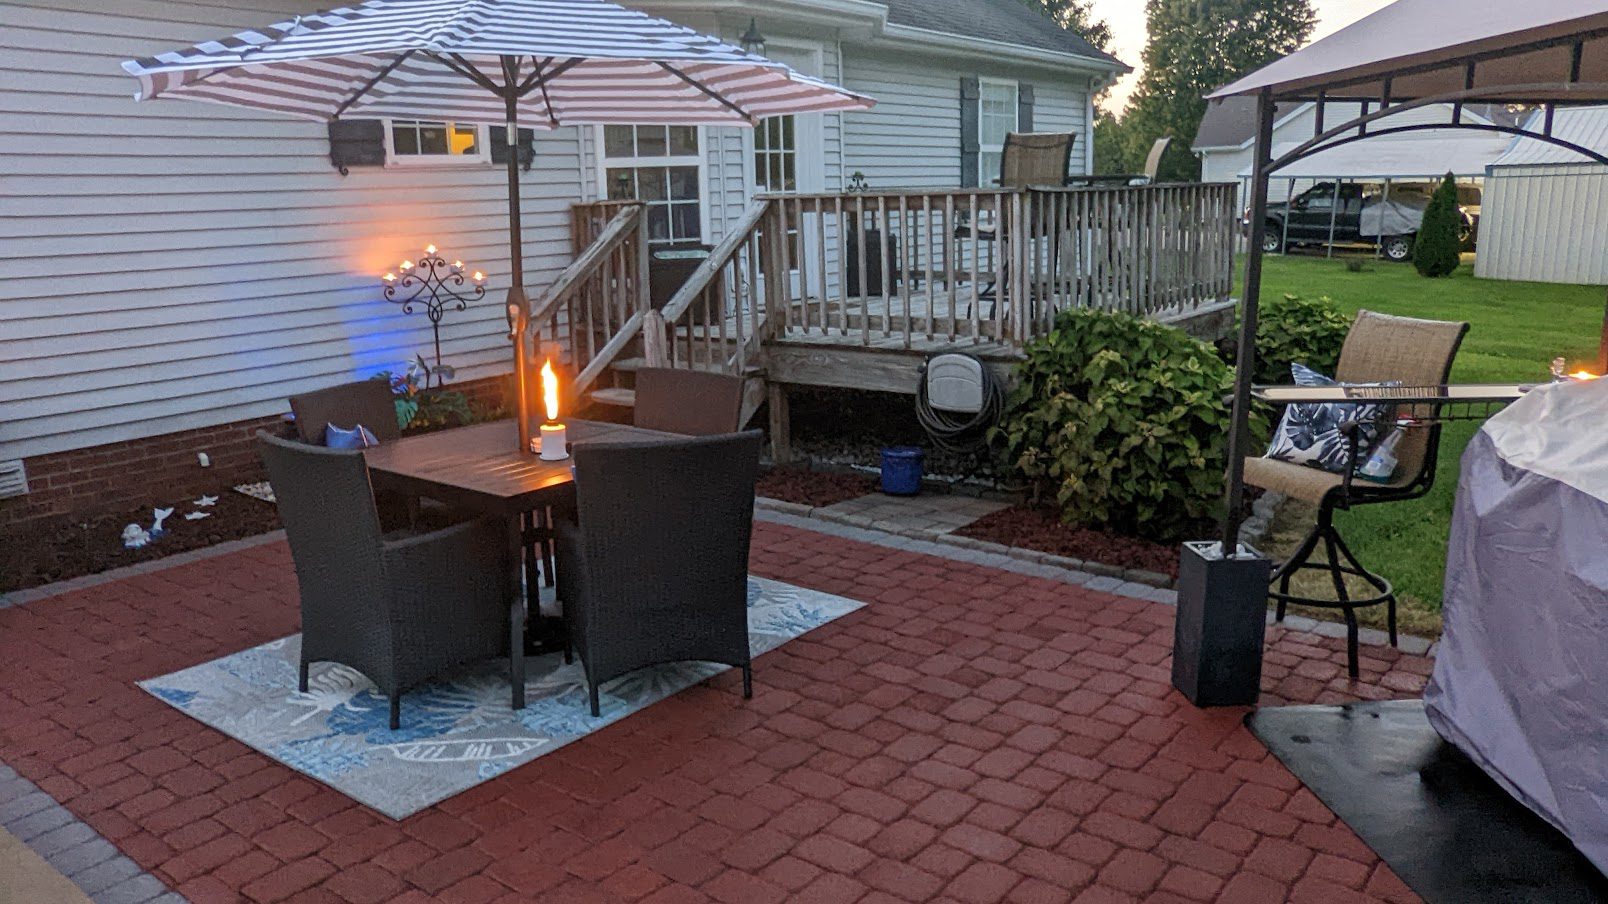
Give your concrete paver patio a unique paver border design using two contrasting Portico™ Paver Stain colors: crimson and eagle gray. Our customer created a visually striking contrast, giving the patio an elegant touch while increasing its durability. This project is perfect for homeowners looking to add visual interest to their patio, with a little work and inspiration, you can make your outdoor space beautiful and inviting.
Project Info:
-
- Project Completed In: 5 day(s)
- Estimate of Square Footage: 315 sq. ft.
- Project Description:
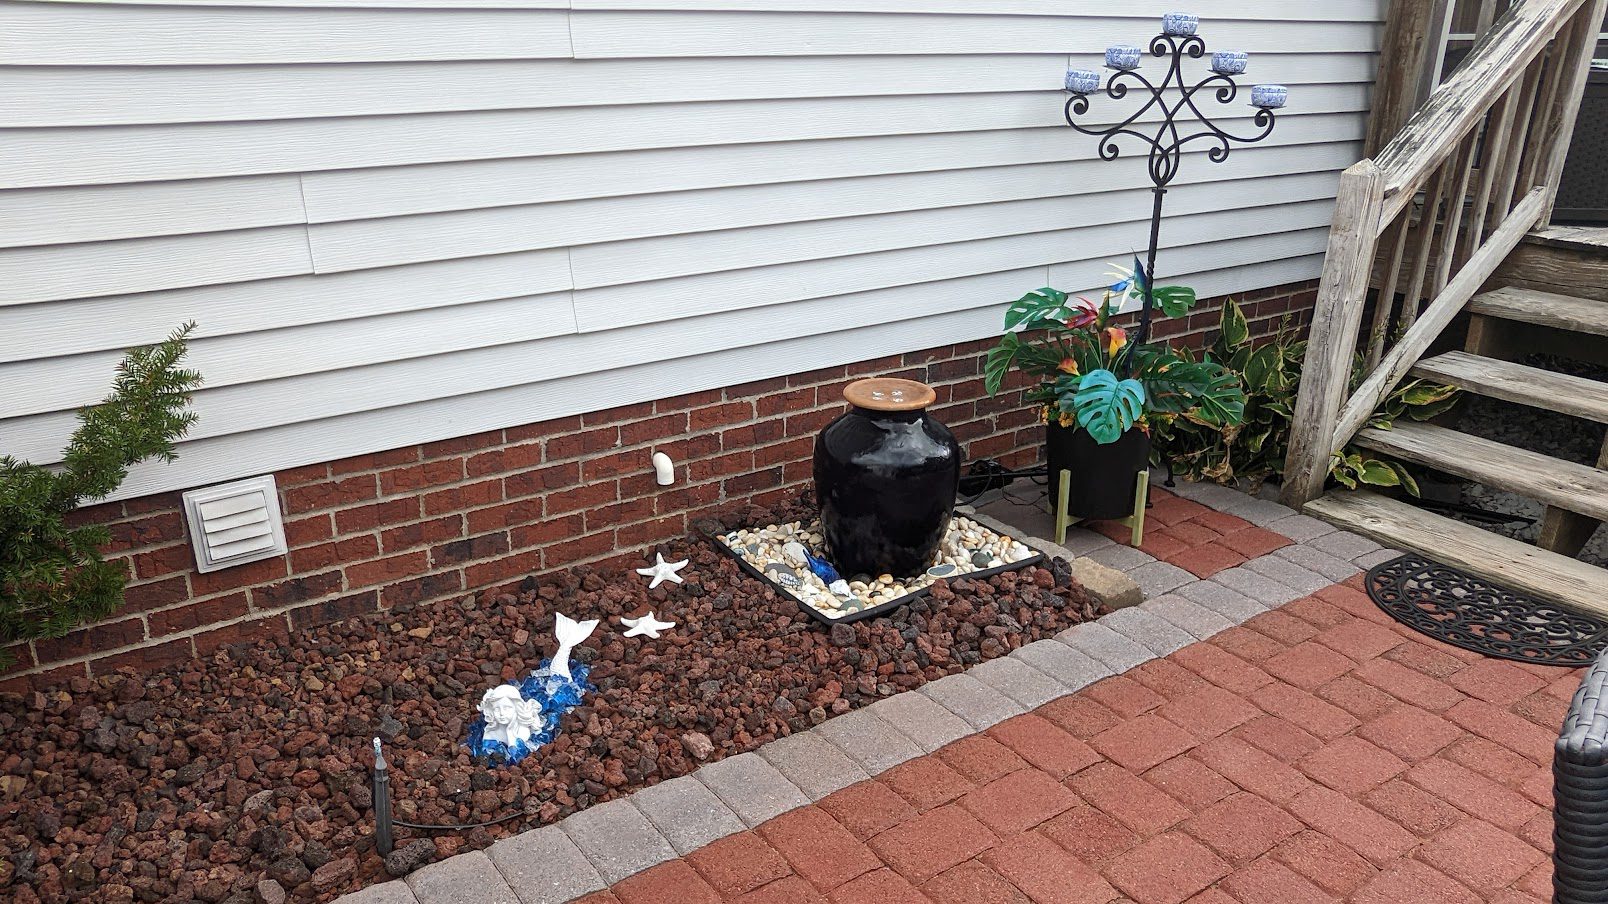
Our paver patio is over 15 years old, had never been sealed to our knowledge, and the mixed color stones had faded considerably. Plus, the moss and weeds had started an open rebellion.I wanted to bring new life to the patio, and I wanted it to compliment the landscaping (gray edging stones with red lava rock) that was last summer’s project.Between weeds and weather, I didn’t want the patio to become damaged enough that it would require being pulled up and relaid.So, I began doing my pre-project research. Since, I typically don’t have the time or the budget to make major mistakes; I make sure to do my homework on everything from products to application. Everything that I could find at my local home improvement stores had awful reviews. Frankly. I was surprised they were still selling most of the products with the horror stories I read. And then, (cue the magic wand sound) I found Direct Colors Portico Stain product line!I LOVE how it has turned out. It looks like we had a new patio installed. Here is a link to an album with all my project photos and notes. Feel free to use and/or share anything. Thanks so much Direct Colors!https://photos.app.goo.gl/r9FC7rFKVj7YyaKh7 - Personal Tips:
The Portico Stain is very thin. So, prep will be the most important part – make sure to tape, cover, or block anything that might catch overspray.When I did the outside border in Eagle Gray, there was no way I could spray it without it getting on to the Crimson Red I had already applied. I cut in all the border stones with a foam brush, and then I did the second coat with a 4″ roller.And don’t forget to consistently shake your stain in the sprayer to keep it mixed well, so it will apply evenly! - Direct Colors Products Used:
1 Gal. Crimson DIY Portico™ & EasySeal™ Satin Kit
1 Qt. Crimson Portico™ Stain
1 Gal. Eagle Gray DIY Portico™ & EasySeal™ Satin Kit
1 Qt. ProClean Degreaser™ Concentrate
I used the Direct Colors ProClean Degreaser as the last prep before stain application. Then from Direct Colors Portico Line, I applied two coats of Crimson Red paver stain on the majority of the paver patio and applied two coats of Eagle Gray paver stain to the border. I followed up with two coats of the Satin EasySeal.
Other Products Used:
Initial Prep –
1.Pressure Washer and Outdoor Cleaner
2. Spectracide Weed Killer and Triazicide Insect Killer Granules – I push-broomed the granules into the cracks (just like joint sand) and watered them for a couple of weeks to kill any weeds or ant hills at the root.
During the Direct Colors Product Application – Everything that I used grabbed from my local Dollar General Store!
1. Deck Brush for the ProClean Degreaser
2. Plastic Drop Cloths and Painters Tape to protect from overspray
3. Garden Spravers. Foam Brushes. and 4″ roller for the Portico Stain
4. Lots of Tarps – For the unanticipated pop up rain shower. *Thank you, Matt at Direct Colors, for talking me down from panic mode!
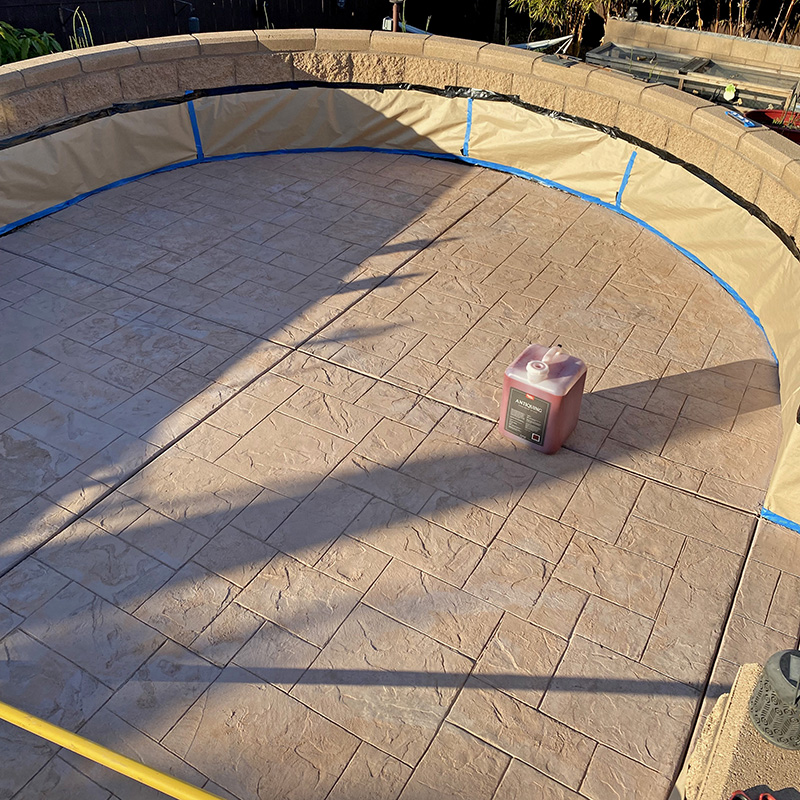
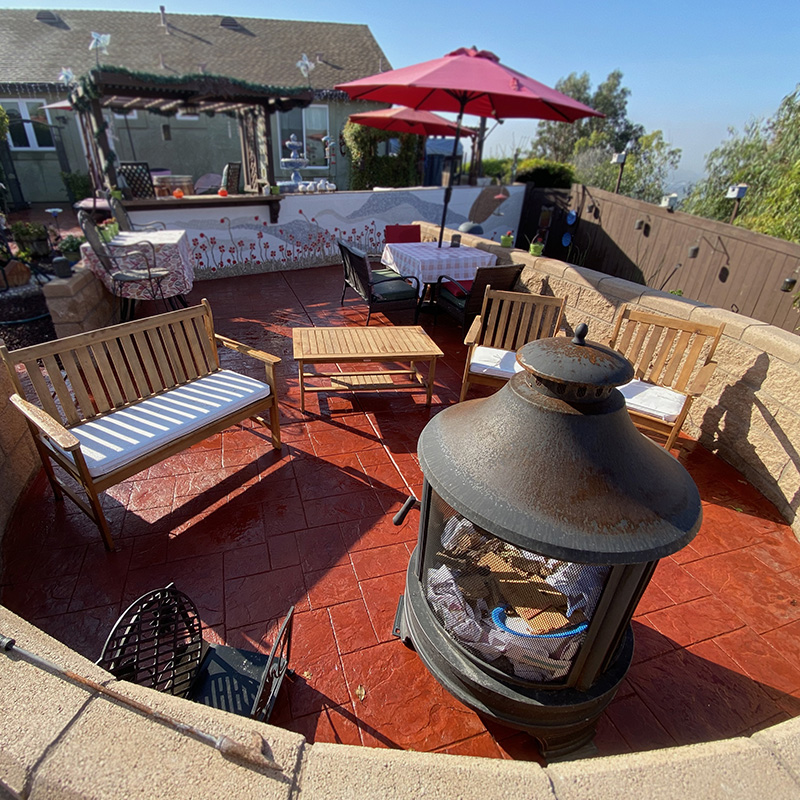
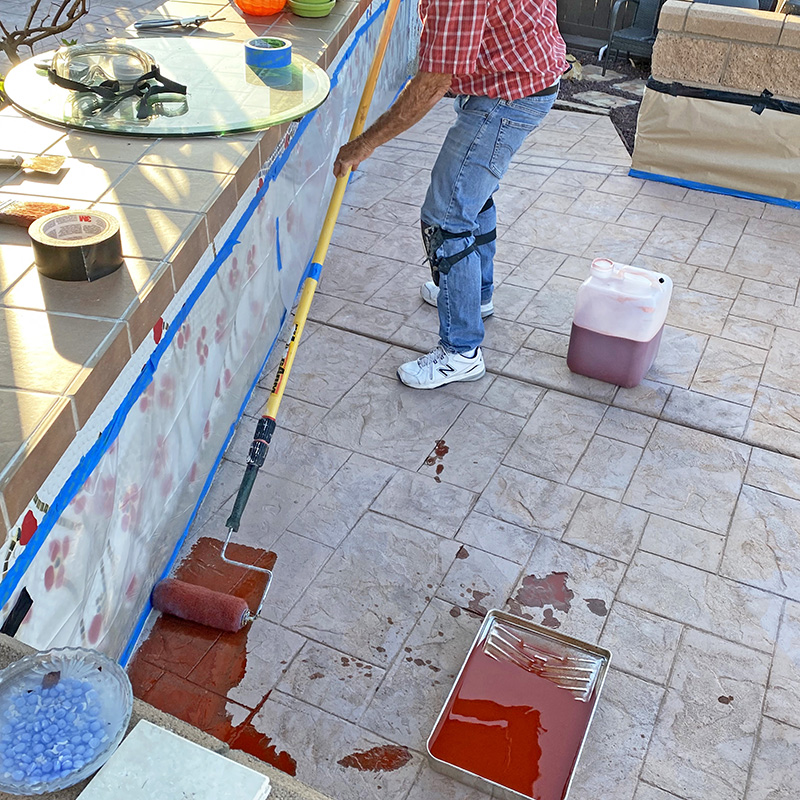
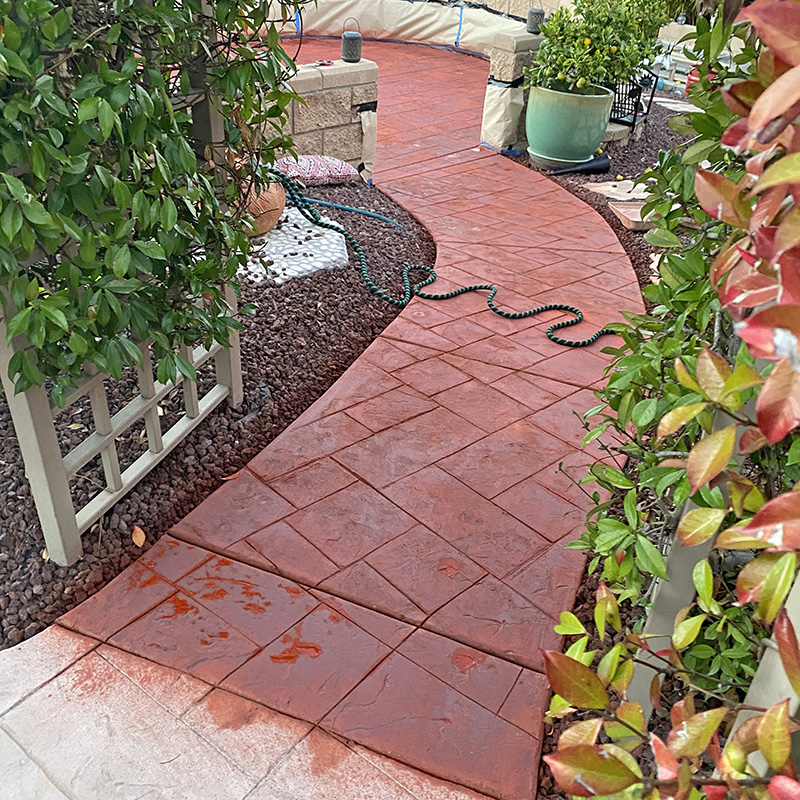
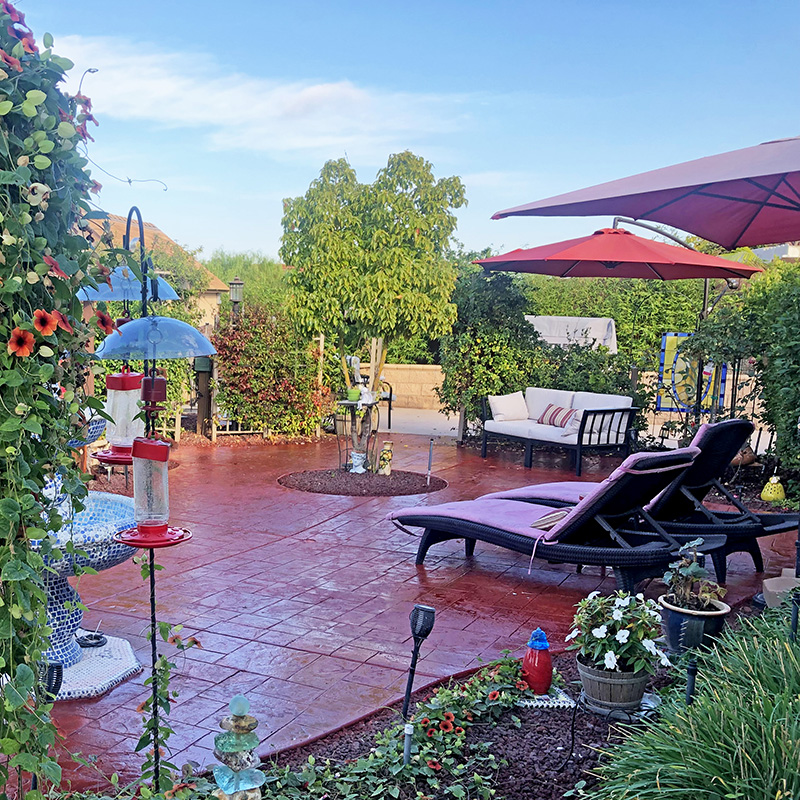
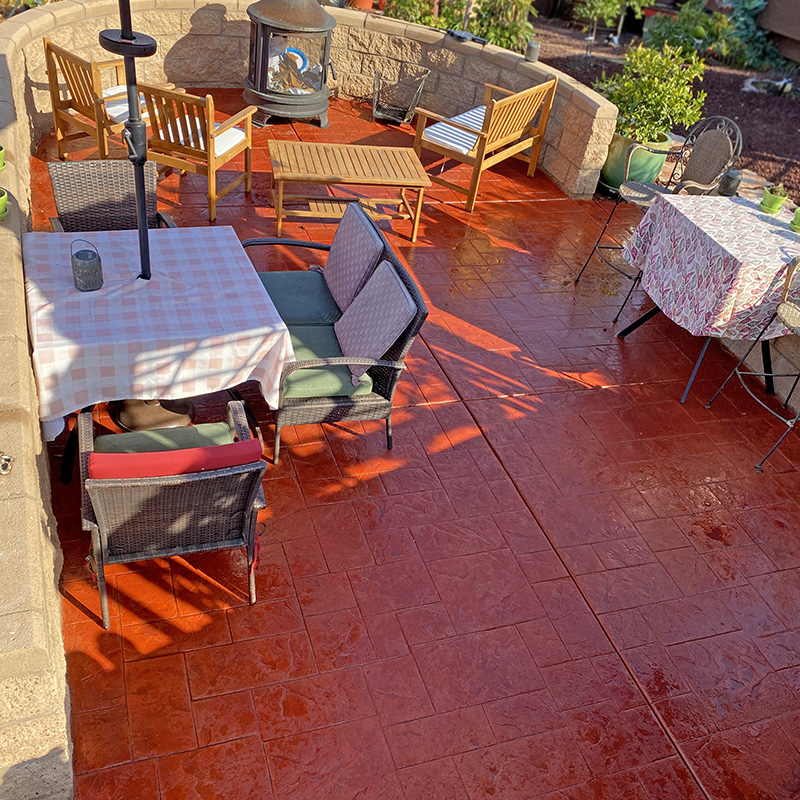
Reviving Stamped Concrete: Our DIY Journey with Antiquing Stain for a Glossy and Solid Color Approach
Looking to add depth and character to their stamped concrete, a DIY enthusiast turned to crimson red Antiquing™ stain. The solid color approach and glossy finish of the red stained concrete transformed the once-dull stamped area into a stunning and eye-catching design element.
Project Info:
- Project Completed In: 4 day(s)
- Estimate of Square Footage: 1236 sq. ft.
- Project Description:
(first submittal timed out) We had stamped concrete installed with requested color added to concrete. Color was not done right by contractor which didn’t allow stamped area to pop out from retaining walls surrounding it. Since we had used Direct color before on an acid stain for a small area on property we decided to go with the Antiquing stain since it allowed a more solid color approach and the direct color site recommended it for stamped concrete. We liked the idea of it being shiny wet look with the gloss and we were glad we did rather than the satin. - Personal Tips:
If your concrete is stained with water build up like ours was from a fountain grind off calcium build up with had grinder and clean and etch with Direct color product. Order more than enough color if performing work on stamped concrete since it soaks up signif icantly more than finished concrete, two coats for good solid color end product with some area followups of touch up if lighter. The sealer seems to bring it all together. Thin coats of sealer since thick coat will cause bubbles in top coat. - Direct Colors Products Used:
2 x 5 Gal. Crimson Antiquing™ & EasySeal™ Gloss Kit
5 Gal. CitrusEtch™ Concrete Etcher
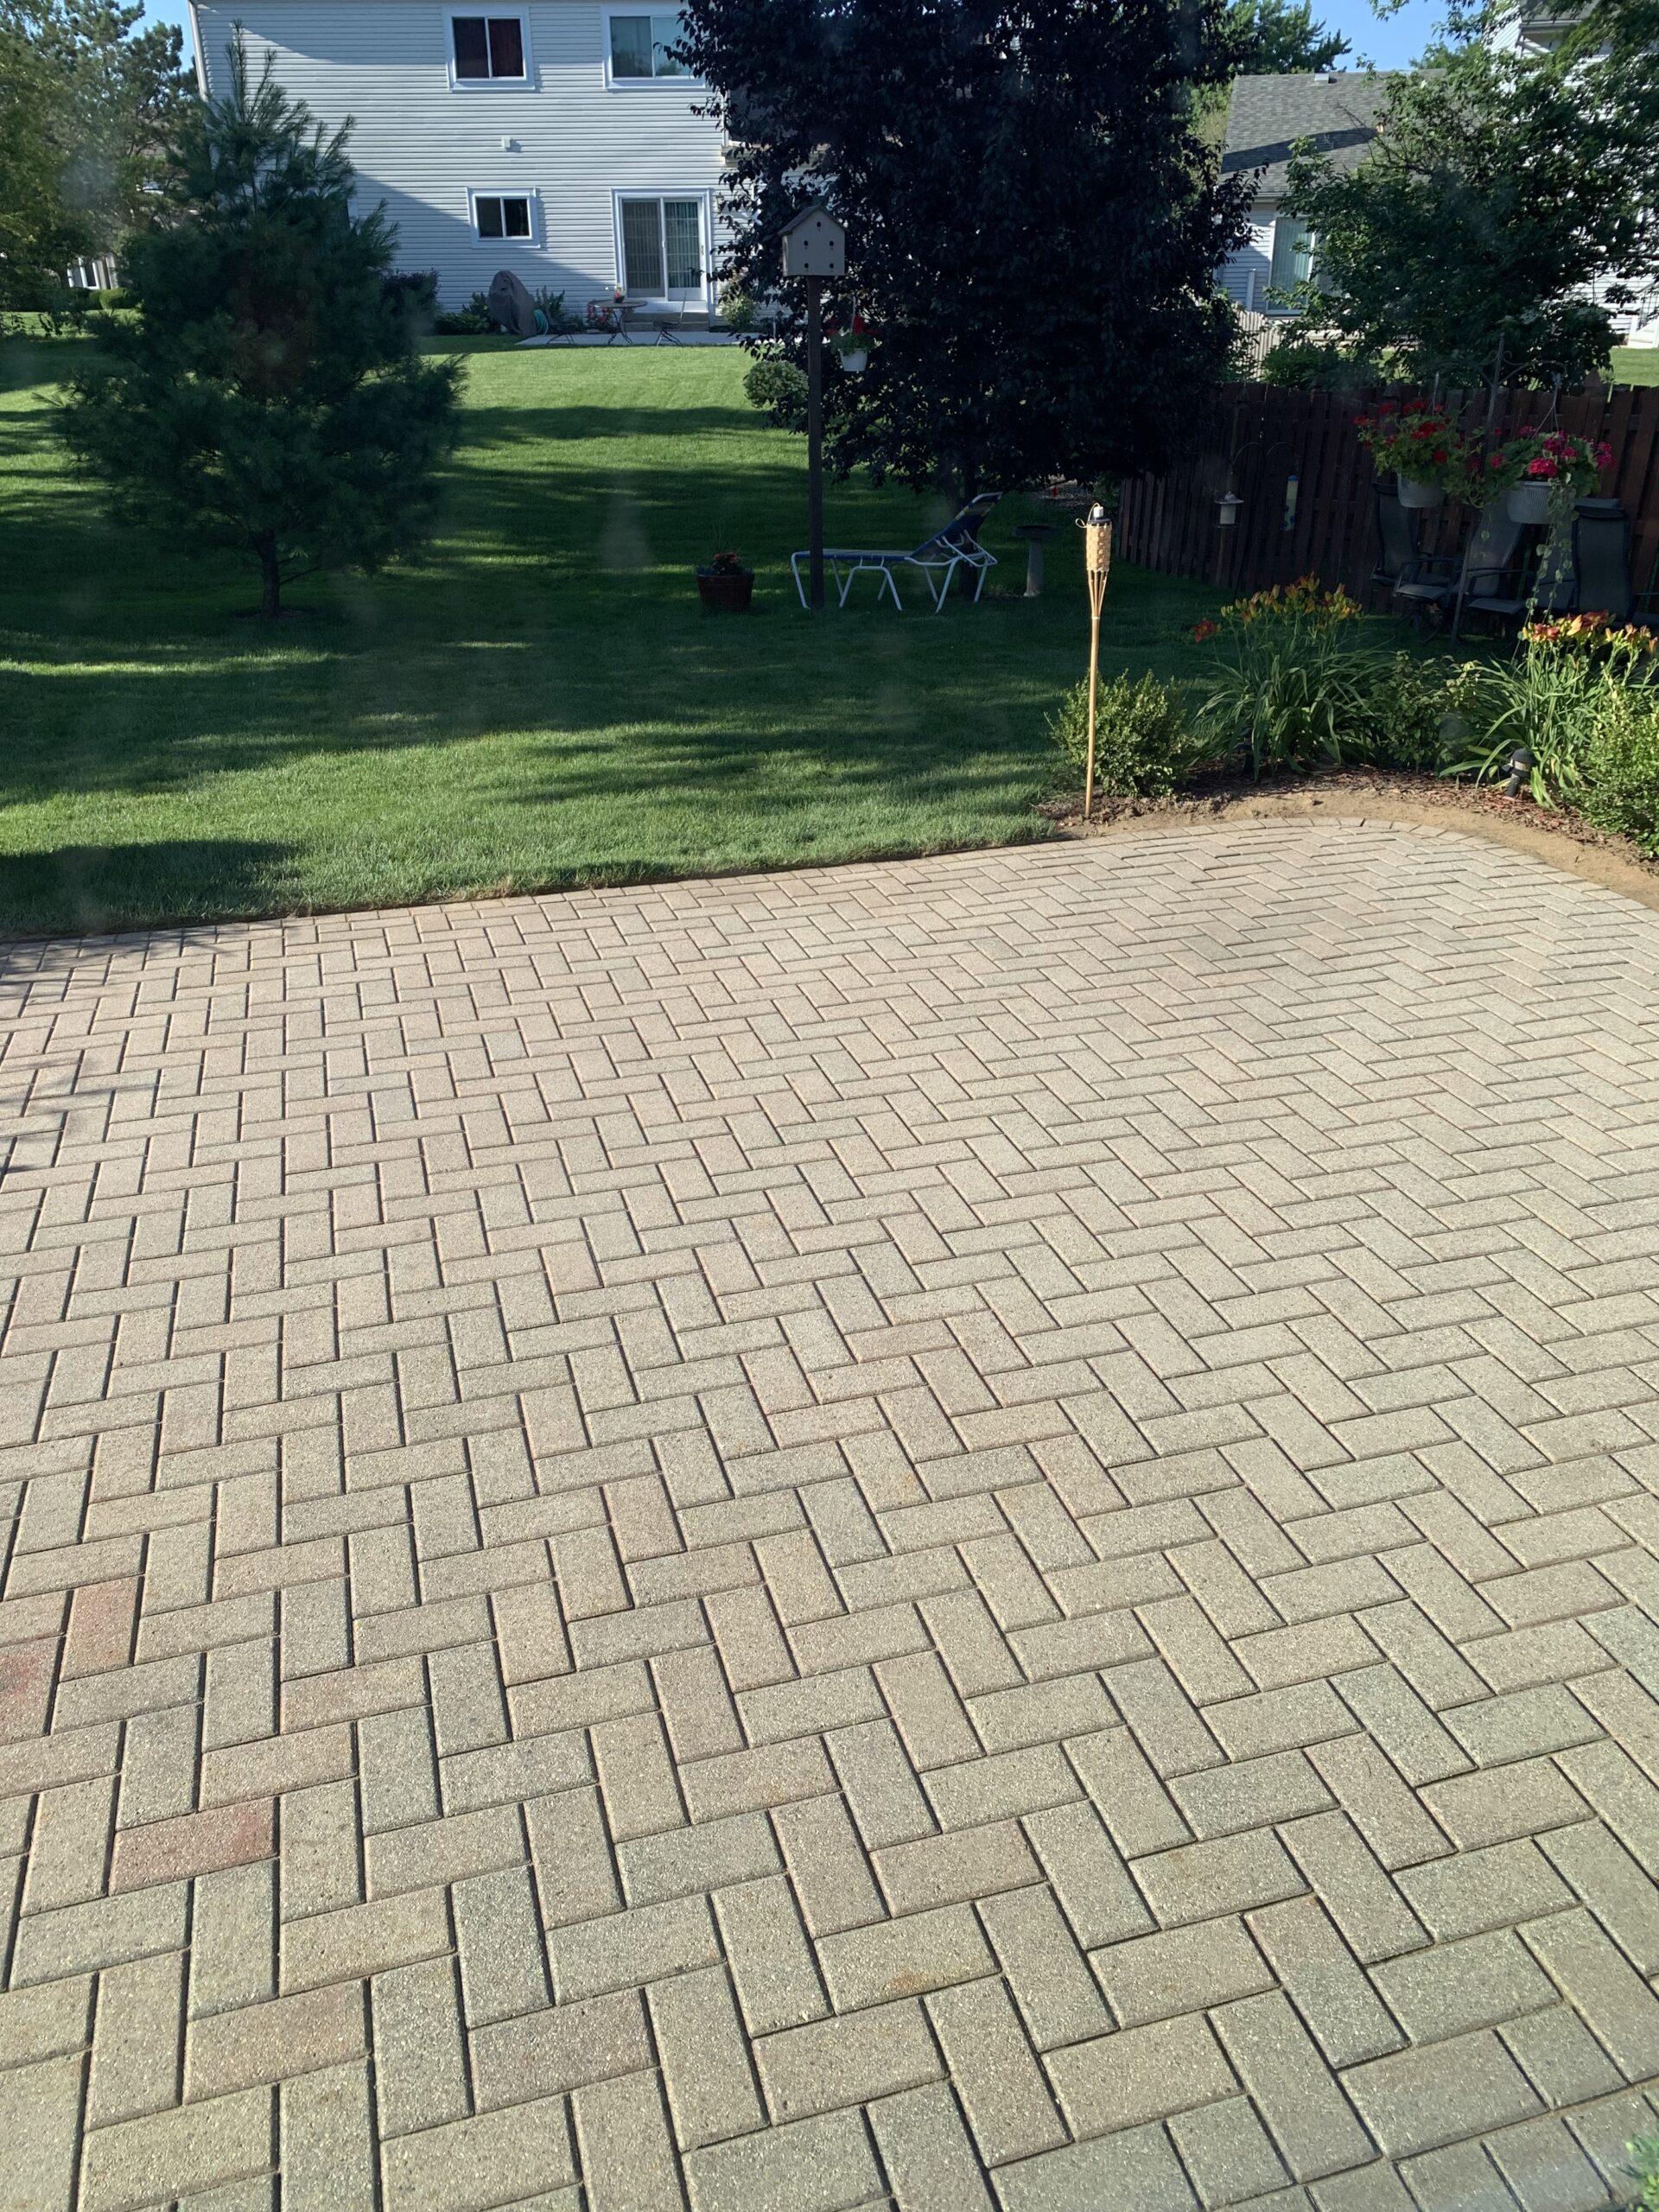
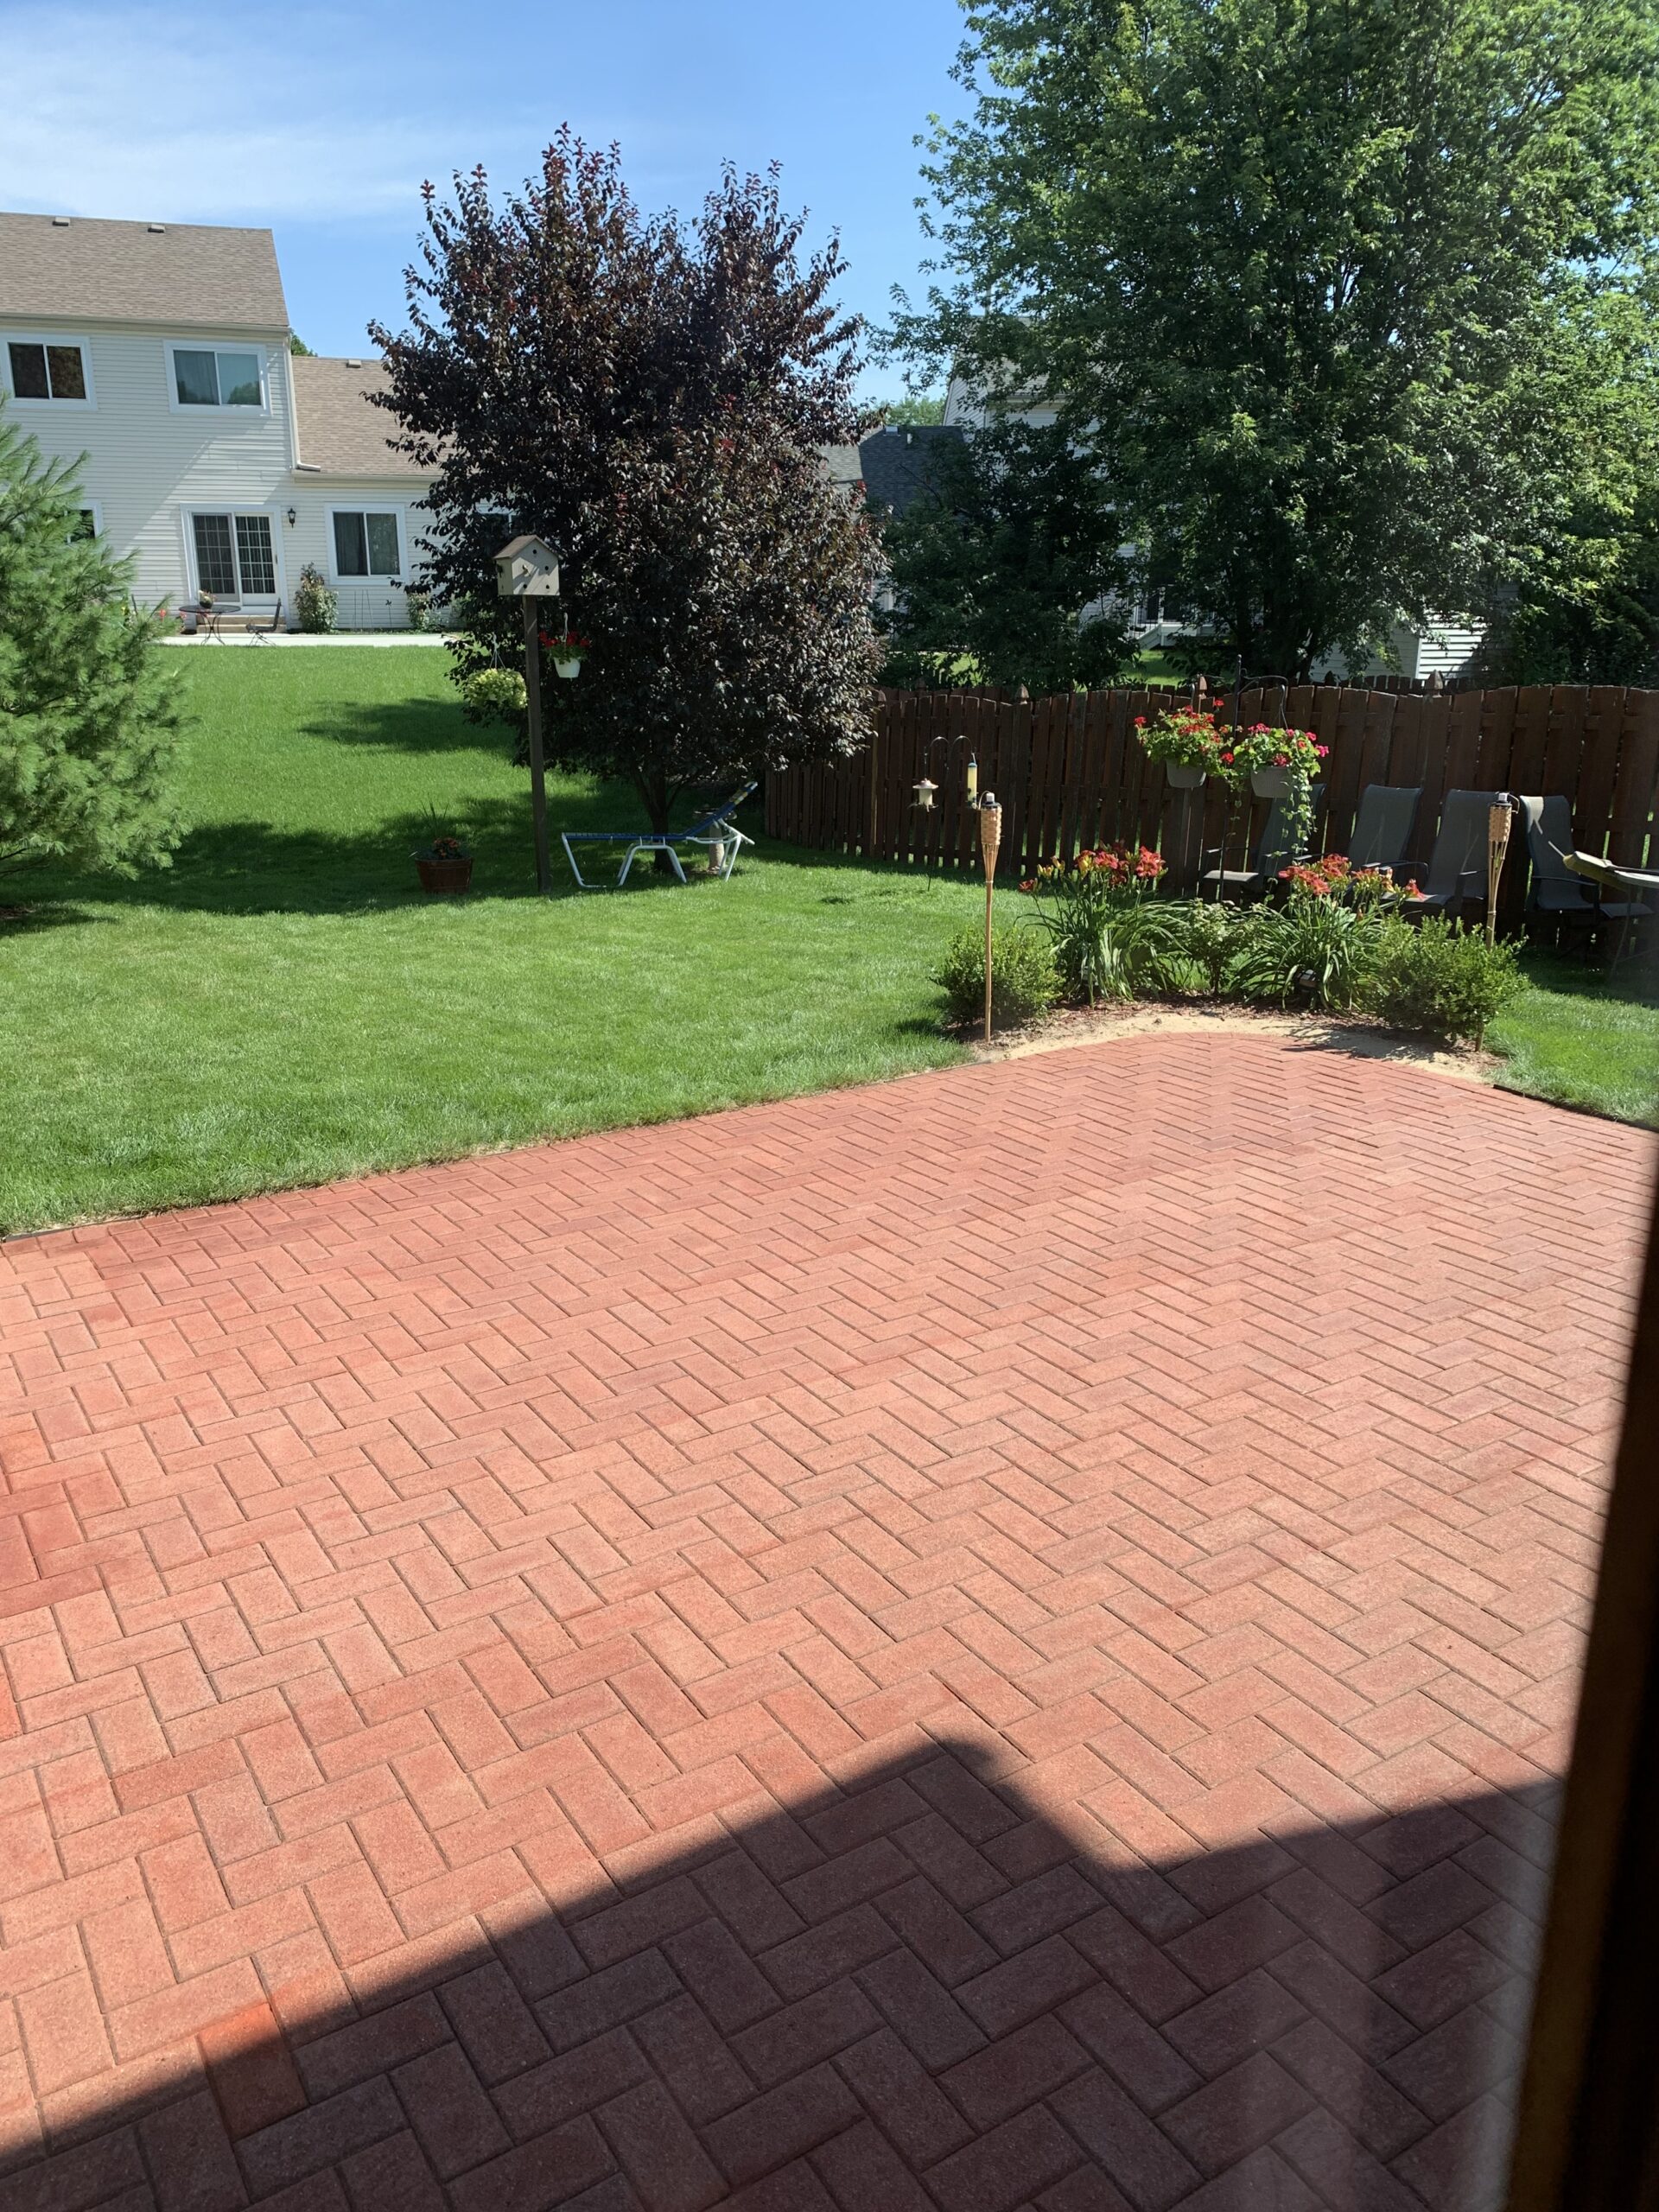
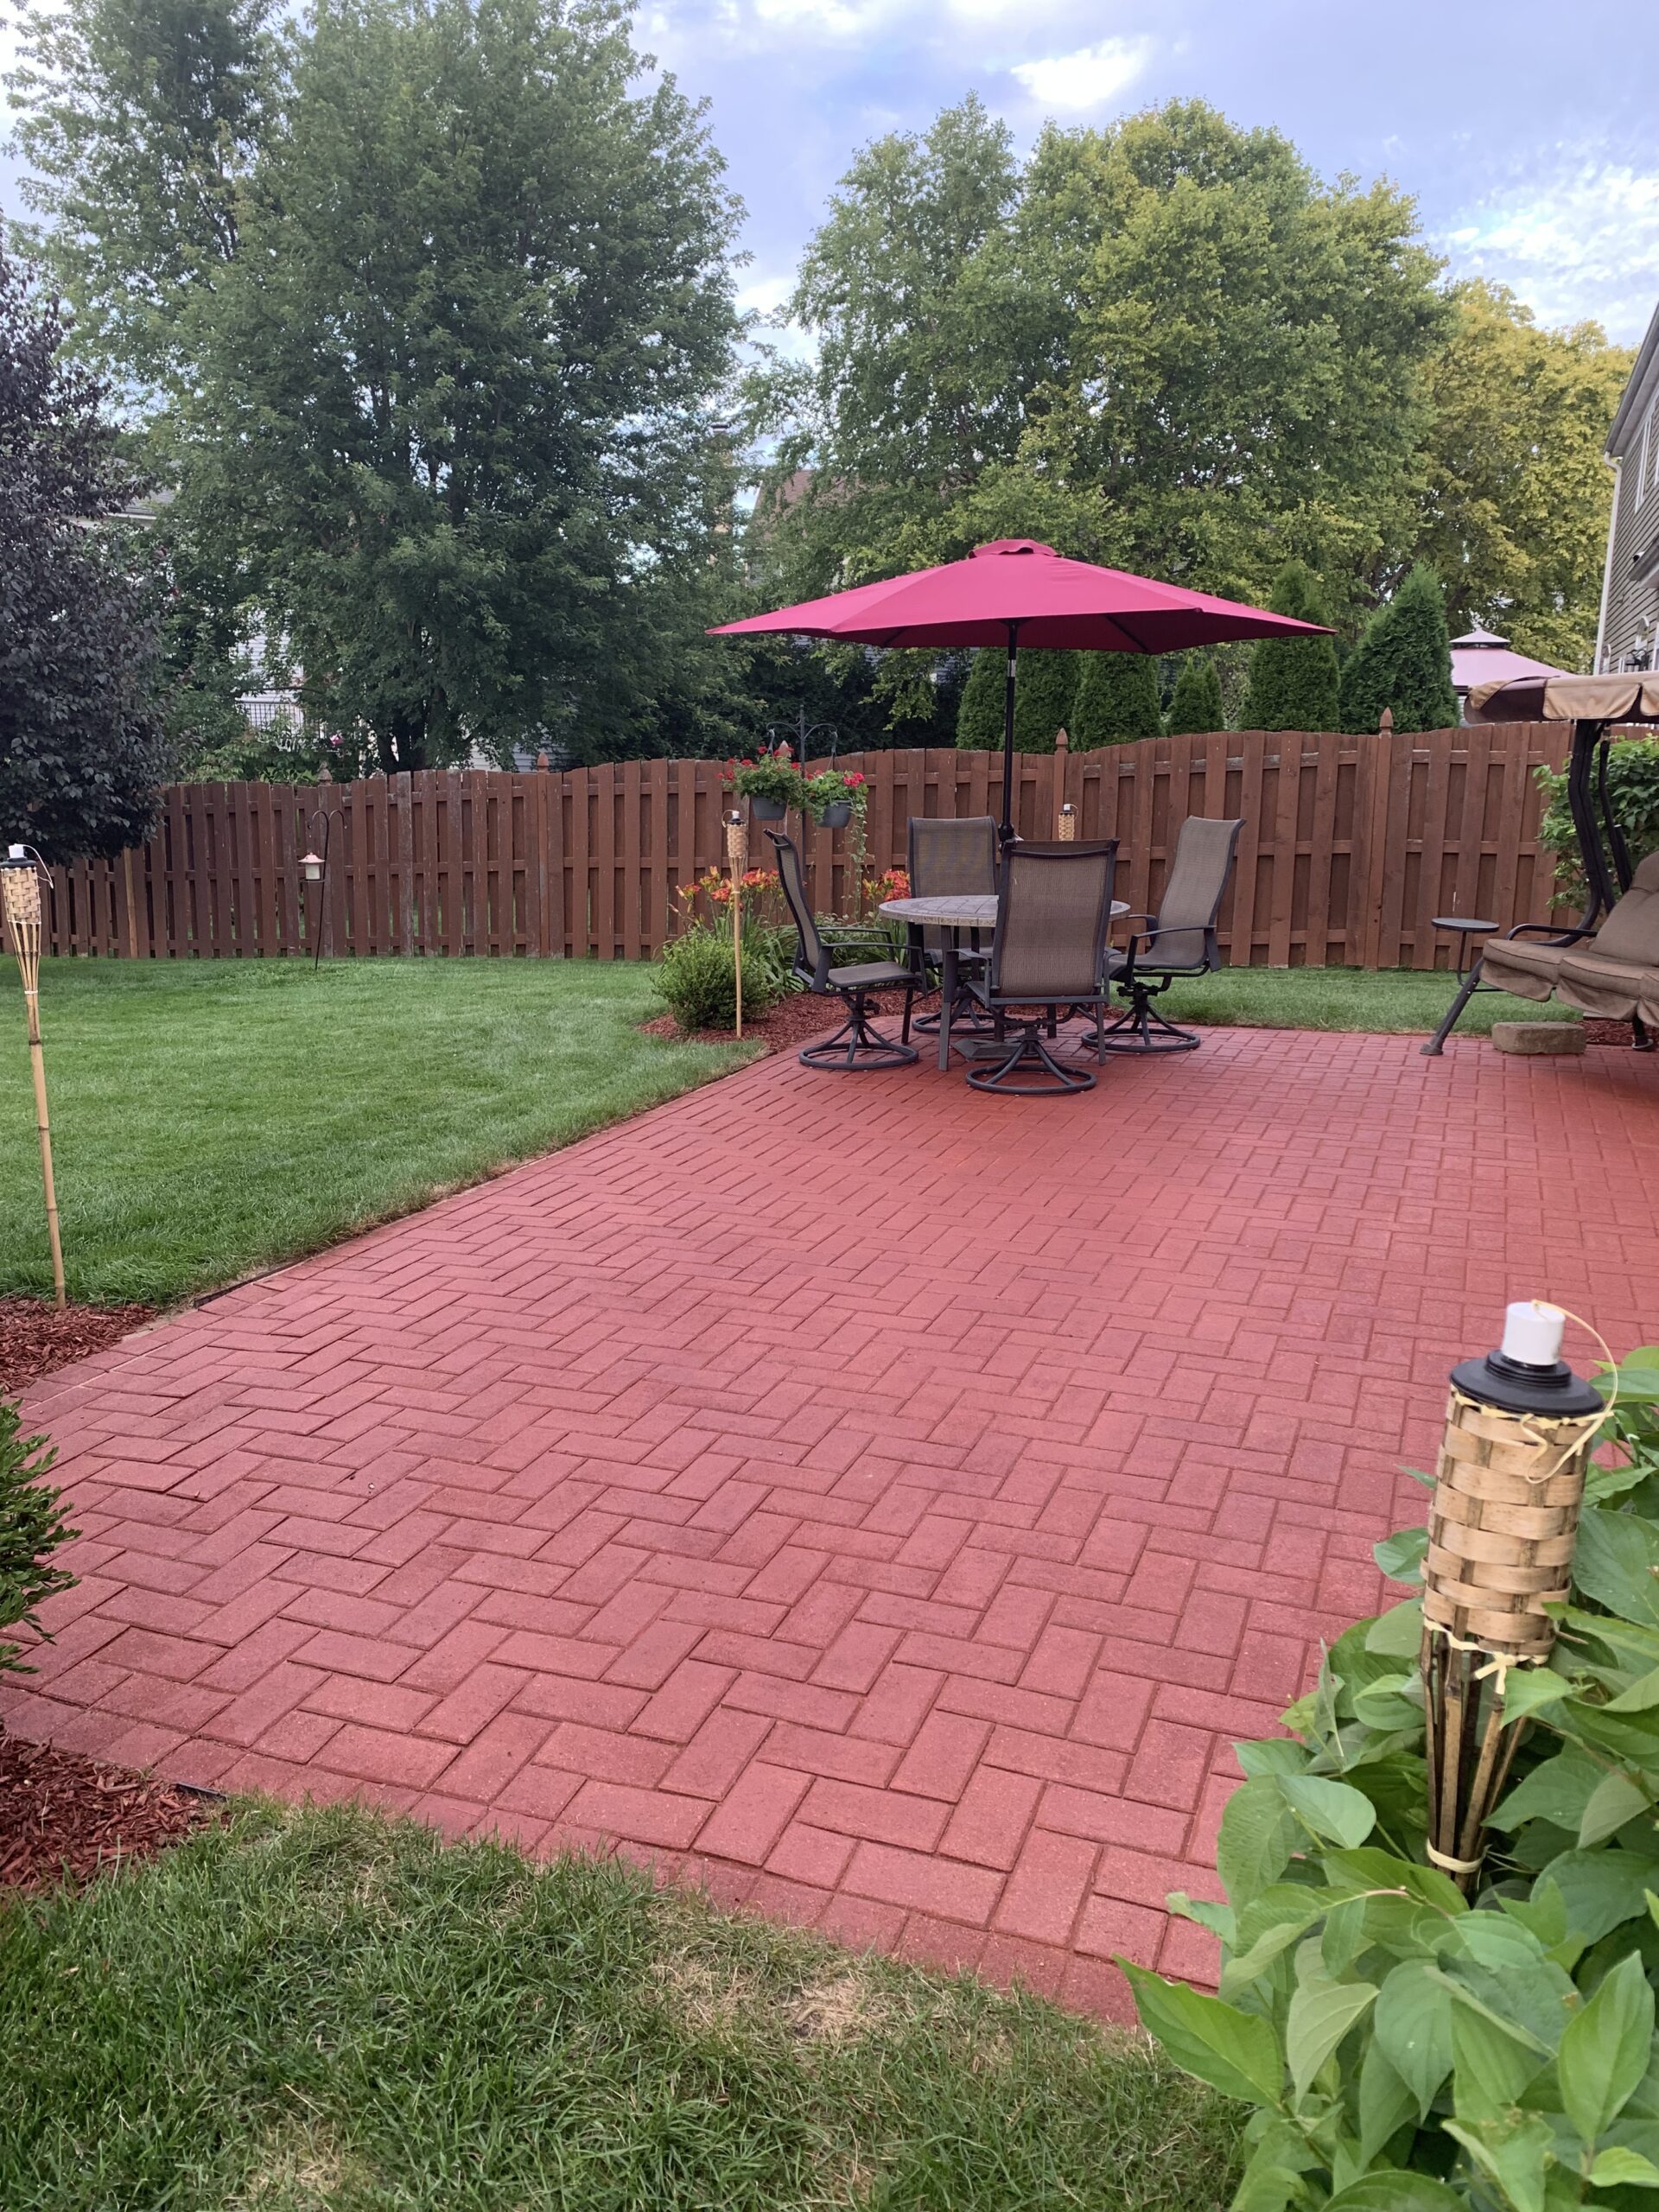
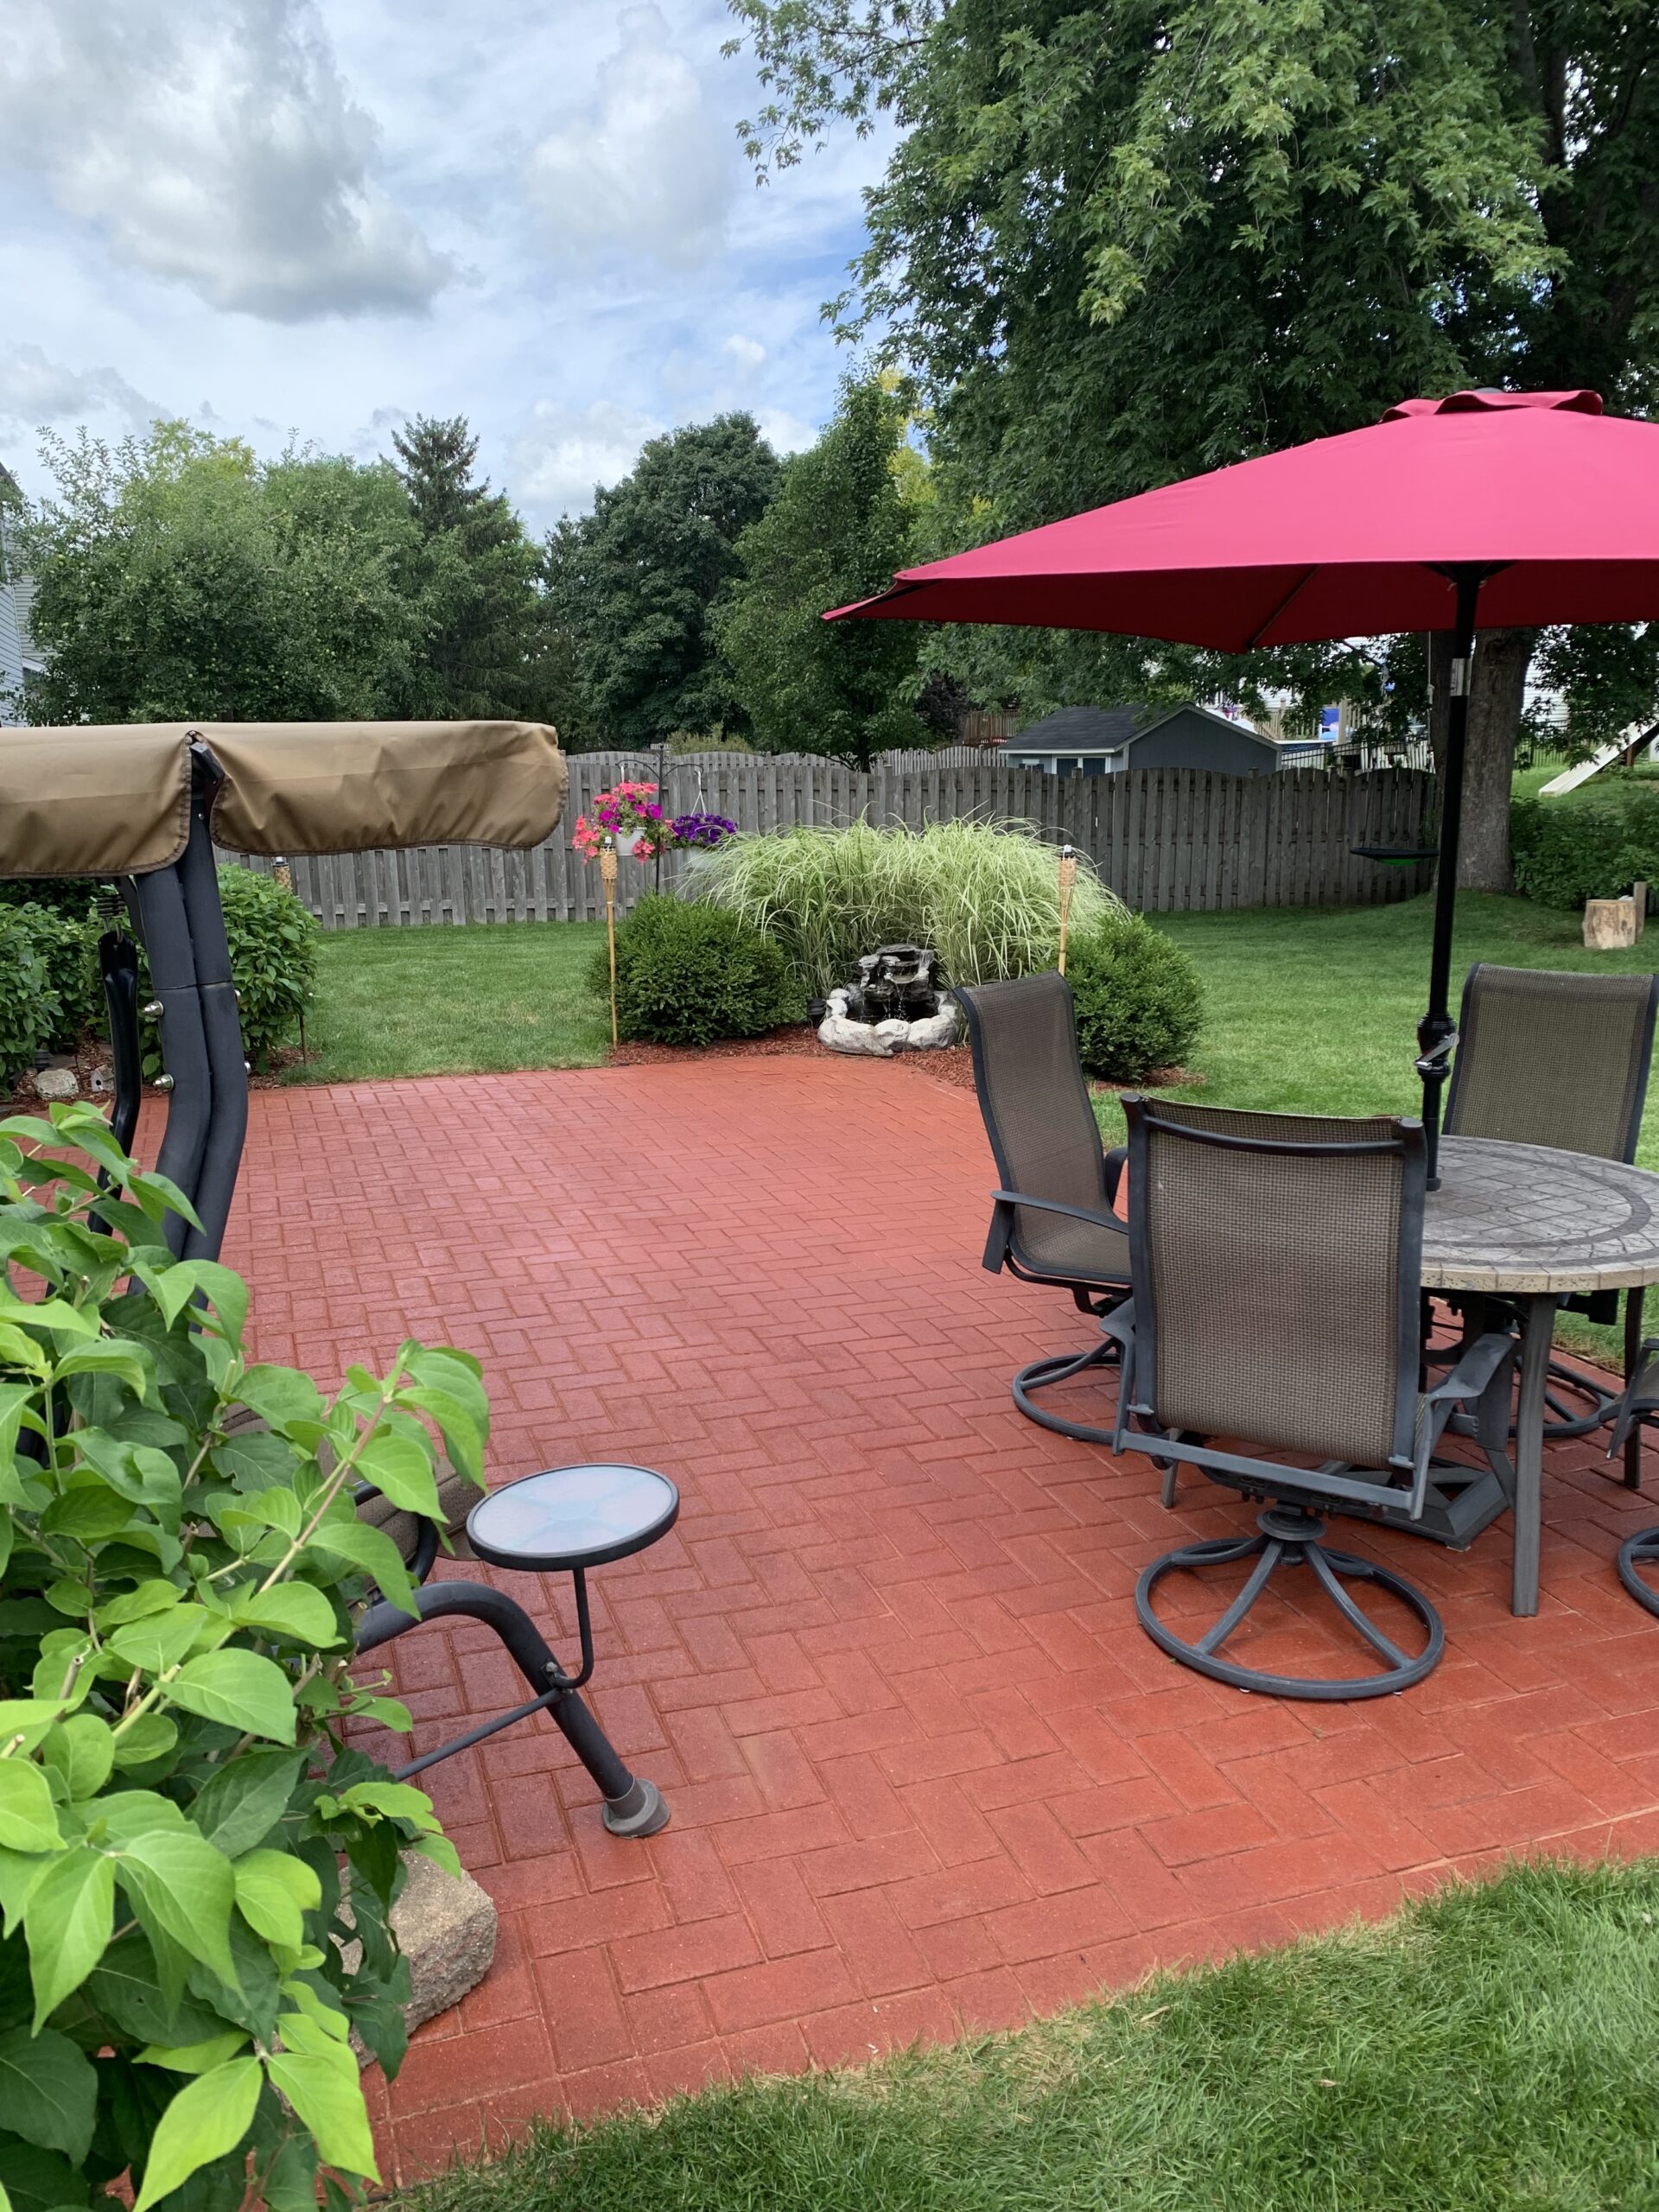
Revitalizing Faded Brick Patio with Crimson Red Stained Concrete Pavers: A DIY Success Story
Looking to revitalize their faded brick patio, a DIY enthusiast discovered the beauty of stained concrete pavers and transformed their patio with crimson Portico paver stain and an EasySeal satin sealer.
Project Info:
- Project Completed In: 2 day(s)
- Estimate of Square Footage: 384 sq. ft.
- Project Description:
The colors on our 30 year old brick patio were really faded. After discovering that the concrete pavers could be stained, I found the Direct Colors website. I found their website to be very informative. We chose the crimson color with the EasySeal satin sealer and are very happy with the results. - Personal Tips:
I would recommend taking advantage of the sample kit that Direct Colors offer to help choose the color stain for your project.
Direct Colors Products Used:
1 Gal. Crimson DIY Portico™ & EasySeal™ Satin Kit
1 Gal. Crimson Portico™ & EasySeal™ Satin Kit
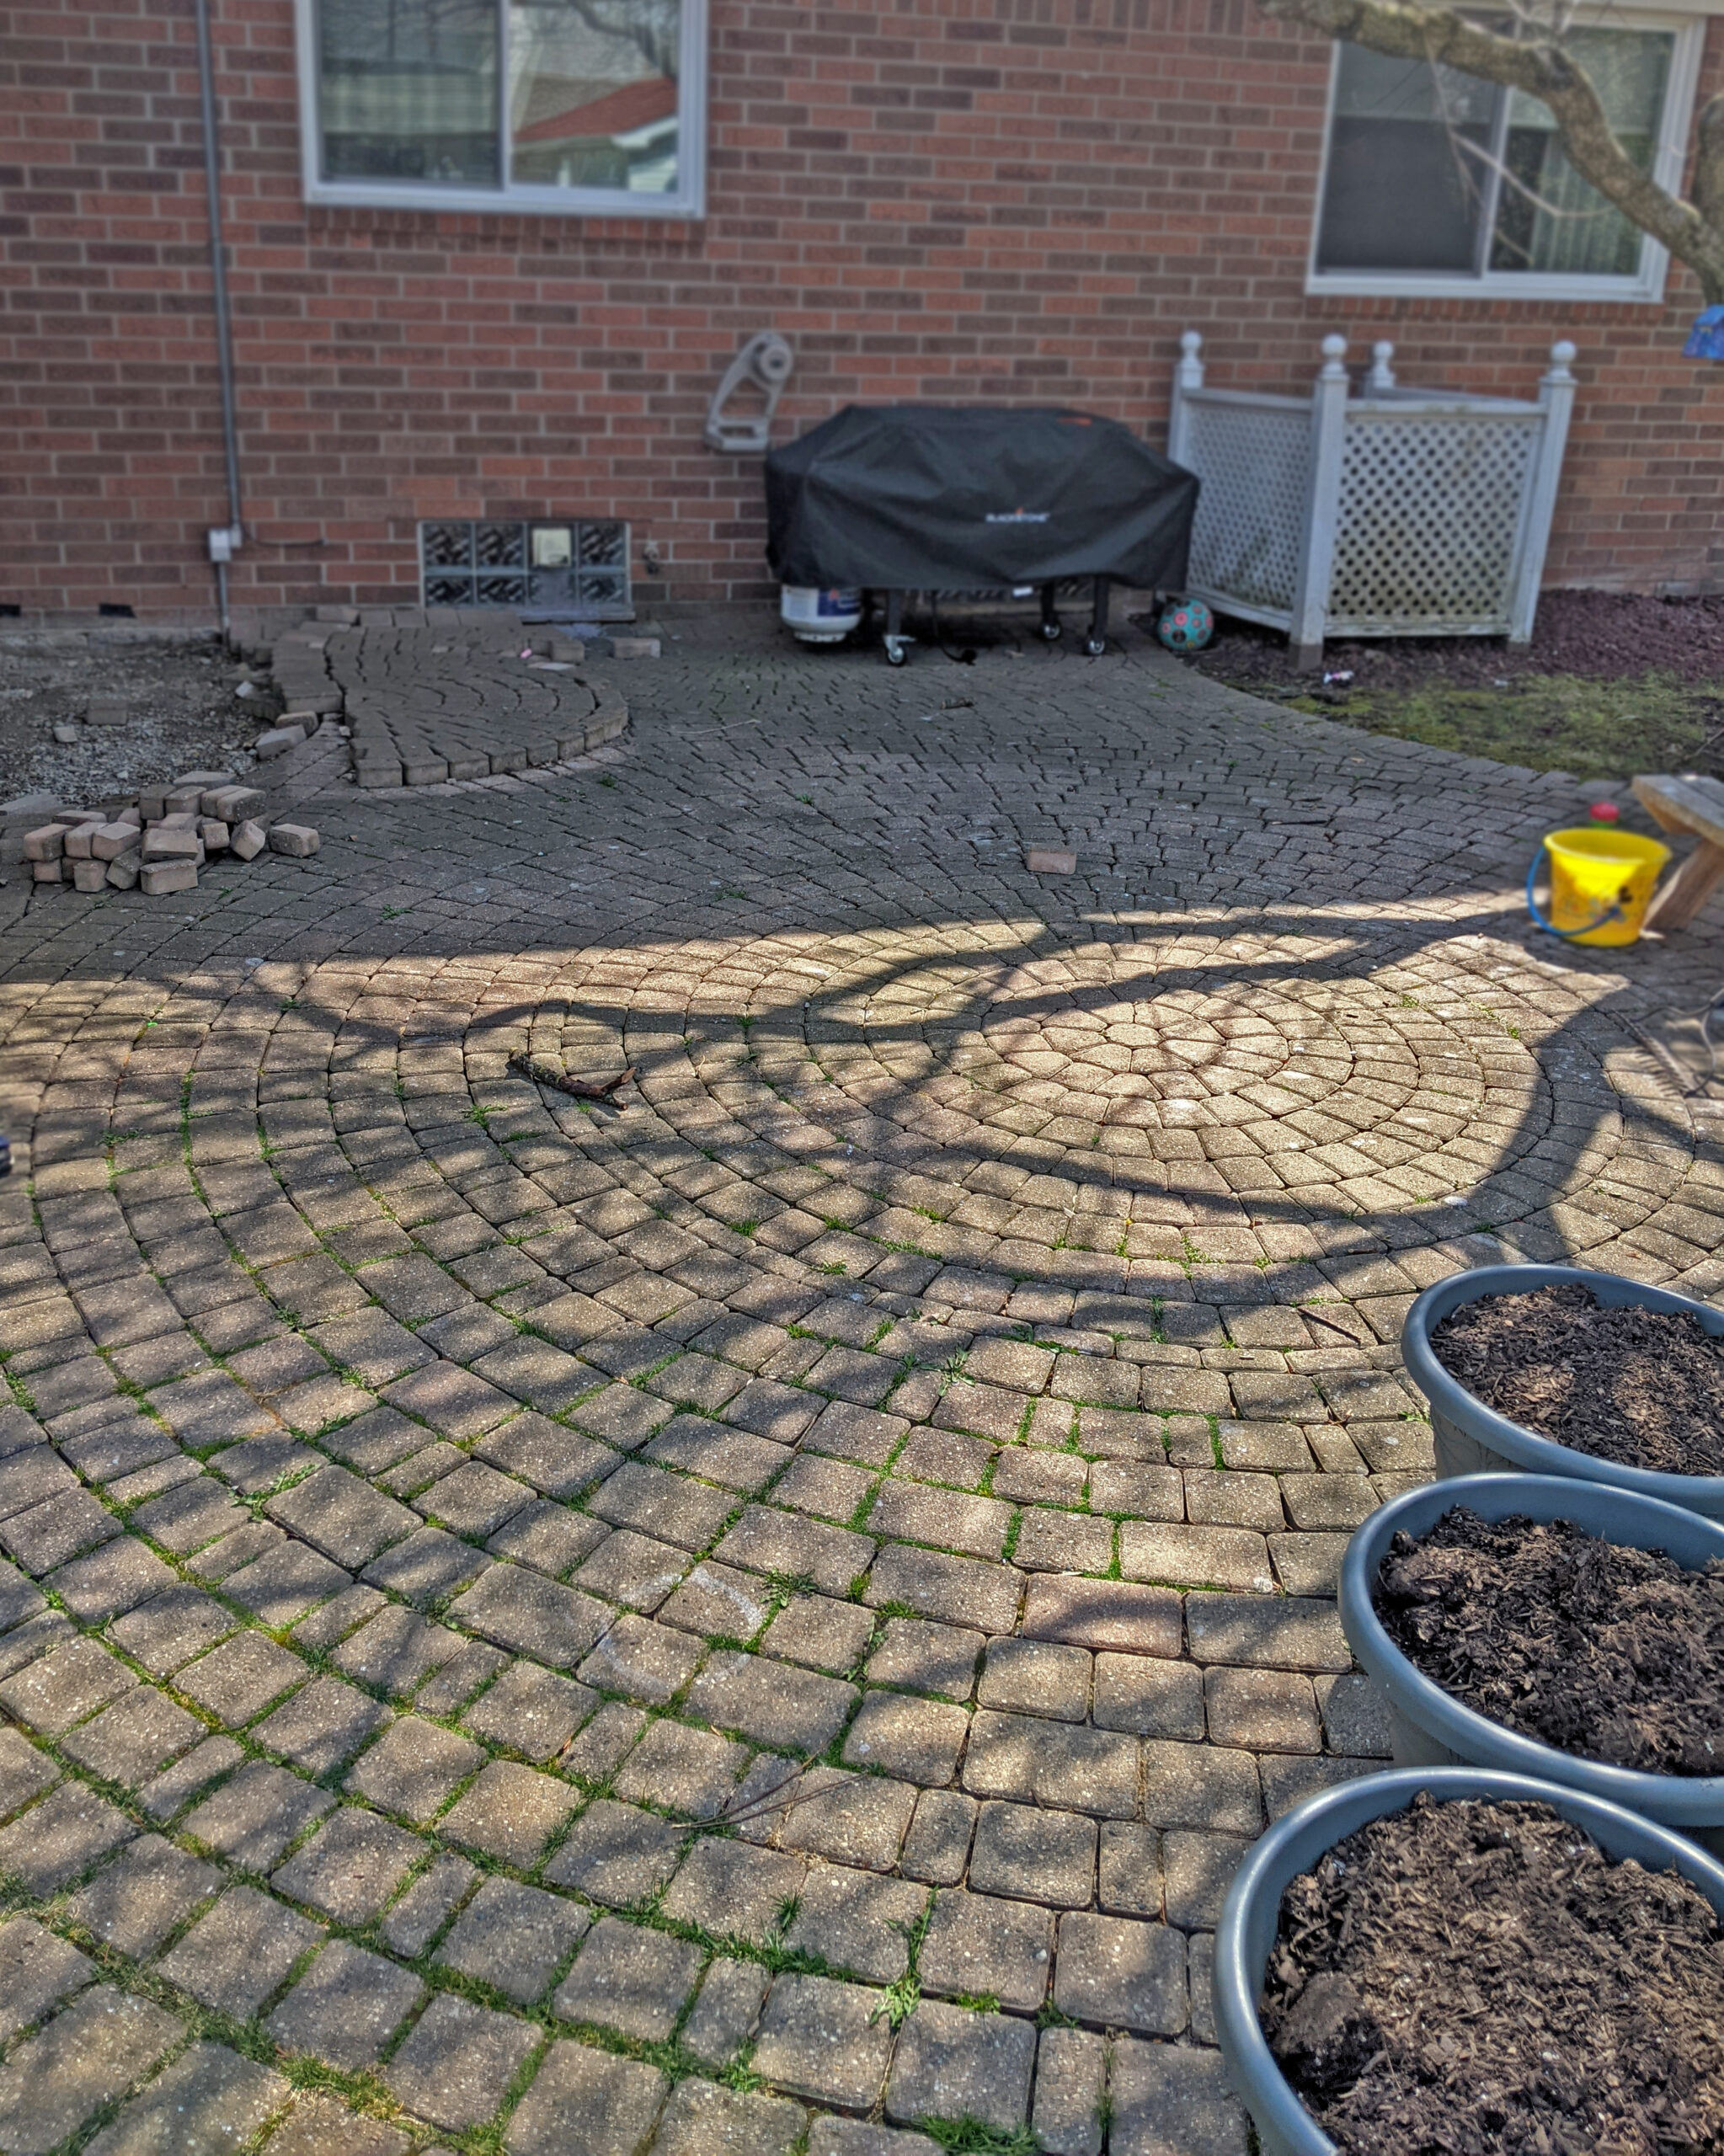
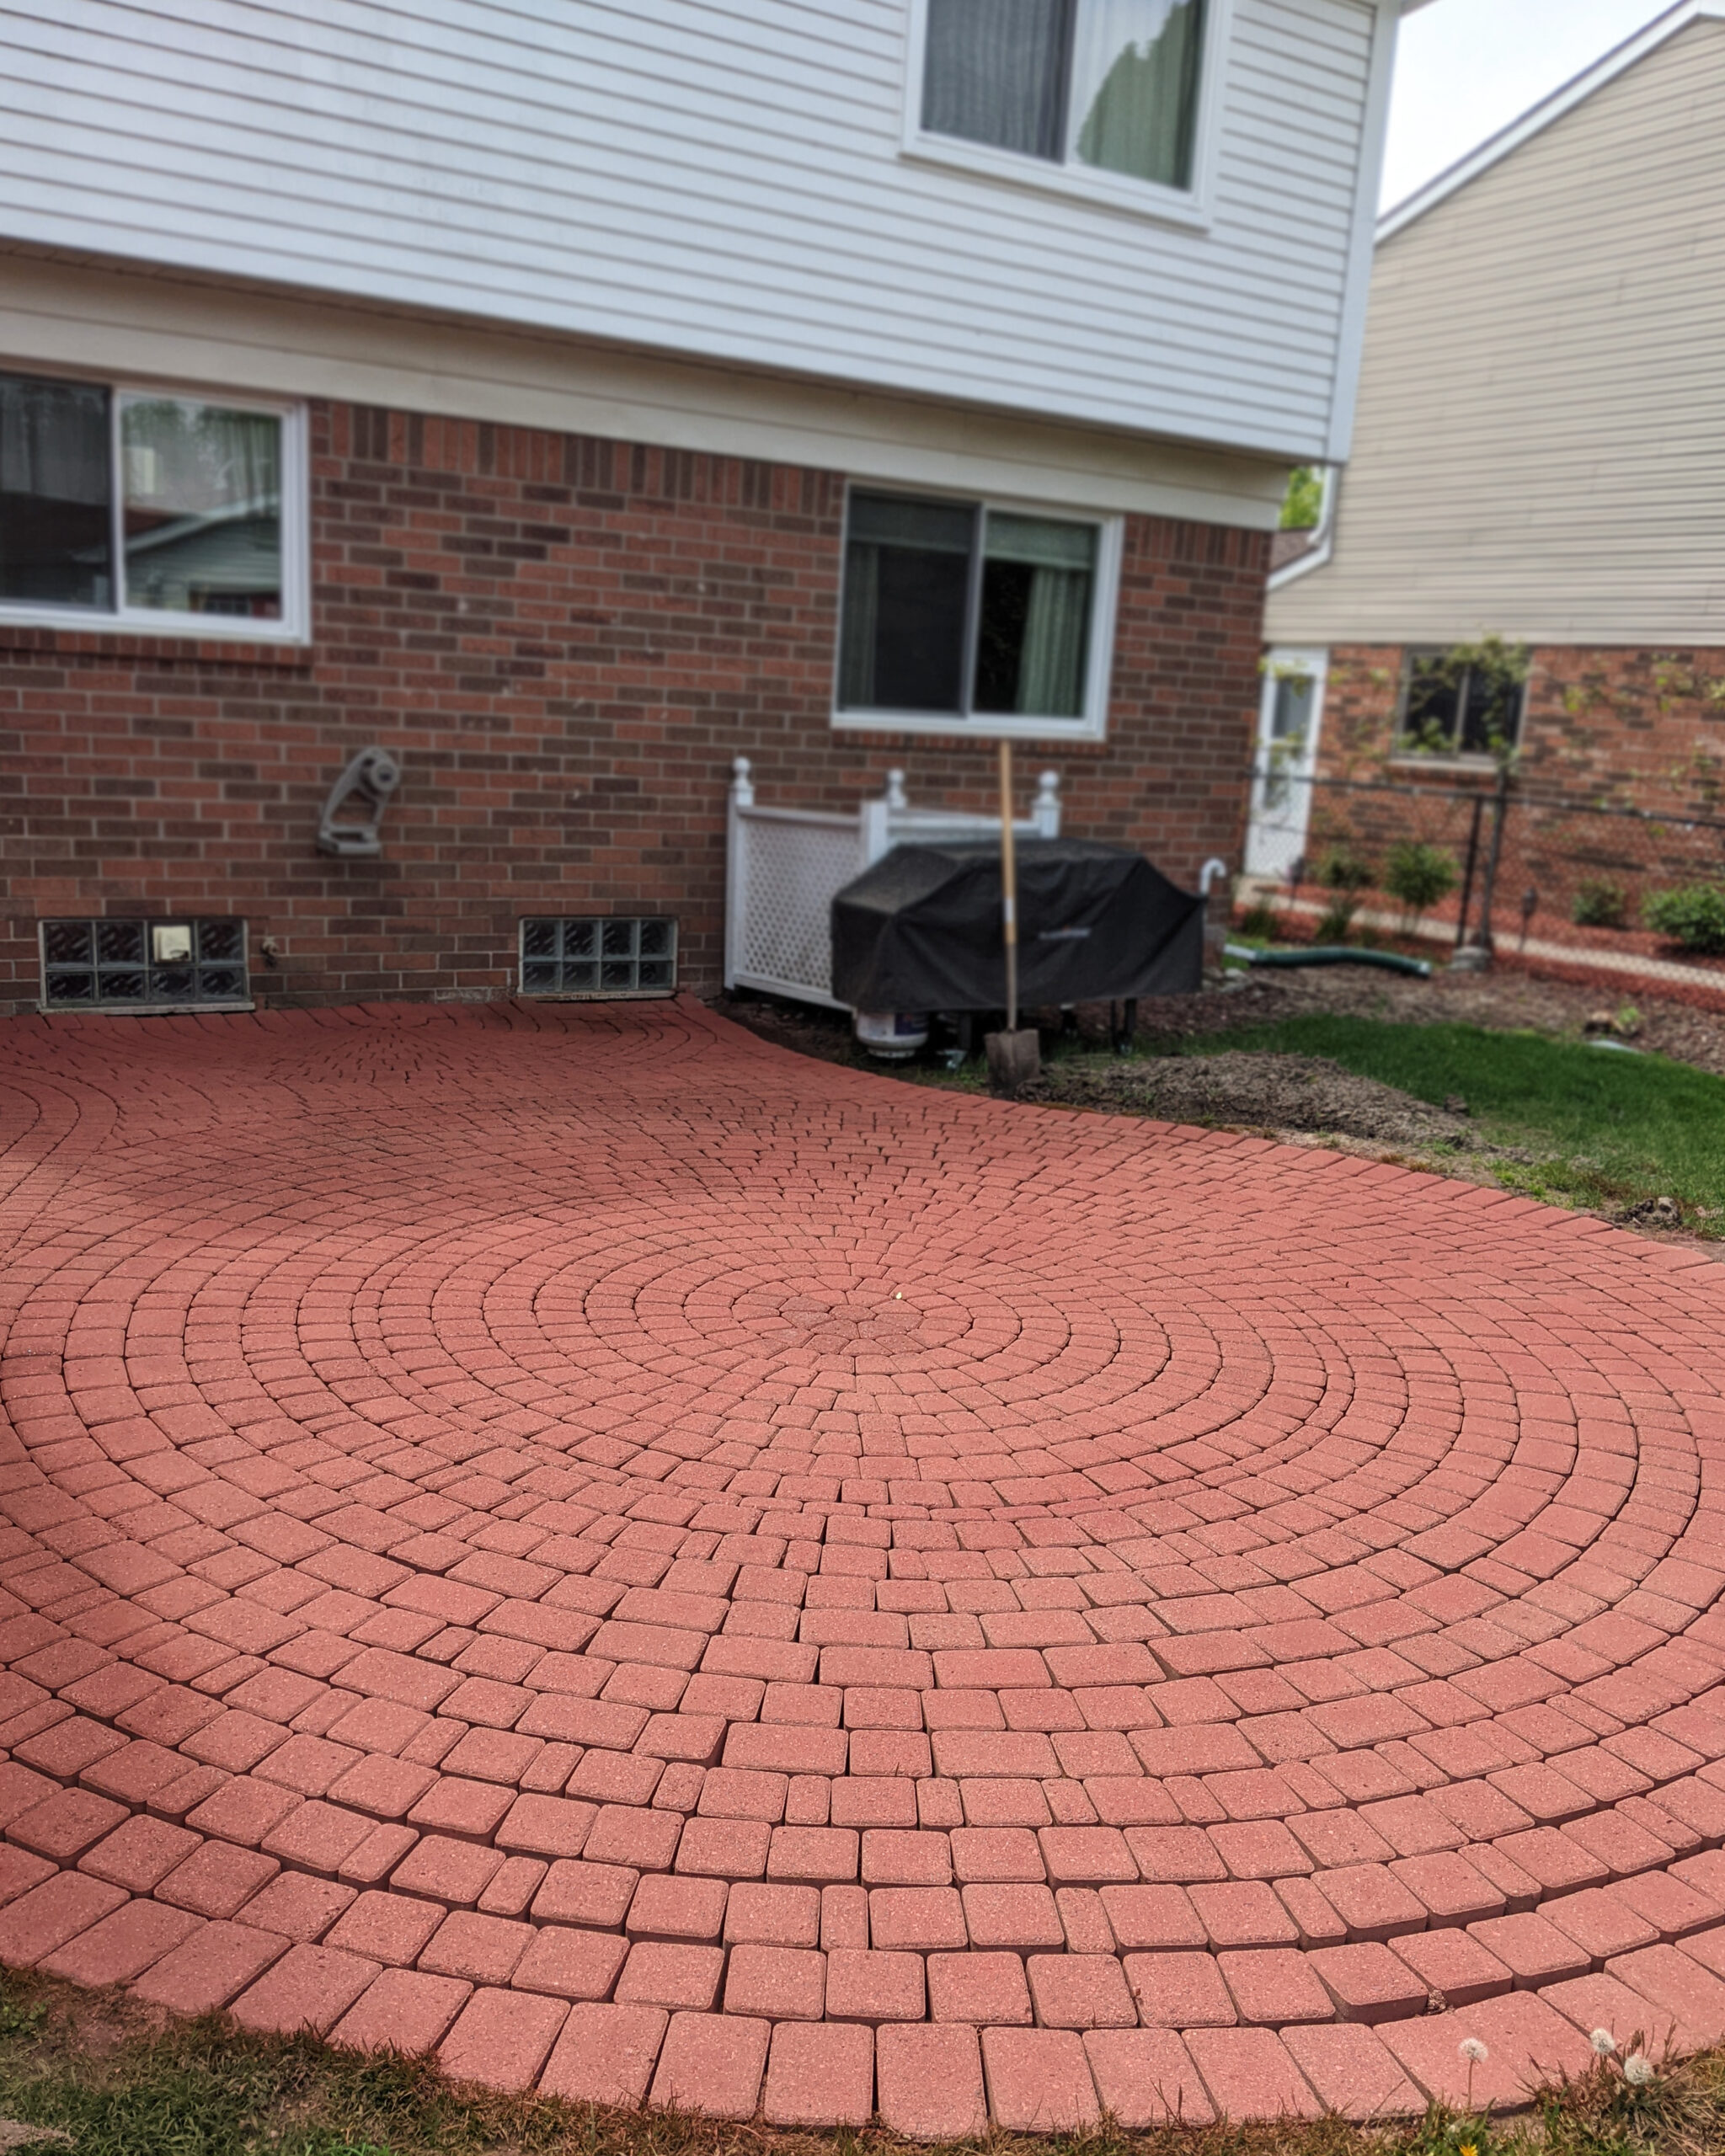
DIY Brick Paver Patio Rehab: Reviving a Tired Patio with Paver Stains
Get ready to upgrade your dull, outdated brick paver patio to a stunning retreat! This project chronicles the homeowner’s journey of tackling the project themselves, after getting unreasonable quotes from companies, and revamping their patio using Direct Color’s products. It’s a fun, cost-effective way of giving your backyard the makeover it deserves!
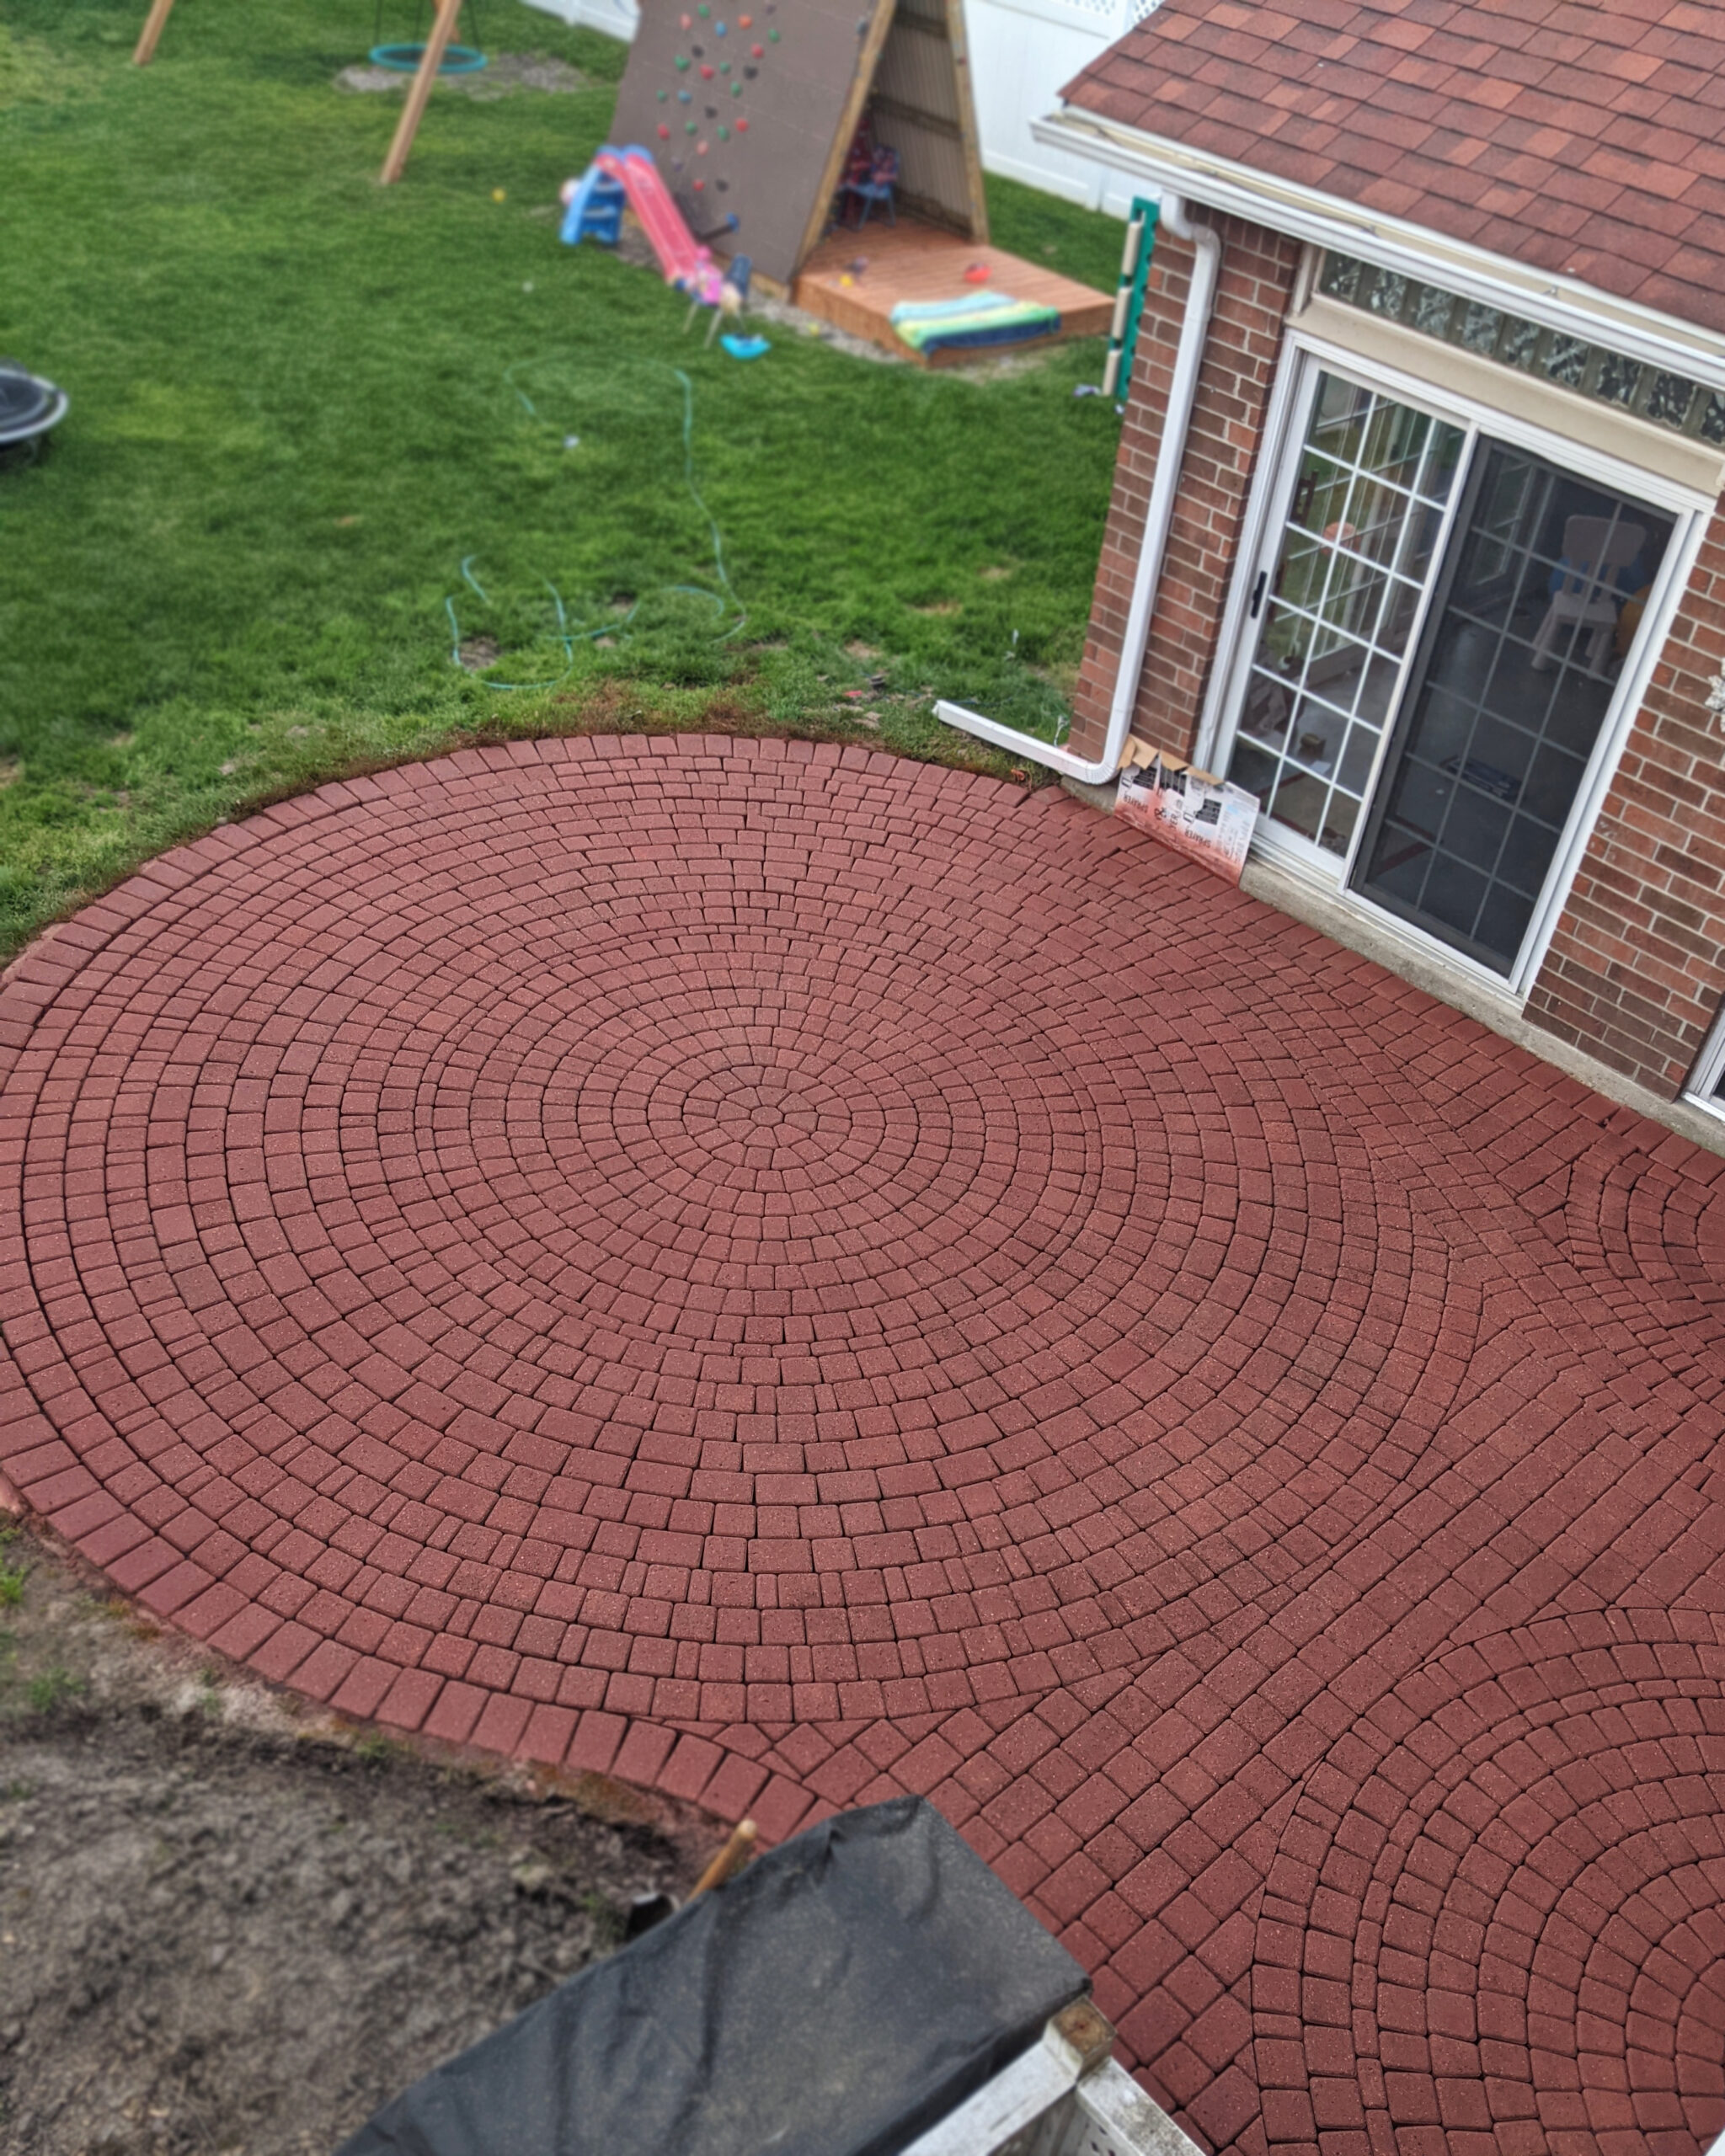
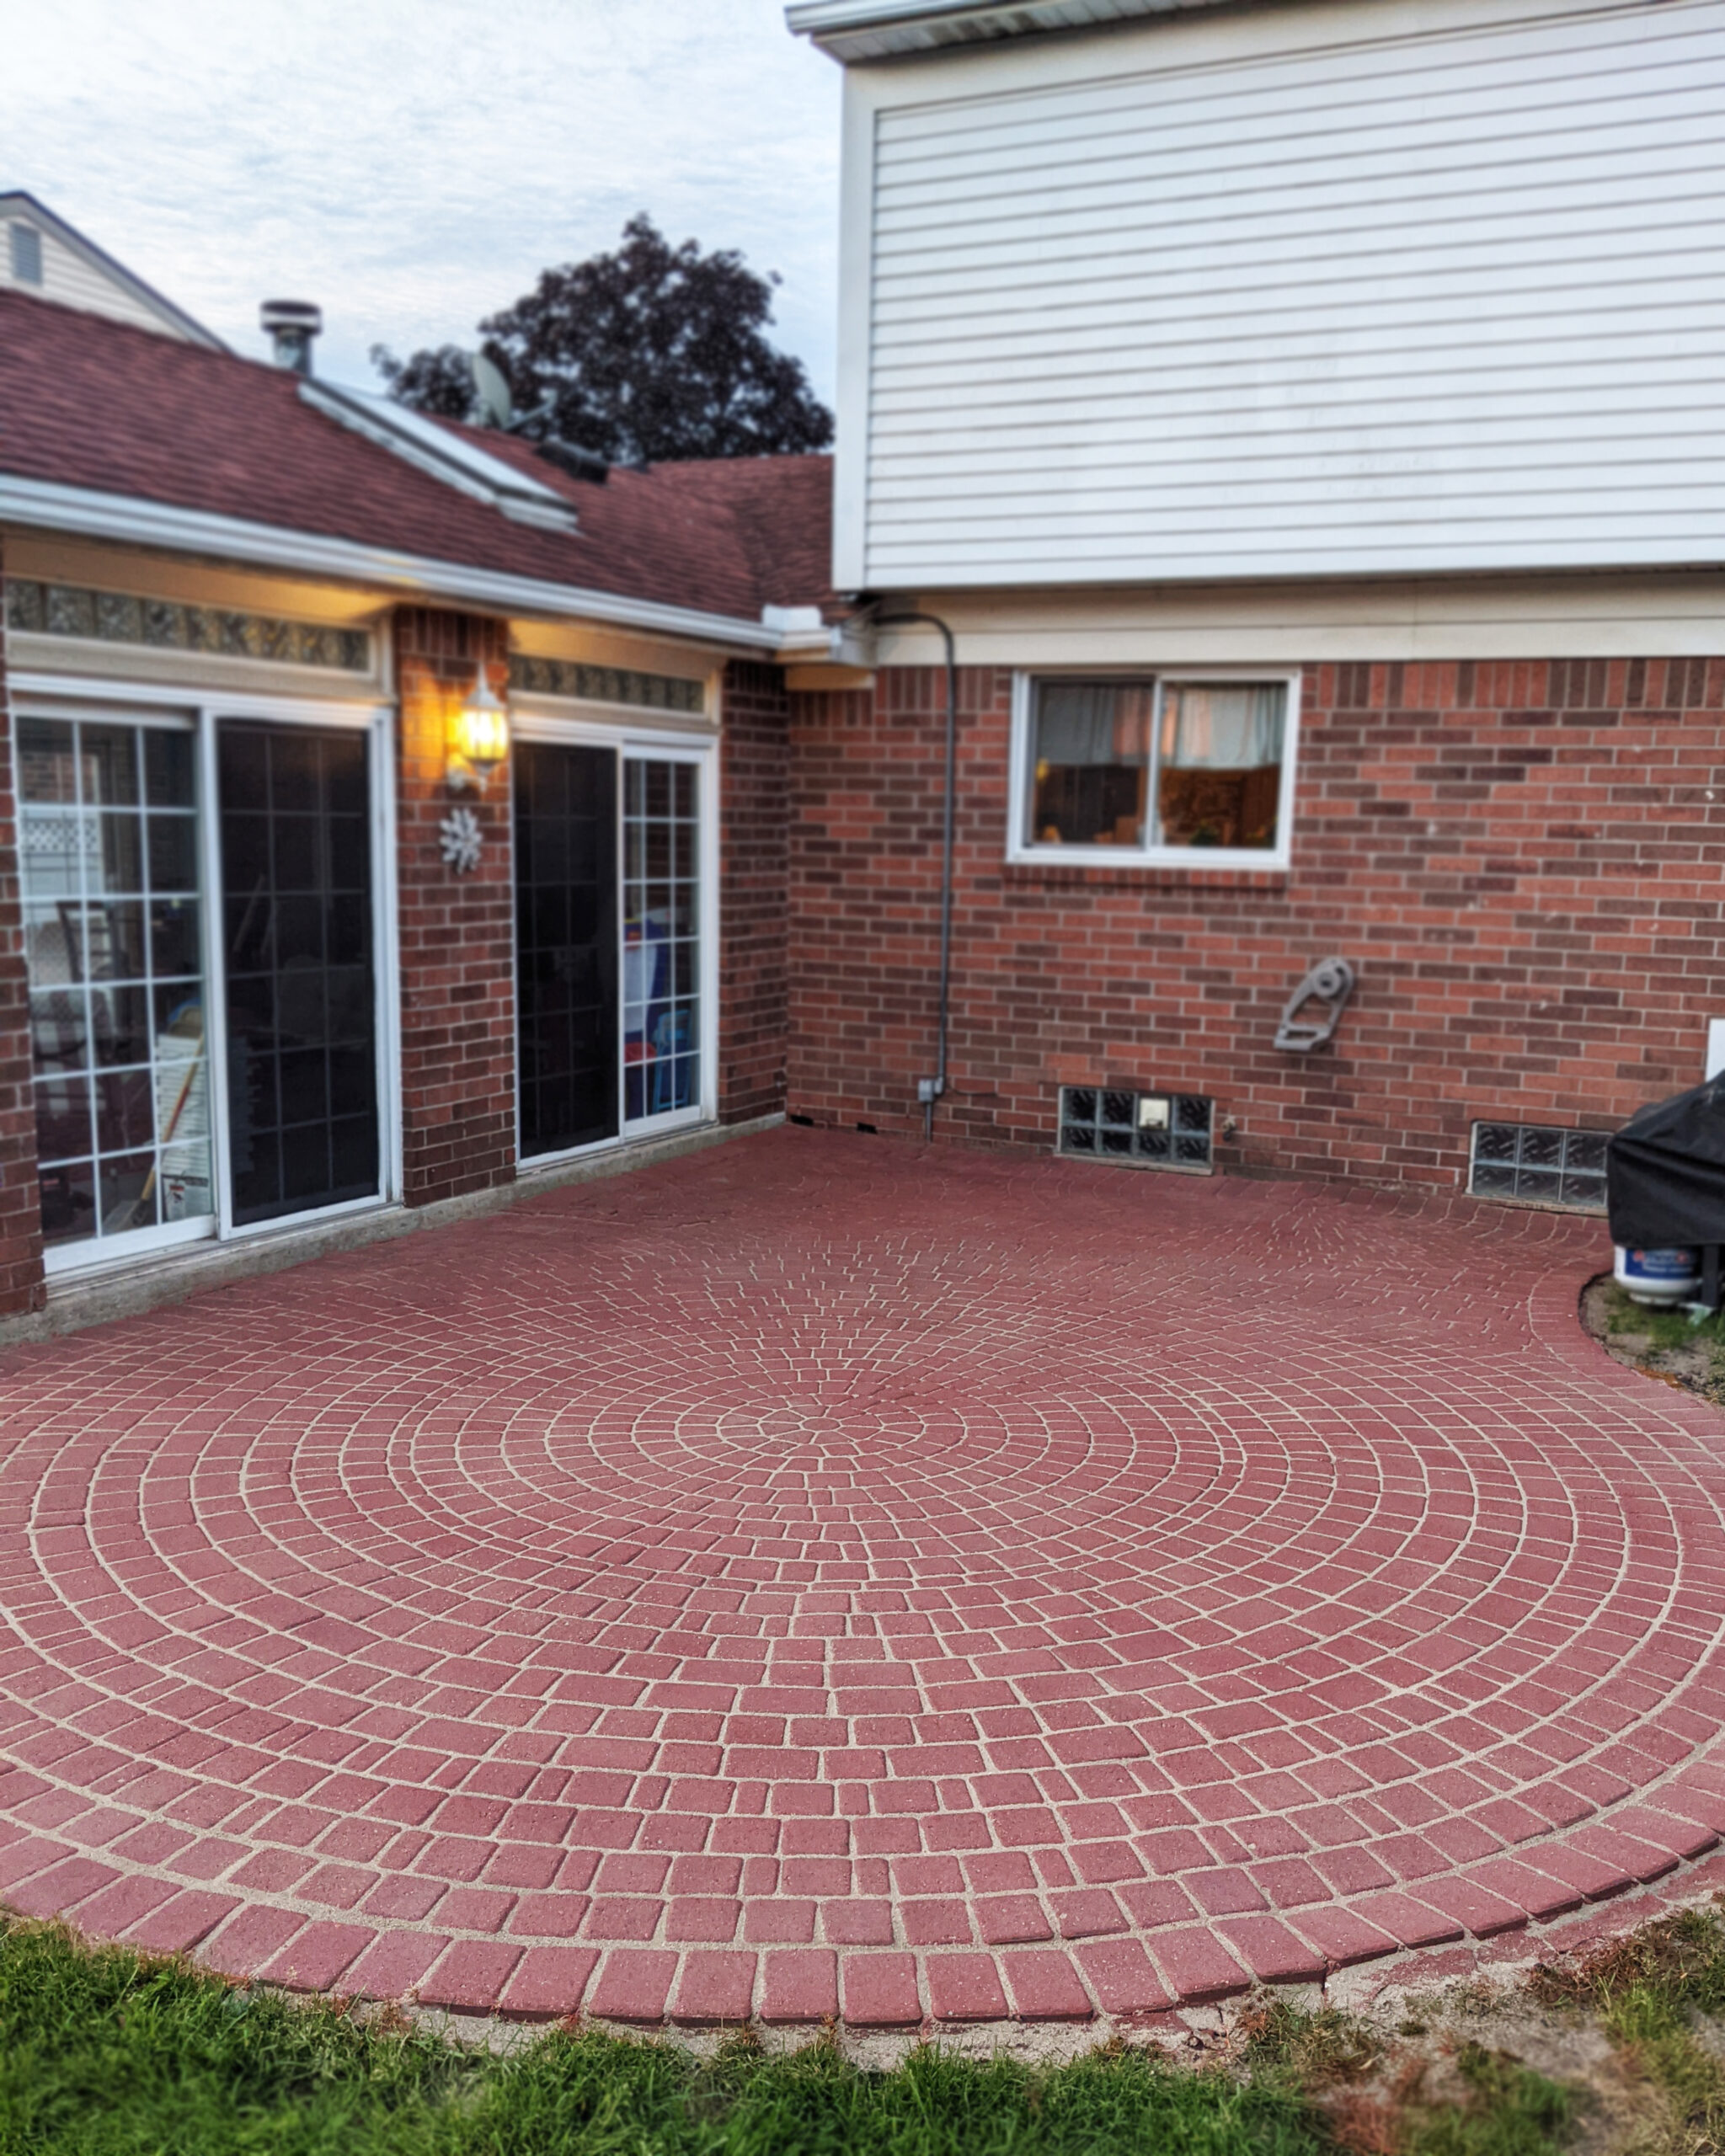
Project Info:
- Project Completed In: 20 day(s)
- Estimate of Square Footage: 200 sq. ft.
- Project Description:
My brick pavers patio was in rough shape. We took a section apart due to sinking and it never got put back together, the bricks were dirty looking, weeds in-between the pavers.
We decided to rehab the patio after getting several extremely high quotes from companies. We put the pavers back, power washed very thought then stained, sealed and polymeric sanded. The patio now looks brand new! - Personal Tips:
After we power washed the pavers seemed to be VERY porous. I used 2 gallons of acrylic sealer and I ran out. I also suggest starting a project like this in a dry season. I live in the Midwest and we had multiple days of rain which would prevent me from getting the next step finished. I did make sure we had a few dry days to stain and seal. - Direct Colors Products Used:
1 Gal. Crimson DIY Portico™ & EasySeal™ Satin Kit
2 x 1 Gal. Crimson Portico™ & EasySeal™ Satin Kit - Other Products Used:
Paver set and a power washer
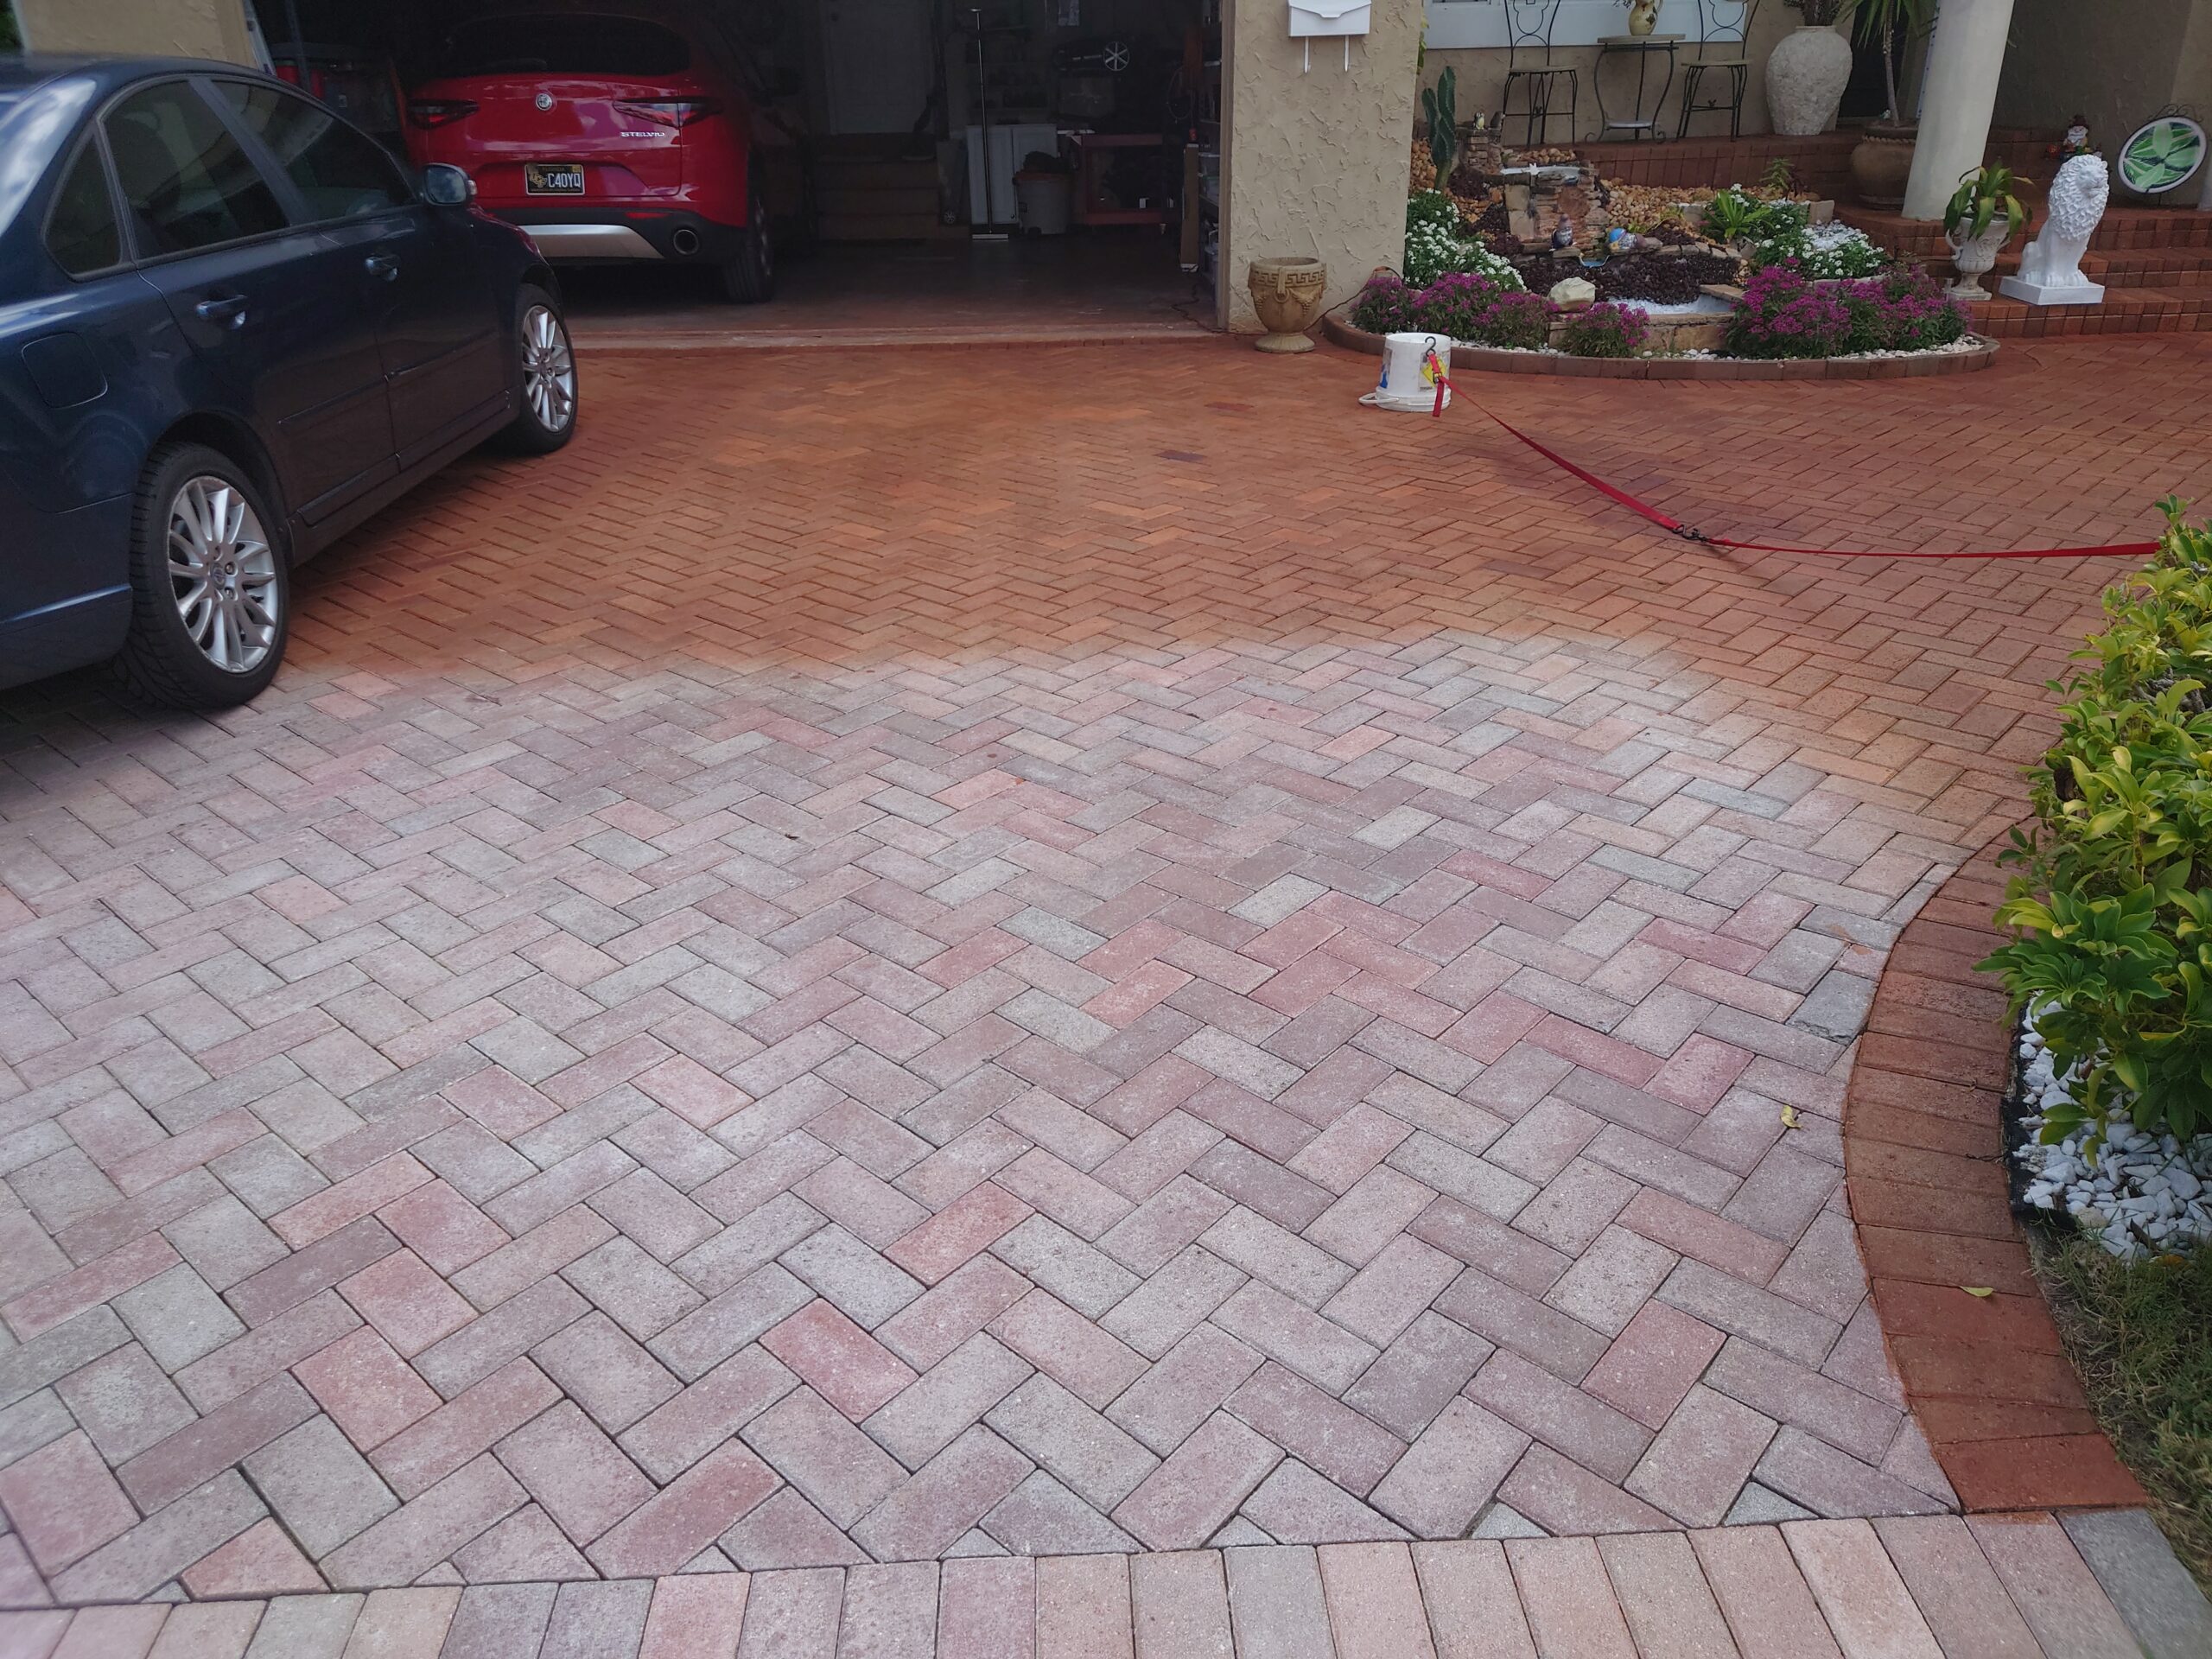
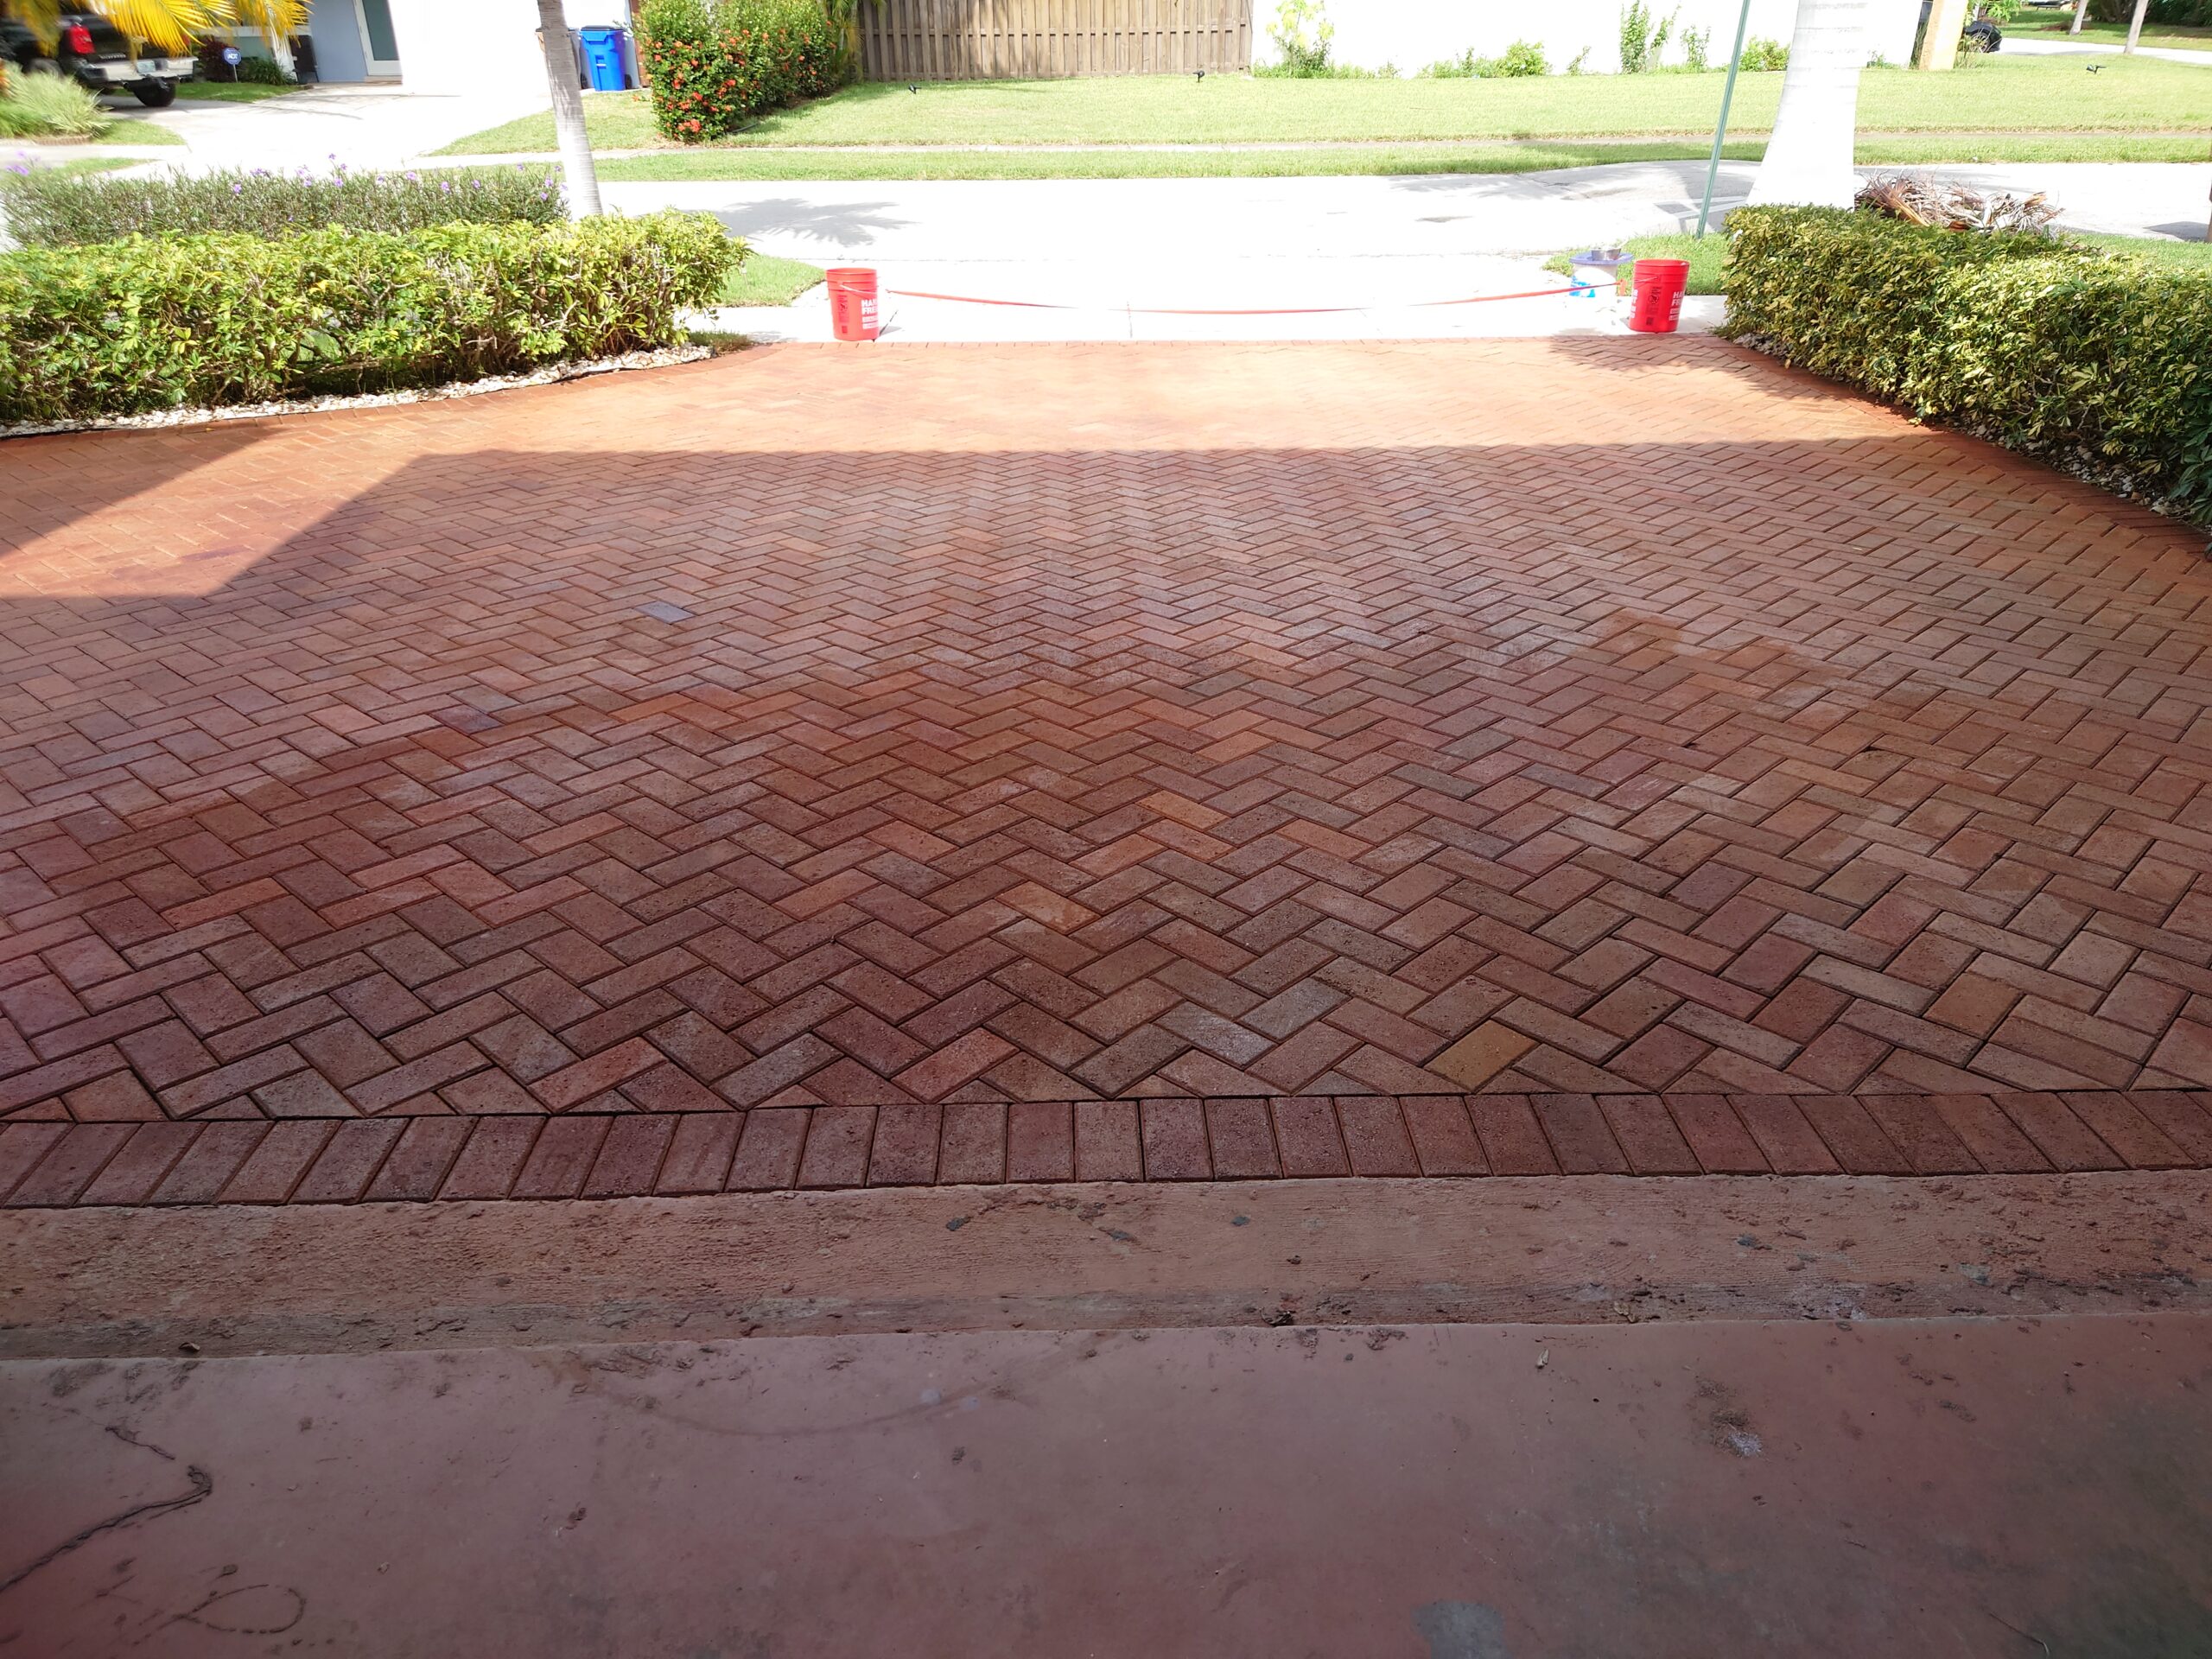
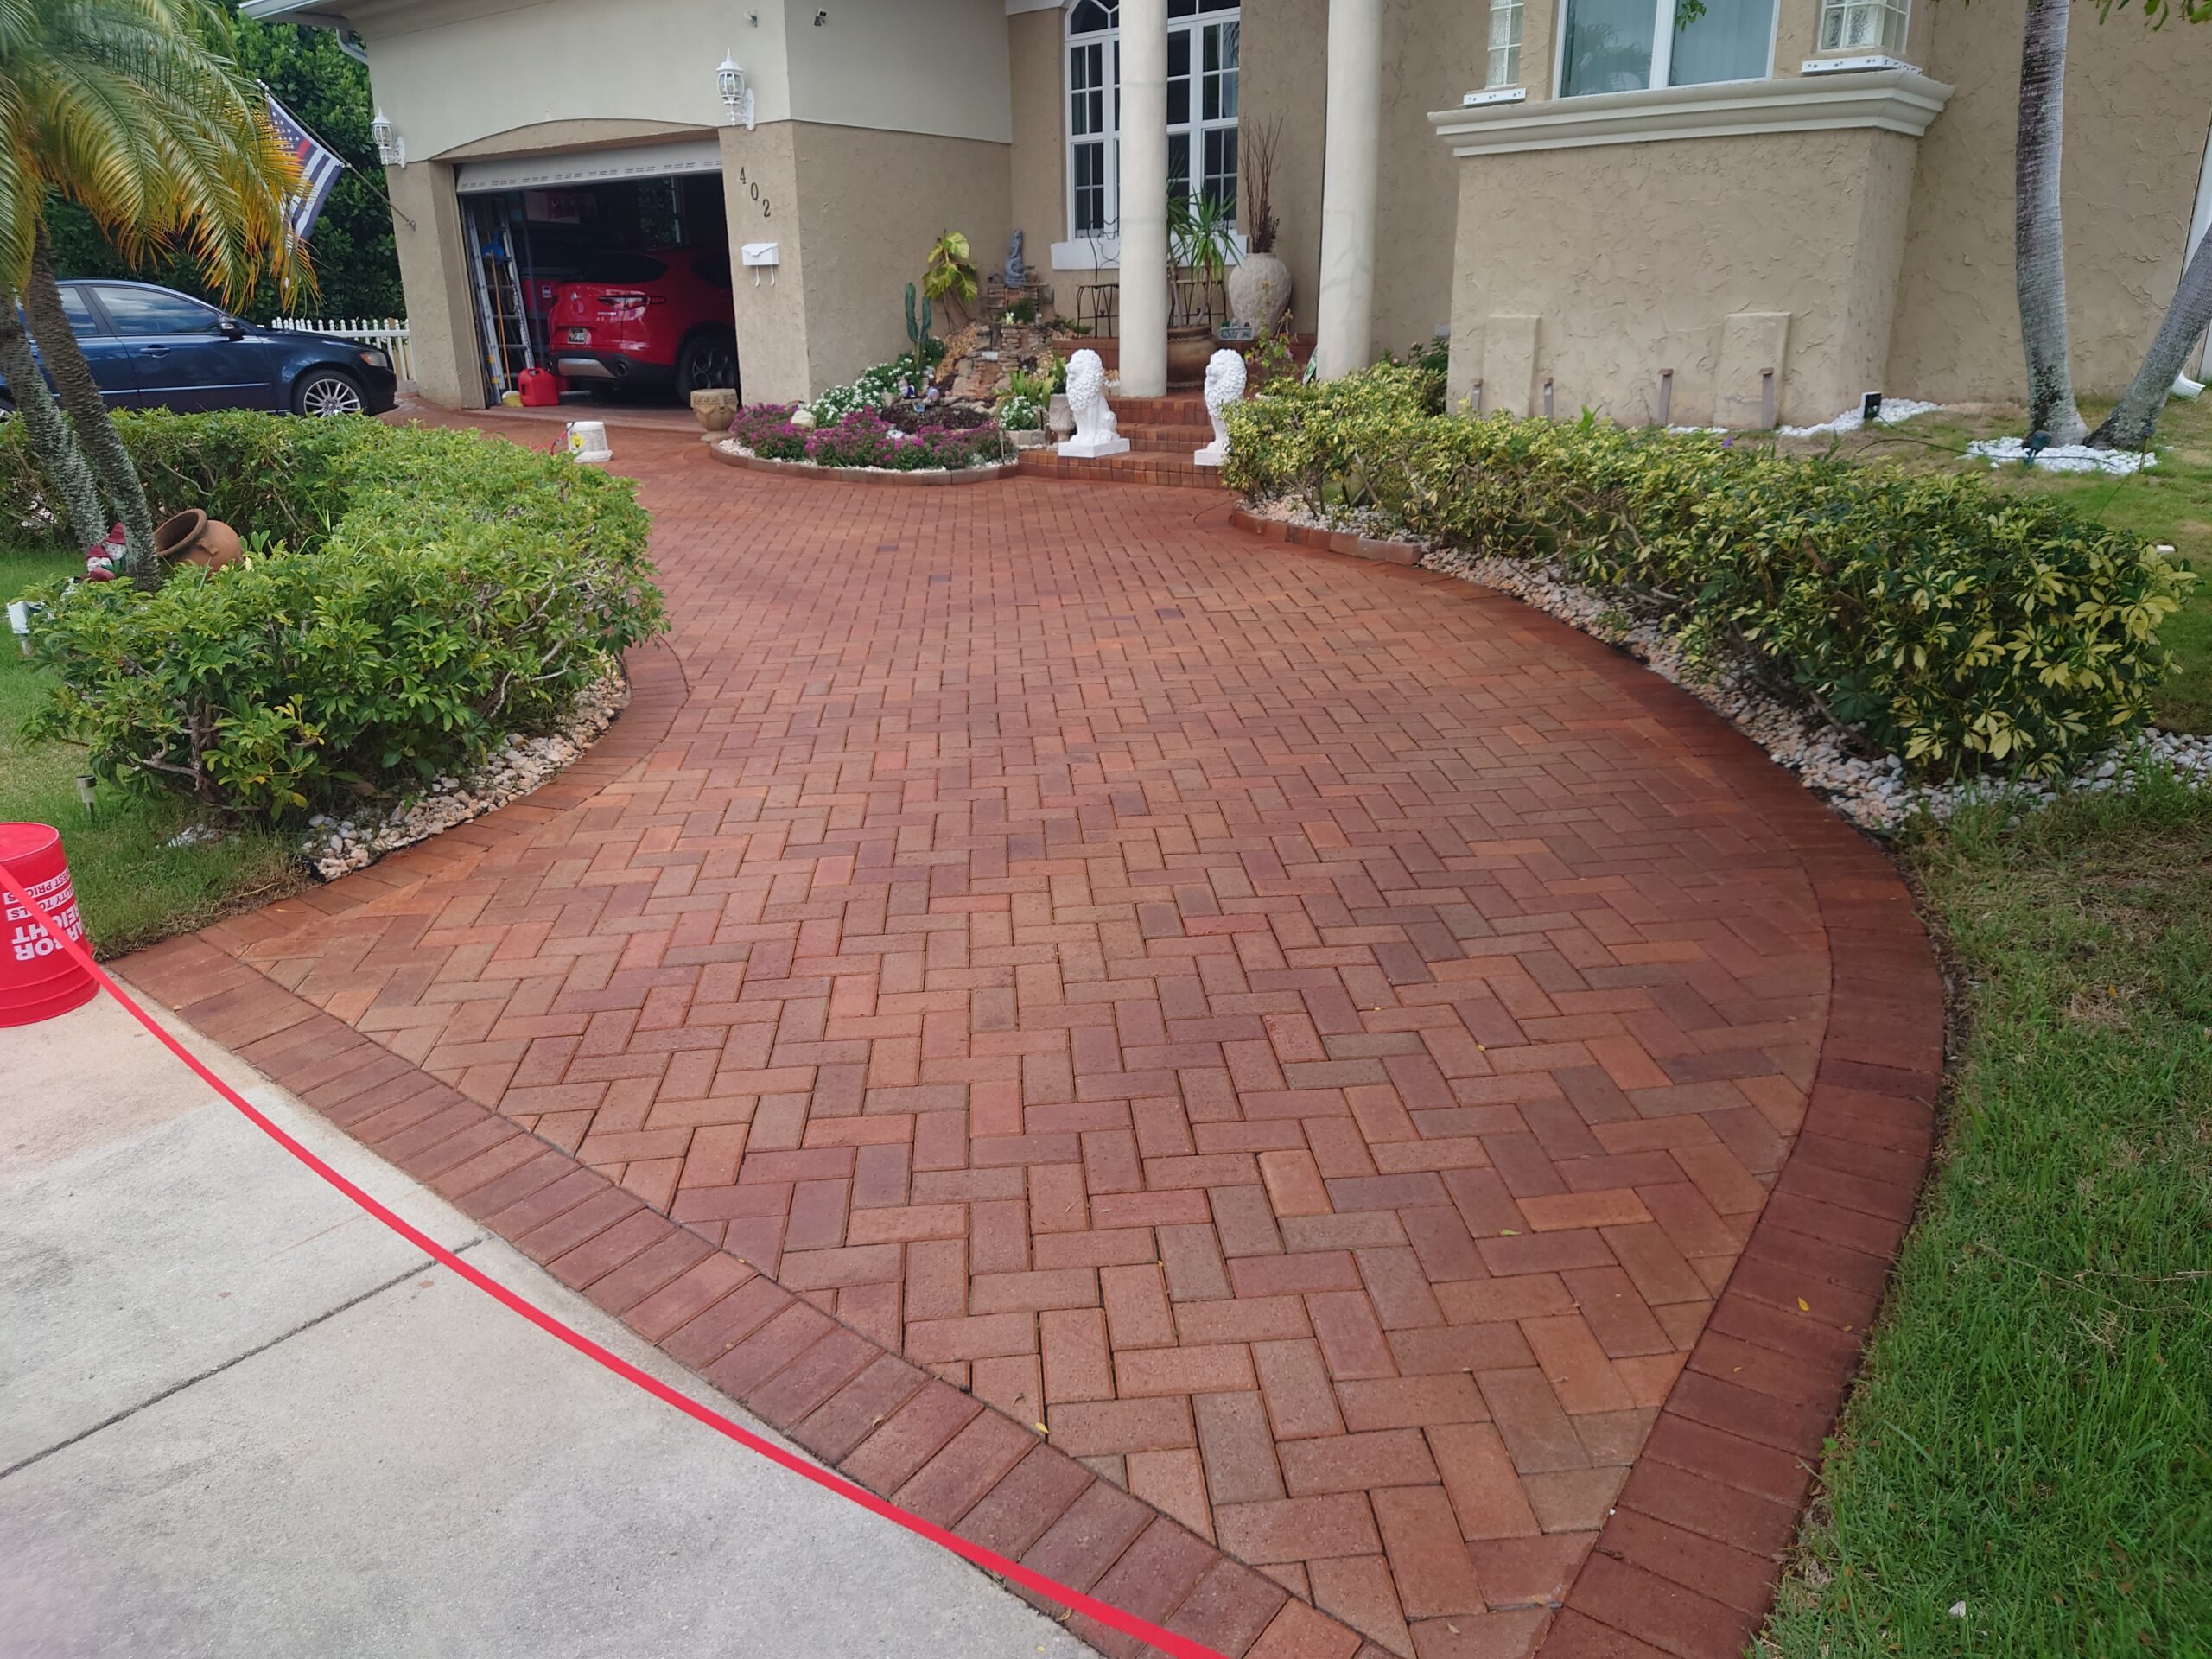
Boring Brick Pavers Are In The Past
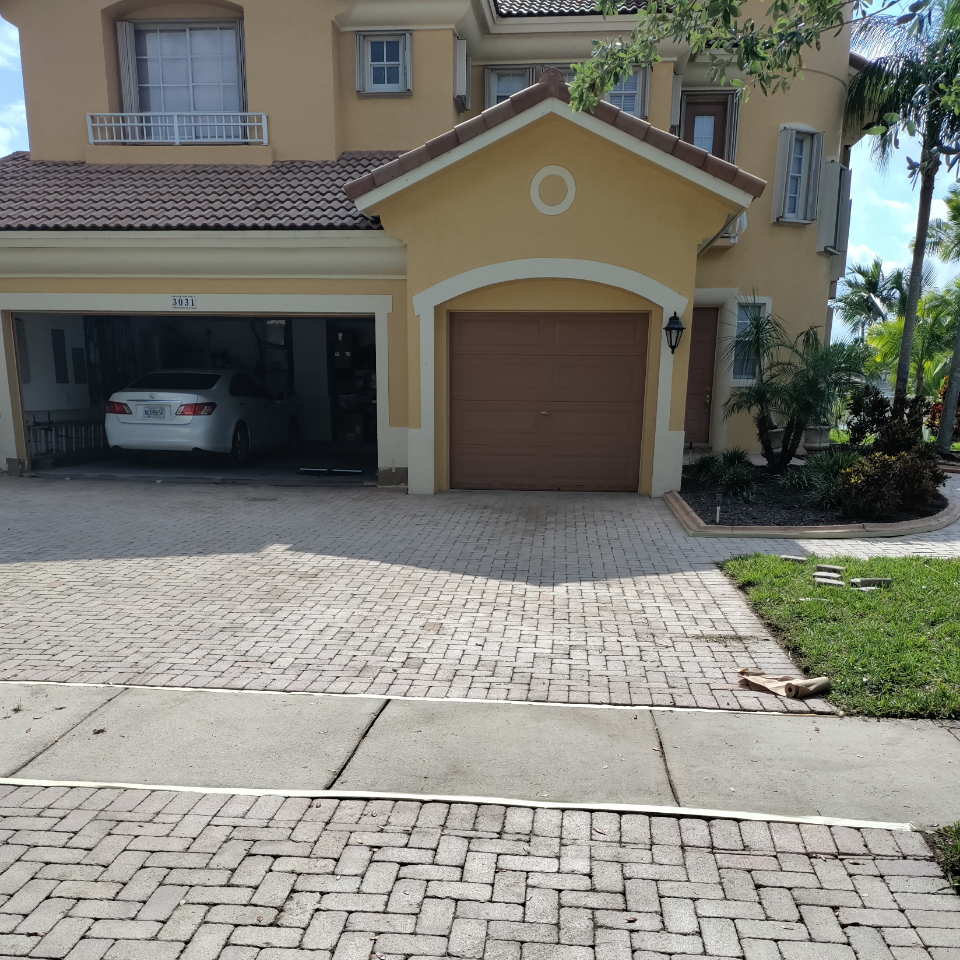
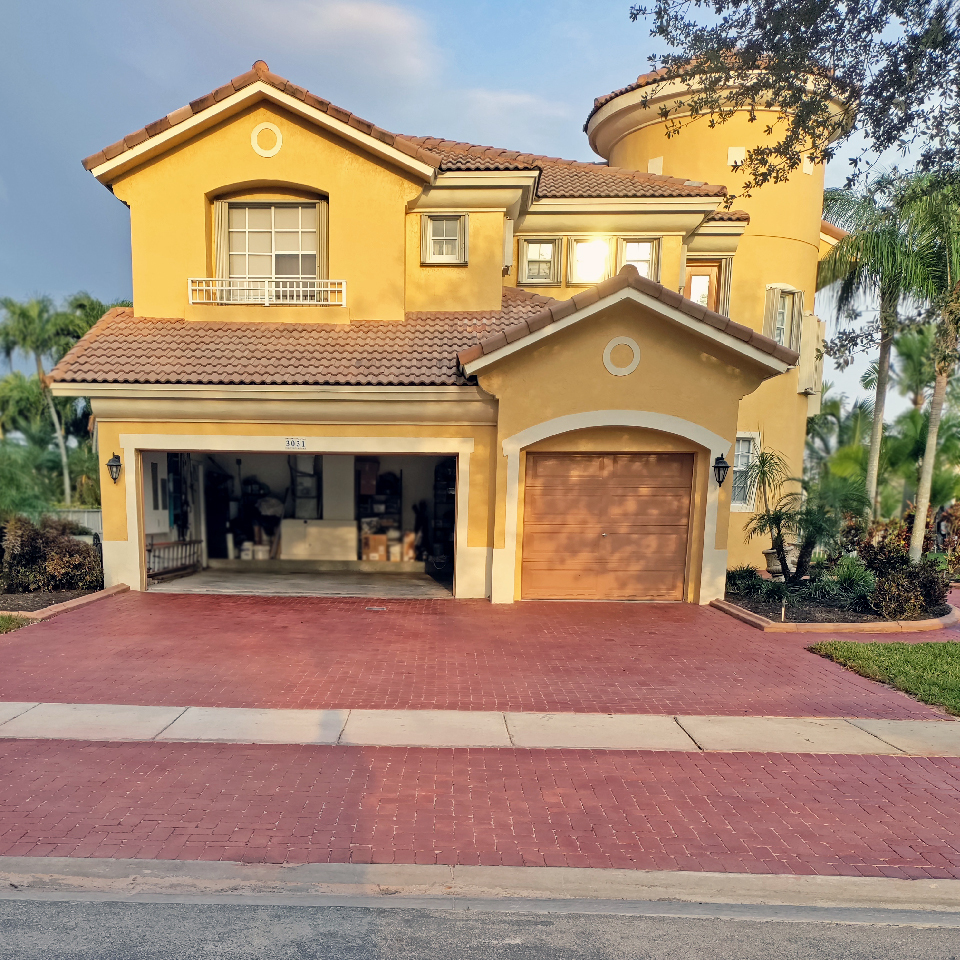
These brick pavers underwent an impressive transformation when our customer decided to stain them. Our acrylic sealer sealed the deal (literally). We think that the red concrete stain really dresses up this once drab driveway!
- Project Completed In: 3 day(s)
- Estimate of Square Footage: 1200 sq. ft.
- Project Description:
My pavers were very discolored and I decided to stain them .I checked online and found Direct Colors .There staff was very helpful throughout the entire process. I ordered the sample kit and decided on the Crimson color and the Satin sealer. All the products arrived on time and were packed very good. - Personal Tips:
make sure you check the weather report for the days you will be working and having the sealer dry
take your time in pressure washing and preparing the surface test small areas first
make sure you give ample time in the drying process
Use a deck sprayer and use the red tip for best results - Direct Colors Products Used:
1 Gal. Crimson DIY Portico™ & EasySeal™ Satin Kit
5 Gal. Crimson Portico™ & EasySeal™ Satin Kit
Other Products Used:
Used techniseal poly sand
Transforming Neglected Stamped Concrete Patio: My DIY Journey to a Stunning and Budget-Friendly Refinish
After years of neglect, a DIY enthusiast decided to breathe new life into their worn-out stamped concrete patio. They opted to use crimson red stained concrete to achieve a beautiful and inviting outdoor living space on a budget.
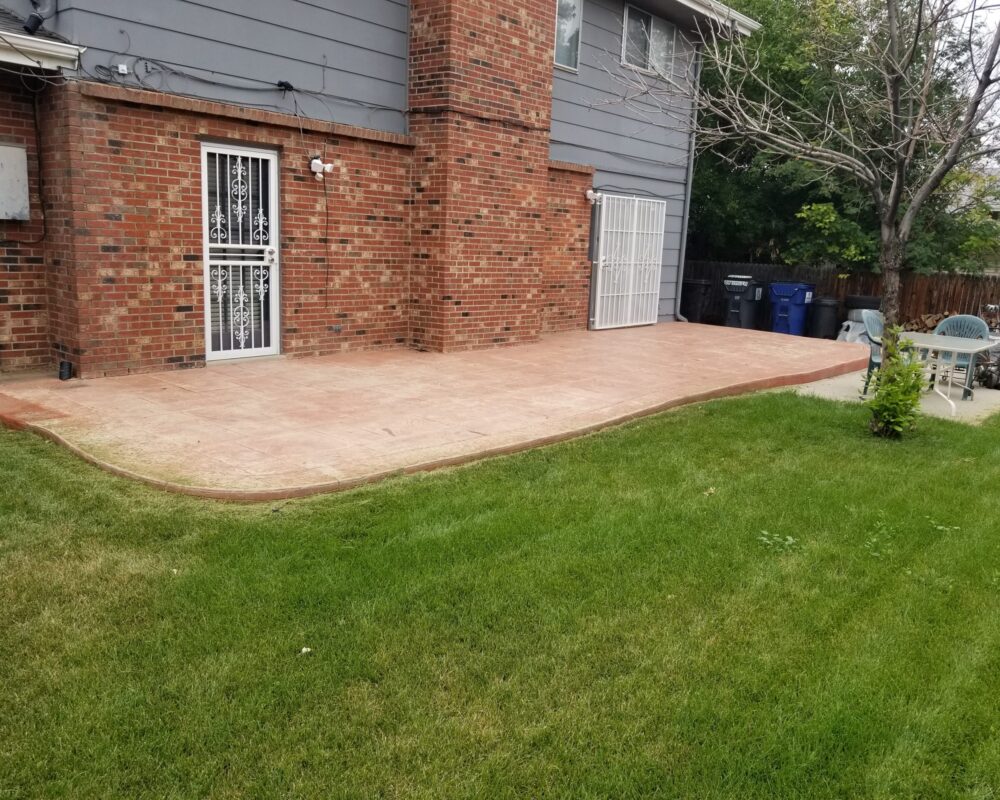
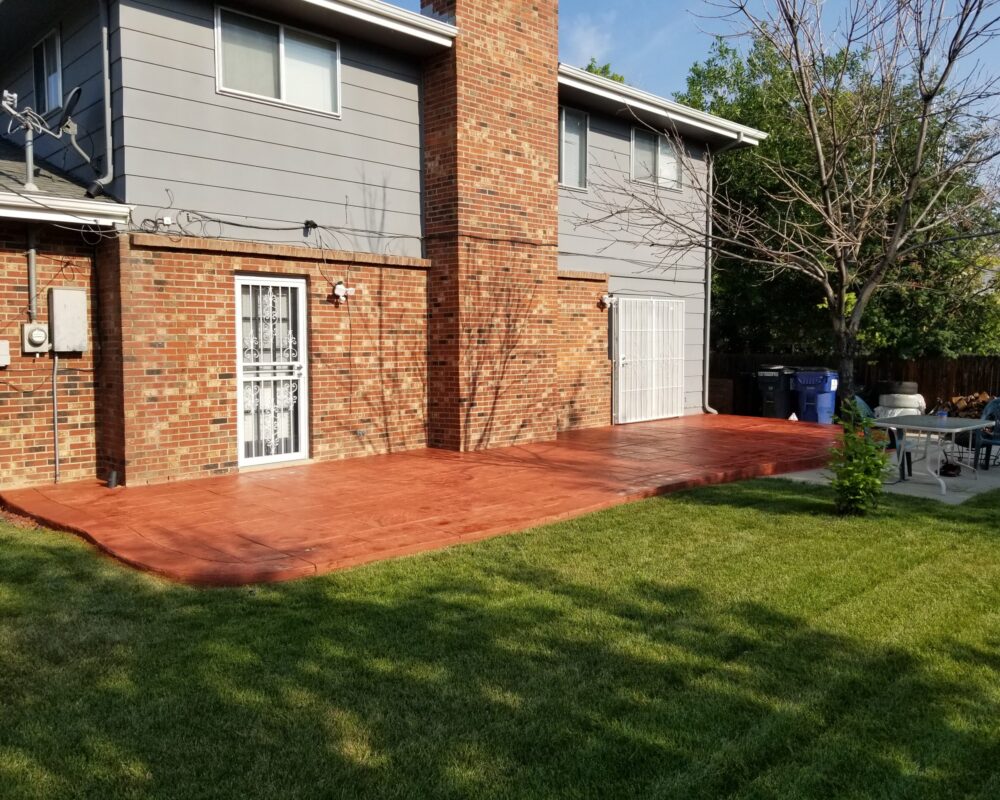
Project Info:
- Project Completed In: 2 day(s)
- Estimate of Square Footage: 450 sq. ft.
- Project Description:
I had been living at this home for about 5 years and had never done any sort of maintenance for my stamped concrete patio. The previous sealer seemed to have already worn off even before I moved in, so my patio had been exposed to the sometimes harsh climate in Colorado for many years. I stumbled upon Direct Colors and saw pictures of how great stamped concrete patios can look when they’re cared for and decided to refinish mine. I actually first requested quotes to have someone come and refinish it for me and unfortunately most quotes were telling me it would be upwards of $5k. I quickly decided to try and do it myself and I’m really glad I did. I had no experience doing this before but I simply followed all the instructions listed online and I think it turned out great.
Personal Tips:
I would say definitely get a separate pump sprayer for the stain and the sealer. I initially tried to use the same for both but I feel like I wasn’t able to properly clean the sprayer and it just made things more difficult. Furthermore, between coats of sealer I didn’t clean the spray tip well enough and it seemed to clog it up so I was getting really uneven application. For the final coat of sealer I switched to a roller so that I could also apply the anti-slip product and that went on much more evenly but you definitely need a good quality nap roller that won’t leave lint behind. I also got a bit careless when spraying the stain and had quite a bit of overspray that required a lot of scrubbing to clean. I would say just take your time and use cardboard and tape to make sure you don’t overspray. Lastly, I may have sprayed the stain and the sealer very unevenly, in the end it still turned out nice, but I would say take your time and first practice spraying evenly on something like cardboard.
Direct Colors Products Used:
16 Oz. Non Slip Concrete Sealer Additive
1 Gal. Crimson DIY Antiquing™ & EasySeal™ Satin Kit
2 x 1 Gal. Crimson Antiquing™ & EasySeal™ Satin Kit
Other Products Used:
-
- I also first power washed my patio with a cheap electric power washer I found on Amazon
For additional inspiration on stained pavers, check out “Stained Concrete Pavers: Transform Your Outdoor Space With Before and After Inspiration“.
Revitalizing a 16-Year-Old Concrete Paver Driveway on a Budget
Discover how one retired homeowner was able to revive their 16-year-old concrete paver driveway on a budget using ColorWave water-based stain. Without any prior experience, the homeowner was able to repair and rejuvenate their driveway to look like new and even impressed their neighbors with the final results. This project is perfect for any homeowner looking to save money and breathe new life into their concrete paver driveway.
Project Info:
• Project Completed In: 15 day(s)
• Estimate of Square Footage: 400 sq. ft.
• Project Description:
After 16 years, the pavers could not be save, and I received quotes of over $10,000 dollars to replace the pavers. I’m retired, after researching for a product to repair the pavers; I ordered a test kit. It did work so I ordered your product. Without no experience at all and following the directions, I applied your product, and it did a fabulous job; even my neighbors are in shock. I had recommended your product and some had took photos of the containers.
• Personal Tips:
I used a over 20 years old Wagner spray gun, it made the job easy and faster. Just follow the directions.
• Direct Colors Products Used:
1 Gal. Rust DIY ColorWave® & AcquaSeal™ Gloss Kit
1 Gal. Rust ColorWave® & AcquaSeal™ Gloss Kit
DIY Hand-Stained Cement Tiles: My Journey with EasyTint Tinted Sealer for Great Colors and Easy Application
Looking for an easy and effective way to add color and protection to your hand-stained cement tiles? One DIY enthusiast found success with EasyTint tinted sealer. By using this product on their self-poured cement tiles, they achieved great colors and a durable finish.
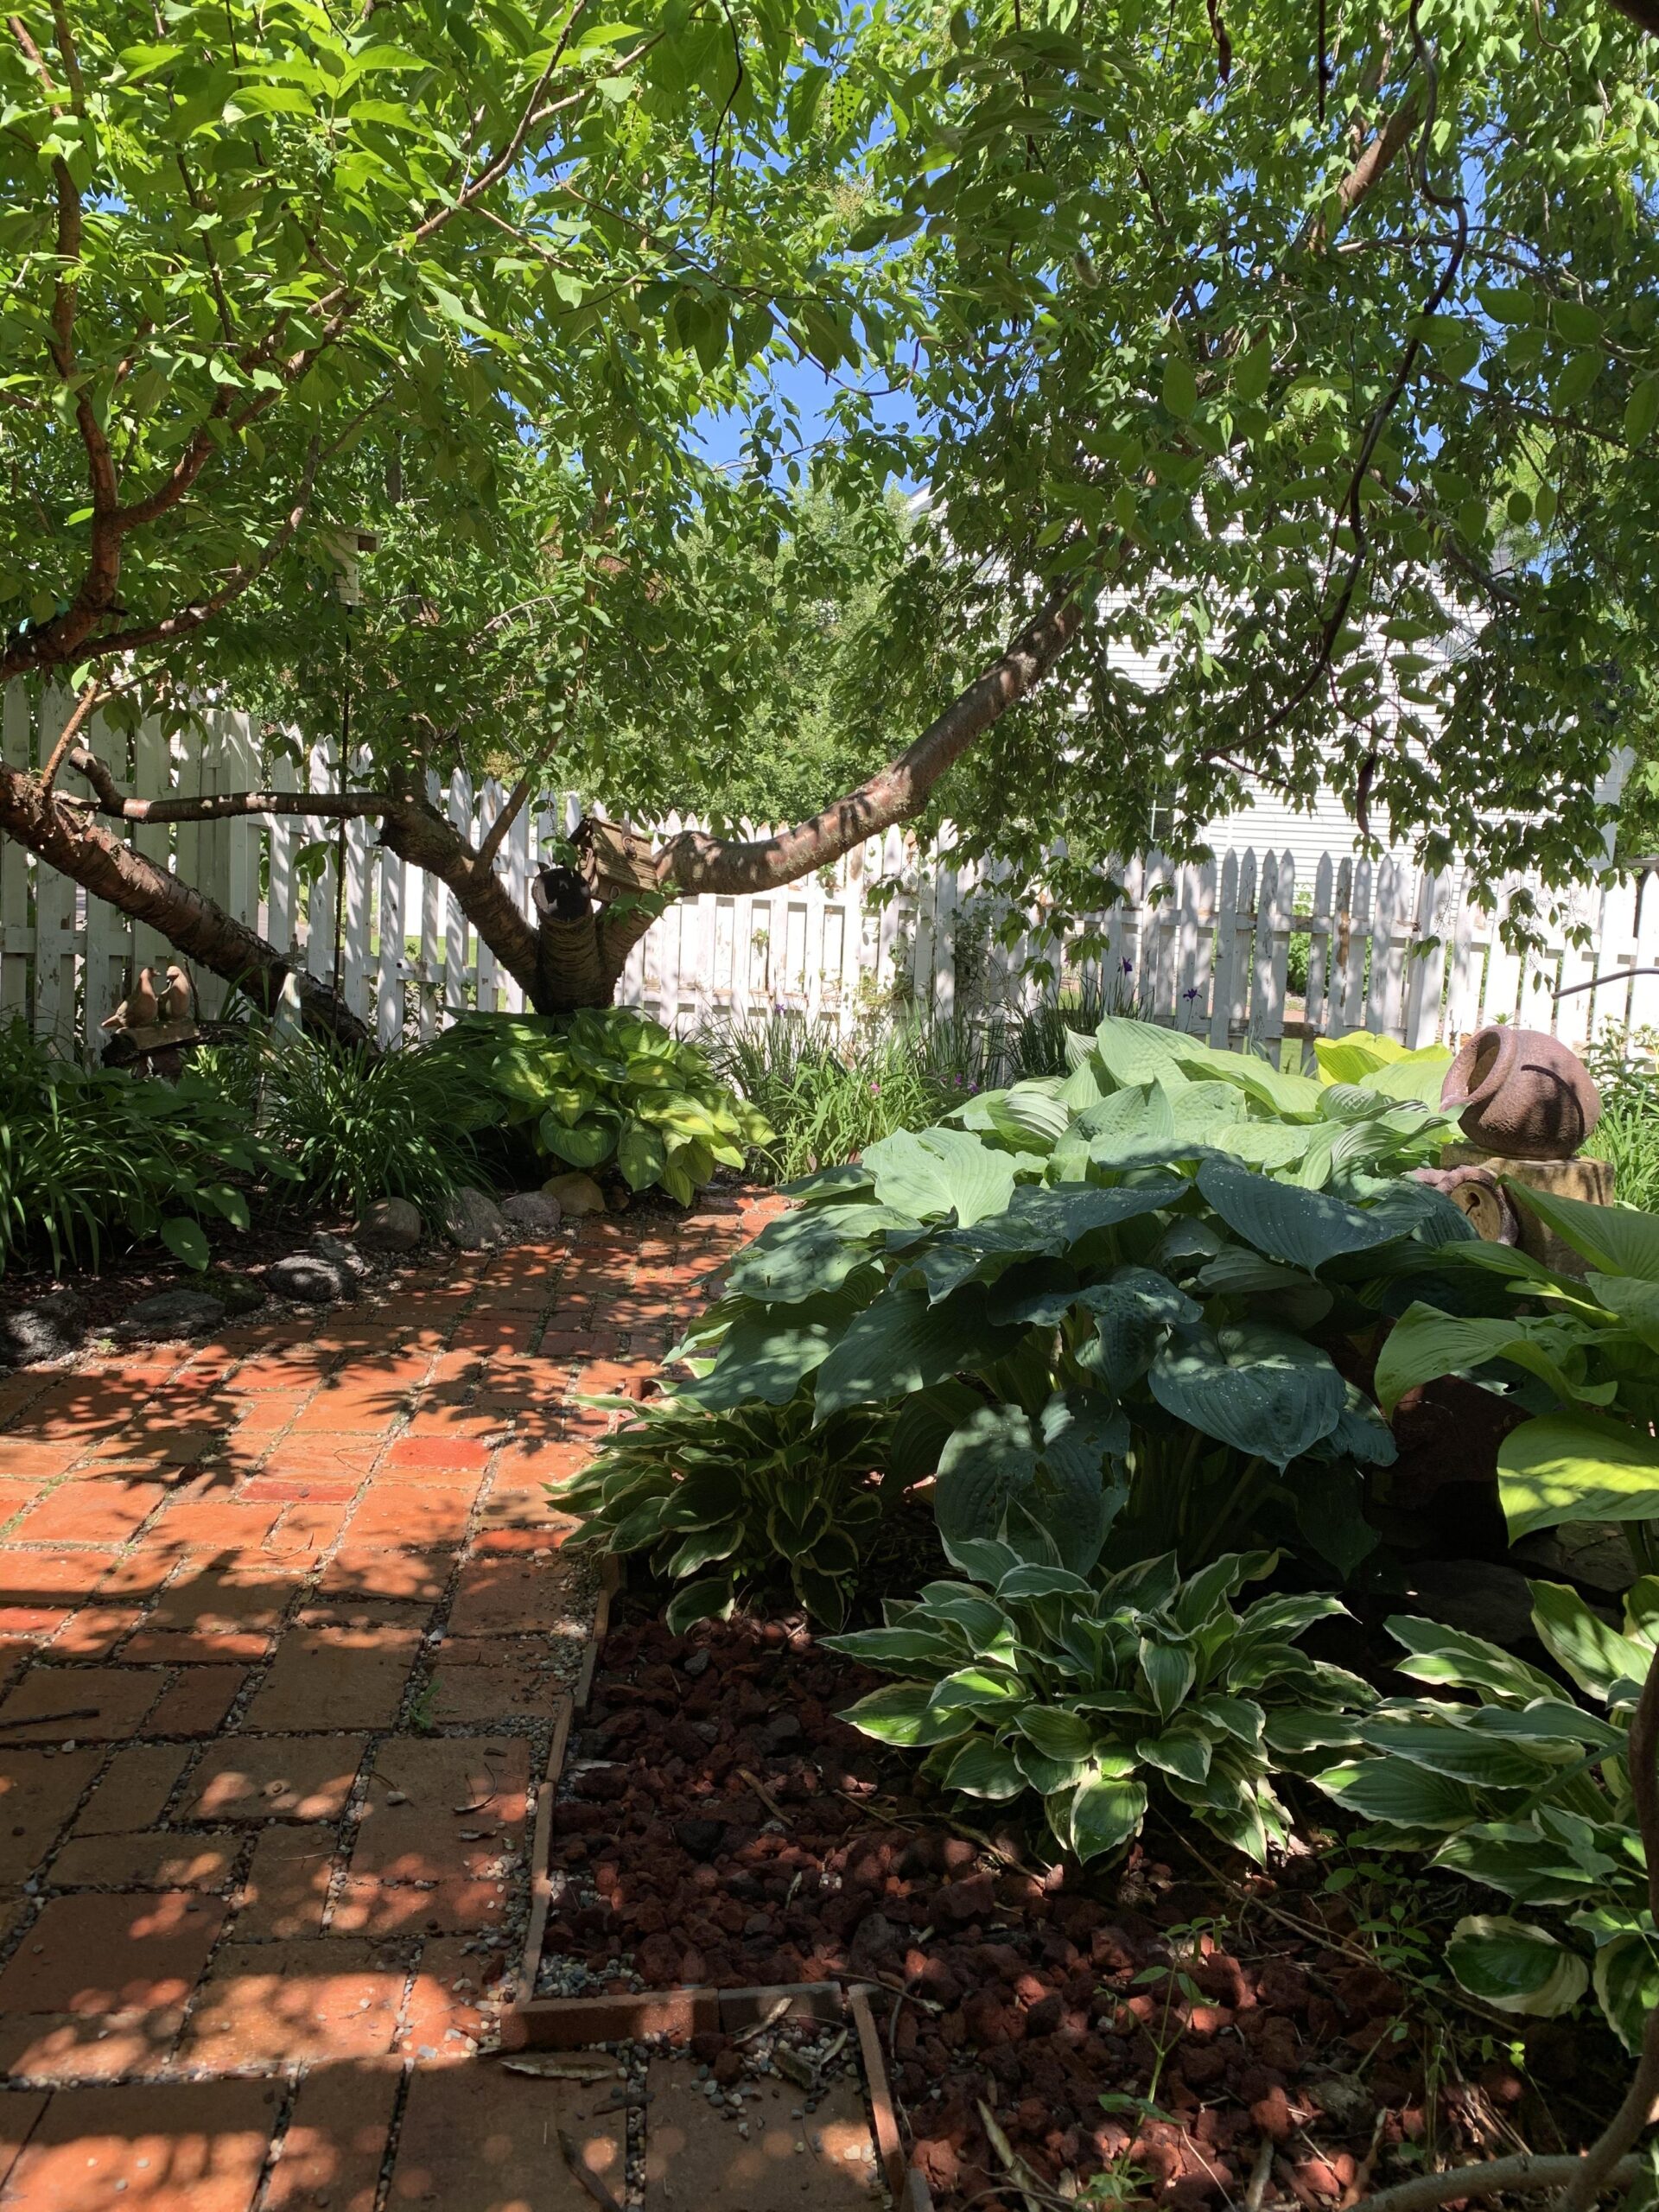
Revitalizing Weather Worn Concrete Pavers: A DIY Project with Crimson Red and Fern Green Stains
Are you tired of the dull and lifeless appearance of your weather-worn concrete pavers? One DIY enthusiast was in the same situation until they decided to take matters into their own hands. They set out on a DIY project to revitalize their walkway using crimson red and fern green stains
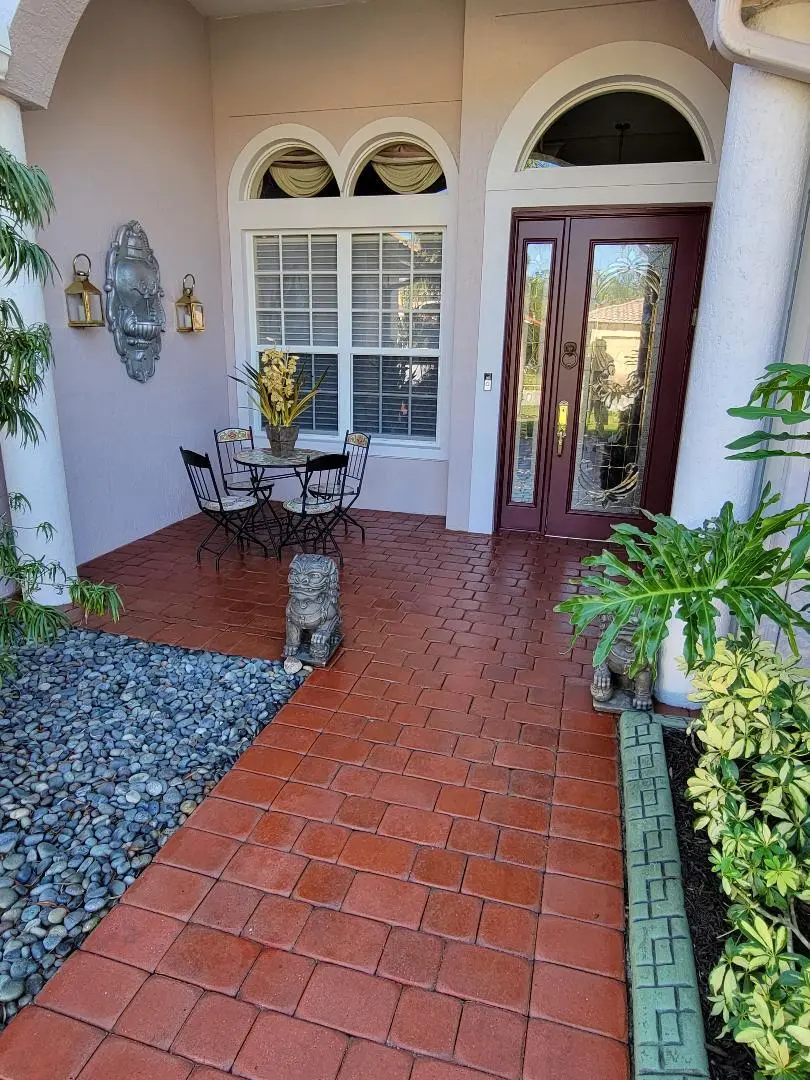
Crimson Comeback: A Front Entrance Facelift
Witness the power of a pint as we revitalized our faded front entrance with just a quart of Crimson Portico stain. Top it off with an EasySeal satin finish, and voila! We’ve turned a lackluster walkway into a vibrant welcome mat. It’s proof that a little color goes a long way!
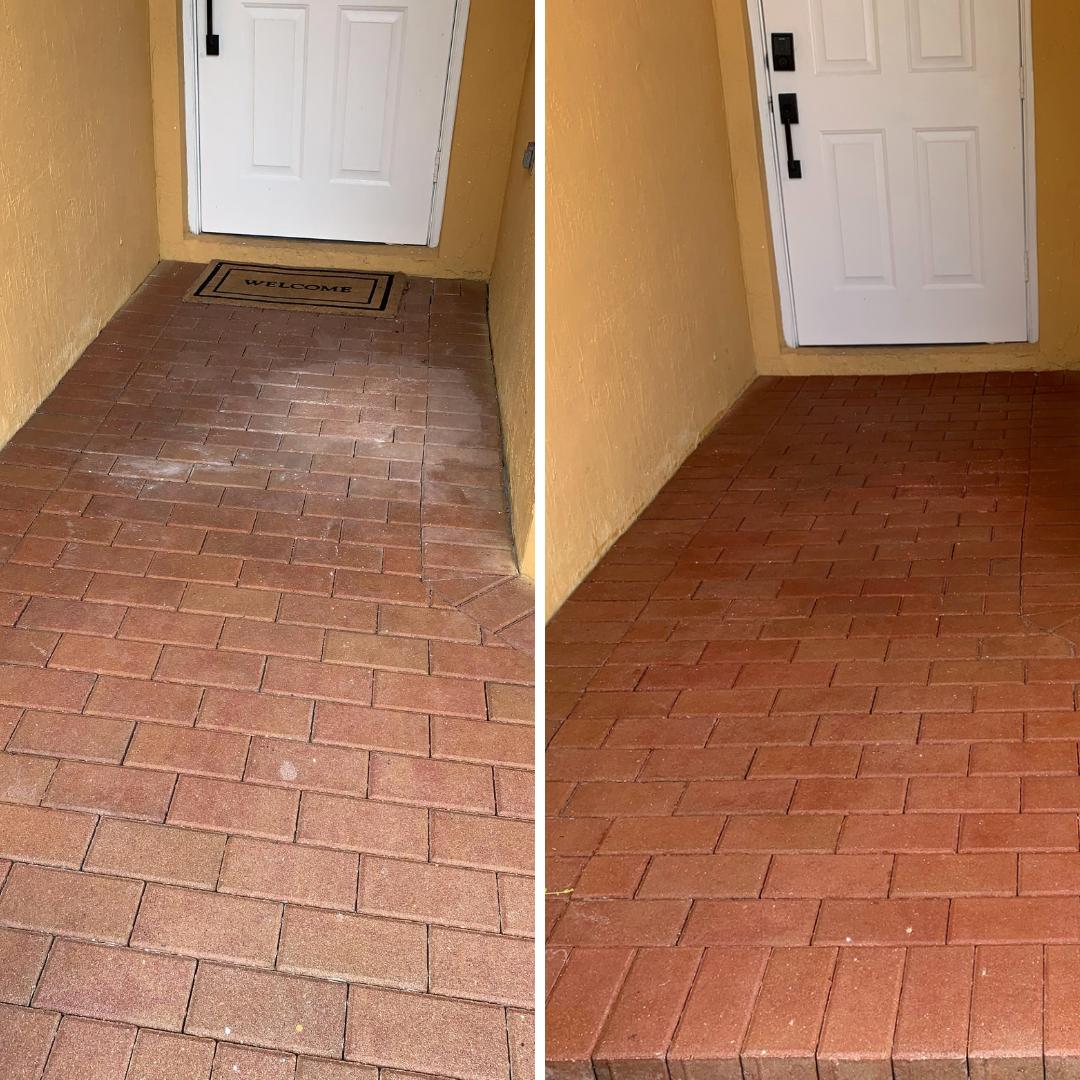
From Cotton Candy Mishap to Crimson Triumph: Our Back Porch Revamp
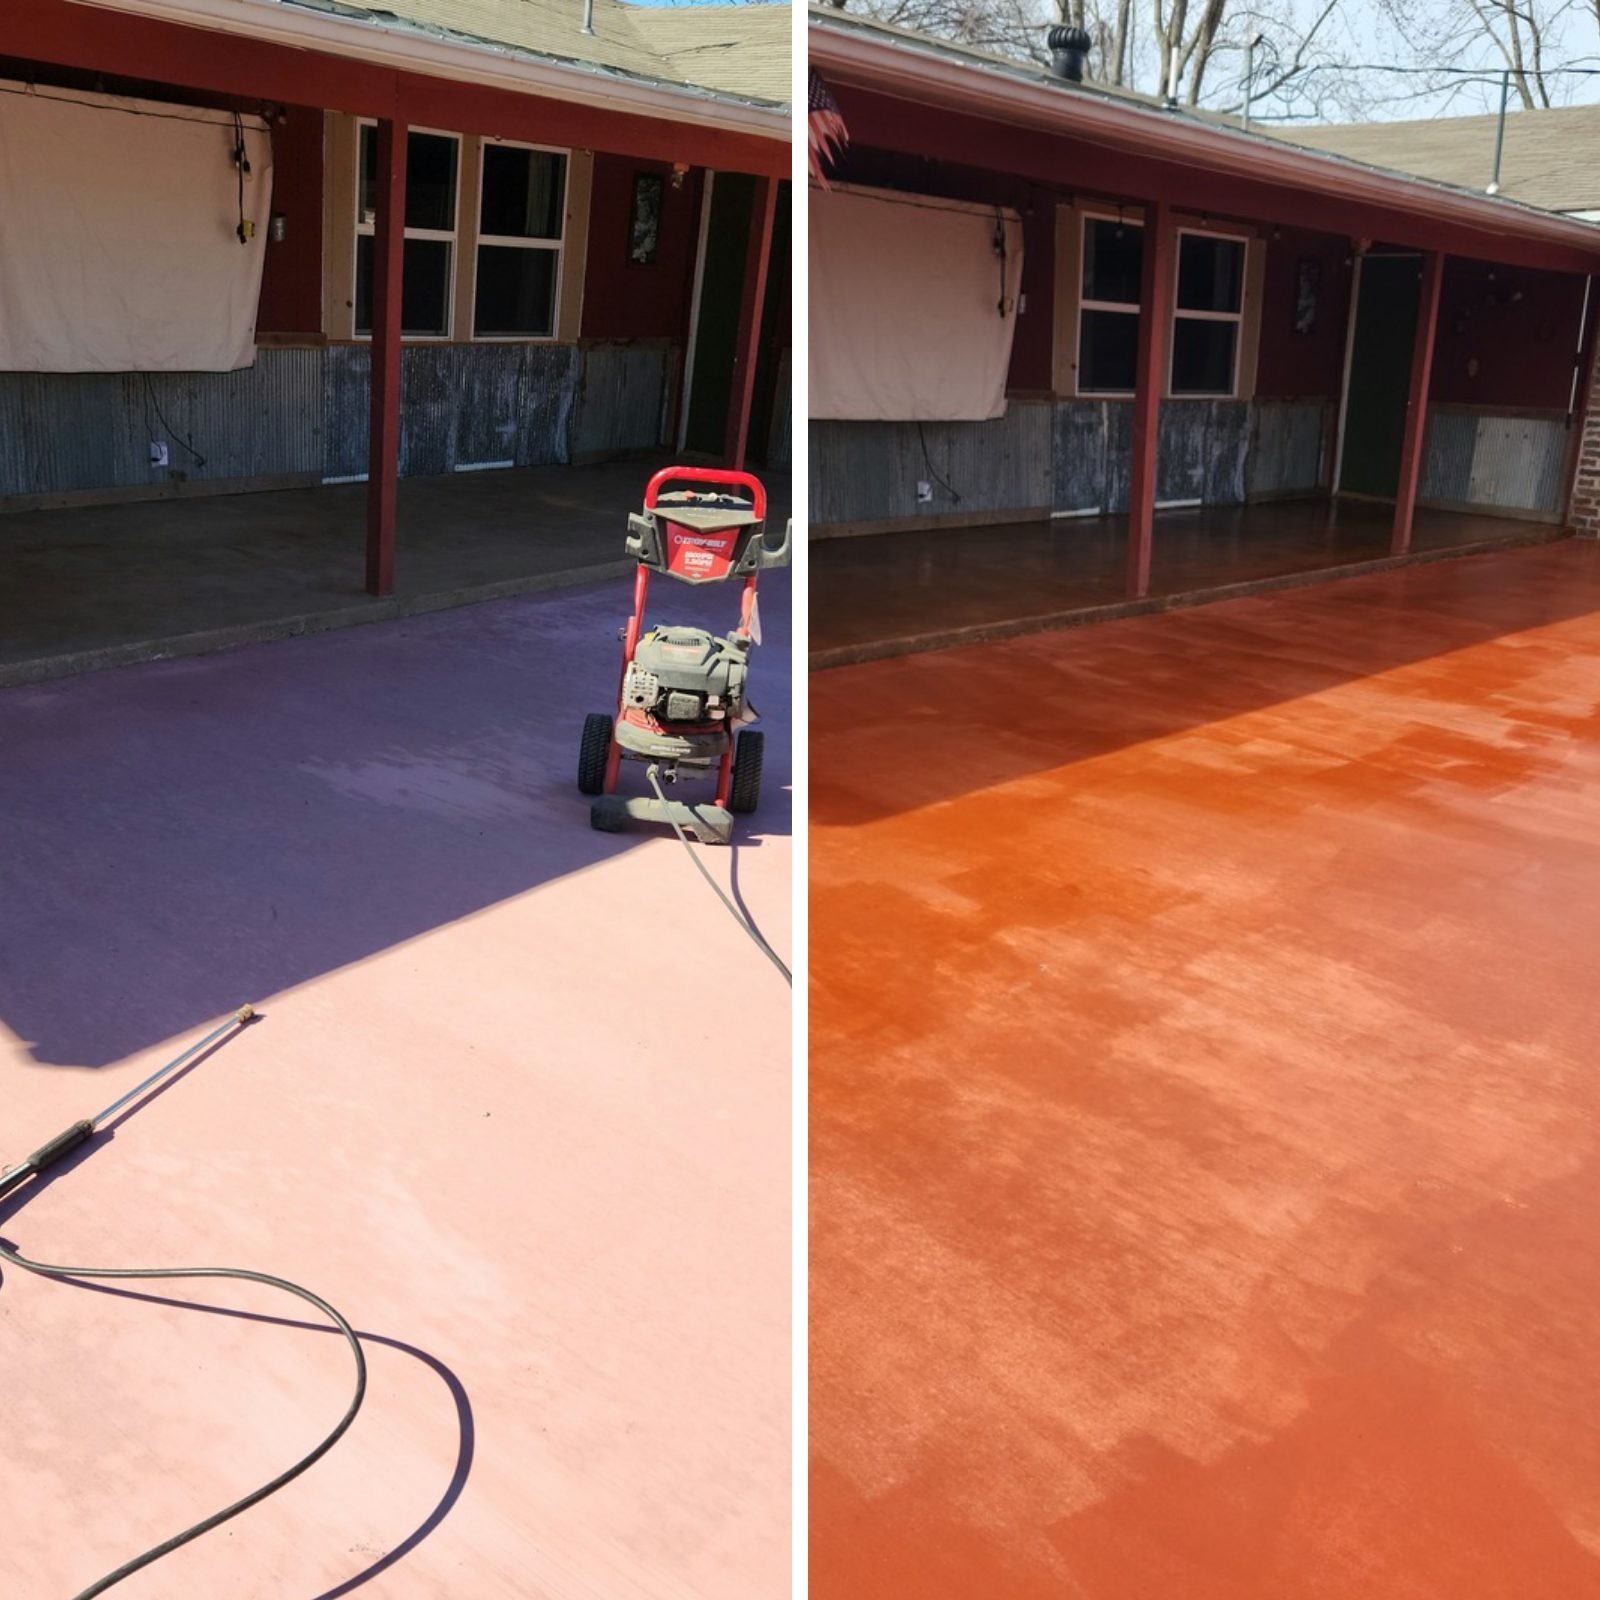
We are very pleased with this product!! We extended our back porch and added “Barn Red” concrete coloring to our concrete truck and after curing, it was light pink!!! Not happy about this and ordered the EasyTint in Crimson Red hoping to correct the awful pink! It did the job and came out beautiful, as seen in before and after pictures! Highly recommend these products, not mention, an awesome home state company for us here in Oklahoma!! Thank you!! For DIY’ers, don’t waste your money on adding color to your concrete before pouring, just use these products after the pour for perfect results!
