Stunning Gray Concrete Stain: A Gallery of DIY Projects
Gray colors have a reputation for bringing balance to any room since they’re so neutral. Feel free to scroll through some of these gray DIY projects – maybe you can see yourself replicating one of these looks!
By Justin Richardon
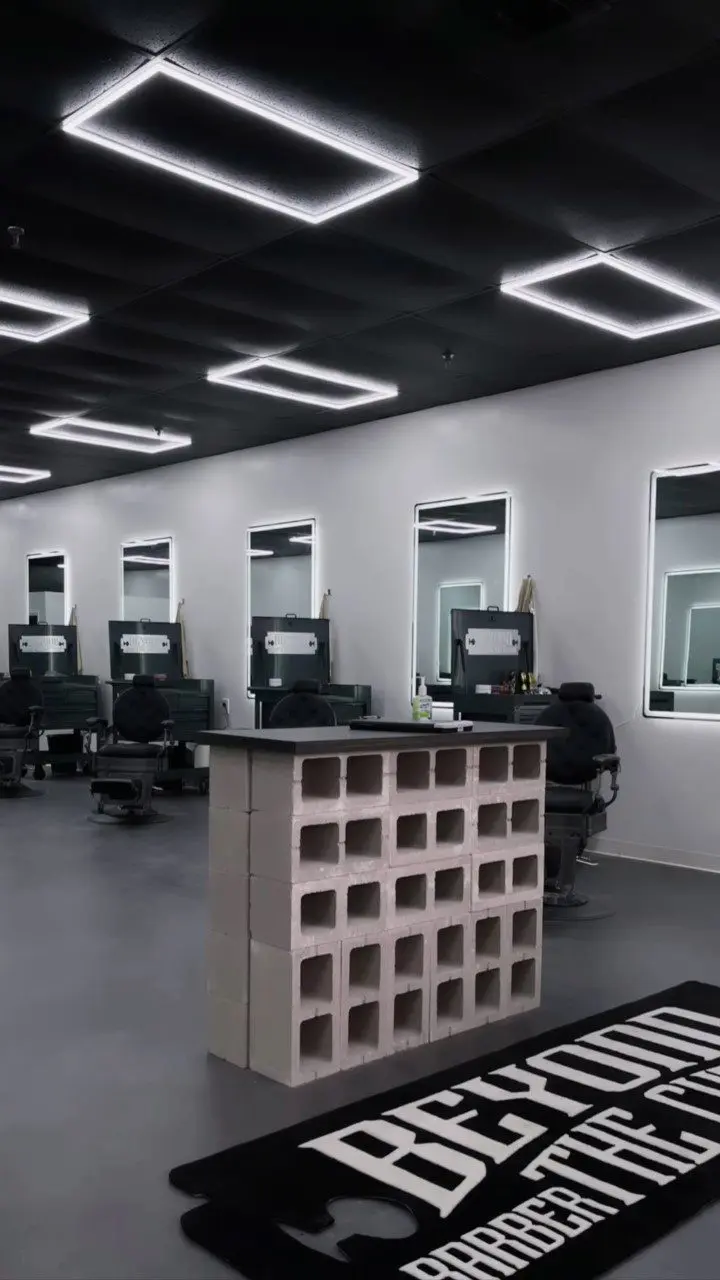
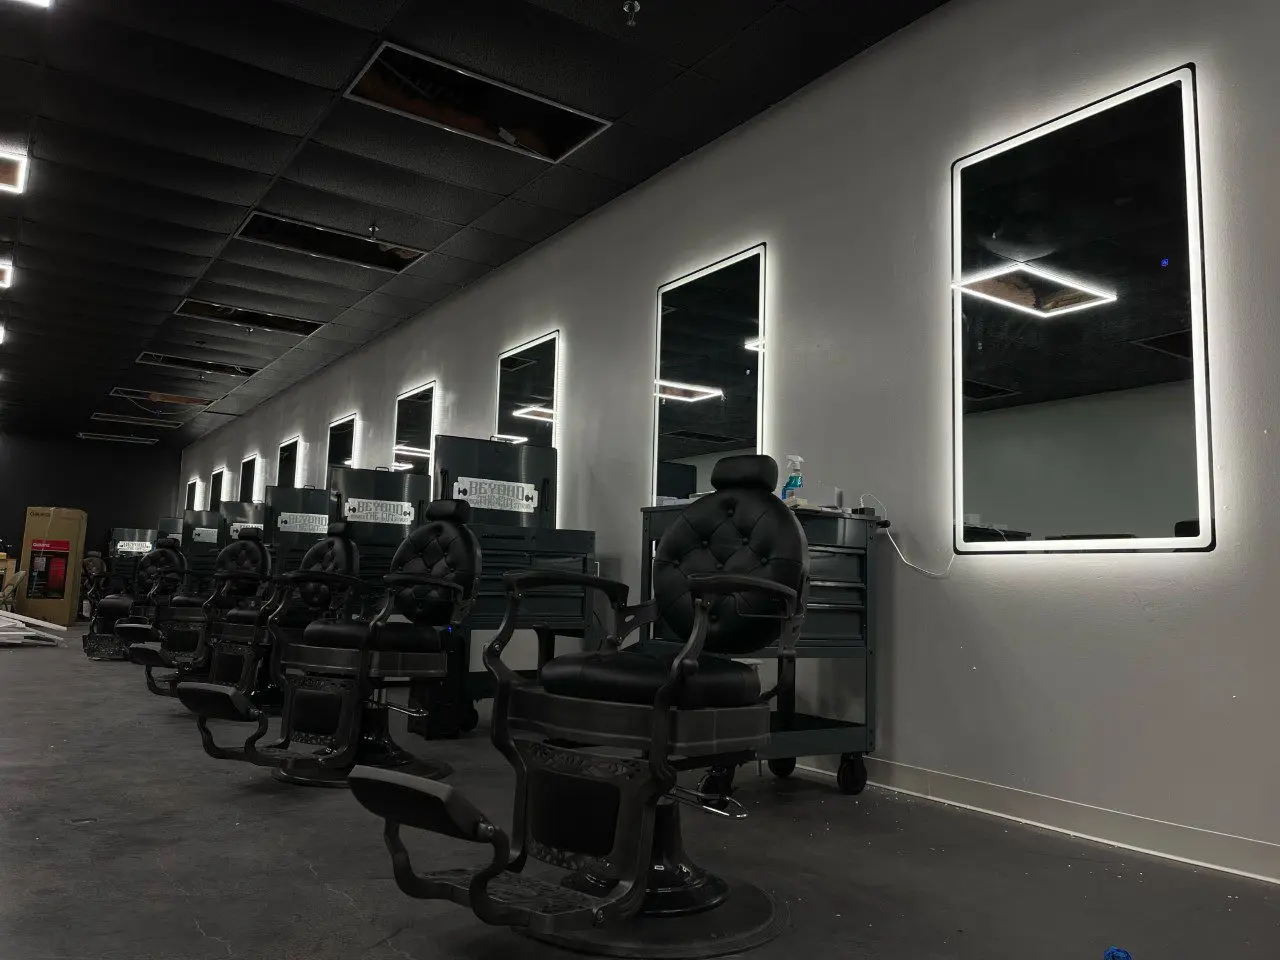
Isaiah’s Barbershop Makeover: From Carpet to Chic Industrial Concrete
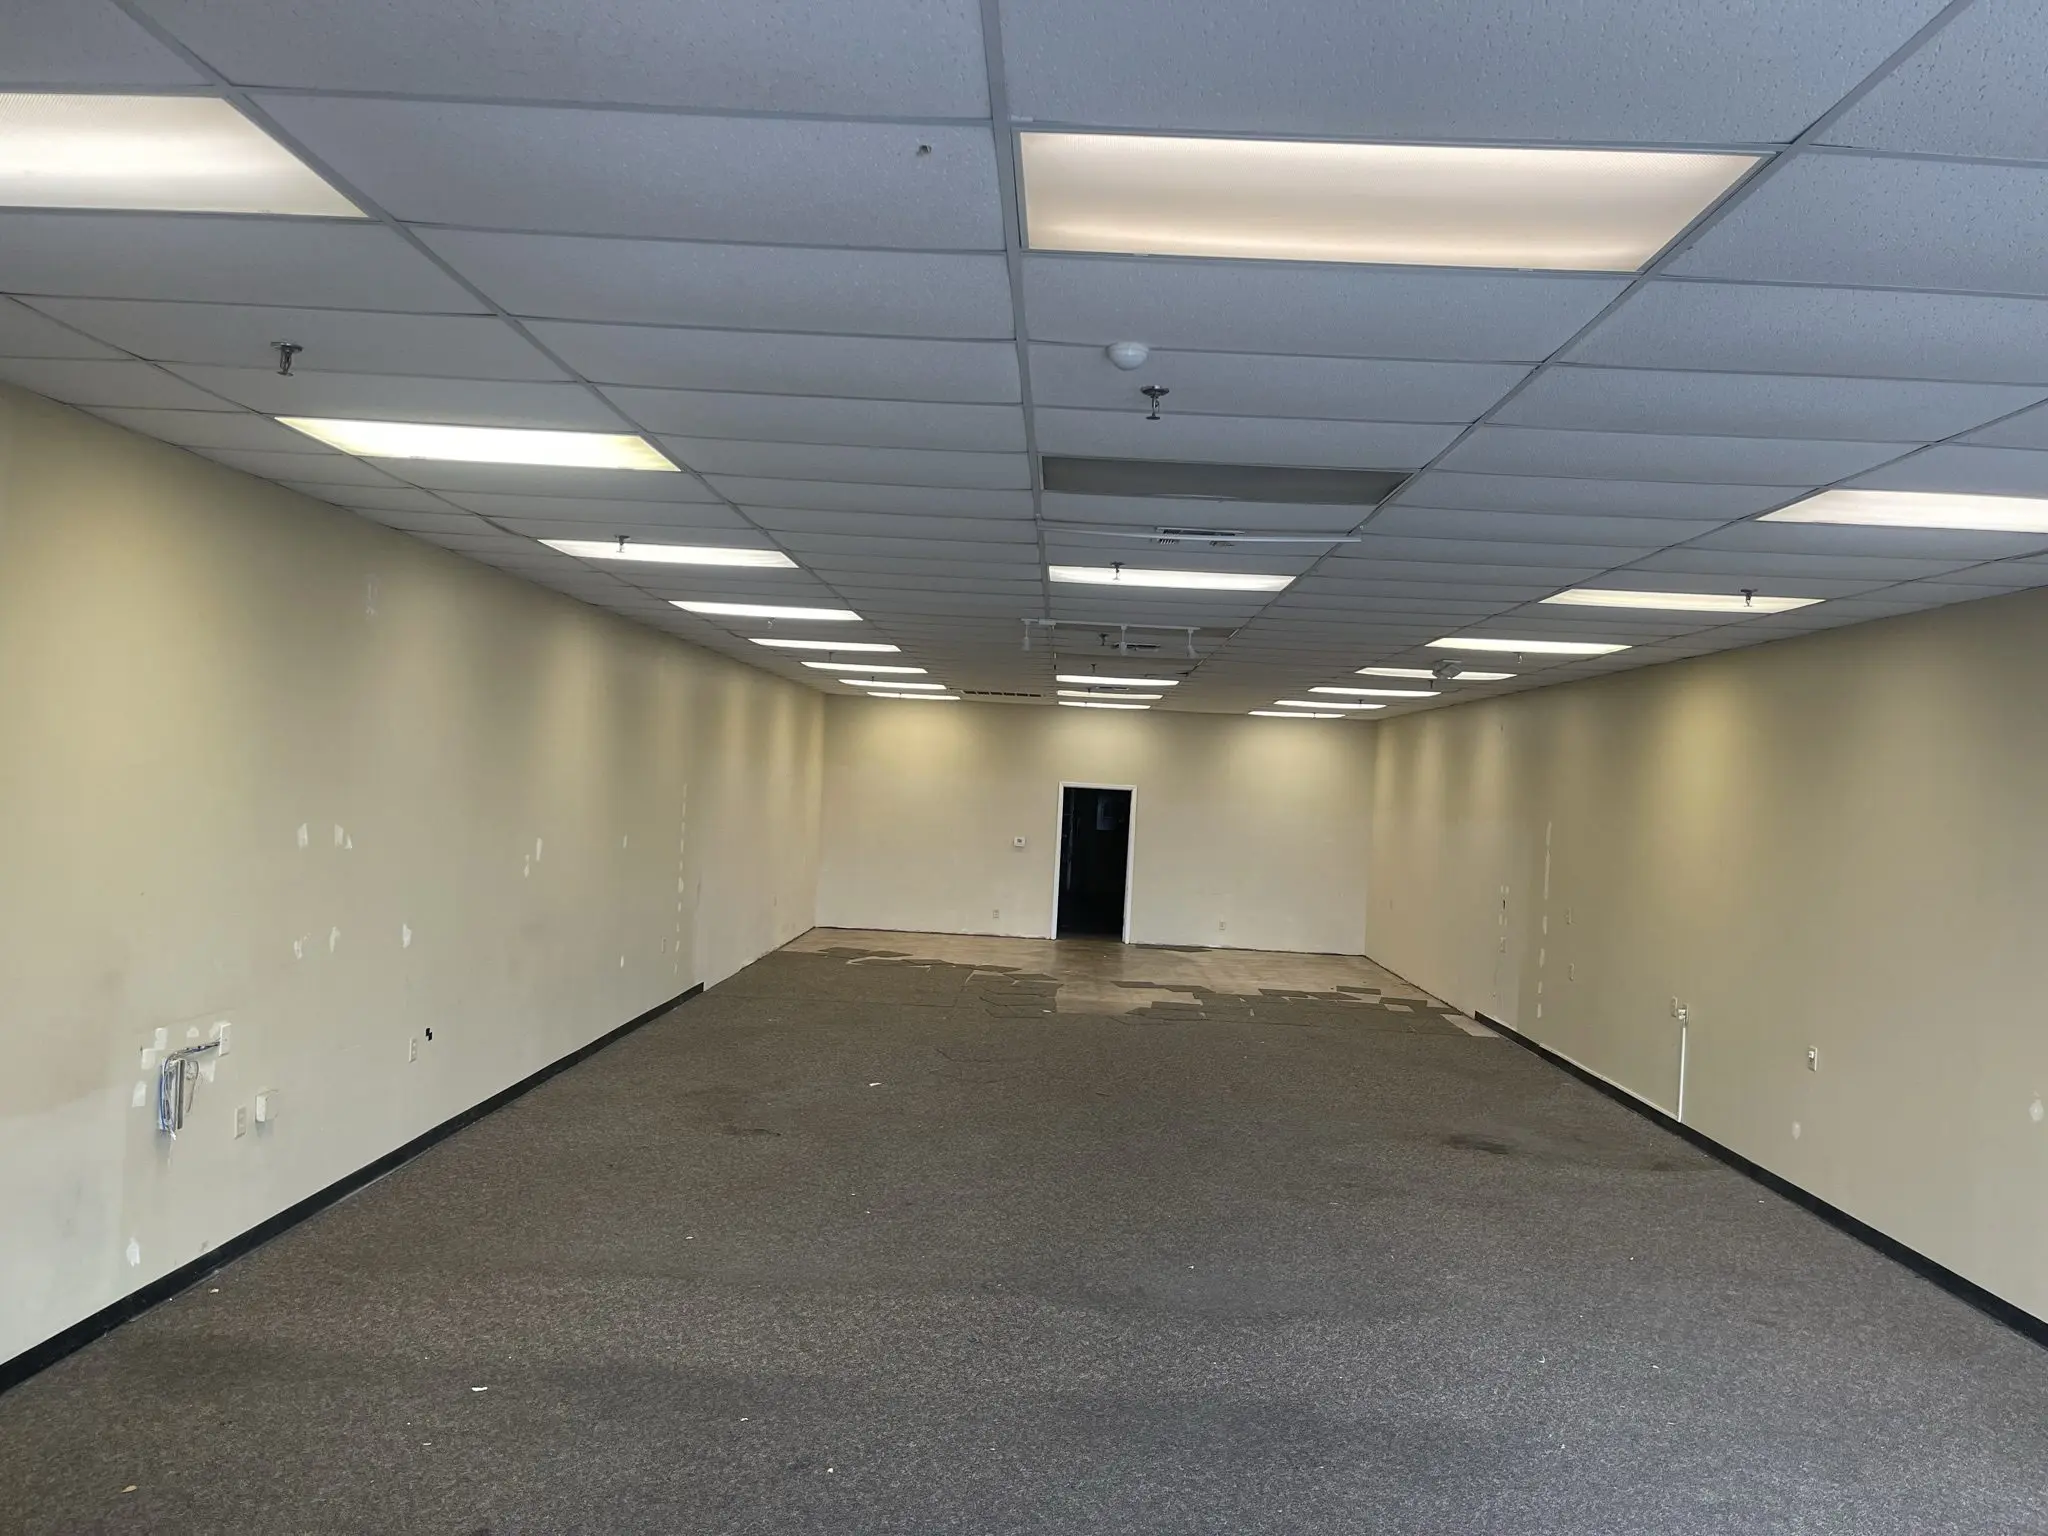

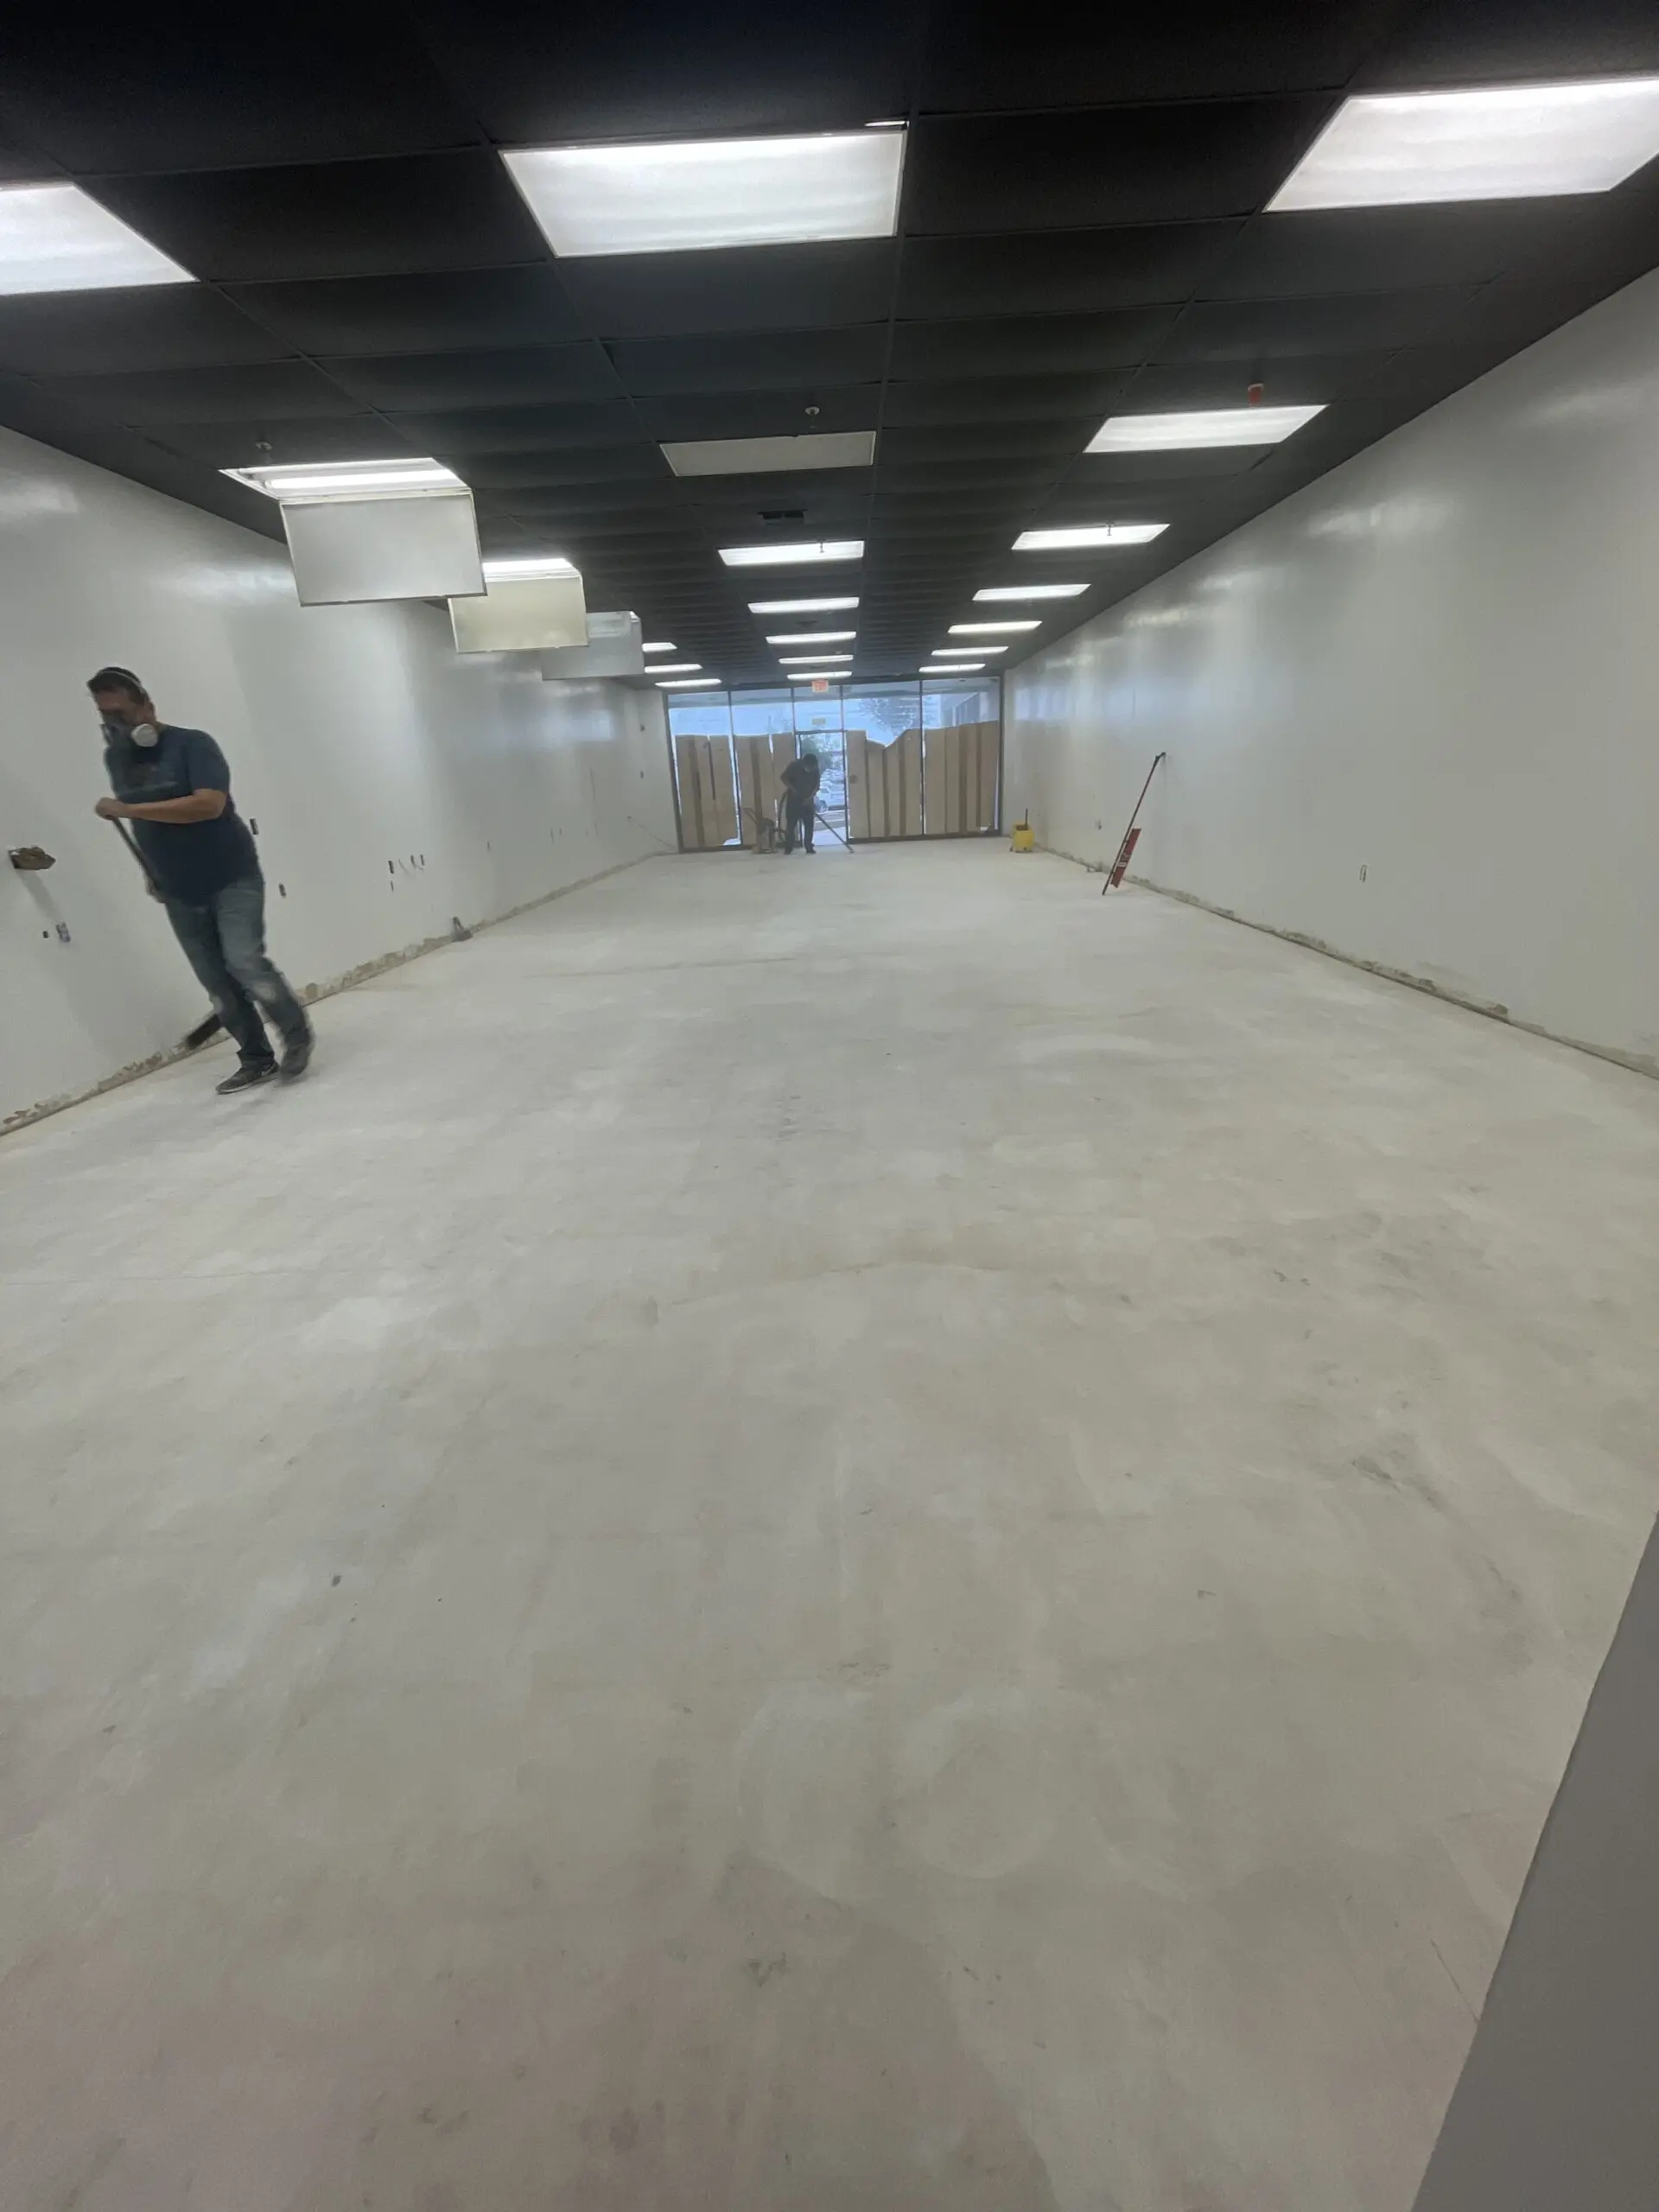
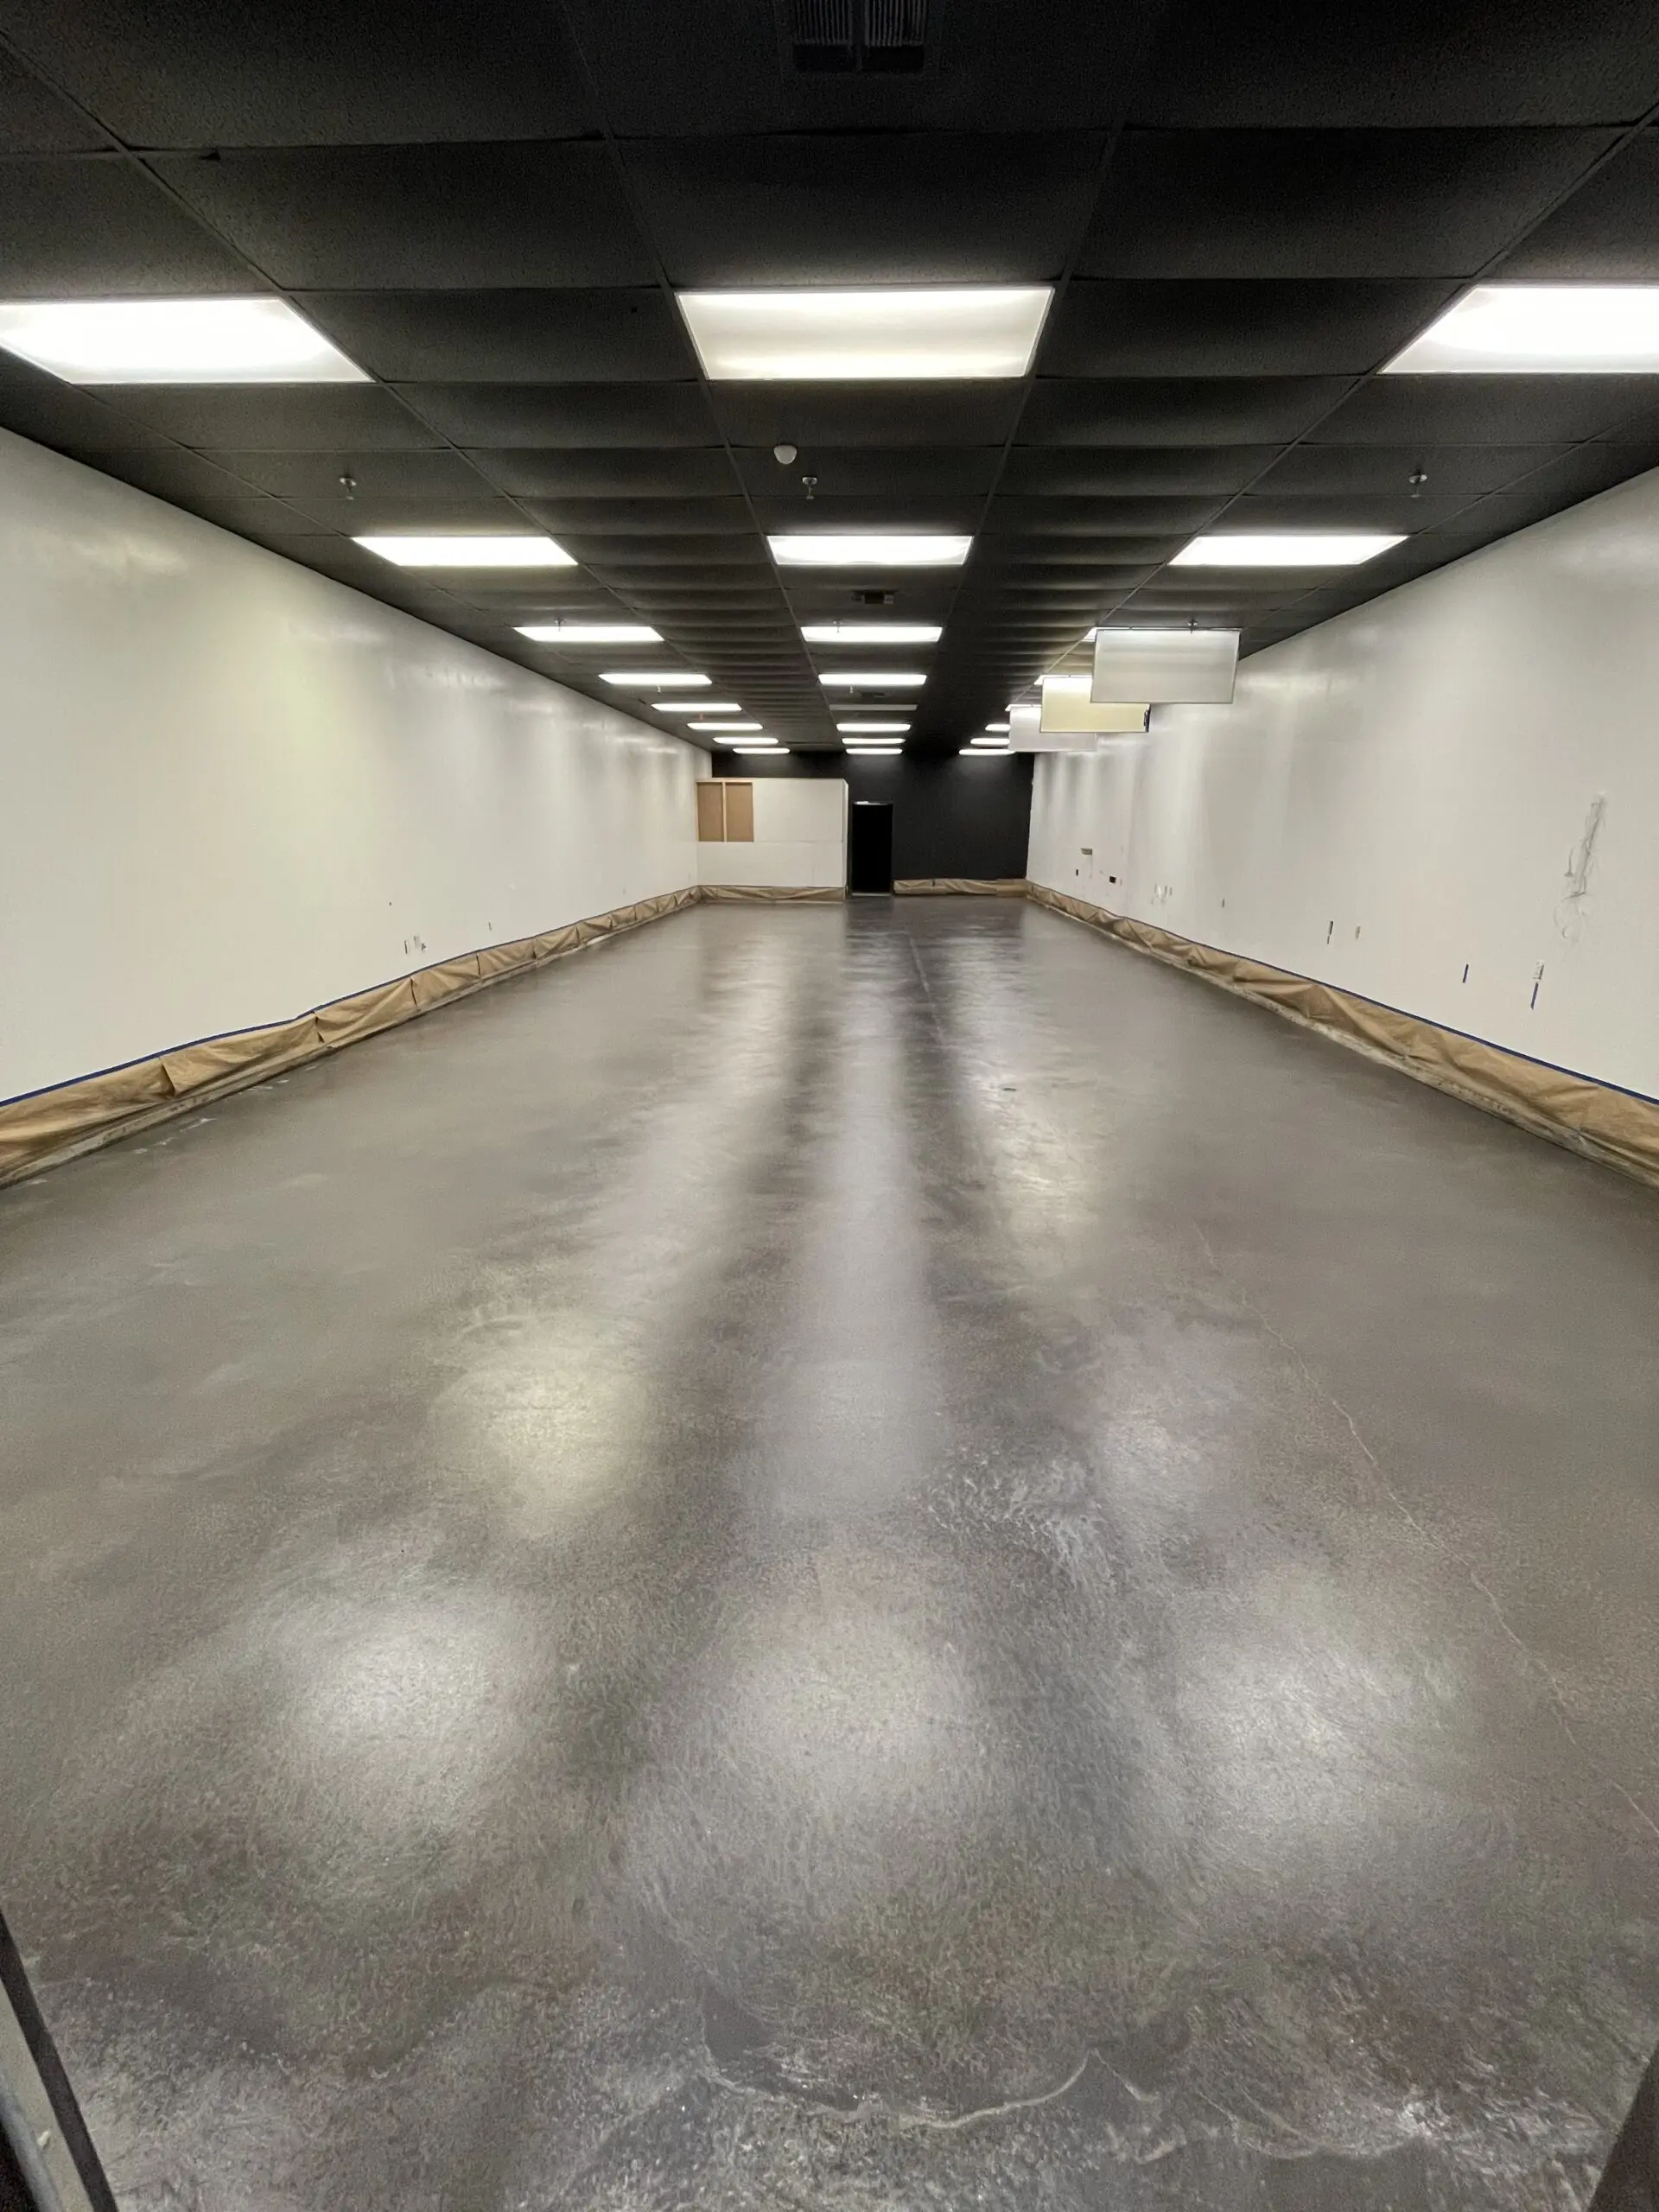
Follow first-time floor DIYer Isaiah Medina’s fun-filled adventure, as he and his wife turn a carpeted space into their dream barbershop @BeyondthecutSa.Tx with sleek, industrial-style concrete floors. From the initial paint-spattered chaos of ceiling and wall painting, to the rewarding grind and clean-up, and finally, the careful application of Acquatint – it’s a rollercoaster of a project with a stylish and durable result. With no prior floor-doing experience but tons of passion, Isaiah shows us that with a bit of grit and patience, anyone can achieve their DIY dreams.
Personal Tips Reimagined:
- Dig deep into your pockets for that extra cash – it’s worth it to grind down your floors when battling stubborn adhesive. It’s a game-changer for stain and sealer penetration, ensuring a resilient bond.
- Be prepared for a dust storm! Grinding can get messy, so use water for wet grinding to keep the dust at bay.
- Slow and steady wins the race. Don’t rush the process. Instead, take your time to ensure clean floors for the best results.
- And last but not least, remember to have fun! After all, it’s not every day you get to transform your space into something truly special.
Project Info:
- Project Completed In: 4 day(s)
- Estimate of Square Footage: 2500 sq. ft.
- Project Description:
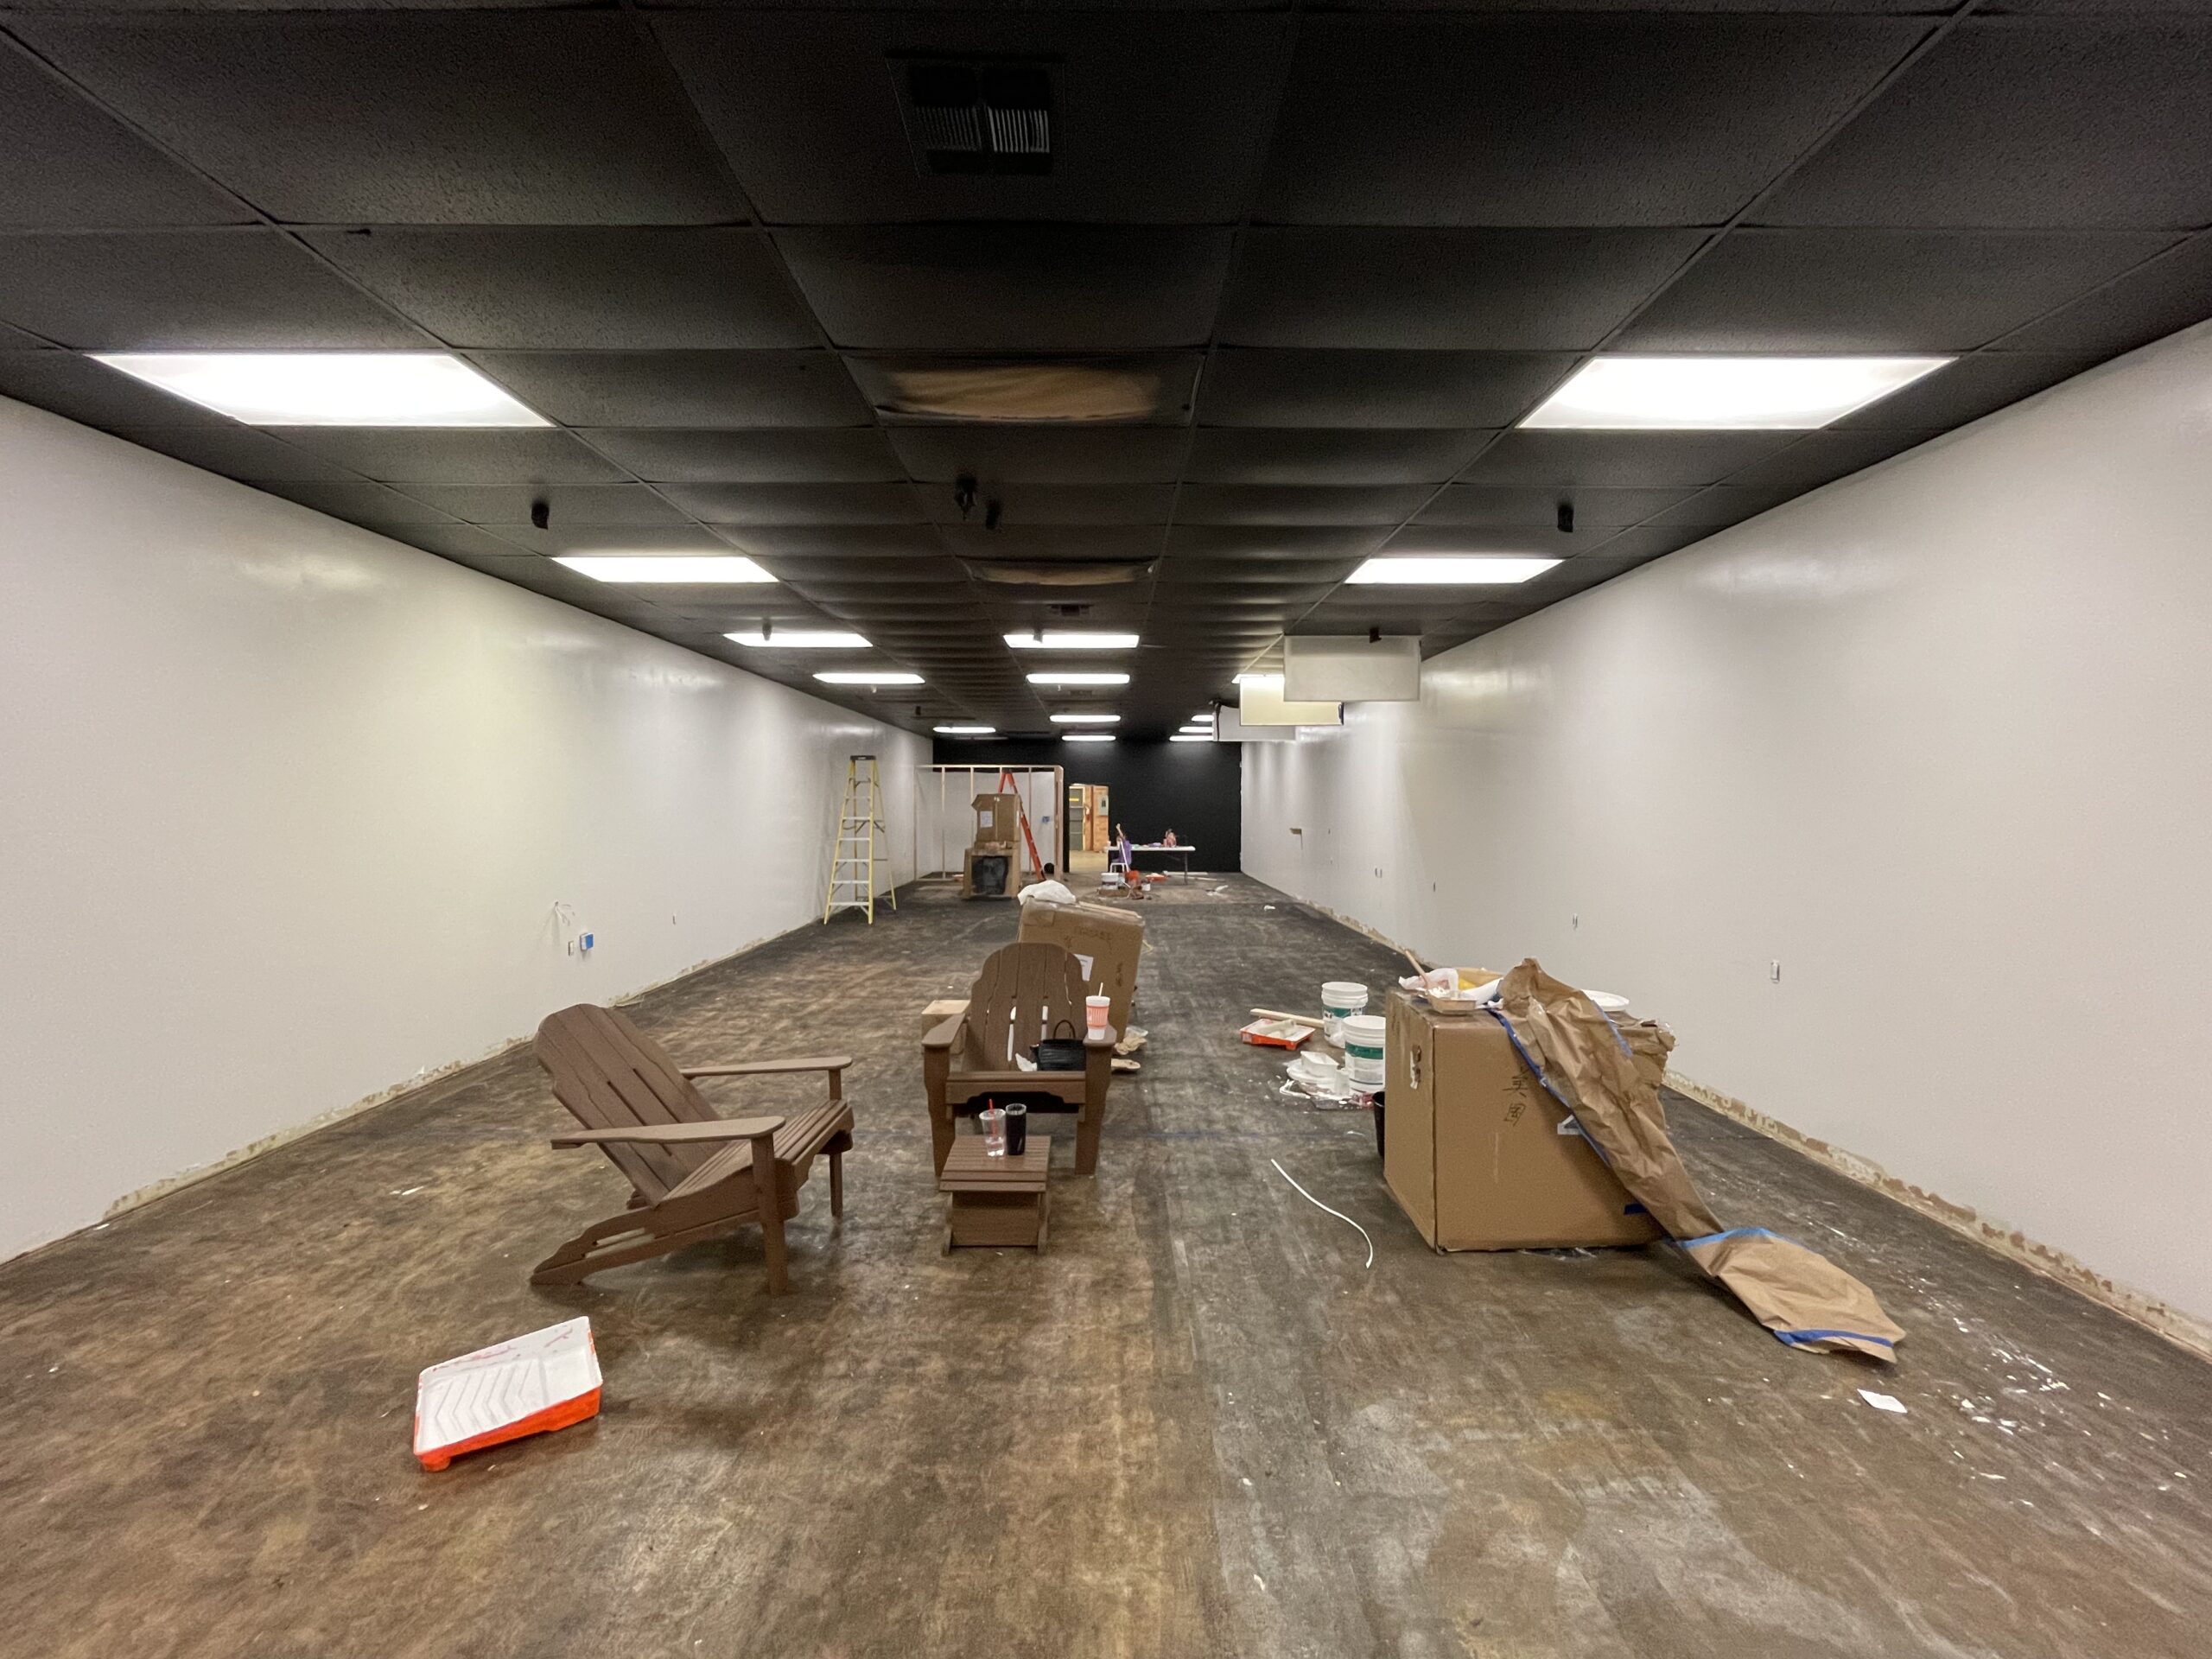
My name is Isaiah Medina I’ve never done floors in my life. I recently started to open a barbershop with my wife. We have always been in love with concrete industrial looking floors. When we first purchase the space, it was covered in adhesive carpet tiles. So after removing them, it was covered in mastic. We figured we would work top down so we painted the ceiling’s first. Of course, all of that paint fell to the floor then we painted the walls white and of course we dropped some.
Then it was time to start the floors finally.
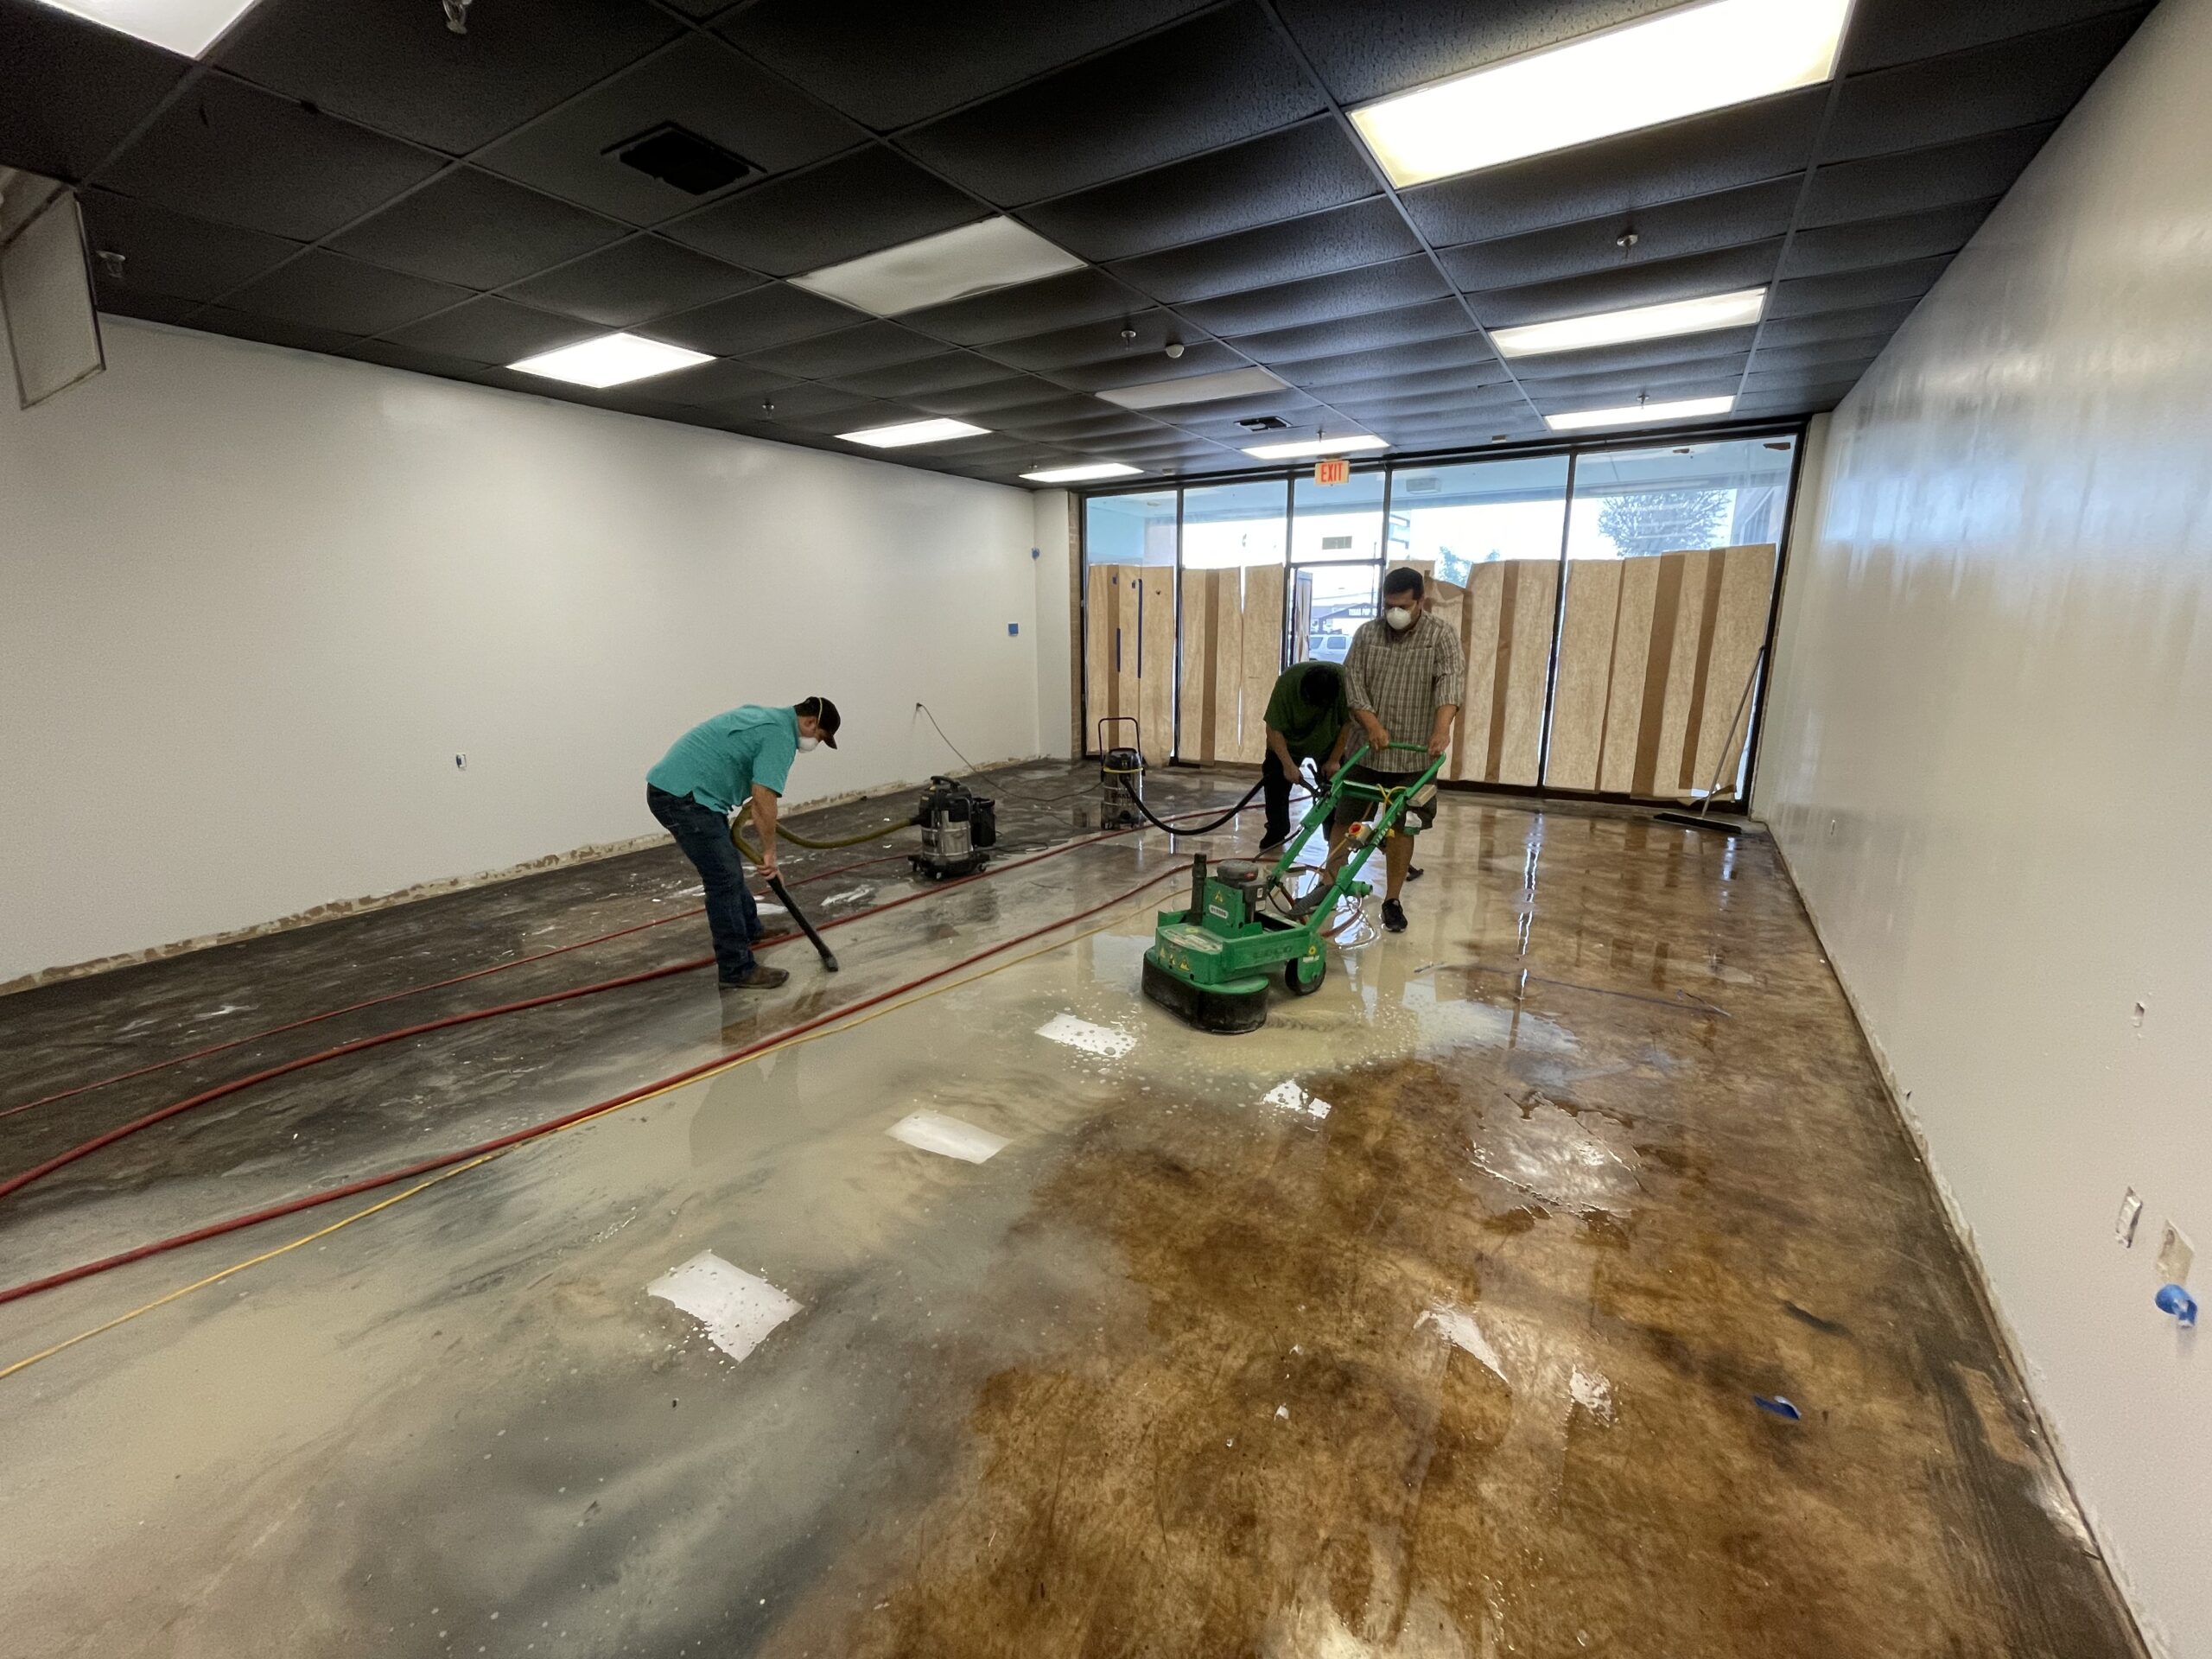
We rented a duel disk grinder, ground down the whole area, cleaned it really well, and then we applied the acquatint.
Two coats 15-20 hours apart. They’re very durable and easy to clean. - Personal Tips:
Spend the extra money and grind down your floors if you’re getting rid of a lot of adhesive.
It ensures that the stain or sealer gets really deep and provides a strong bond.
It creates a lot of dust, so make sure you use water to wet grind it to minimize that.
And don’t rush take your time make sure the floors are clean and have fun. - Direct Colors Products Used:
3 x 5 Gal. Charcoal AcquaTint™
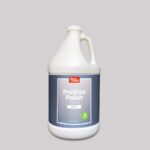
3x 1 Gal. ProWax Polish™ Satin - Other Products Used:
Edco dual grinder
Harbor freight attachment & shroud to grind the edges
Harbor freight paper and tape to cover the edges.
Harbor freight 2 gallon pump to spray the sealer.
Floor Marvel: From Dust to Dazzle with Charcoal AcquaTint™
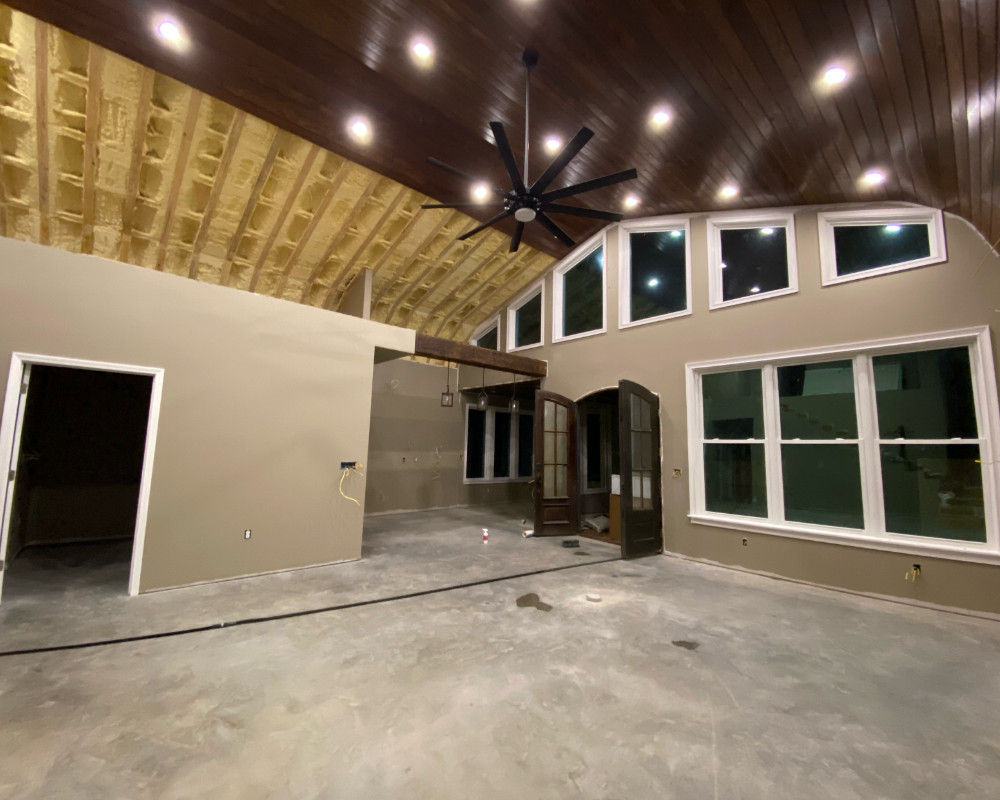
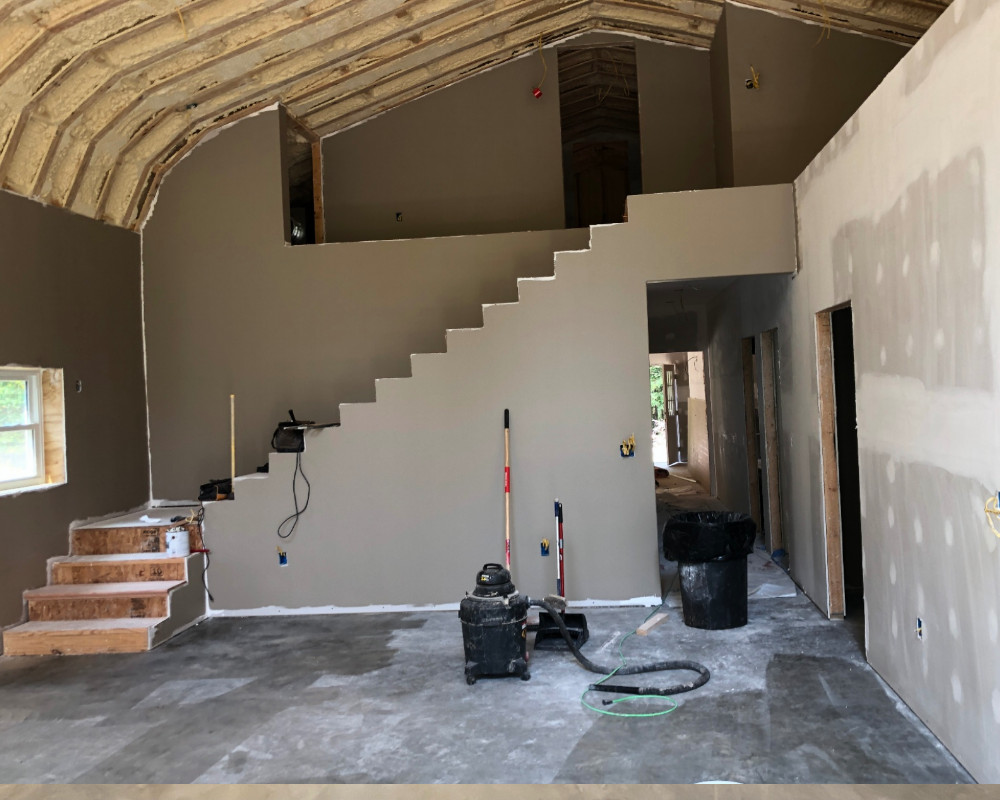
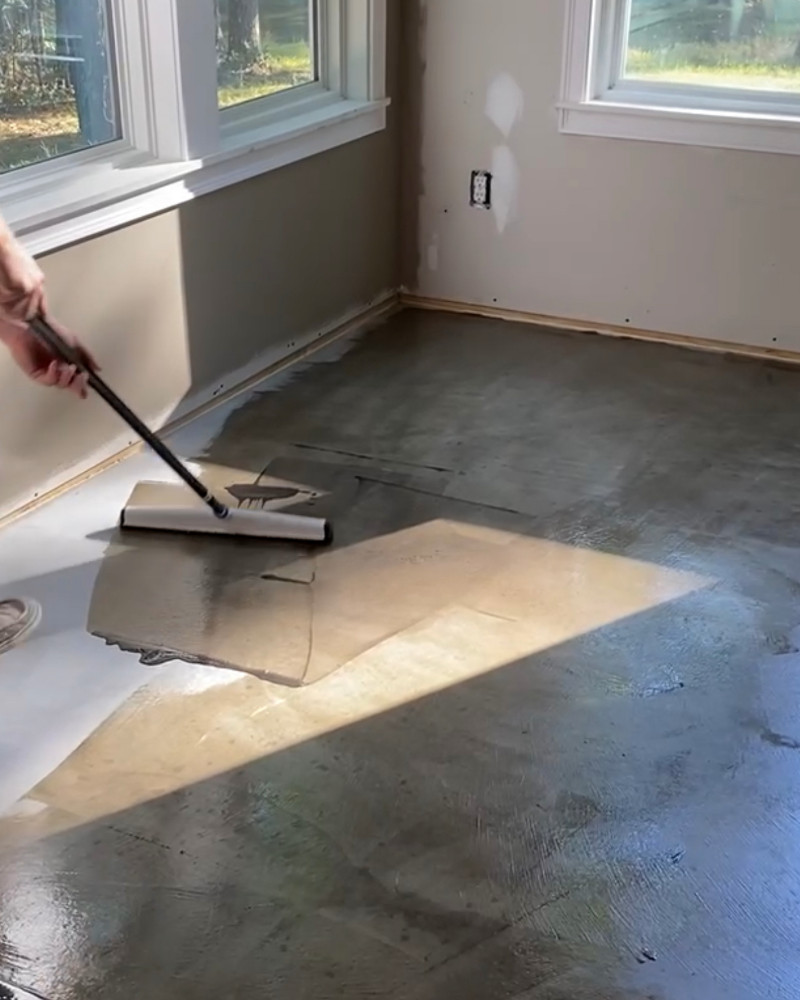
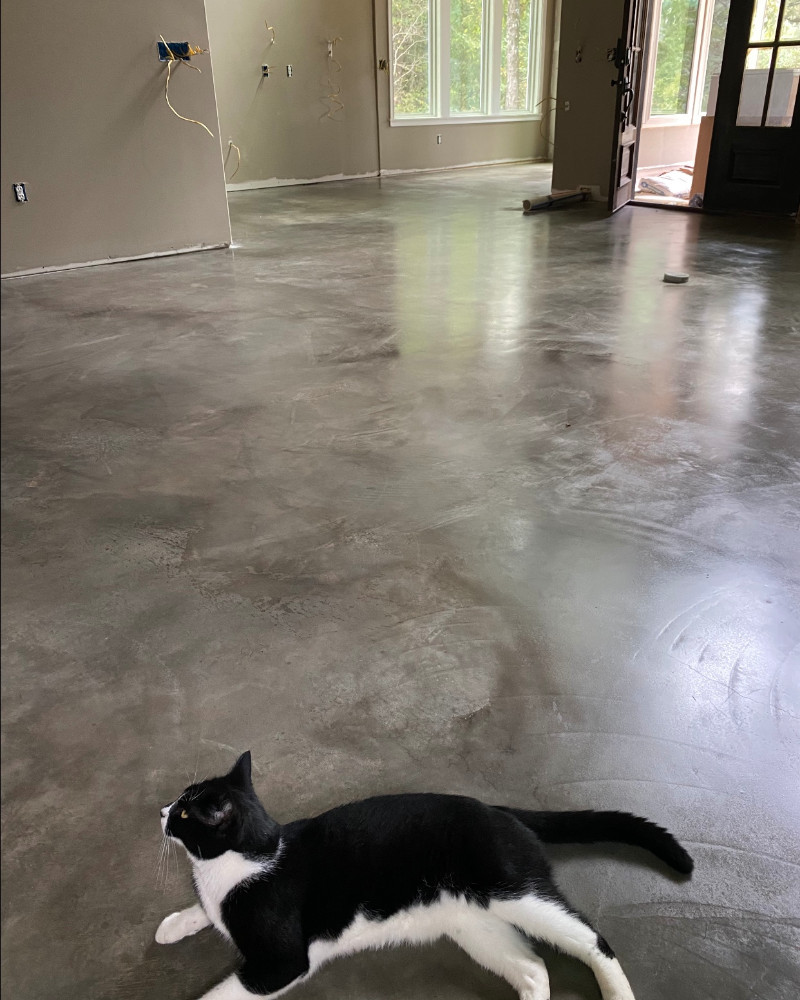
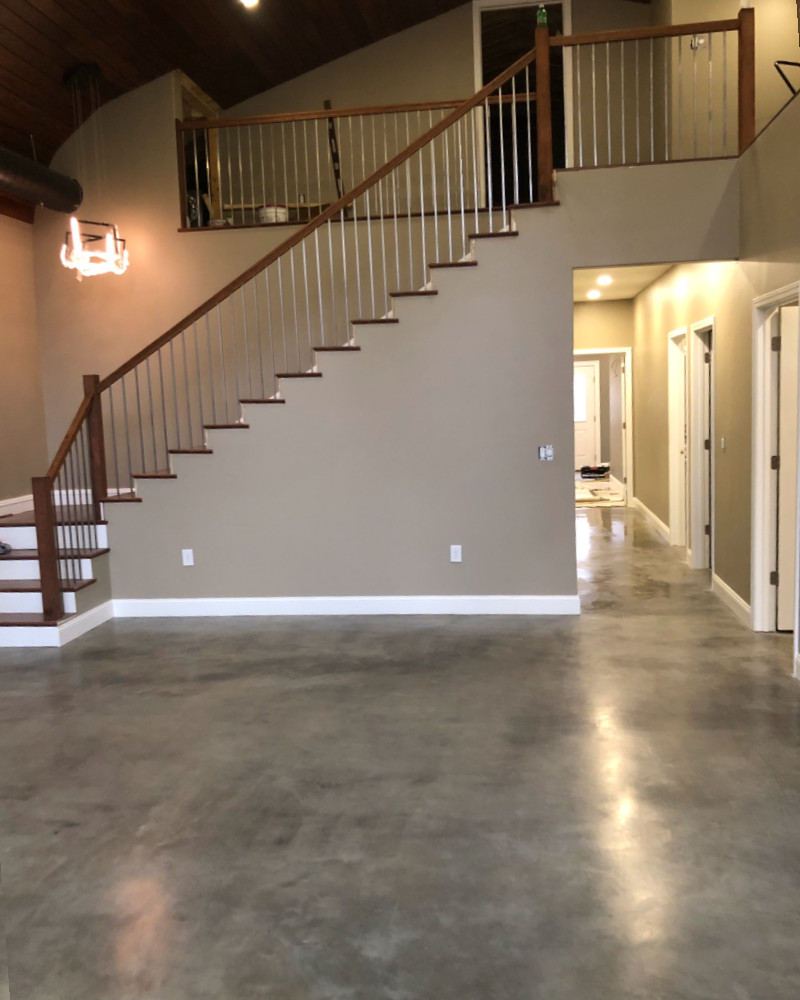
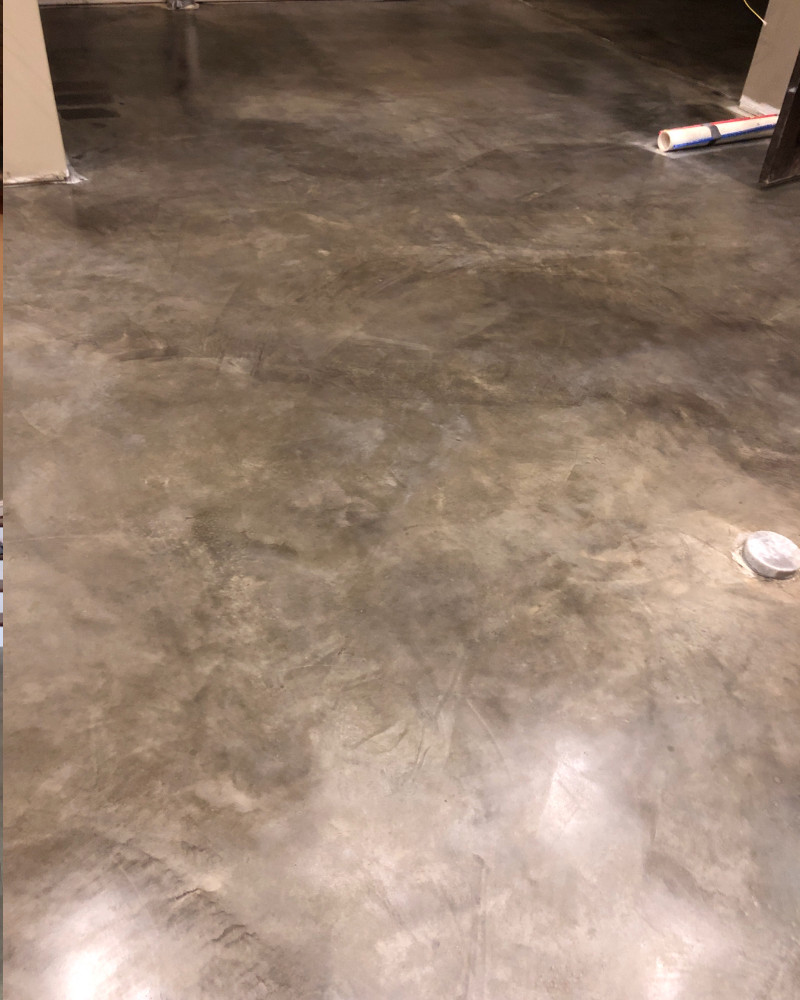
This family took their move as an opportunity to transform their home with our Charcoal AcquaTint™. They loved the natural swirls and marble effect on their floors, so they wanted a transparent but tough stain to enhance them. After lots of testing (and cleaning!) they found that using an 18″ floor squeegee gave them the look they wanted. They finished with a satin wax which makes the floor seem to change color with the light. It wasn’t easy, but they say it was worth it and they’re glad they did it themselves. Just goes to show what a good clean, some elbow grease, and a bit of AcquaTint can do!
- Project Completed In: 3 day(s)
- Estimate of Square Footage: 1500 sq. ft.
- Project Description:
We are finally all moved in and getting around to showing you all our results! We knew we loved and wanted to accentuate the power trial swirls and marbling effect. We spent hours and many test products under where our cabinets would be, but look no further direct colors has the perfect product. We ended up choosing the tinted sealer. We knew we wanted a very transparent but durable stain.
Essentially all we did was thoroughly clean the dust and construction grime off the floors with degreasing soap and let that dry a few hours. We then came back and cleaned our floors THREE more times with the direct colors degreaser, two of which were rinses. This alone took a full day for 1500sqft. Once this dried we were ready to stain. We tried many methods (sprayers, sponges, rags) and the best we came across for a super transparent look was a 18” floor squeegee! It worked awesome. Like any paint project it is all in the prep work and the actual staining process was over before we knew it, maybe 1.5hrs. After this we let it dry for a day and covered in plastic to finish construction. Once we were ready to move in we washed it again, then immediately waxed the entire floor(last picture) as you can see the floor is almost a living feature of the house as it changes color and hue based on lighting effects. Overall this was a rewarding project that we are happy to have done ourselves! Have fun! - Personal Tips:
Clean clean clean, have all supplies organized and clean up (acetone, in our case) ready. Have an extra applicator (spray gun squeegee etc.) on hand in case yours fails/breaks - Direct Colors Products Used:
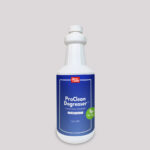
1 Qt. ProClean Degreaser™ Concentrate
1 Gal. Charcoal AcquaTint™
1 Gal. AcquaSeal™ Satin Concrete Sealer
1 Gal. ProWax Polish™ Satin
Sleek Barndominium Makeover with AcquaTint™
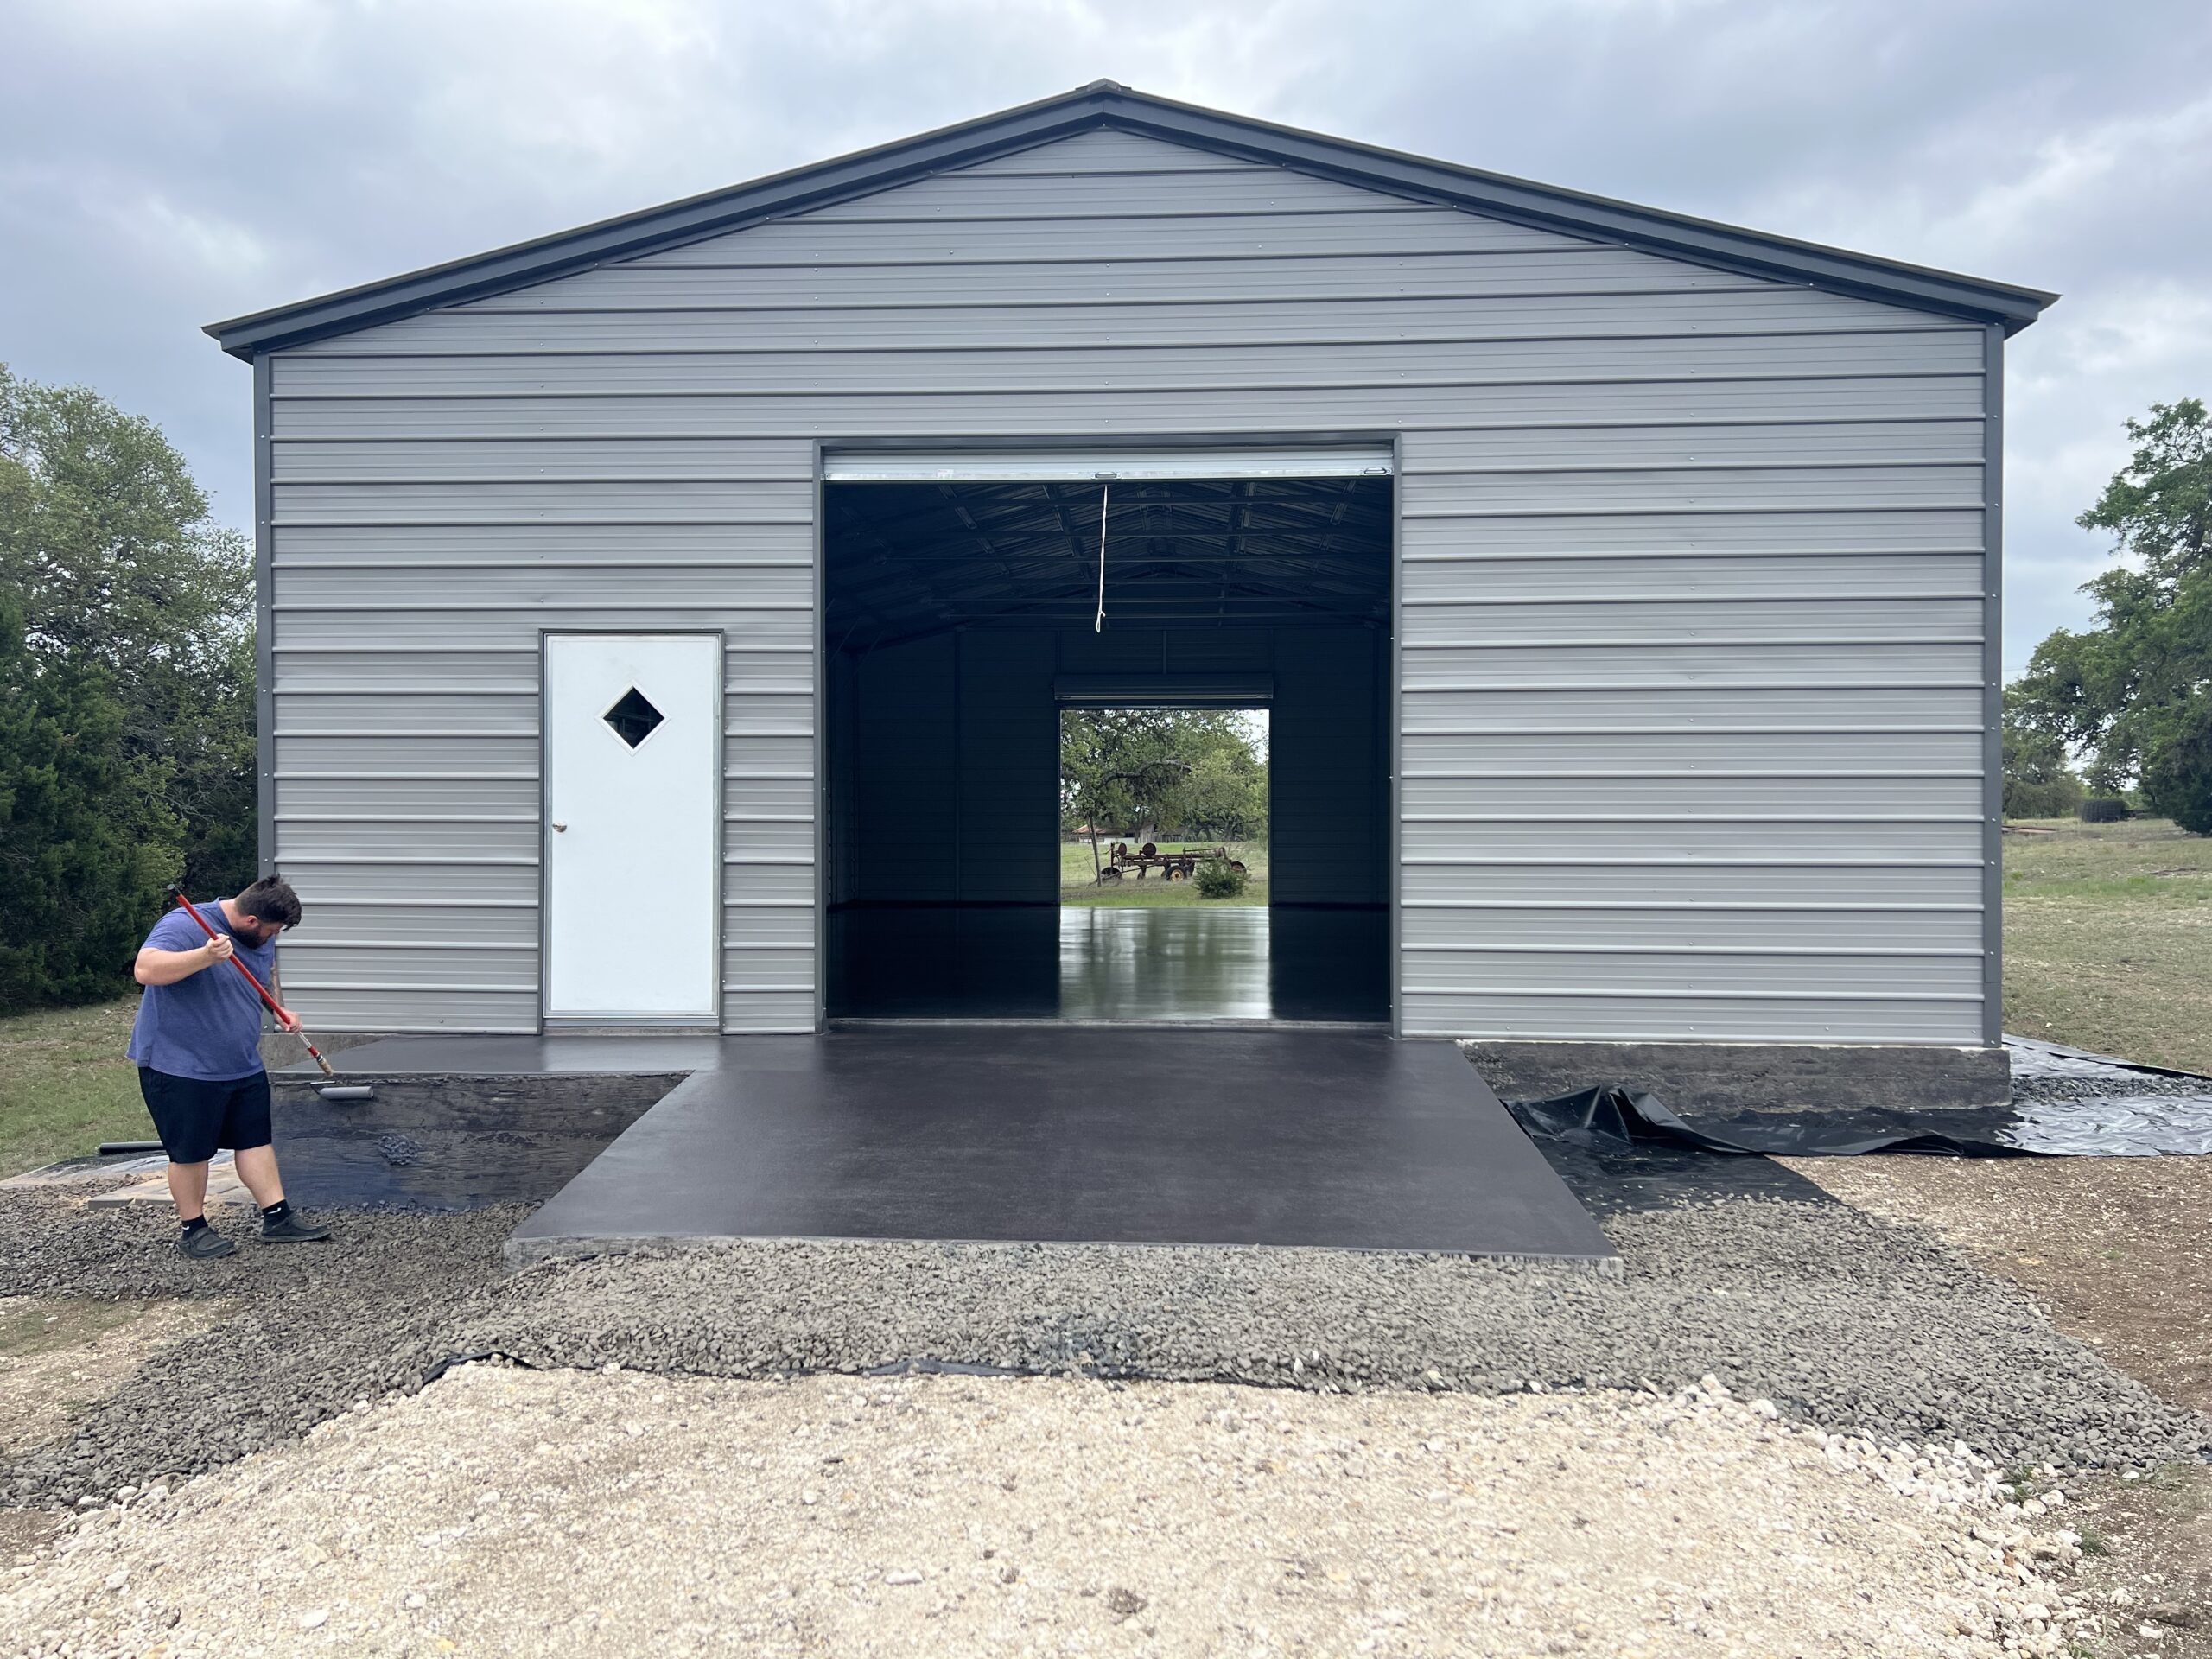
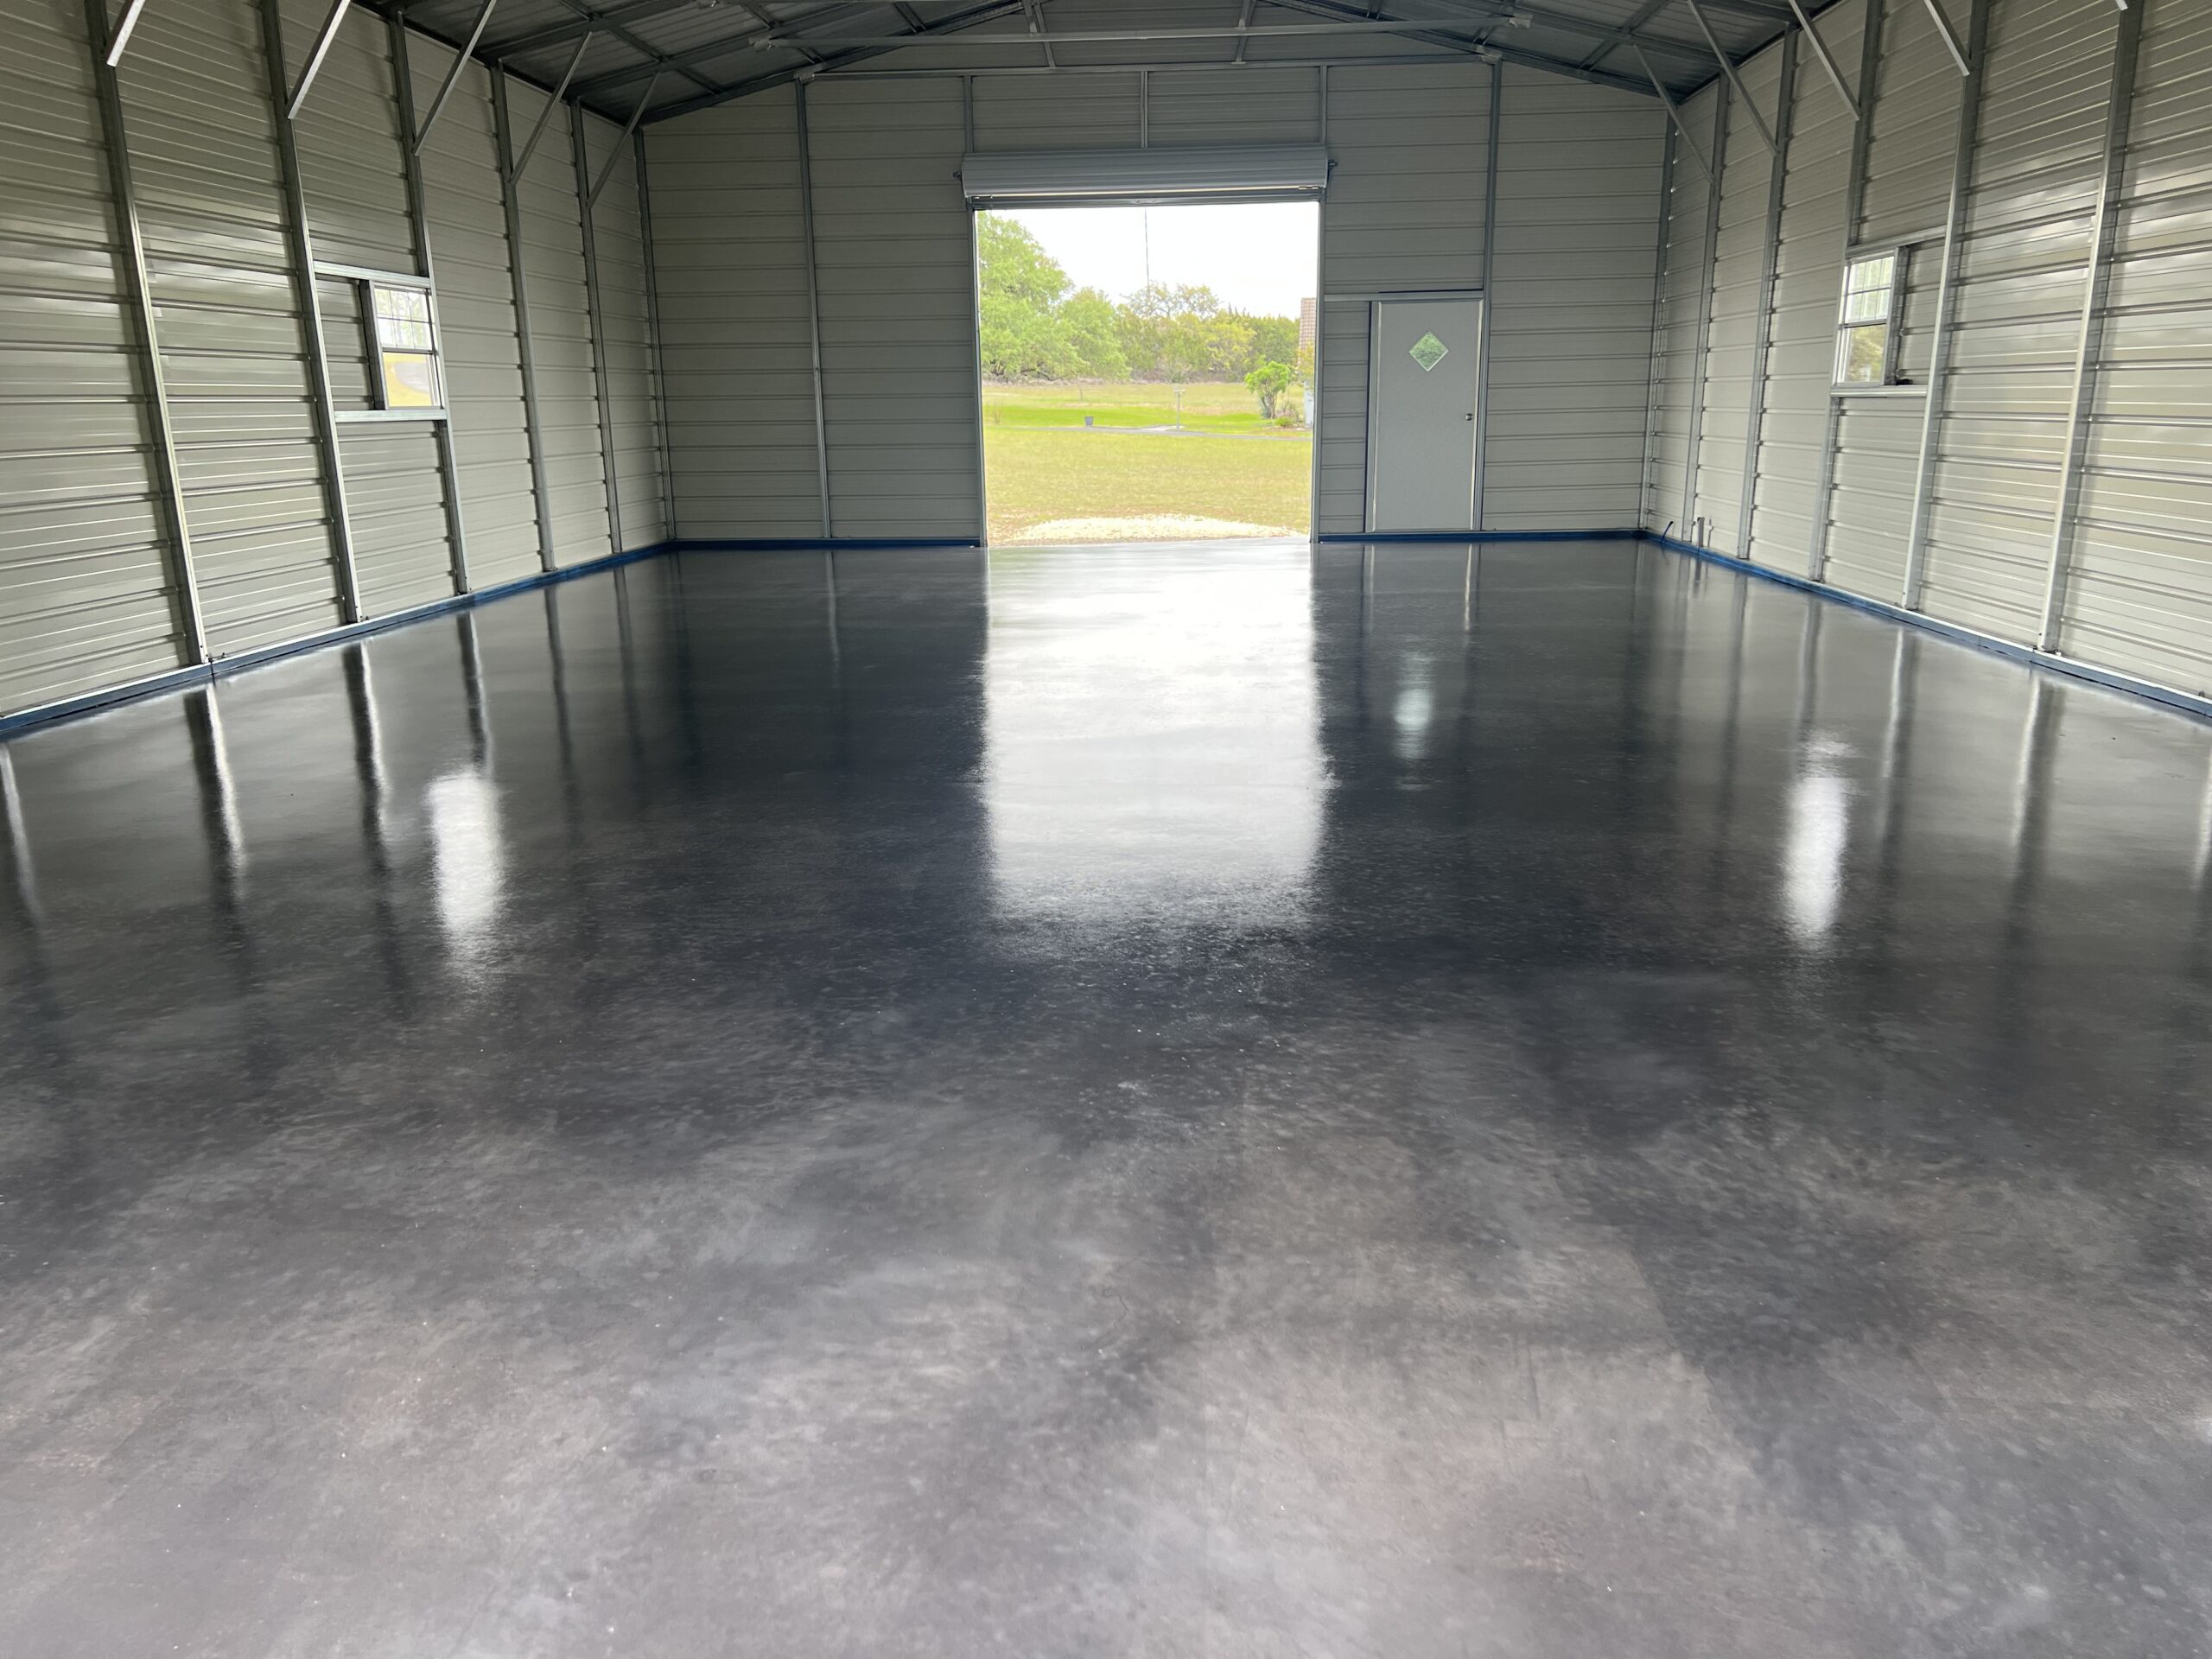
This brand-new barndominium got a chic, modern upgrade with the help of our Charcoal AcquaTint™. Opting for a sleek finish, the owner used a combination of spray and roller application techniques, yielding excellent results. The fresh concrete surface was prepped with etching before the application of AcquaTint™ and finished off with our ProWax Polish™ Satin for that ultra-modern look. It’s proof that with the right tools, your vision can become reality!
Project Info:
- Project Completed In: 5 day(s)
- Estimate of Square Footage: 1500 sq. ft.
- Project Description:
Interesting - Personal Tips:
Spraying along w roller application worked great for me - Direct Colors Products Used:
5 Gal. Light Charcoal AcquaTint™ & ProWax Polish™ Satin Kit
2 x 1 Gal. Charcoal AcquaTint™
Basement Transformation: Step-by-Step with AcquaTint™ and ProWax Polish™
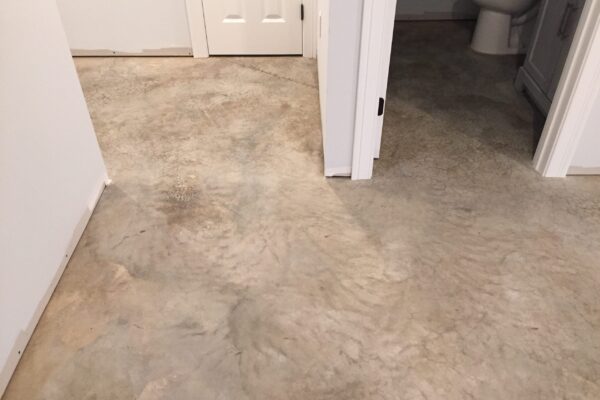
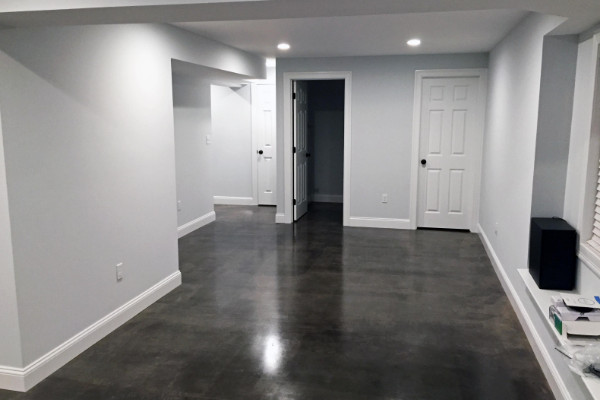
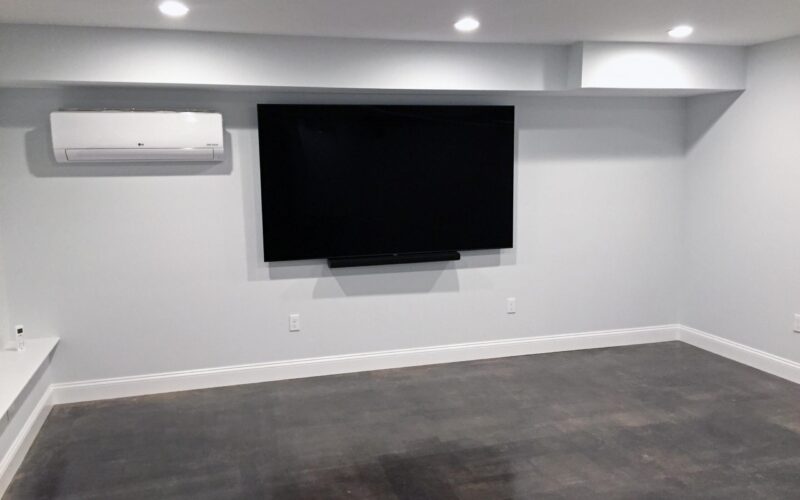
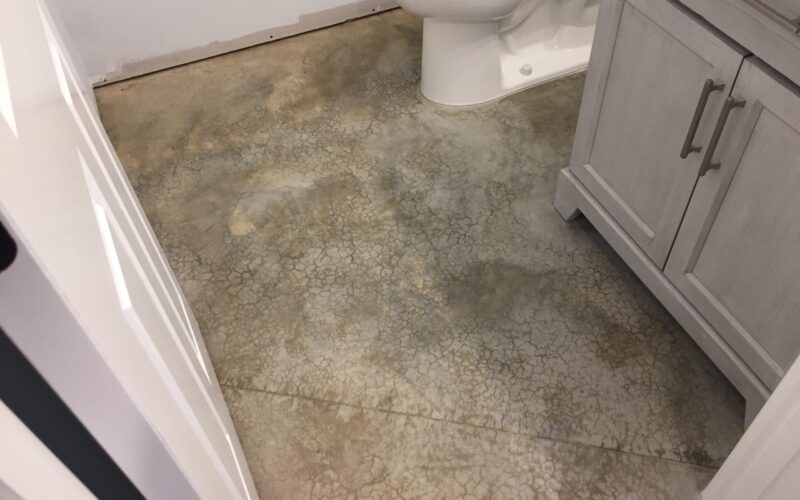
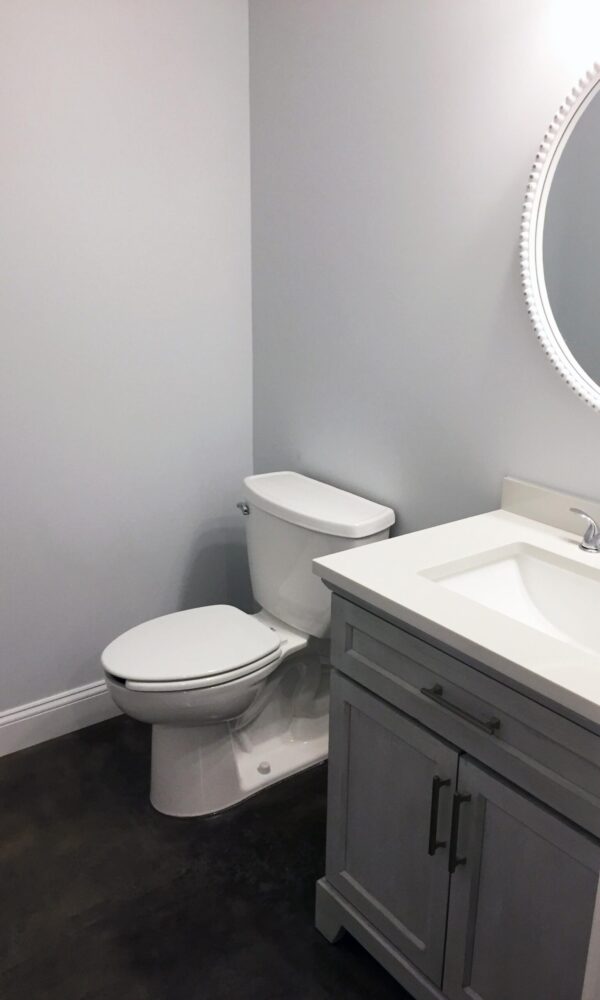
This project took a 600 sq ft basement from drab to fab in just five days. It was a lot of hard work, with the bulk of the time spent on prepping the floor for AcquaTint™. They treated, cleaned, sanded, and then rolled on two coats of our Charcoal AcquaTint™. They finished with two coats of ProWax Polish™ for a sleek satin finish. Yes, it was a big job, but they shared lots of great tips to help other DIYers. Take a look at their day-to-day journey to a fantastic basement floor.
Project Info:
- Project Completed In: 5 day(s)
- Estimate of Square Footage: 600 sq. ft.
- Project Description:
Finishing approx. 600sq ft basement area with AcquaTint water based colored sealer and satin ProWax Polish - Personal Tips:
Entire floor job was about 26 hours of labor, most on floor prep (cleaning and hard troweled floor pre-treatment).
Day 1: It took 2 people 8 hours each to clean and apply hard troweled pre-treatment and rinse off using a wet vac.Rinsed floor twice after hard troweled pre-treatment to make sure no residue left behind. Let the floor dry overnight with heat on in the basement before proceeding.Day 2: Prior to applying AcquaTint, went back over the floor lightly sanding a handful of areas where sneaker prints from the hard troweled pre-treatment showed up.Tip – Don’t step in the area where hard troweled pre-treatment has sat for 20 min (which is pretty dry in most areas at that point) prior to rinsing or your sneaker prints will lightly etch themselves into the floor while rinsing. These areas will require sanding and we had a few. An hour (x 2 people) was spent lightly sanding a handful of sneaker prints and vacuuming up all the dust.The two coats of AcquaTint (one Day 2 and one Day 3) were applied with a 9″ roller letting the weight of the roller apply material.Tip – only put a small amount into your tray and always wet the roller by rolling it in the bottom of the tray to continue to mix what is in the tray. The pigment settles out pretty quick but is manageable. Apply some pressure to the roller before moving the roller from the tray to the floor so you are not dripping material from the roller. Always stir before adding more sealer to the tray. I would suggest pouring your entire amount of sealer into a pail before you start because it is easy to stir the contents in the pail. Use a coffee can or smaller container to transfer well mixed colored sealer into your tray.Work in small sections at a time (6′ x 4′). Move quickly but don’t freak out over lap marks. You will get them but rolling over them a second or third time as you work the small section helps and then the next coat rolls the opposite direction which further helps them blend in.Back roll the final roll before you move on to the next section. It took about 3 hours of labor (2 people 1 1/2 hours each) to apply each coat of sealer.Giving the floor two days to dry after the second coat of sealer brings us to Day 5 where wax was applied in the morning and again late afternoon.It only takes about 1 hour to apply a coat of wax over 600 sq ft. Only one person needed for wax.
- Direct Colors Products Used:
5 Gal. Charcoal AcquaTint™ & ProWax Polish™ Satin Kit
1 Qt. ProClean Degreaser™ Concentrate<
9″ Rollers, 4″ Roller kit, Medium Texture Scrub Brush - Other Products Used:
Goof Off where there was any paint or paint over spray on the floor
Transformed Basement: From Gloomy to Family-friendly Hangout
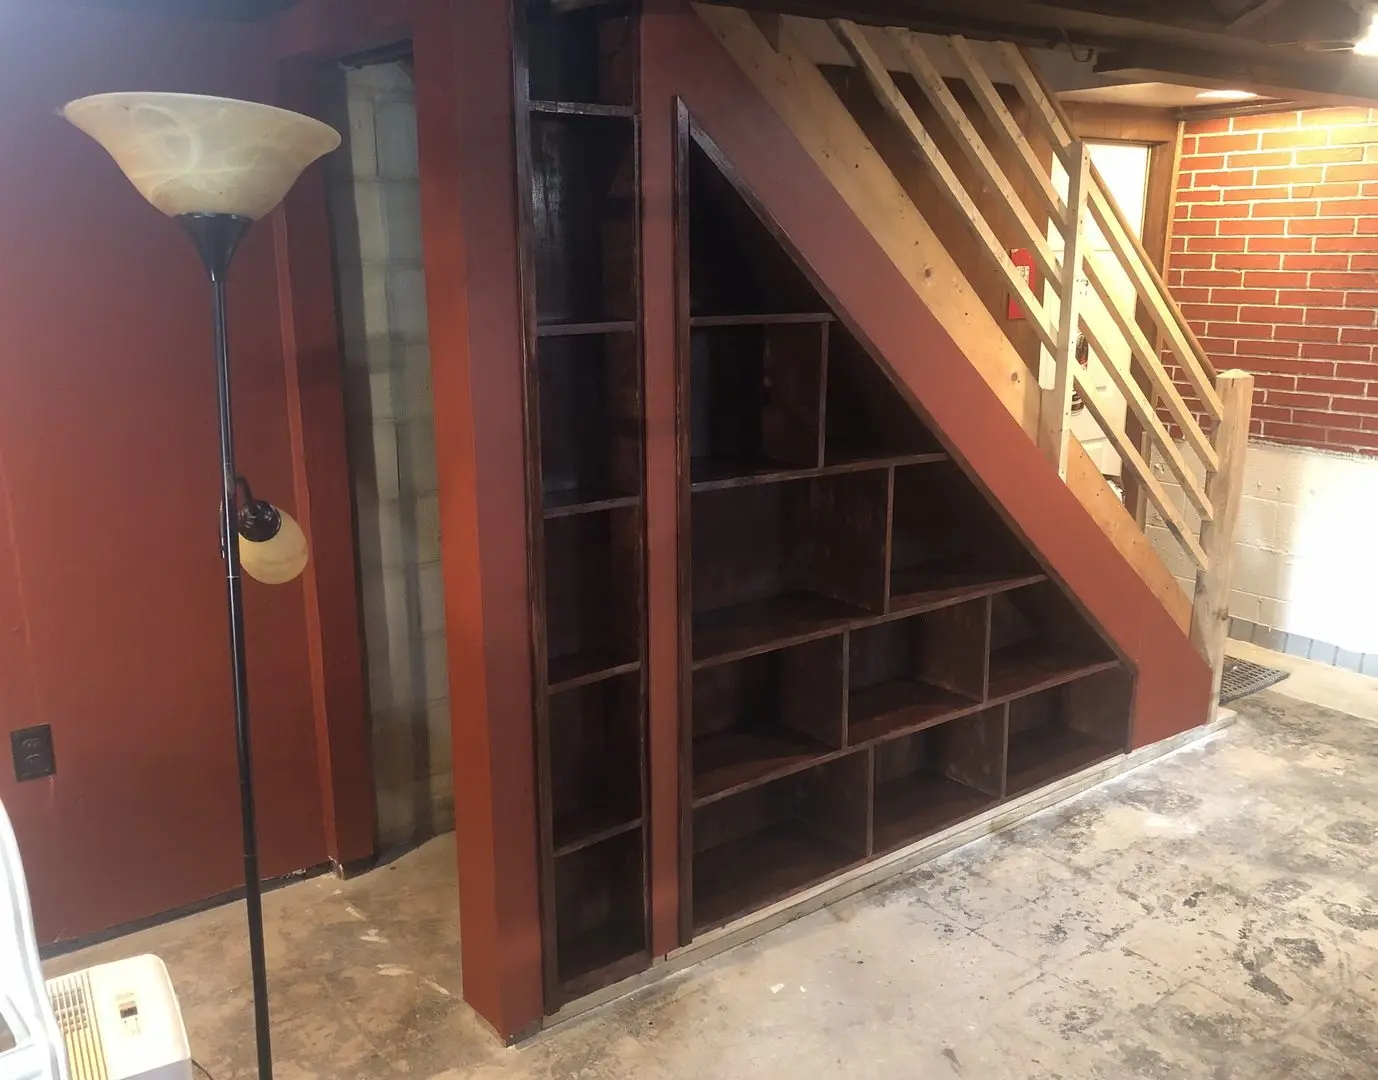
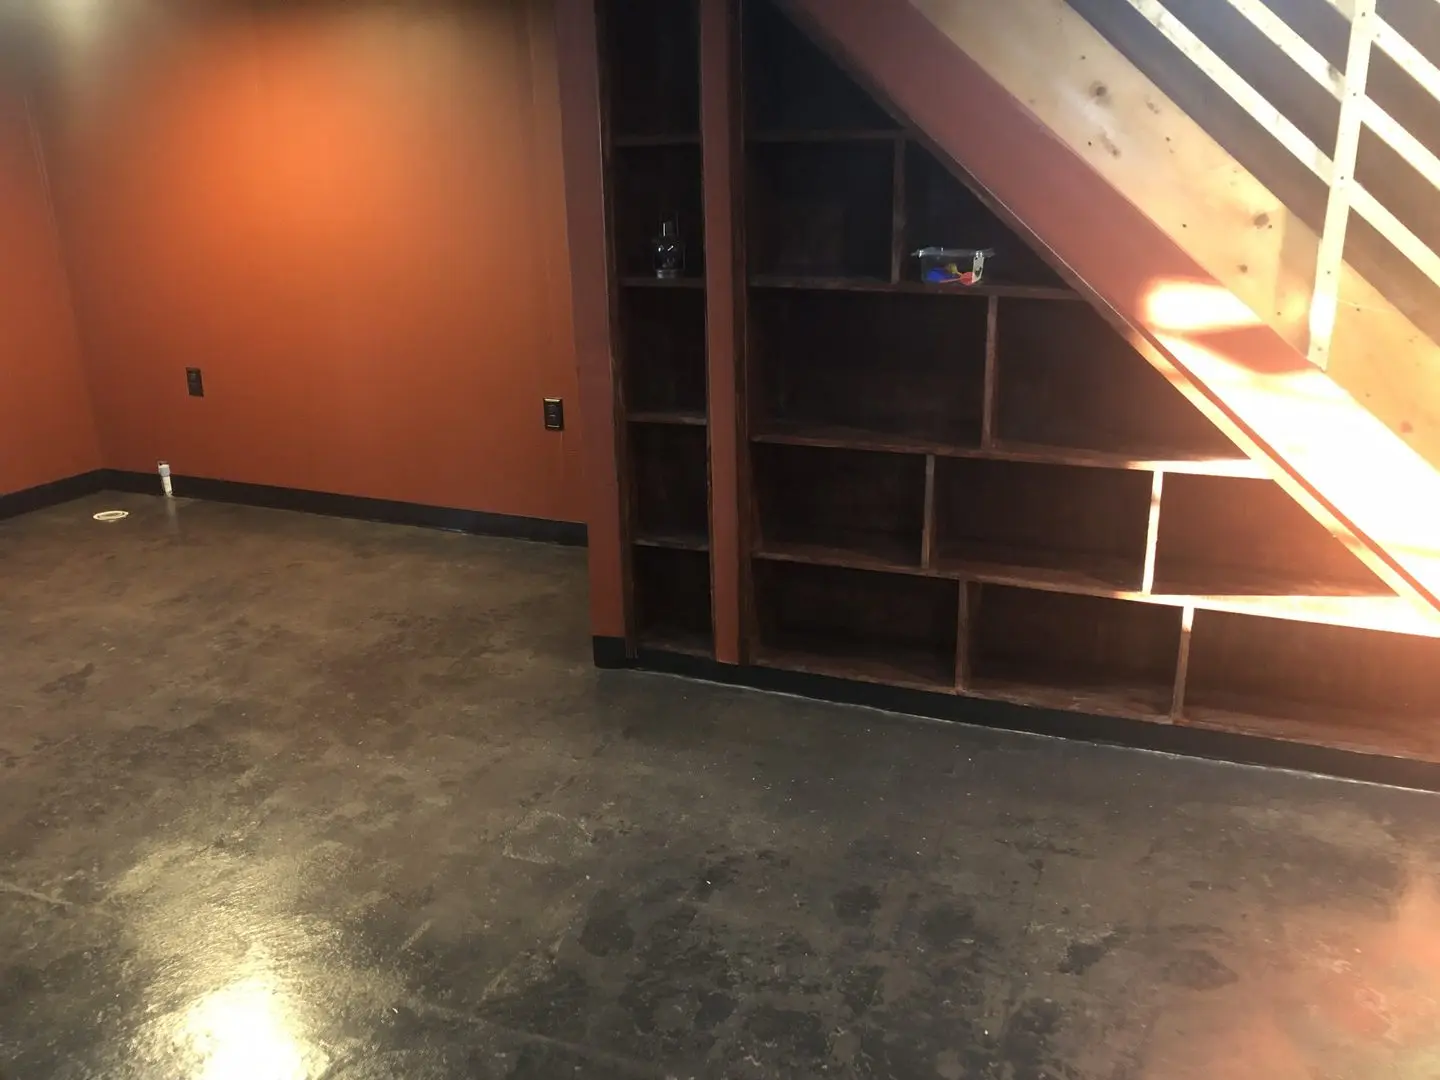
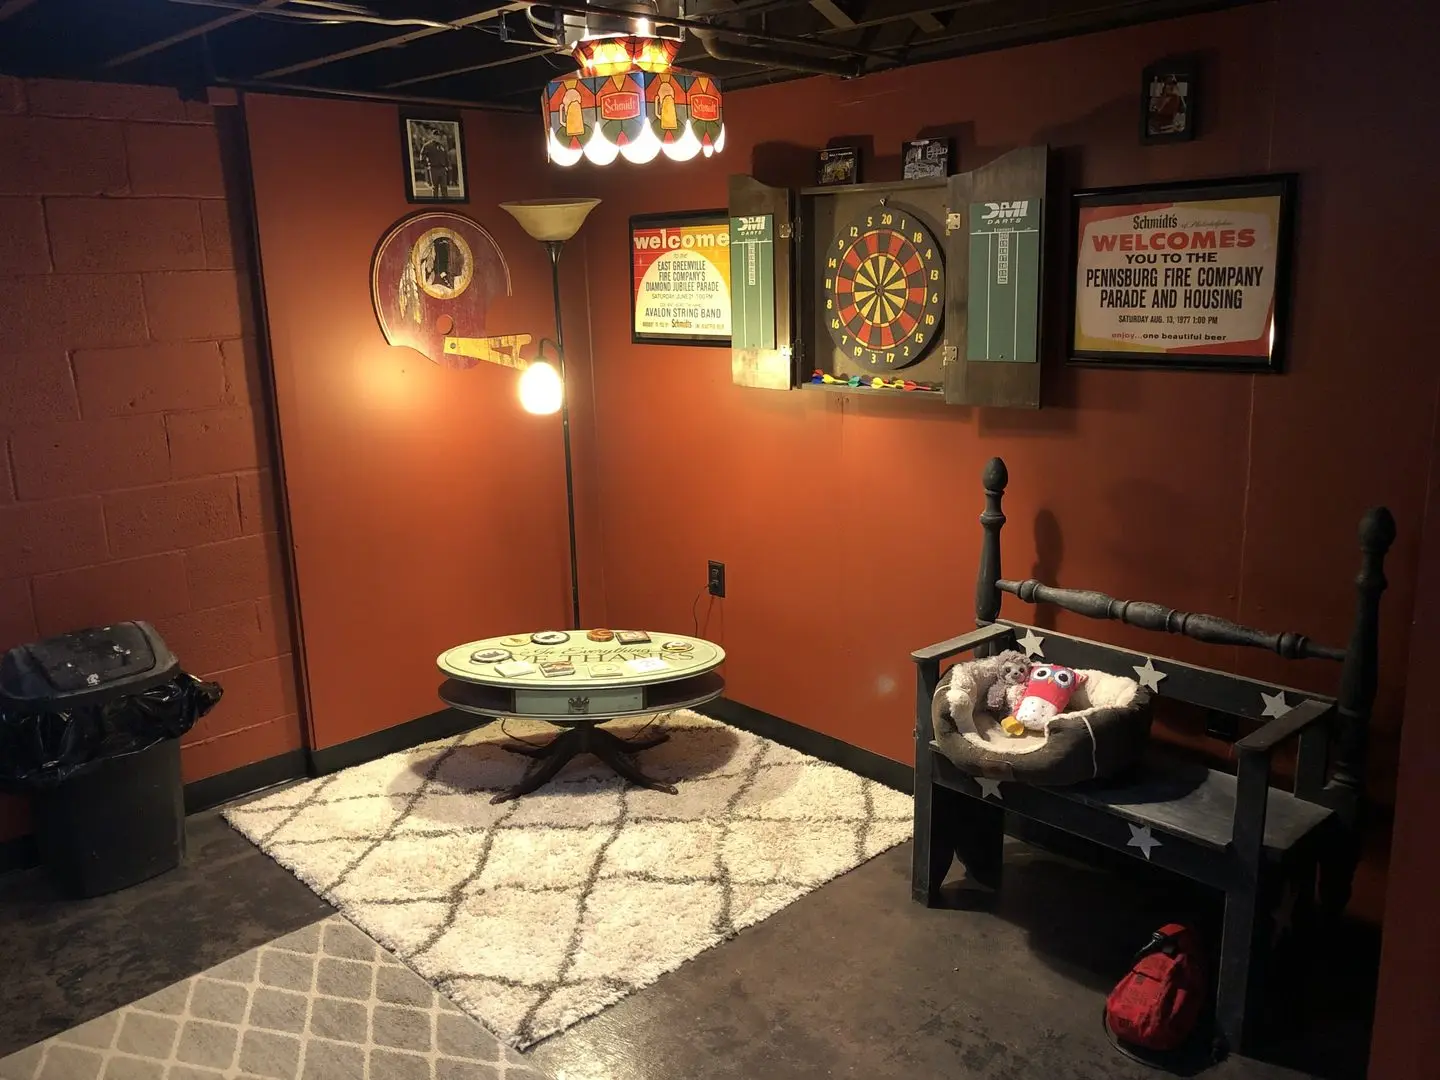
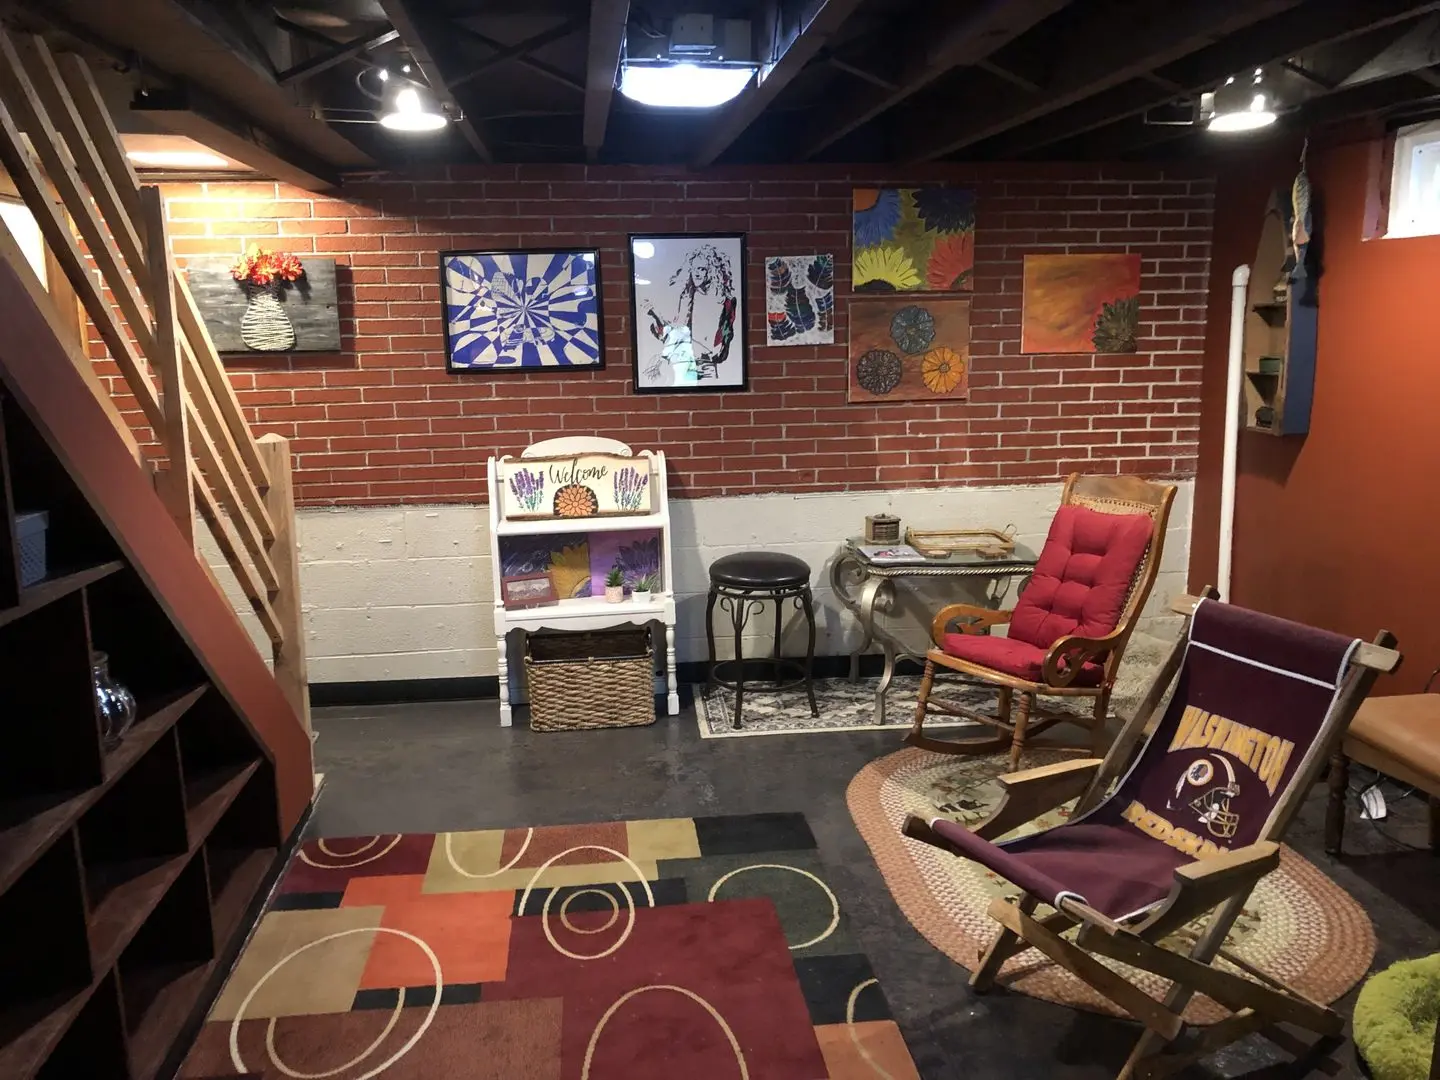
In this project, a previously dull and uninviting basement is rejuvenated into an appealing family hangout spot. The concrete floor was meticulously cleaned and refreshed with three thin coats of Charcoal AcquaTint™. The final result is a warmly tinted basement floor that drastically enhances the overall aesthetics.
Chic Salon Makeover with Natural Concrete Floors
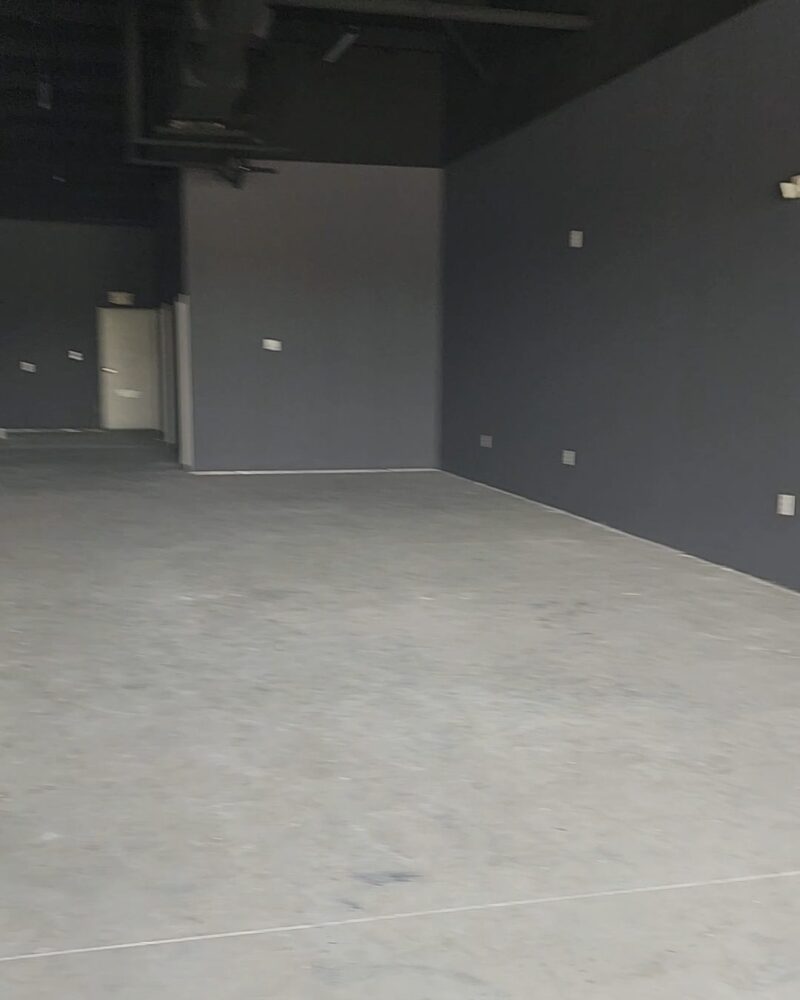
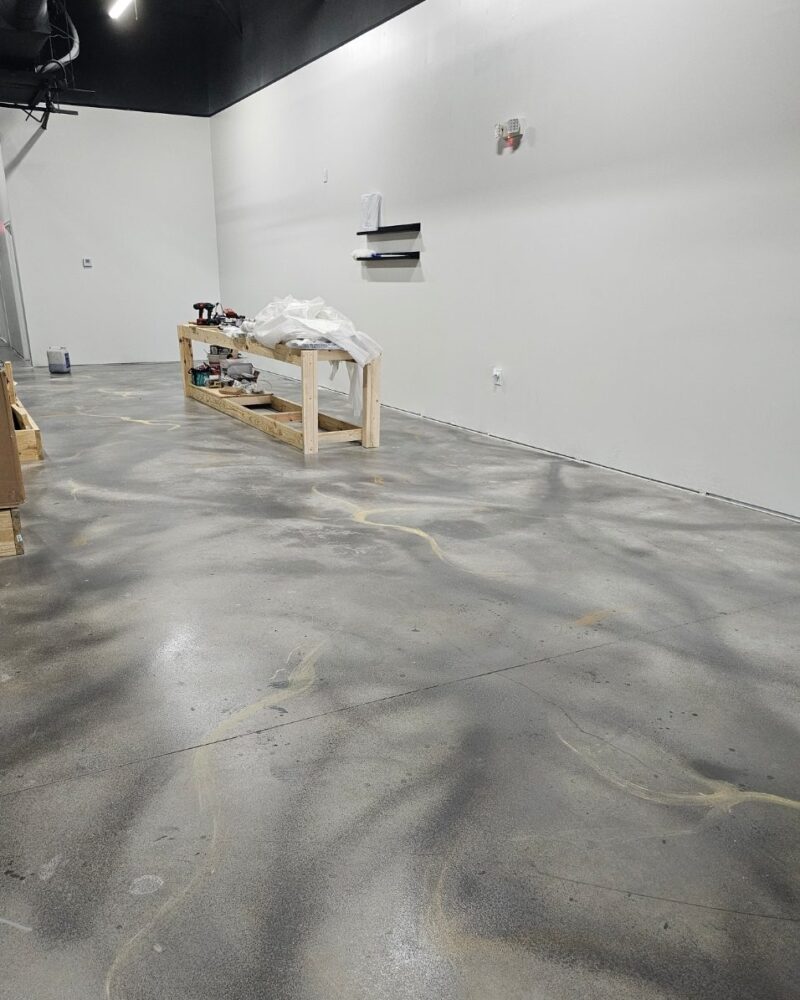
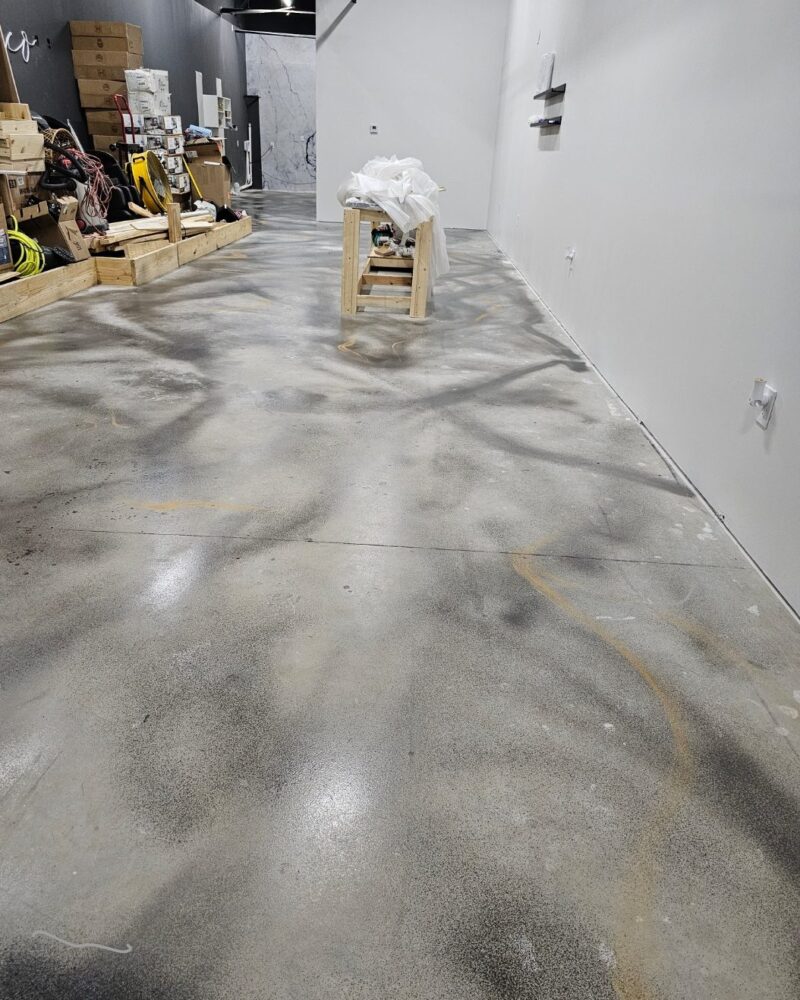
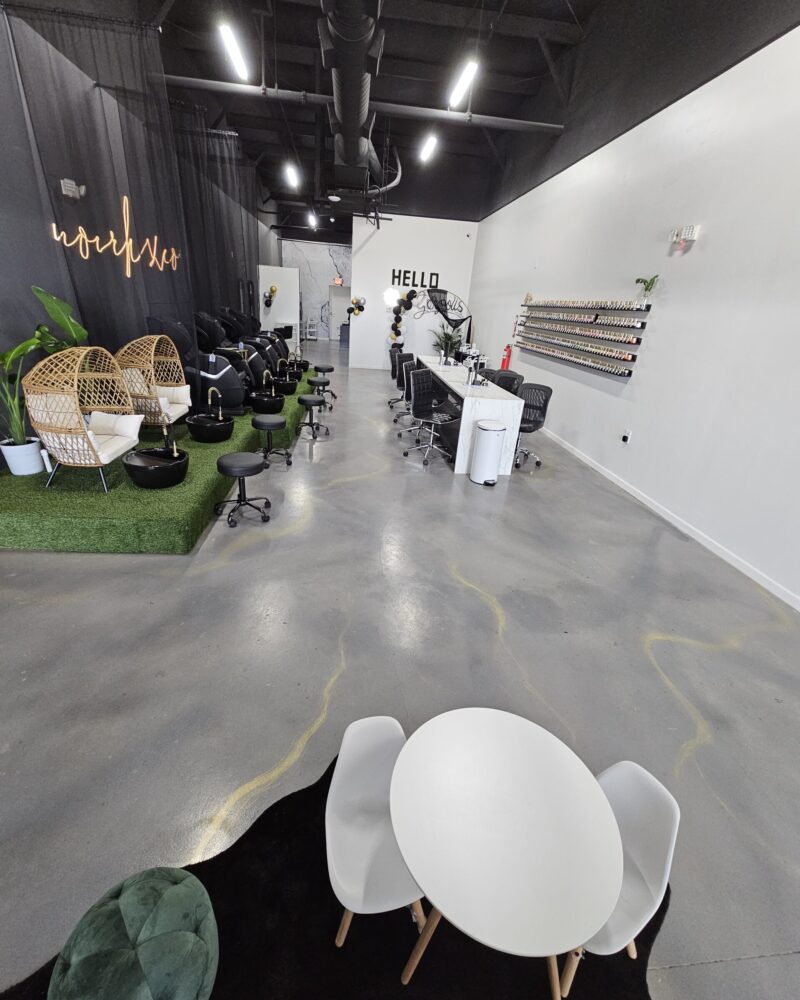
This salon project embraced the raw beauty of unfinished concrete floors. By preserving the natural blemishes and adding strategic detailing, the space was transformed into a chic, modern salon (NoirLuxco Nail Studio and Spa, Katy, TX). The use of AcquaTint™ in Charcoal and Silver Gray, combined with ProWax Polish™, ensured a non-porous, durable finish. For a touch of sparkle, Mica Powder was incorporated. The result is a distinctive salon floor that is not only functional, but also visually engaging.
Project Info:
- Project Completed In: 5 day(s)
- Estimate of Square Footage: 1720 sq. ft.
- Project Description:
Salon had unfinished concrete floors I loved the natural state and all the blemishes so i opted to let those shine but add some details and bc the floors cant be porous I needed to seal them so I did just that and love my floors! - Personal Tips:
Fill gaps, holes and cracks.
Use the darker color first then lighter colors to diffuse it per se. - Direct Colors Products Used:
2 x 1 Gal. Charcoal AcquaTint™
5 Gal. Silver Gray AcquaTint™ & ProWax Polish™ Satin Kit
1 Gal. ProWax Polish™ Satin - Other Products Used: Mica Powder
Graffiti-Inspired Basement Transformation
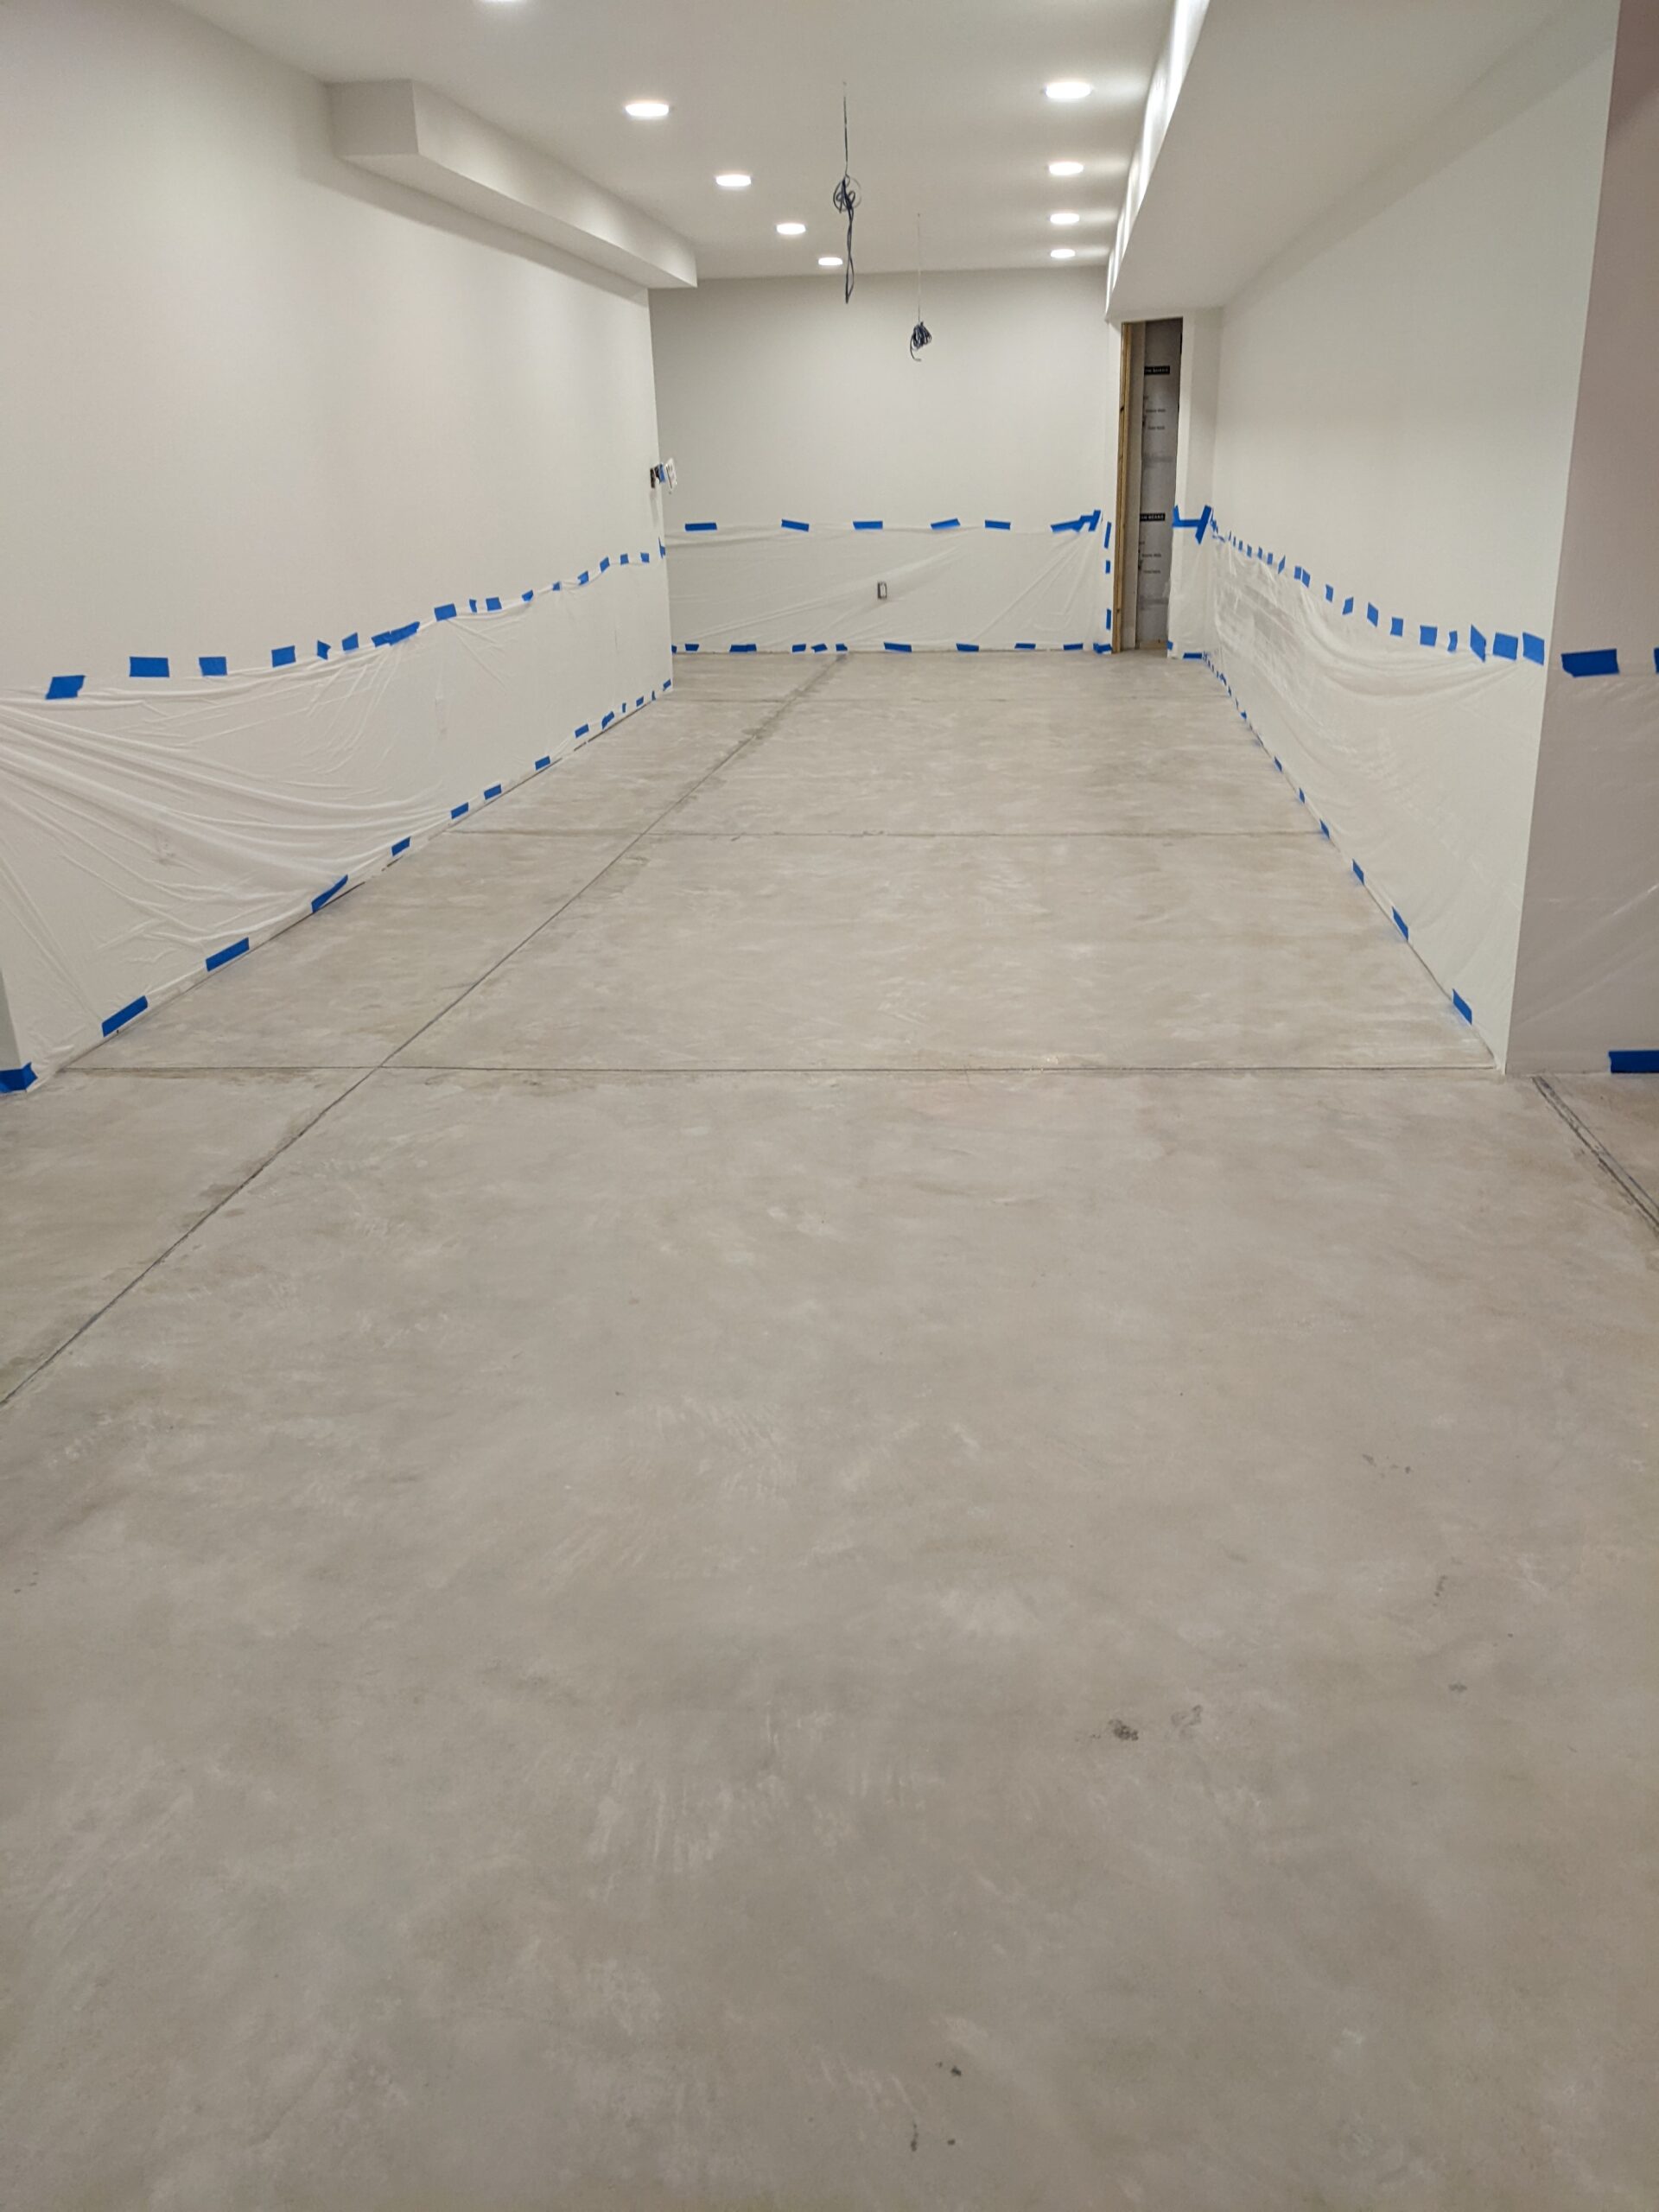
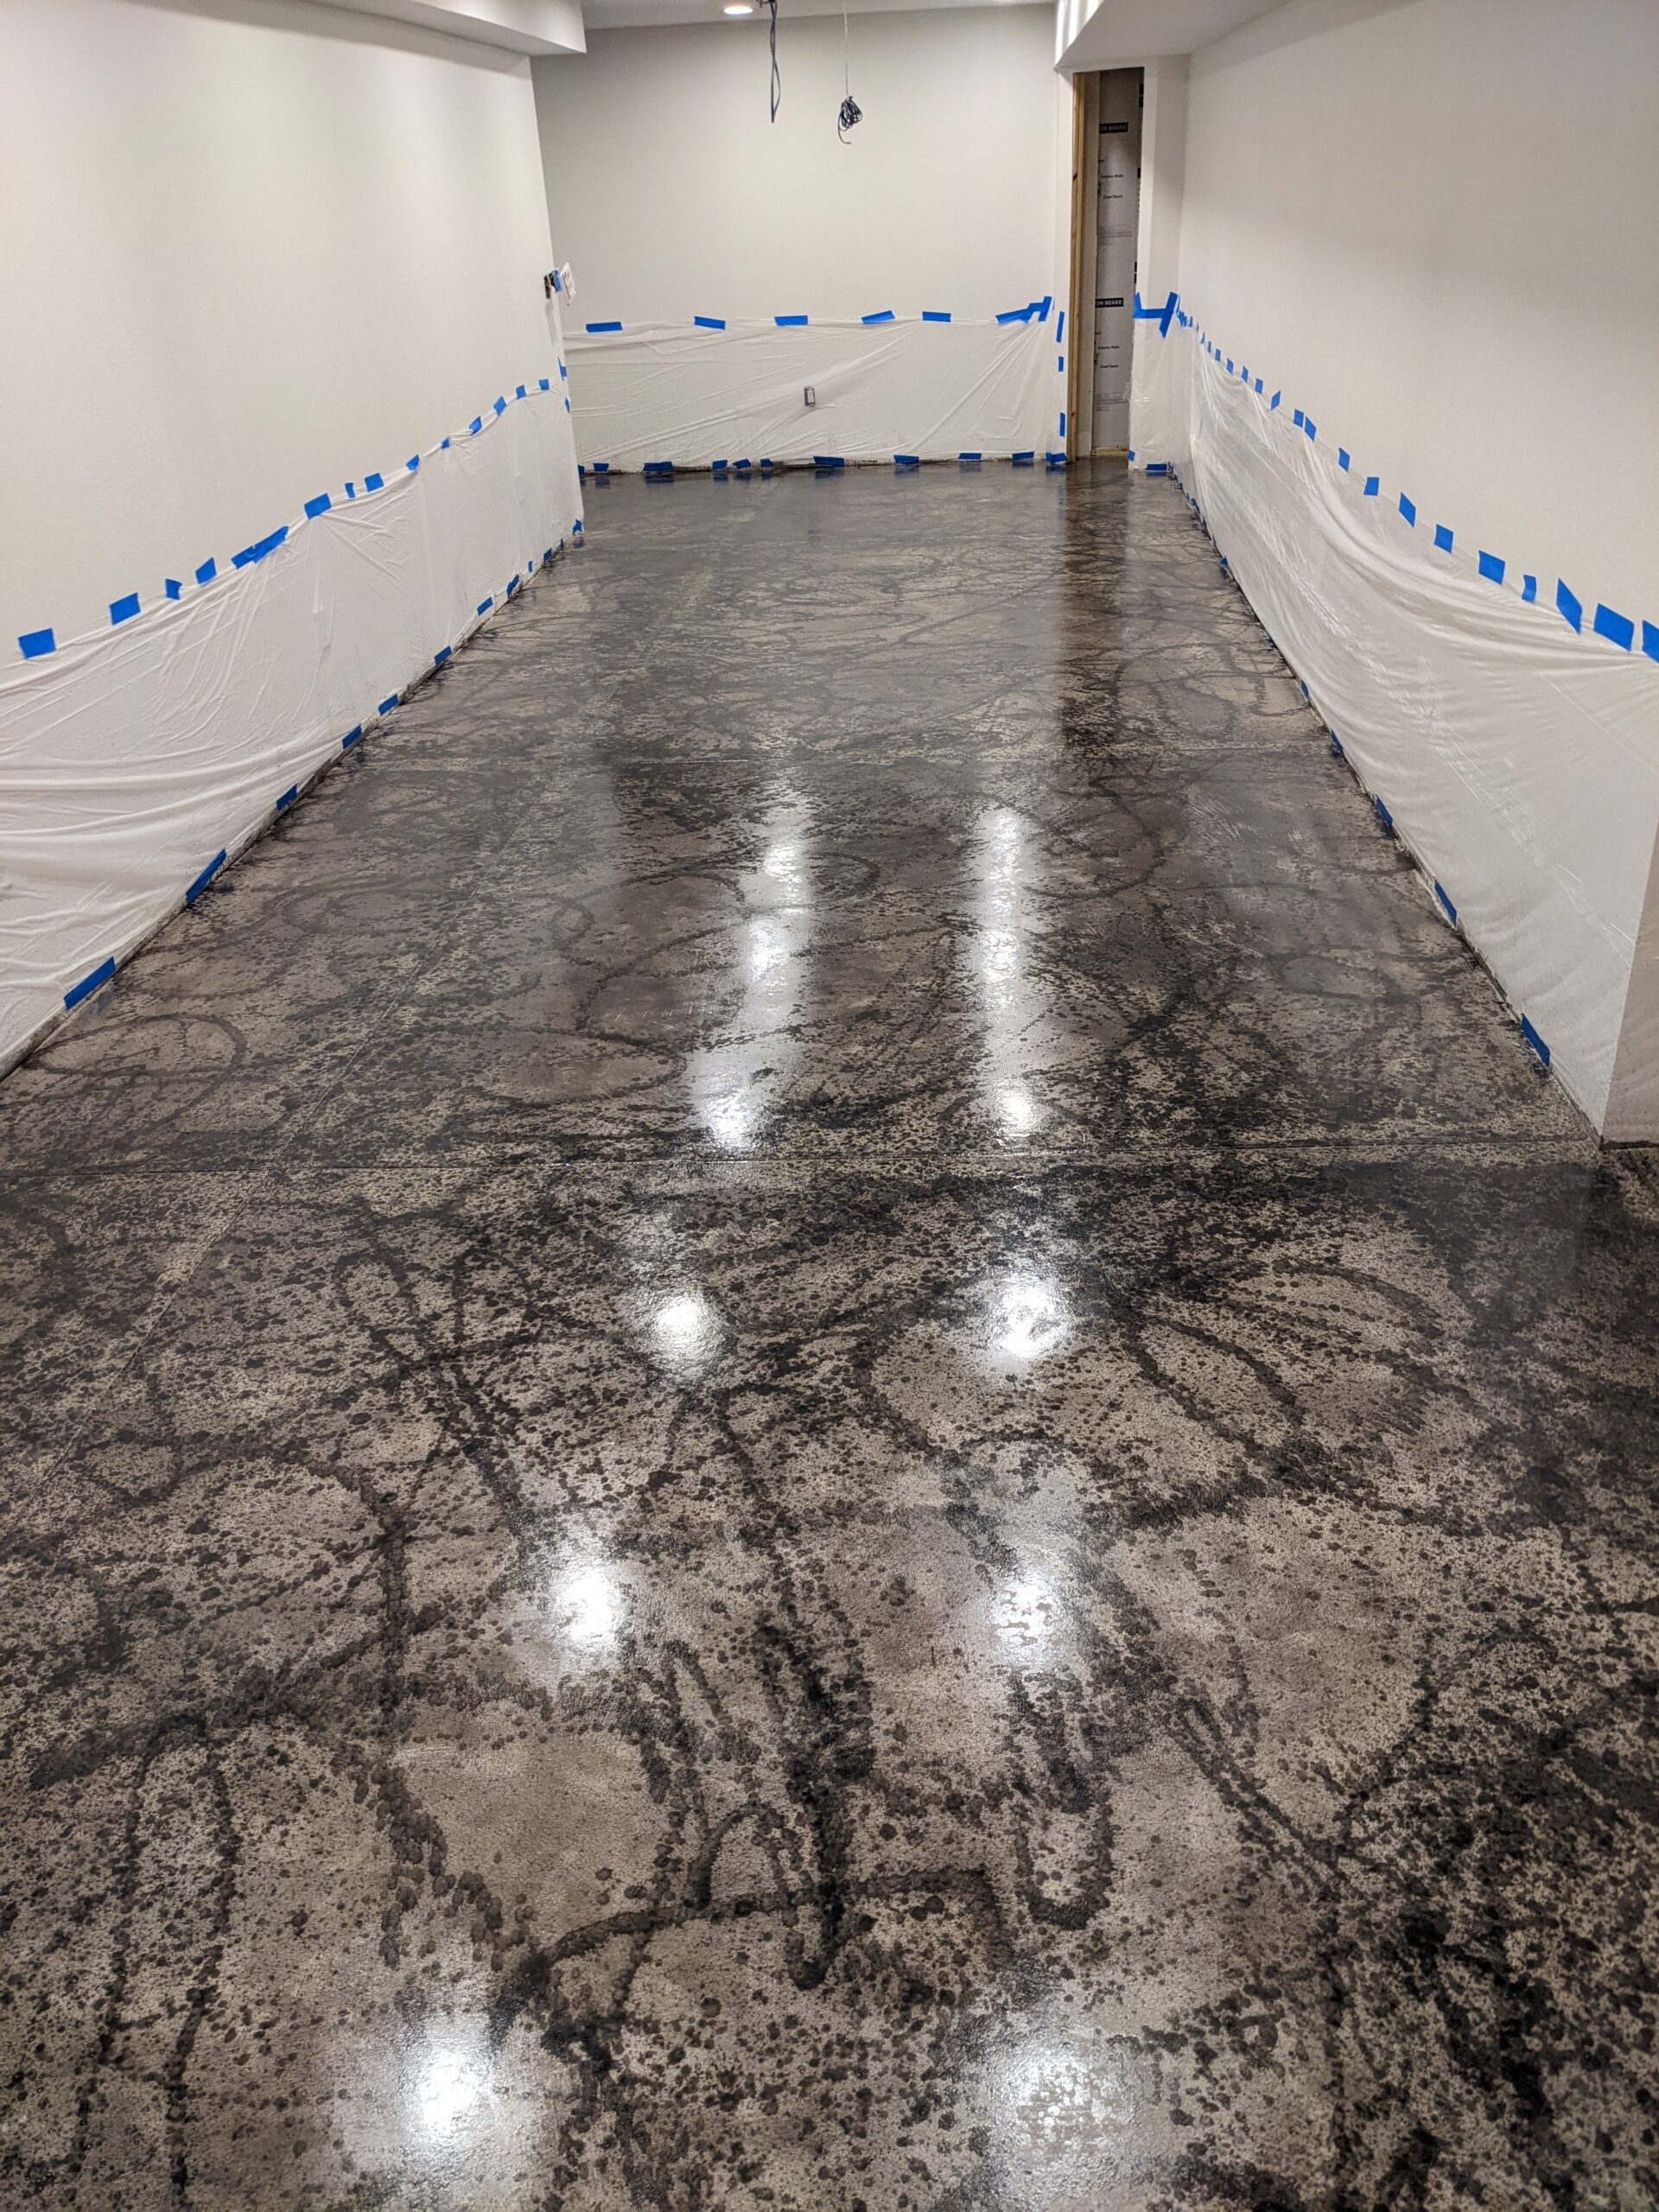
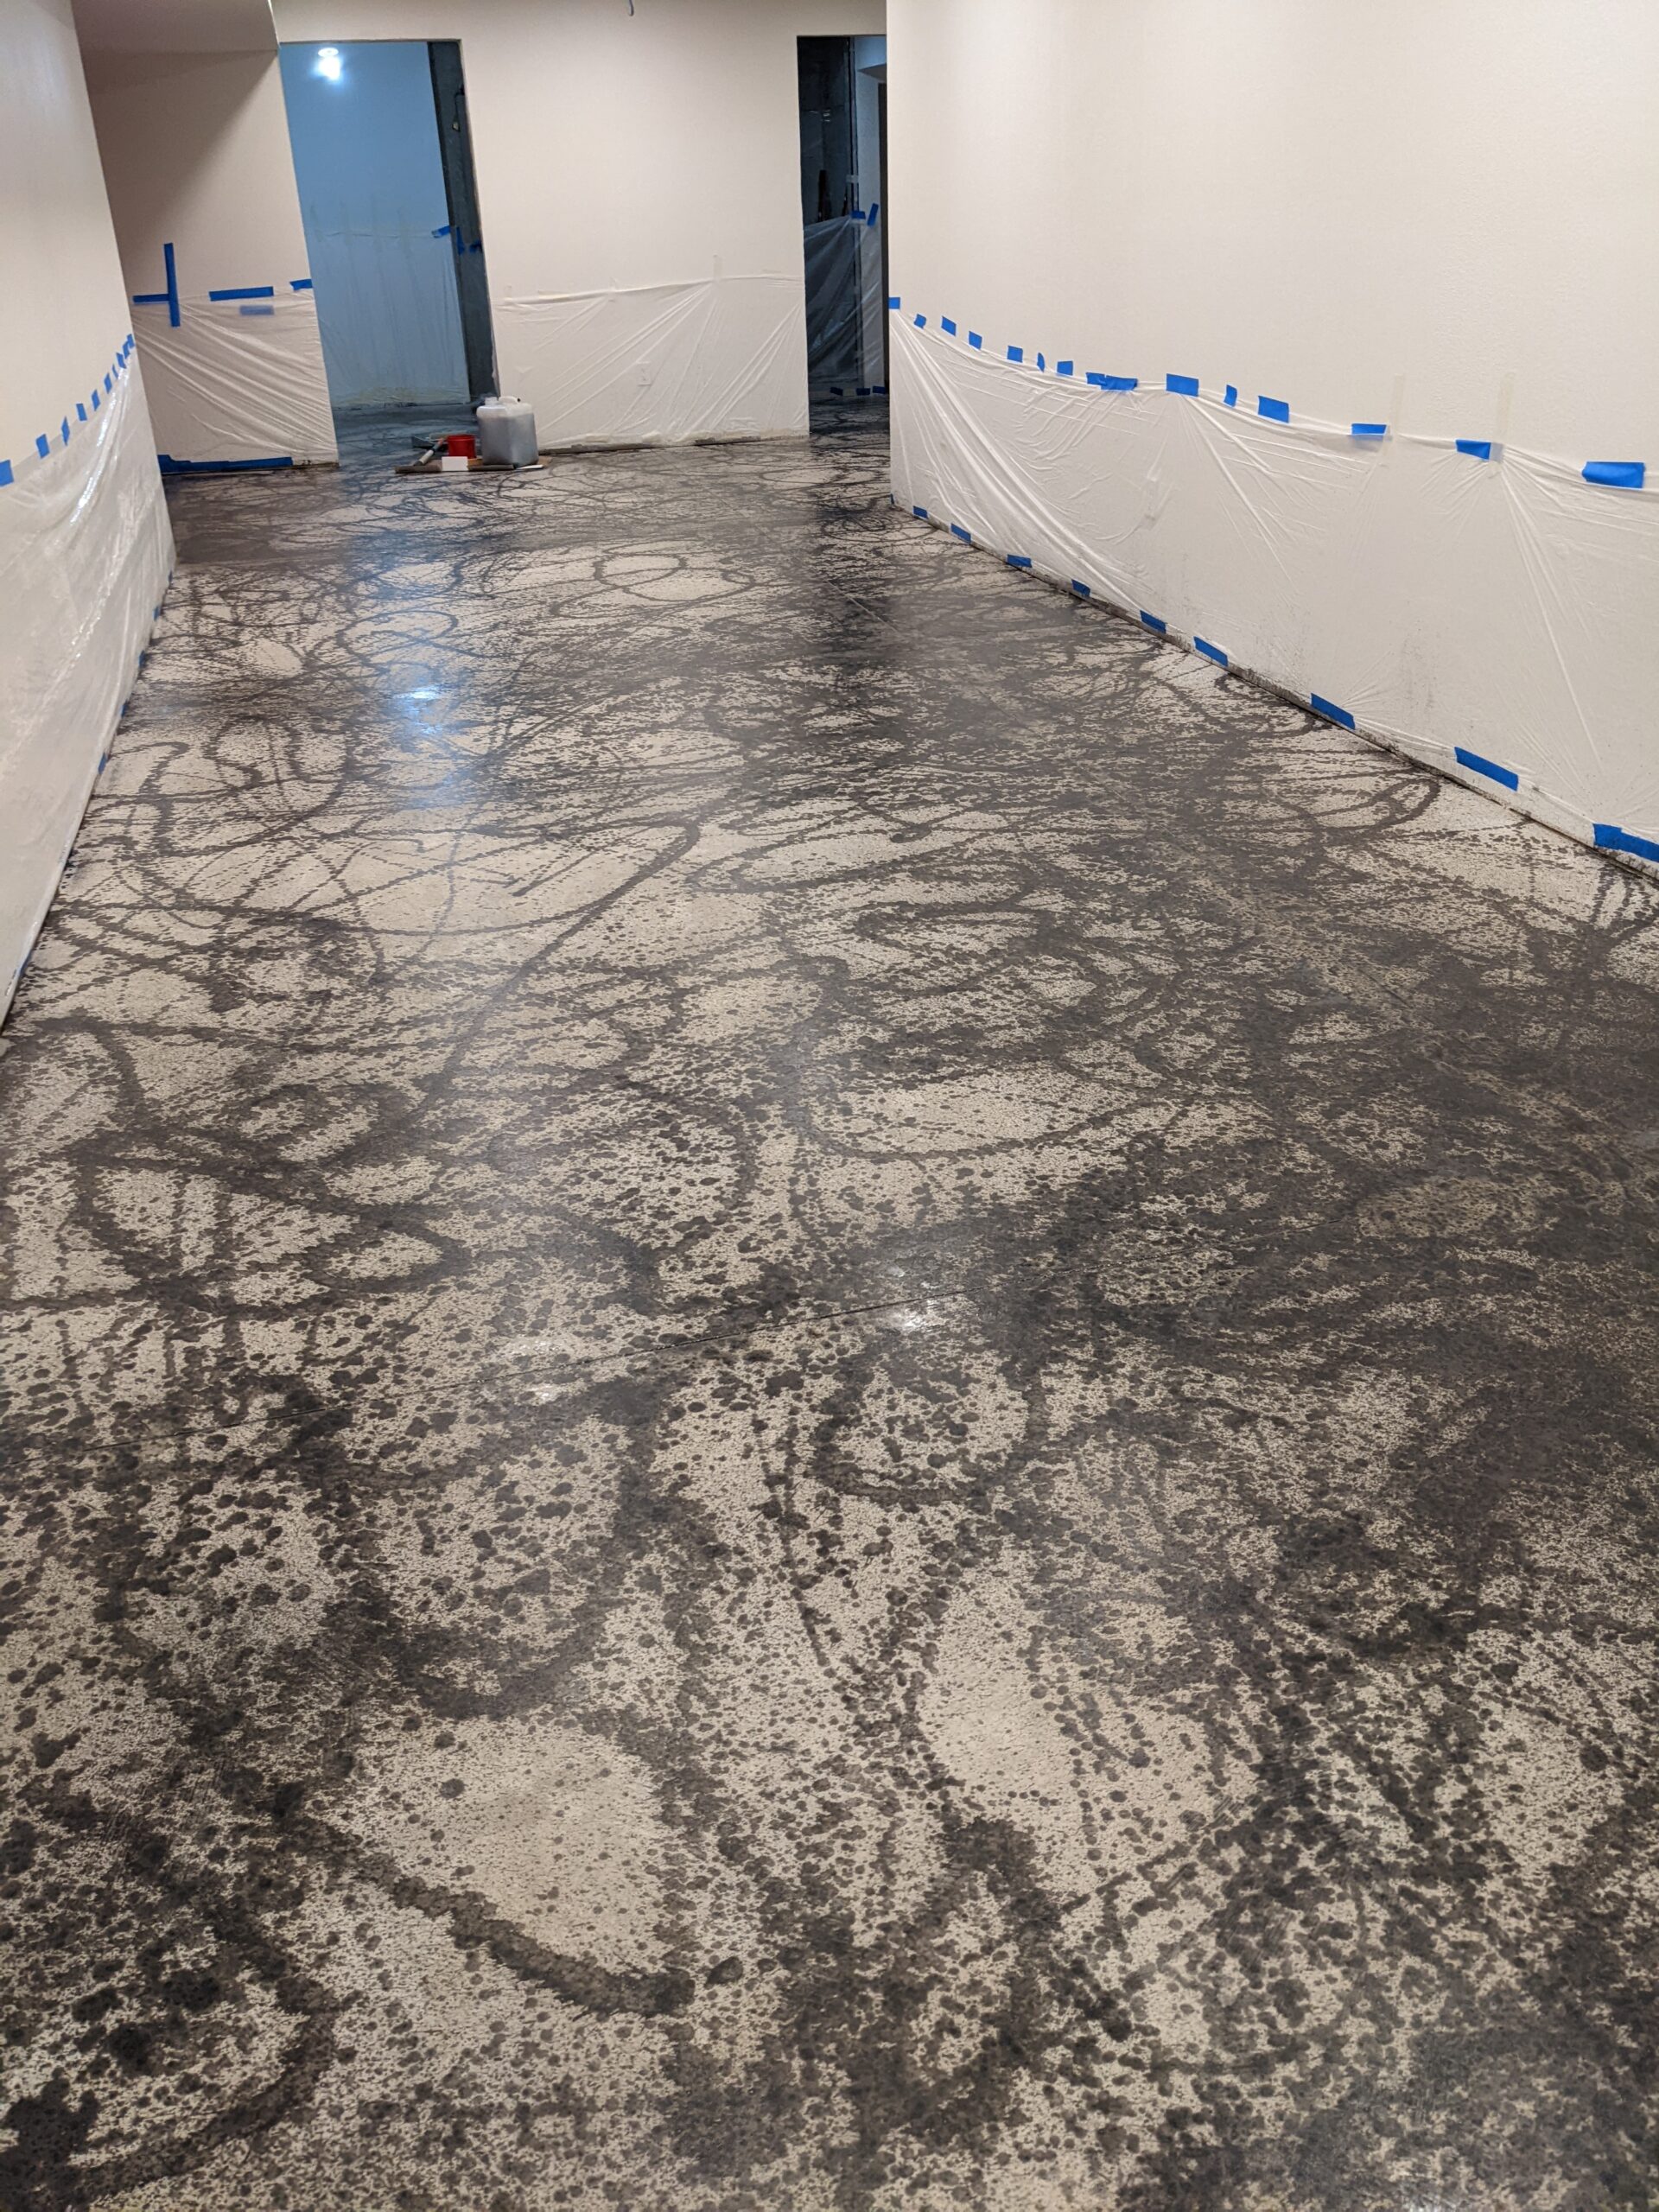
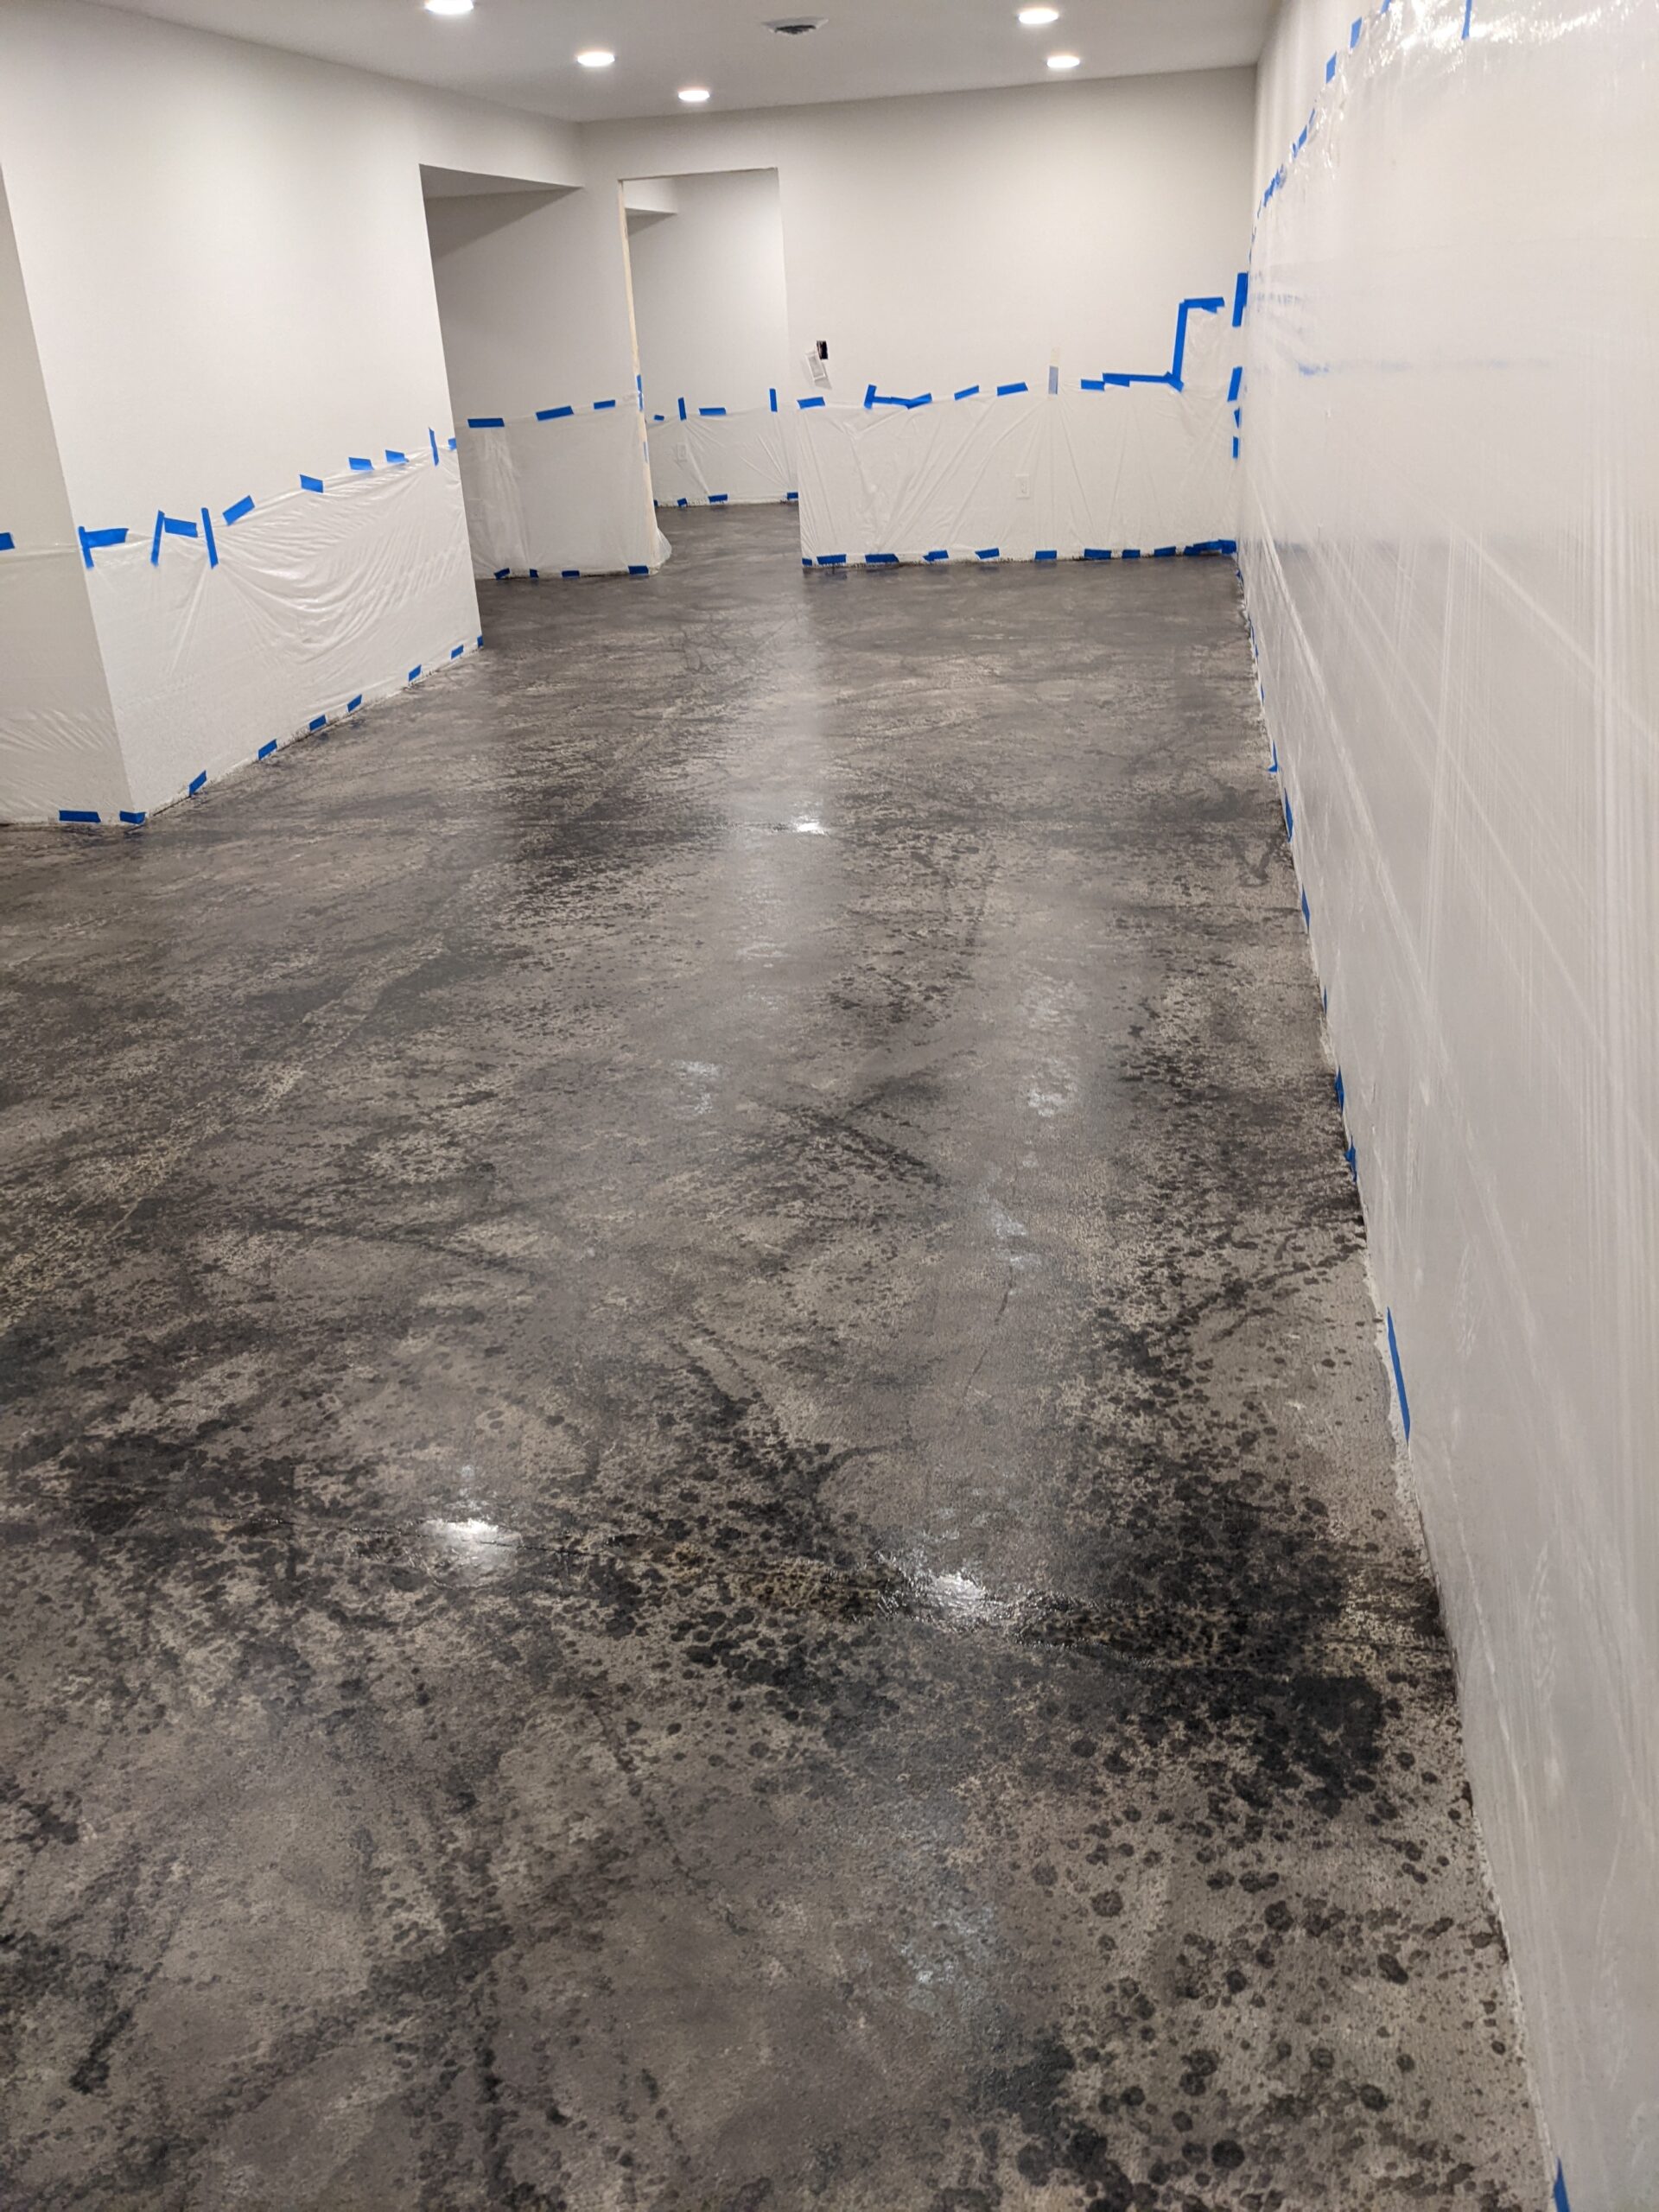
This project takes an artistic spin on an 1800sq ft basement floor. After a deep clean, a professional artist splashed Charcoal AcquaTint™, followed by a lighter gray layer. Despite the challenge, the mottled effect created was a sight to behold. Three coats of wax later, the result was a unique, vibrant floor. Note: stir AcquaTint™ often and ensure good lighting when applying!
Project Info:
- Project Completed In: 6 day(s)
- Estimate of Square Footage: 1800 sq. ft.
- Project Description:
I have an unfinished 1800sf basement. I wanted to keep the integrity and durability of the concrete floors.
The floors had been grinded before any work had started.
First was cleaning up drywall dust, mud and paint off floors. Some was scraped off and then washed with diluted pine sol and water and finally just with plain water. This took about 6 hours everytime, constantly dumping the dirtied water.
I am a professional artist but this was my first time with concrete stain and such a huge scale.
The sprayer I used spit and dripped out the paint so I had to change my original plan to random graffiti-like splashes of the charcoal color. Spraying the initial design took 4-5 hours and 2/3 of the 5 gal charcoal. I let that dry 24 hours before starting 2nd coat of lighter gray.
I used a 3/8″ 9″ roller to apply lighter gray over splashed charcoal. Because I was creating a mottled, random look, it was impossible to roll on in one direction as is suggested. It created lines I didn’t like. Rather, I went heavy in some areas and left the lightness of one coat in other areas, always careful to cover bare concrete. The lighter gray helped to soften the contrast of the lighter areas and the charcoal. This effect took about 2 of the 5 gal. container. Because of the sheer size of the floor, it took 6-7 hours.
After waiting 24 hours, I began 1st coat of wax with a 9″ Shurcoat paint pad. It was very had to tell where I covered because of the mottled nature of the colors. After 4-5 hrs. I applied a 2nd coat of wax, noticing some areas had a higher sheen to them. I wasn’t sure why this was happening but it helped create depth on the floor.
The next morning, I applied a 3rd coat of wax, a bit heavier to achieve the desired high gloss look. That was left to cure a full 24 hrs. I used 4 of the 5 gals. to do all 3 coats of wax. Each coat took about 4-5 hours to complete. - Personal Tips:
Aquatint settles very quickly and must be constantly stirred.
Enjoy the way the stain works when using more than one color.
Make sure you have very good lighting to apply both stain and wax. - Direct Colors Products Used:
5 Gal. Charcoal AcquaTint™
5 Gal. Gray AcquaTint™
5 Gal. ProWax Polish™ Gloss - Other Products Used:
3/8″- 9″ roller
9″ Shurcoat paint pad -3, one for each coat of wax
2 gal Chapin premier sprayer
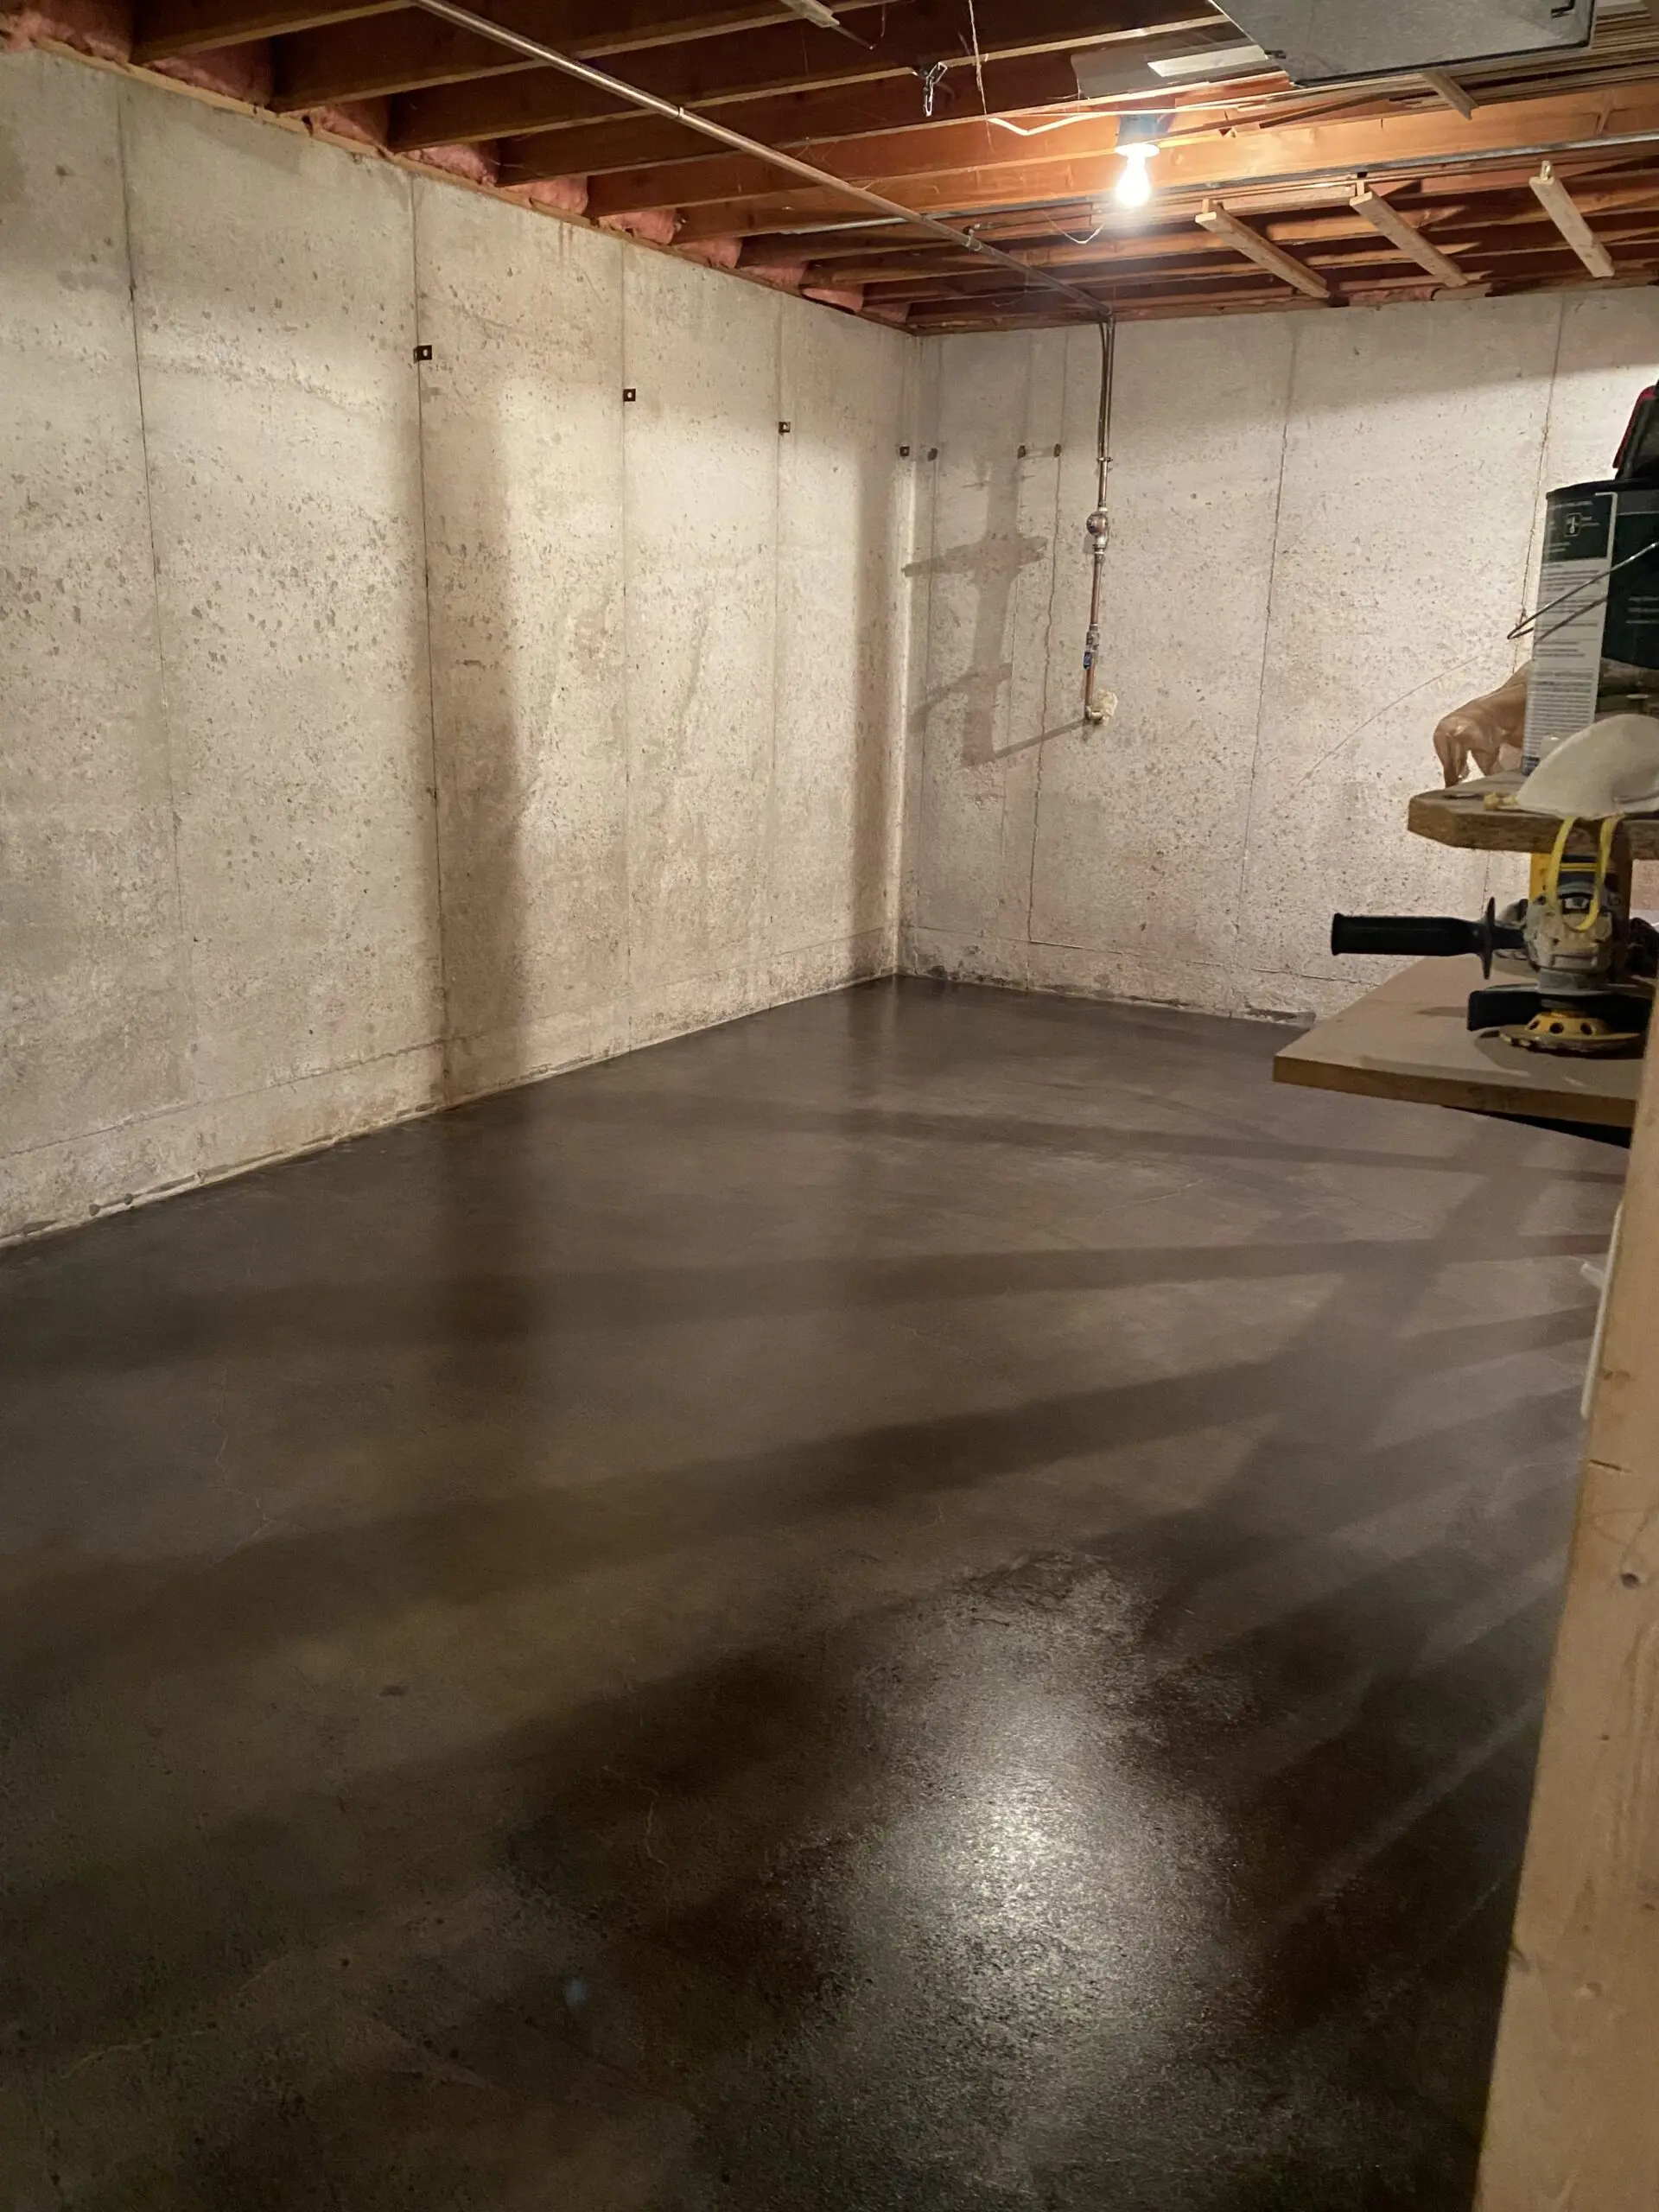
From Red Rubble to Speakeasy Sublime
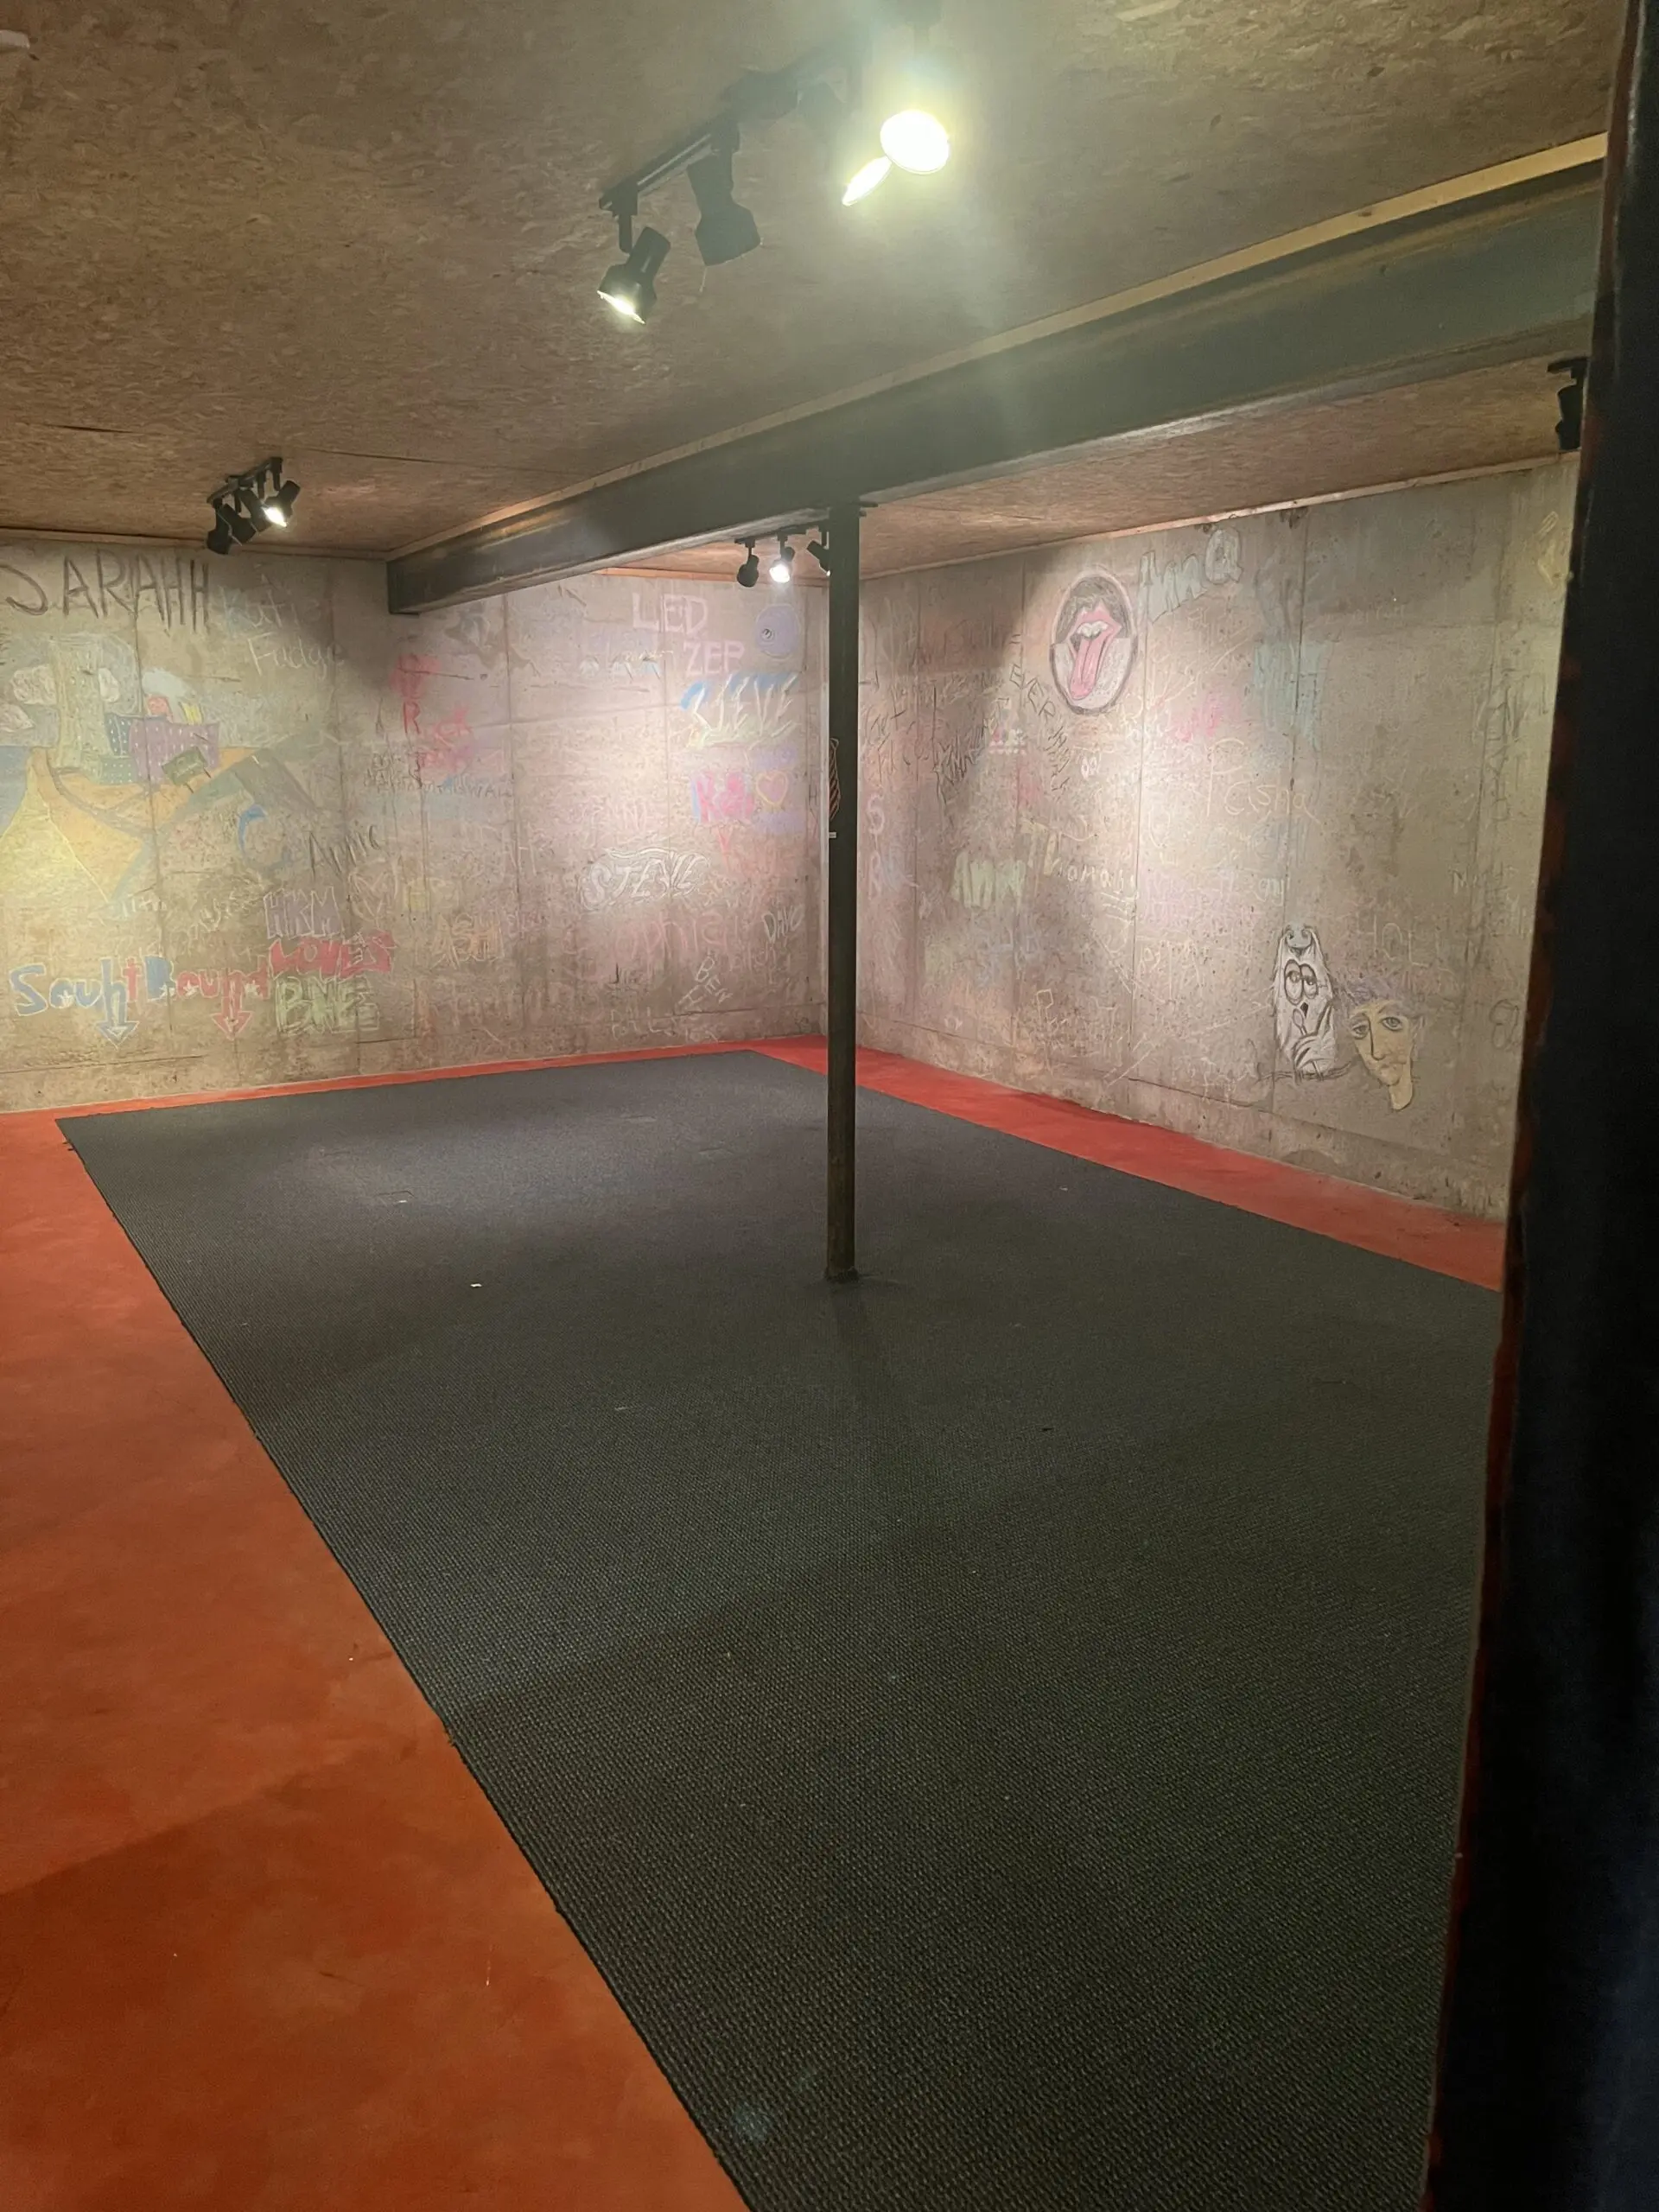
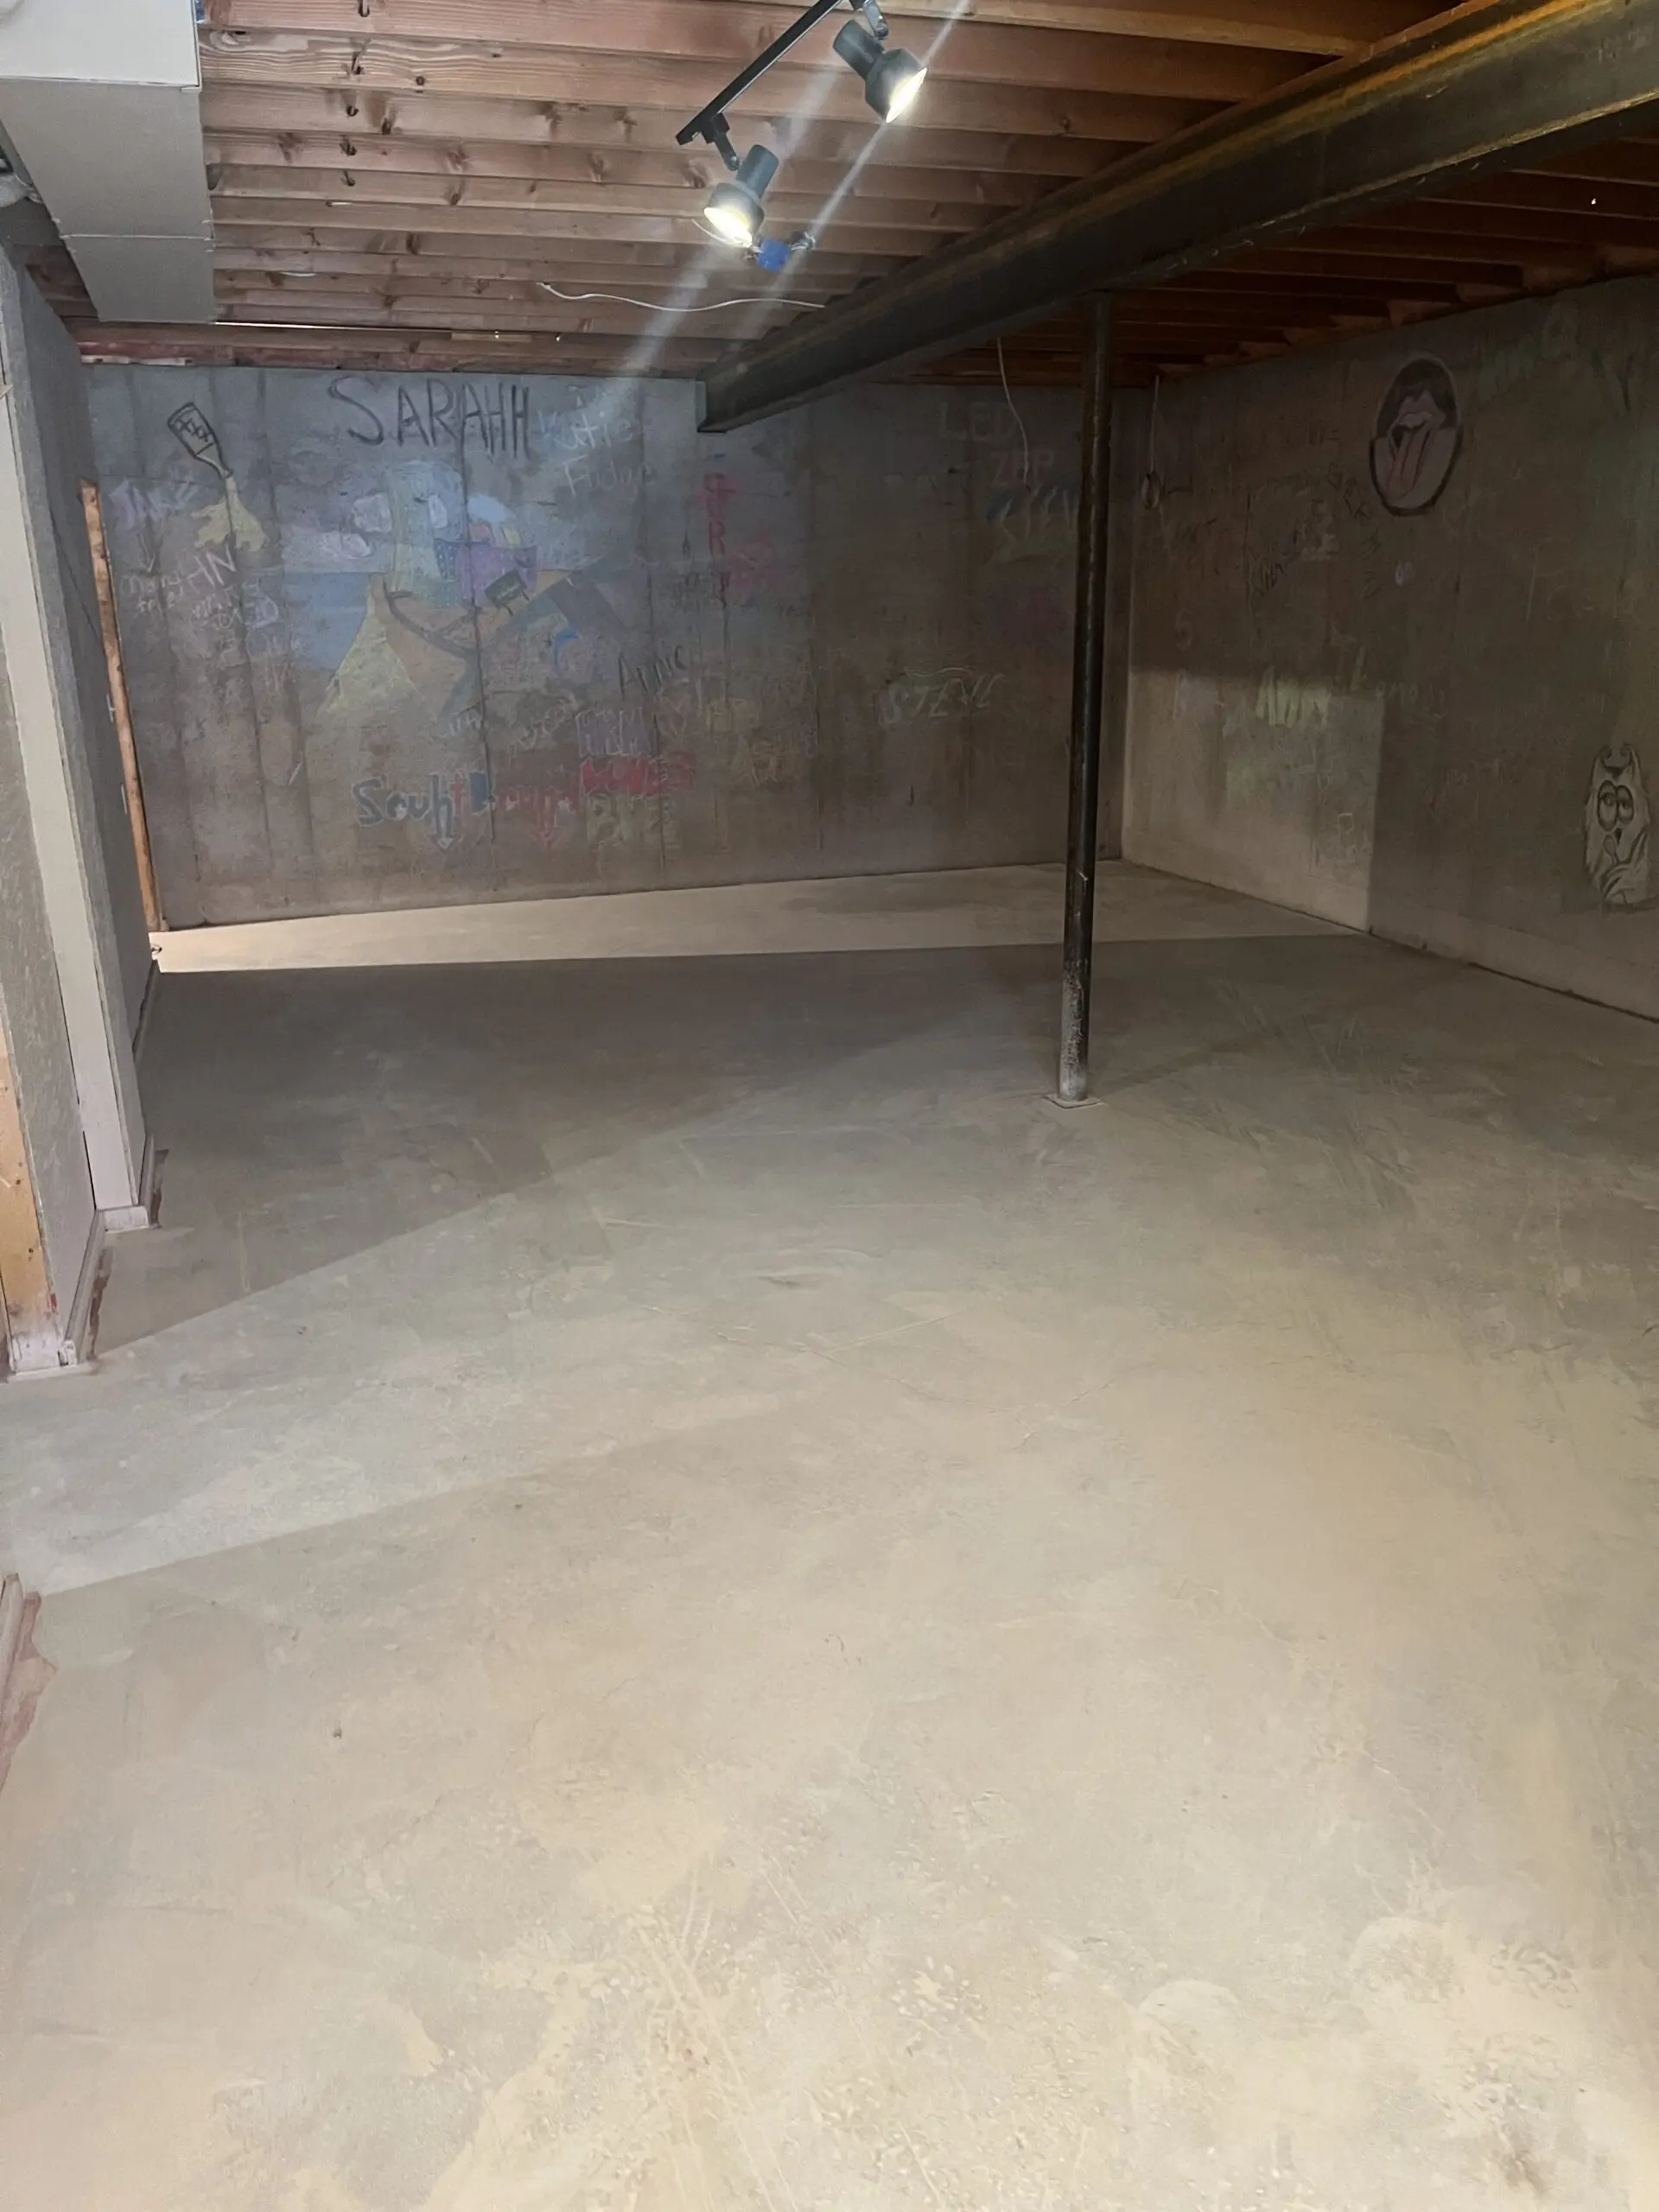
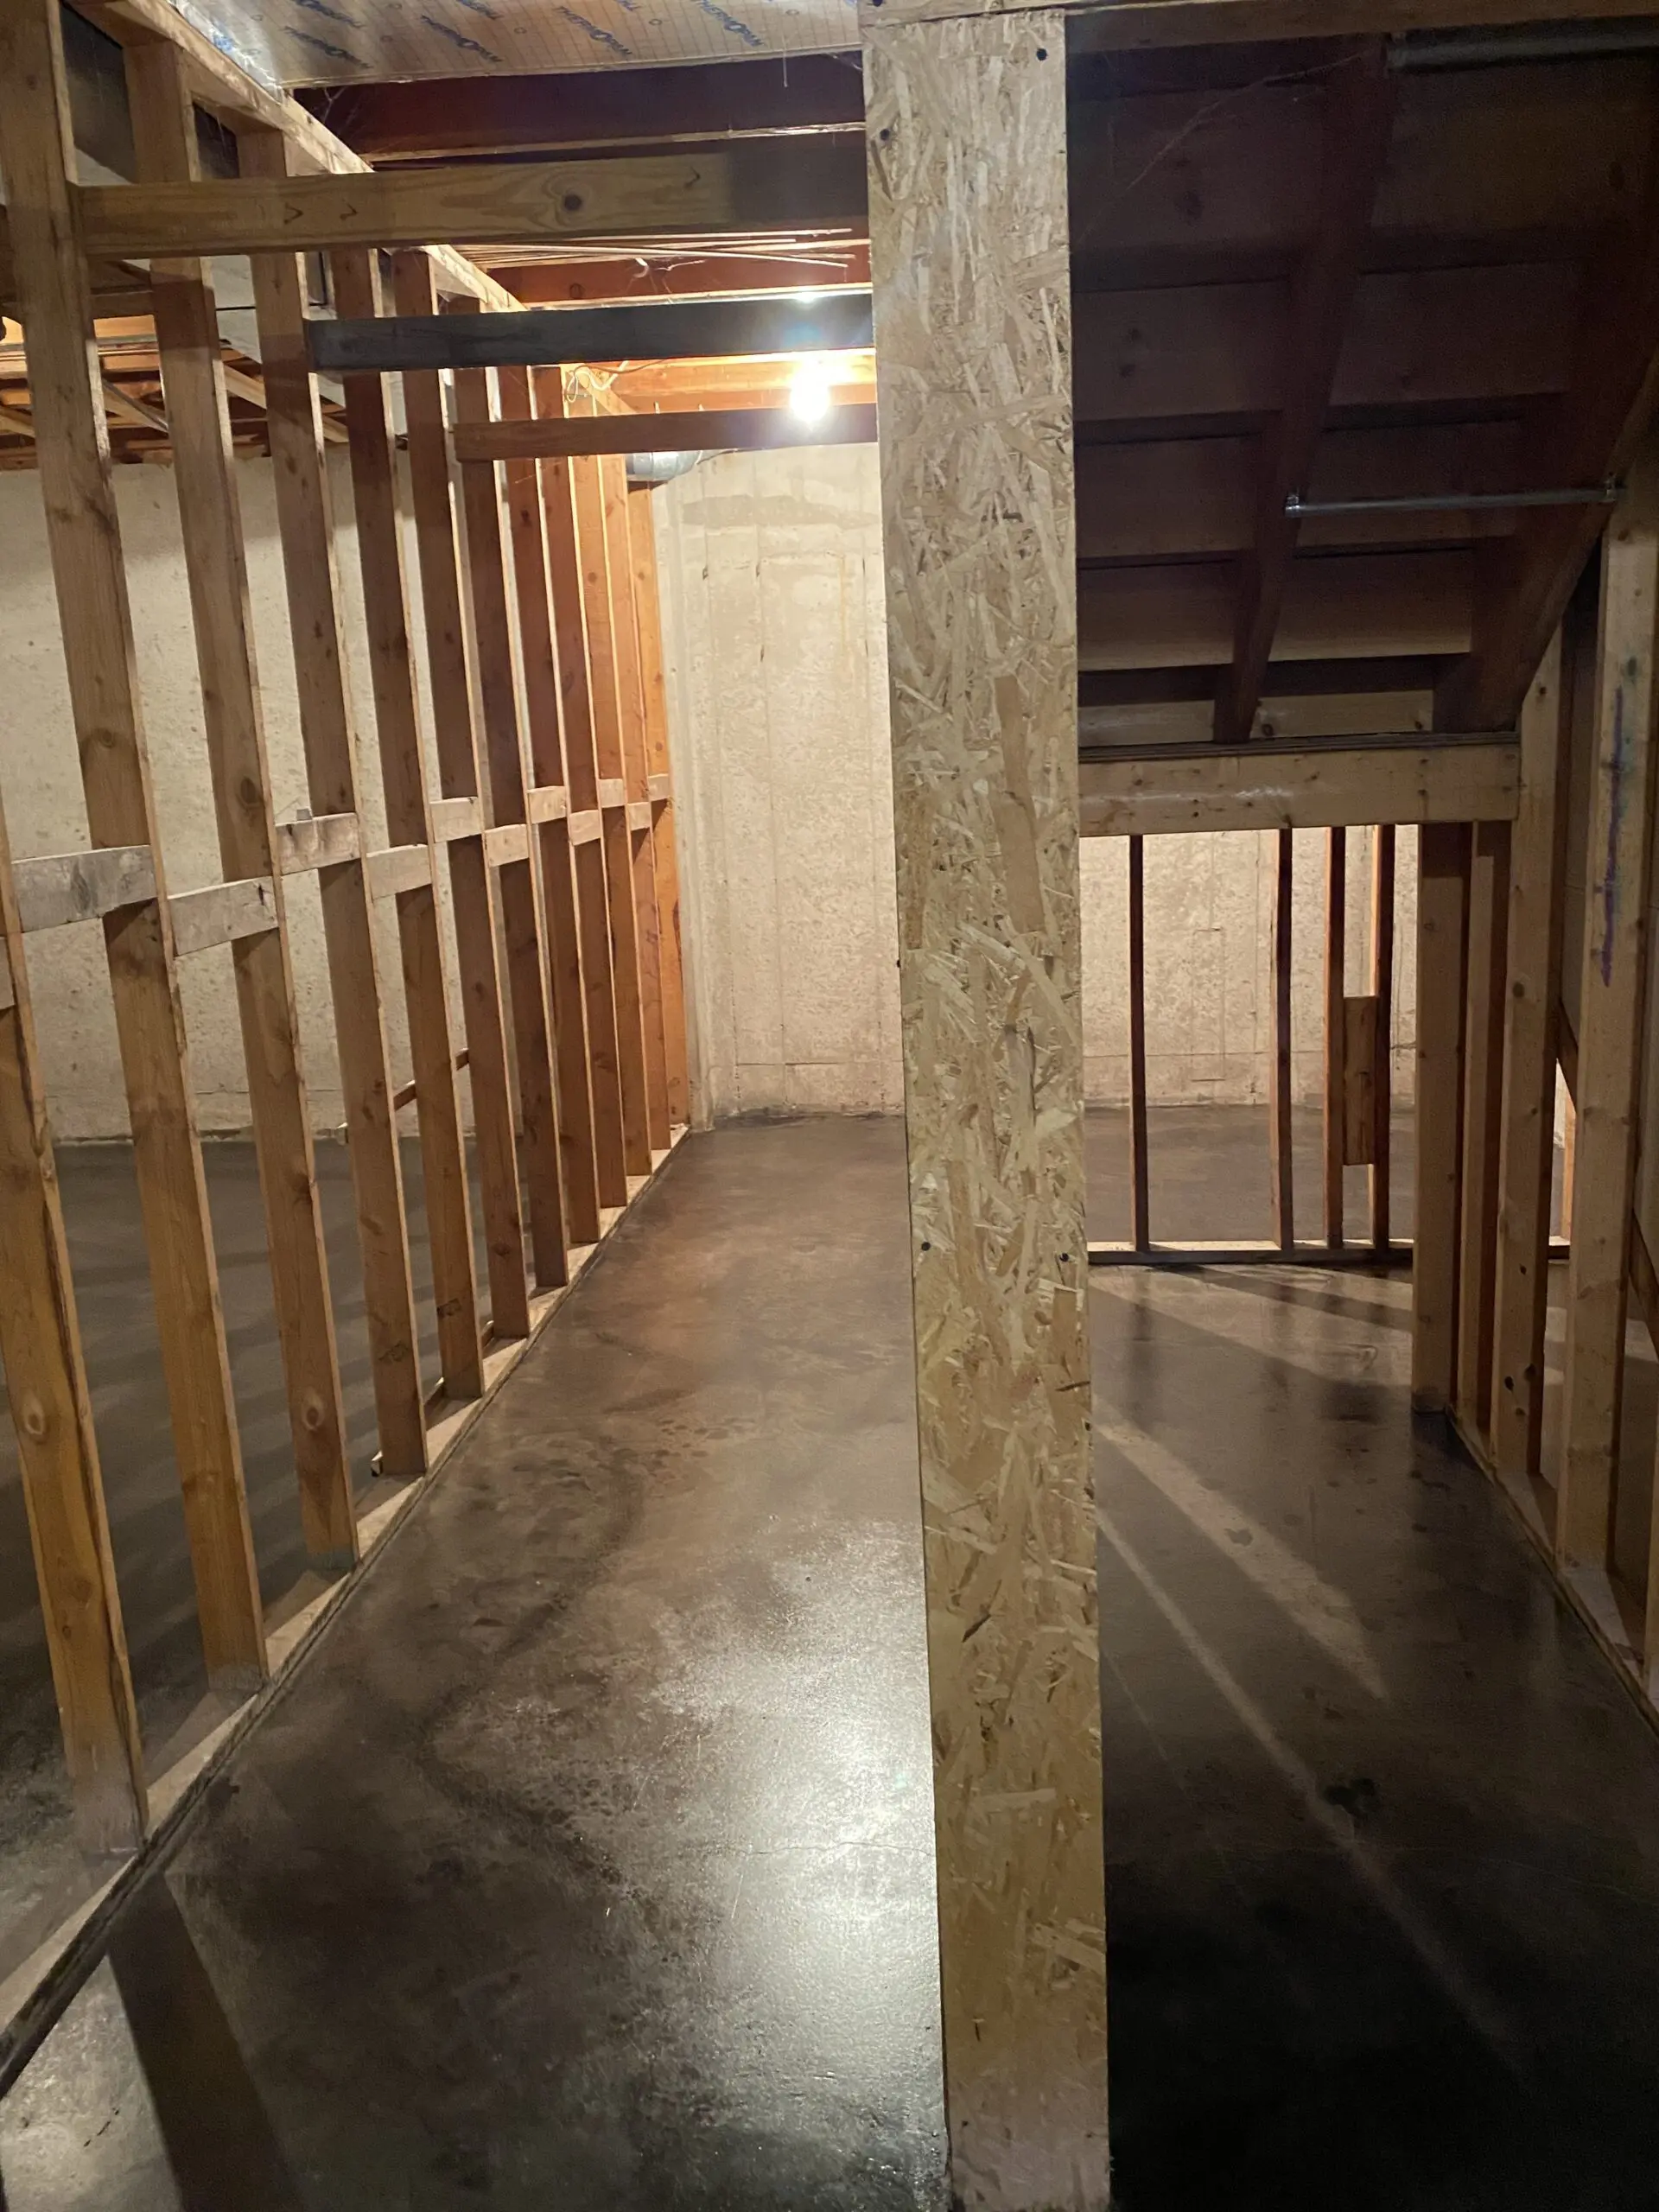
In this DIY triumph, a previously neglected basement with garish red floors underwent a massive transformation. After weeks of learning, grinding, staining, and sealing, the homeowners succeeded in reviving their space, using our Charcoal AcquaTint™ to turn it into a stylish basement speakeasy. To achieve a marbled, natural look, they used paint rollers for the base coats and a spray bottle for adding textural nuances. Sealed with ProWax Polish™ Satin, the result is simply remarkable. This journey demonstrates how a bit of grit, creativity, and AcquaTint can change the game.
Project Info:
- Project Completed In: 5 day(s)
- Estimate of Square Footage: 2000 sq. ft.
- Project Description:
We completely refinished our basement over the course of several weeks during our home’s remodel. We started with BRIGHT RED floors, trash left from the previous owner, and zero knowledge of concrete grinders, staining, or sealing. Direct Colors was the perfect finish for our floors and we can’t wait to start setting our our basement speakeasy! - Personal Tips:
When we were staining the floors, we started with paint rollers on long sticks x2 coats, and to add a marbling look plus hide the occasional roller mark, we came back over with a spray bottle and sprayed lines and splotches to give the floor a more natural look. - Direct Colors Products Used:
5 Gal. Charcoal AcquaTint™
1 Gal. ProWax Polish™ Satin
Basement Revival: Out with the Old, In with AcquaTint
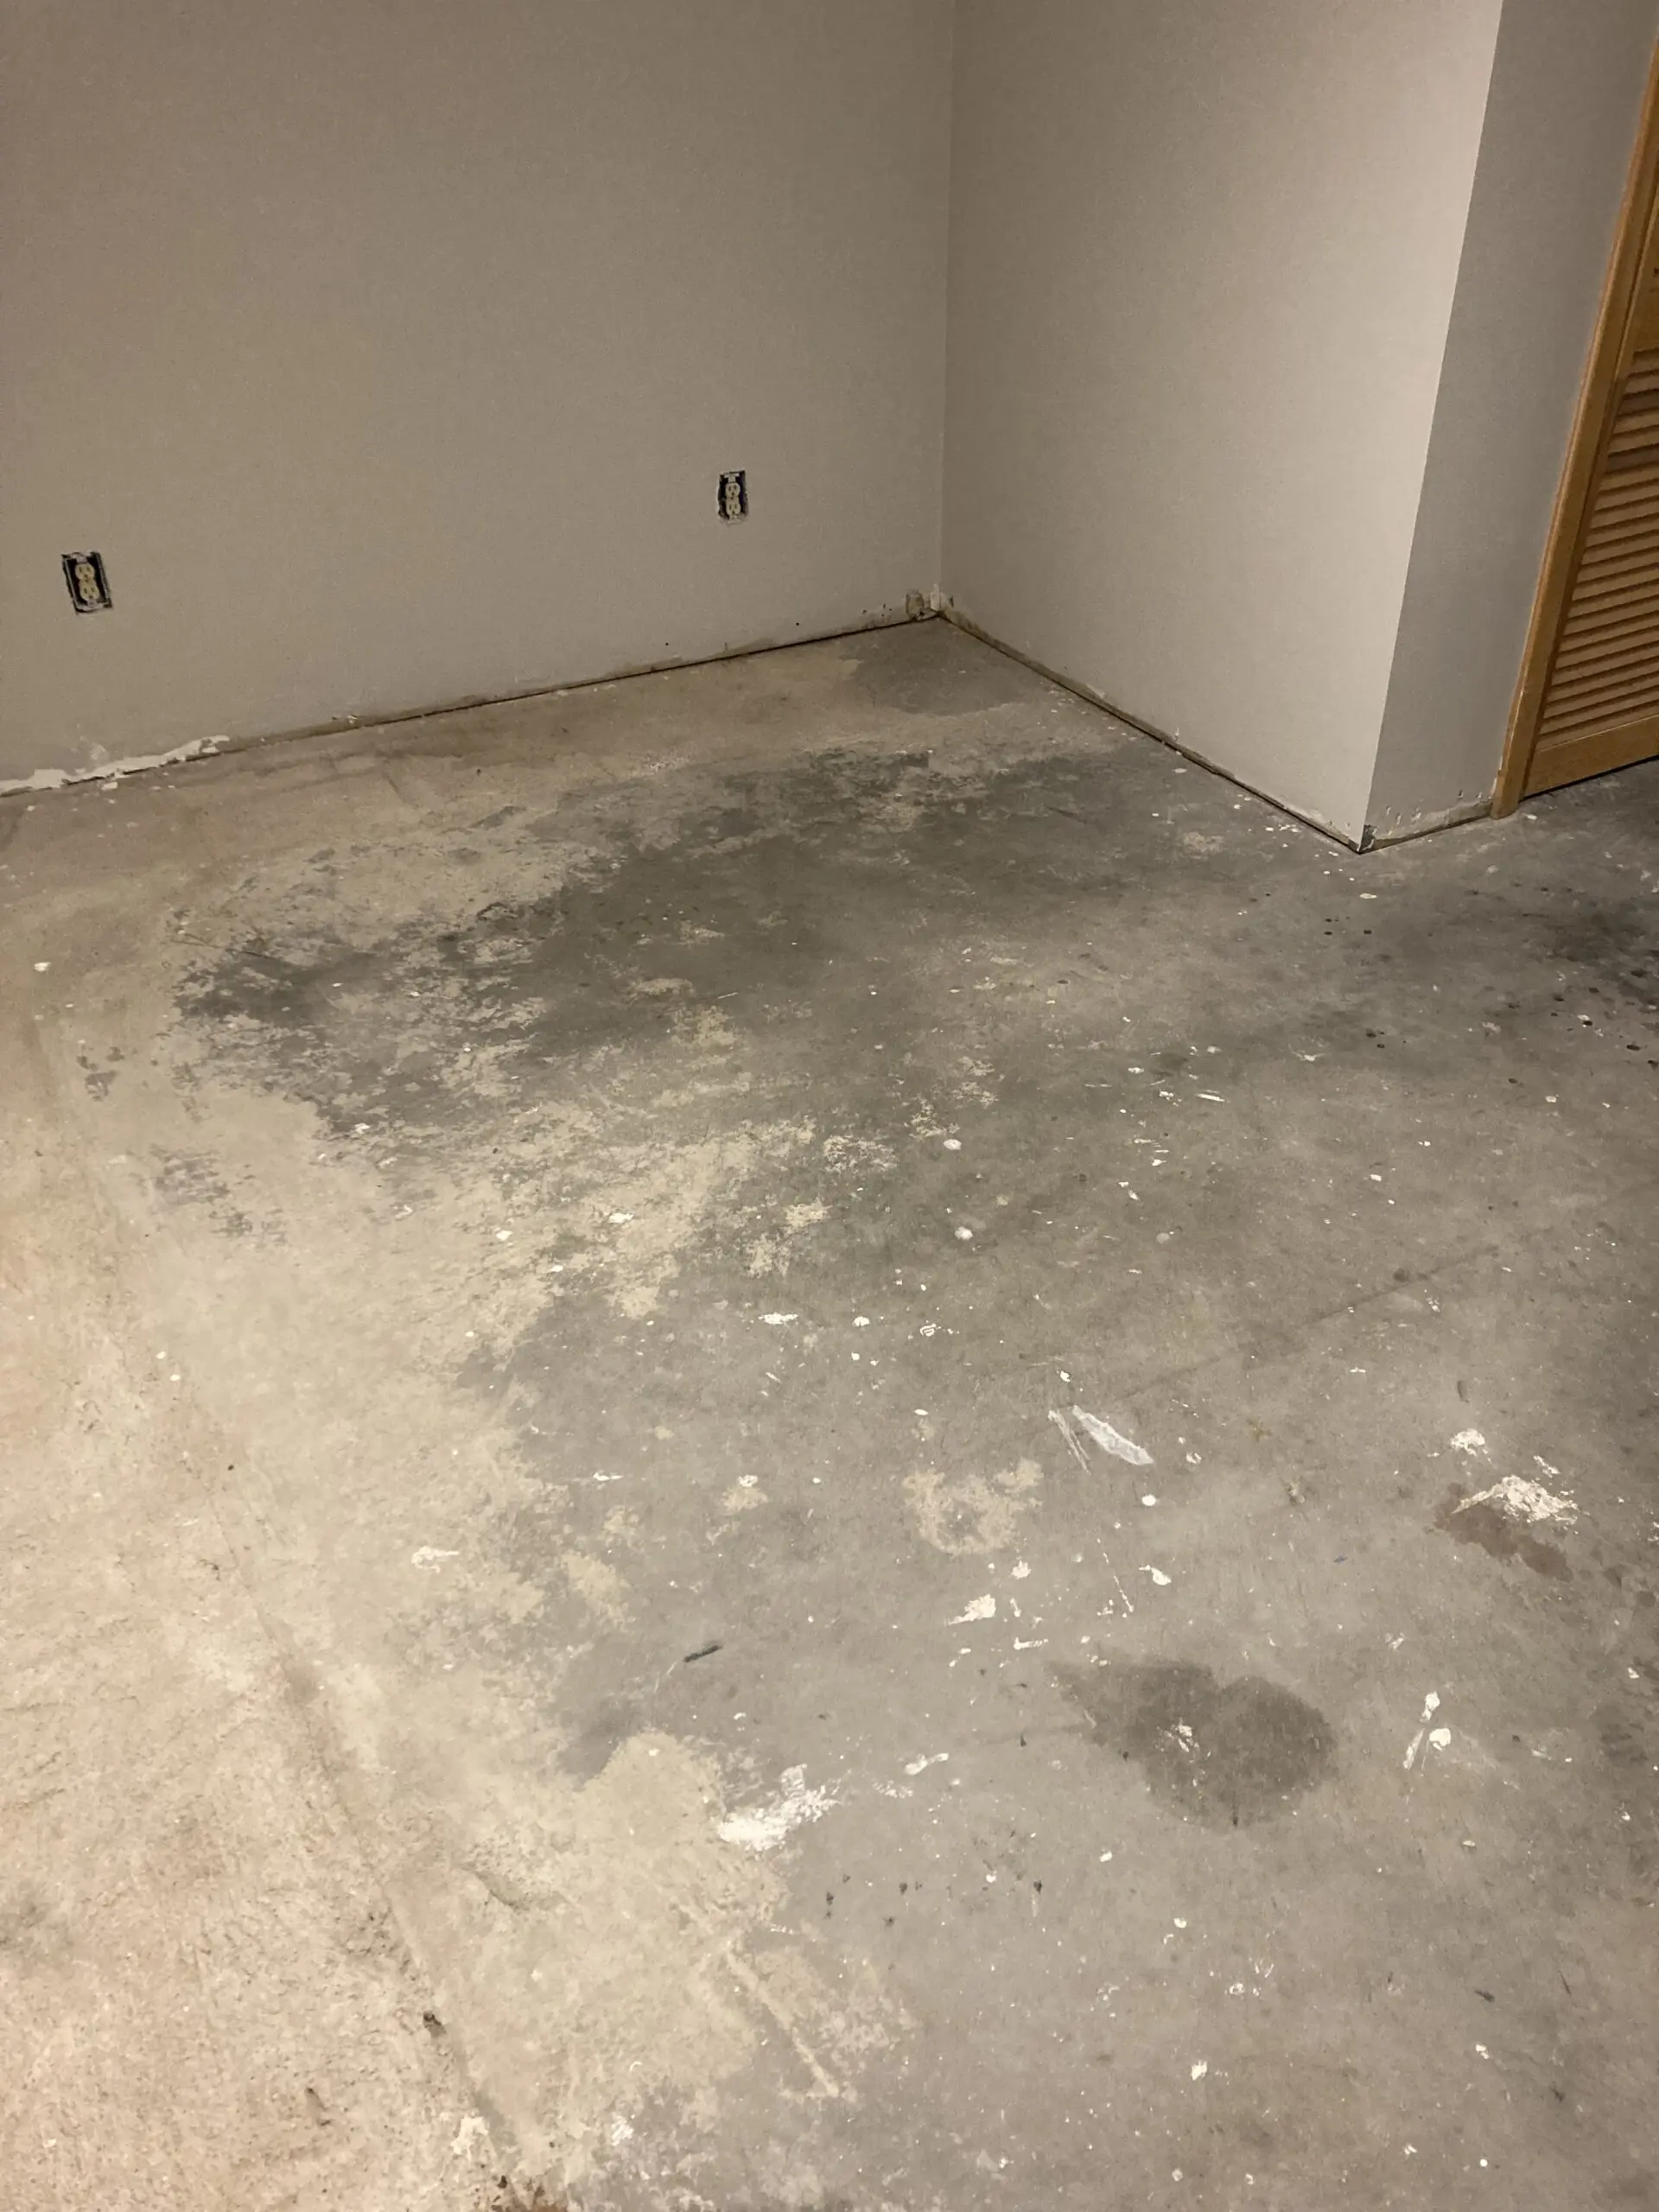
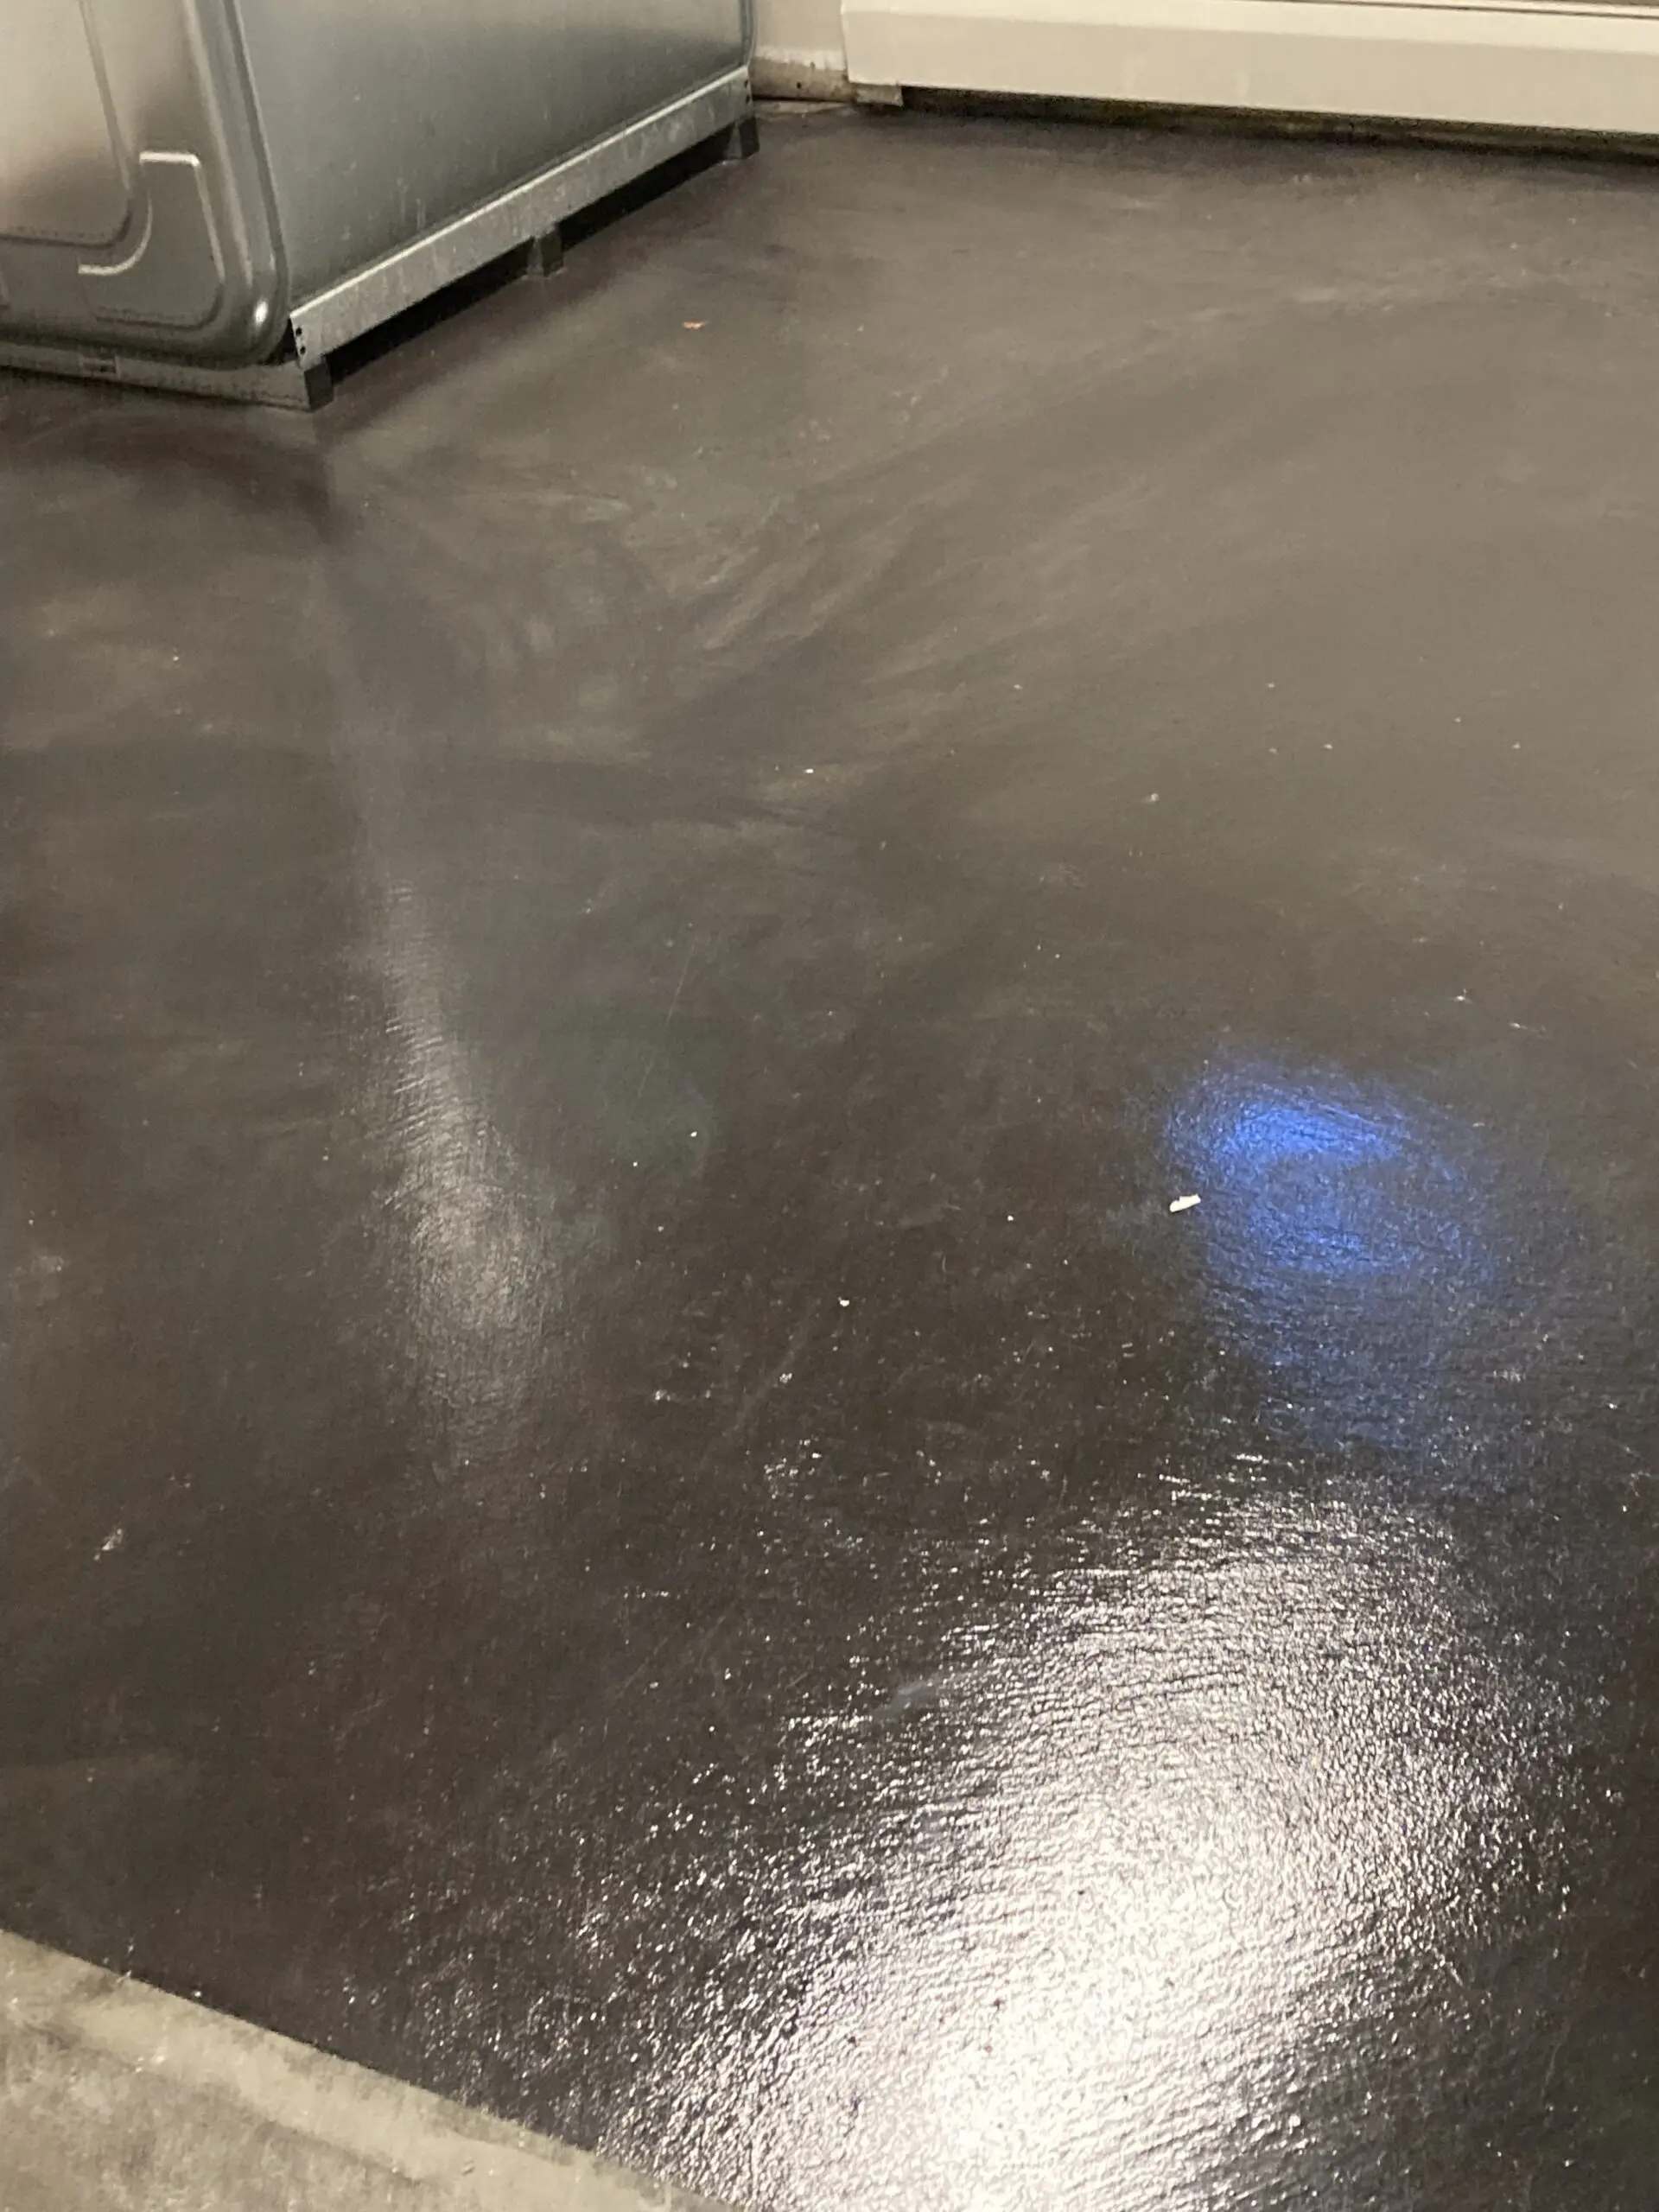
Here’s a project that really shows off what Charcoal AcquaTint™ can do. The floor of this 40-year-old basement was a mess with paint drips and stains. But with a bit of patience, etching, neutralizing, and our AcquaTint stain & wax kit, it got a complete makeover. It might have taken time to get the shade just right, but the transformation was worth it.
Project Info:
- Project Completed In: 5 day(s)
- Estimate of Square Footage: 200 sq. ft.
- Project Description:
Extremely poor paint dripped and stained floor section of basement. House age 40 years. - Personal Tips:
Patience to get desired shade. Product will cover. - Direct Colors Products Used:
1 Gal. Charcoal AcquaTint™ & ProWax Polish™ Satin Kit
If you’re inspired by these projects and interested in exploring more industrial and mottled-looking floor finishes, don’t miss our blog post: ‘Stormy Gray Vibrance™ Dye: Your Ticket To DIY Magic!‘ Dive into the world of DIY magic with our Vibrance Dye.
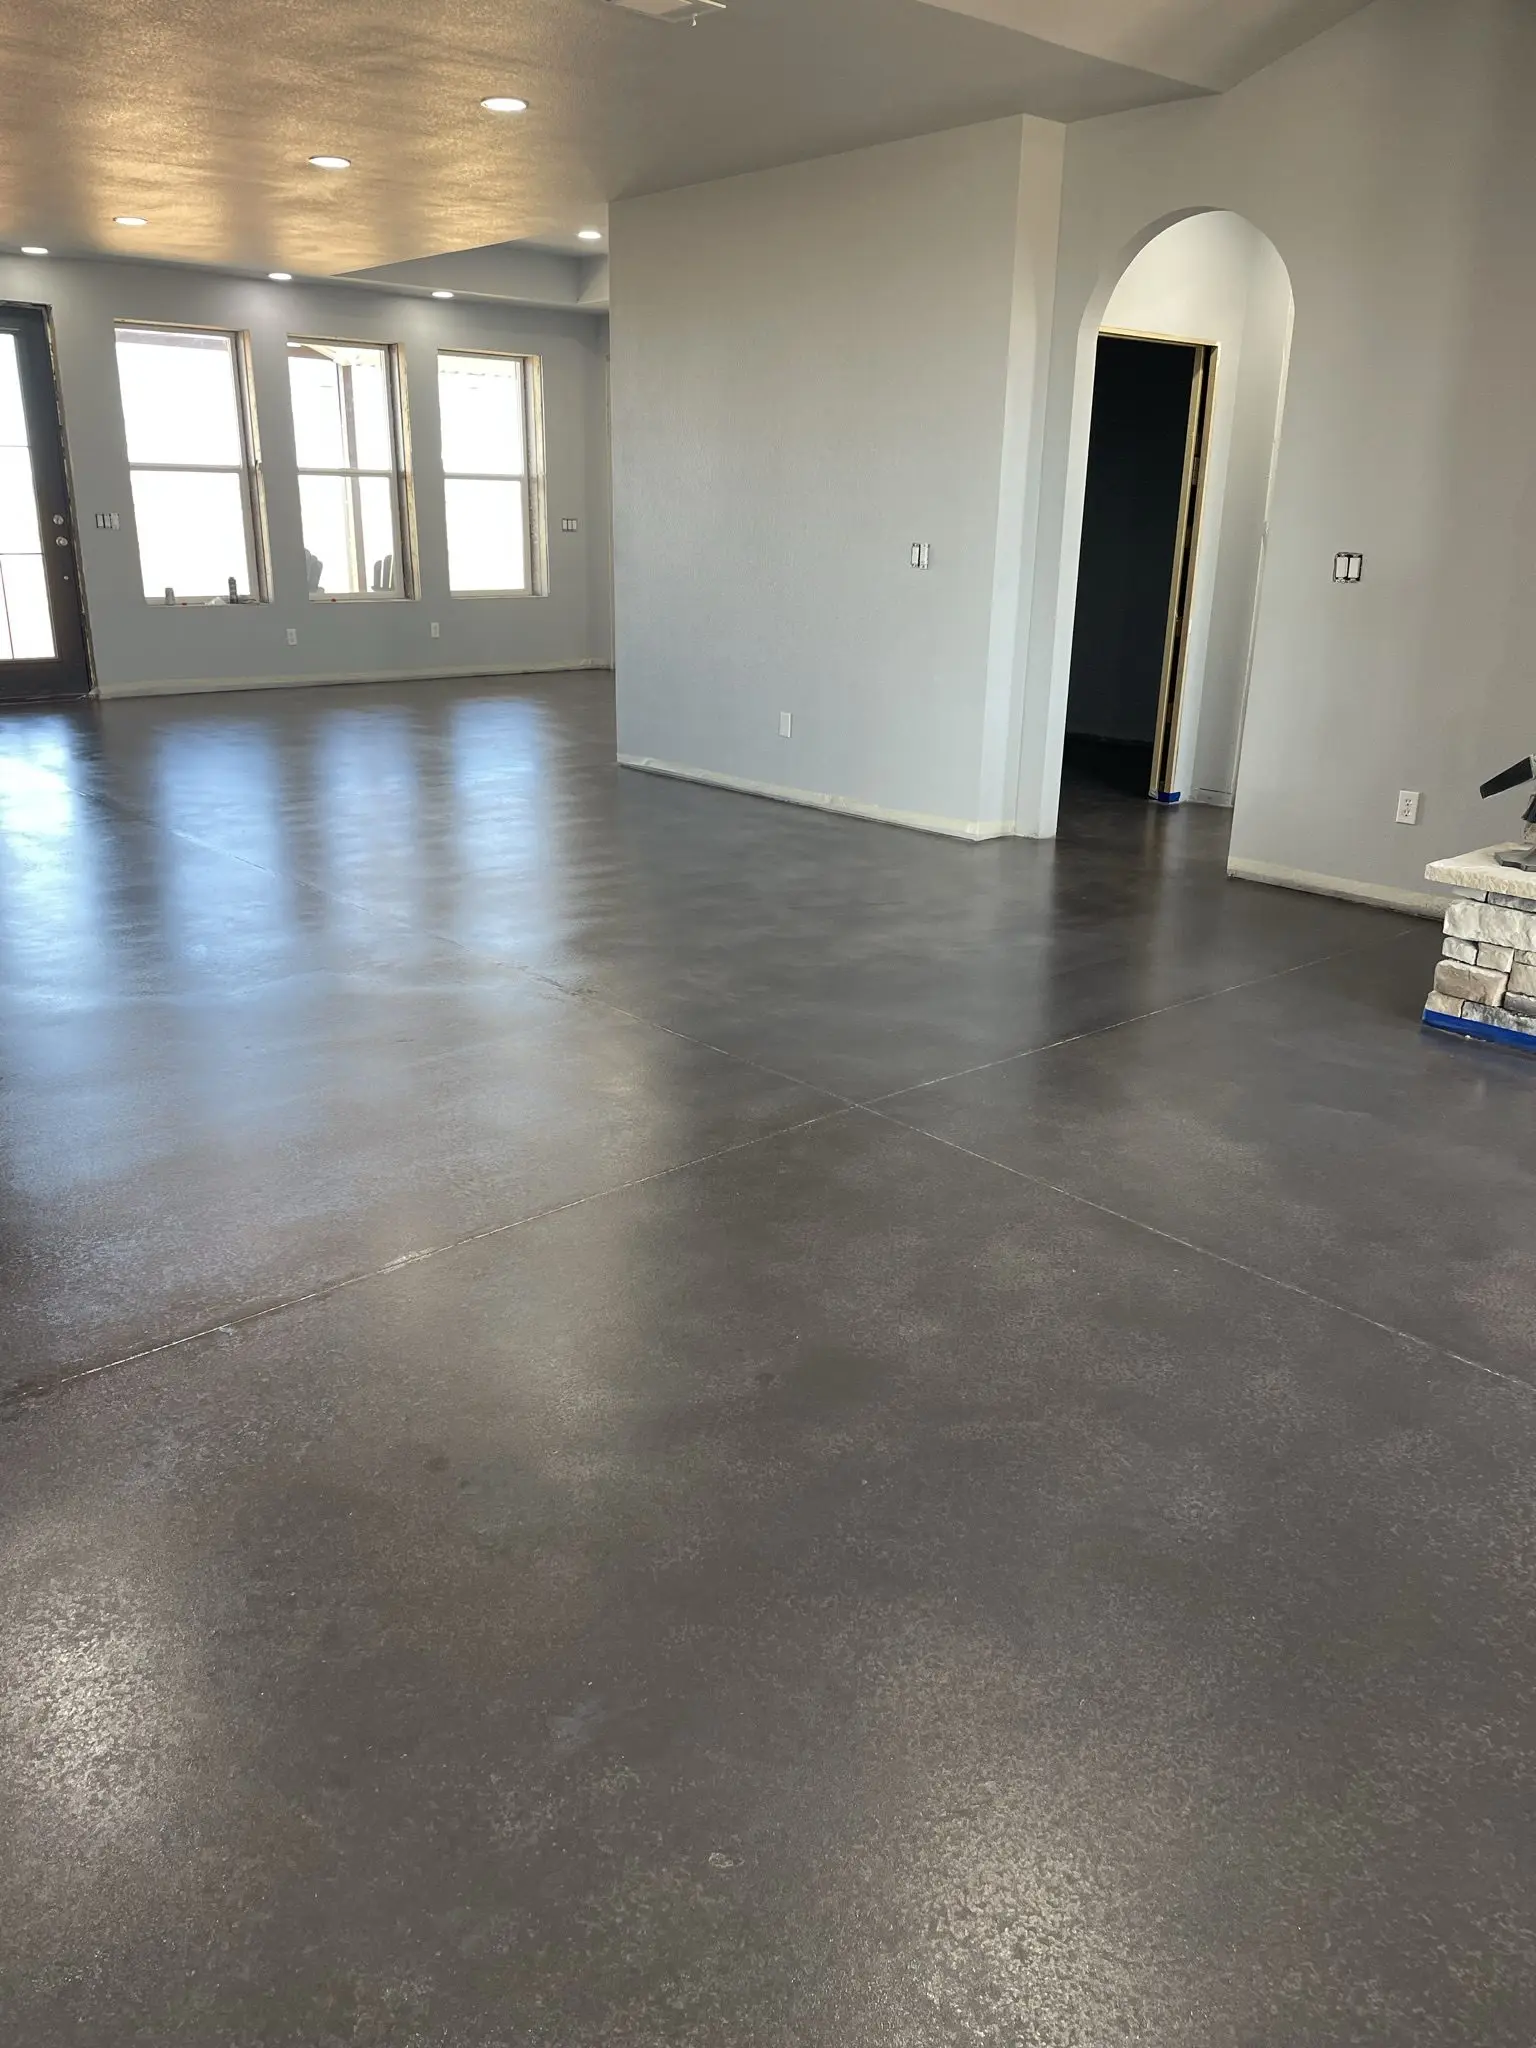
Complete Home Refresh with Light Charcoal AcquaTint
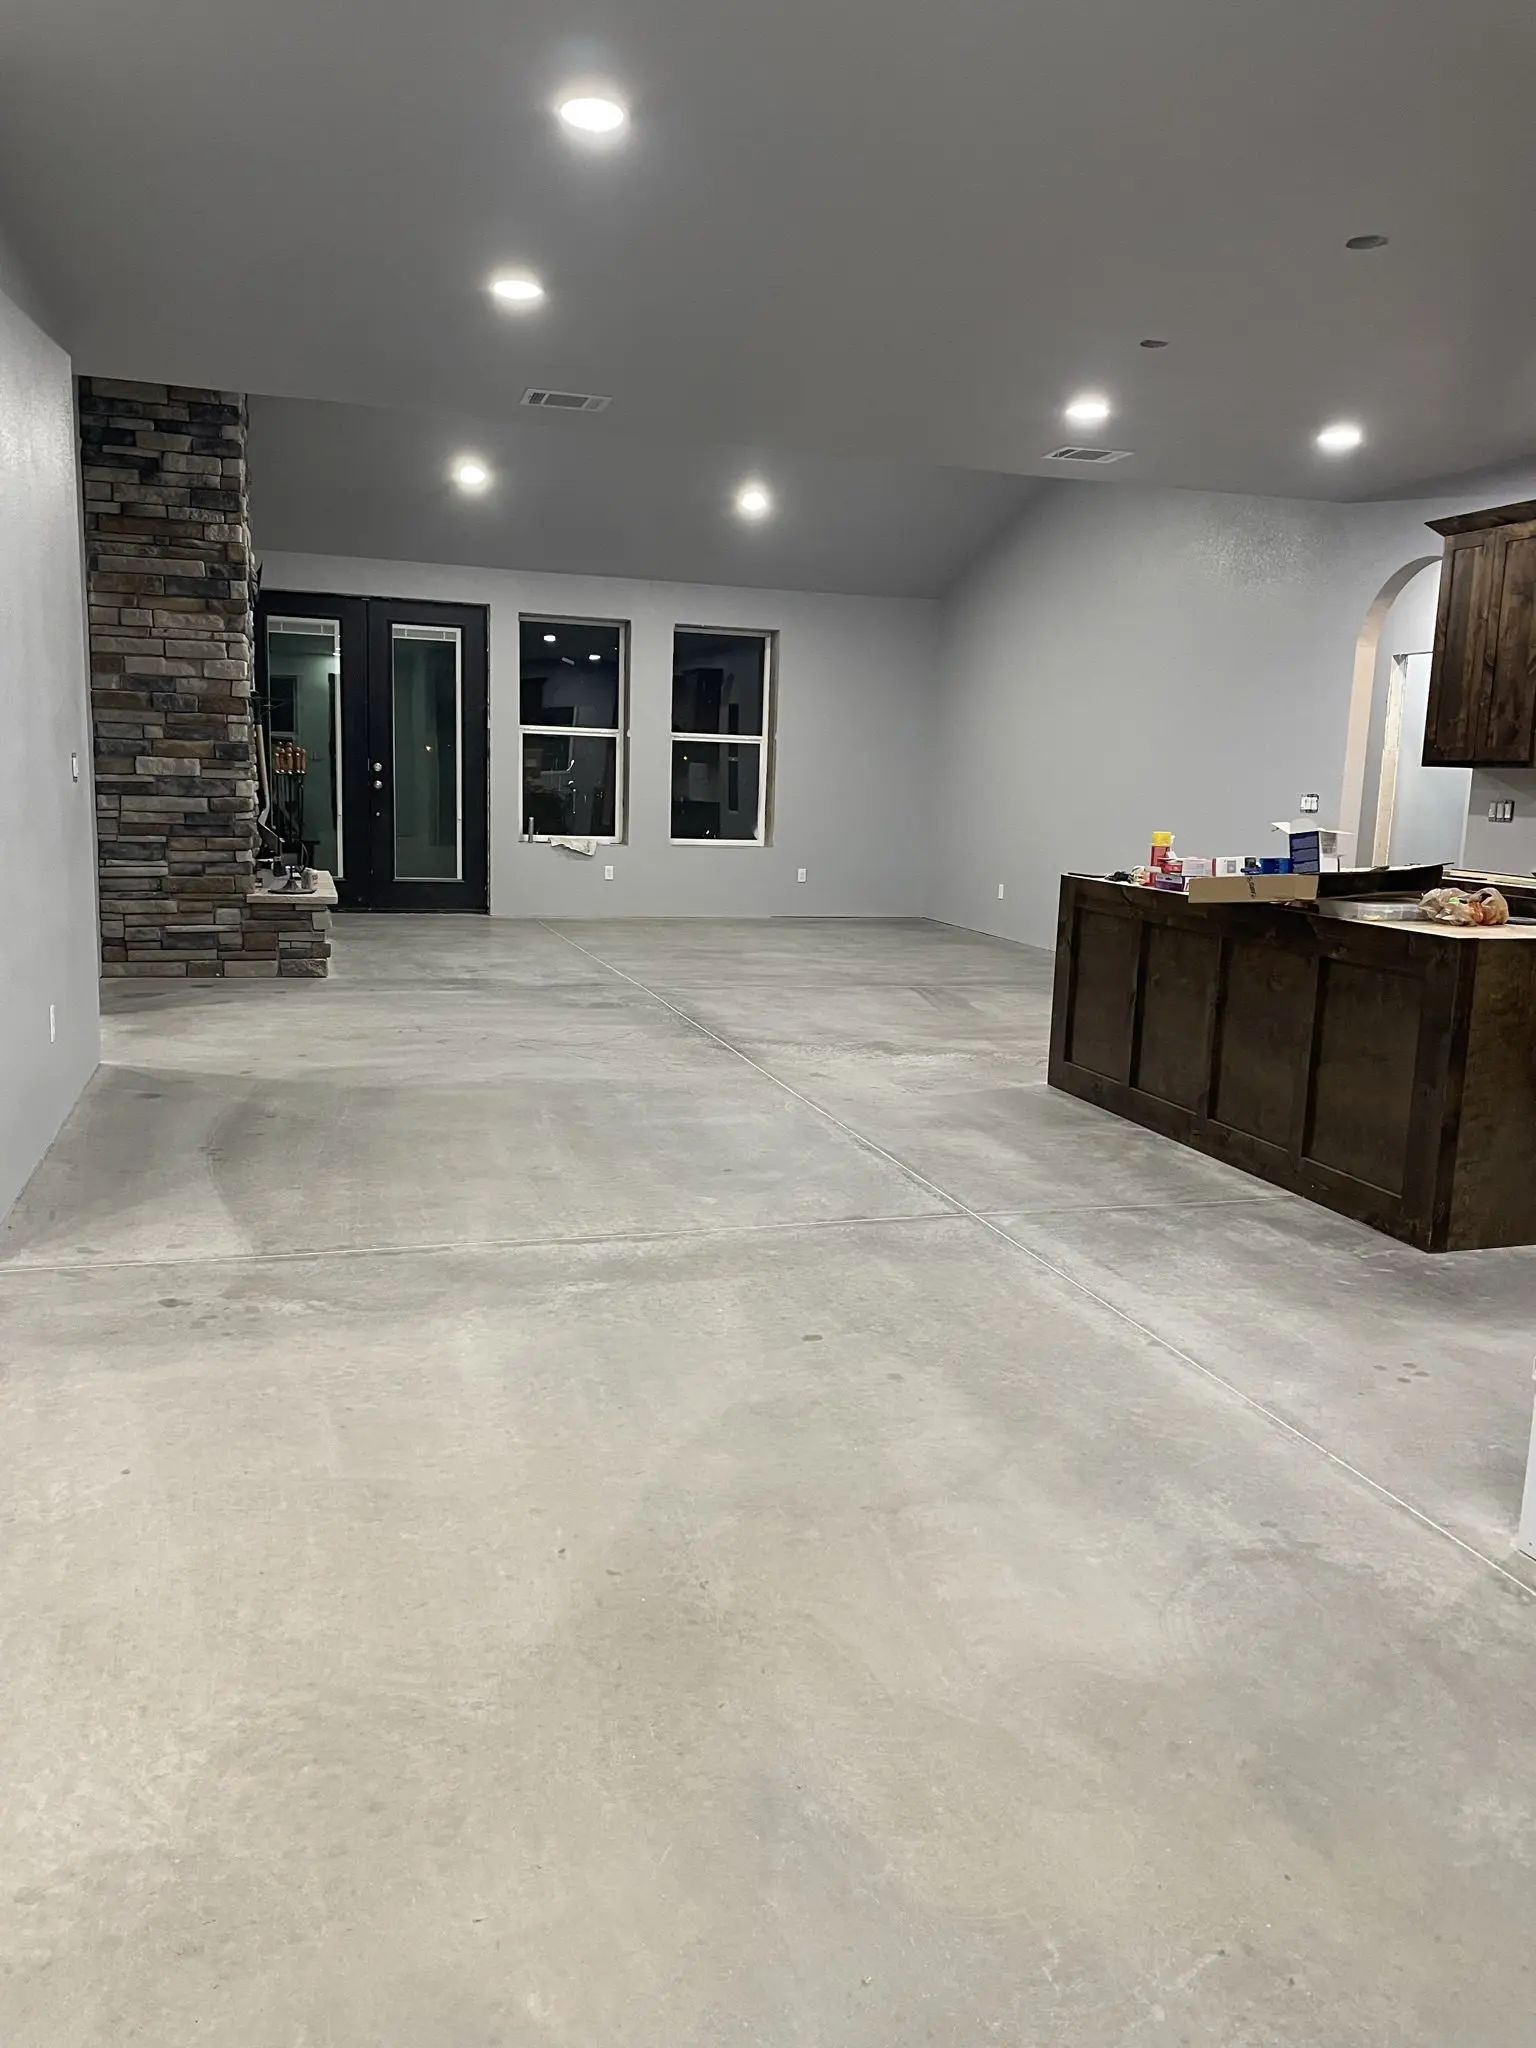
Check out how this house got a total facelift using our Light Charcoal AcquaTint™ and a satin ProWax Polish™ finish. The citrus etching didn’t work out, but a buffer machine did the trick. Word to the wise: either clean your sprayer really well after the first day or use a new one, so it doesn’t get clogged. This project is proof that AcquaTint can completely change a place, even when there are a few bumps along the way.
Project Info:
- Project Completed In: 6 day(s)
- Estimate of Square Footage: 2500 sq. ft.
- Project Description:
We used Aquatint sealer throughout the house and followed up with a wax coating. - Personal Tips:
The citrus etching did not work on our concrete. We had to use a buffing machine. We suggest using a new sprayer when applying sealer. We thought the sprayer would be fine to leave over night, but on the second day while applying the second coat our sprayer became clogged and caused some issues. Knowing what we know now, we would have ran warm water through the sprayer after the first day to clean out the tip or we would have used a brand new one. - Direct Colors Products Used:
2 x 5 Gal. Charcoal AcquaTint™ & ProWax Polish™ Satin Kit
4 x 1 Gal. Charcoal AcquaTint™
1 Qt. ProClean Degreaser™ - Other Products Used:
Industrial buffer with diamond pad
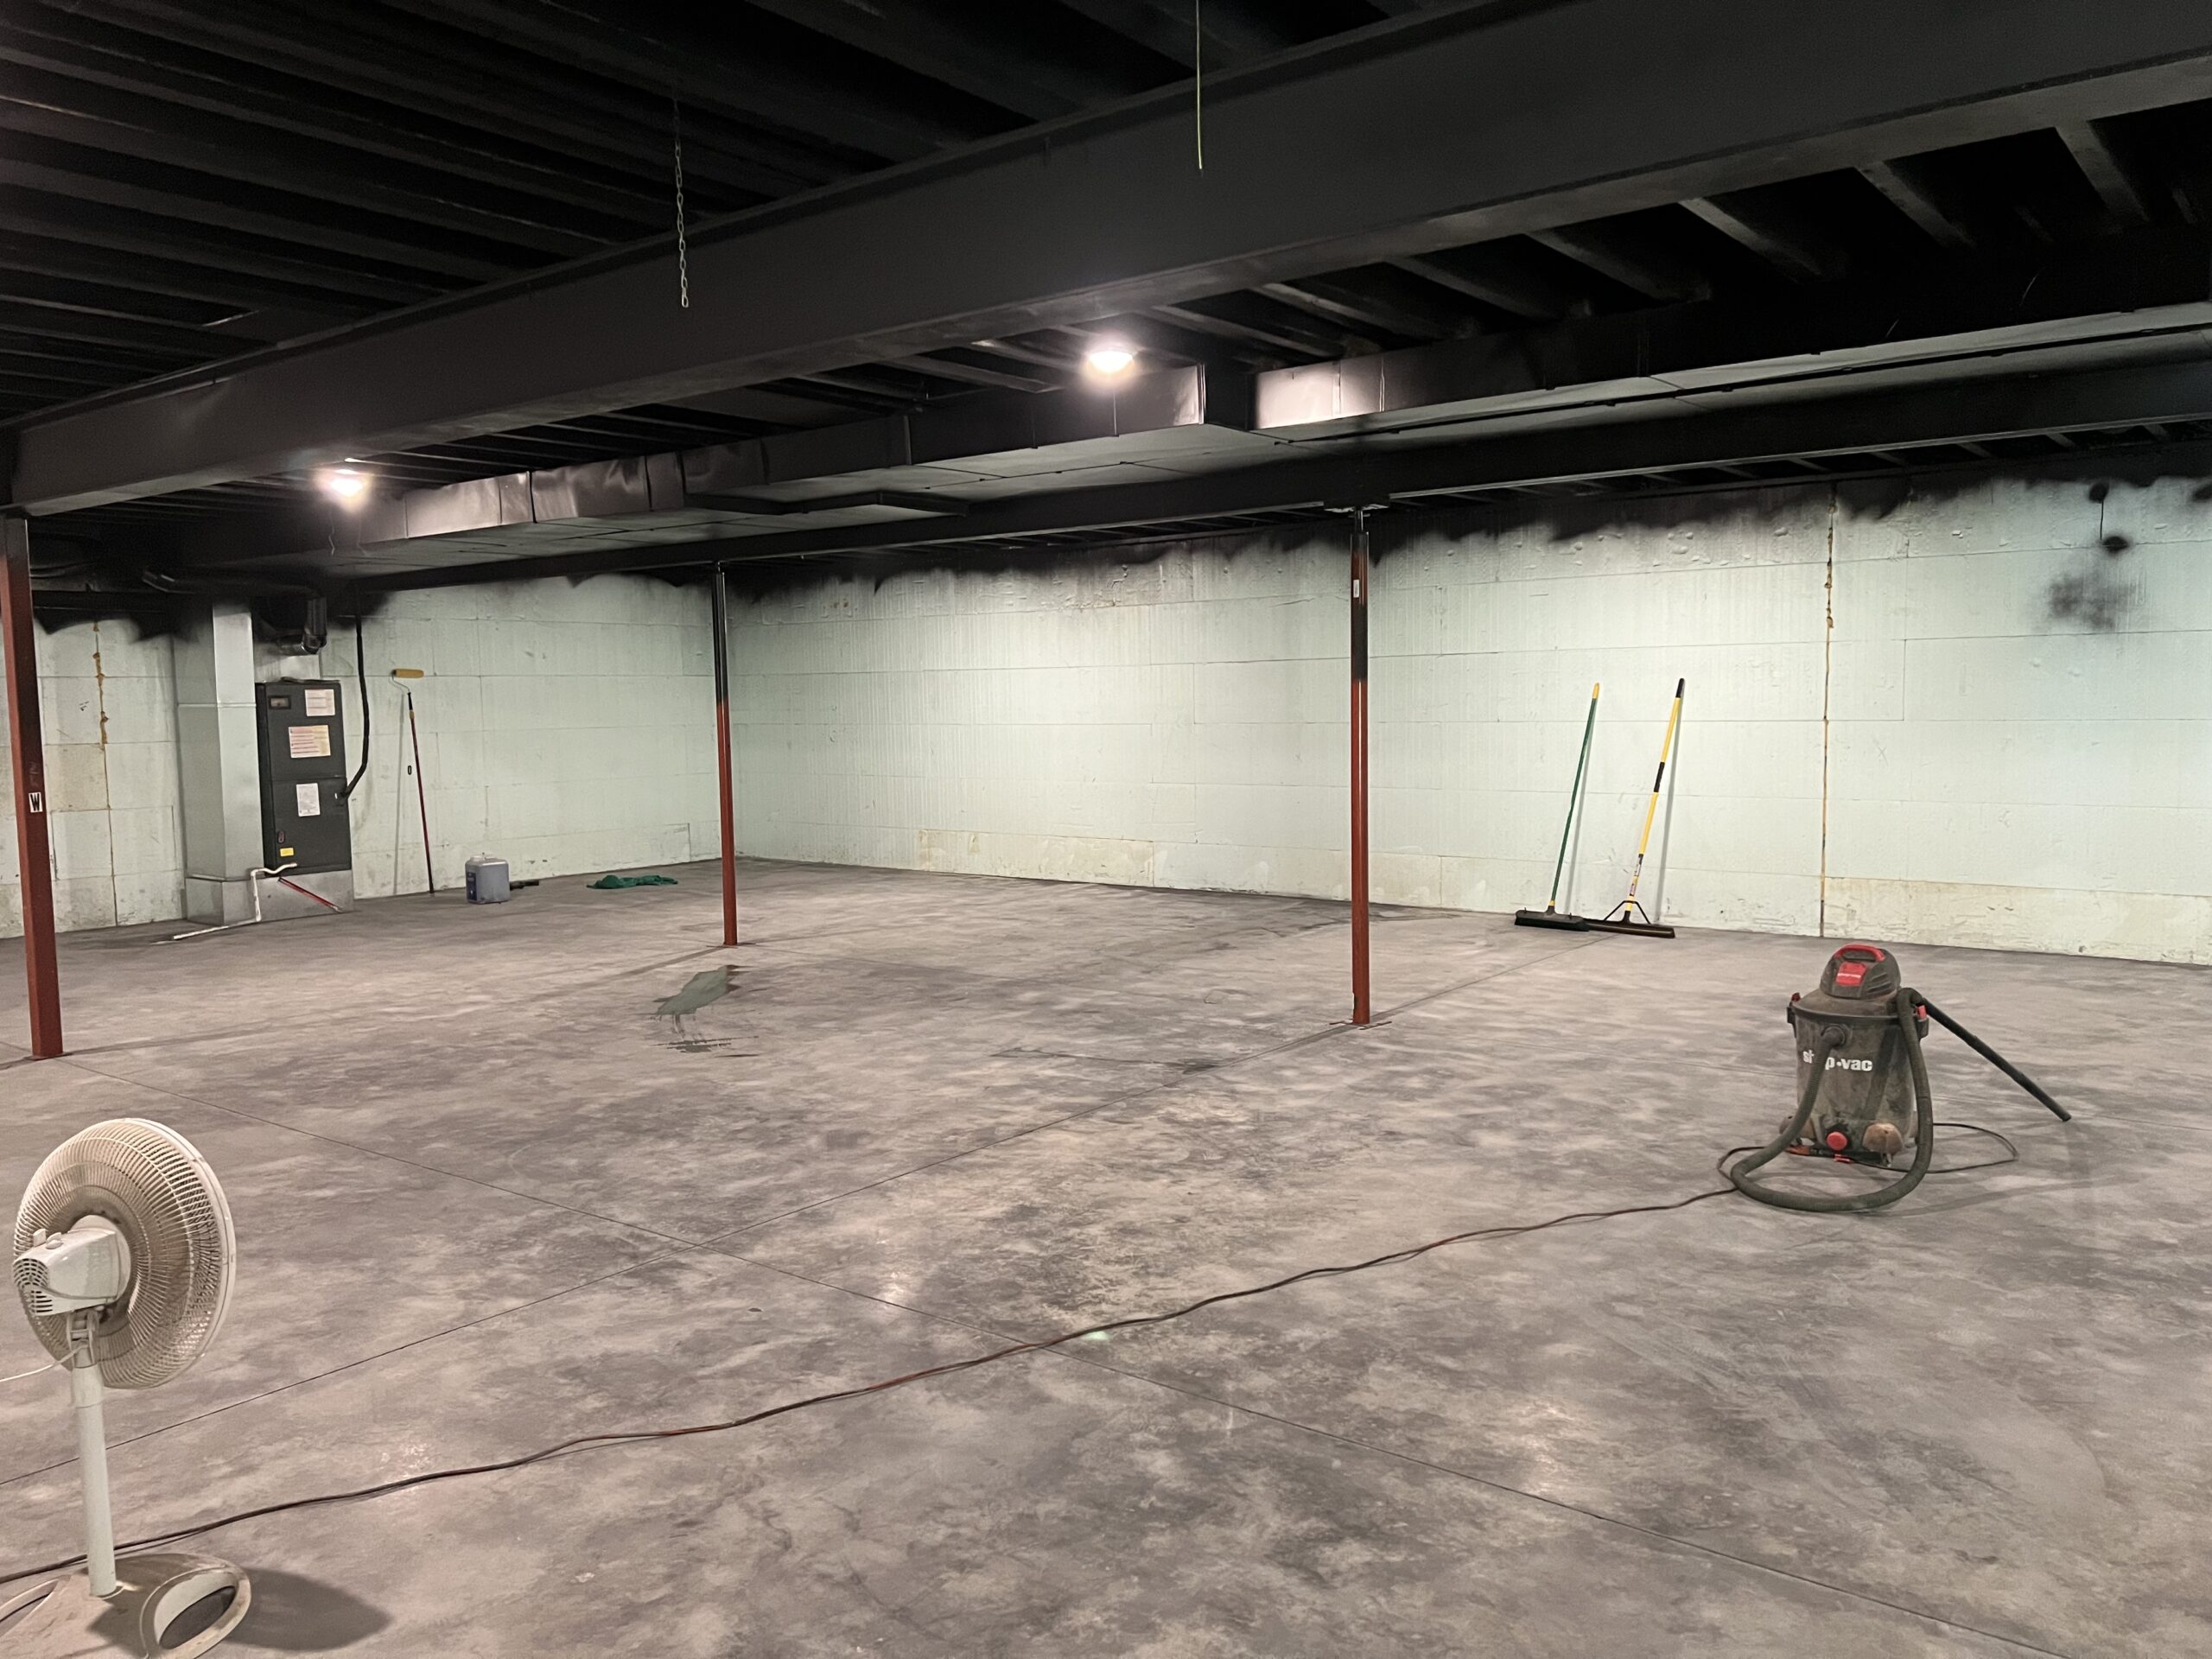
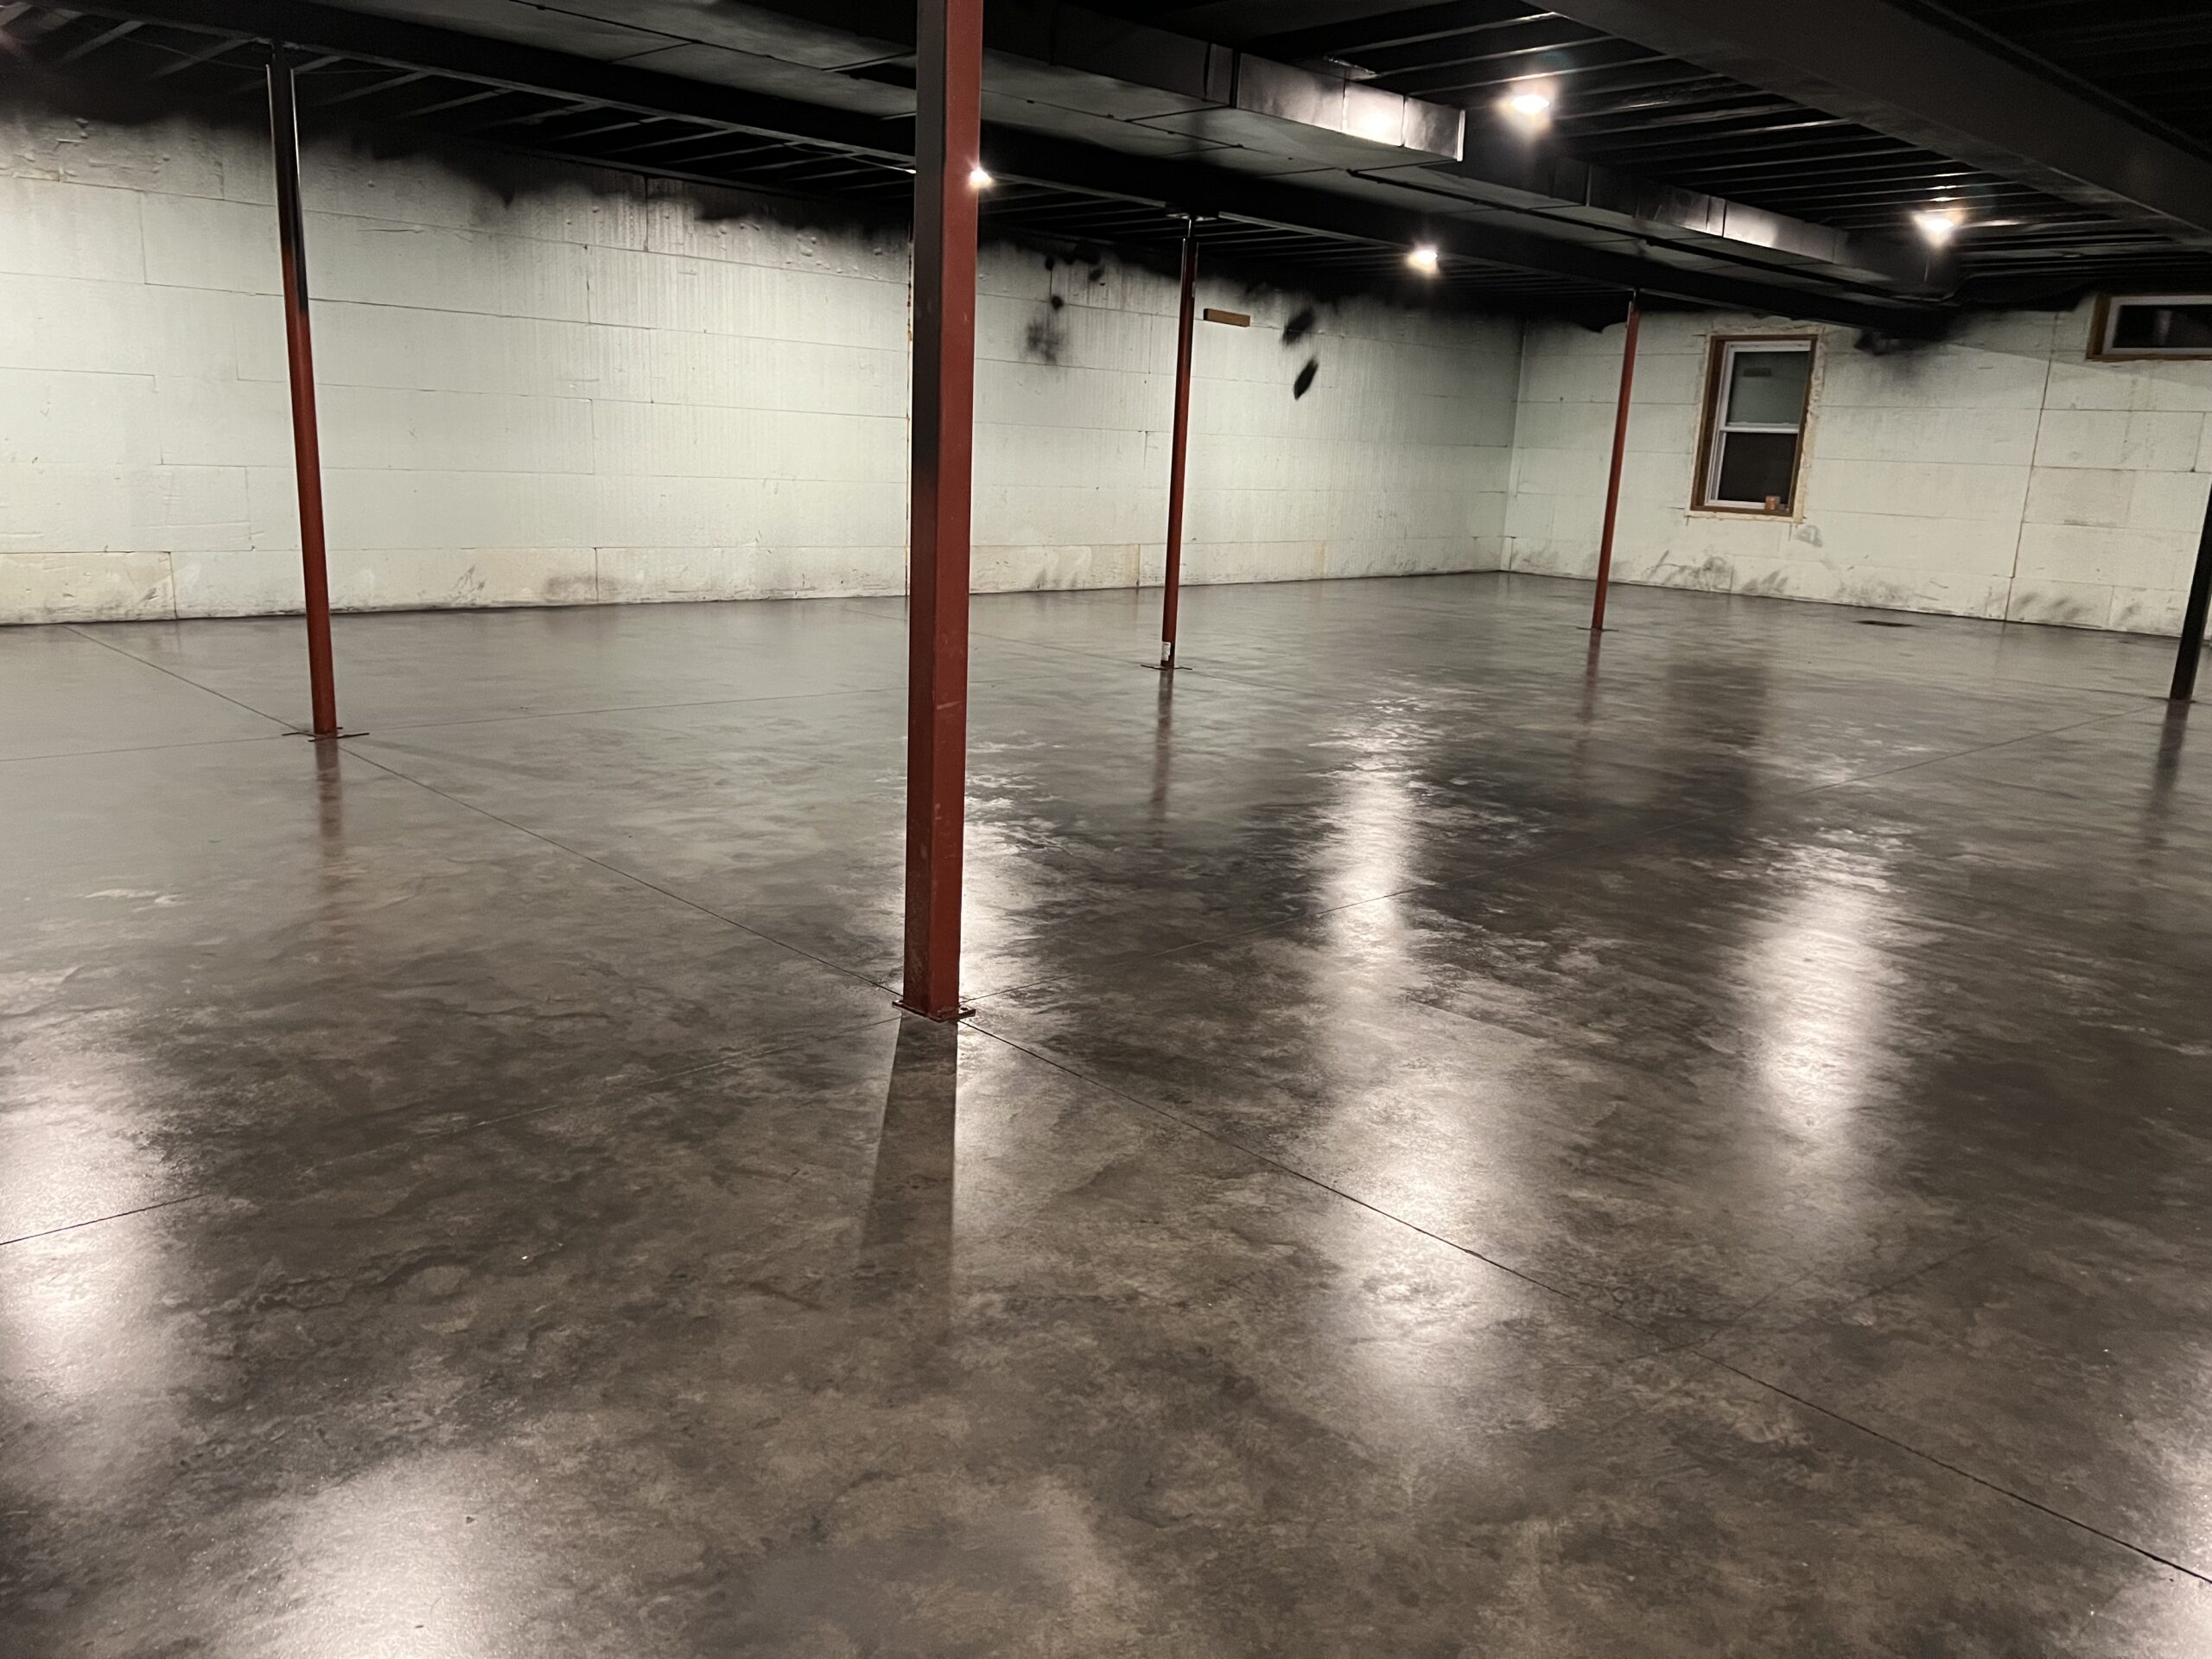
From Unfinished Basement to Playful Paradise
A daunting task of turning a 2,300 sq ft basement into a livable space becomes a delightful project! The three-year-old concrete floor, stained with black paint, was pressure-washed, sanded, and polished to near-perfection. Despite initial hurdles, applying the Light Charcoal AquaTint™ was a breeze. The low-odor process, safe even for an asthmatic family member, ended with a glossy ProWax Polish™. The result? A perfect play area for kids and a promising next project – the garage! Remember, good prep is key for the best results.
Project Info:
- Project Completed In: 3 day(s)
- Estimate of Square Footage: 2300 sq. ft.
- Project Description:
We decided to make our unfinished basement a more livable space instead of wasting 2,300 square feet. We wanted to do it on a budget and after some research we decided to beautify the concrete that was already there. Starting the project, our concrete was 3 years old and never been sealed. After using a “dry fall” paint on the ceiling (that didn’t dry fall) the floor was essentially covered in areas of black paint. This led to the most daunting part of the project. We pressure washed the floor, stripped it with a chemical product, rented a commercial grade floor sander and sanded the entire floor, and pressure washer it again. After all of that, there was still some stubborn areas we couldn’t get up. We went with the light charcoal AquaTint which did a decent job of hiding our less than perfect areas. It was incredibly easy to apply! Each coat (we did 2 plus 2 of the top wax) took us only an hour to apply. I cannot speak highly enough about the fact that the smell was not overwhelming at all! My husband, who has asthma, had no issues with it. We also were able to keep our two small children in our home while we did the project (they we’re upstairs during the work). Having our floors finished is going to be perfect for allowing the kids to go downstairs and play in their new play area and will make for an easy clean up! We are already planning our next floor project – the garage!
- Personal Tips:
Depending on your floor’s condition the prep work is a beast, give yourself plenty of time for that! But actually applying the product is so easy! When I say 3 days, that was only about 4 hours worth of work – most of it was dry time. - Direct Colors Products Used:
5 Gal. Light Charcoal AcquaTint™ & ProWax Polish™ Gloss Kit
If you’re excited about transforming your indoor spaces, why not extend your creativity outdoors? Check out our blog ‘Charcoal Outdoor Stains: Real DIY Outdoor Projects You’ll Love‘ to discover fantastic ideas for your exterior concrete surfaces.


