Green Concrete Projects with EverStain Avocado
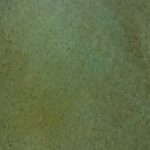
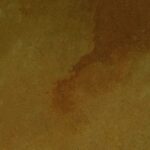
Look at different ways to use our Avocado Green stain on concrete. See pictures of what others have done and get ideas for your project. To make sure you get it right, we suggest using our CitrusEtch™ product to get your concrete ready before you put on the Avocado stain. Remember, your final color might look a bit different depending on your starting concrete.
By Justin Richardson
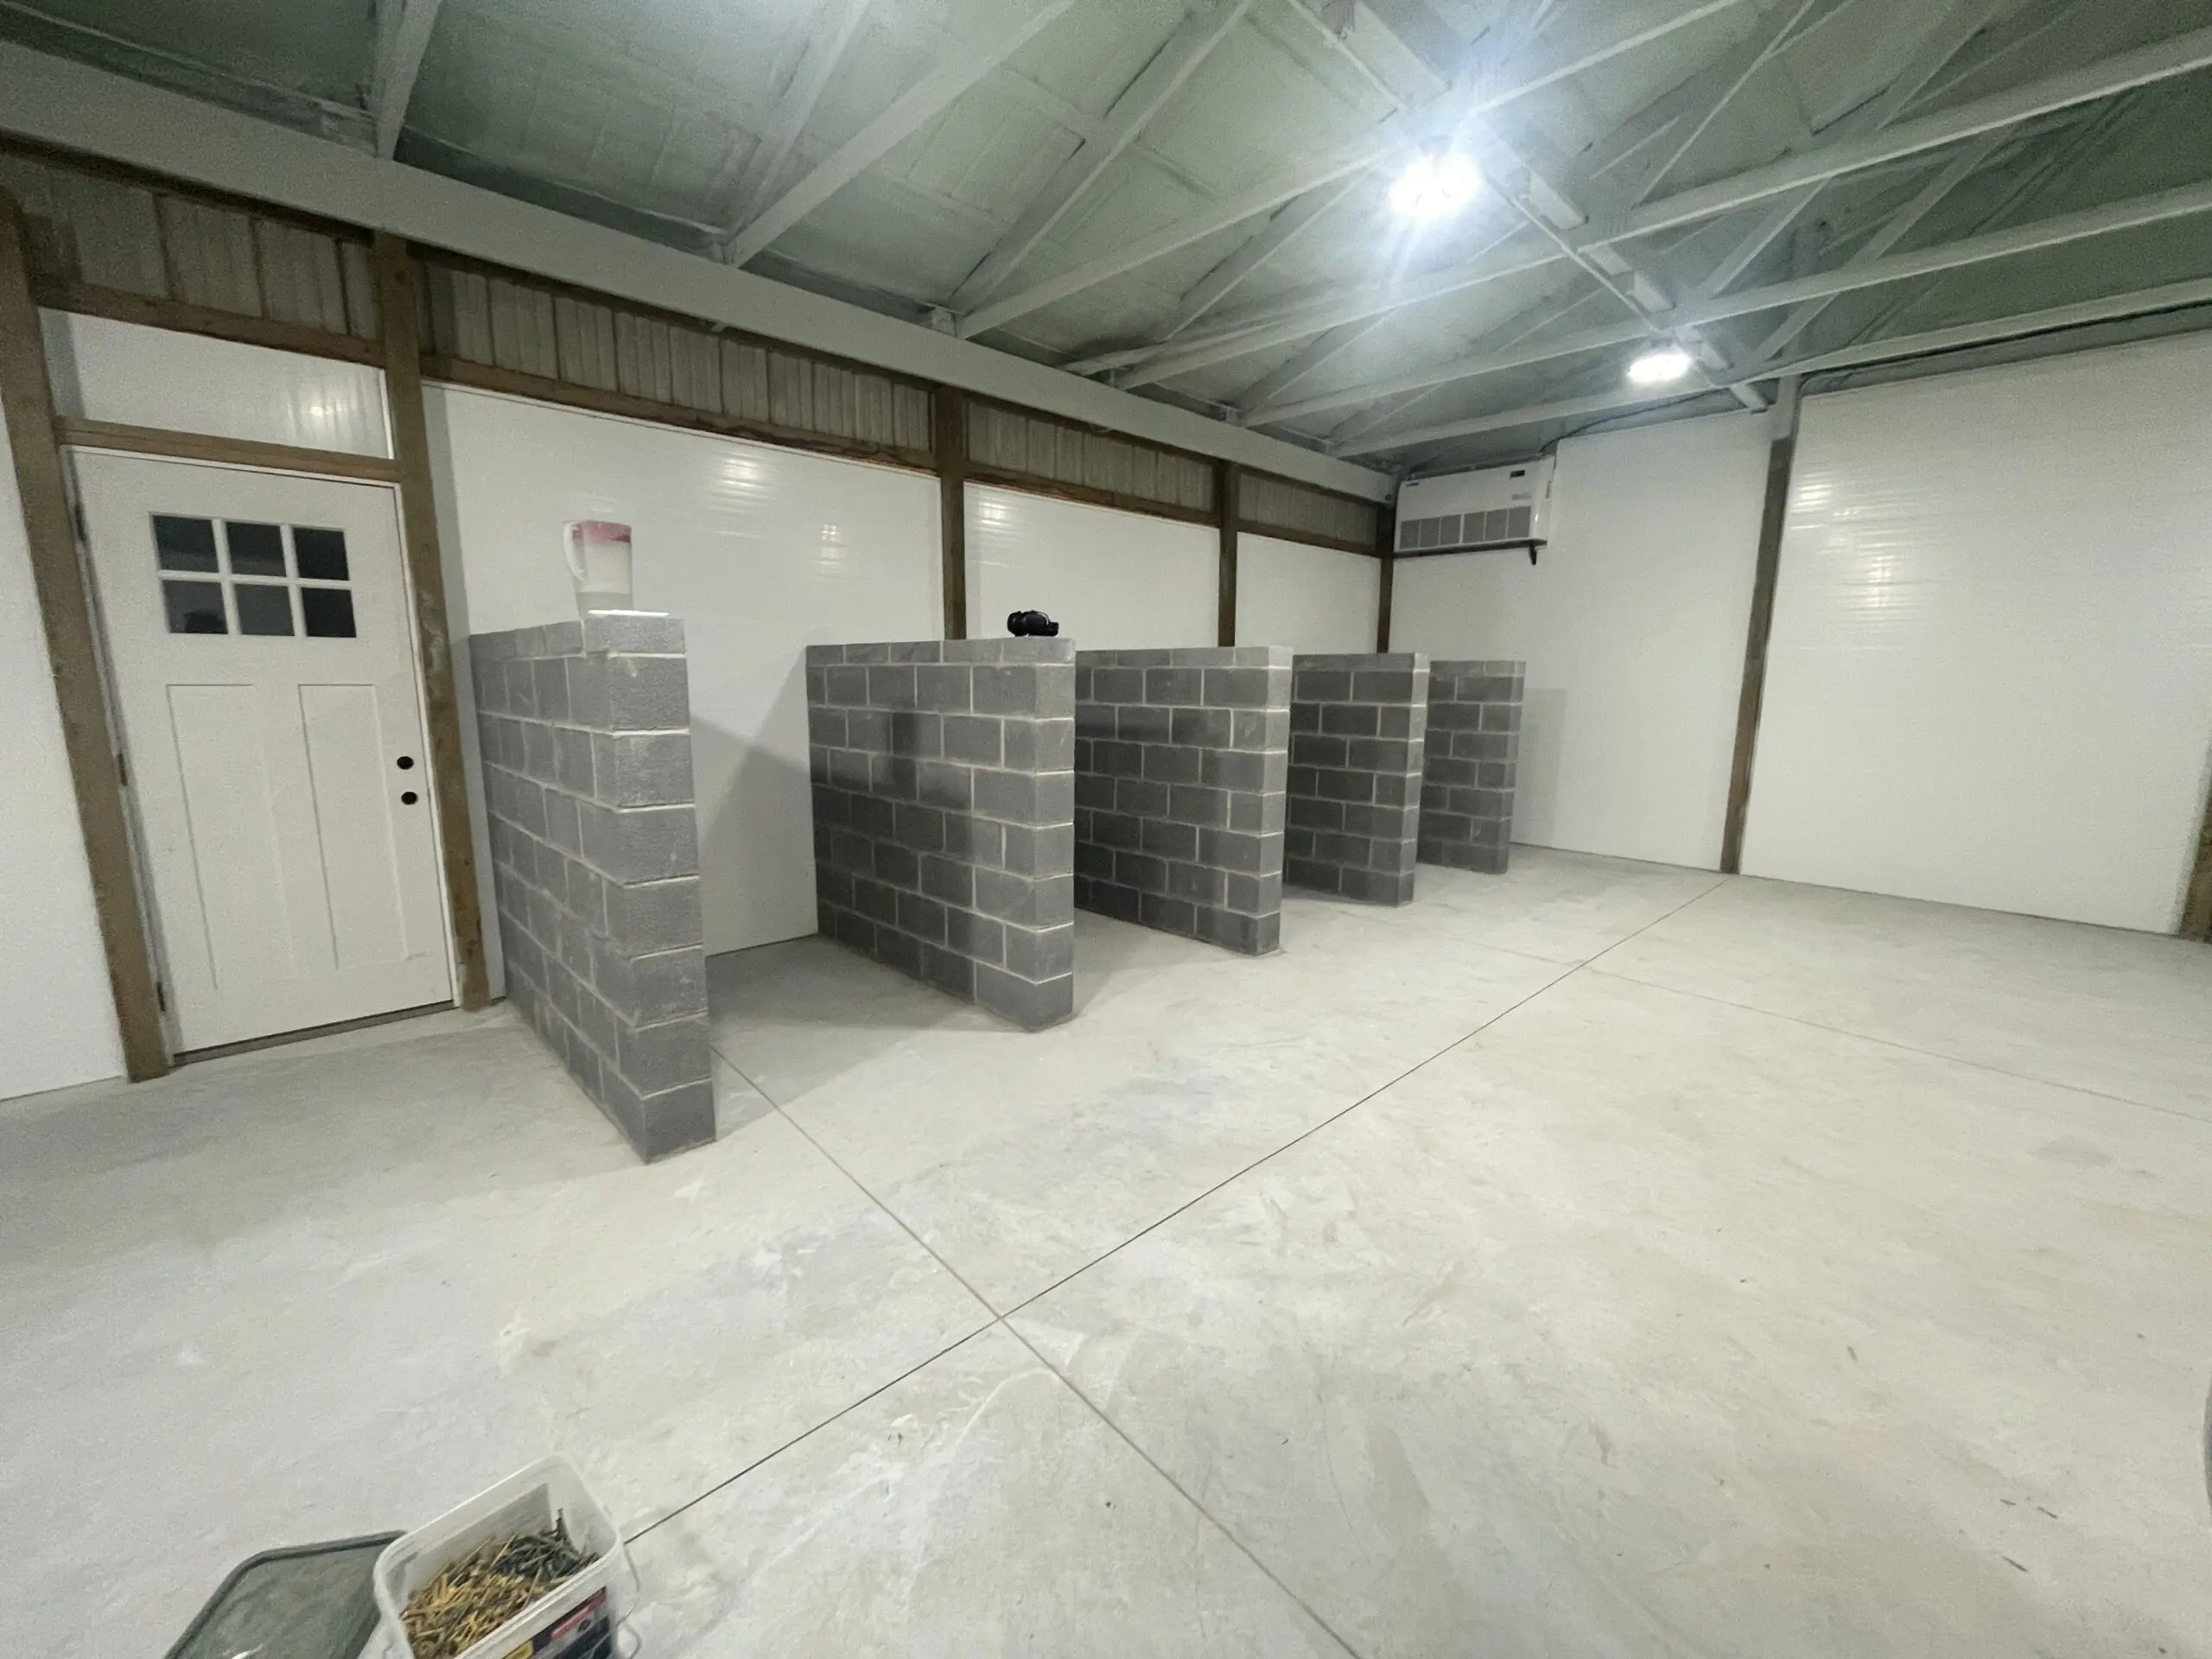
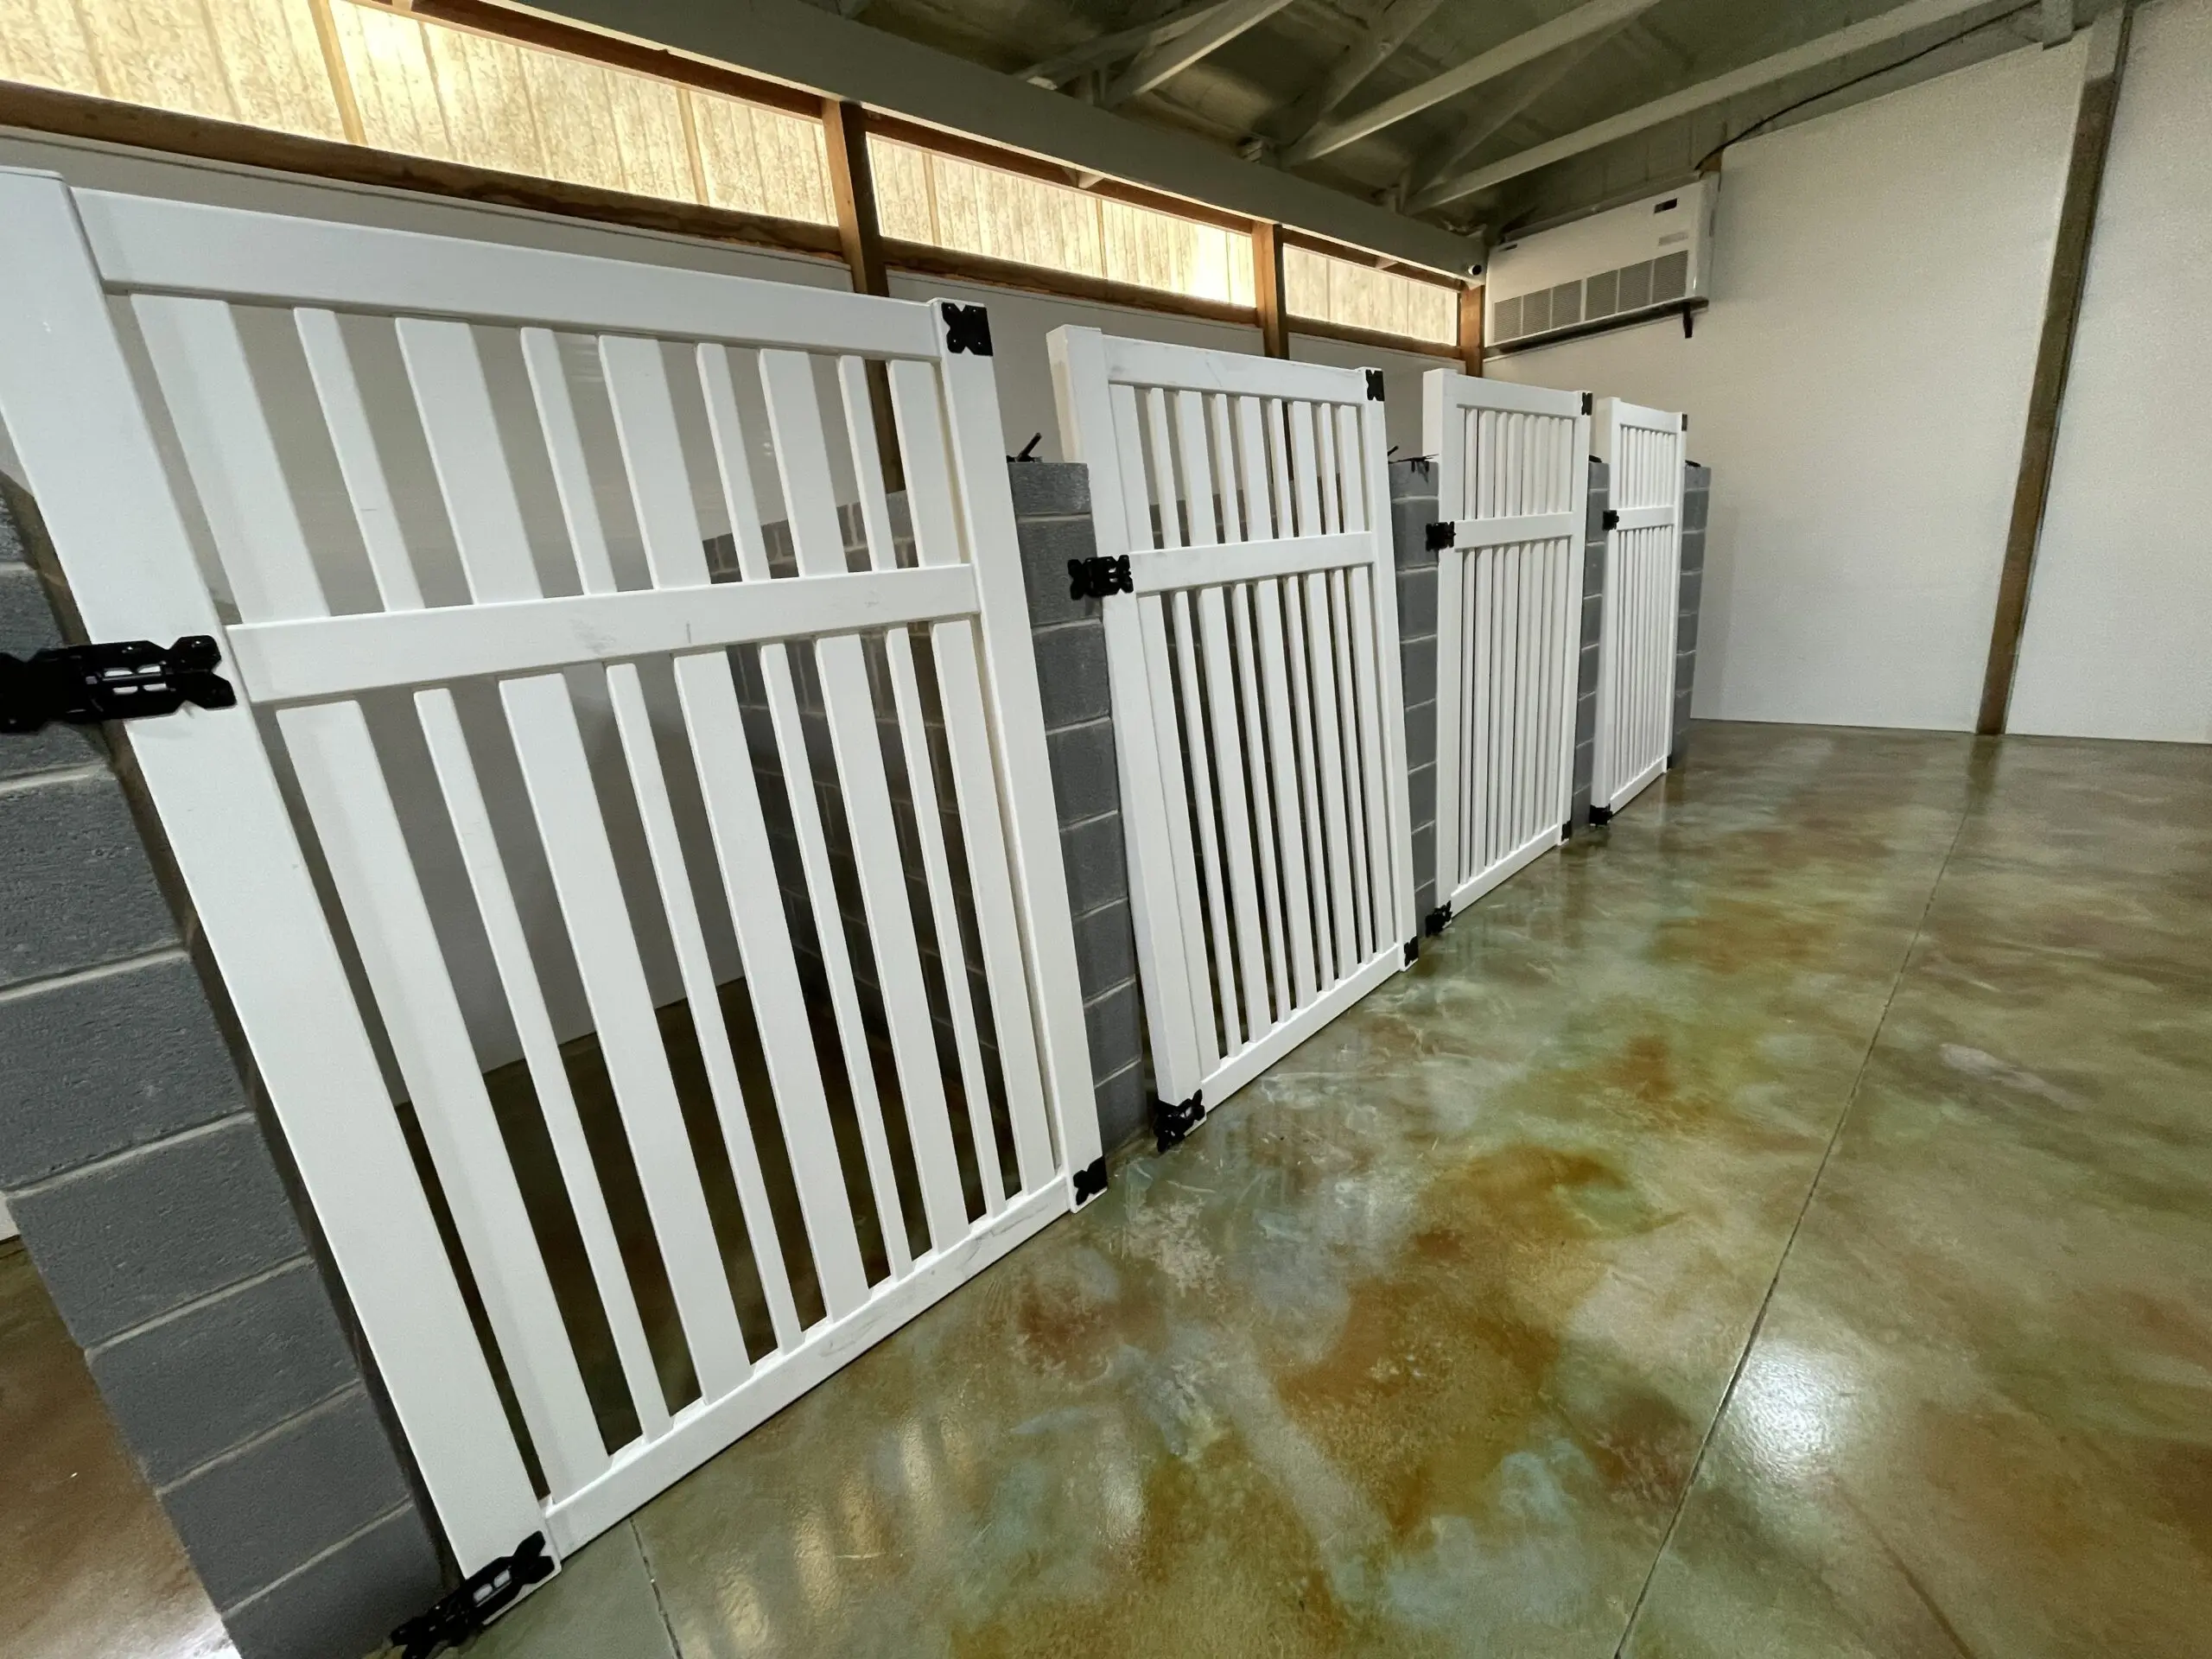
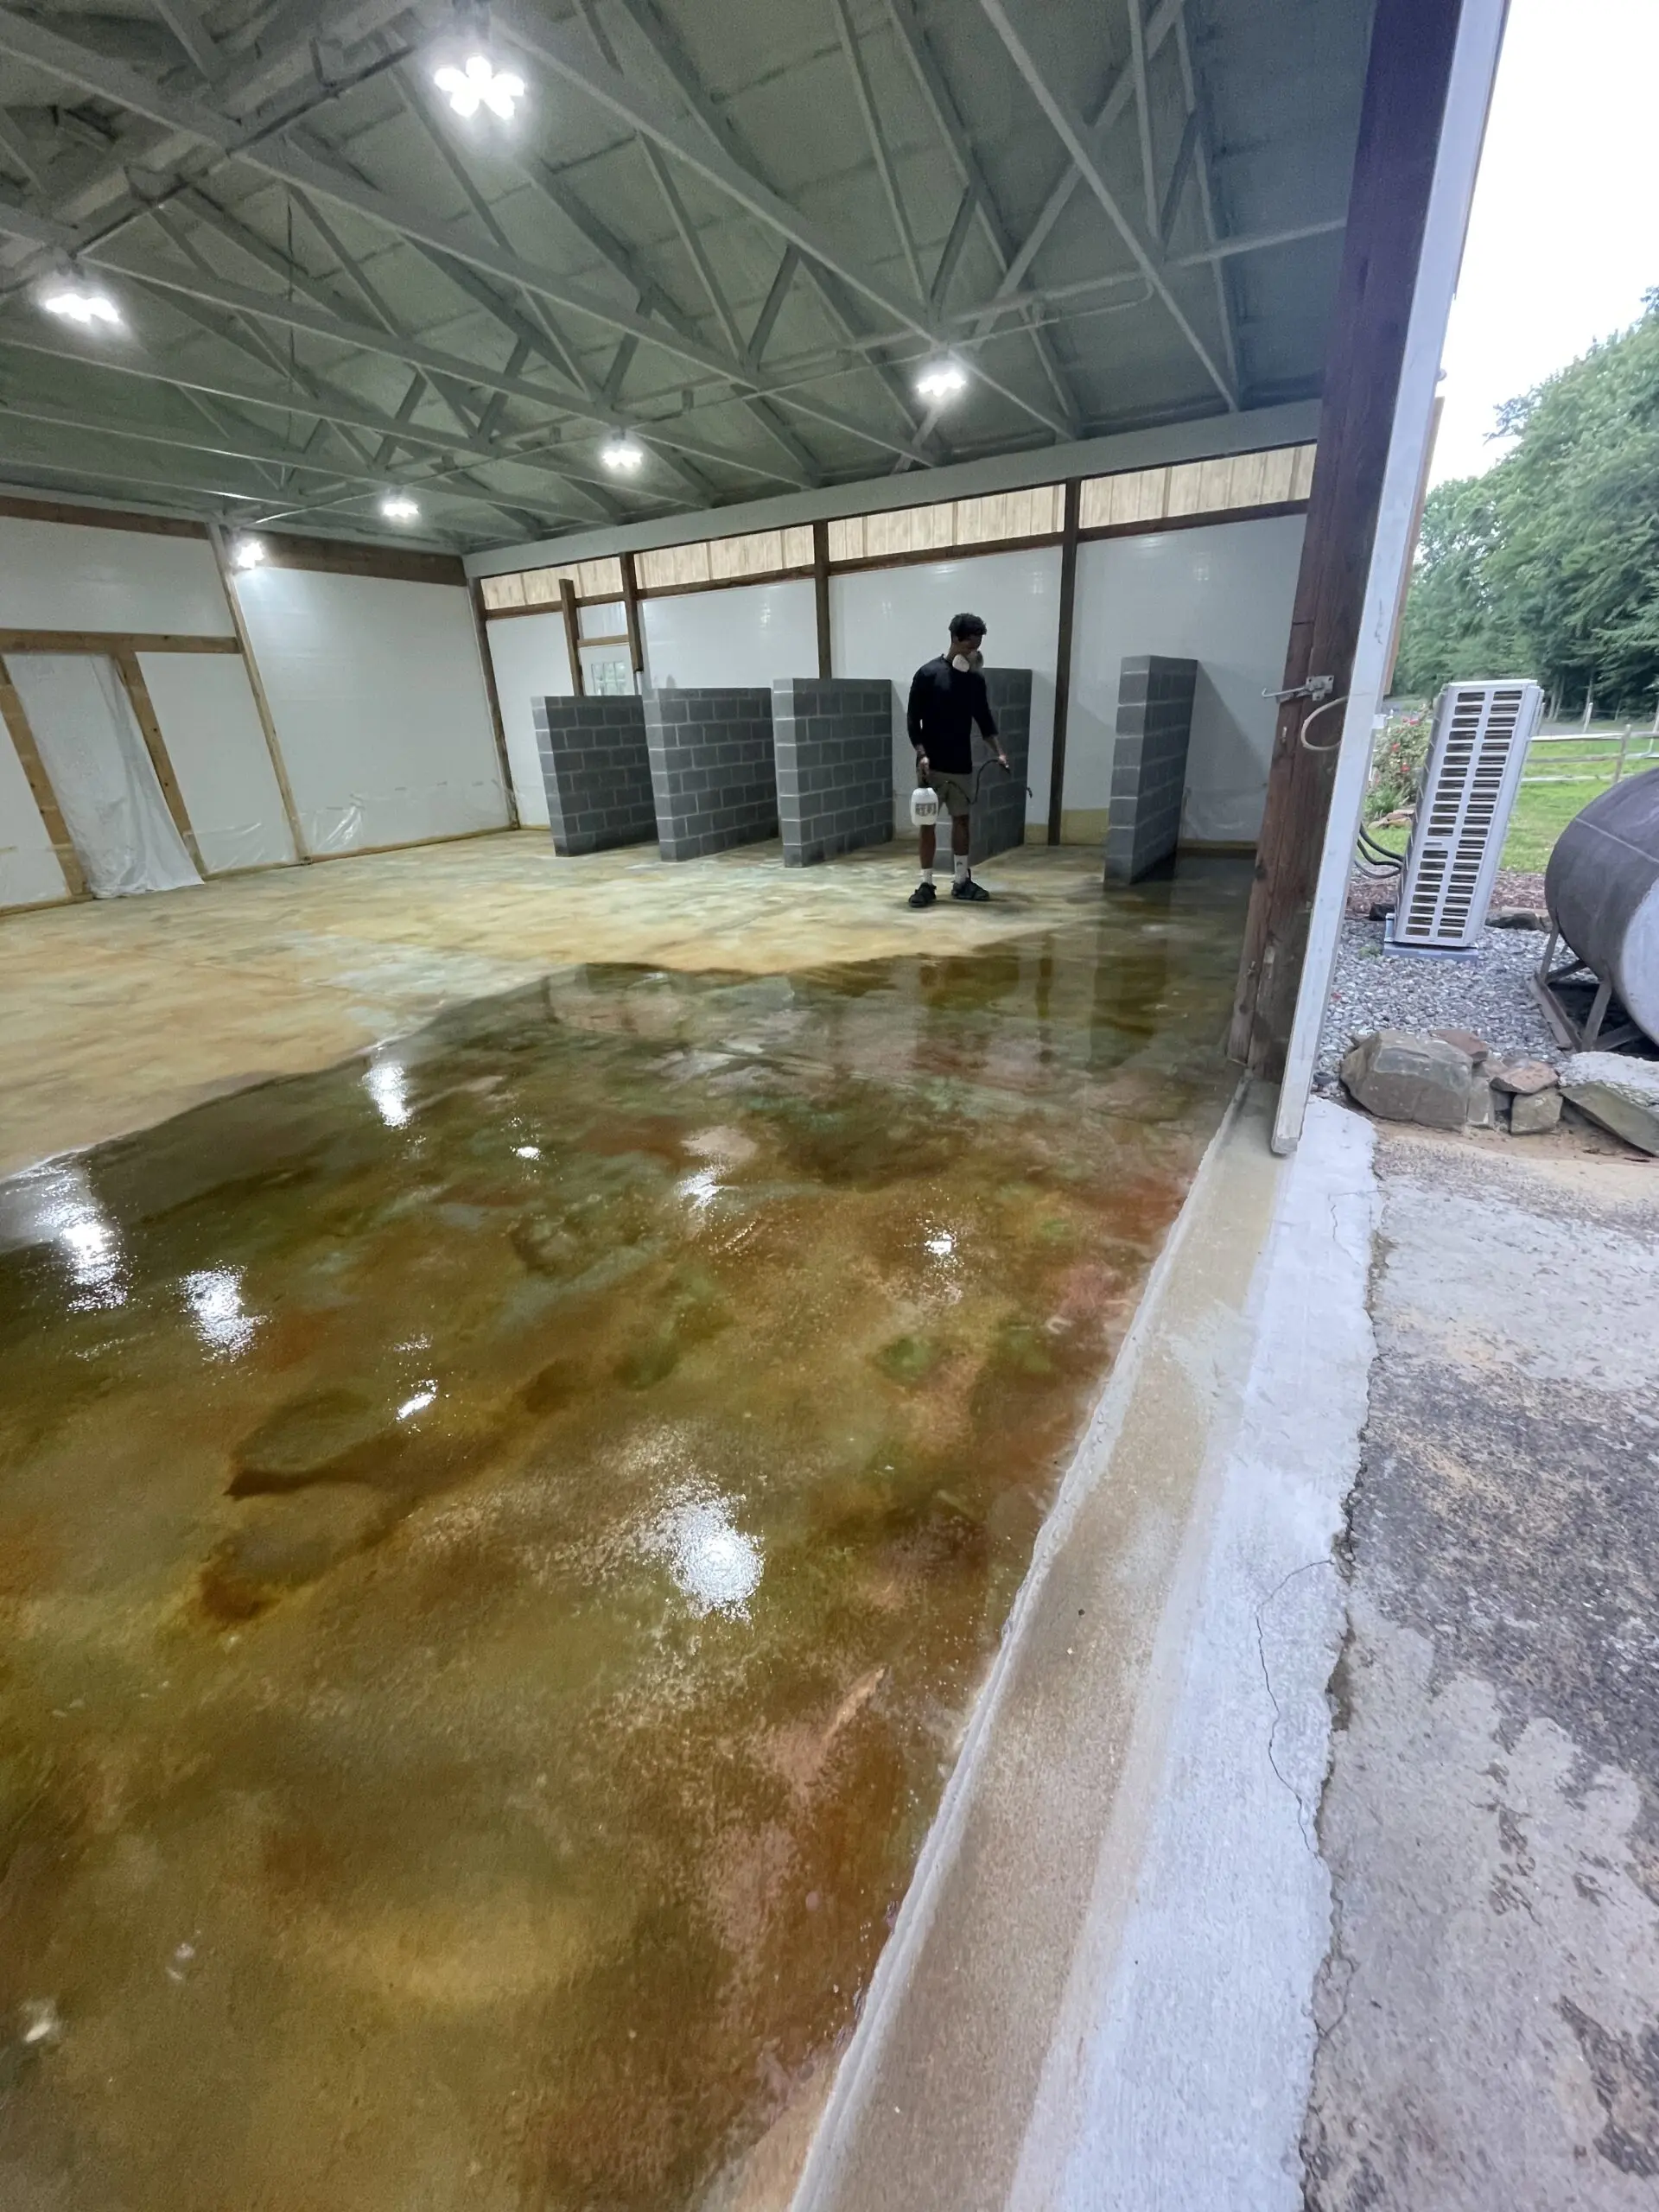
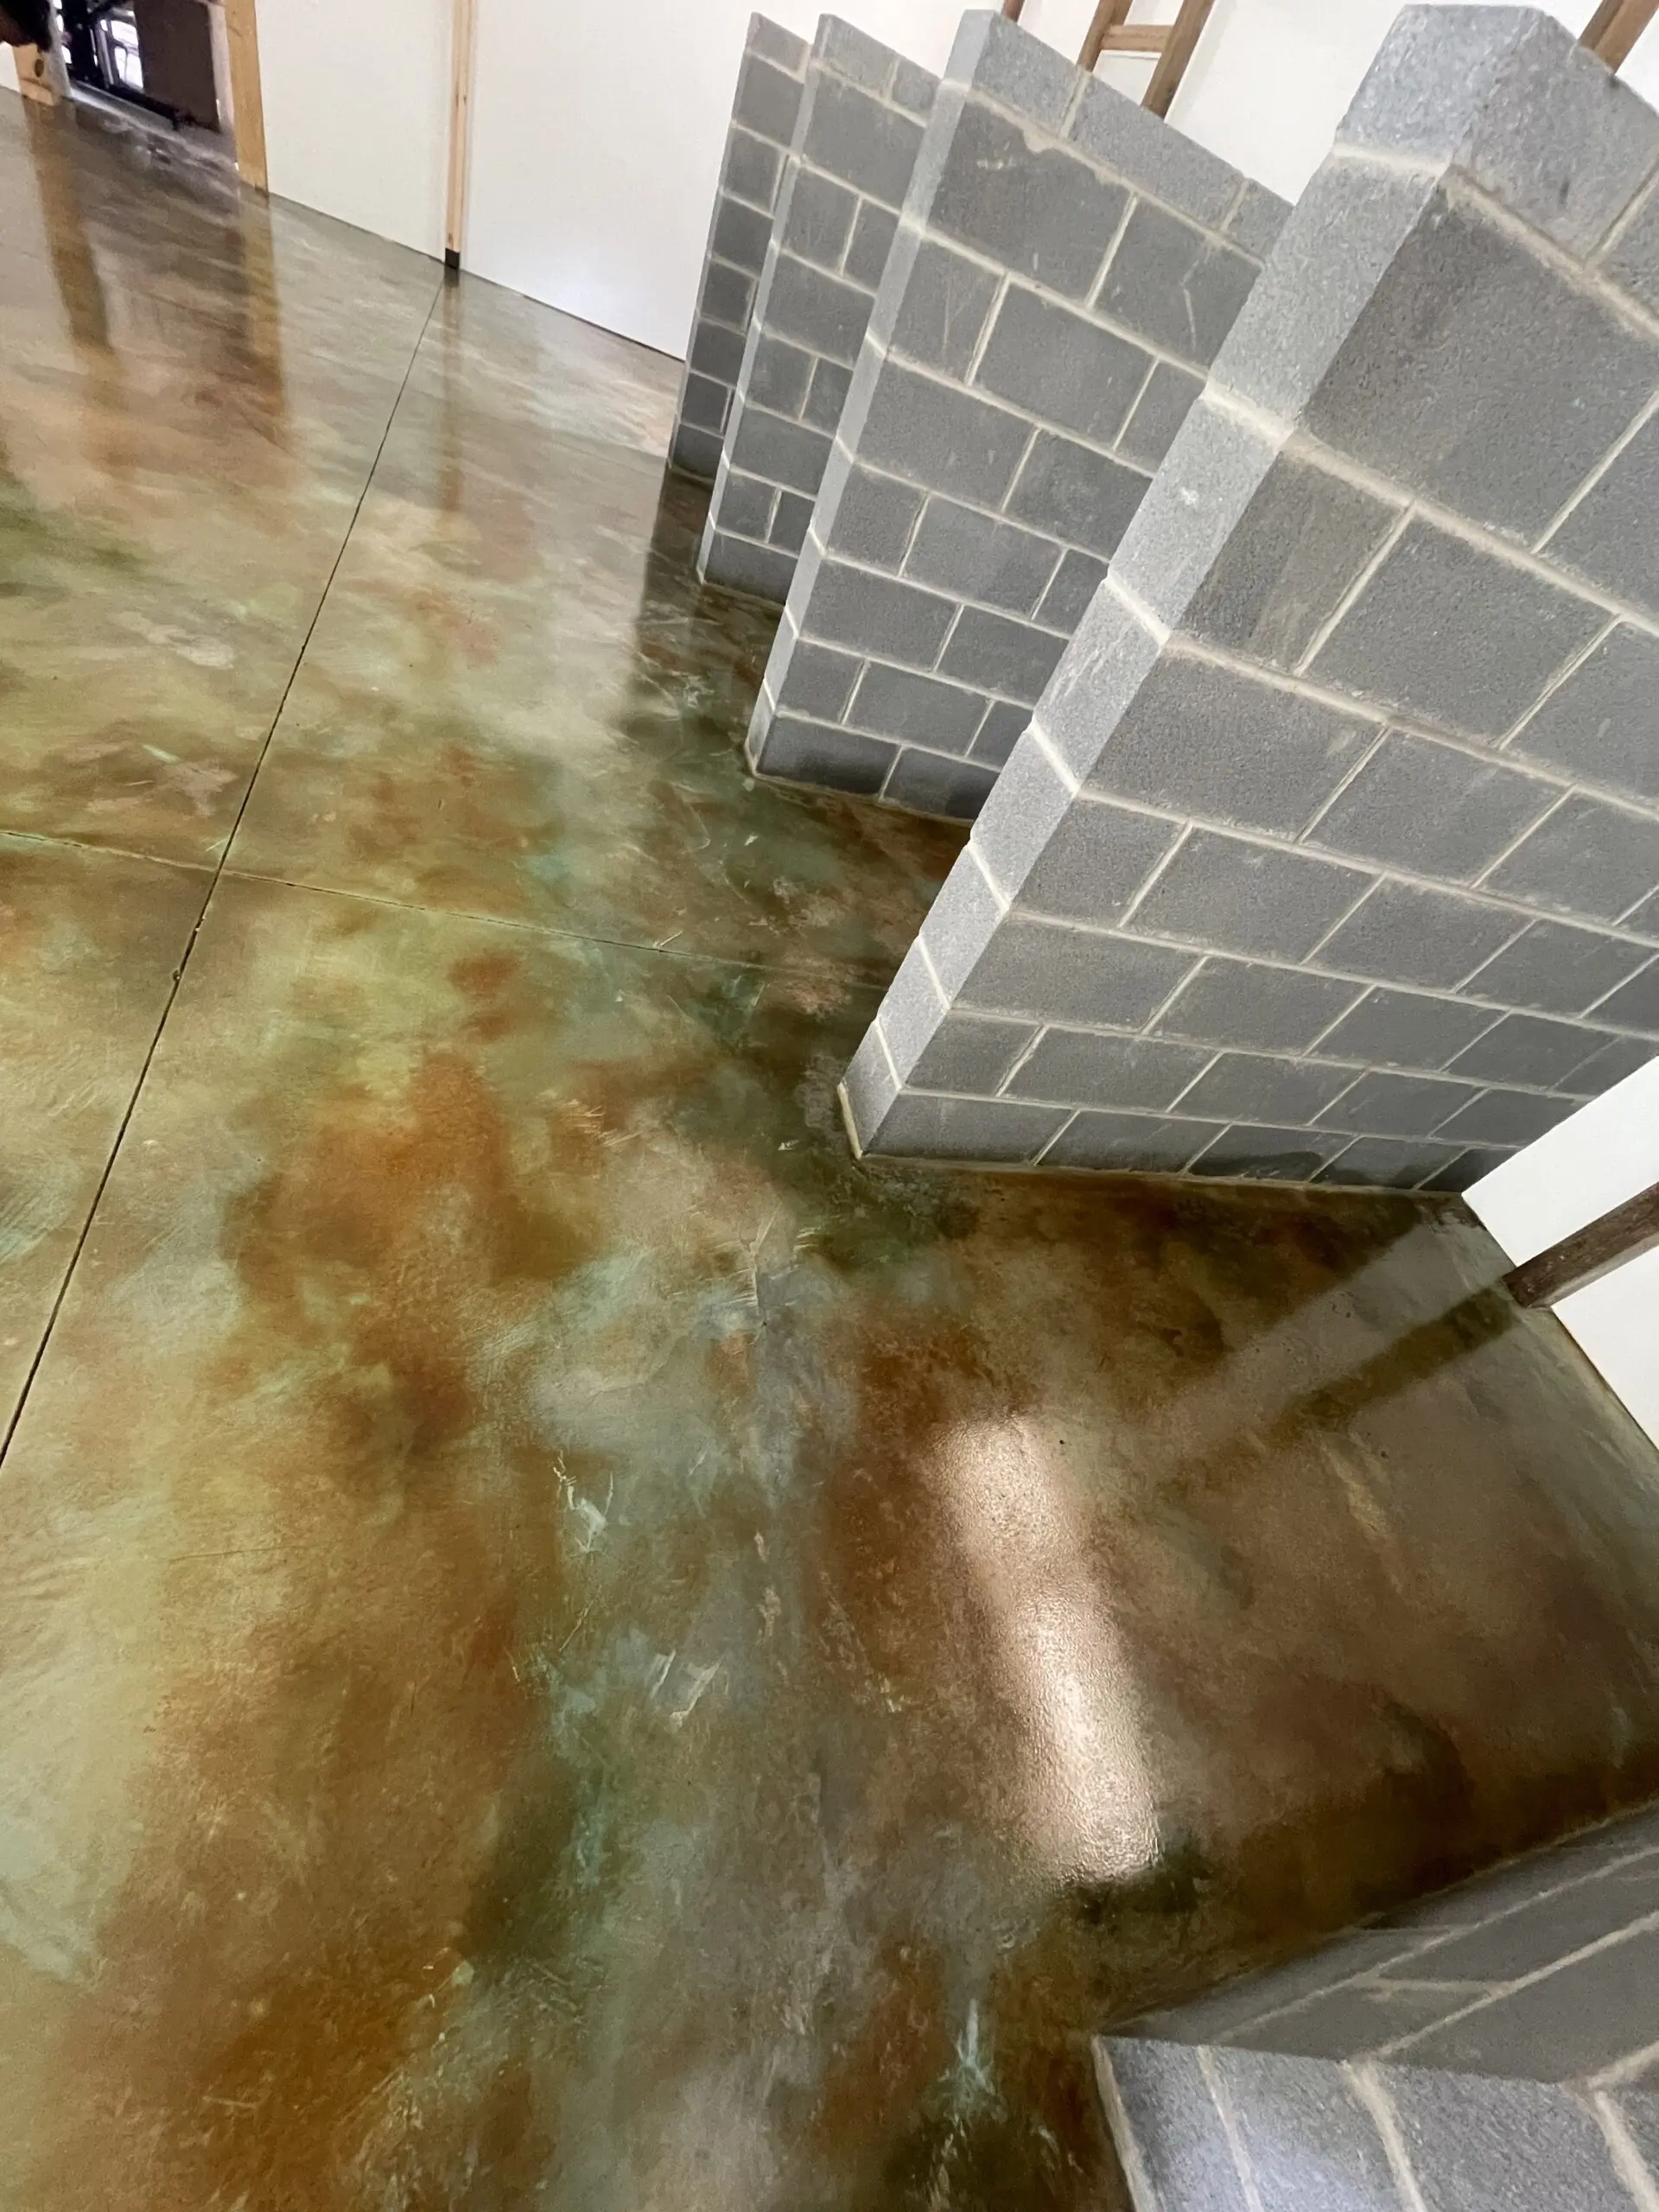
Barn to Beauty Parlor: Paws & Reflect on Green Marvel!
From hay and hooves to brushes and bows, this transformed barn now shines as a pet grooming haven. What once were plain concrete floors now gleam with a marbled green brilliance, thanks to an EverStain™ Malayan Buff base with a splash of Avocado on top. Seal, and voilà: a rich, vibrant floor fit for our furry friends!
Project Info:
- Project Completed In: 4 day(s)
- Estimate of Square Footage: 900 sq. ft.
- Project Description:
Etched, sanded, rinsed, Malayan buff base, and avocado on top then sealed 🙂 - Personal Tips:
The stain will be much richer after sealing and if sanding is necessary, adding a little water is so helpful. - Direct Colors Products Used:
5 Gal. CitrusEtch™ Concrete Etcher
3 x 1 Gal. Avocado EverStain™
5 Gal. Malayan Buff EverStain™ & EasySeal™ Gloss Kit
OxiGrip™ Anti-slip Additive
Please be aware that each photo in this gallery showcases projects accomplished with our EverStain™ Acid Stain and is provided by actual customers, serving as a source of inspiration. However, since EverStain™ is semi-transparent, the final appearance of your project will be influenced by the initial color and condition of your concrete surface, and thus, your final results might vary. For the best results, we strongly recommend performing a small test on your specific surface before applying the stain to the entire project to ensure the final look aligns with your expectations.
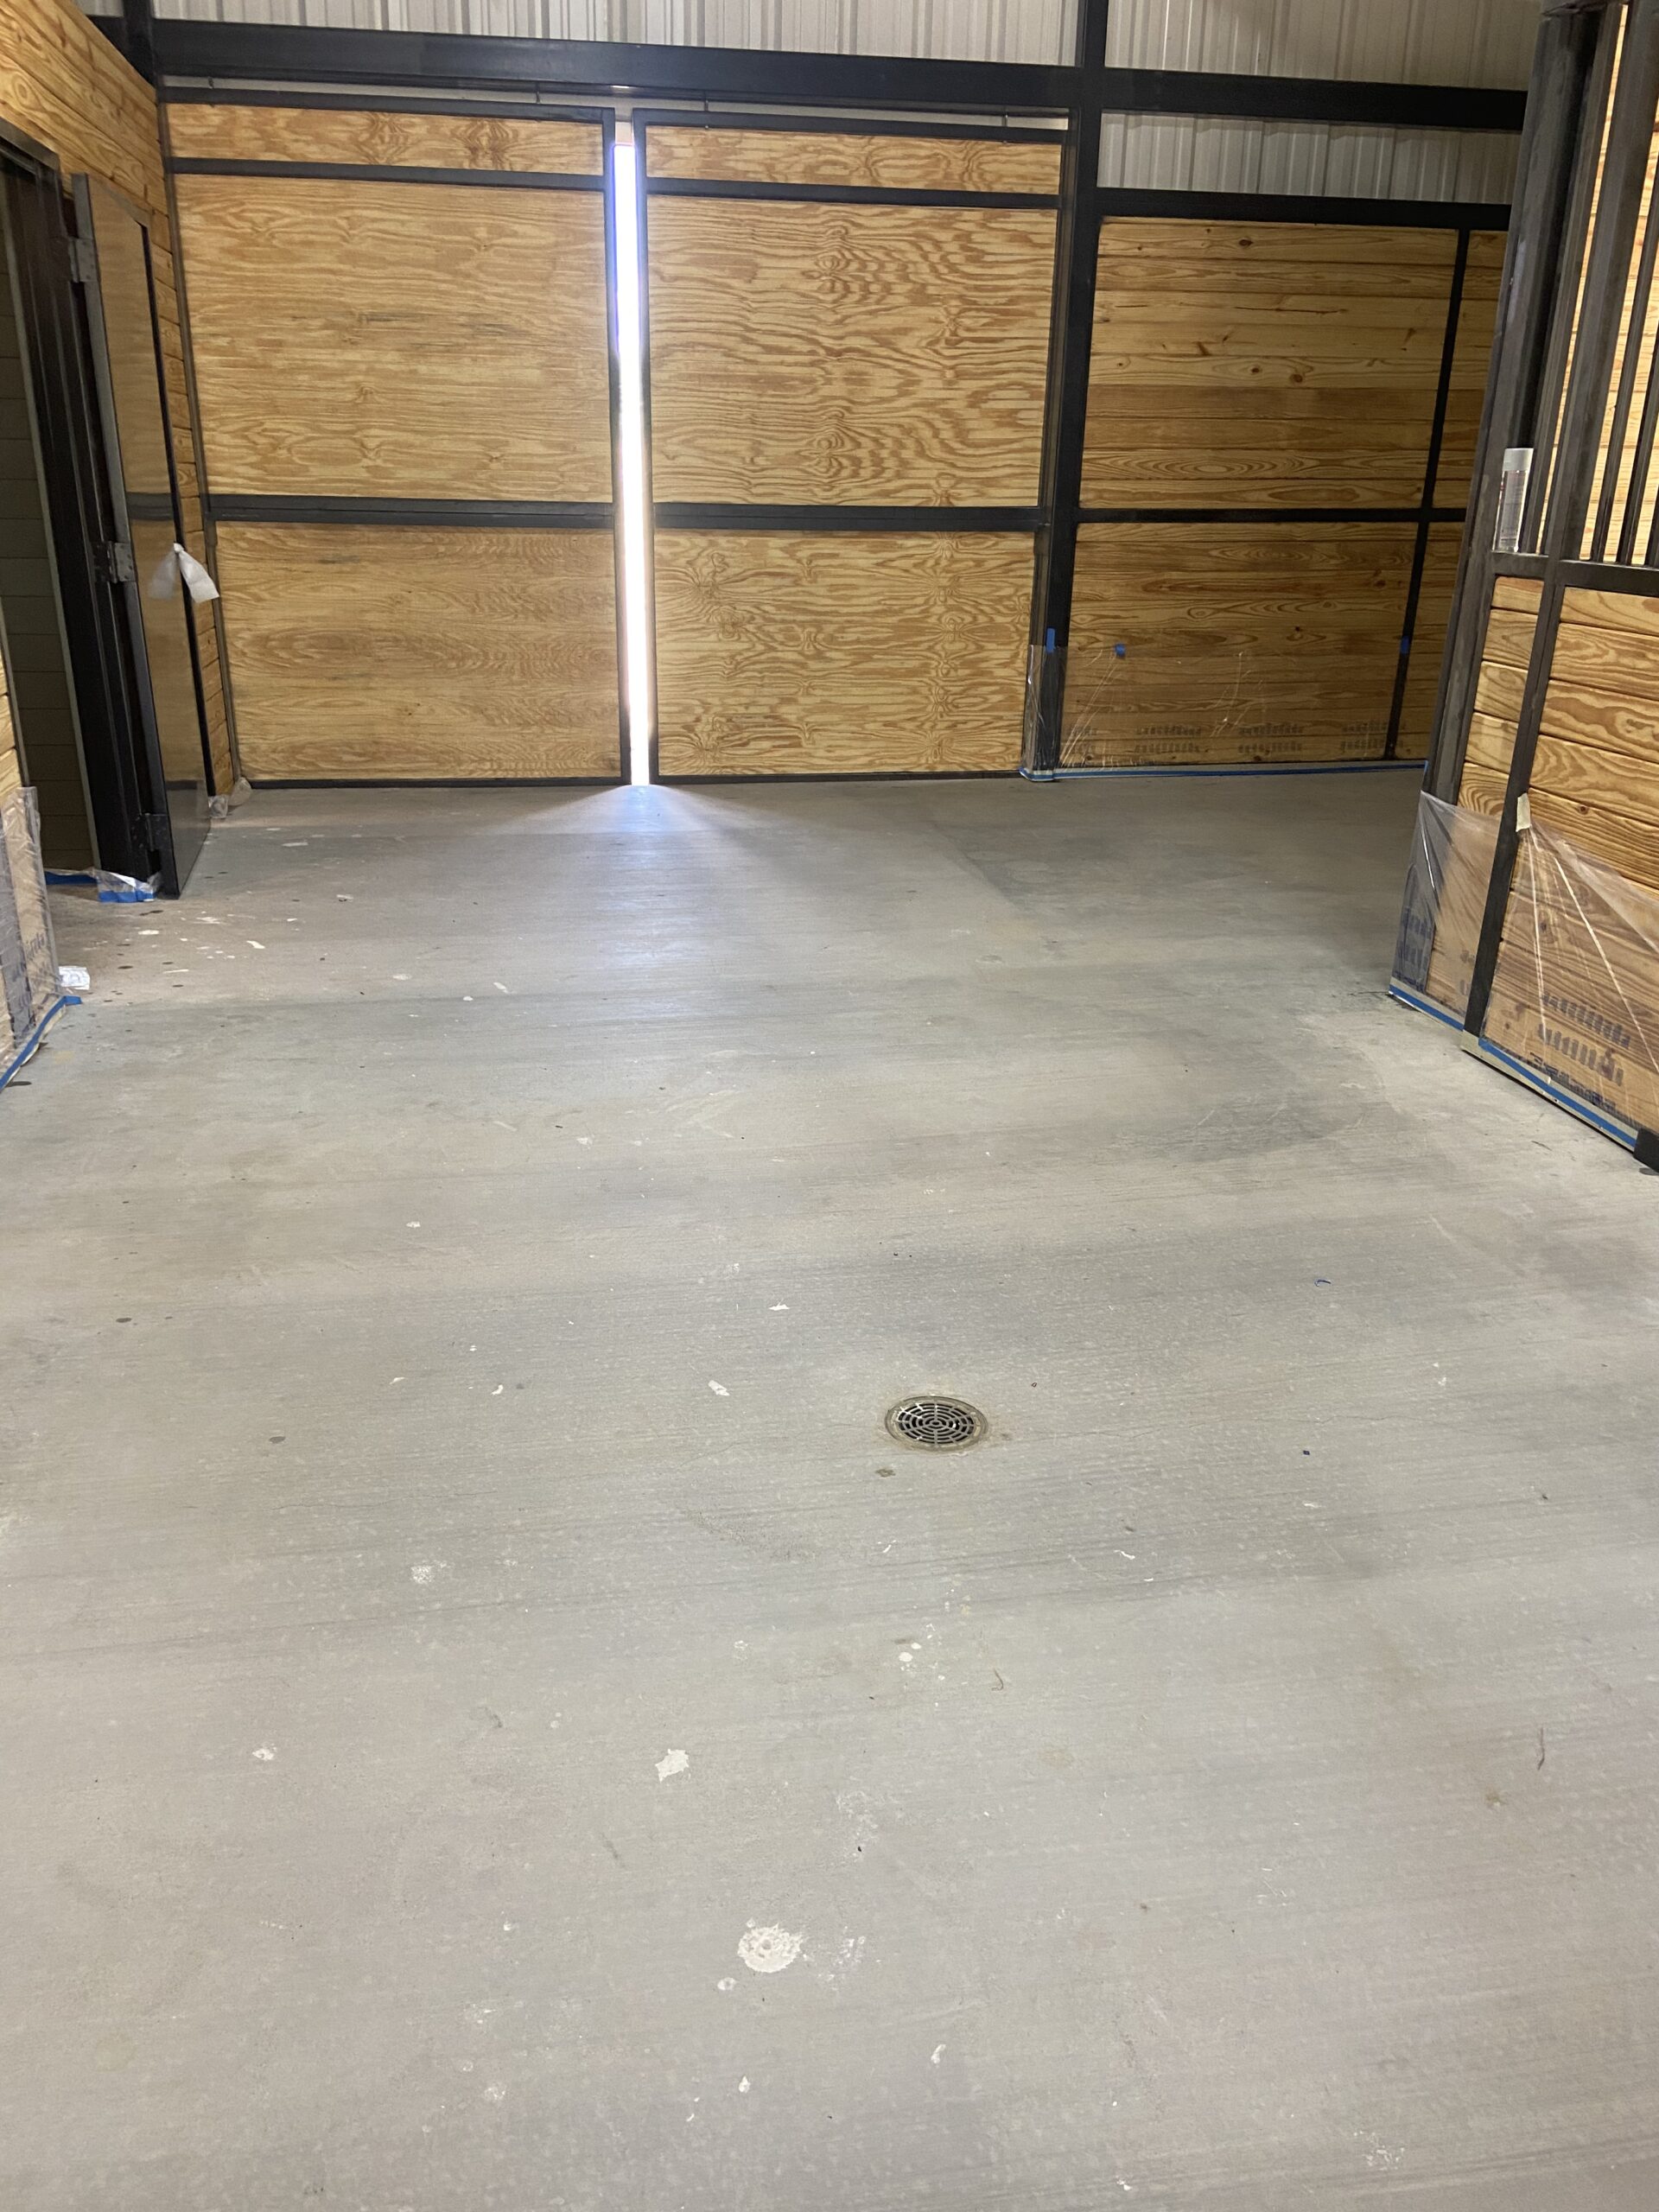
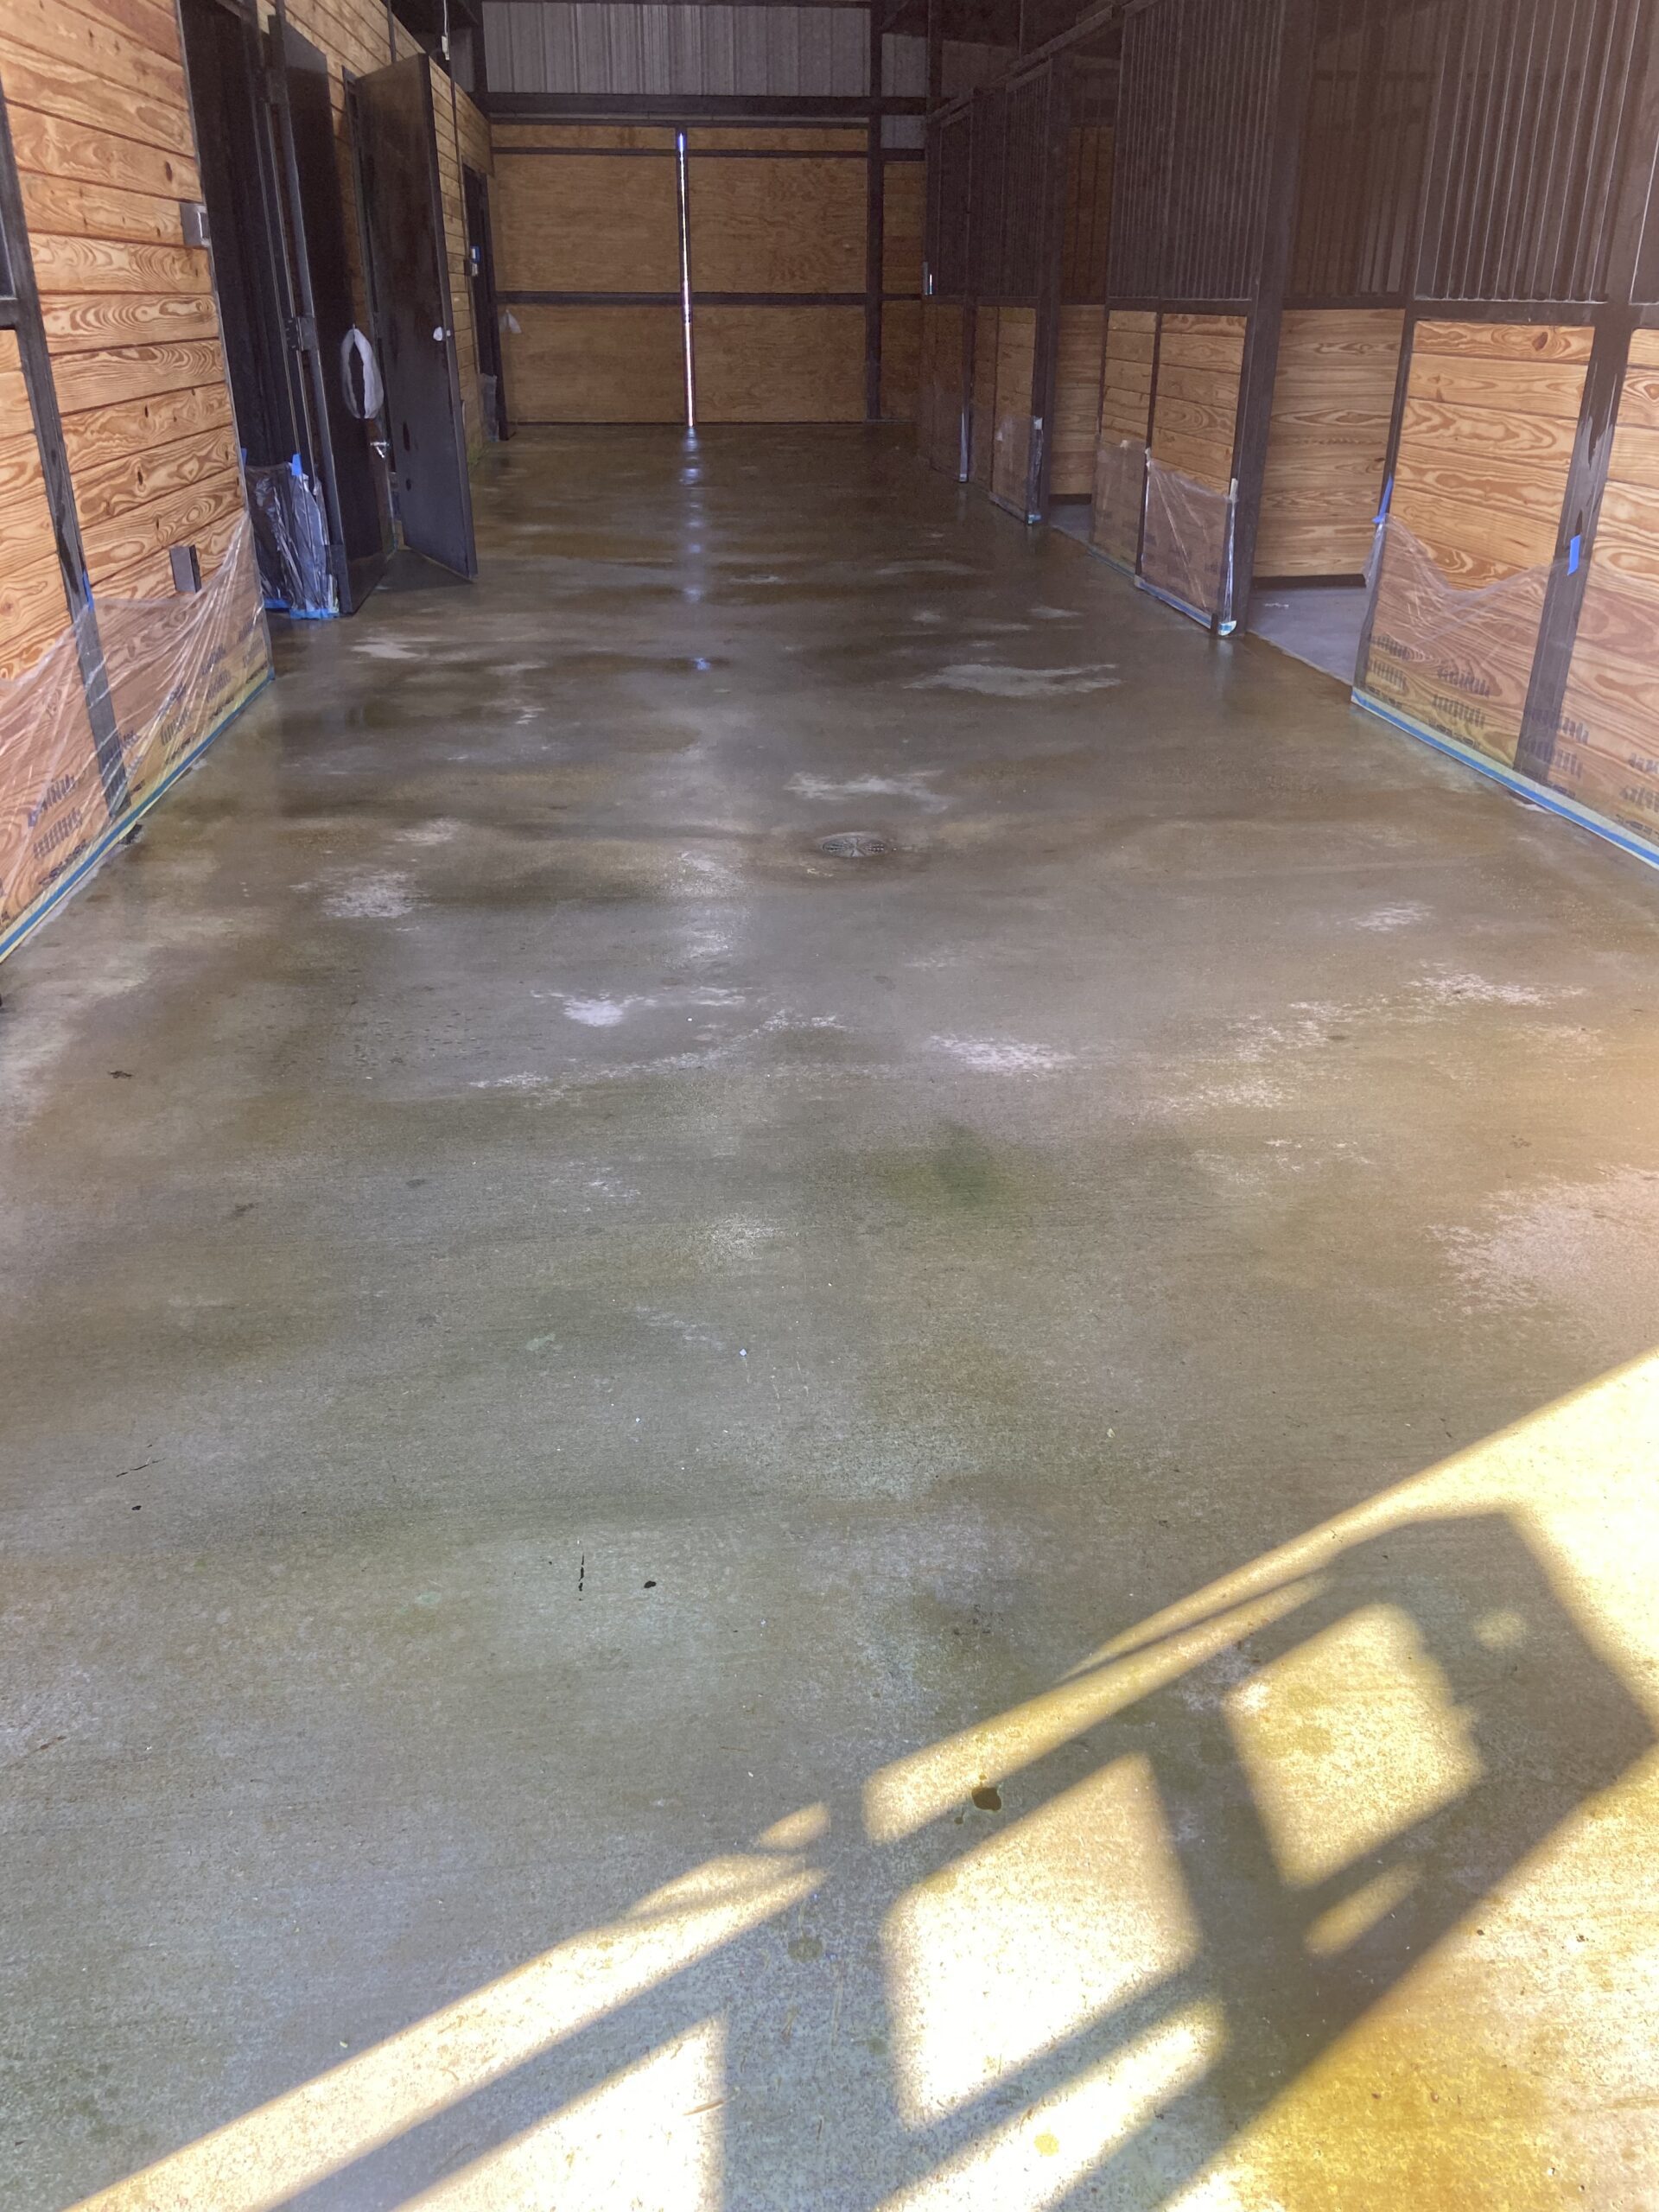
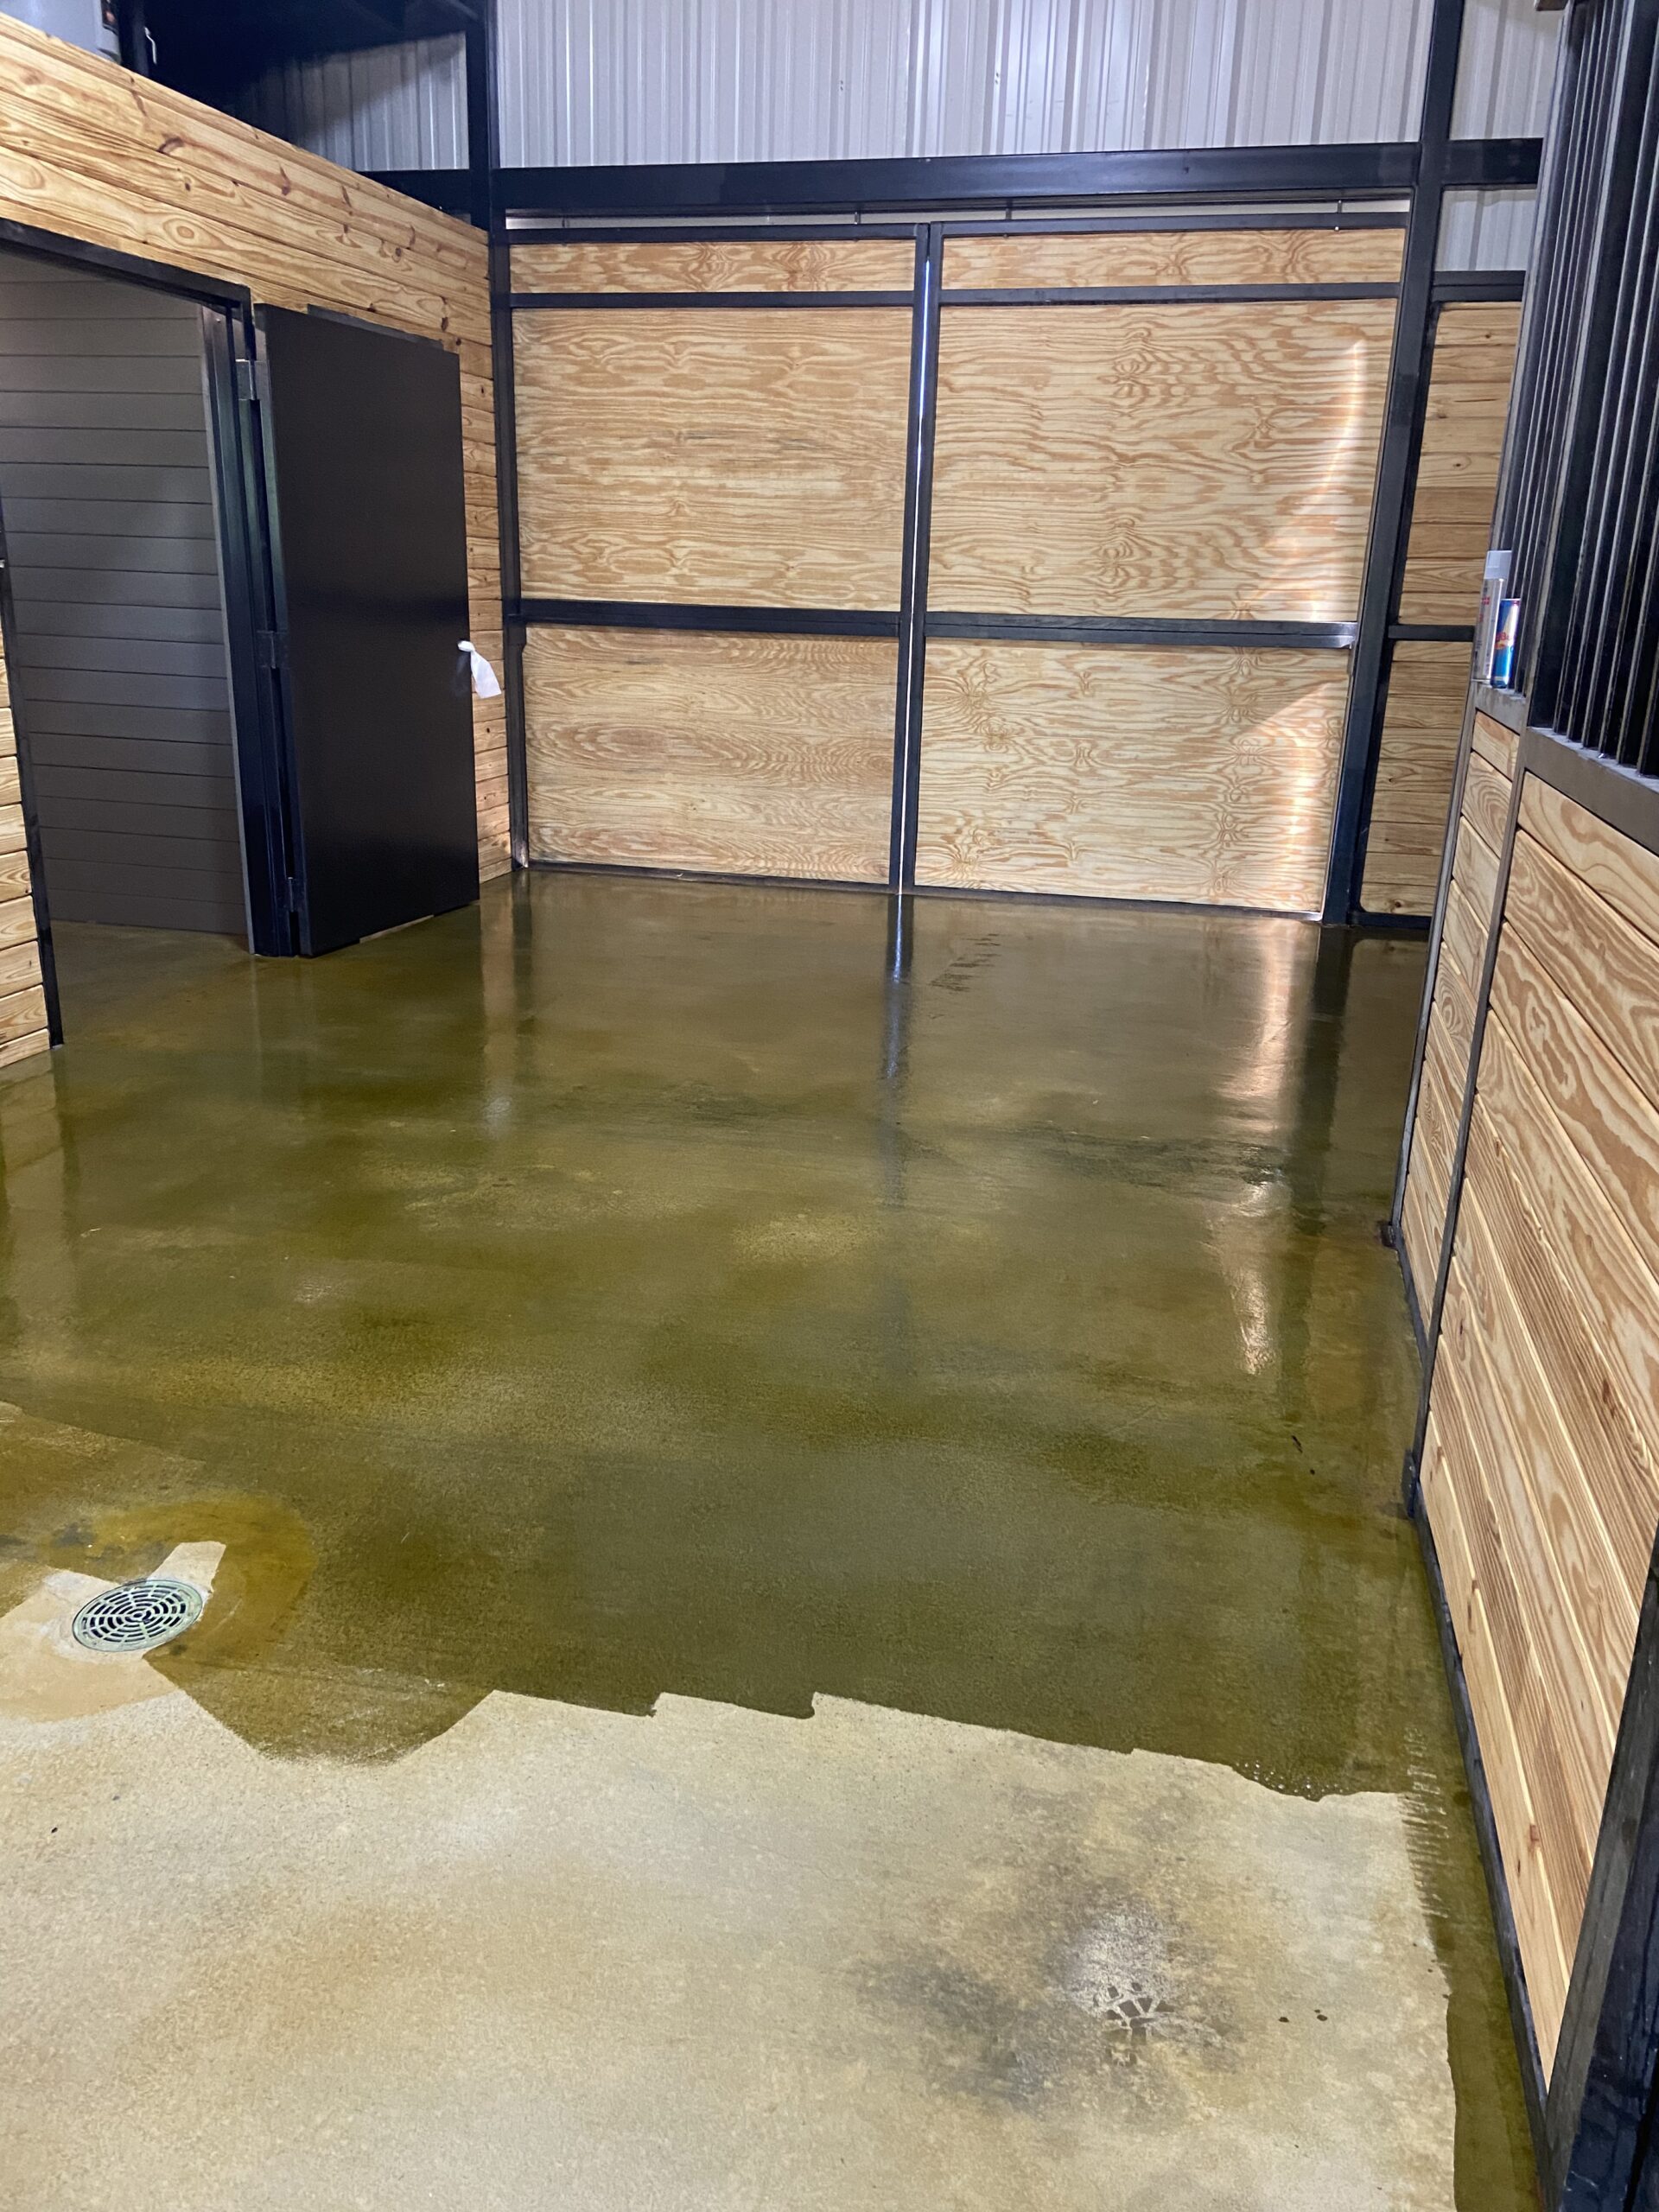
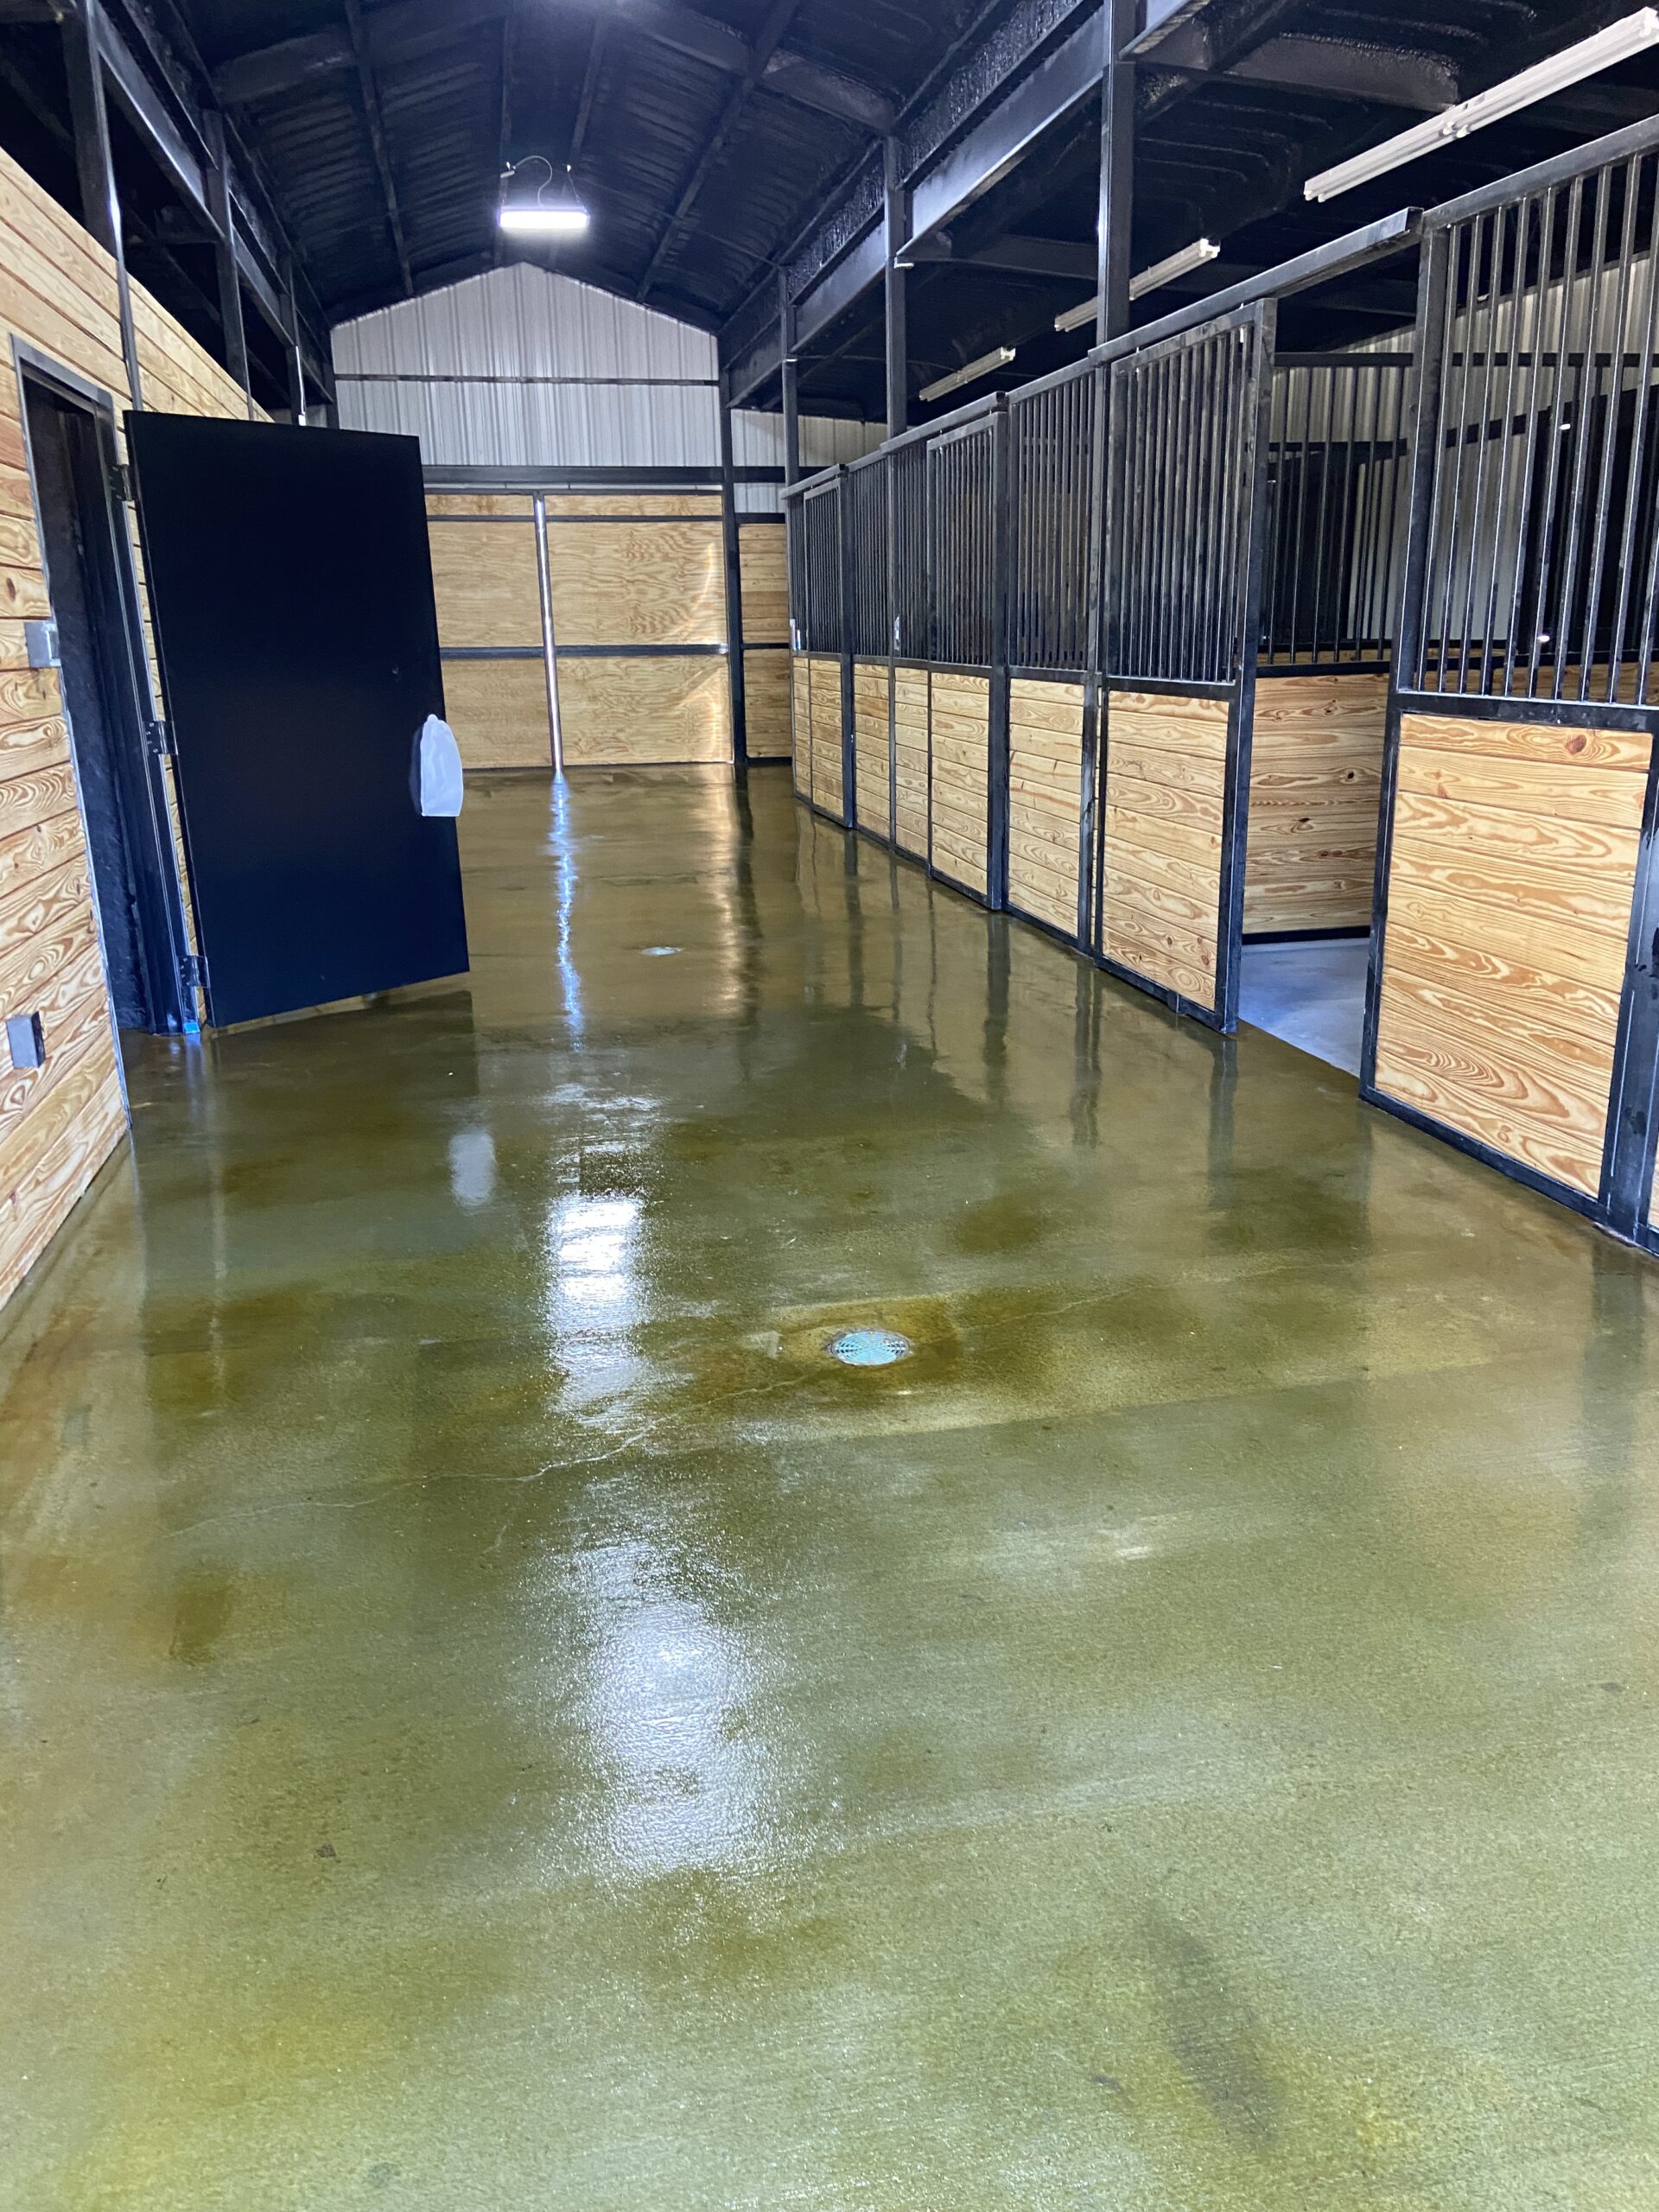
Barn Transformation with Avocado EverStain™ Acid Stain
A straightforward but effective barn project using the Avocado EverStain™ Acid Stain. The key to achieving a successful result was thorough cleaning prior to the application. The rustic charm of the barn was wonderfully enhanced by the rich Avocado hue.
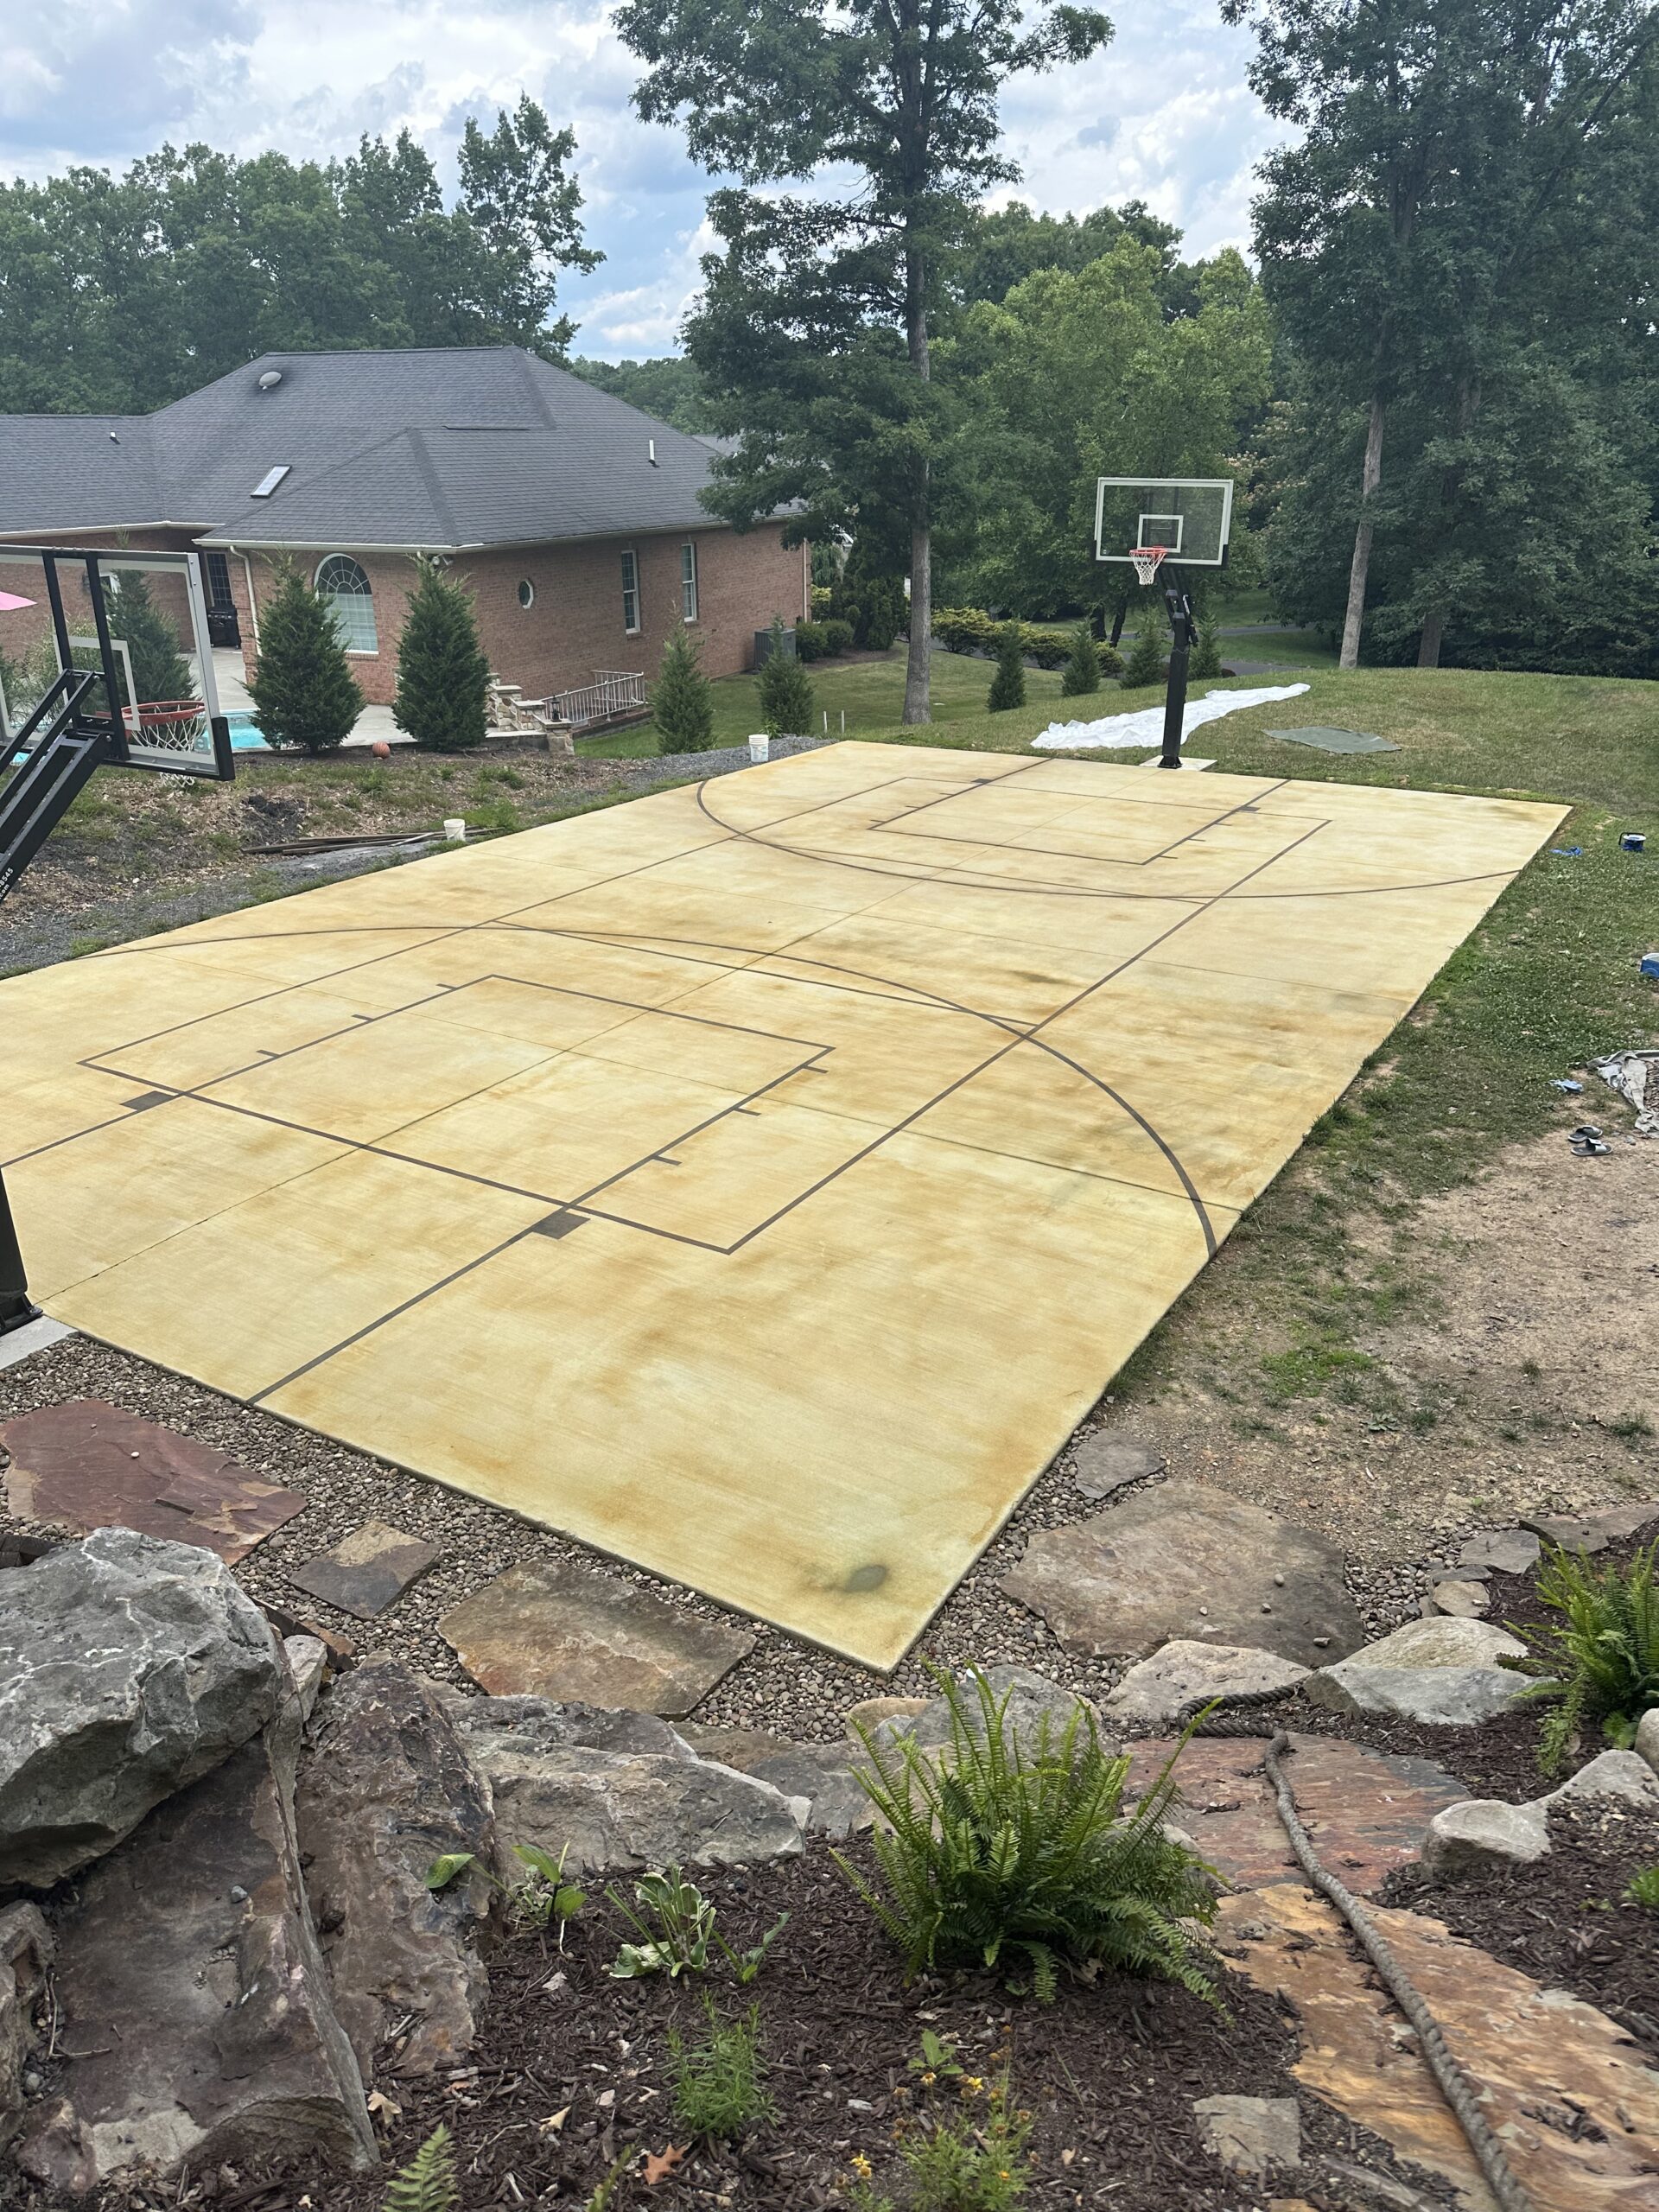
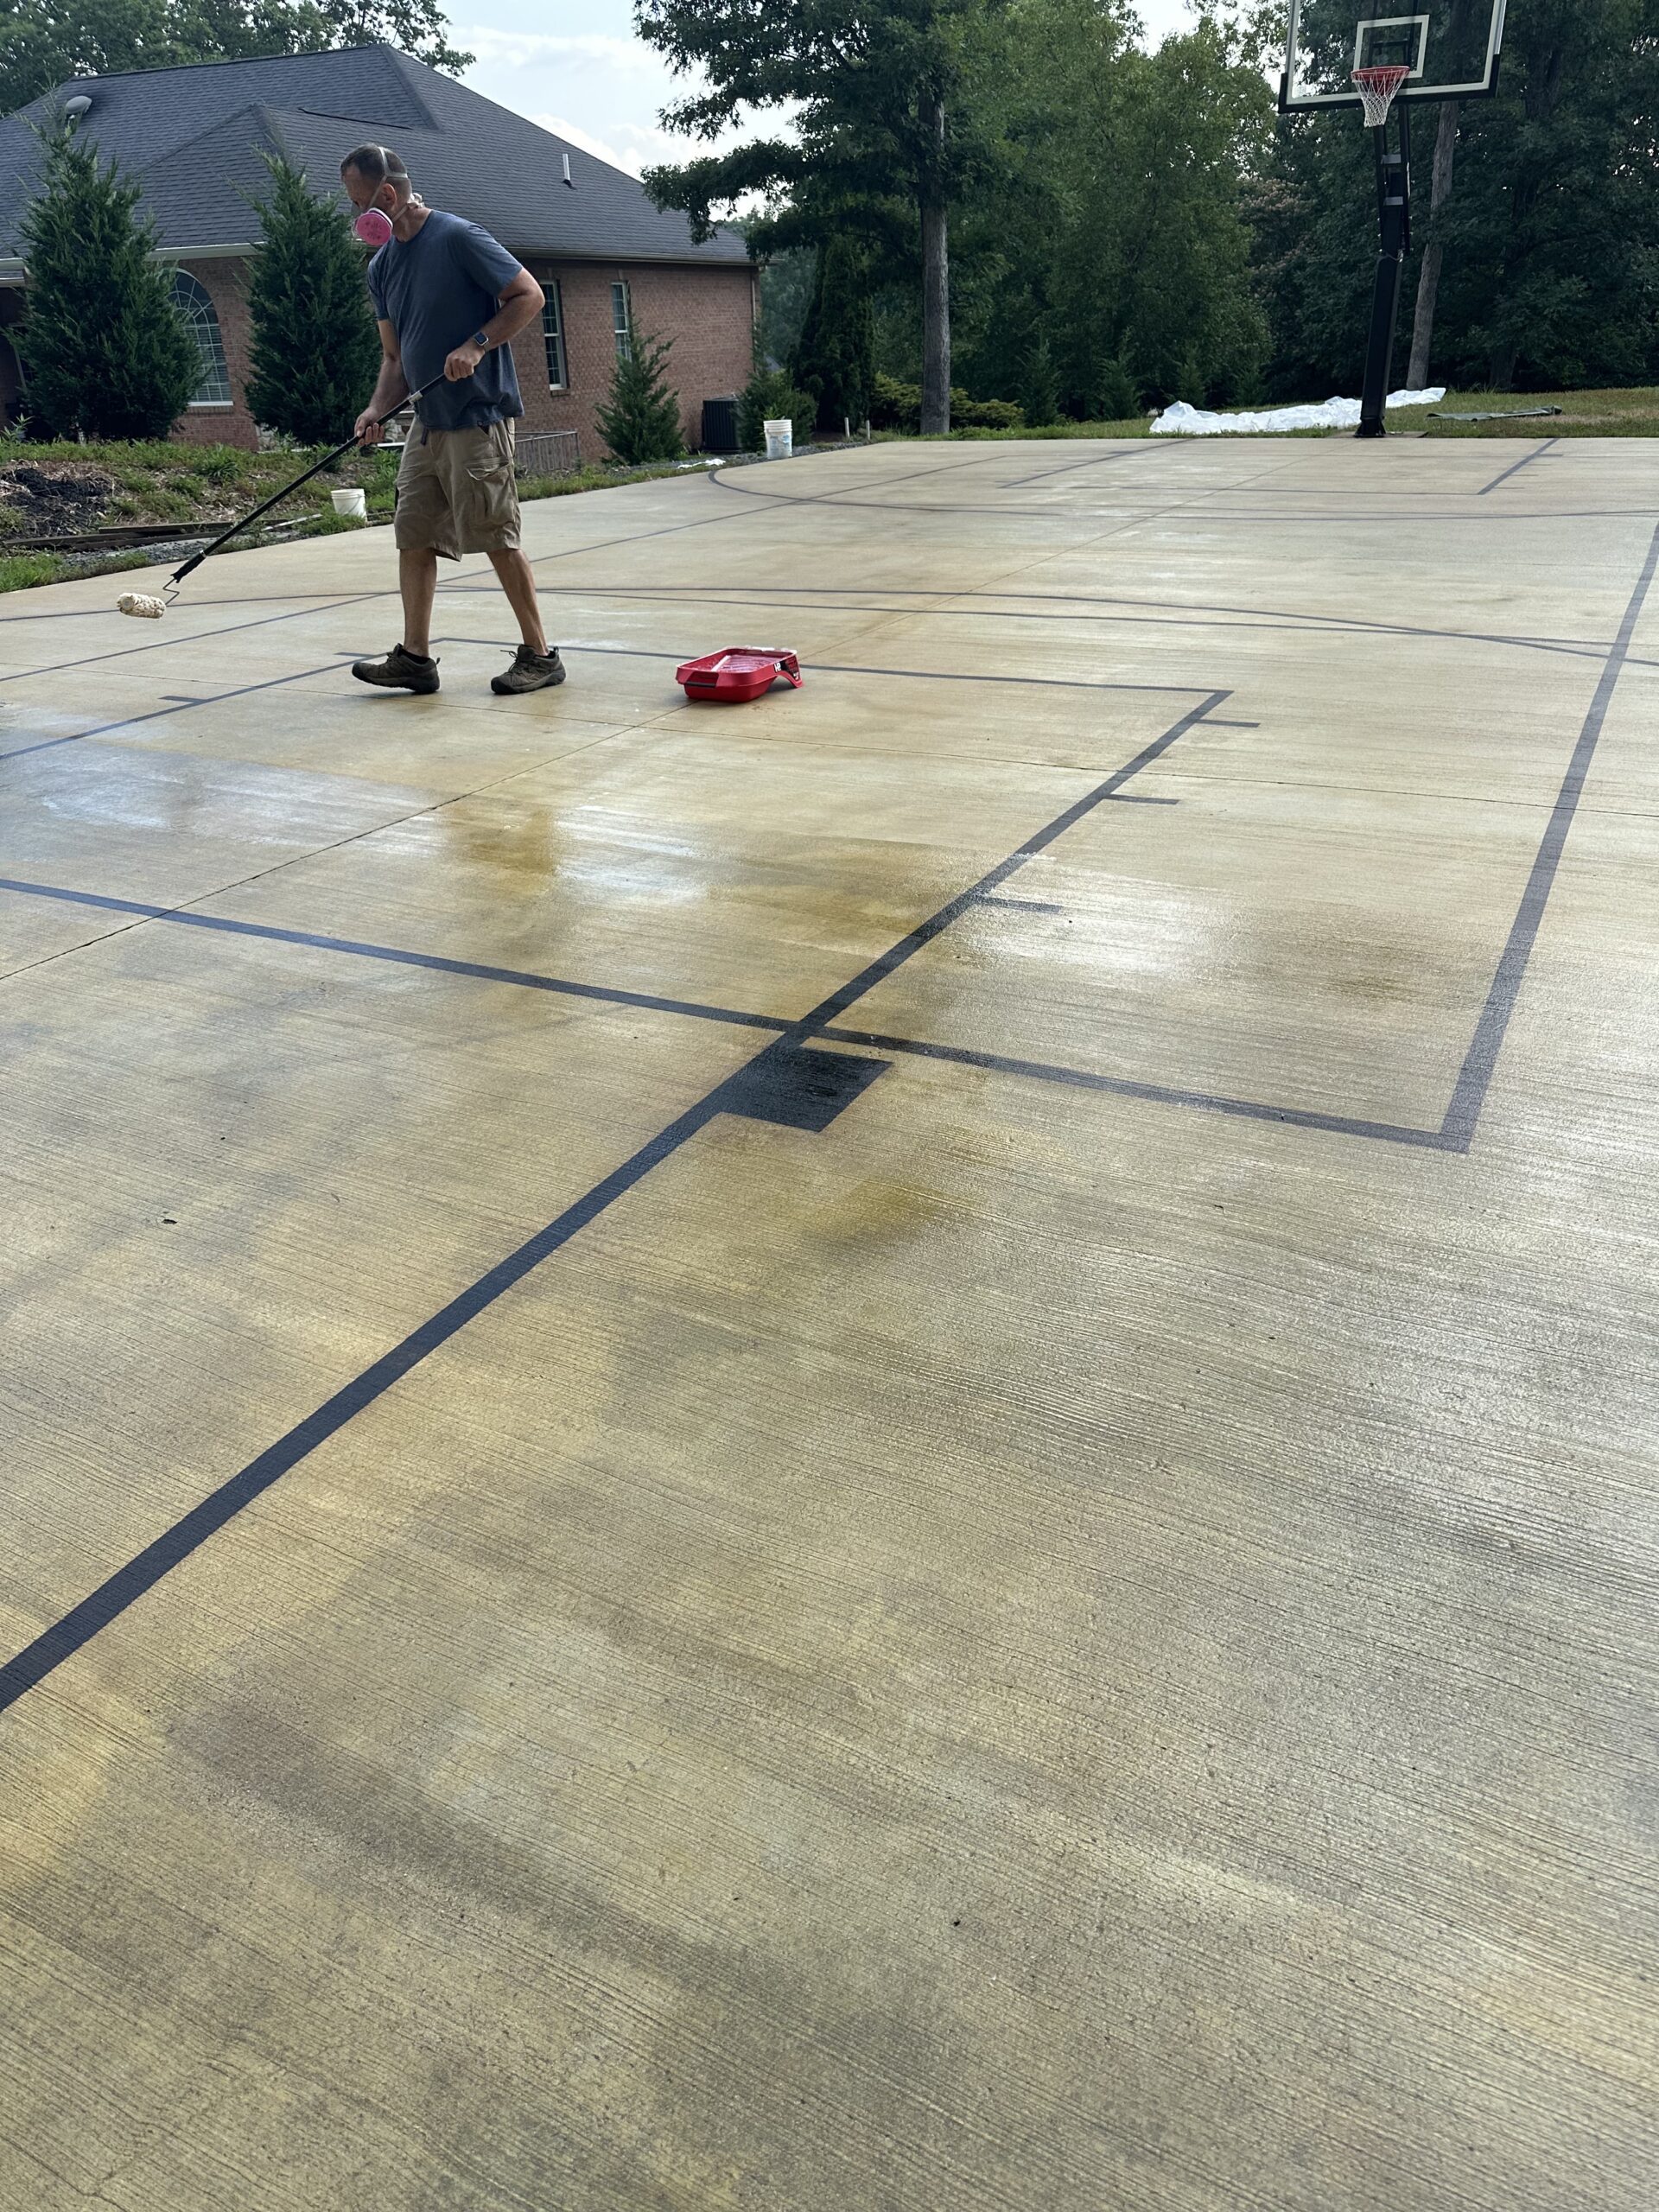
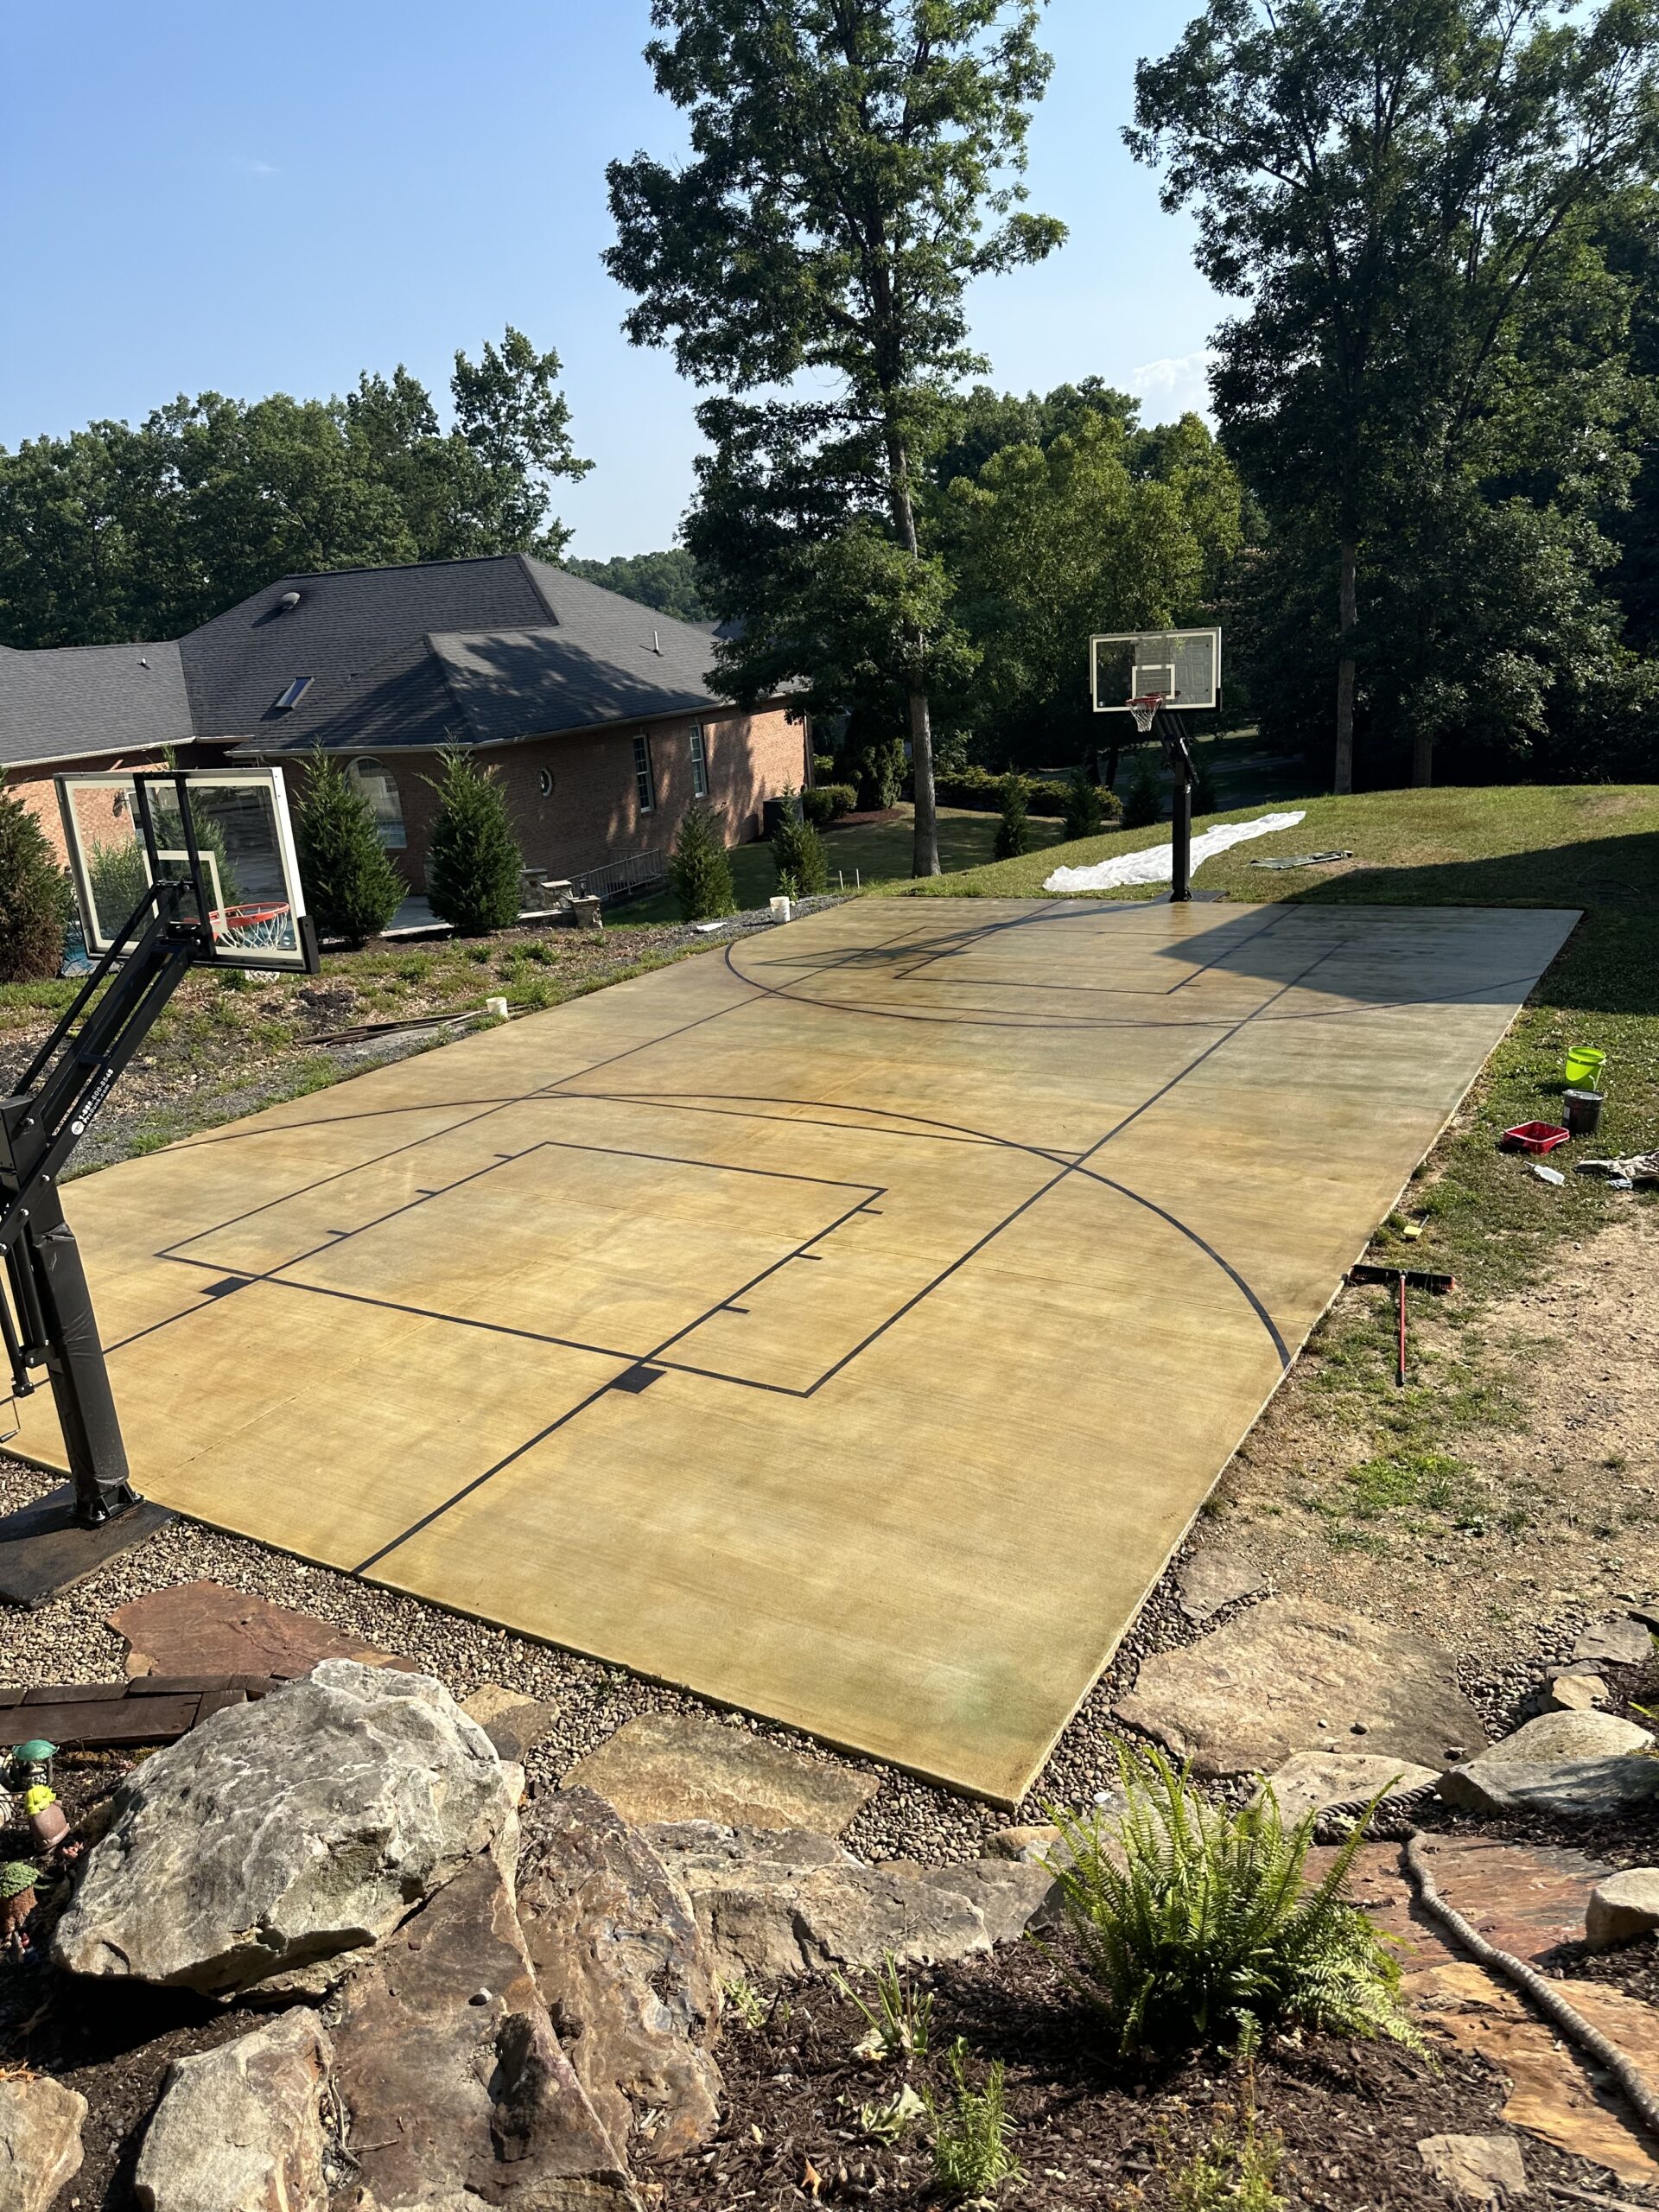
Custom Outdoor Basketball Court Revamp
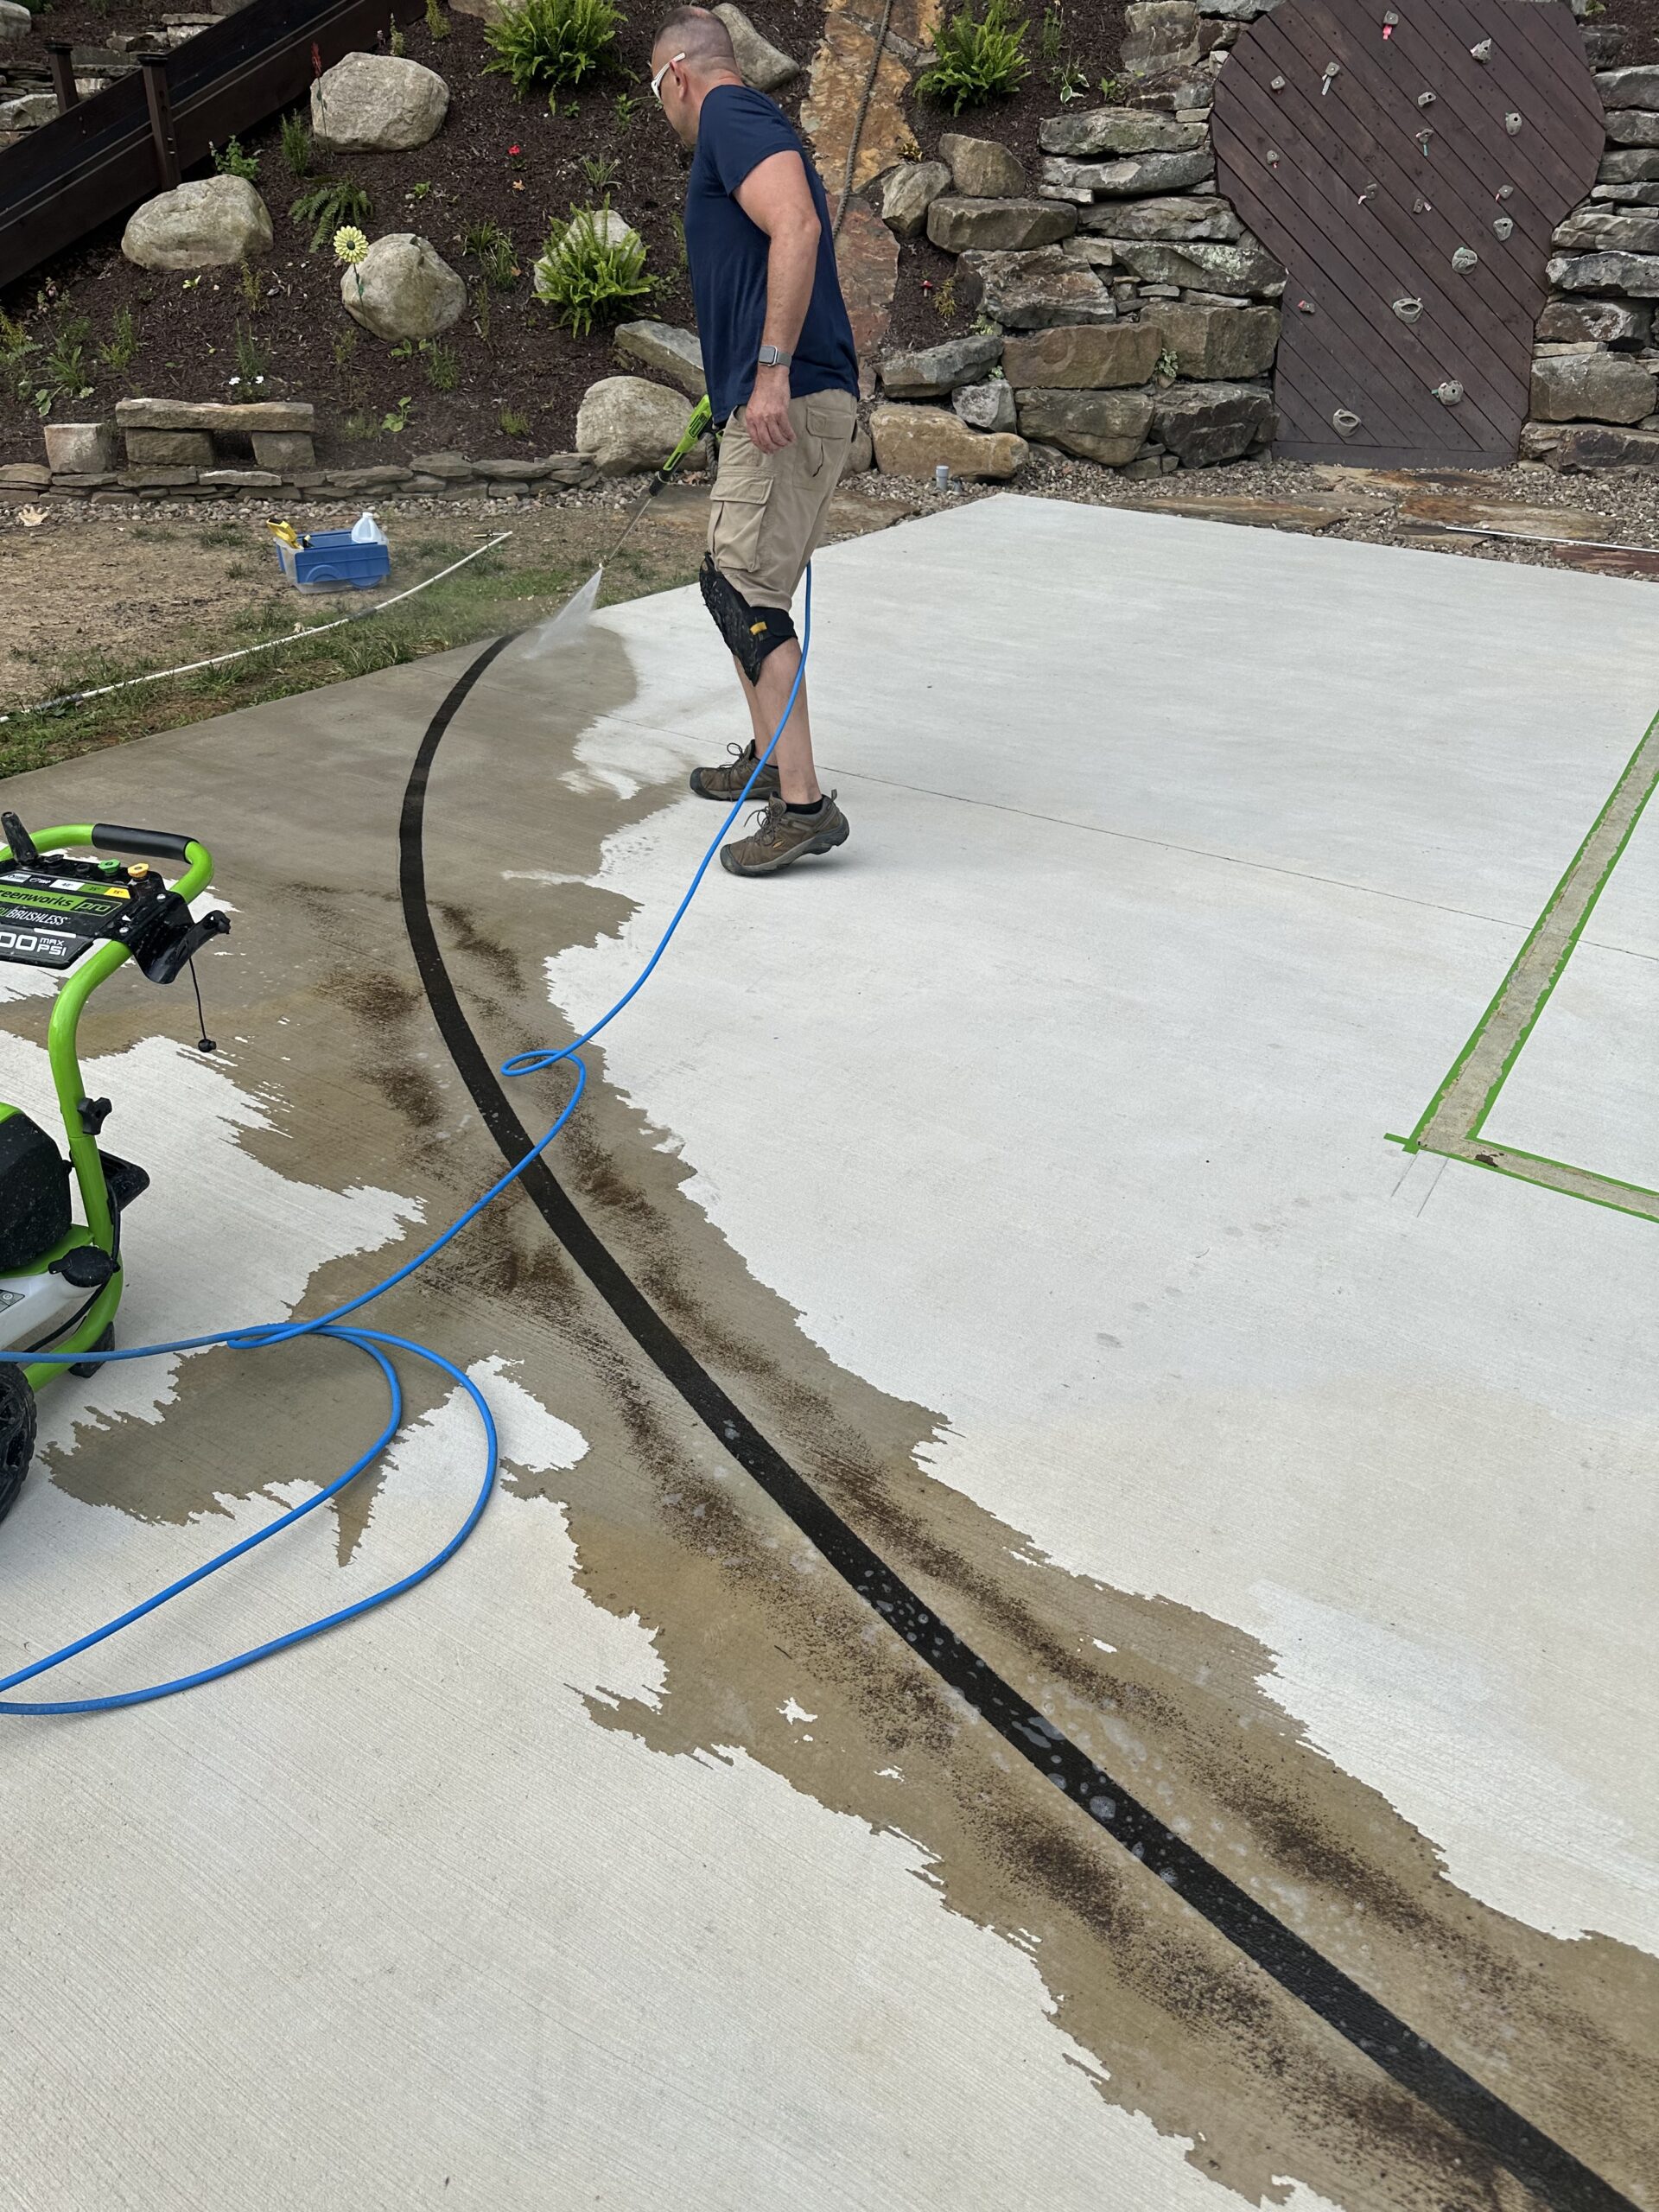
This project involved transforming an outdoor basketball court into a unique, eye-catching space using DecoGel Coffee Brown for precise line detailing and EverStain Avocado acid stain for the court surface. The process included staining, neutralizing, and sealing the court to ensure durability and a professional finish.
Tranquil Transformation: Converting a Garage into a Massage Studio
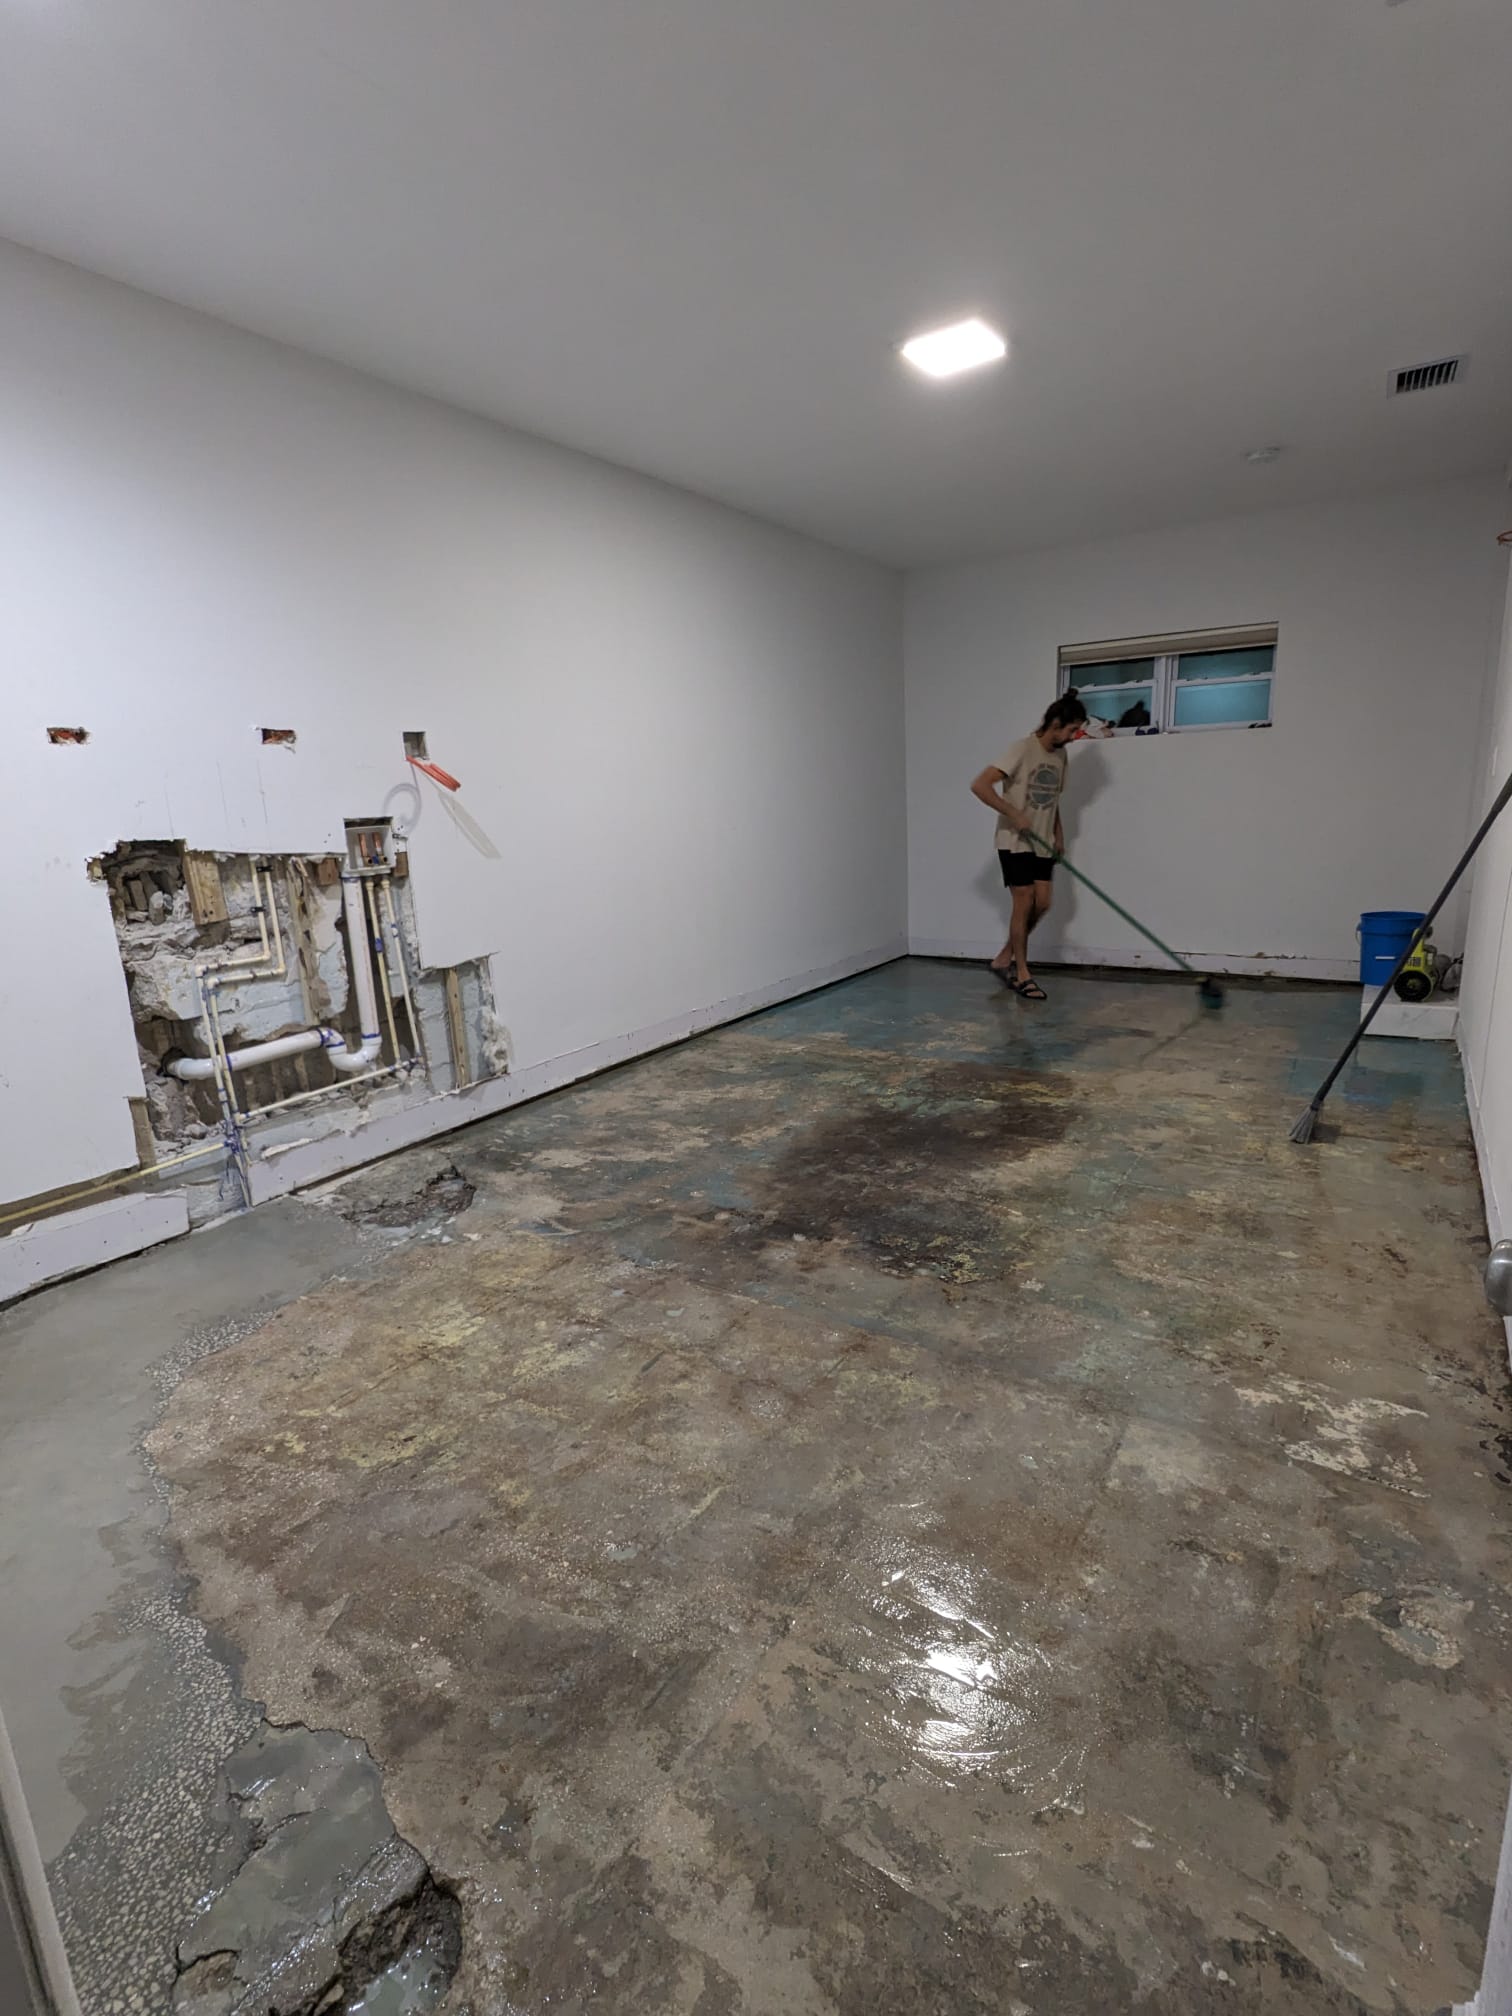
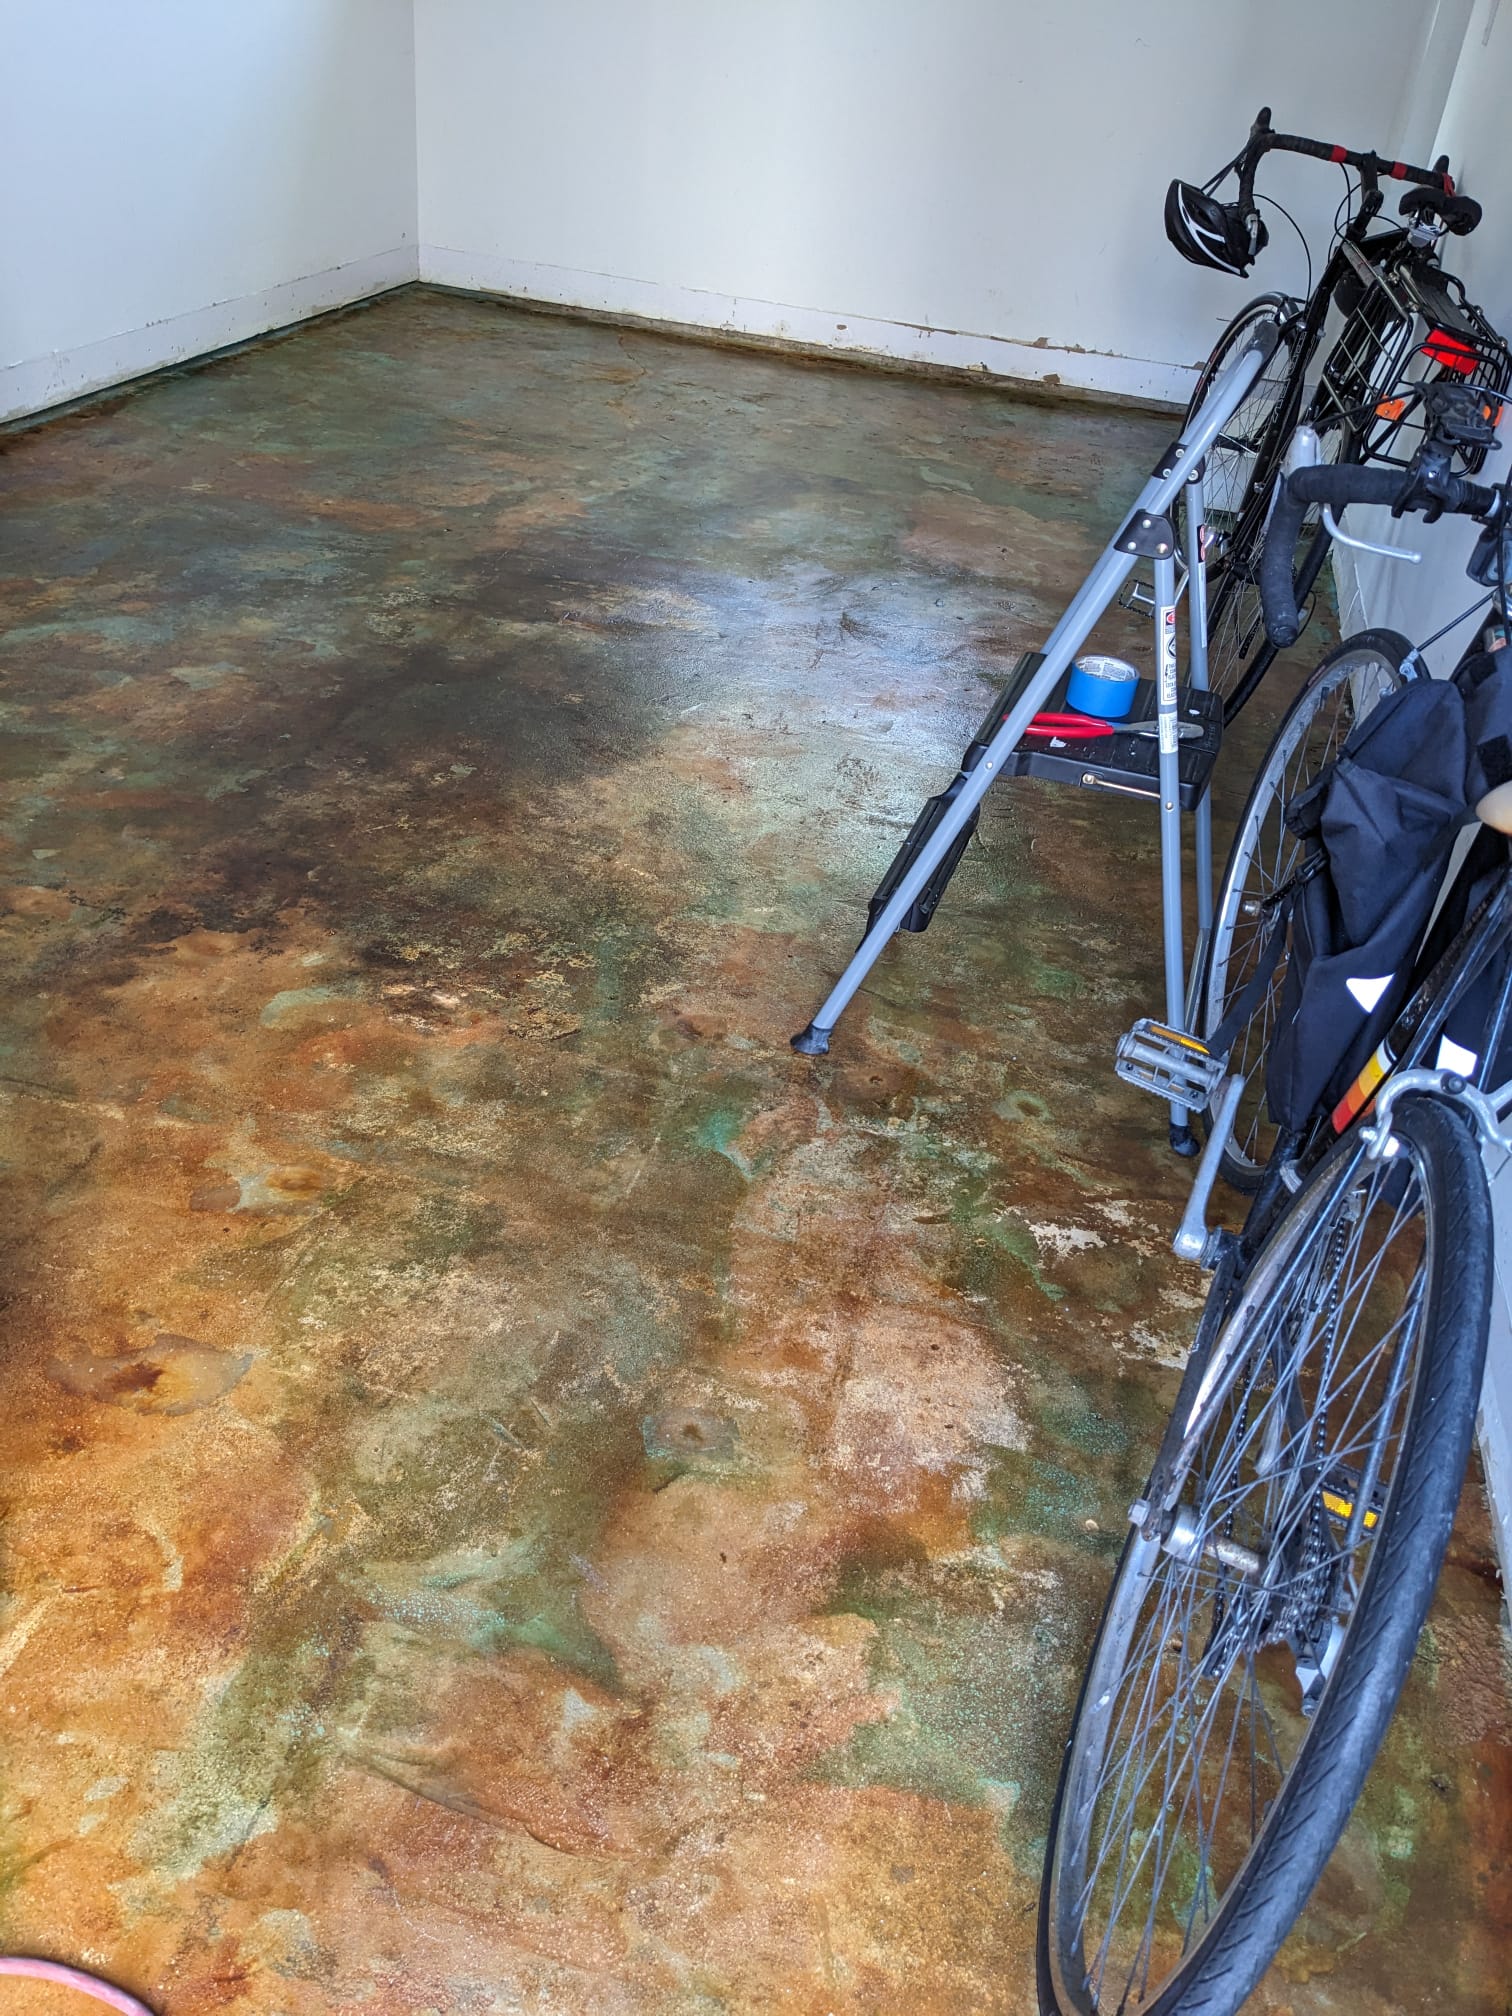
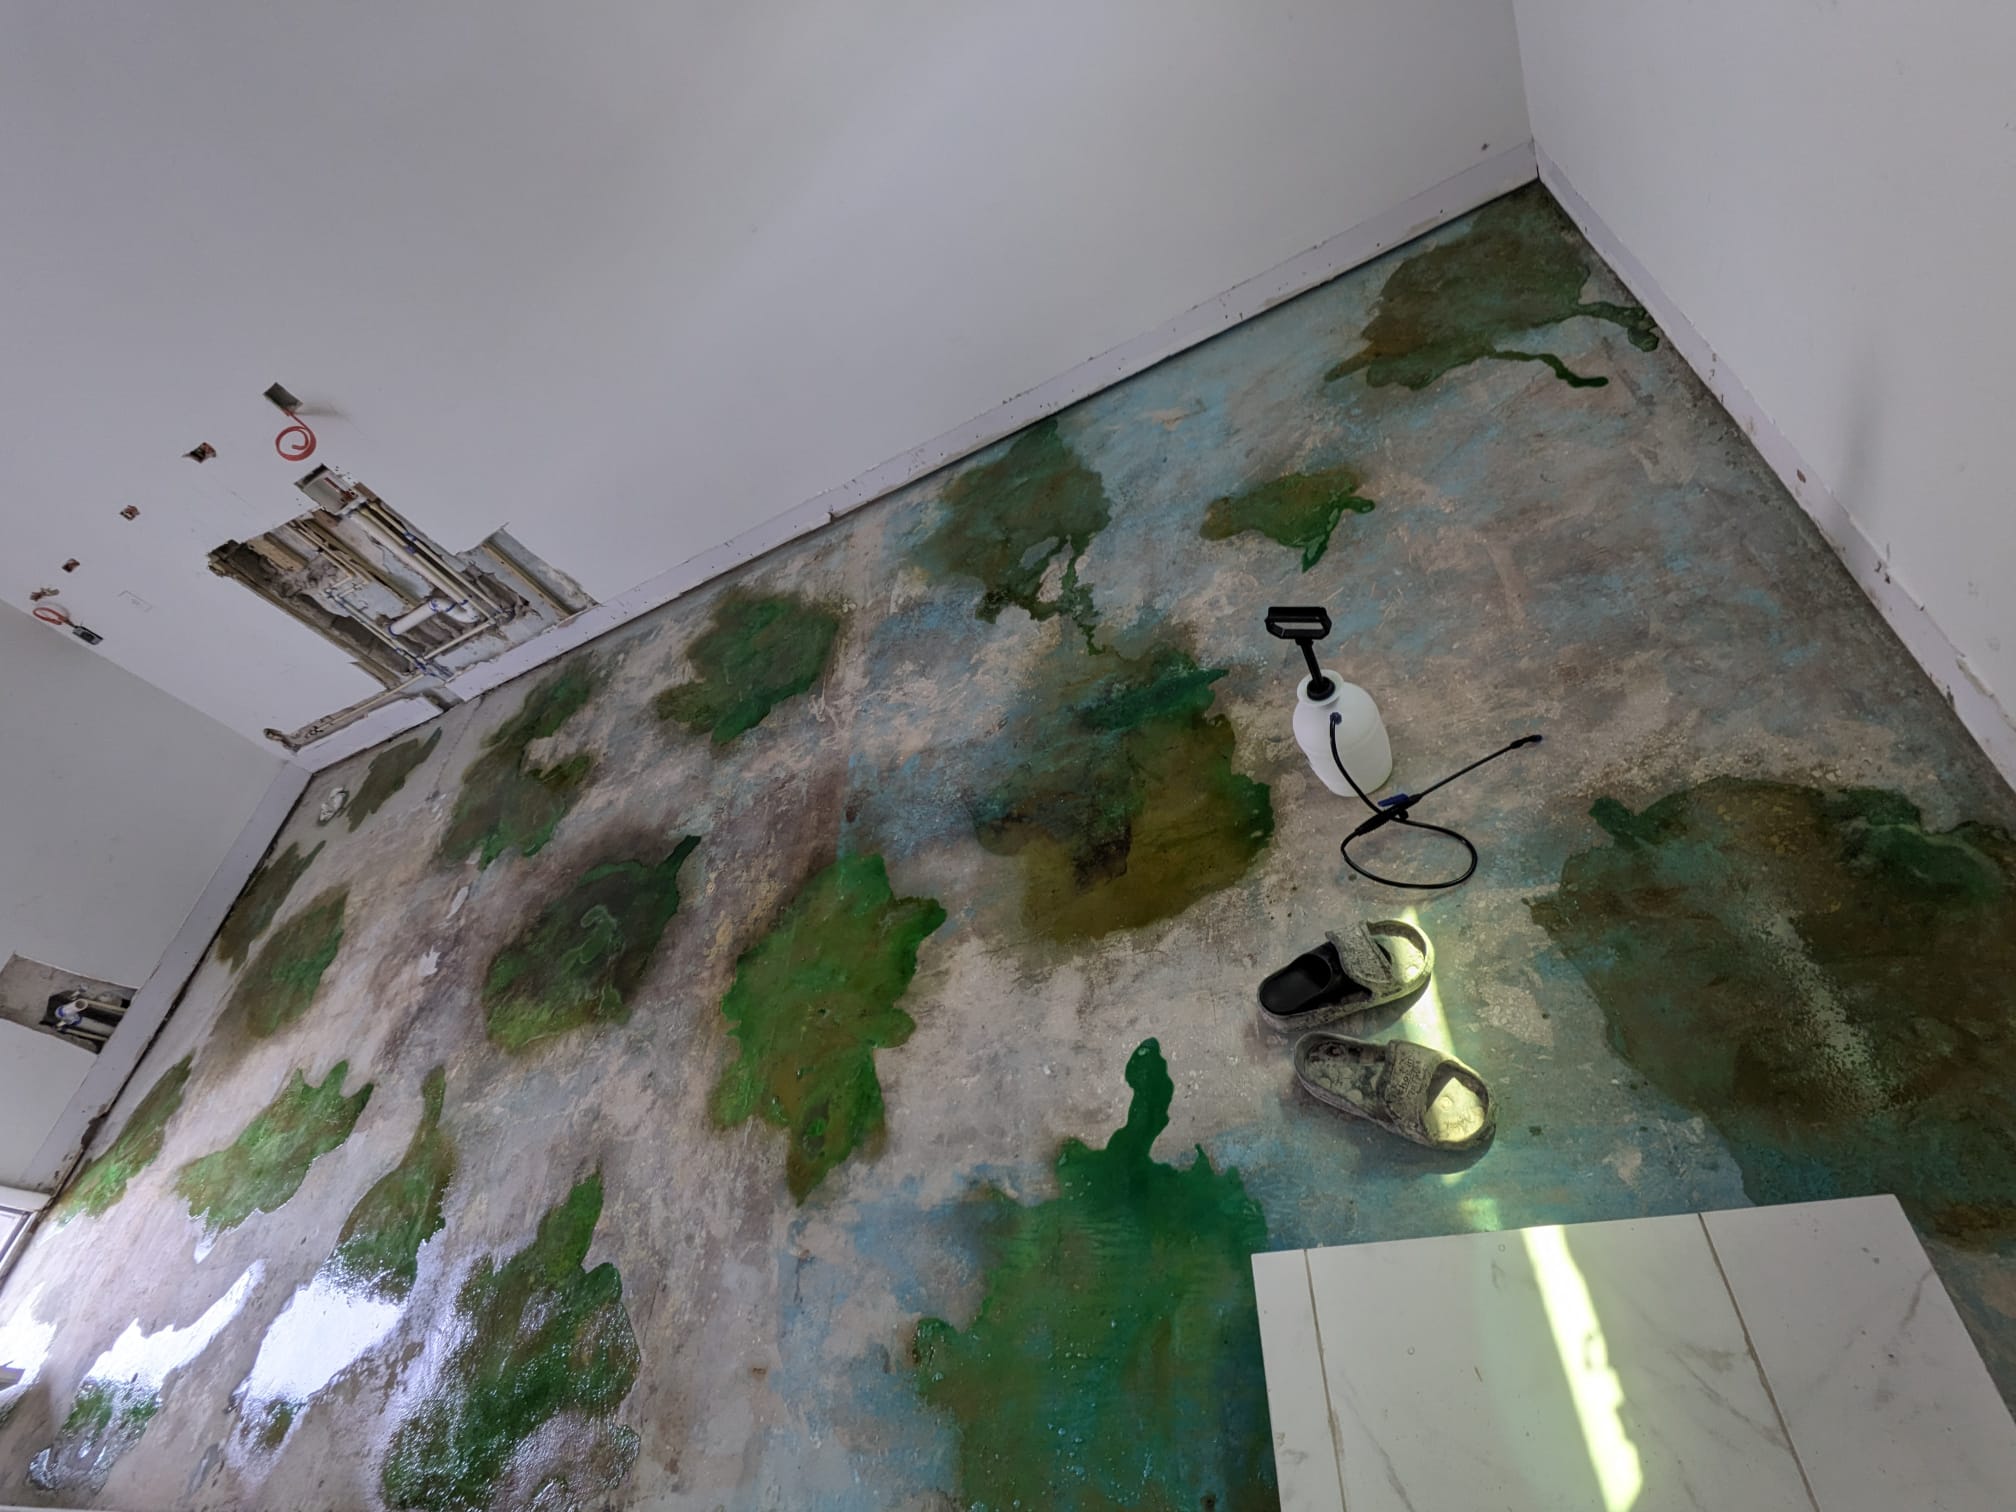
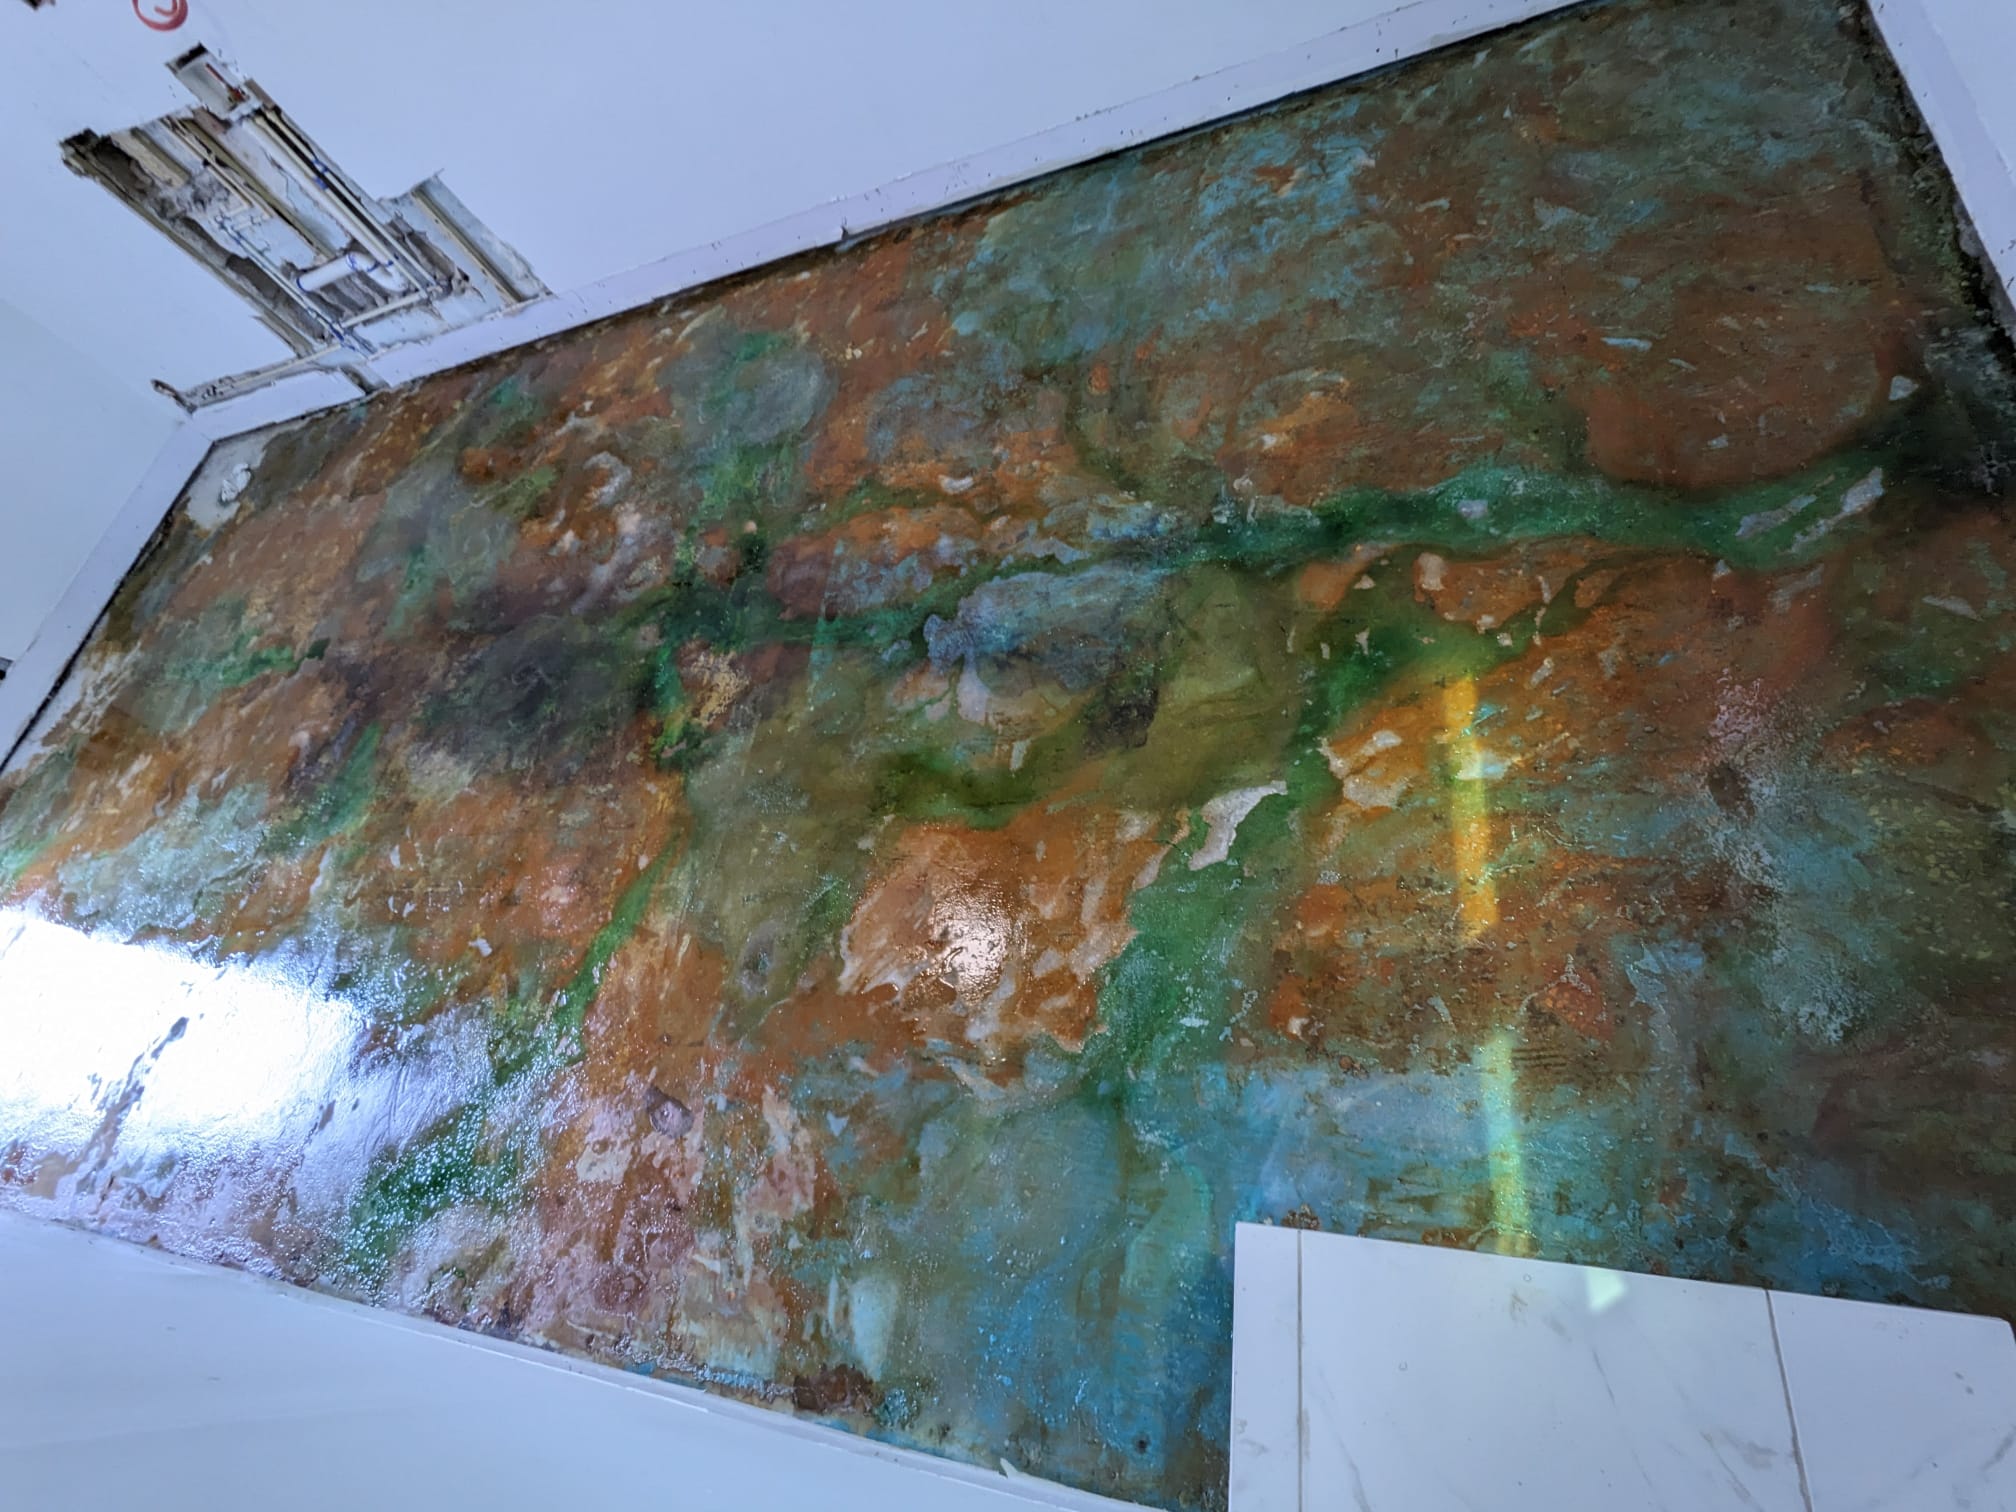
A massage therapist converted a storage and laundry room into a serene home studio by revamping the concrete floor. Inspired by Direct Colors’ videos and gallery, the result is a beautiful, professional space that has even inspired friends to start their own staining projects.
Project Info:
- Project Completed In: 3 day(s)
- Estimate of Square Footage: 312 sq. ft.
- Project Description:
Hello! There’s a converted garage in my house that has been used as storage and laundry. I’m a massage therapist and am redoing the room to use as my home studio. The whole floor was covered in ceramic tile. I ripped up all the tile and use a grinder to smooth out the surface and patch up holes. Once the floor was ready, I used Avocado splotches as an accent color. I then blended in Malayan Bluff. I let the first coat dry for about 16 hours, before applying a second coat. I let that dry for about 20 hours and then neutralized. Once that was totally dry, I applied 2 coats of the Sealer, allowing 8 hours between applications.
I found the videos from Direct Colors to be so informative and helpful – and the gallery was helpful for drawing inspiration. I’m so happy with how my floor turned out – and now I have friends asking me to coach them through doing their own staining! Thank you soooo much! - Personal Tips:
Make sure you “rough up” the surfaces, so that the colors can take in different tones. - Direct Colors Products Used:
1 Gal. Avocado EverStain™ & Satin™ Gloss Kit
1 Gal. Malayan Buff EverStain™ & Satin™ Gloss Kit
Complete Walkout Basement Overhaul
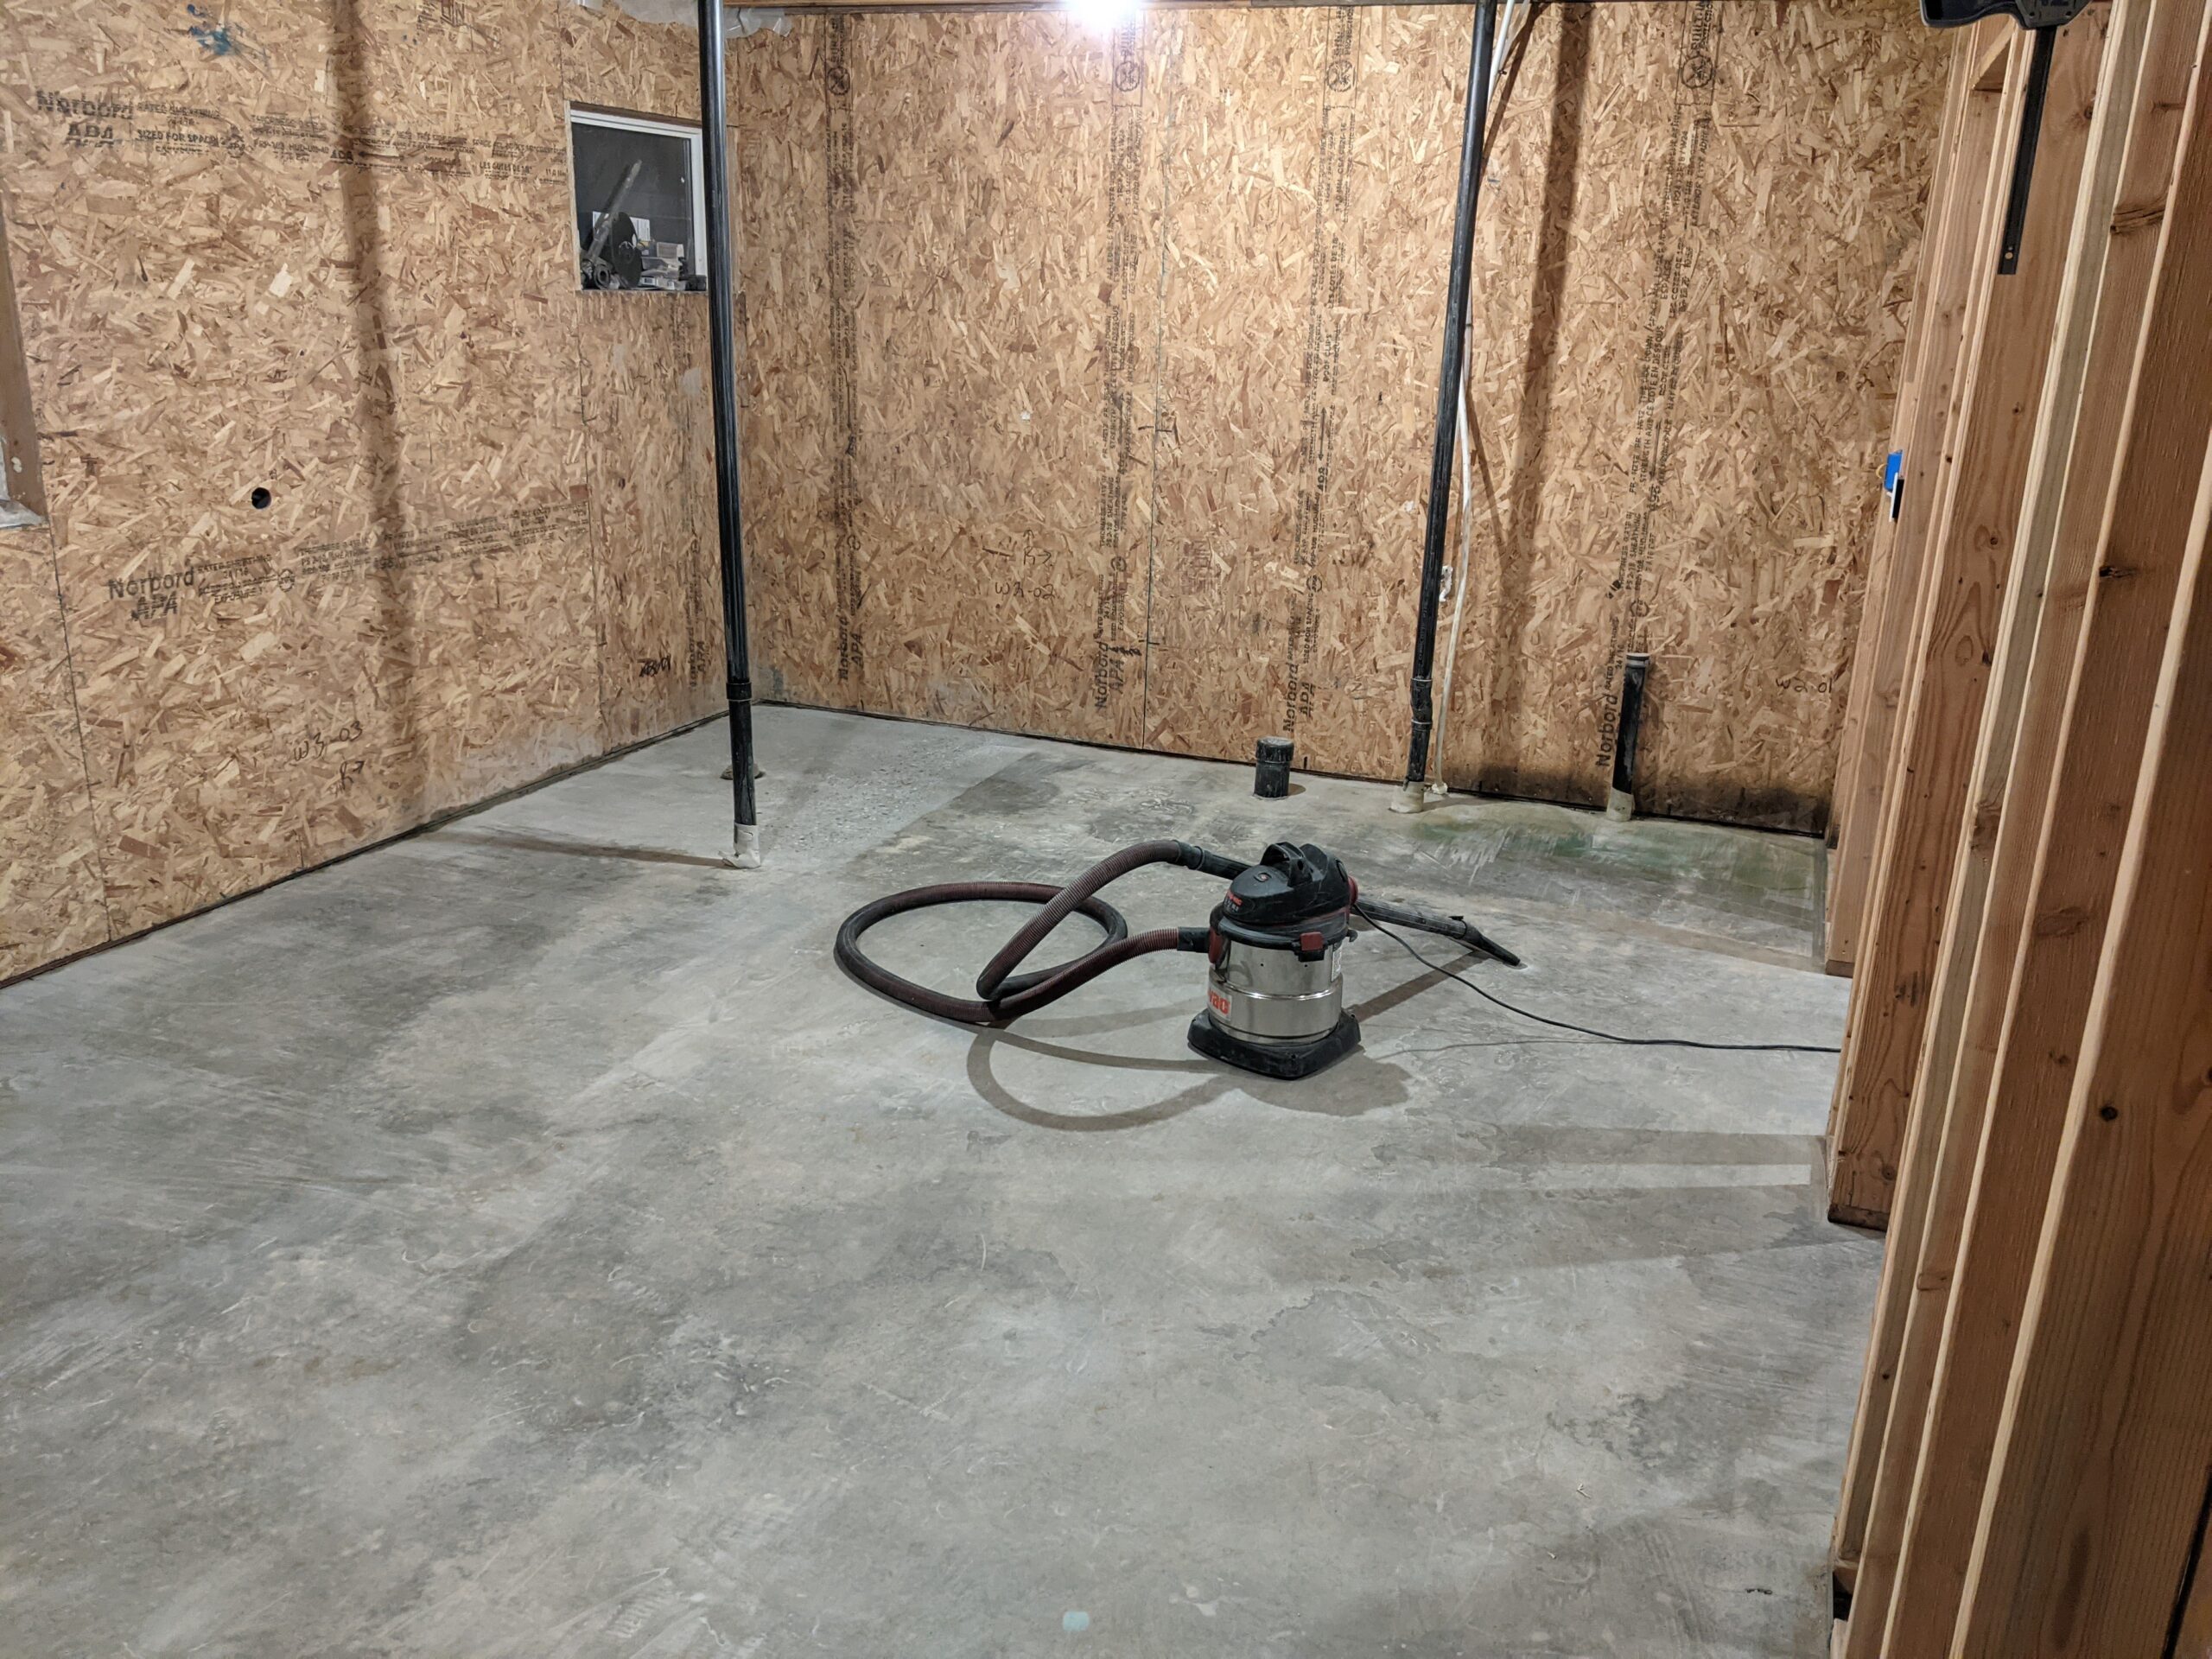
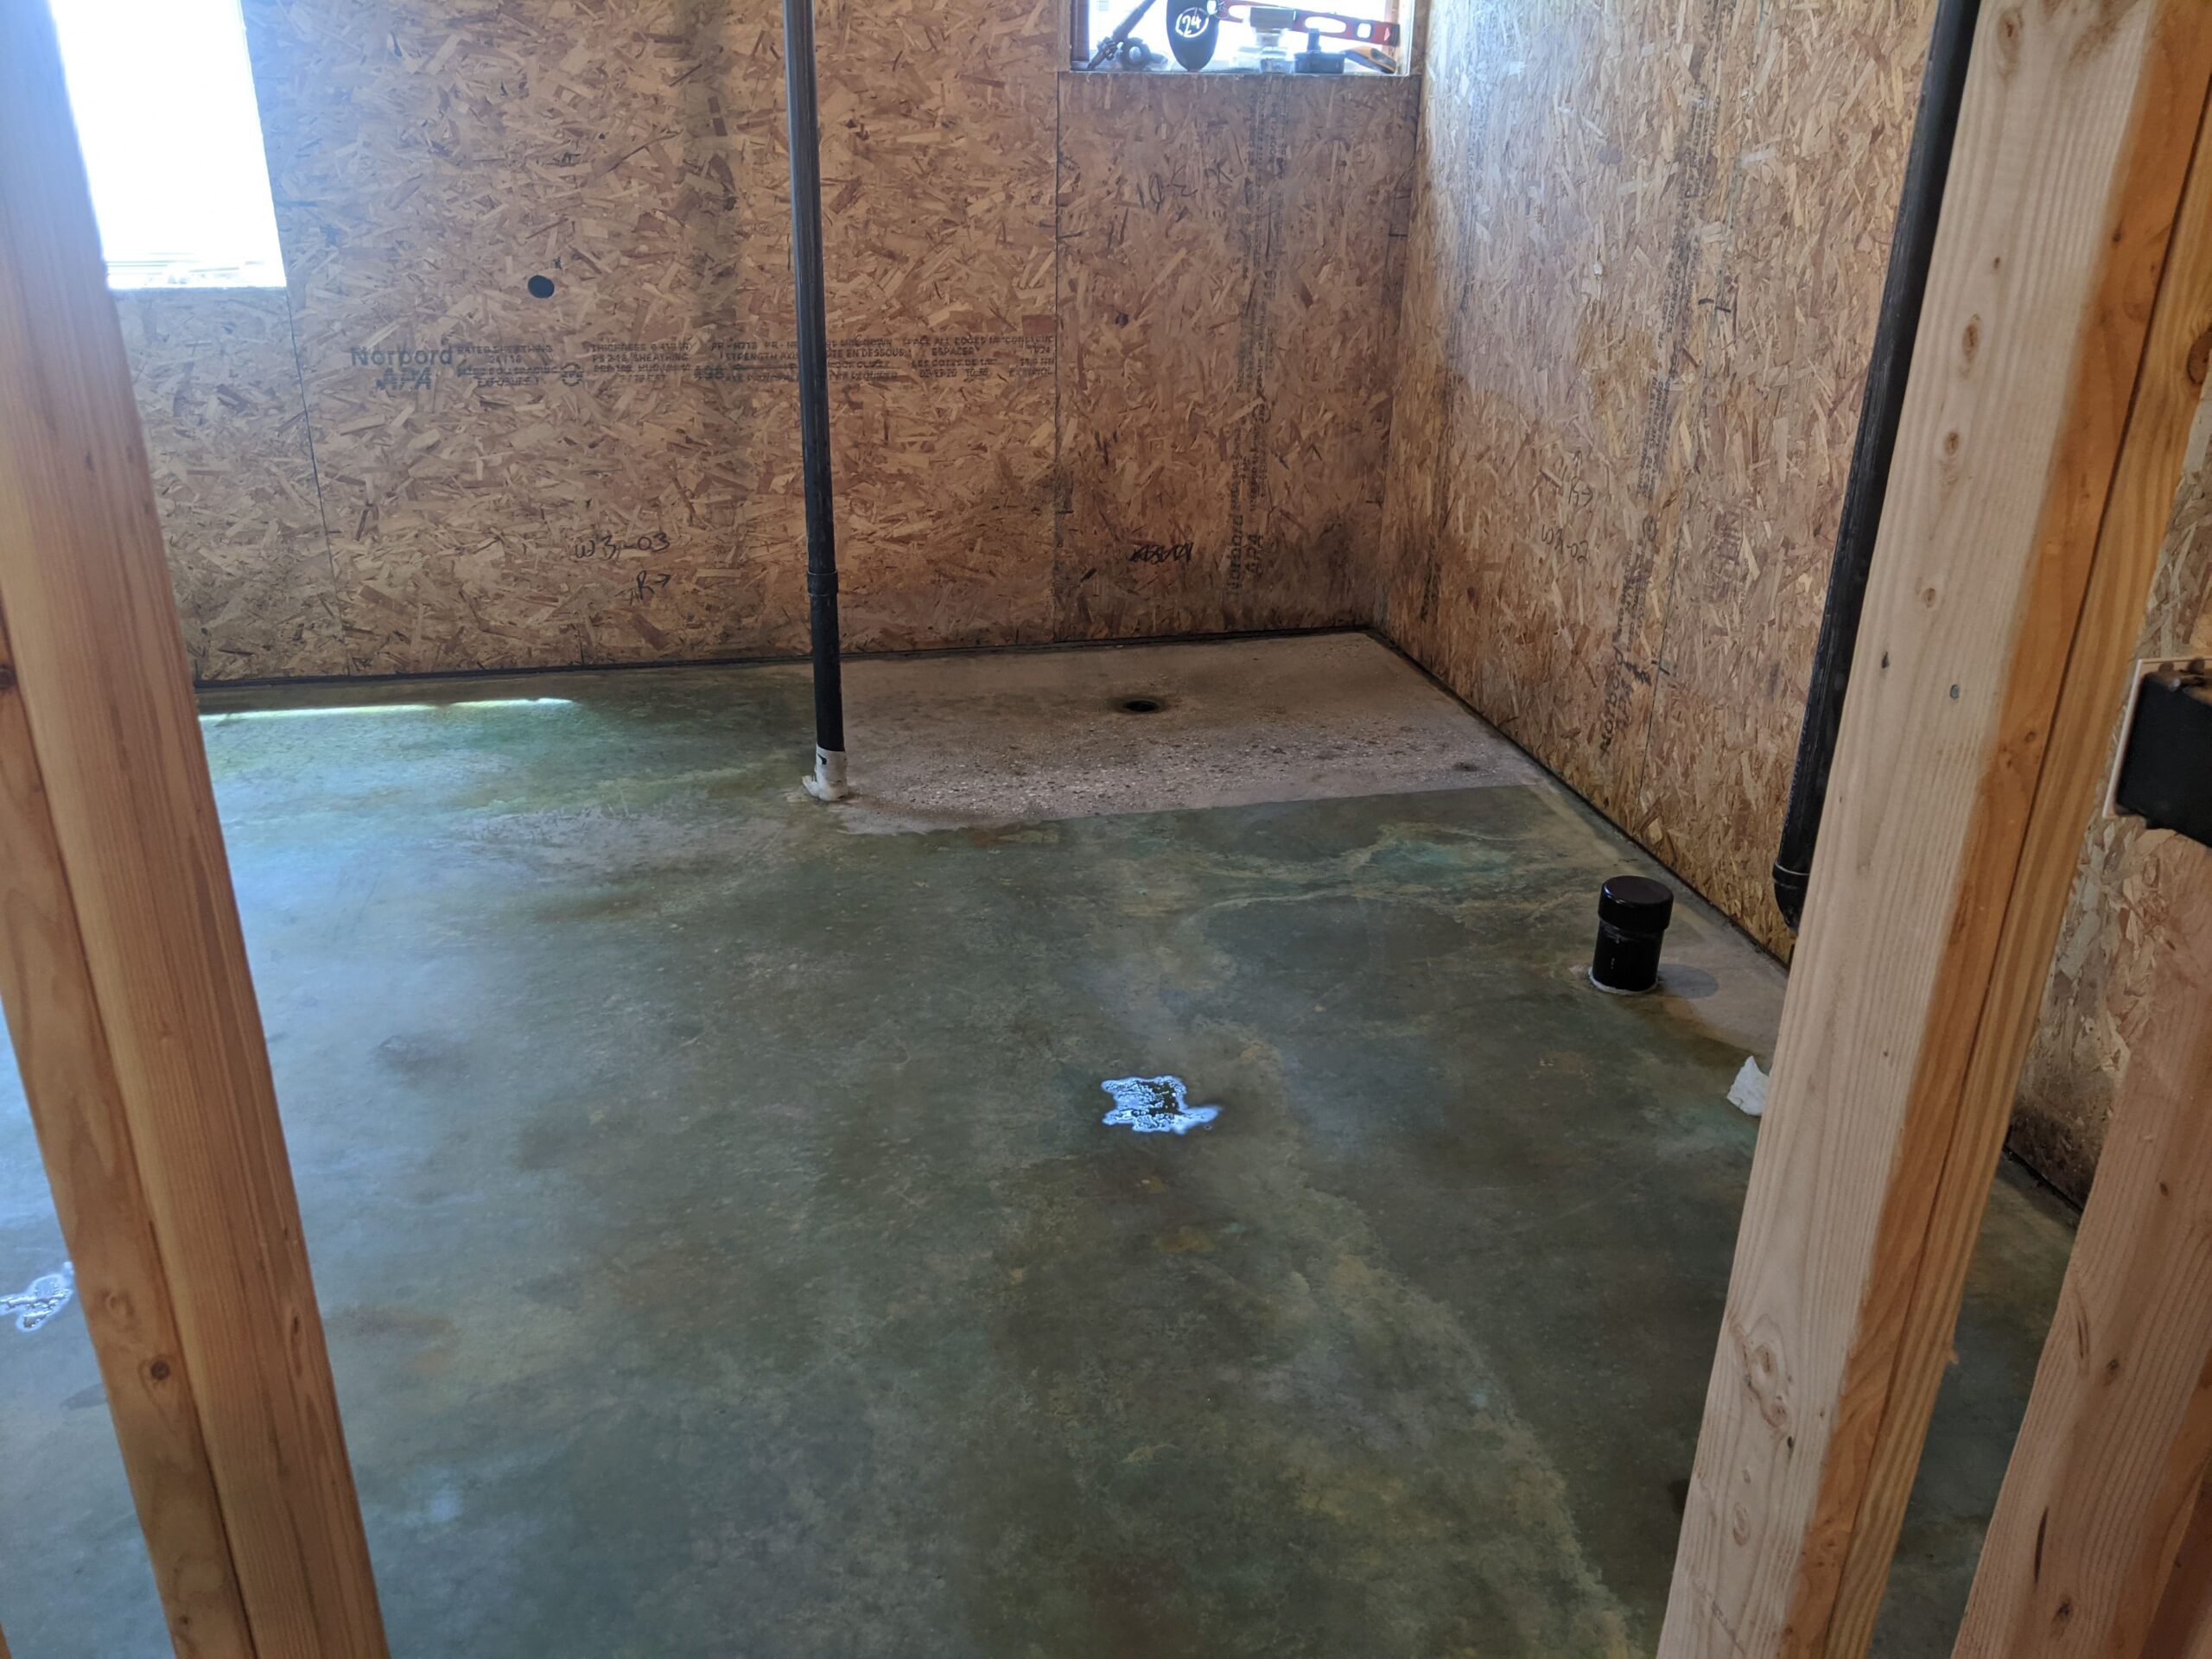
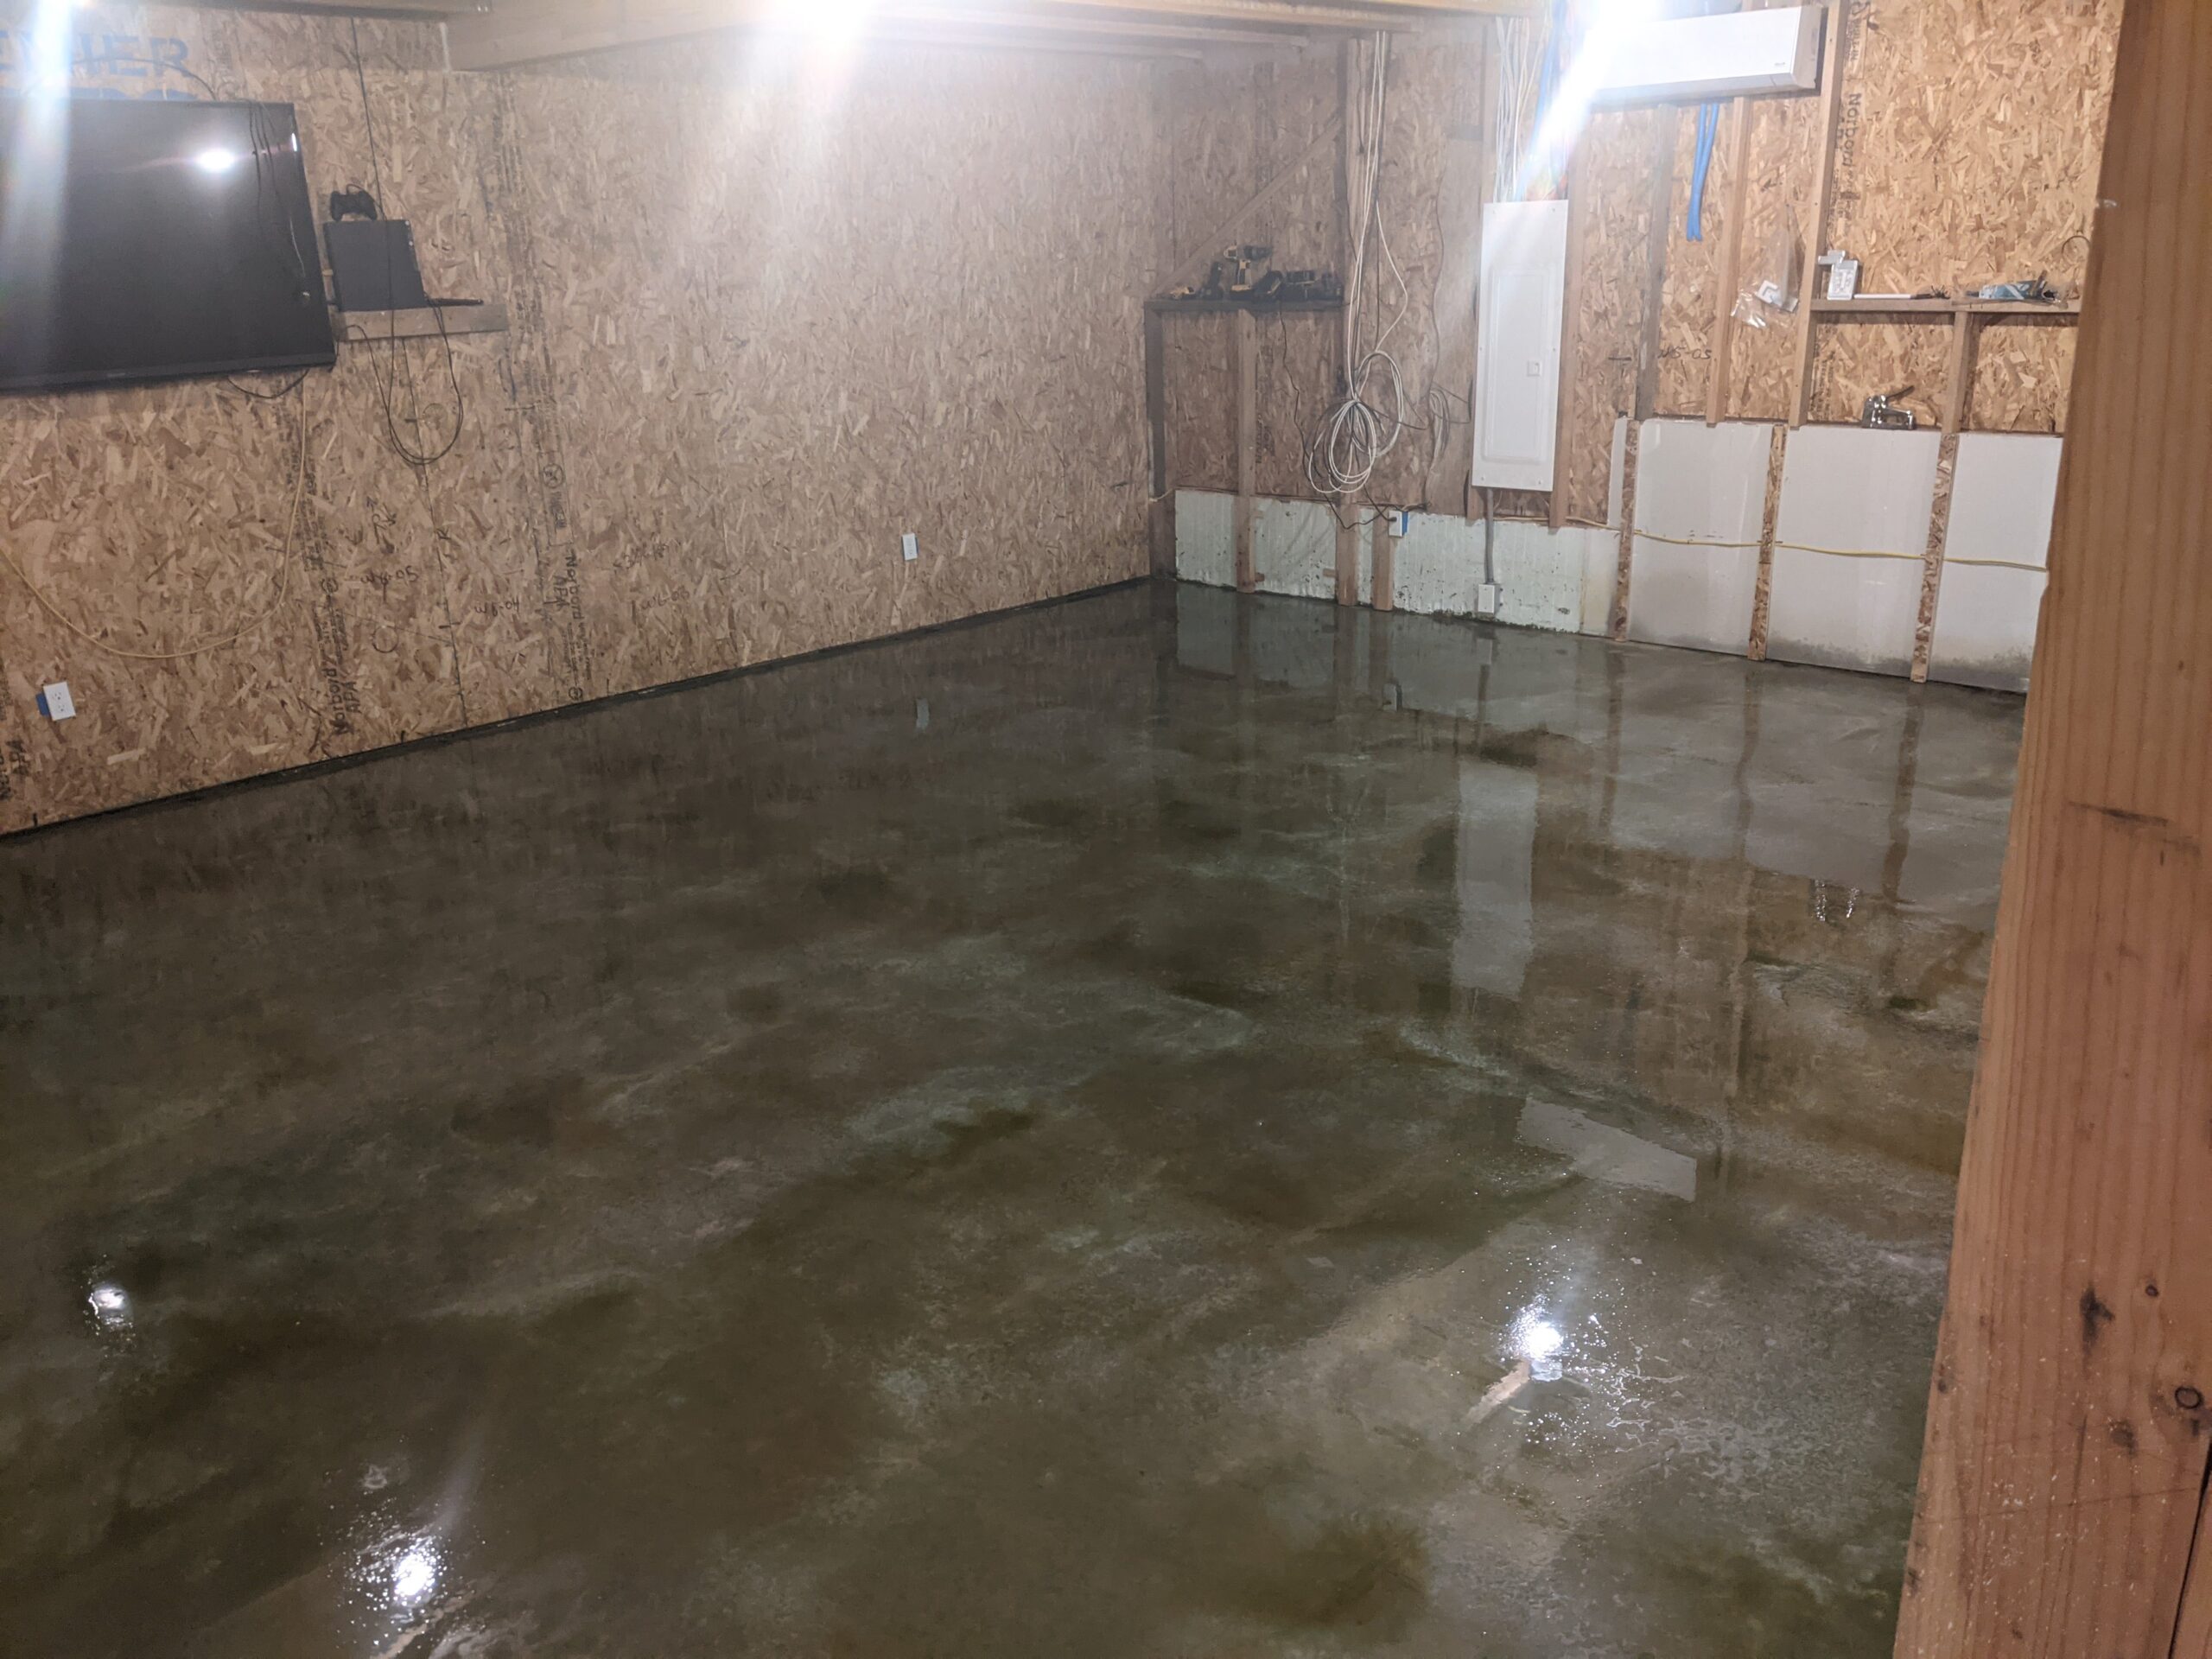
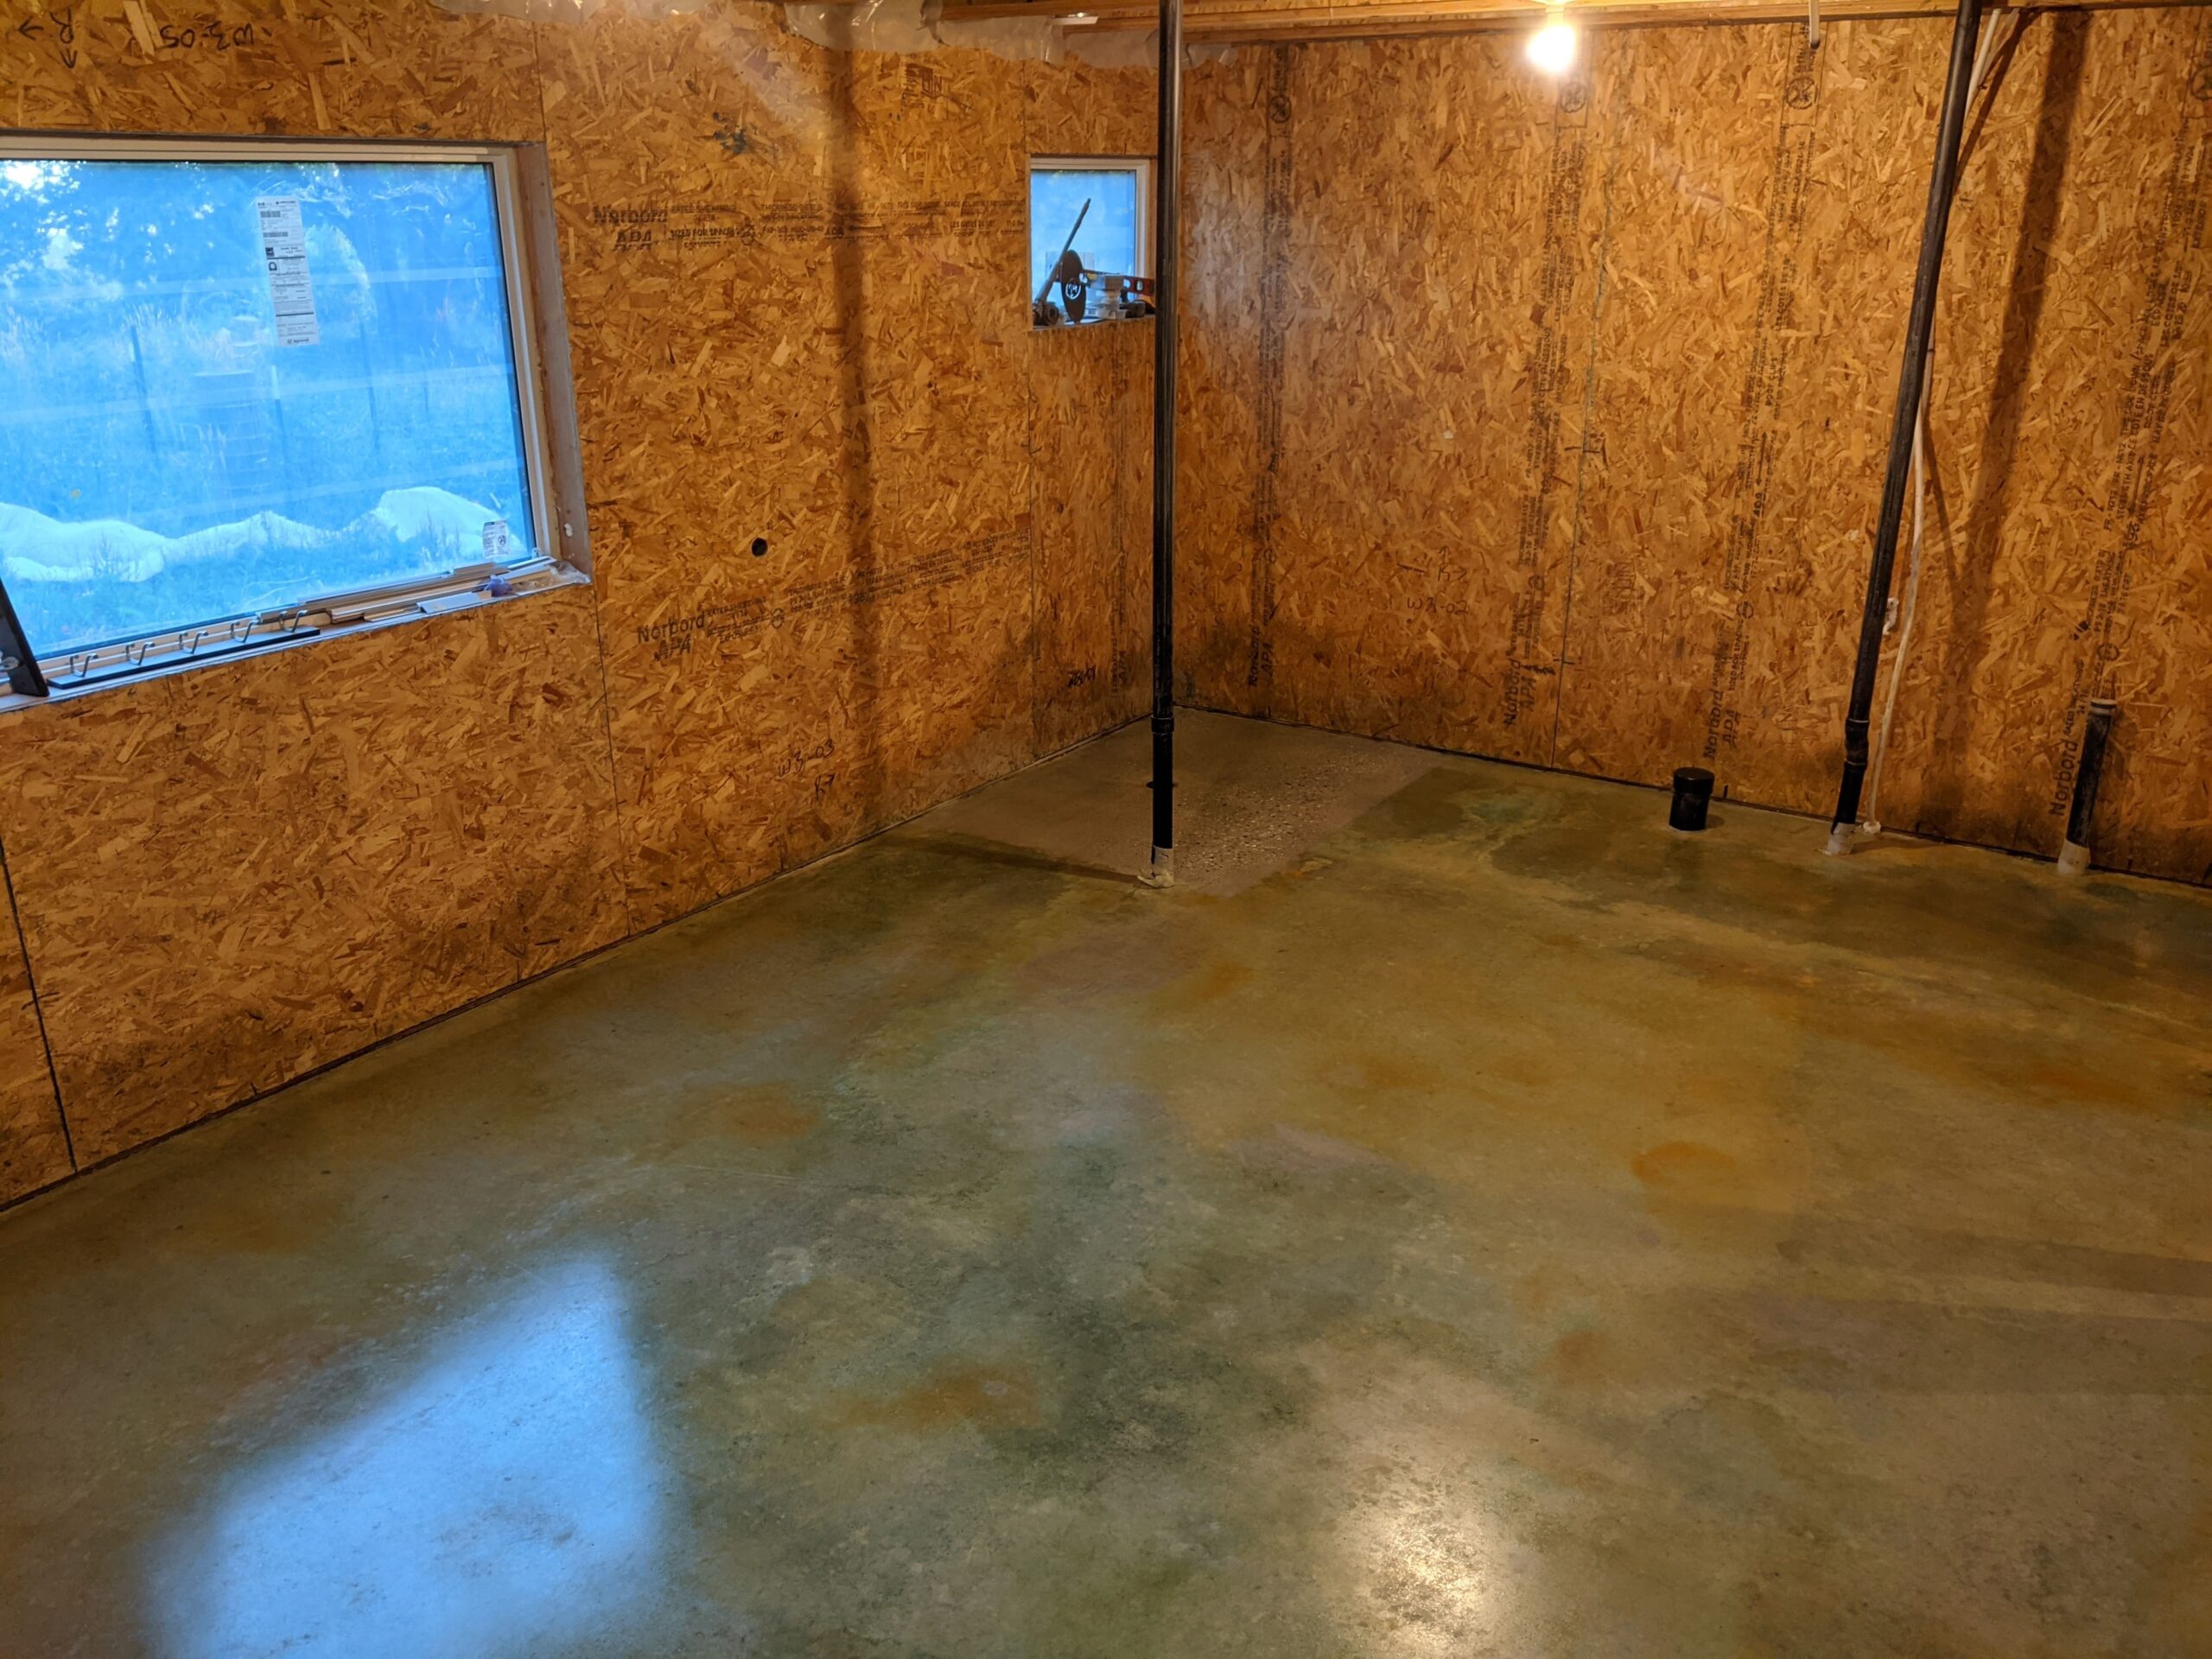
This project involved the transformation of an unfinished walkout basement into two bedrooms, two bathrooms, and a large entertainment/game room. Despite initial setbacks with concrete grinding dust, footprint etchings, and intensive cleaning, the floor was eventually prepared and layered with Avocado EverStain™ Acid Stain, achieving a fresh, unique look. Key tips from this project include experimenting with different stain samples and considering power equipment rental for larger areas.
Project Info:
- Project Completed In: 6 day(s)
- Estimate of Square Footage: 1400 sq. ft.
- Project Description:
Unfinished walkout basement. It will be two beds, two baths, and a large entertainment/game room. I ordered the acid stain test kit and did the floor under where the tub will go, under the vanity and in the utility closet. While I was doing my first scrub, I noticed my curbless shower was not going to drain right. Little did I know how much extra work this would cause. I tarped off the bathroom and set fans to negative pressure the room. The air born concrete grinding dust was kept in the room, but I did track it out of the room of my feet .I then went back to scrubbing, and vacuuming and scrubbing and vacuuming, and scrubbing and vacuuming. That concrete dust is pretty stubborn to get up. I was finally satisfied with how clean the floor was, and moved on to the next step. The slab was power trowel when it was poured about a year ago. I used the hard trowel surface prep to etch the floor. This was pretty easy with the pump up sprayer. Then rinse and vacuum. Here is where the true trouble from my day of re-sloping the shower would come in. Every foot print where I tracked concrete dust from the day of grinding had been etched into my floor!! And i walked everywhere in the basement that day, the whole floor was covered in foot prints. The floor was spotless before I etched. Not a hint of anything.Tired and dejected, I thought about LVP flooring. OK, only for a little bit.I tried a few different methods of removing the footprints. It was possible to scrub them off, but the amount of effort it took, for even my 1sqft test area was not reasonable to do over the whole floor.
I tried sanding them off. I just spend a day vacuuming up dust, so I had a spray bottle of water in one hand and a palm sander in the other. This worked pretty well, but I could use much water without risking damaging my sander. It would leave behind a thick cement slurry, which had to be diluted with water, then vacuumed up quickly. If it dried at all, I’d be back where I started with a haze instead of a footprint.I ended up renting a hard floor scrubber. It still took about 8 hrs. of scrubbing and 4 passes get the footprints and any remaining haze off the floor. WOOHOO, crisis averted, I can now do the fun part.I loaded up the sprayer with the avocado acid, and started spraying. I did one coat and waited a hour before donning my spiky shoes for a second coat. My coverage on the first coat was a little short, so I had to dilute the second coat about 2 parts acid to 1 part water to ensure I would cover the entire floor.I waited about 8 hrs. then dumped 50 gallons of baking soda water on my floor. I vacuumed this up then did one quick pass with the floor scrubber with the brushes set to their lightest contact pressure. A quick check after this showed water would not pick up any more color.I set some fans up, returned the scrubber and got lunch.Once dry I rolled on the acrylic satin sealer. I did not care for the spiky shoes, so i just planned my path carefully so I could stay off the wet sealer, not leave an edge to dry, and leave me an exit off the floor. Three coats later and I’m done! My coverage with the sealer was much greater than the 200 sq. ft. gallon, hence the three coats. - Personal Tips:
We order the three sample colors. Based on pictures on the website, it was really only between two colors. We picked a third, just because the kit has three. The third “throwaway” color ended up being our favorite. If you are doing more than about 400 sq. ft, consider renting some power equipment. - Direct Colors Products Used:
5 Gal. CitrusEtch™ Concrete Etcher
2 x 1 Gal. Avocado EverStain™ & AcquaSeal™ Satin Kit
5 Gal. Avocado EverStain™ & AcquaSeal™ Satin Kit
3 x 1 Gal. ProWax Polish™ Satin
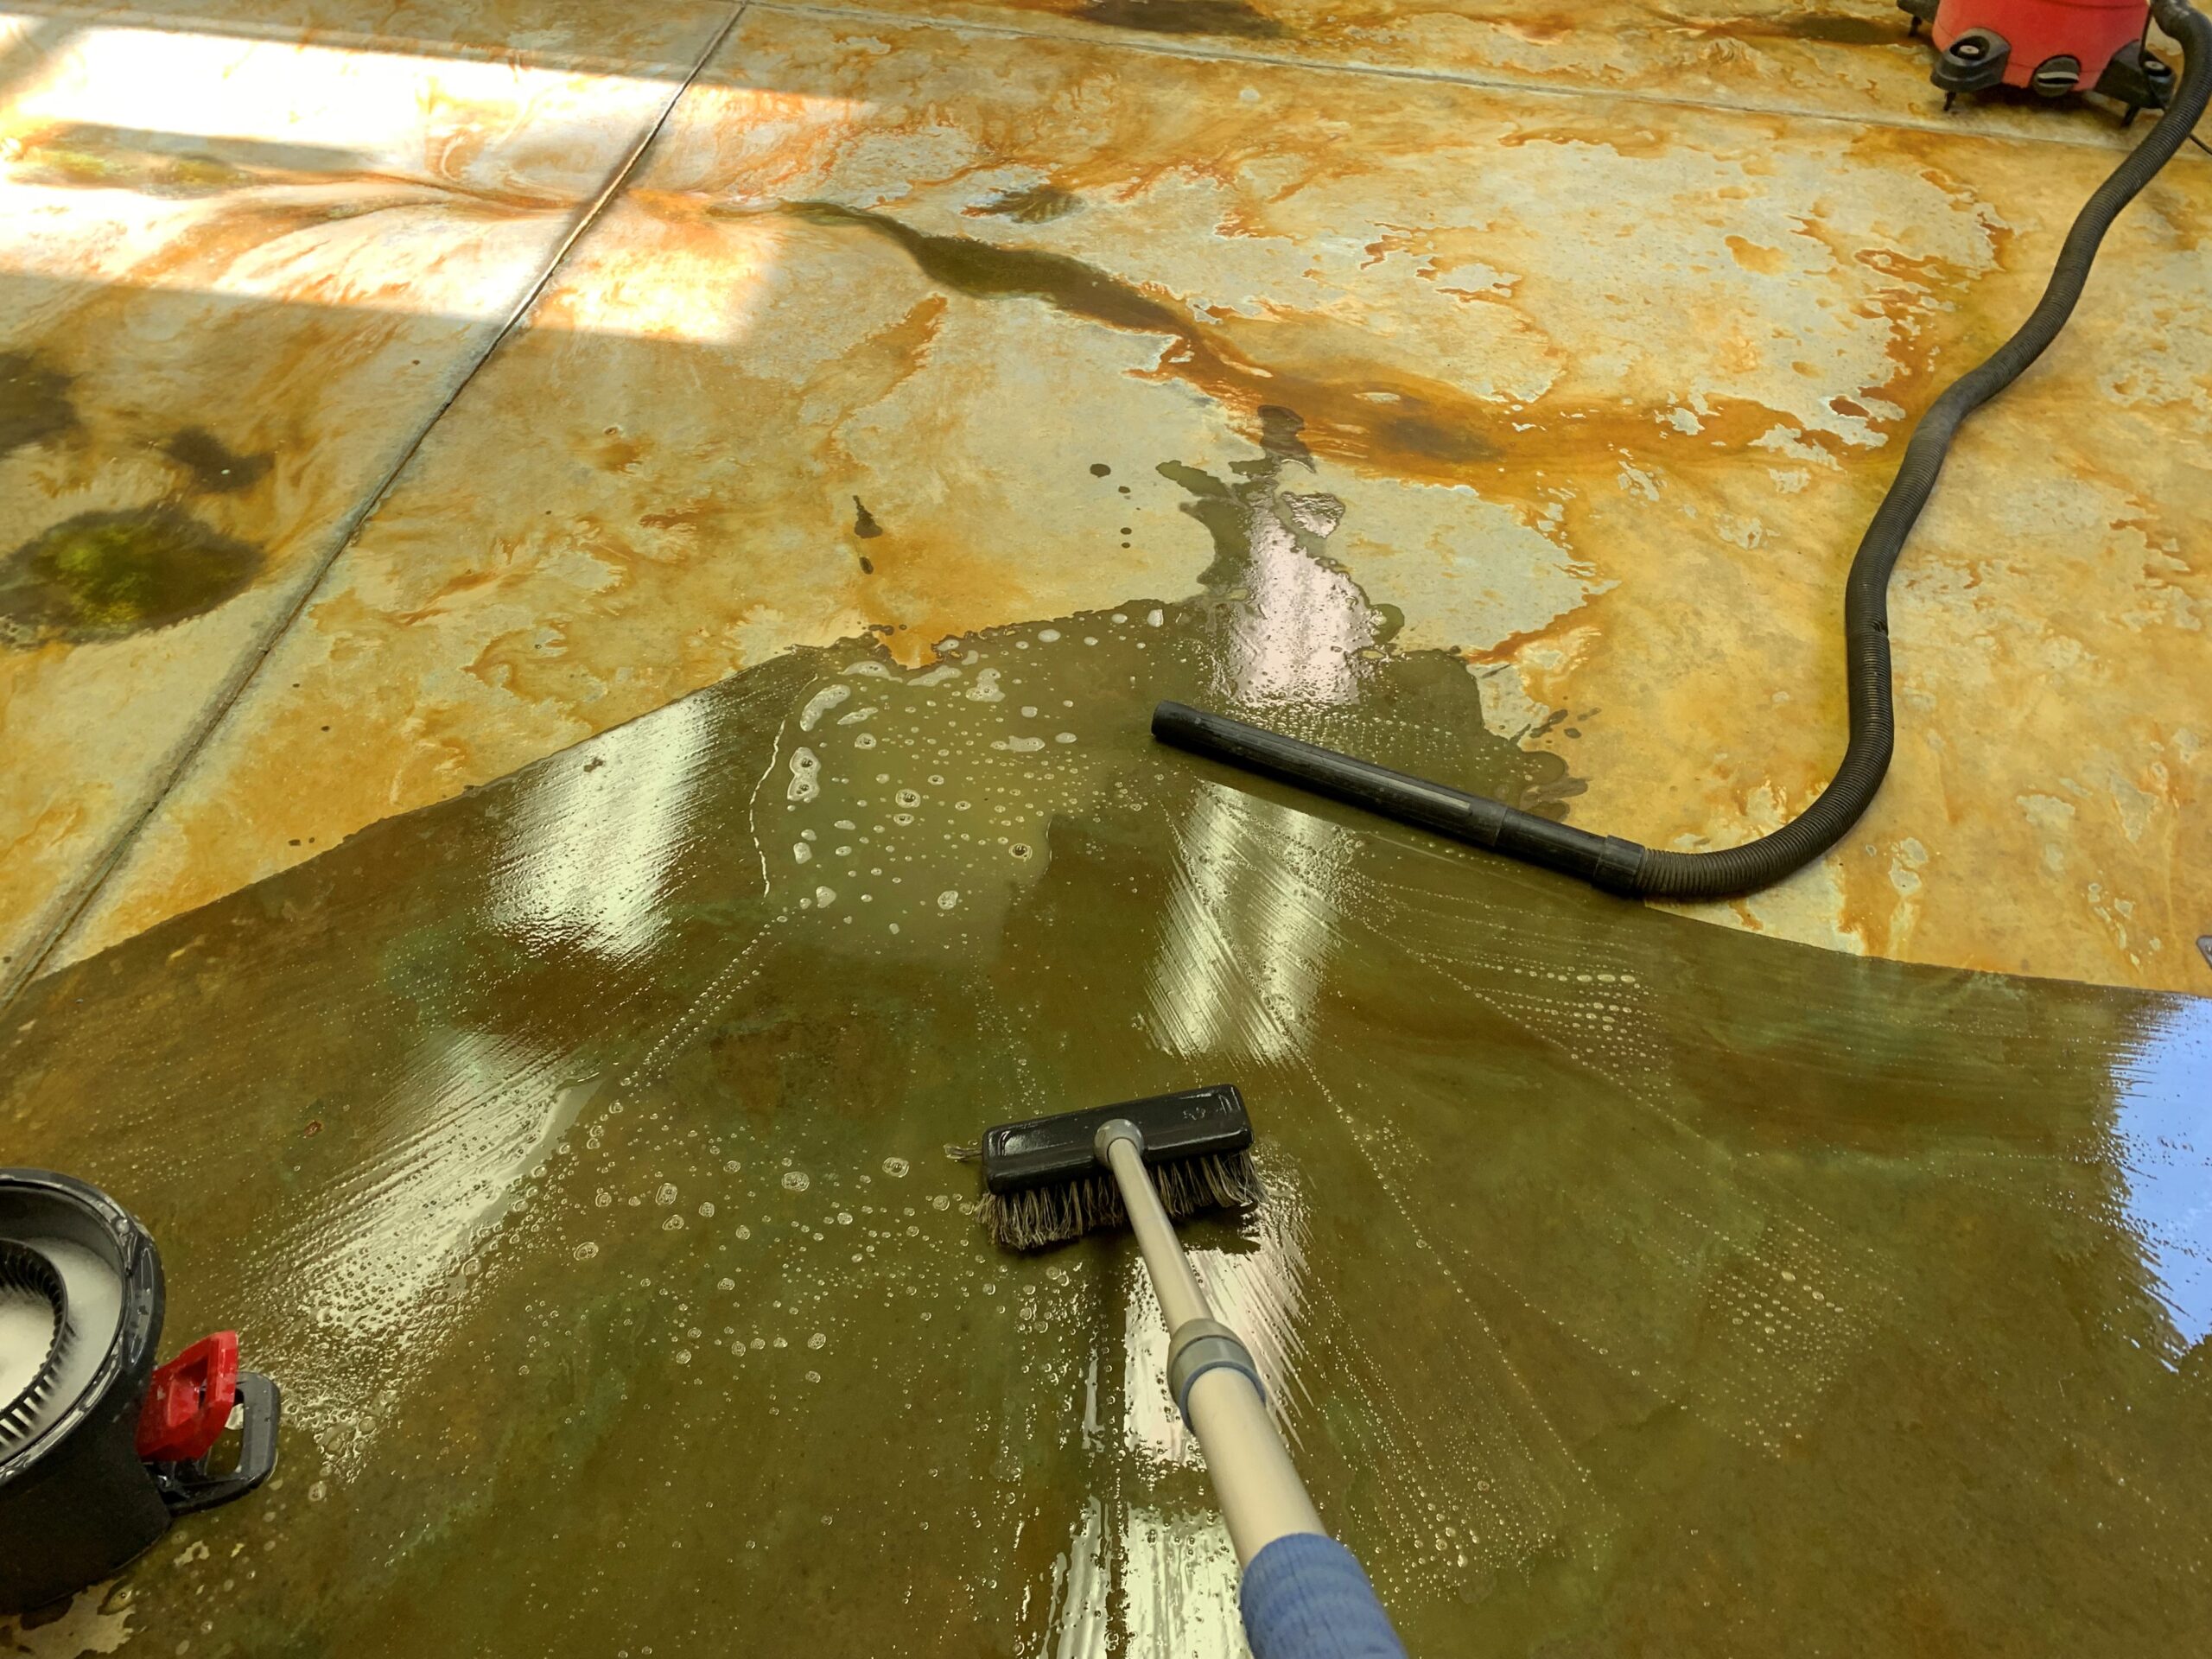
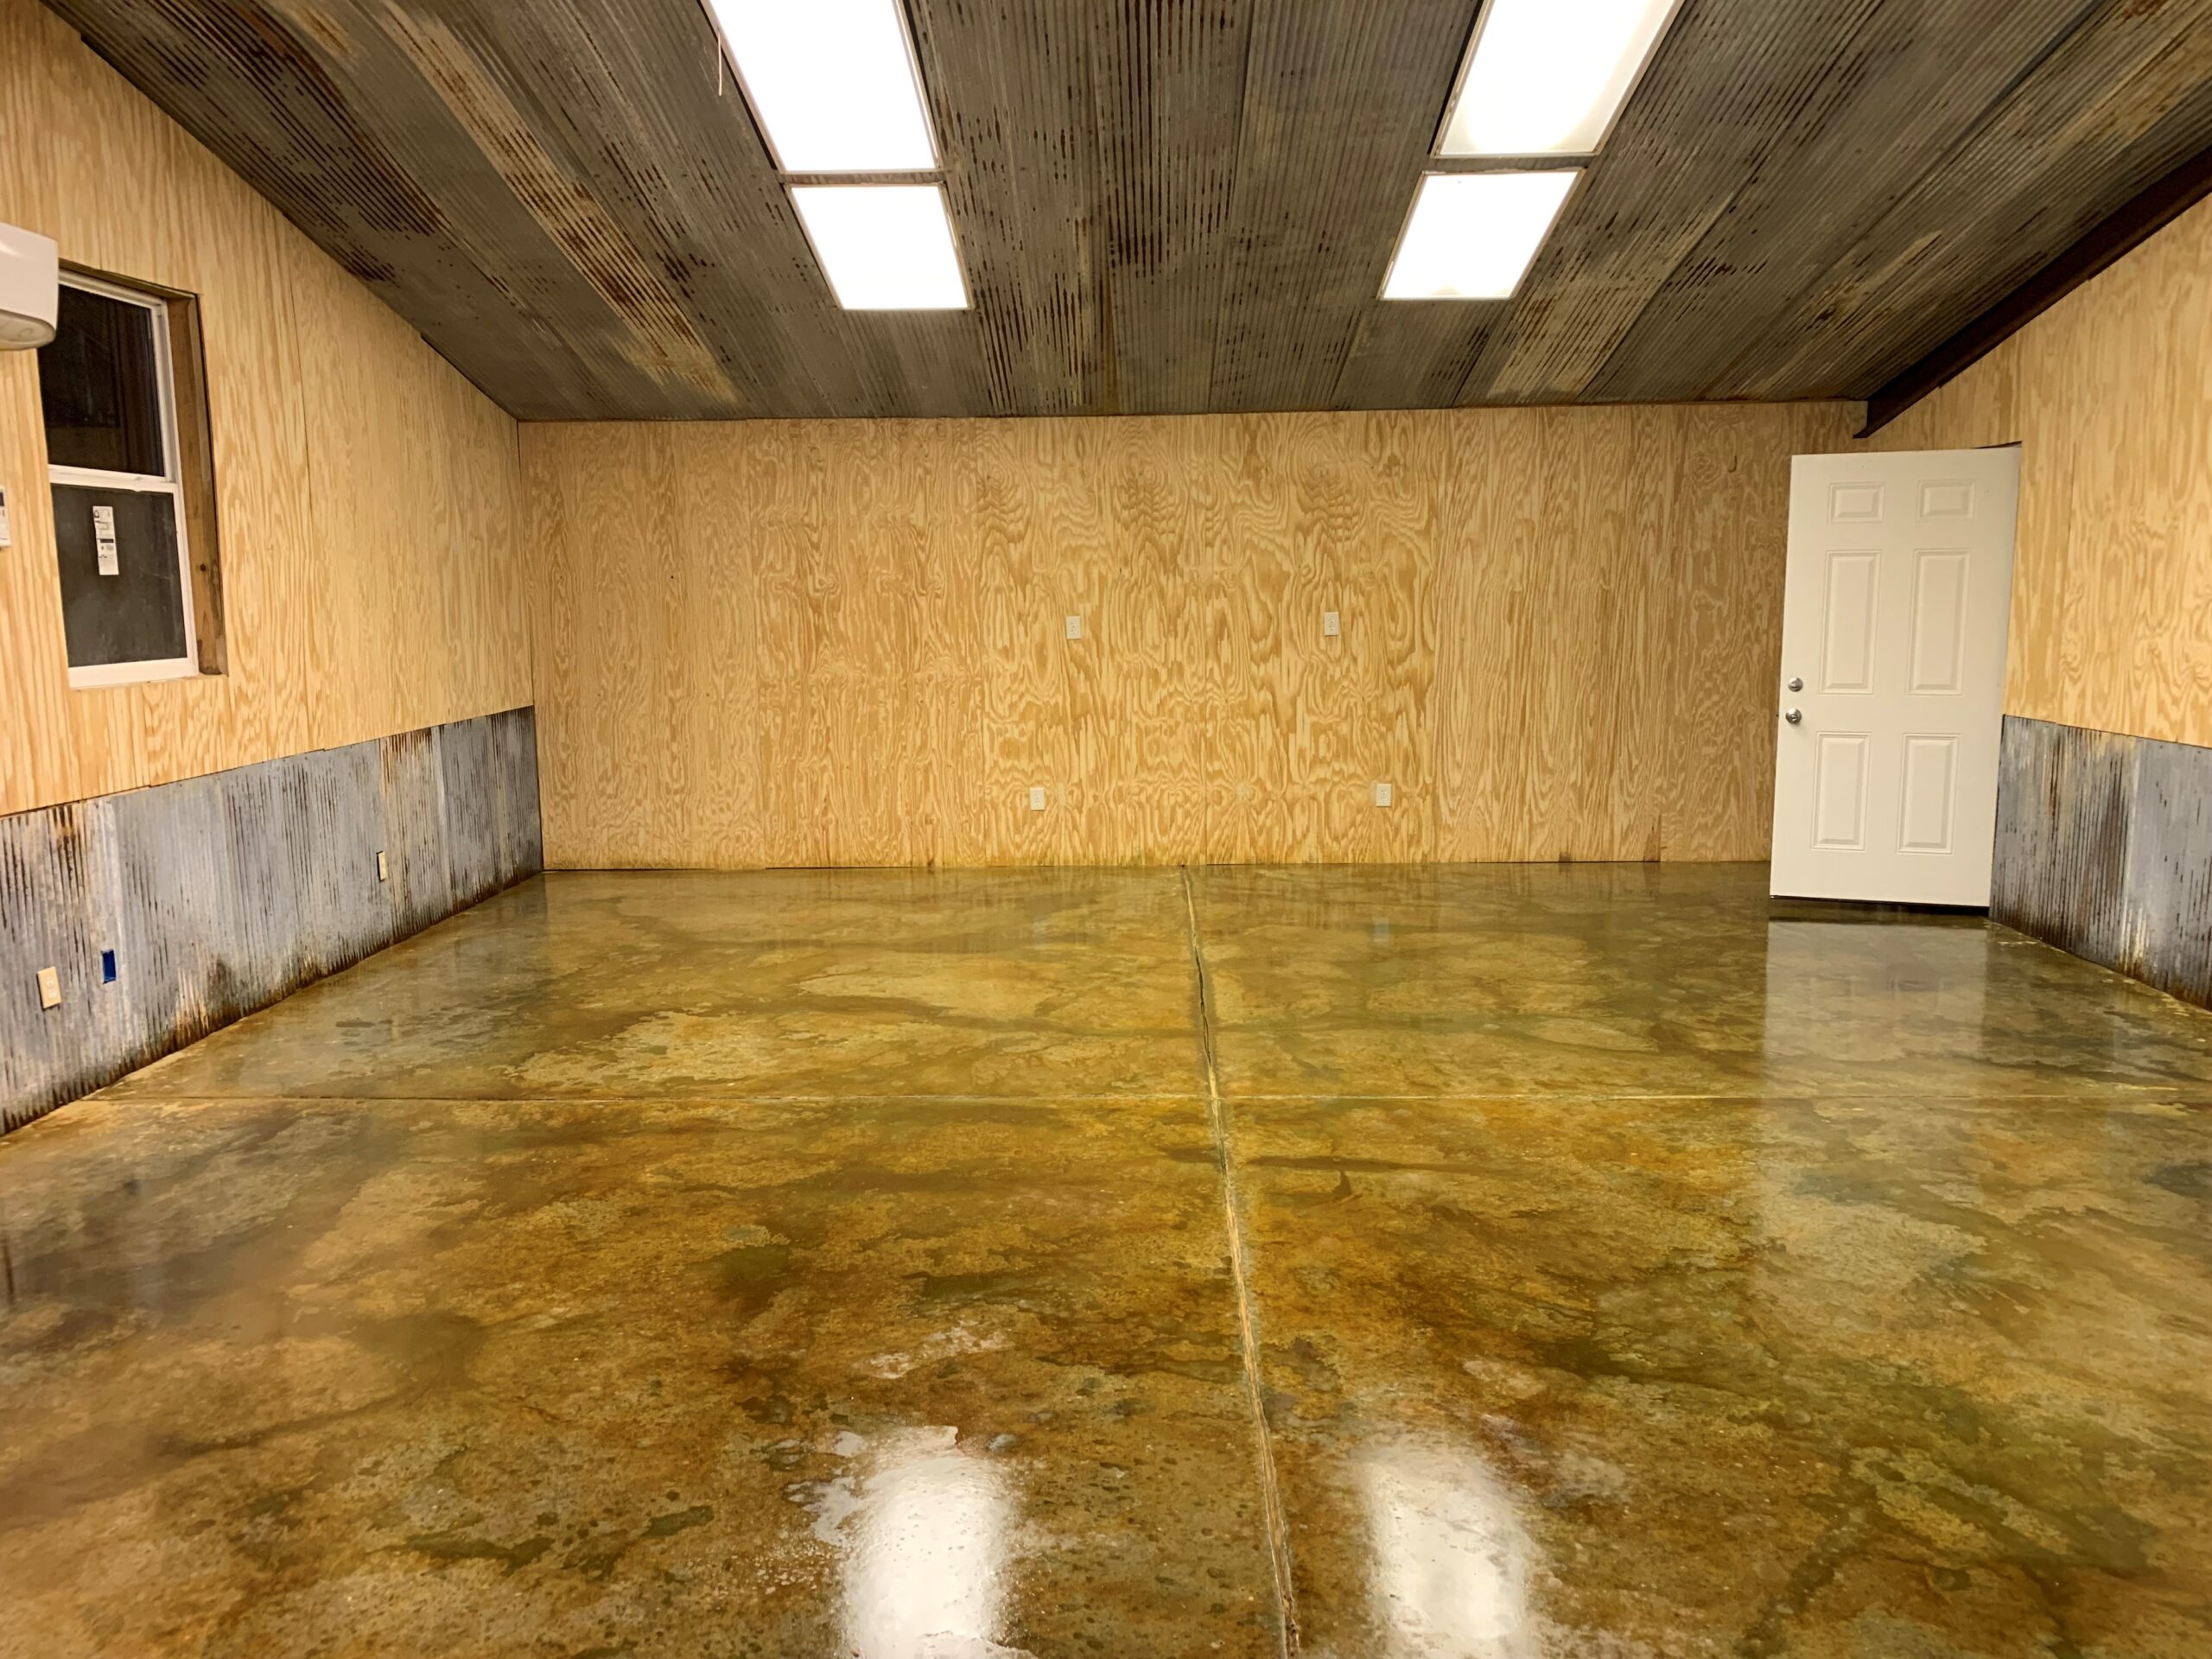
Patina-Inspired Shop Floor Transformed with EverStain™ Avocado
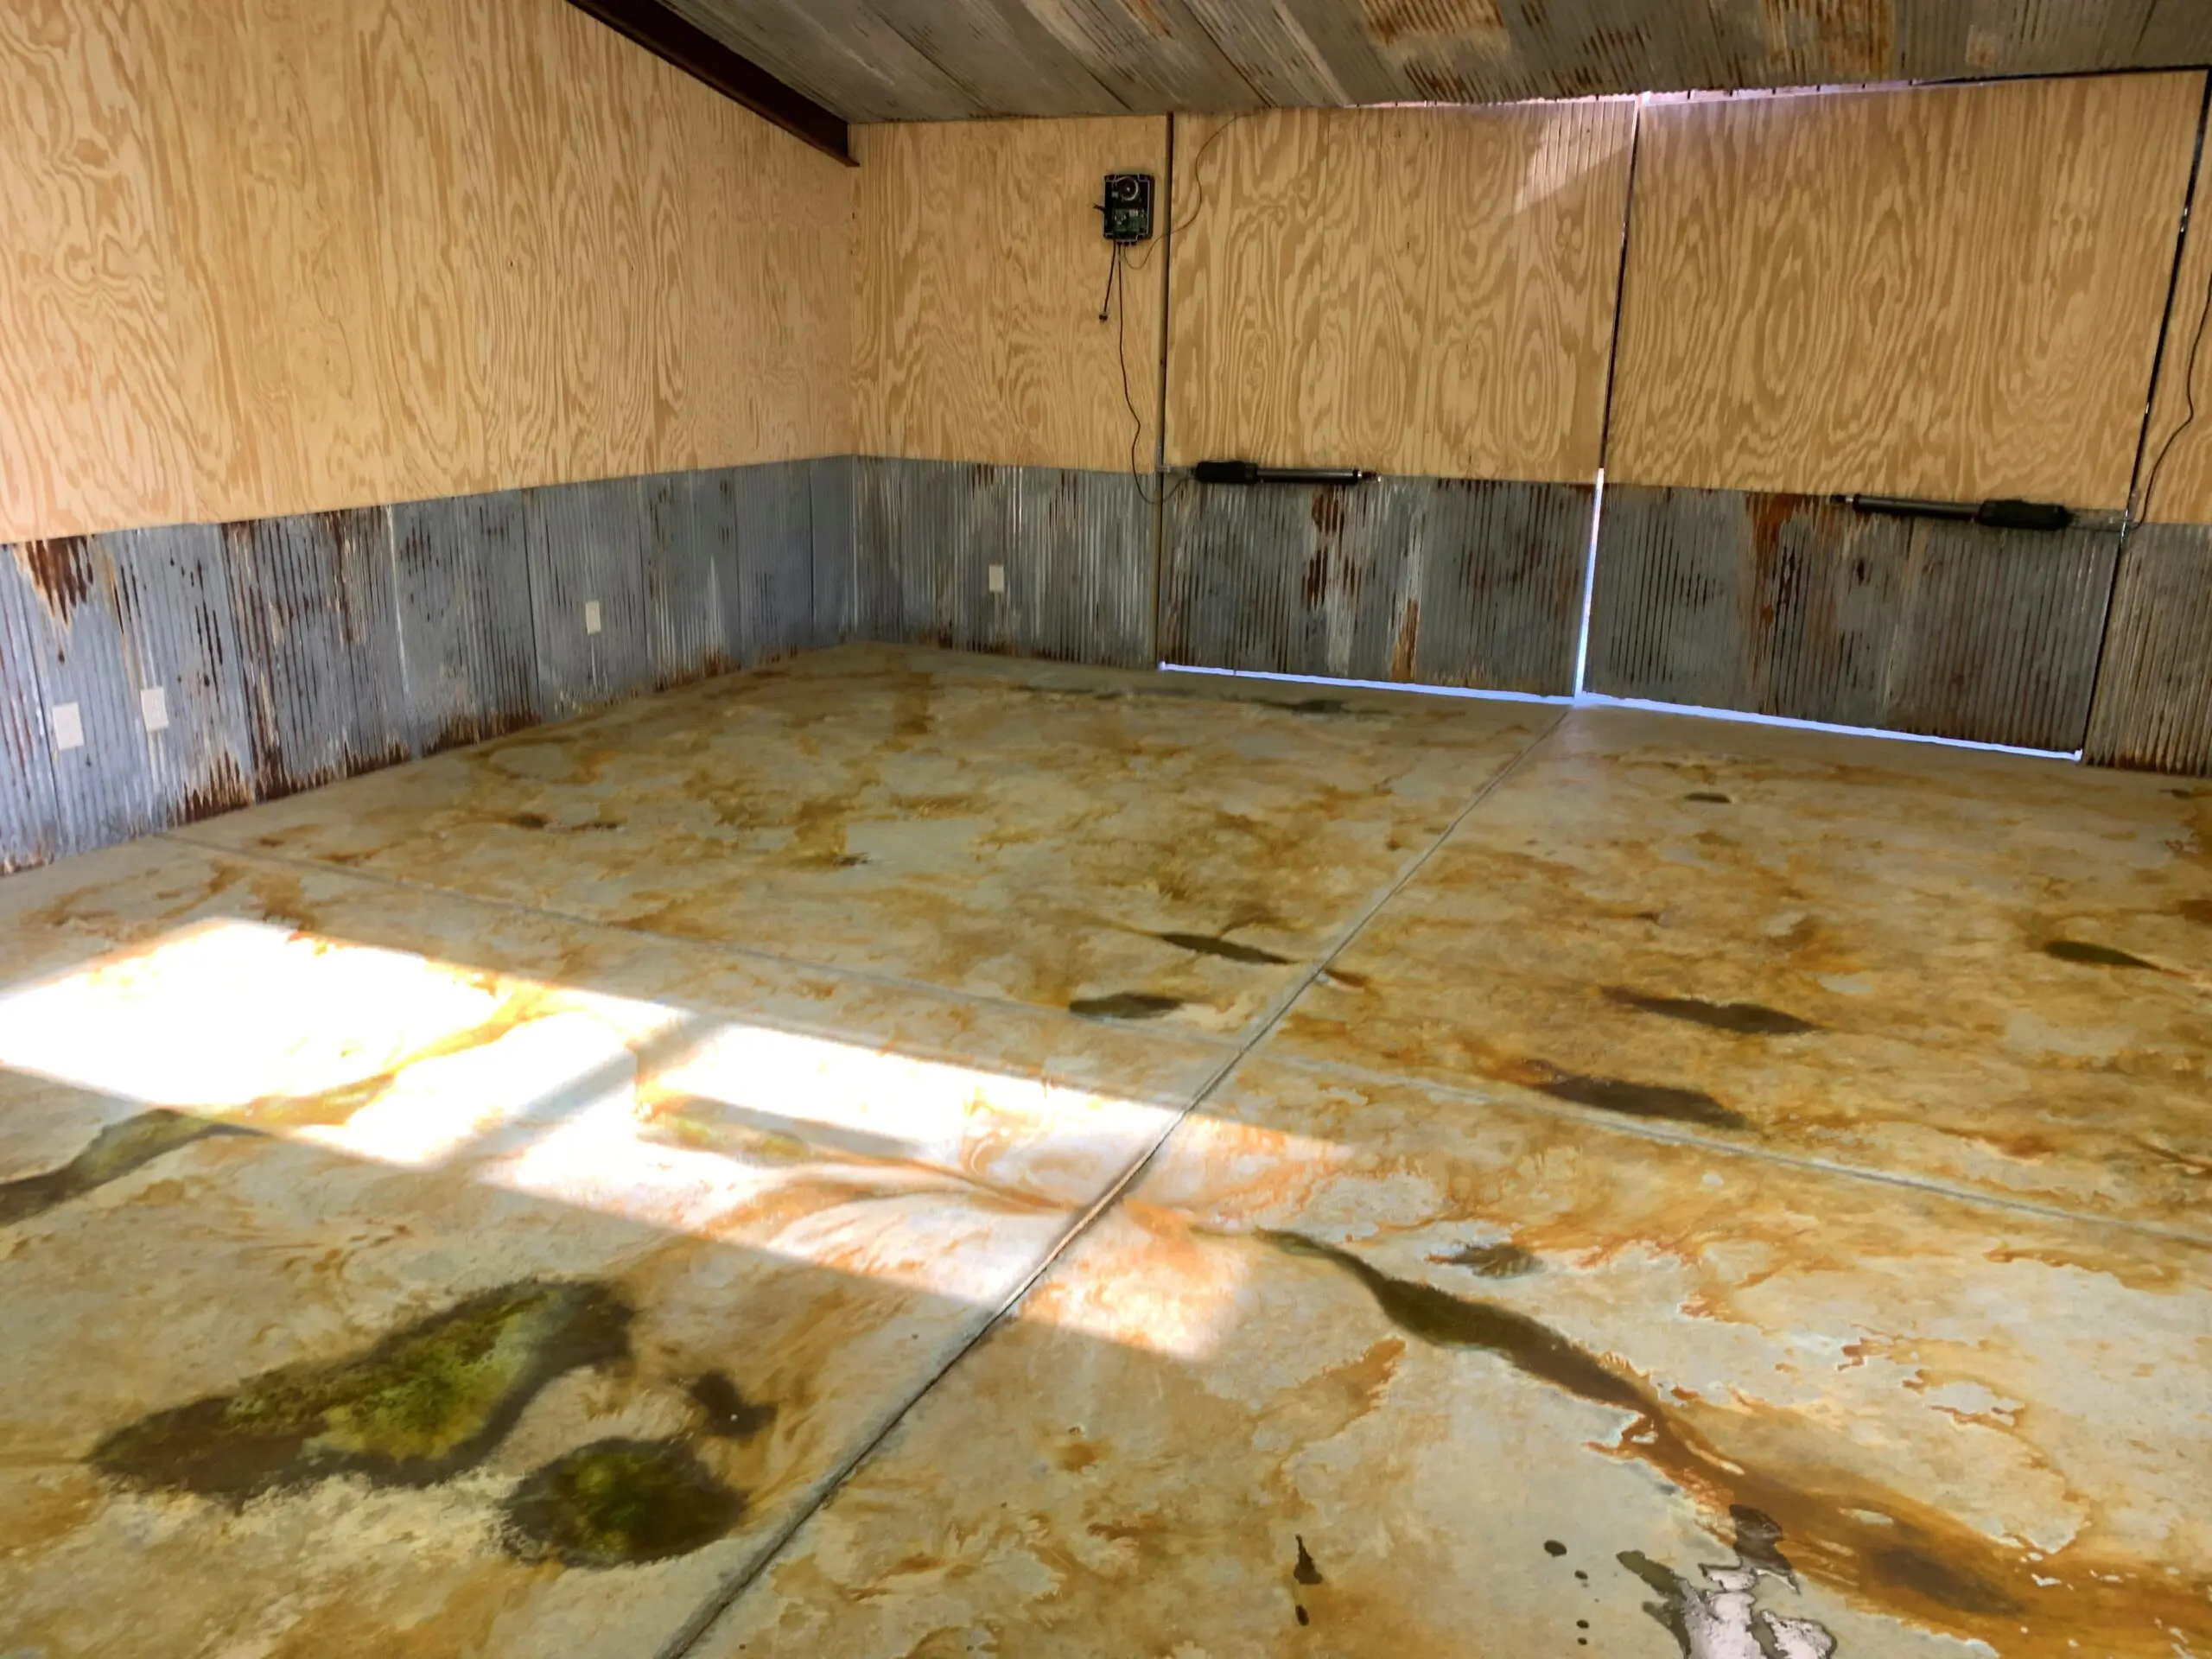
A novice acid stain user transformed his shop floor using a layered technique with Malayan Bluff and Avocado from EverStain™, achieving a patina look that perfectly complements his rusted walls.
Project Info:
- Project Completed In: 3 day(s)
- Estimate of Square Footage: 625 sq. ft.
- Project Description:
First time working with acid stain and I learned a lot through the process. My shop floor turned out awesome! I was going for a patina look with the rusted walls and nailed it! - Personal Tips:
First, study the preparation tips outlined in the direct colors how to guide. Make sure you are prepared and have the time to follow each step to get the desired results.
Second, study the application and dry time in the how to guides to make sure you have the time to spray and neutralize within the timeframe recommended for the chosen colors ( I didn’t realize different colors had different dry times and ended up out in my shop neutralizing and cleaning till midnight one night.
Lastly, Don’t be discouraged by what the floor looks like before sealing. It will gain its color with the sealer. I thought mine was going to turn out terrible until I got the sealer on it!
DONT FORGET THE SPIKE SHOES AND USE THEM DURING ETCHING SO YOU DO NOT HAVE FOOTPRINTS TO CLEAN UP AND SAND. - Direct Colors Products Used:
5 Gal. CitrusEtch™ Concrete Etcher
3 x 1 Gal. Malayan Buff EverStain™ & EasySeal™ Gloss Kit
1 Gal. Avocado EverStain™ - Other Products Used:
Harbor freight 1.25 gallon sprayer
Spike shoes from amazon.
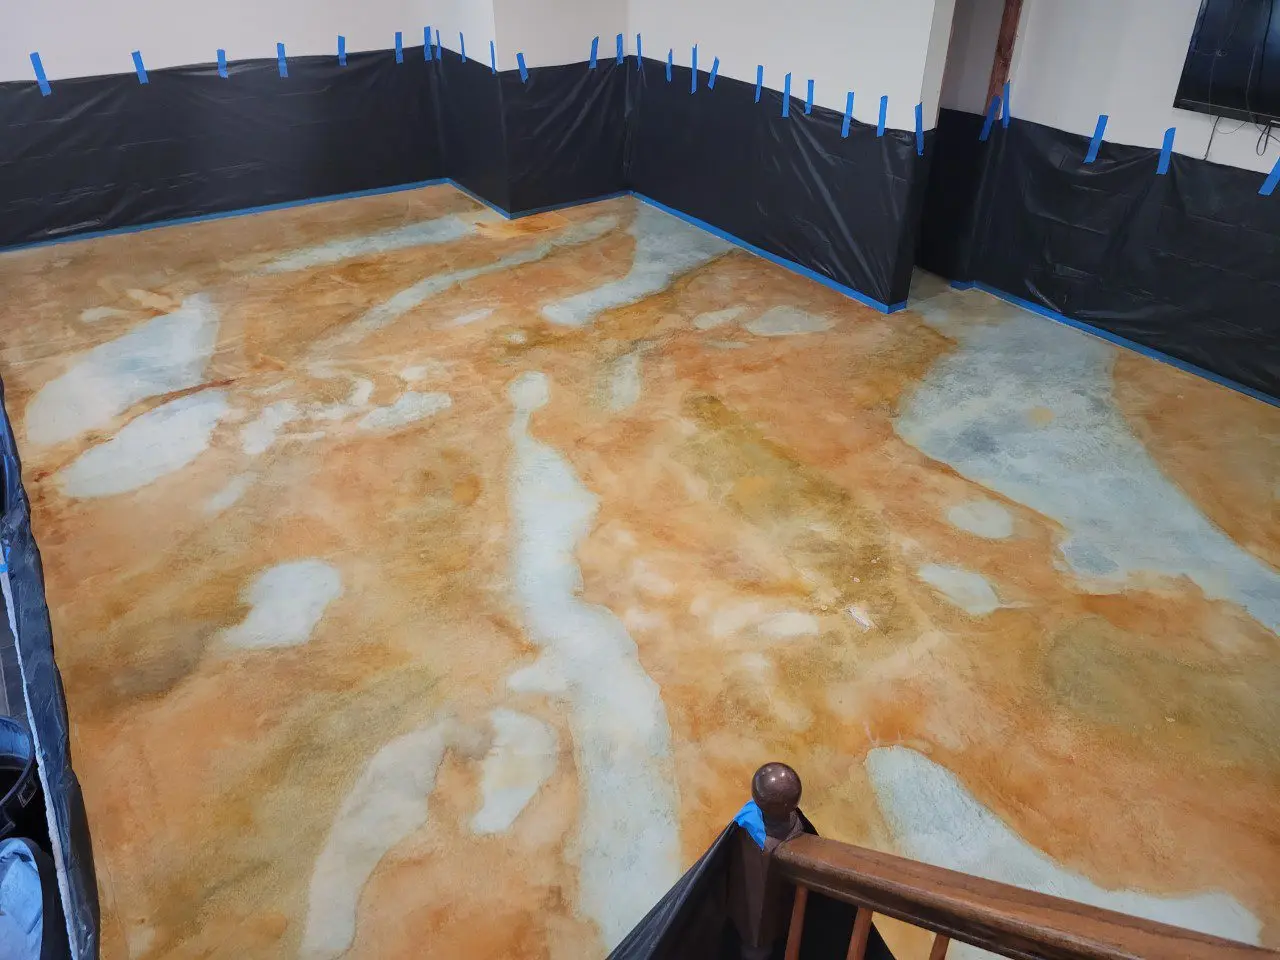
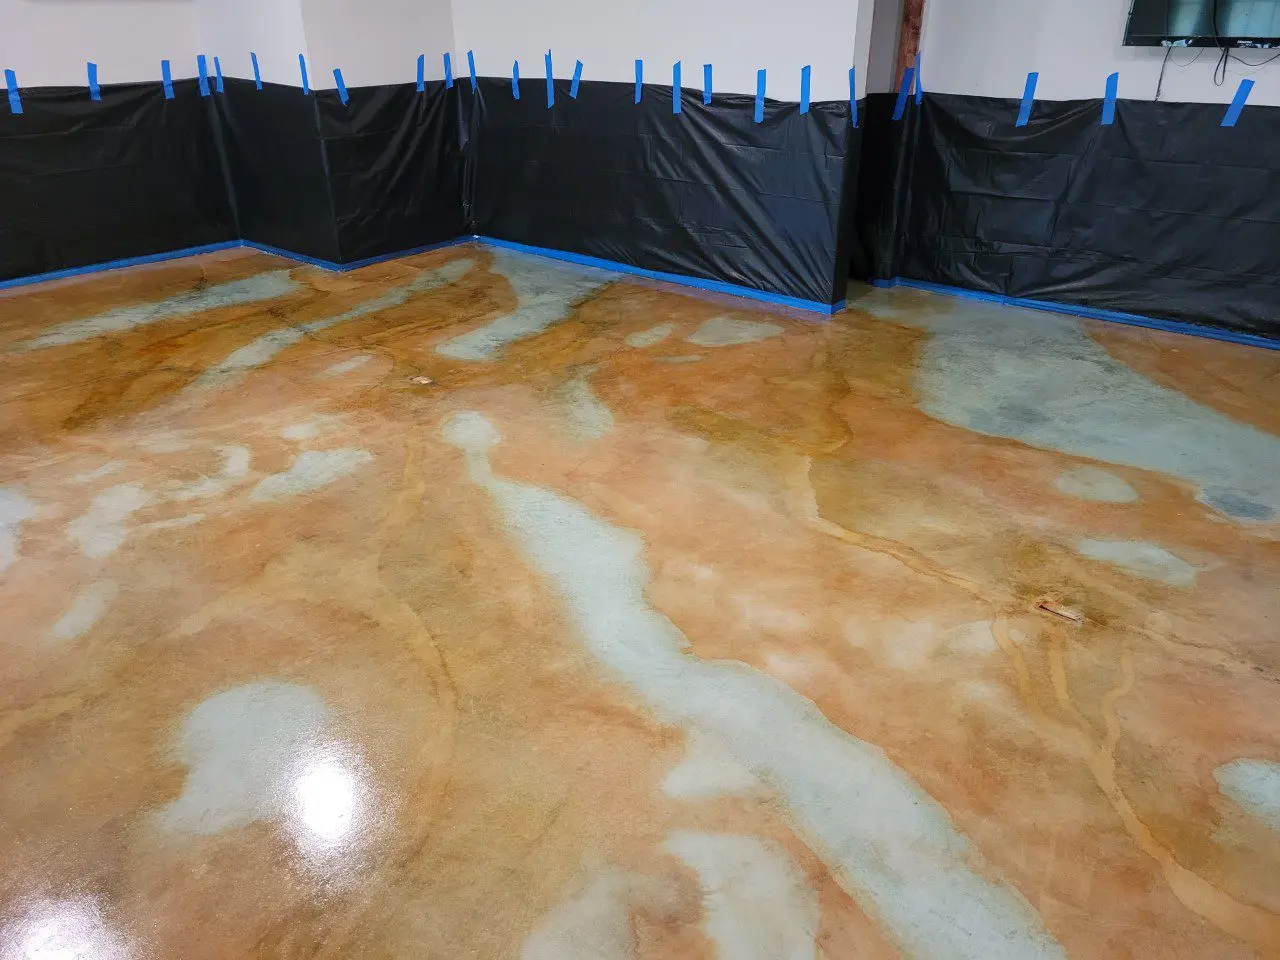
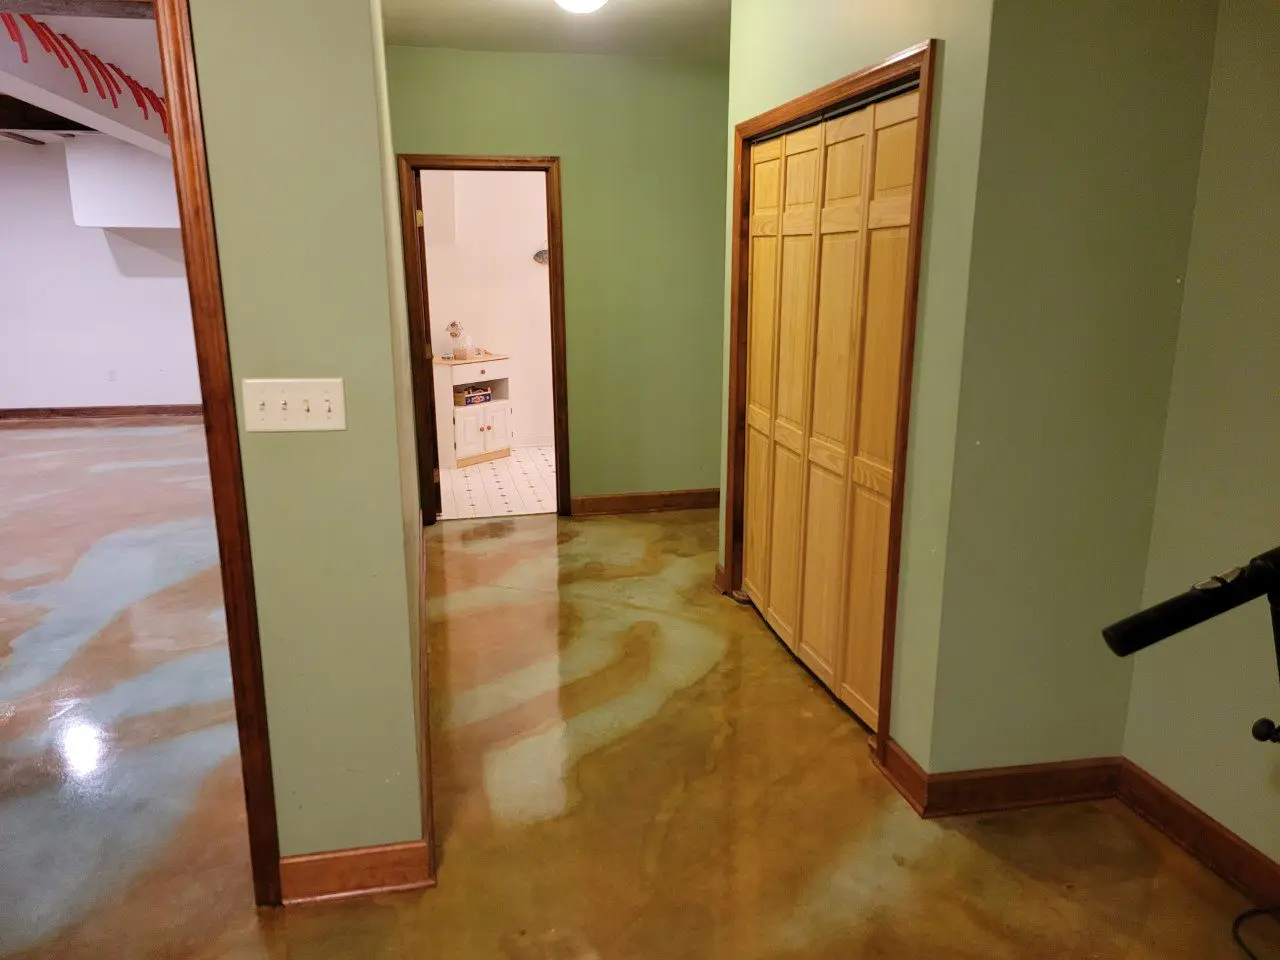
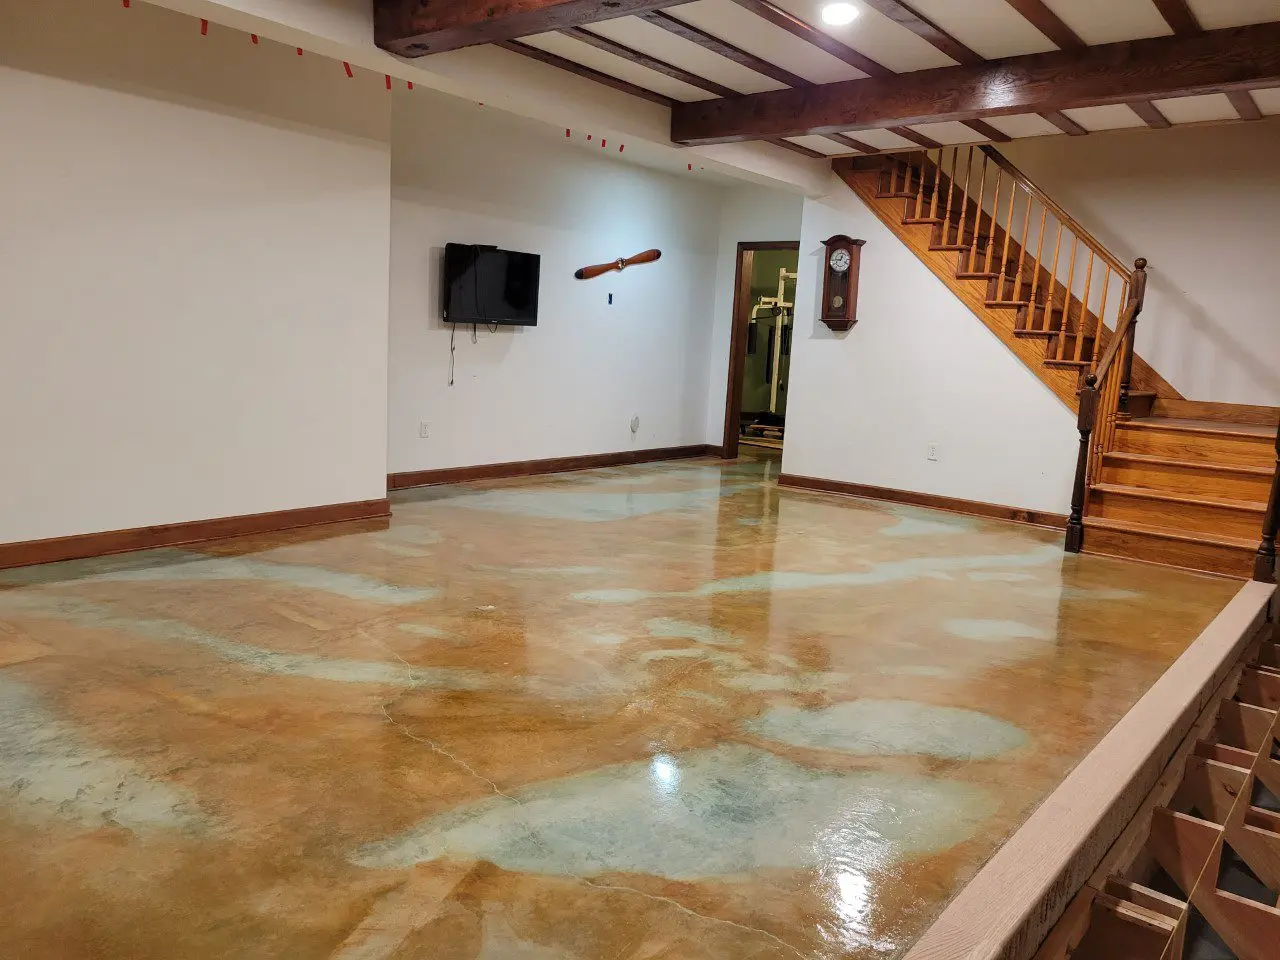
Basement Renovation with a Classic Touch
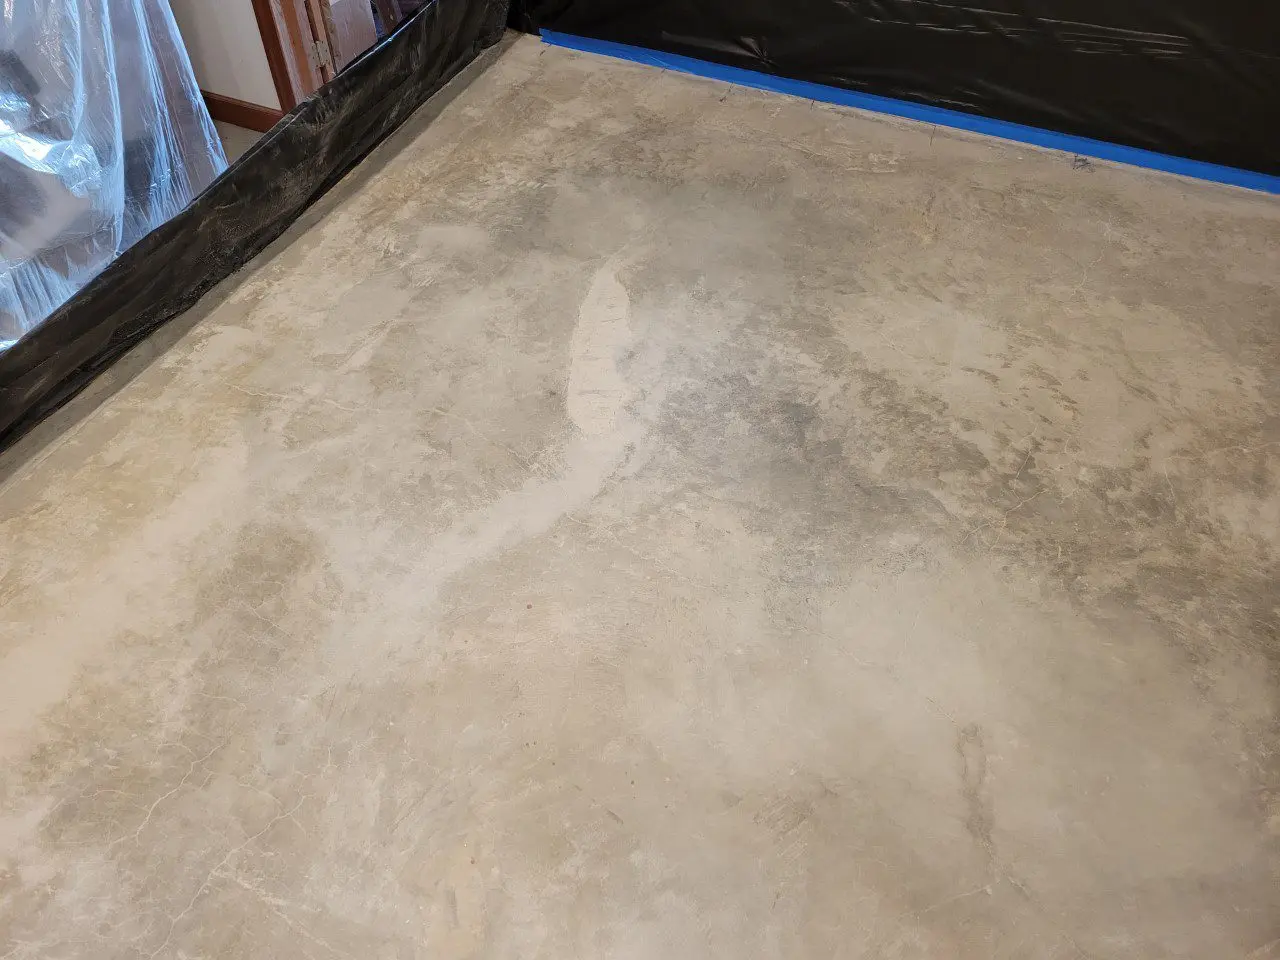
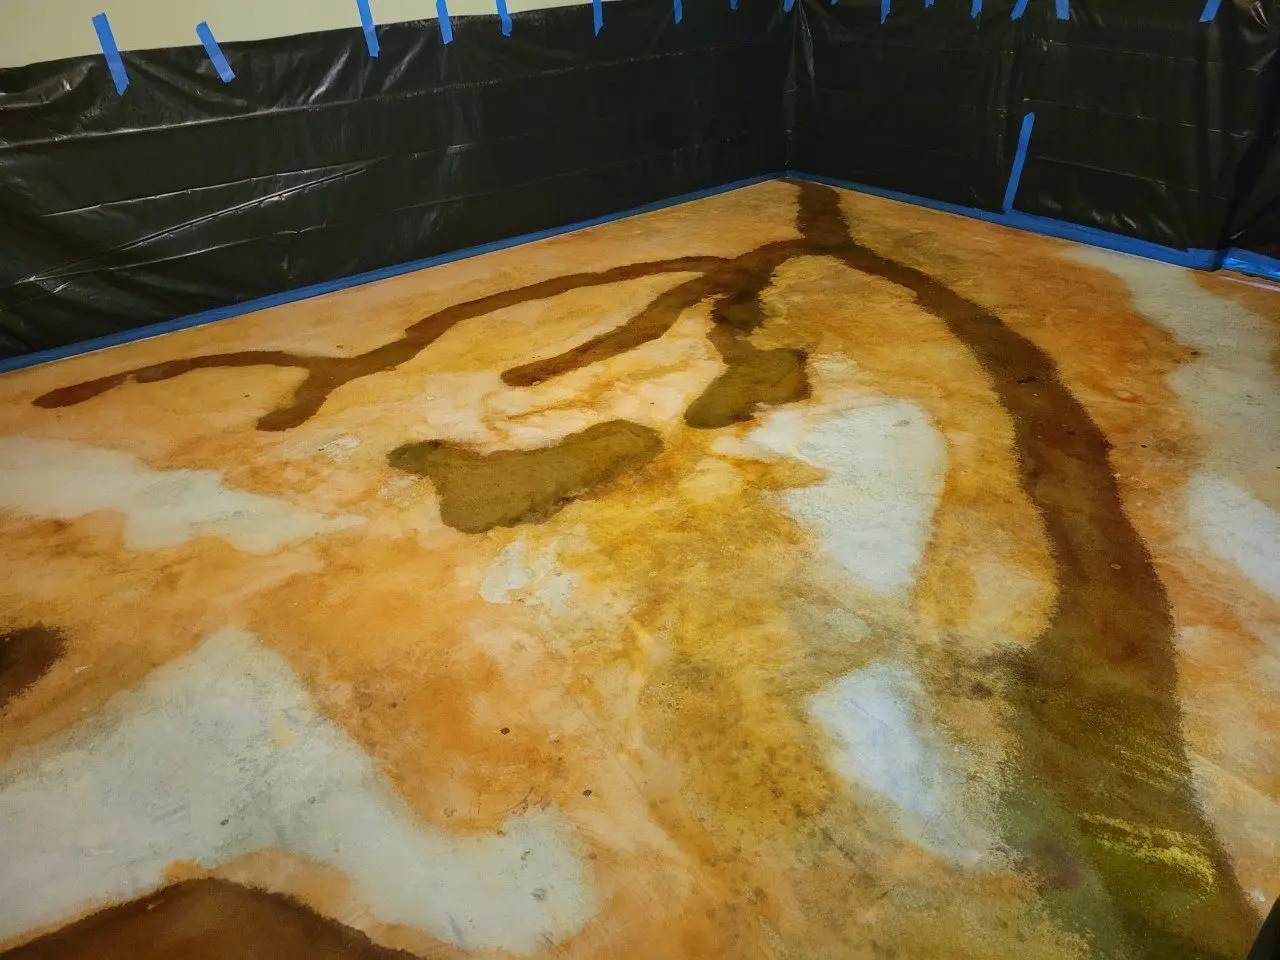
This project involved turning an old basement into an aesthetically pleasing living space using Malayan Buff, Avocado, and Seagrass stains. After meticulous preparation, including sanding, vacuuming, and staining, the result was a uniquely patterned concrete floor. Multiple rinses and scrubs were needed to remove residue, followed by sealant and wax applications for protection. Despite the hard work, the stunning outcome made it all worthwhile. The homeowner advises extra fans during dry sanding, thorough residue cleaning, and keeping a spare acid sprayer on hand.
Project Info:
- Project Completed In: 15 day(s)
- Estimate of Square Footage: 700 sq. ft.
- Project Description:
I built the house 20 years ago with no intention of using the basement are as living space. Fast forward 20 years and I changed my mind. I investigated having contractors come in and apply epoxy coating. I also purchased several gallons (different colors) of “concrete stain” from the local big-box hardware store. I applied sample areas on my floor to get a visual feel to see if that was what I wanted. I was not happy with it as it just appeared to be paint. I also did not like the “garage floor” look of the epoxy coatings offered by the contractors. While I had seen Direct Colors concrete stain pictures during my research, I knew it would be more work on my part, and I was hoping for something easy. This once-in-a-lifetime project had to be done right the first time, as there was not going to be a second. I bit the bullet (mentally) and decided to do the concrete stain so I would like the outcome.
The floor had not been damaged but there are two small settling cracks. I chose to not patch repair the cracks as they were tight and after reading that different mortars can have different colors, I preferred having the sight of a tight crack than color changes due to mortar. I’m glad I did; I like the look and it is hardly noticeable.
When I built the house 20 years ago, I used this basement area to stain my woodwork. In the process I spilled wood stain many places on the concrete. Therefore, I knew I would have to sand the concrete to get past the existing wood stain. I was unsure if I would do it as a wet-sand job, or a dry sanding, so I prepped the area by putting plastic up around the perimeter. I rented a floor sander with the concrete sanding disc at the local big-box hardware store and started sanding. At first I tried an area using water, knowing this would keep the dust down. But with the water I could not see the condition of the sanded area due to the slurry, then I tried sanding an area dry. I was much more comfortable seeing the floor when dry sanding. I had the basement window open with a fan in it pulling the air out of the house, a full face respirator, and I had a vacuum connected to the sander. About half-way through the sanding I noticed it was taking a lot of work to make any progress. I deduced the sanding disc was worn out and I removed it and returned to the hardware store for an exchange. As I only rented the machine for one day, I was worried about losing time to make the one-hour round trip for the new disc. After returning with the new disc and using it I was glad to have it! The sanding went so much better with the new disc and did a great job. At the completion of sanding, I swept and vacuumed the entire area, including the walls. This included removing the perimeter plastic (put up for wet sanding), as it had collected a lot of dust. I had the doorway from the basement to the upstairs plastic and taped off, but after going upstairs, I found that the plastic/tape job was not adequate, as the concrete dust managed to work its way upstairs into the living areas. So I went into action cleaning that up before it got ground-in.
With the floor swept and vacuumed (several times), I prepped the area for staining. This included new perimeter plastic. I chose three different color stains, Malayan Buff, Avocado, and Seagrass. I used three spray bottles, so I could work my way across the floor using all three, applying colors per my design. Again, with a fan in the window and a respirator, and now spiked sandals, I put the stain down. Having previously purchased the stain sample kit, I knew I wanted to wait the full time for as much color to burn into the concrete. The following day I rinsed and scrubbed the concrete and wet-dry vacuumed it up. I had a garden hose into the area to make it convenient, this worked well. While the floor was still wet I decided I wanted more color. After the floor dried, I went back and applied more stain in certain areas. And the next day rinsed and scrubbed the floor, then gave the floor a full day to dry. I checked for any residue and noticed the floor still had a significant amount of residue, so I rinsed and scrubbed again. After the third rinse and scrub the residue was no longer noticeable.
The following day I swept and vacuumed, then applied the first coat of sealant using a hardware store damp-type mop. As recommended, I applied the sealant in a north-south direction initially. Then on the second day I applied east-west. I had a considerable amount of sealant remaining, although I had purchased the recommended amount for my square footage. I believe I was just applying coats lighter than expected. After the second coat dried, I applied another north-south coat.
Two coats of wax on top of it finished it, and it is so much better than I could have dreamed. I am very glad I chose to do the concrete stain, and not paint or epoxy. The job did take some work on my part, but it was entirely worth it. - Personal Tips:
More/bigger fans when dry sanding.
Don’t sand unless you have to.
Drywall mud must be removed down to bare concrete.
Rinse and scrub the acid residue until the floor passes the white-glove test.
I was able to do a few hours a day or every other day. There was no rush to “get it done”.
The quantities recommended are fairly accurate.
Have a spare acid sprayer available. You don’t want to be in the middle of spraying and have an issue. Cheap insurance.
- Direct Colors Products Used:
5 Gal. CitrusEtch™ Concrete Etcher
3 x 1 Gal. Malayan Buff EverStain™ & AcquaSeal™ Gloss Kit
2 x 1 Gal. Avocado EverStain™ & AcquaSeal™ Gloss Kit
1 Gal. Seagrass DIY EverStain™ & AcquaSeal™ Gloss Kit
1 Gal. ProWax Polish™ Satin
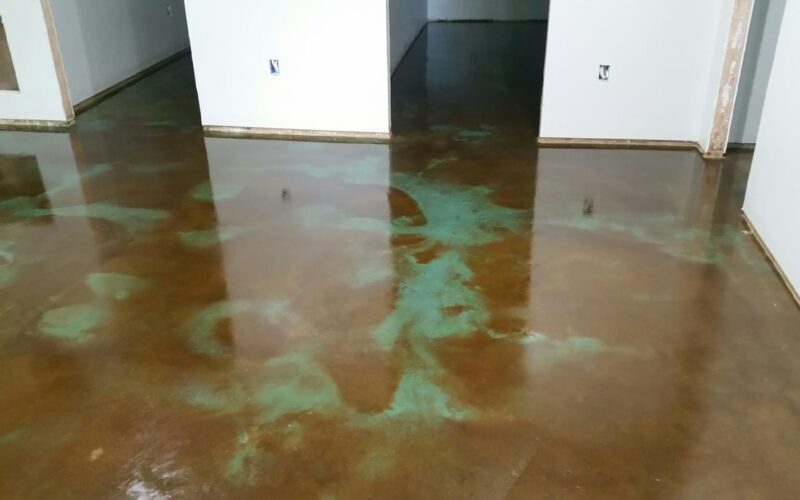
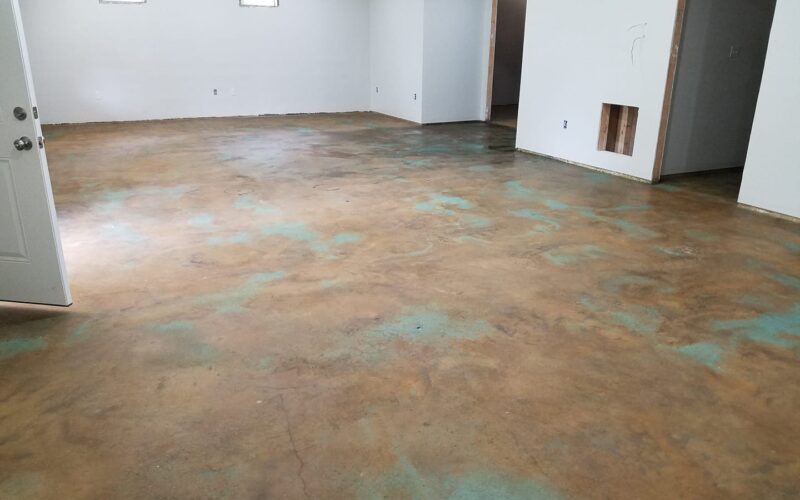
Matte-Finished Basement Upgrade with Avocado and Desert Amber EverStain™ Acid Stains
This basement project features a unique blend of Avocado and Desert Amber EverStain™ Acid Stains, all topped with a matte Penetrating Concrete Sealer. The resulting floor showcases an earthy aesthetic that adds depth and warmth to the space.
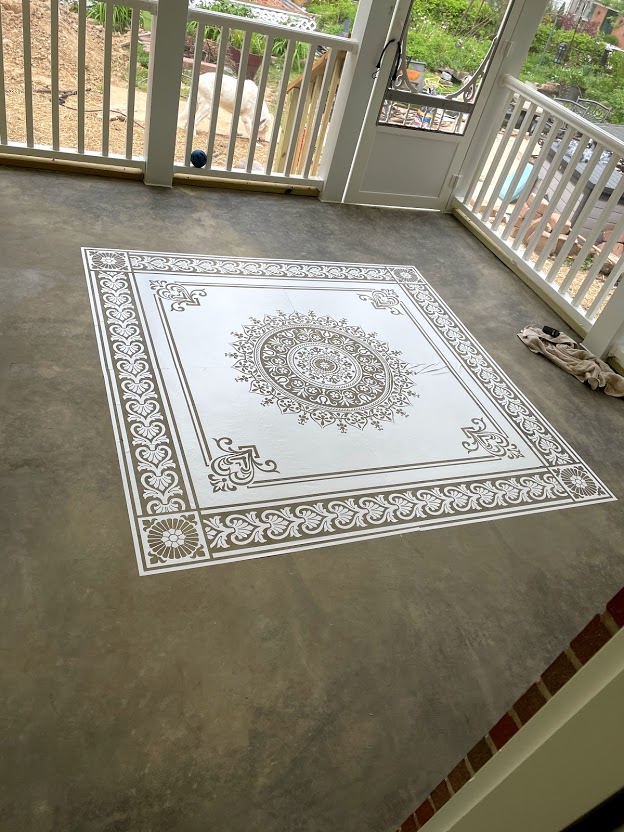
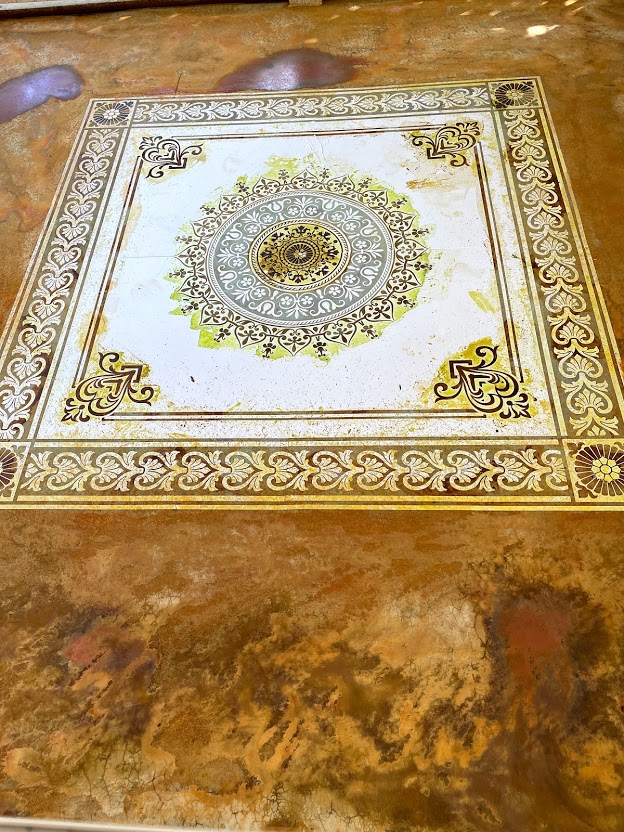
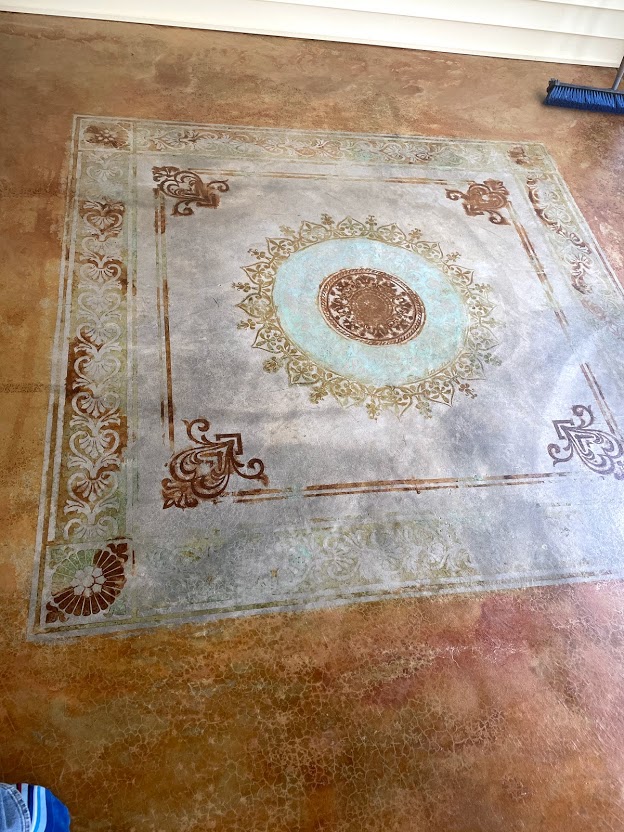
Multicolor Stencil Magic: Transforming a Screened Porch Floor
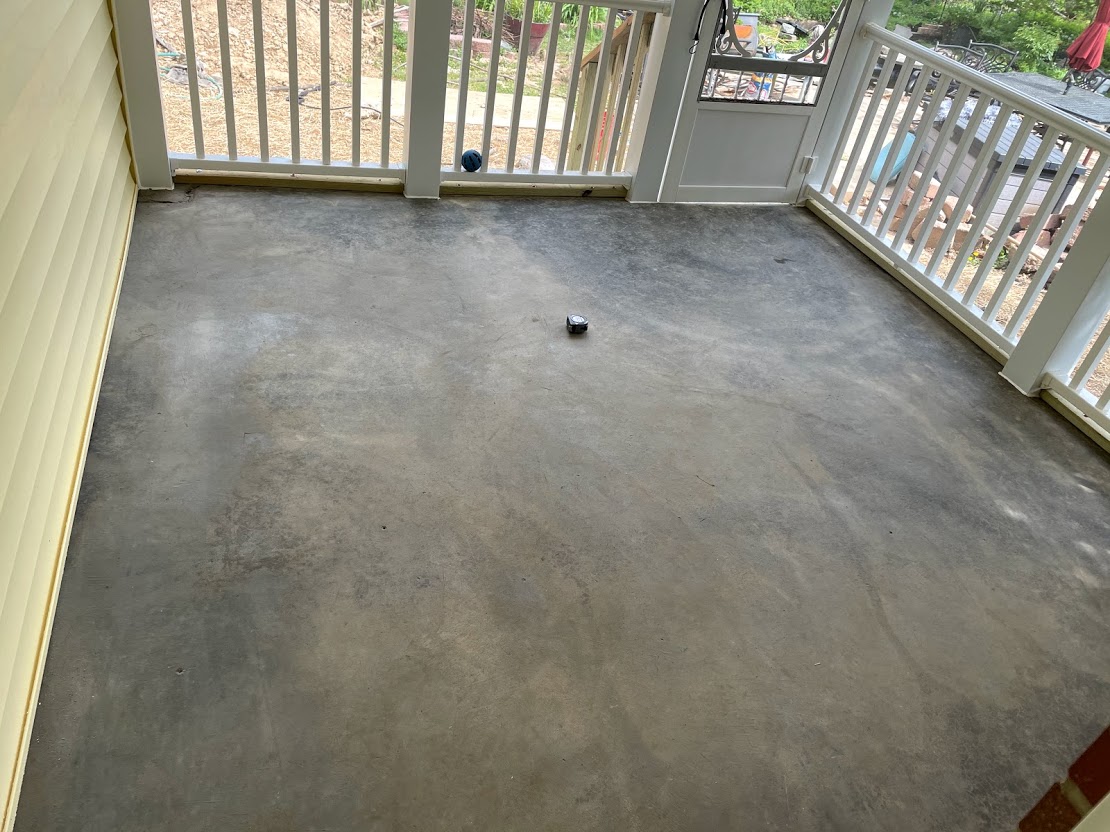
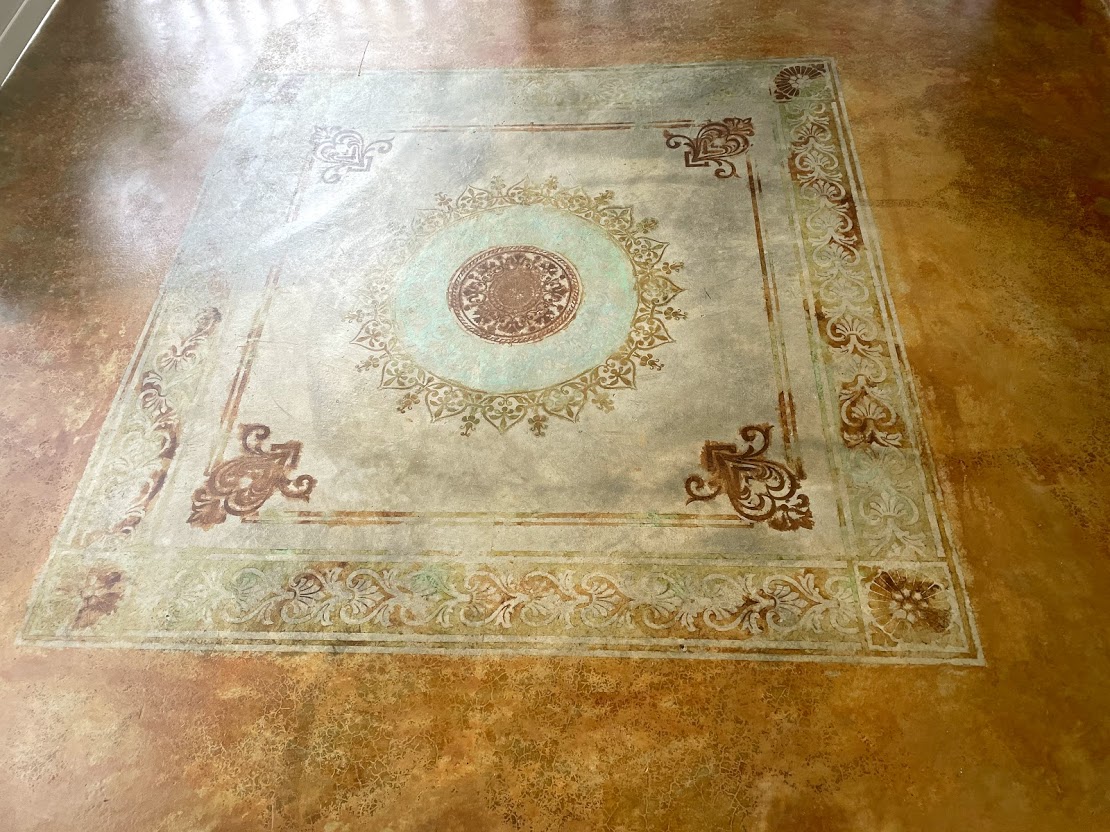
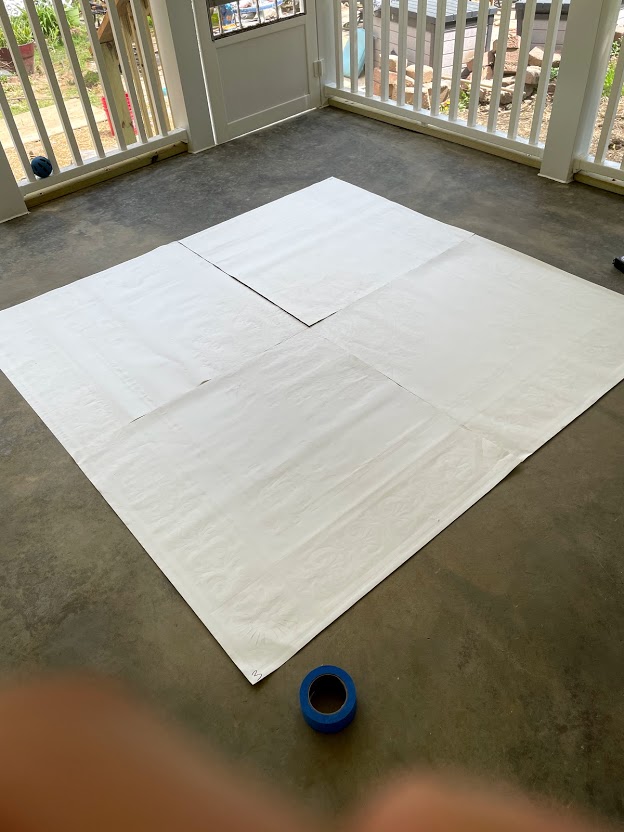
This project demonstrates the artistic transformation of a 10×12 ft screened porch addition with a unique blend of Azure Blue, Avocado, English Red, and Desert Amber EverStain™ Acid Stains. Using a Modello stencil, the creator skillfully applied a design to the concrete floor. Lessons from this project include the importance of layout planning, using a sponge for color application on the stencil, and awaiting the sealer’s effect before judging the final outcome. The project culminates in a visually appealing space, which the creator found enjoyable to work on and would replicate in future projects.
Project Info:
- Project Completed In: 4 day(s)
- Estimate of Square Footage: 120 sq. ft.
- Project Description:
Had an addition to the house and included a covered screen in porch of 10×12 ft. Decided to stain the concrete and add a stencil. Used a Modello stencil on the project and multiple color stains for the overall look. - Personal Tips:
For some reason only the English red had issues with bleeding through the stencil. We also left the inside of the stencil without stain as the contrast was nicer than trying to add another color. I taking the time to lay the stencil out is key. I used a sponge to apply the colors to the stencil and a sprayer to stain the border. Also, do not judge your work until after the sealer is applied as it really helps the colors show. Overall, it was a fun project. I would do it again. - Direct Colors Products Used:
I used 4Oz of Azure Blue Everstain, Avocado Everstain, English Red Everstain, and Desert Amber Everstain and Satin Water based sealer kit. - Direct Colors Products Used:
1 Gal. Desert Amber DIY EverStain™ & AcquaSeal™ Satin Kit
1 Qt. Malayan Buff EverStain™
1 Gal. Desert Amber EverStain™
4 Oz. Azure Blue EverStain™
4 Oz. Avocado EverStain™
4 Oz. English Red EverStain™ - Other Products Used:
Modello Stencil- Bradbury CC101 Custom Carpet & Ceiling Stencil 6x6ft.
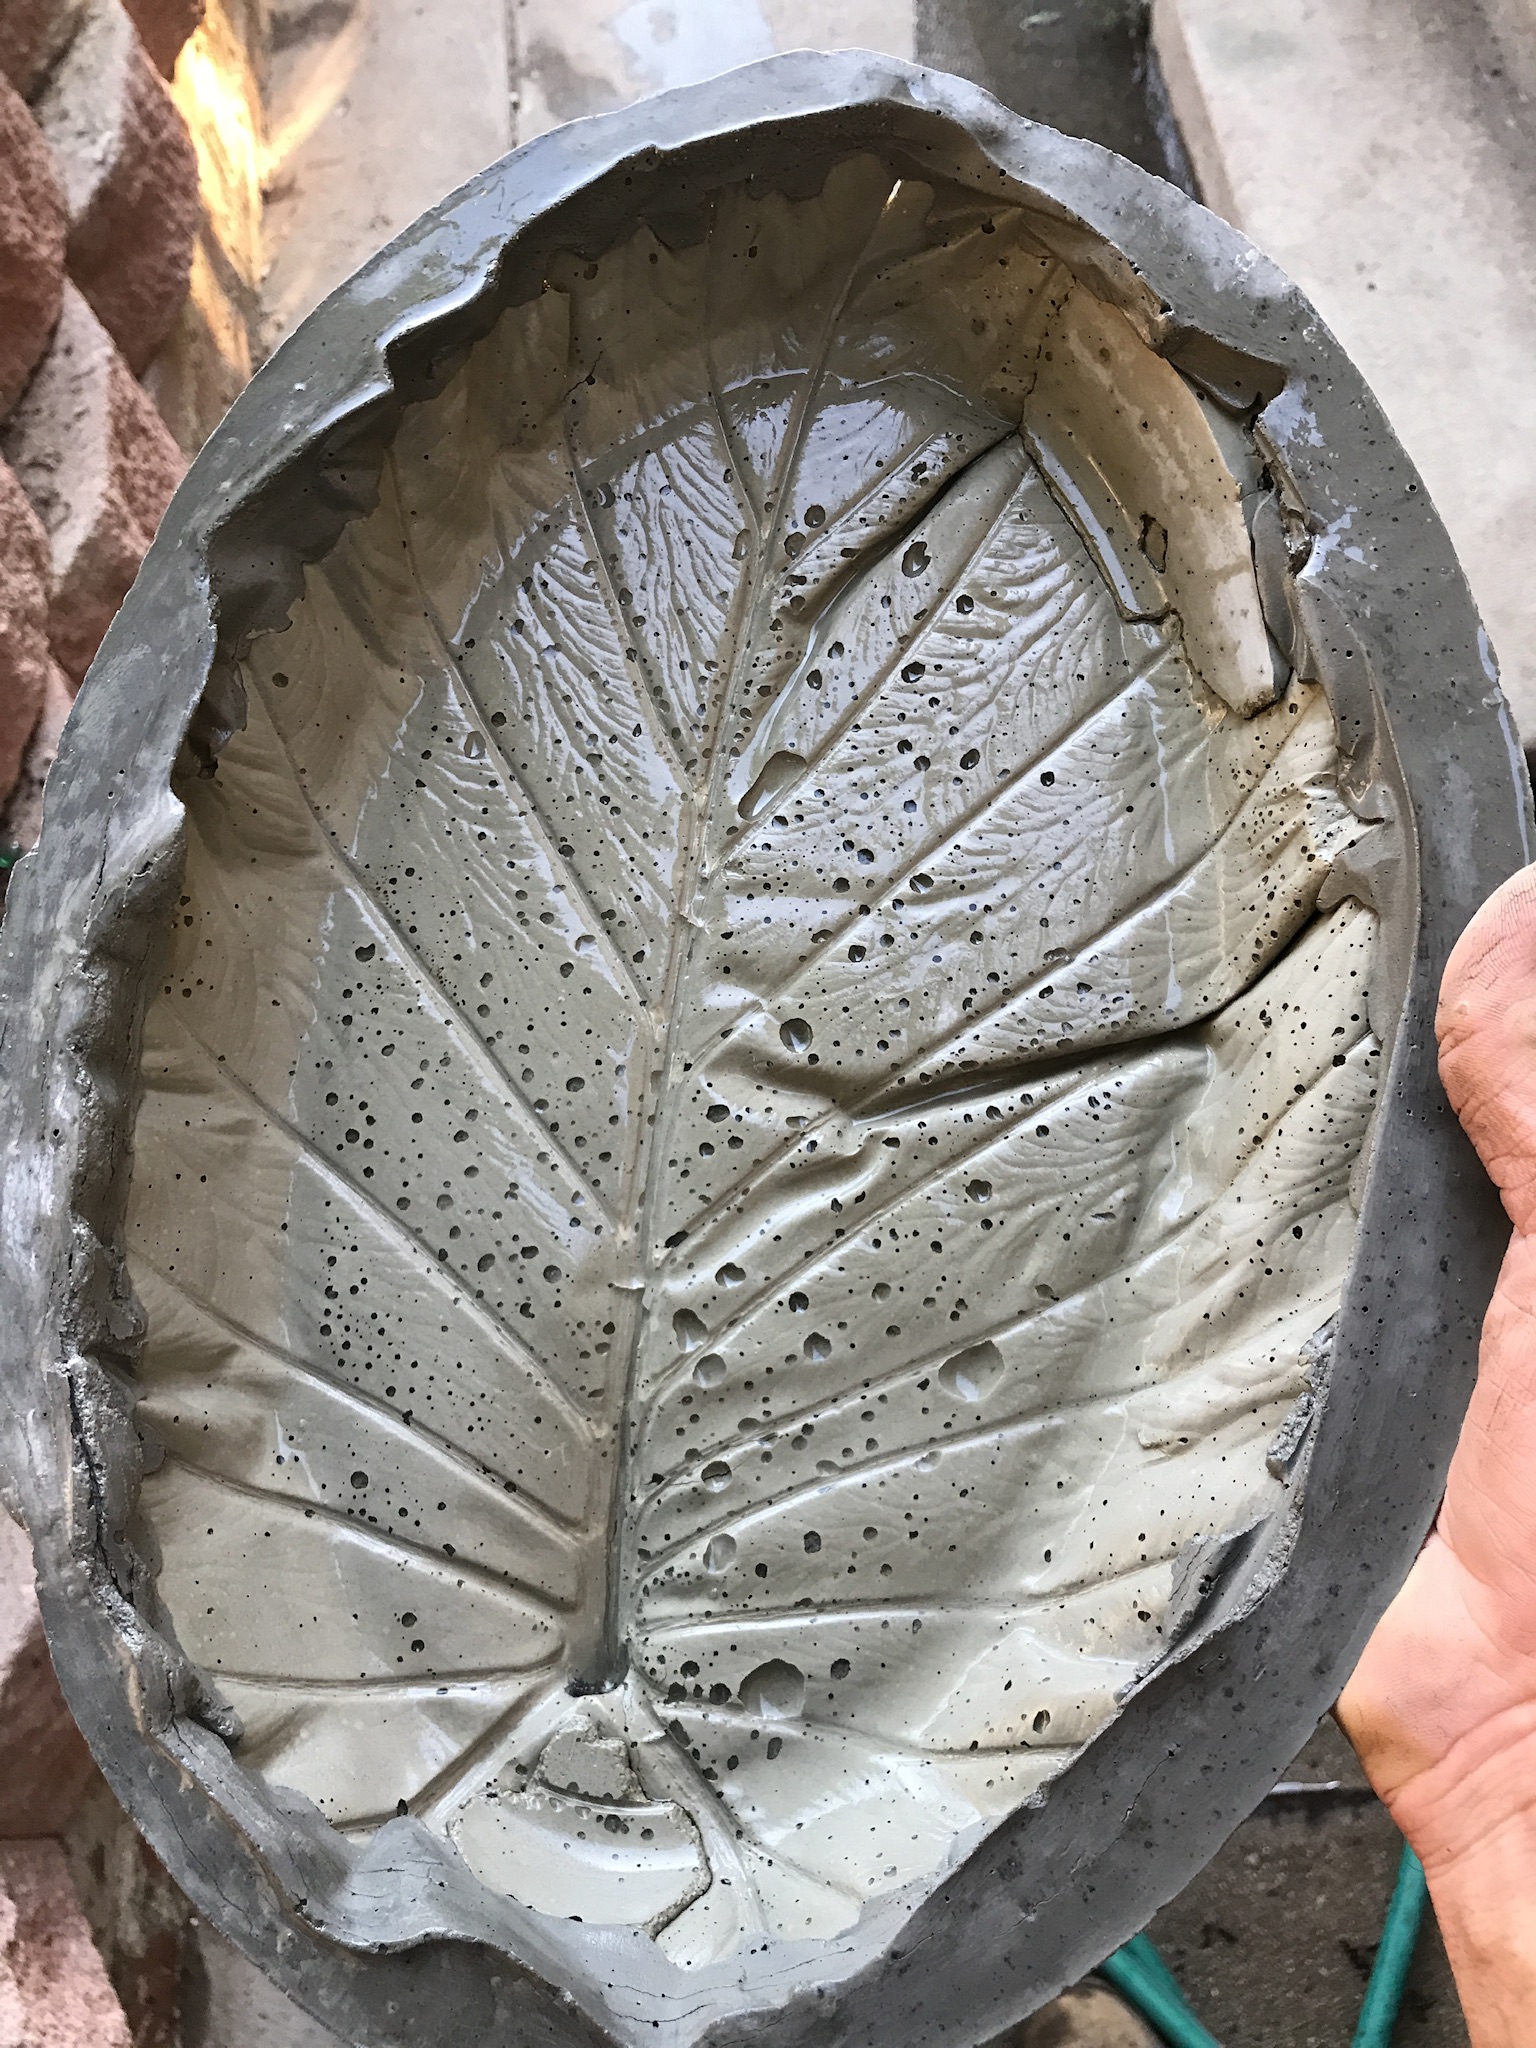
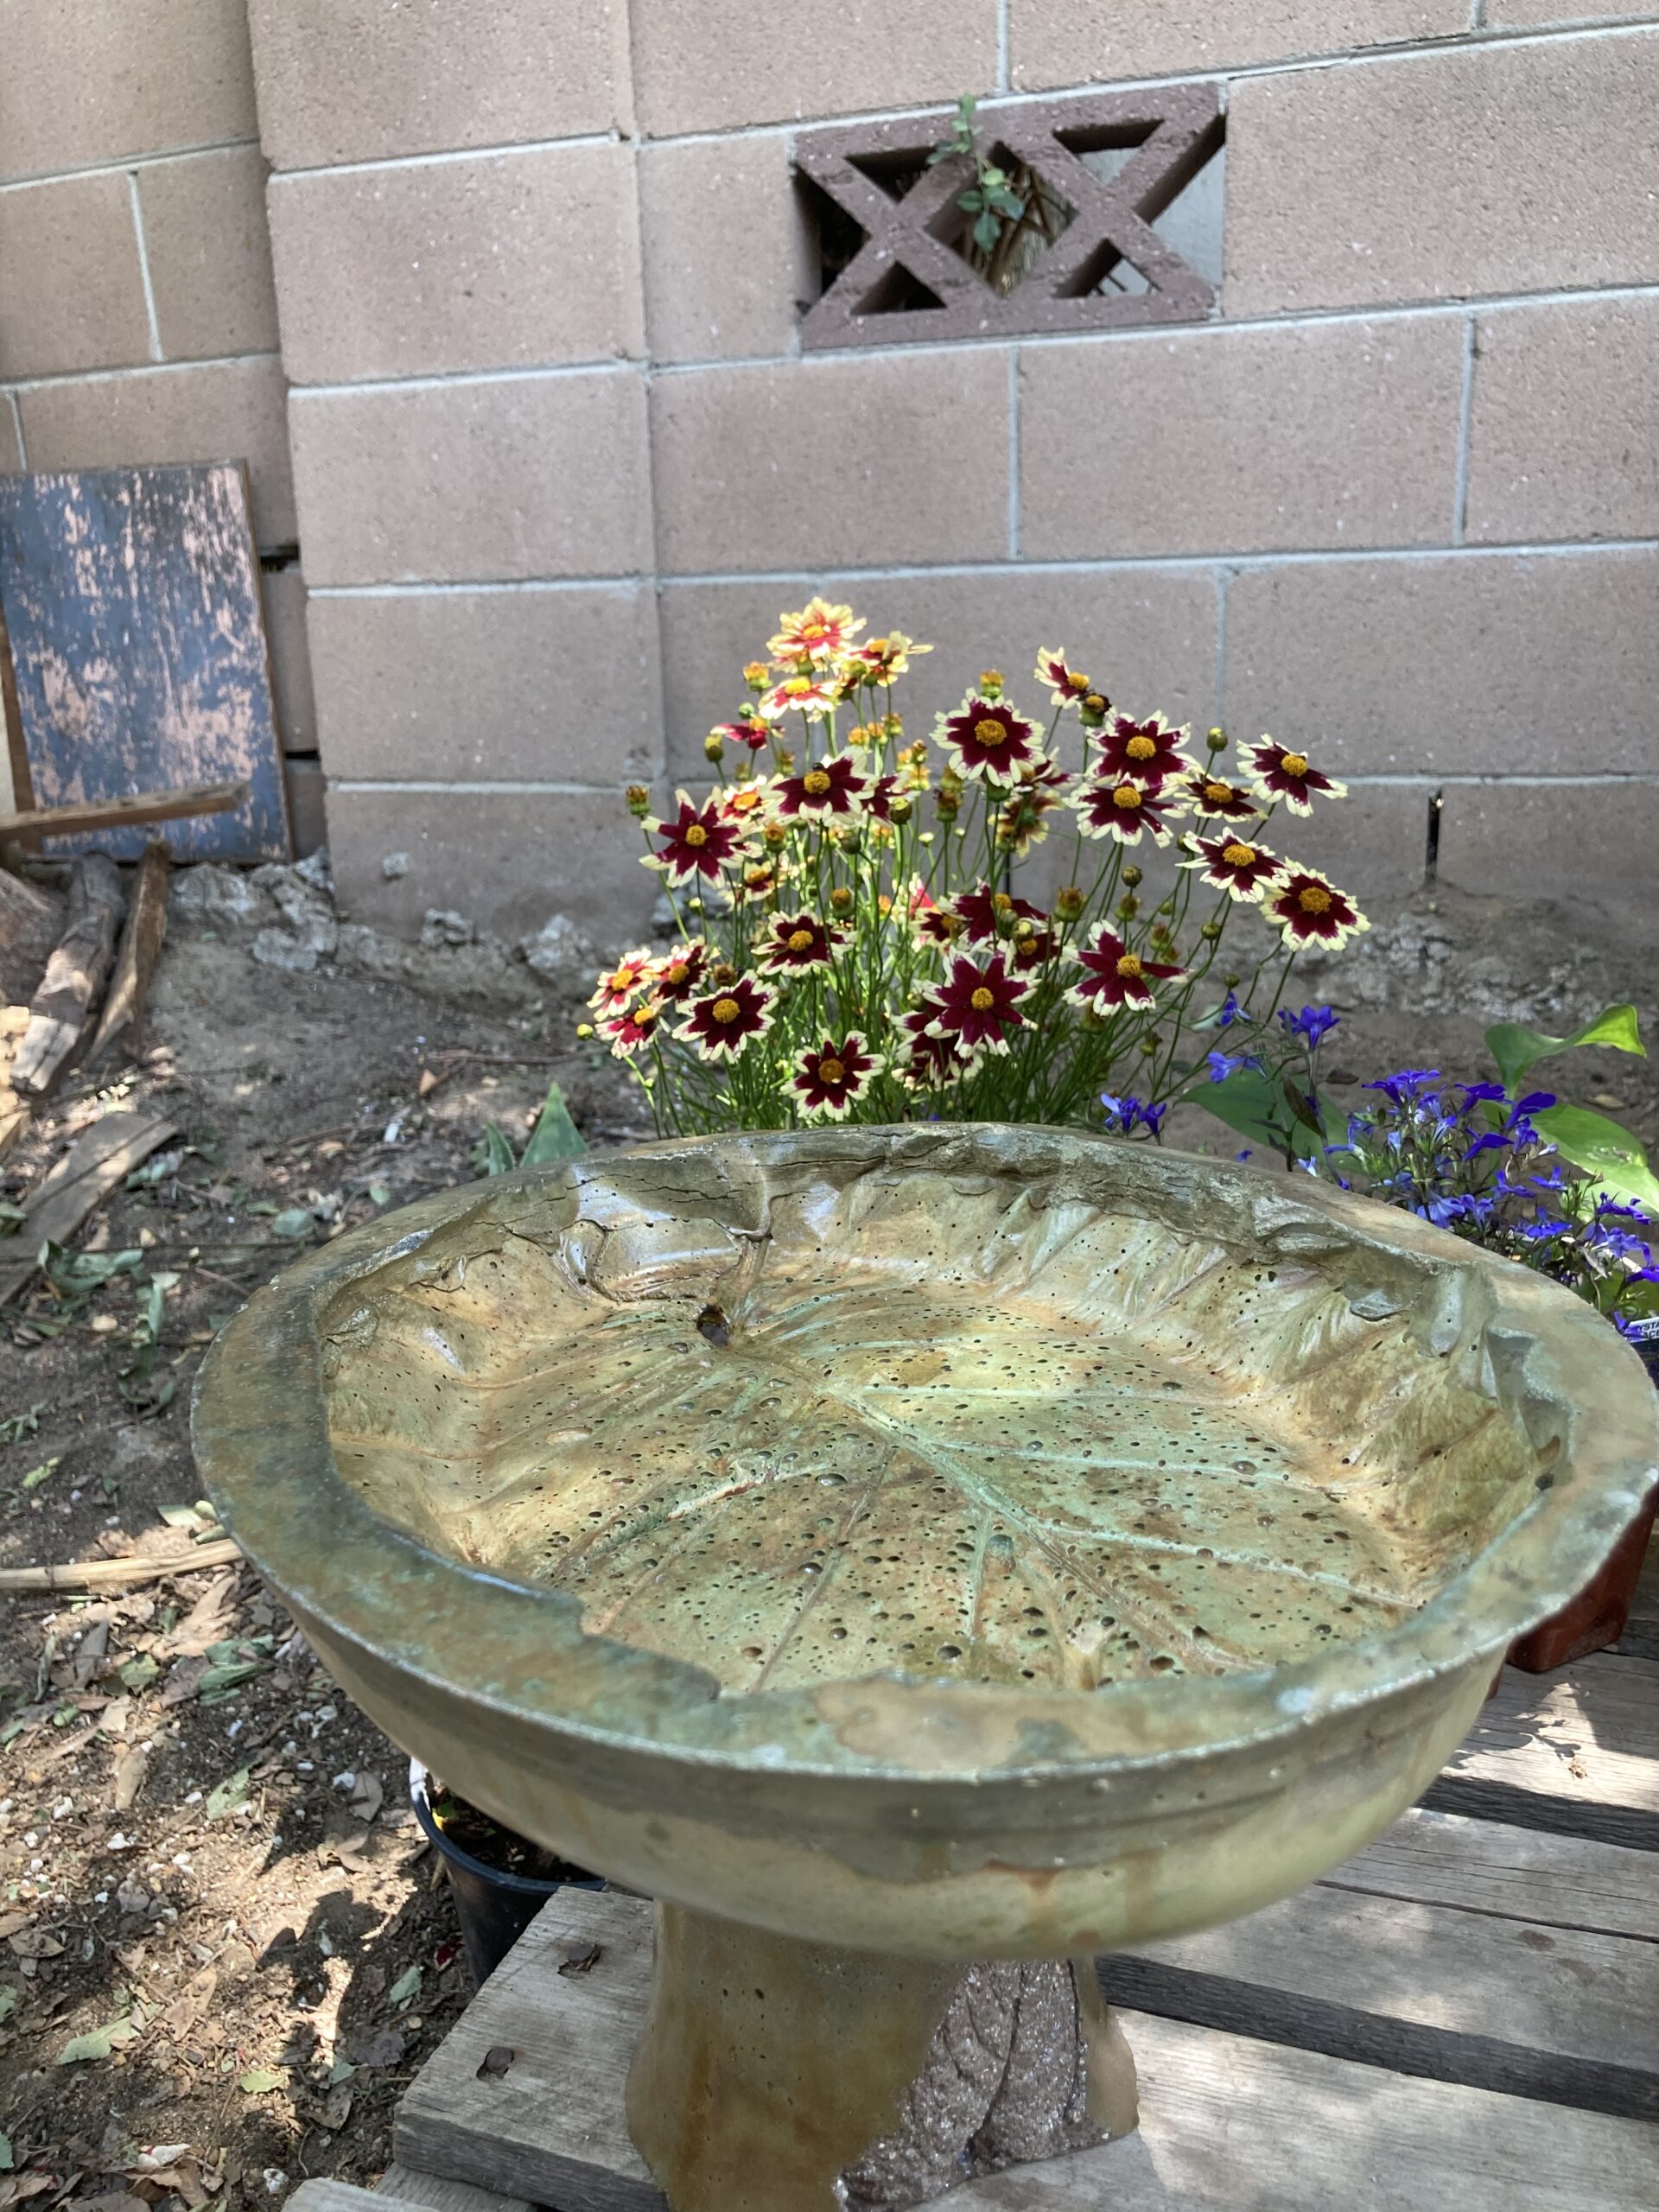
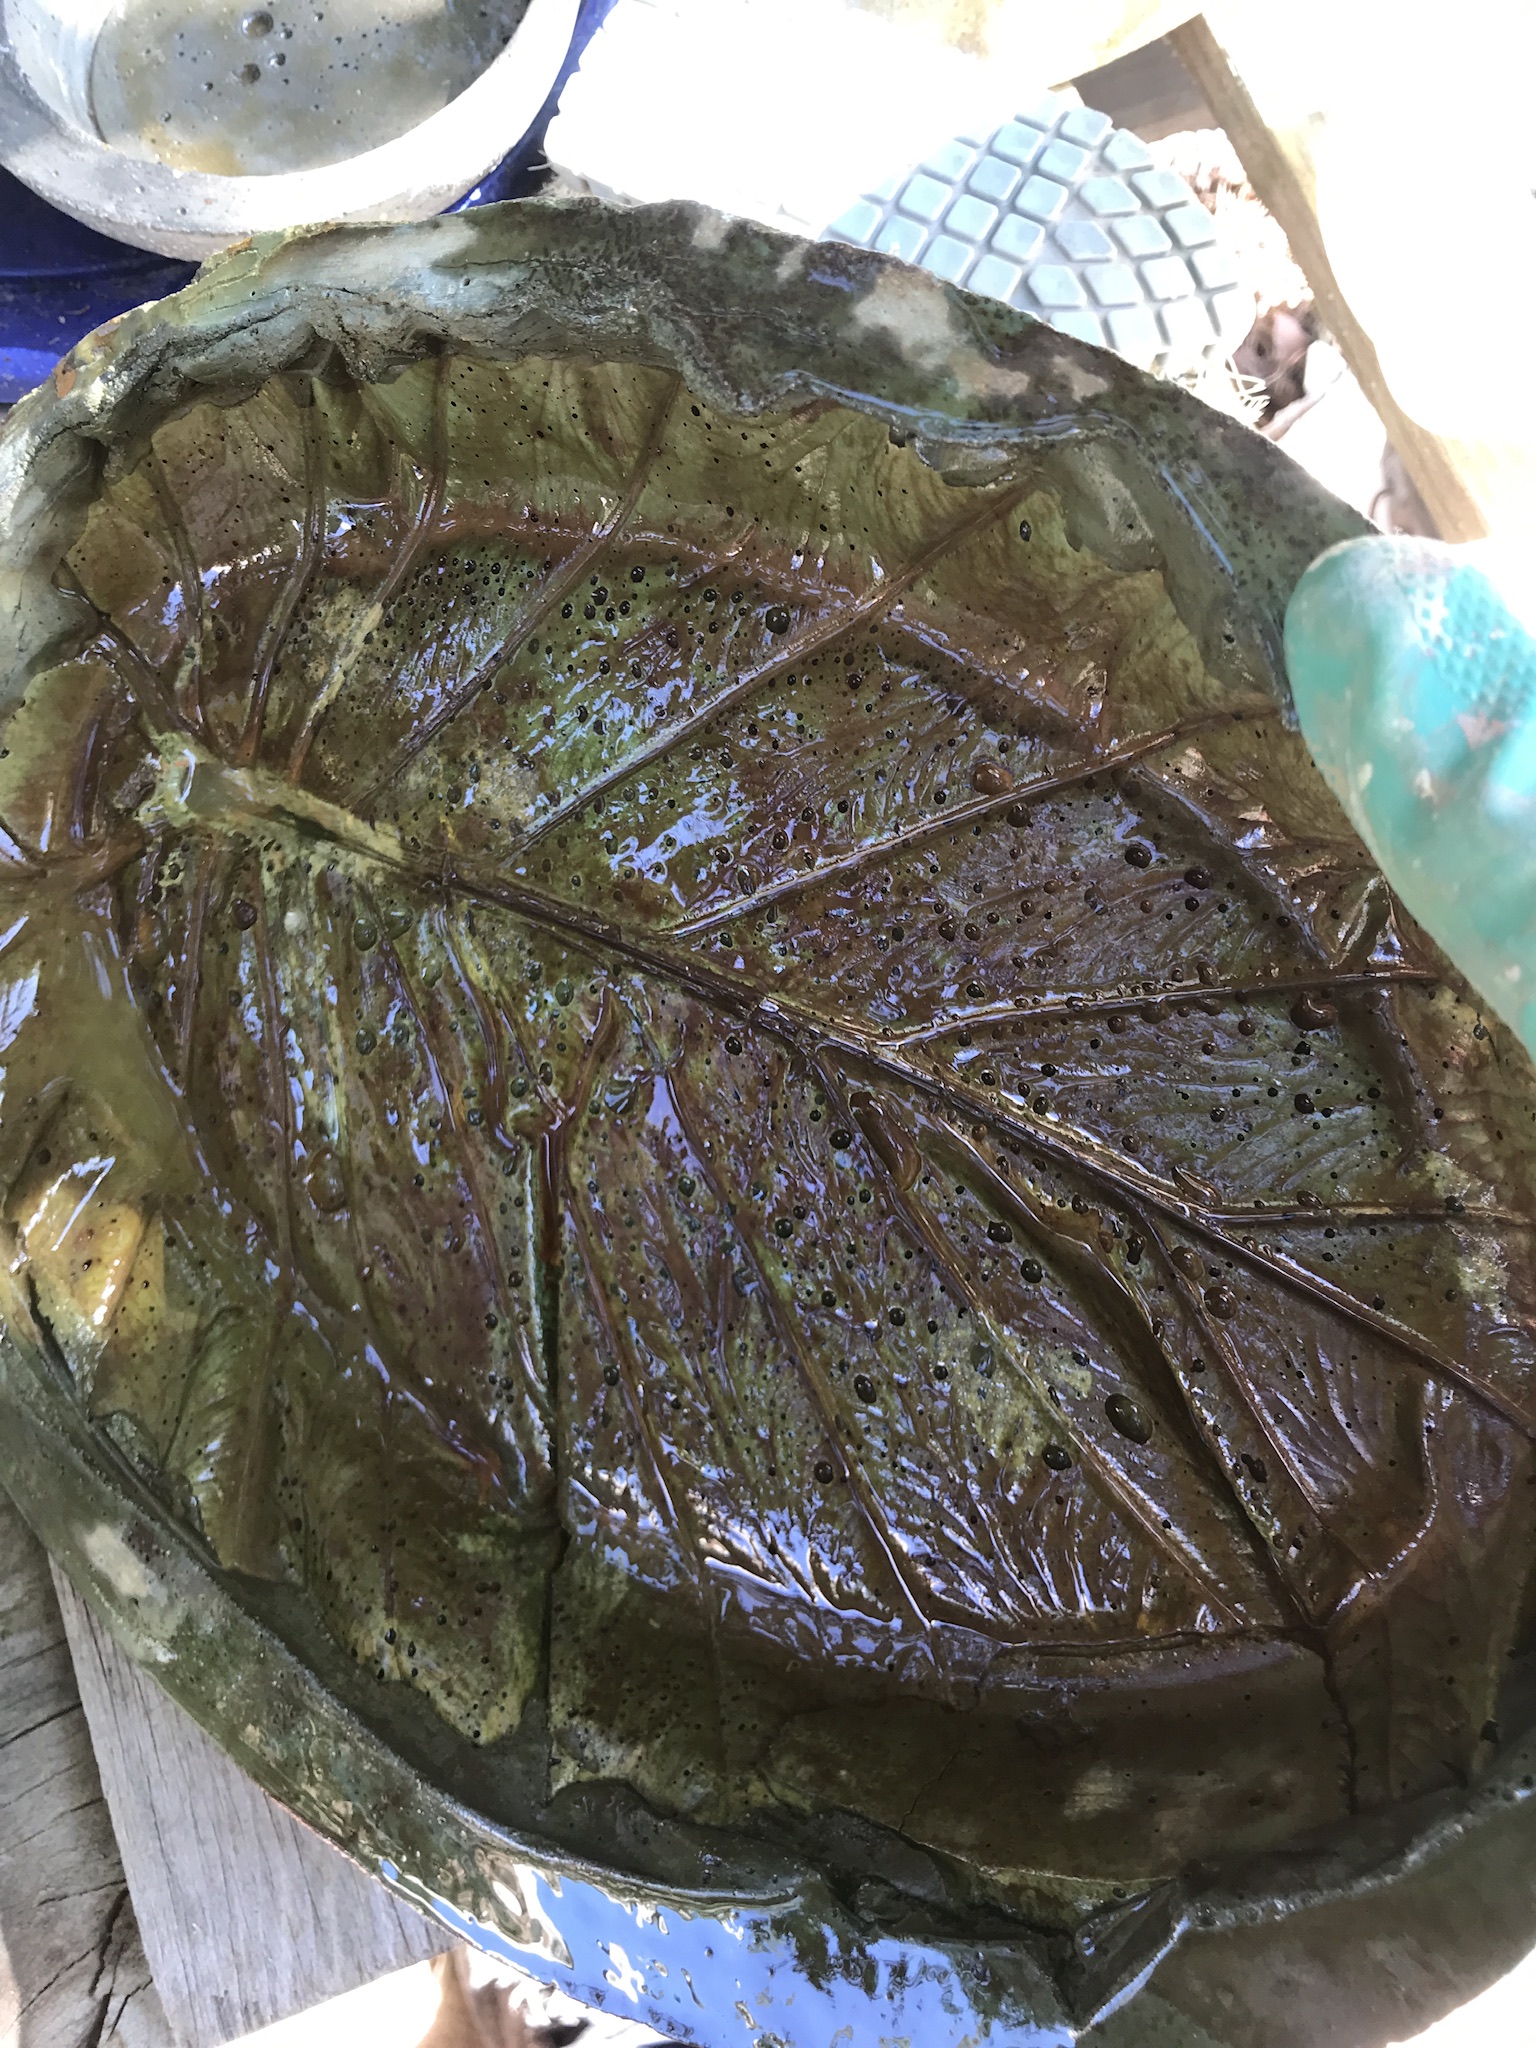
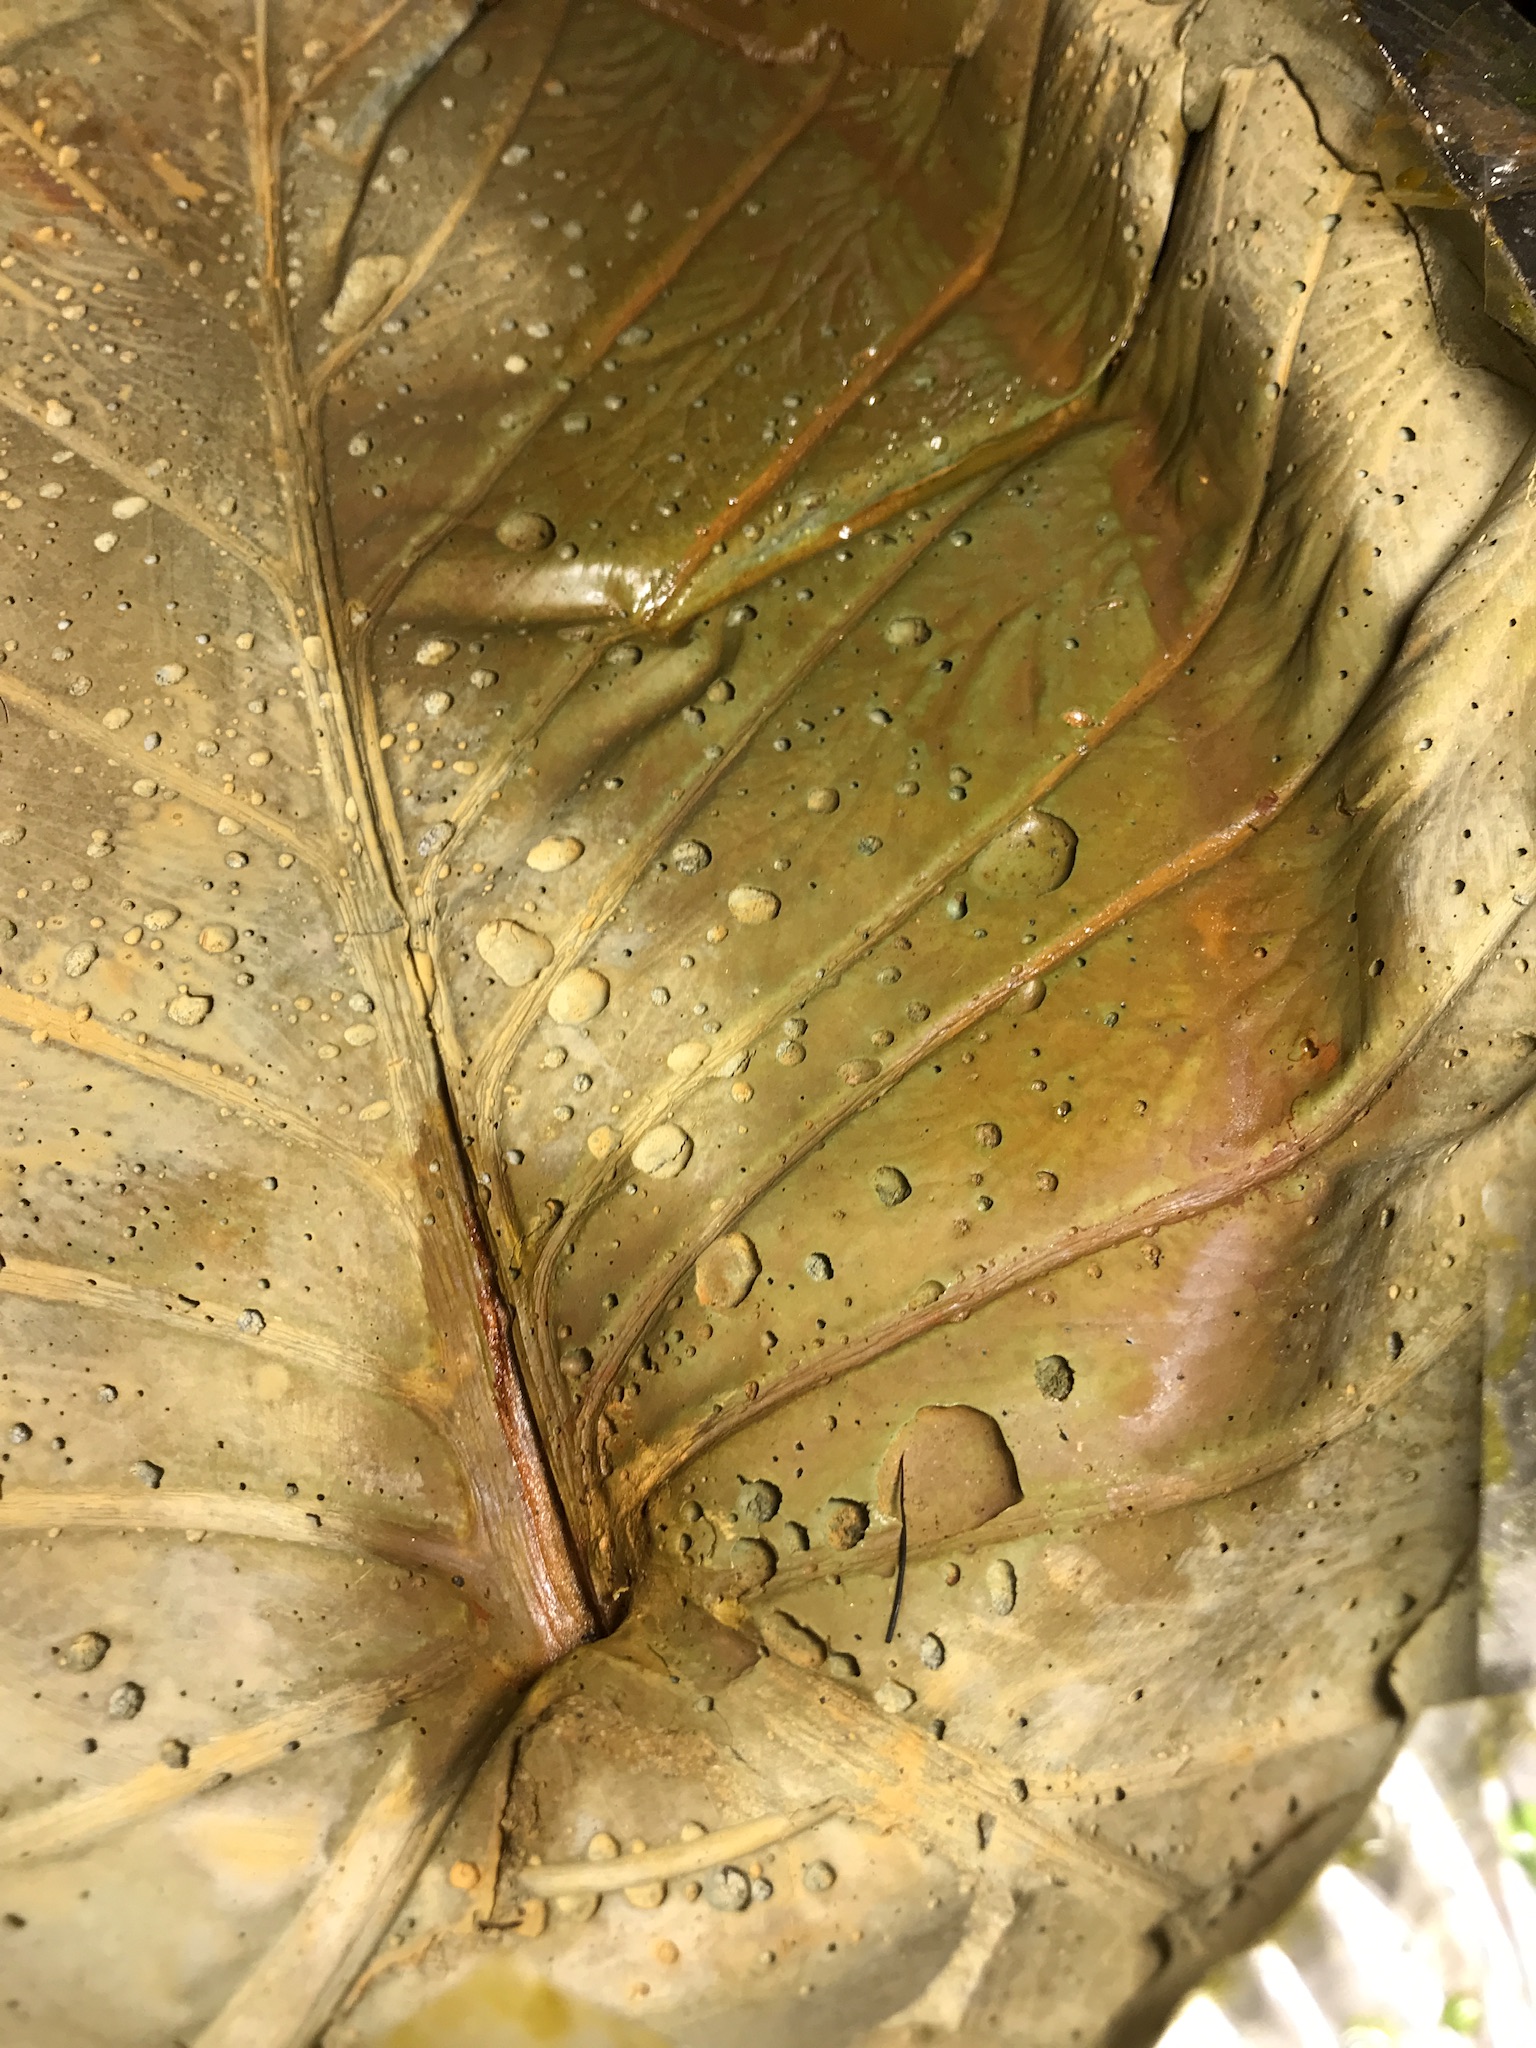
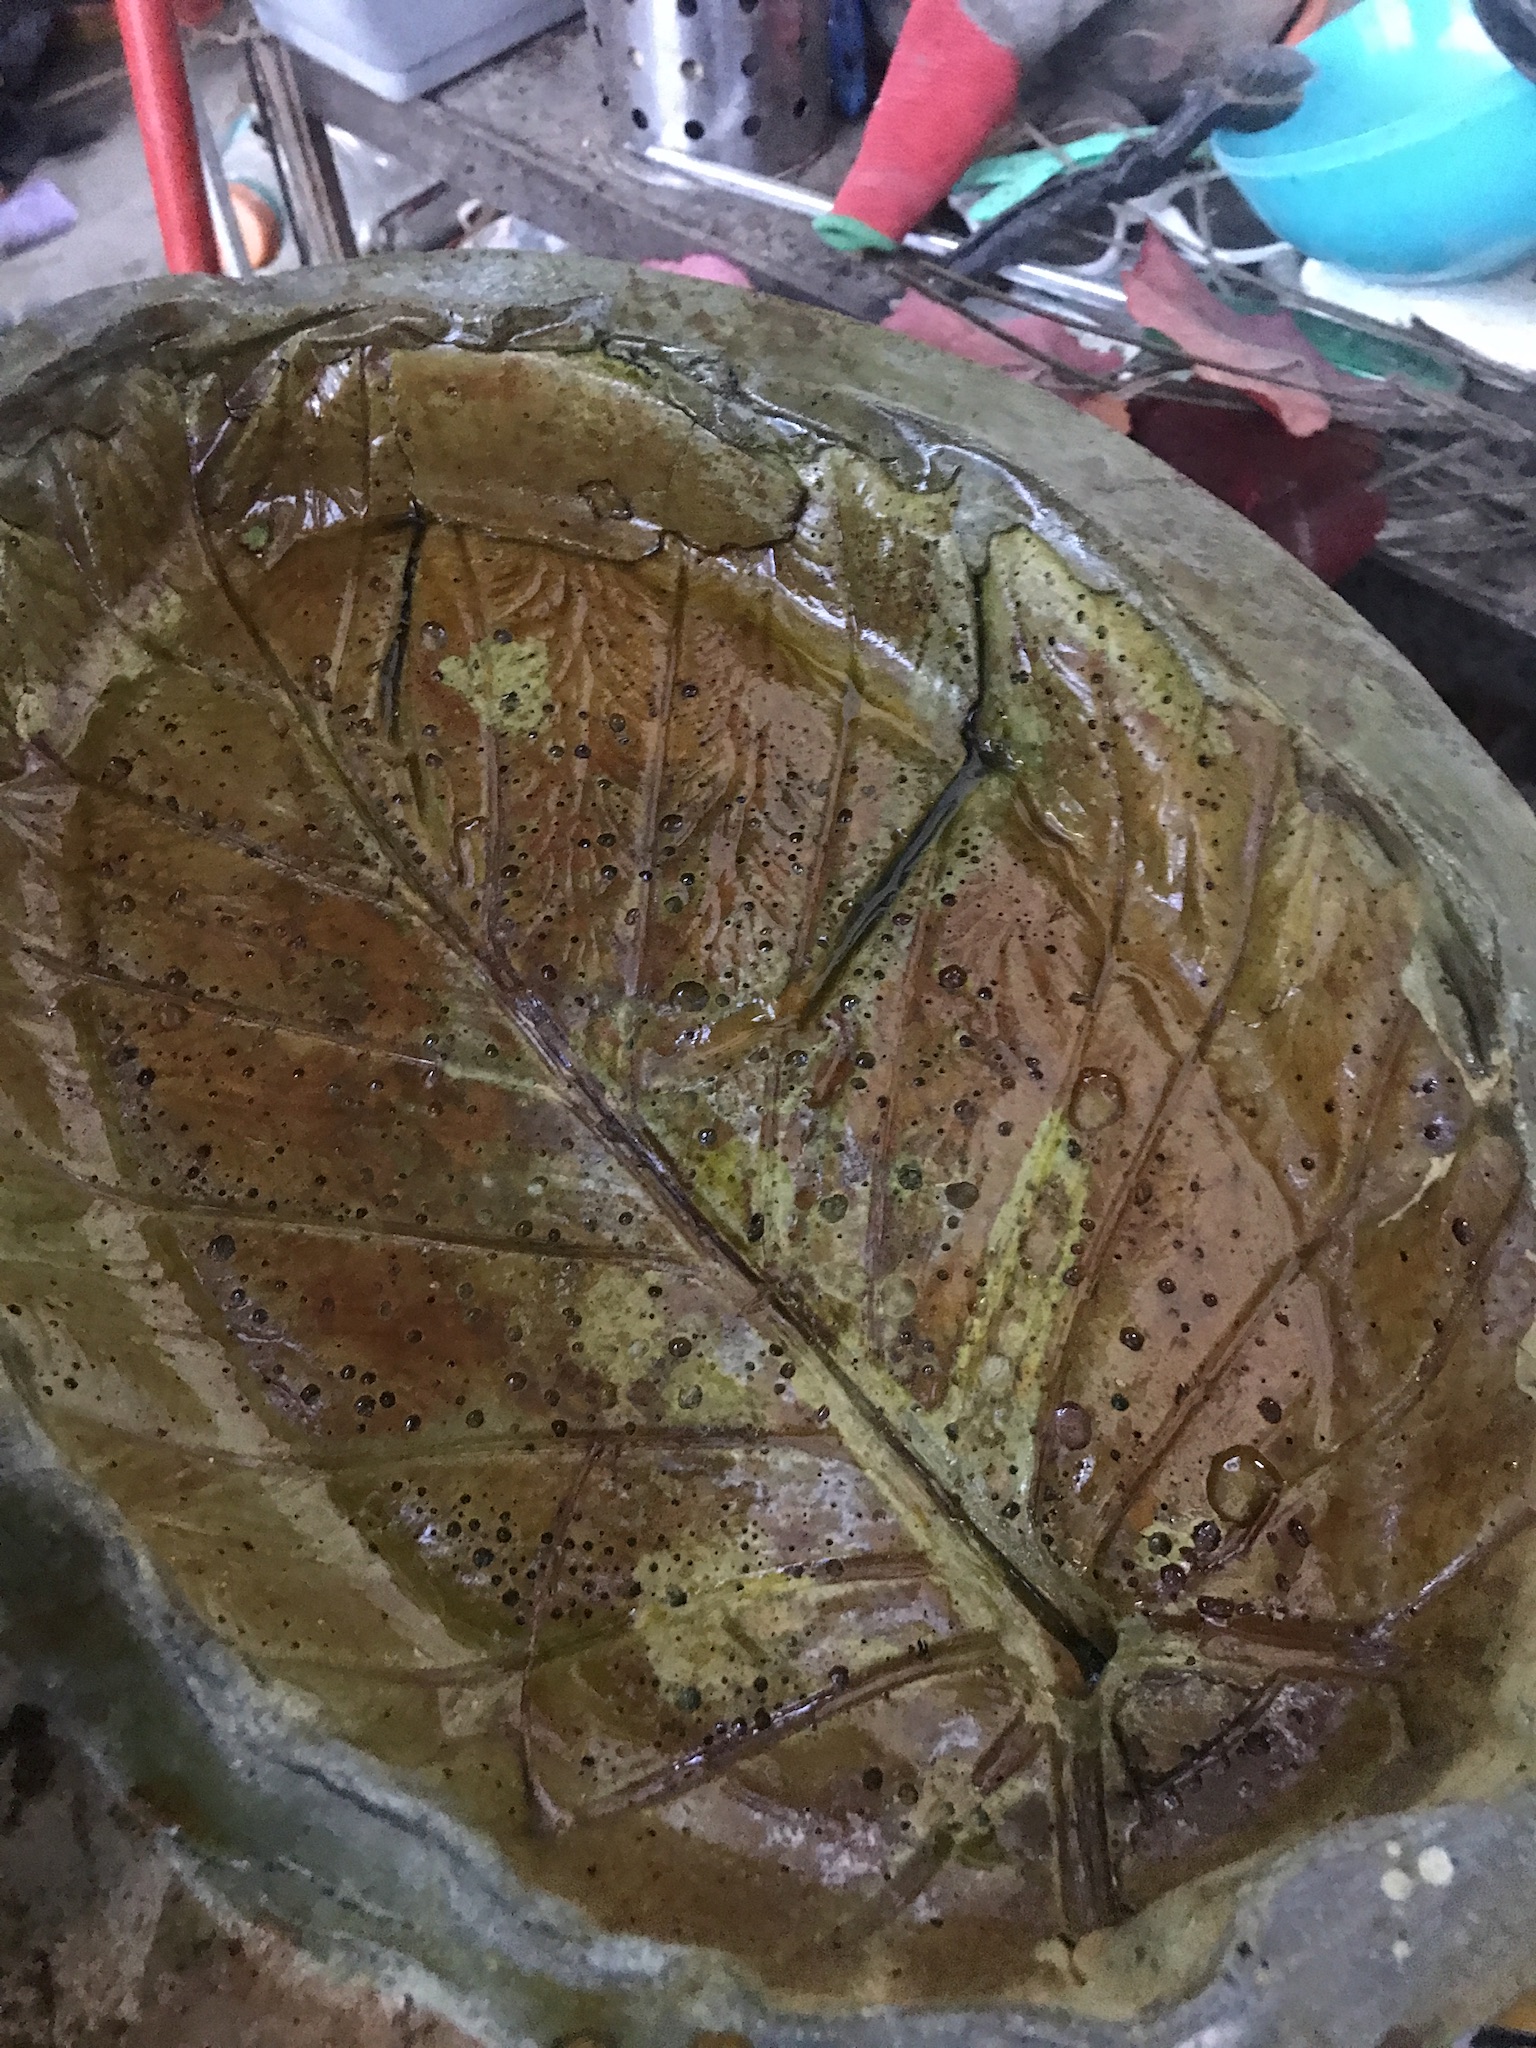
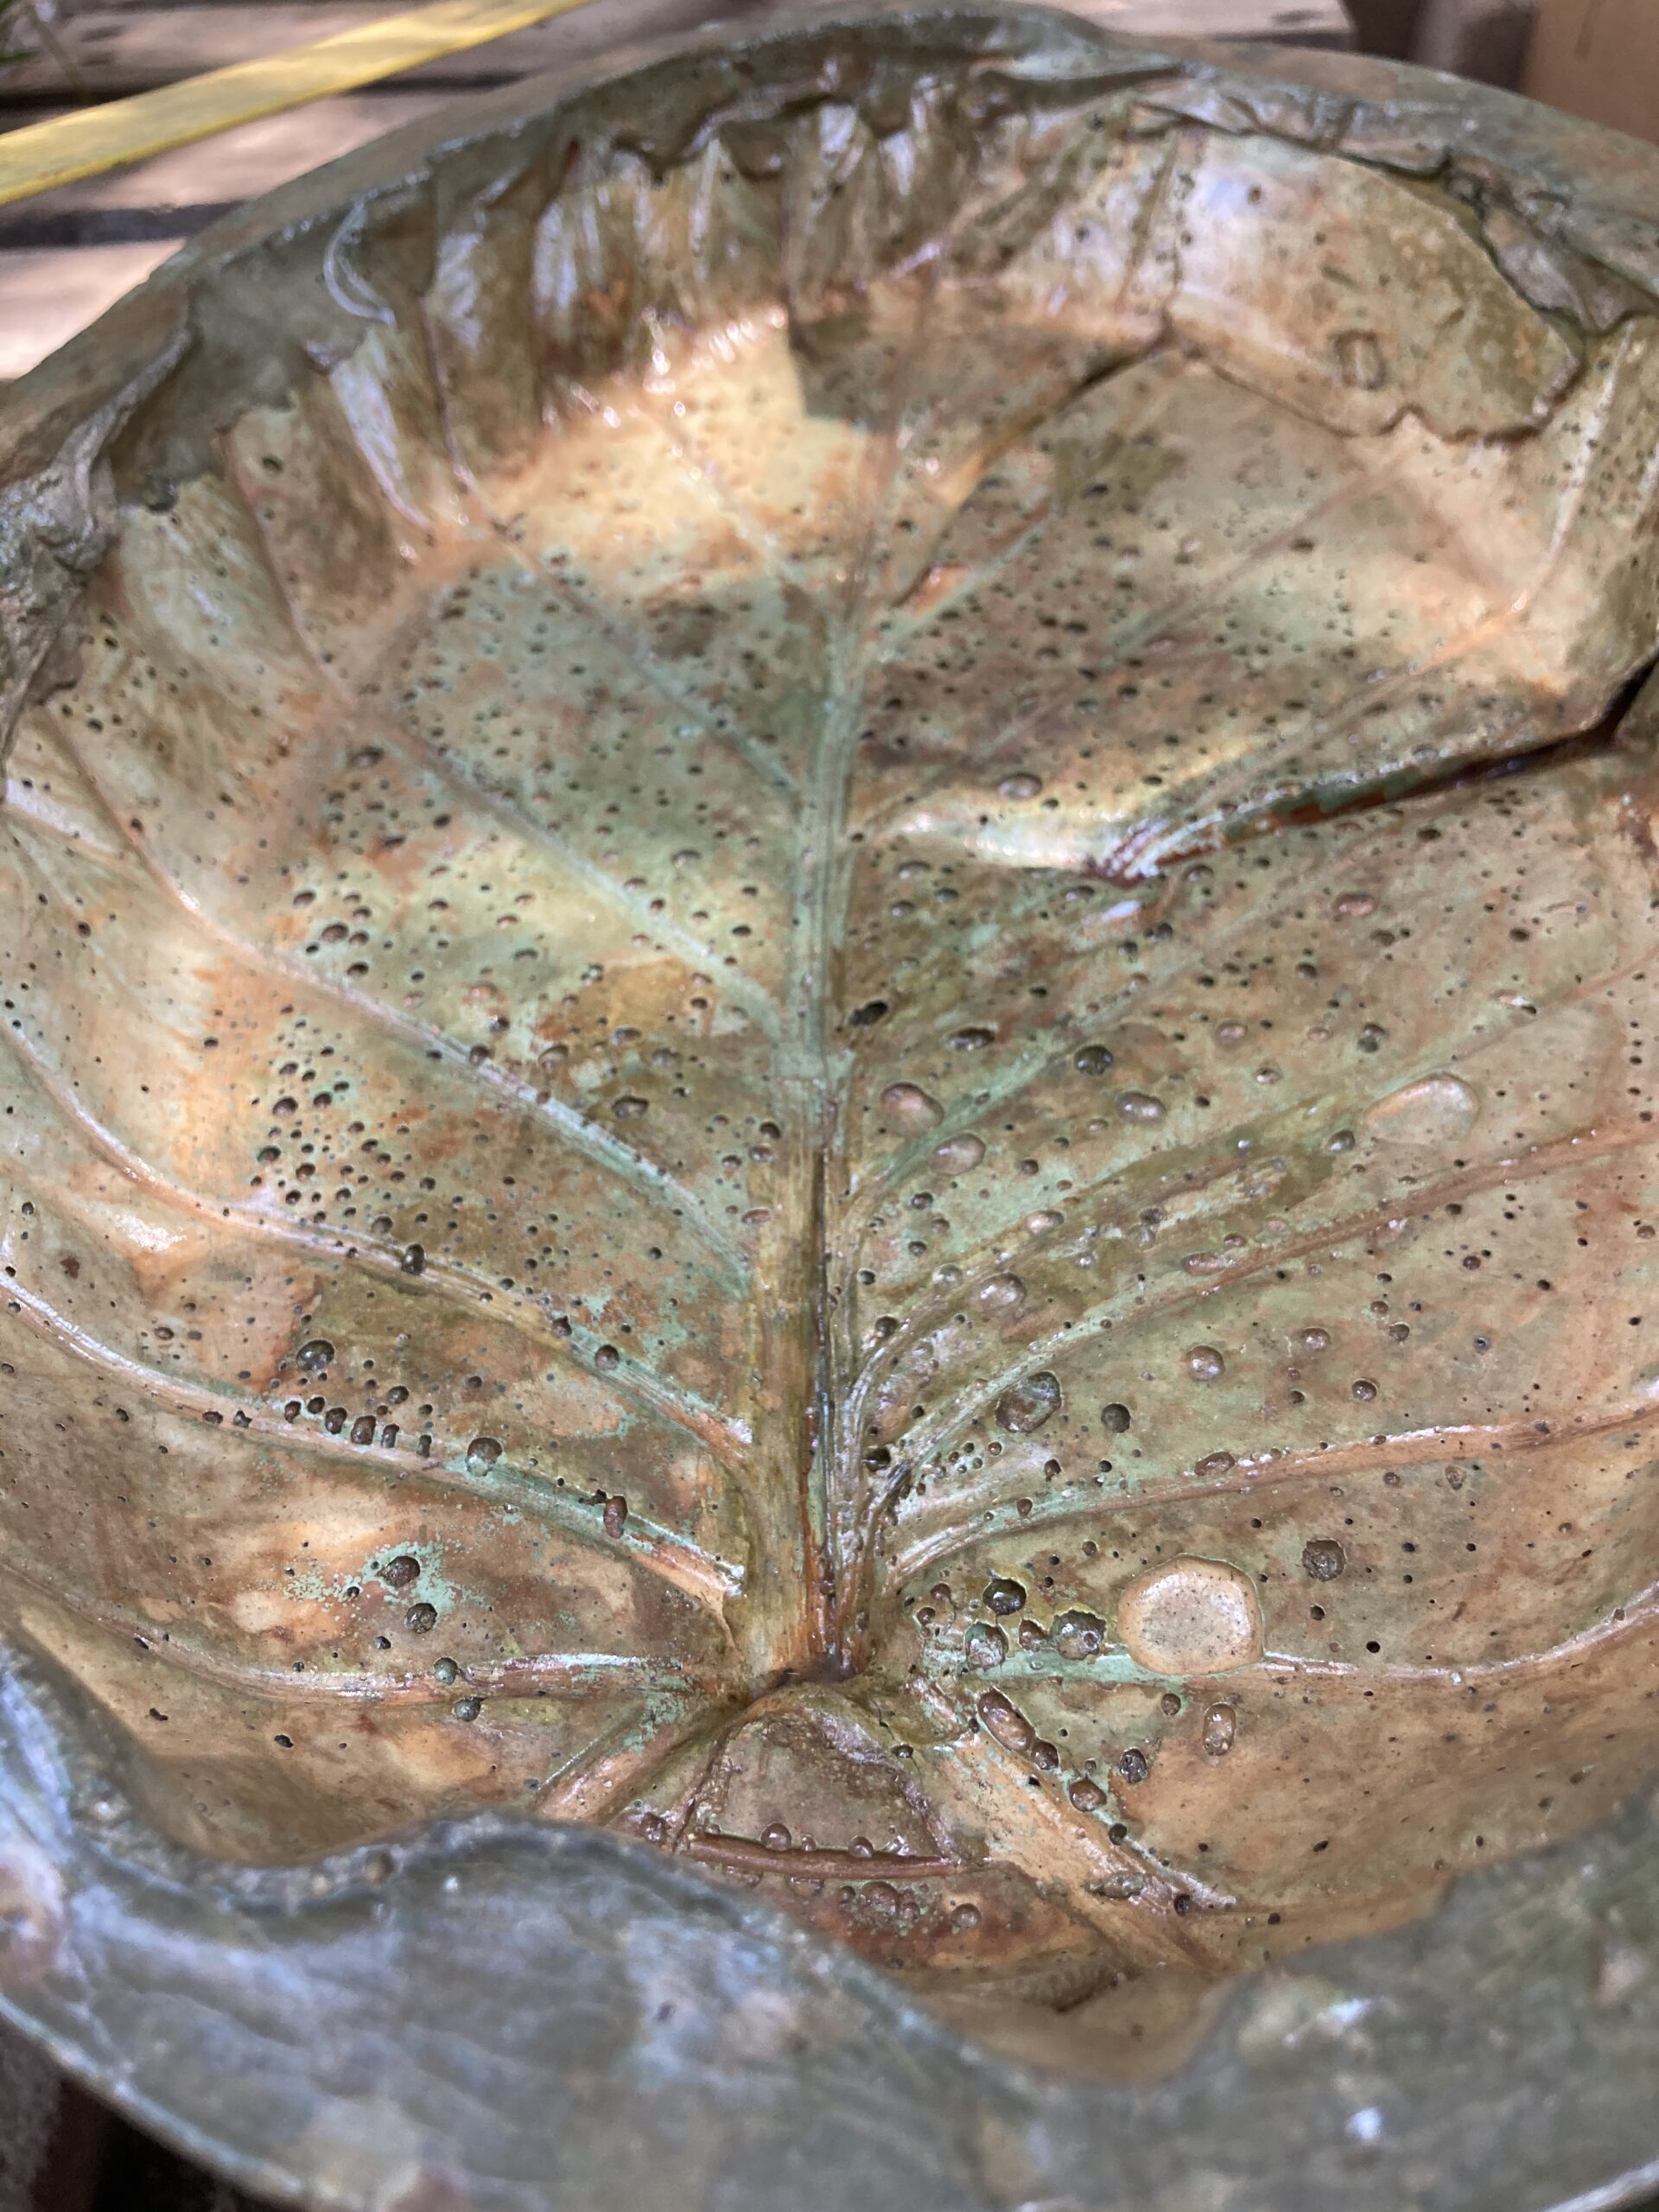
Alocasia Leaf Birdbath: A Creative Blend of Desert Amber and Avocado EverStain™ Acid Stains
This project displays a homemade birdbath created using a live-casted Alocasia leaf and beautifully stained with a mix of Desert Amber and Avocado EverStain™ Acid Stains. The novice user recommends quick and smooth application to avoid heavy lines and blotting any runs immediately for a natural, seamless appearance.
Project Info:
- Project Completed In: 14 day(s)
- Estimate of Square Footage: 1.70 sq. ft.
- Project Description:
I made a birdbath using a live casted Alocasia leaf for the inner dish you inlay. - Personal Tips:
This was my first time using this product, I blended two colors of EverStain “I was attempting to get a somewhat natural look” If I was going to suggest anything it would be to avoid any patterns or heavy lines while spraying, and to make each pump/shot swiftly and in motion. Since the surface was uneven and had many crevices and divet‘s I found having a sponge brush on standby or even in hand while spraying was very useful. When the product runs it can almost immediately become noticeable, so blotting any areas (right away) where a run occurred helped to avoid any unsightly or unwanted markings. - Direct Colors Products Used:
1 Gal. Desert Amber EverStain™
1 Gal. Avocado EverStain™
Fired Up in Avocado: DIY Elegance!
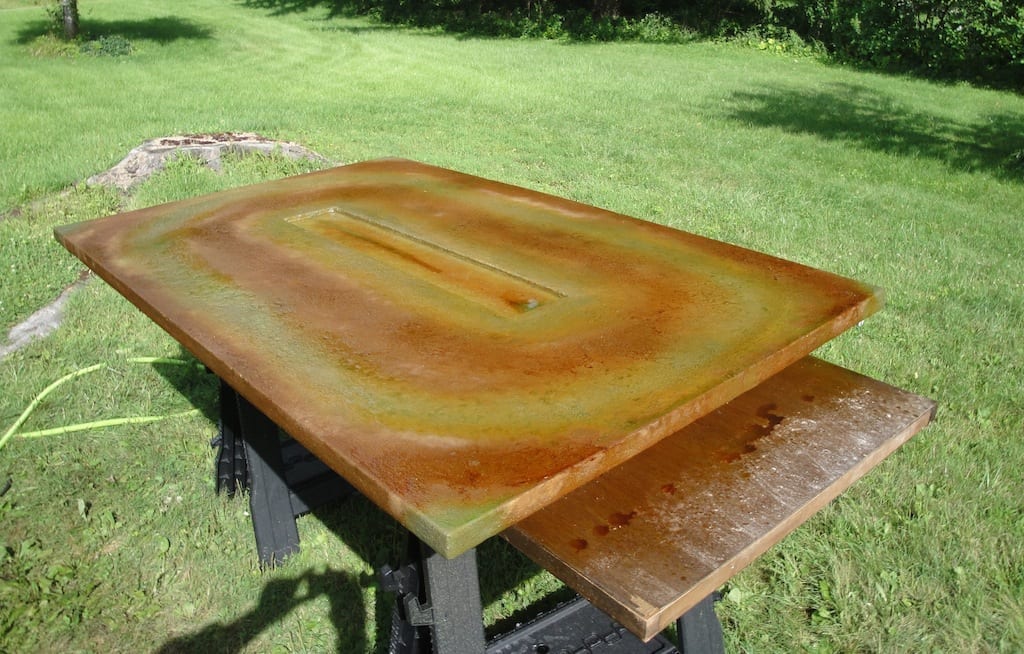
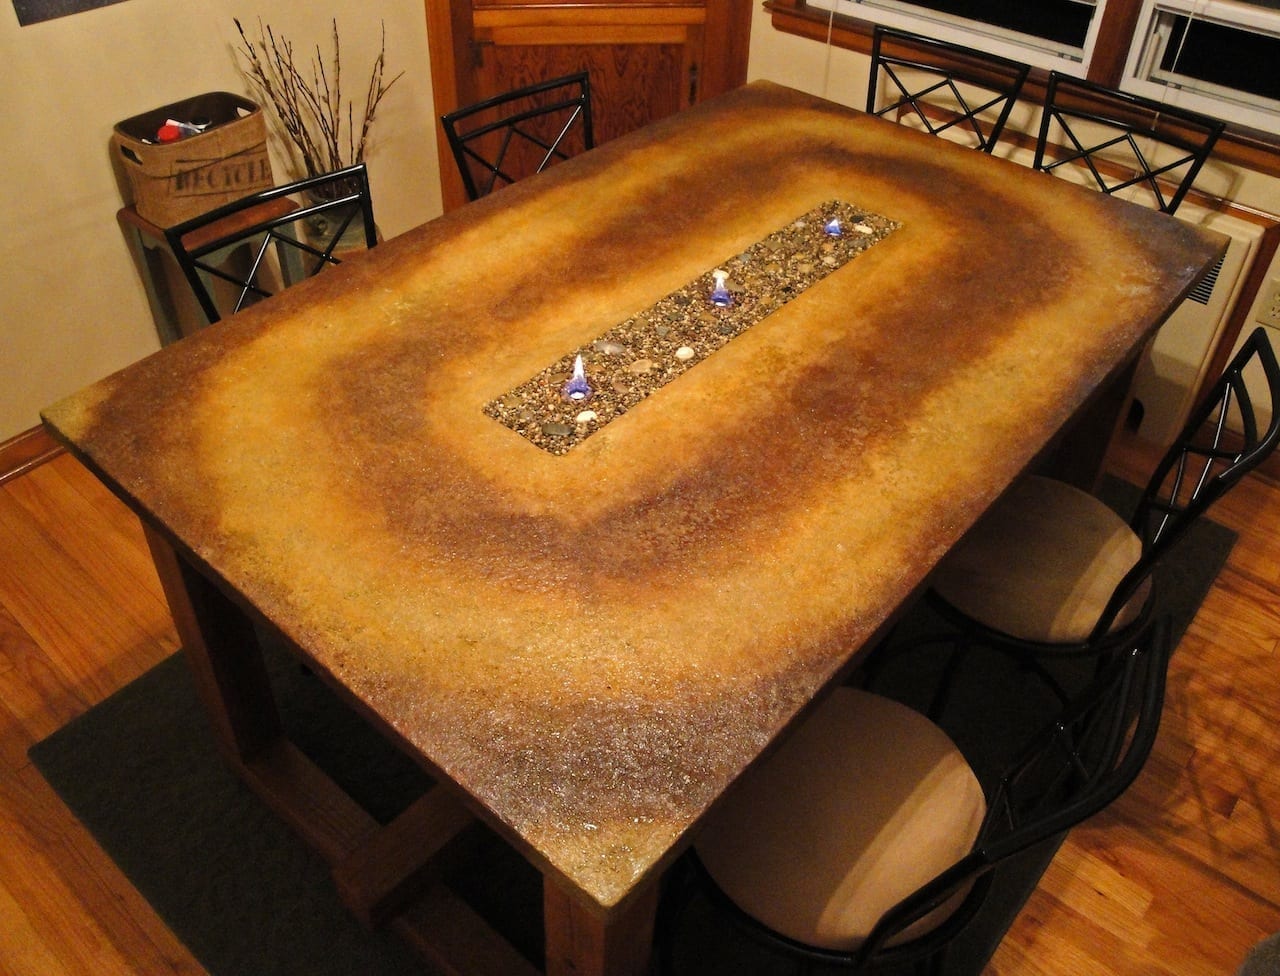
Ignite your creative spirit with our DIY Acid Stained Concrete Fire Table! Drenched in the lush hues of Avocado, this piece is a testament to at-home artistry. Eager to craft your own? Dive into the details at our blog: “DIY Acid Stained Concrete Fire Table.” 🔥🥑
