Acid Stained Concrete Floors: How-to Guide
Acid stain is a low-cost flooring option for concrete floors. Along with customizable color, acid staining and sealing ensures durability and added life to any indoor or outdoor concrete surface.

How Much Do Acid Stained Concrete Floors Cost?
The cost of acid stained floors begins at $0.47 per square foot, which is far less than tile, carpet, marble, or other common flooring options. Depending on design and surface conditions, costs can rise as high as $10.00 per square foot!
Yet, unlike hardwood, tile, and carpet, which require professional installation, homeowners can lower costs by acid staining concrete flooring themselves.
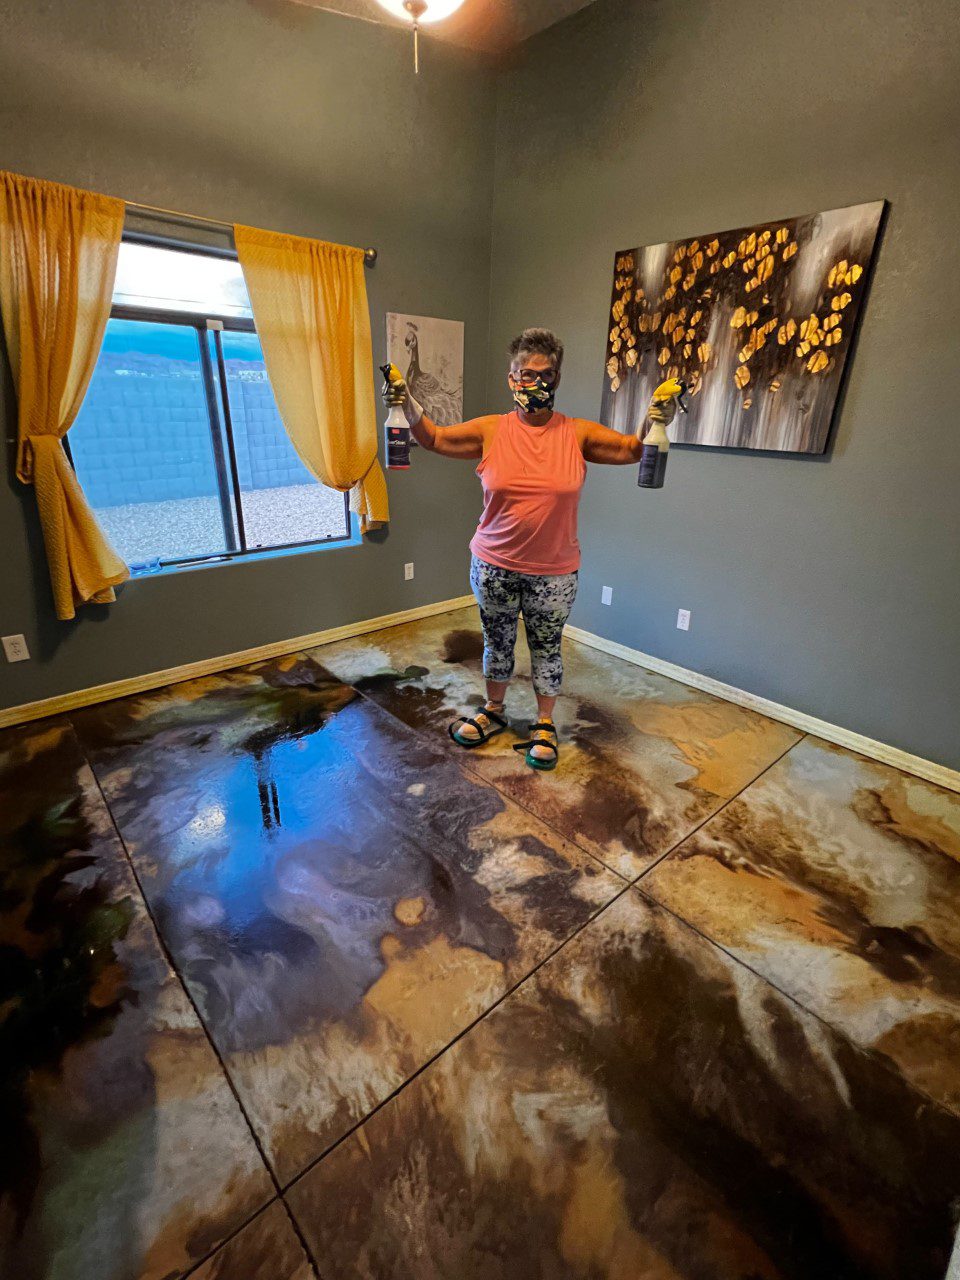
What is acid stain?
Acid stain is a translucent, penetrating stain that slightly etches and permanently changes the color of concrete by reacting chemically with the hydrated lime in the concrete.
When deciding on a look for your new flooring project, it’s important to understand that acid stain is not an overcoat like paint.
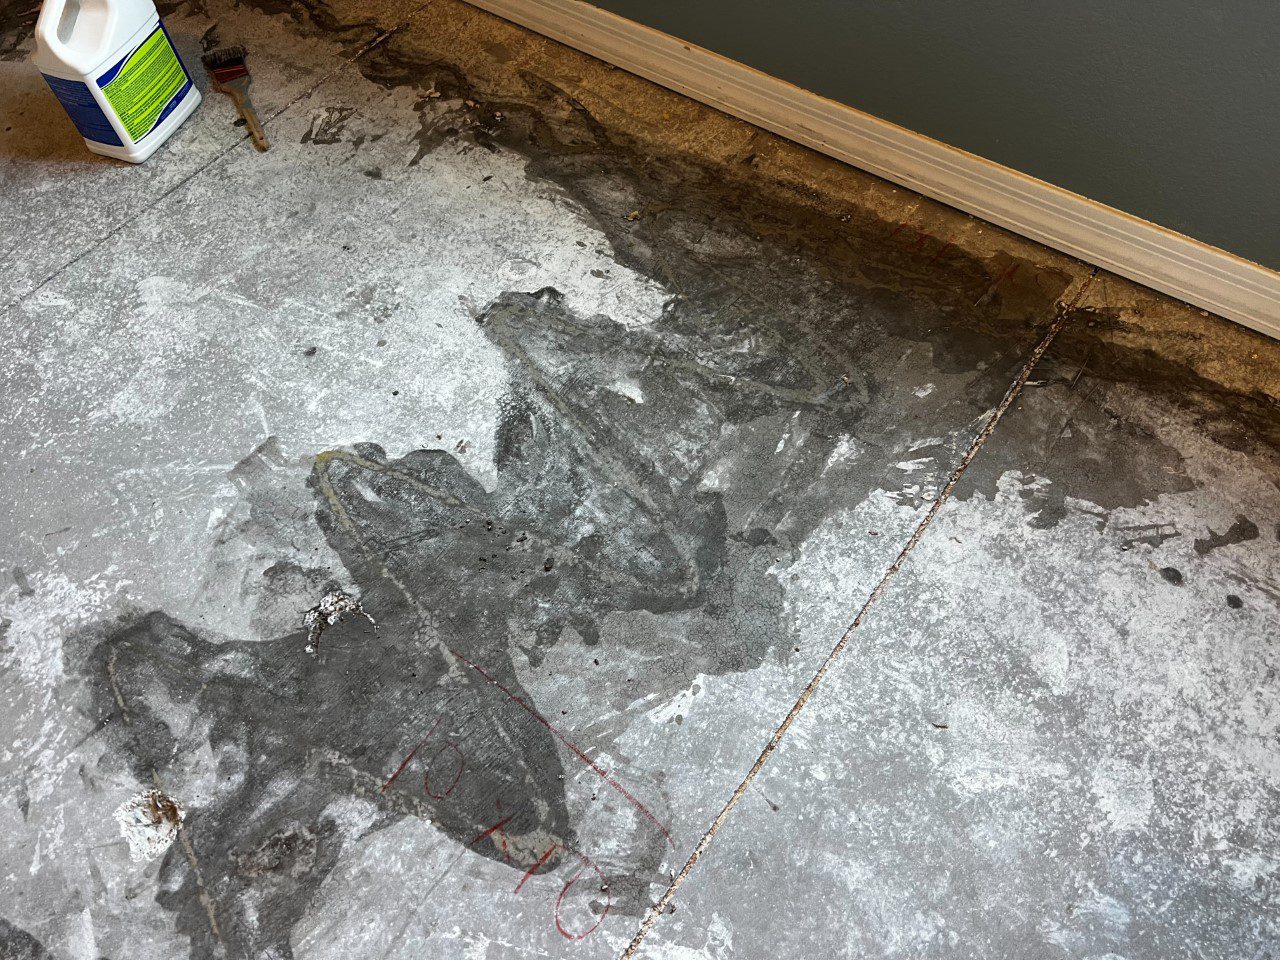
If your concrete floor has drywall, mud, paint, wood stains, tile adhesives, carpet adhesives, grease, pet stains, etc. either from construction or years of use, preparation of the concrete surface is crucial to achieving ideal results.
Acid Stained Concrete Floors: How to Guide
Step 1: Prepare Surface
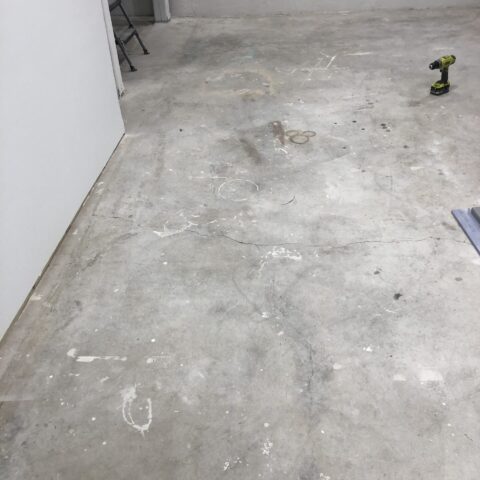
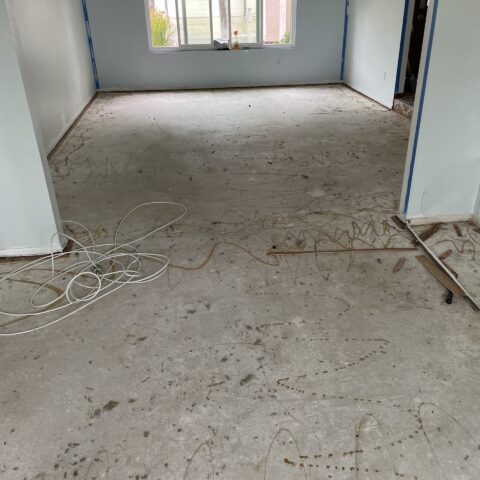
Surface preparation is the most important step of the acid staining process. The concrete must be free of adhesives, dirt, paint, oils, drywall, mud, sealer, and stain. Acid stain cannot react with the concrete if any of these contaminants are present.
Concrete Floors NOT Ready For Staining
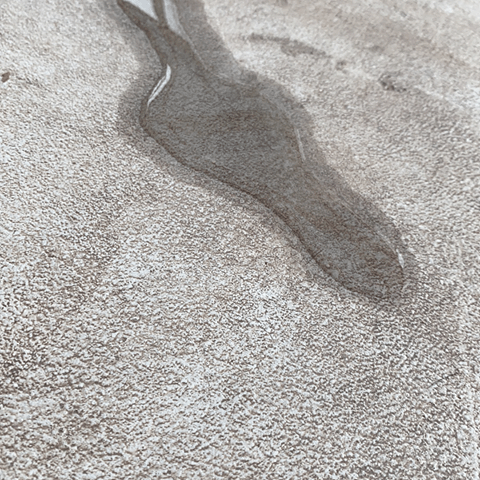
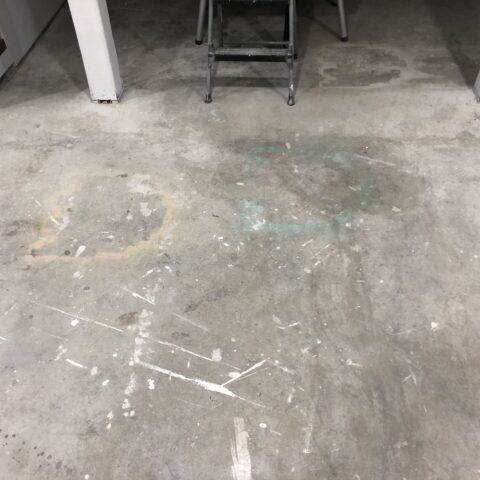
Step 2: Clean the Concrete
Clean the floor with a light concrete cleaner and degreaser solution. Thoroughly scrub and rinse all residues from the surface. Use a shop vac to vacuum up the rinse water and speed up the drying time.
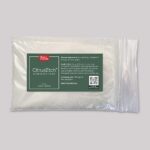
If your concrete floors are machine troweled, prepare the surface by etching it with CitrusEtch™ concrete etcher. This process will add texture to smooth concrete floors for increased stain absorption.
Concrete Floors Ready For Staining
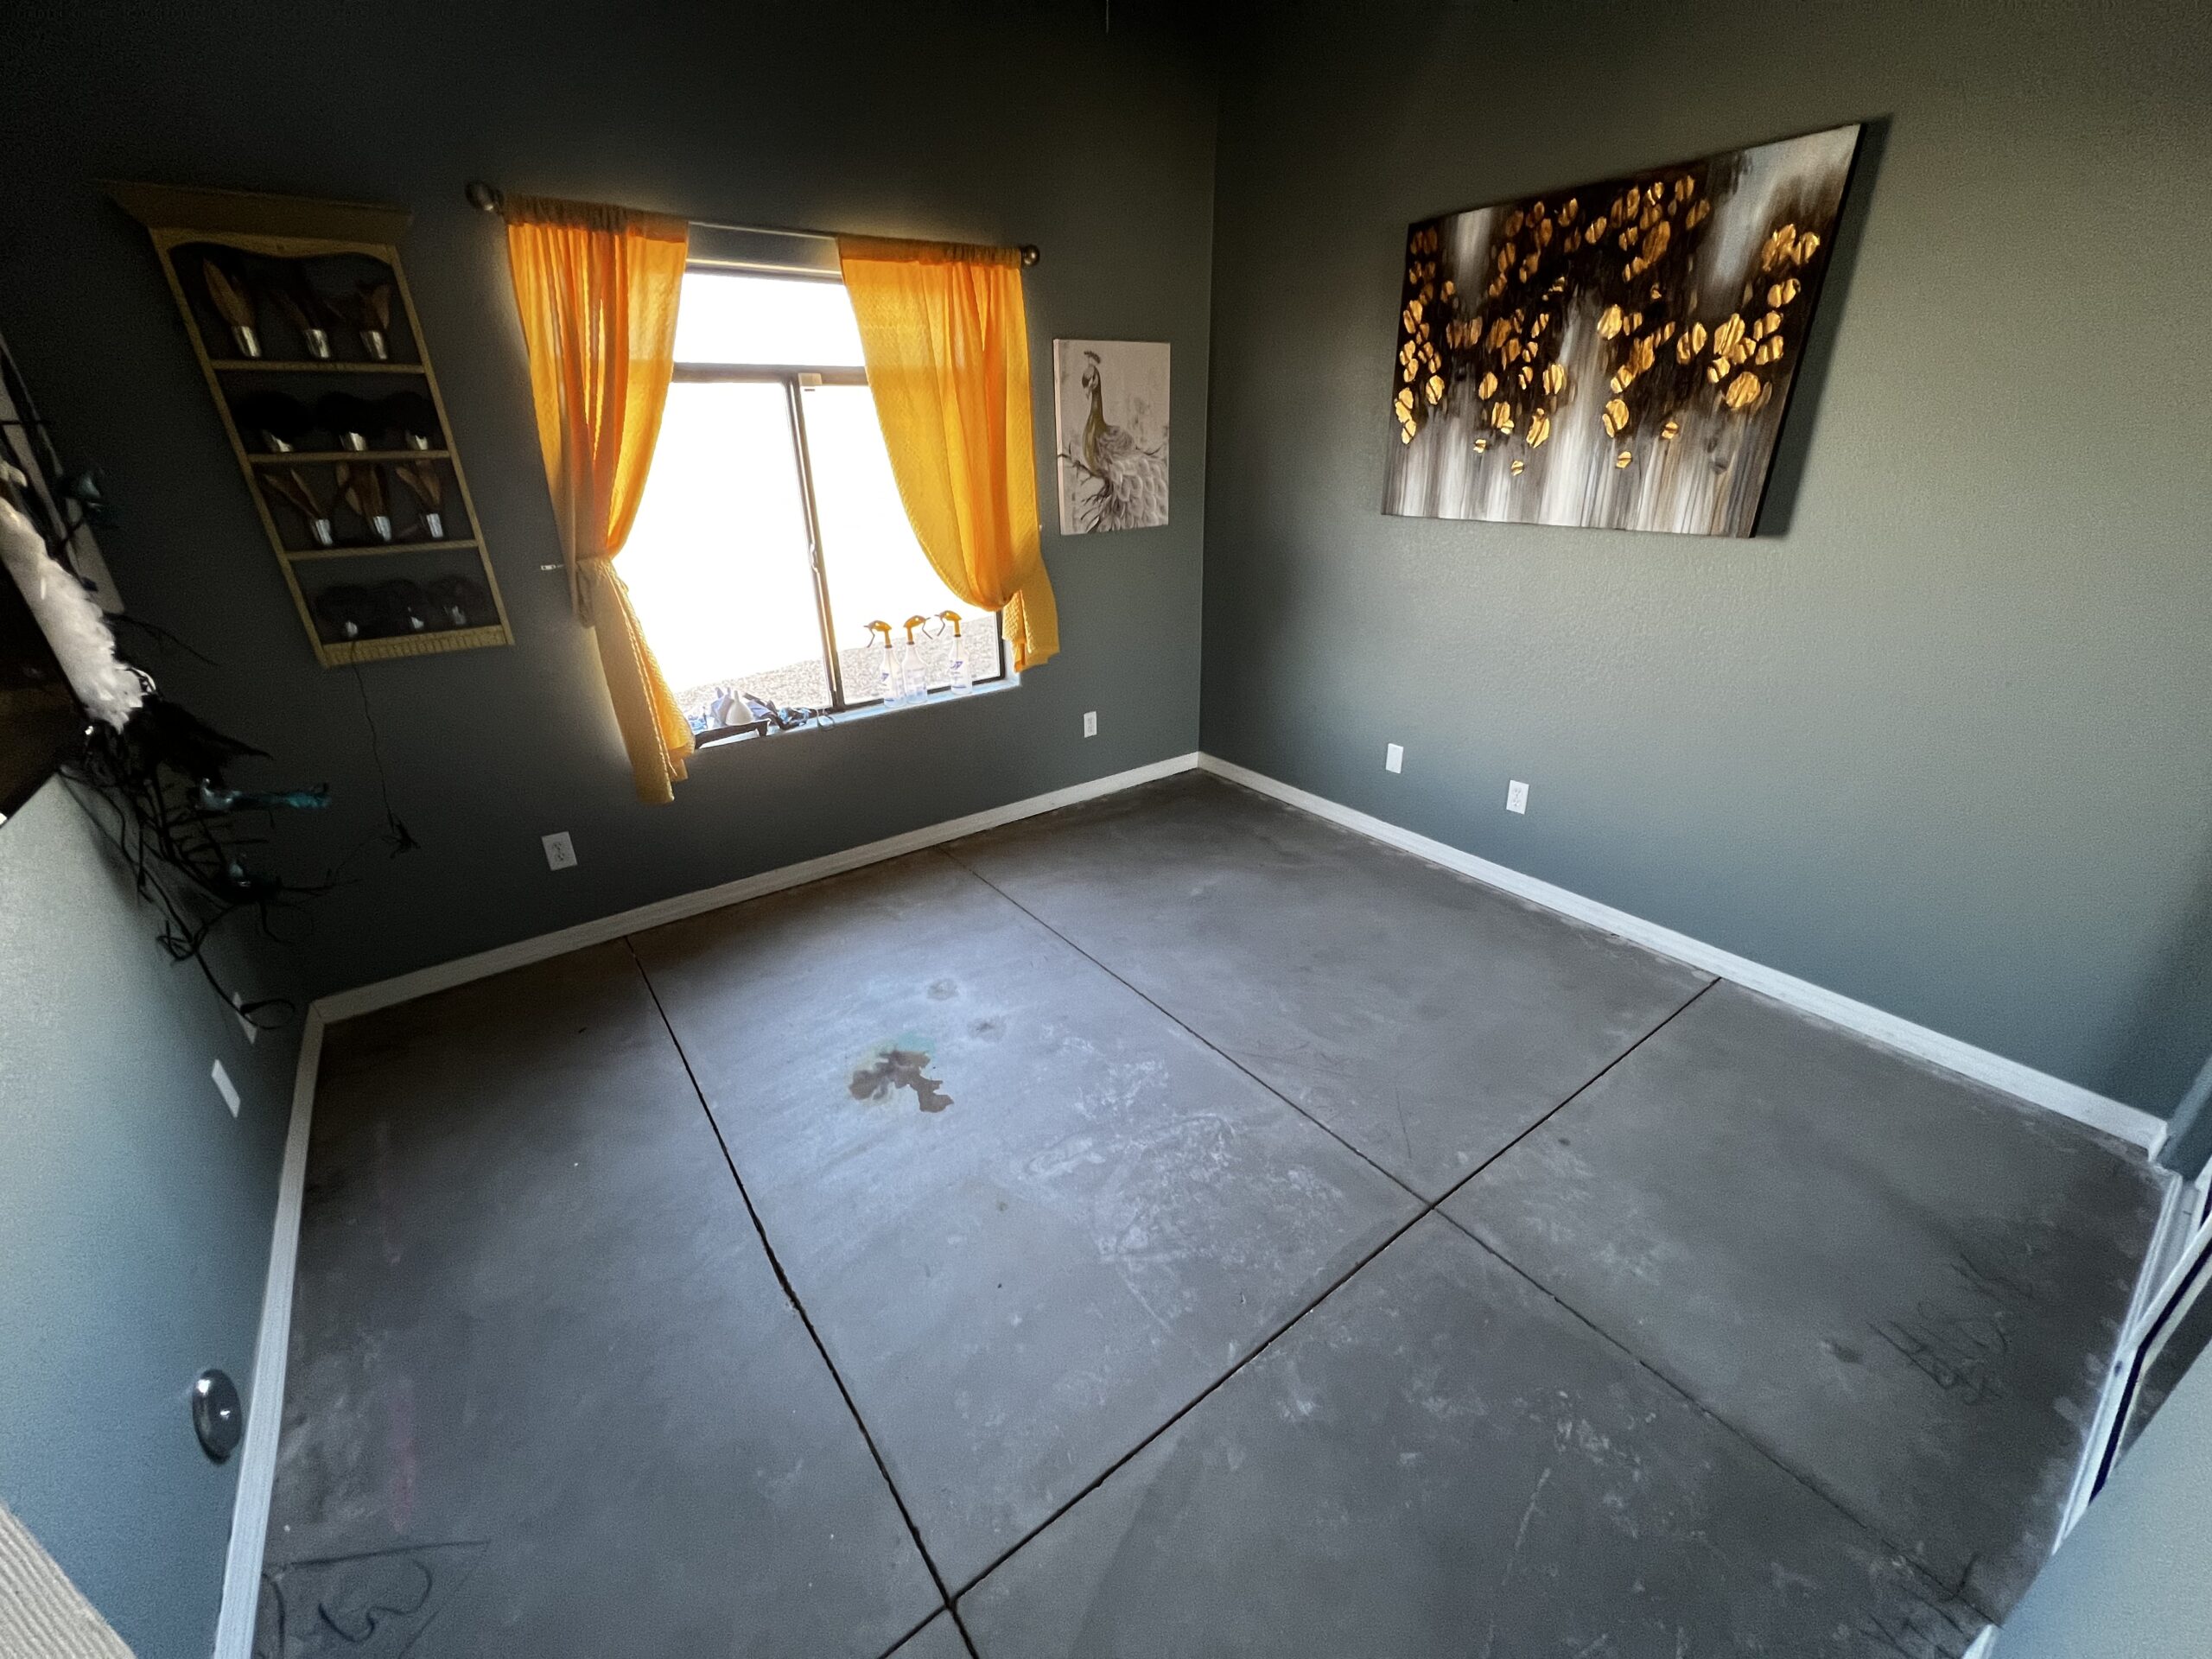
Step 3: Apply the Acid Stain
Apply acid stain using a pump up sprayer or an industrial strength plastic sprayer. Safety while applying colorant is important! Remember to use long sleeves, pants, goggles, and gloves while working with the acid stain.
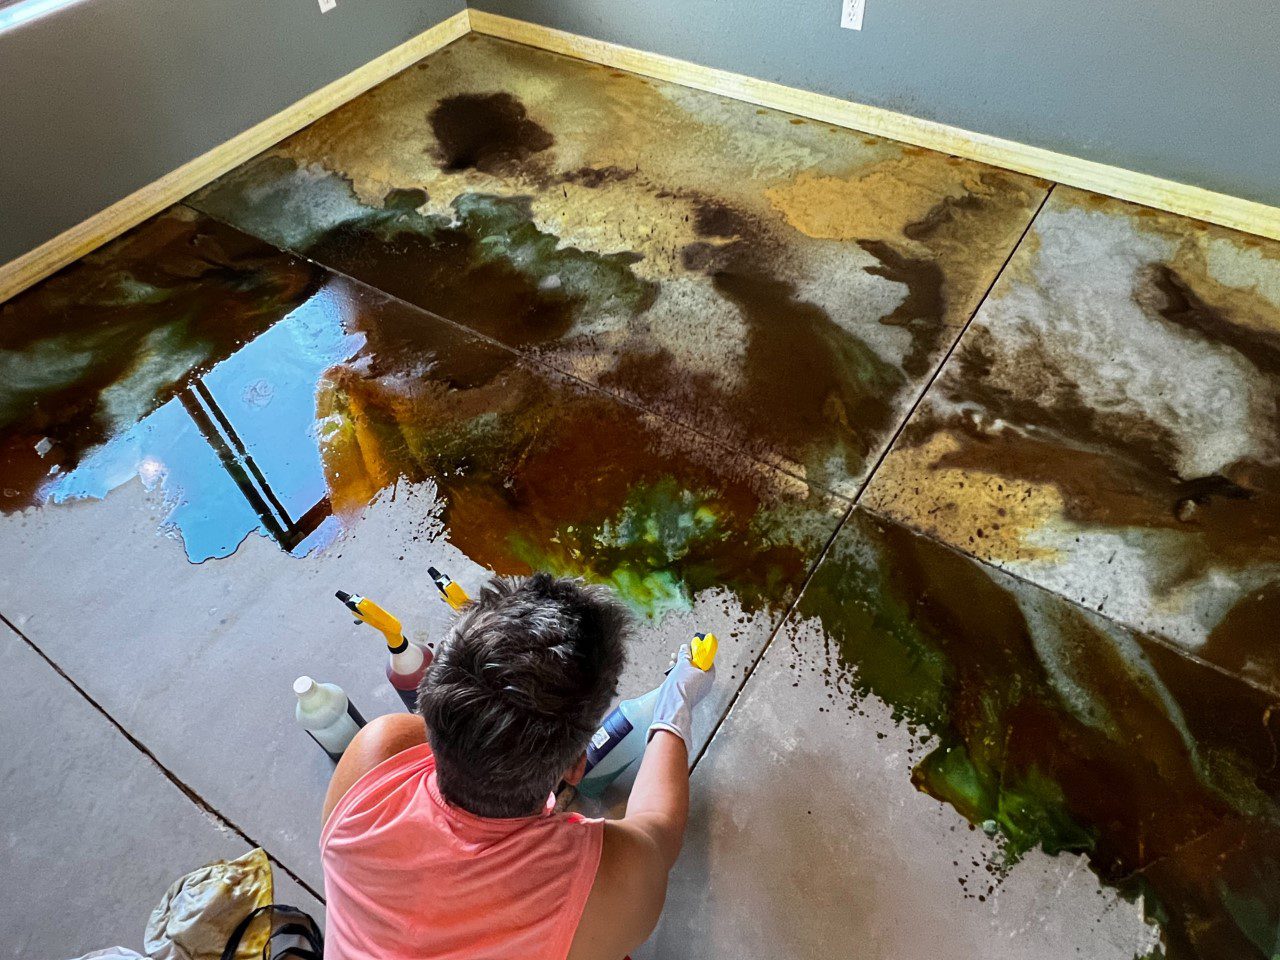
The stain color finish is highly influenced on how you apply the acid stain. Here are a few tips on how to achieve the ideal finished product:
- For an even-toned color, spray the acid stain in a circular motion.
- For a dark toned color, use a brush to work the acid stain into the surface using consistent circular strokes. Then spray on a second coat to eliminate any brush strokes on the surface.
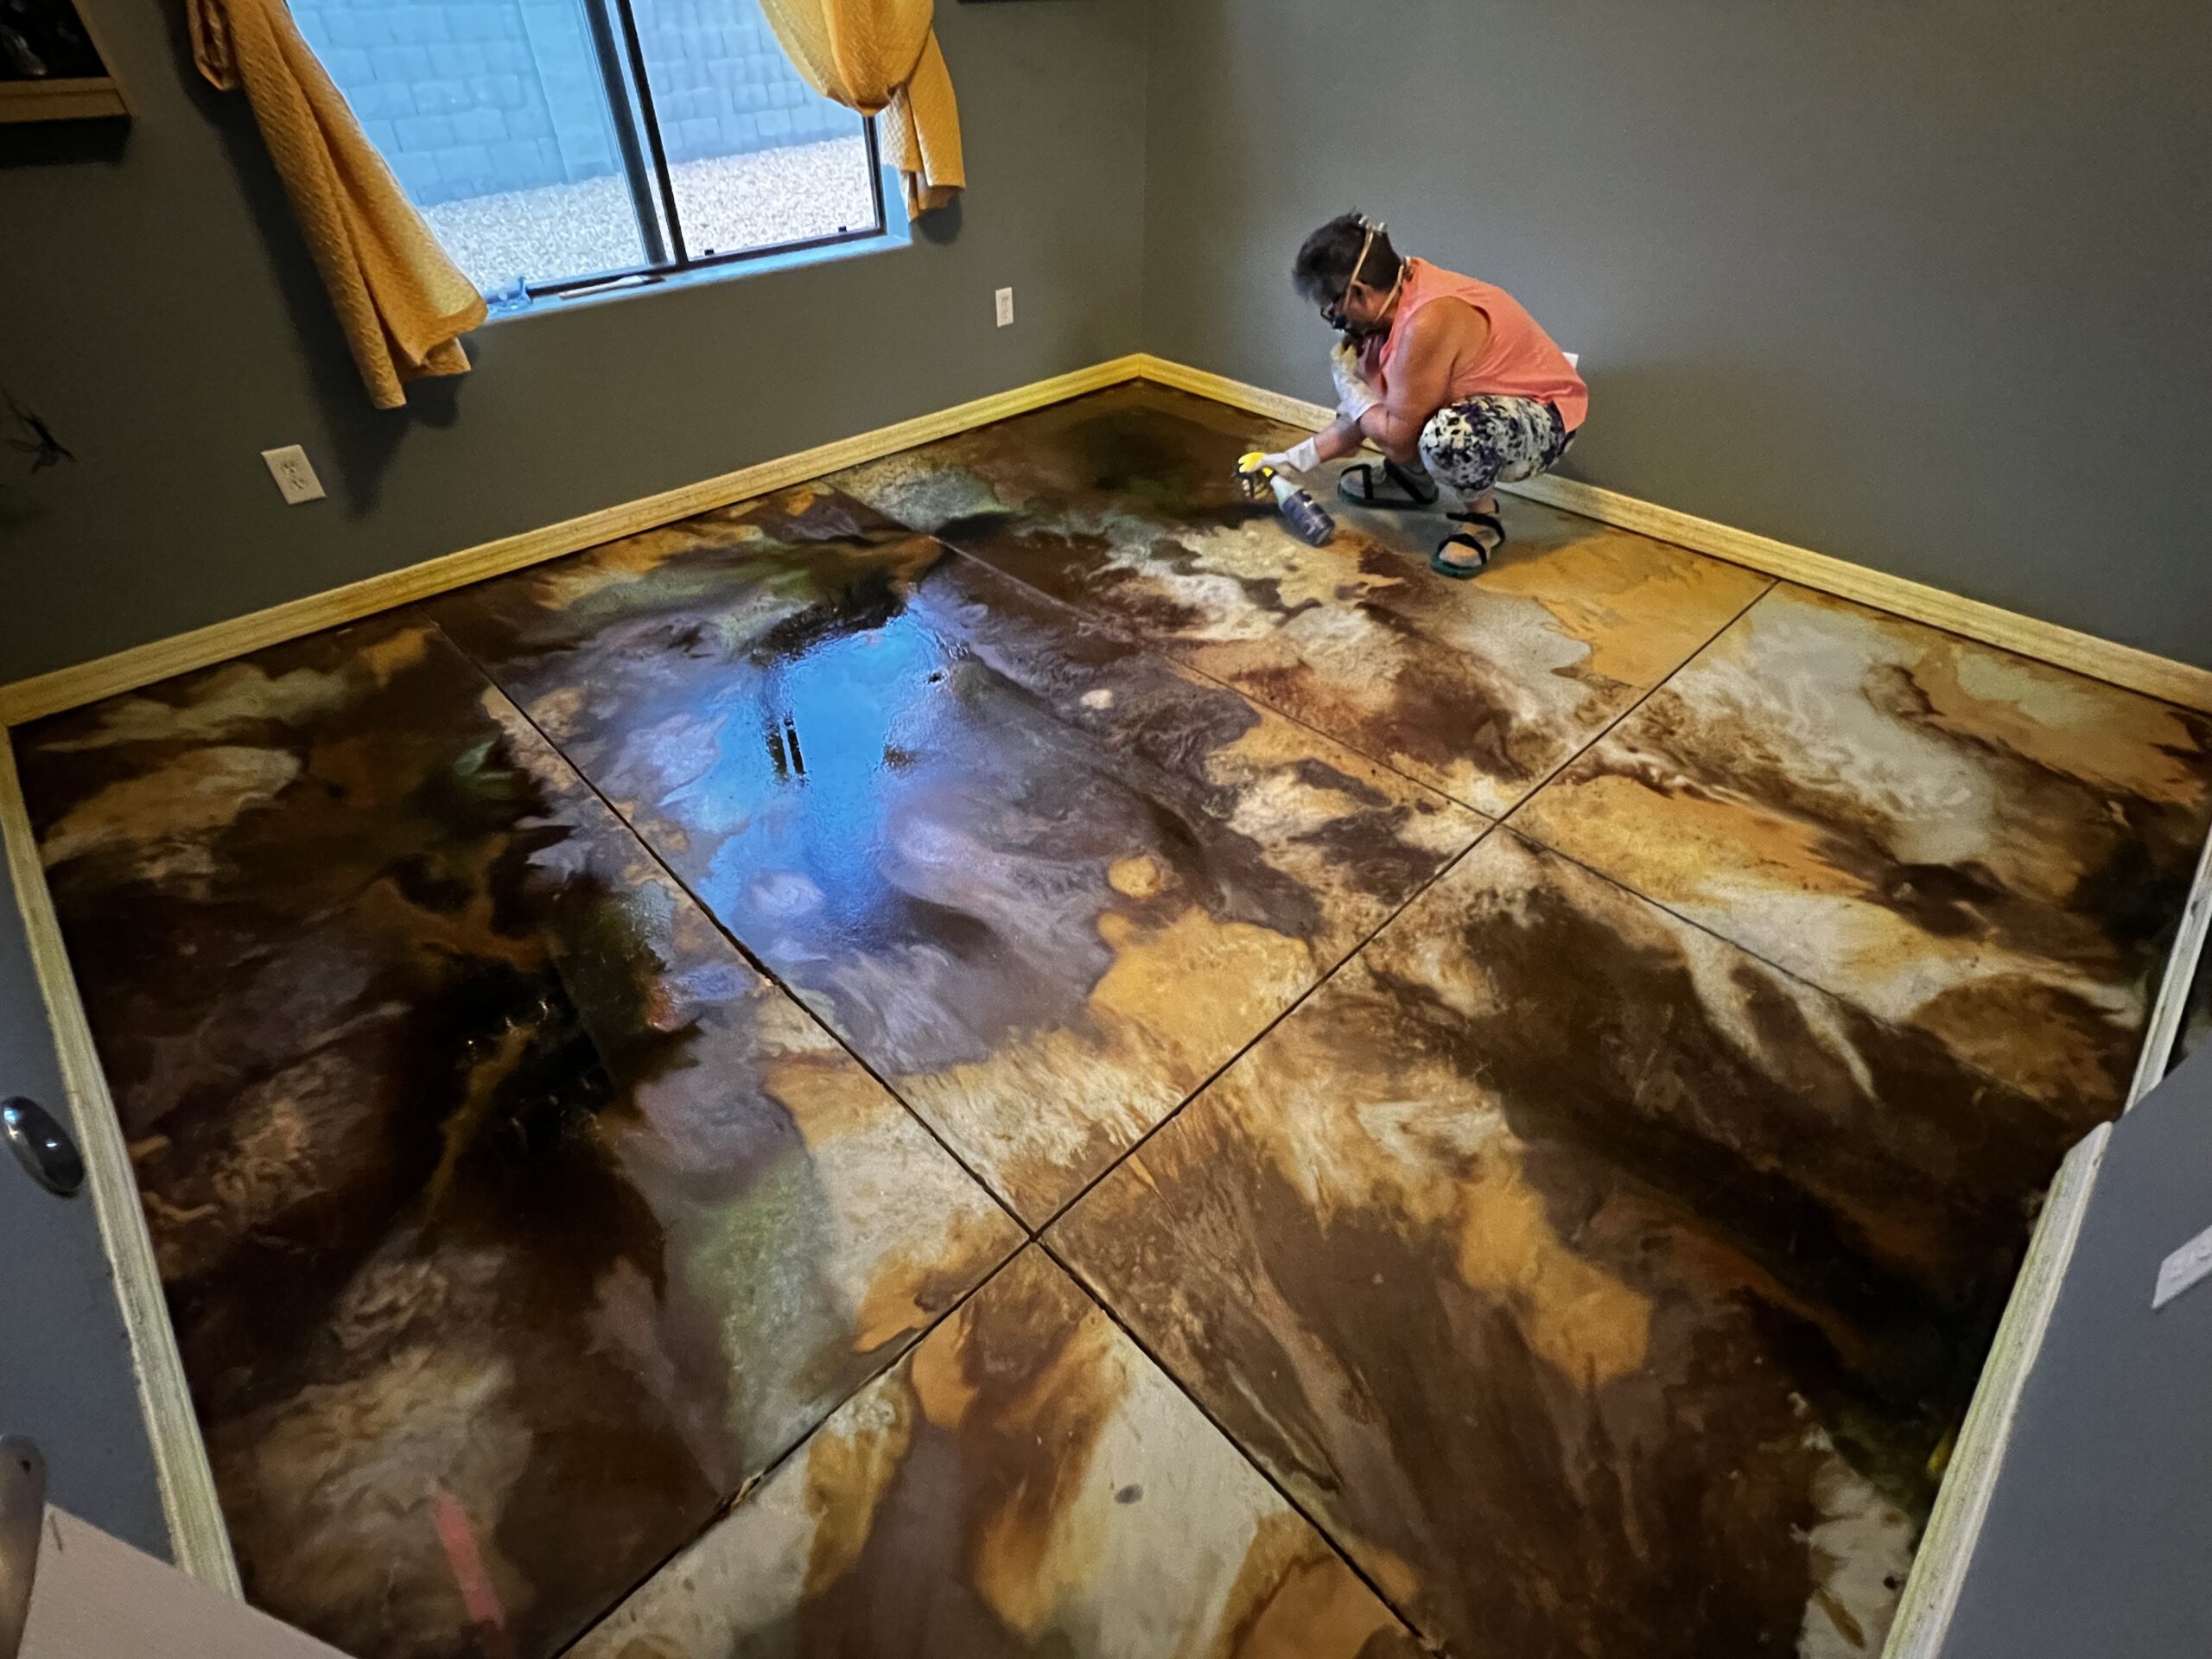
- For a diffused look, spray the stain onto the surface without brushing.
- For a marbling effect, apply one heavy coat of your base color and immediately apply scattered accent coats while the acid stain base is still wet. Continue to apply lighter, then darker-colored accents until you are satisfied with the results.
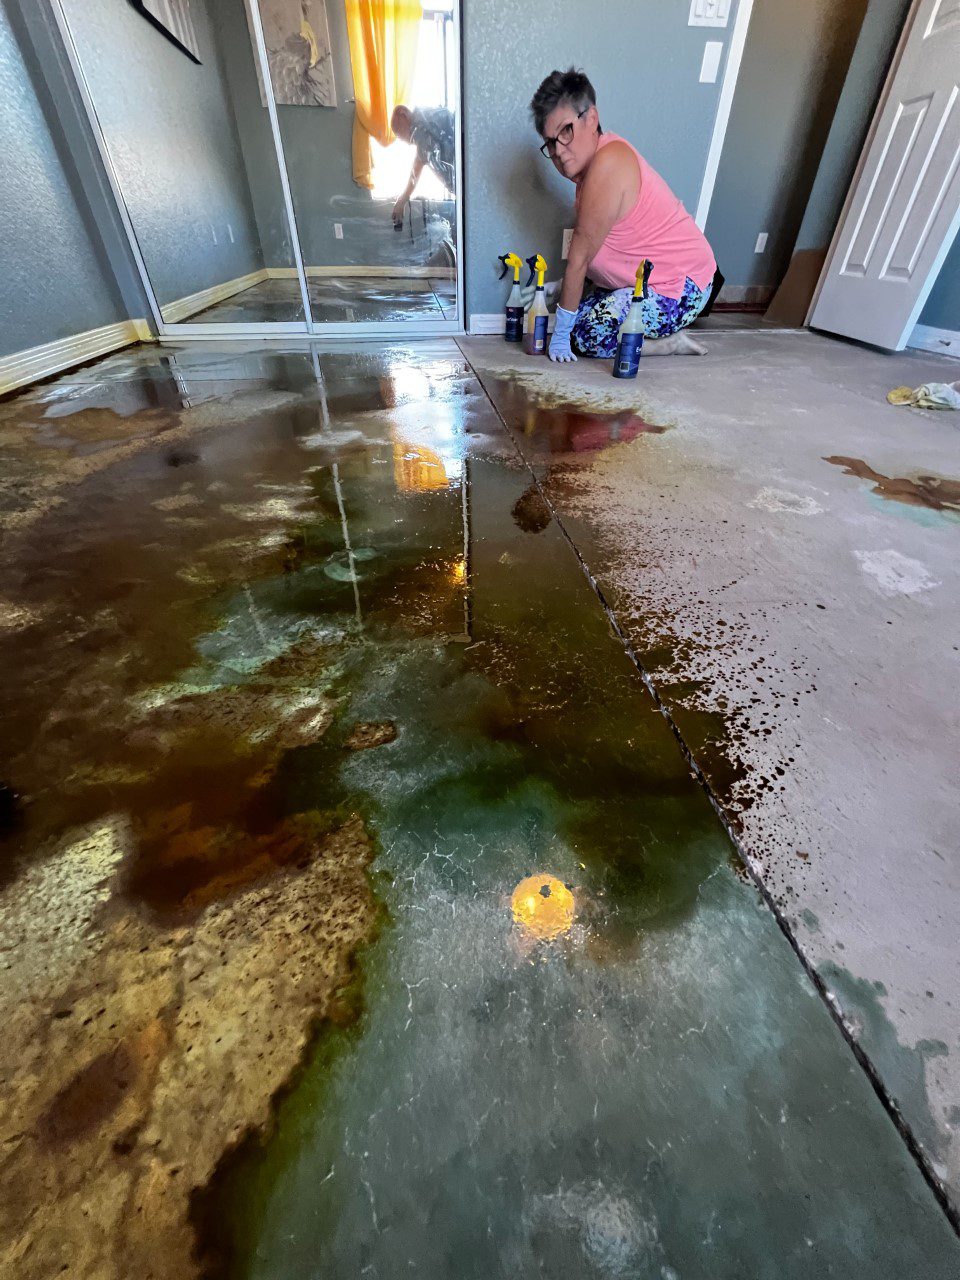
Remember to wear acid resistant spiked shoes to avoid leaving foot impressions on the floor.
Step 4: Let Acid Stain Work
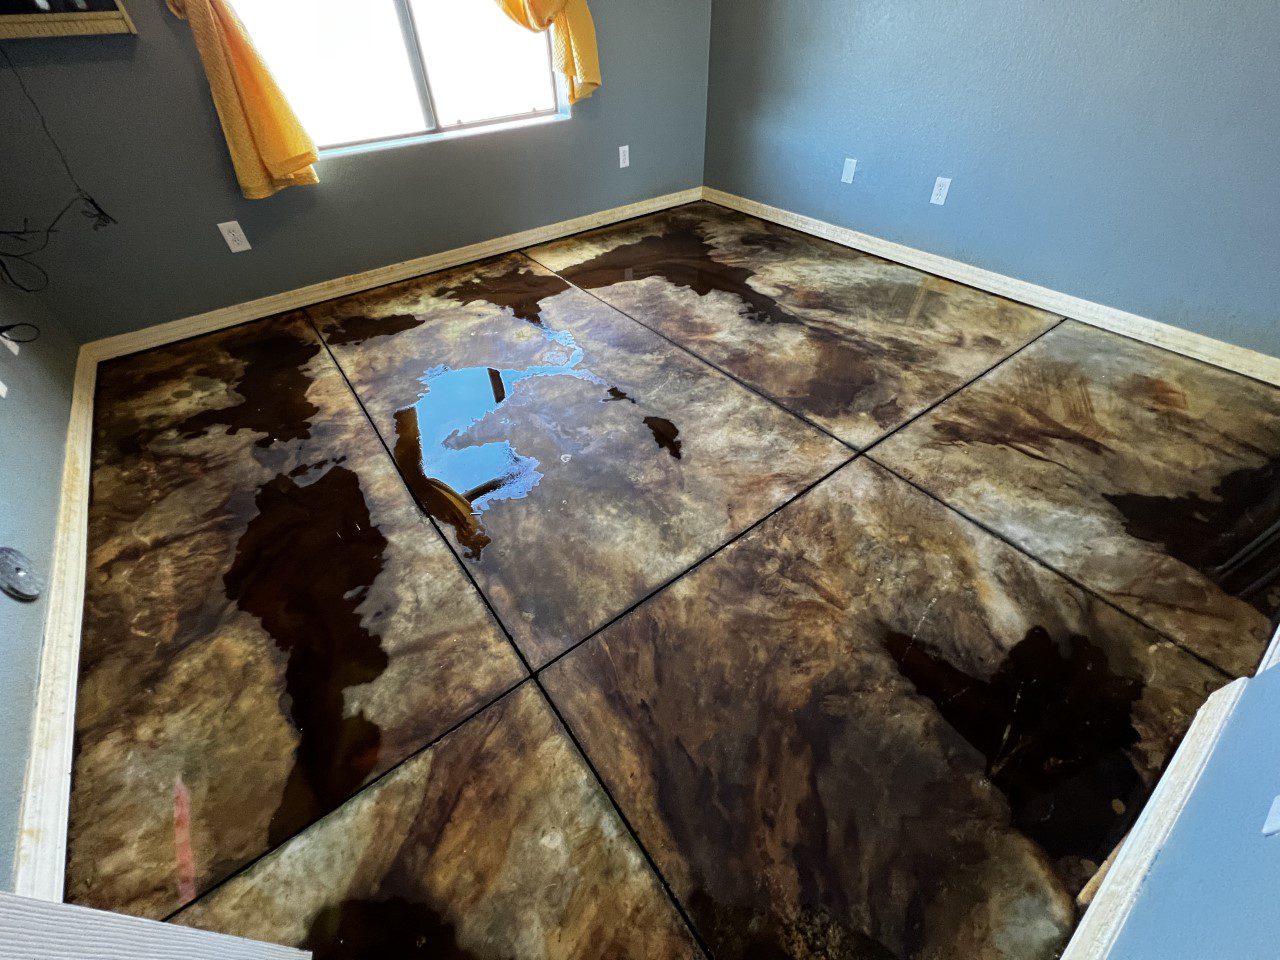
As the acid stain dries and processes, a residue of alkali and minerals forms on the surface of the concrete. This is completely normal and is part of the reaction process. Each stain has different activation times to fully color the concrete, generally from 4 to 8 hours. Acid stain can be left on the surface longer if desired.
Step 5: Neutralize The Acid Stained Concrete Floor
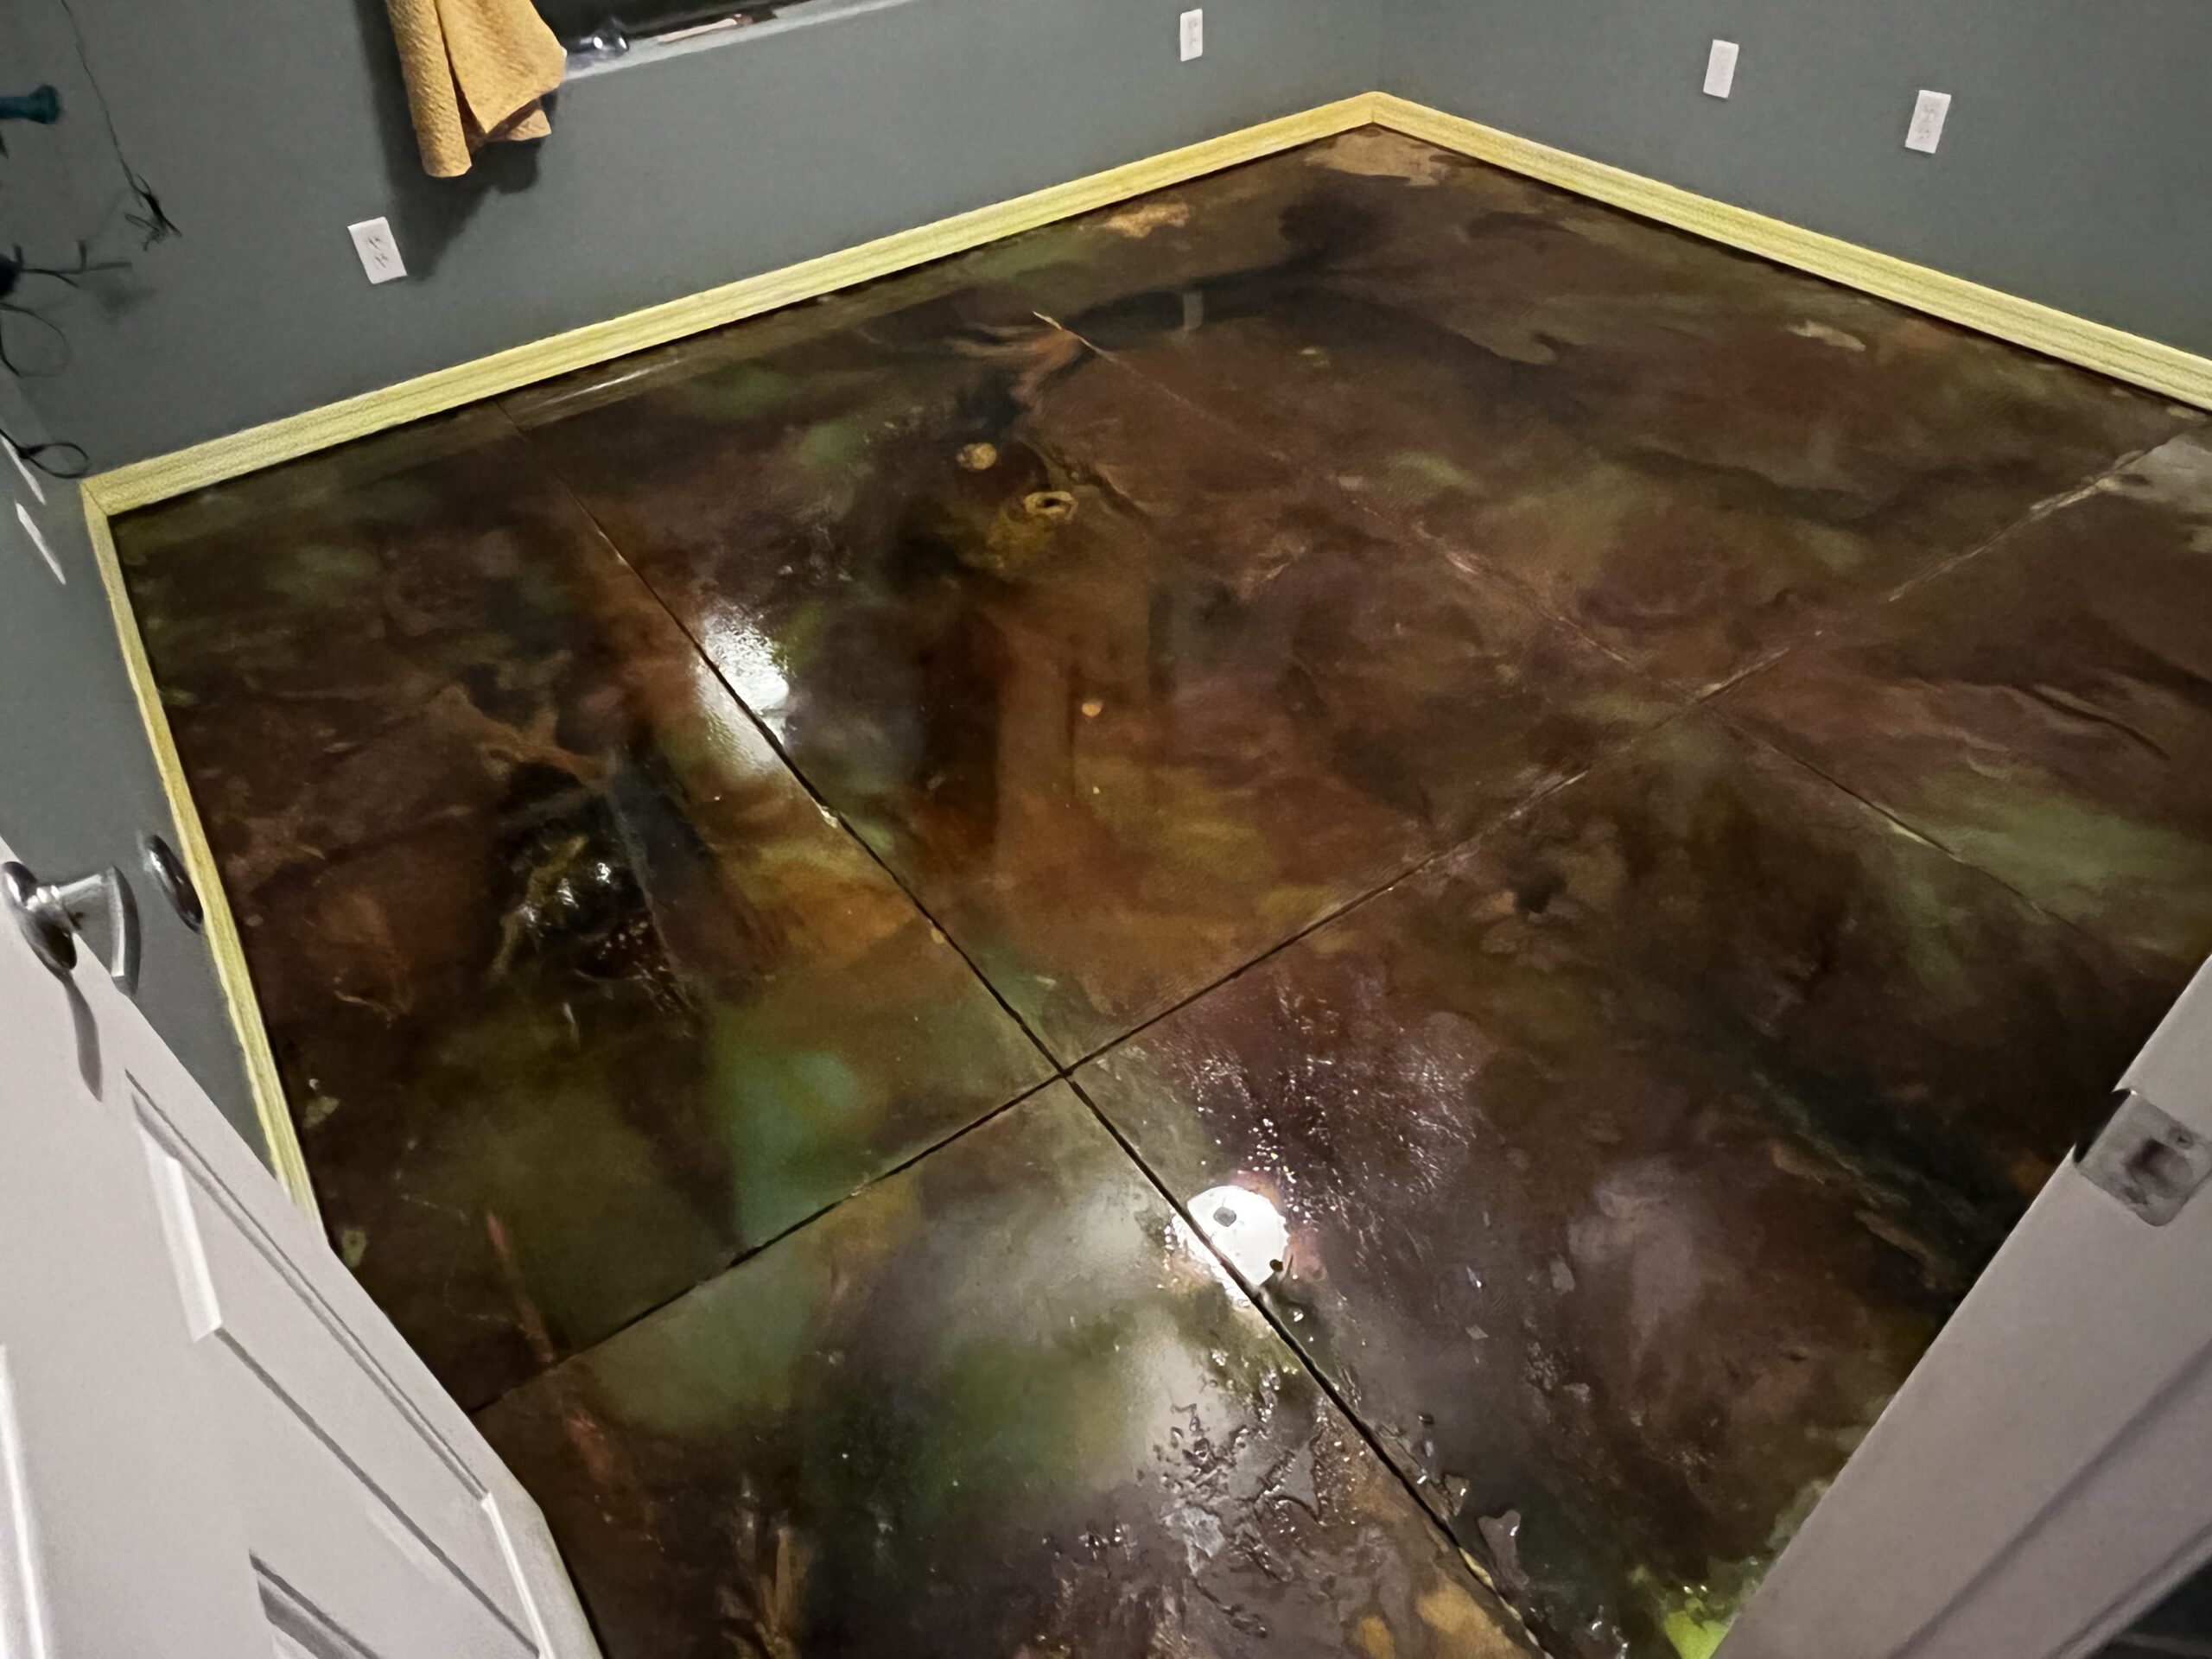
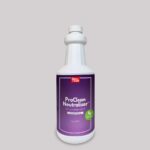
- Start by saturating the stained concrete surface with a product like ProClean Neutralizer™. This helps neutralize the acid stain and prepares the surface for thorough cleaning.
- Gently scrub the neutralizer into the concrete using a soft nylon bristle brush, taking care to wear your spiked shoes during this process. Let it sit for about 20 minutes to ensure proper neutralization.
- After the acid stain is neutralized, reapply ProClean Neutralizer™ to the concrete surface as it also serves as a cleaner. Gently scrub it into the concrete with a soft nylon bristle brush.
- Continue scrubbing and rinsing with clean water until the rinse water is clear. A shop vac can be helpful in removing excess water during this process.
- To make sure the surface is adequately cleaned, swipe your fingers across the rinsed and cleaned acid stained surface. If you don’t see any color or residue on your fingers, it’s time to let the surface dry completely before applying the sealer.
Neutralizing your acid stain is an absolutely essential step in a successful concrete acid stain application. Read more about the importance of this step.
Step 6: Seal the Acid Stained Concrete
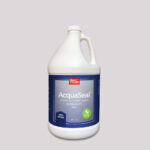
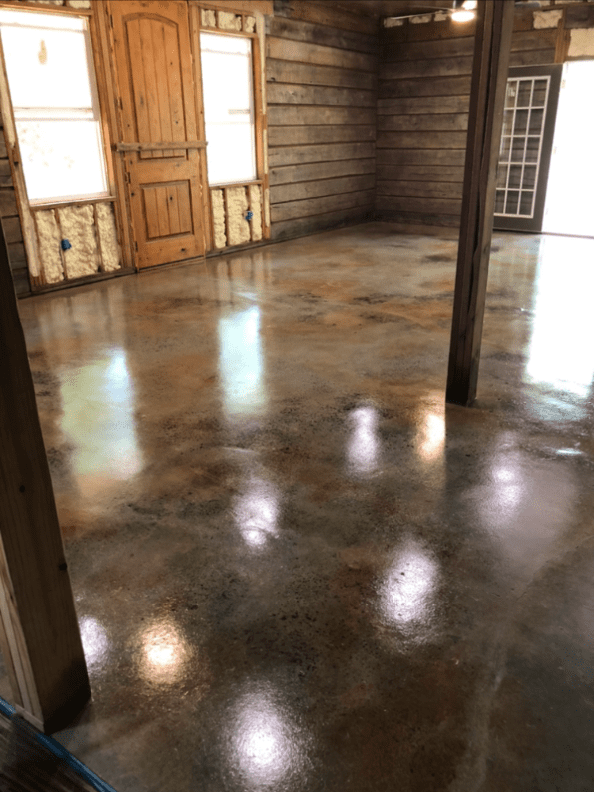
- For sealing indoor concrete floors, Direct Colors recommends our AcquaSeal water based acrylic sealer. This sealer is low VOC which makes it a safer choice for interior application.

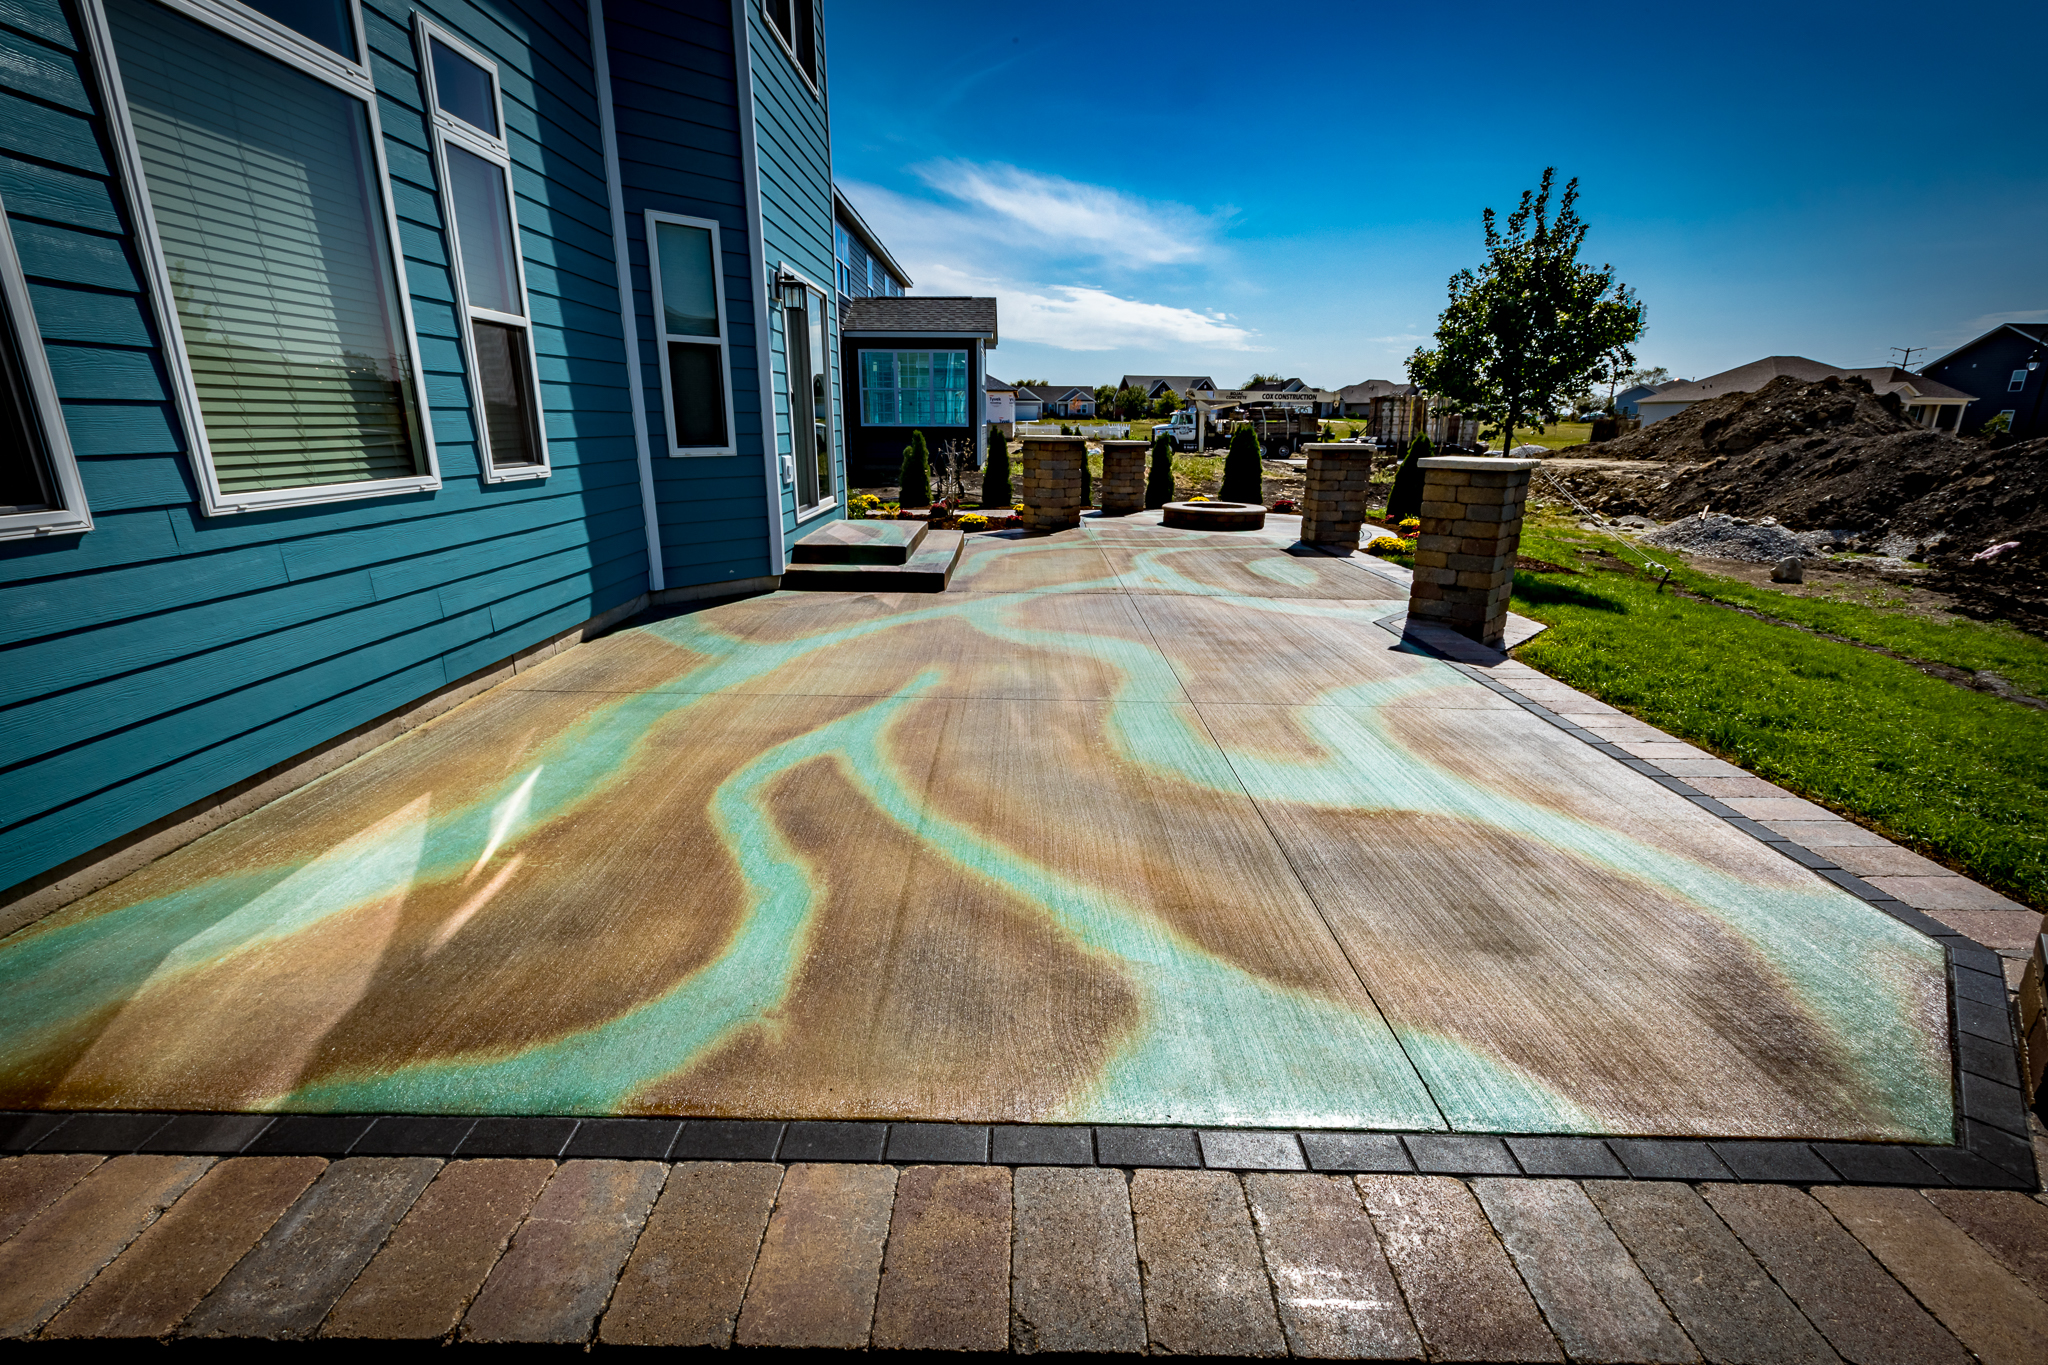
- For sealing outdoor concrete floors, Direct Colors recommends our EasySeal solvent-based acrylic sealer. This particular sealer is super easy to apply, dries fast, and makes the color of outdoor concrete projects really pop.
Step 7: Apply Liquid Concrete Wax (Interior Floors Only)
- Soak trim pad applicator in warm water.
- Wring out excess water from the applicator.
- Pour concrete wax into a paint tray.
- Saturate trim pad with concrete wax solution.
- Press out excess wax.
- Apply a thin milky coat across the floor surface. The product will appear milky in application but clear as it dries.
- Smooth out any foaming from the concrete surface.
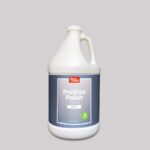
Use ProWax Polish to protect the colored floor coating from daily wear and tear. Regular waxing is important in high-traffic spaces like hair salons where high traffic and repetitive motion around hair stations are likely.


