Azure Blue Visions: Brilliant Blue Concrete Stain Ideas
Welcome to our “Azure Blue Visions” gallery, showcasing stunning projects using blue concrete stain. For a deep blue finish, we recommend using CitrusEtch™ concrete etcher before staining. From patios to countertops, explore these inspiring azure designs for your own home project!
By Justin Richardson
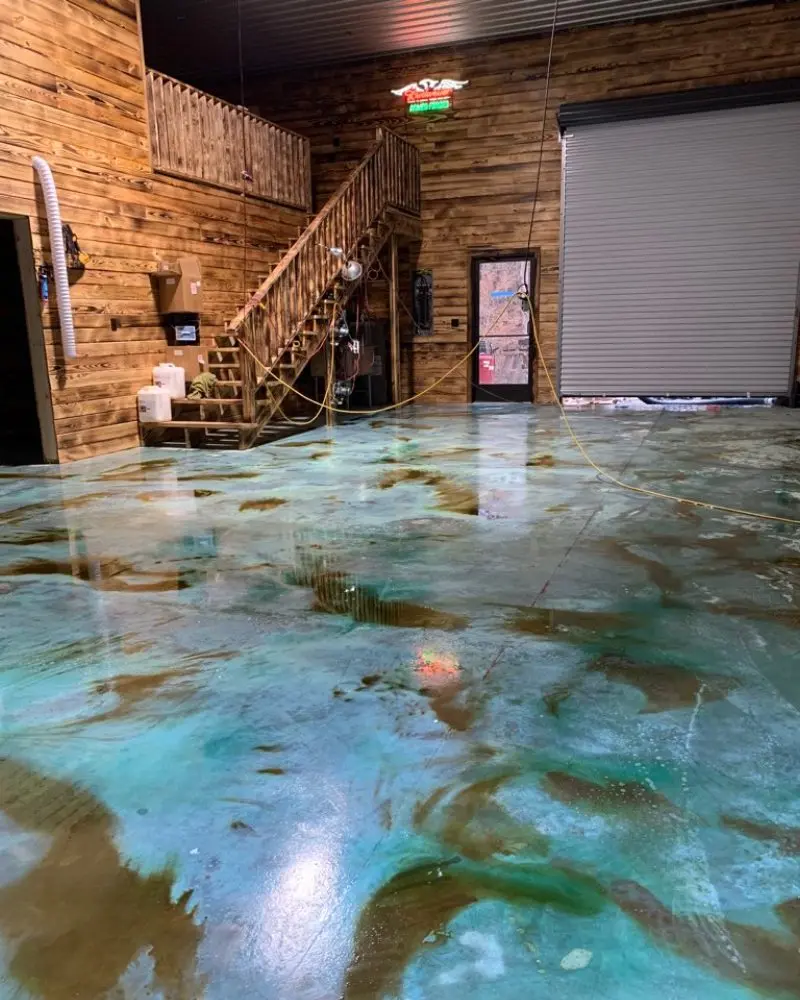
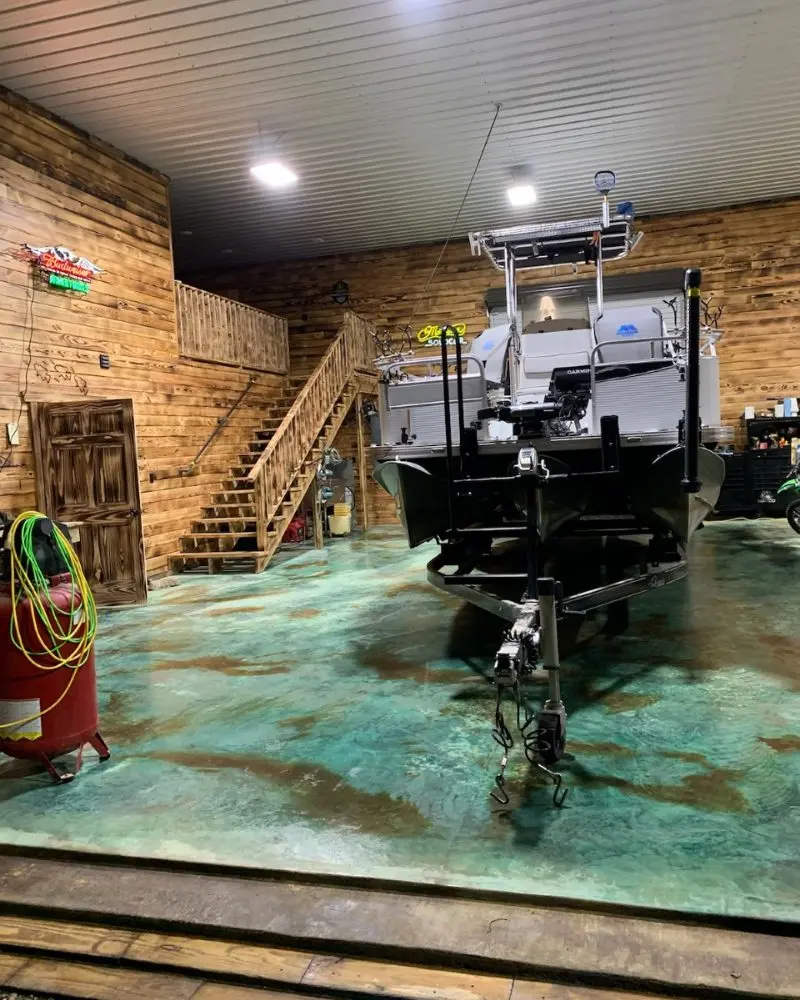
Ocean Oasis: A Nautical Garage Revamp with Azure Blue Acid Stain
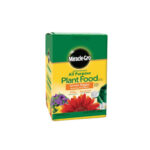
In this project, an ordinary boat storage garage morphs into a maritime masterpiece, thanks to Azure Blue and Shifting Sand acid stains. The process began with CitrusEtch™ to prepare the concrete, ensuring optimal reaction of the acid stain. Miracle-Gro was then applied to intensify the oceanic blue hues. Paired with warm brown tones mimicking sandy shores, this transformed space is not only aesthetically pleasing, but also serves as an efficient spot for boat storage and maintenance.
Vintage Slab Revival: A Beginner’s Journey in Acid Staining
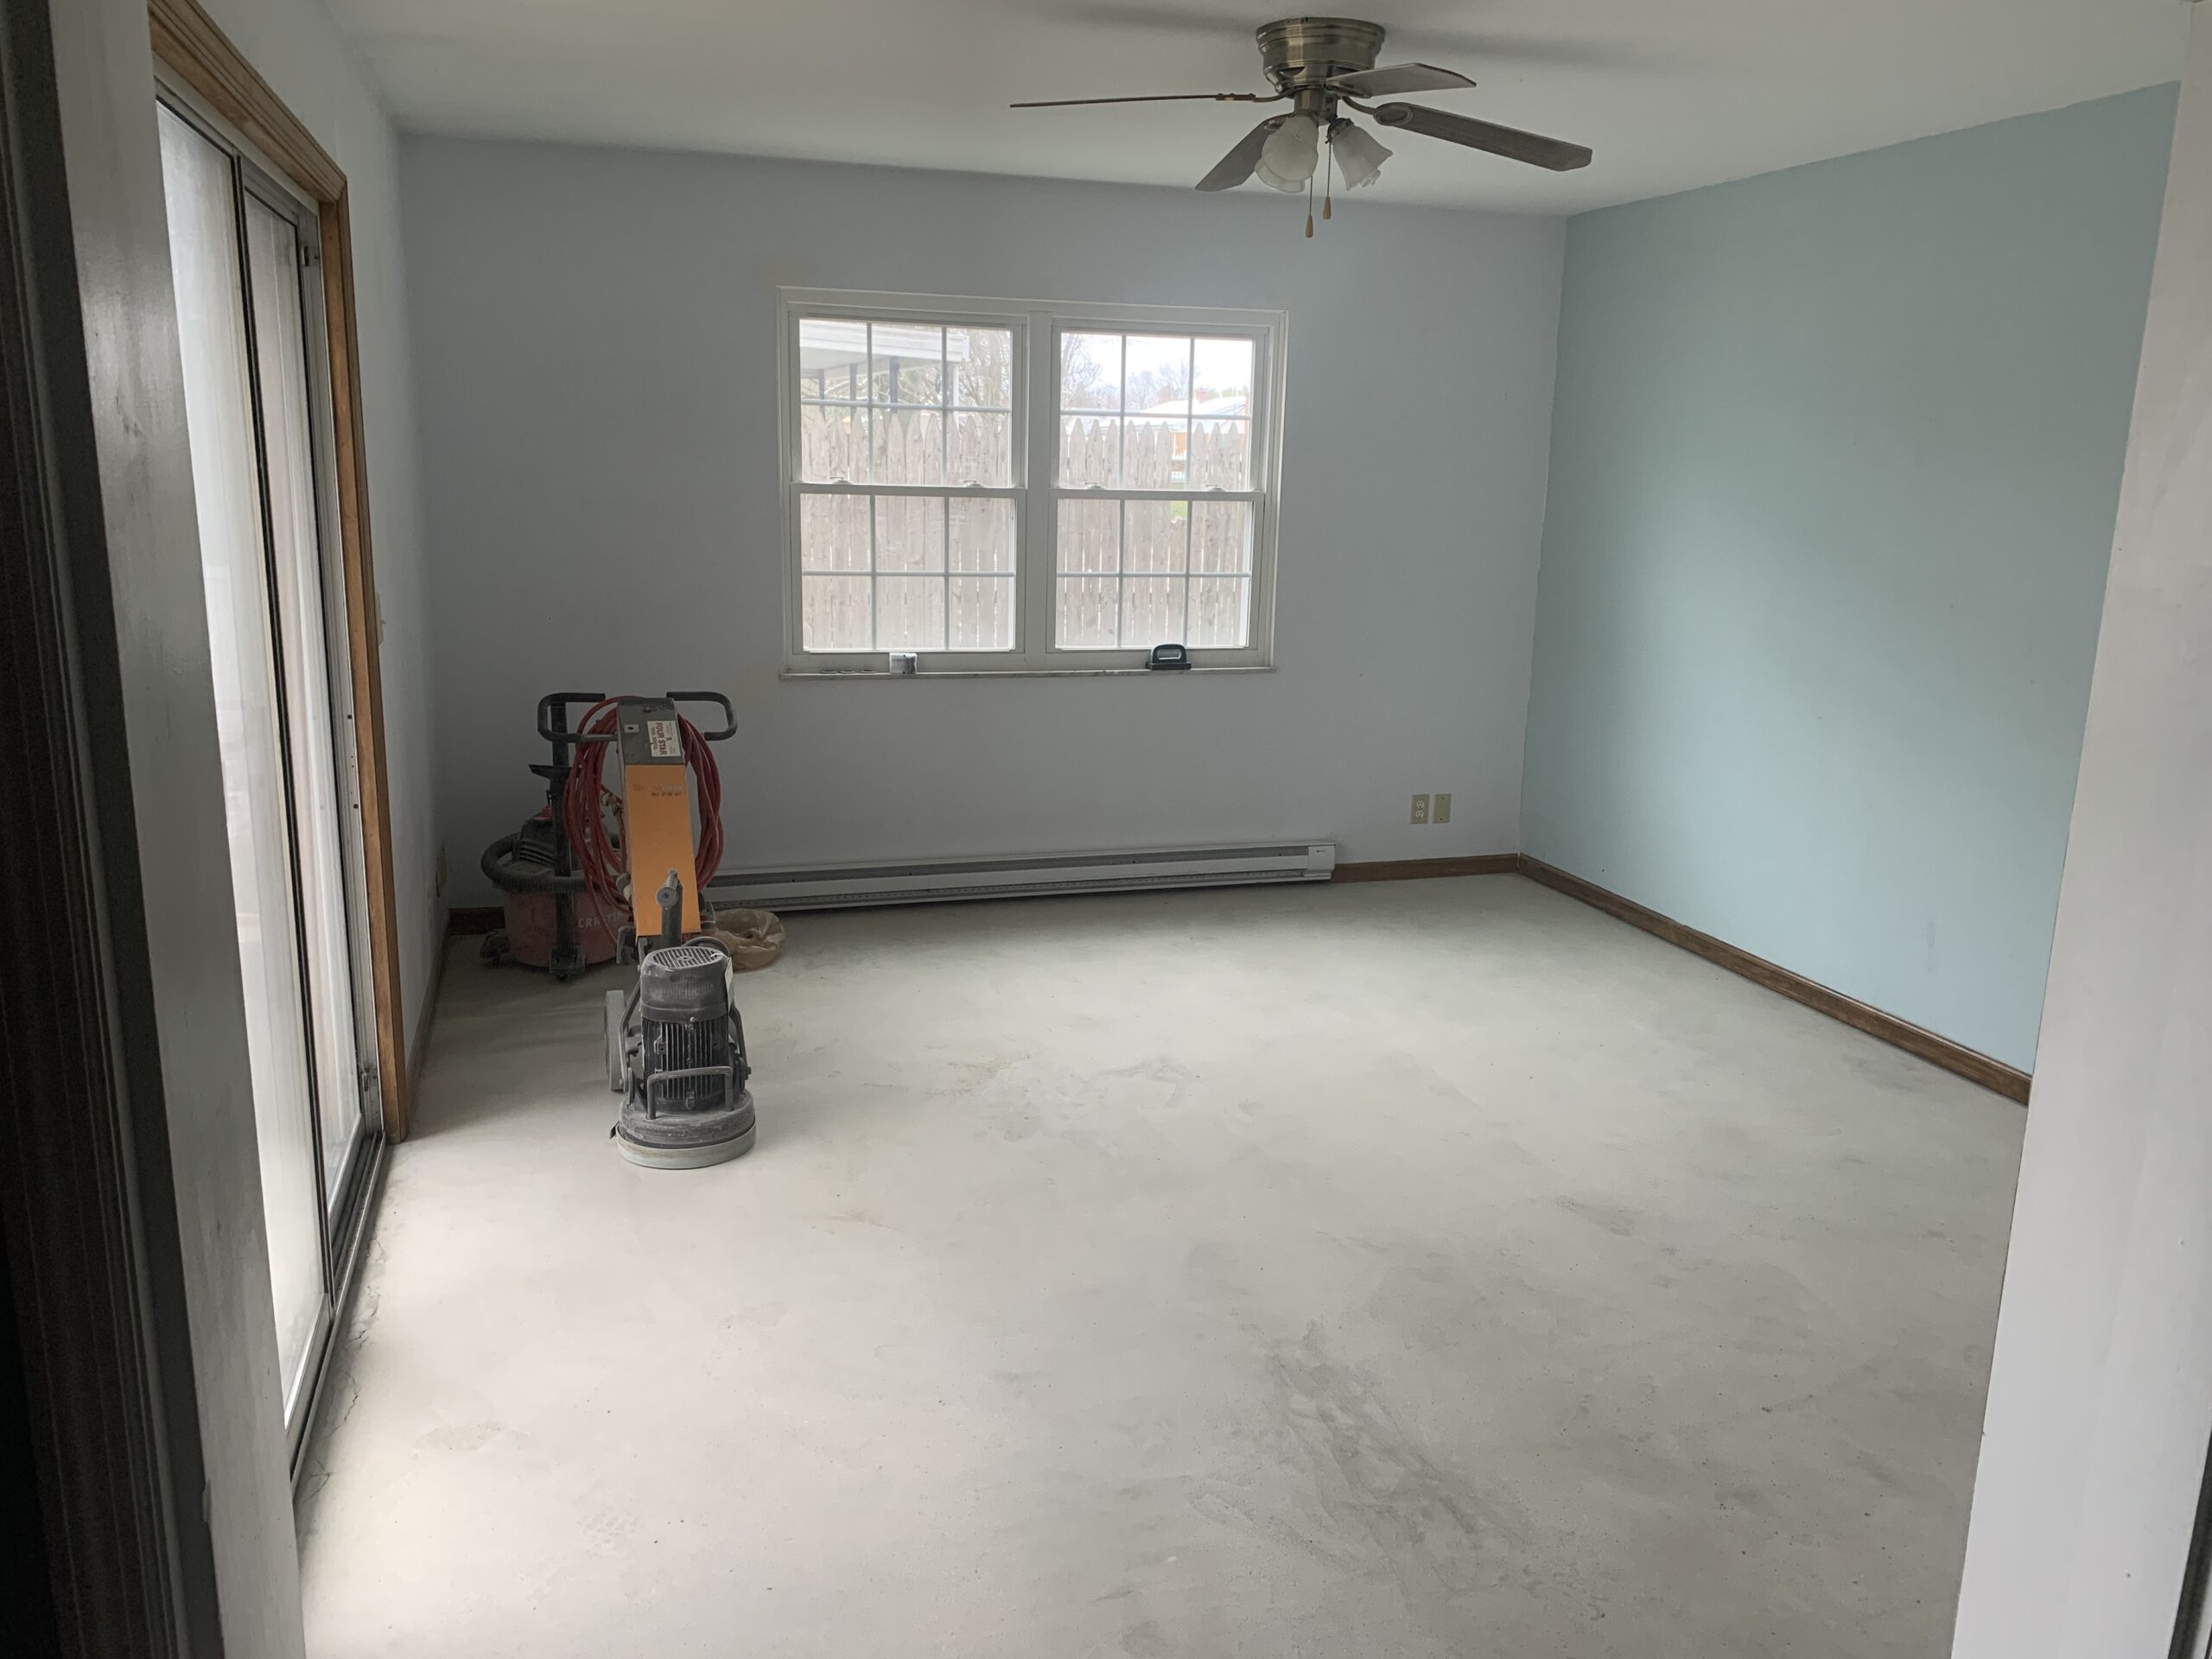
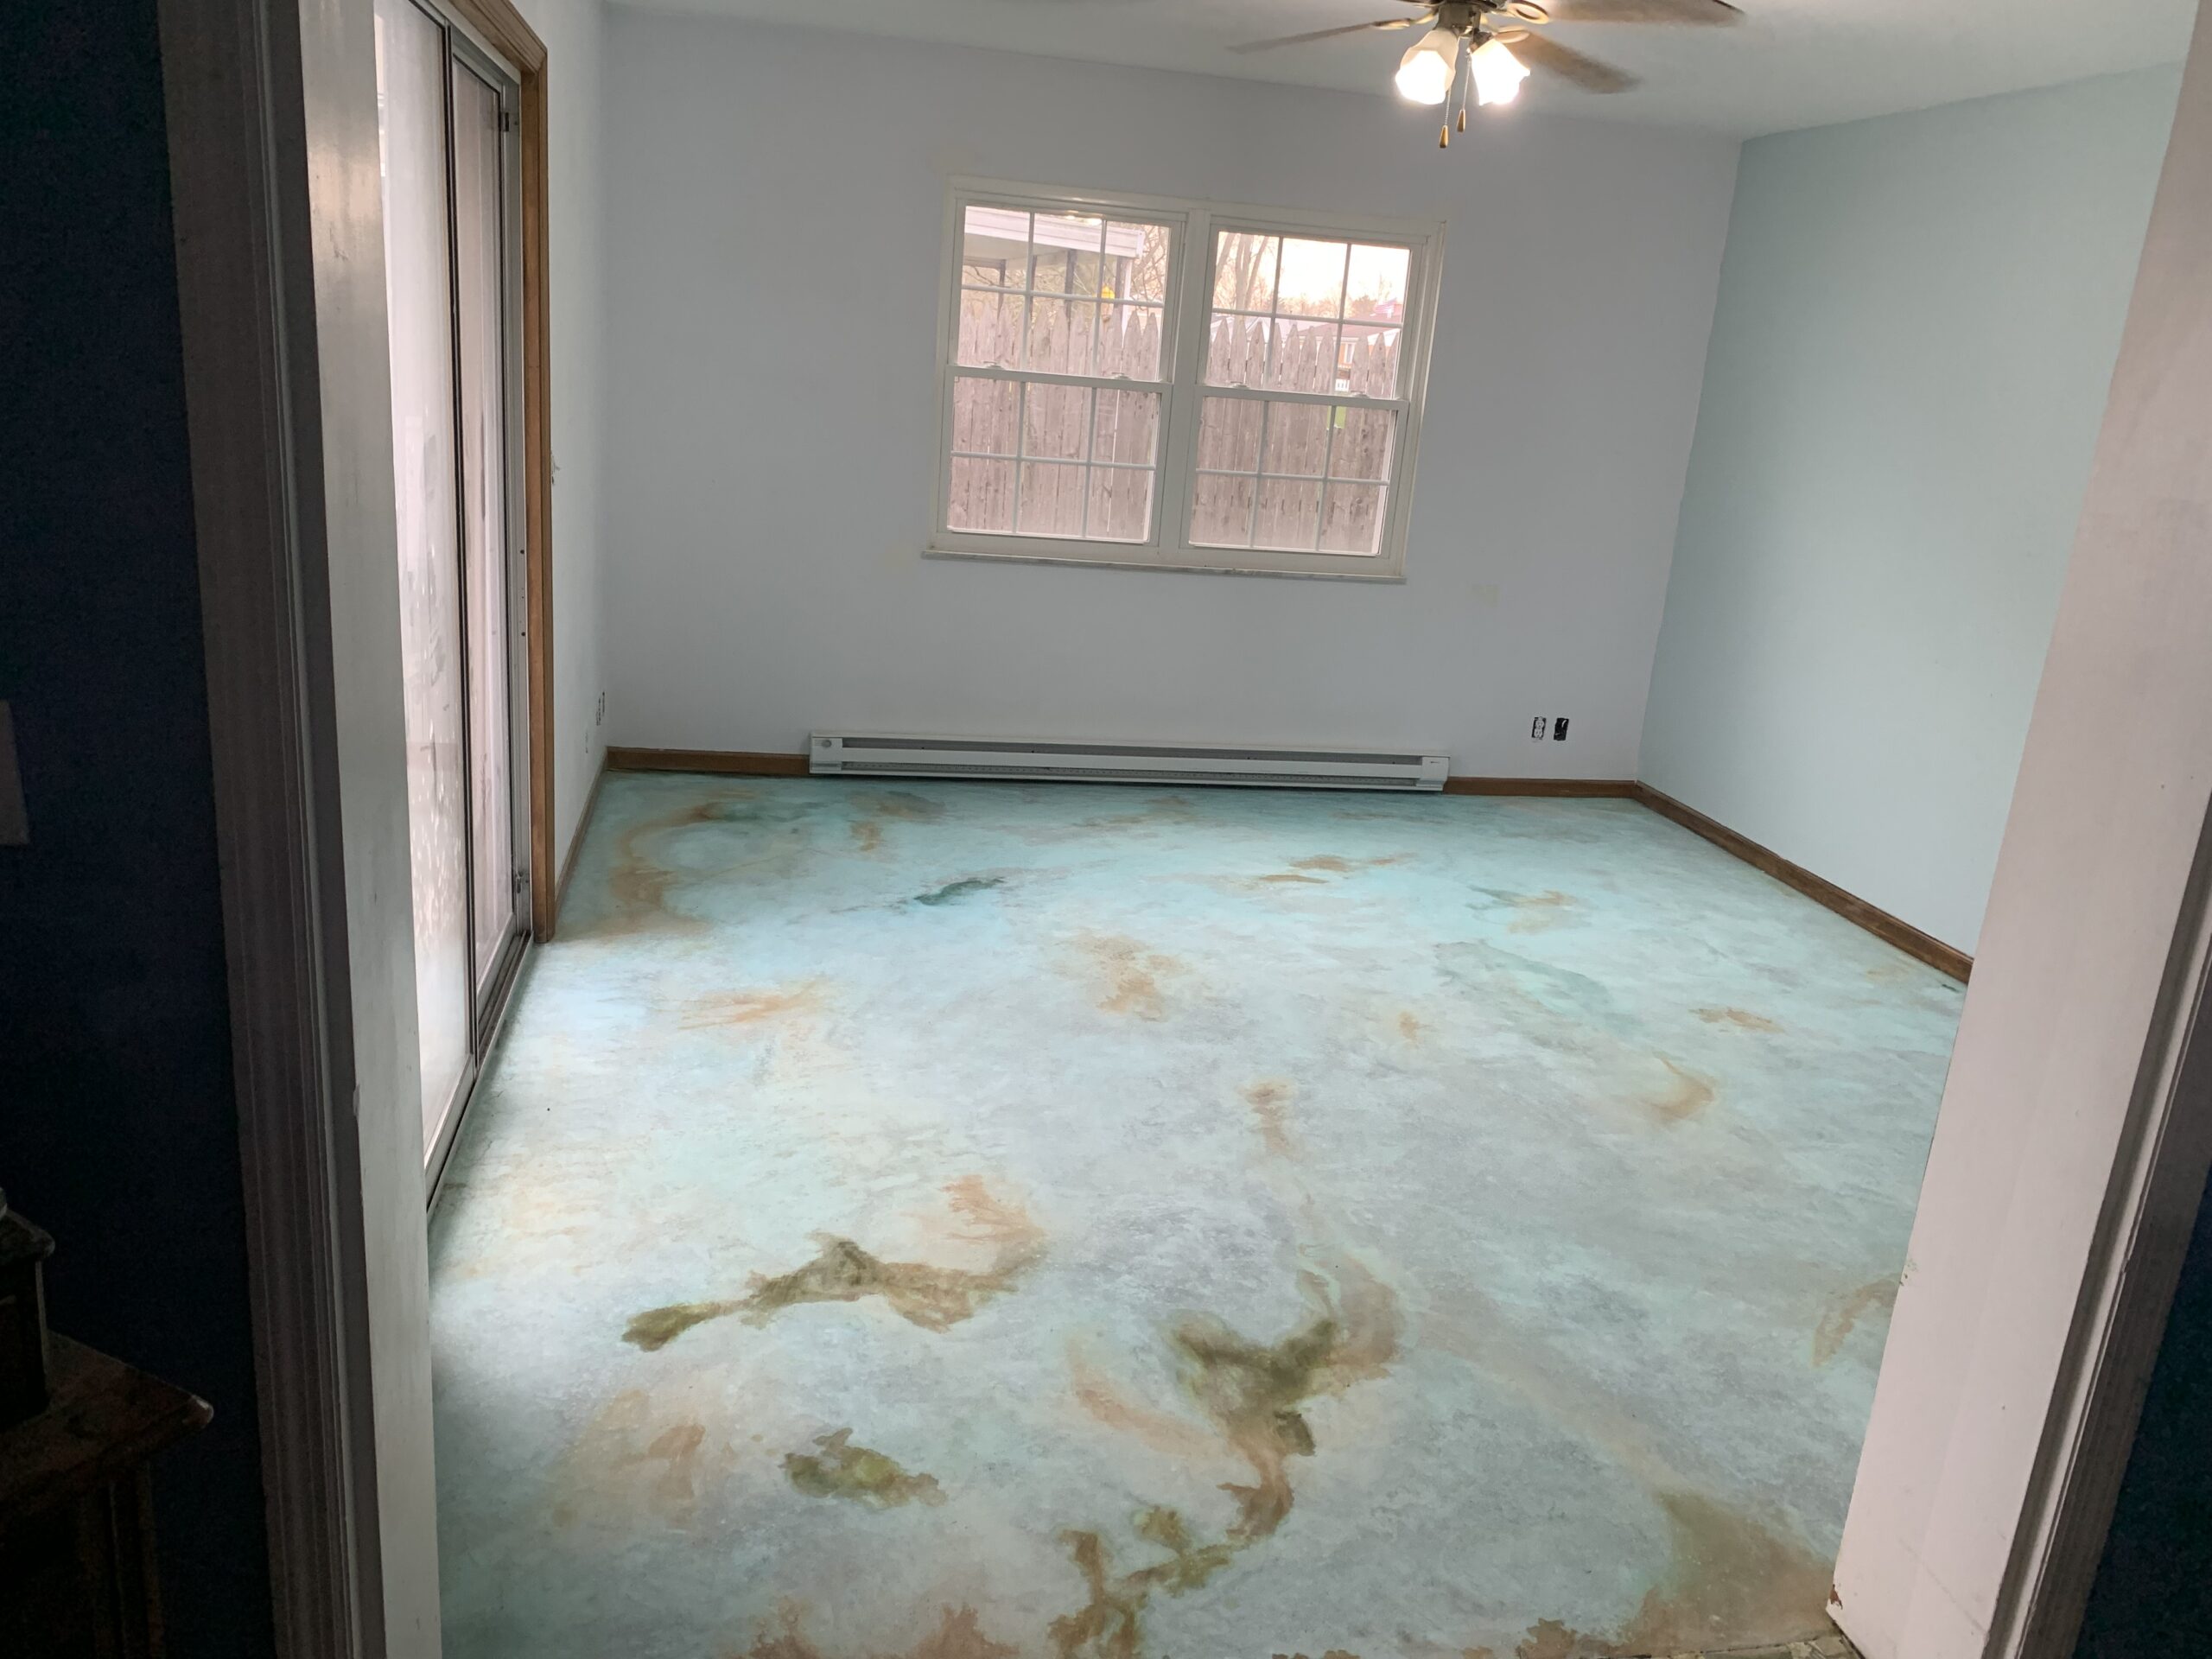
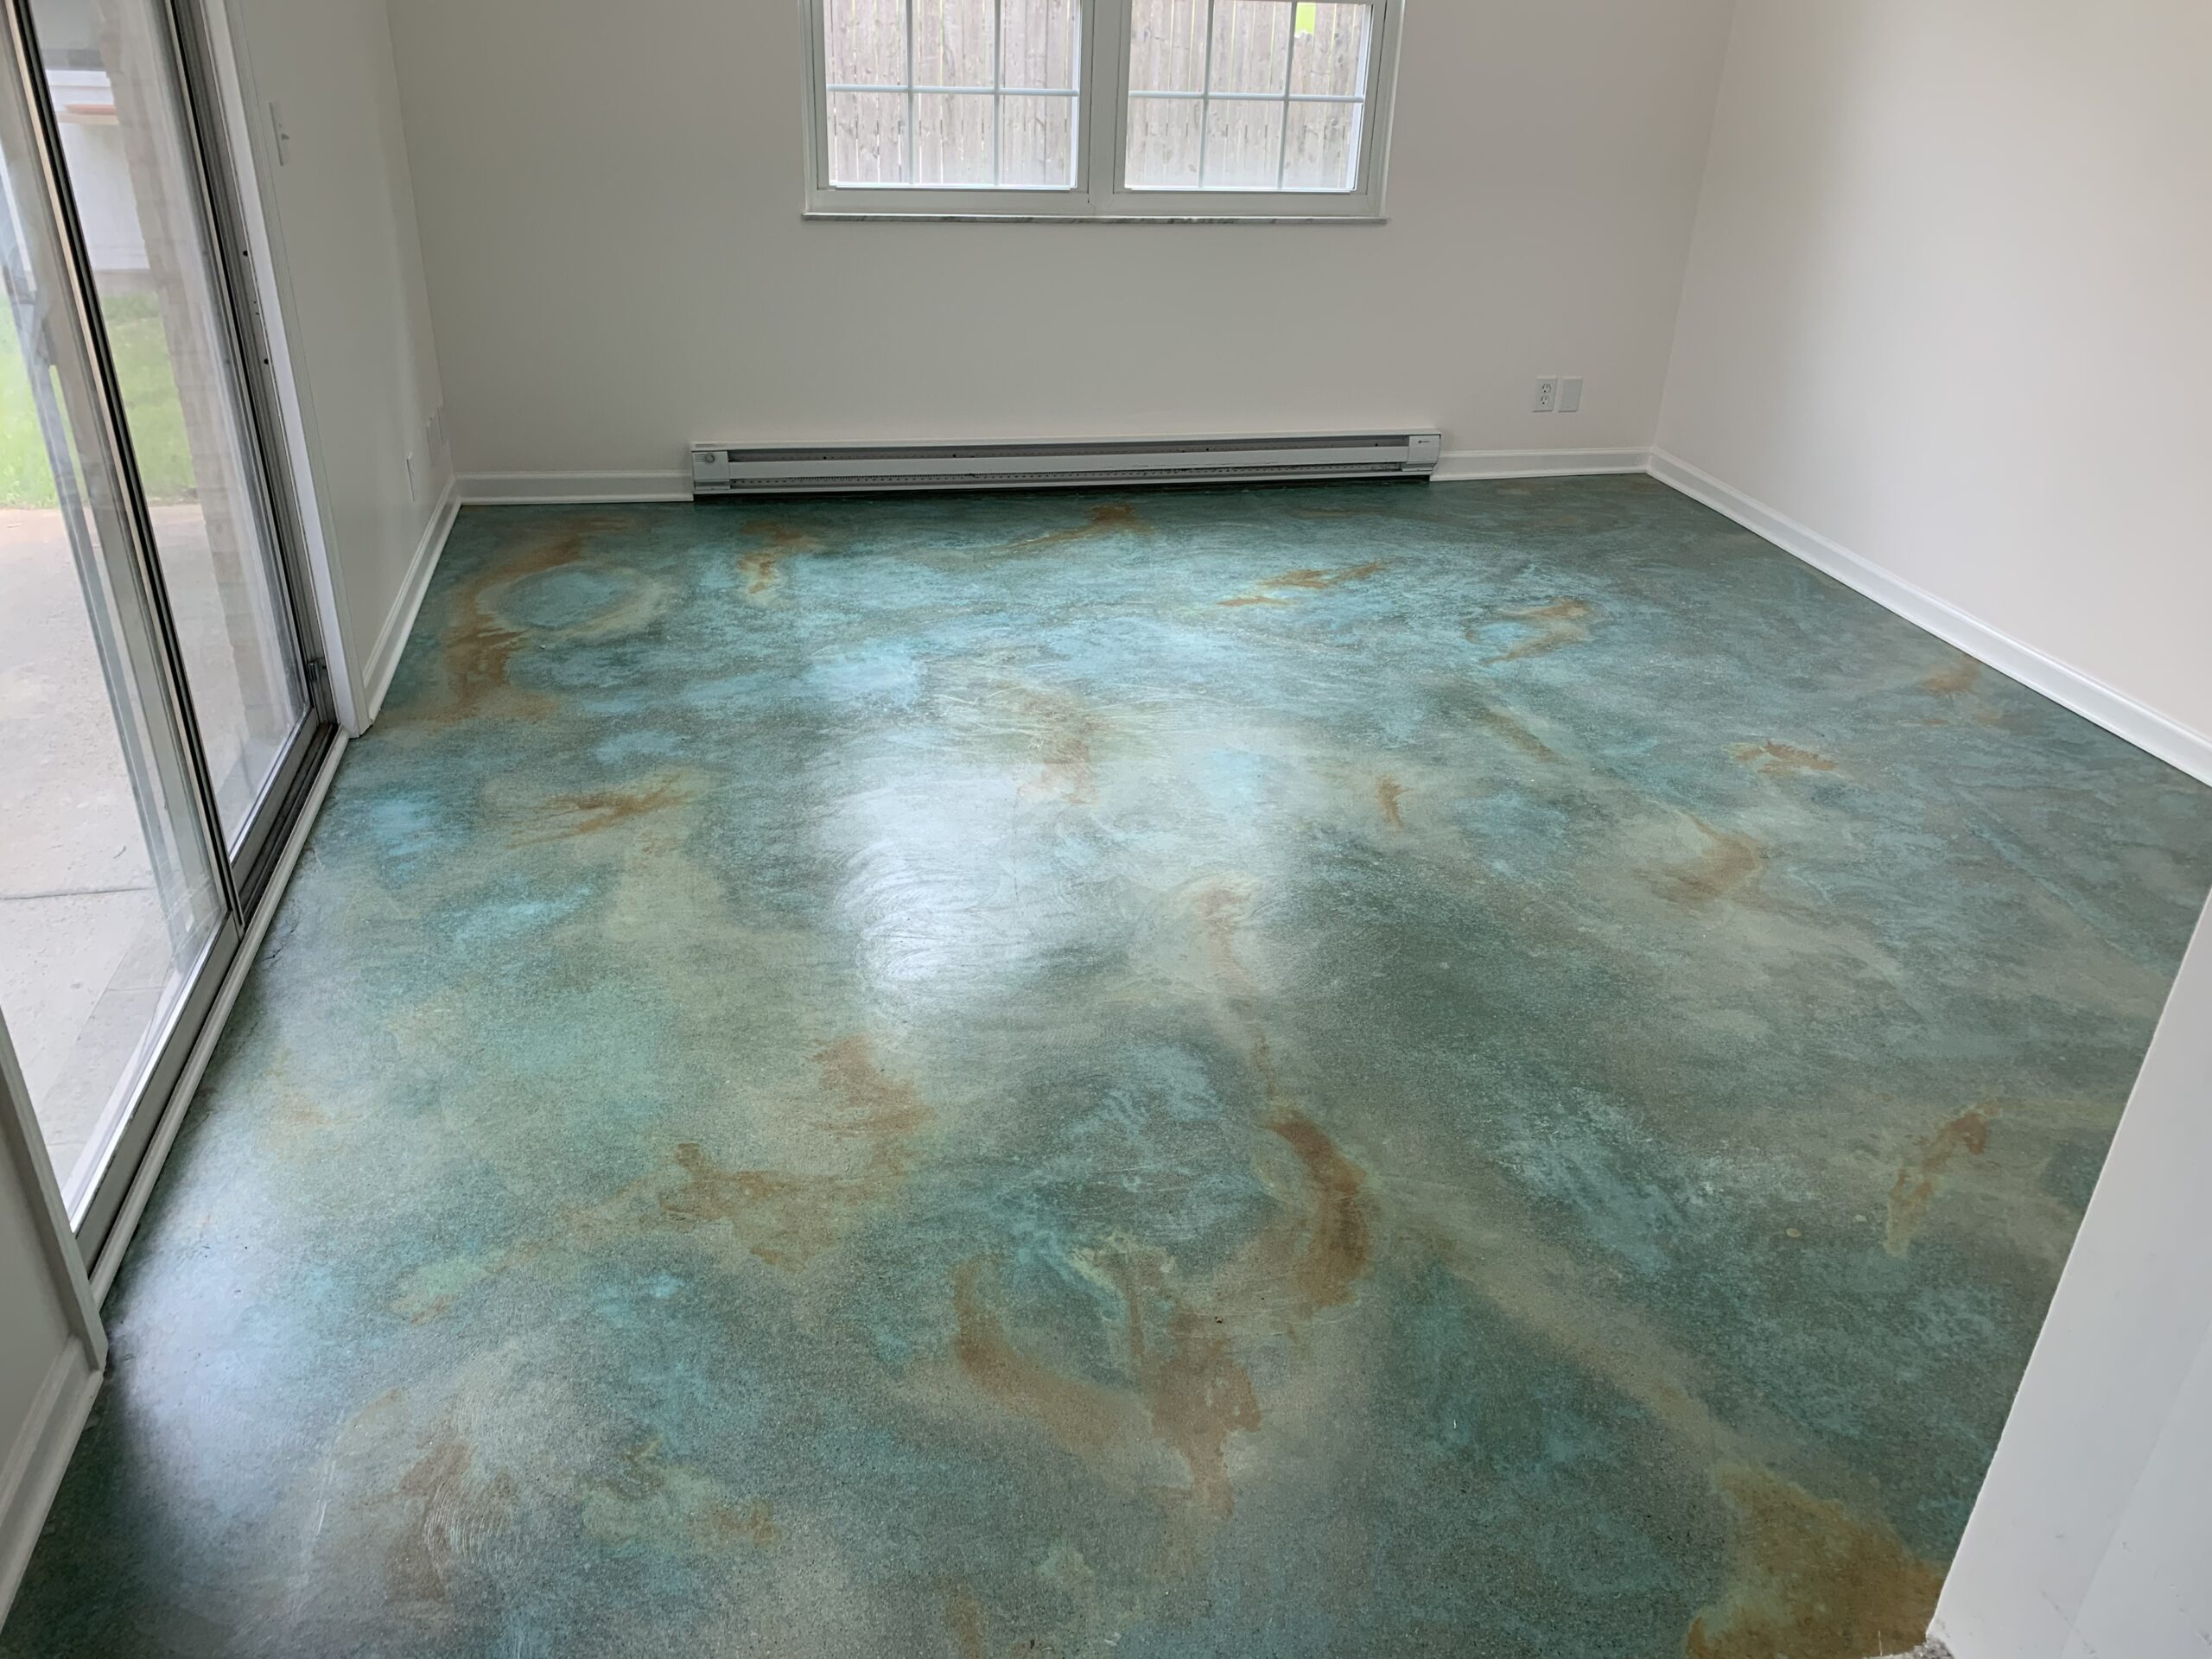
This husband-and-wife project shows how beginners can tackle acid staining with success. Their 1967 slab was brought to life using Azure Blue, Shifting Sand, and Miracle Gro granules. Despite interruptions, they worked at their own pace, thanks to thorough prep, smart sprayer techniques, and water to enhance color. The result is a modern, vibrant revival of the old slab.
Project Info:
- Project Completed In: 10 day(s)
- Estimate of Square Footage: 200 sq. ft.
- Project Description:
Colors: Azure blue, Shifting Sand and miracle gro granules.
Fun project for my wife and I. Great products and instructional videos and articles made this an easy project for two beginners to acid stain game. Could’ve completed sooner however life still happens so we found good stopping points and was able finish at our convenience.
Interior room on a slab foundation poured in 1967. - Personal Tips:
Surface prep with diamond grinder that we rented. Start good finish good.
Sprayer technique for the stain gave us control yet not uniform. (Did not dilute in the sprayer however we did hand spray water bottle on the wet stain so it would “bleed” and spread more).
Kept the sprinkles miracle gro granules wet with Azure Blue stain and water bottle spray. Seems to me water helps with the color variations and concrete absorption, older concrete. - Direct Colors Products Used:
1 Gal. Azure Blue DIY EverStain™ & AcquaSeal™ Satin Kit
1 Qt. Shifting Sand EverStain™ - Other Products Used:
Miracle Gro
Spray Bottle
Water
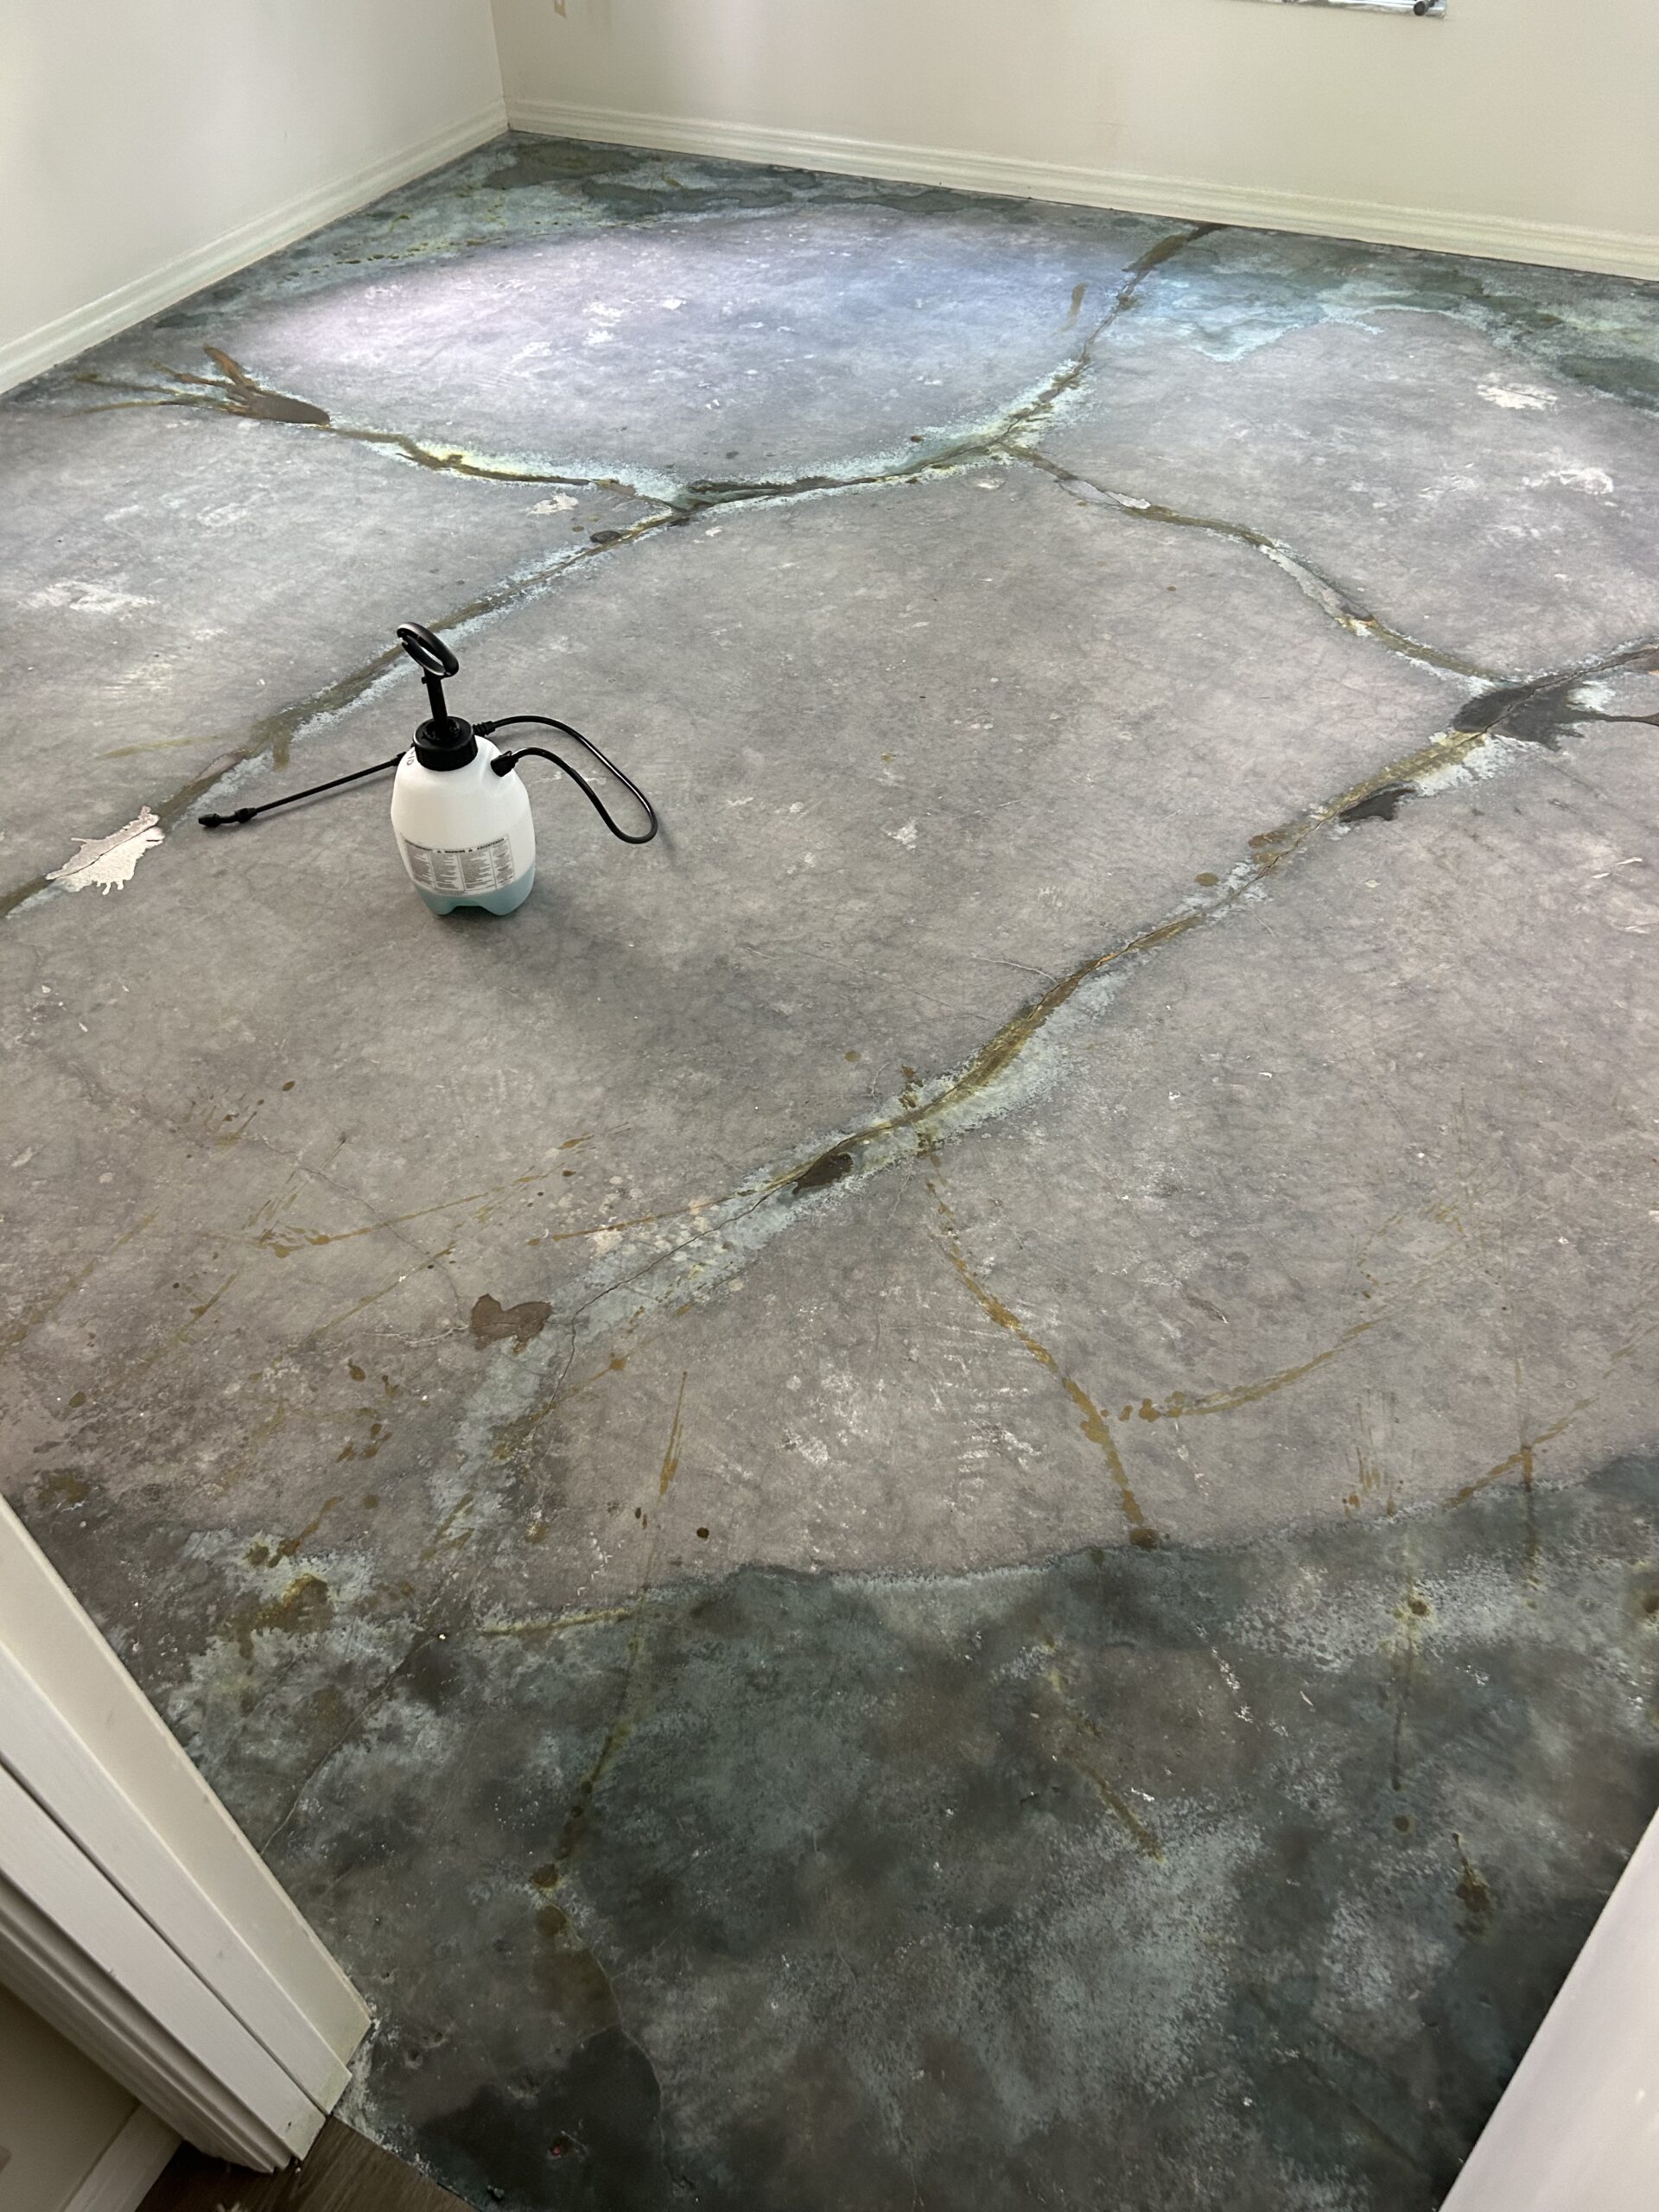
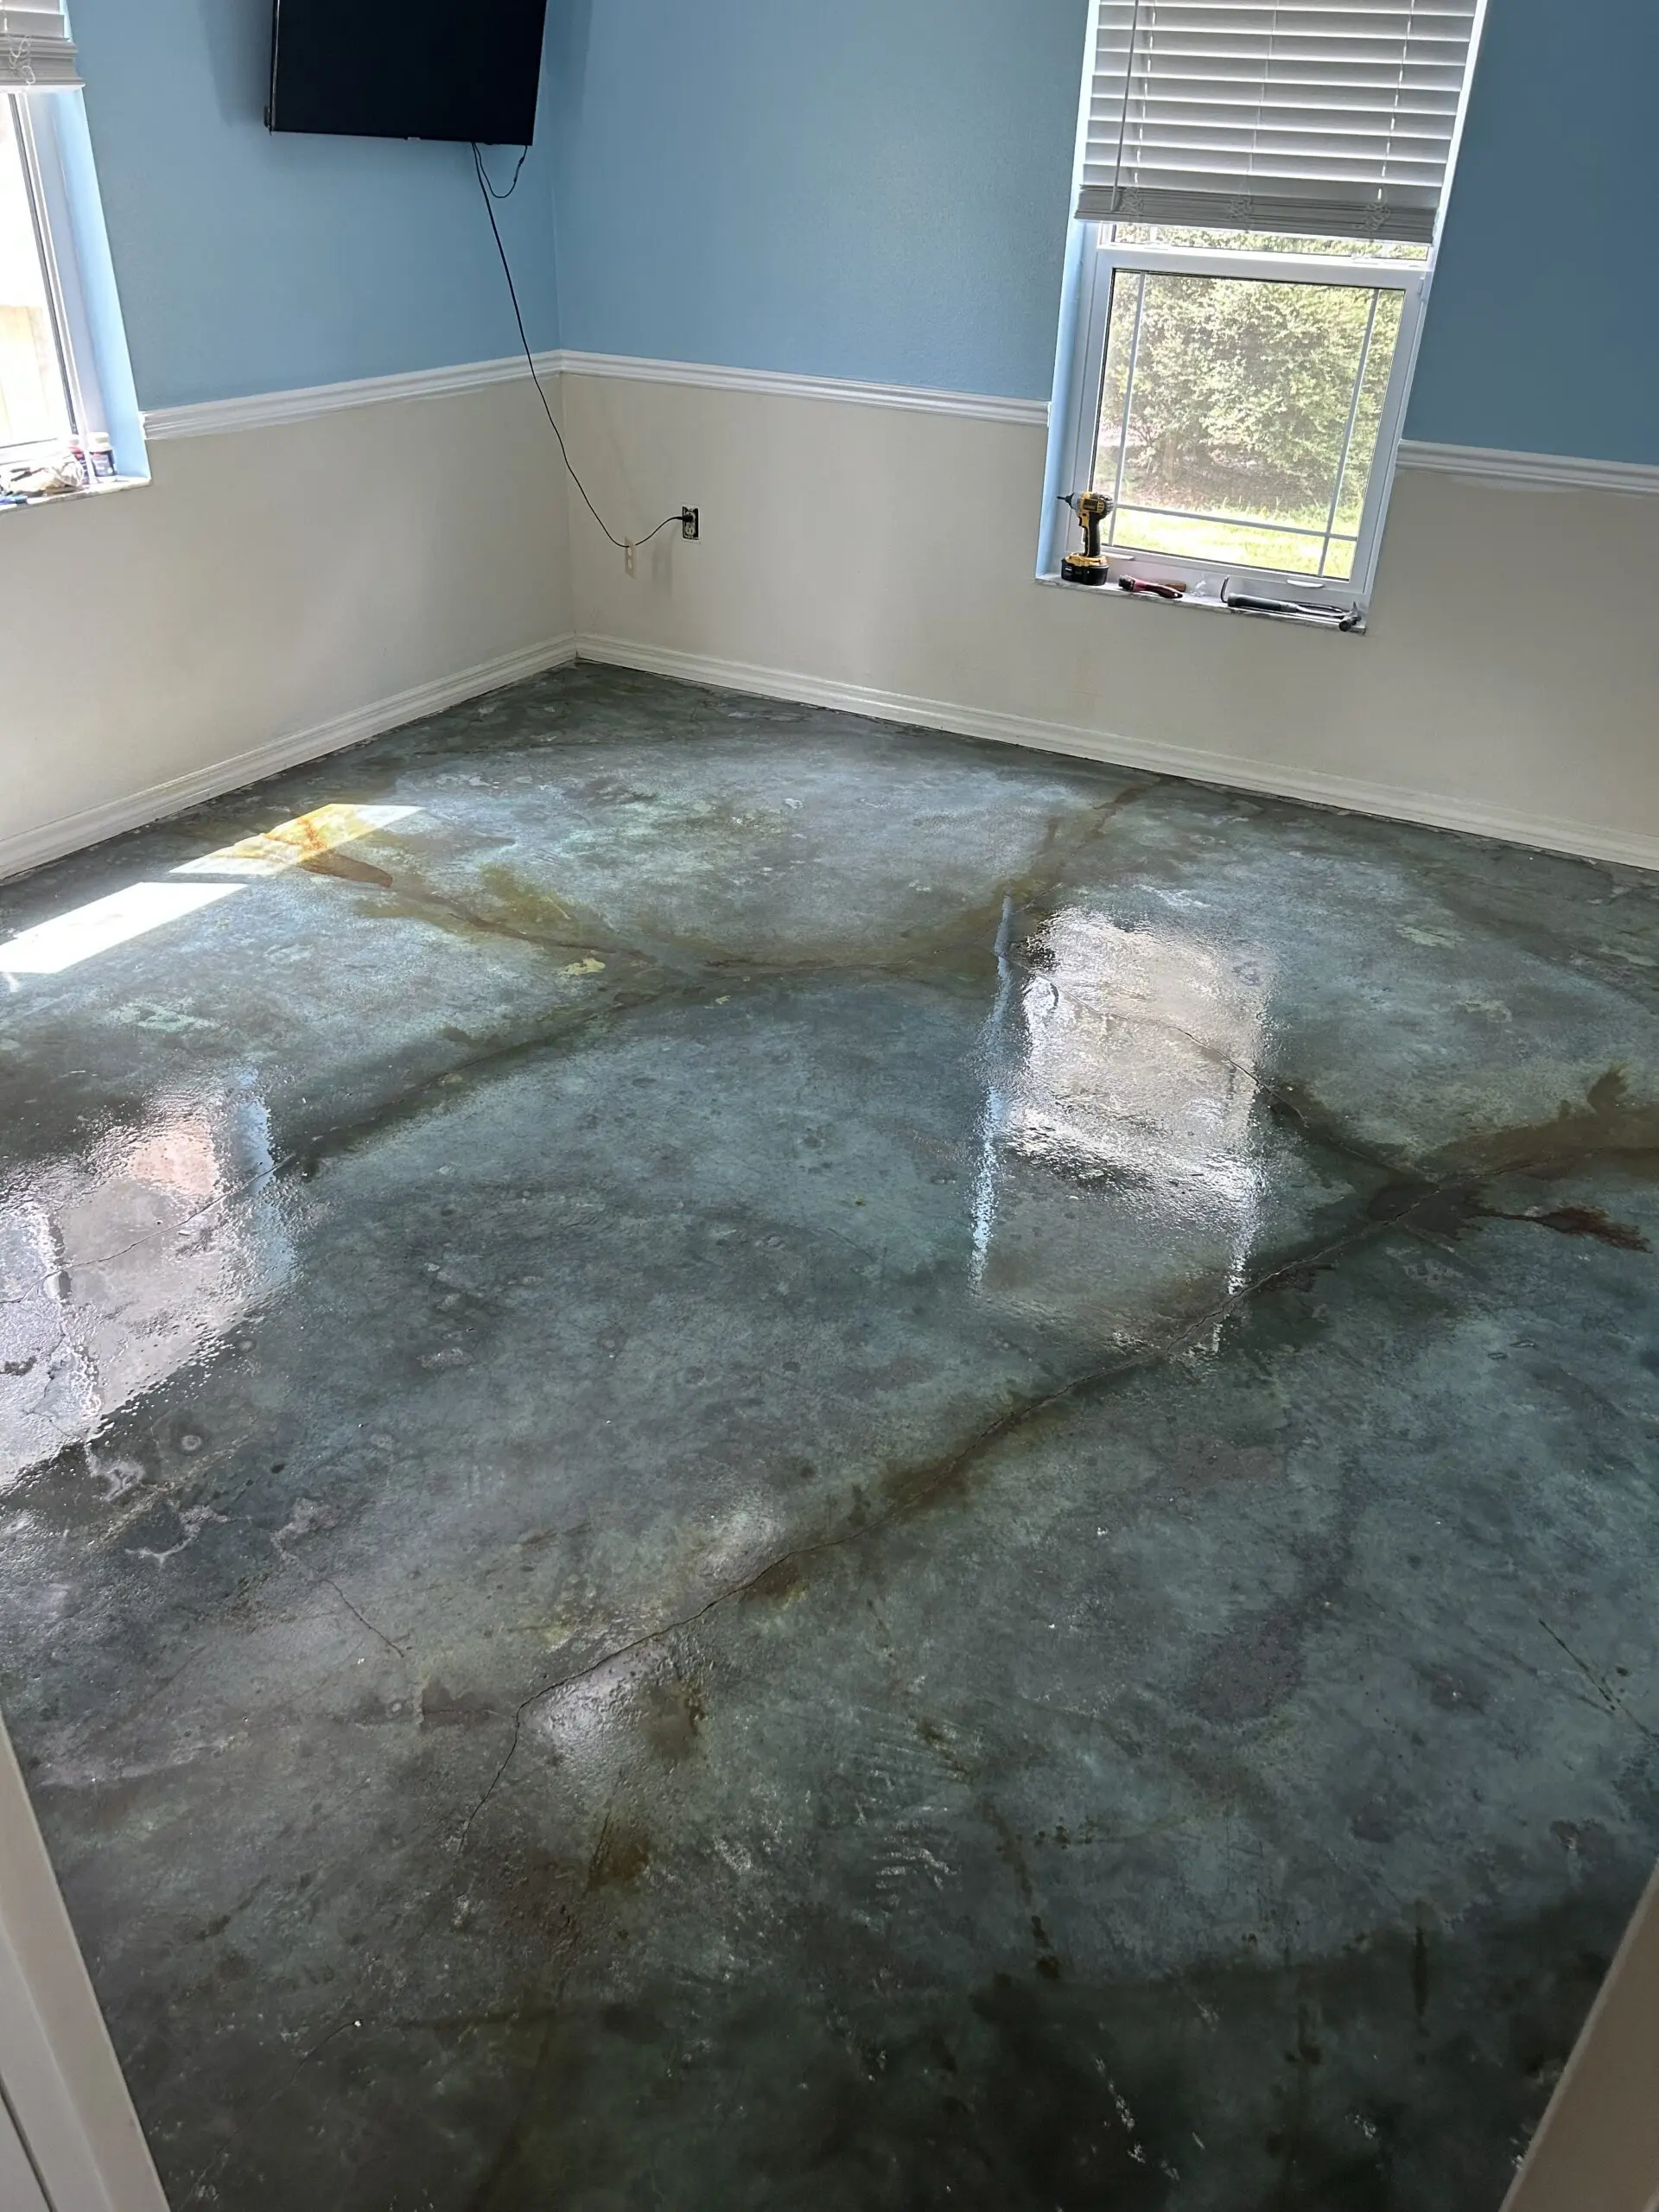
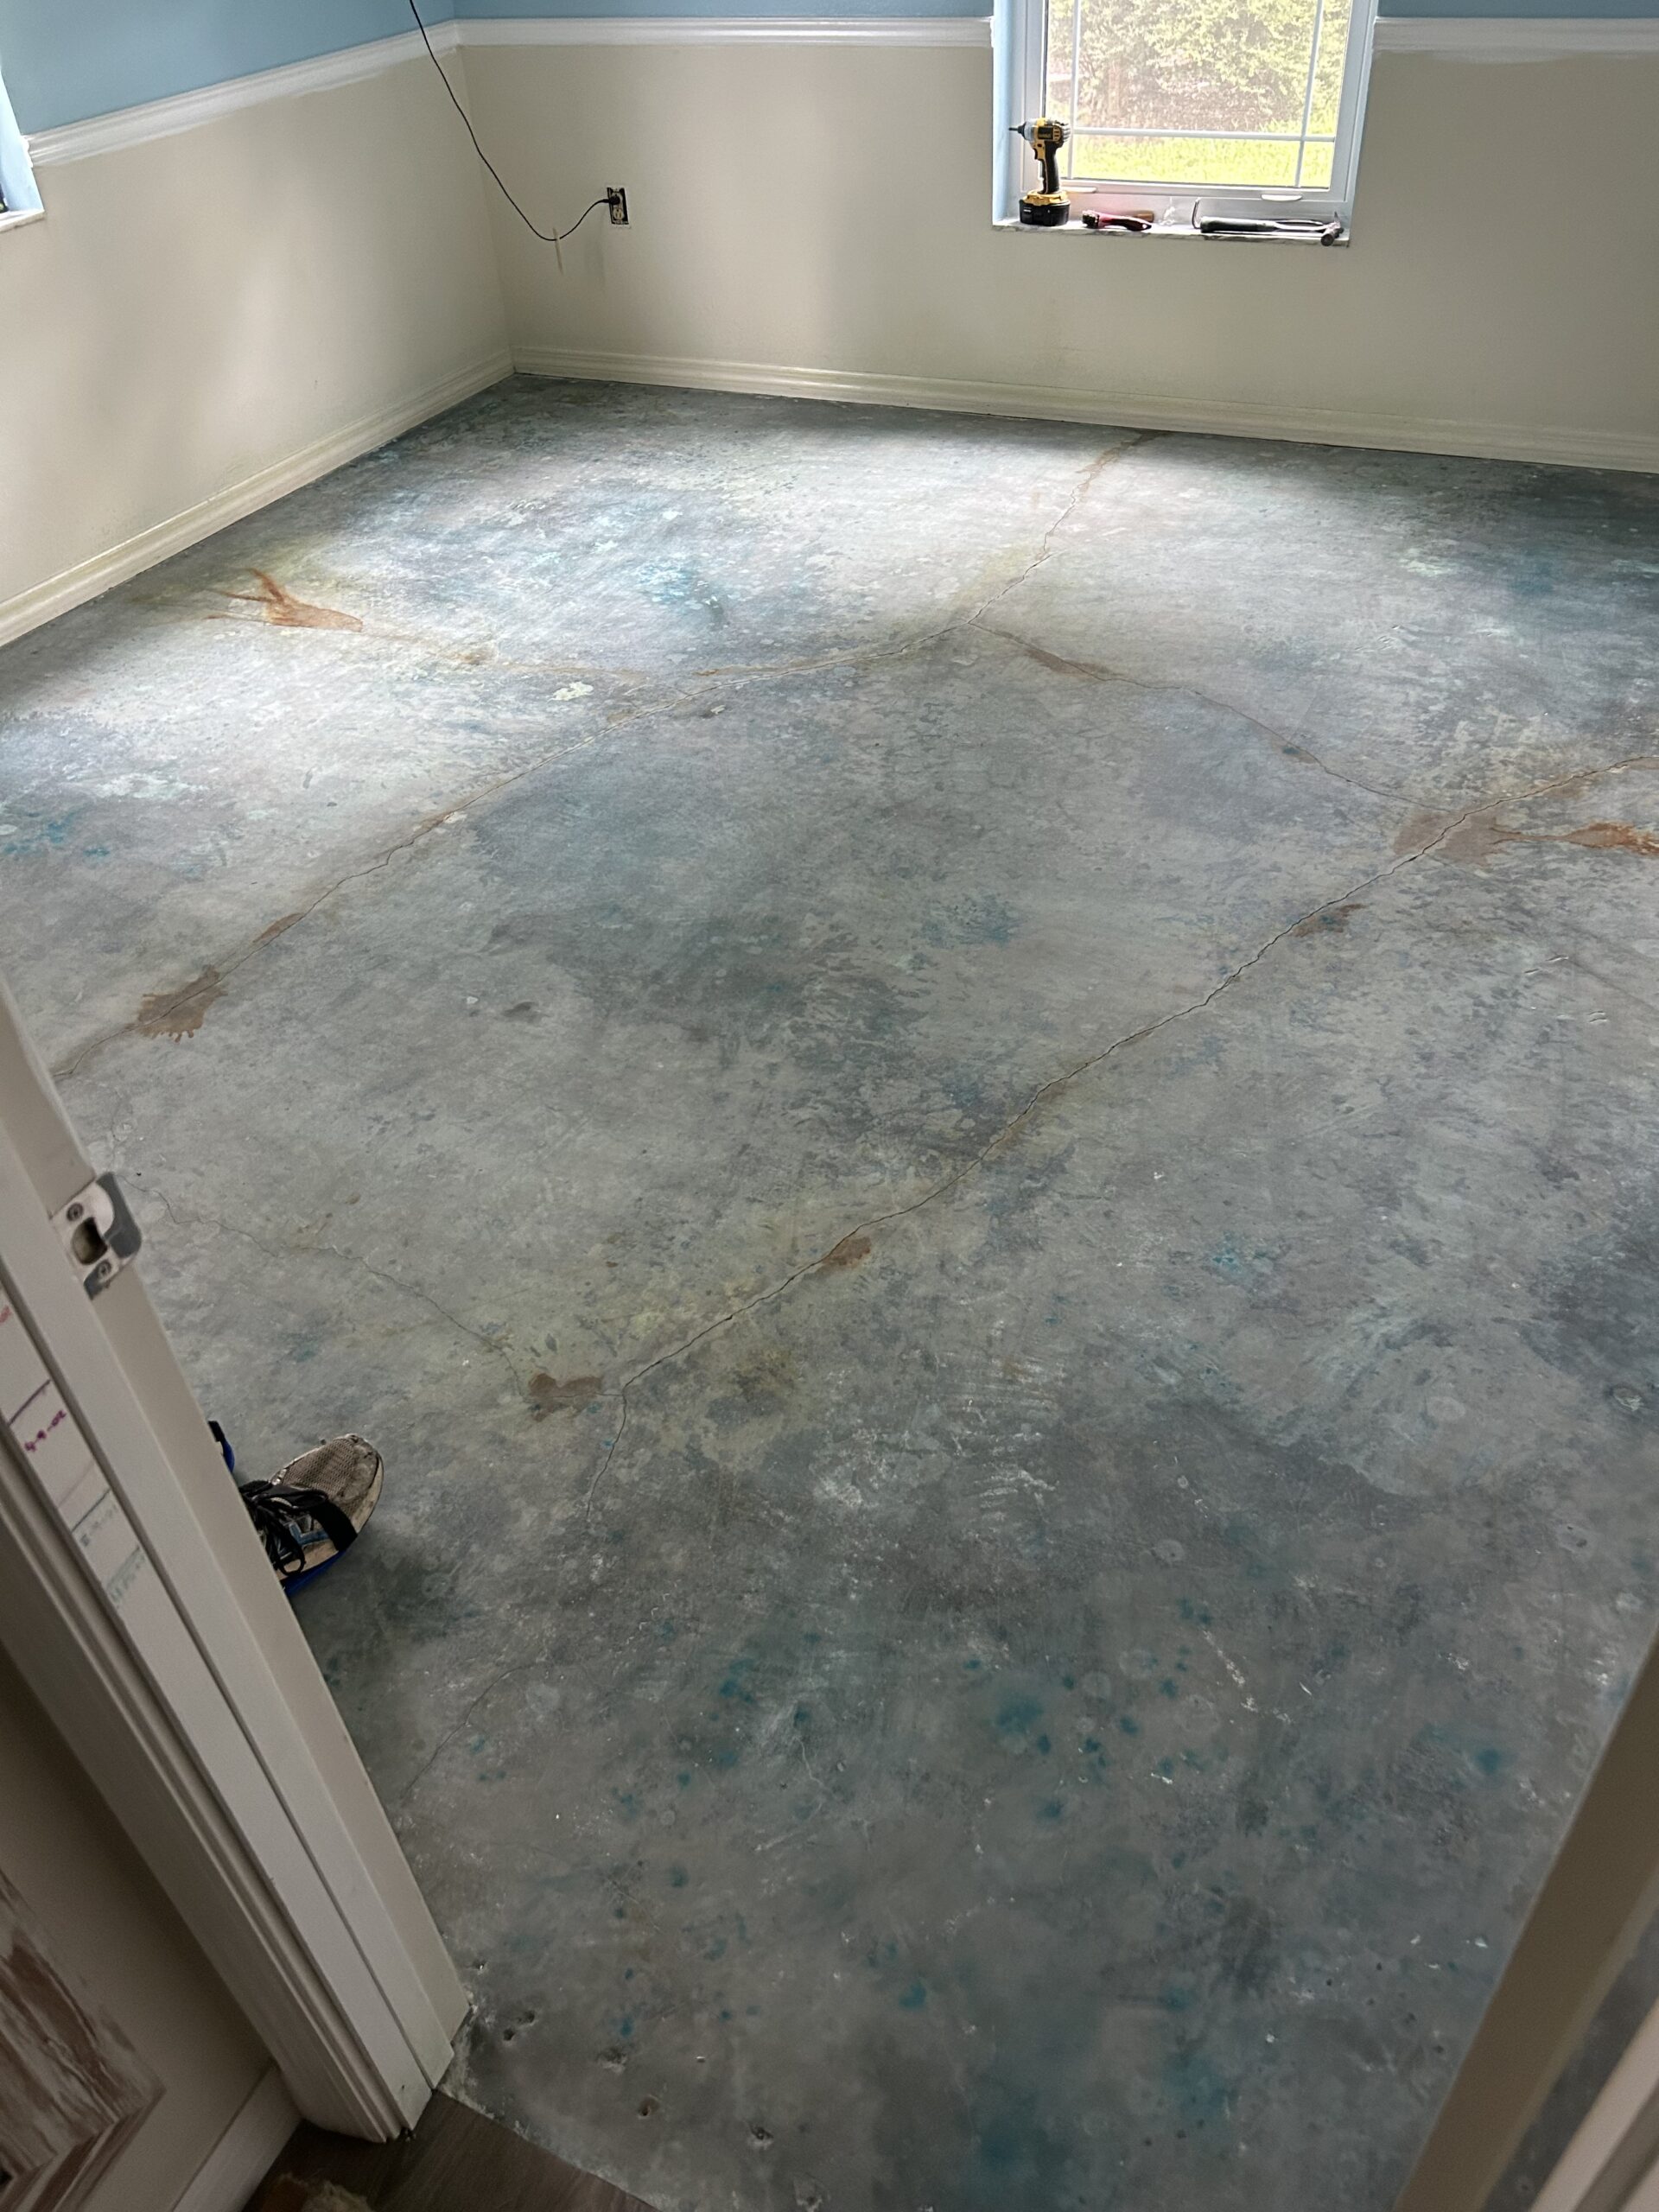
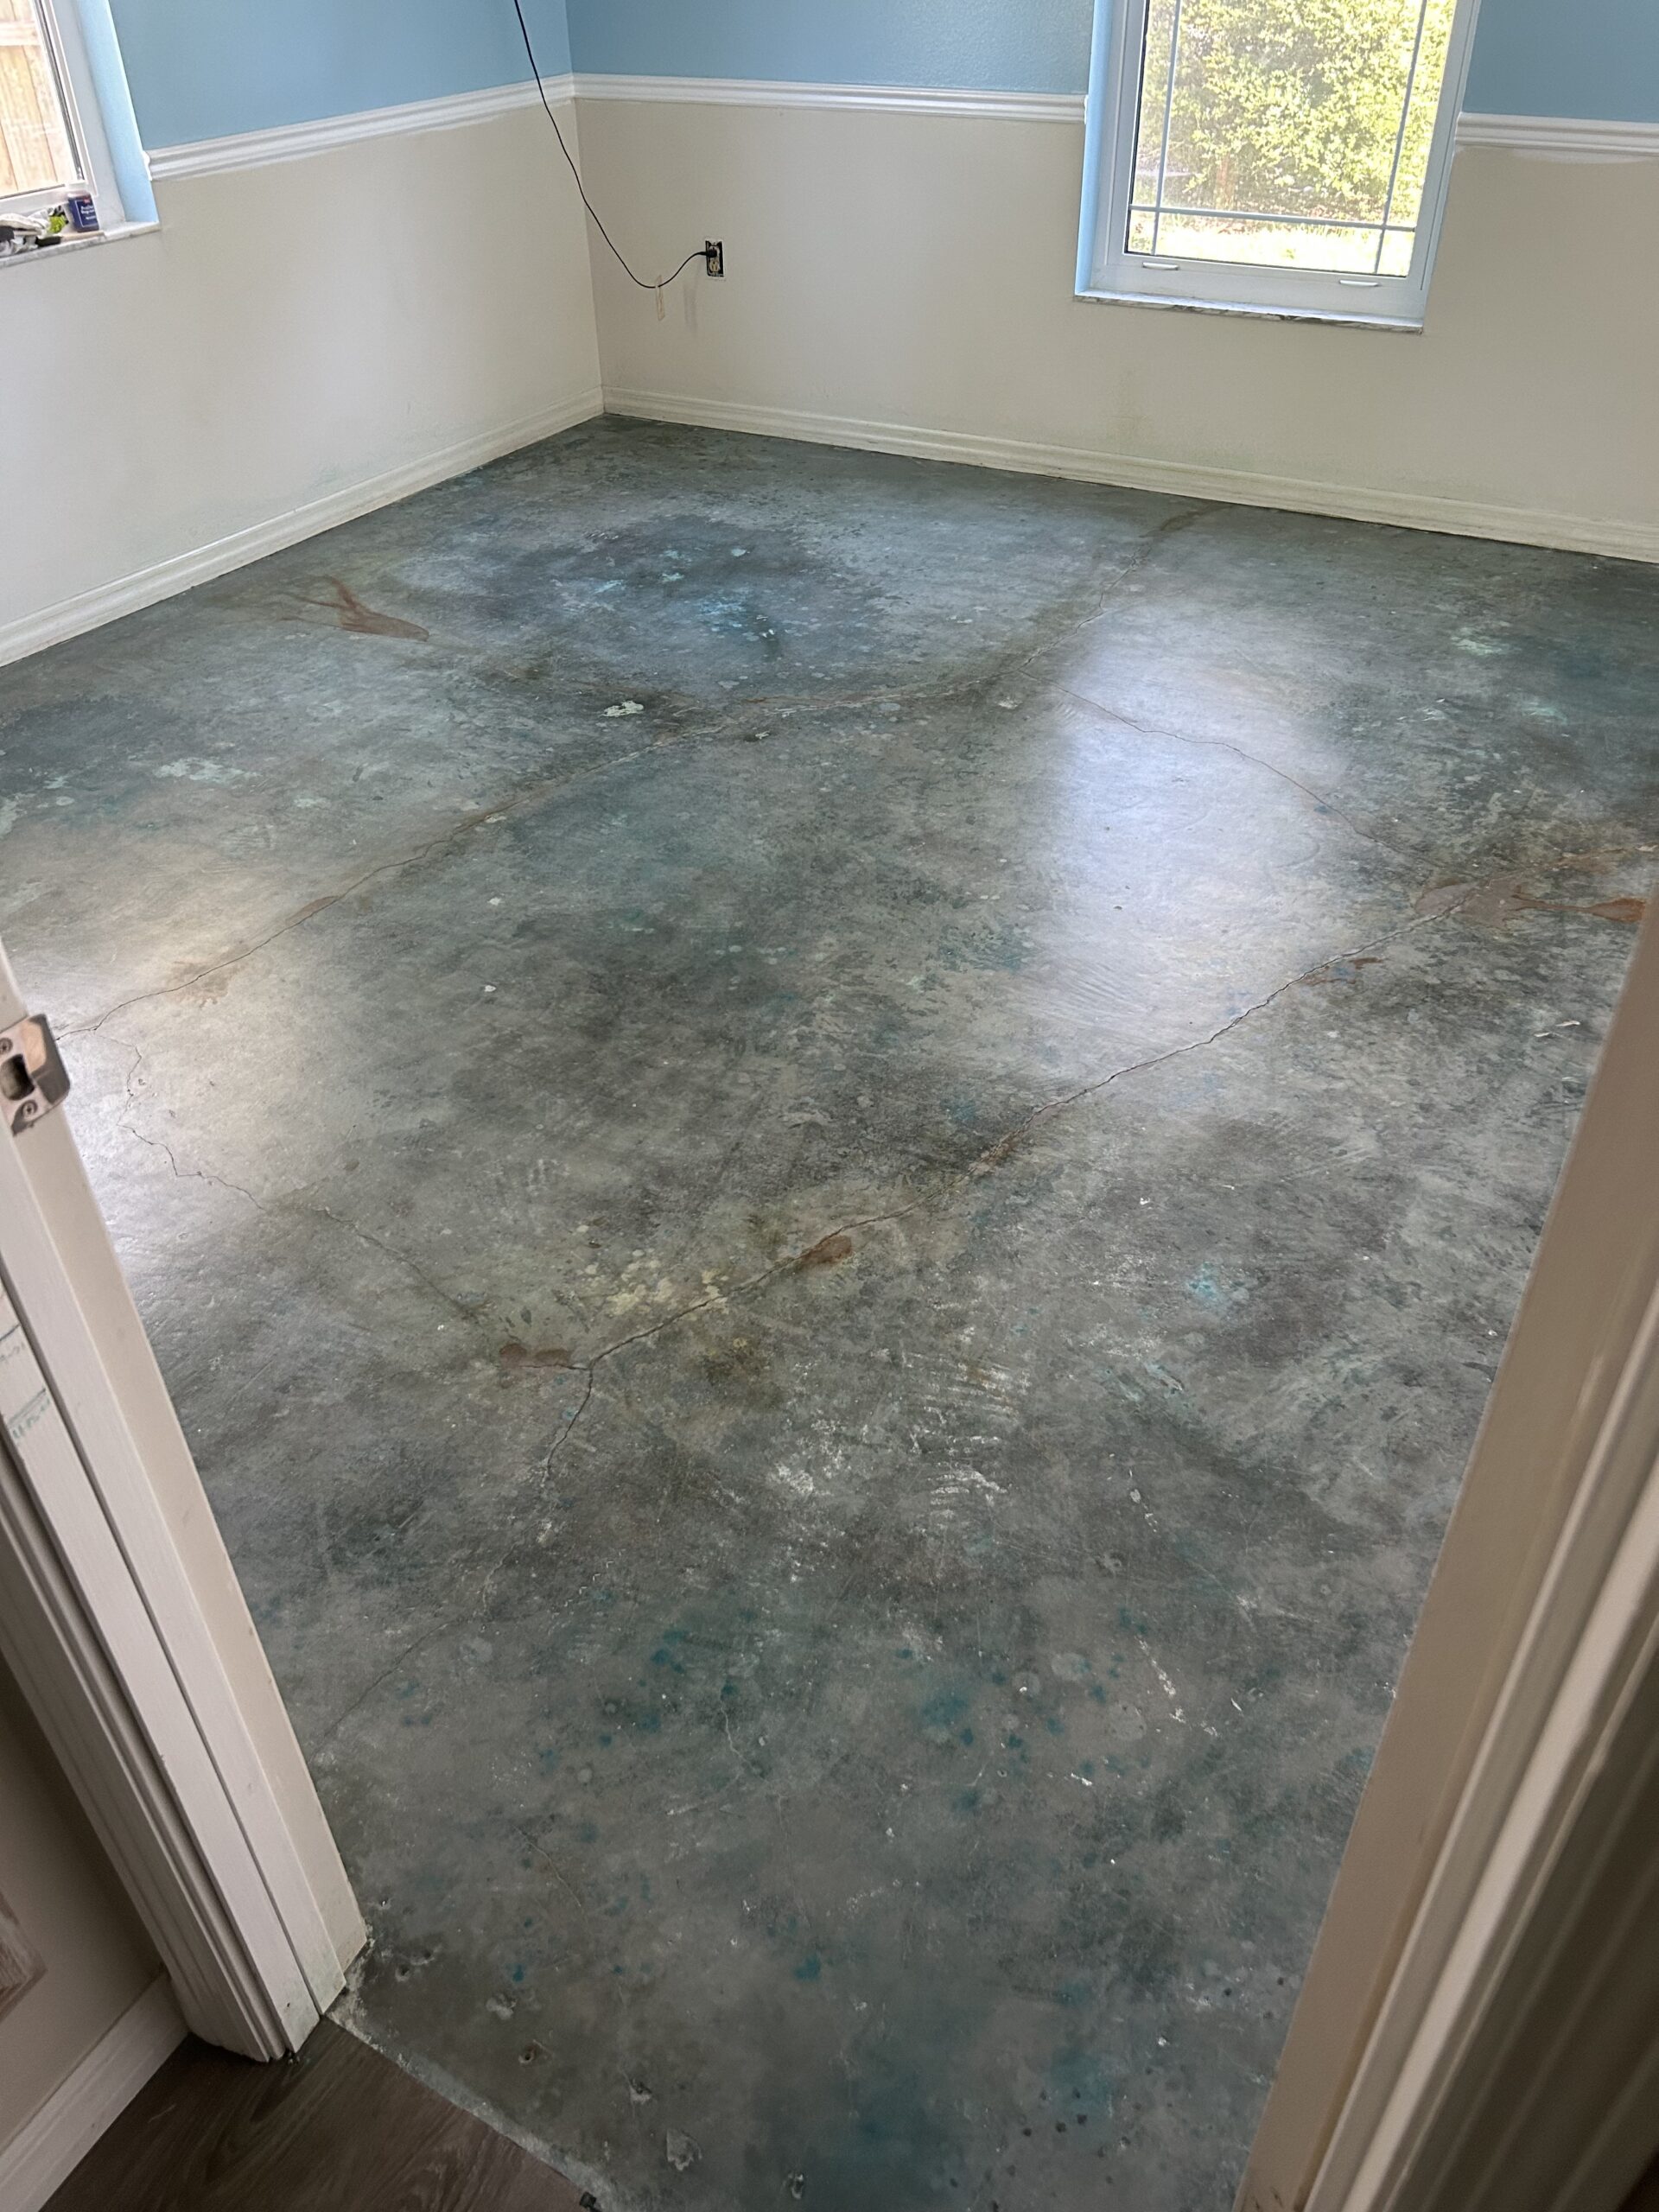
Man Cave Transformation with Azure Blue Acid Stain
This customer removed old carpet, prepped the concrete, and applied Azure Blue acid stain with Miracle Gro for intense color accents. Cracks were highlighted with trial-size stains, and the project was sealed with a satin finish for a stunning final look.
Project Info:
-
- Project Completed In: 15 day(s)
- Estimate of Square Footage: 200 sq. ft.
- Project Description:
My son bought his own house and my wife gave me his room to make a man cave. It has some really old carpet in the bedroom and closet. I removed all the carpet and padding and scraped down the existing concrete to remove all the drywall and paint. A couple of wet mops to remove all the dirt and I used the citrus etch next. 3 wet mops after neutralizing the floor was clean and ready. I used azure blue for the majority of the floor and sprinkled some miracle grow to give more intense color. I also bought a 3 color trial size and accented the existing cracks in the concrete floor. Neutralized again and after another 3 or 4 wet mops to remove all residue, I used the satin sealer and applied 2 coats with the sprayer and a roller. Super easy to apply and the after photos look amazing!
- Personal Tips:
When working inside, make sure your windows are open when applying the acid stain. A mask will help but a respirator is a better choice during the 20 minutes of stain application - Direct Colors Products Used:
1 Gal. Azure Blue DIY EverStain™ & AcquaSeal™ Satin Kit
EverStain™ Trial Kit: Desert Amber, Malayan Buff & Seagrass
Morning Coffee Haven: A 1980s Patio Revived
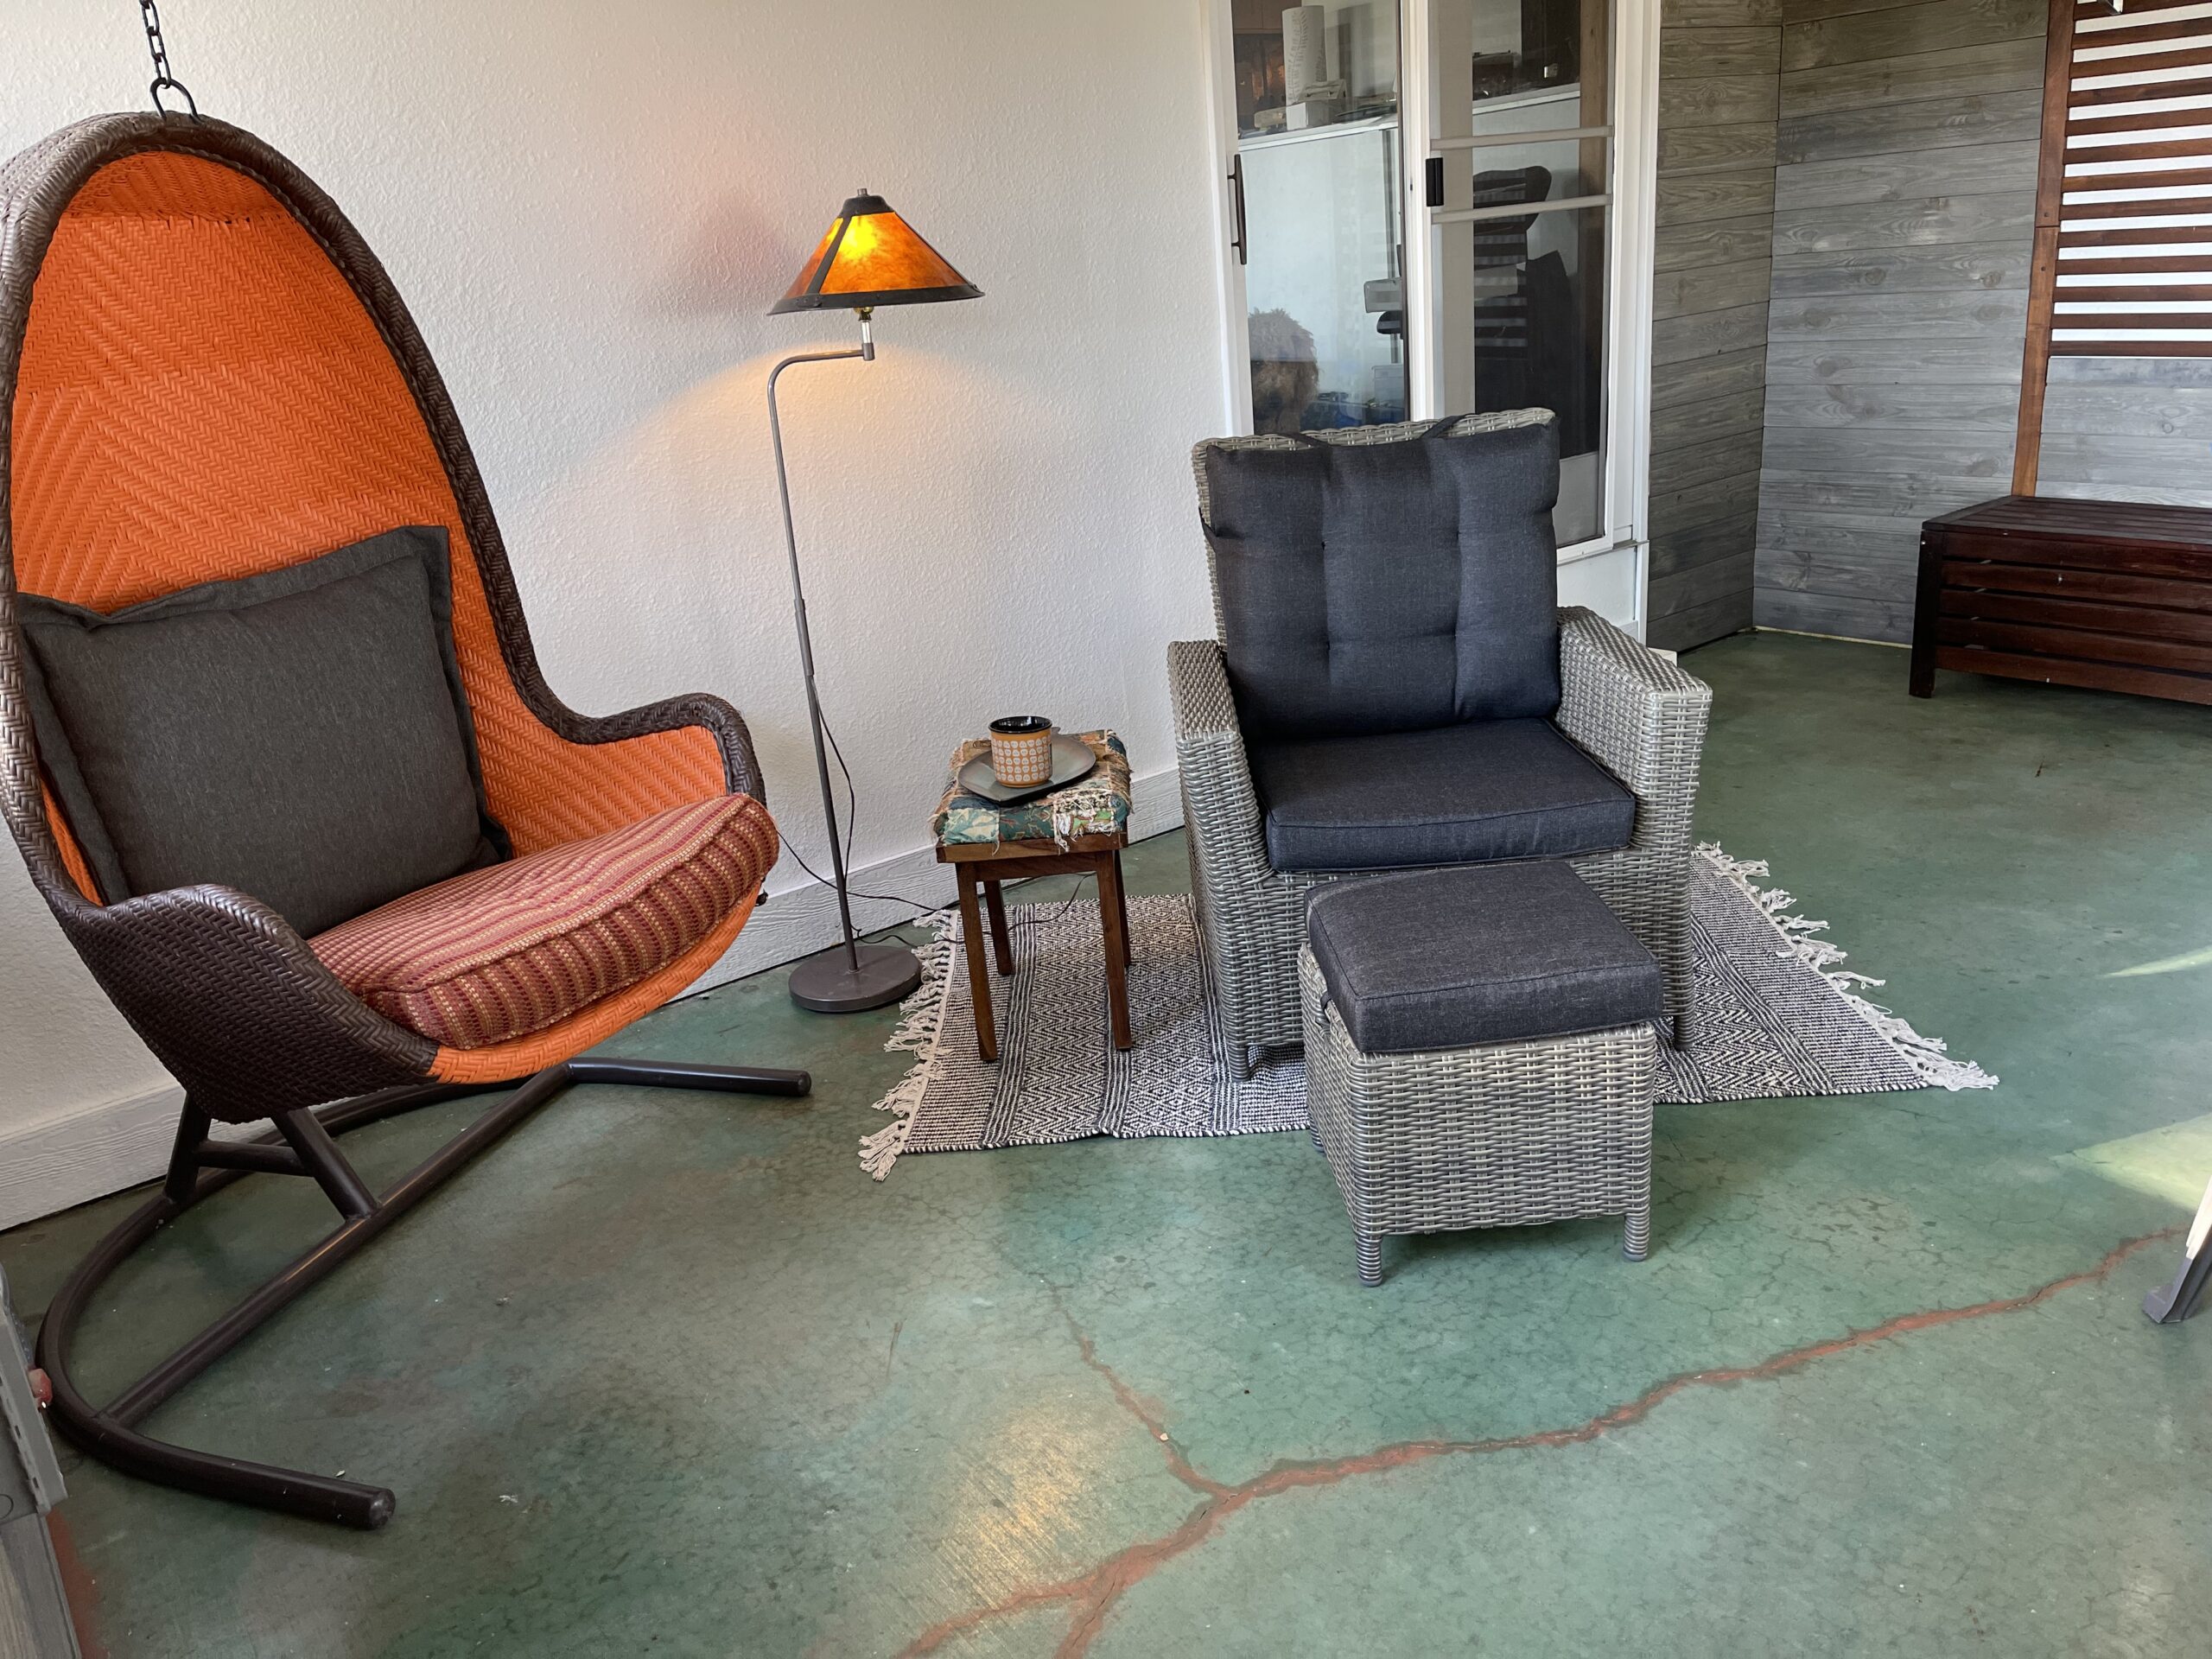
This 1980s patio makeover offers inspiration for creating a serene coffee nook. After three days of cleaning to remove dirt, rust, paint, and drywall mud, the homeowner applied two coats of Azure Blue acid stain with a soft brush for an even, beautiful finish. Now, the transformed patio is a perfect spot to enjoy coffee any time of day.
Project Info:
- Project Completed In: 6 day(s)
- Estimate of Square Footage: 175 sq. ft.
- Project Description:
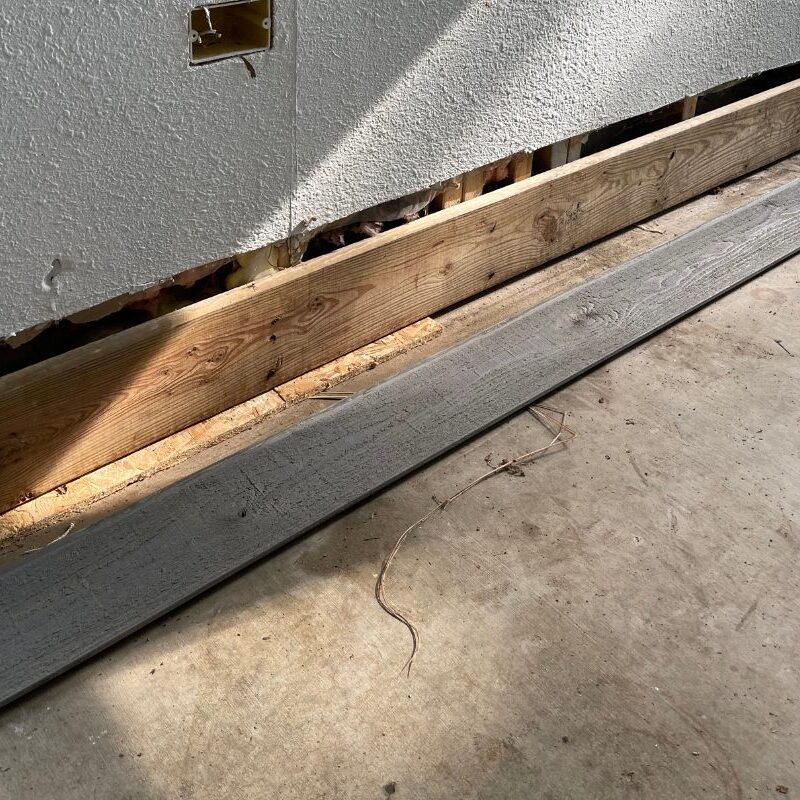
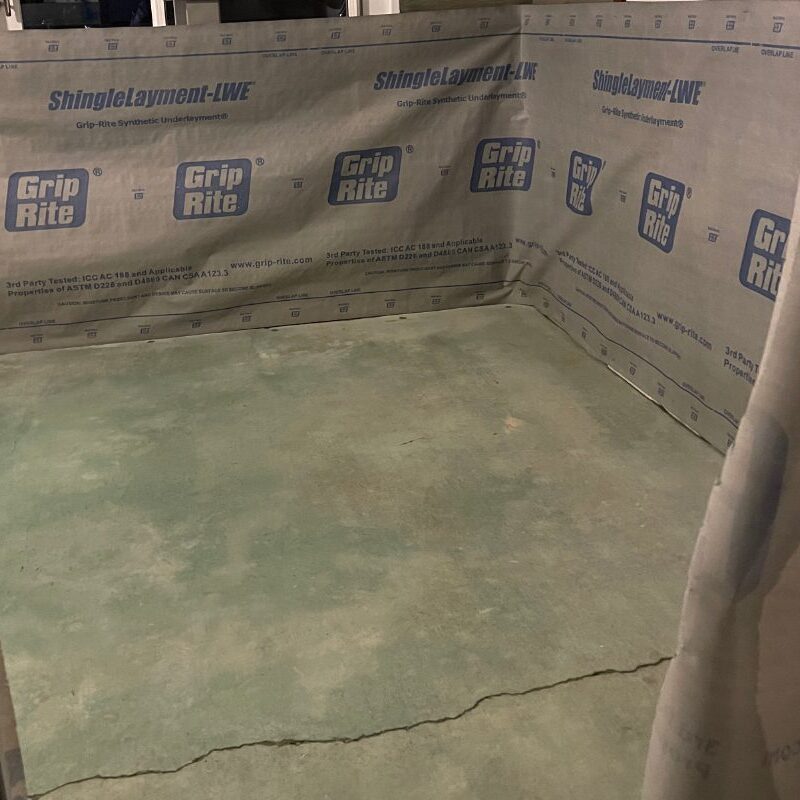
1980’s patio remodel for a peaceful place to enjoy morning, afternoon, and evening coffee 😉 Concrete was thick with dirt and stained with rust, paint, and drywall mud. Prep was three days of intense cleaning. - Personal Tips:
Prep and clean the floor thoroughly as most things left on the concrete will be magnified under the product. I (lightly) hammered clumps of drywall mud for easy removal. A citrus paint stripper is great and really tough paint can be removed with a $1 bottle of acetone fingernail polish remover. I would not use CLR to remove rust spots. I think it resulted in a lighter color (chemical) reaction in the areas this was used. My concrete was old and thirsty. After the initial coat of sprayed on acid stain was mostly dry. I went back in with spiked shoe covers and applied a second coat and used a light circular scrubbing motion with a softish scrubbing brush. Be sure to read the safety profile on the solvent sealer and wear proper PPE. Spray a small test run of the sealer on some cardboard to prime the pump and adjust your nozzle for coverage preference. After the first coat of sealer has dried you can use a light coating of acrylic paint to cover small areas of imperfection or accent other areas of interest. The second coat of sealer goes on fast and seems to require less product. It dries beautifully and my husband was impressed with its durable appearance.
- Direct Colors Products Used:
1 Gal. Azure Blue DIY EverStain™ & EasySeal™ Satin Kit - Other Products Used:
Acrylic paint
Acetone
Dawn Soap
Emerald Elegance: Living Room Transformation
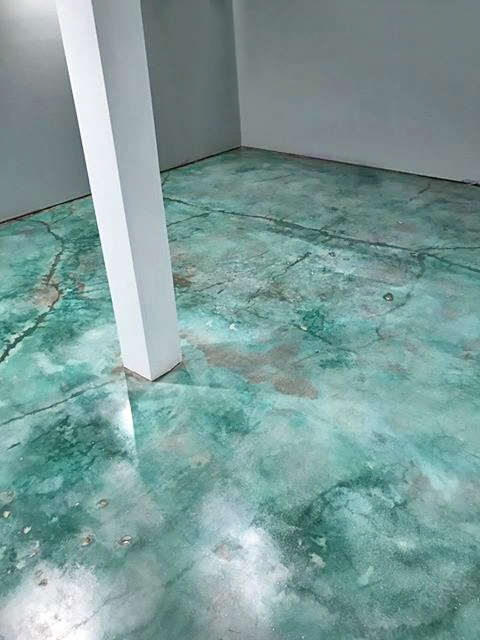
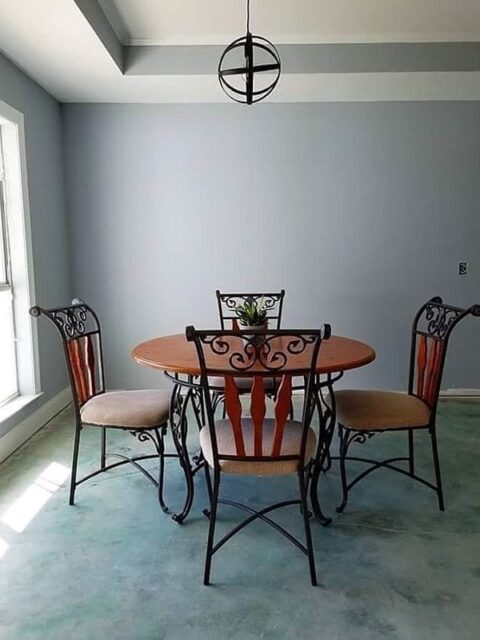
This DIY transformation shows how moisture evaporation can create stunning color variations, adding depth to the azure hue. A beginner achieved a unique, durable, and easy-to-maintain living room floor that’s both beautiful and practical.
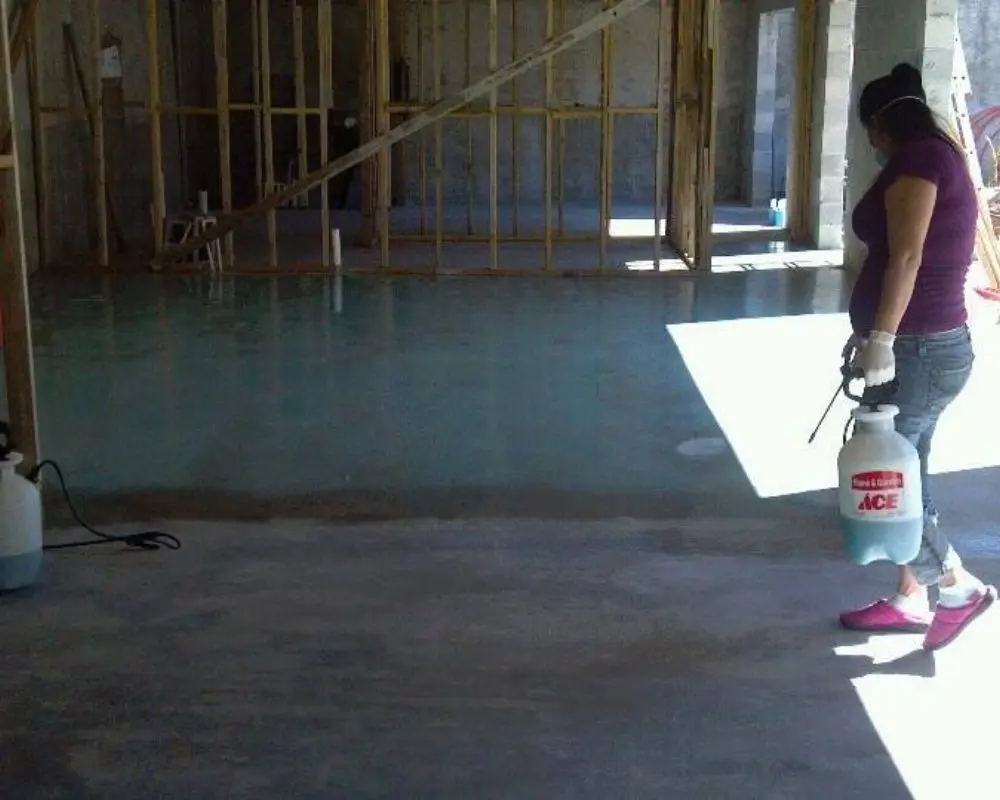
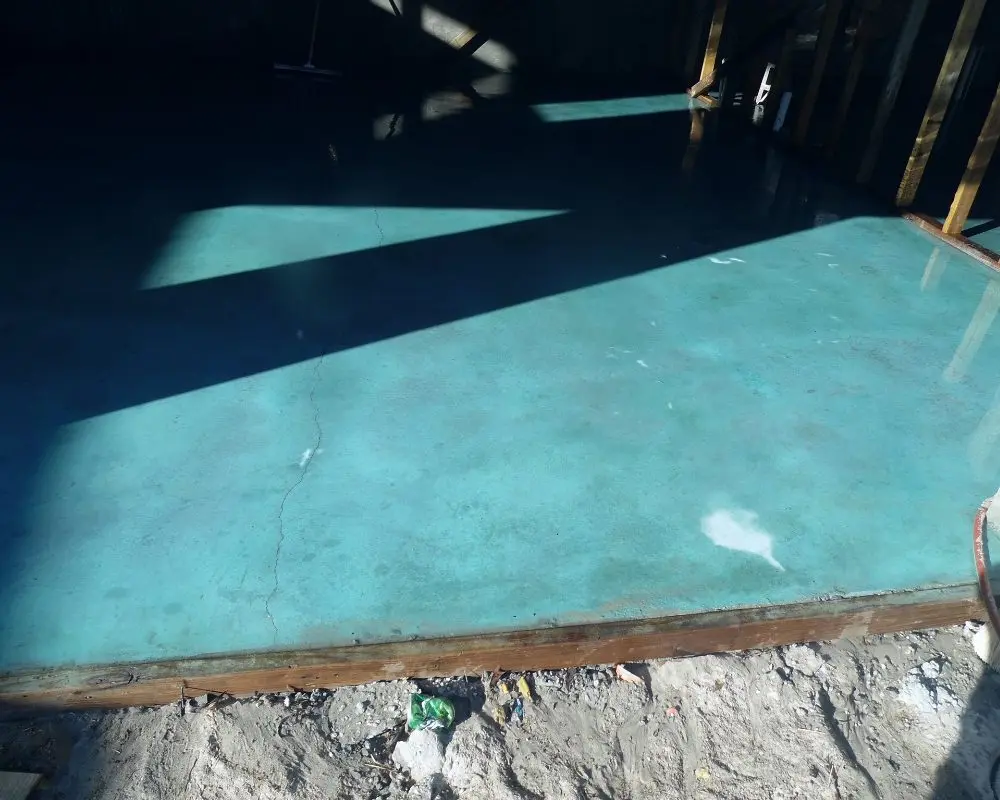
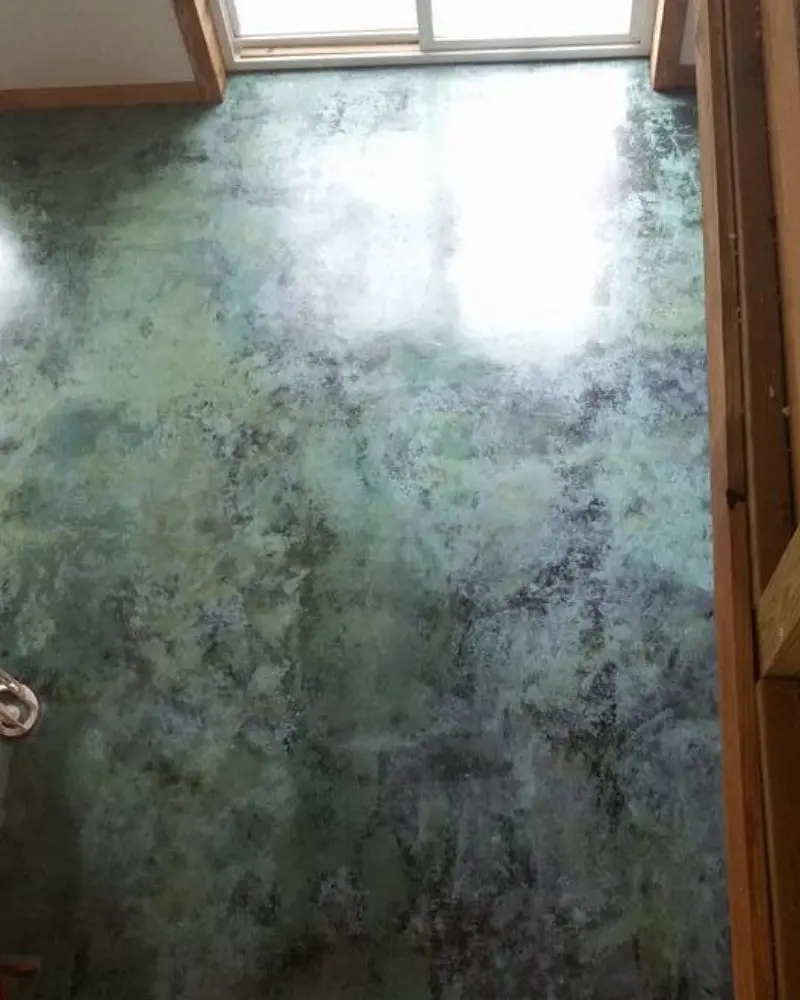
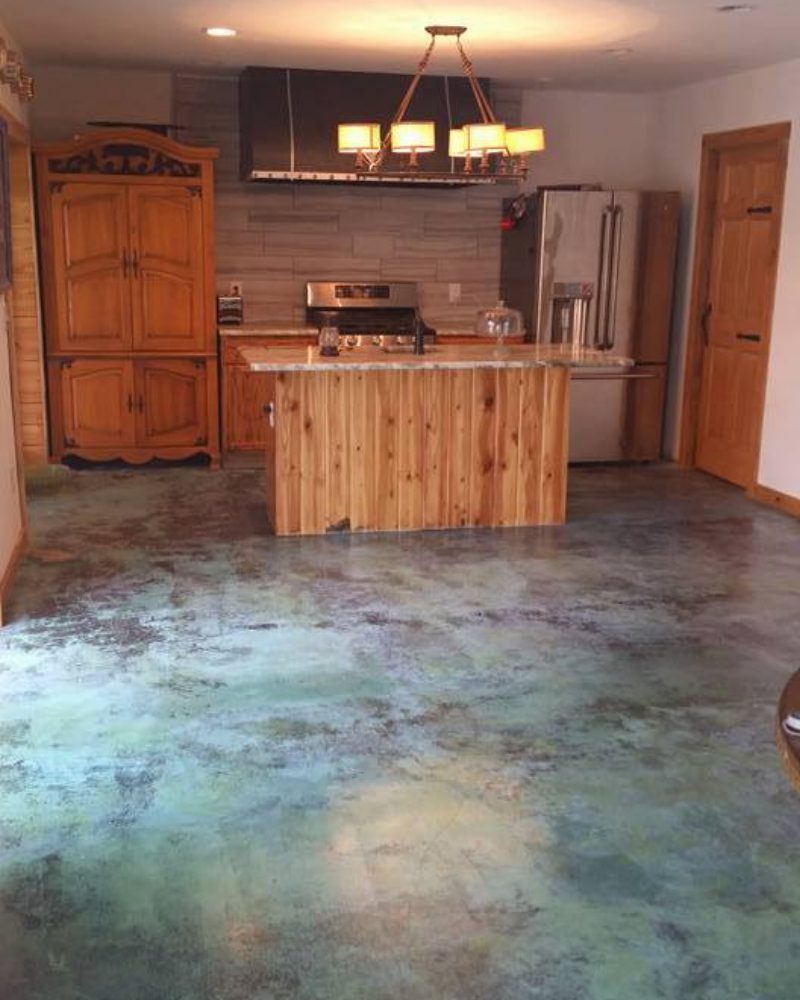
Project Description: For this stunning project, a homeowner took on the challenge of transforming their living room with Azure Blue Acid Stain. Despite being a novice in the world of concrete staining, they embraced the process with passion and attention to detail. By diligently following Direct Colors’ instructions, they initially achieved a uniform azure hue. Unexpectedly, as the days passed, the stain began revealing intriguing, organic green and black patterns that enriched the overall design.
The secret to this transformation lay in the concrete slab’s inherent properties. Unbeknownst to the homeowner, moisture continued to evaporate from the slab even after the stain and sealant were applied. This slow release of moisture resulted in an unpredictable and stunning evolution of color, enhancing the original azure with deeper blue, green, and black shades.
Replicating this beautiful effect is not straightforward due to the unpredictability of the concrete’s moisture evaporation rate and the impact this has on color changes. For those looking to recreate a similar effect, a potential strategy is to apply the stain around the 30-day cure period of the concrete. However, keep in mind that the final outcome may not be exactly the same and could vary widely. Another technique to achieve more color depth is by applying water to the surface after staining, potentially resulting in darker hues in treated areas. As always, it’s recommended to experiment in a less noticeable area first to better understand the process and expected results.
Personal Tips:
- Test water application on a hidden area first to understand the effect it will have on your concrete.
- Applying the stain around the 30-day cure period could result in color evolution similar to this project.
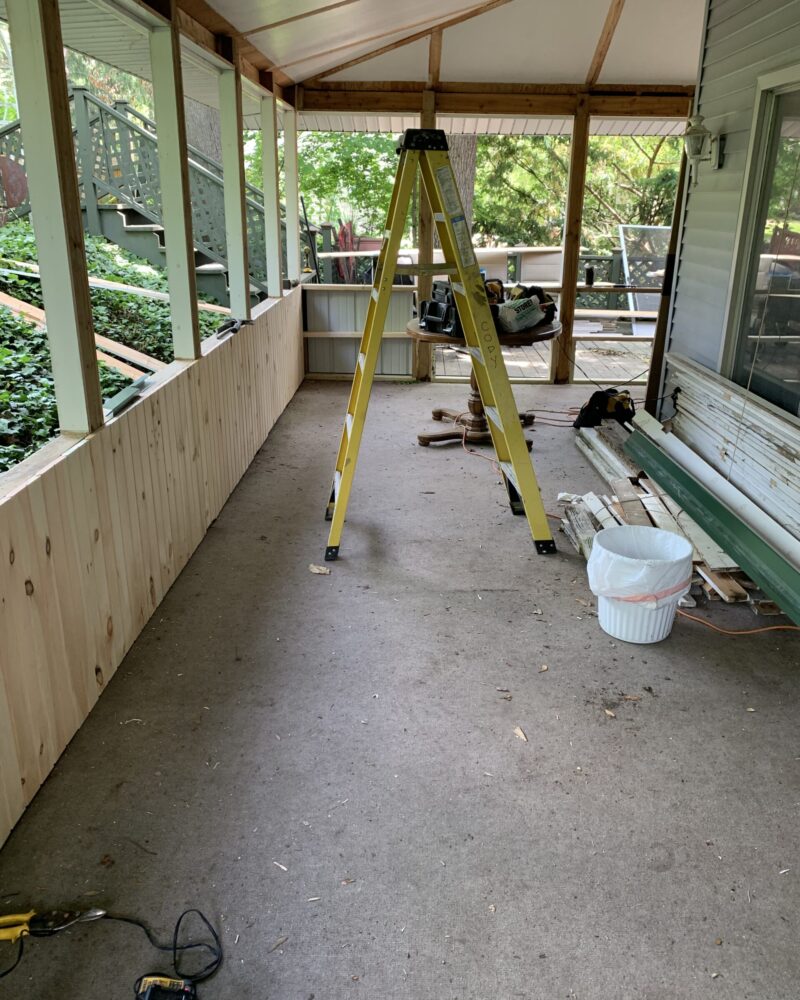
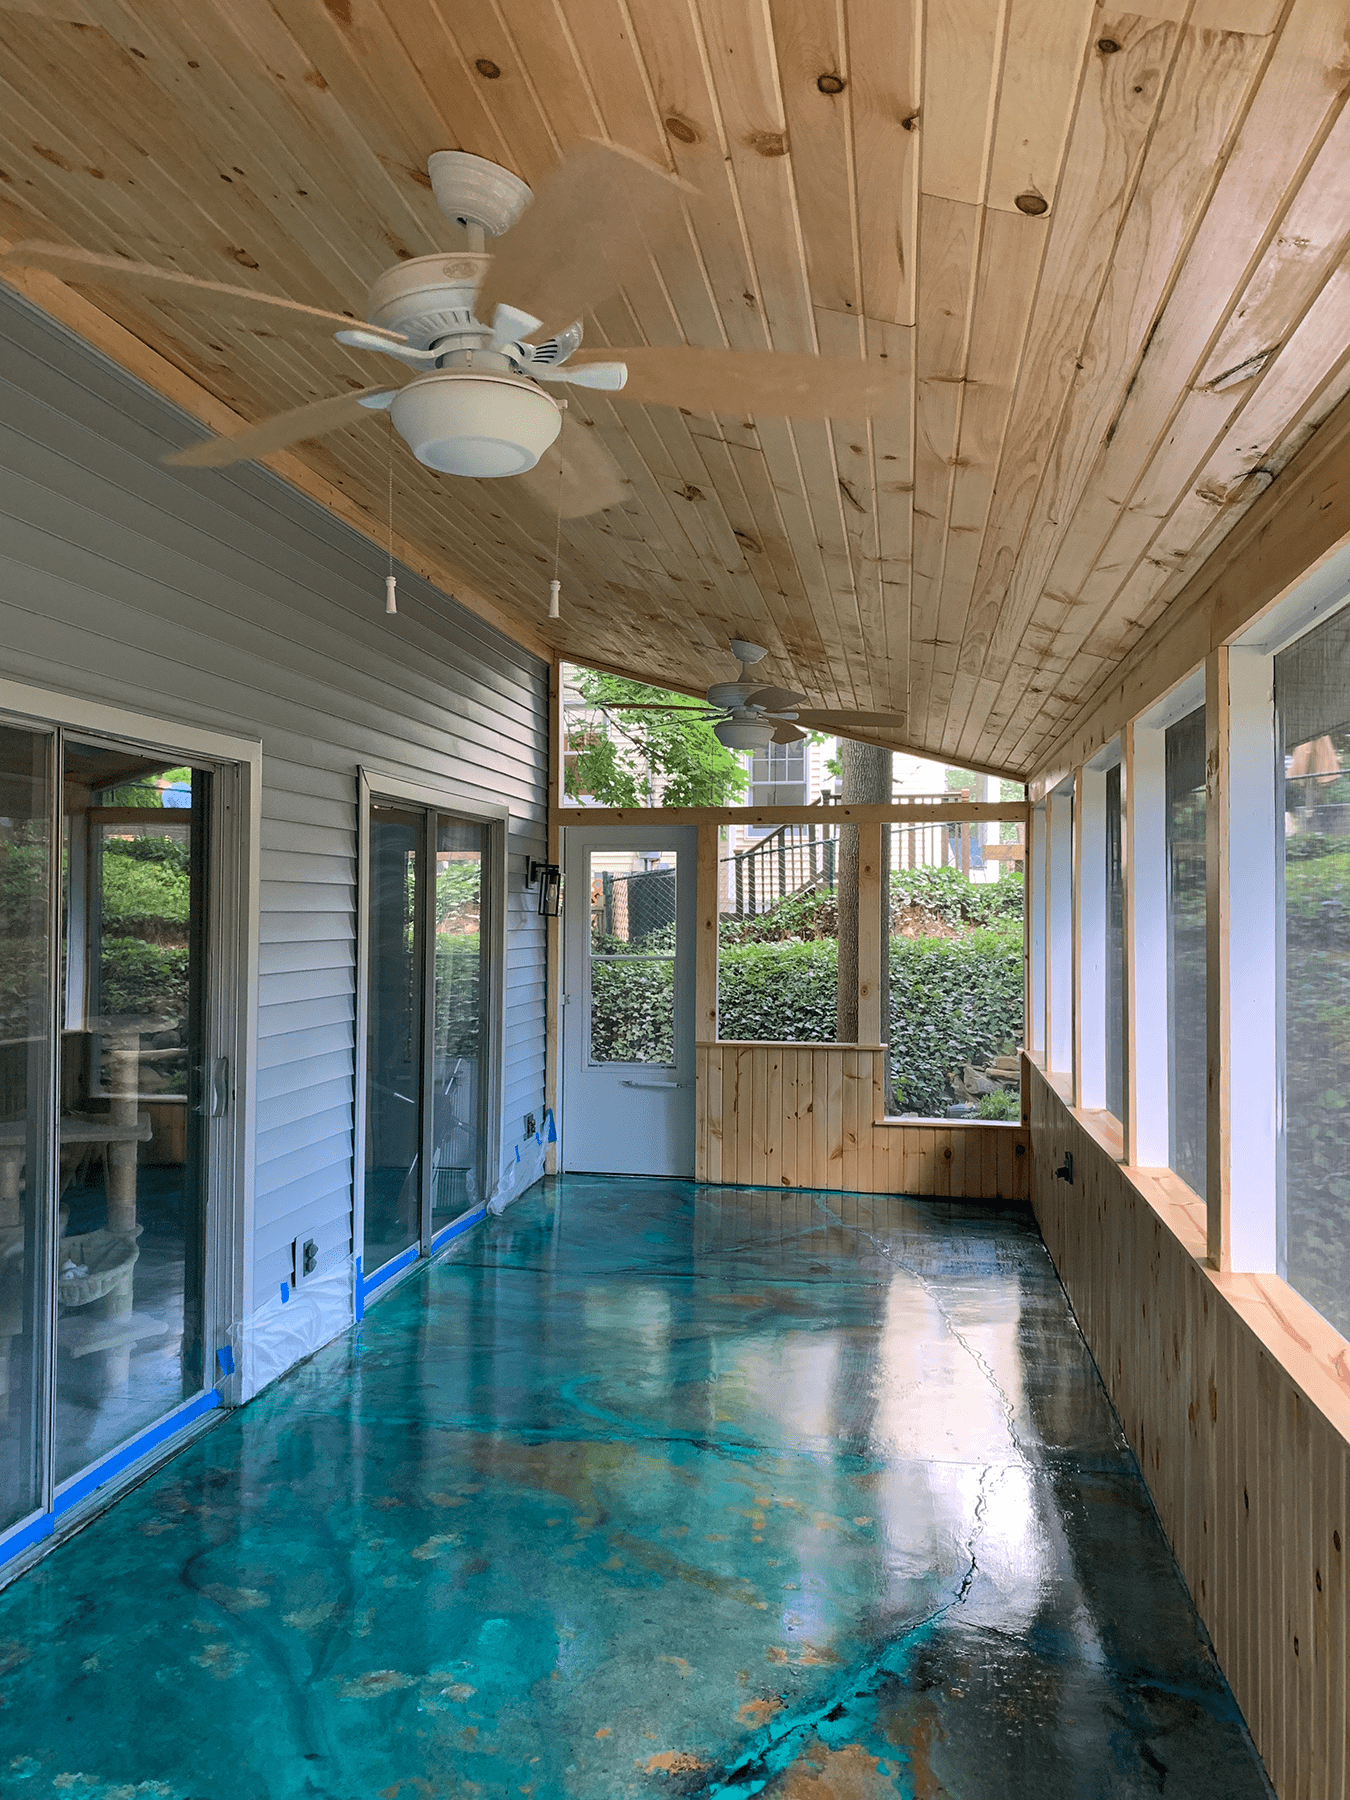
Porch Resurgence: From Carpeted Space to Stained Masterpiece
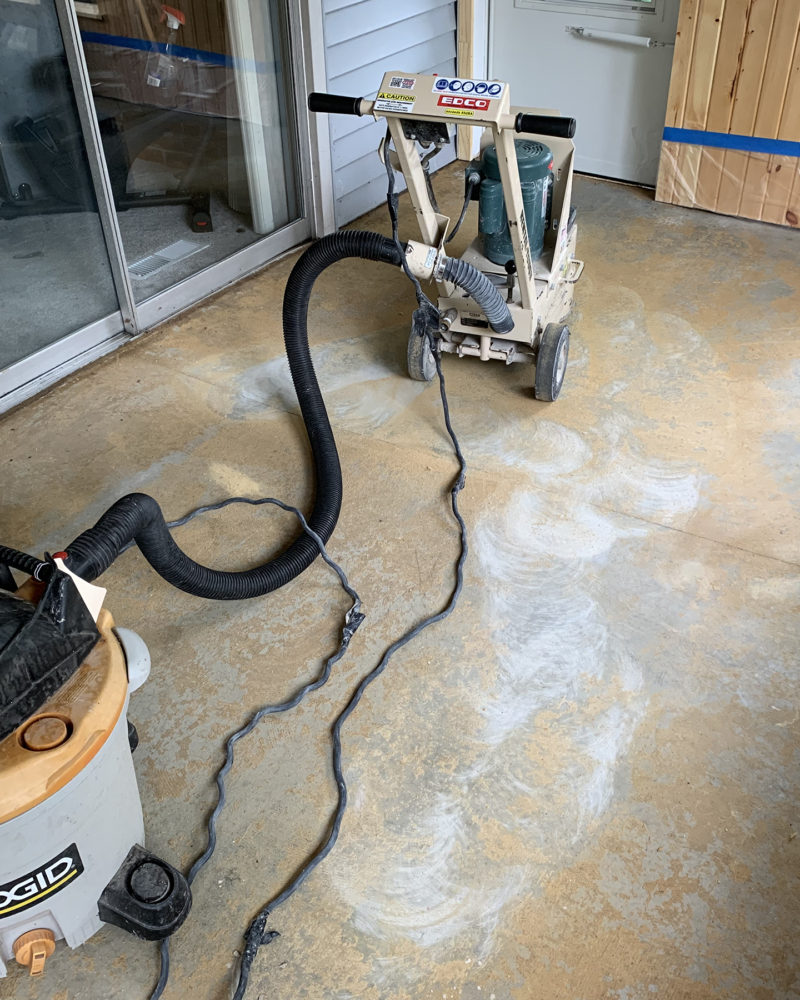
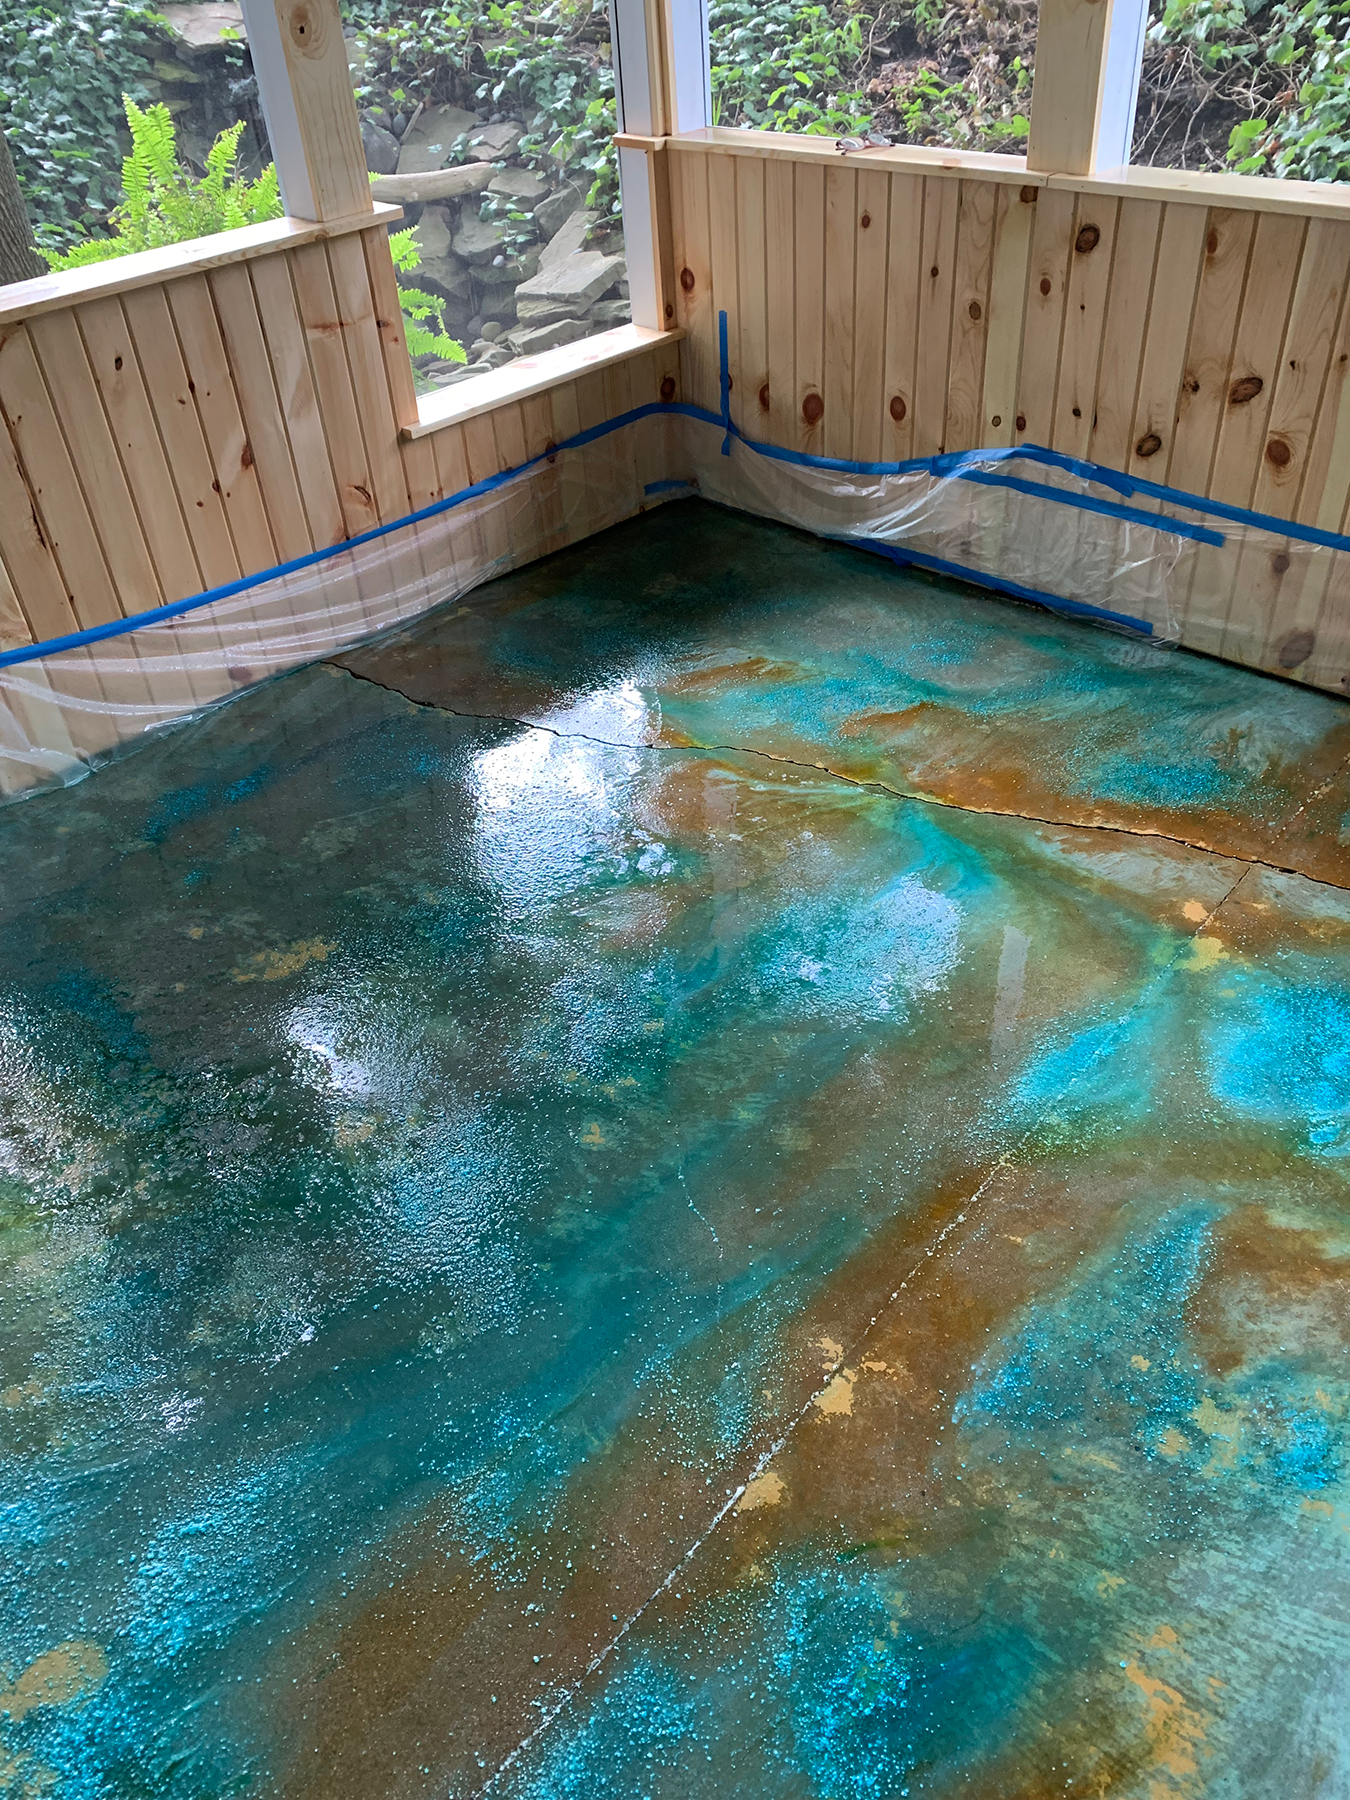
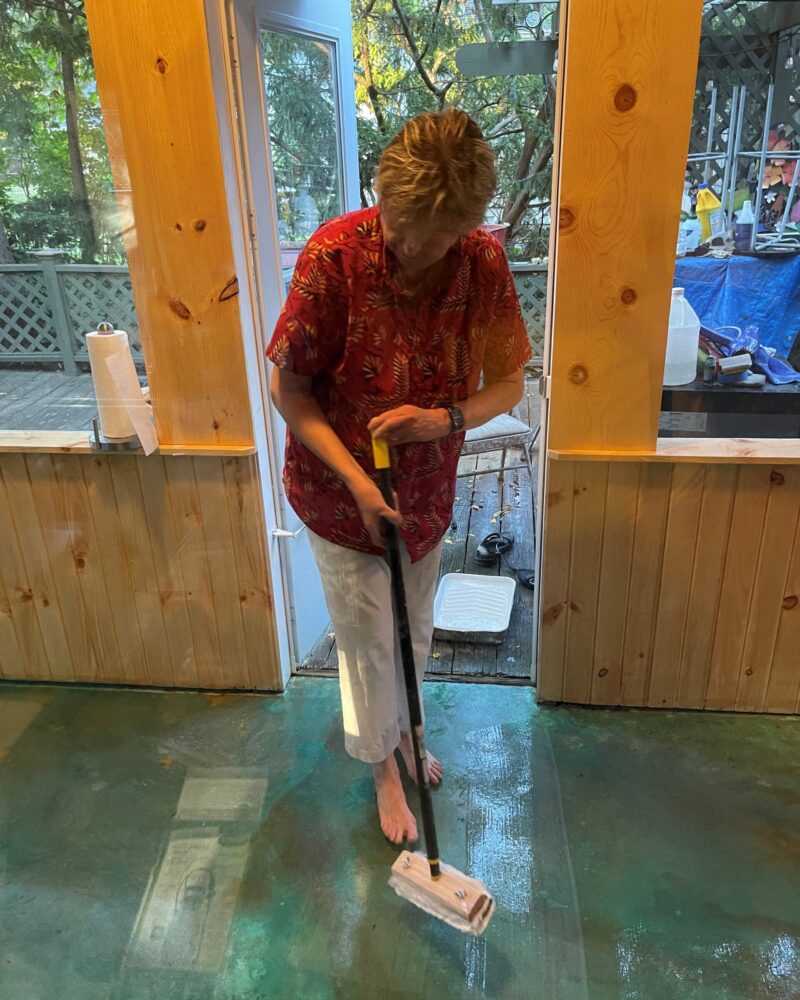
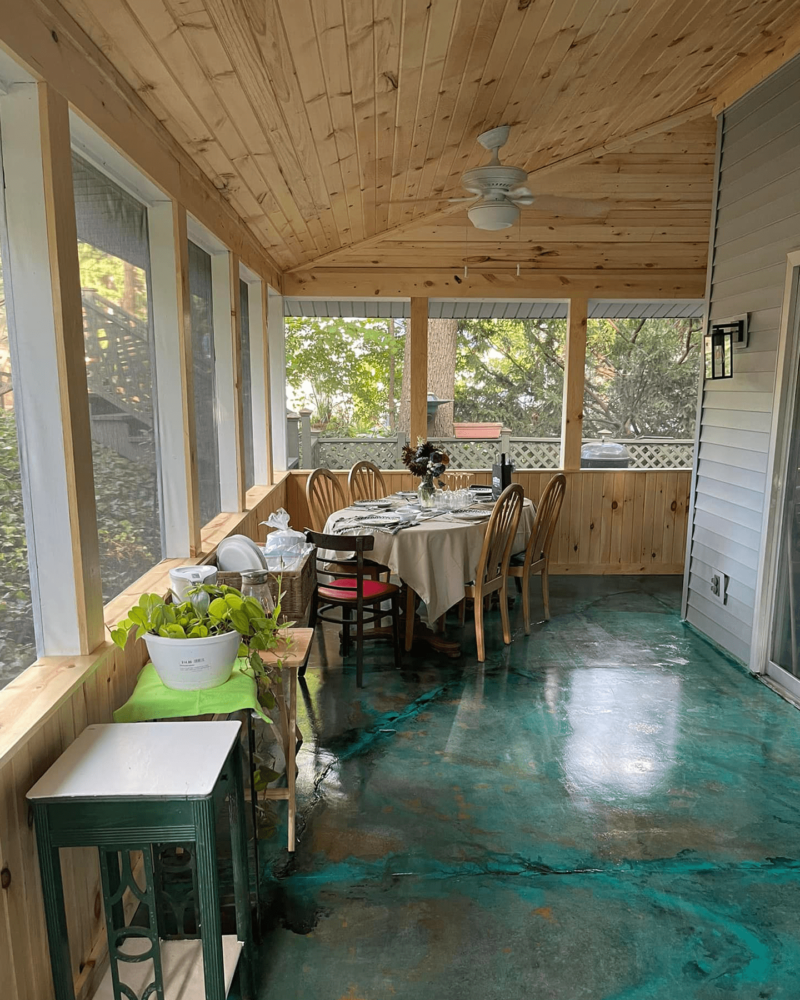
This project showcases the transformation of a porch, carpeted for 25 years, into a beautiful stained concrete oasis. The challenge of removing stubborn carpet glue required a cement grinder and patience, but the remaining glue spots were creatively incorporated into the design. The 65-year-old homeowner assures, if she can do it, anyone can!
Project Info:
-
- Project Completed In: 7 day(s)
- Estimate of Square Footage: 300 sq. ft.
- Project Description:
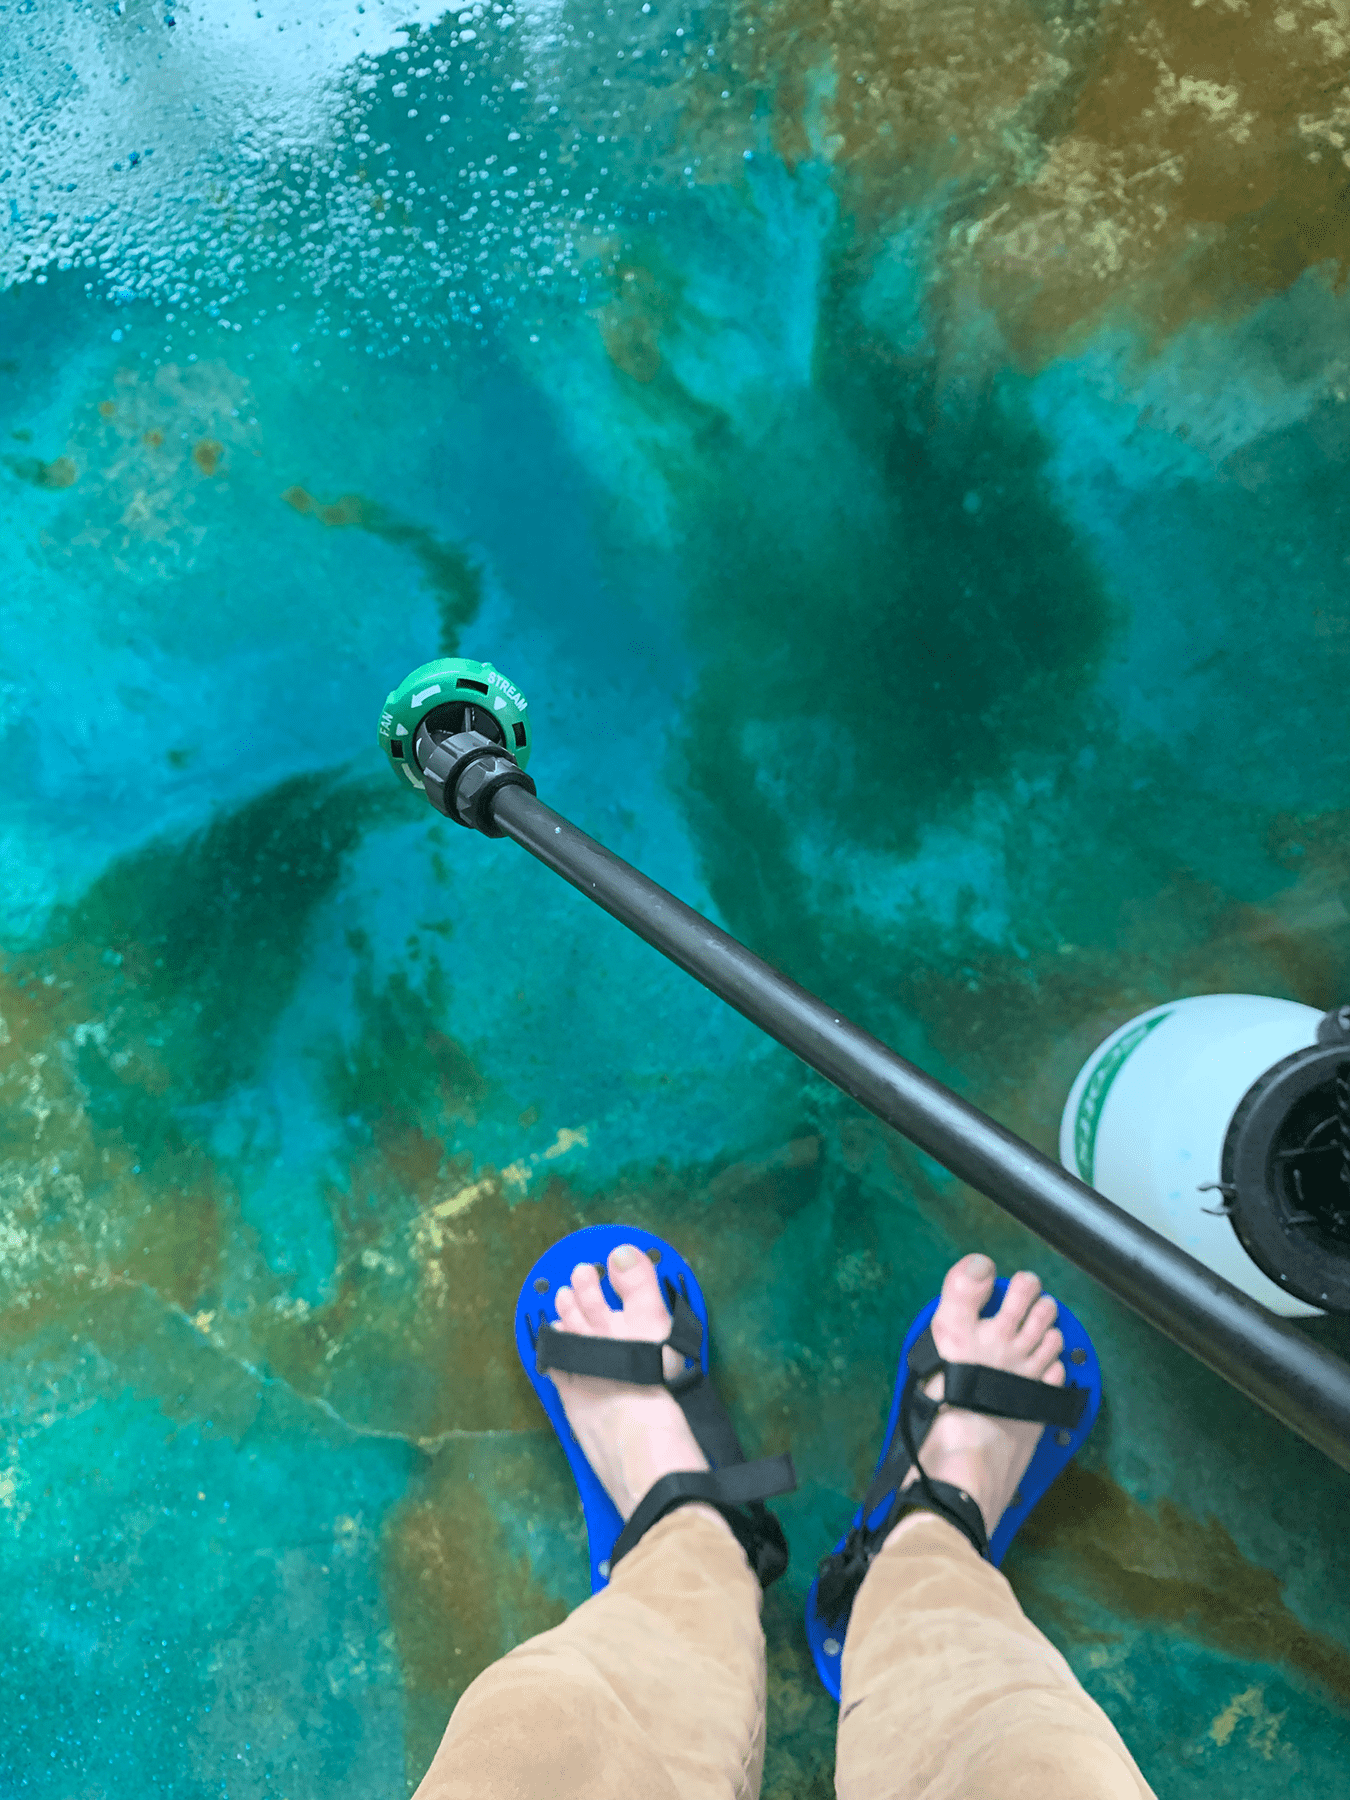
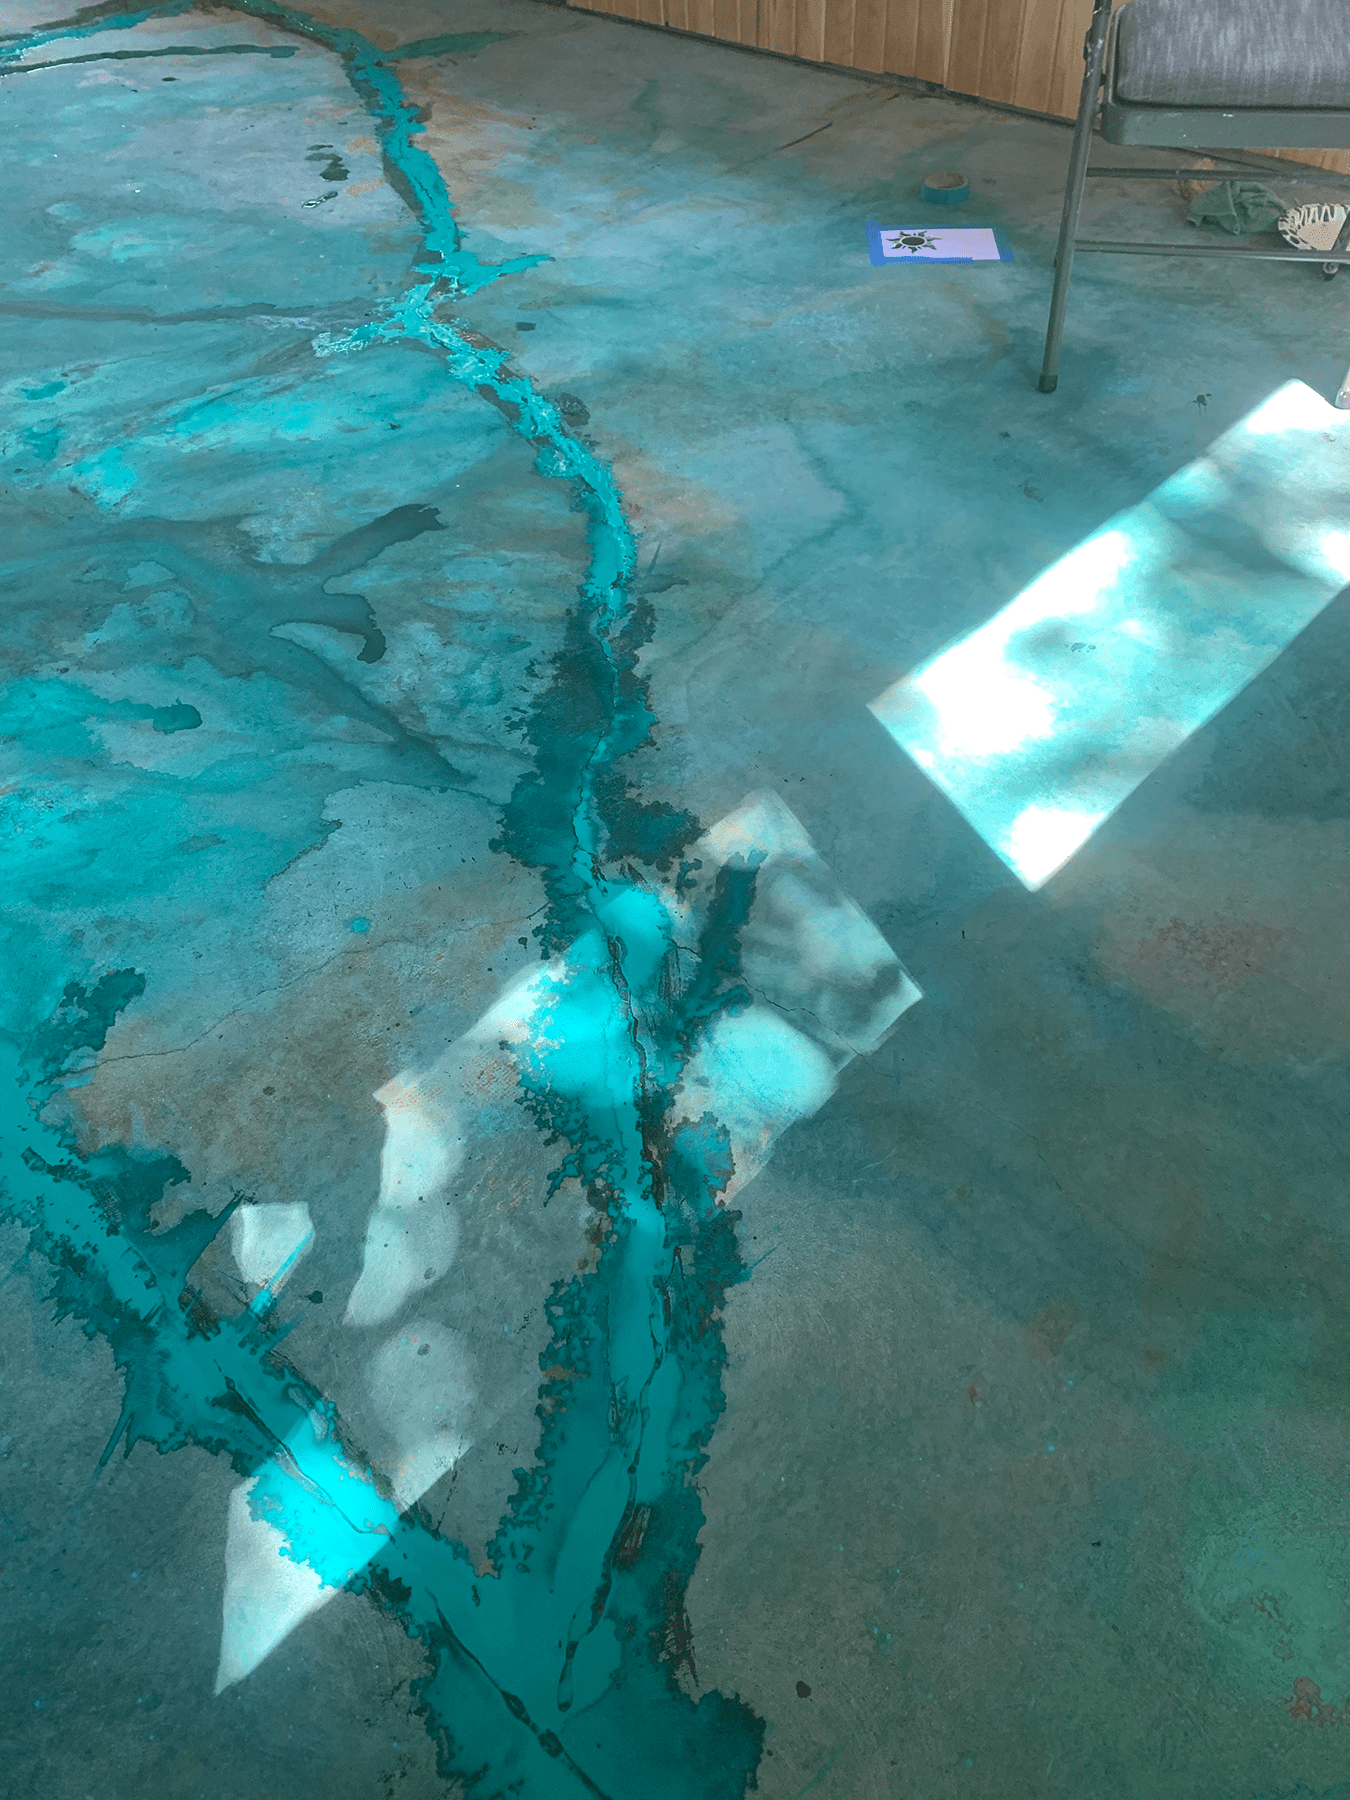
I acid stained the concrete floor on my porch that had had indoor-outdoor carpeting on it for probably 25 years! The most difficult part of the process was removing the mastic from the previous carpeting – the owners of the house at the time had used a HUGE amount of glue to tack down the carpeting rather than installing tack strips. It required renting a cement grinder to remove the majority of the glue. There was glue that would not come completely off – even with chemical treatment. I sanded it smooth with the floor and ended up incorporating it into my design. After sanding I washed the floor with a degreaser then treated it with Hard Troweled Floor Pre-Treatment before applying Azure Blue EverStain™ Acid Stain and Seagrass EverStain™ Acid Stain with a pump sprayer, and accent lines of English Red EverStain™ Acid Stain with a squeeze bottle. I also sprinkled MiracleGrow to intensify the blue color. After 24-hours we neutralized it and rinsed thoroughly. Then I began applying acrylic paints (mostly teal, black and cream colors) diluted at 50% with water, using squeeze bottles and a spray bottle of water to “direct” color into various streams. This was to incorporate the glue spots and floor crack into the design and add pops of color in spots that took less of the stain. After everything was dry, I poured epoxy into the floor crack to level it with the cement, and epoxied a Canadian dollar coin into a chip that was in the floor, stenciling a small sunburst around it. After doing a few minor touch ups, I rinsed the floor again, allowed it to dry and applied EasySeal gloss sealer (2 coats). When dry, I finished up with 2 coats of ProWax Polish™ High Gloss Floor Wax. - Personal Tips:
You may find unanticipated flaws – especially if your concrete floor was previously carpeted or is old. We encountered carpet glue that would NOT come completely up and a huge crack that ran across the floor. I incorporated those flaws into my design. In the end, I was very pleased with the results. If this 65-year-old lady can do it, anyone can! - Direct Colors Products Used:
1 Gal. CitrusEtch ™Hard Troweled Floor Pre-Treatment
Spiked Shoes (1 Pair)
1 Gal. Seagrass EverStain™ Acid Stain
1 Gal. Azure Blue EverStain™ Acid Stain
1 Gal. English Red EverStain™ Acid Stain
1 Gal. EasySeal™ Gloss Concrete and Paver Sealer
1 Gal. ProWav Polish ™High Gloss Floor Wax - >Other Products Used:
Cement degreaser, Miracle Grow, acrylic paints (mostly teal, black and cream) and epoxy to fill cracks.
Curious about achieving a deeper blue hue on your concrete projects? Explore our blog post, ‘Using Miracle Gro To Enhance The Blue Hues Of Acid Stain On Concrete,’ to learn the tips and tricks of harnessing this garden essential for your staining process
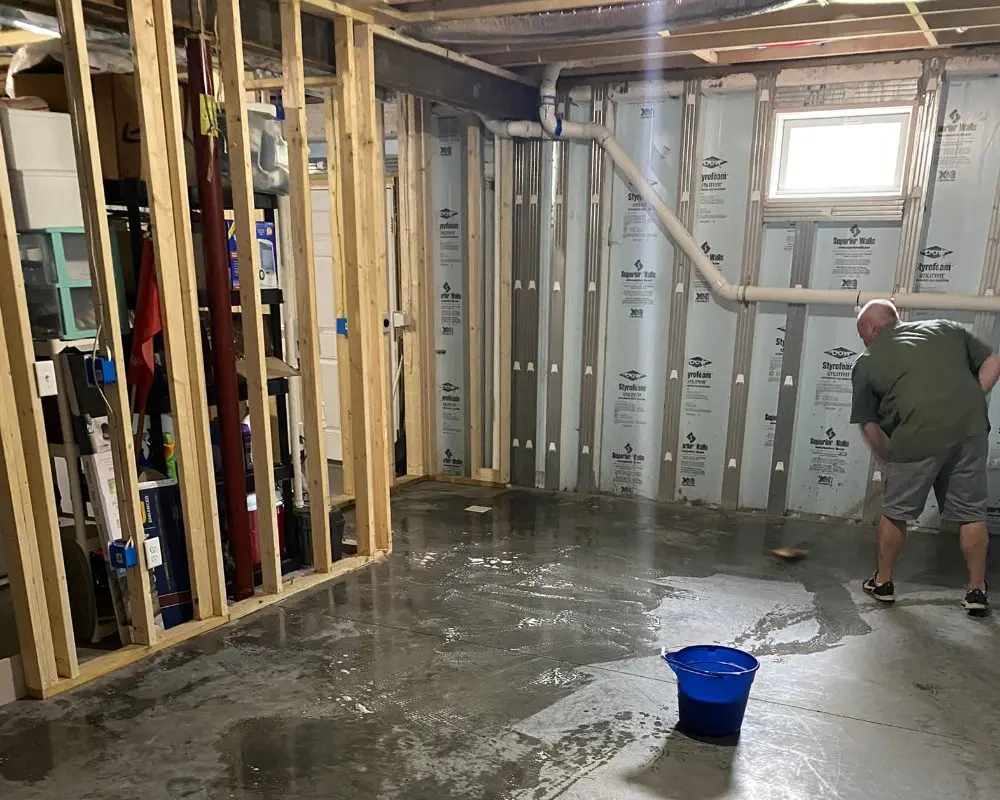
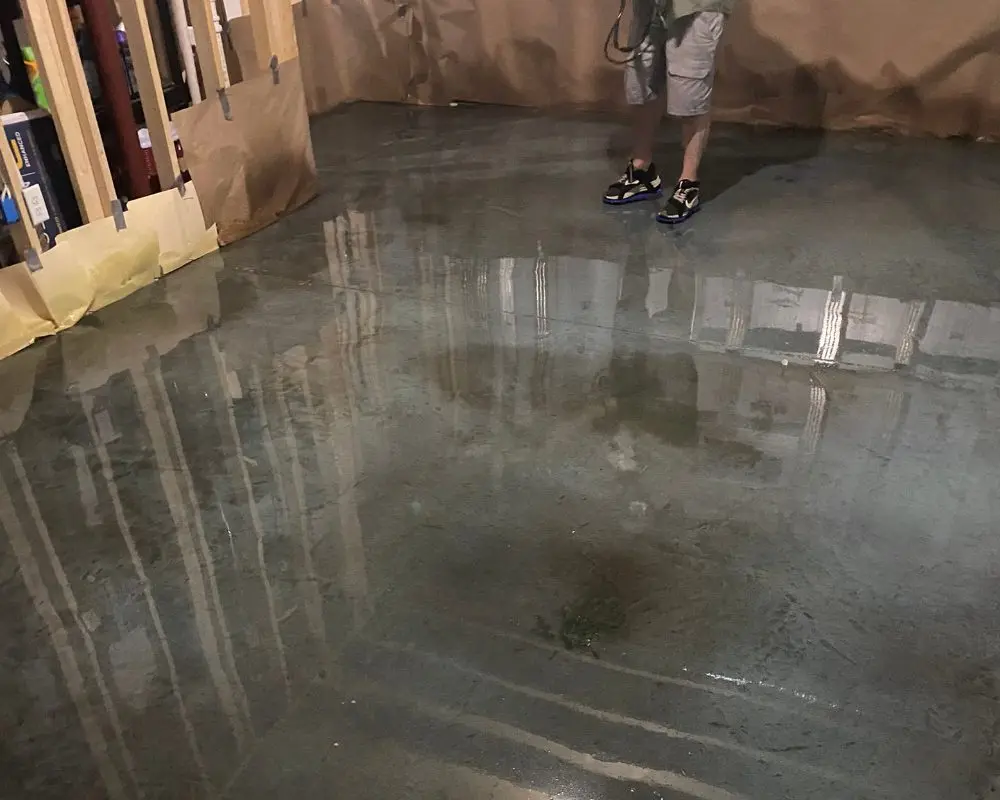
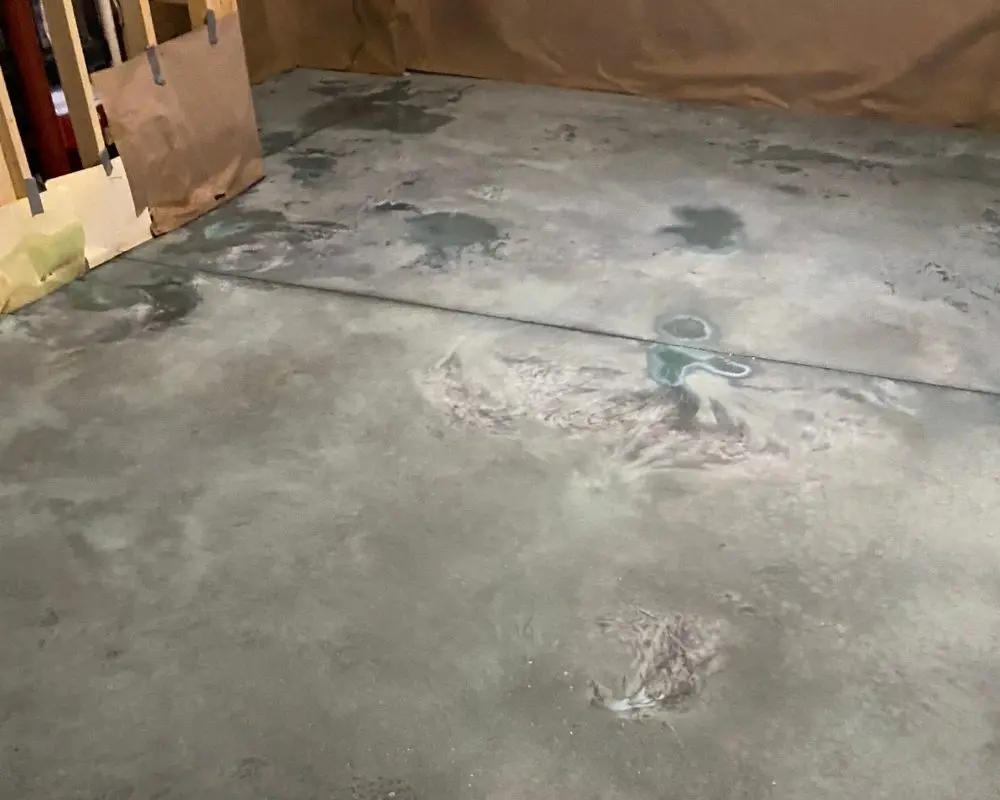
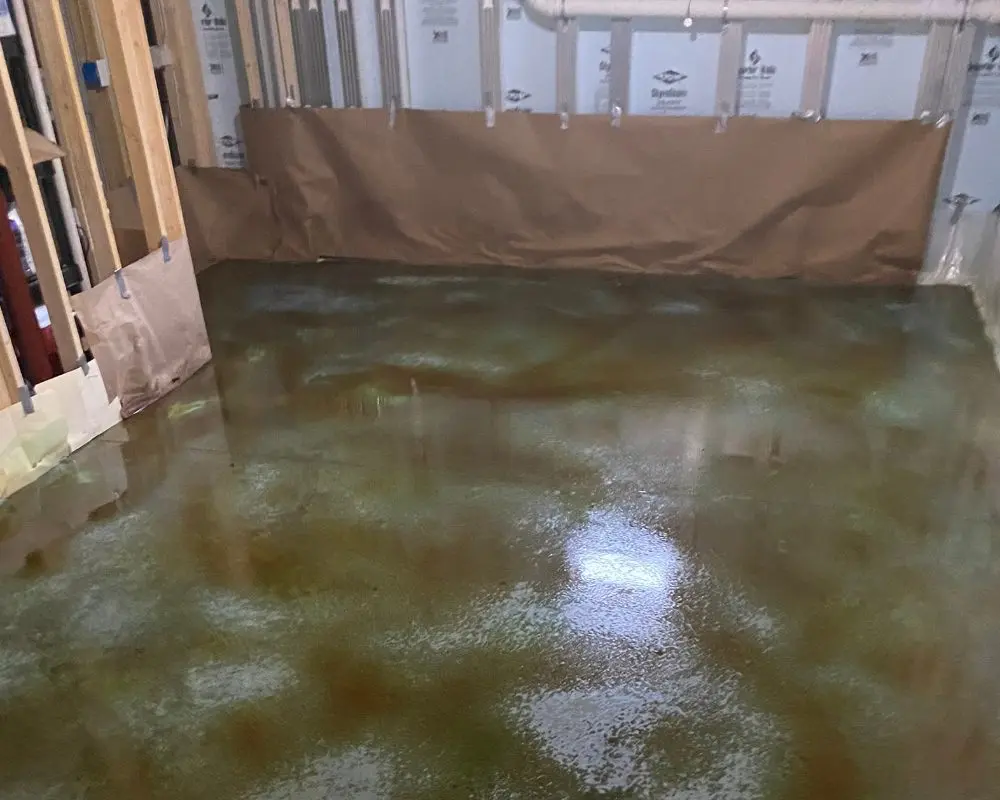
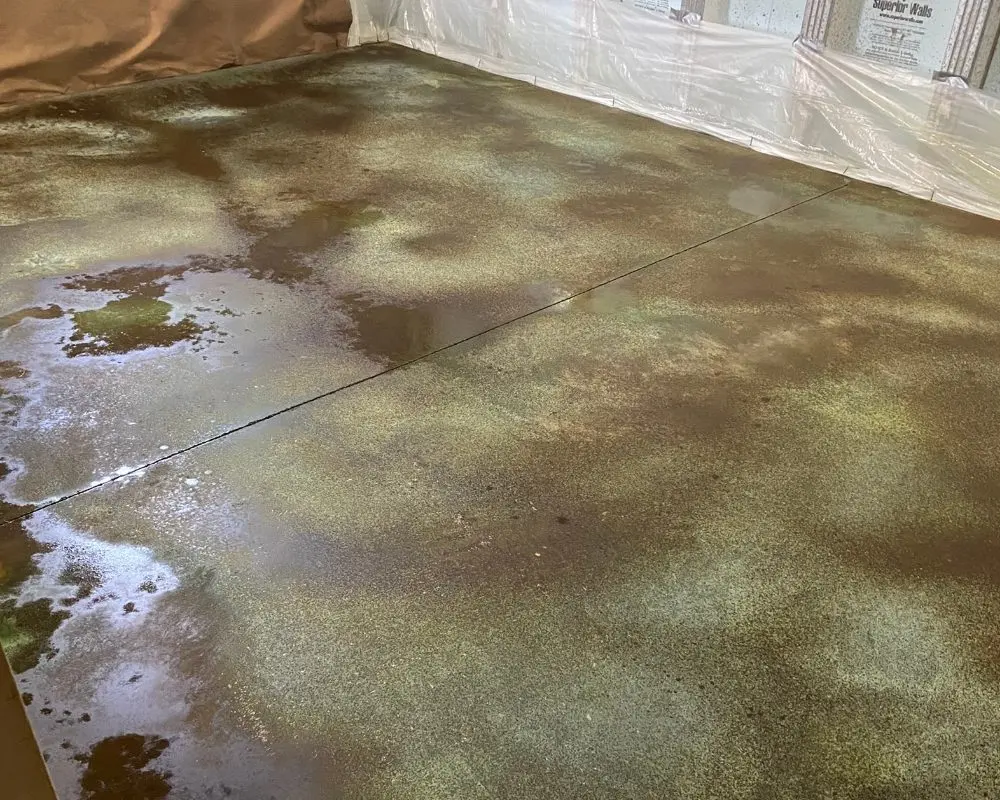
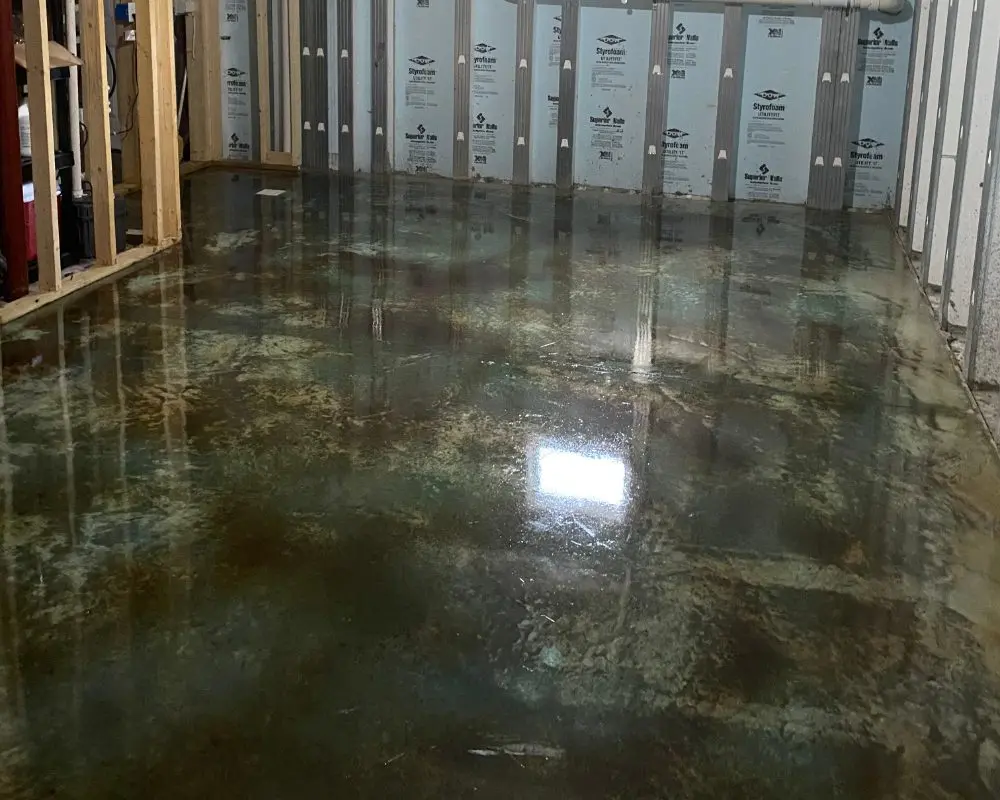
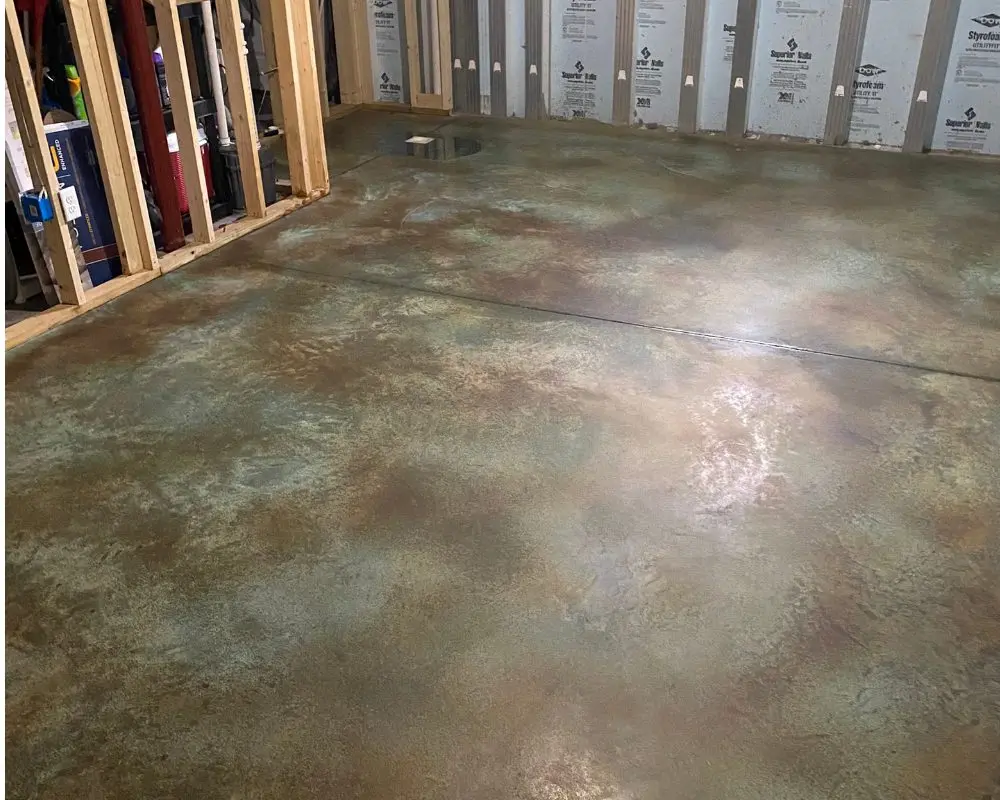
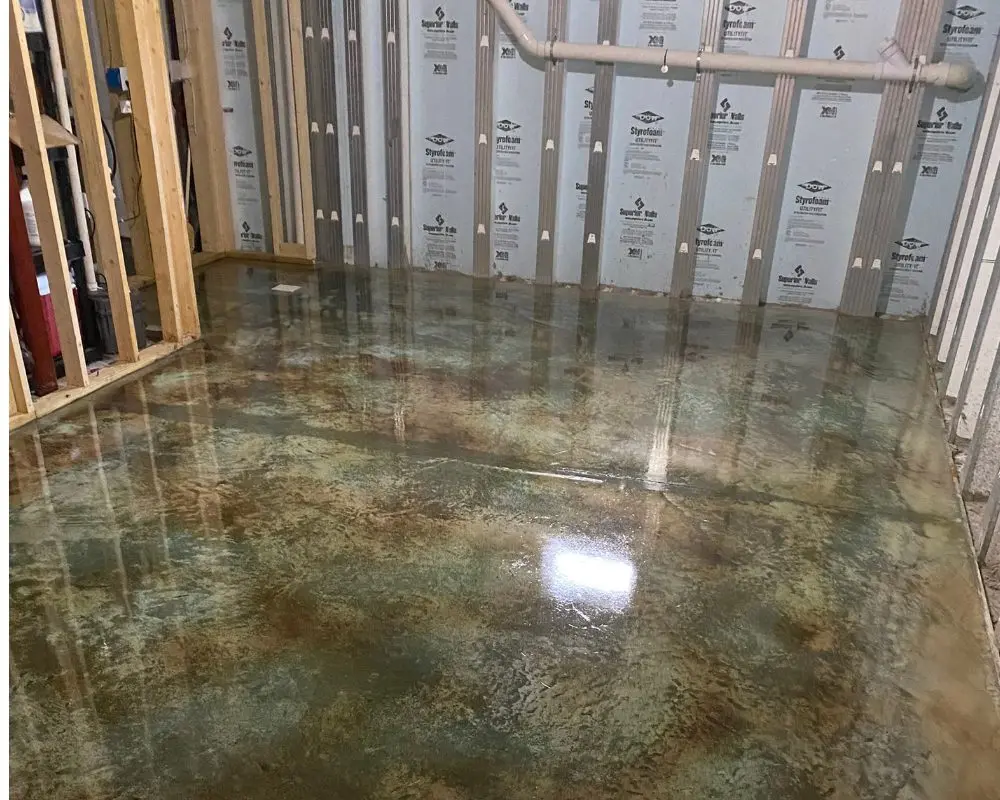
Elevating the Everyday: A Dual-Toned Laundry and Workout Space
In their second DIY acid staining project, the homeowner transformed a concrete slab into a vibrant laundry and workout space using Azure Blue and Coffee Brown EverStain™. Thorough prep ensured rich color absorption, and the sealed, polished result adds depth and character. Spiked shoes made the process even smoother, creating a striking, inviting space.
Project Info:
- Project Completed In: 7 day(s)
- Estimate of Square Footage: 300 sq. ft.
- Project Description:
This is our second DIY acid stained concrete floor project and we are very pleased with the results! We took what felt like short cuts but only by NOT making the same mistakes as the first time around, like not wearing spikes when etching.😉 It took about a week to finish in between going to work, drying processes,
etc. We already had some materials left over from the first project; a gallon of sealer, half gallon of wax and spiked shoes so we only ordered the acid stain, etching solution, new sprayers and the degreaser/cleaner.The floor in this soon-to-be finished laundry/workout area (approx. 300 SQ. Ft.) is Azure Blue and Coffee Brown EverStain acid stain. We used AcquaSeal gloss sealer and finished with what I consider the key to floors that really pop; Satin ProWax Polish. We cleaned the surface thoroughly, using the cleaner and degreaser. Next we applied the etching solution followed by clean up after about an hour. The directions say 20 minutes but our floors were machine troweled so we left it on a little longer. Then the fun began. We applied the blue first and let it dry for about 5 hours. We decided to go sparingly on the brown and only used half of what we ordered. We didn’t cut either color with water. The coffee brown is a very rich color and definitely dominant. Perhaps we will use up our leftovers by staining the storage section of the basement.🤔(Our basement is sectioned off into 3 spaces; the 400 Sq. Ft. Rec room, 300 Sq. Ft. Laundry/work out area and a large 638 Sq. Ft. Storage area which could be converted into a garage).Back to explaining the project…We neutralized with a 2 gallon bucket of water and baking soda, pushing it with a sponge mop. We cleaned up with more cleaner and degreaser, first doing a couple rinses with a water hose before scrubbing it down. Total cleaning/rinsing took about 6 times as opposed to over 20+ the last time. After the floors were thoroughly dry, the first coat of sealant was applied. We used a sprayer and squeegee to spread it…pushing it mostly forward to limit marks or lines. The next day a second coat was applied. We finished up on Sunday by applying two coats of Direct Colors ProWax polish. - Personal Tips:
Wear spiked shoes during the entire etching, staining, sealing and waxing process. - Direct Colors Products Used:
1 Gal. CitrusEtch™ Hard Troweled Floor Pre-Treatment
1 Gal. Azure Blue EverStain™ & AcquaSeal™ Gloss DIY Kit
1 Gal. Coffee Brown EverStain™ Acid Stain
1 Gal. ProWax Polish ™ High Gloss Floor Wax
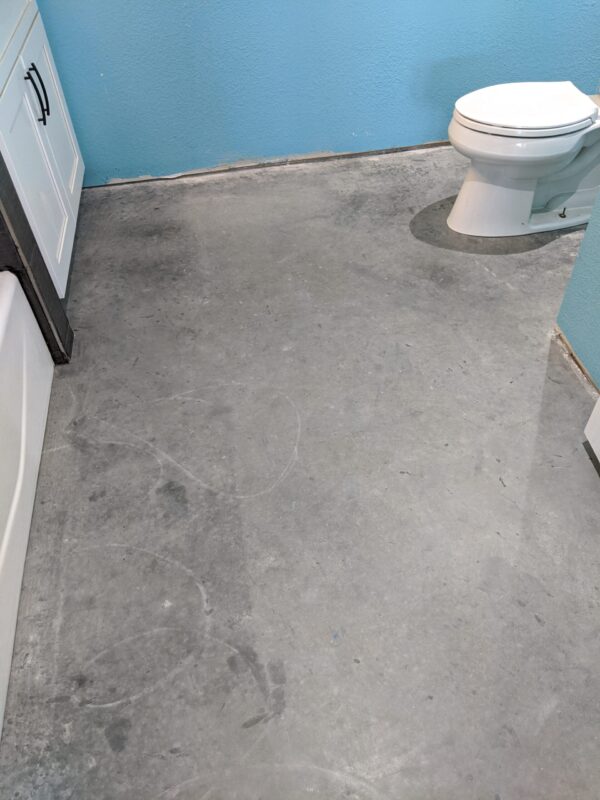
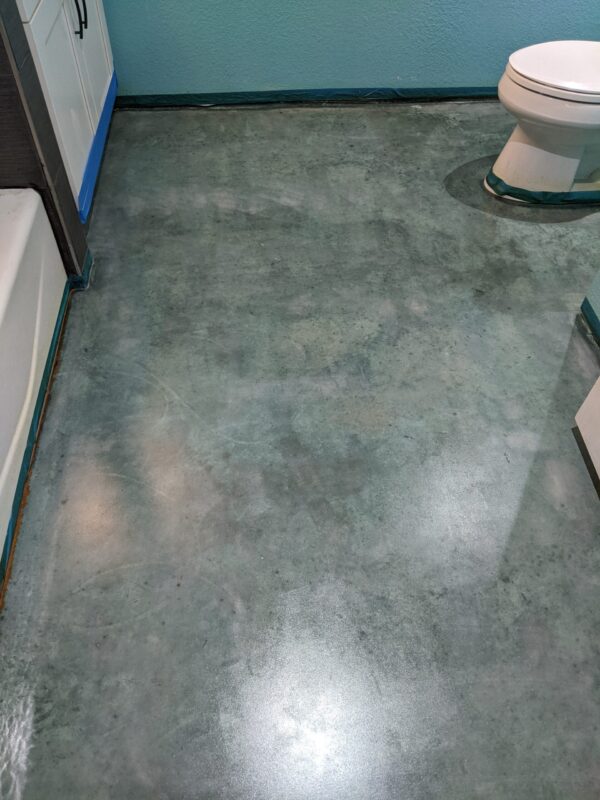
Breathing New Life into a Concrete Bathroom Floor
This bathroom renovation used Azure Blue acid stain to refresh the concrete floor, adding a modern touch of color. While results may vary, acid staining is known for its durability and easy maintenance. Overall, the project successfully updated the bathroom’s appearance.
Updating a 1950s Concrete Basement Floor
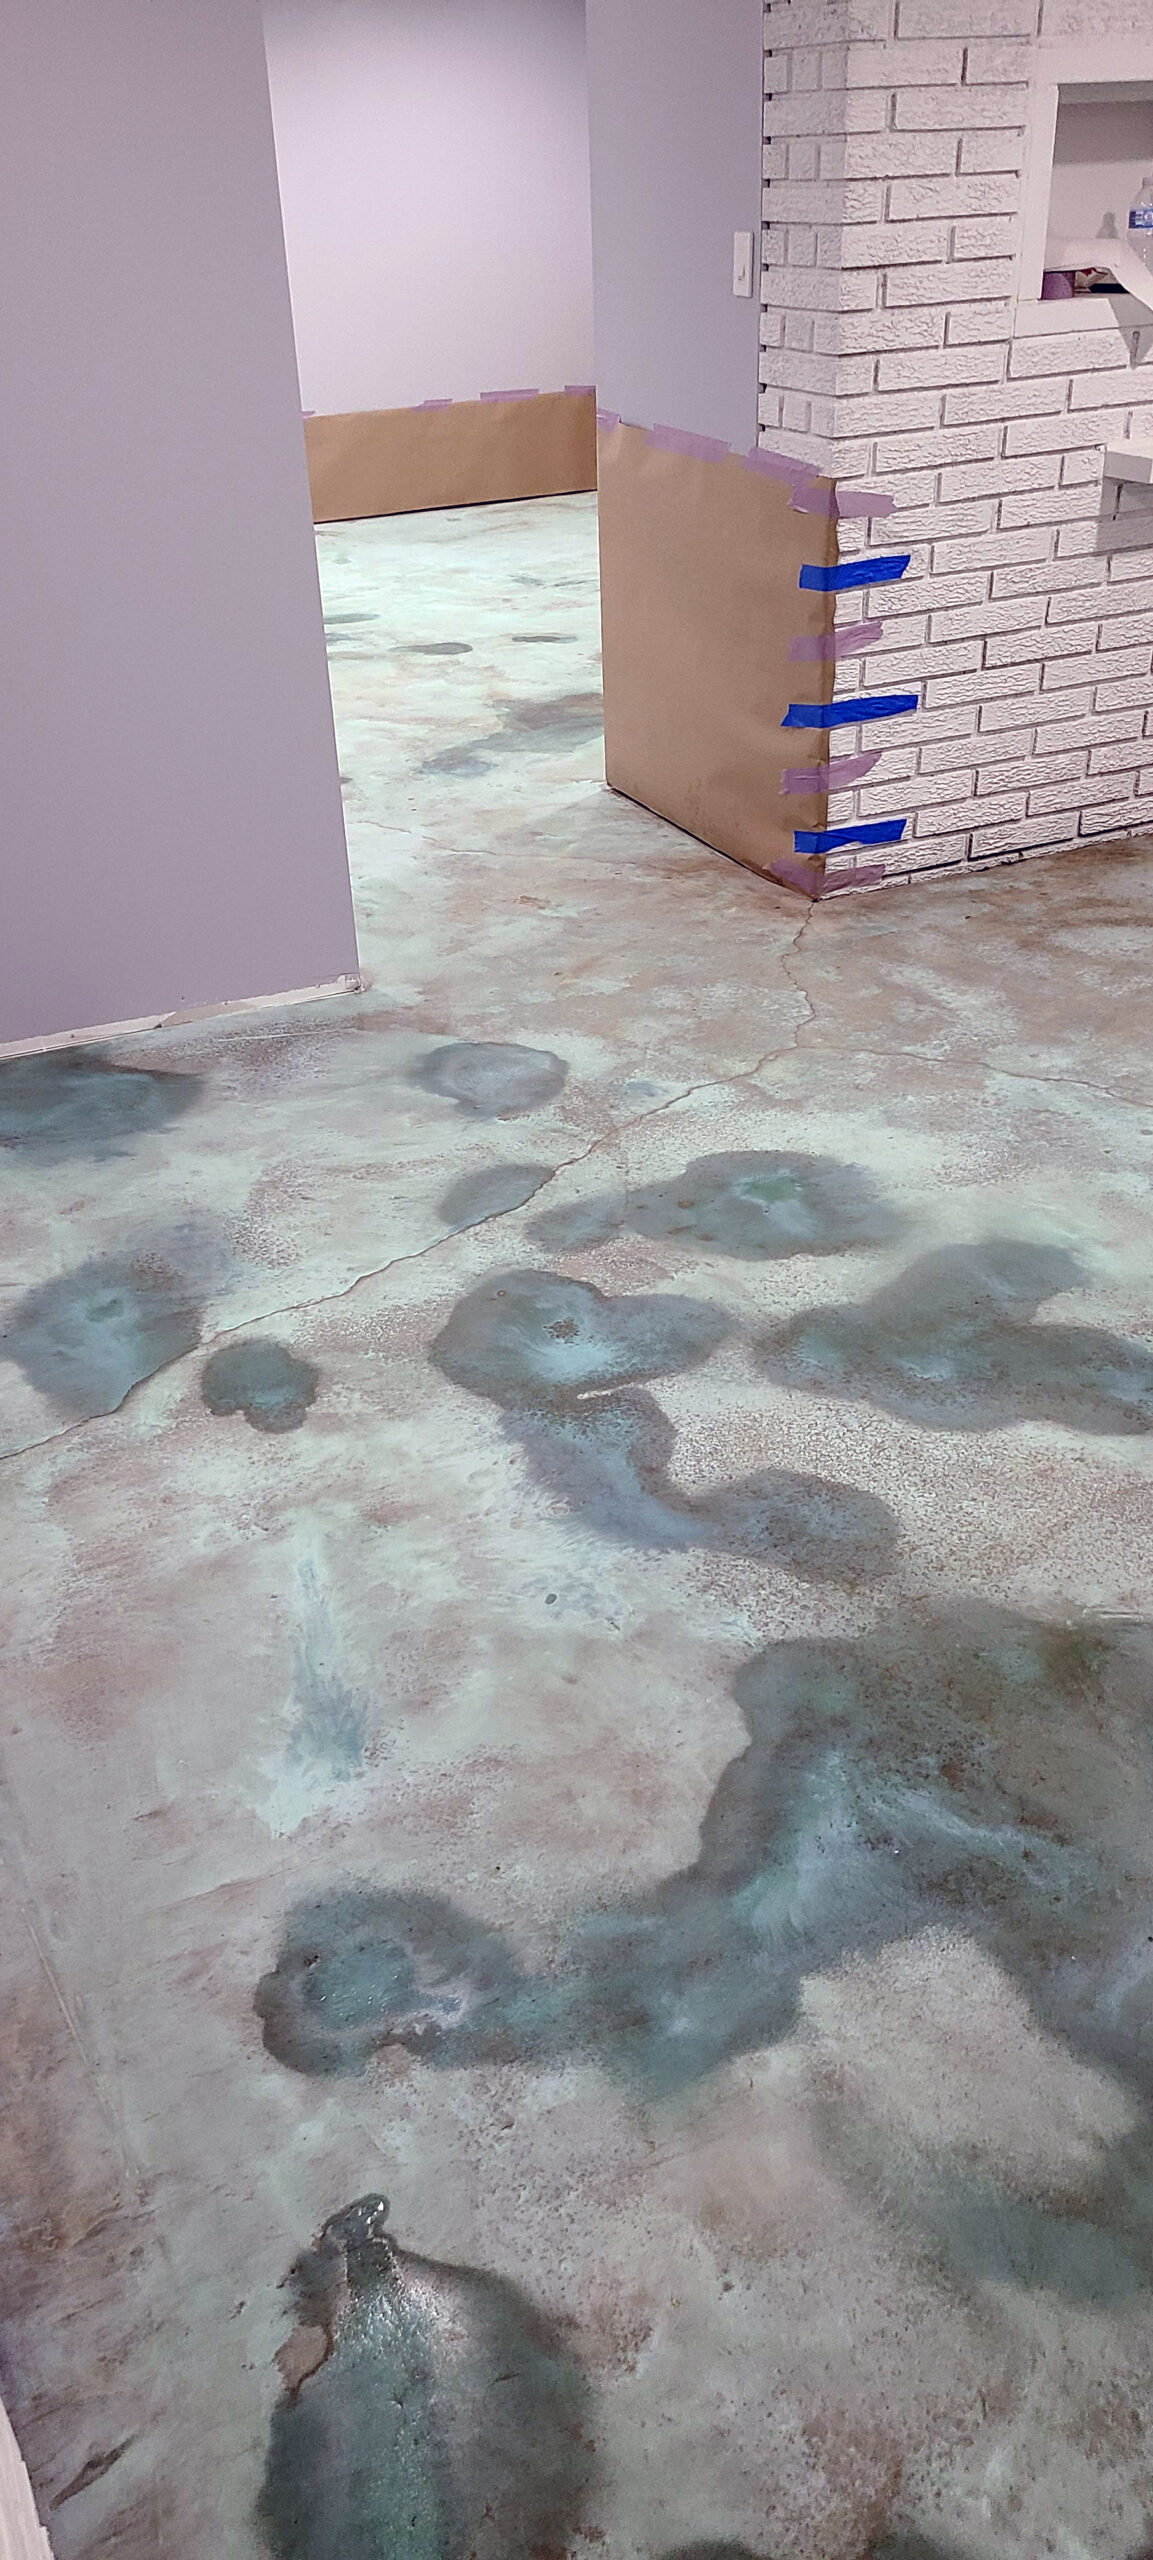
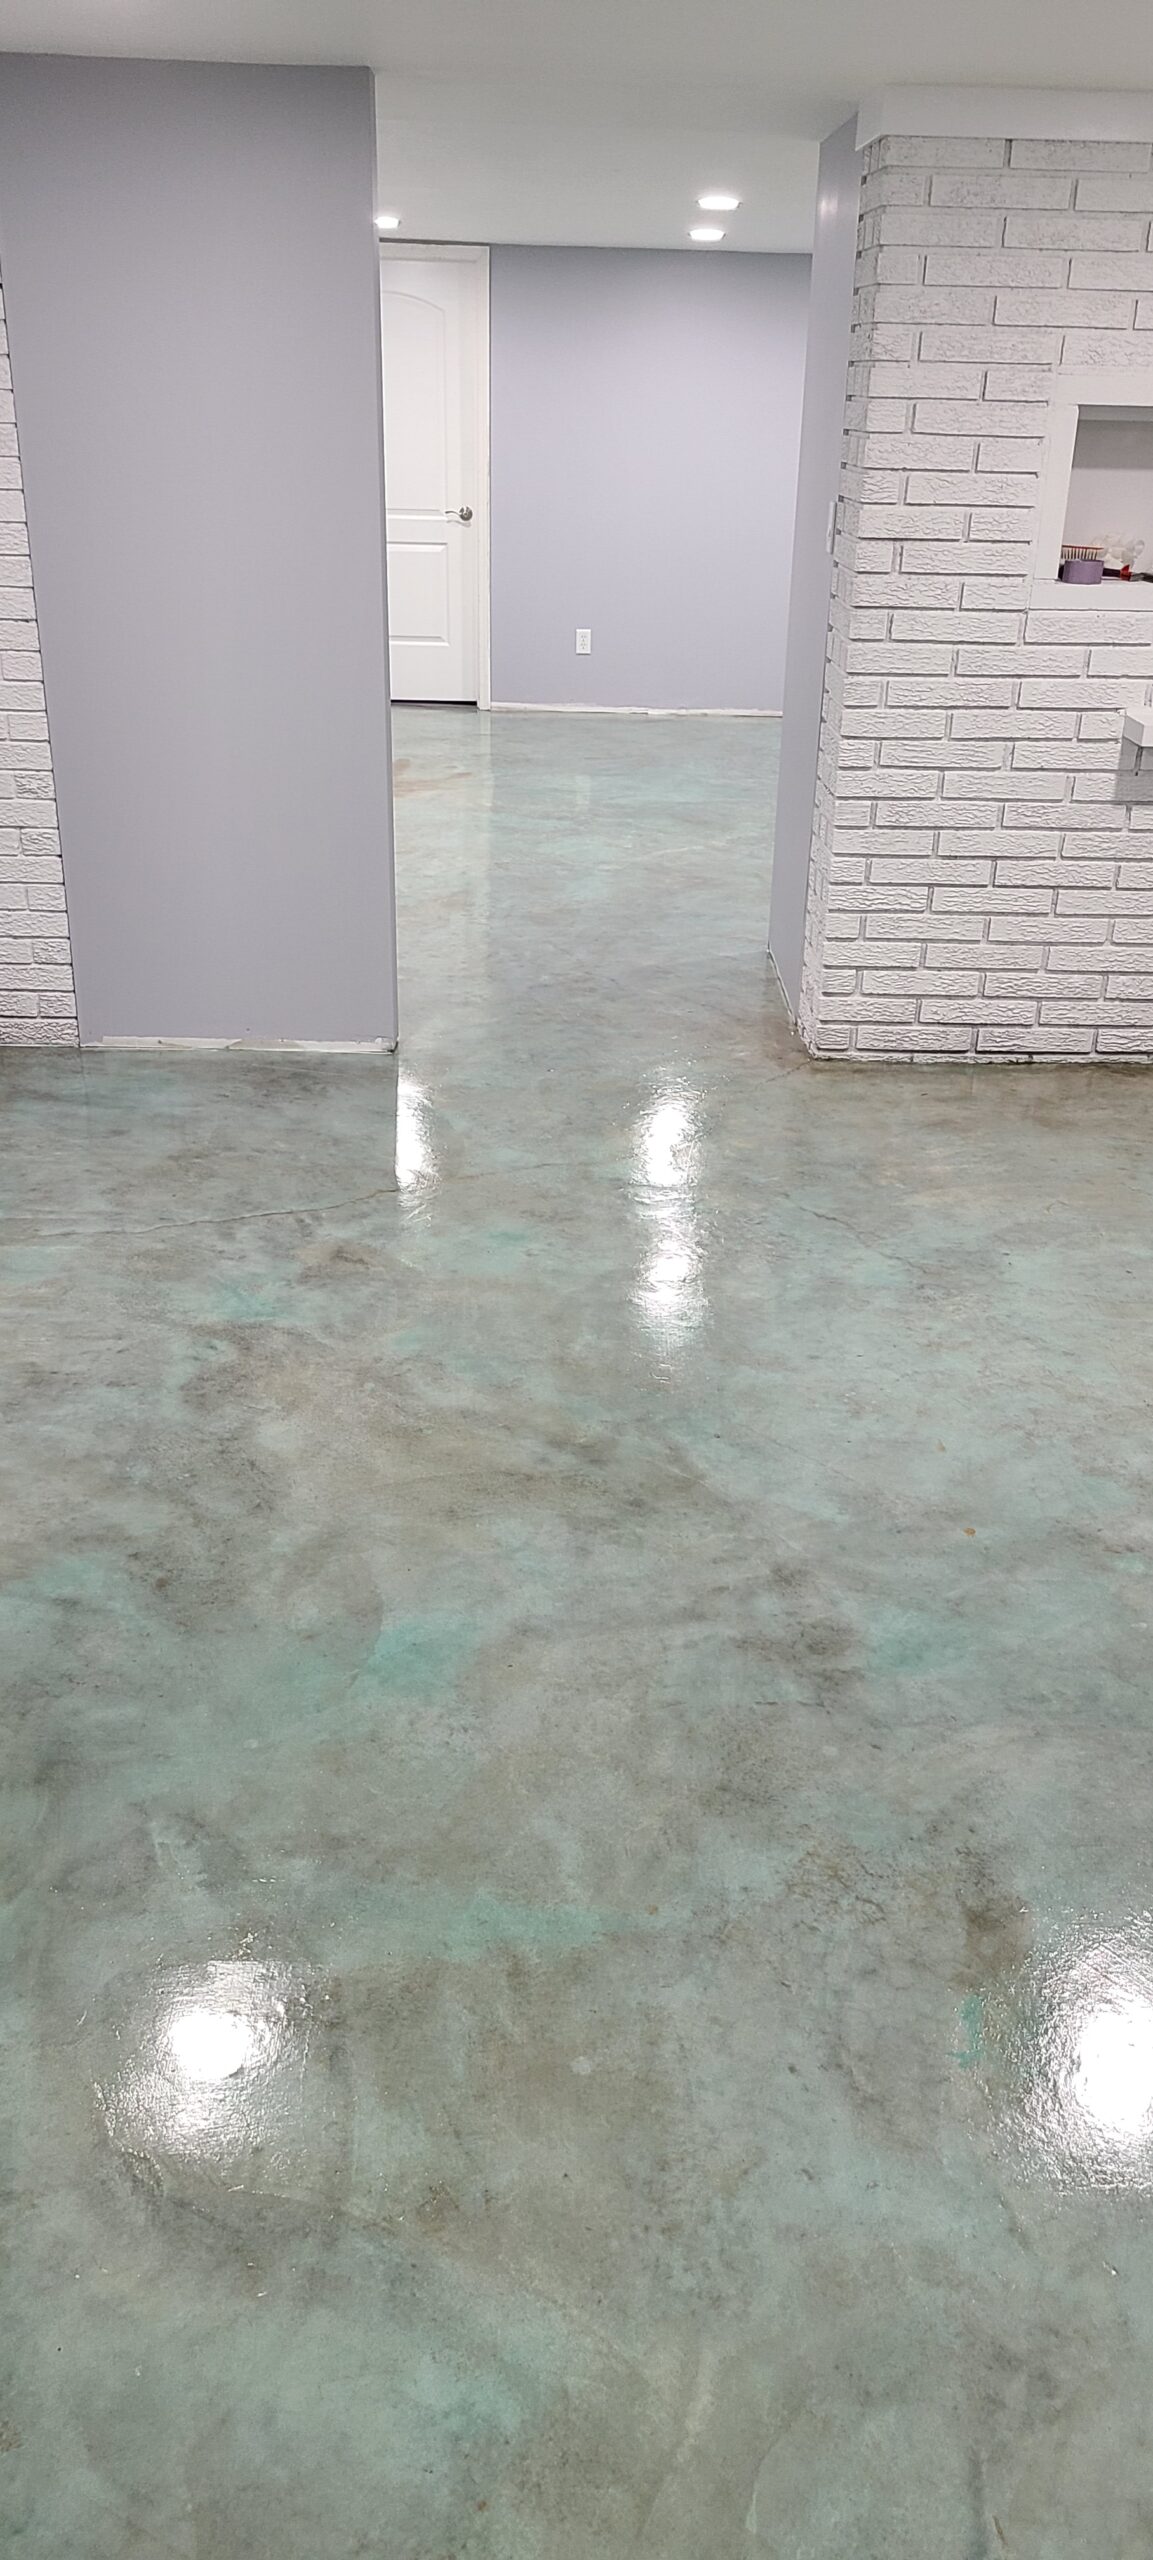
In this basement renovation, a homeowner updated a 400-square-foot concrete floor from the 1950s using Azure Blue acid stain from Direct Colors. The three-day project involved prepping the surface with Simple Green cleaner and a hard trowel to improve stain absorption. Although the non-porous concrete led to a lighter blue finish, the project successfully gave the basement a fresh, modern look.
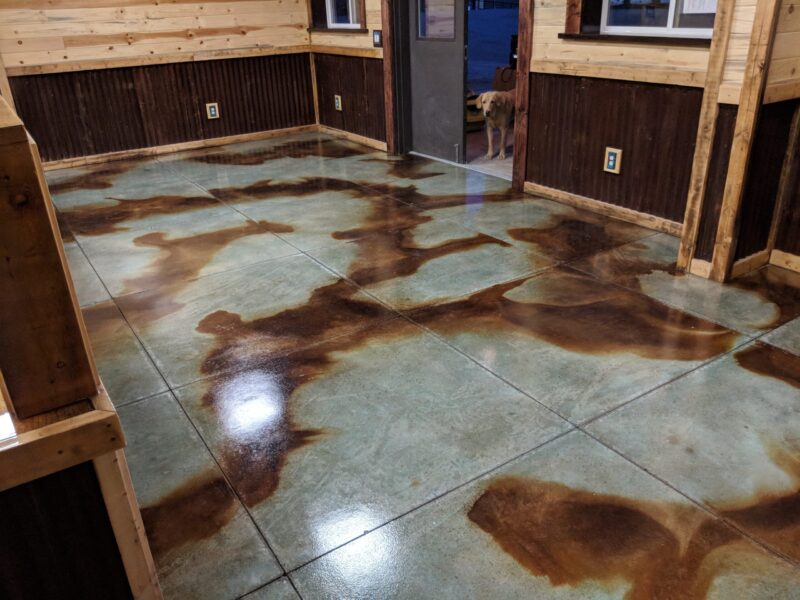
Transforming a Barndominium into an Office with Wet-on-Dry Acid Staining
In this home renovation project, our customer transformed a barndominium into an office space by staining the concrete floors using the wet-on-dry method of acid stain layering. The colors chosen for this project were azure blue as a base and coffee brown, which were applied to create a unique marbled effect.
Guest House Floor Upgrade: Acid Staining Brings Color and Character to Concrete
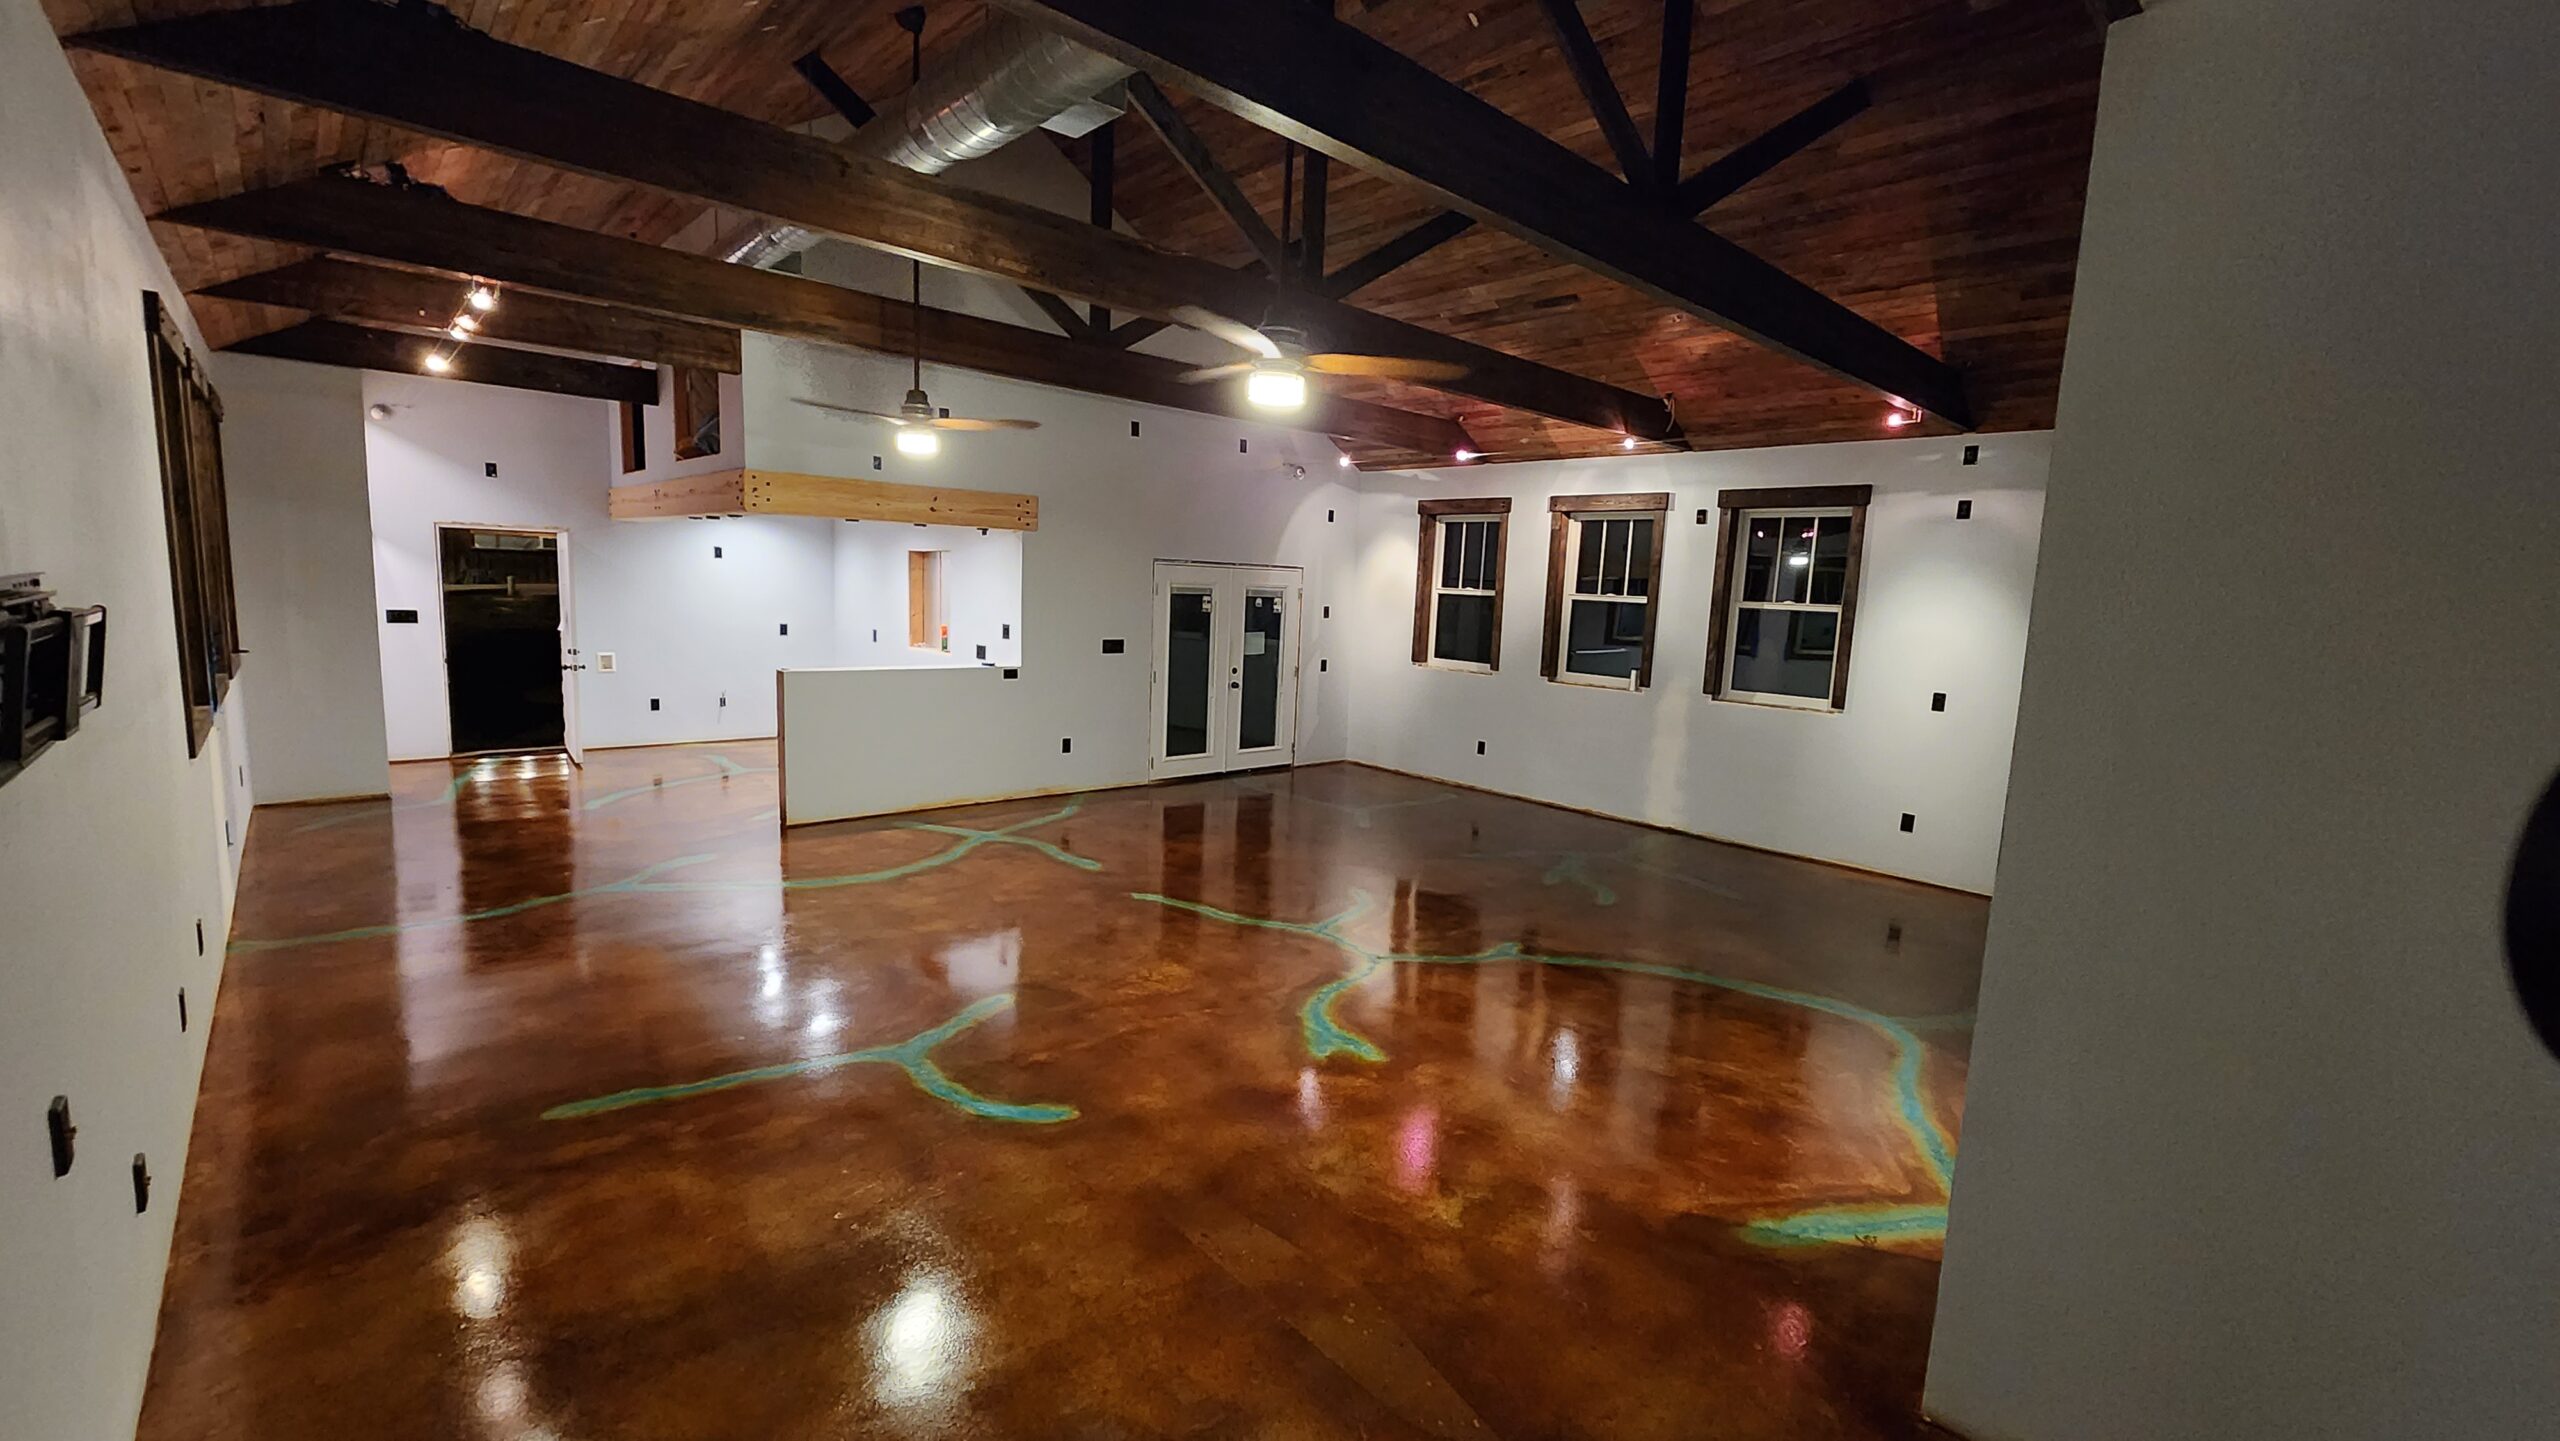
Our customer wanted to add a pop of color to their game room and guesthouse floor. Using the veining technique with toilet paper and Miracle-Gro, they brightened EverStain Azure Blue for a unique finish. For details,, check out Guest House Floor Upgrade: Miracle-Gro and Azure Blue Acid Stain Veins Bring Color and Character to Concrete
Sunroom Update: A DIY Project Featuring Acid Staining”
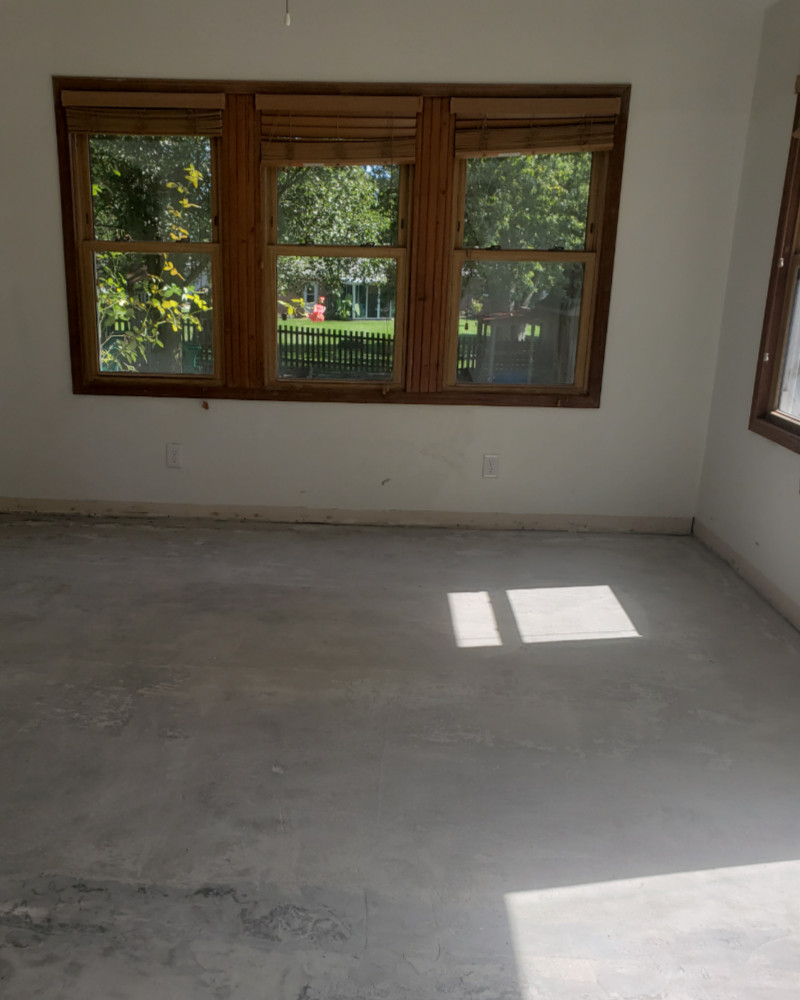
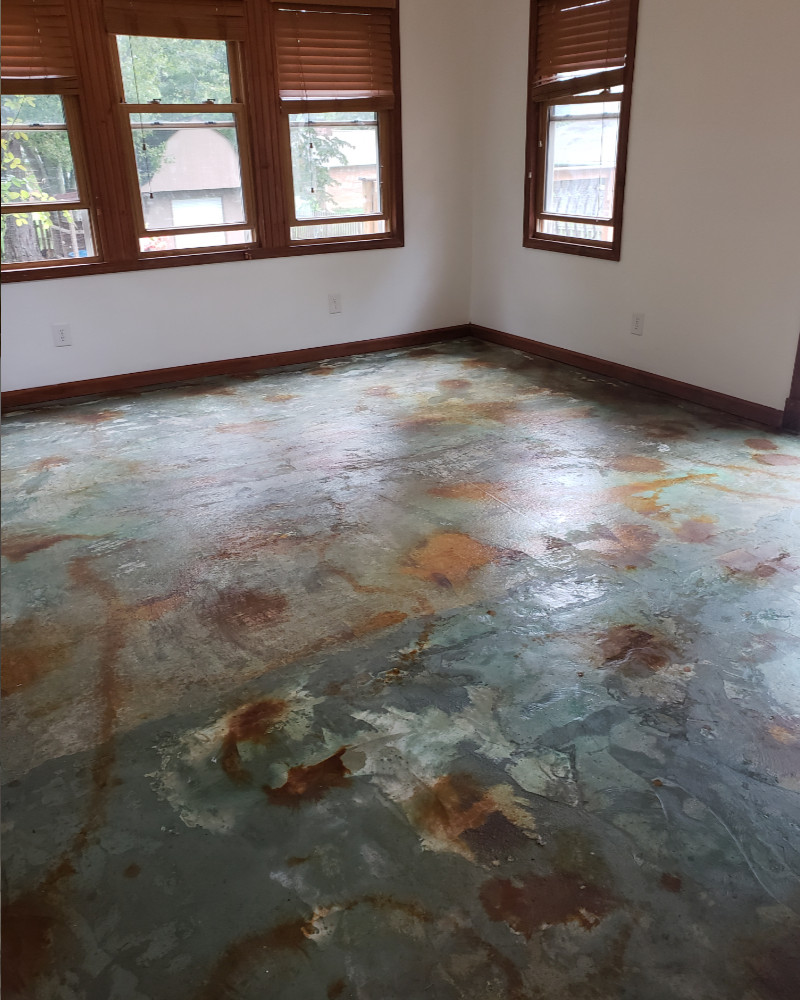
In this home renovation project, our customer set out to transform their sunroom by removing the old carpet, sanding and cleaning the concrete floor, and applying acid staining. The project took four days to complete and covered an estimated 104 square feet of space.
Updating a Restaurant Floor with Acid Staining
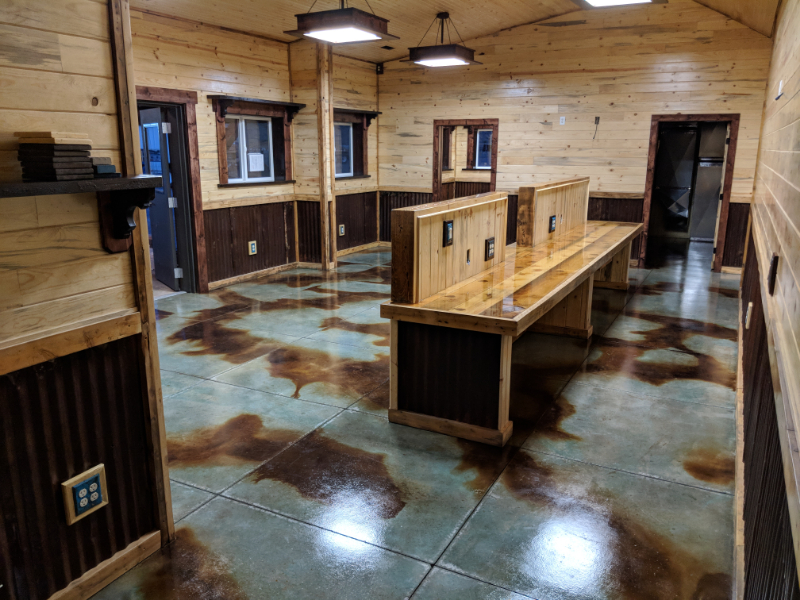
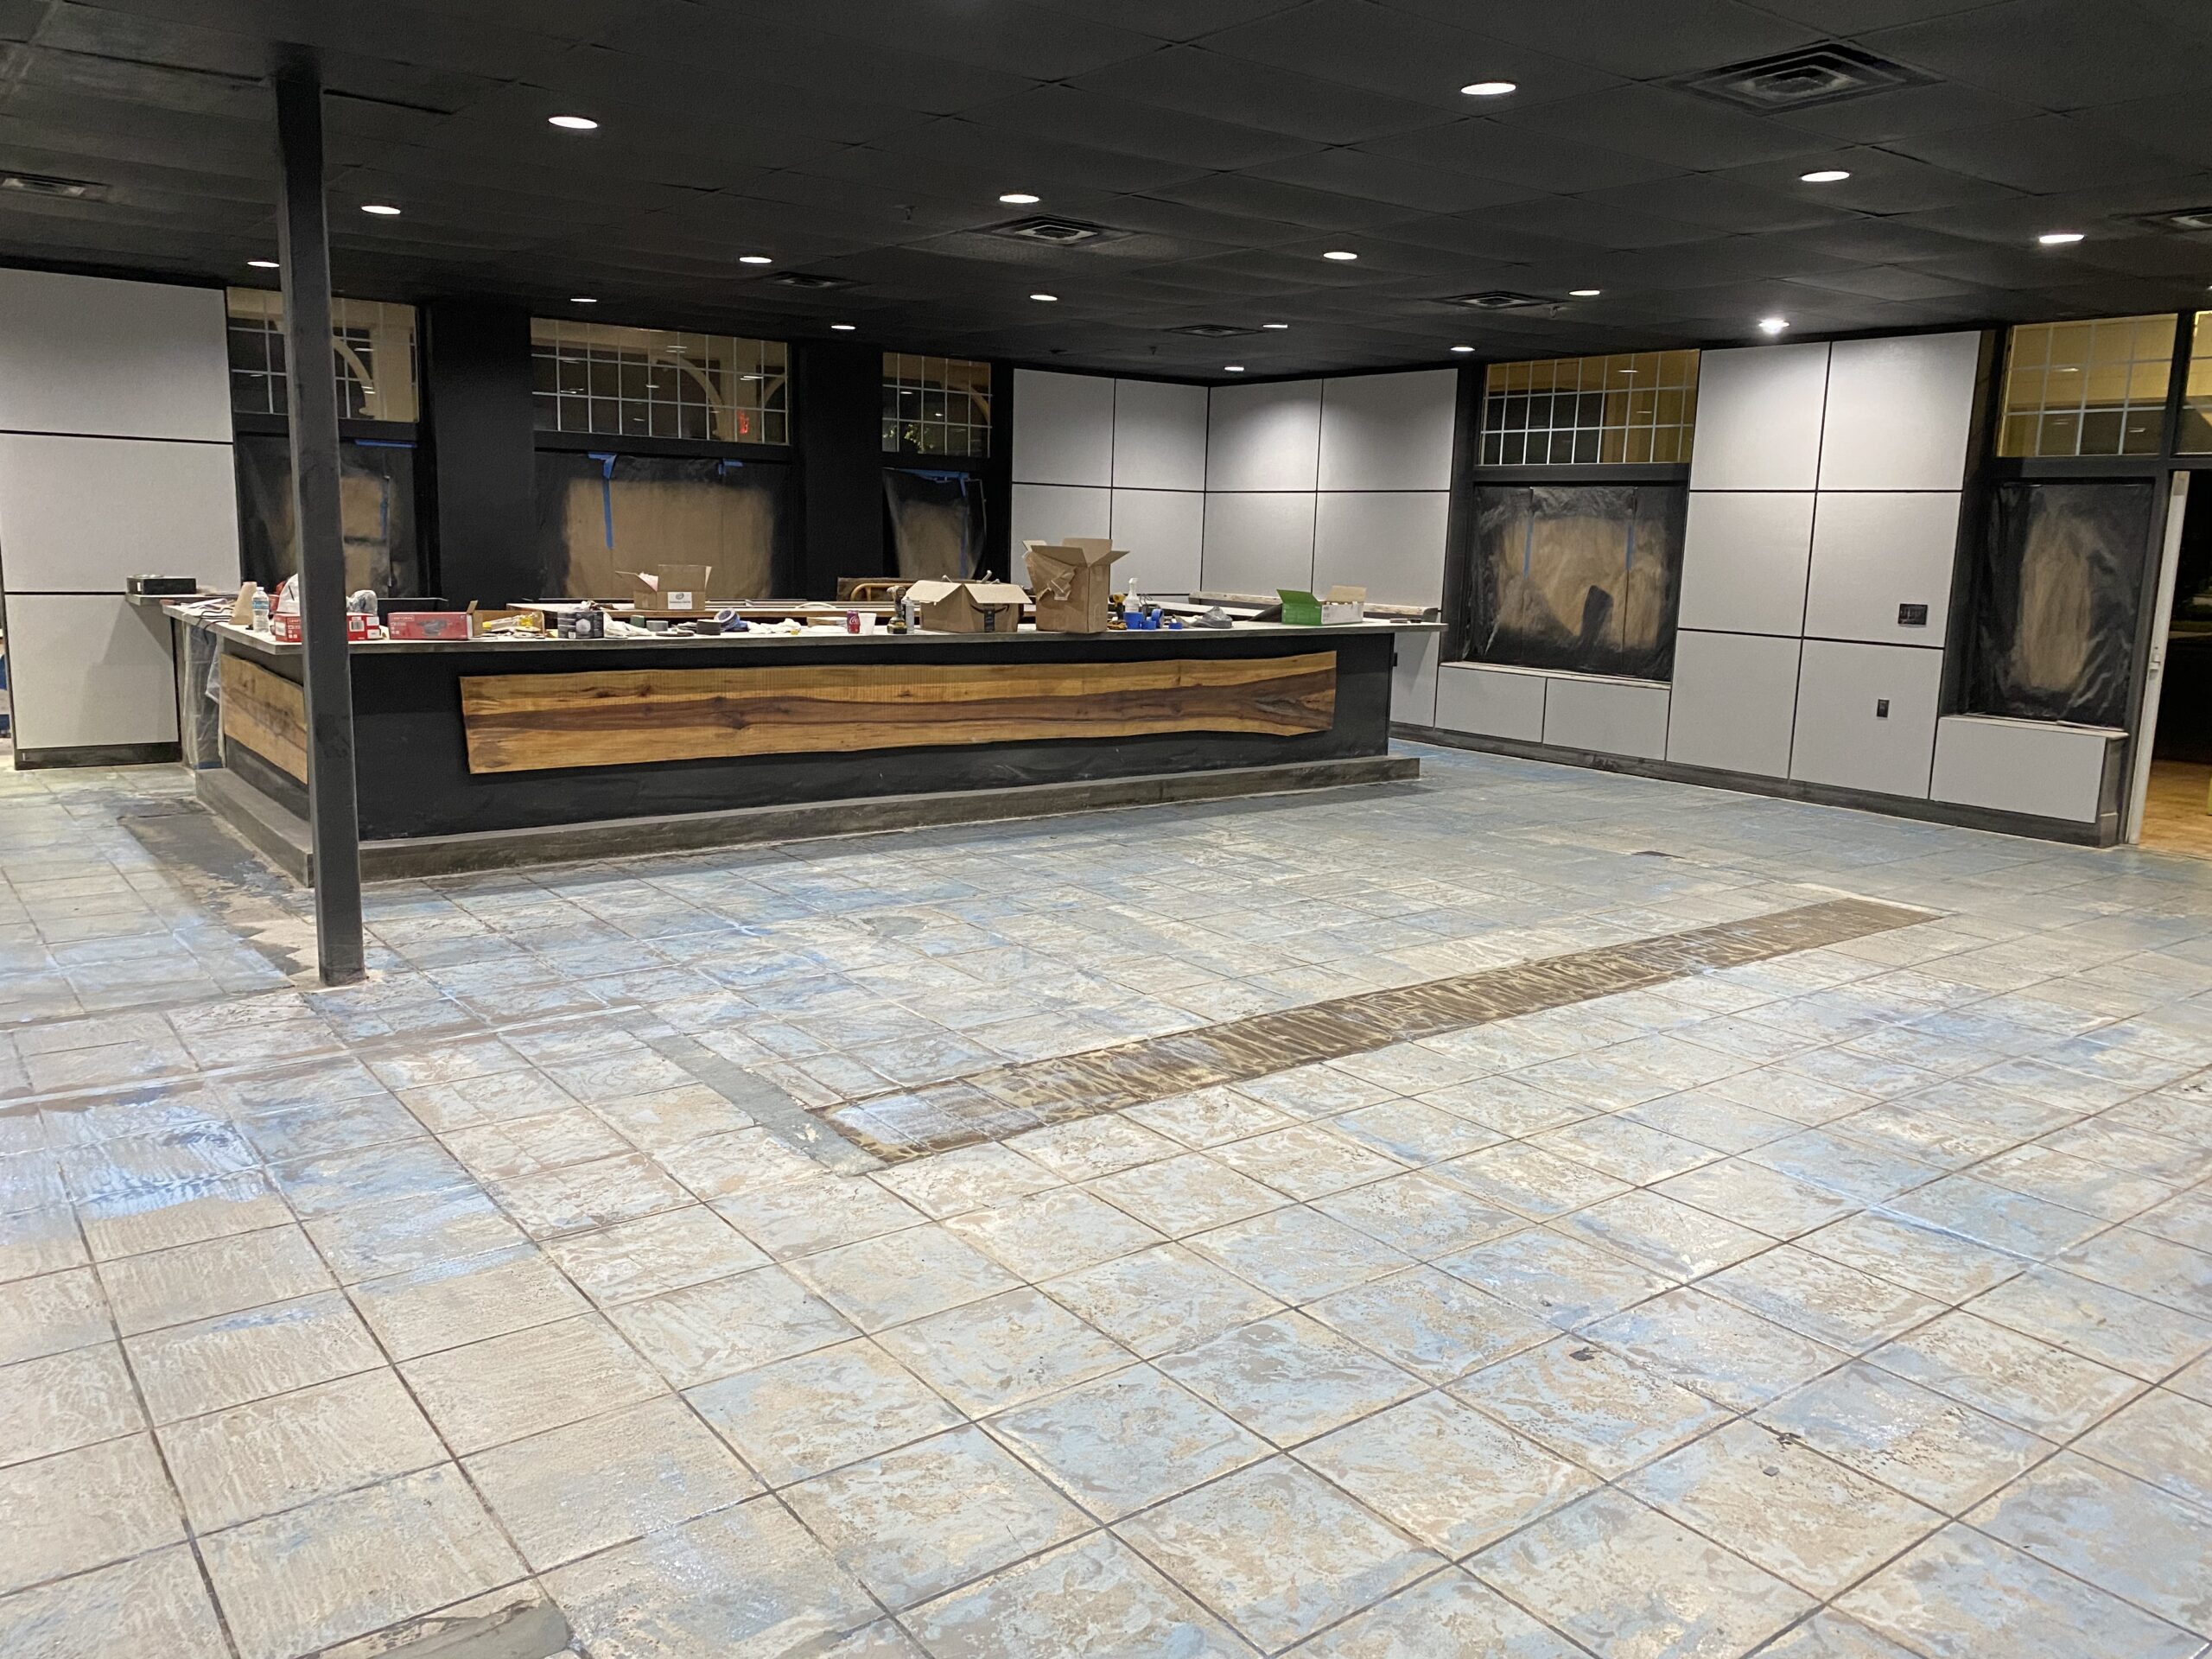
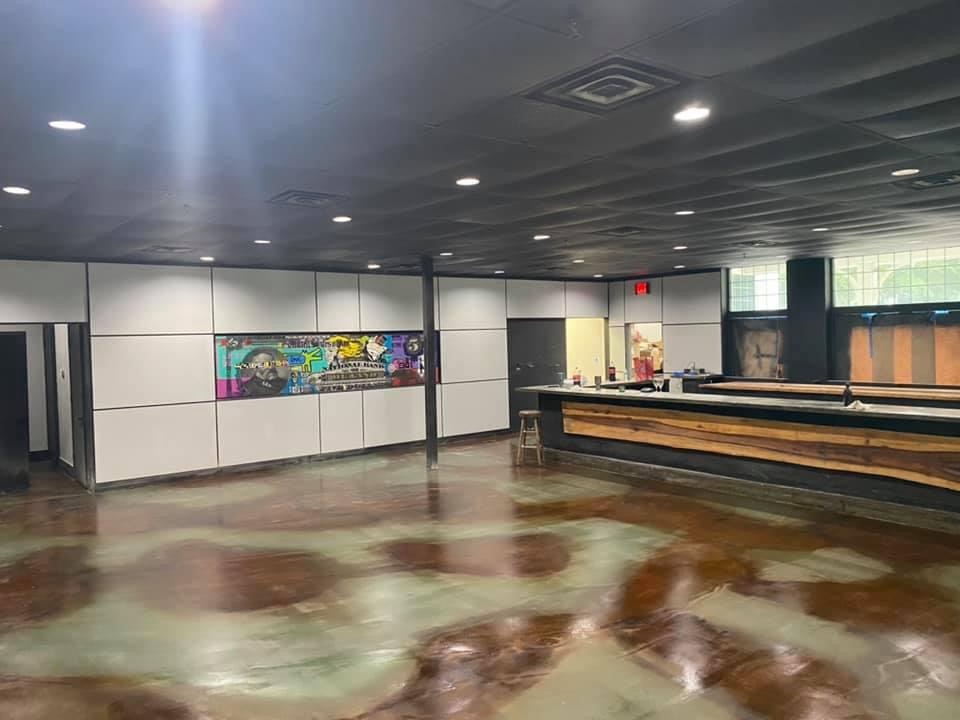
In this restaurant renovation, the customer applied a cement overlay to update 3,000 square feet, dividing it into sections over seven days. They used twice as much blue acid stain due to skipping the etching step, which would have allowed for deeper absorption and a more vibrant finish.
Consider the Patina Effect: Using Azure Blue Acid Stain for Outdoor Concrete Surfaces
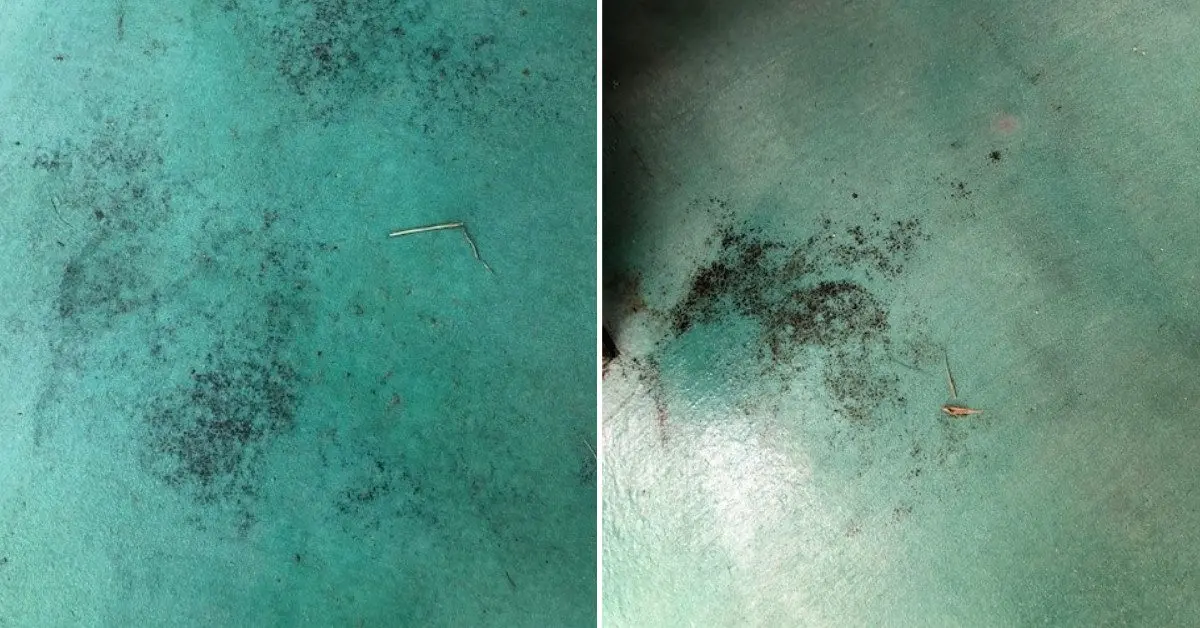
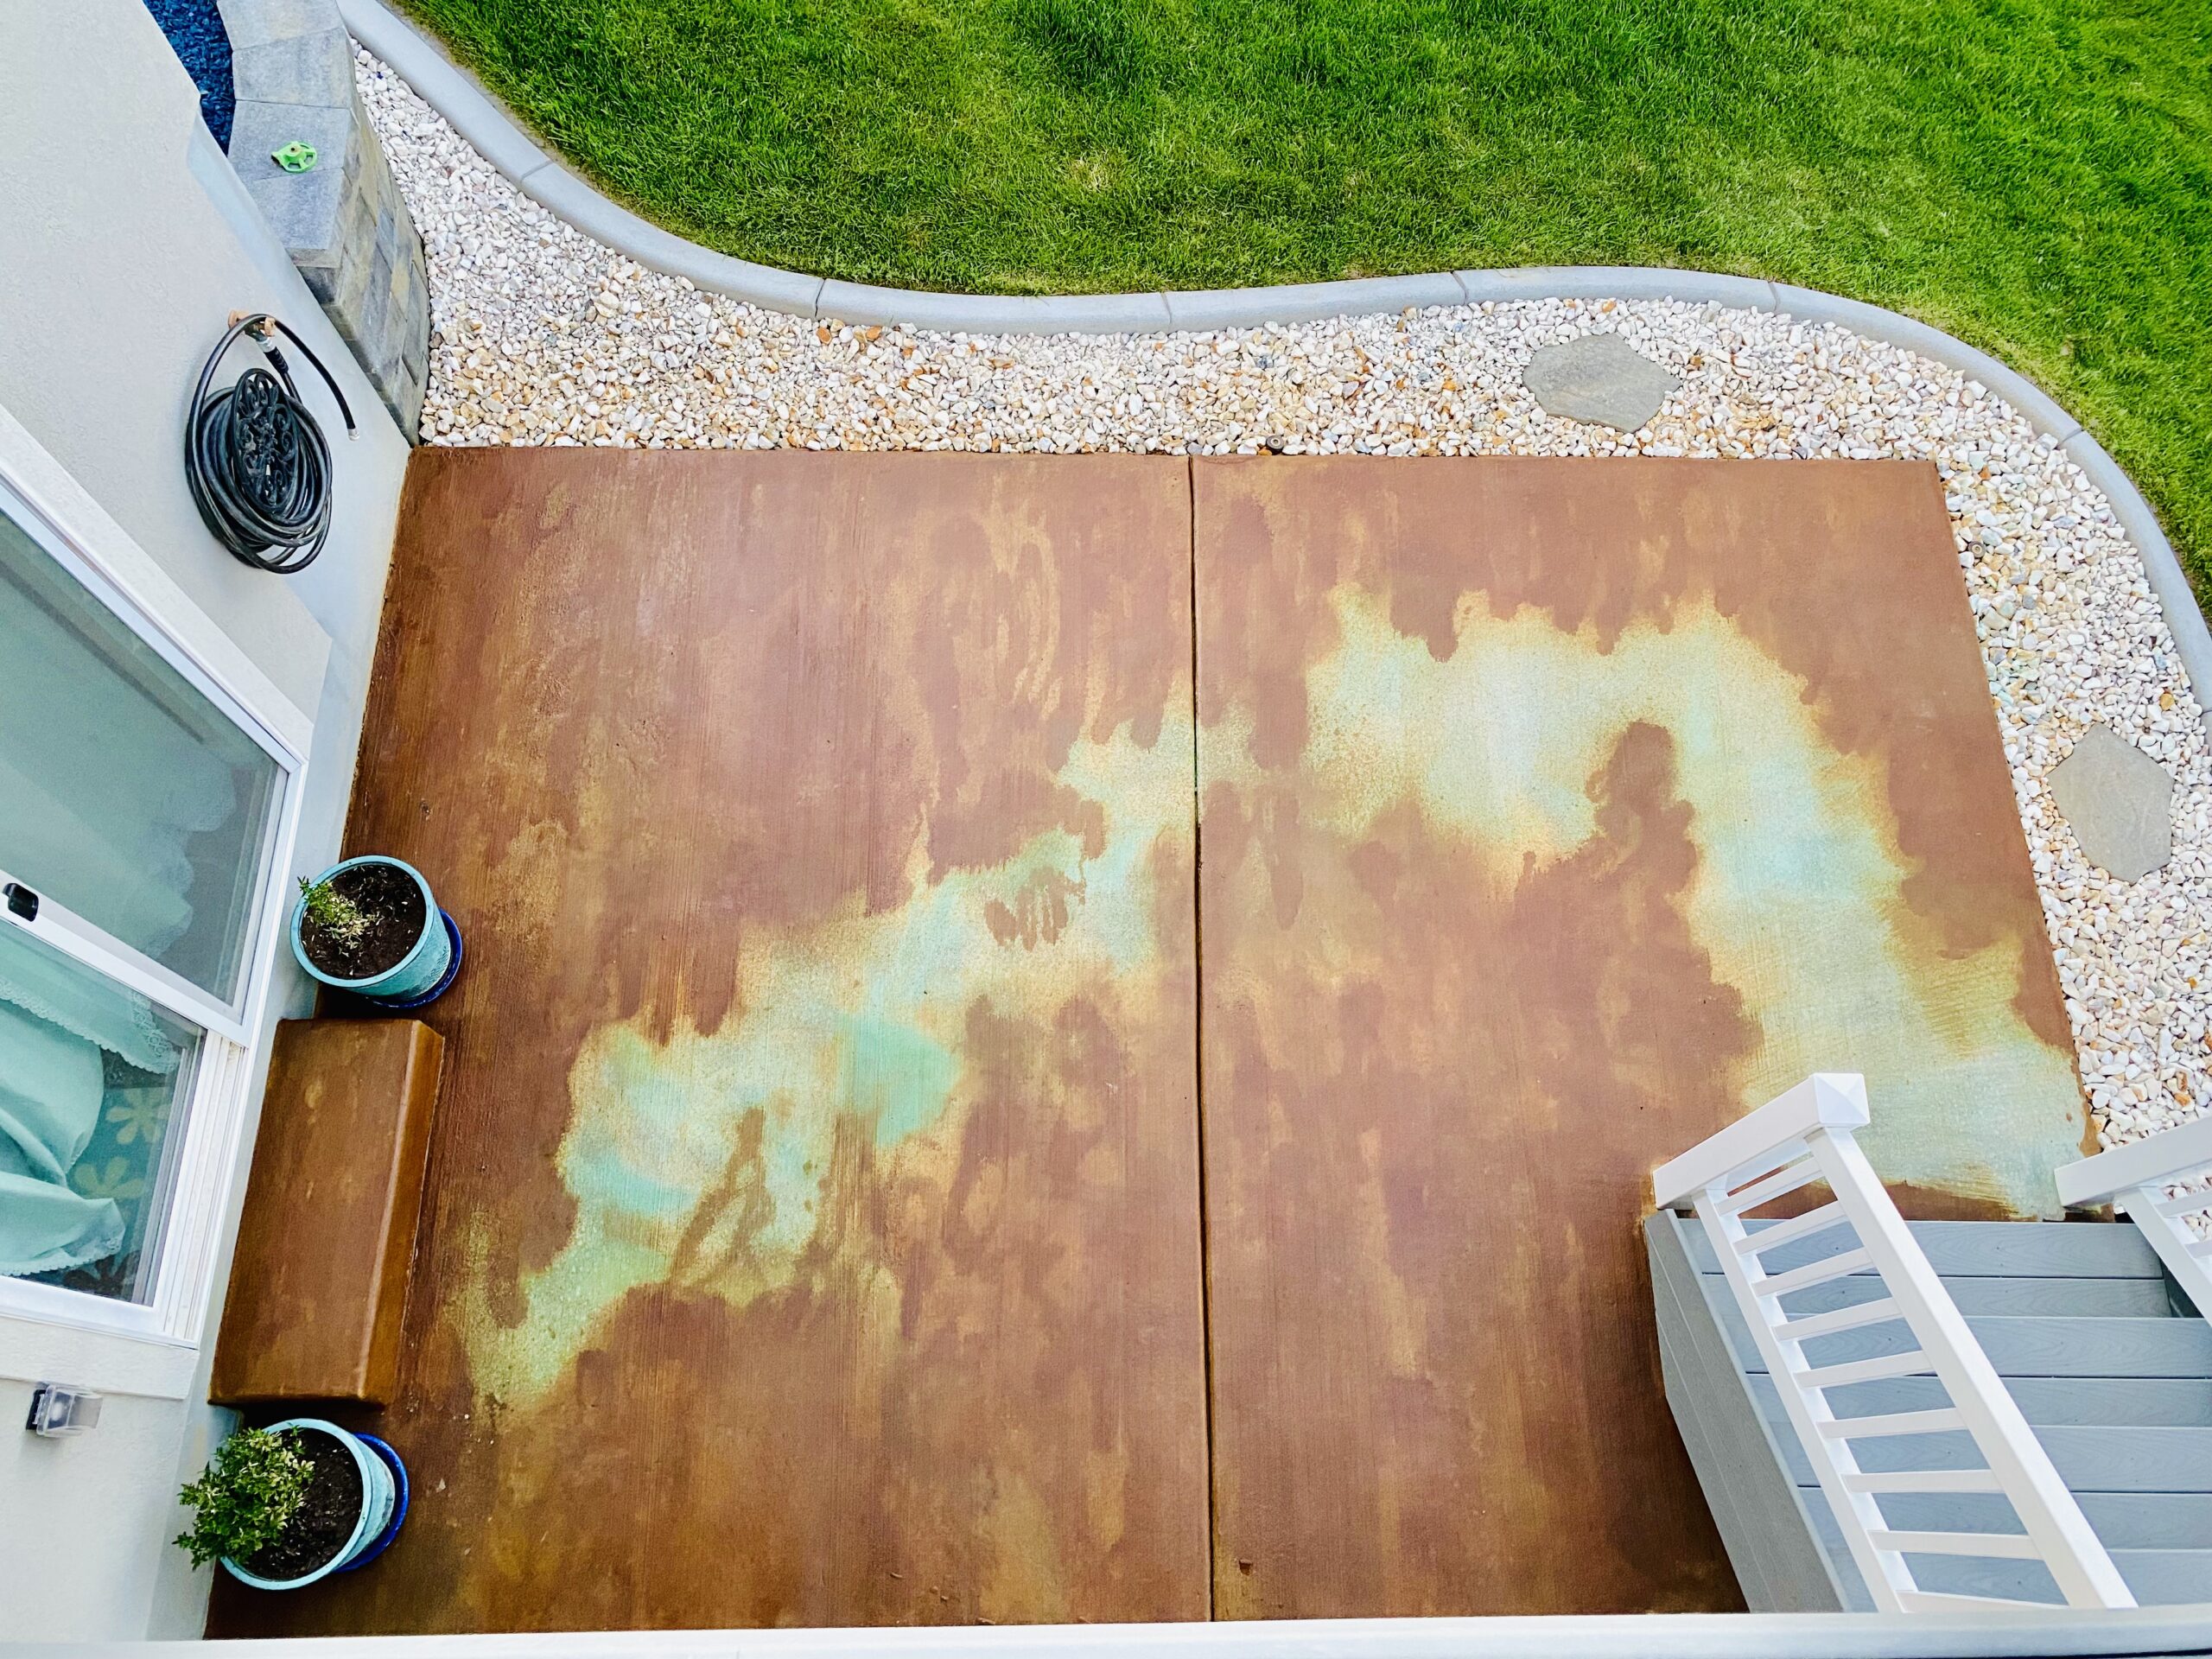
It is important to note that when using azure blue acid stain on concrete surfaces, the patina effect may occur due to the presence of copper in the stain. This natural process can add character and depth to the finished surface, but it is something to be aware of and consider when choosing a concrete stain for outdoor projects. It is always a good idea to test a small area before committing to a full project, as the patina effect may not be desired in all cases.
Concrete Transformation: Adding Color and Style to Our Patio and Porch
(Note: Azure Blue EverStain will patina on exterior concrete surfaces)
In this three-day project, we stained both our back patio and front porch. Our house is a new construction, built less than two years ago, and the concrete had not been sealed. During the curing process, concrete blankets were used which left some marks on the surface that we wanted to cover up.
One tip we have is to use a sprayer with a plastic nozzle, as acid can react with metal. It’s also important to cover any rocks in your landscape as they may contain lime and could get stained. Plastic won’t stain, but be sure to wipe it off right away for easier cleanup. Keep a bucket close to your sprayer to place the nozzle in when you’re not using it, as the nozzle tends to drip or spray after you release the trigger. Trust the process, even if the concrete looks patchy and dull at first. You can still scrub off the finish with a broom and a baking soda water mixture at this point. Then, let it dry for a day before sealing.
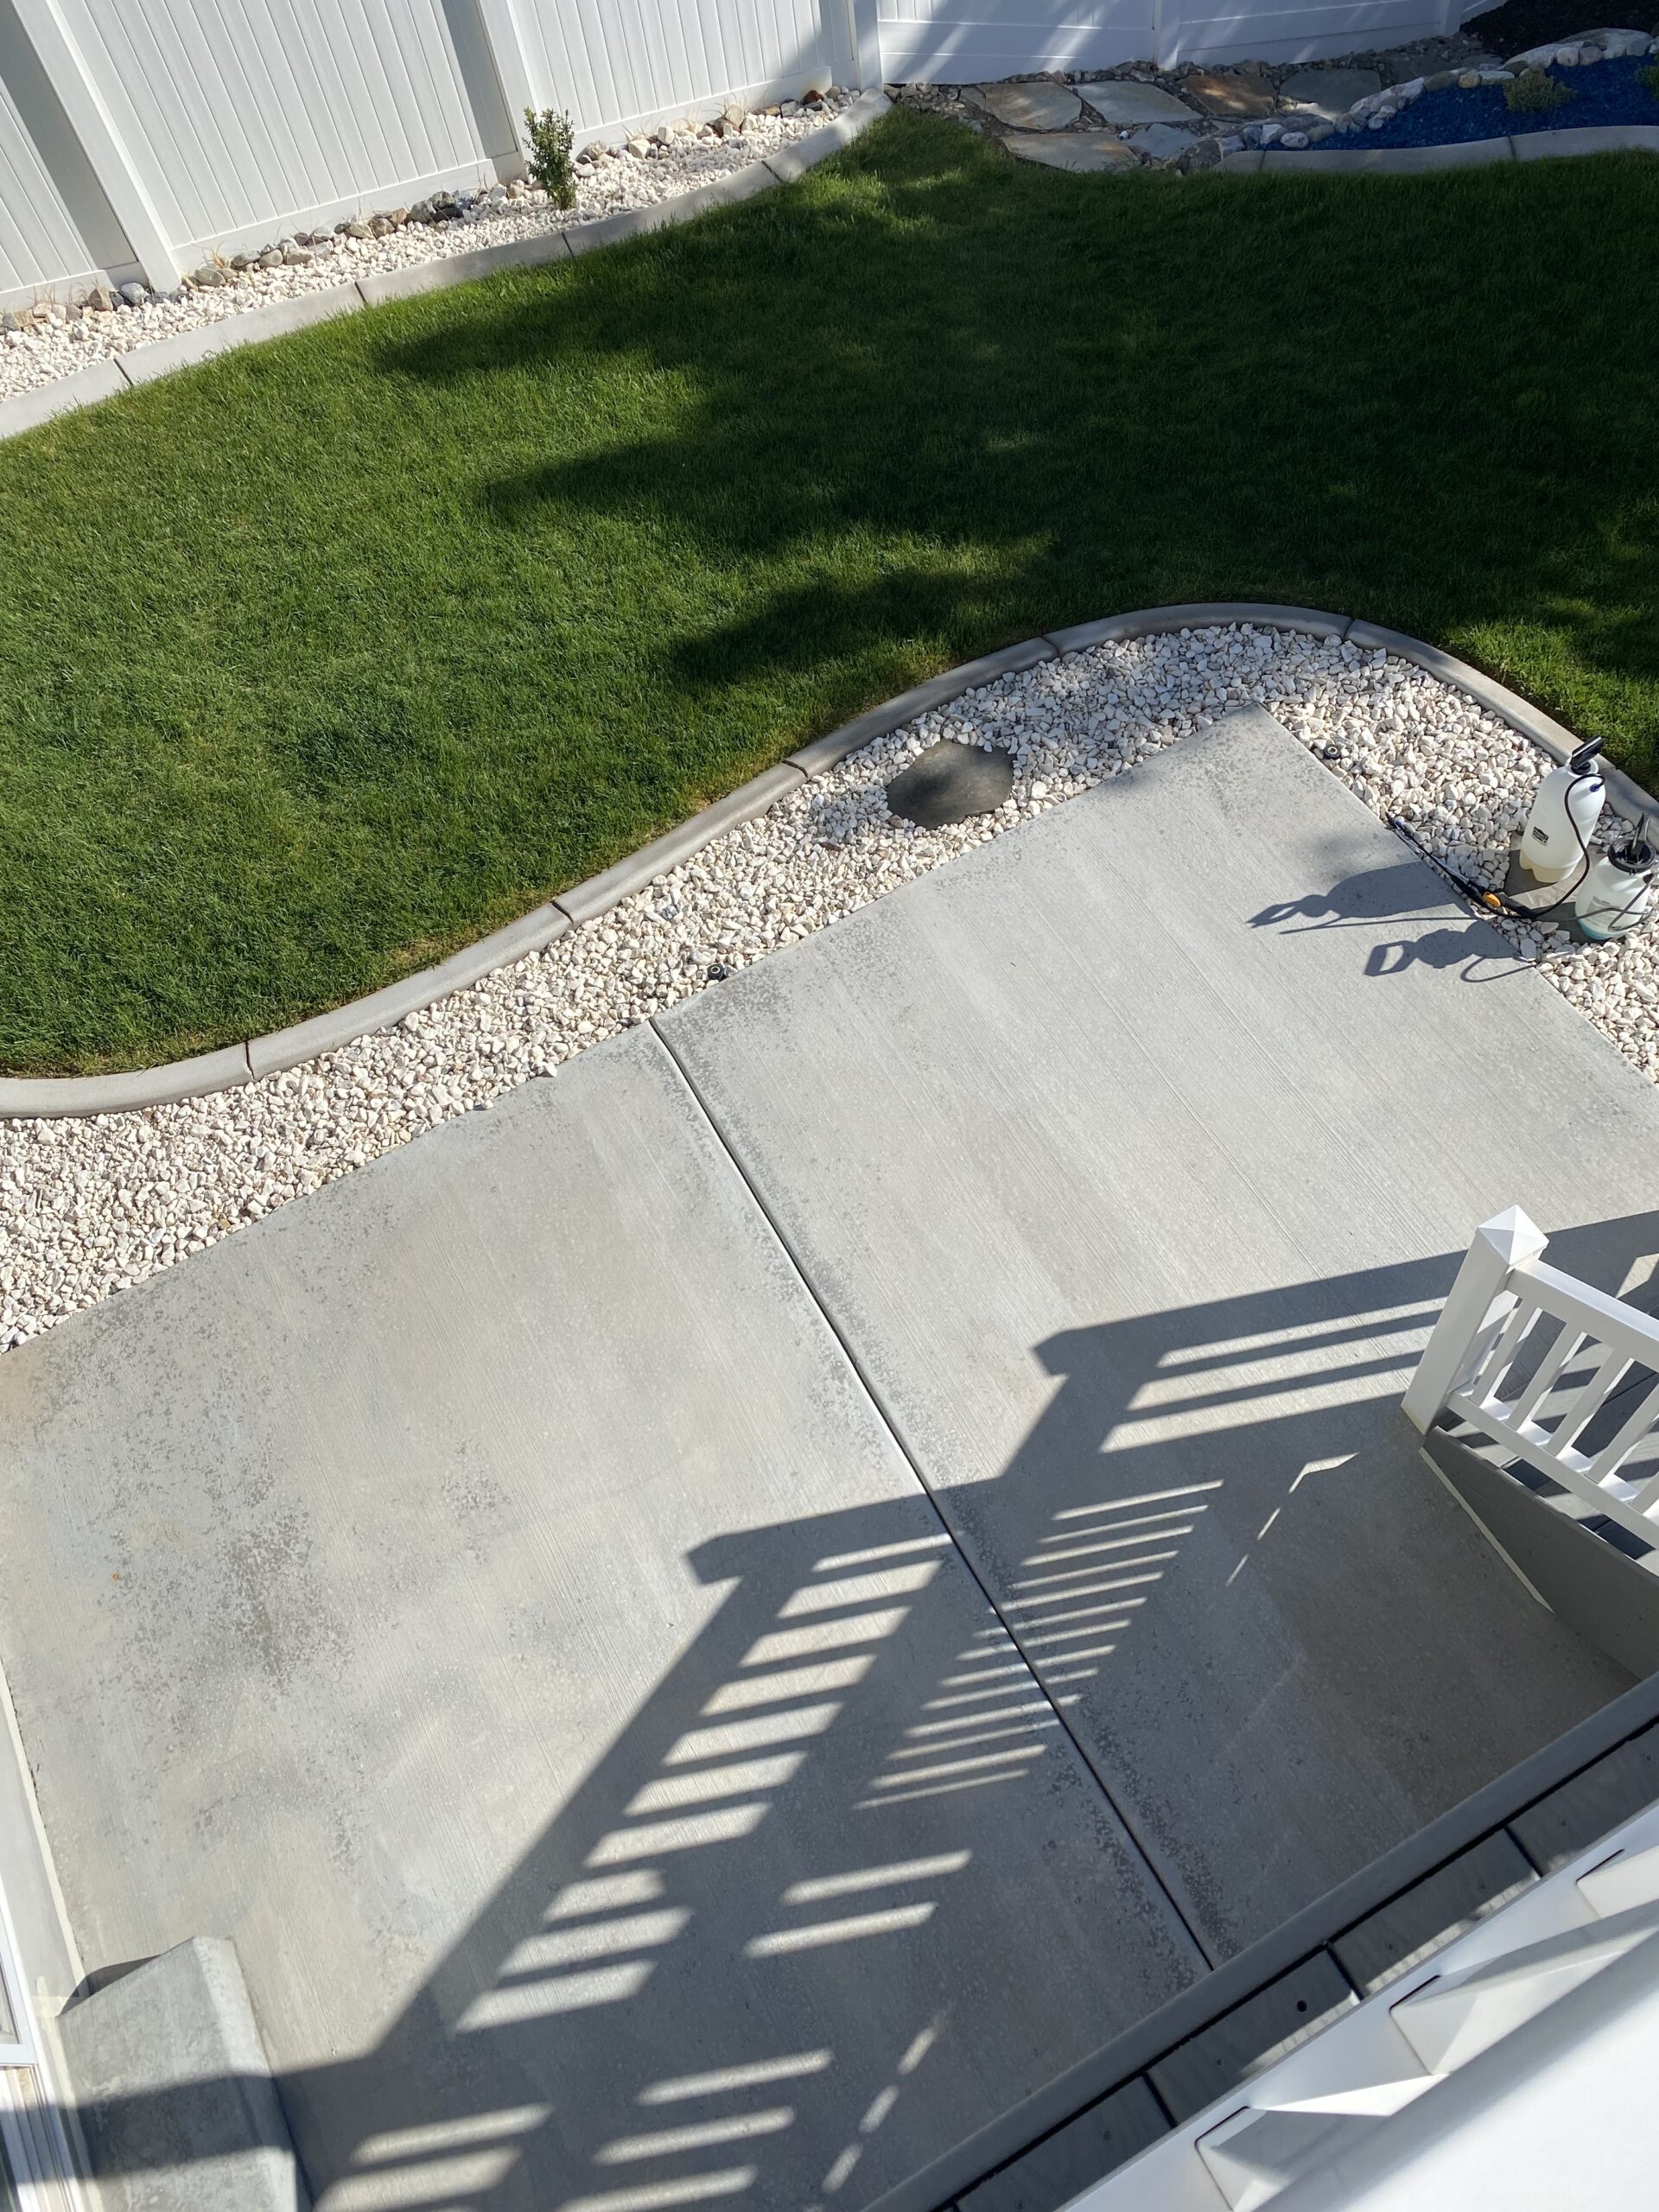
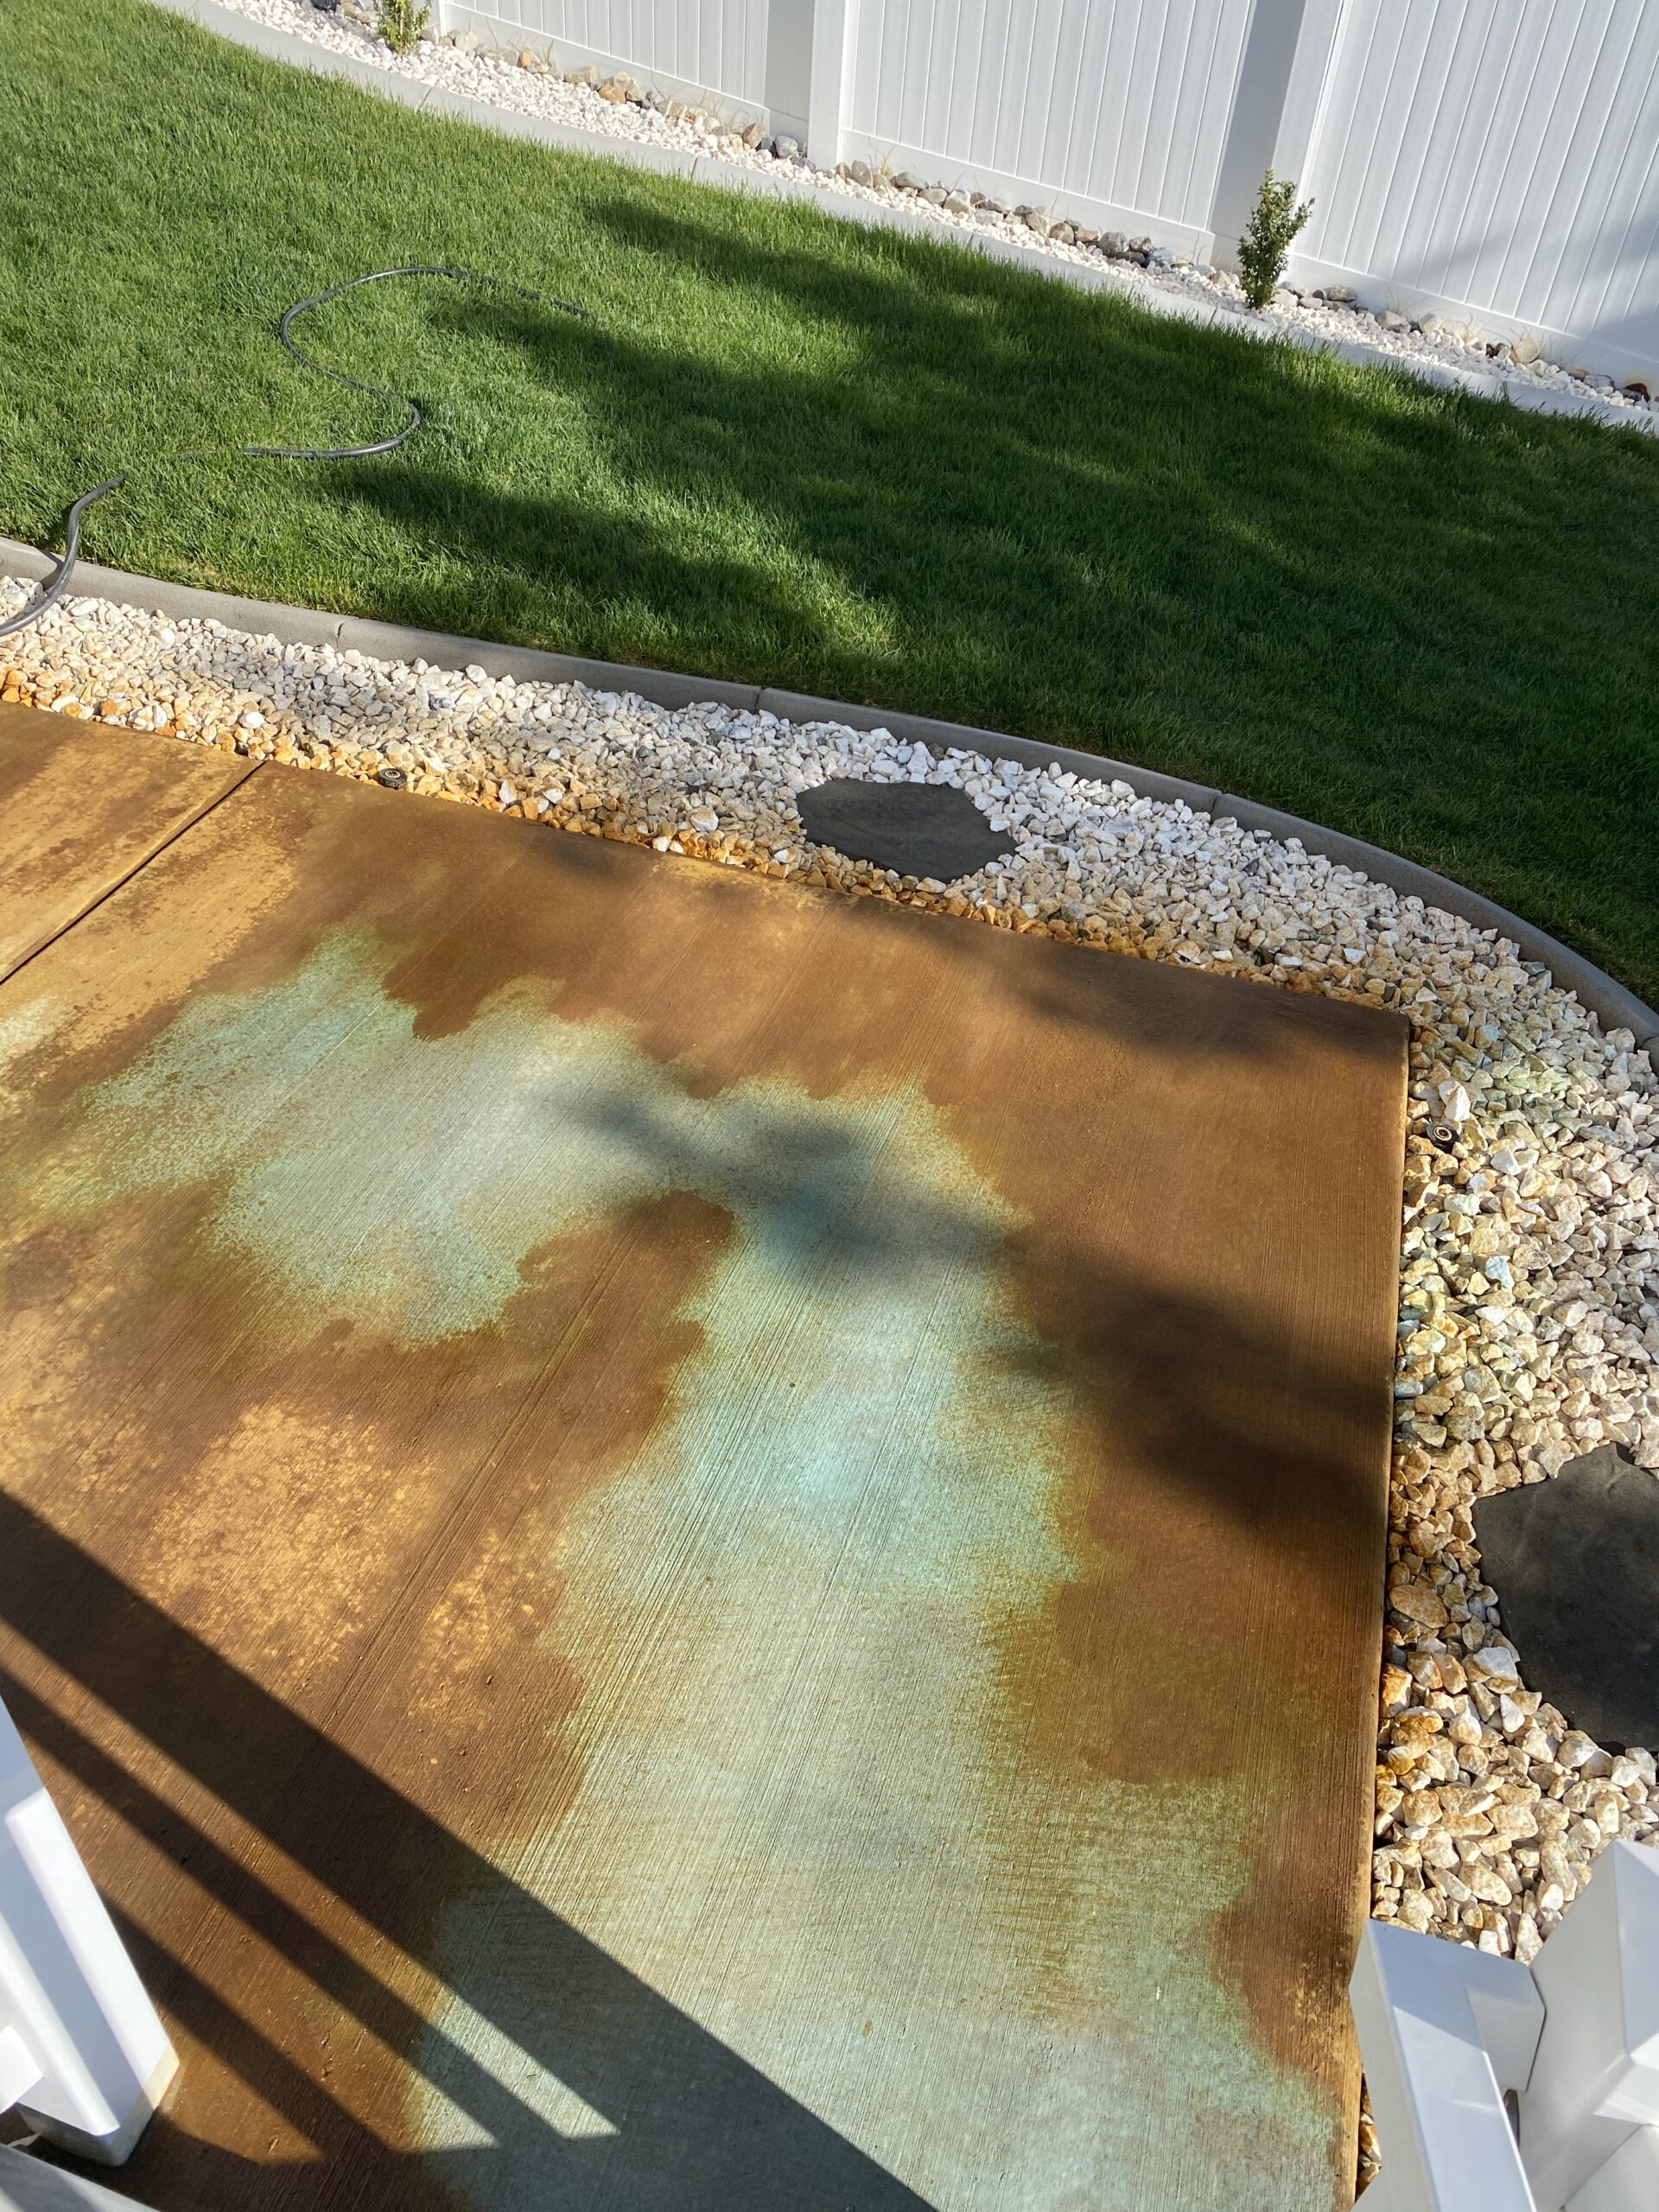
For the patio, we used a wet-on-wet technique with Malayan Buff and Azure from Direct Colors. On the porch, we used Malayan Buff and slightly diluted Cola, applied wet-on-dry and spread out with a broom for a mottled look. We neutralized both surfaces after about 22 hours, washed them, and let them dry for a day before sealing.
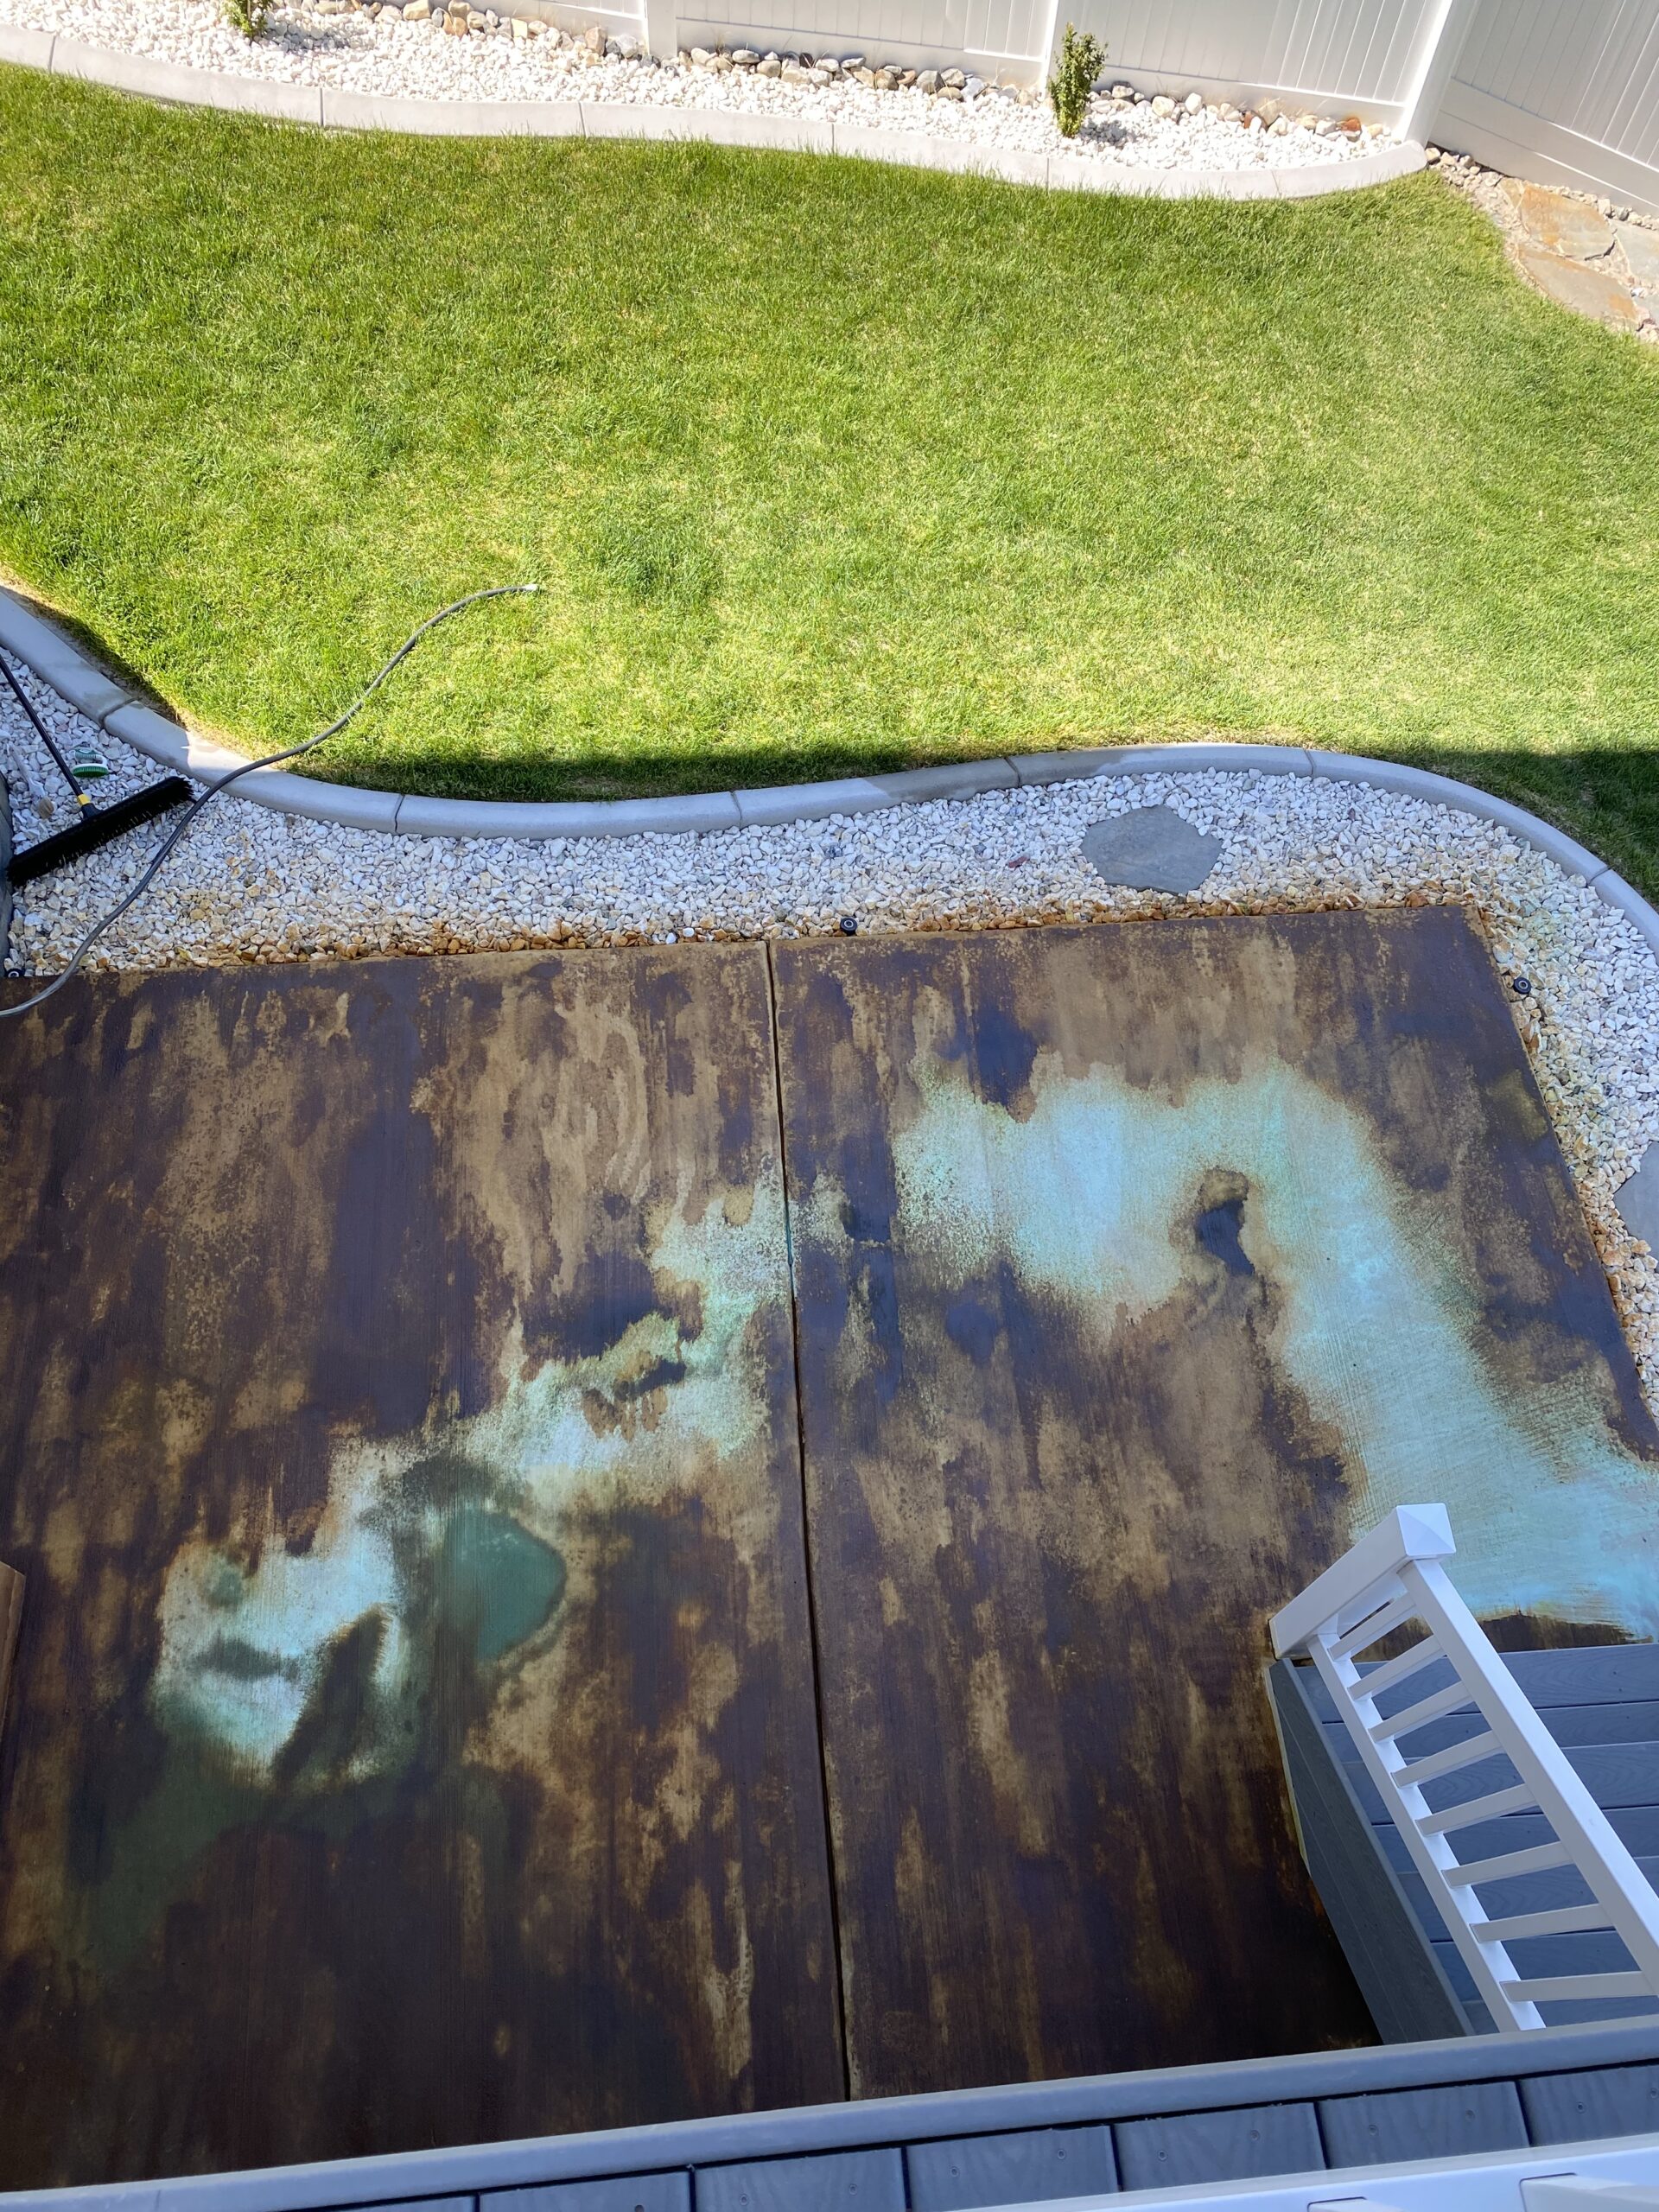

We used Direct Colors’ Malayan Buff, Azure, and Cola for the staining and a high gloss, wet look sealer from Foundation Armor for the final step. The result was a beautiful and durable finish on both our patio and porch.
Adding Color and Character to a Concrete Porch
(Note: Azure Blue EverStain will patina on exterior concrete surfaces)
In this three-day project, we transformed the look of our concrete porch by adding color and character with acid staining. The porch is about five years old and we had an extension poured in May.
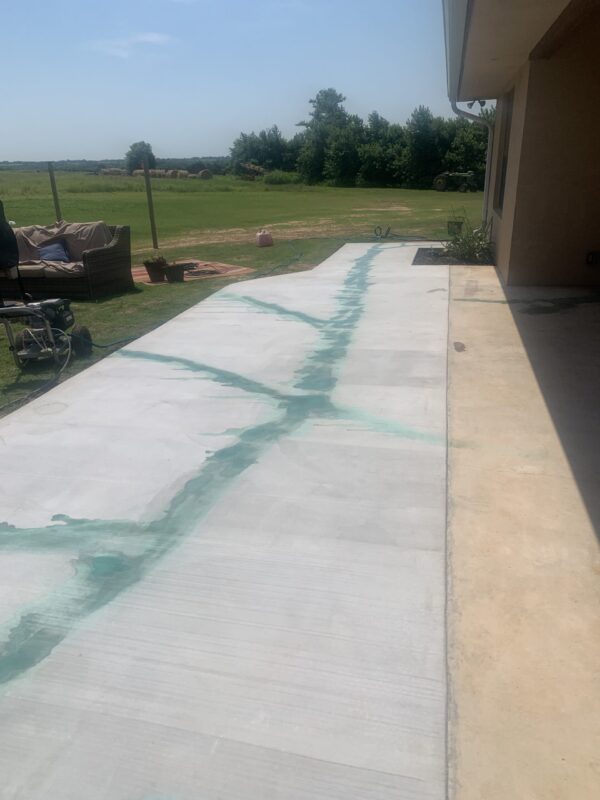
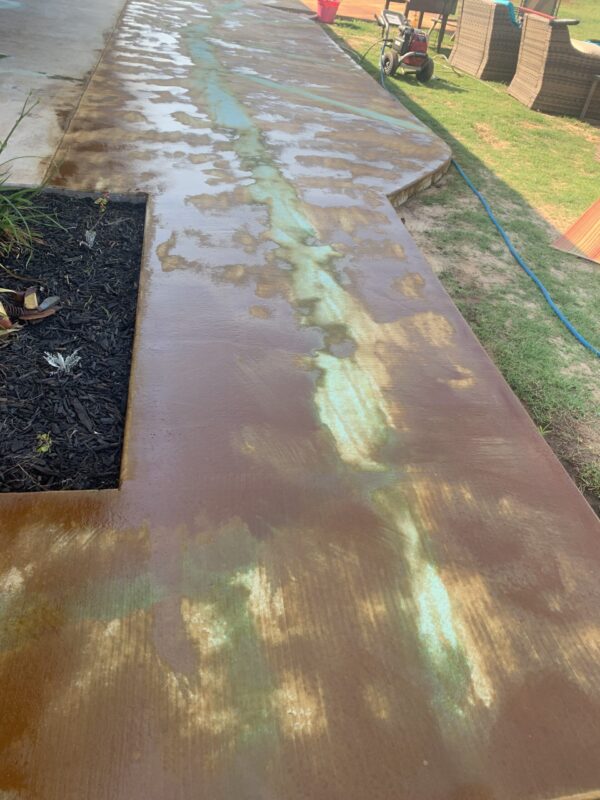
In this three-day project, we transformed the look of our concrete porch by adding color and character with acid staining. The porch is about five years old and we had an extension poured in May.
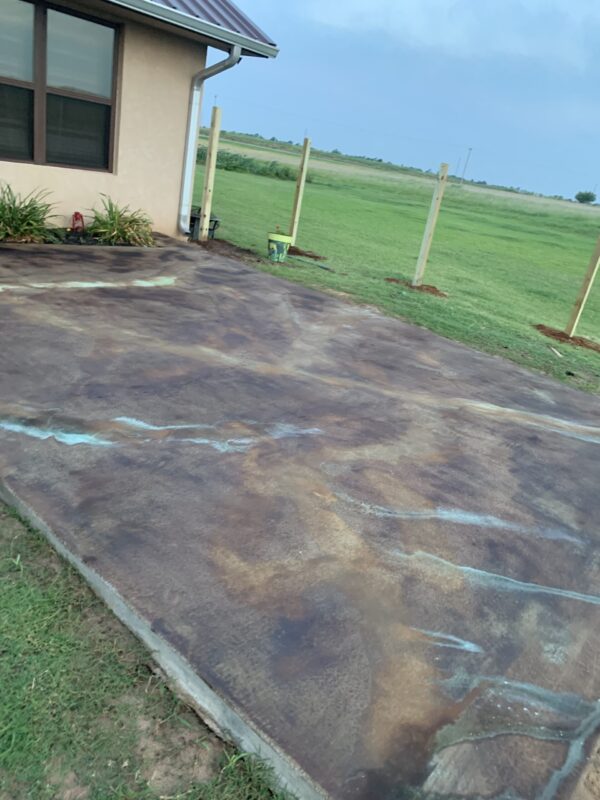
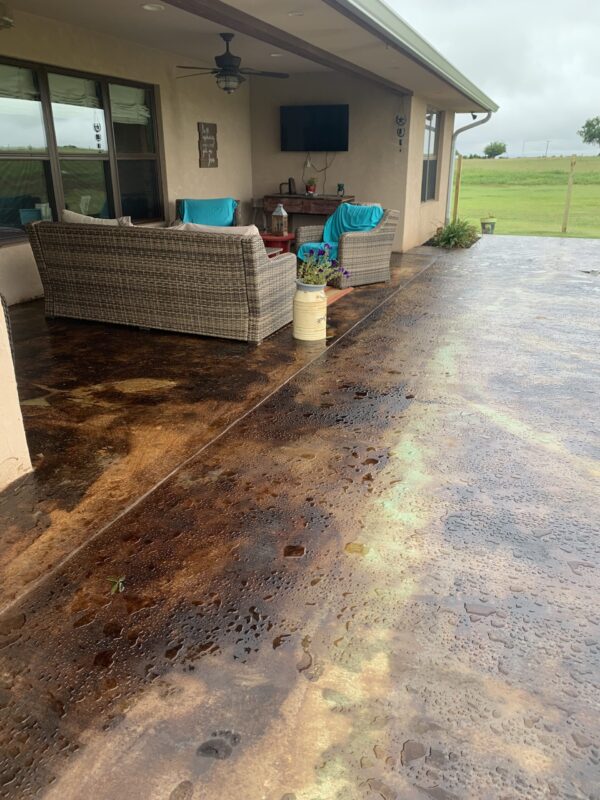
The project covered an estimated 400 square feet and the result was a beautiful and unique finish on our porch. The acid staining process added both color and character to the concrete surface, giving it a new lease on life.
