Stamped Decorative Concrete Solutions
By Justin Richardson
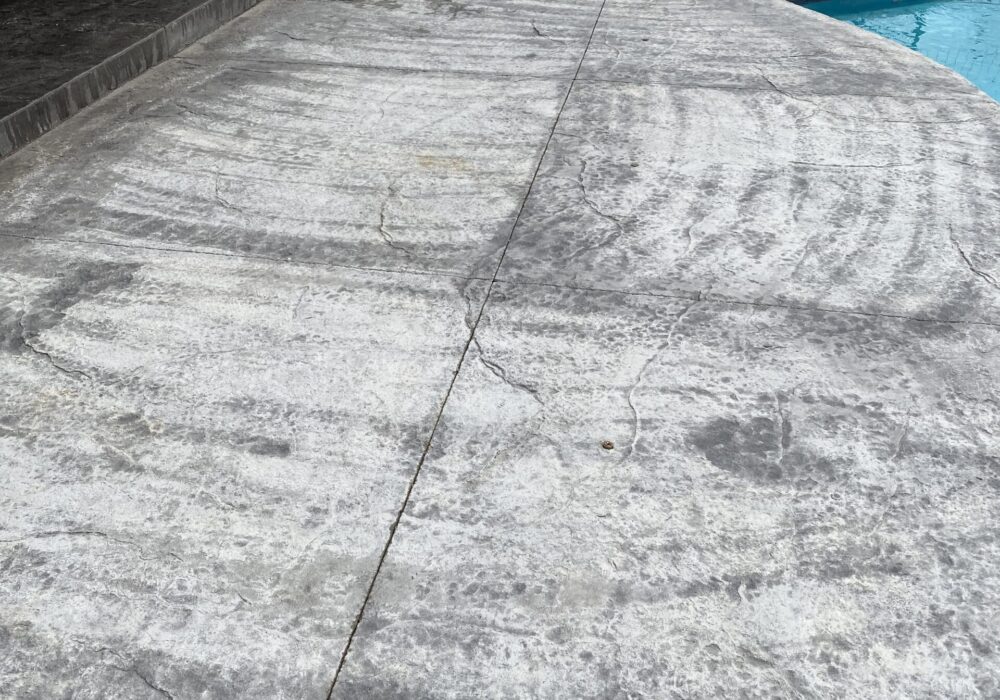
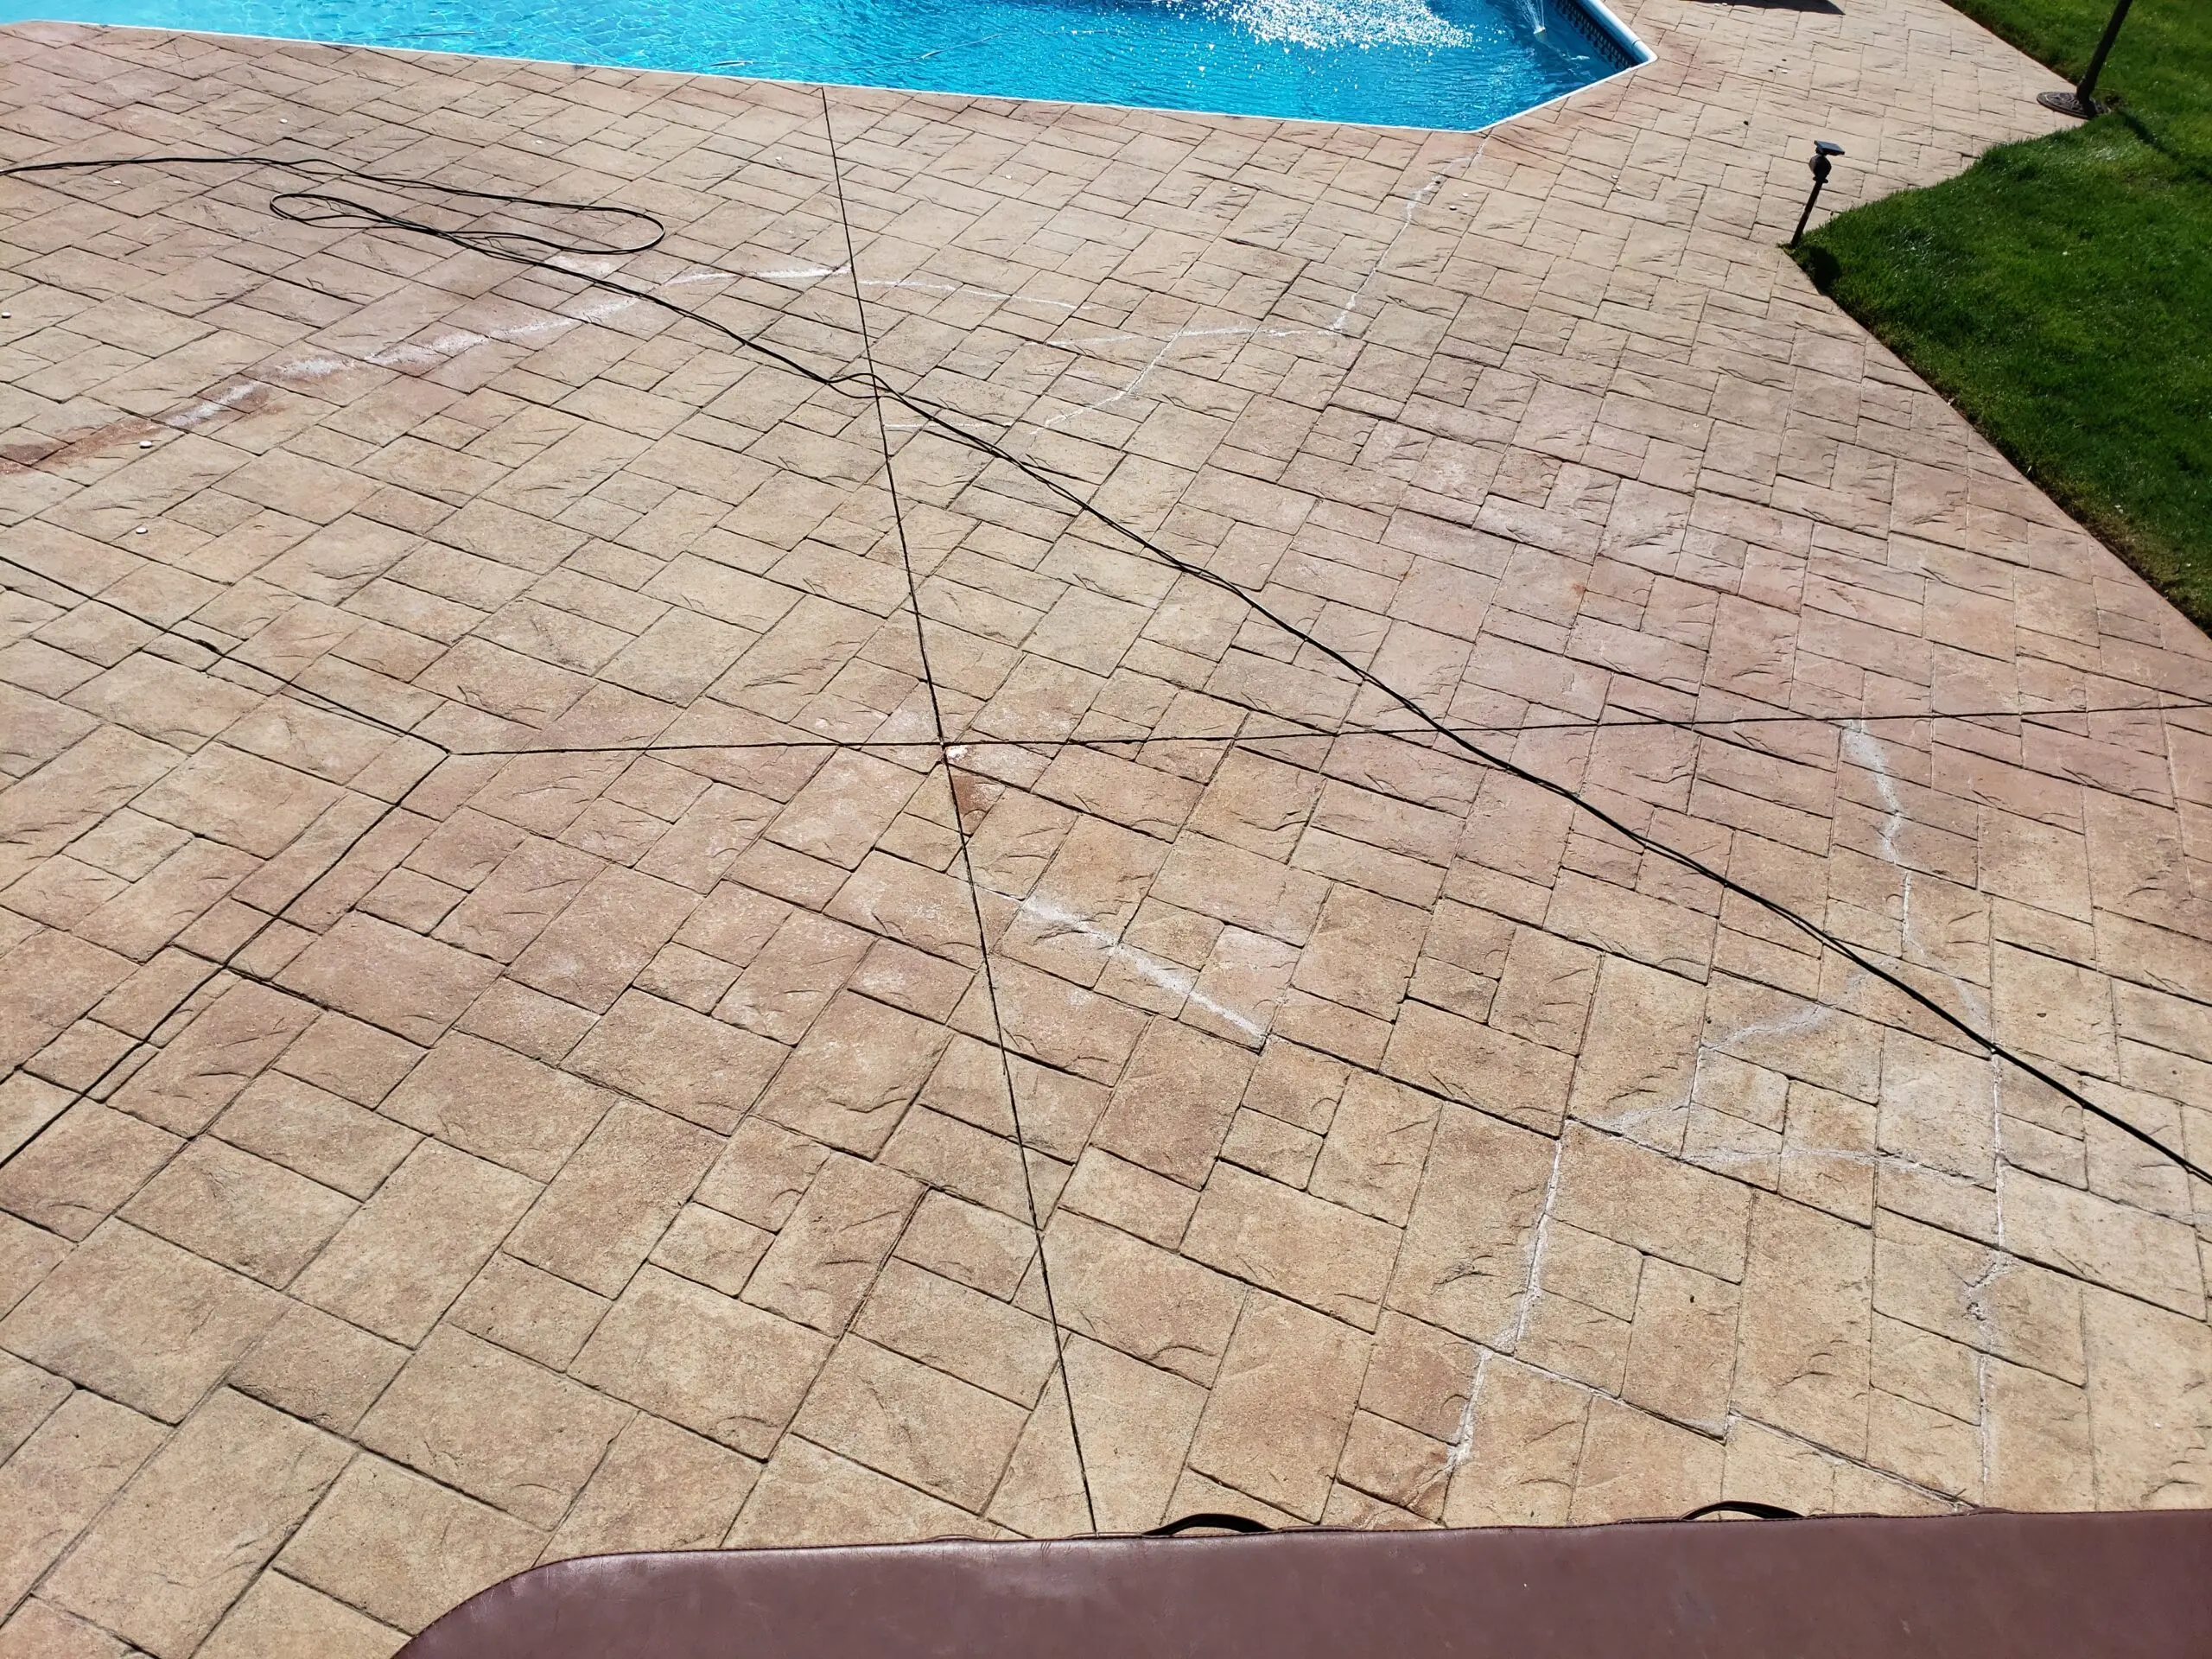
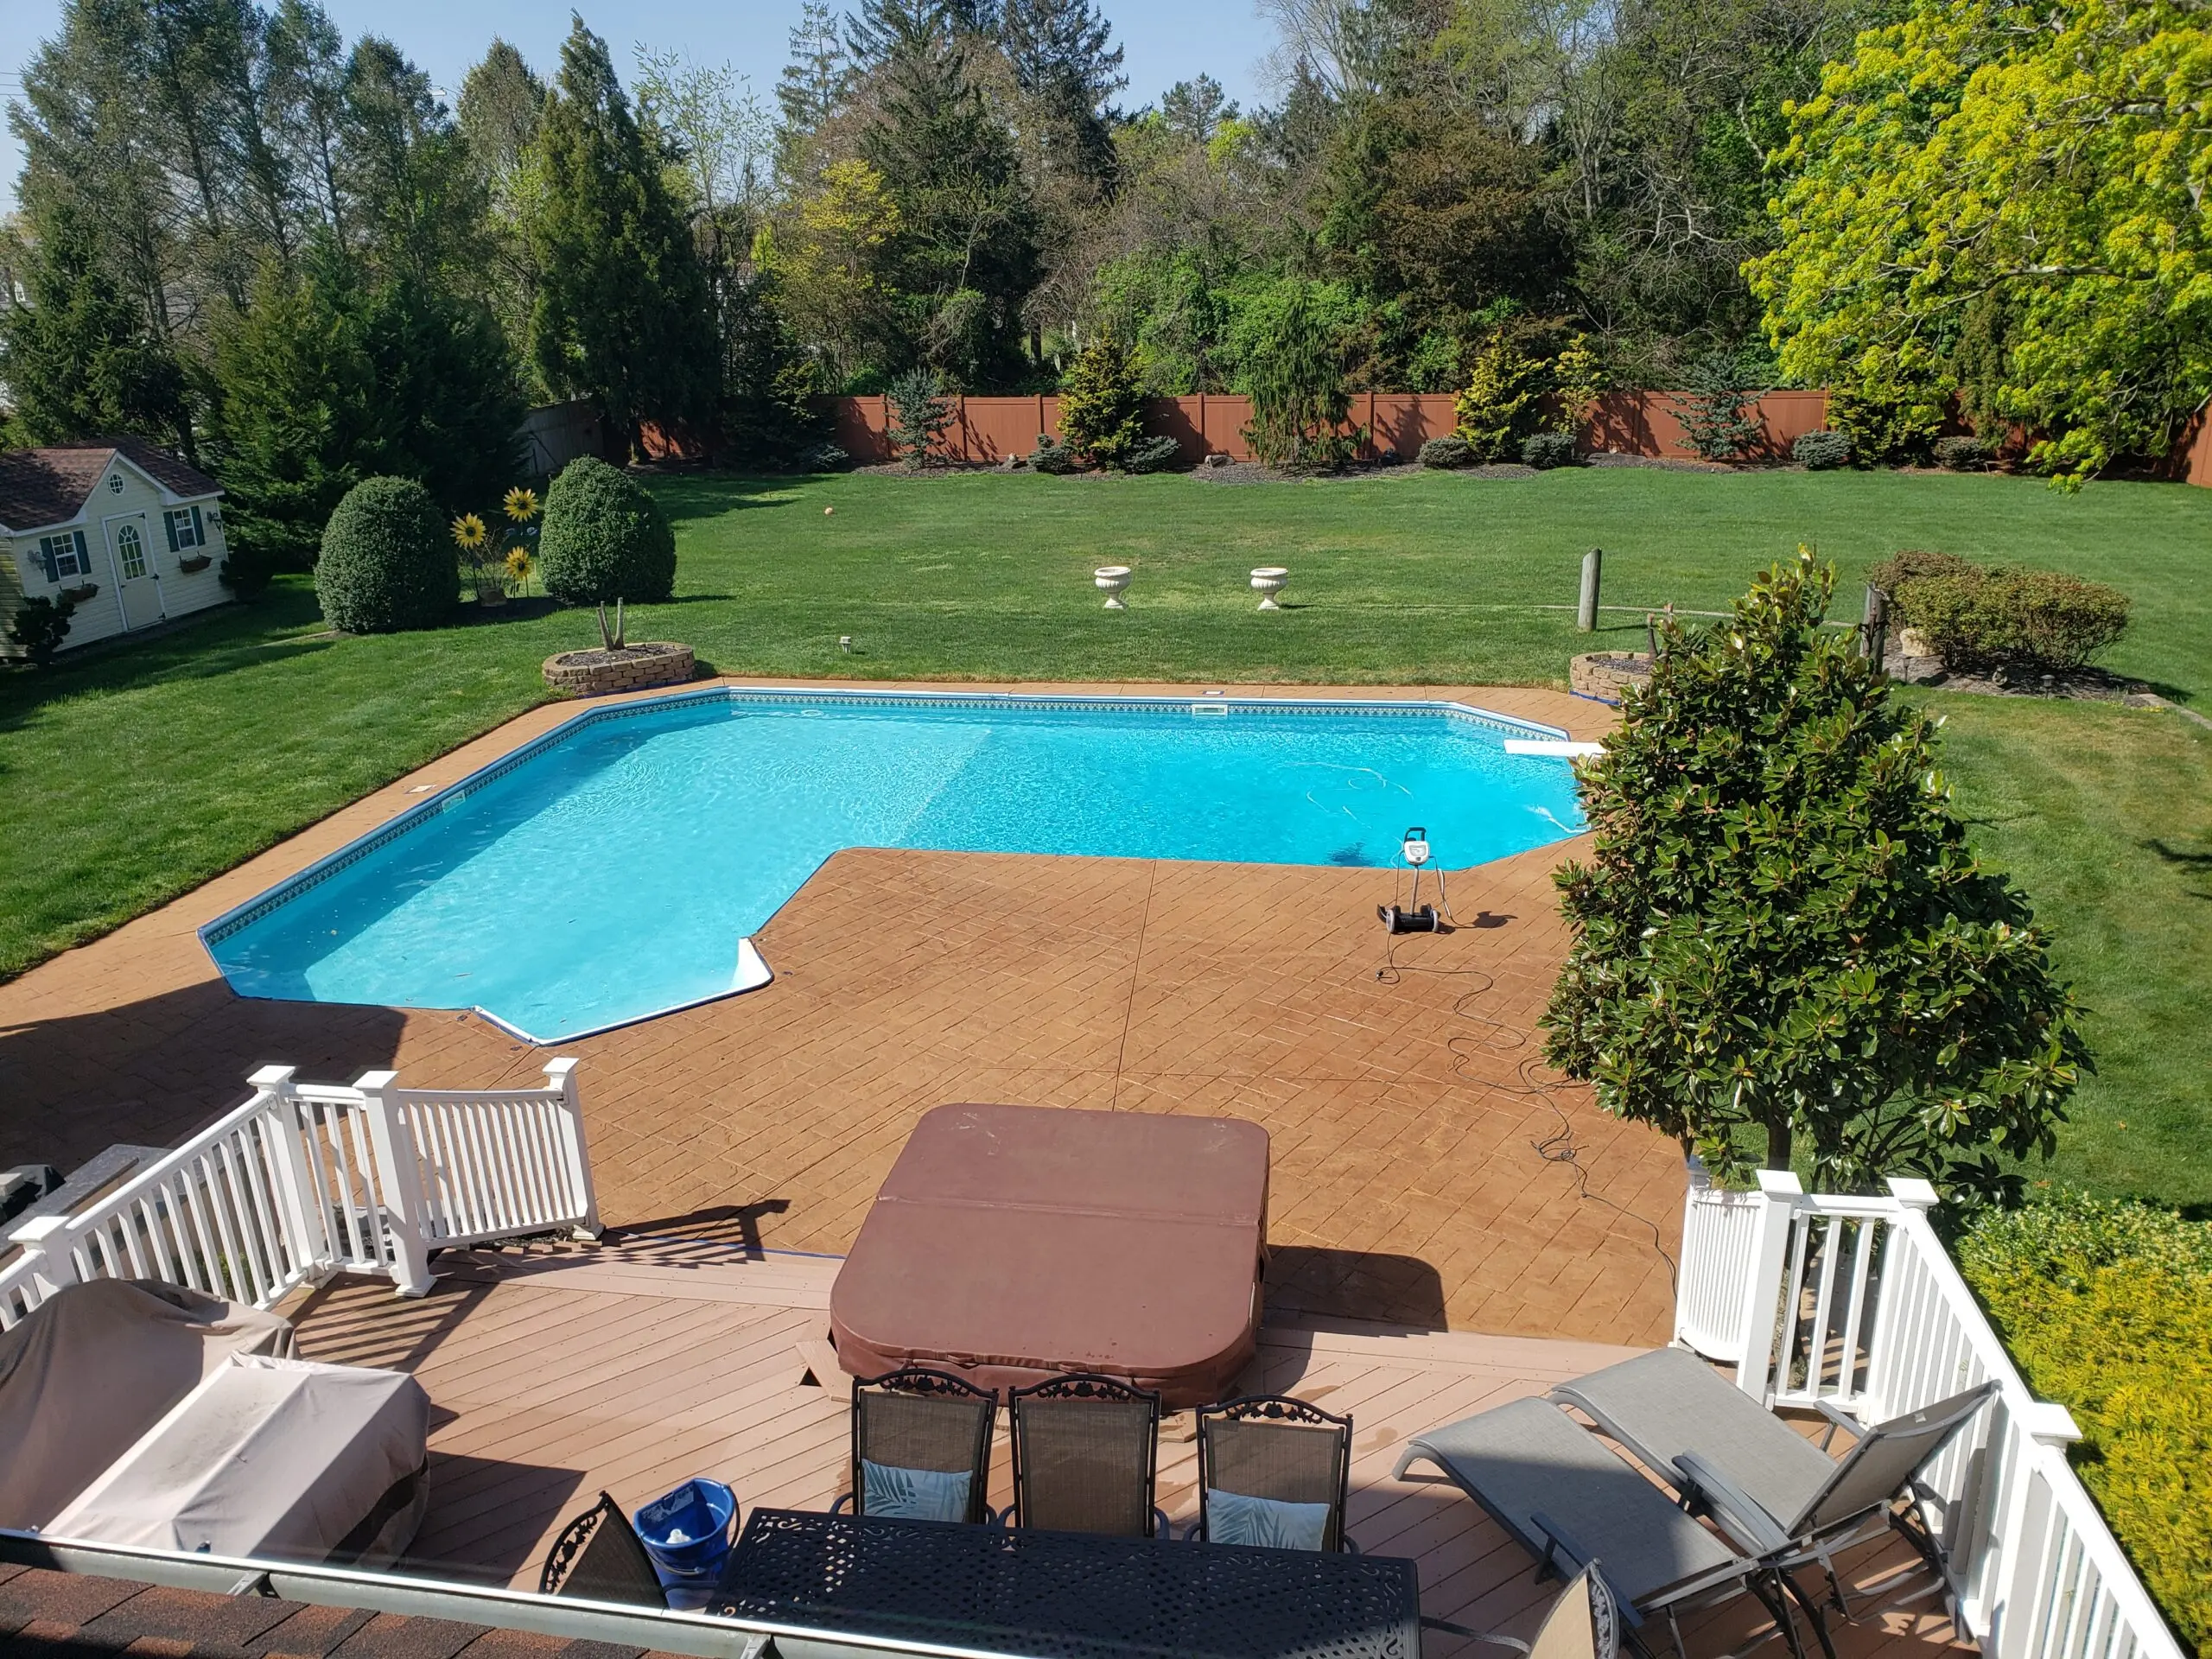
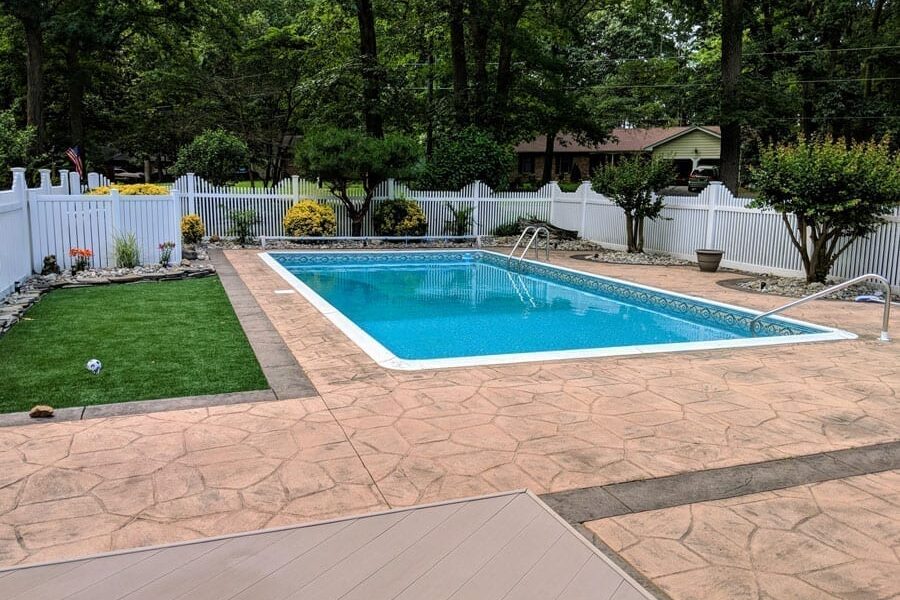
Are you struggling with faded stamped concrete? This compilation features actual customers who have successfully rejuvenated their discolored stamped concrete surfaces. Browse their before and after photos for inspiration and learn how you can renew your own stained stamped concrete!
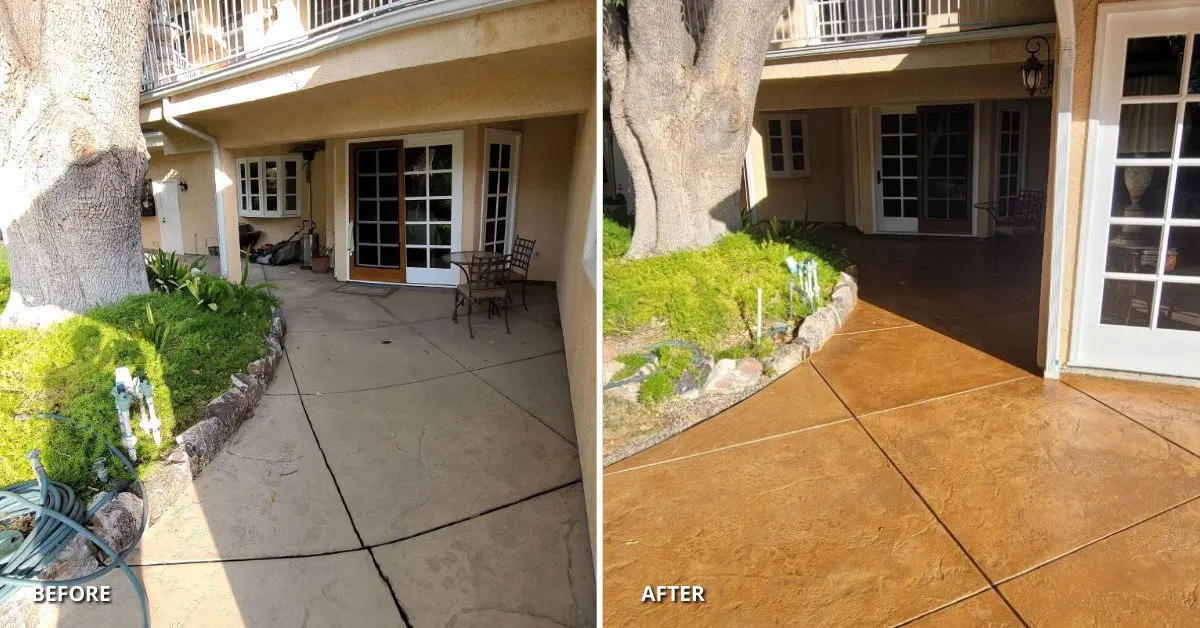
Please be aware that each photo in this gallery showcases projects accomplished with our Antiquing™ Stamped Concrete Stain and is provided by actual customers, serving as a source of inspiration. However, since Antiquing™ is semi-transparent, the final appearance of your project will be influenced by the initial color and condition of your concrete surface, and thus, your final results might vary. For the best results, we strongly recommend performing a small test on your specific surface before applying the stain to the entire project to ensure the final look aligns with your expectations.
Backyard Patio Refresh with Auburn Antiquing™ Stain
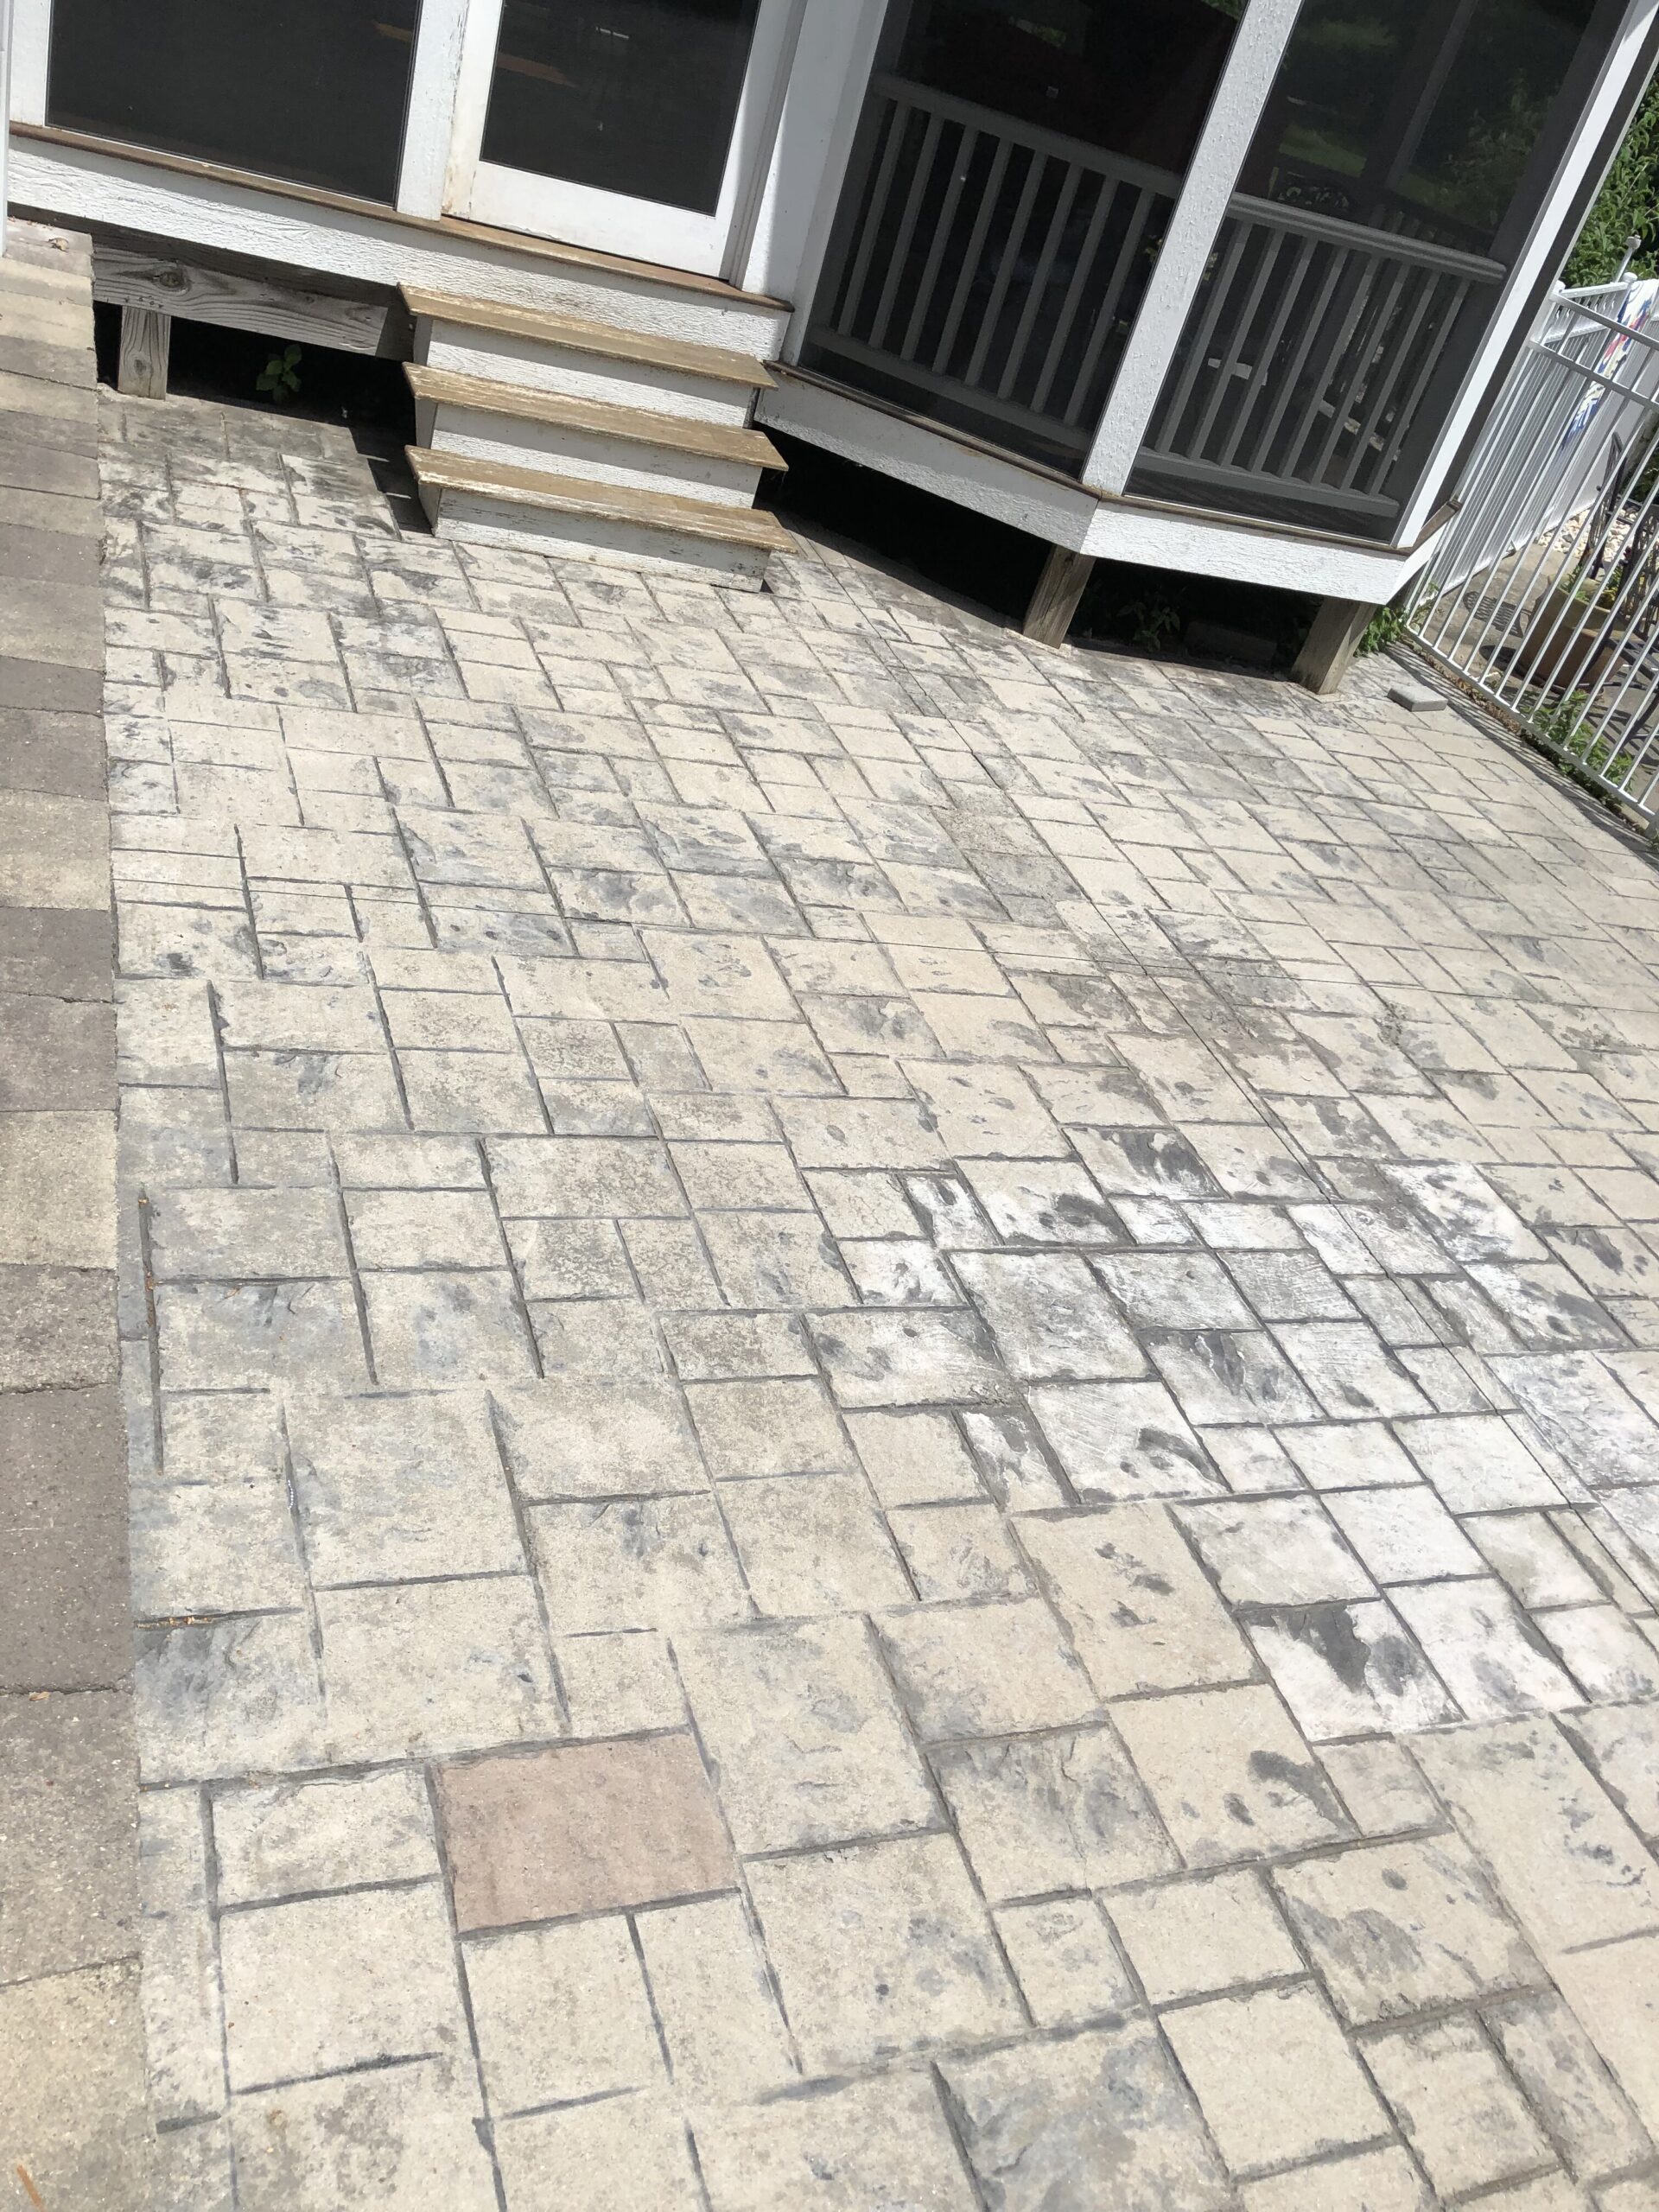
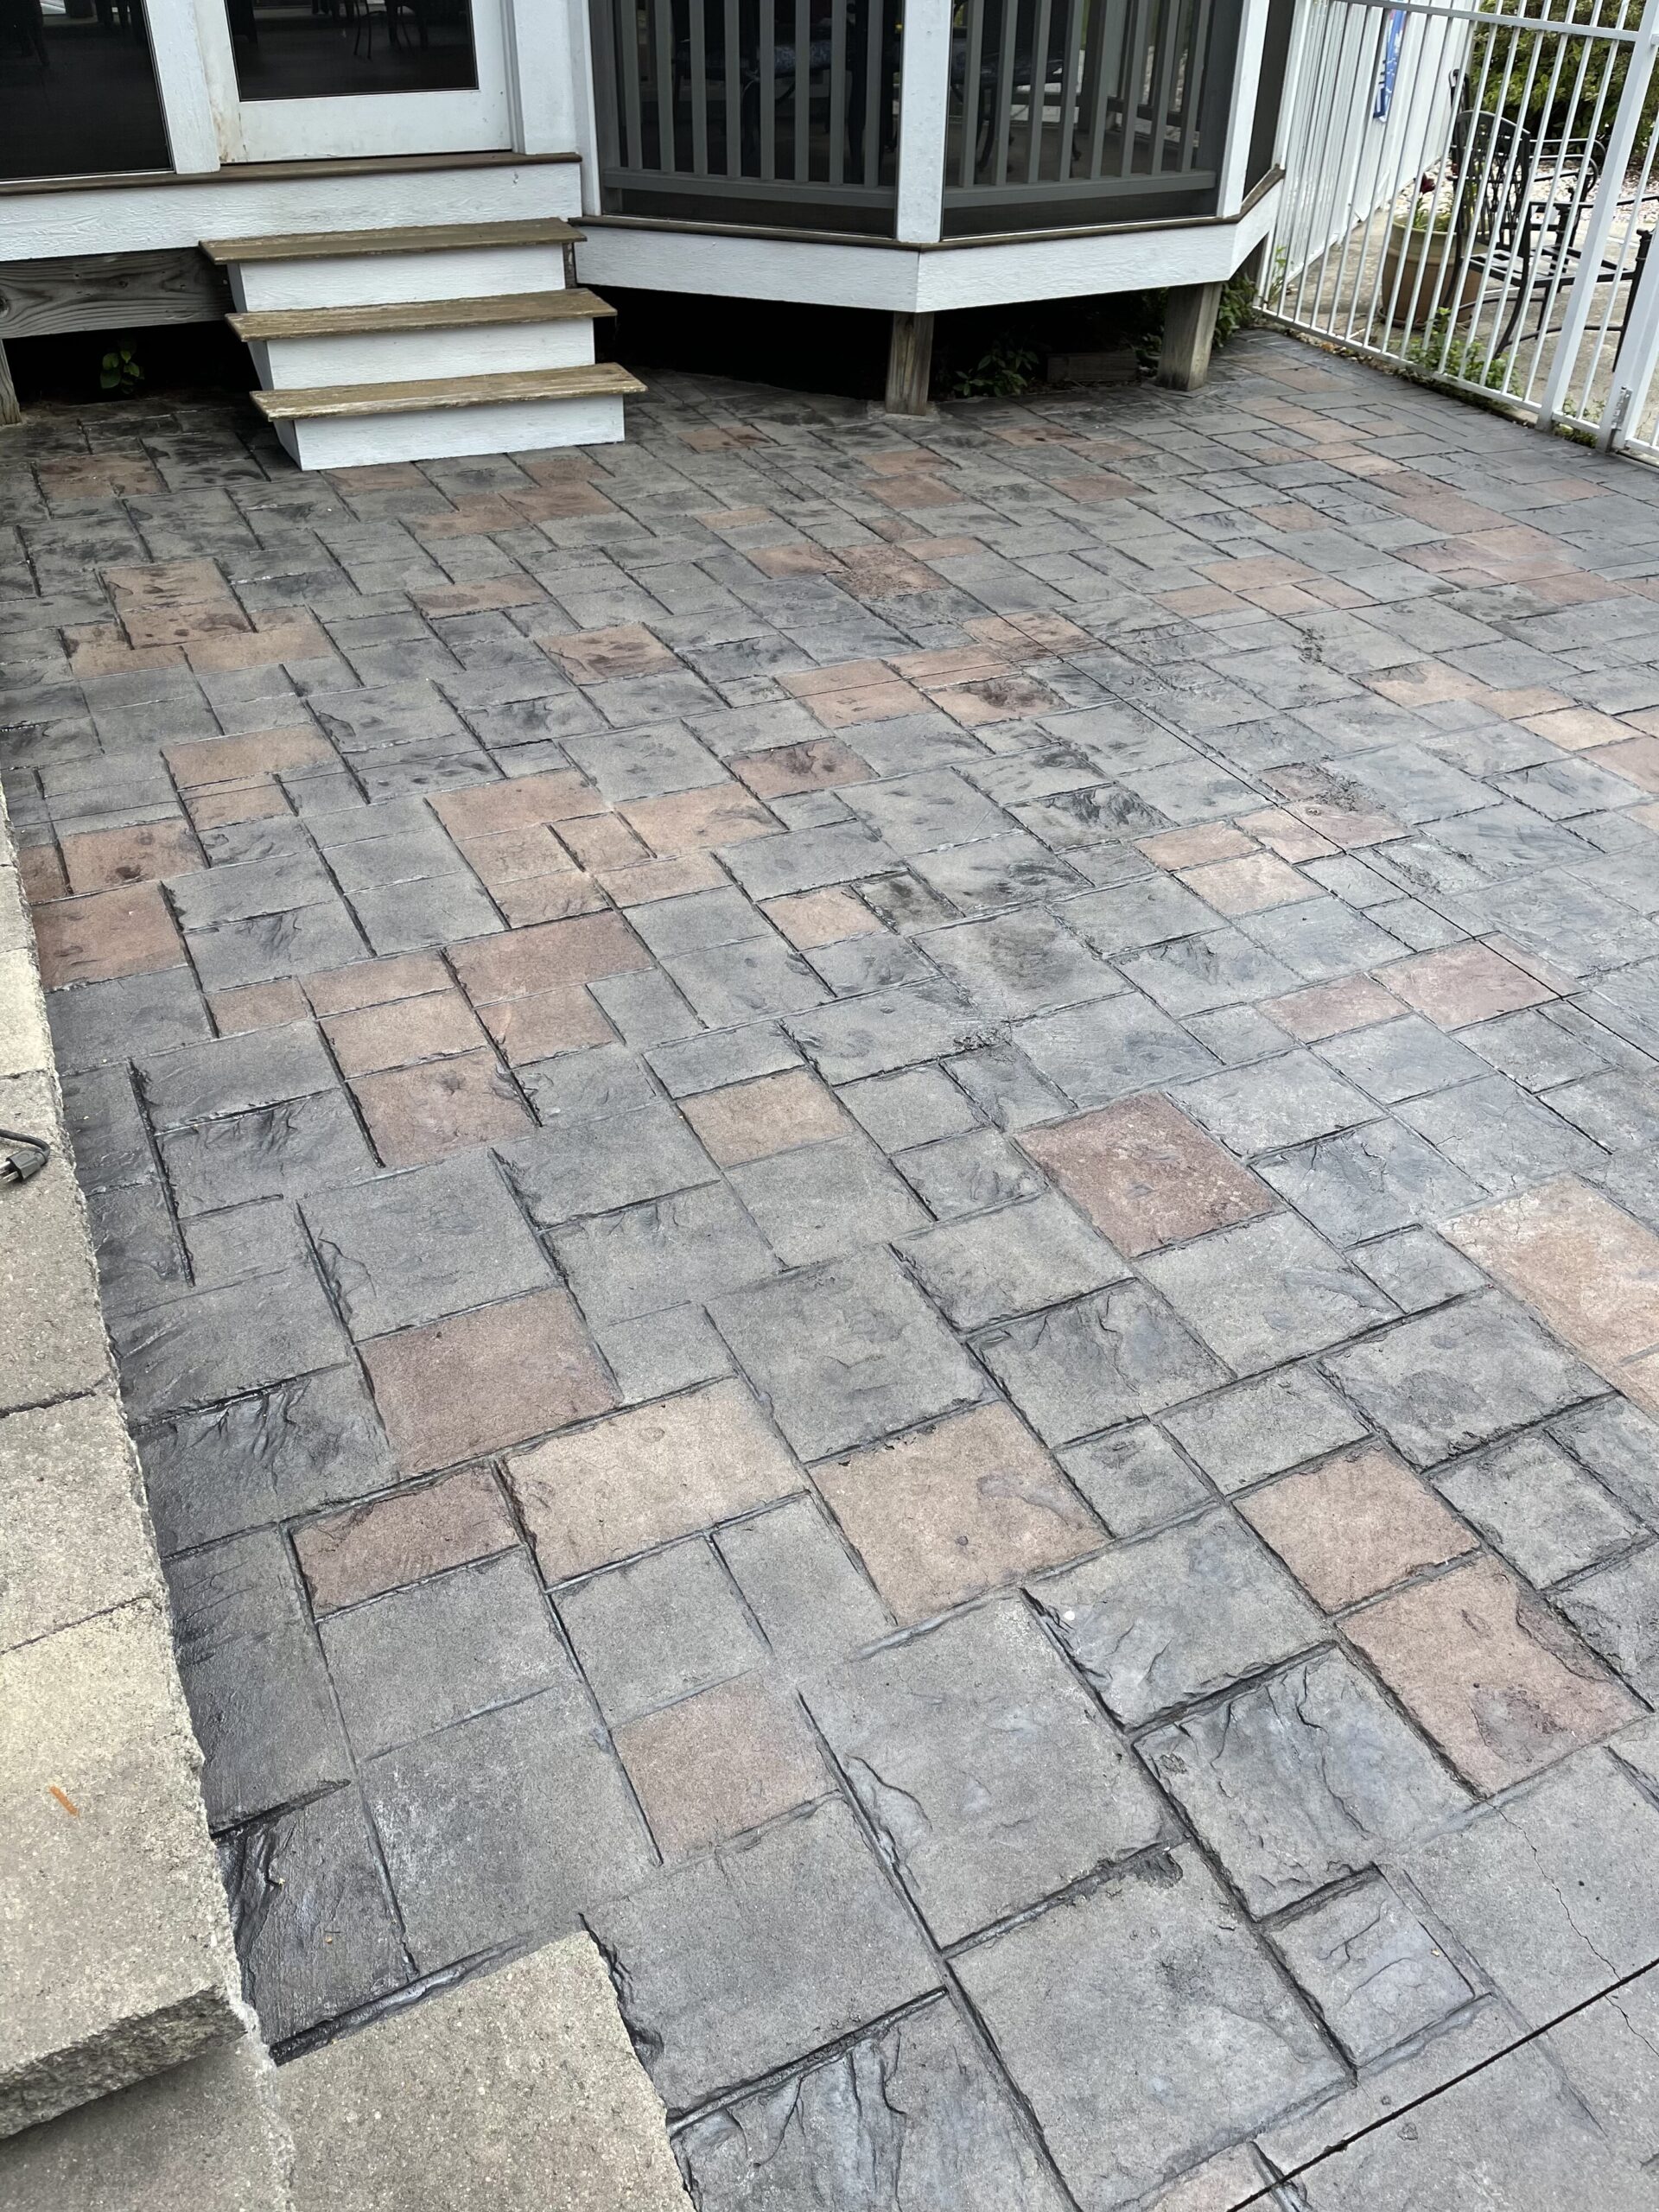
A 12-year-old backyard patio, faded and colorless, was revitalized to match a new paver walkway with grey and auburn tones.
Project Info:
- Project Completed In: 4 day(s)
- Estimate of Square Footage: 770 sq. ft.
- Project Description:
We had a front walkway and back yard patio poured about 12 years ago. Both had worn badly and lost all color.
The front walkway we wanted darker, so we decided on charcoal for the color. The walkway is approx 260 sq ft. We power washed, applied one coat of light charcoal antiquing stain, then went over it with dark charcoal for the second coat, followed by two coats of the acrylic satin sealer. Total labor time was about 8 hours.
For the back patio, it was just as worn as our walkway, but we had put in a small paver walkway this year leading to it and the pavers had a mix of grey and auburn, so we decided to match the pattern. The patio is about 510 sq ft. We first power washed, then took a foam brush and stained random sets of blocks with the auburn antiquing stain. When that was complete I sprayed the entire patio in light charcoal, trying to not overspray the auburn blocks. The Auburn only needed 1 coat because we didn’t want it too dark. The light charcoal we did 2 coats and finished off with two coats of the satin acrylic sealer. Total labor for the patio was approx 10 hours. - Personal Tips:
When using a sprayer for the sealer, it’s good to go over with a foam roller, if you are covering stamped concrete. The sealer will pool in the seams and if there is too much can bubble. Also find a good way to clean out the sprayer, because after the 2nd coat, our sprayers wouldn’t work. - Direct Colors Products Used:
1 Gal. Charcoal Antiquing™ Stain
1 Gal. Light Charcoal Antiquing™ Stain
1 Gal. Auburn Antiquing™ Stain
5 Gal. EasySeal™ Satin Concrete and Paver Sealer - Other Products Used:
Four pump sprayers
Reviving the Past: A Stamped Concrete Facelift with Aztec Brown Antiquing™ Stain
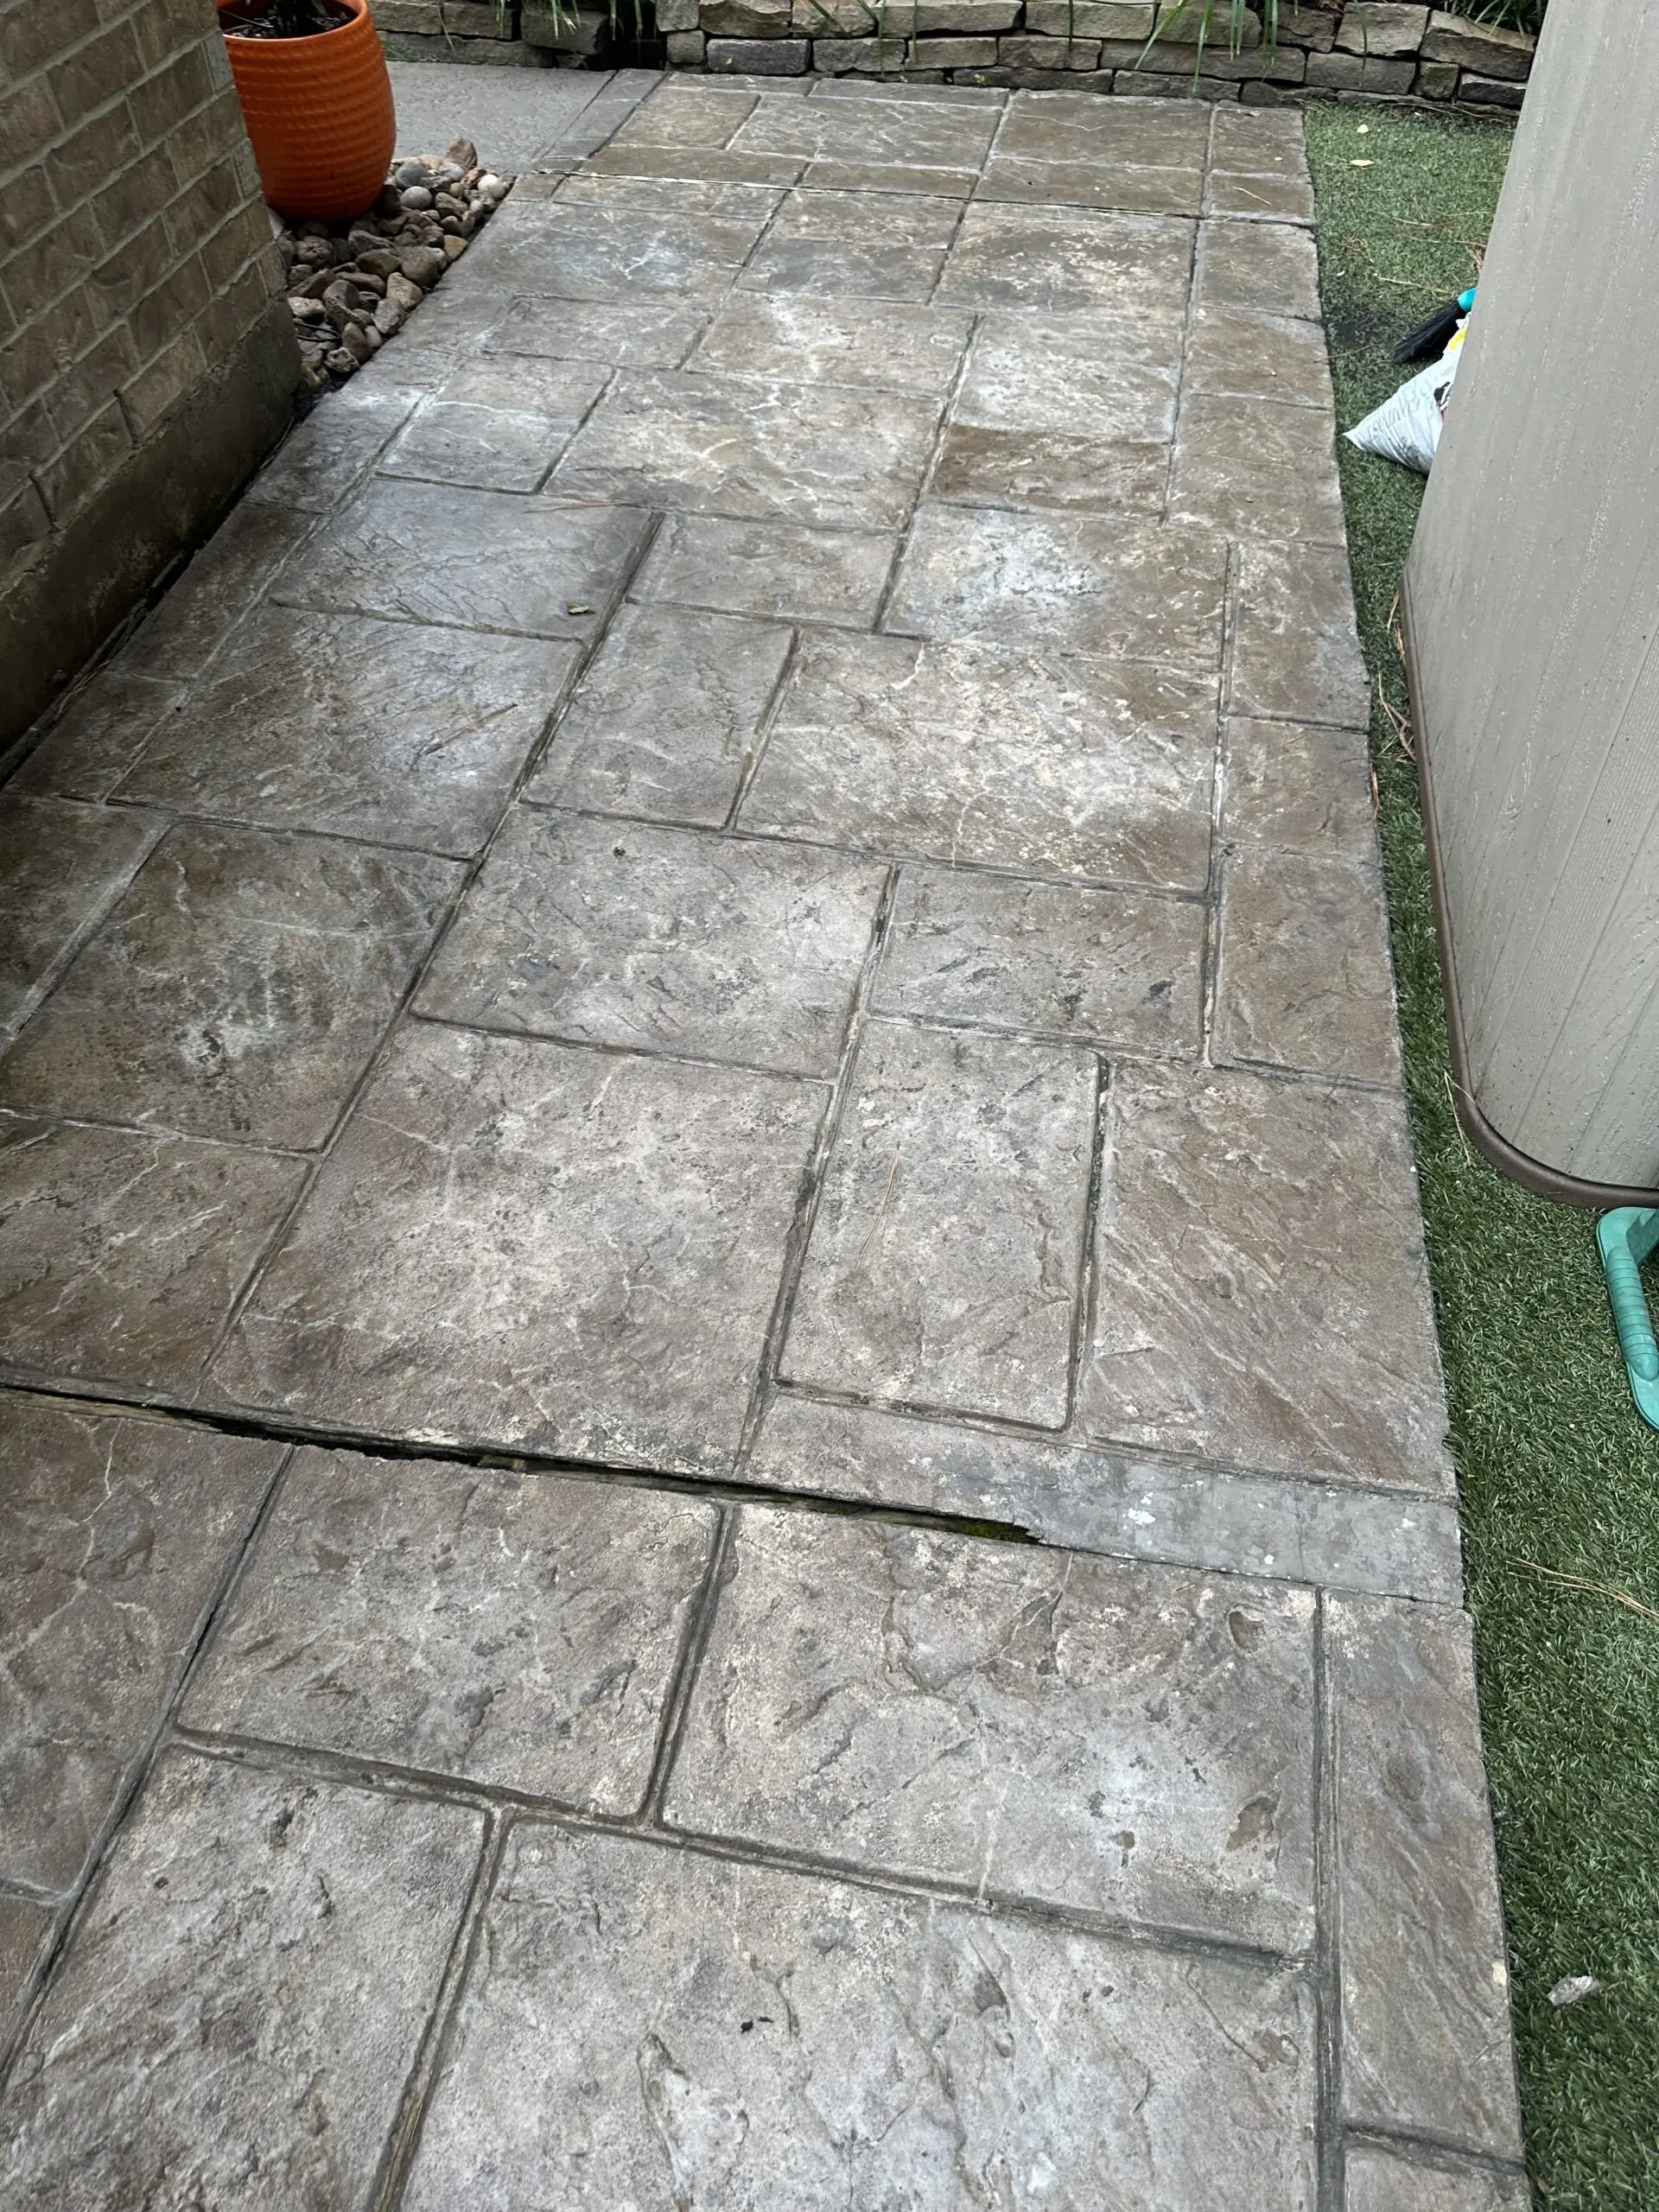
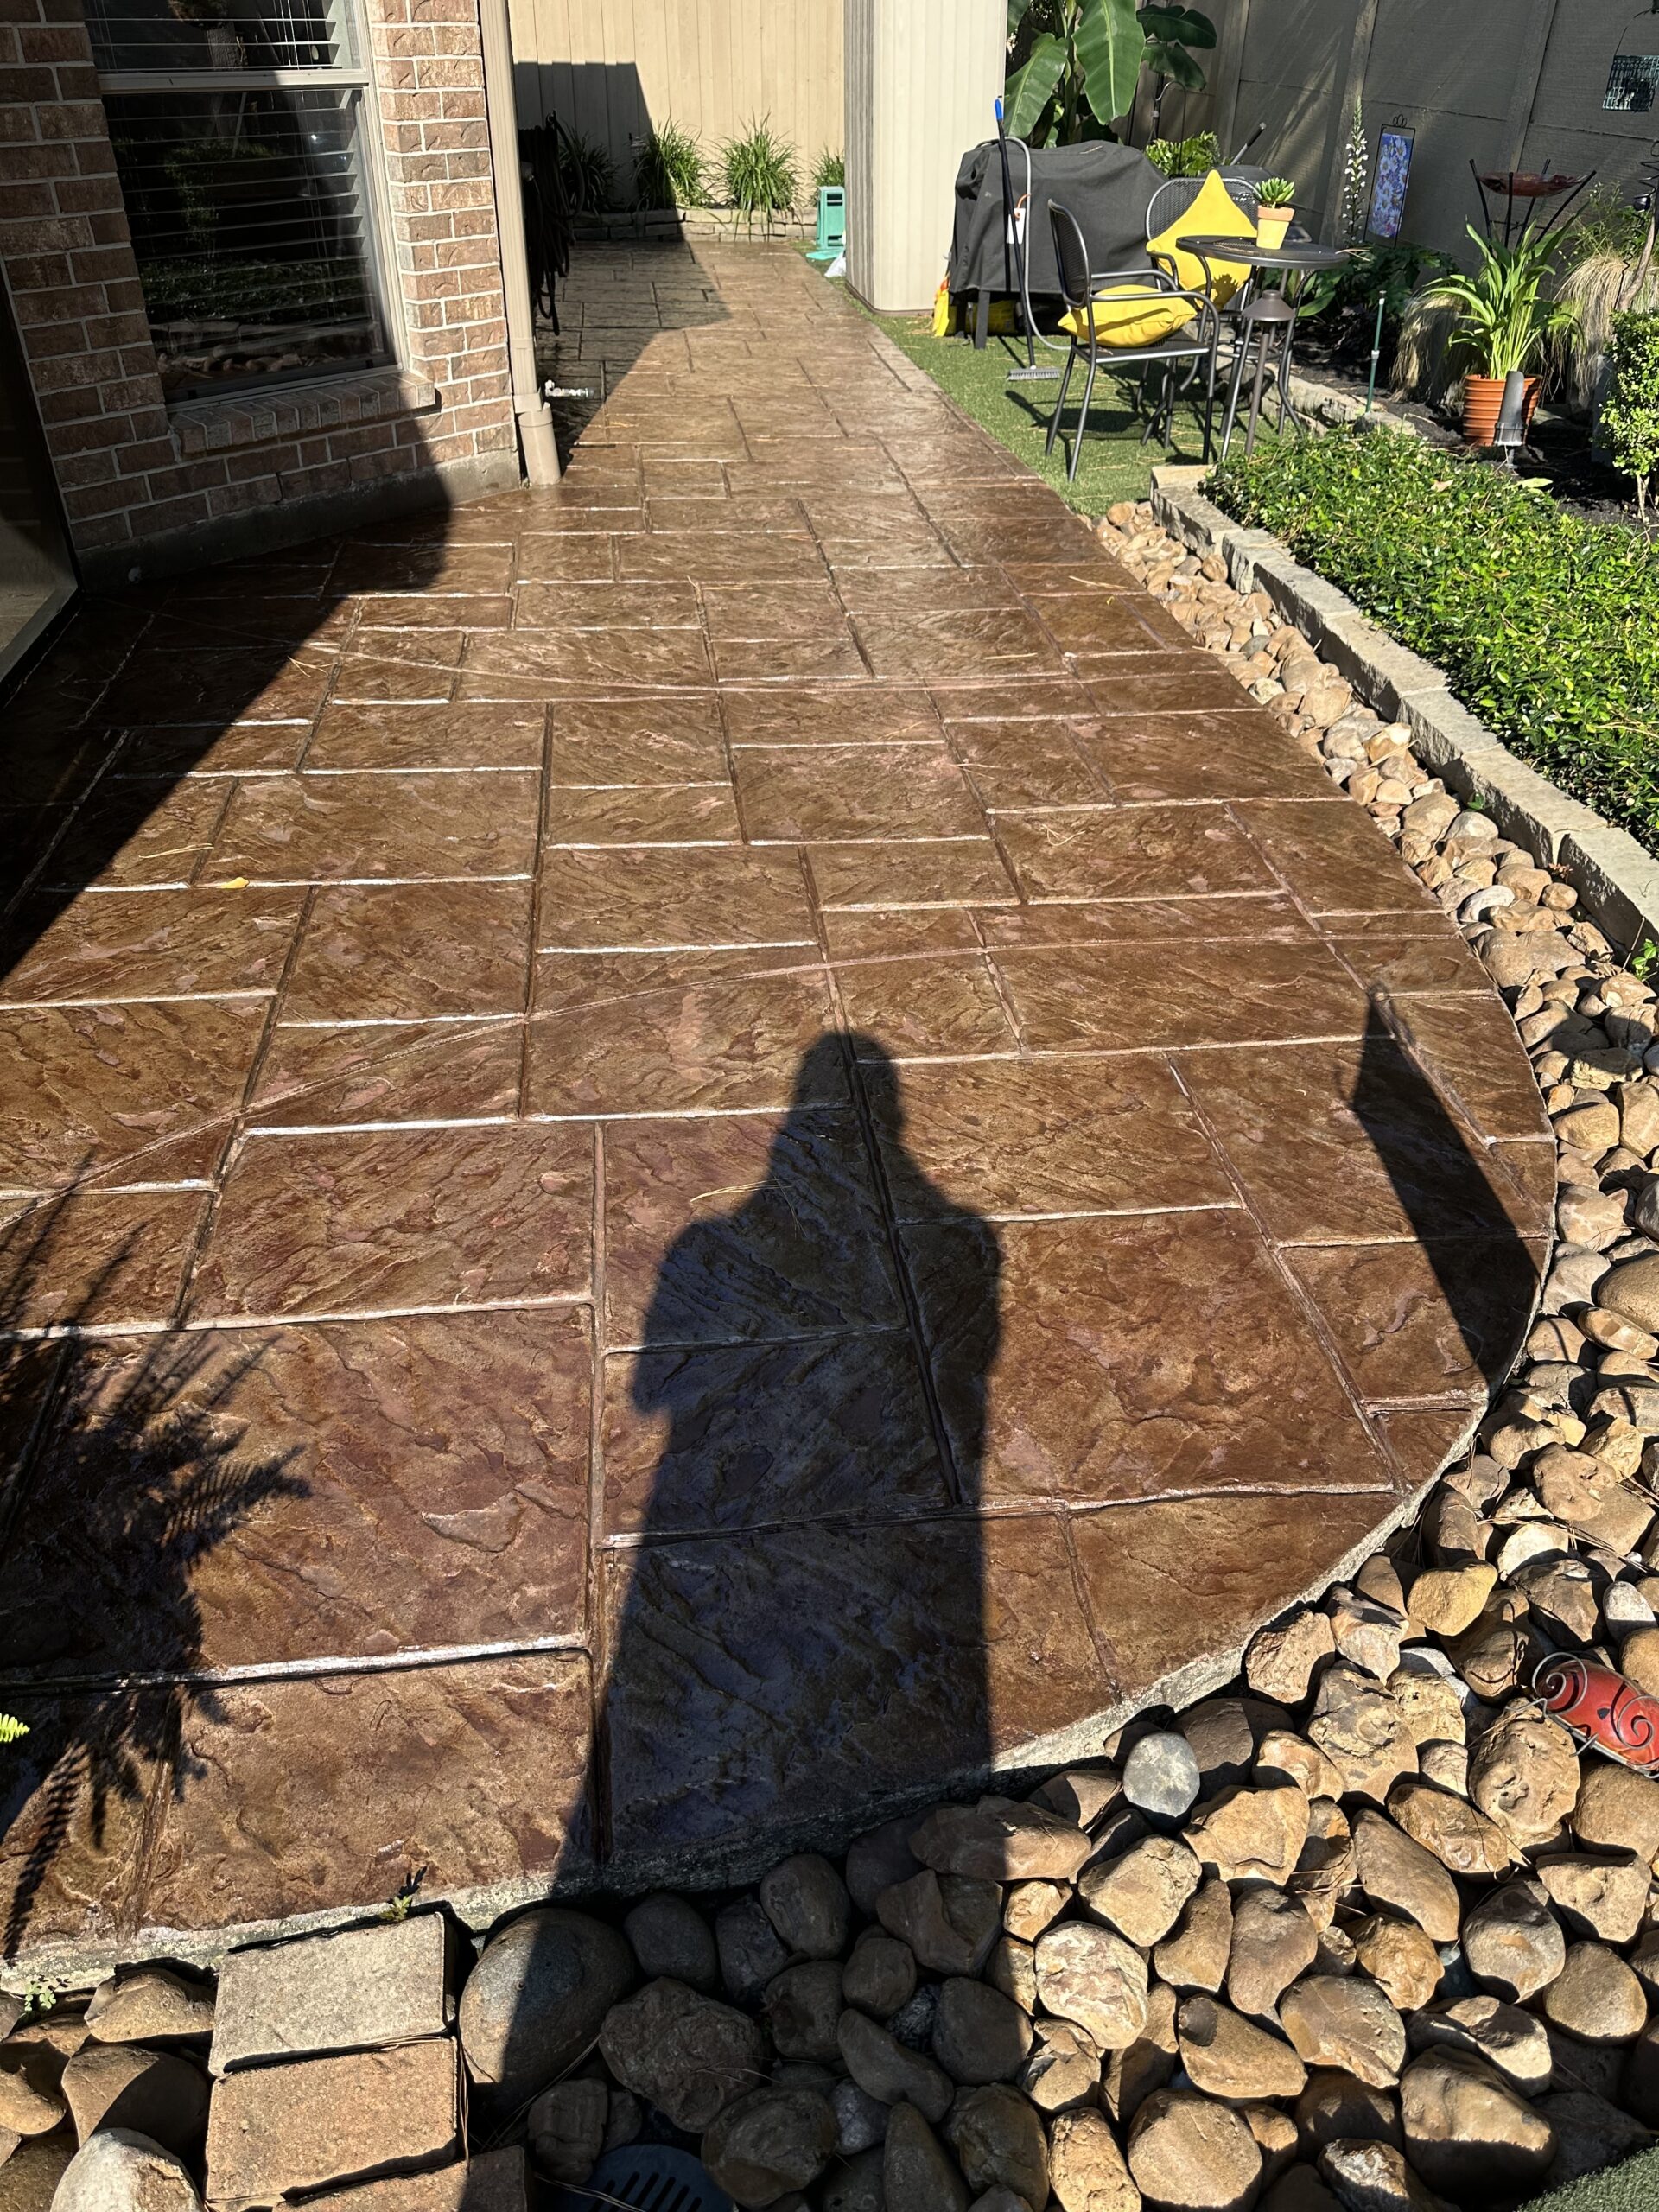
This 300 sq. ft. project involved reviving 15-year-old stamped concrete using Aztec Brown Antiquing™ Stain. Despite the stain’s reddish tint, shaking it continuously during the sprayer application helped achieve an even color. Although satisfied with the result, the Shawnee-native homeowner might opt for a nap roller next time. A simple, yet effective facelift!
Project Info:
- Project Completed In: 2 day(s)
- Estimate of Square Footage: 300 sq. ft.
- Project Description:
Used Aztec Brown antiquing stain to add some color back to 15 year old stamped concrete. Used HC wet look water based sealer. Aztec Brown had a bit more of reddish/rouge color to it. Especially where it puddles in low areas. I kept it shook up throughout the process. I used sprayer. Would probably use nap roller next time.
I liked the product, especially made in my hometown of Shawnee. Born and raised there!🙂 - Direct Colors Products Used:
1 Gal. Aztec Brown Antiquing™ Stain
From Neglected Pink to Sleek Brown
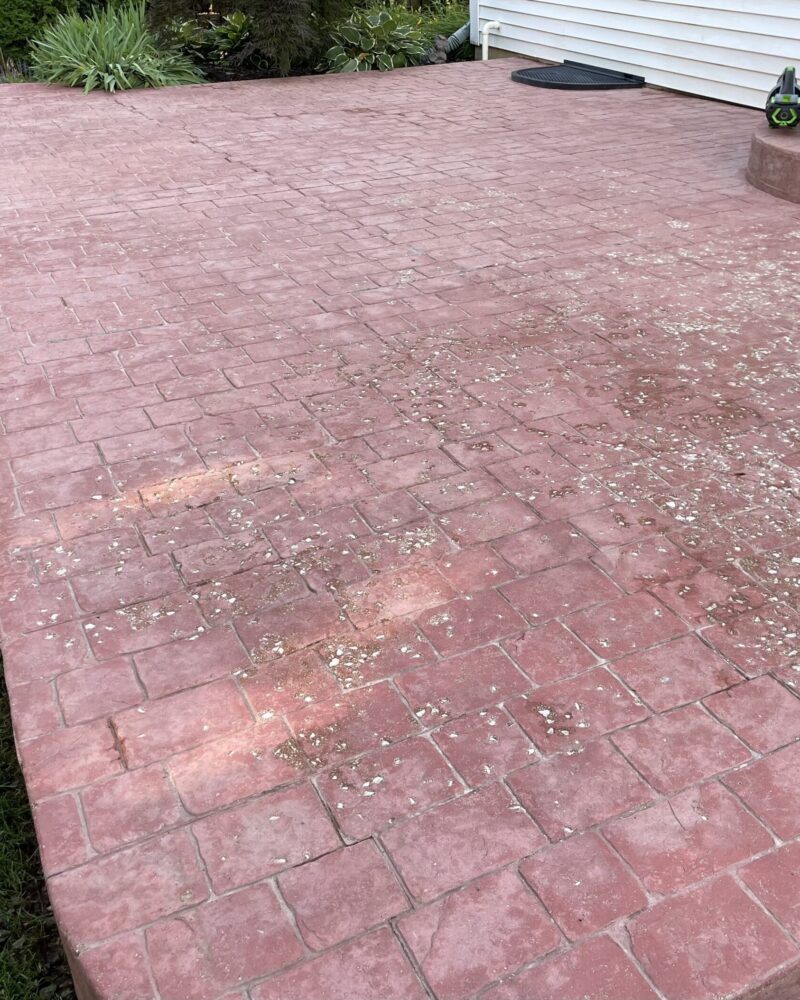
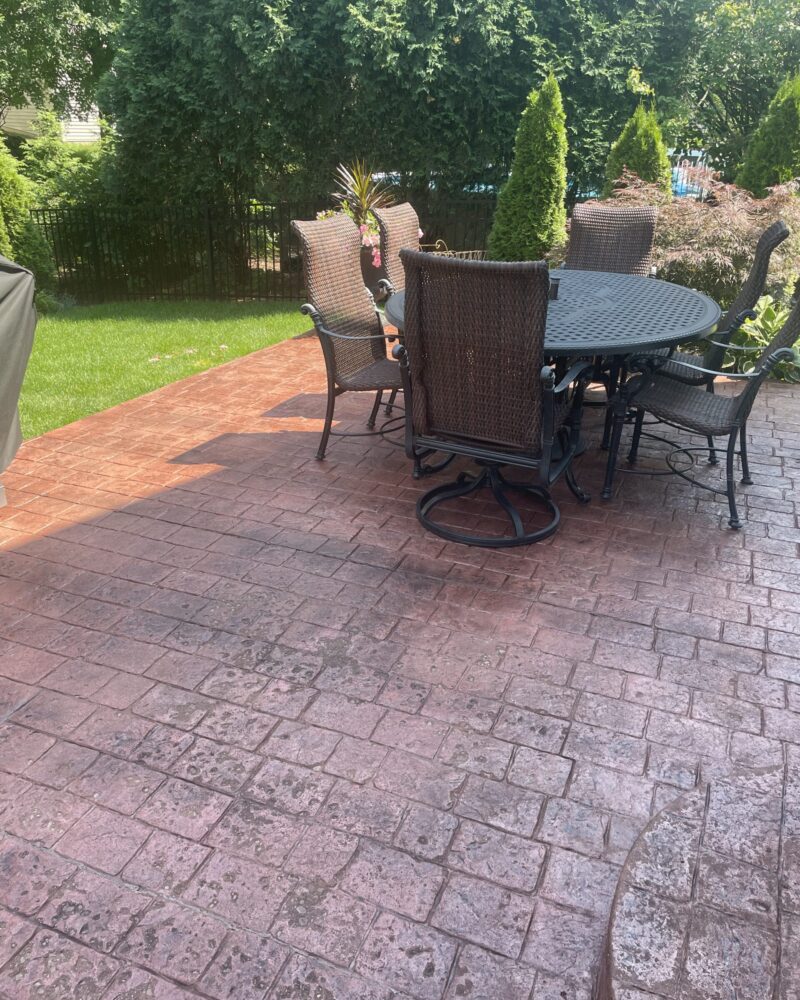
Reviving a chalky pink, neglected stamped concrete surface with Aztec Brown Antiquing™ Stain and satin EasySeal™ Kit. After consulting customer service, the decision to use Antiquing™ stain instead of EasyTint™ tinted sealer was made. Application involved a deck sprayer for the stain and light back rolling for the sealer, resulting in a dramatic and satisfying transformation.
Project Info:
- Project Completed In: 4 day(s)
- Estimate of Square Footage: 1000 sq. ft.
- Project Description:
Stamped concrete was neglected by previous owners and turned chalky pink. I ordered a few antique colors and a few tinted sealer colors I had decided on the Aztec brown tinted sealer, but after talking to customer service I was told antique stain would be my best option. - Direct Colors Products Used:
2 x5 Gal. Aztec Brown Antiquing™ & EasySeal™ Satin Kit
Concrete Redemption: The Power Of Black Antiquing™ Stain
Learn how a ruined dark charcoal stamped concrete was saved from disaster! This project highlights the transformative power of careful planning, proper sprayer use, and the magic of EasySeal™ high gloss sealer and Black Antiquing™ stain. The end result? A stunningly revived pool area from what was once a botched job.
Project Info
- Project Completed In: 5 day(s)
- Estimate of Square Footage: 1100 sq. ft.
- Project Description:
Our original stamped concrete was supposed to be a beautiful dark charcoal color. However, the installers were in a hurry and power washed it too soon. They destroyed the color and sealer, leaving weird power was streaks. Your product saved our stamped concrete! - Personal Tips:
Plan! We had a large area around a pool along with a back porch. We had to do it in stages. We have large dogs, so we had to fence off sections at a time. Secondly, we used a sprayer to apply the antique stain. You should agitate the sprayer fairly constantly to keep the pigment evenly dispersed. - Direct Colors Products Used:
1 Gal. Black DIY Antiquing™ & EasySeal™ Gloss Kit
5 Gal. Black Antiquing™ & EasySeal™ Gloss Kit
Transforming an Orange Patio with Black Antiquing™ Stain
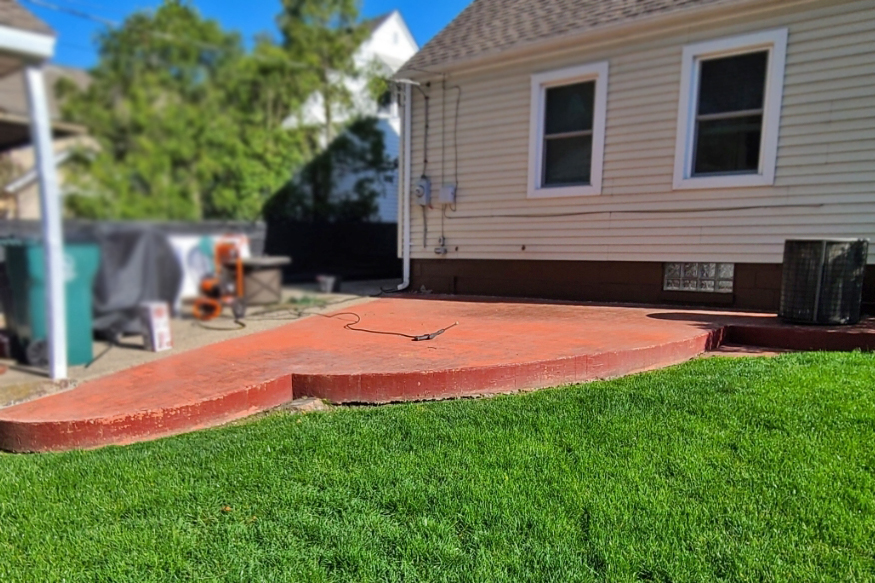
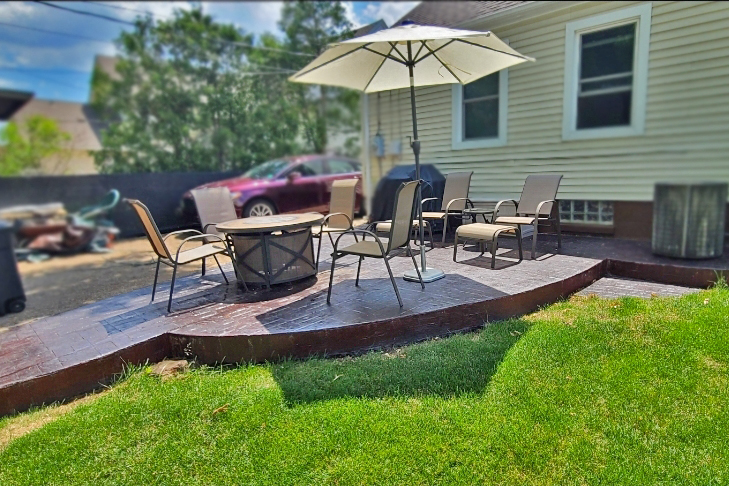
A homeowner looking to update an unsightly orange patio discovered Direct Colors and achieved the desired transformation using Black Antiquing™ Stain. The deep, dark color slightly revealed the previous orange, creating a natural and appealing finish. The project involved multiple layers of stain due to the brightness of the original color, and an anti-slip additive was mixed into the final sealer for safety. The result was a refreshed patio with a rich, natural look that the homeowner loved.
If you are covering an old color that is very bright, make sure to buy enough stain. It took me multiple layers due to the bright orange that was there before. Other than that, it was a rather simple process.
- Project Completed In: 4 day(s)
- Estimate of Square Footage: 350 sq. ft.
- Project Description:
I was looking to recolor and stain my rather ugly orange patio that was there when I moved in. The patio was stamped so I knew there had to be a way to make it look good. Luckily, I found Direct Colors and got just the result I wanted. I used black Antiquing stain to create a deep dark color which slightly showed the previous orange, creating a natural look. Then I sealed it to pop the color. I love it! - Personal Tips:
If you are covering an old color that is very bright, make sure to buy enough stain. It took me multiple layers due to the bright orange that was there before. Other than that, it was a rather simple process. I mixed some anti slip into the final sealer to ensure a finish that was also safe. - Direct Colors Products Used:
1 Gal. Black DIY Antiquing™ & EasySeal™ Satin Kit
1 Gal. Black Antiquing™ & EasySeal™ Satin Kit
16 Oz. Non Slip Concrete Sealer Additive - Other Products Used:
Two pump sprayers & deck brush
Sun-Faded Patio Revived with Café Royale Antiquing™ Stain
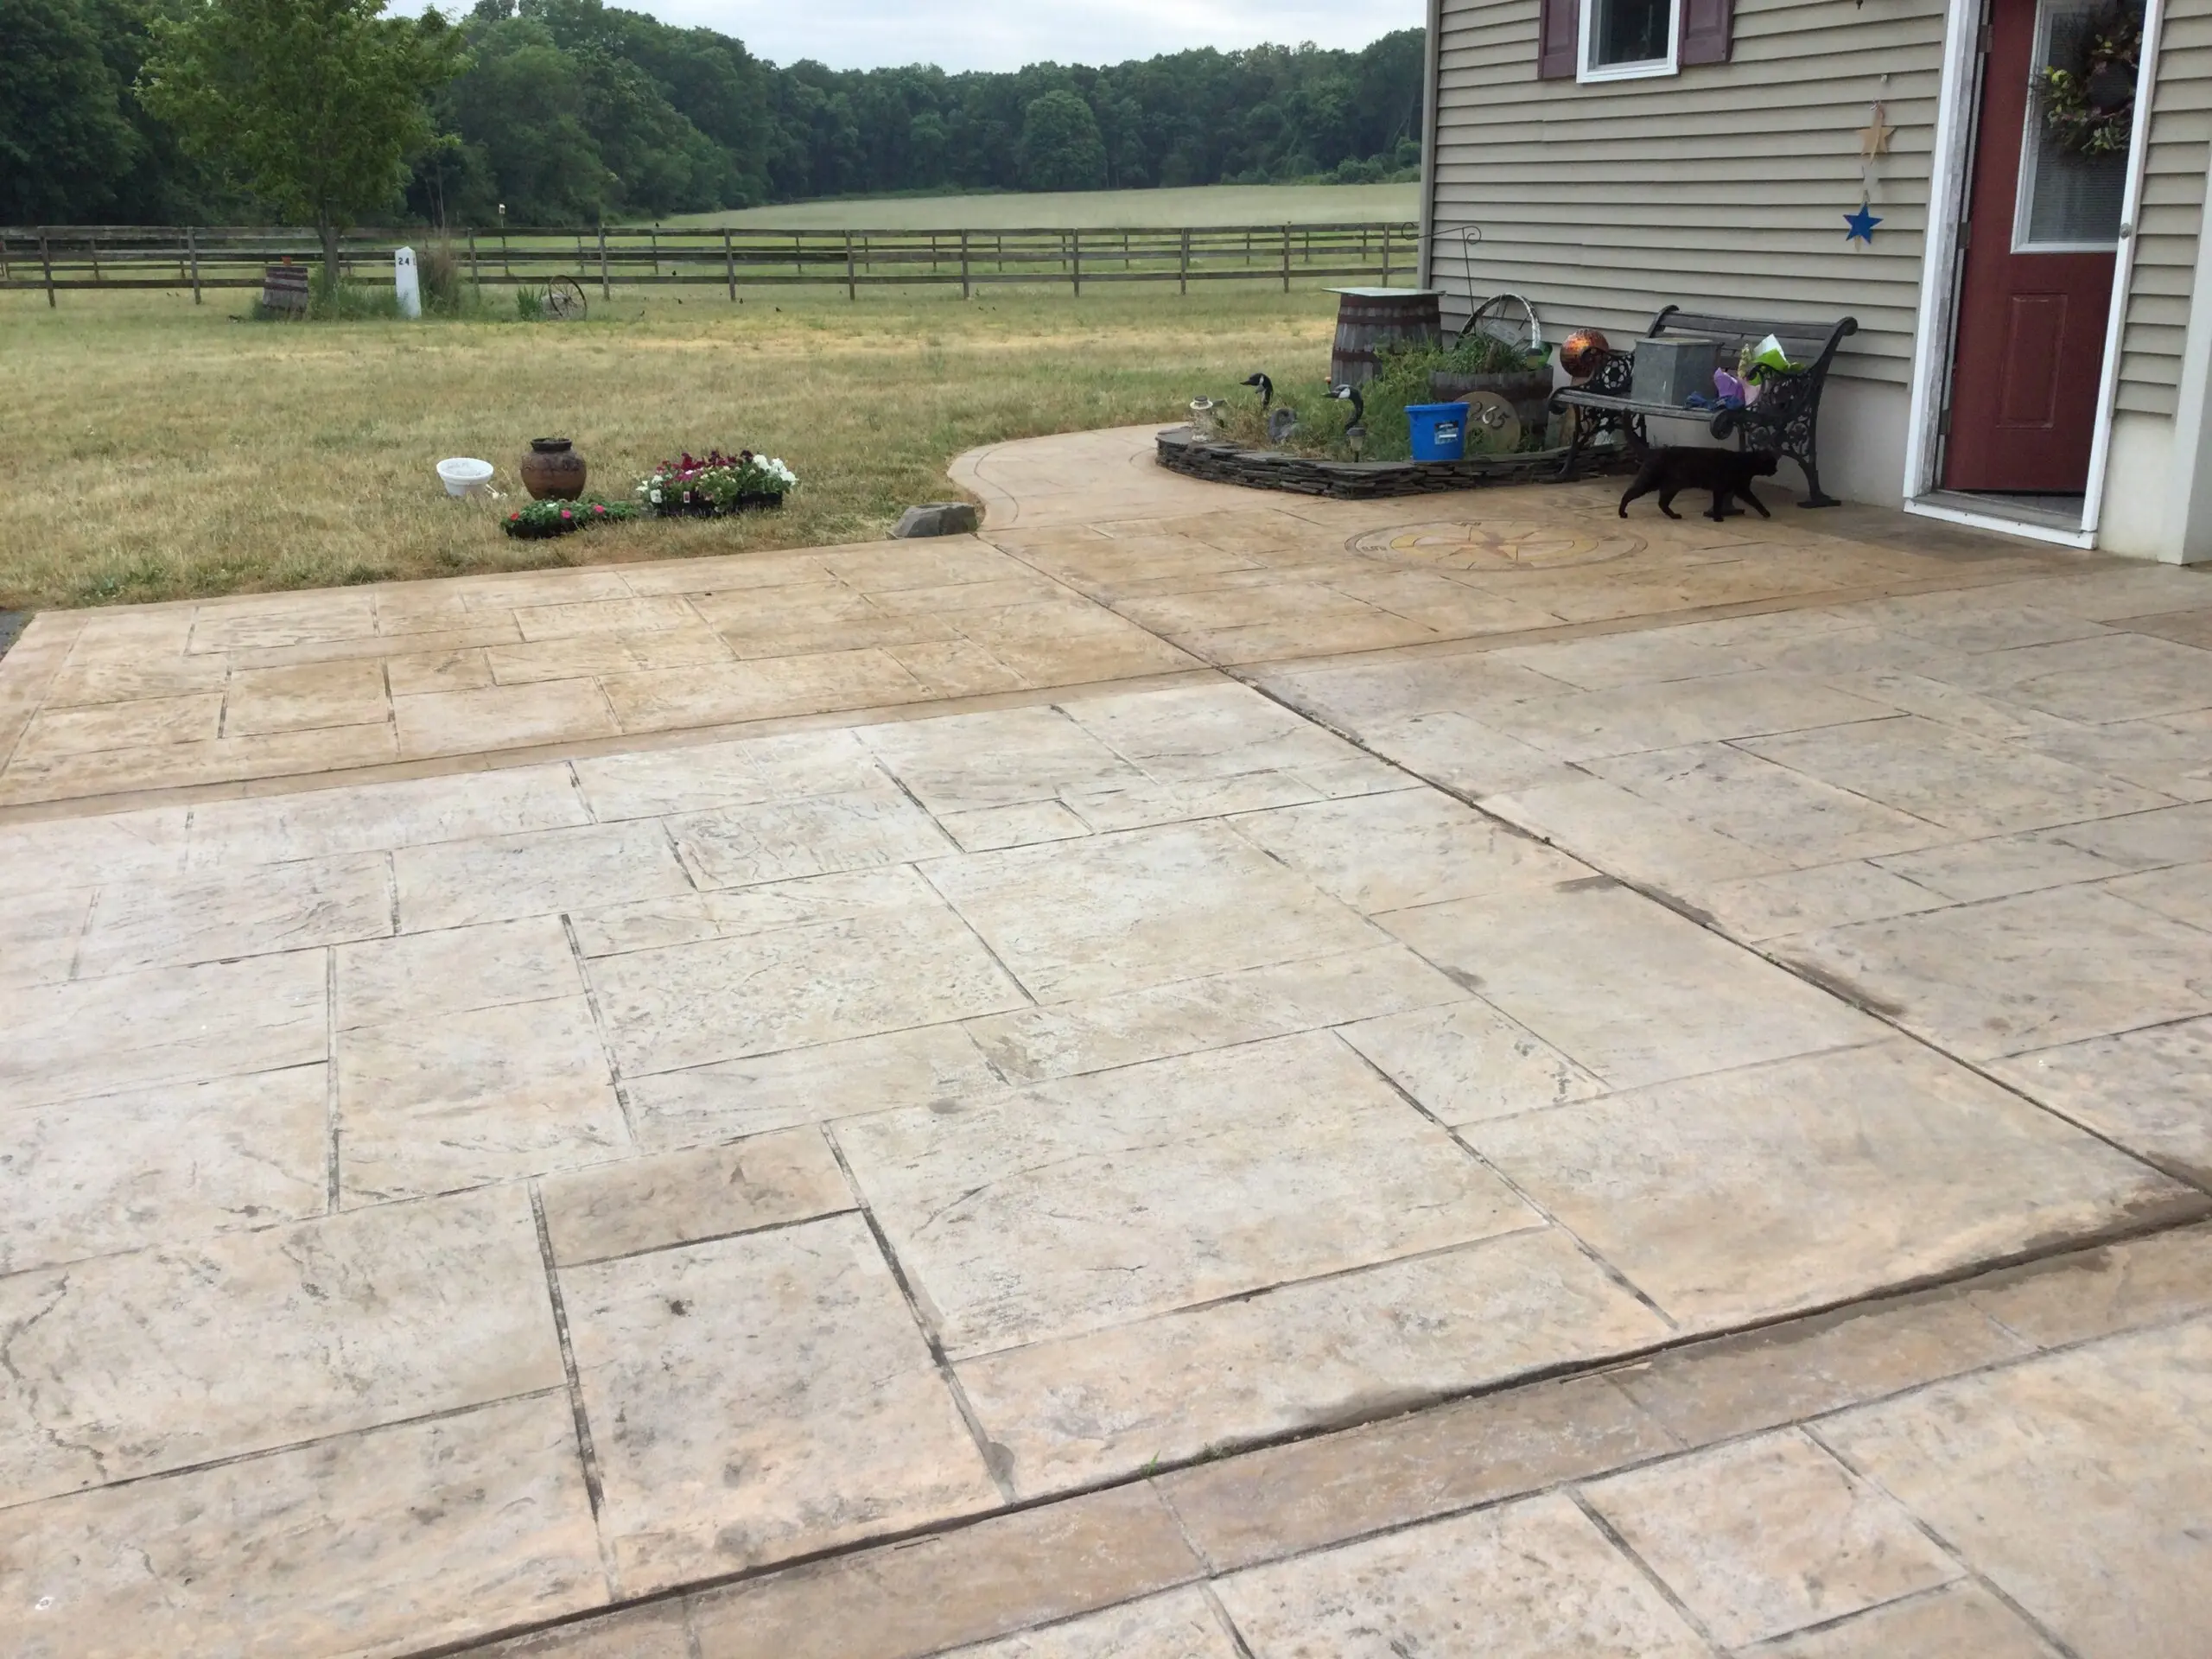
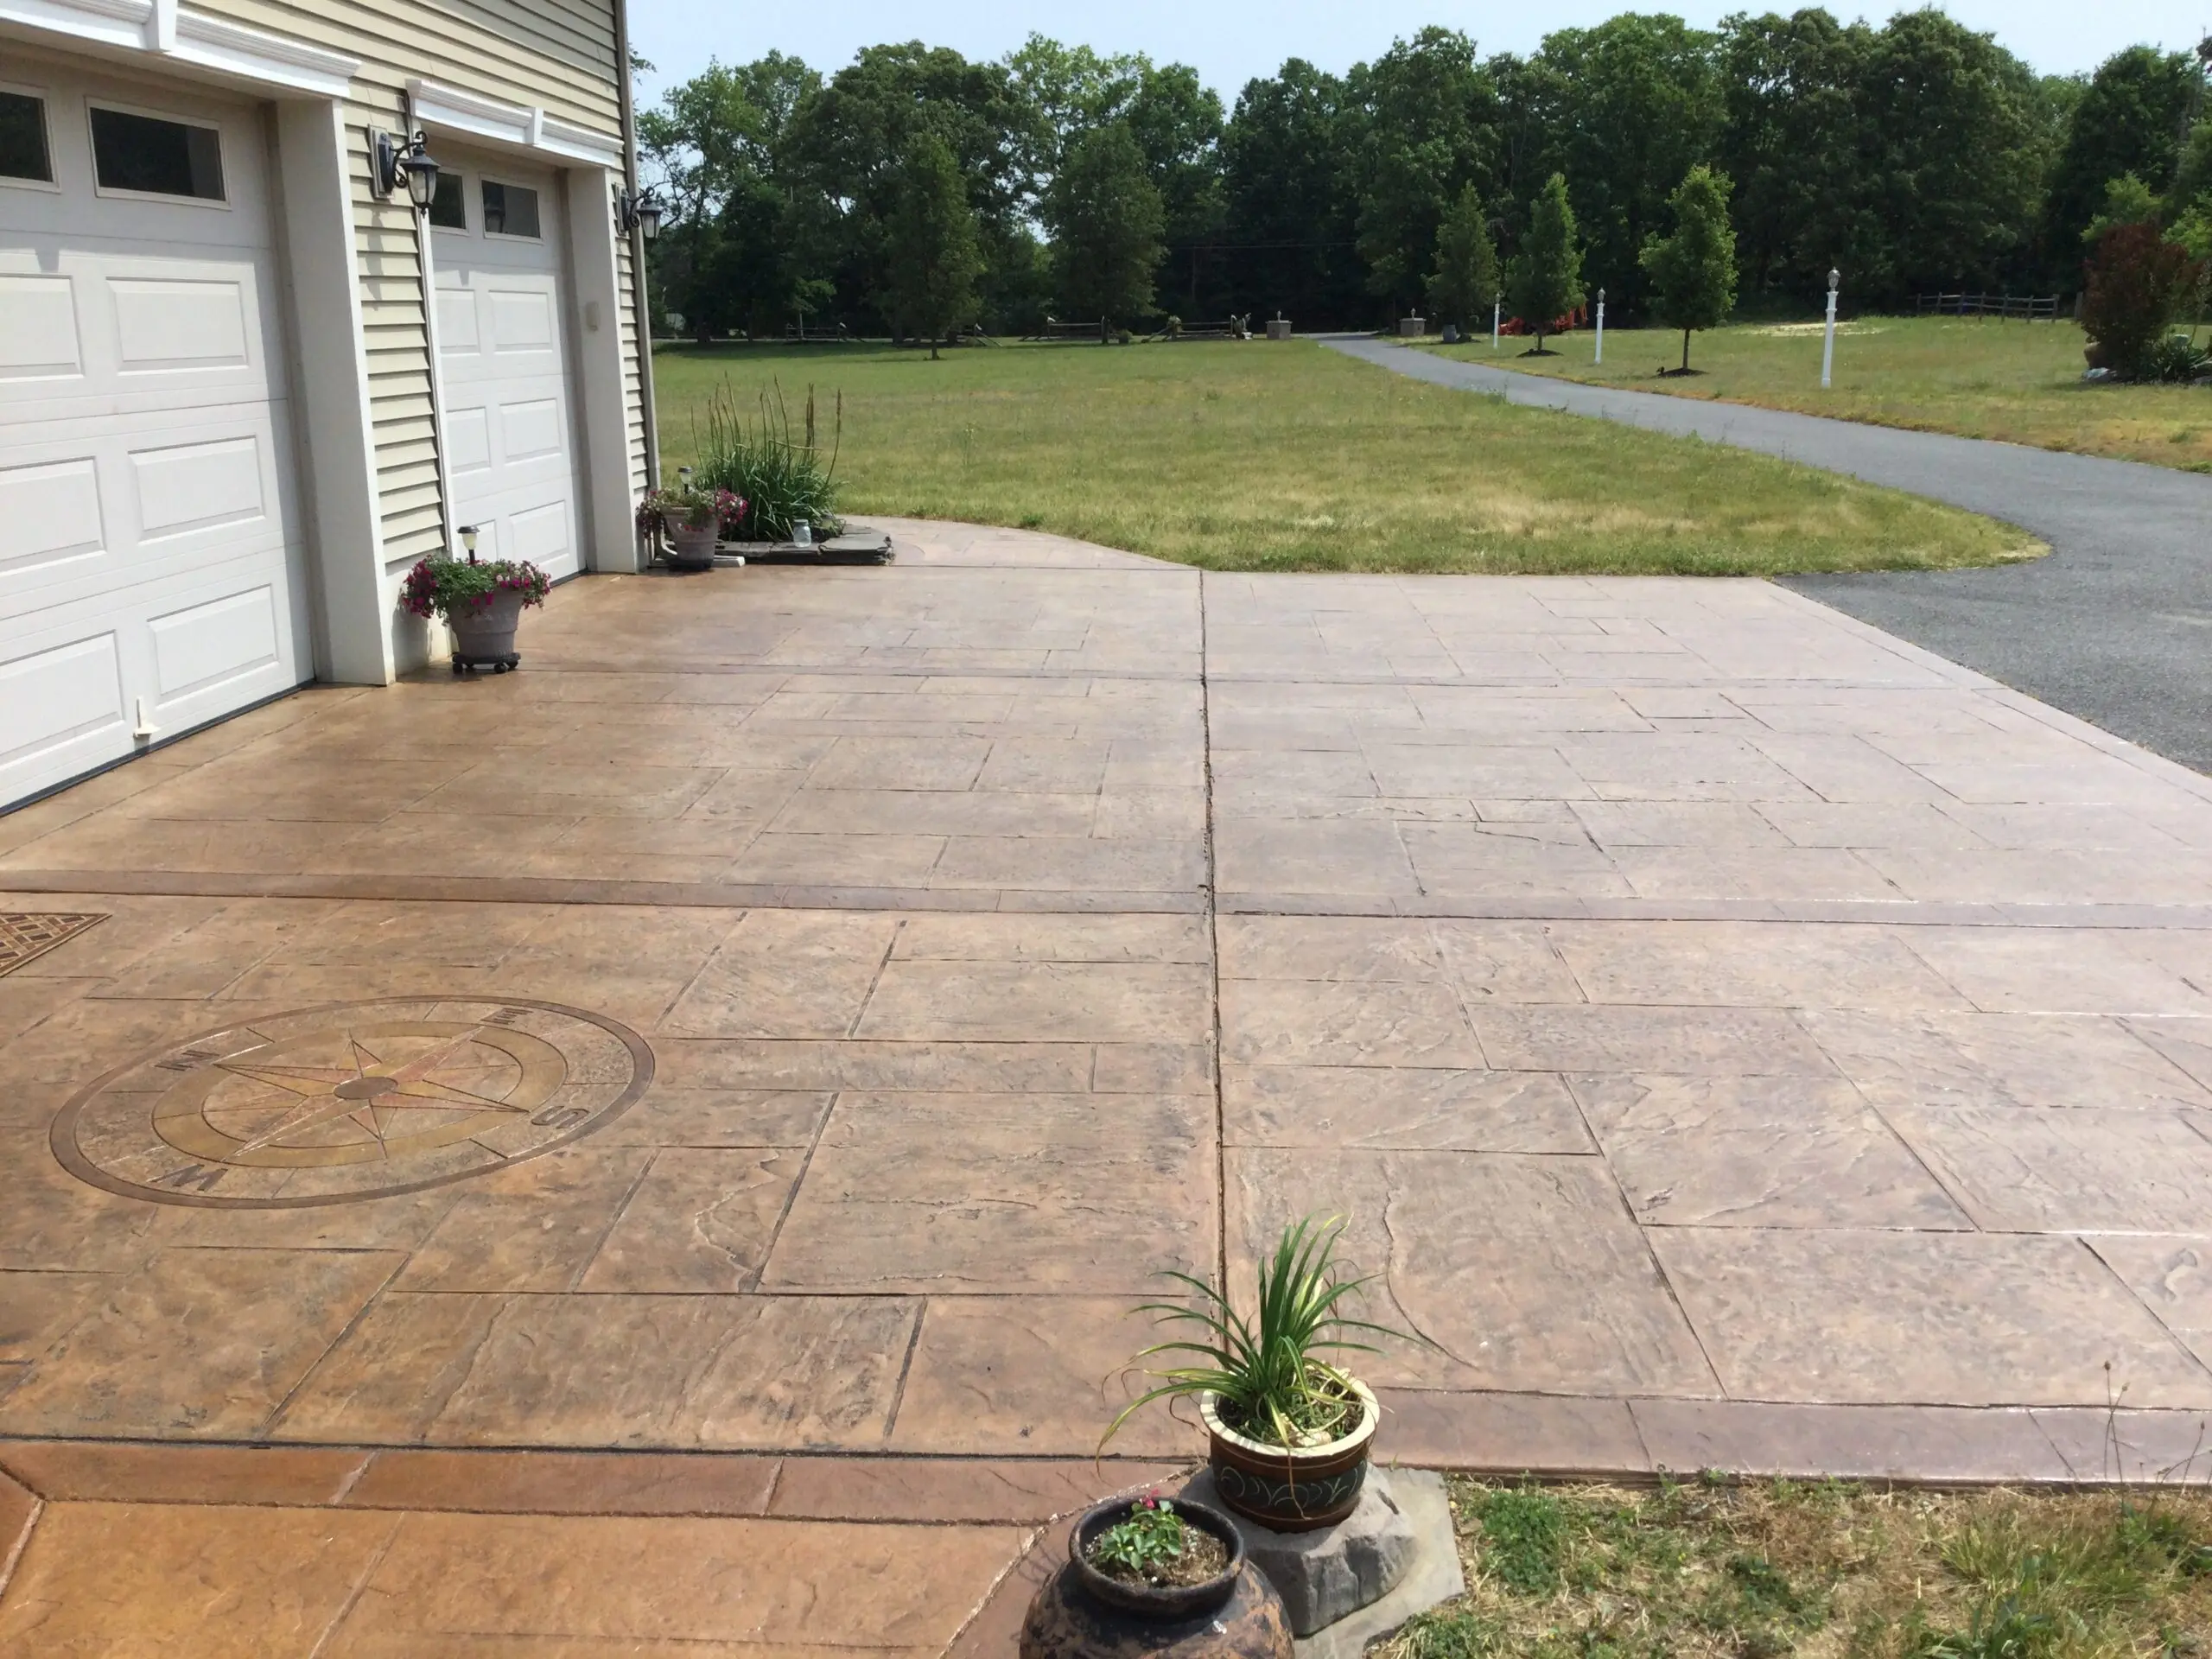
This DIY project refreshed a sun-faded, orangish stamped concrete patio using Café Royale Antiquing™ Stain and Driftwood trim. The four-day effort included two rounds of staining and sealing, with fine sand added to walking areas for texture. EasySeal™ satin was used to elevate the final appearance.
Project Info:
- Project Completed In: 3 day(s)
- Estimate of Square Footage: 750 sq. ft.
- Project Description:
Our driveway pad in front of our garage is overlayed stamped concrete. It gets lots of use from our cars and lots of sun! It has been 2 years since we stained and sealed it. We also have a compass rose stamped into the area that we walk on. We choose a compass because we live on North West Blvd! We choose to stain it Cafe Royal with Aztec Brown accents. The conpass rose needed to be freshened up too, so we purchased your sample kit with the colors Crimson, Wheat and Black. It turned out beautiful!! - Personal Tips:
Apply several layers of stain to darken it. And be generous! I don’t think you can mess this up! So easy! We sprayed on the stain and let it dry overnight. My husband and I (we are 64 and 65!) worked together. I sprayed on the sealer and he immediately rolled it, with a long-handled paint roller, for a nice even, thin layer. By rolling it, we could get close to the house and garage doors easily. After one day, we repeated the sealing process. The stain just comes alive when that sealer is applied!! - Direct Colors Products Used:
5 Gal. Driftwood Antiquing™ & EasySeal™ Satin Mega Bundle
5 Gal. Cafe Royale Antiquing™ & EasySeal™ Satin Mega Bundle
1 Gal. Aztec Brown Antiquing™ Stain
4 Oz. Crimson Antiquing™ Stain
4 Oz. Wheat Antiquing™ Stain
4 Oz. Black Antiquing™ Stain - Other Products Used:
Swissmex Acetone spraye
Sunlit Patio Refresh with Cafe Royale and Driftwood Antiquing™ Stain
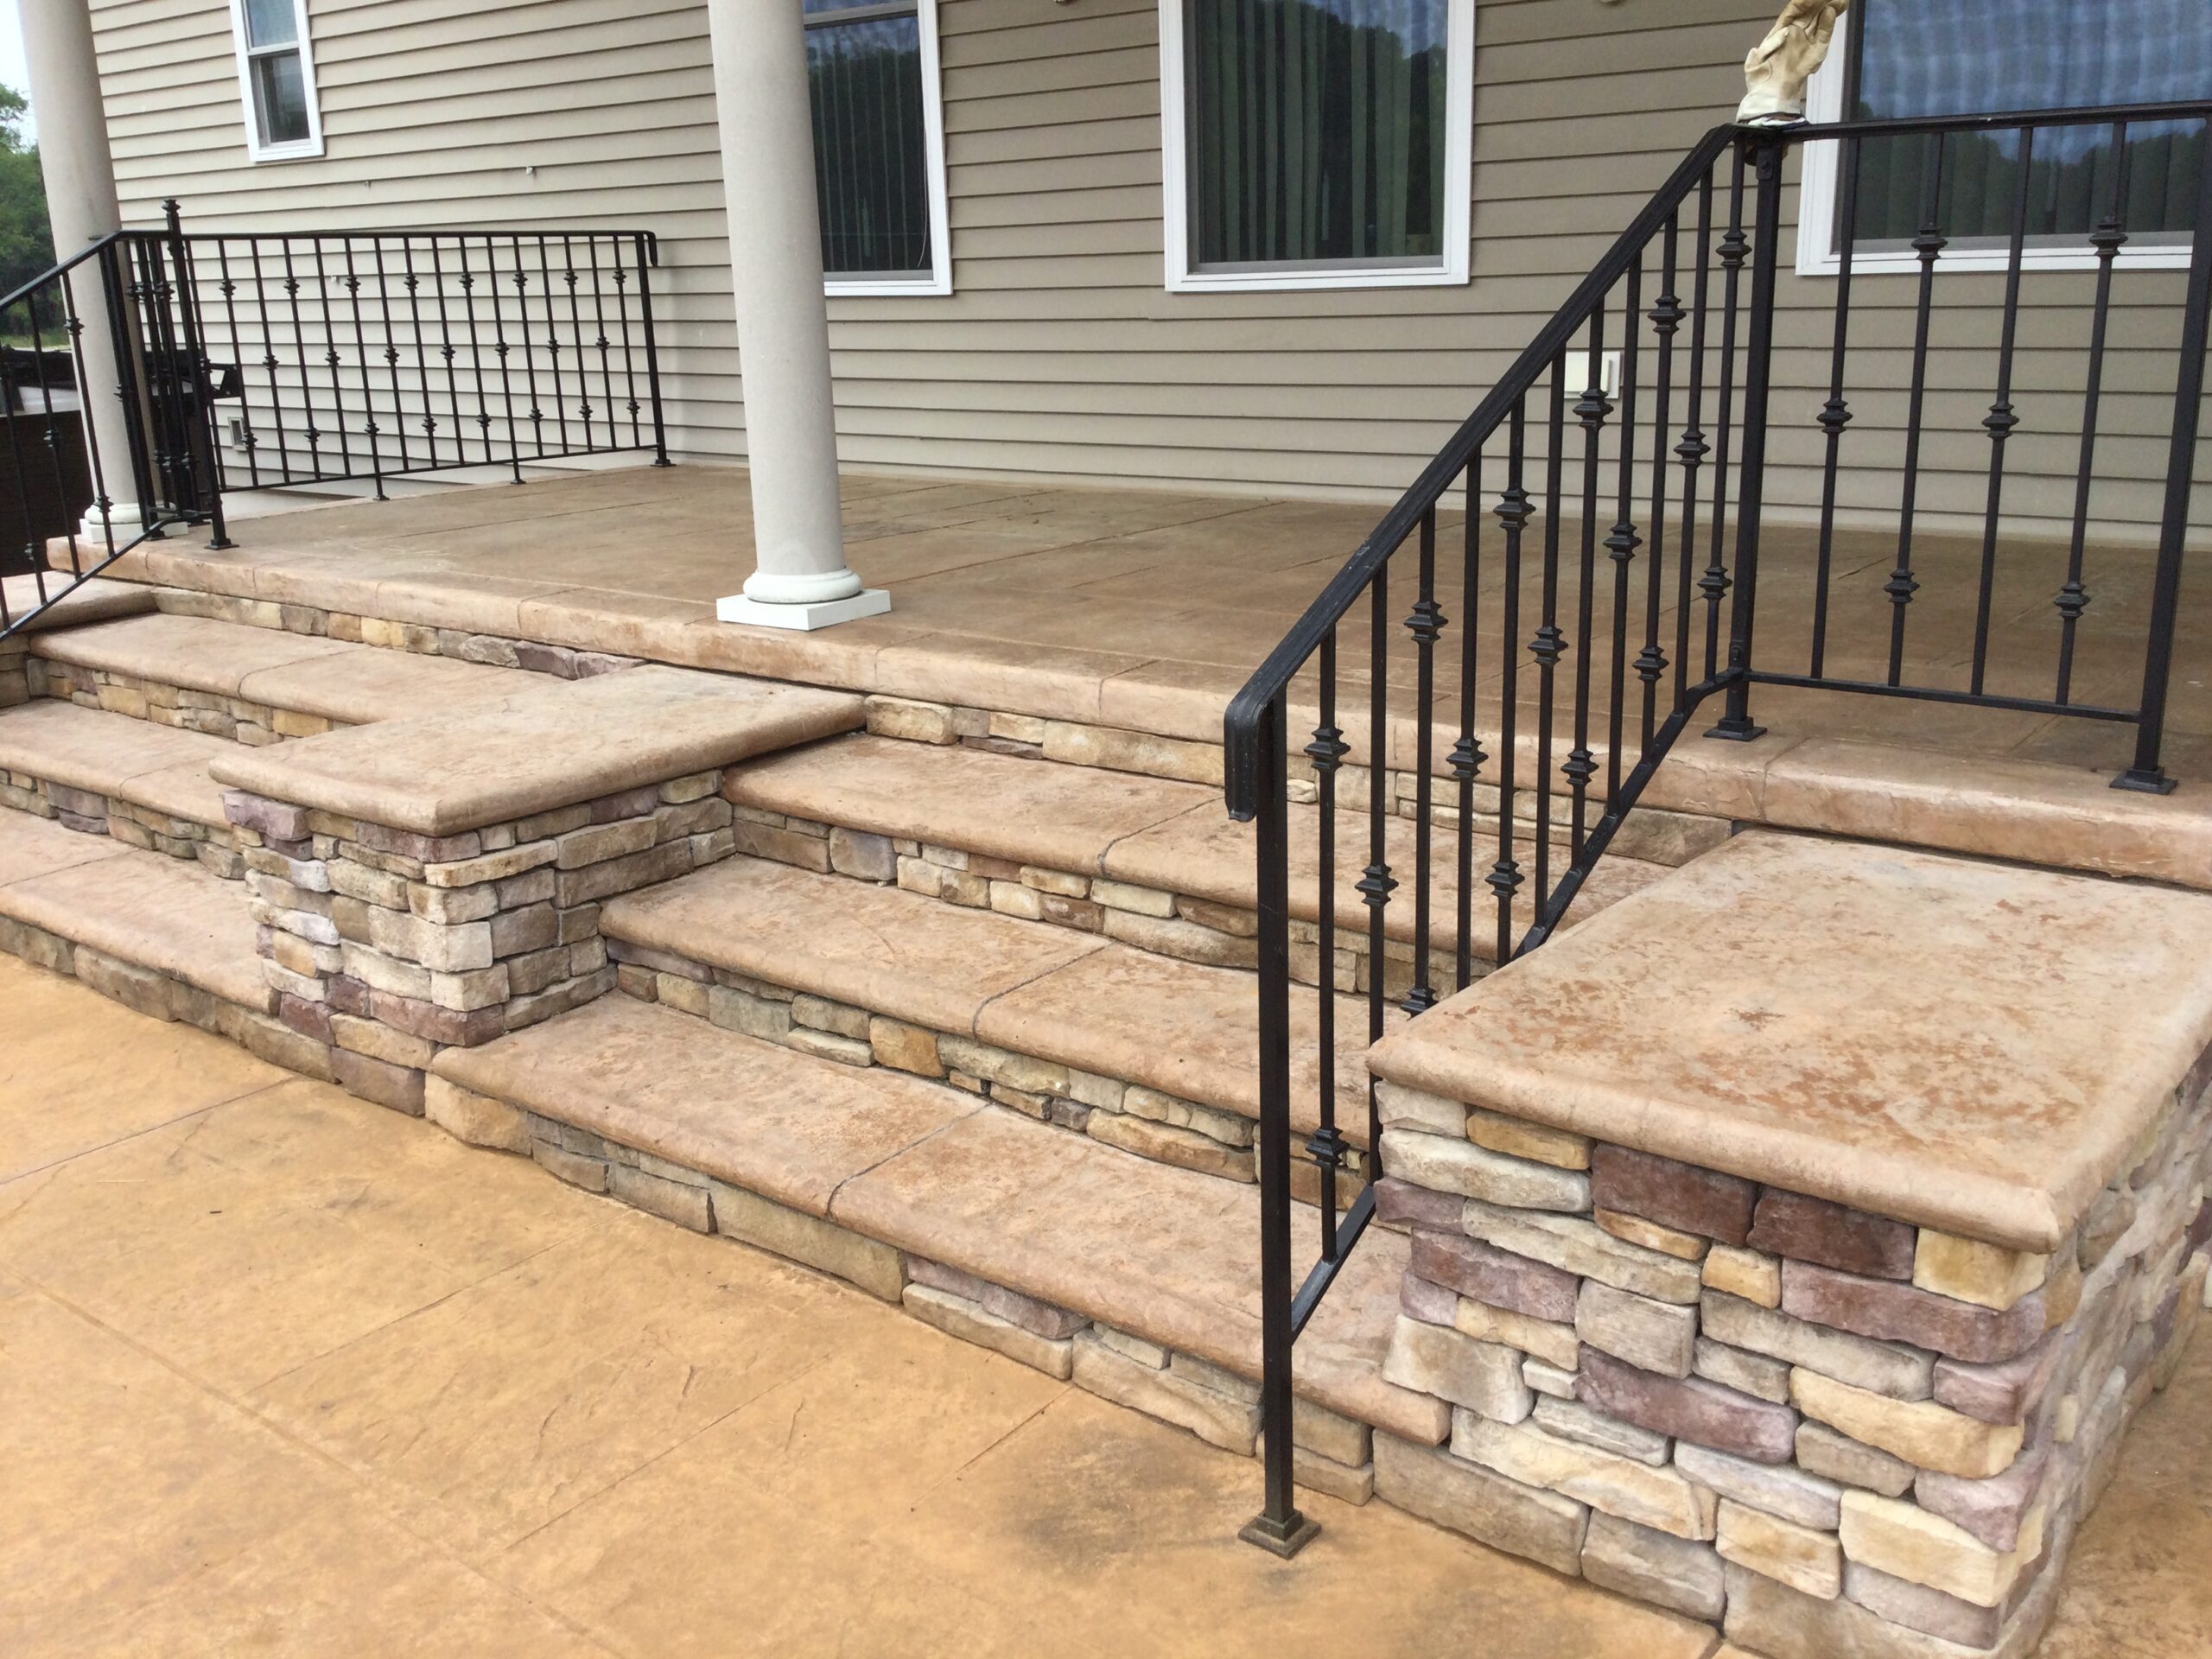
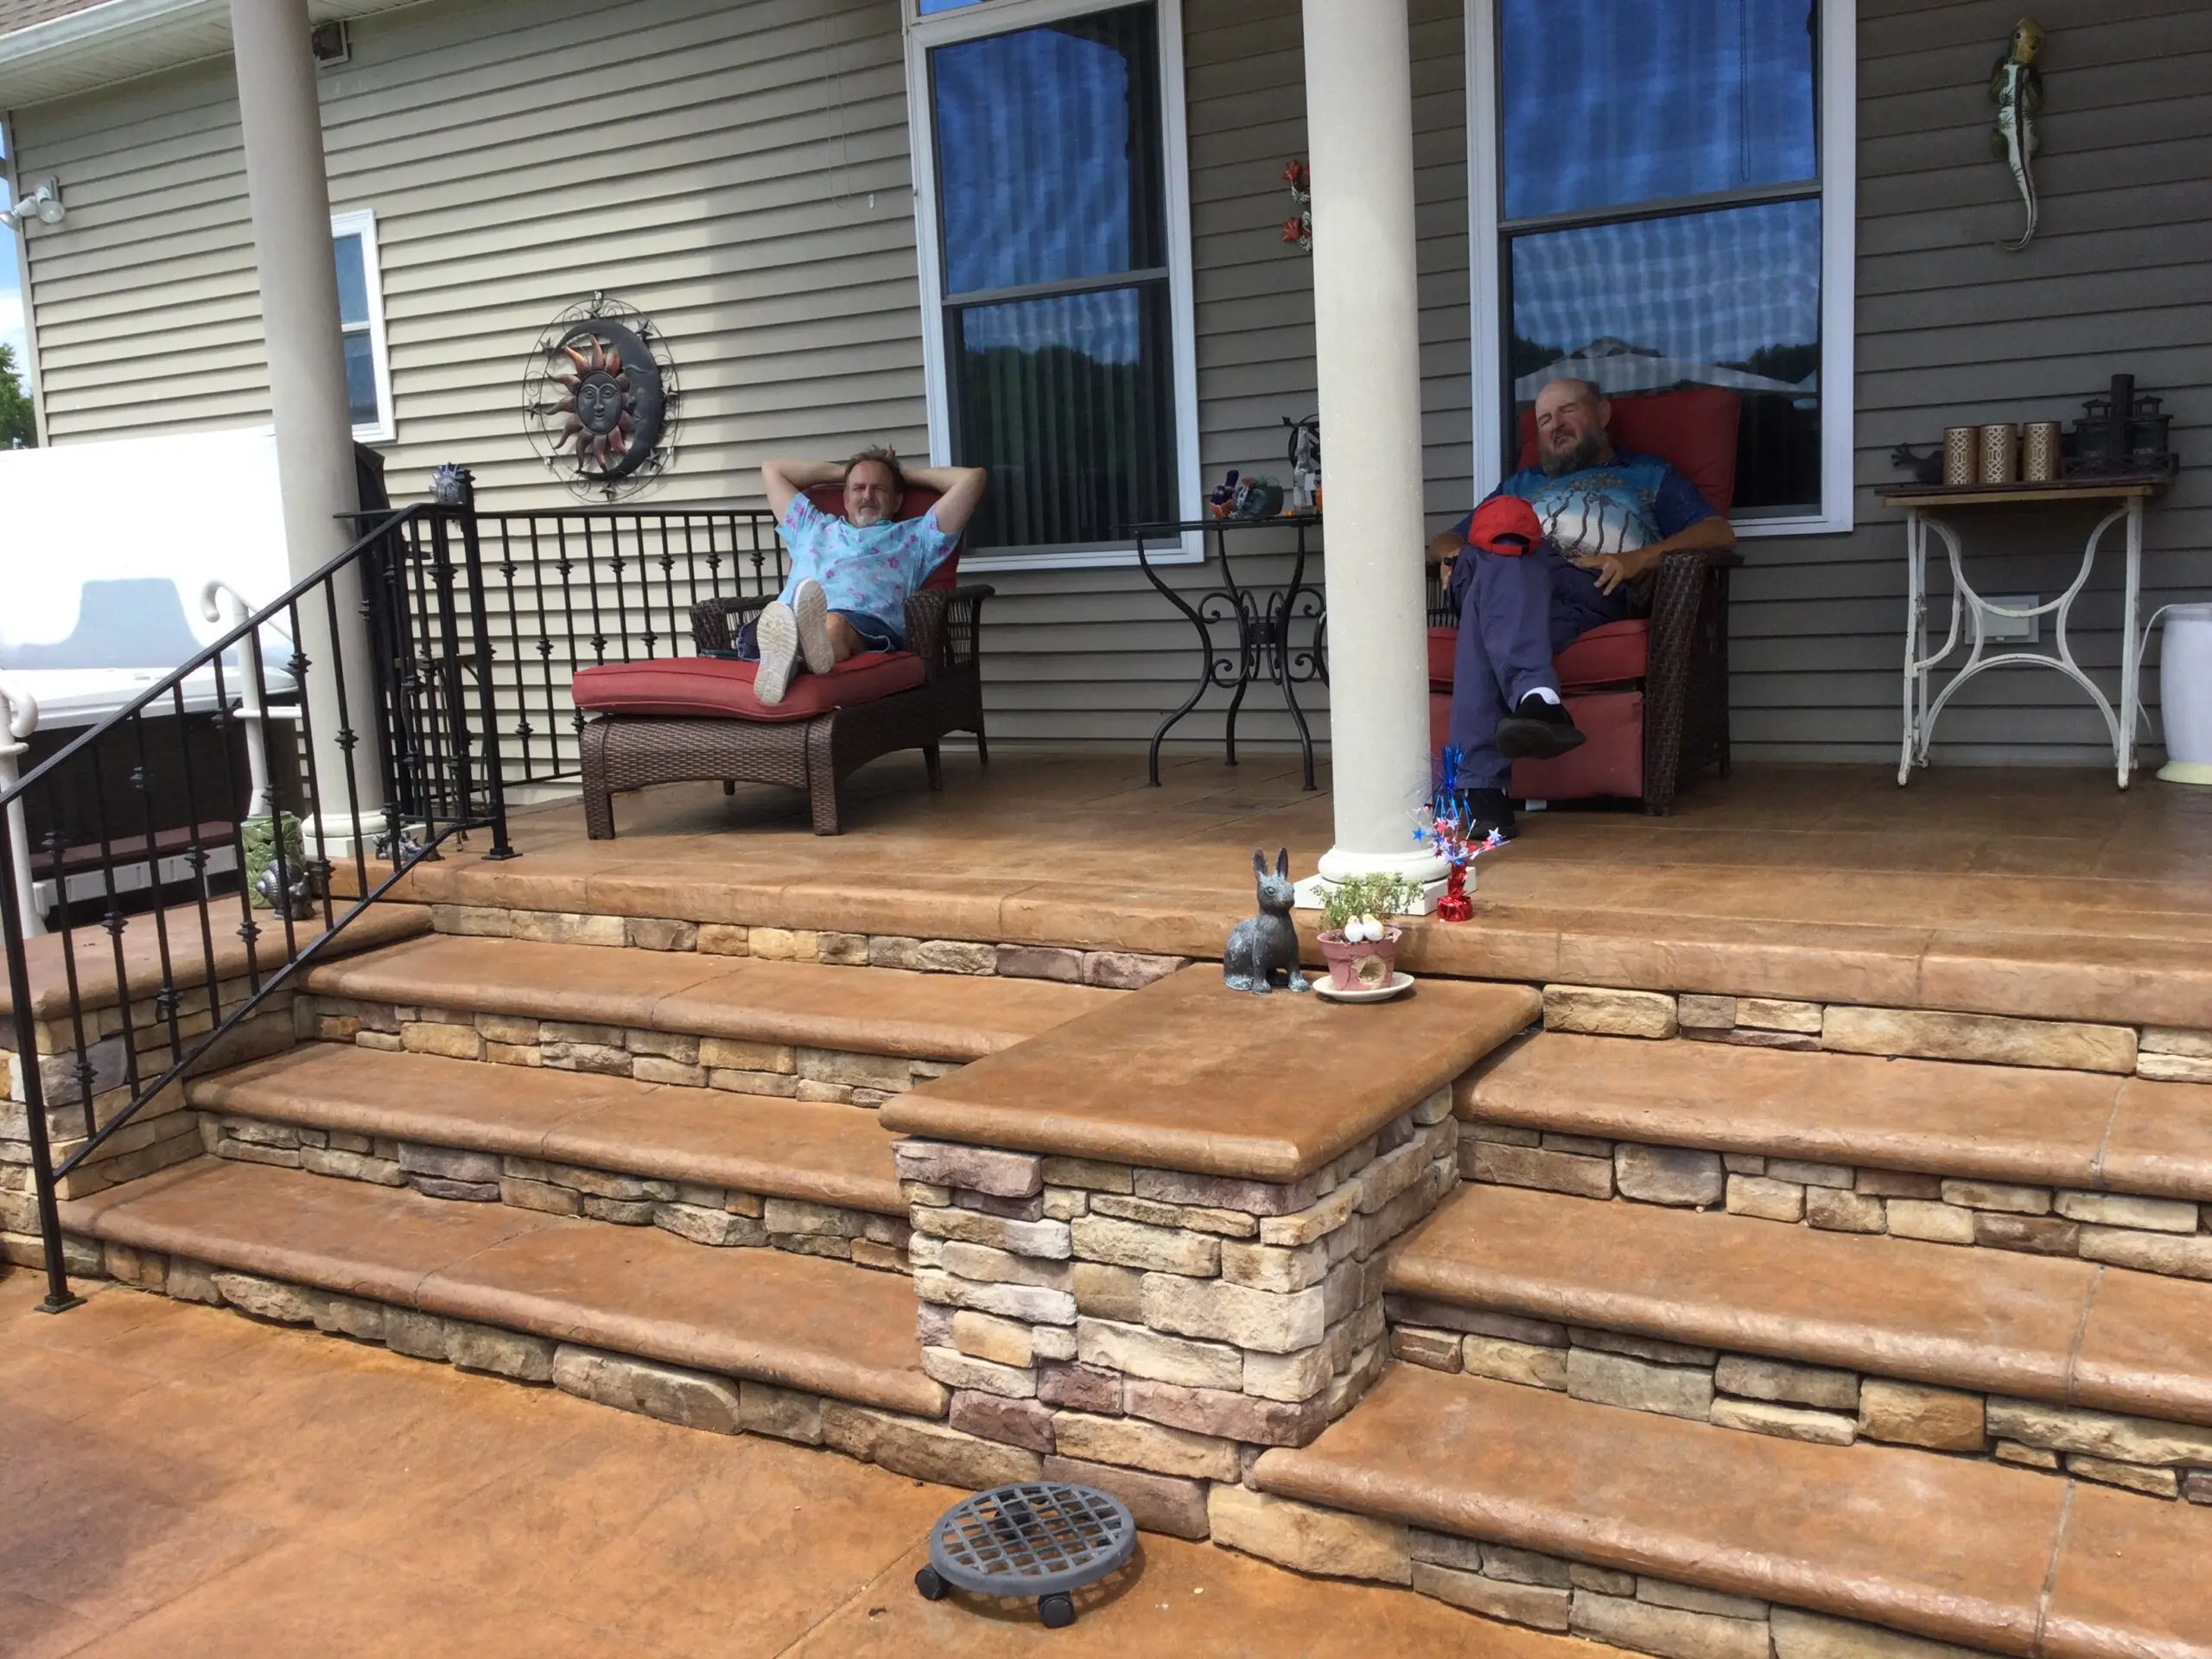
A much-needed refresh of a sunlit back patio that had developed an orangish hue over time. The choice of Cafe Royale Antiquing™ Stain with a trim of Driftwood Antiquing™ Stain helped to darken and “brown-down” the color of the concrete, while the EasySeal™ satin finish sealed the deal.
Project Info:
- Project Completed In: 4 day(s)
- Estimate of Square Footage: 1800 sq. ft.
- Project Description:
Our back stamped concrete patio was due for refreshing. It gets lots of bright sunshine! We were trying to darken and “brown-down” the orangish color that the concrete was becoming so we choose Cafe Royale stain with Driftwood trim. We used EasySeal satin to finish the job. - Personal Tips:
Make sure you have PLENTY of product on hand!! Plan ahead for about 4 days of staining and sealing the concrete. I sprayed on the stain, 2 times to really darken it. I sprayed the EasySeal on while my husband quickly rolled it right behind me, making sure we got all the edges and the top of the sitting wall. We did the sealing 2 times. We sprinkled fine sand on the steps and walking areas. You can’t believe how the EasySeal makes the stain look!! Right away! - Direct Colors Products Used:
5 Gal. Driftwood Antiquing™ & EasySeal™ Satin Mega Bundle
5 Gal. Cafe Royale Antiquing™ & EasySeal™ Satin Mega Bundle - Other Products Used:
Swissmex Acetone sprayer
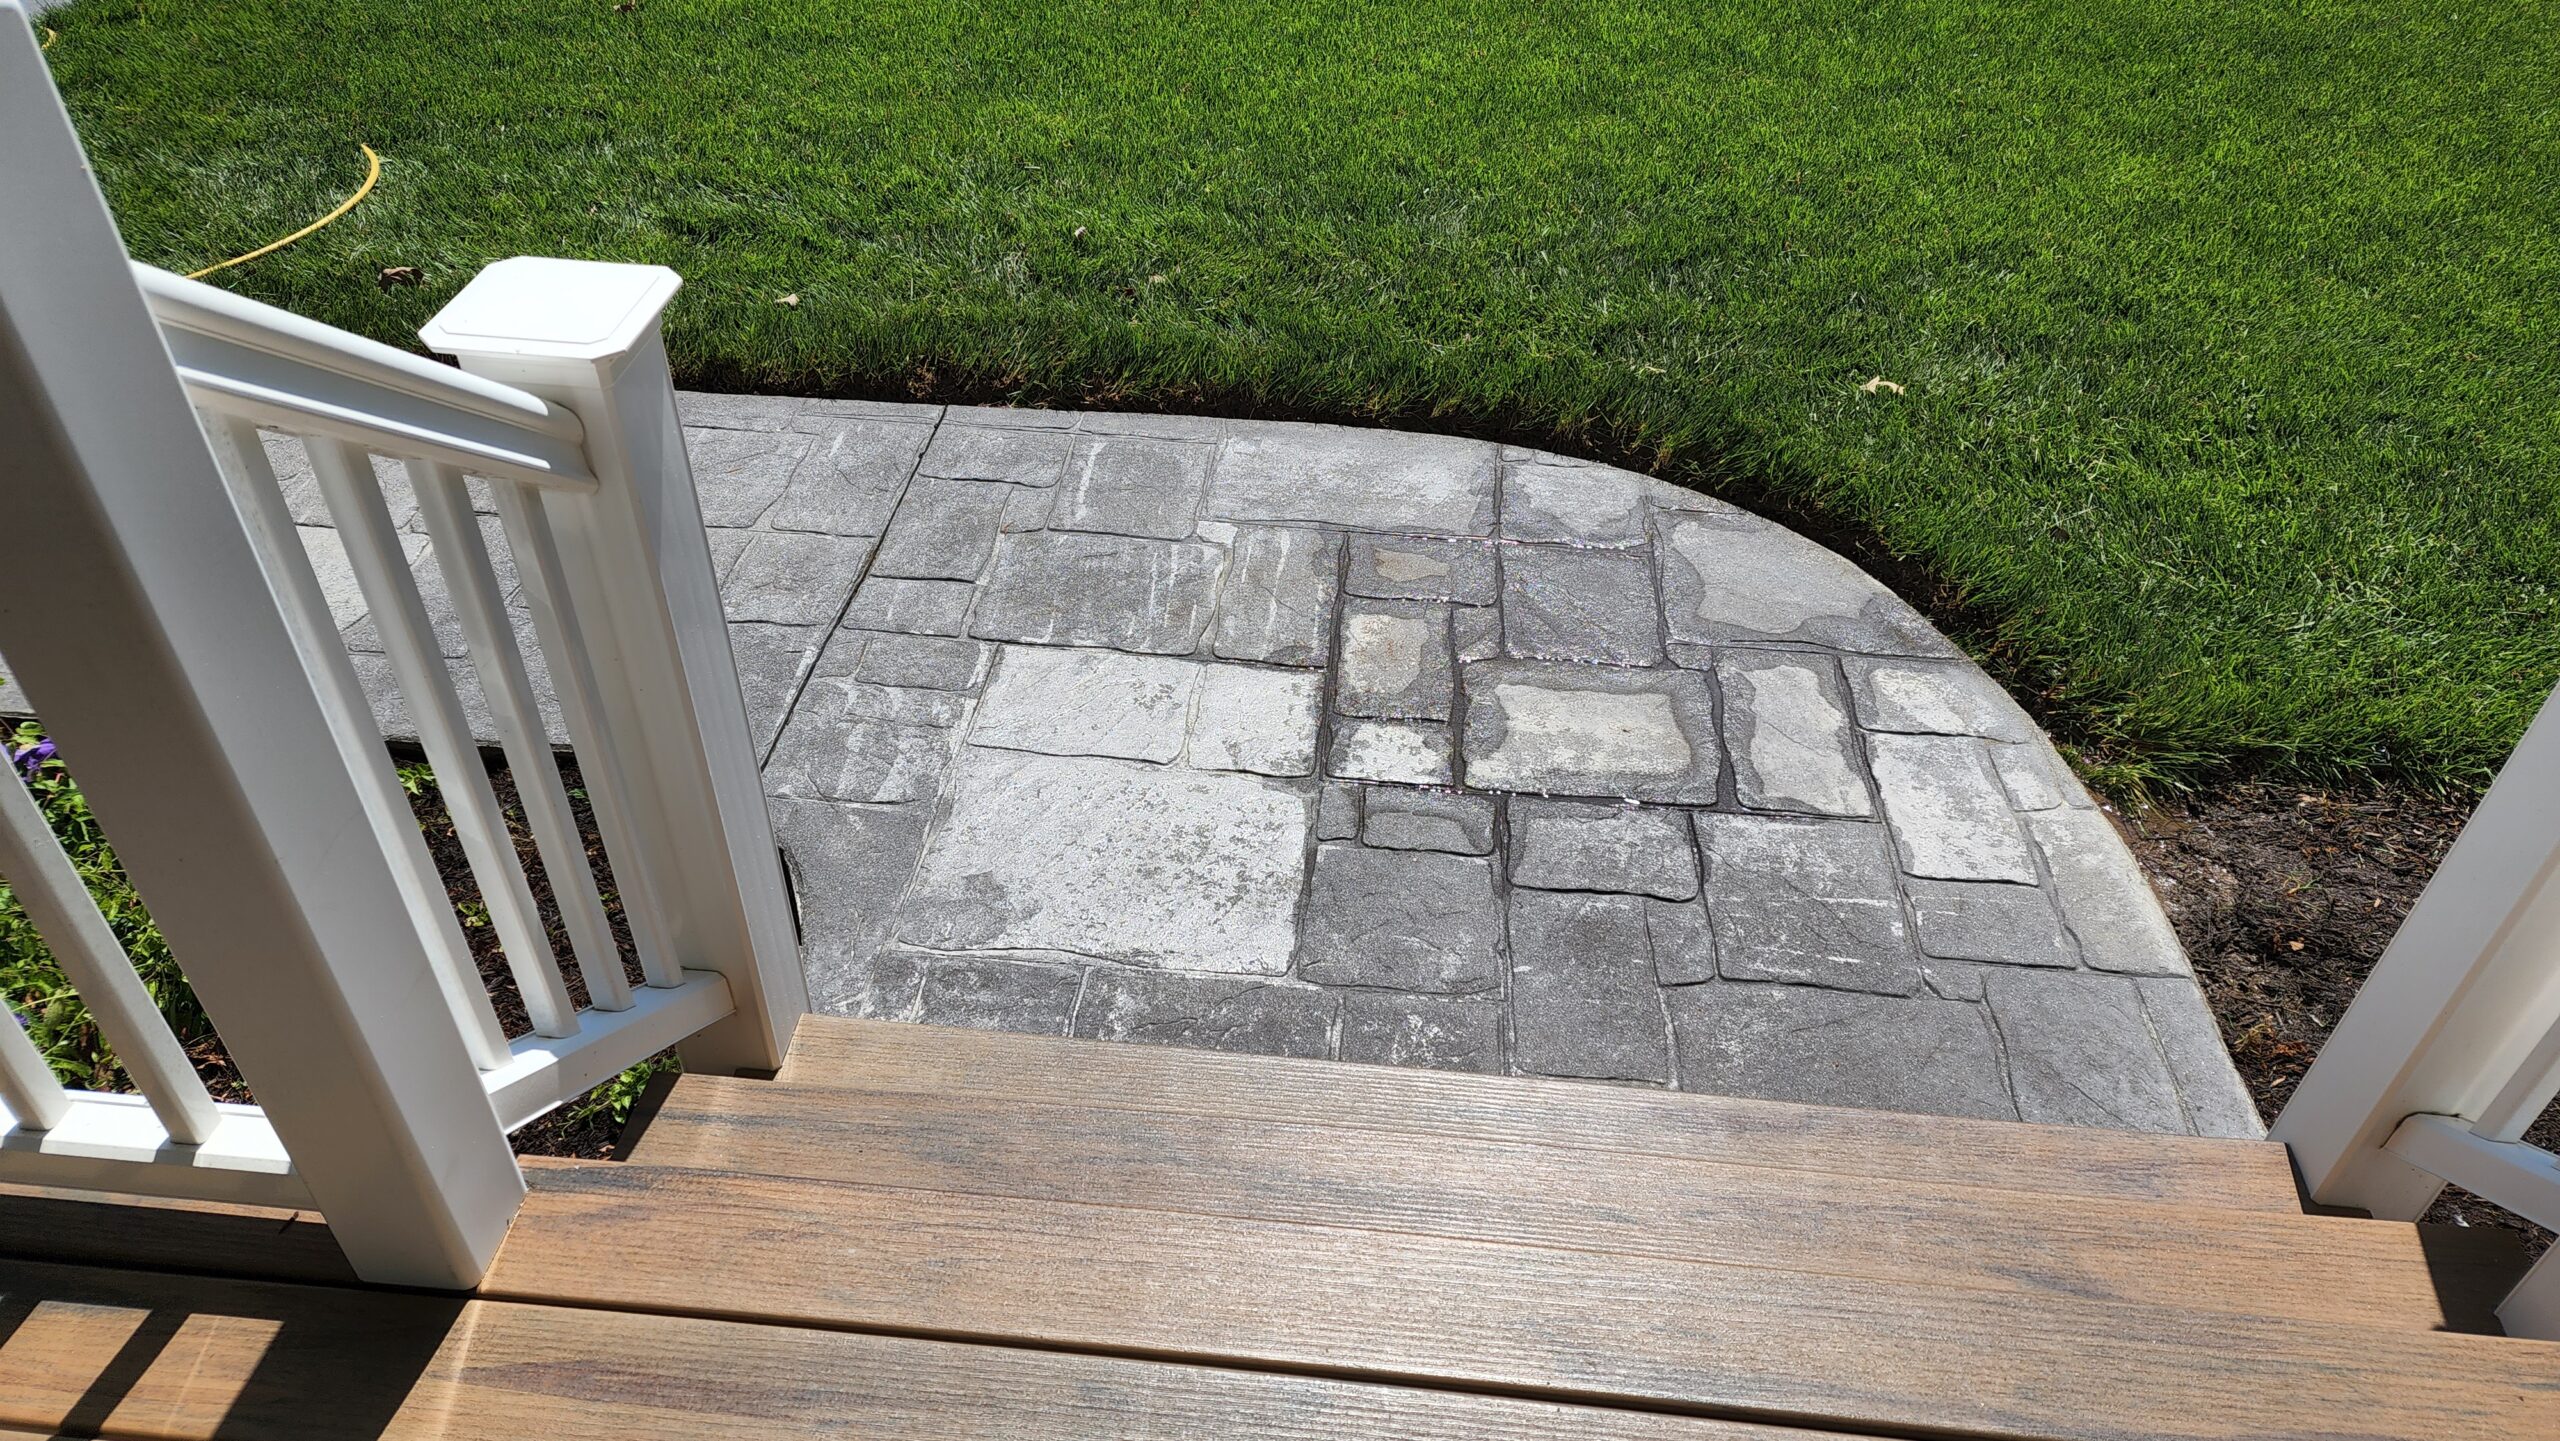
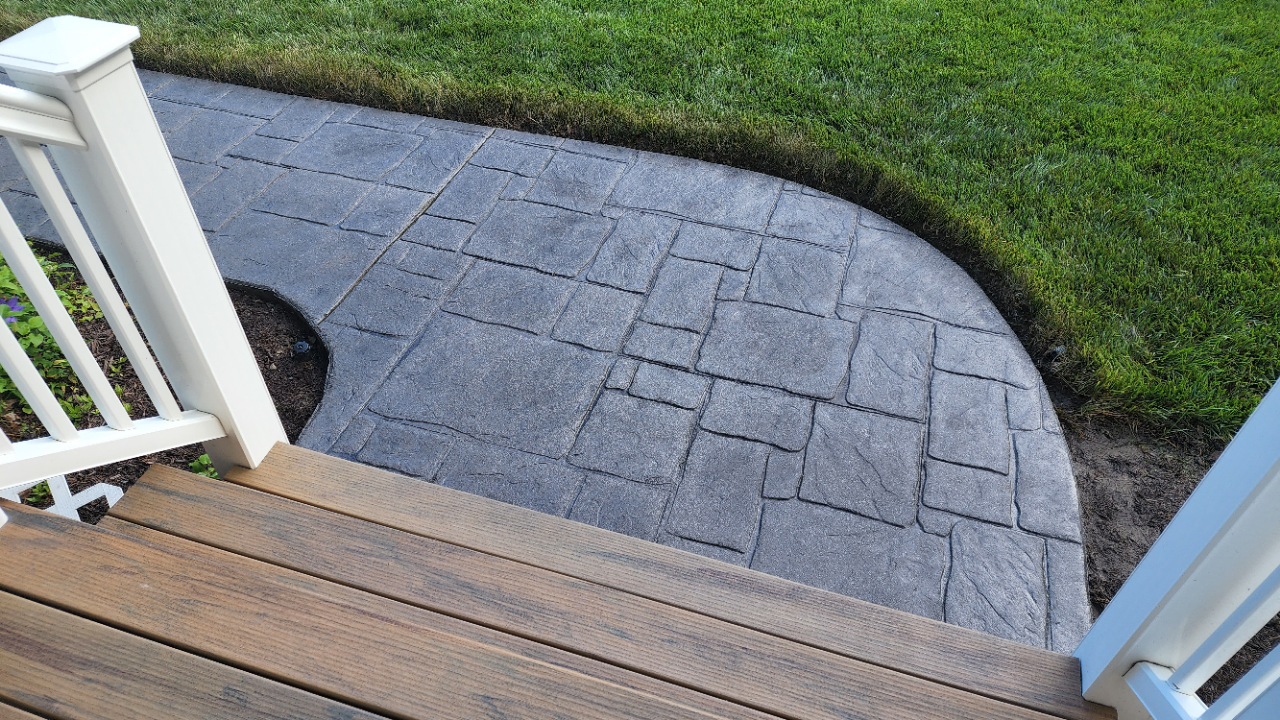
Stamped Sidewalk Rescue: From Worn Out to Waterproof with Charcoal Antiquing™ Stain
This DIY project gave a 20-year-old, color-faded stamped concrete sidewalk a complete facelift. After stripping the old sealer, the DIYer applied a fresh coat of our Charcoal Antiquing™ Stain, followed by a satin finish sealer. The result? A refreshed sidewalk that shrugged off the next day’s rain like a freshly waxed car. The key advice here: make sure to fully remove old sealer before starting your project.
Project Info:
- Project Completed In: 3 day(s)
- Estimate of Square Footage: 230 sq. ft.
- Project Description:
20 year old stamped concrete sidewalks had lost color and were horribly finished from old sealer.. Stripped sealer, put down new charcoal antiquing then sealed with a satin finish… Rain the next day beaded up like a freshly waxed car… - Personal Tips:
Make sure to remove all of your old sealer if it is sitting on the surface of your concrete.. - Direct Colors Products Used:
1 Gal. Charcoal DIY Antiquing™ & EasySeal™ Satin Kit
1 Gal. EasySeal™ Satin Concrete and Paver Sealer - Other Products Used:
Xylene/surface stripper
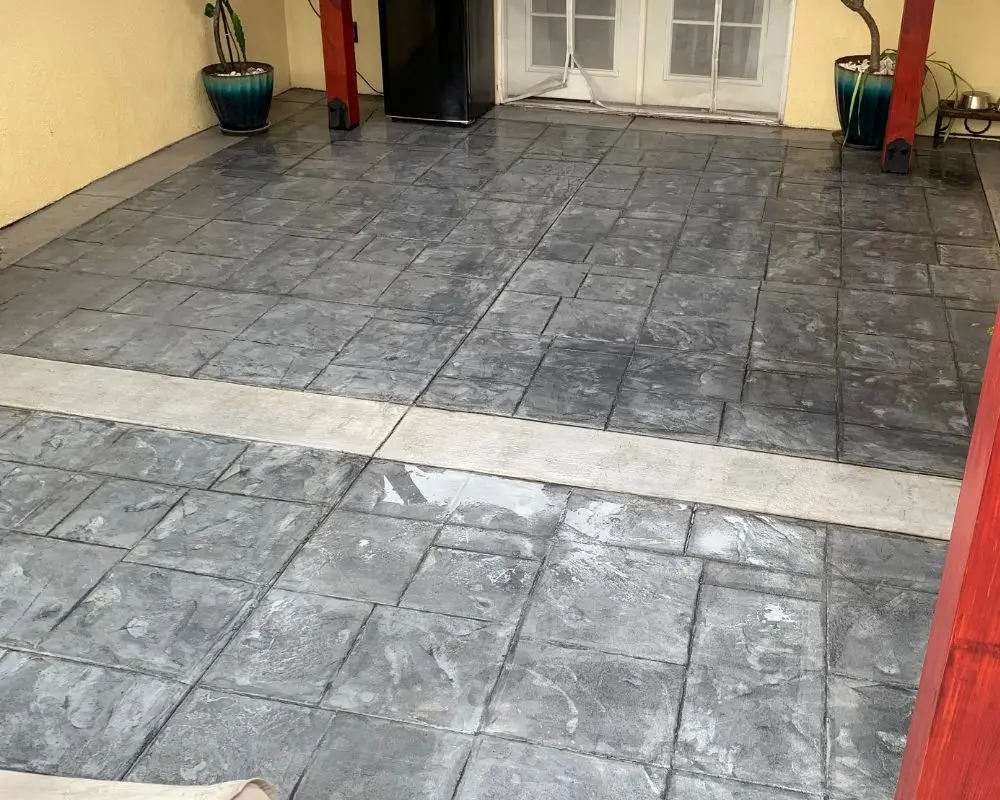
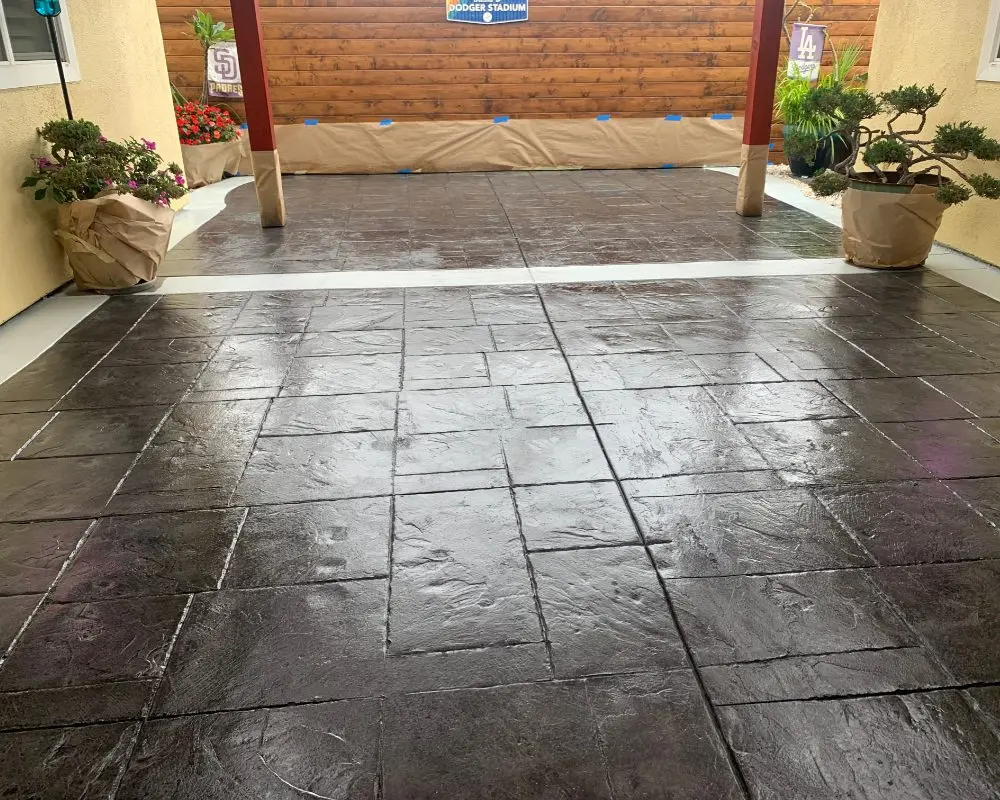
Courtyard Revival with Charcoal Antiquing™ Stain
This DIYer tackled a faded, scratched stamped concrete floor to give it new life. After meticulous cleaning, power washing, and preparation, the Charcoal Antiquing™ Stain was applied. The transformative results were immediate—making all the hard work worthwhile. Exceptional customer service from Direct Colors provided added reassurance throughout the process. The revived courtyard stands as a testament to the power of quality staining and commitment to craftsmanship.
Project Info:
- Project Completed In: 5 day(s)
- Estimate of Square Footage: 350 sq. ft.
- Project Description:
I had stamped concrete that had lost all its luster and furniture scratches etc….. I found Directcolors doing search for ideas and was very easy to see their products and videos that explain every step of the process…… scrubbed floors on hands and knees then power washed then let them dry for a full day before I started process with masking and blowing off any dust or dirt. I put down the stain and had multiple calls into customer service which was amazing every time to answer all my questions and concerns. I was impressed with the stain process but WOW once the first coat of stain went down it was all worth it brought my courtyard back to life!!! I will use Directcolors for all my stamped concrete on my home!!! Thank you all at Directcolors!!! - Personal Tips:
Once stain is down limit all traffic to zero.
Spray the sealer - Direct Colors Products Used:
1 Gal. Charcoal Antiquing™ & EasySeal™ Gloss Kit
1 Qt. Charcoal Antiquing™ Stain
1 Qt. EasySeal™ Gloss Concrete and Paver Sealer - Other Products Used:
Pump sprayer
Power washer
Scrub brush
Masking paper
Brown To Charcoal: A Stamped Concrete Transformation
With our Charcoal Antiquing™ Stain, this DIYer transformed a 13-year-old, faded brown stamped concrete area into a chic, multi-toned space. Despite the challenges of prep work and weather, the project turned out stunningly, proving that the right tools and products can make a huge difference.
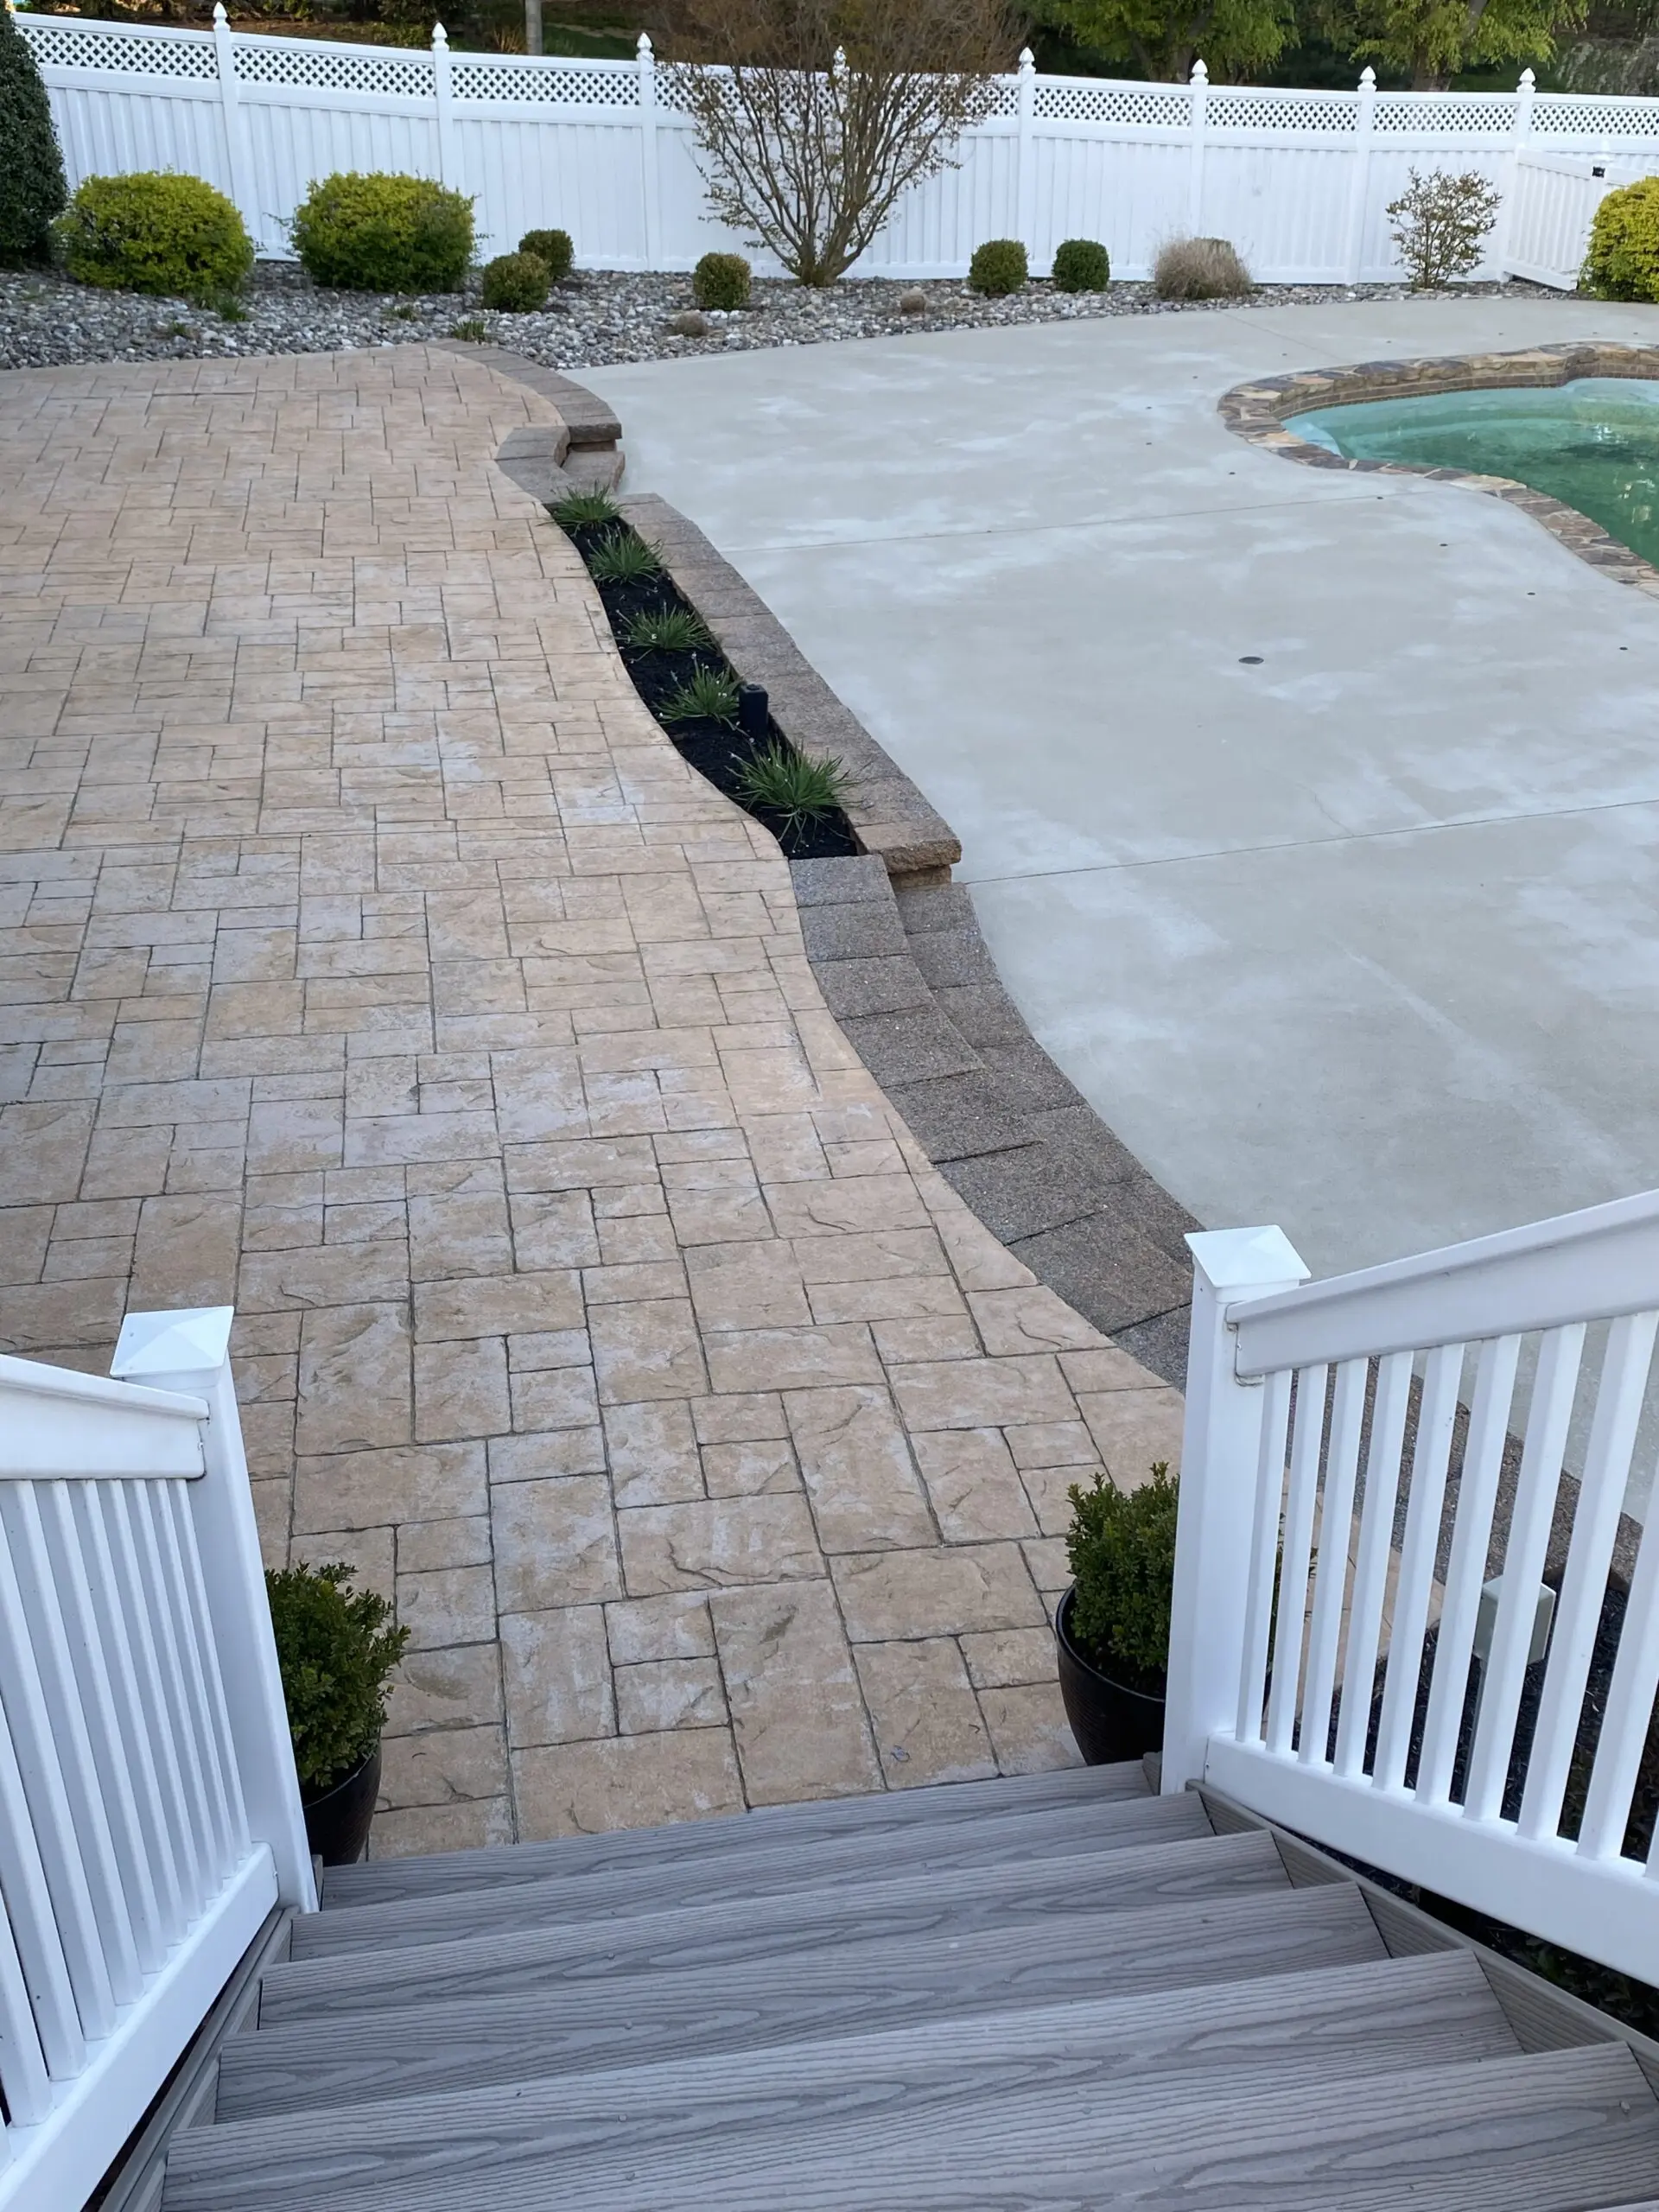
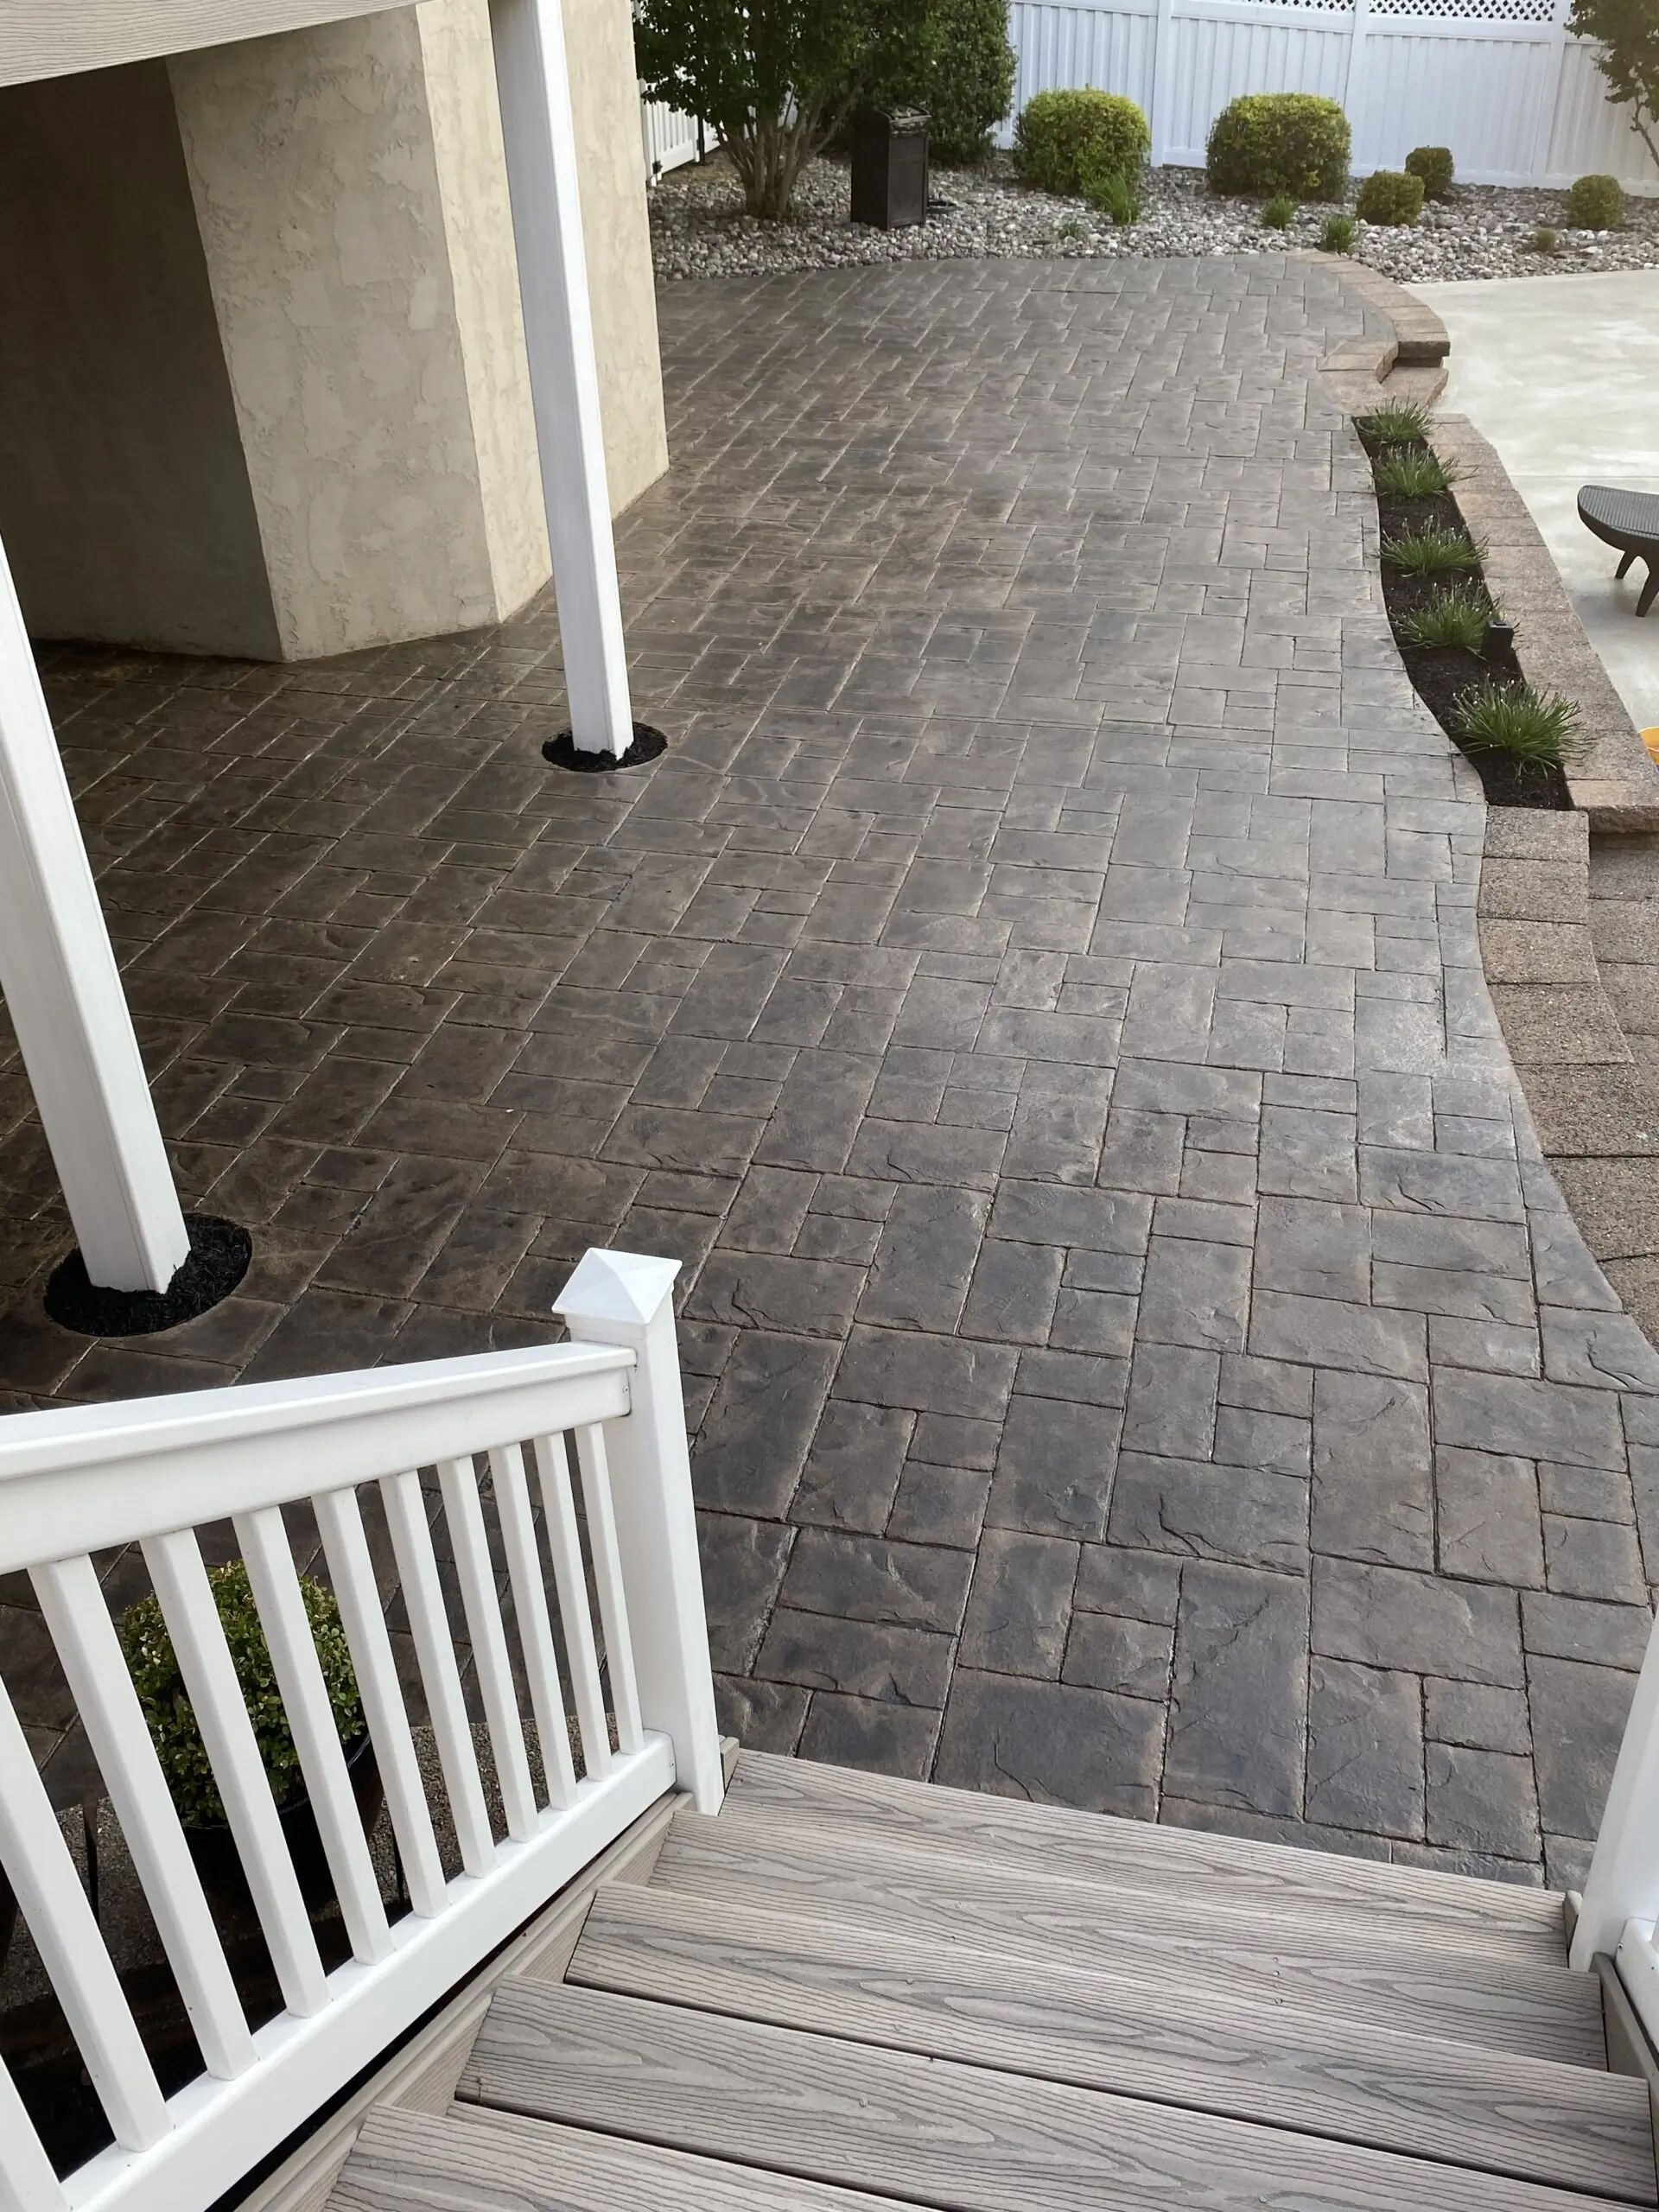
Project Info:
- Project Completed In: 5 day(s)
- Estimate of Square Footage: 900 sq. ft.
- Project Description:
Very faded stamped concrete. Over 13 years old. Time for a makeover that I decided to tackle myself. The longest part of project was getting some old sealer off of the areas that were under the deck a prepping the area for the stain. Undertones were faded brown but decided to go with the charcoal Antiquing stain to add some variation as our deck is a mix of gray a tan an we have different tones of flagstone around our pool. Happy with the color choice. I didn’t want it to be just a solid color. I completed this project all by myself from start to finish so it can be done😊 - Personal Tips:
Prep work is the key to having a great project. An a nice window of good weather. - Direct Colors Products Used:
1 Qt. ProClean Degreaser™
5 Gal. Black Antiquing™ & EasySeal™ Satin Kit
16 Oz. Non Slip Concrete Sealer Additive - Other Products Used:
Bristle brush for scrubbing
Power washer.
2 Gallon sprayer
Patio Makeover with Cinnabar Antiquing™ Stain: A 10-Year Update
This DIYer rejuvenated their decade-old patio with Cinnabar Antiquing™ Stain and EasySeal™ Satin Sealer, achieving a ‘brand-new’ look. They advise quick cleaning of the pump sprayer to avoid it getting ‘gummed up’ and recommend clearing nearby foliage before application to keep the wet stain leaf-free.
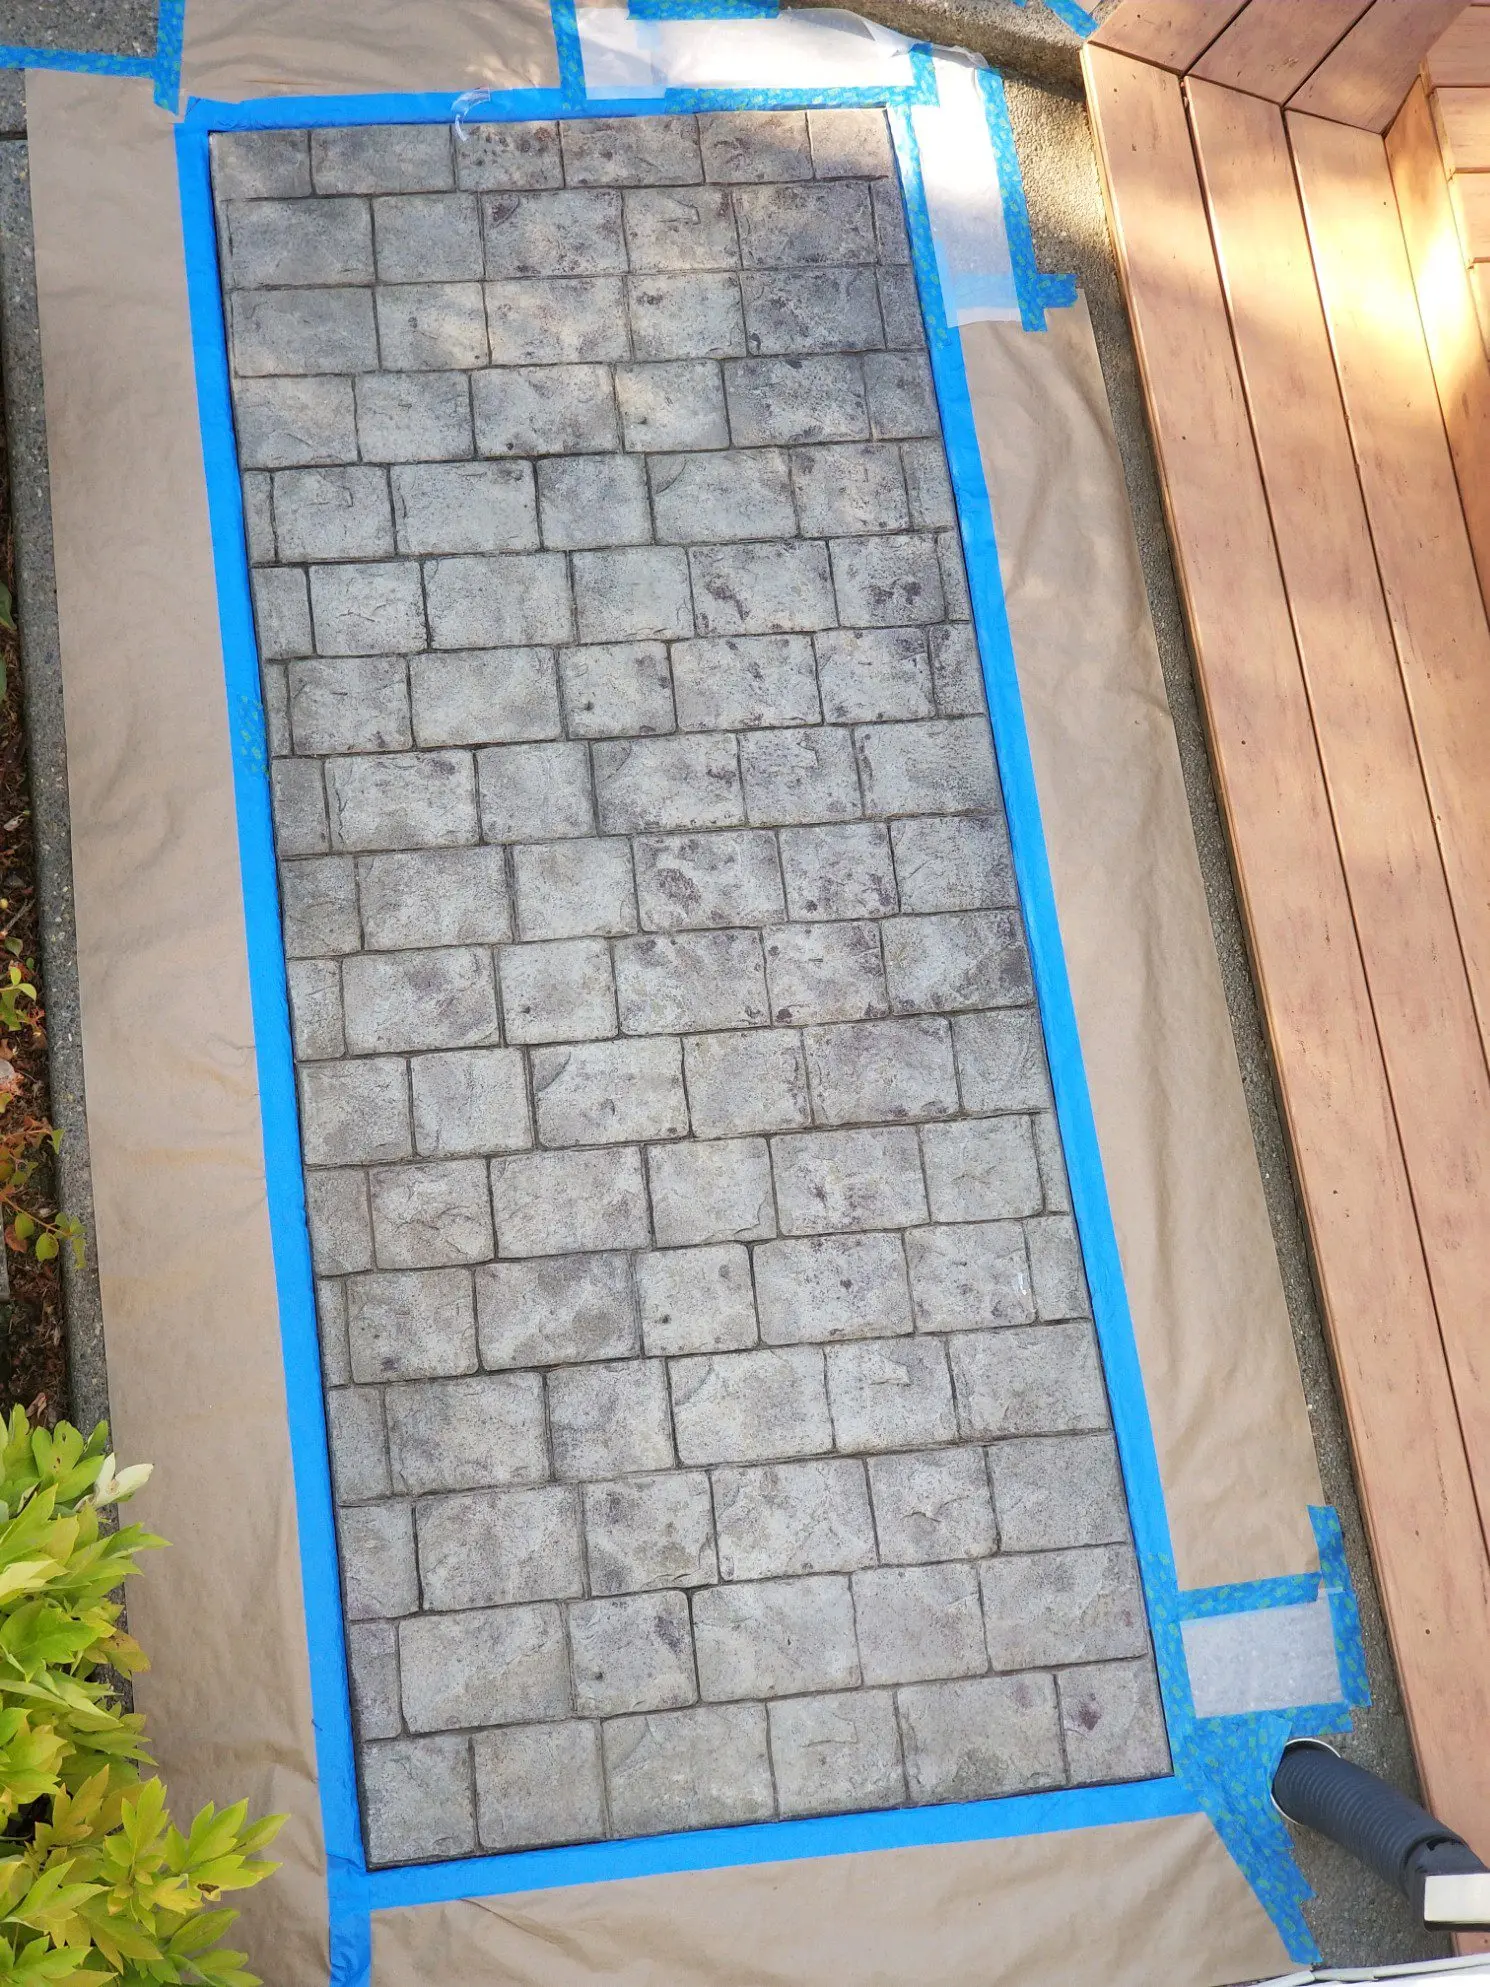
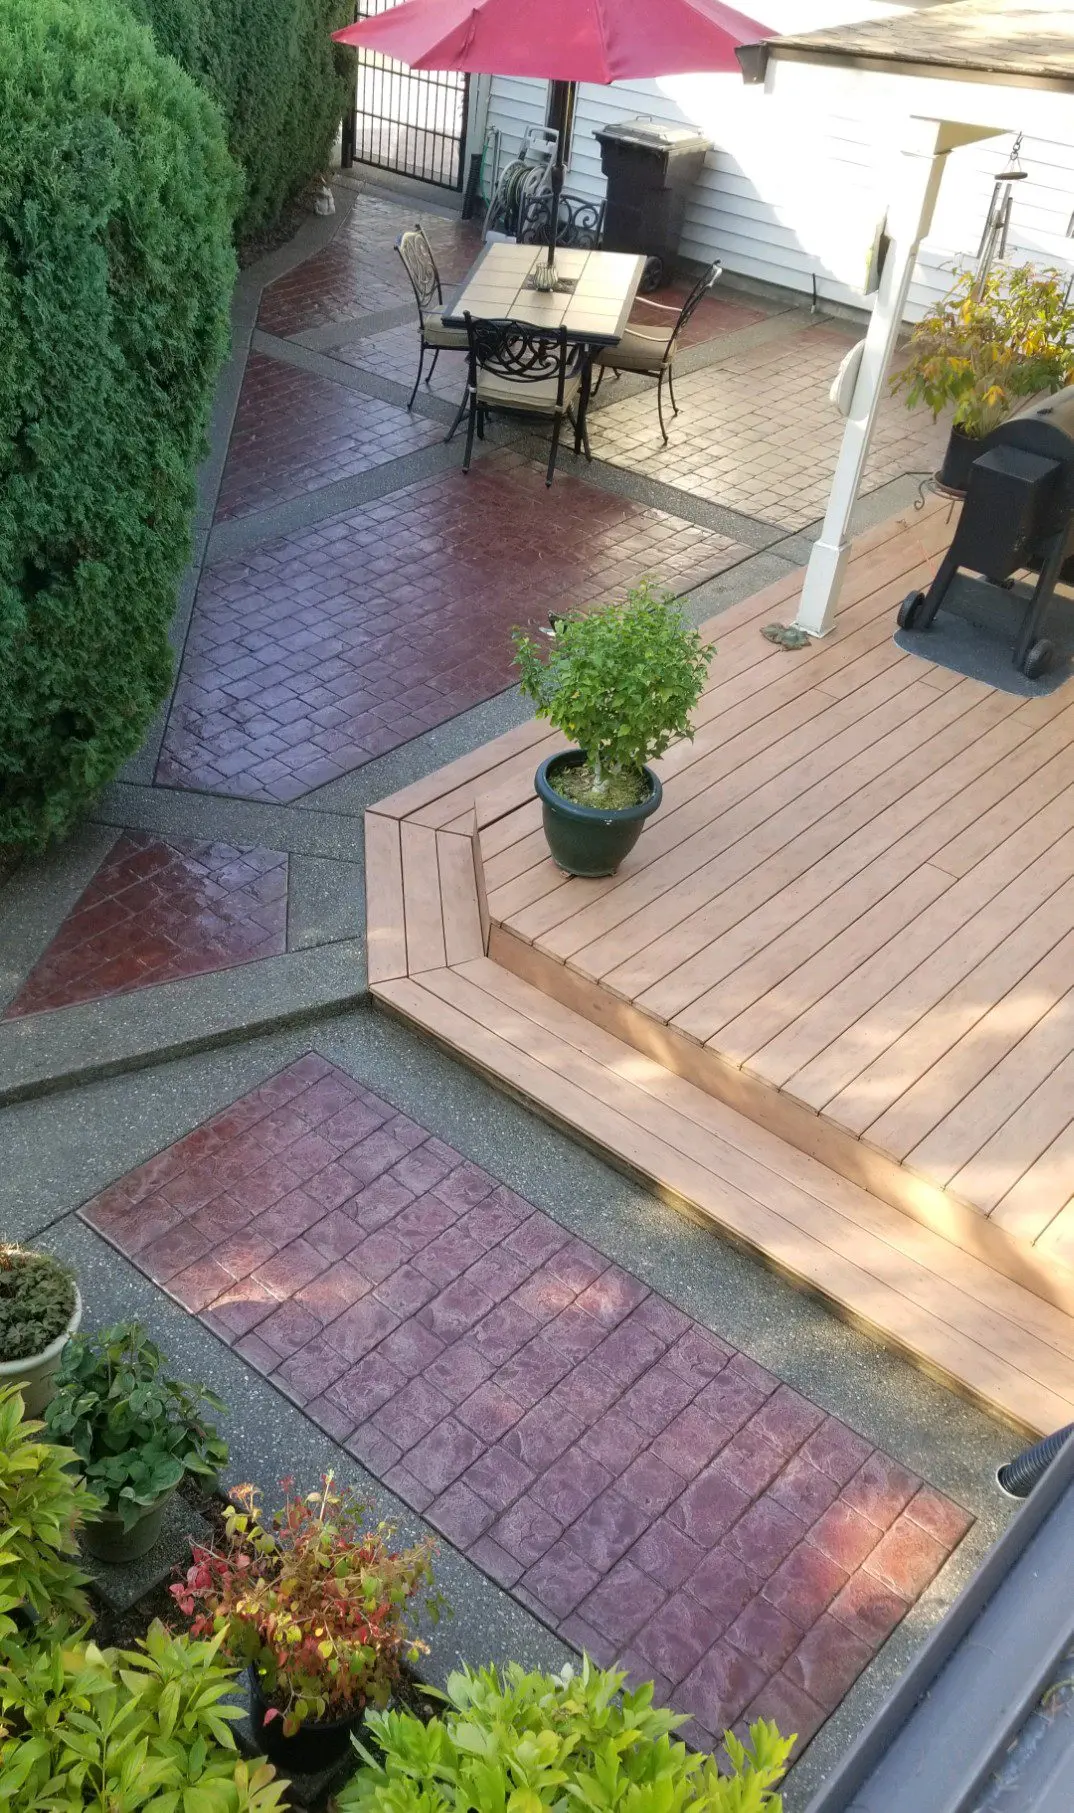
Project Info:
- Project Completed In: 2 day(s)
- Estimate of Square Footage: 400 sq. ft.
- Project Description:
Hi, Have completed my patio project using both your Cinnabar Antiquing Stain and Easy Seal Satin Sealer.The patio turned out beautiful………..as good as ‘brand new’. The Cinnabar color was the perfect choice as it matched up with the original color used at installation 10 years ago.I’ve took several pictures comparing both before and after and I’m happy to share. Any questions regarding them, just ask!The only comment I would make is that you should provide simple directions for cleaning the pump sprayer and the need to ‘rapidly’ clean after use. I did have to replace the sprayer ‘mid-job’ as I had allowed it to sit and become ‘gummed up’! A pint of Acetone would have saved me $30 and a trip to Ace.I should have realized that this could happen, but didn’t. Bottom line, cleaning is a snap…………if you know you need to do it!Product was easy to use, excellent results, and your staff provided excellent ‘phone’ assistance as I worked through it. - Personal Tips:
The only comment I would make is that you should provide simple directions for cleaning the pump sprayer and the need to ‘rapidly’ clean after use. I did have to replace the sprayer ‘mid-job’ as I had allowed it to sit and become ‘gummed up’! A pint of Acetone would have saved me $30 and a trip to Ace. I should have realized that this could happen, but didn’t. Bottom line, cleaning is a snap…………if you know you need to do it!
Also if your project is close to shrubs, trees, etc……..strongly advise giving them a blast from your leaf blower or a vigorous shake prior to applying any product. Getting as much loose debris out of the plants, saves picking leaves, etc out of your ‘wet’ project. - Direct Colors Products Used:
1 Gal. Cinnabar DIY Antiquing™ & EasySeal™ Satin Kit
1 Gal. Cinnabar Antiquing™ & EasySeal™ Satin Kit
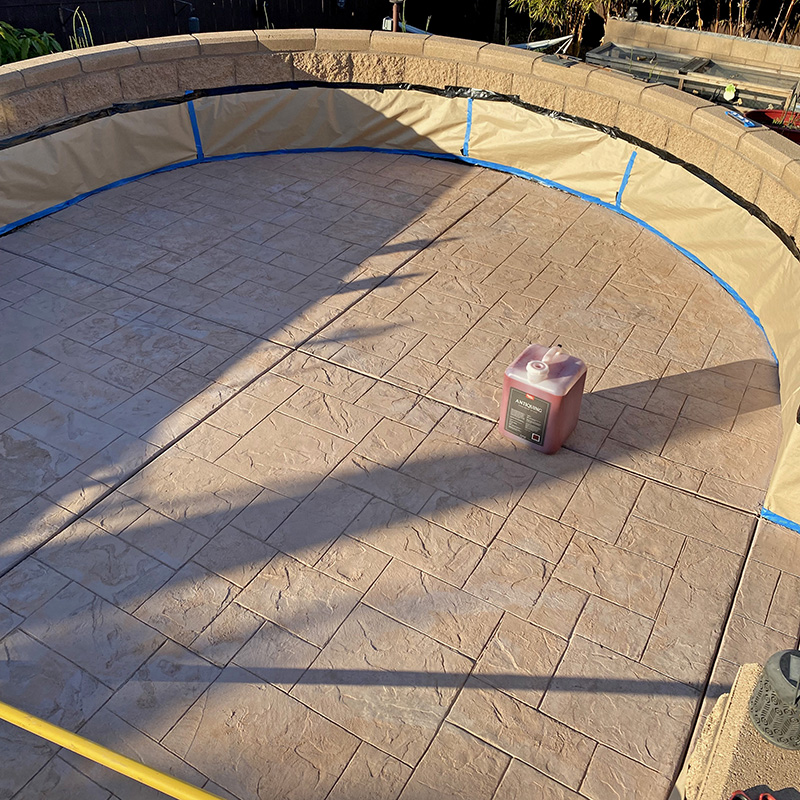
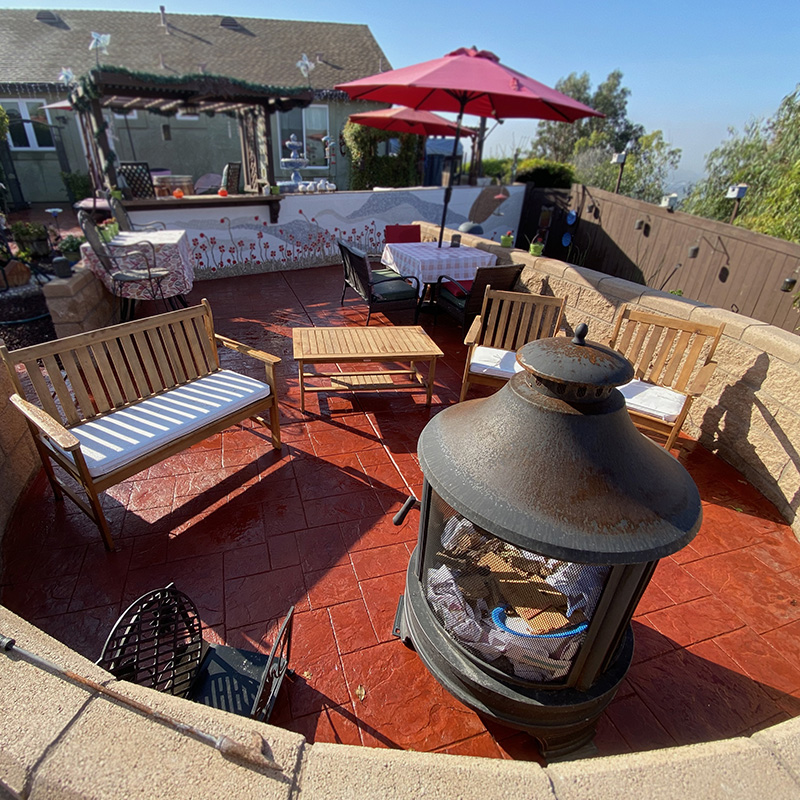
DIY Journey With Crimson Antiquing™ Stain For A Glossy And Solid Color Approach
Looking to add depth and character to their stamped concrete, a DIY enthusiast turned to Crimson Antiquing™ Stain. The solid color approach and glossy finish of the red stained concrete transformed the once-dull stamped area into a stunning and eye-catching design element.
Project Info:
- Project Completed In: 4 day(s)
- Estimate of Square Footage: 1236 sq. ft.
- Project Description:
(first submittal timed out) We had stamped concrete installed with requested color added to concrete. Color was not done right by contractor which didn’t allow stamped area to pop out from retaining walls surrounding it. Since we had used Direct color before on an acid stain for a small area on property we decided to go with the Antiquing stain since it allowed a more solid color approach and the direct color site recommended it for stamped concrete. We liked the idea of it being shiny wet look with the gloss and we were glad we did rather than the satin. - Personal Tips:
If your concrete is stained with water build up like ours was from a fountain grind off calcium build up with had grinder and clean and etch with Direct color product. Order more than enough color if performing work on stamped concrete since it soaks up significantly more than finished concrete, two coats for good solid color end product with some area follow ups of touch up if lighter. The sealer seems to bring it all together. Thin coats of sealer since thick coat will cause bubbles in top coat. - Direct Colors Products Used:
2 x 5 Gal. Crimson Antiquing™ & EasySeal™ Gloss Kit
5 Gal. CitrusEtch™ Concrete Etcher
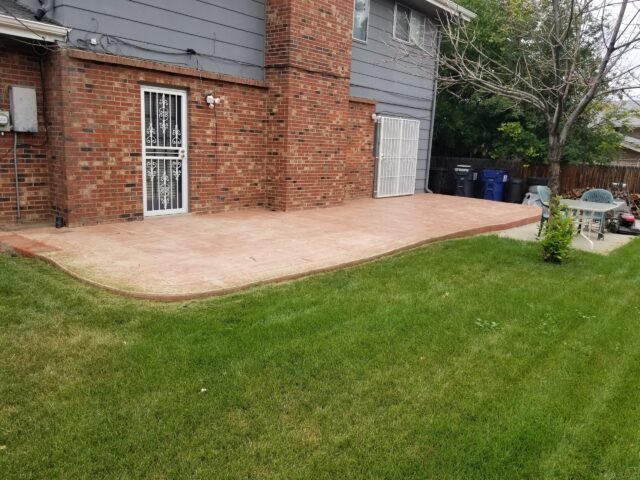
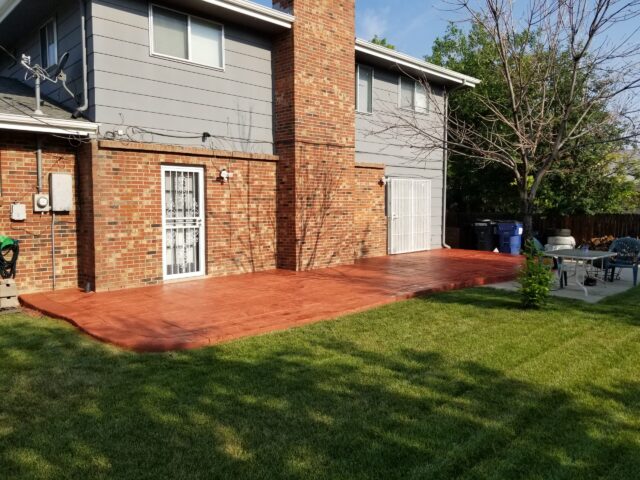
Transforming Neglected Stamped Concrete Patio into a Stunning And Budget-Friendly Refinish
After years of neglect, a DIY enthusiast decided to breathe new life into their worn-out stamped concrete patio. They opted to use Crimson Red Antiquing™ Stain stained concrete to achieve a beautiful and inviting outdoor living space on a budget.
Project Info:
- Project Completed In: 2 day(s)
- Estimate of Square Footage: 450 sq. ft.
- Project Description:
I had been living at this home for about 5 years and had never done any sort of maintenance for my stamped concrete patio. The previous sealer seemed to have already worn off even before I moved in, so my patio had been exposed to the sometimes harsh climate in Colorado for many years. I stumbled upon Direct Colors and saw pictures of how great stamped concrete patios can look when they’re cared for and decided to refinish mine. I actually first requested quotes to have someone come and refinish it for me and unfortunately most quotes were telling me it would be upwards of $5k. I quickly decided to try and do it myself and I’m really glad I did. I had no experience doing this before but I simply followed all the instructions listed online and I think it turned out great. - Personal Tips:
I would say definitely get a separate pump sprayer for the stain and the sealer. I initially tried to use the same for both but I feel like I wasn’t able to properly clean the sprayer and it just made things more difficult. Furthermore, between coats of sealer I didn’t clean the spray tip well enough and it seemed to clog it up so I was getting really uneven application. For the final coat of sealer I switched to a roller so that I could also apply the anti-slip product and that went on much more evenly but you definitely need a good quality nap roller that won’t leave lint behind. I also got a bit careless when spraying the stain and had quite a bit of overspray that required a lot of scrubbing to clean. I would say just take your time and use cardboard and tape to make sure you don’t overspray. Lastly, I may have sprayed the stain and the sealer very unevenly, in the end it still turned out nice, but I would say take your time and first practice spraying evenly on something like cardboard. - Direct Colors Products Used:
16 Oz. Non Slip Concrete Sealer Additive
1 Gal. Crimson DIY Antiquing™ & EasySeal™ Satin Kit
2 x 1 Gal. Crimson Antiquing™ & EasySeal™ Satin Kit - Other Products Used: I also first power washed my patio with a cheap electric power washer I found on Amazon
Restaining Pitfalls: A Pool Deck Experience with Cumin Antiquing™ Stain
The project involved restaining a 10-year-old stamped concrete pool deck with Cumin Antiquing™ Stain. Challenges arose from using a sealer that did not absorb the stain as expected. Attempts to paint over the sealer and then strip the paint, grind off the sealer, and reseal did not yield satisfactory results. The experience underscores the importance of selecting the right sealer and applying it carefully without feathering.
- Project Completed In: 3 day(s)
- Estimate of Square Footage: 1200 sq. ft.
- Project Description:
Restraining stamped concrete around pool. It was last stained 10 years ago. - Personal Tips:
I used a crack sealer that stated it was paintable but found it didn’t pick up the stain. I tried painting over the filler which made it look even worse. Stripped the paint, tried grinding off the crack sealer, and sealing over it but I still was not 100% happy. In retrospect, I would have used a different crack sealer and have been very specific in just filling the crack and not feathering it in. - Direct Colors Products Used:
16 Oz. Non Slip Concrete Sealer Additive
1 Gal. Cuminn DIY Antiquing™ & EasySeal™ Satin Kit
5 Gal. Cumin Antiquing™ & EasySeal™ Satin Kit - Other Products Used: Rollers and trays from Home Depot
Overcoming Project Delays with Cumin Antiquing™ Stain
This project, involving stripping old sealer, degreasing, and applying three layers of sealer, took longer than expected due to the extremely porous concrete and running out of sealer. The Cumin Antiquing™ Stain and Driftwood for the border and accent were used to achieve the desired look. The DIYer advises proper measurement and purchasing extra sealer to avoid delays, and to not strip old sealer if it is not necessary.
- Which Direct Colors products did you use?
- Antiquing Stain DIY Kit Antiquing Stain in Driftwood 3 gallons
- Antiquing Stain in Cumin 3 gallons
- EasySeal Satin Sealer 11 gallons (very porous concrete with 3 layers)
- What other products did you use to complete your project?
- Pump sprayer
- Painter’s solvent (xylene not available in my state) for clean up and previous sealer stripping
- Power washer
- How long did your project take to complete? Longer than anticipated, which is where my tips come in to play 1 week of stripping old sealer 1 day for Direct Colors ProClean Degreaser and drying overnight 3 days sealing 3 layers letting them each dry overnight (ran out of sealer and tarped off for 1 week before being able to apply more sealer in 2 more consecutive days)
- Personal tips about your project that may help another Direct Colors customer do one of their own. “Make sure you have proper measurements, and buy extra sealer for extremely porous concrete. It is better to have extra to have in the future to reseal than to run out and have to tarp off the project until you can get more. If you do not have to strip your old sealer, don’t!”
Front Porch and Patio Transformation with Driftwood Antiquing™ Stain
This DIY project involved re-staining and sealing a faded and worn-out front porch and patio. The transformation, from worn-out to fantastic, was achieved using Driftwood Antiquing™ Stain and EasySeal™ Gloss Sealer. The DIYer recommends thoroughly cleaning the area and removing old clear coat for a smooth finish.
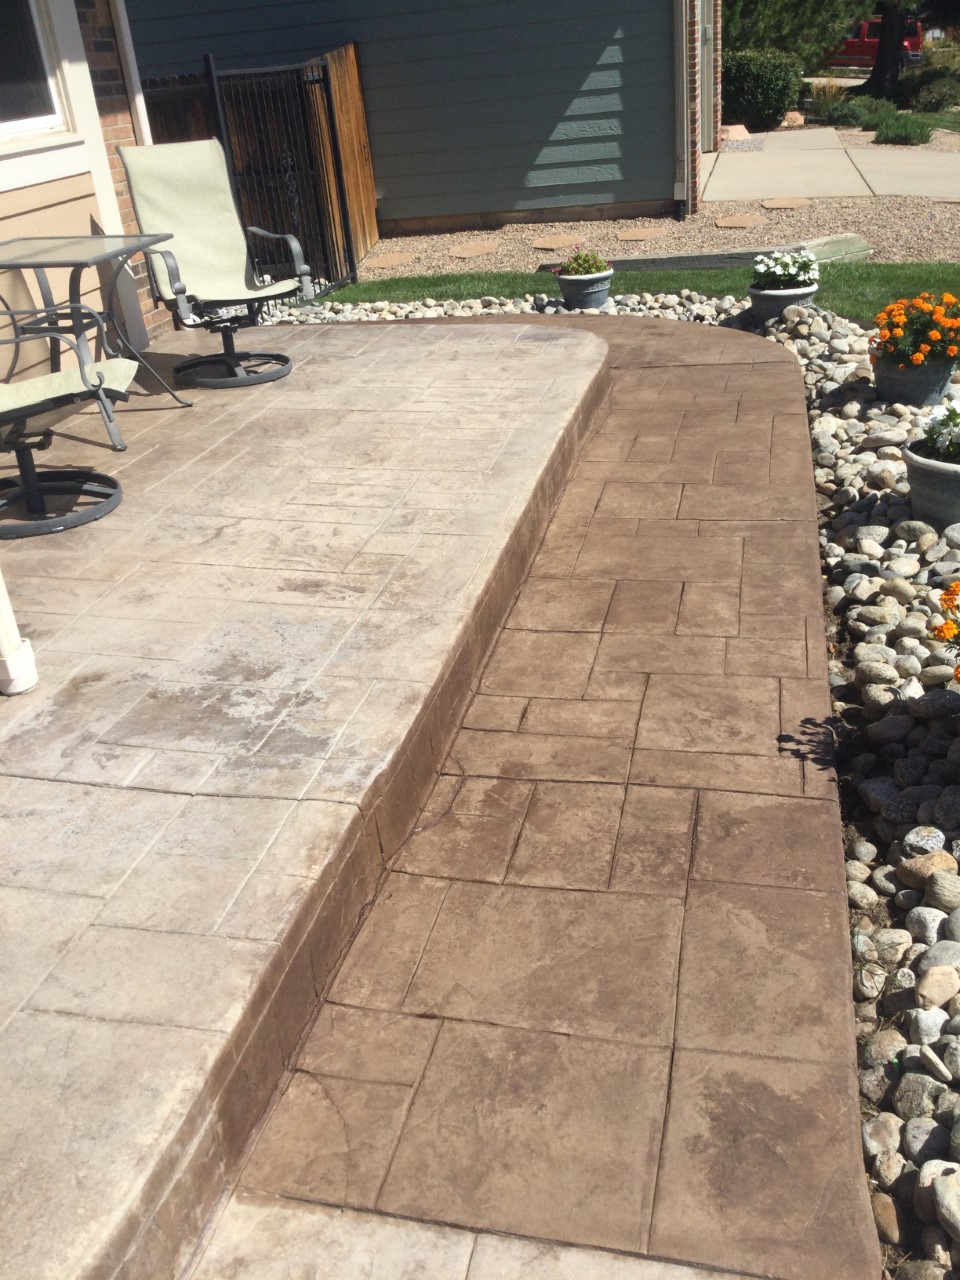
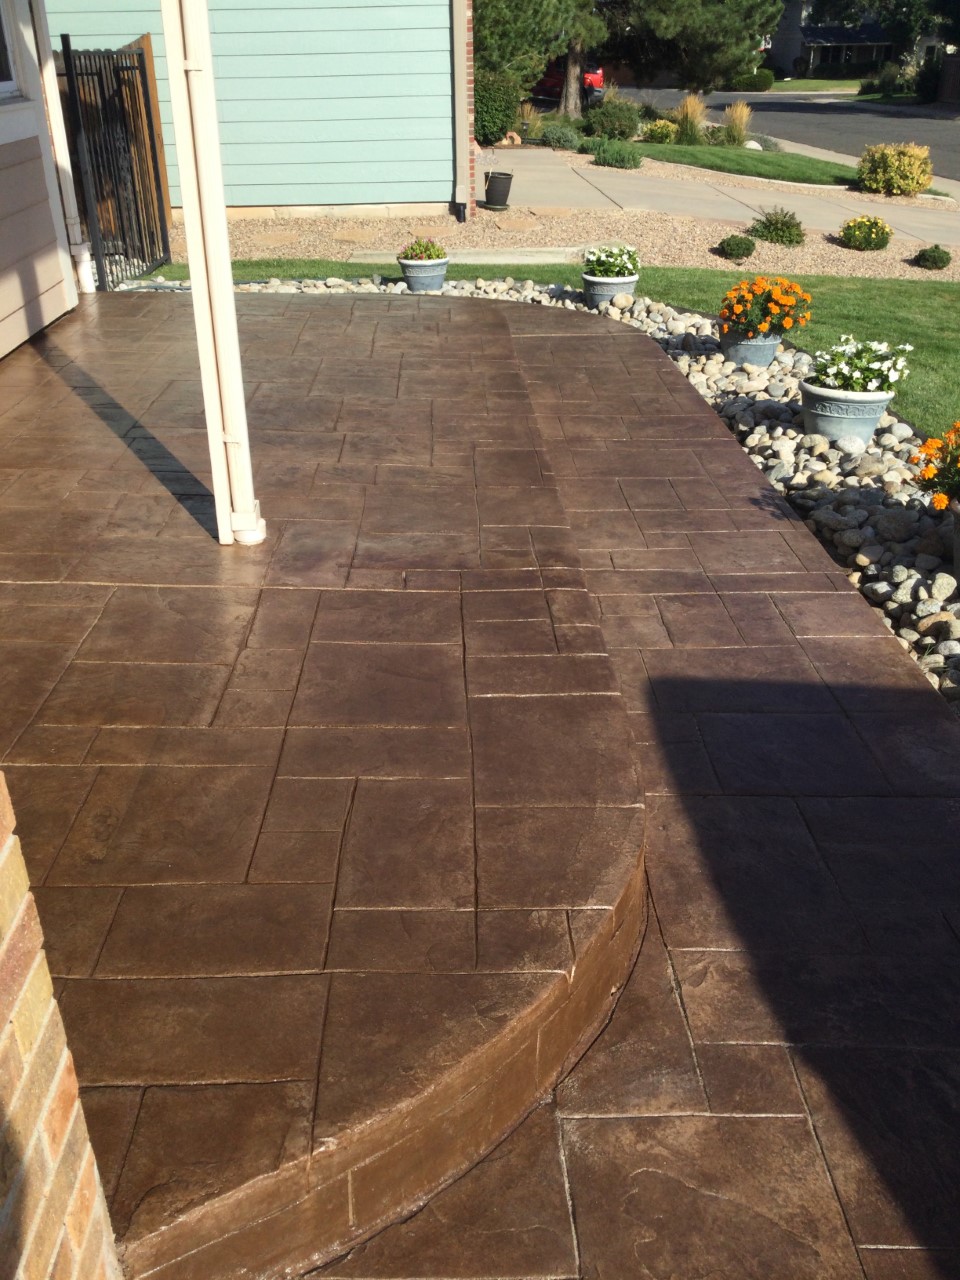
Project Info:
- Project Completed In: 3 day(s)
- Estimate of Square Footage: 200 sq. ft.
- Project Description:
Front porch and patio re-stain and seal. As you can see in the first picture, left side is faded and worn out, while lower right has been stained. The other pictures follows through to the completed job, looks fantastic, your products really did great! - Personal Tips:
Make sure to clean the area that will be stained and remove as much of the old clear coat (if any) that is on it to have a smooth finish! - Direct Colors Products Used:
1 Gal. Driftwood DIY Antiquing™ & EasySeal™ Gloss Kit
Sun-Beaten to Showstopper: Patio Renewed!
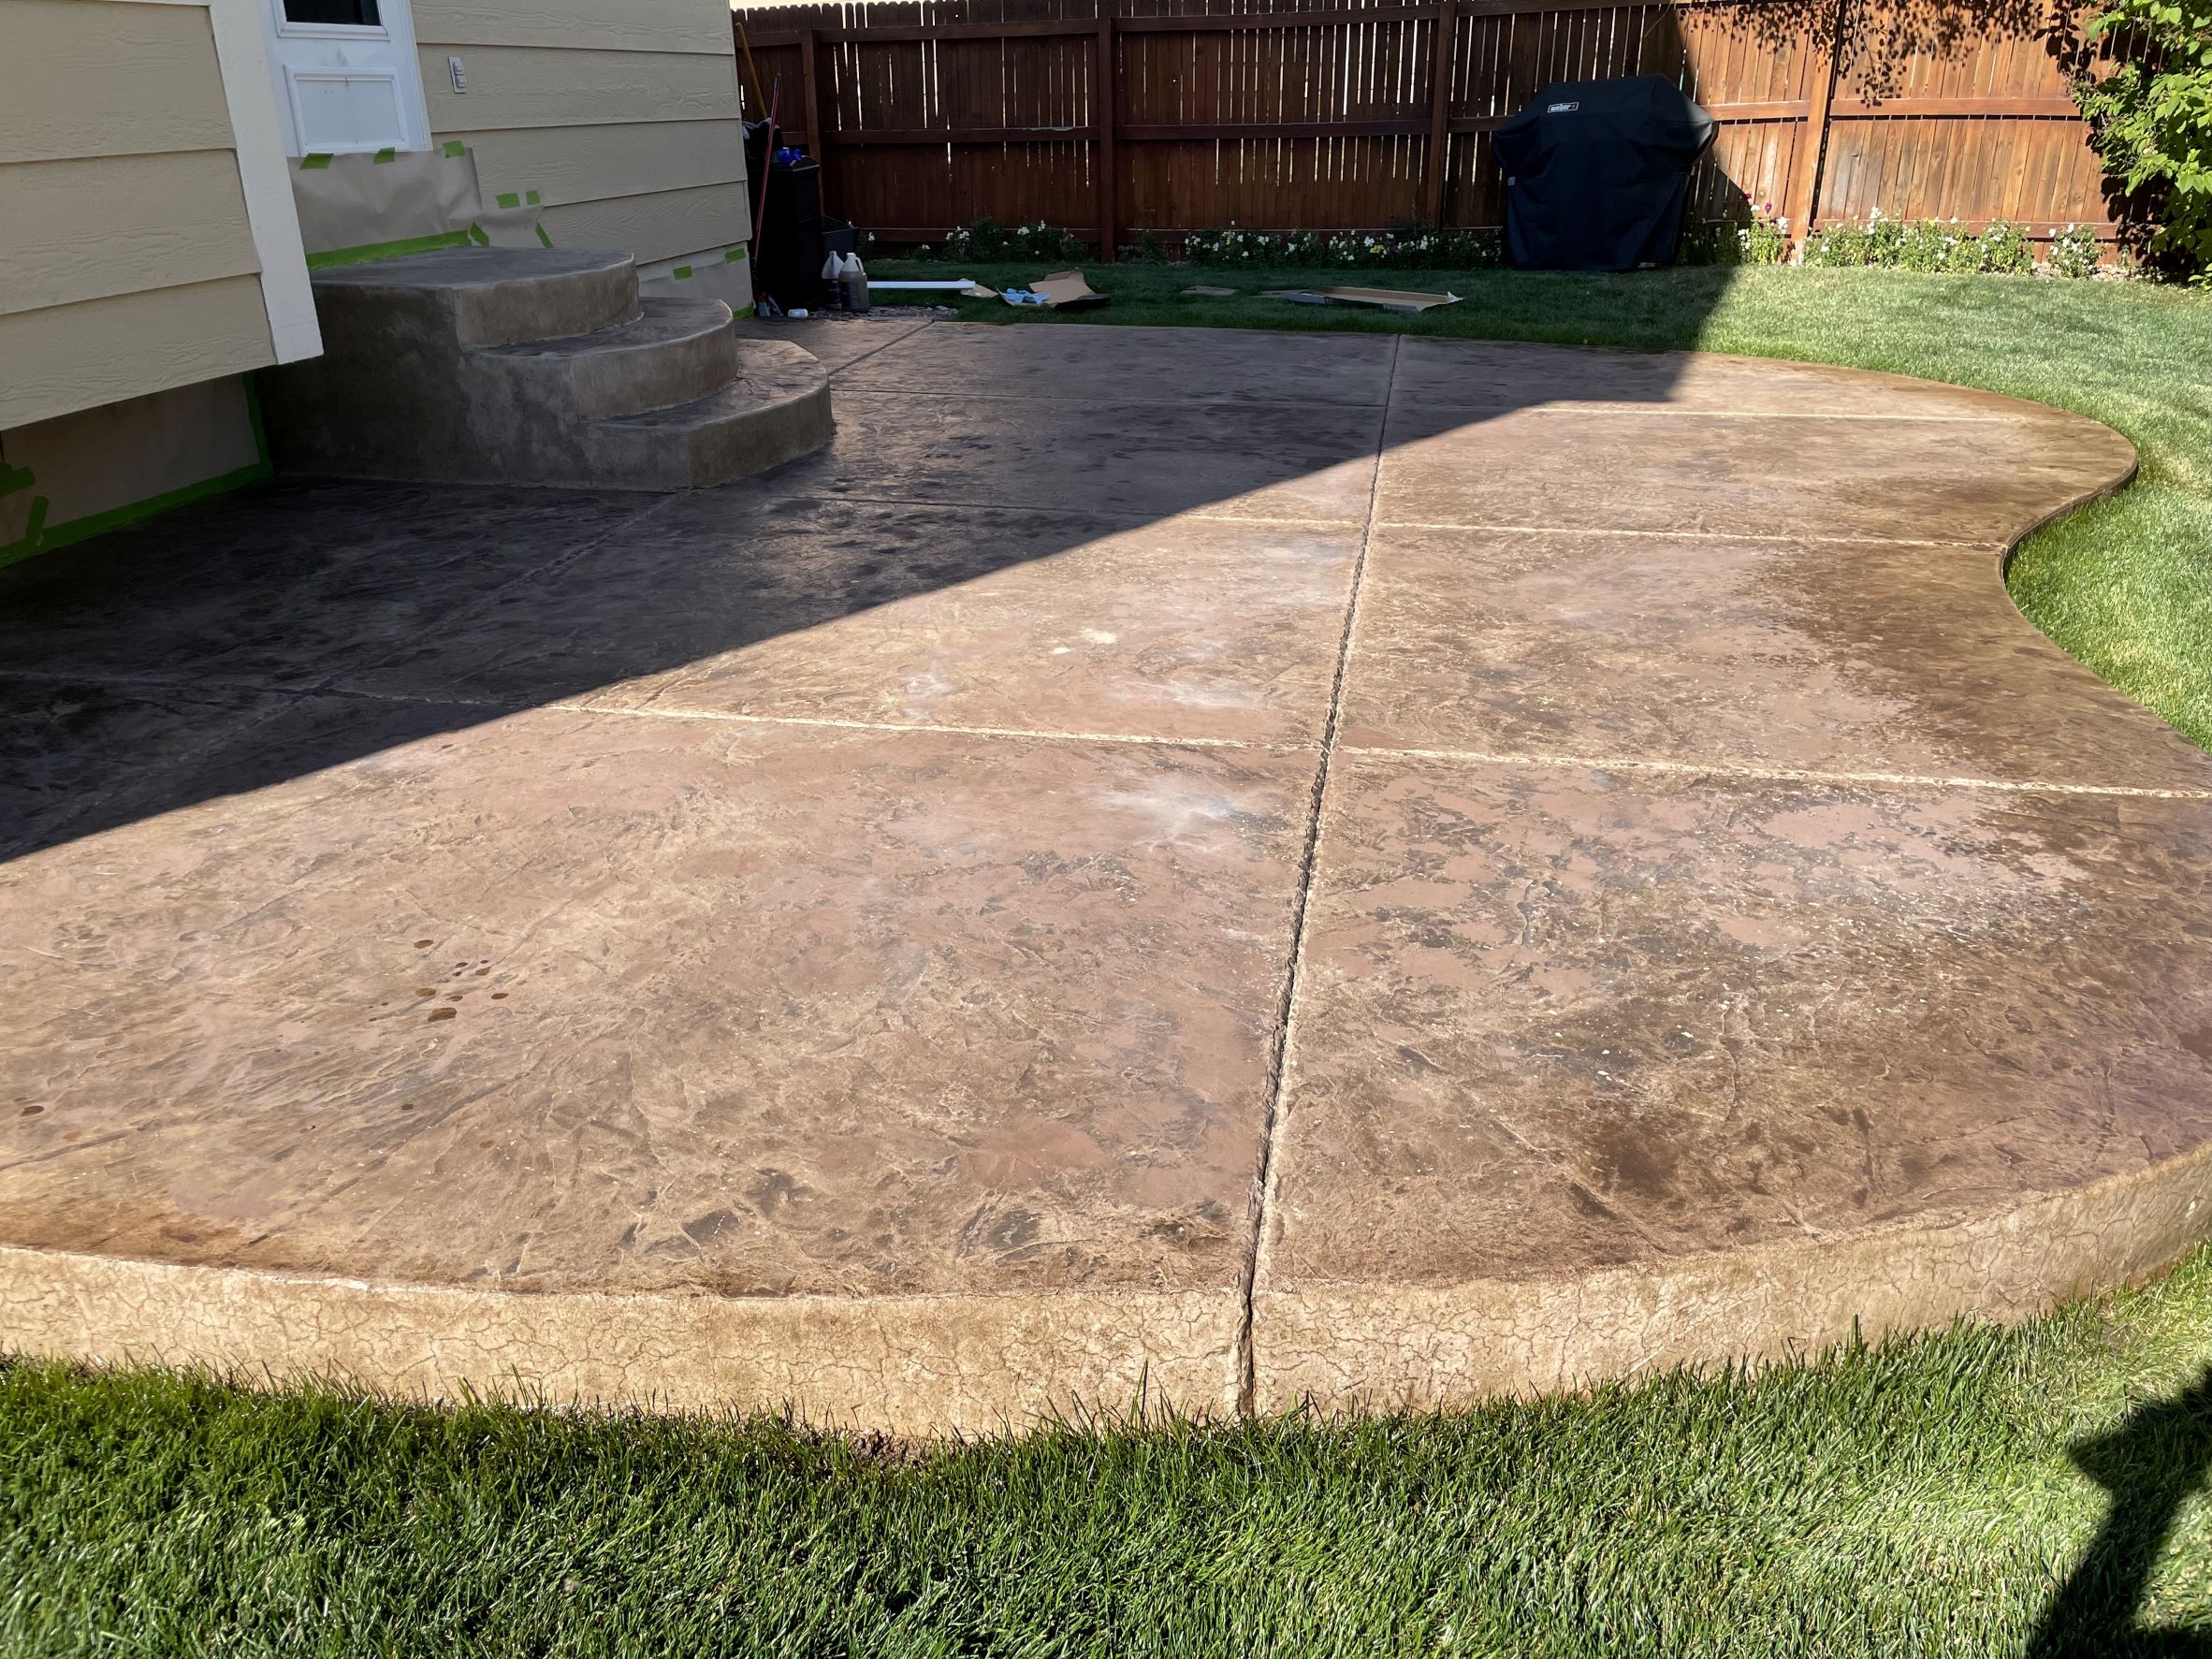
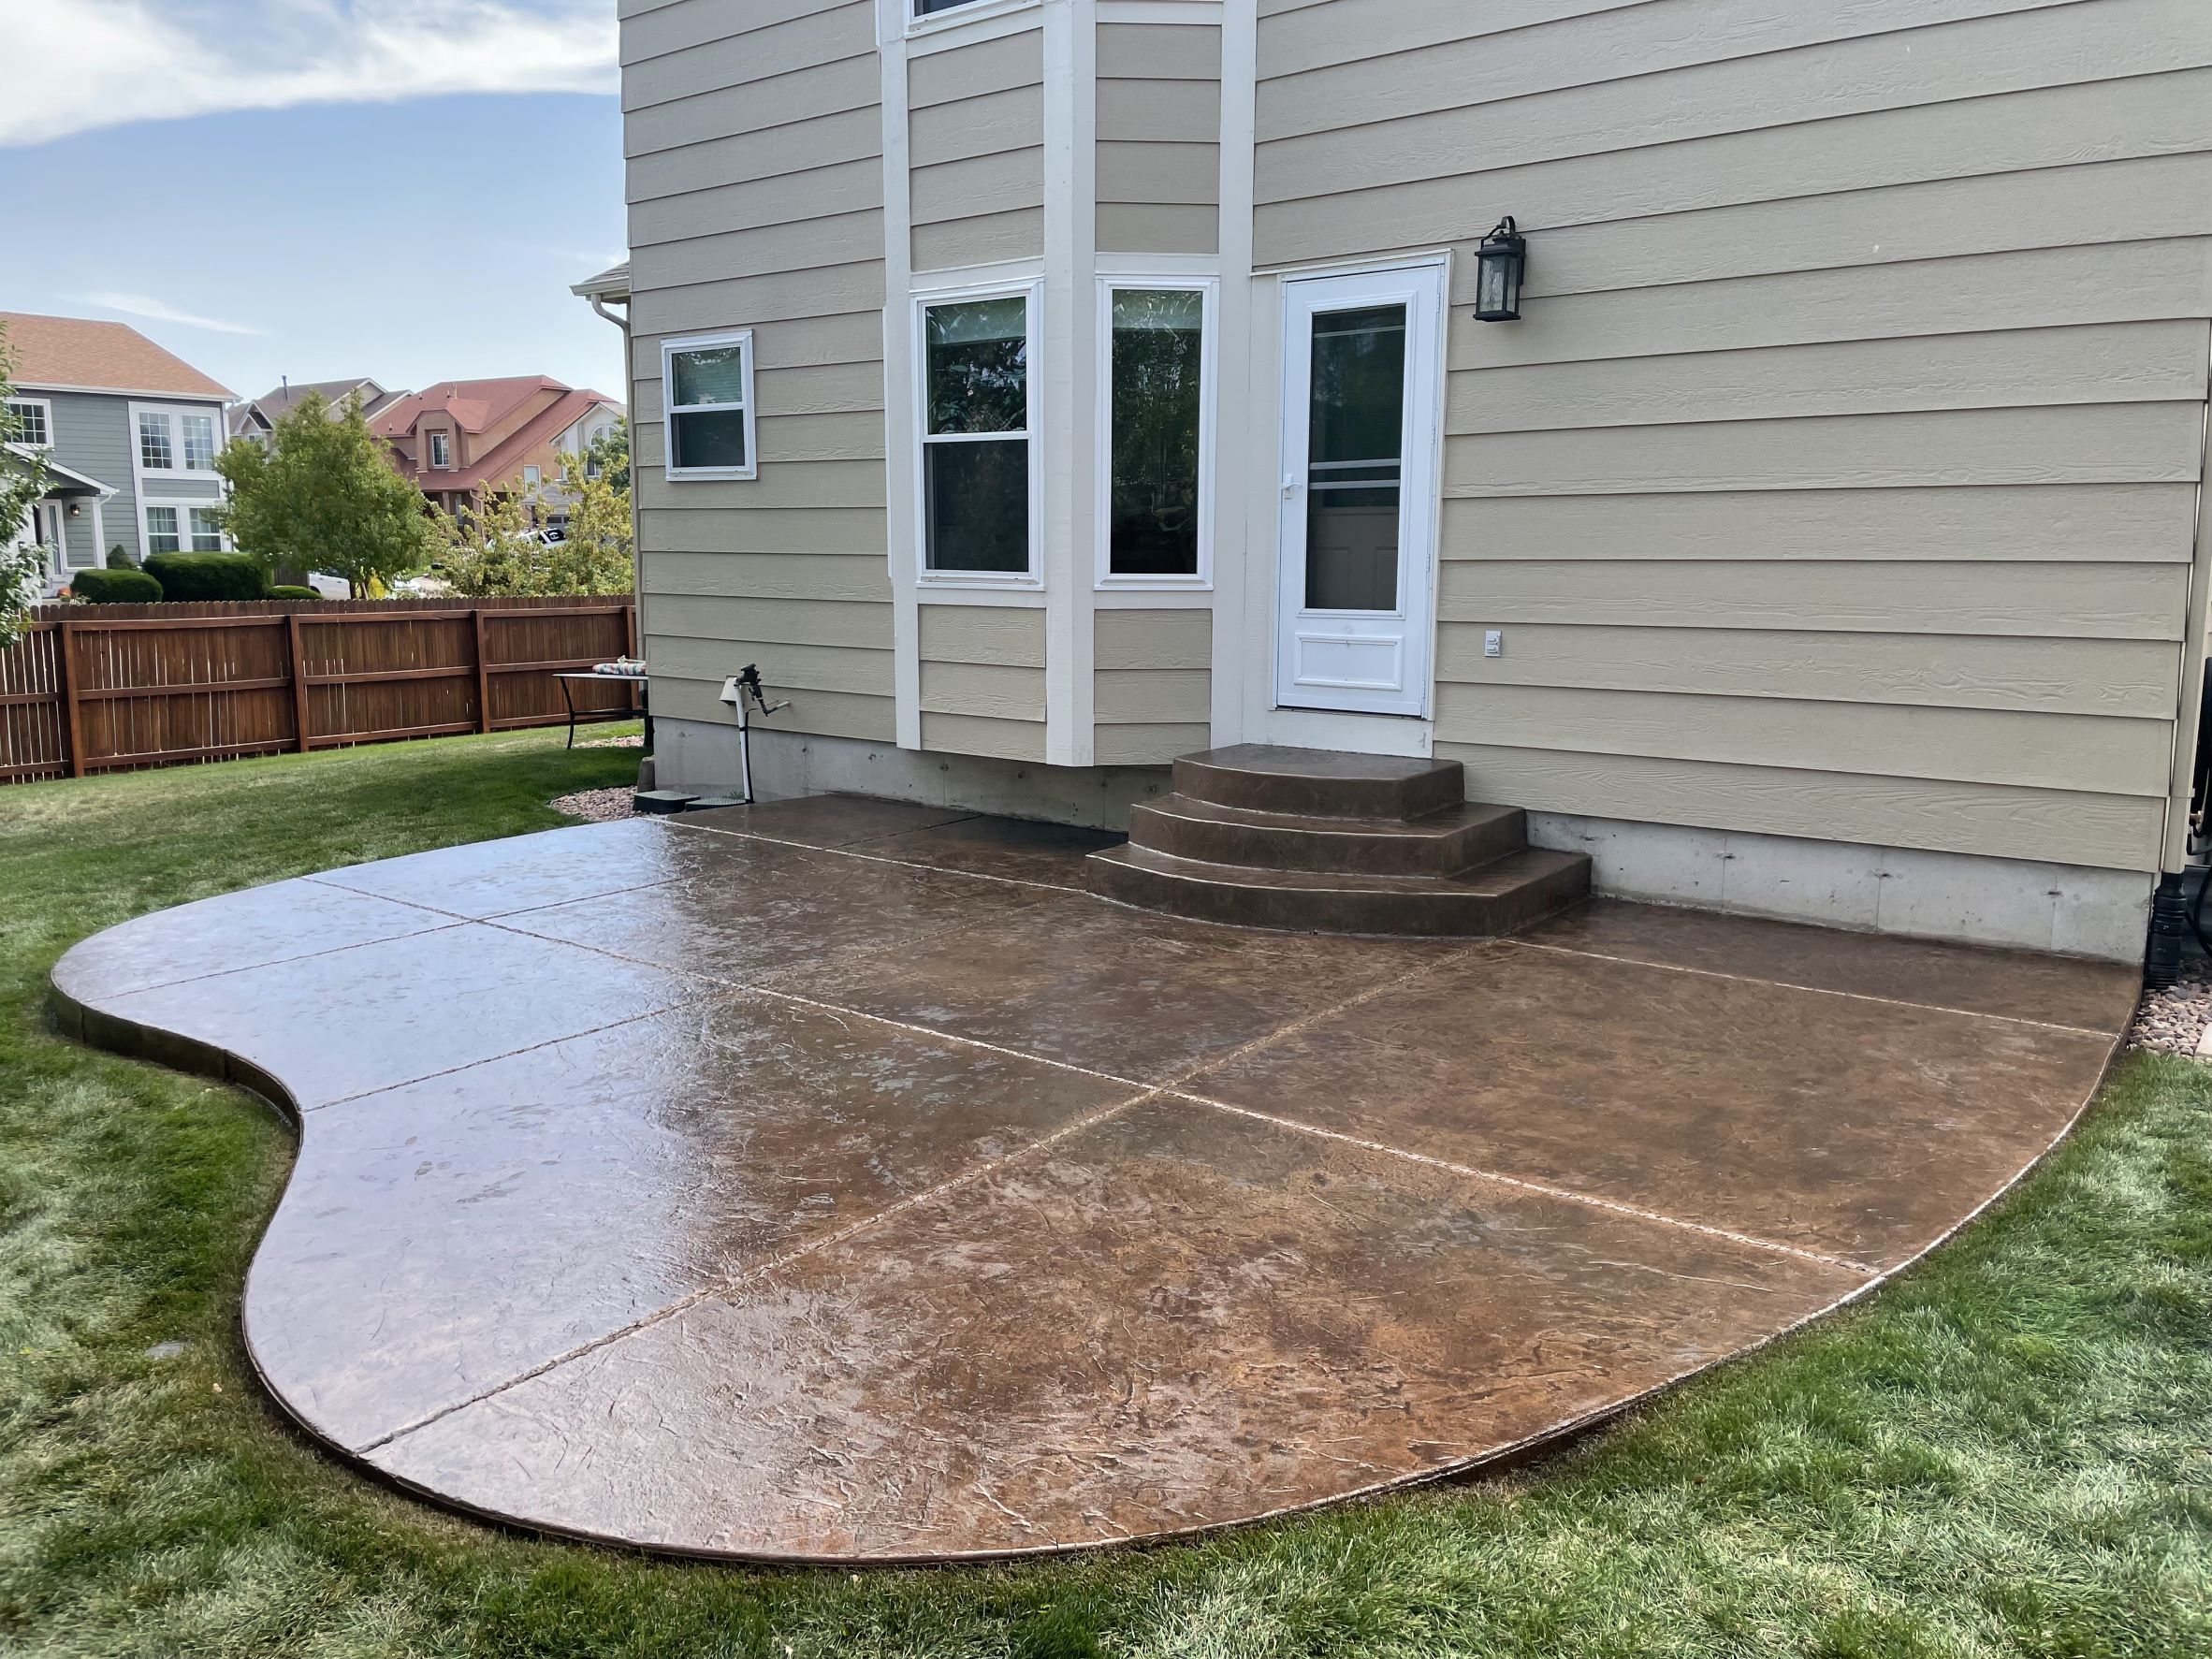
From a sun-faded, pitted concrete surface to a rejuvenated, vibrant patio! This project involved patching weather-damaged areas using Direct Colors concrete patching compound and pigment, followed by an easy and consistent application of Driftwood Antiquing™ Stain via a pump sprayer. Two coats of EasySeal™ Gloss sealer brought the color to life, making the patio look brand new! The key tips? Sand the patching compound slightly before it solidifies and apply the sealer slowly with a saturated roller to avoid bubbles. A total transformation that delights the homeowners!
Project Info:
- Project Completed In: 2 day(s)
- Estimate of Square Footage: 400 sq. ft.
- Project Description:
Started off with Colorado weather damaged concrete, typical freeze and expand pitting, and warn faded coloring and sealant due to the strong sun we have. Used the Direct Colors concrete patching compound and some concrete pigment to patch all the pitted areas. Used a pump sprayer to apply the antiquing stain, which went on easily and consistently. Applied the two coats of acrylic sealer and the color popped! My patio looks brand new. We are extremely happy with the outcome, easy application, and great look. - Personal Tips:
When filling concrete pits with the patching compound, sand down the compound slightly before it’s solid, otherwise it’s almost impossible to sand down..
When applying the acrylic sealer, let the weight of the saturated roller do the work. I personally found that rolling the roller back from the far end, let the sealer apply nicely.. Roll the roller nice and slow to prevent the acrylic sealer from bubbling as it dries. - Direct Colors Products Used:
1 Gal. Driftwood DIY Antiquing™ & EasySeal™ Gloss Kit
1 Gal. Driftwood Antiquing™ & EasySeal™ Gloss Kit
Patch-Rx™ Compound: Base Gray: 2.5 Pound
1 lb. Concrete Pigment Color Cocoa Brown - Other Products Used:
Pressure washer to clean it off
Extension pole to attach the roller
Elegance Restored with Eagle Gray Antiquing™ Stain
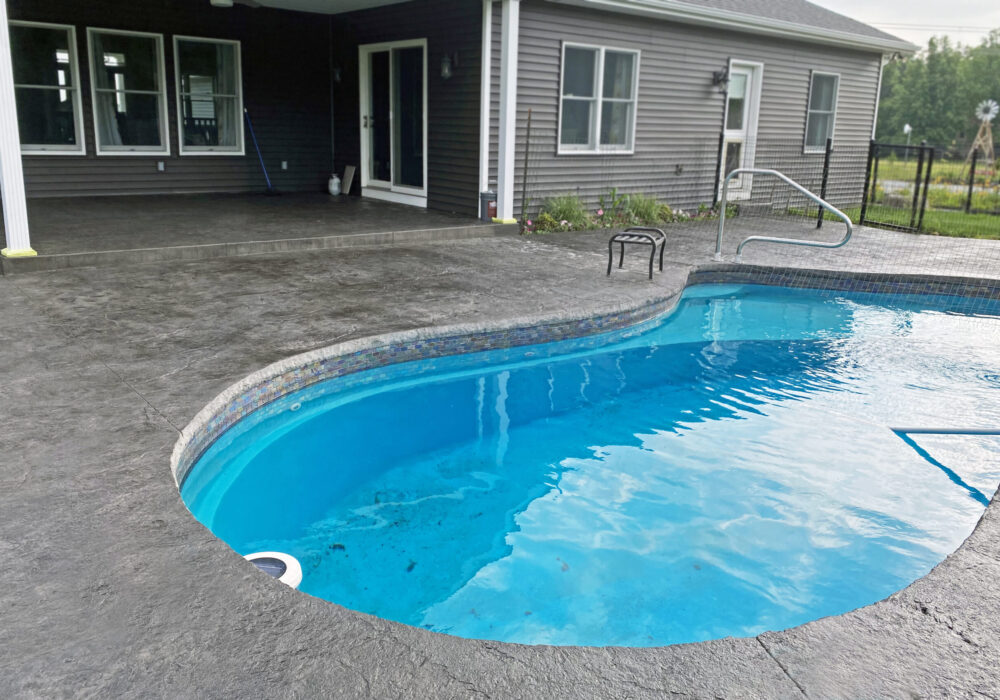
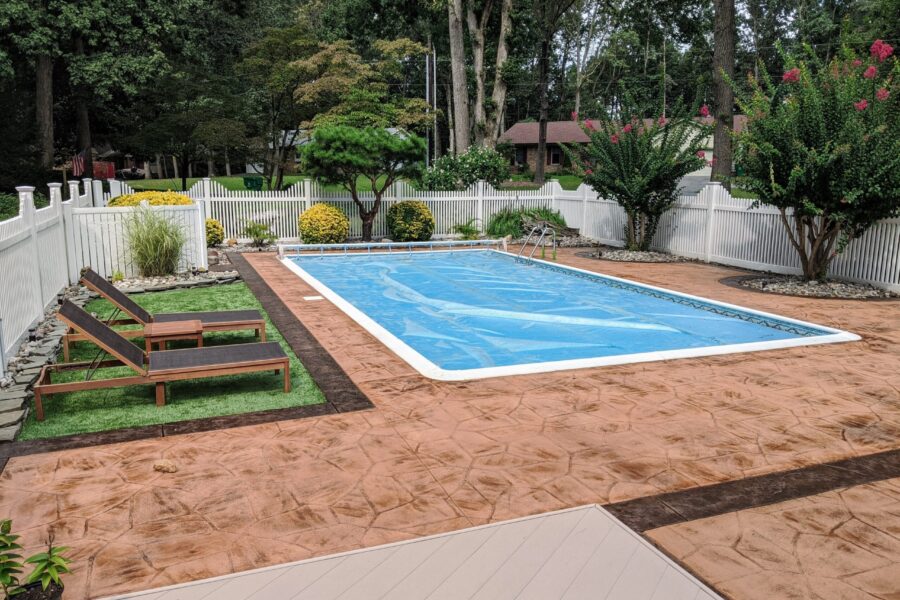
The pool deck now radiates sophistication with its restored stamped design, enhanced by the elegant Eagle Gray Antiquing™ Stain and protected with a durable EasySeal™ finish.
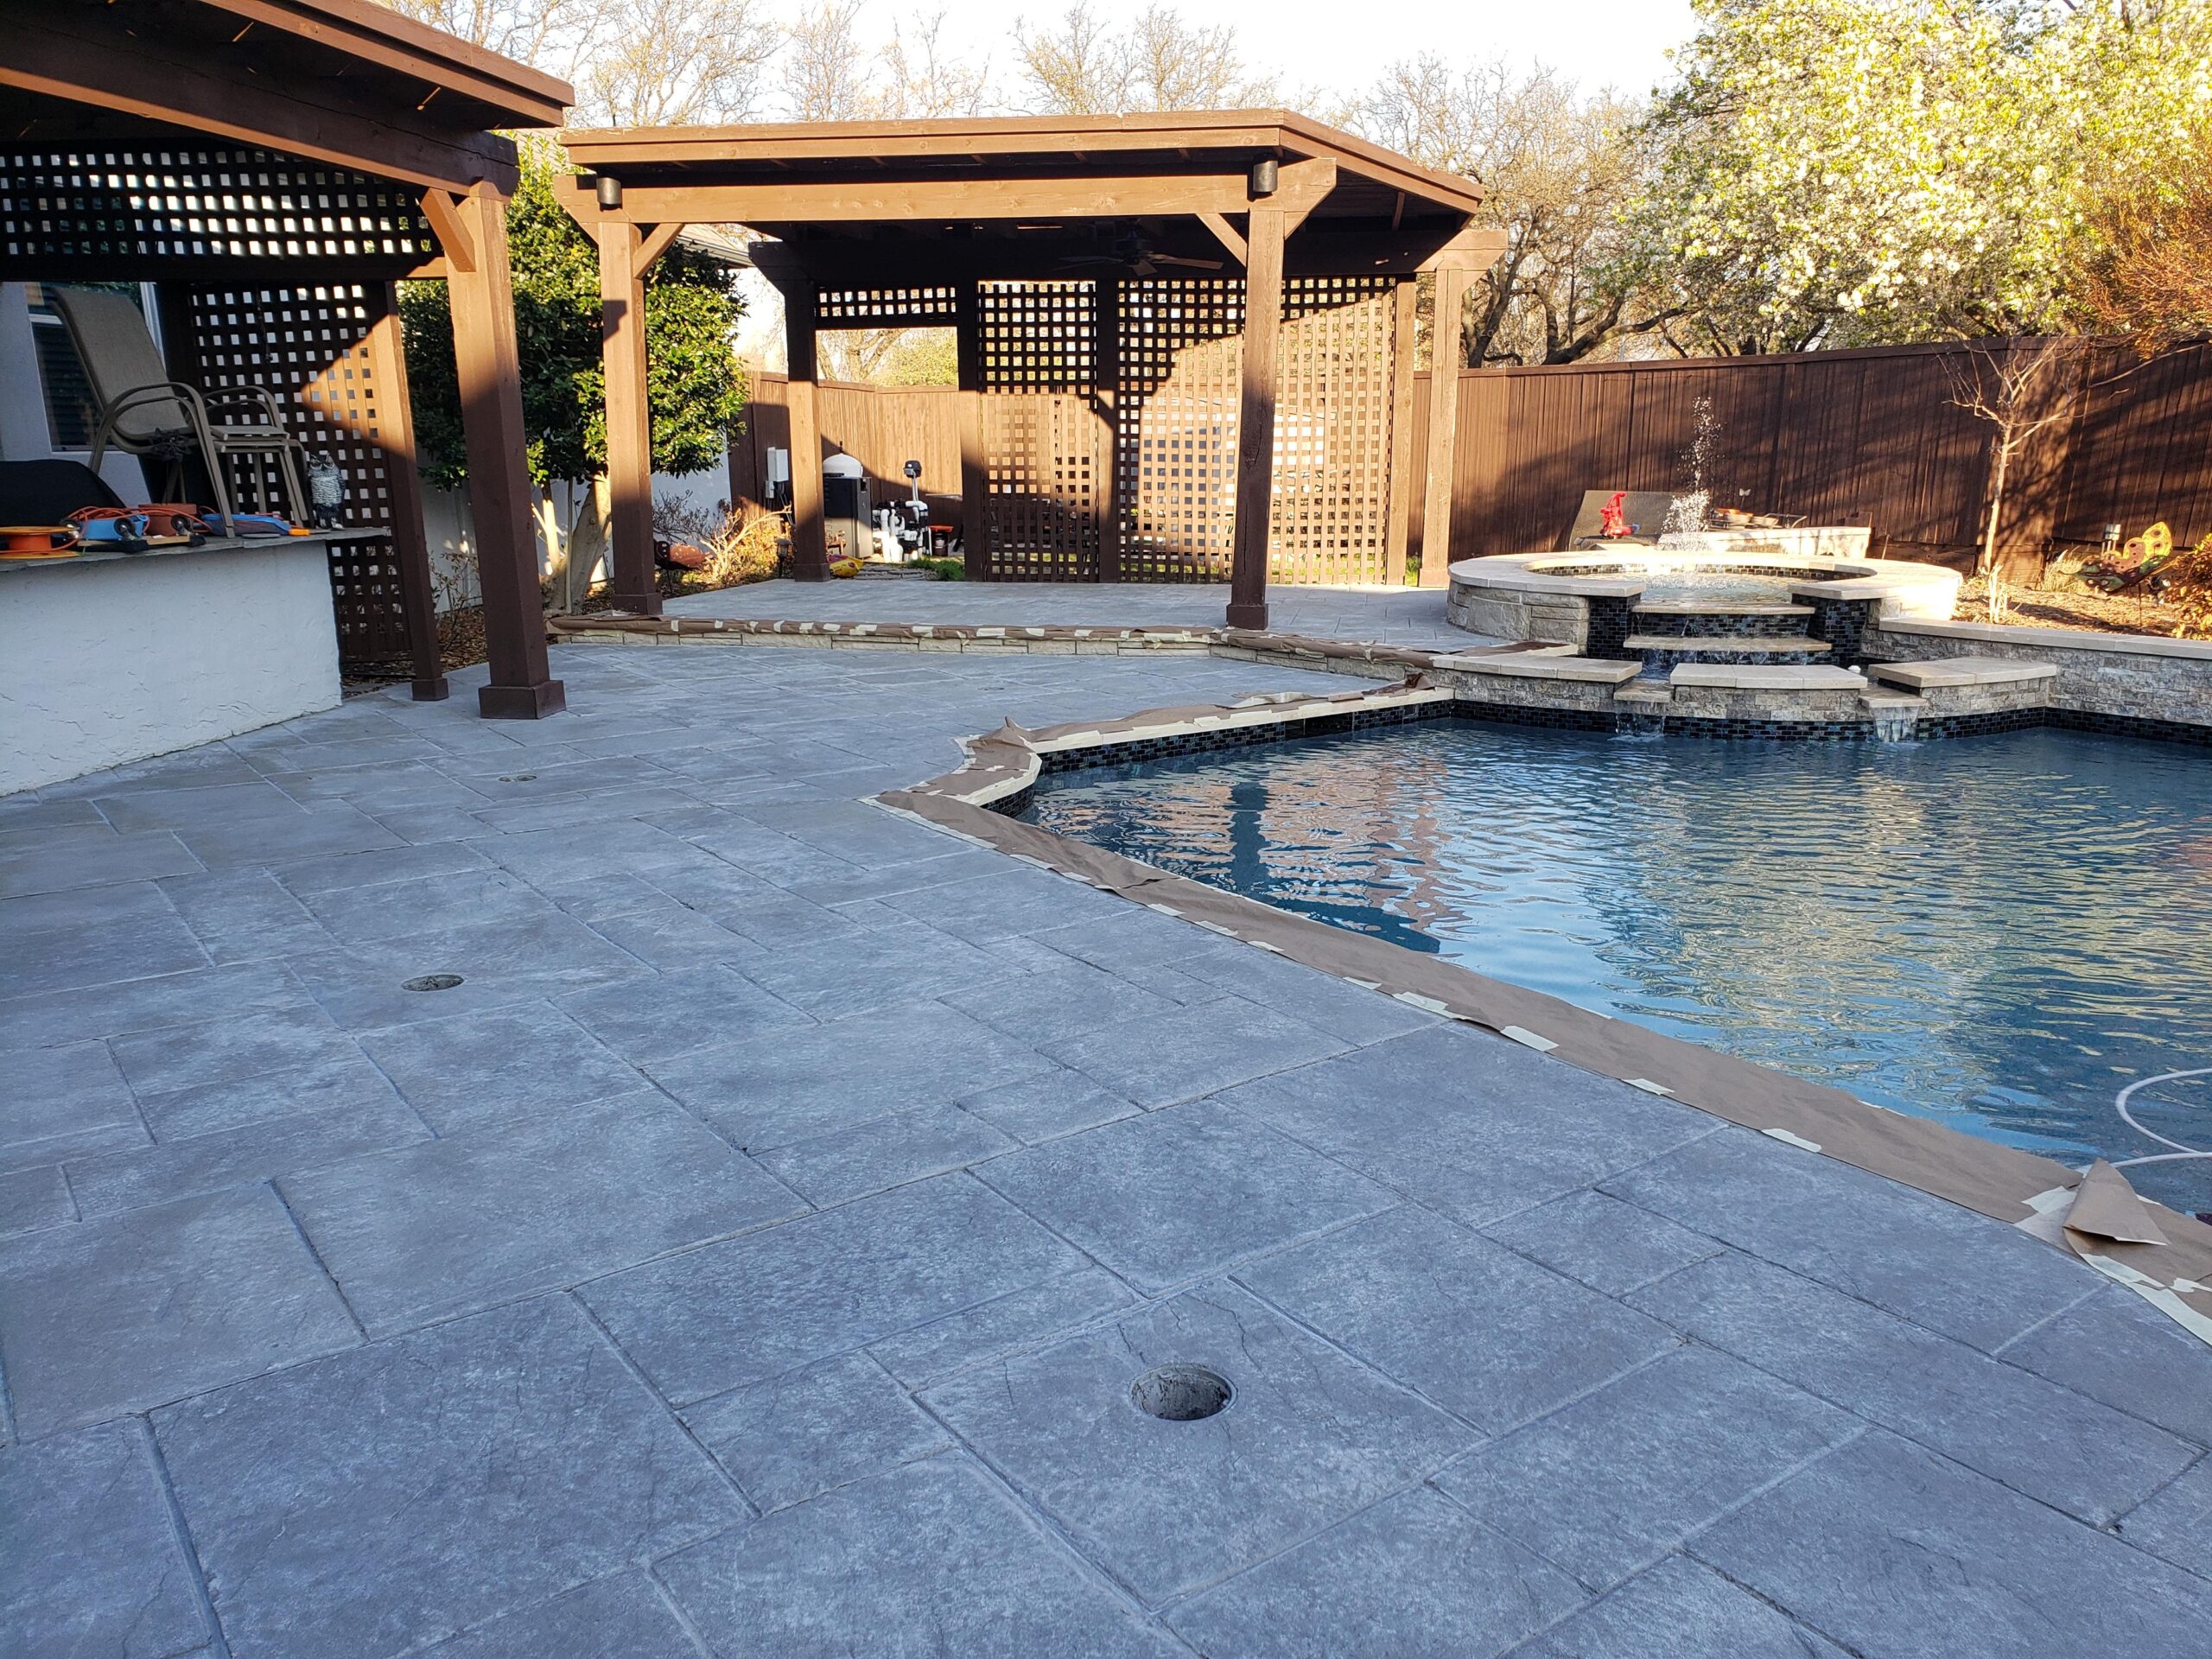
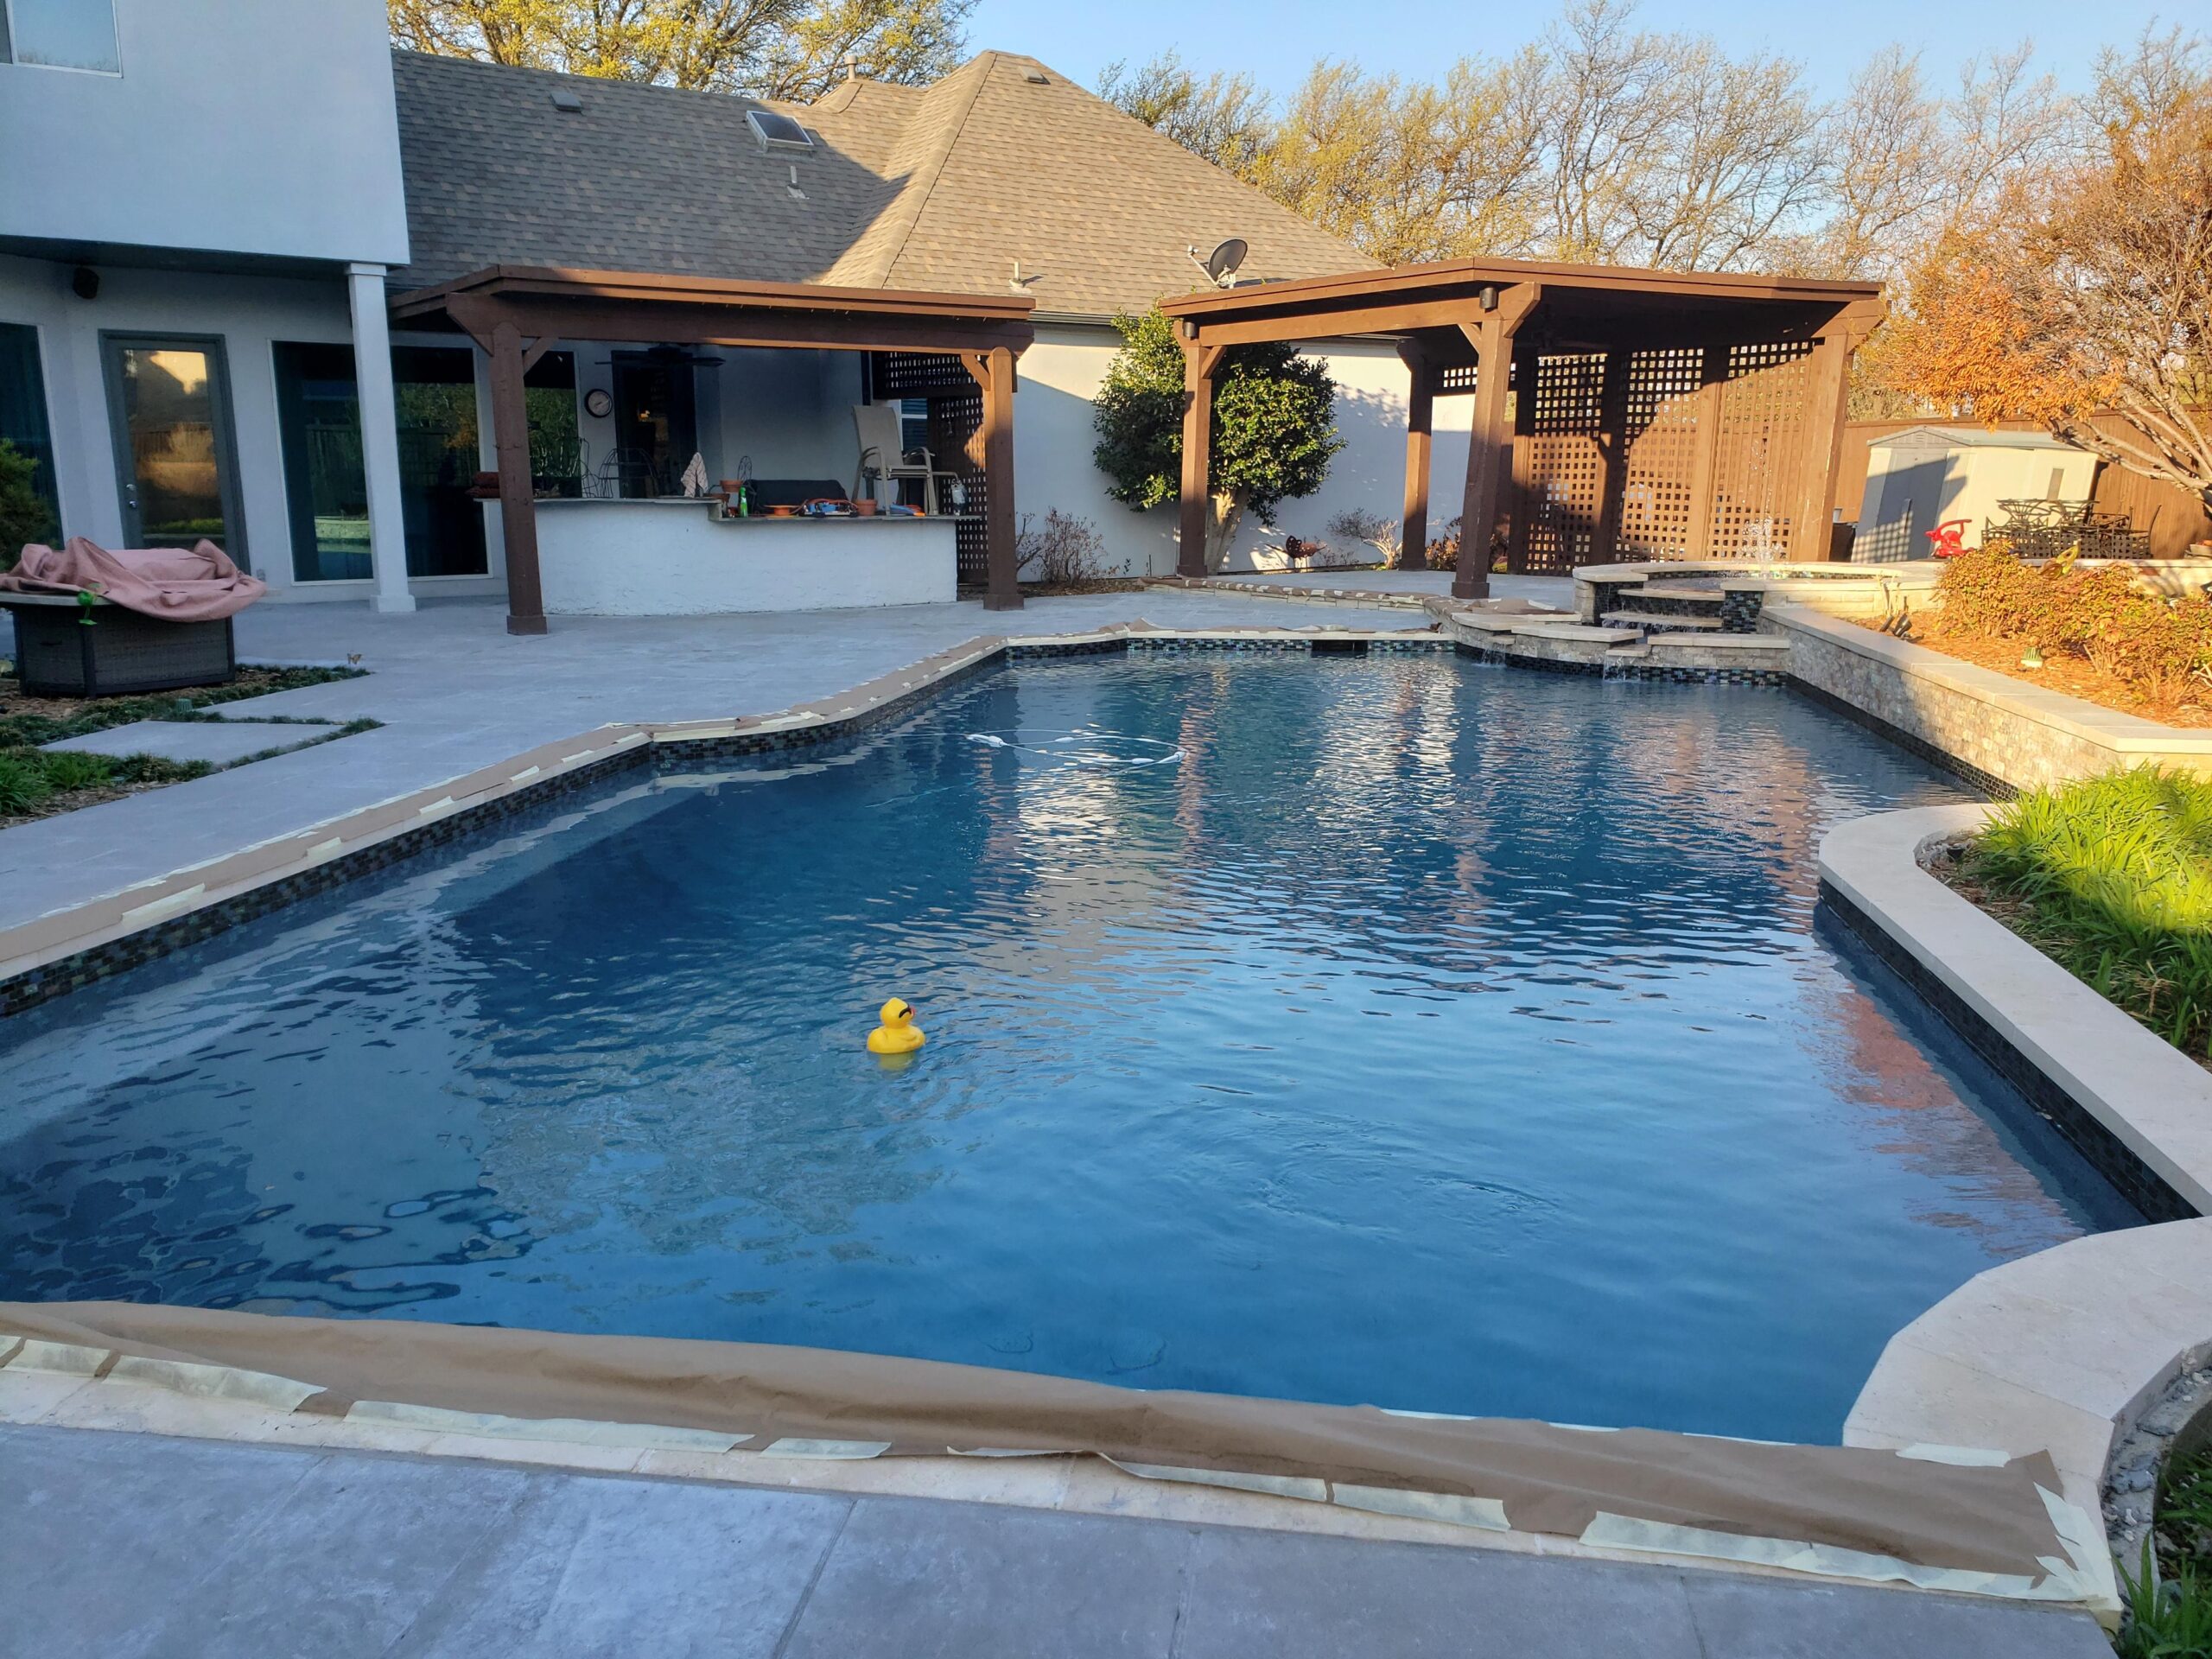
Slate-Look Patio Enhanced with Multi-Colored Antiquing™ Stains
This DIY stamped concrete patio, designed to mimic slate, features tiles individually stained with four separate Antiquing™ Stain colors, including an interesting touch of Fern Green Antiquing™ Stain, followed by a top coat of charcoal to darken the entire area. The process involved brushing each square with stain, spraying a charcoal top coat, and then rolling on a satin sealant followed by a non-slip powder finish. The result is a captivating, multi-tonal patio with enhanced texture and slip resistance.
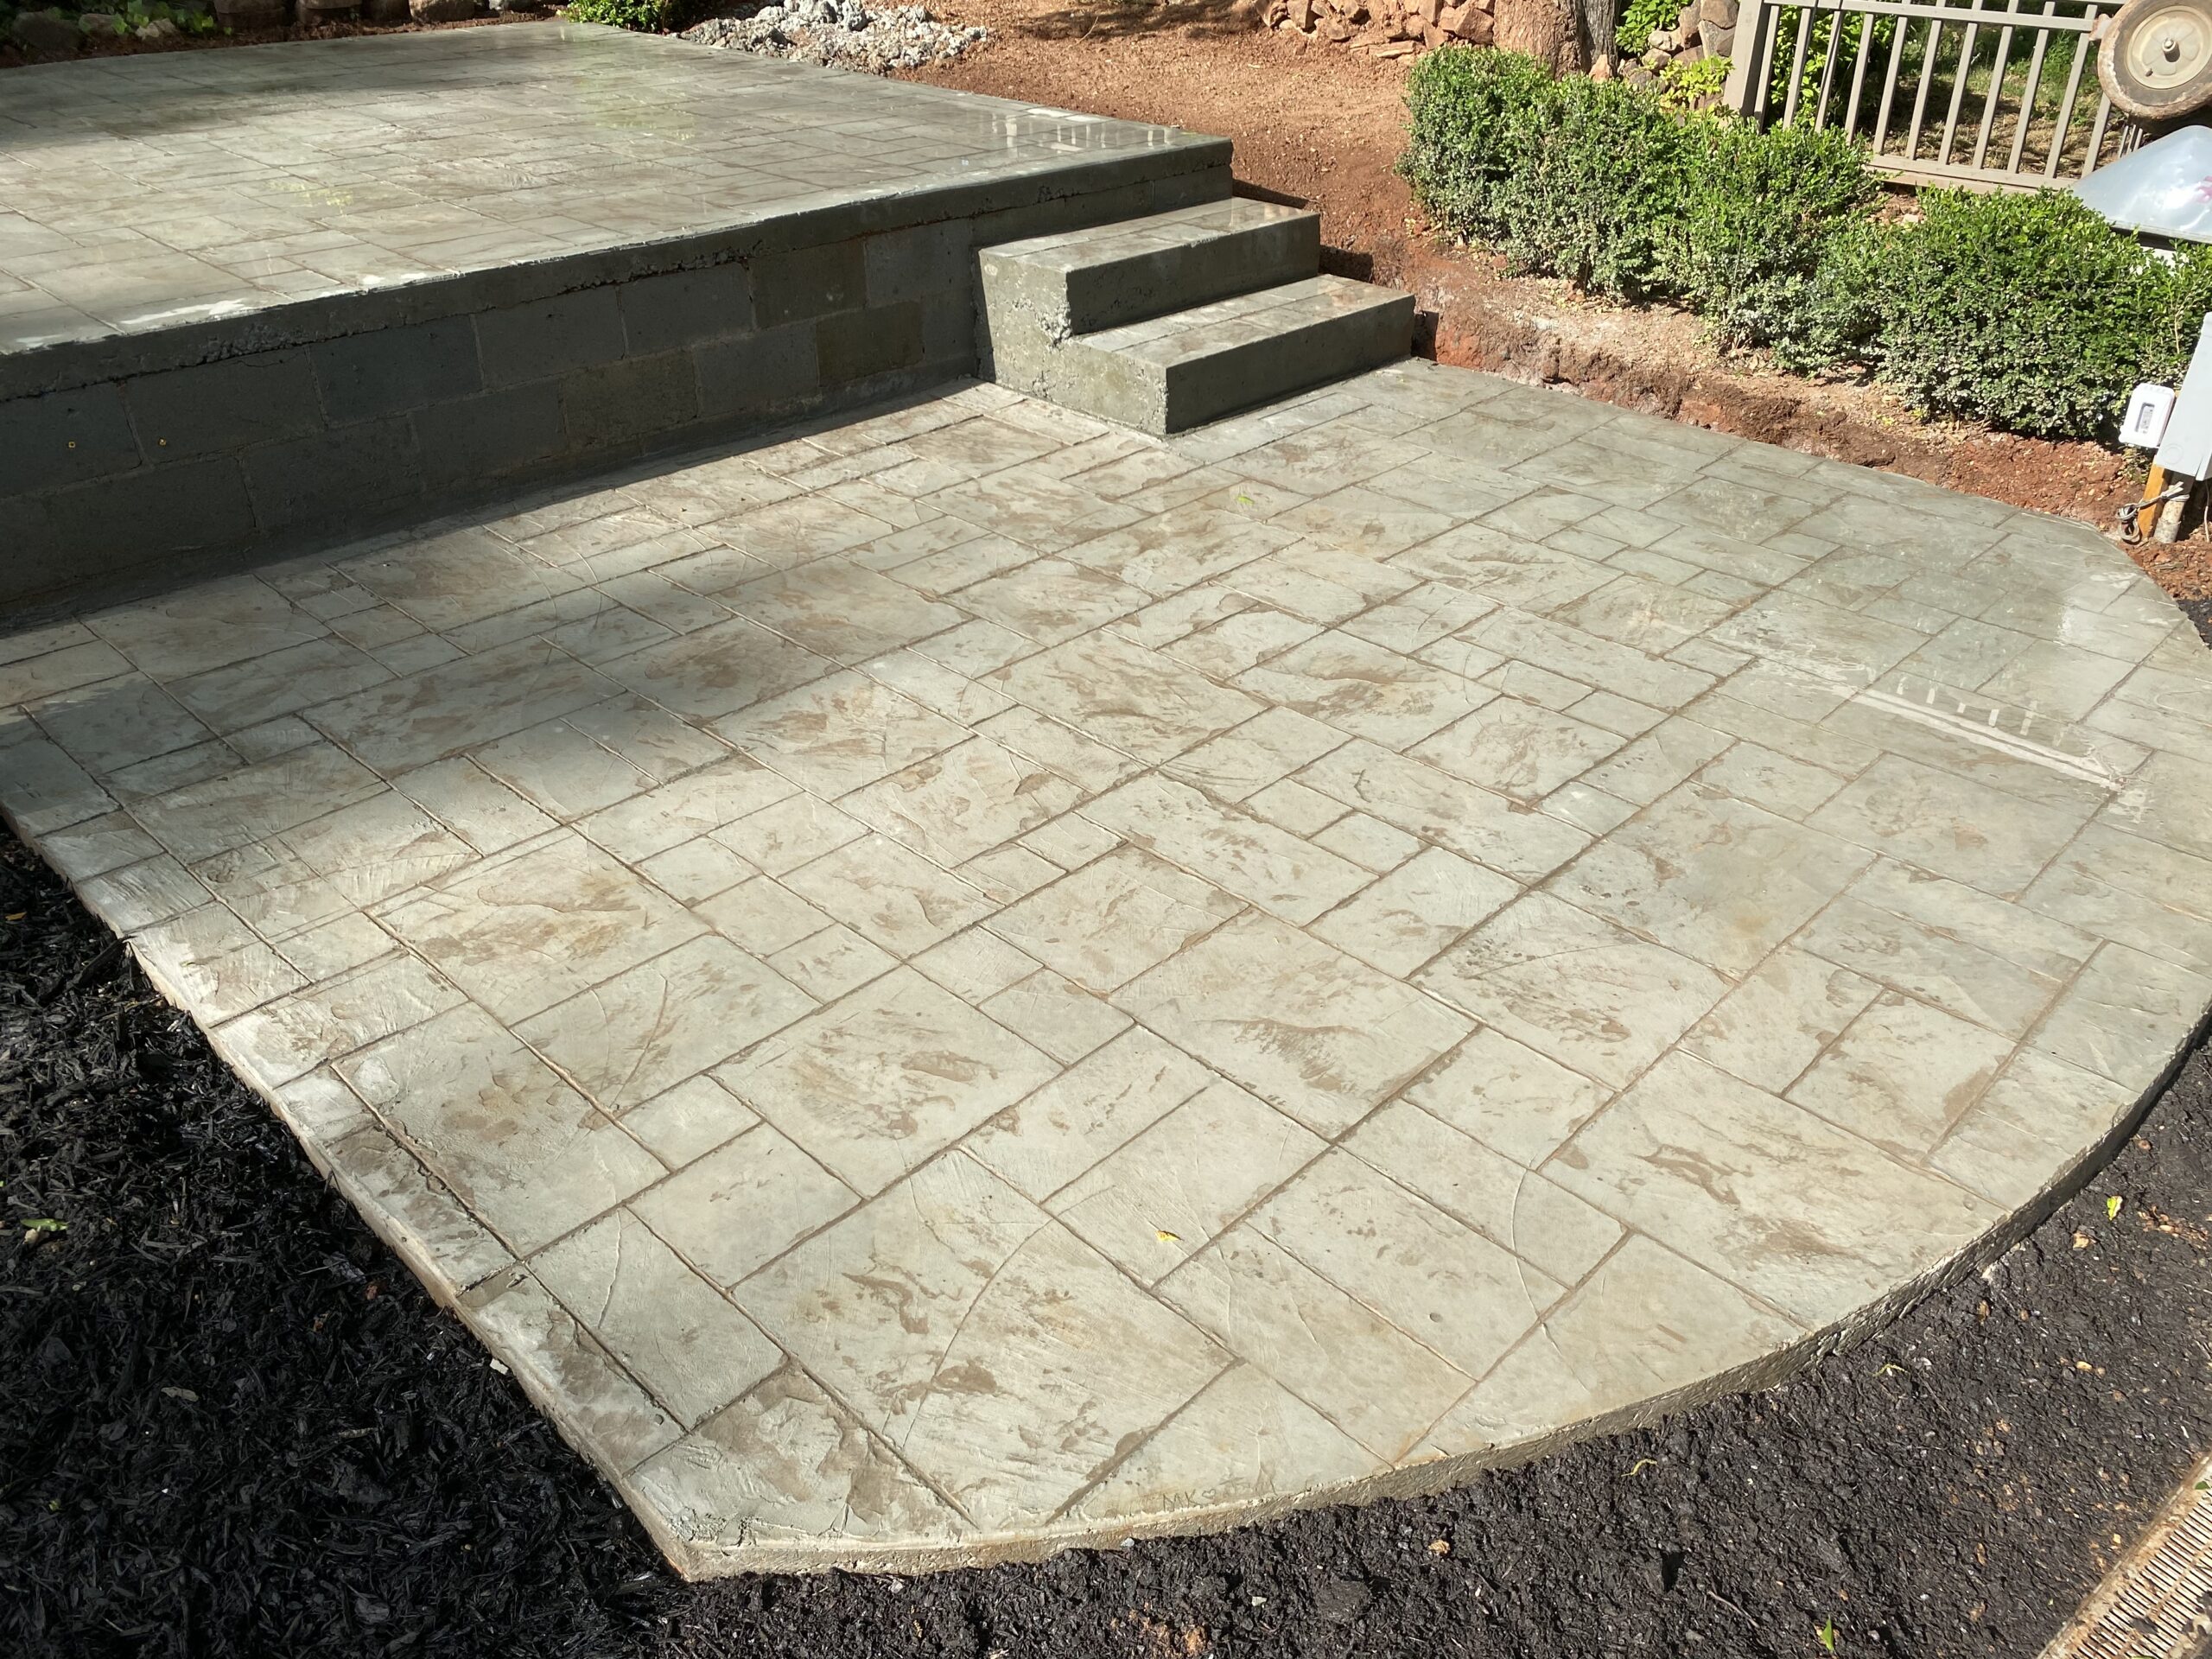
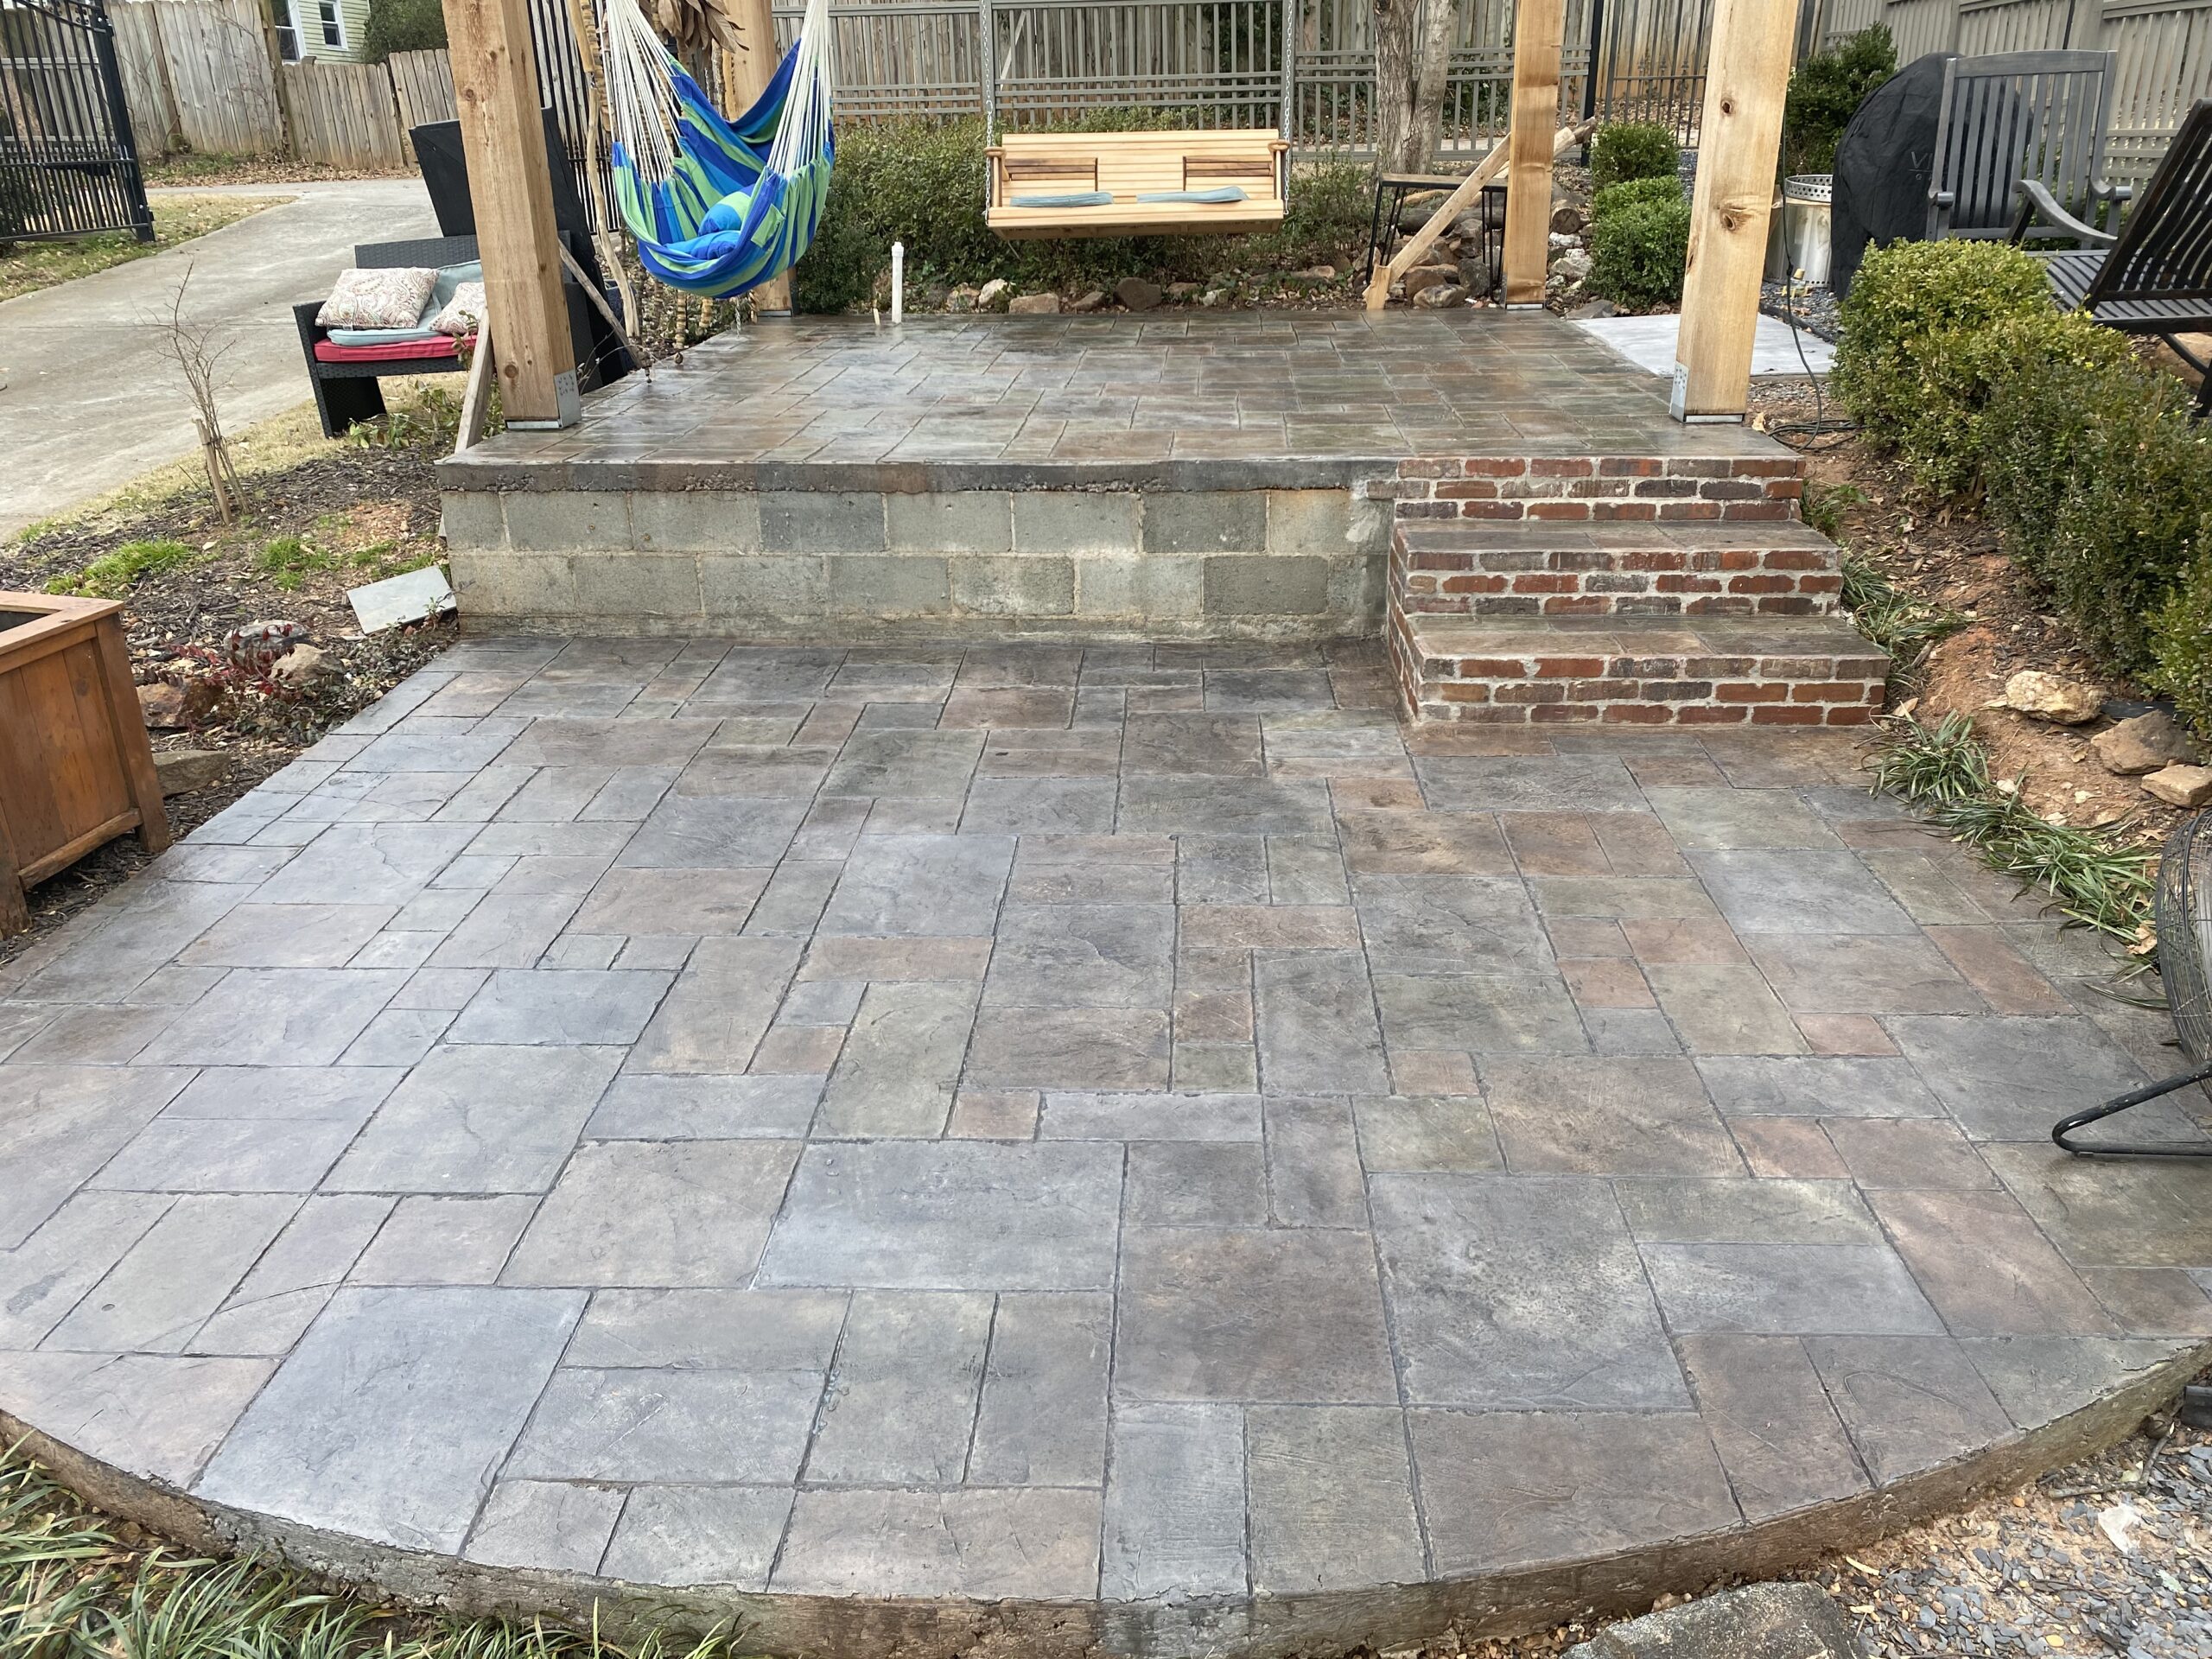
Project Info:
- Project Completed In: 3 day(s)
- Estimate of Square Footage: 336 sq. ft.
- Project Description:
I made a stamped concrete patio, stamped to look like slate. I then used antiquing stain in 4 separate colors to stain each tile individually, then I put a top coat of charcoal to darken it all up. I then put one coat of the satin sealant followed by a final coat with the non slip powder. - Personal Tips:
I used a brush to stain each square, then sprayed the charcoal top coat with a pump sprayer then rolled the sealer on after it was dry. - Direct Colors Products Used:
3 Gal Charcoal Antiquing Stain
1 Gal Russet Antiquing Stain
1 Gal Fern Green Antiquing Stain
1 Gal Driftwood Antiquing Stain
2 Gal Satin Concrete Sealer
16oz non slip additive
Rolling In The Khaki: A Stamped Concrete Revival
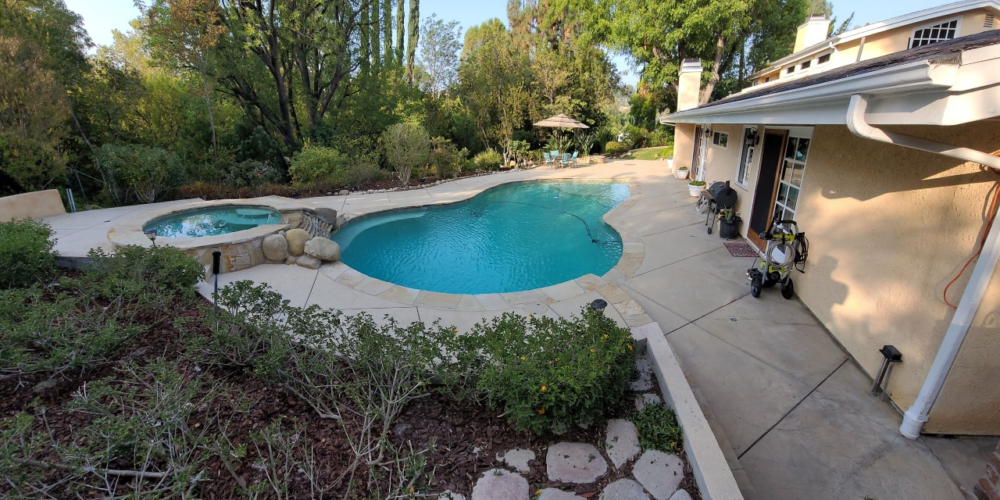
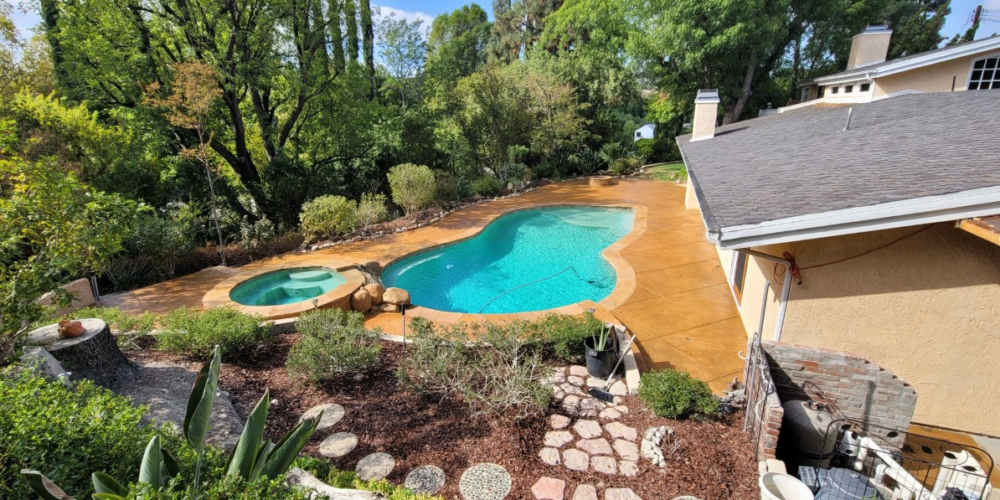
Get ready for a poolside revamp that’s as stylish as it is practical. This project saw a large faded stamped concrete patio, spa, and pool surround area get a new lease on life with the help of an Antiquing™ stain in a chic Khaki color. But here’s the twist – instead of spraying, the stain was applied using rollers for a more controlled and even finish. To top it off, an EasySeal™ satin sealer was used, with a second coat mixed with a Slip Resistant Additive for safer, slip-free fun in the sun. One pro tip to remember – keep those garden sprinklers off while working! The results are simply beautiful – and proof that sometimes, the roller is mightier than the spray.
Project Info:
- Project Completed In: 4 day(s)
- Estimate of Square Footage: 1500 sq. ft.
- Project Description:
Large patio, spa and pool surround area of unfinished stamped concrete - Personal Tips:
Rollers worked better than spray. Shut off garden sprinklers - Direct Colors Products Used:
1 Gal. Khaki DIY Antiquing™ & EasySeal™ Satin Kit
2 x 1 Gal. Khaki Antiquing™ & EasySeal™ Satin Kit
5 Gal. Khaki Antiquing™ & EasySeal™ Satin Kit
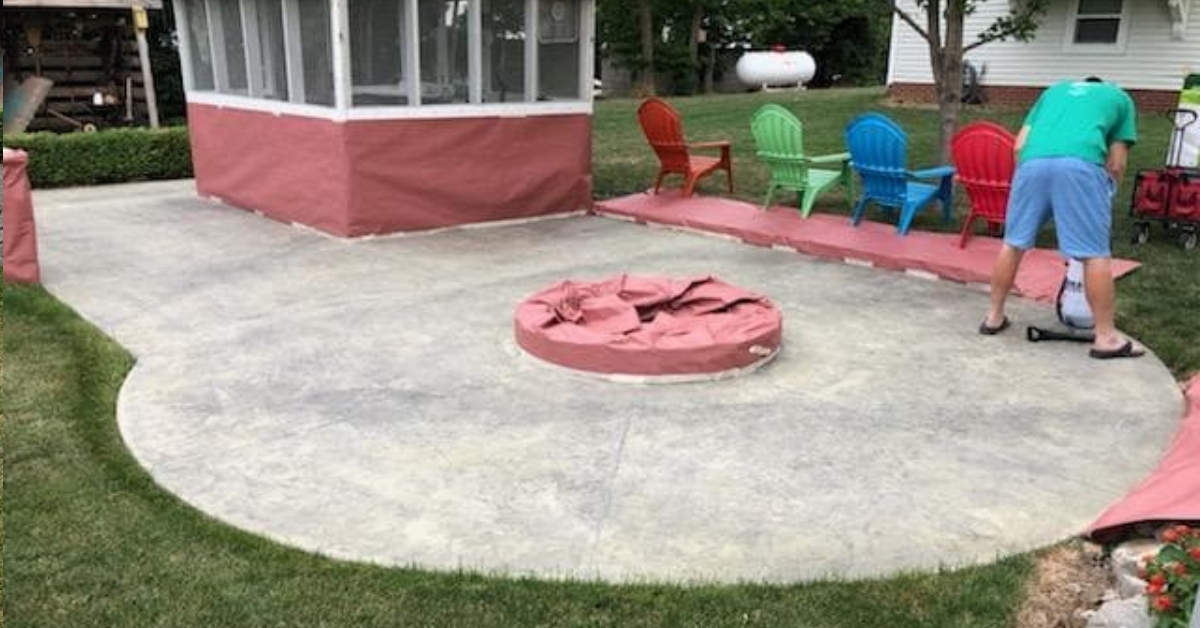
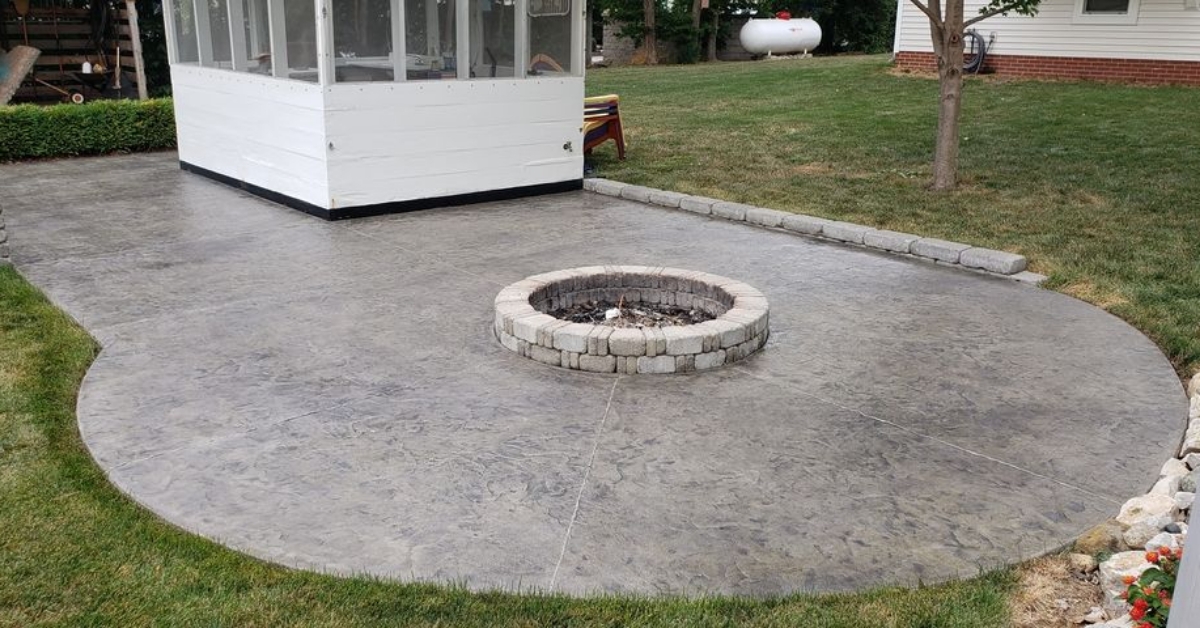
Quick Patio Makeover with Light Charcoal Antiquing™ Stain
This DIYer effortlessly transformed a circular stamped concrete patio featuring a firepit in the center. Using Light Charcoal Antiquing™ Stain, the project was completed with ease and speed, resulting in a refreshed outdoor space.
Backyard Transformation with Yukon Gold Antiquing™ Stain
A DIY novice refreshes 2,000 sq ft of faded stamped concrete in the backyard using Direct Colors’ Yukon Gold Antiquing™ Stain and EasySeal™ Satin Concrete Sealer. The project, a first-time experience for the homeowner, involved power washing, staining, and sealing the concrete around the pool, fire pit, and other areas. Despite initial reluctance to use a pump sprayer, the tool proved to be a time-saver compared to a nap roller. The entire process, including drying times, took about a week, with the homeowner actively working for four days.


