Stunning Black Stained Concrete Transformations: DIY Customer Projects & Tips
Learn from real DIY customers who have successfully used our black concrete stains to craft stylish surfaces in their indoor and outdoor spaces. Get inspired by their tips and tricks to enhance your own space with our outstanding black concrete stain solutions.
By Justin Richardson
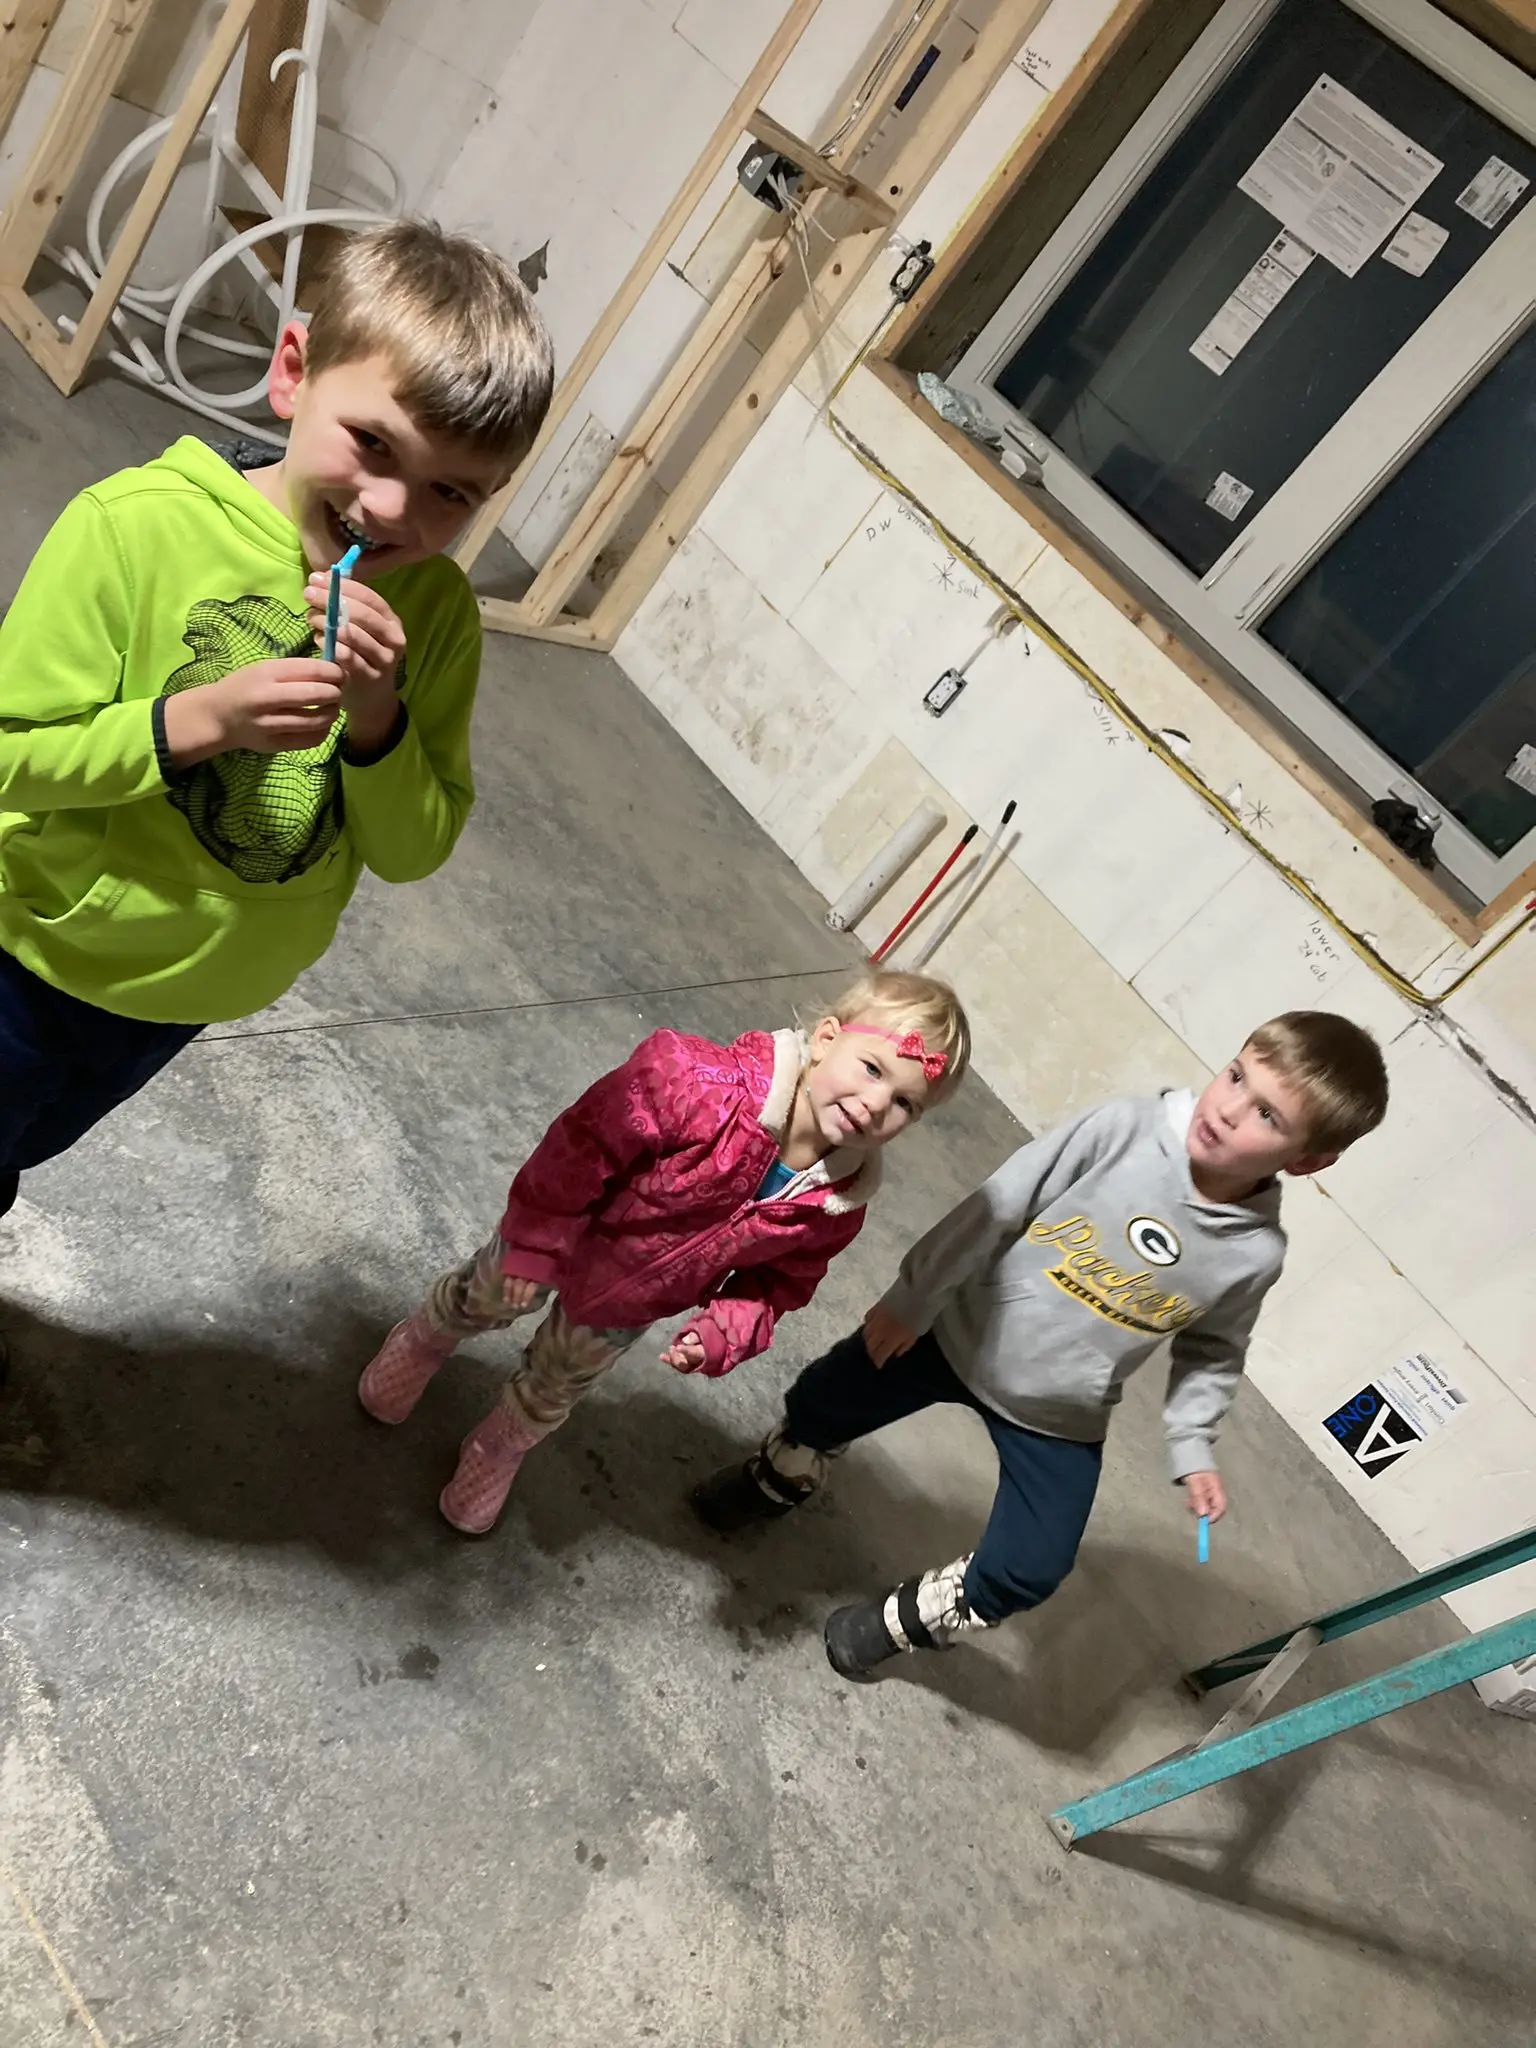
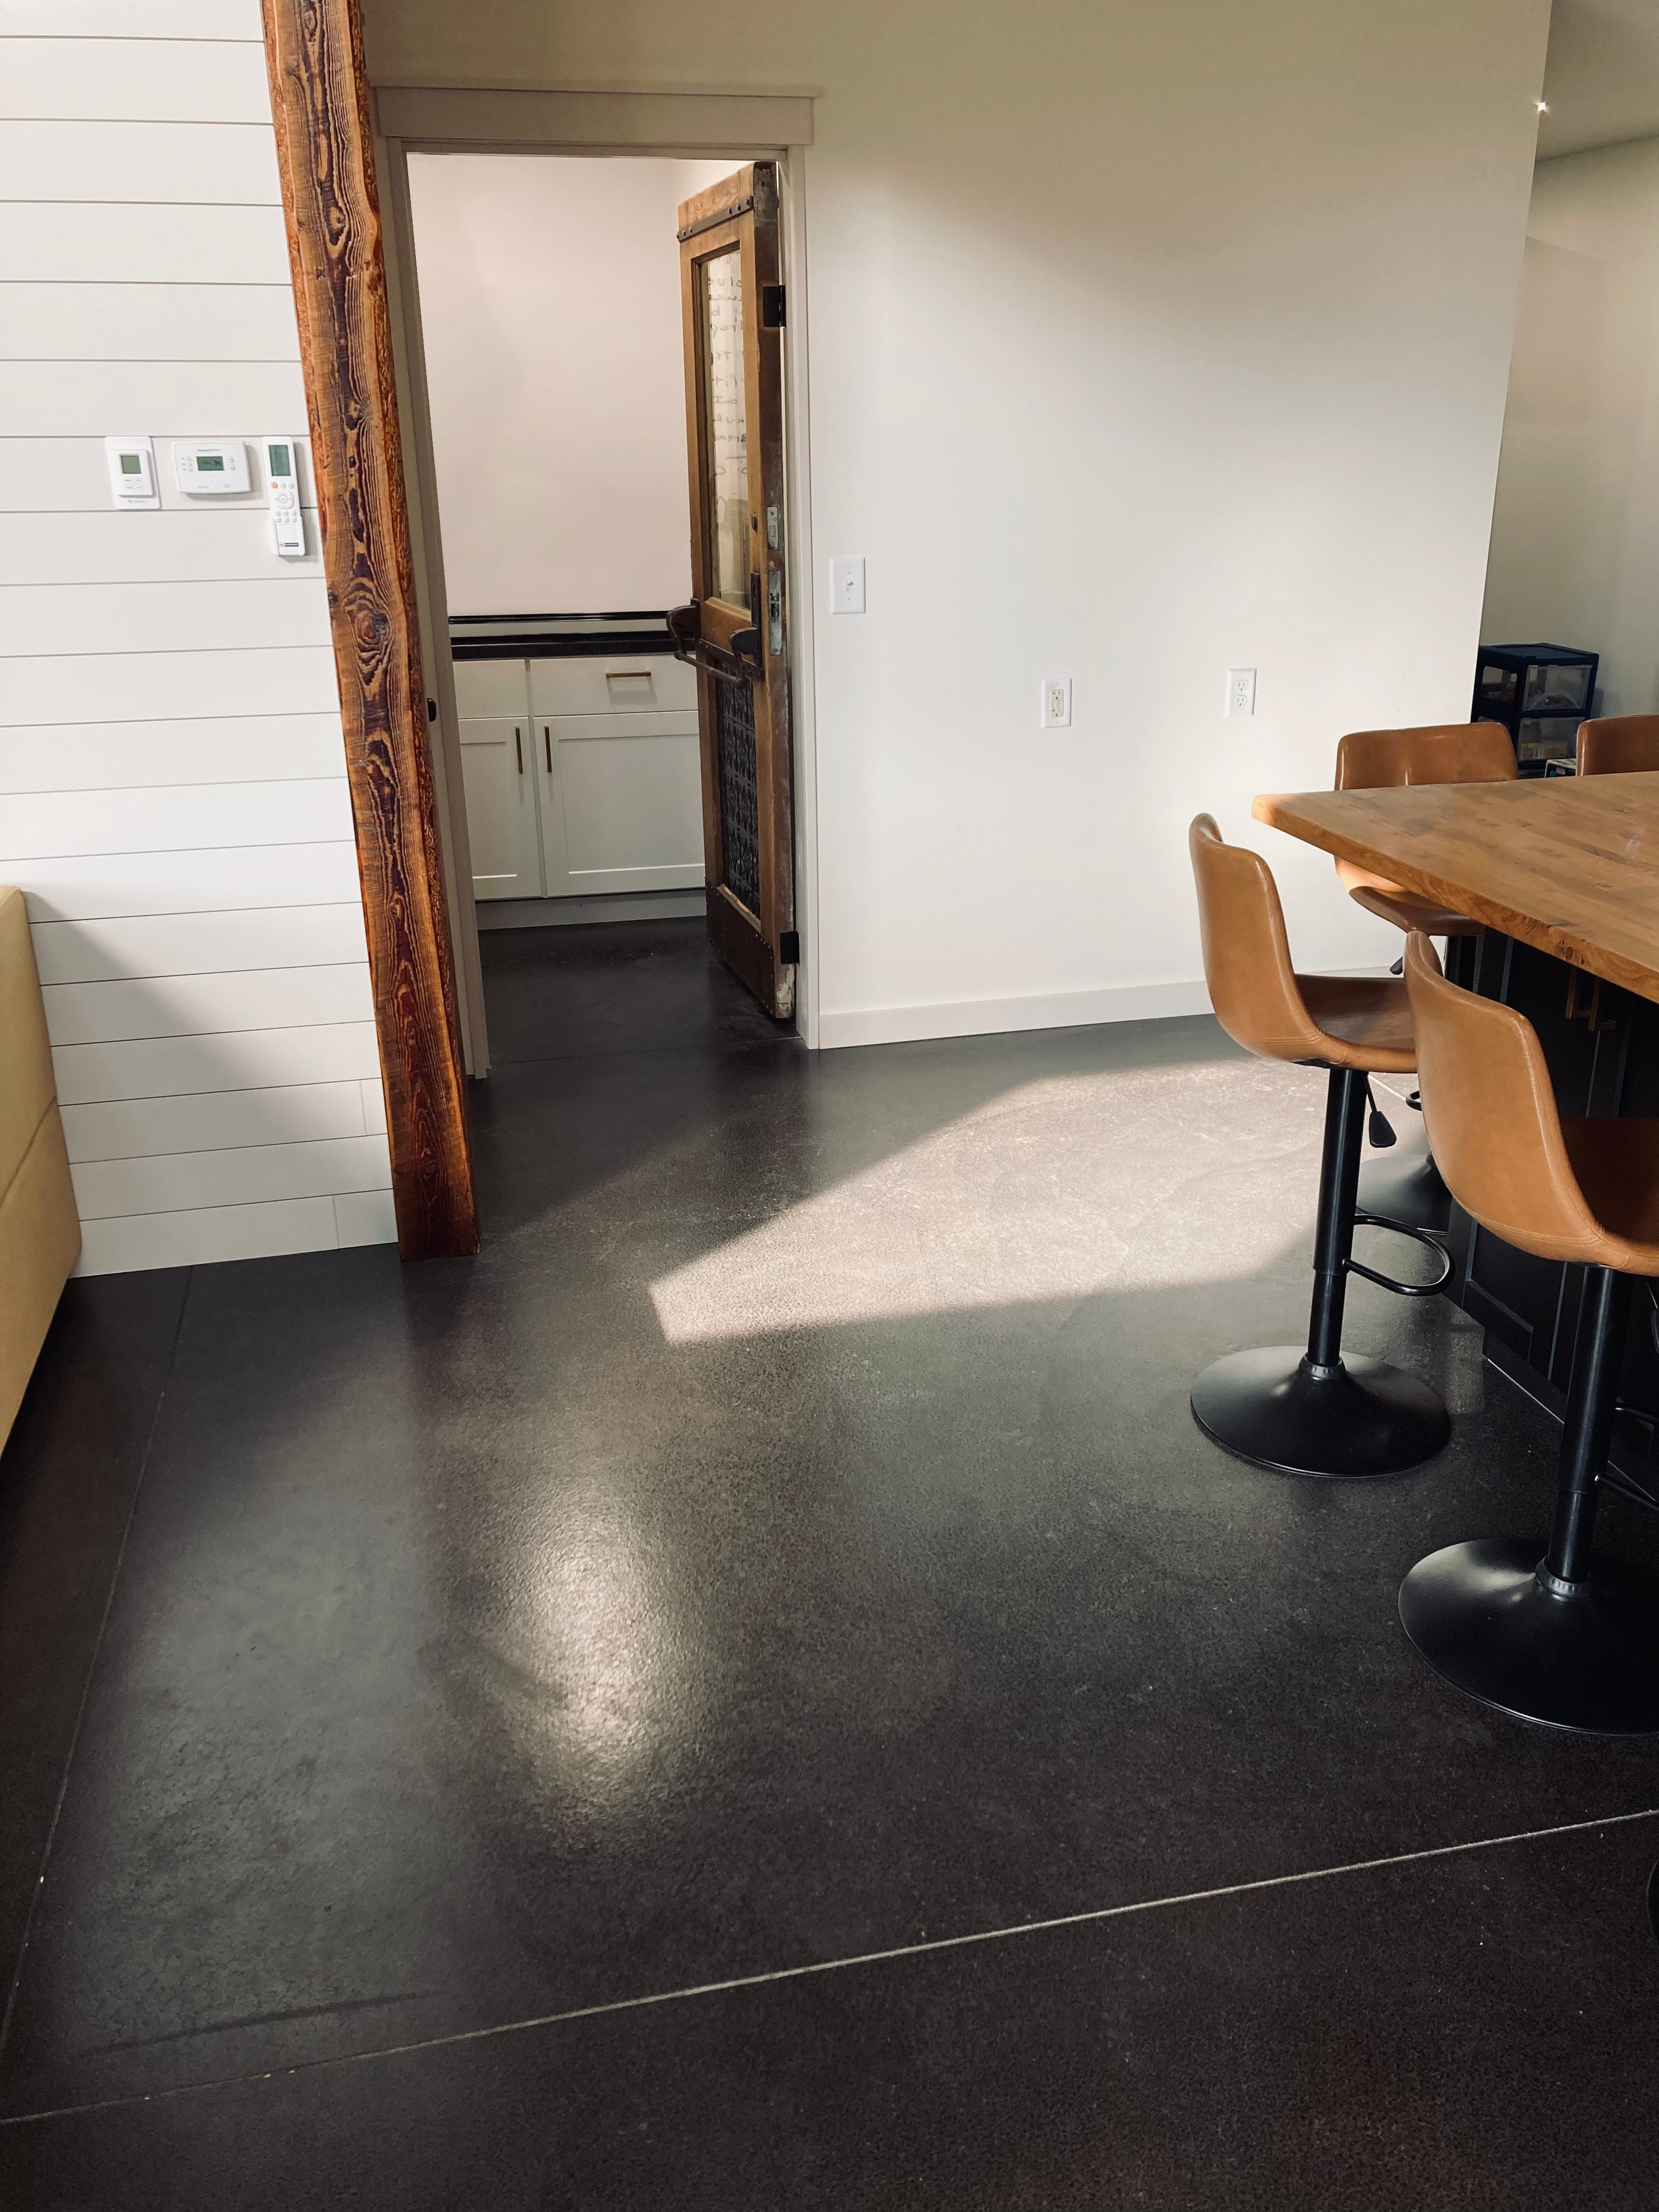
From Blank to Black: A DIY Dream Floor!
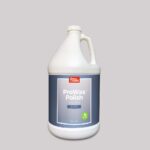
Stripping off old sealant from newly-poured concrete wasn’t an easy feat, but this DIY duo conquered it in 1.5 weeks! A swift application of Aquatint in black followed by a satin ProWax polish, and voilà – a stunning floor transformation they absolutely adore!

Project Info:
- Project Completed In: 7 day(s)
- Estimate of Square Footage: 1500 sq. ft.
- Project Description:
This is one of the many diy projects we did on our new build. The hardest part of the floors for us was removing the old sealant that was put down on our new concrete at the time of pouring. That took us about 1.5 weeks to remove before applying this stain and wax. Applying it was quick and easy. We used the aquatint in black and satin prowax polish. We love the way they turned out! Definitely recommend! - Personal Tips:
Don’t get sealant on existing concrete at the time of pouring if you plan to do any staining. The staining was an after thought for us so we had to remove what was already placed. - Direct Colors Products Used:
1 x 5 Gal. Charcoal AcquaTint™ & ProWax Polish™ Satin Kit
3 x 1 Gal. Black AcquaTint™
Each photo in this gallery showcases real customer projects to inspire you. Keep in mind that our semi-transparent colorants mean the initial color and condition of your concrete will influence your final look, possibly leading to varied results. For best outcomes, please do a test patch on your specific surface before full application.
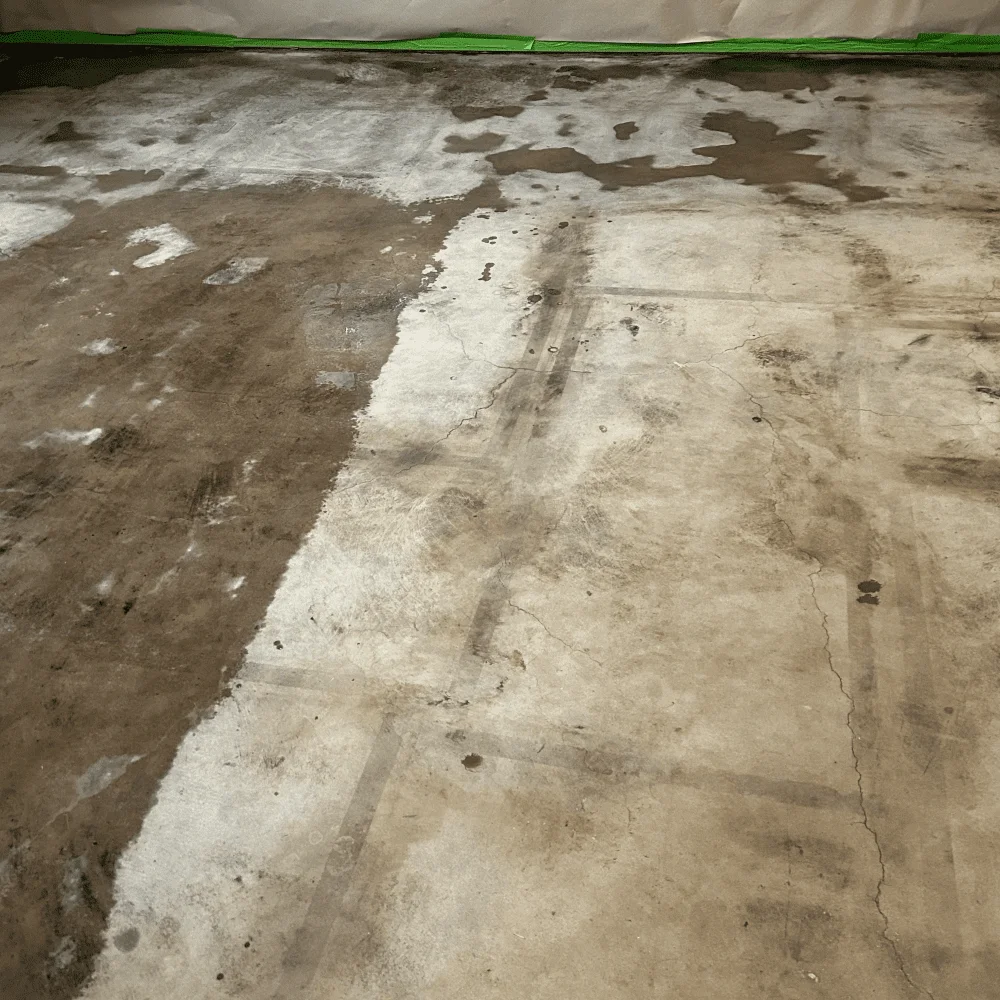
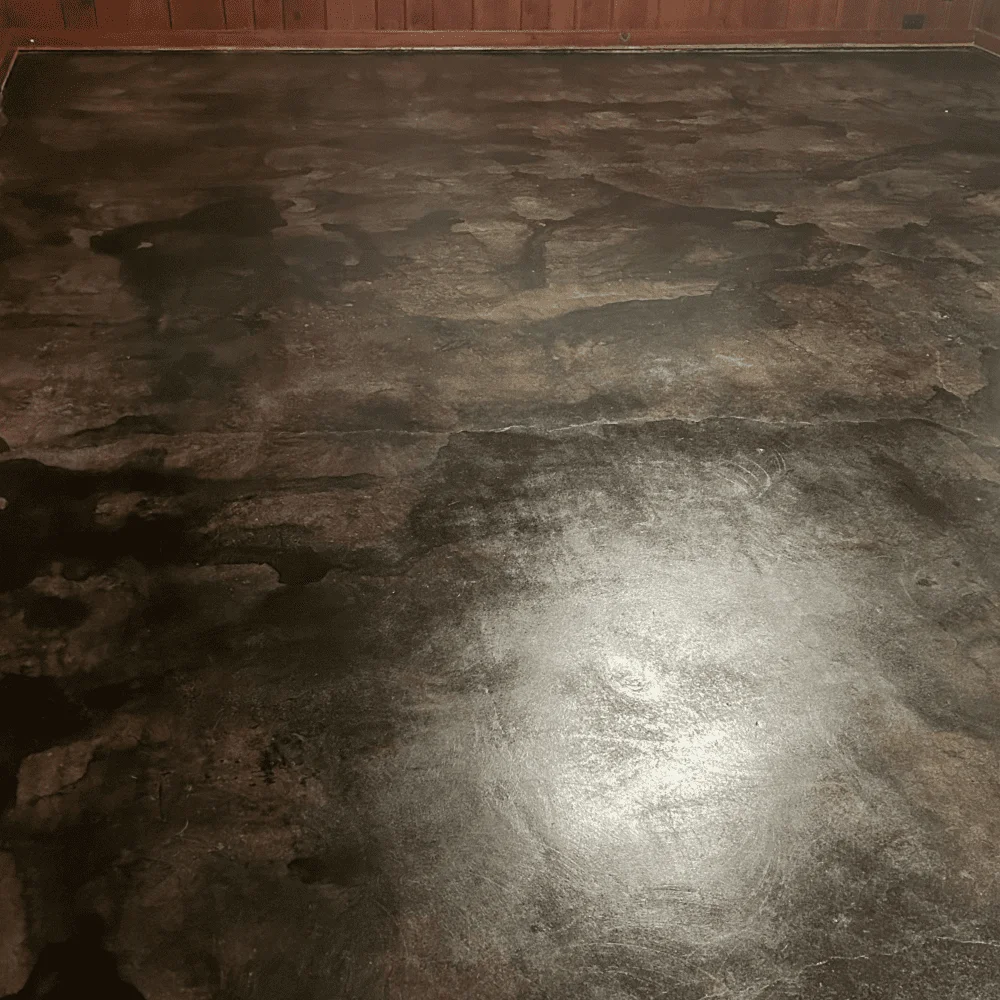
Basement Redo
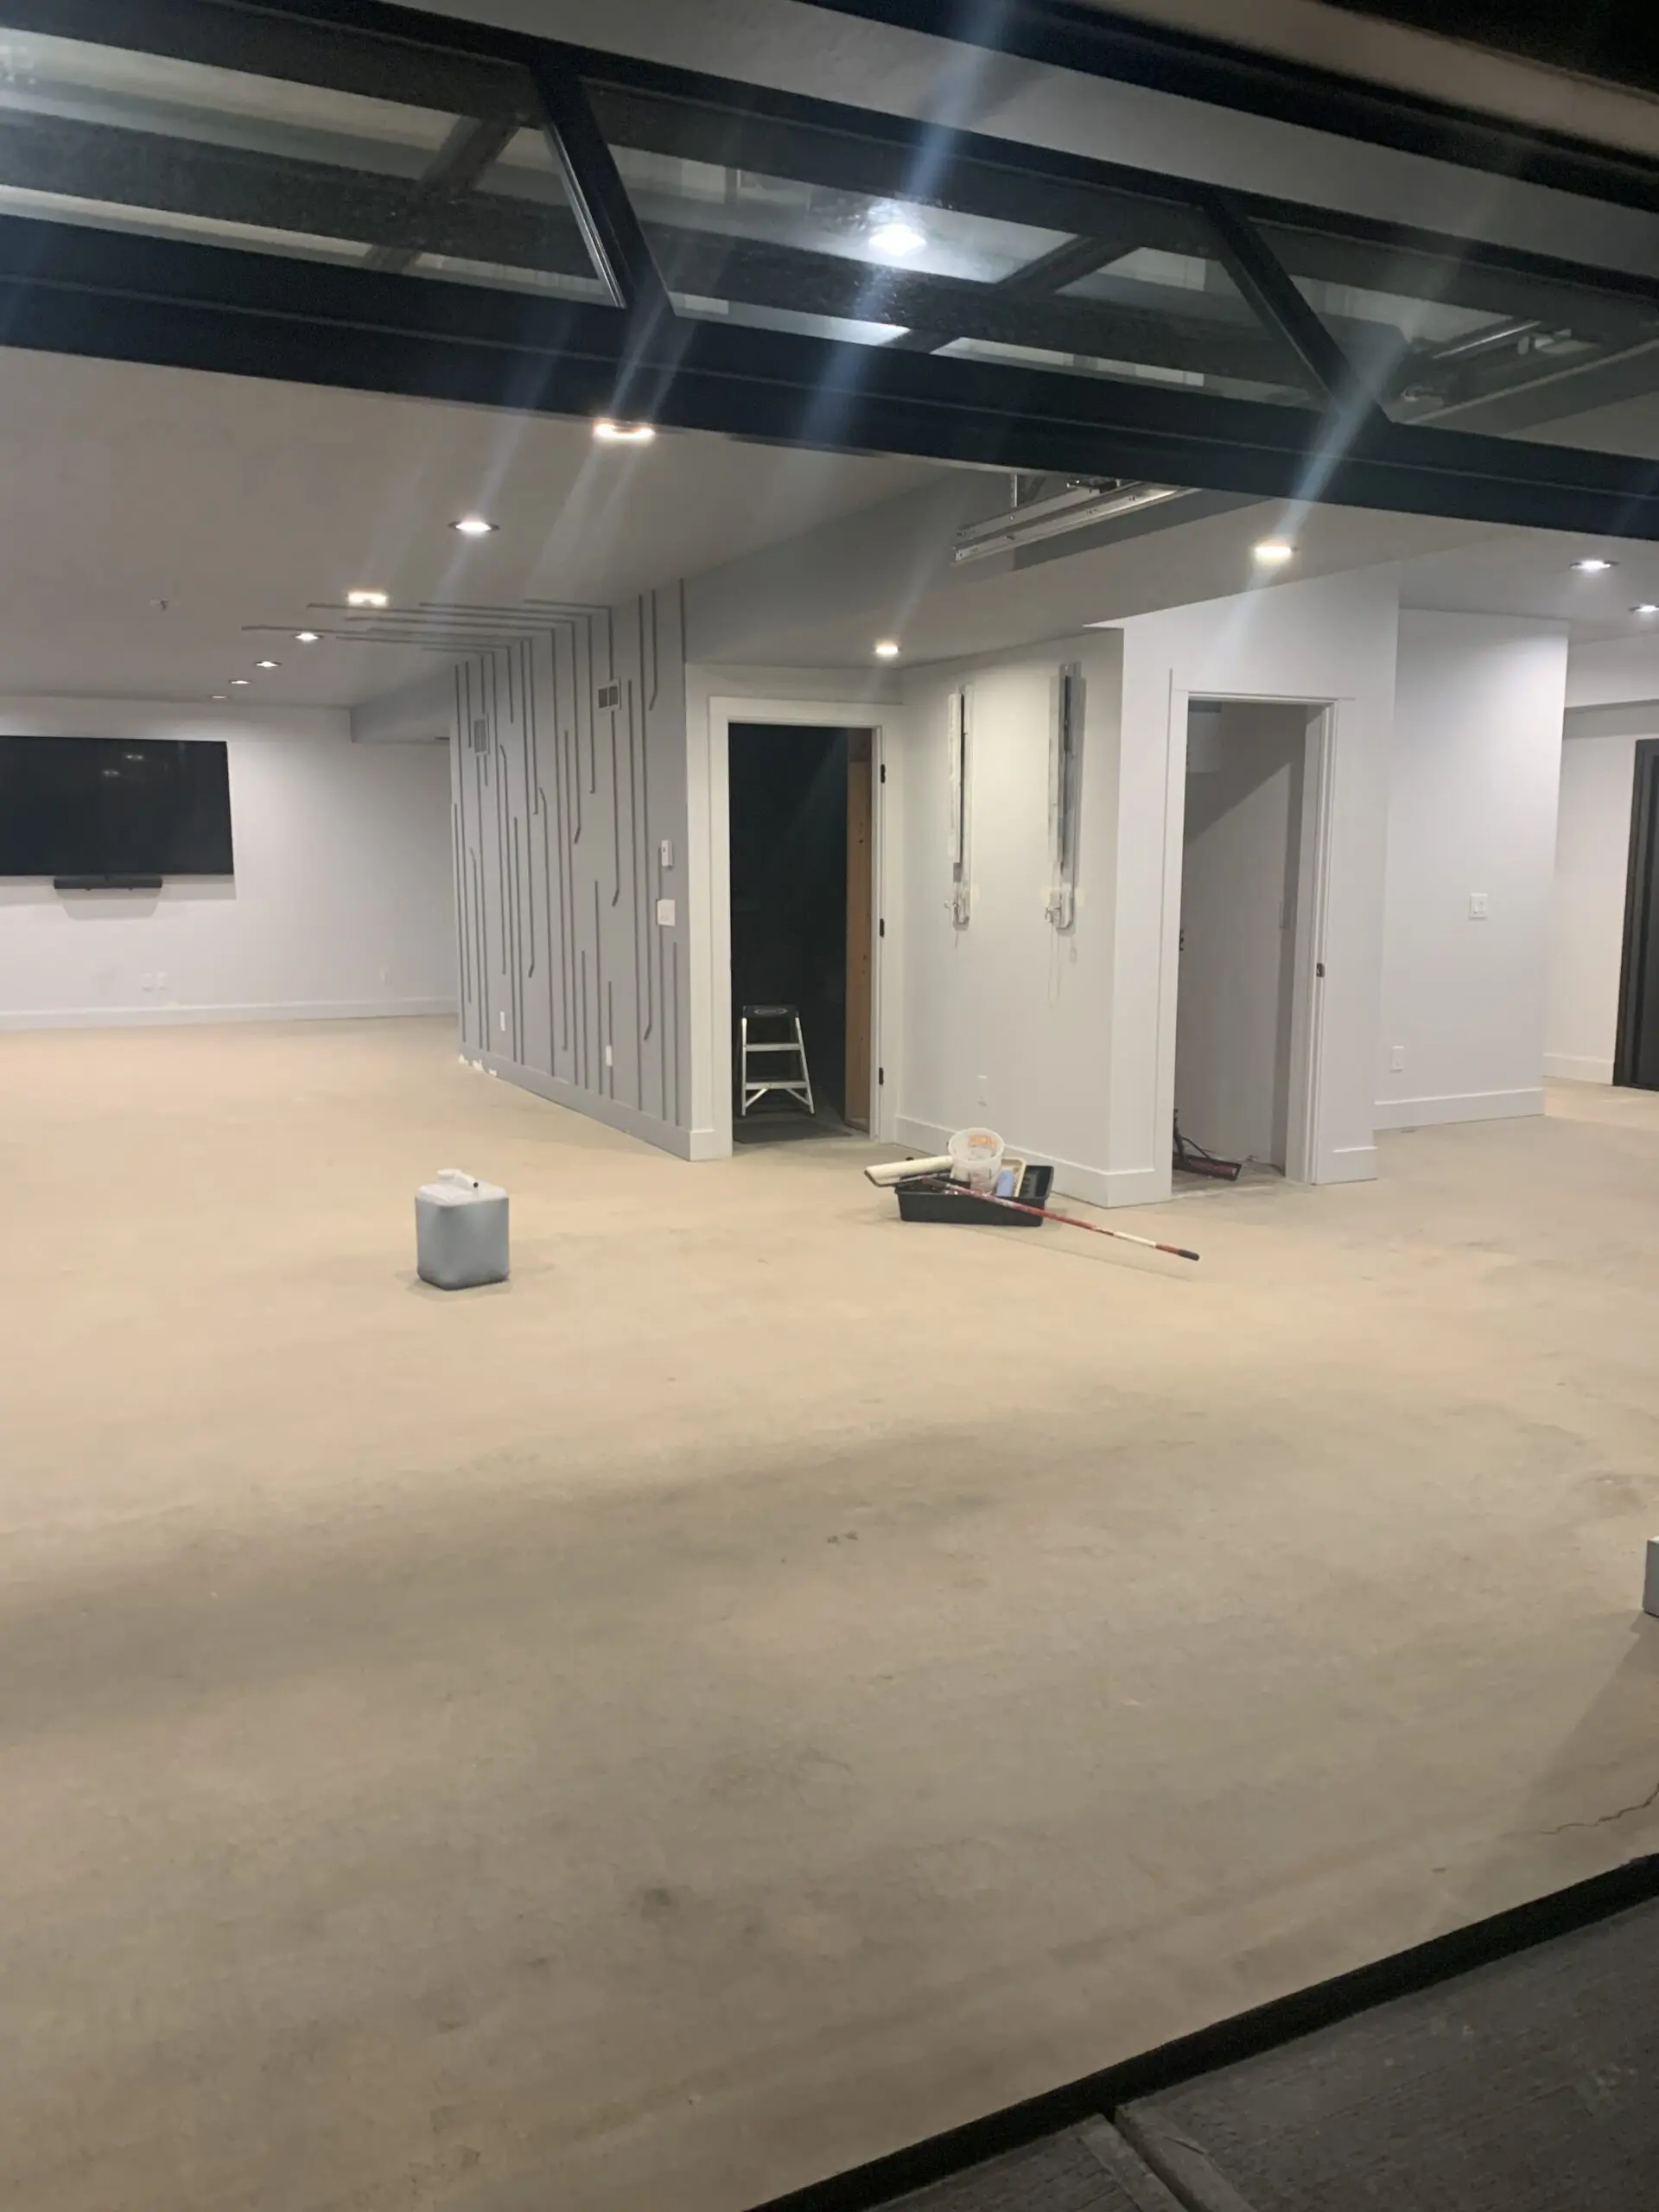
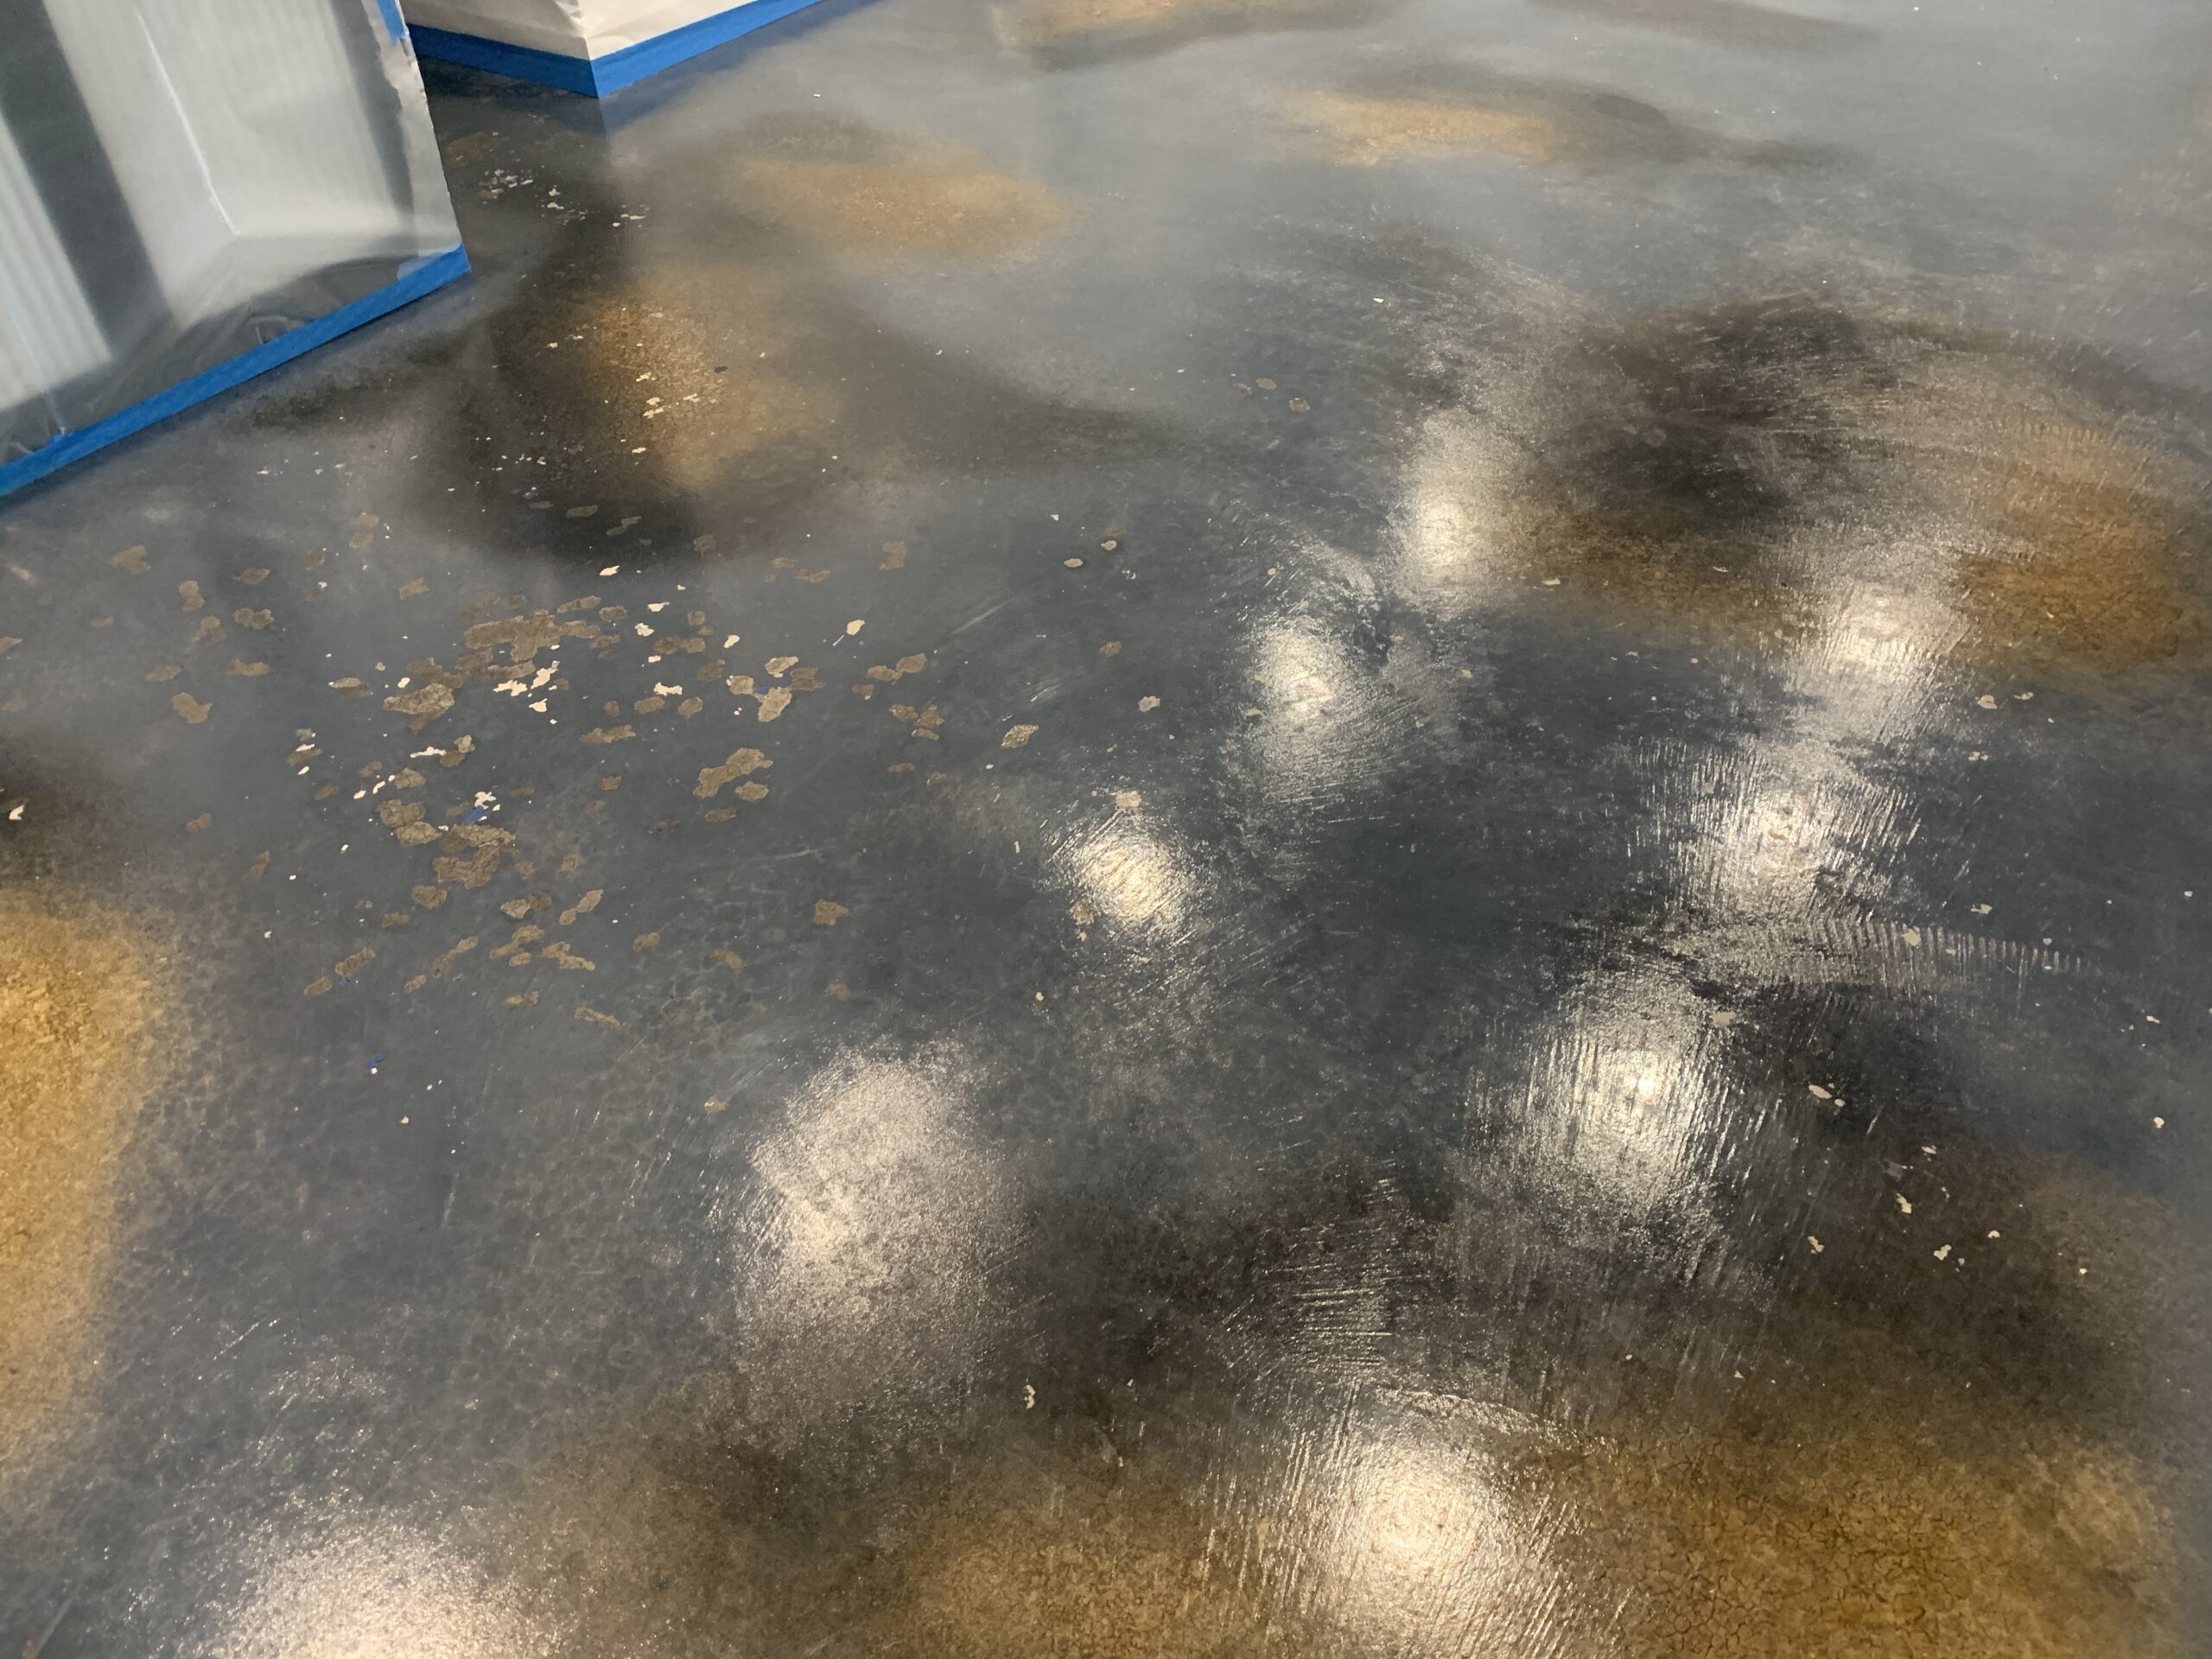
A second attempt at staining a concrete basement floor, this time with proper prep, AcquaTint™, and a durable, marble-like finish that passed rigorous durability tests.

The Process



Project Info:
- Project Completed In: 10 day(s)
- Estimate of Square Footage: 1200 sq. ft.
- Project Description:
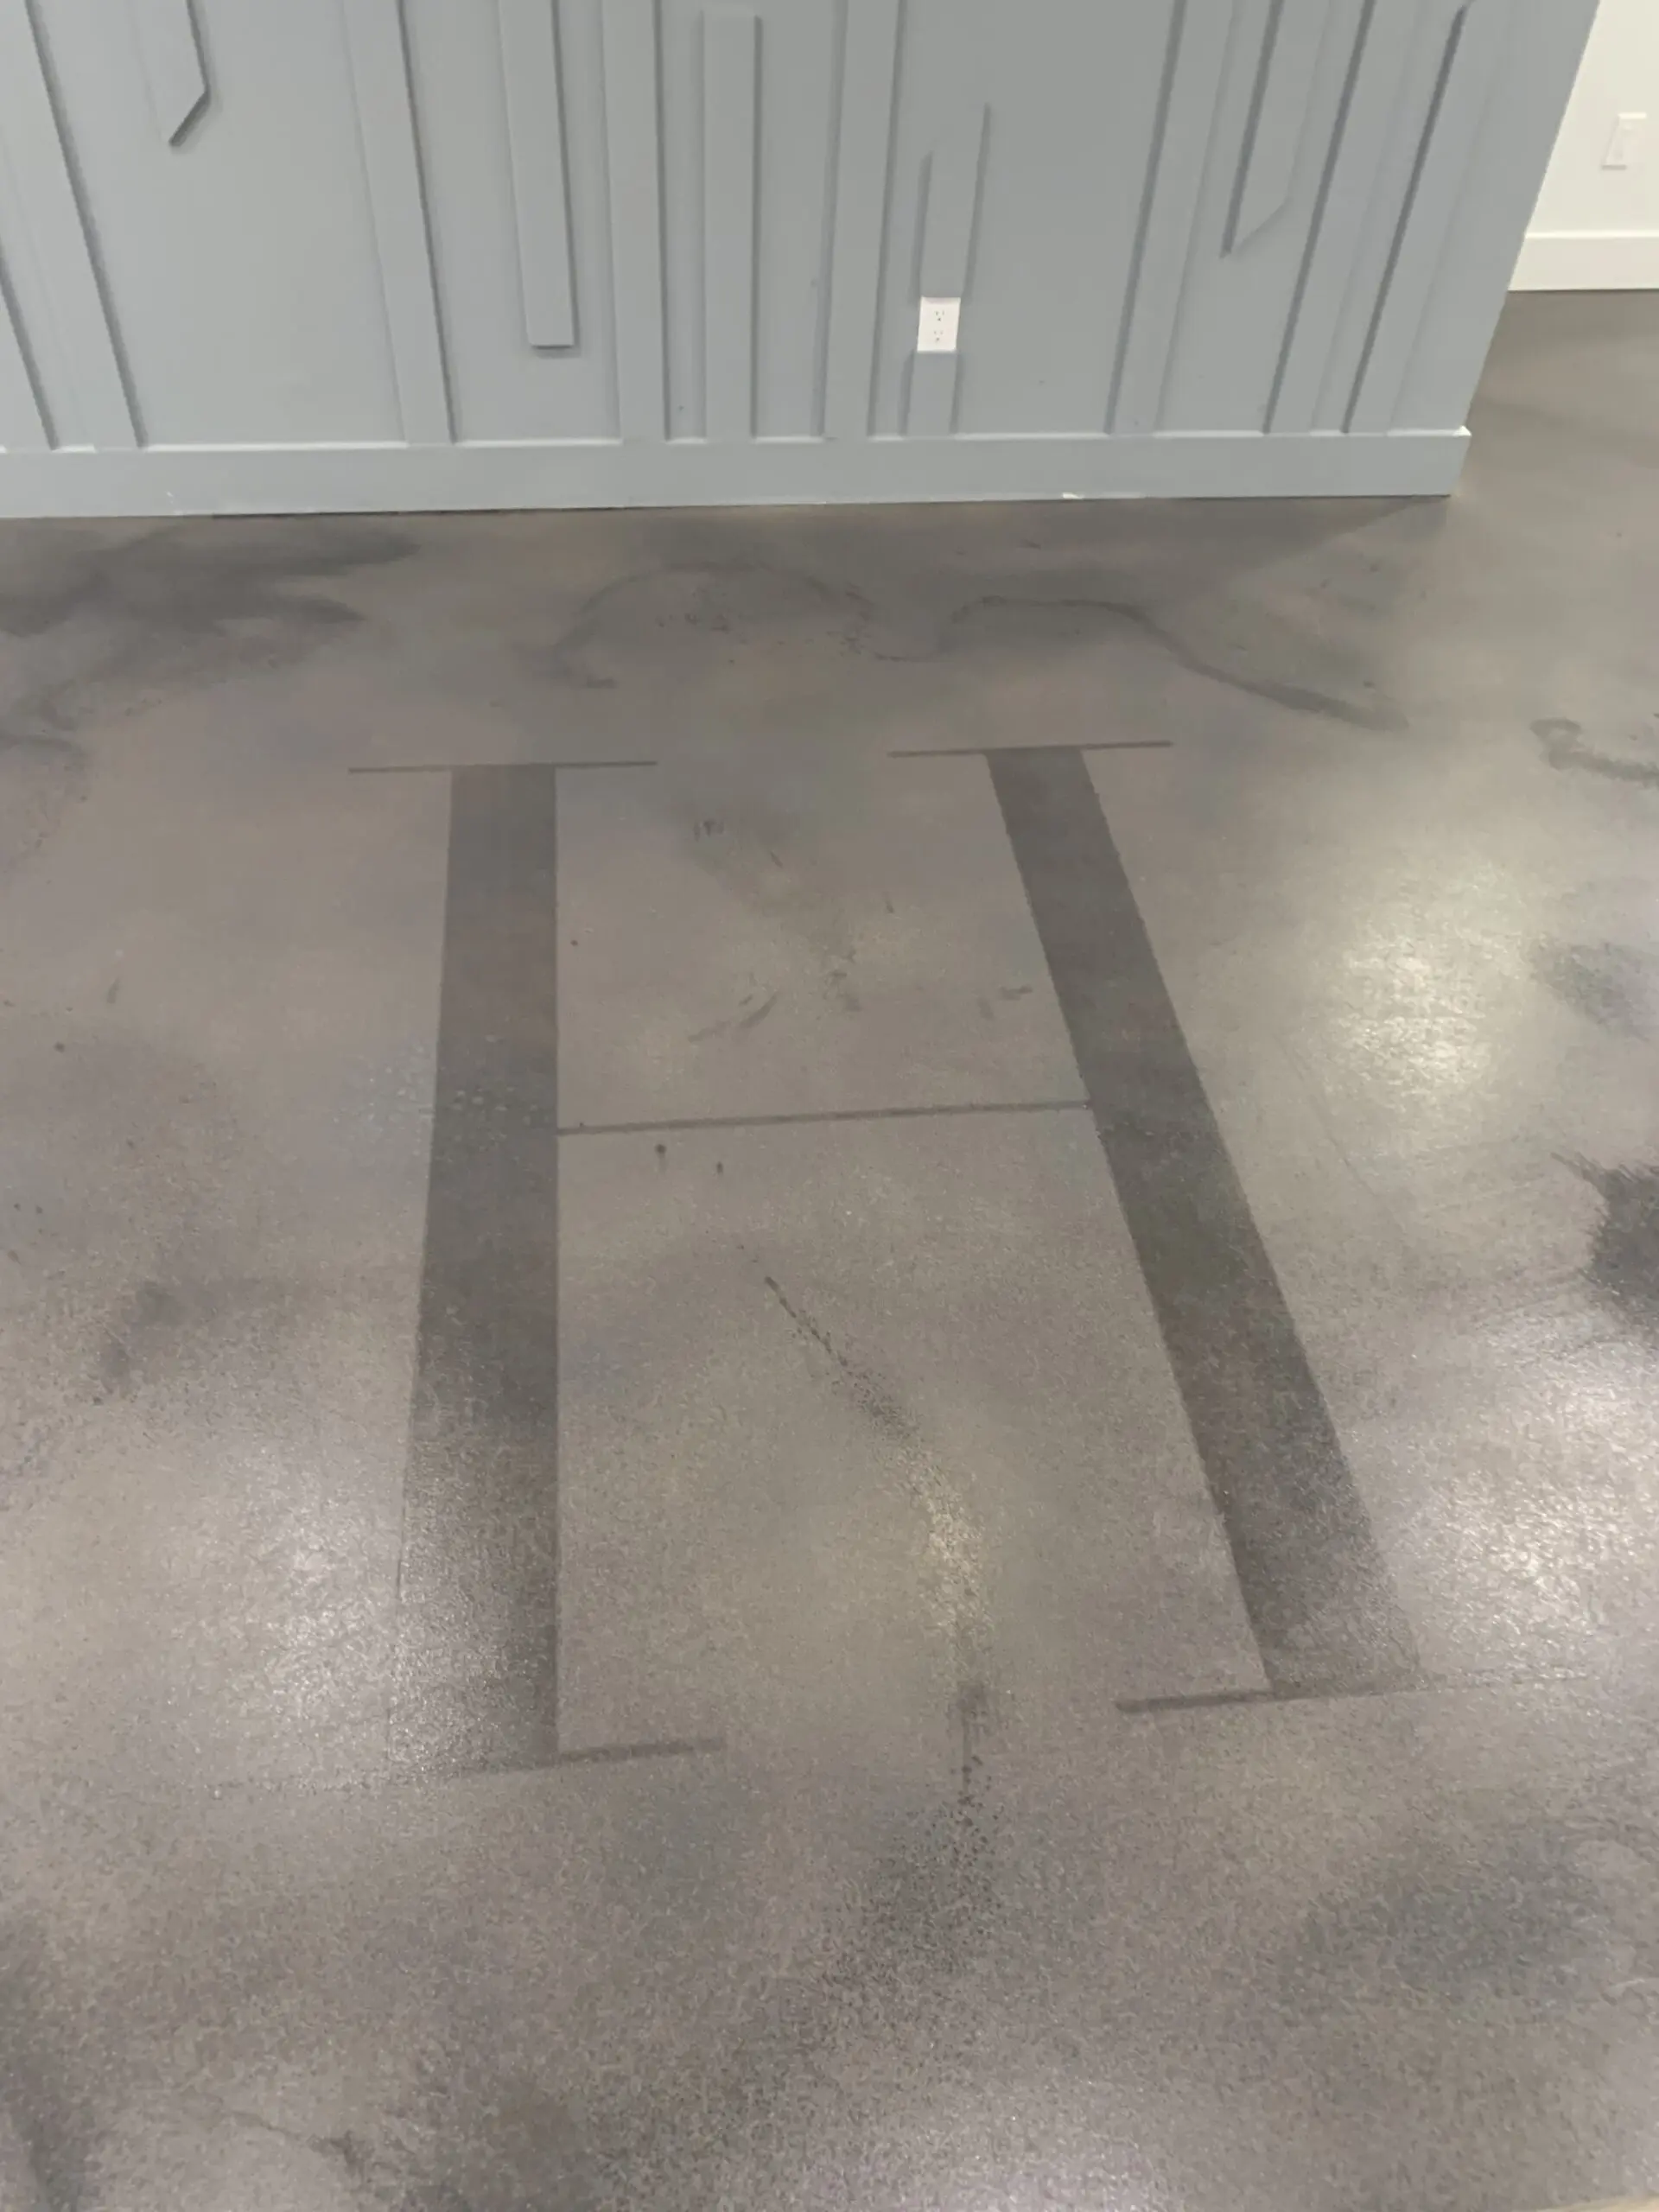
I call this project “basement redo”. I call it this because this is my second attempt staining my concrete basement floor, each time using your products. Epic failure first attempt. I failed to properly prep the concrete floor for stain on my first attempt. I was prepping fairly new concrete that was very smooth and non-porous. I felt like the etching material I used to prep the concrete performed well so that the concrete would absorbed the ColorWave stain, I was wrong. The finished product looked good but was not durable at all. It would flake and pull up very easily. Things such as painters or scotch tape would remove the wax and stain very earlier, leaving bare concrete. I took a much different approach for project redo. I rented a concrete floor grinder to remove the old stain and to open up the concrete so that this time it would absorb. This time I used AcquaTint, I liked the idea of sealing the concrete and giving it color at the same time. I used EasyTint on my outside patio and really like the finished product. As you can imagine this project was extremely messy and time consuming but well worth the redo. I also had no help during any step of the project. I had almost 24 hours just in floor grinding, hand grinding and phase one cleaning. An additional 8-10 hours on phase two cleaning. After cleaning the basement was waterlogged so I had two days of running fans to dry it out. I tried different application methods used by other customers, pump spray method is what I chose. I wanted to archive some color contrast/marbleish look so I did a bit of experimenting on areas where I knew you would not see (under area rug and couch). The base color I used was gray and I also purchase black. I found that the black was to much of a contrast so I mixed black with gray, initially at a 1:1 ration but ended up using a 3:1 ration gray to black. Finished it off with ProWax satin. I applied 5 coats because I planned on using a floor polisher to buff it out but ultimately didn’t like the polished look so I stopped after testing it in a small area. I have since tested the floor in several area for durability and it has passed the test so far. Had 10 kids over for NYD and unknowingly found them using hockey sticks on the floor, durability test two…PASS, haha. I am significantly more pleased with project redo both in looks and durability. Thanks for the great products!! - Personal Tips:
Suggest having multiple pump sprayers available, mine seemed to gum up easily resulting in sputtering of the sprayed material. This way you can transfer the material to a new pump and continue, clean the other when you are done.I found it difficult to walk in the spikes shoes, also time consuming putting them on and taking them off. To solve this I used an old pair of rubber crocs and attached the spikes to them so that I could easily slip on and slip off.Highly recommend testing the color on an area you may not see and get sample colors. My first attempt I was not crazy about the color, liked great in photos but turned out a lot different on my application. Also try an area not going to be seen (mine was under a large area rug I knew would be there) when trying to achieve a particular look, color, or accent design.Can’t stress enough about proper prepping for concrete dye/stain. If any doubt use a grinder to make your concrete more likely to absorb the stain. I would say just do it, grind it, if you have hard troweled concrete. - Direct Colors Products Used:
5 Gal. Black AcquaTint™ & ProWax Polish™ Satin Kit
2 Gal. Gray AcquaTint™
For more details on how to use our all-in-one stain and sealer, explore the AcquaTint™ Gallery: Seamless Stain & Sealer Projects for Concrete
Before & After: Living Area Improvement
Check out these before and after photos of our customer’s living area improvement. They had adhesive marks, but our ColorWave® stain made a difference, improving the look of the space.
Project Info:
- Project Completed In: 5 day(s)
- Estimate of Square Footage: 200 sq. ft.
- Project Description:
We had a living area that was covered in black mastic. Several years ago we used a sander to remove most of the mastic and laid carpet. When the carpet was pulled up, there was several adhesive marks that would not fade. The Colorwave stained was able to cover the marks and help blend them in with the rest of the stain. - Personal Tips:
Make sure you spend the extra time with cleaning prep - Direct Colors Products Used:
1 Gal. Black DIY ColorWave® & AcquaSeal™ Gloss Kit
1 Gal. Steel ColorWave® Stain
1 Gal. Molasses ColorWave® Stain
1 Gal. ProWax Polish™ Satin
Concrete Floor Makeover: Blending Stain Colors
This resourceful homeowner transformed 500 sq ft of stained carpet in their new third-floor condominium into a chic plaster and concrete floor.
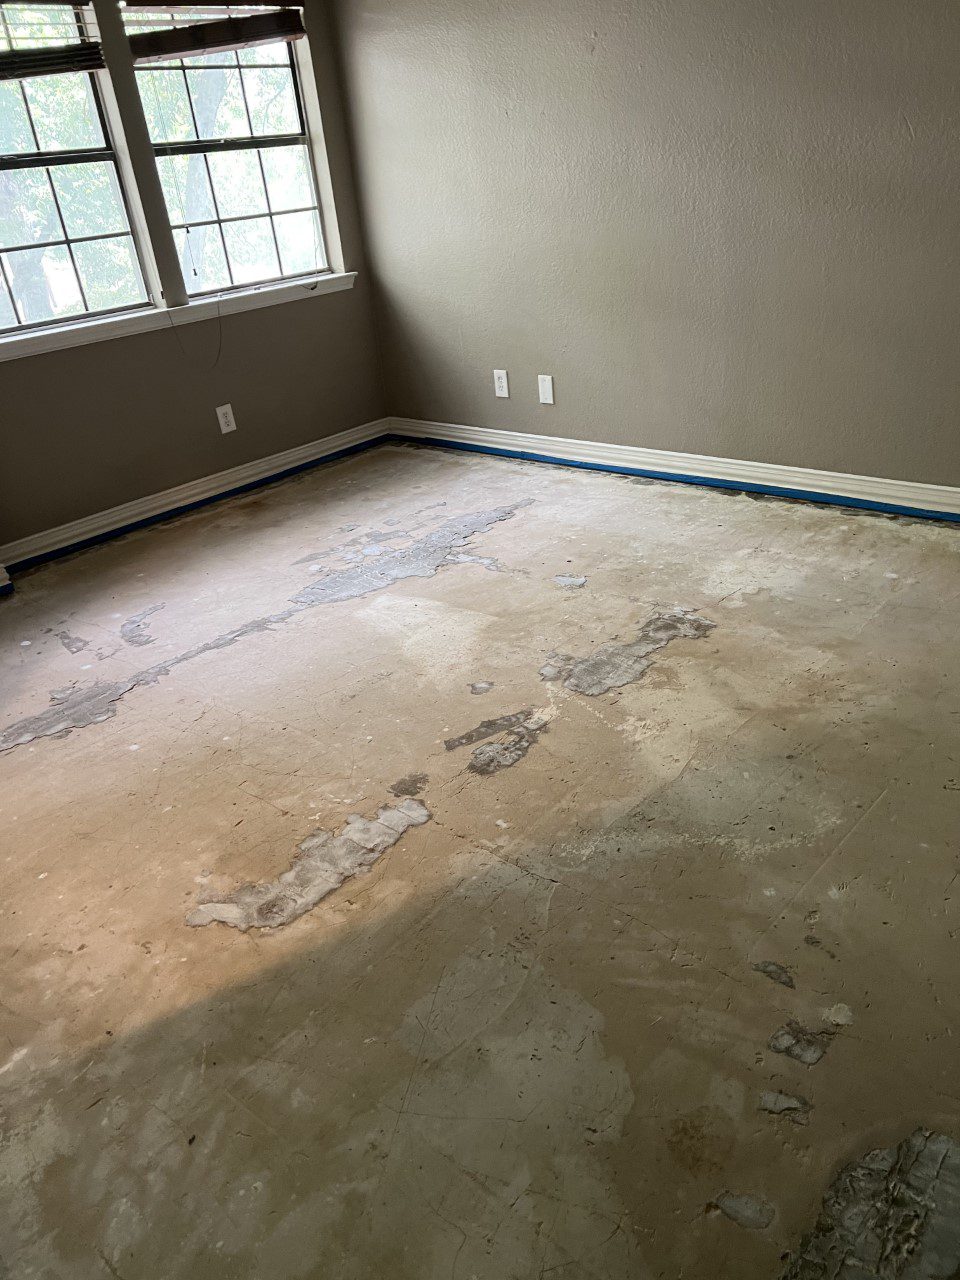
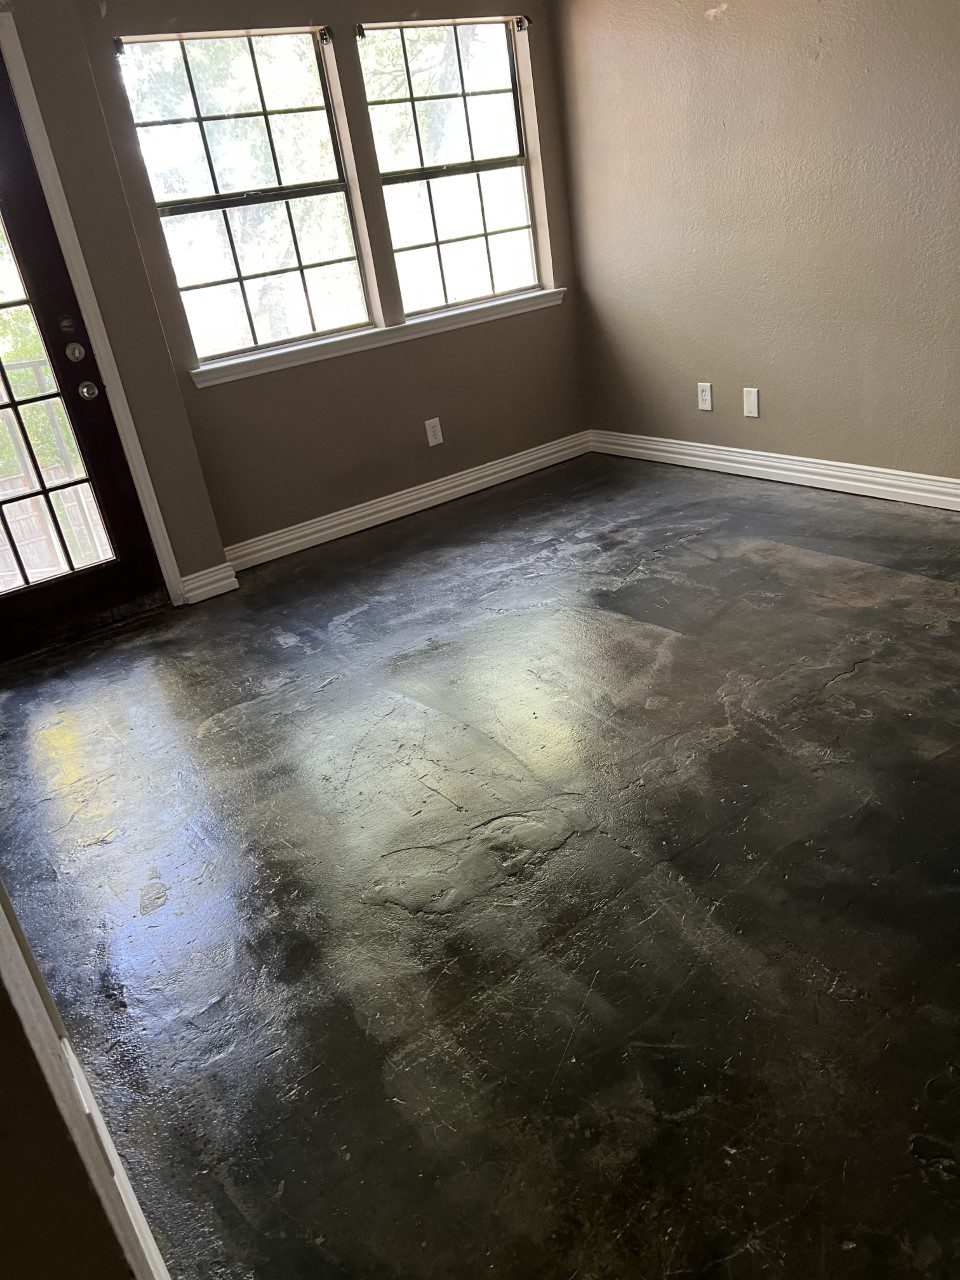
I recently bought a new home (condominium on the third floor) that had some nice but stained carpet in the bedrooms. I wanted to remove the carpet and stain the plaster floor/concrete floor underneath. I was unsure what the materials were other than it was porous so I decided to go with the ColorWave Stain to be safe. I was also on a time limit so I had to have the product ready to go the day I closed, which is the day I began working. It took a total of 12 Days with cure time. The Project size was 500sq feet.
The floors were a combination of plaster and concrete. I had to utilize patching from your website and from Home Depot (rock free quickset concrete all purpose) to fill in broken plaster parts. I removed the small pieces first. I then sanded down glue particles and stains along with the setting concrete. I applied three different colors of stain putting my most favored color first, then a layer of my next color in various spots and then the third in the same way. I topped off with a final coat of my original color and cured this. I repeated the process after the cure.
Some external products were a 12 blade diamond cut 7 inch sander pad and blade (for concrete), Goo Be Gone, and the quick set all purpose concrete (blue label). It is very important to get concrete patch that dries quick and does NOT have little rocks.
For more details on how to use our versatile water-based stain, explore ColorWave® Stain: Stunning DIY Concrete Transformations
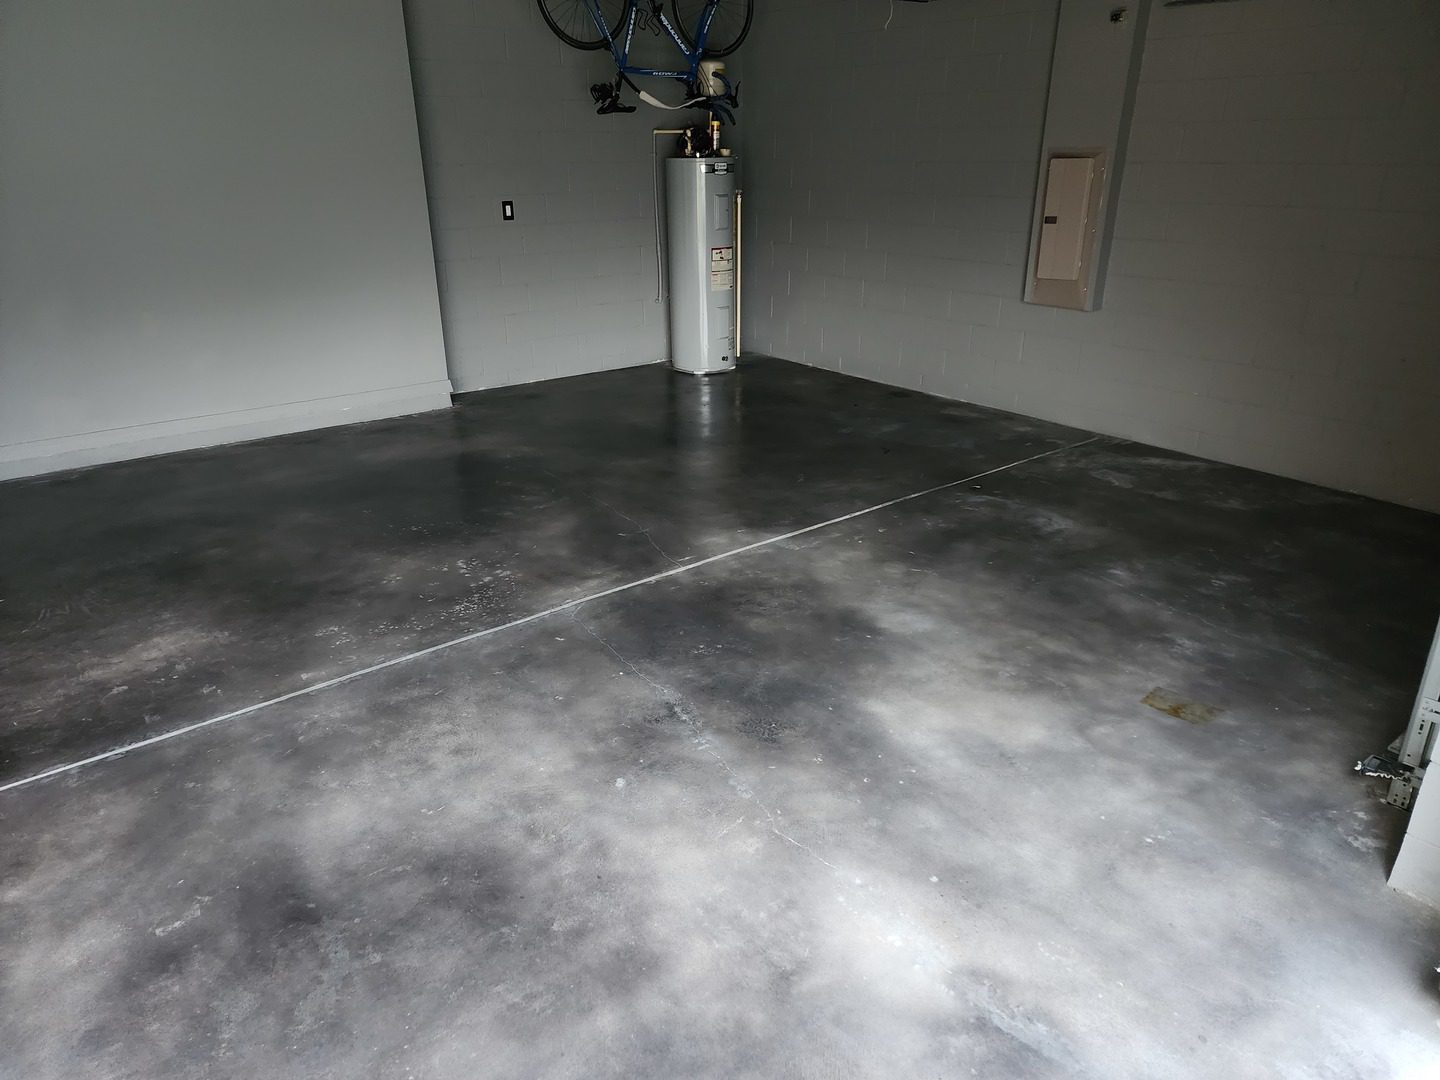
Monochrome Modernity: A Garage Floor Revamp
Breathing life into a standard garage floor, Antiquing™ Black Stain was employed to deliver a nuanced, mottled appearance, offering both style and simplicity to this modernized space.
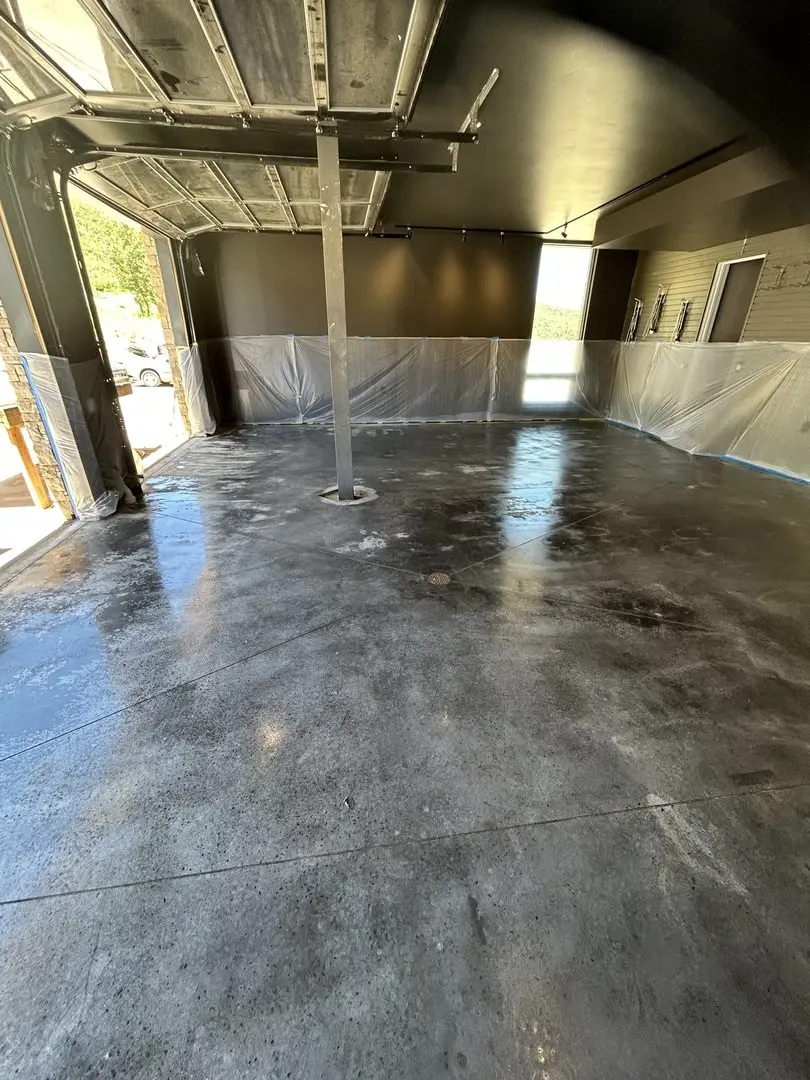
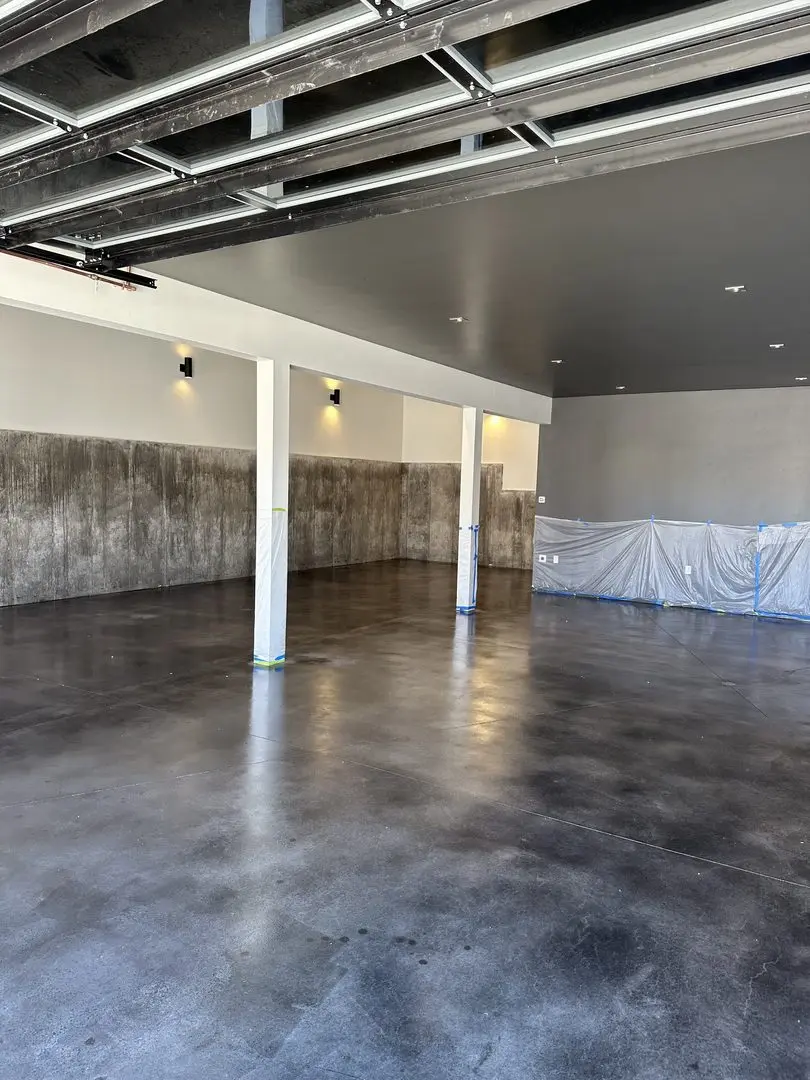
Interested in projects specifically using acid stain? Explore our dedicated Black EverStain™ Acid Stain Project Gallery for inspiration
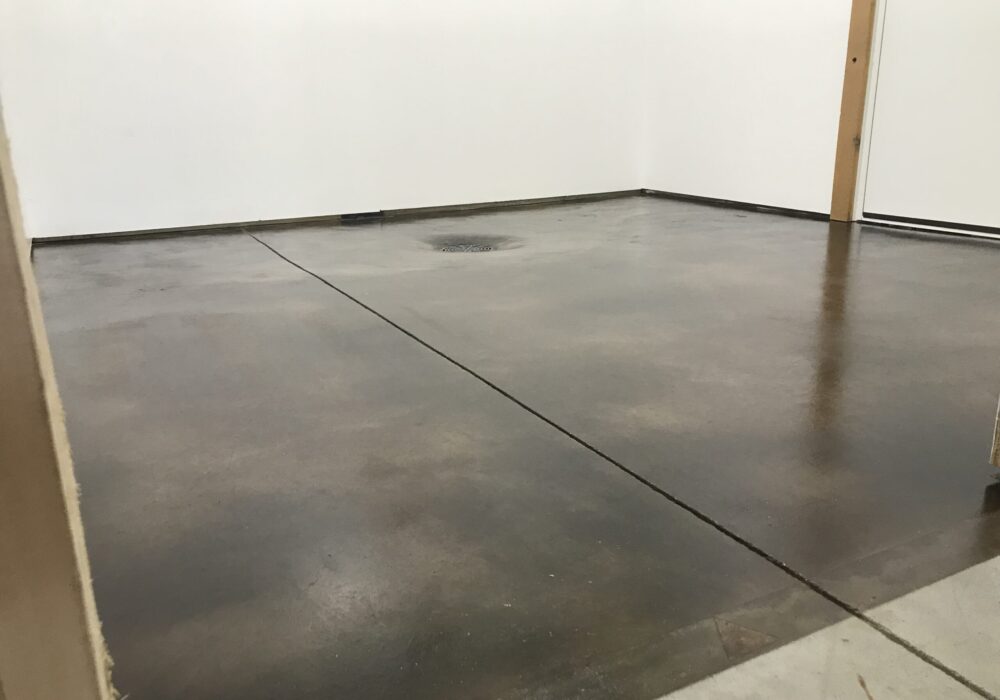
Marbled Elegance: Mottled Black Stained Concrete Garage Floor with Concrete Dye
Explore this sophisticated garage floor transformation, where the homeowner used concrete dye to create a stunning mottled black stained concrete finish, resembling a marbled black and white polished surface. With careful application and attention to detail, they turned an ordinary garage floor into a captivating, elegant space.
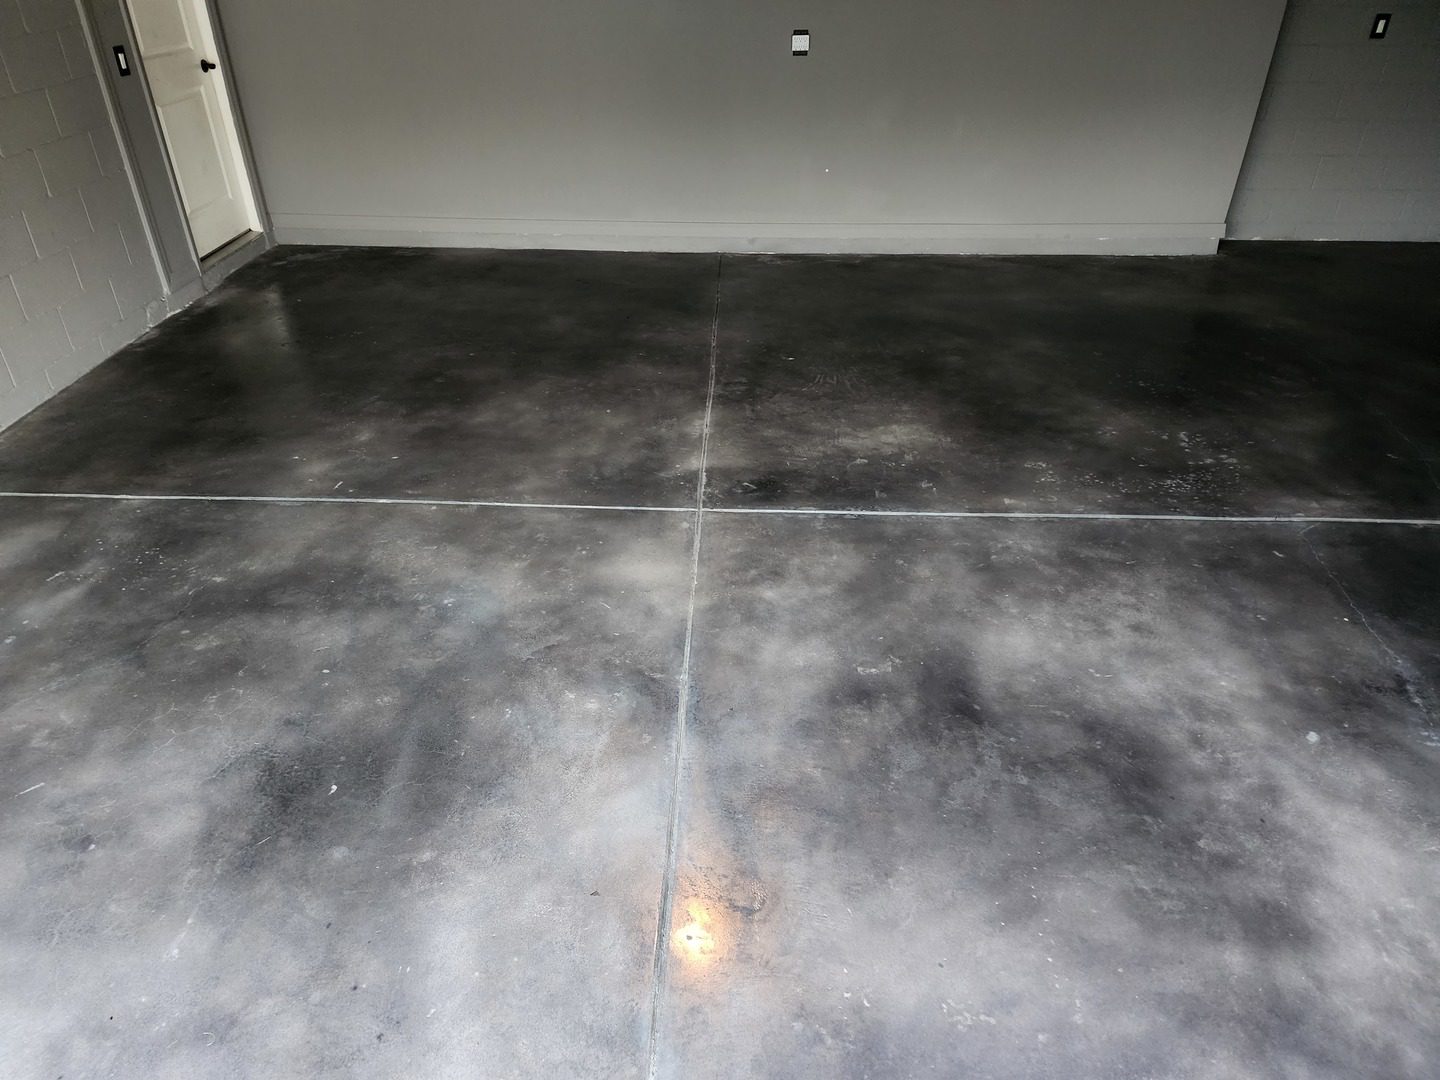
Black Stained Concrete Floor with Hand Troweled Smooth Gray Overlay and Variegated Tinted Sealer Finish
William B. Carlisle skillfully combined a hand-troweled smooth gray overlay using a skip trowel/knock down method with an expertly applied black AcquaTint™ to create a visually stunning finish.
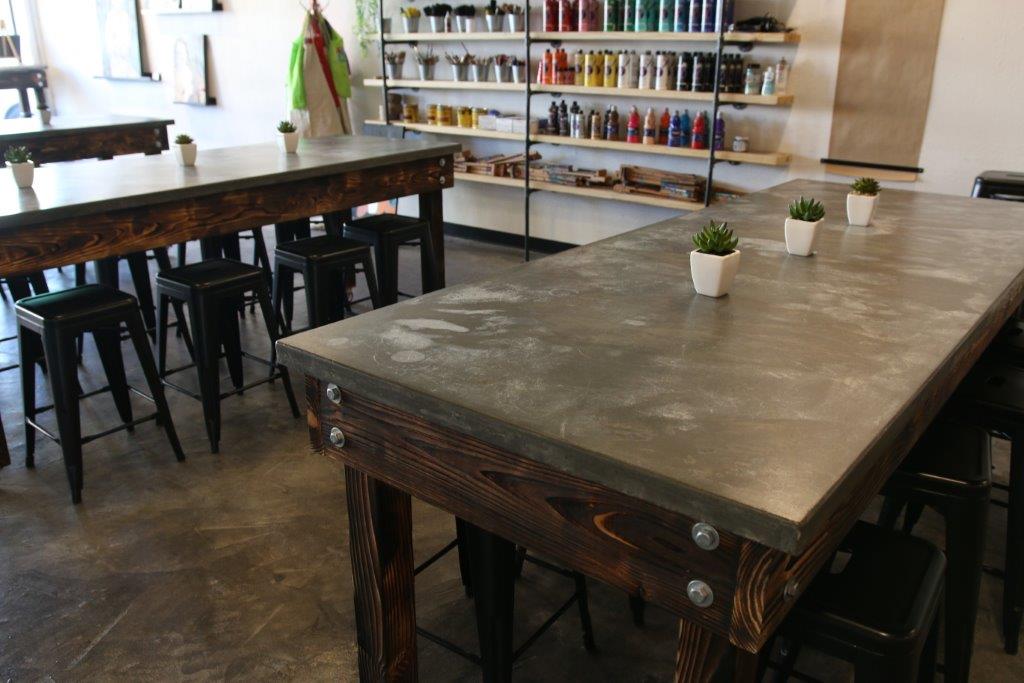
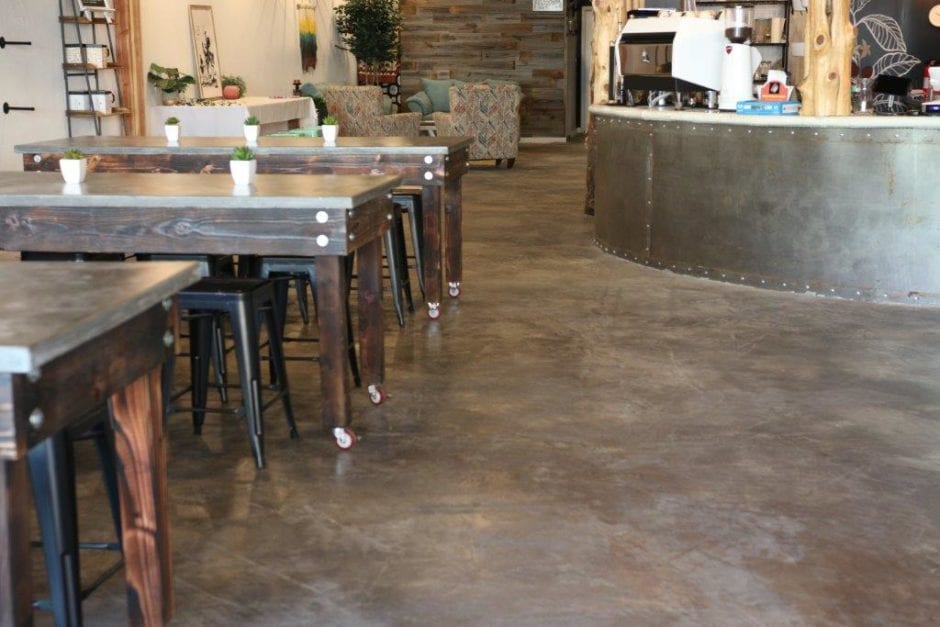
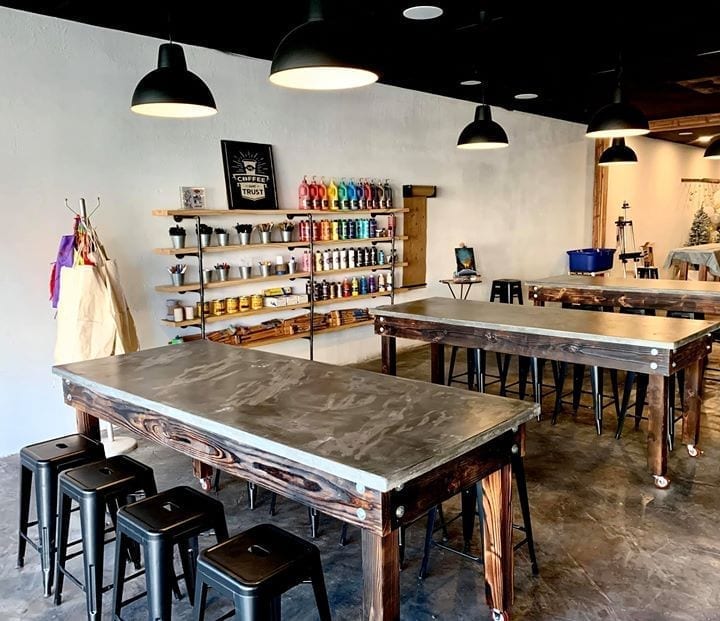

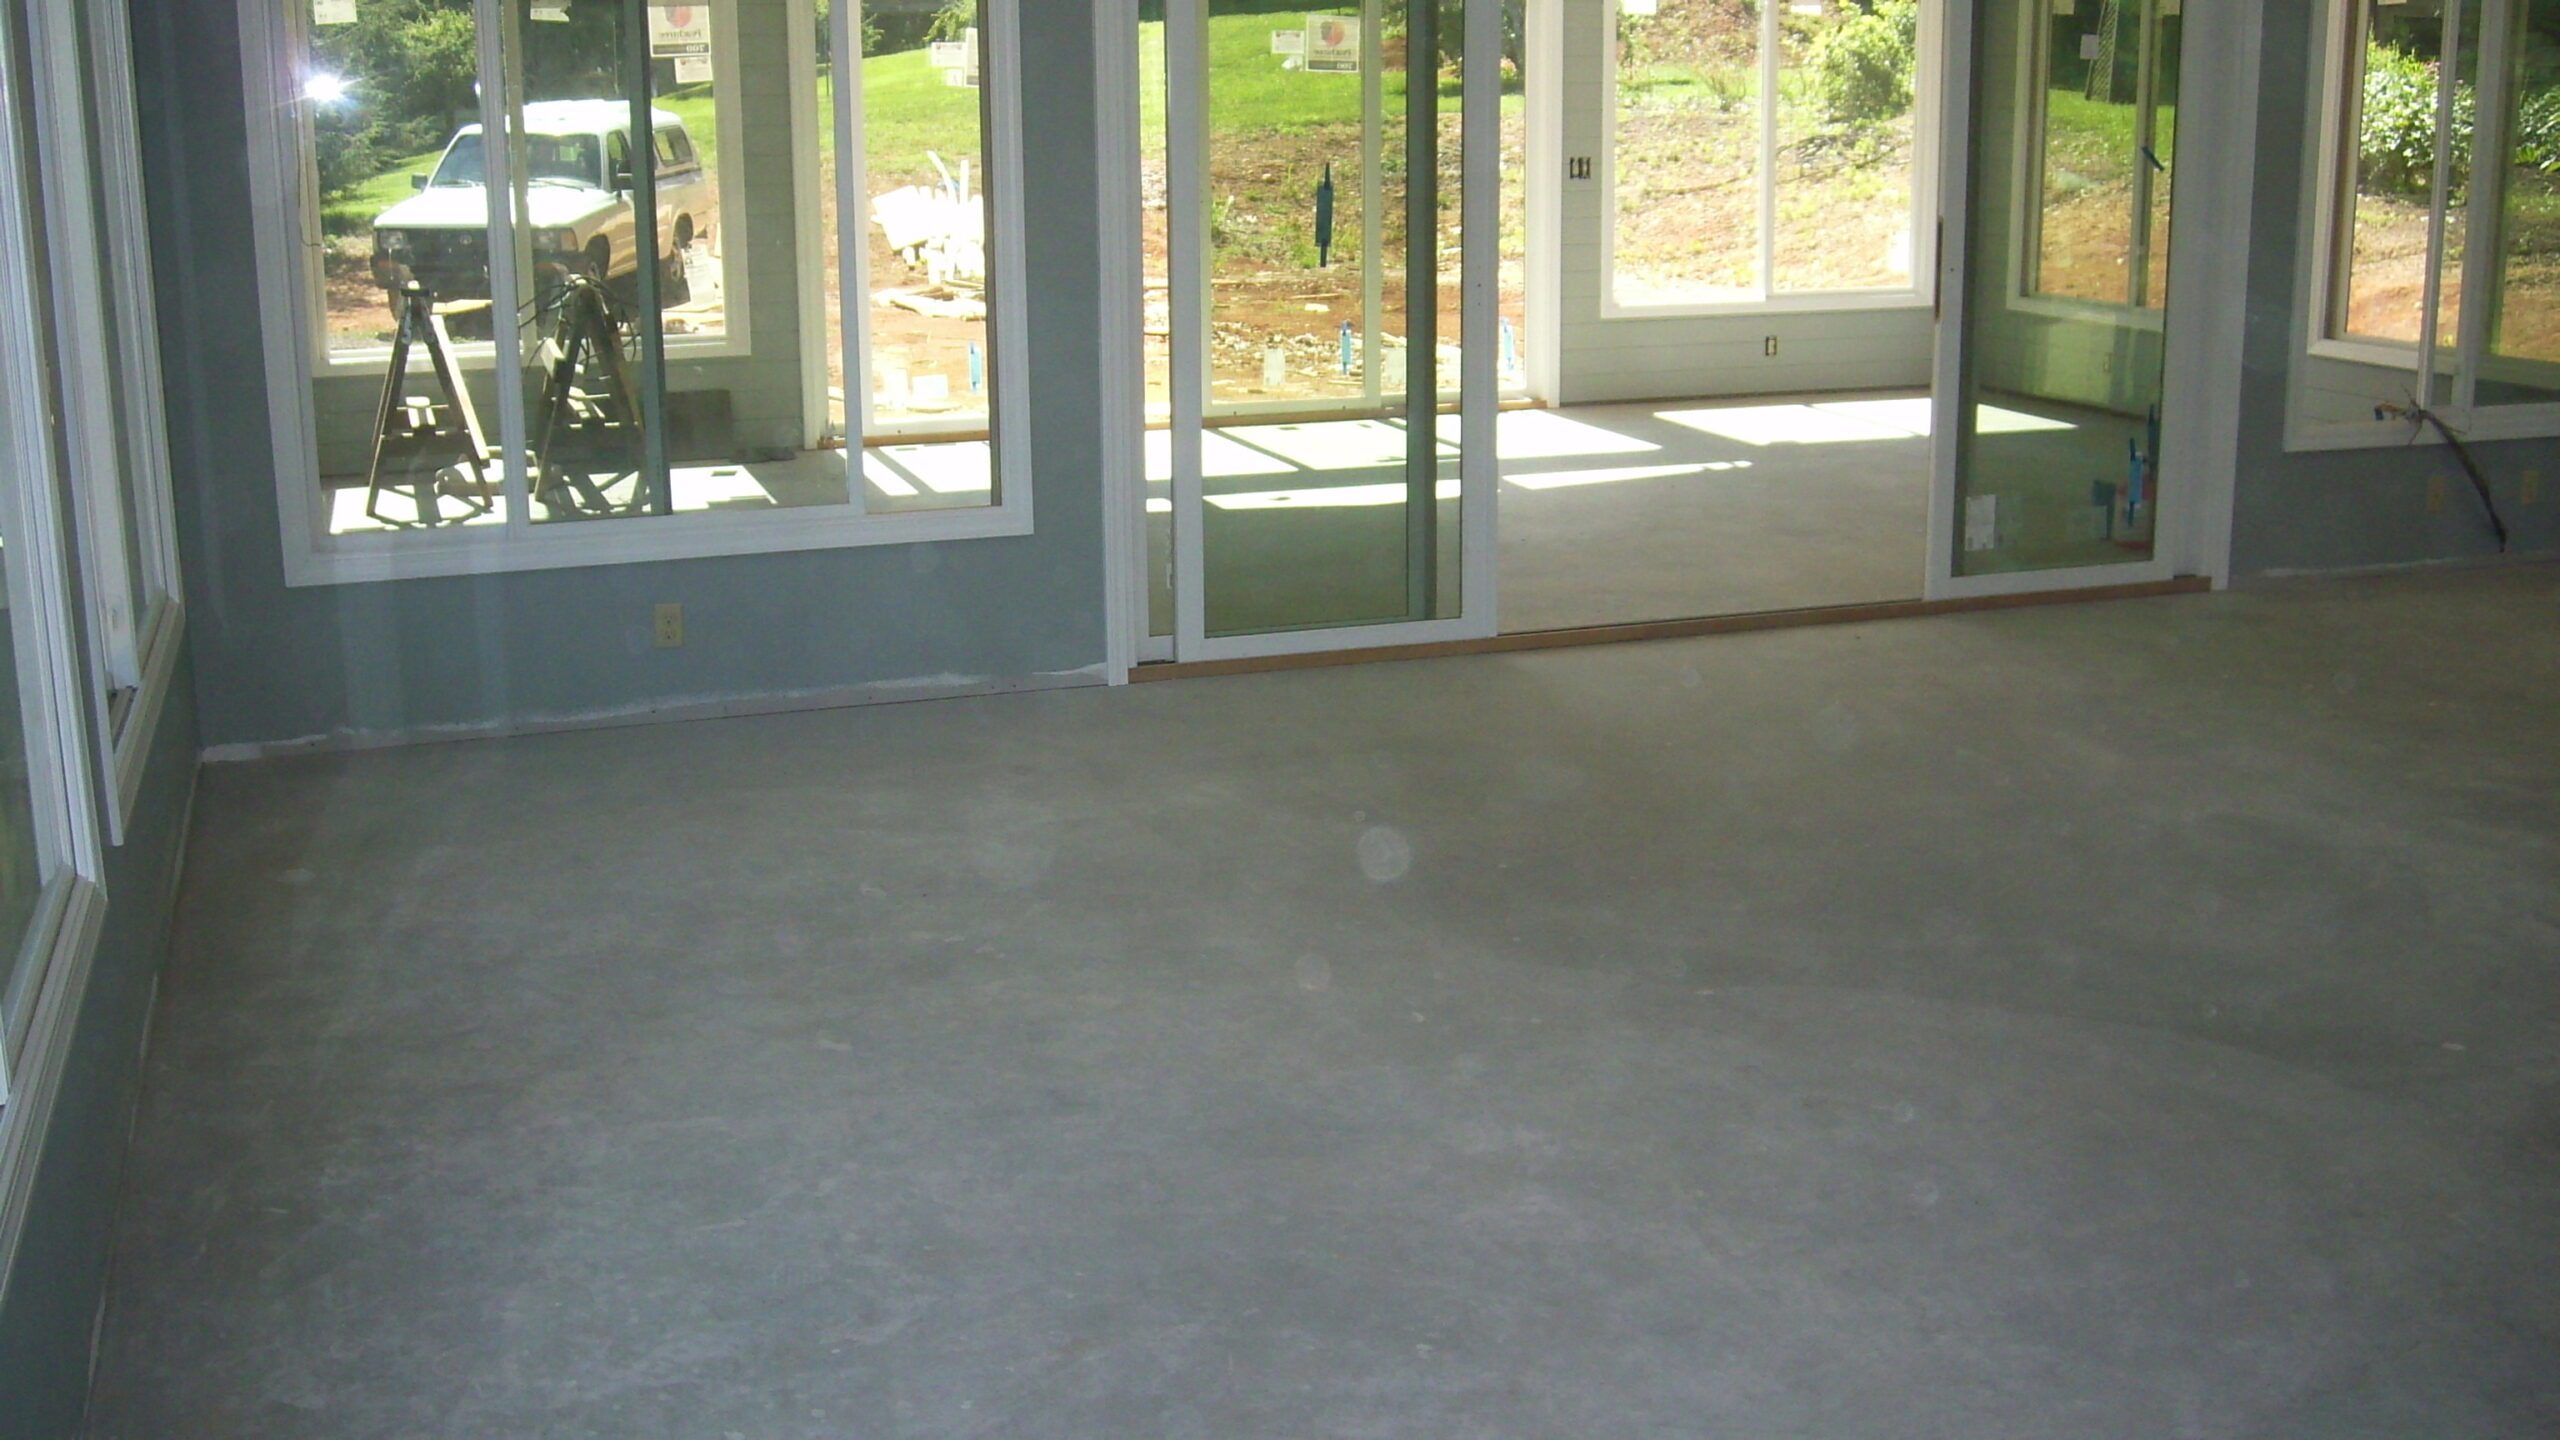
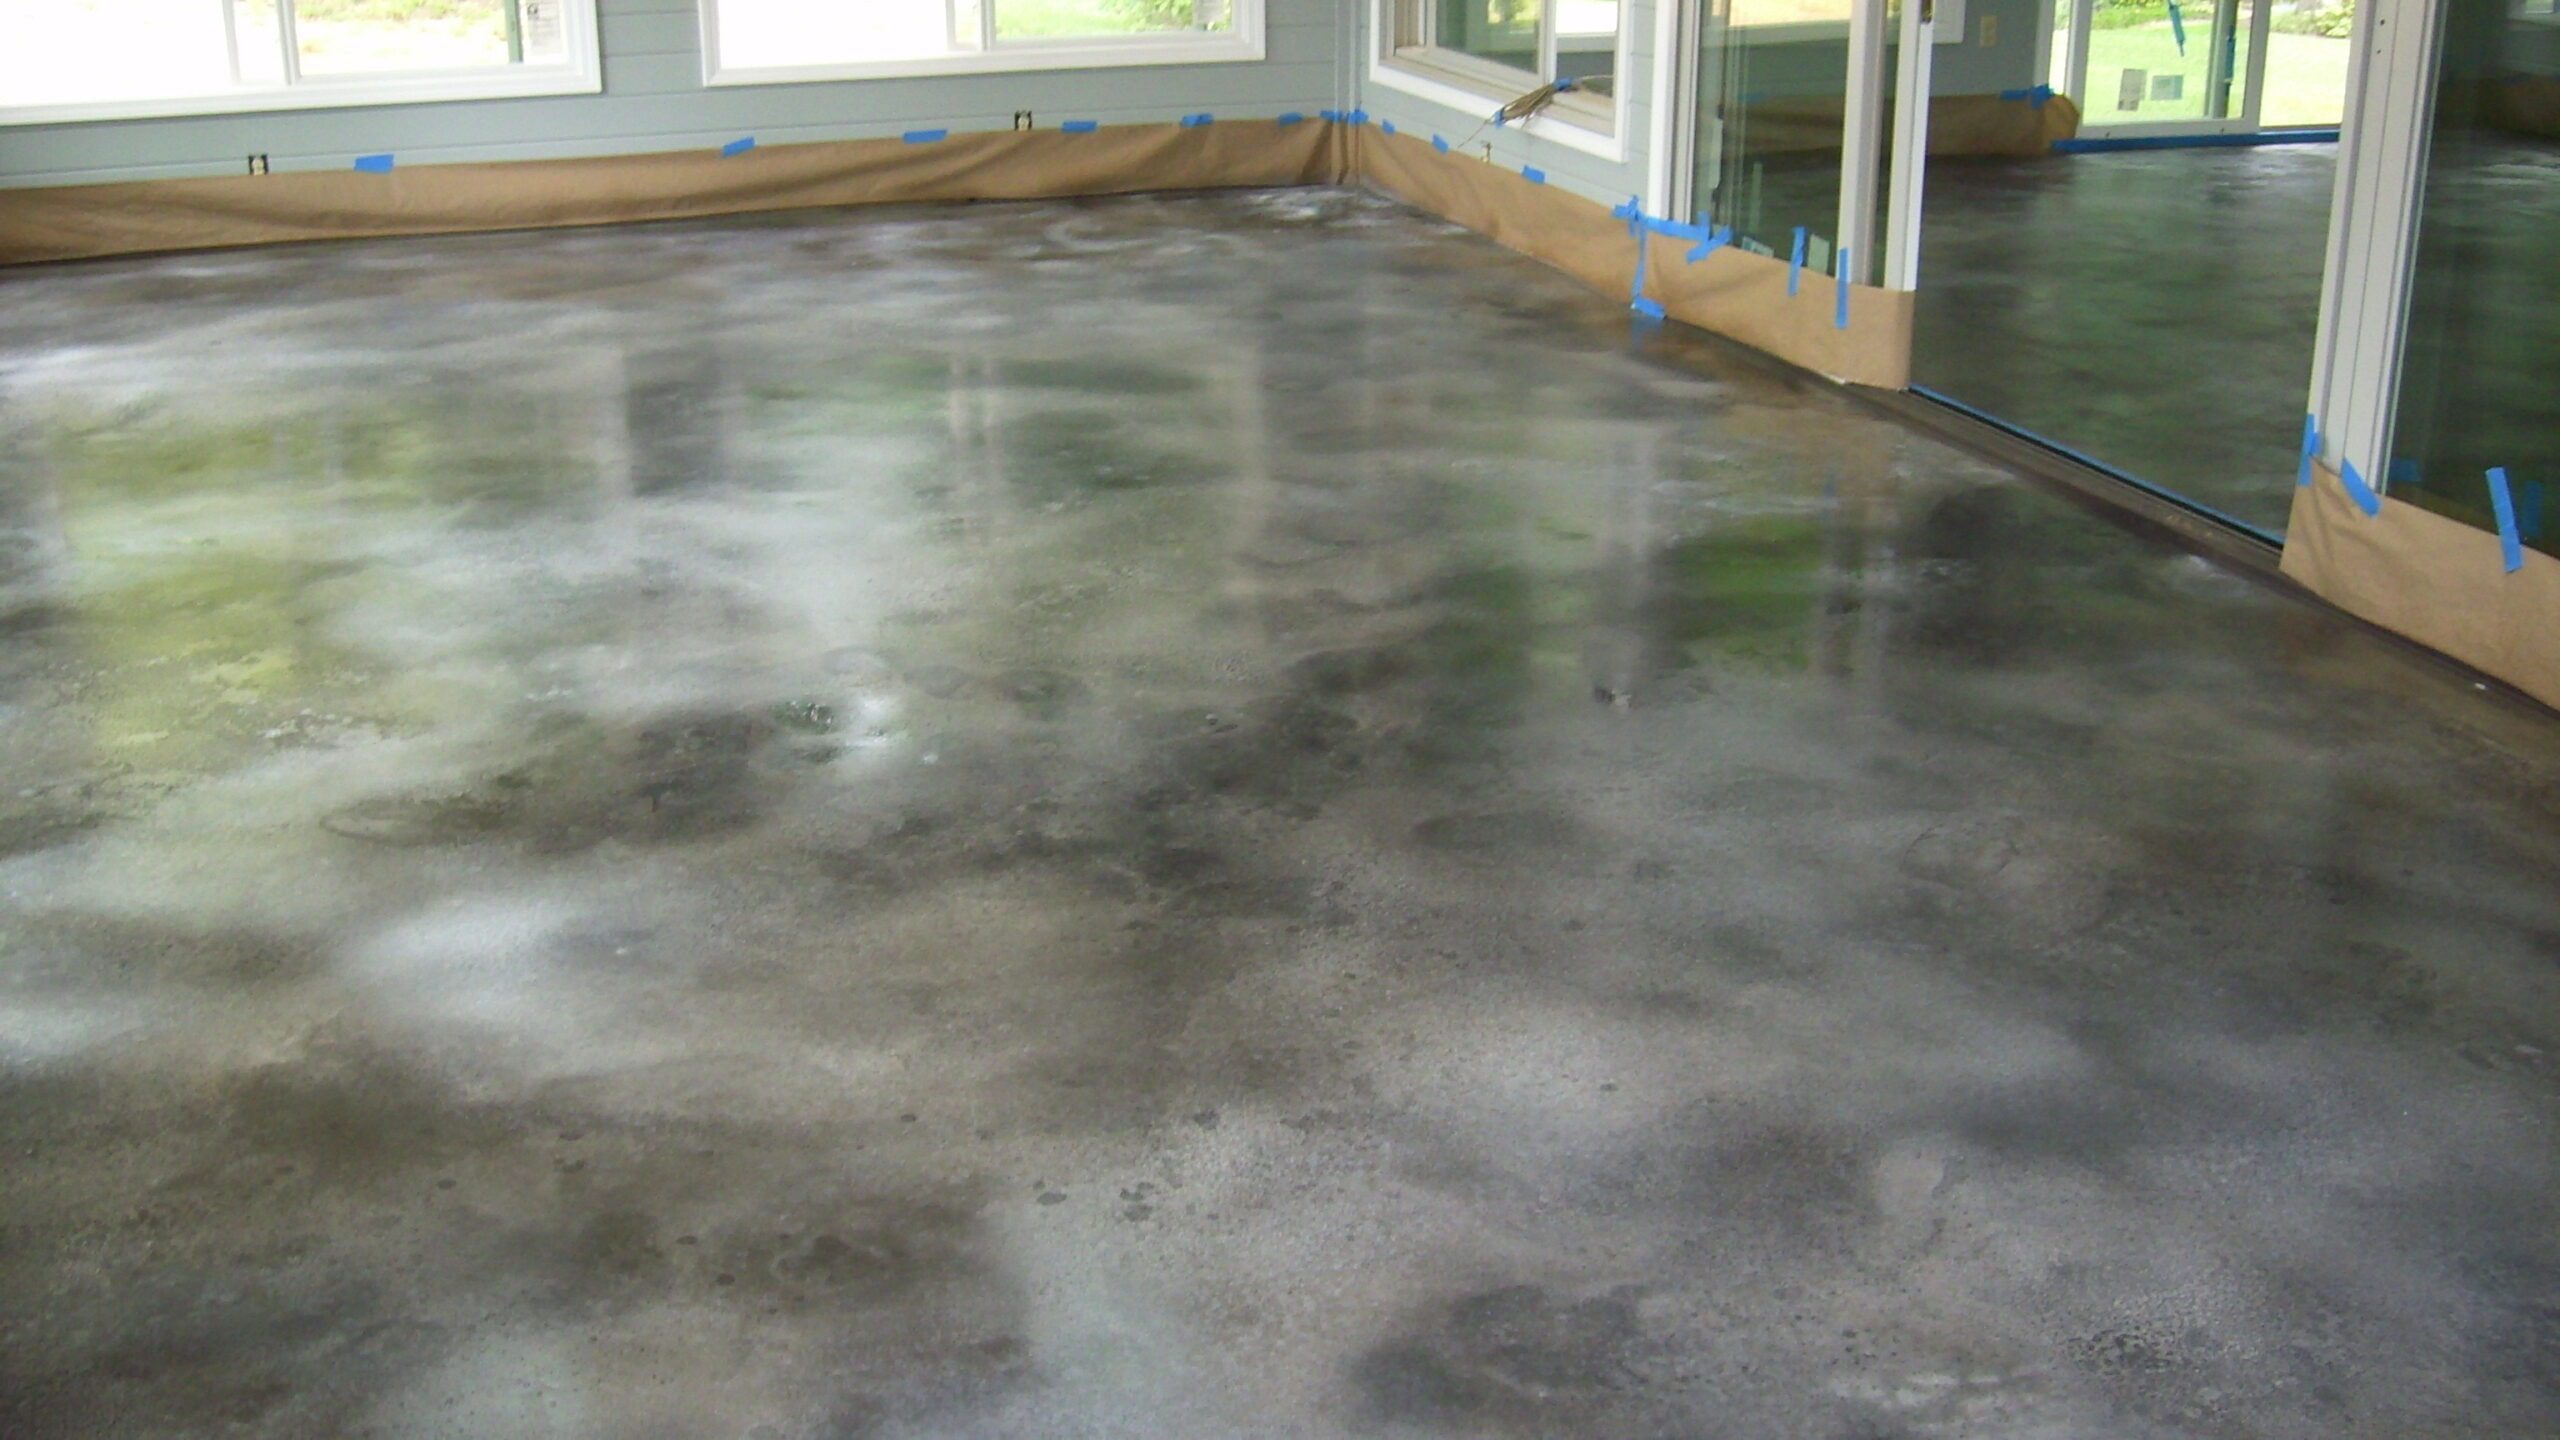
Sunroom Splendor: Marbled Black and White Mottled Stained Concrete Floor with Concrete Dye
killfully used concrete dye to achieve a marbled black and white mottled stained concrete finish. The polished and refined appearance brings a touch of elegance to this bright and inviting space. Discover the techniques and steps used to recreate this stunning marbled effect and elevate your own sunroom with a similarly impressive floor makeover.
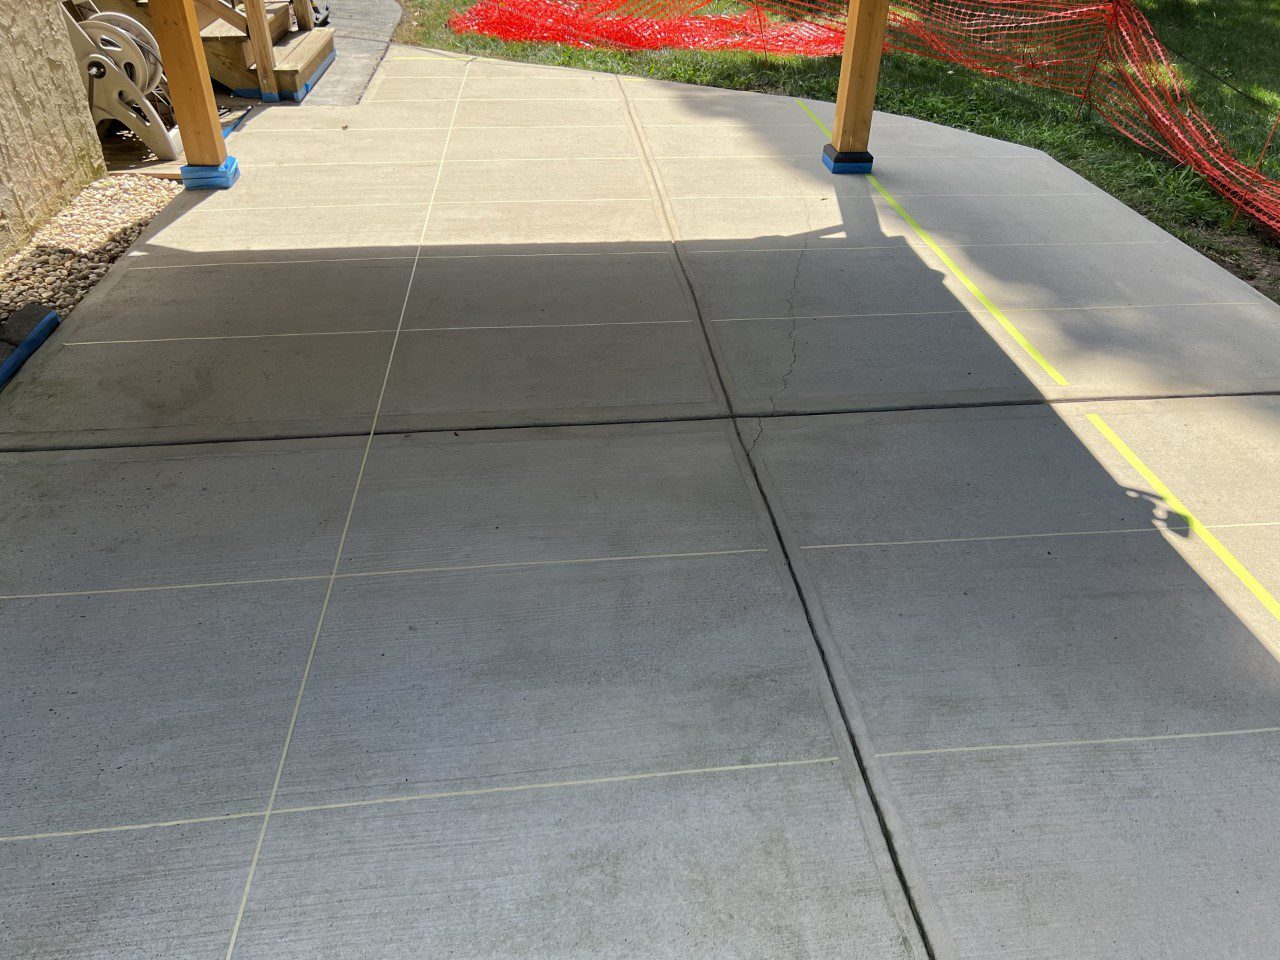
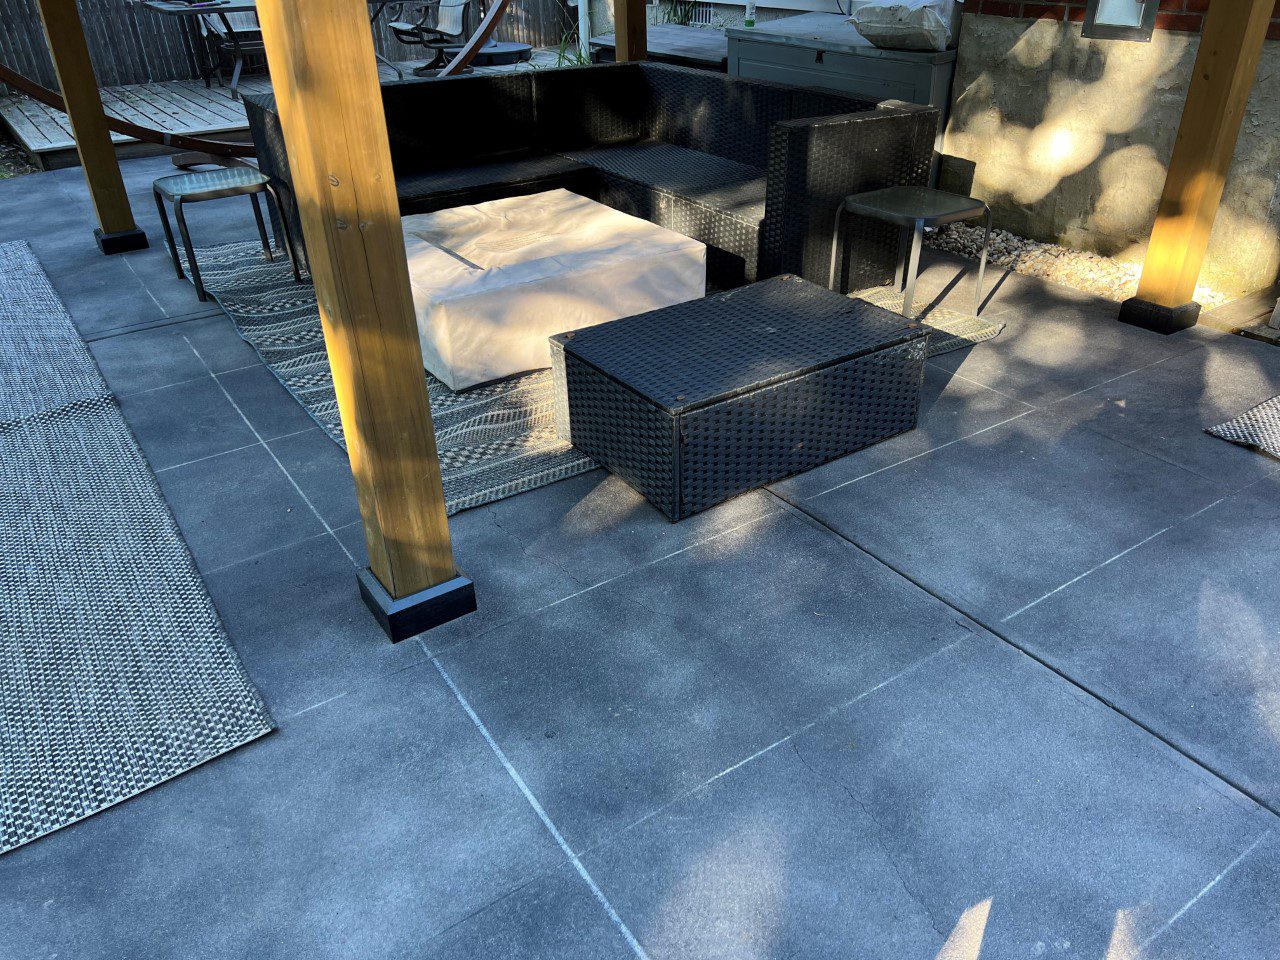
Patio Perfection: Mottled Black Stained Concrete Tiles Created with Scored and Taped Technique
Step outside and admire this stunning covered patio transformation, where a clever homeowner used a scored and taped technique to create the appearance of large concrete tiles stained with a mottled black concrete finish. The result is an eye-catching and inviting outdoor space with a unique, sophisticated touch.
For more DIY inspiration and ideas, check out our “Gallery Of Black Concrete Stain Projects: DIY Inspiration For Your Outdoor Space.“
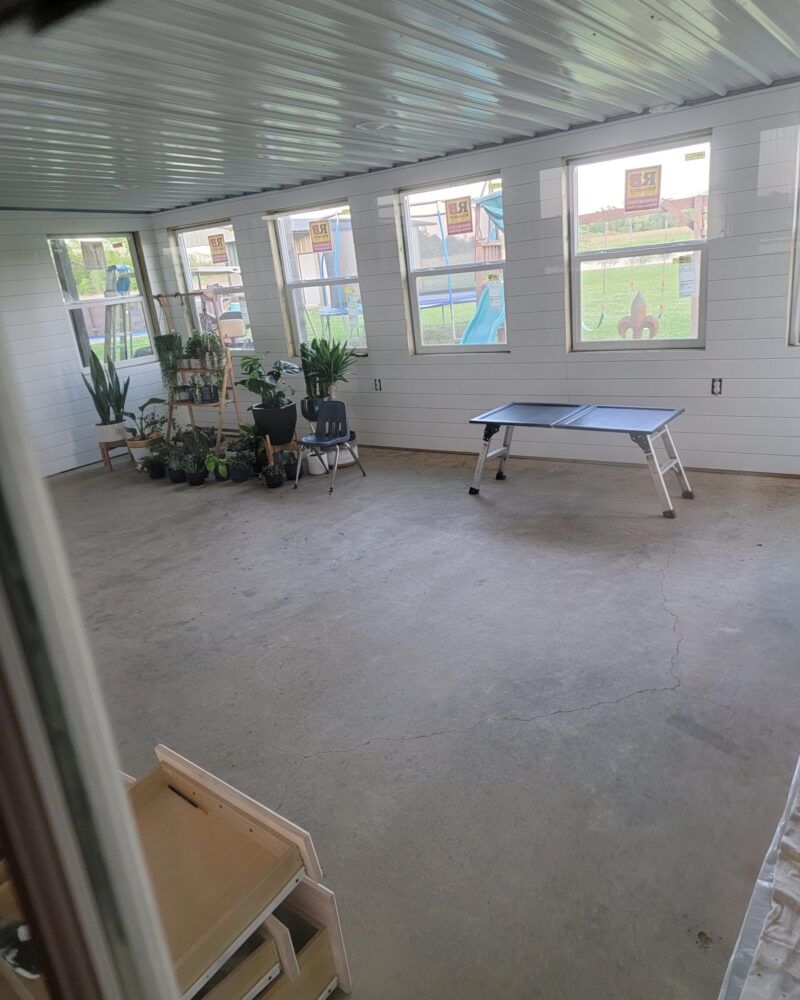
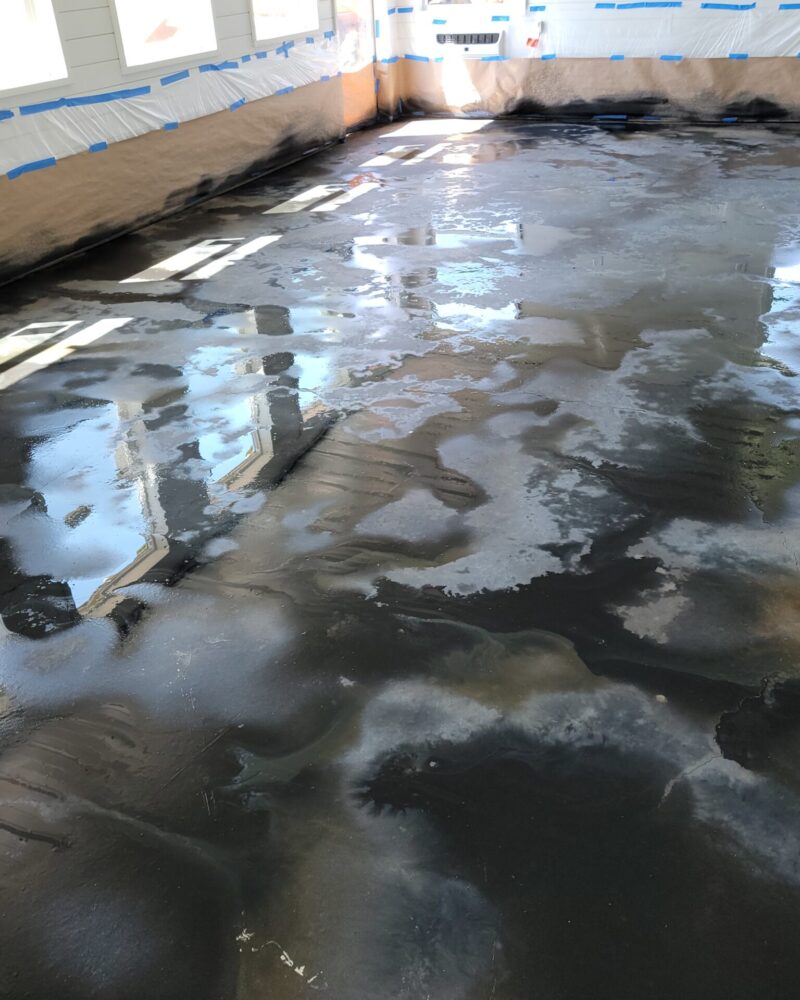
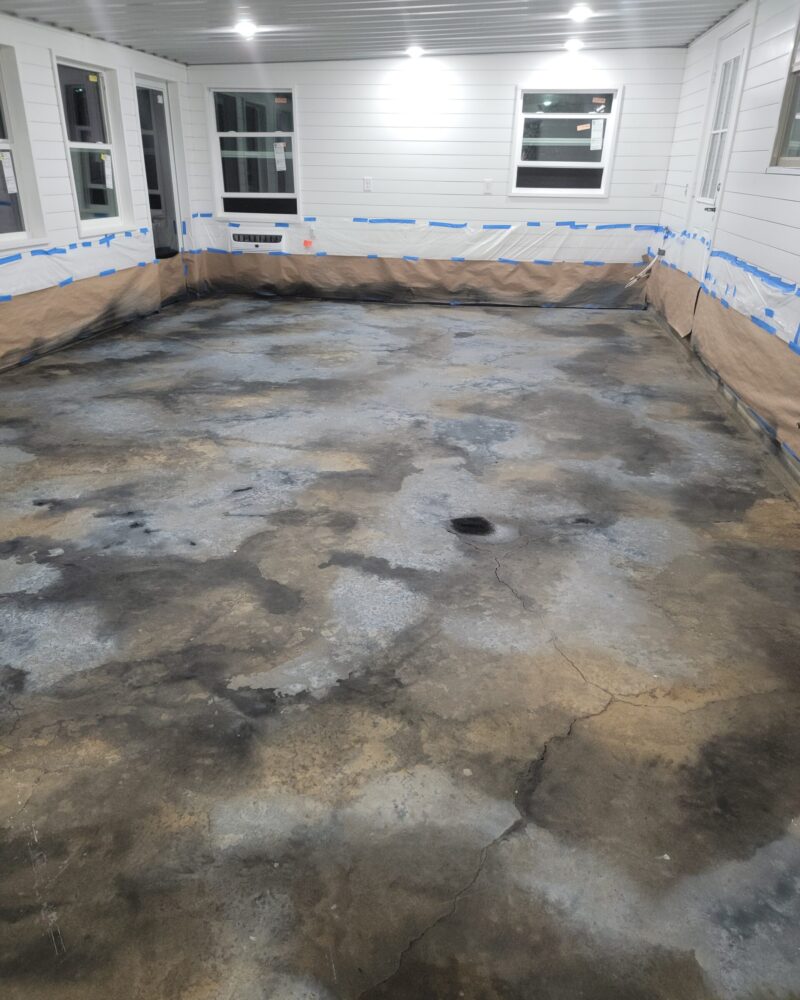
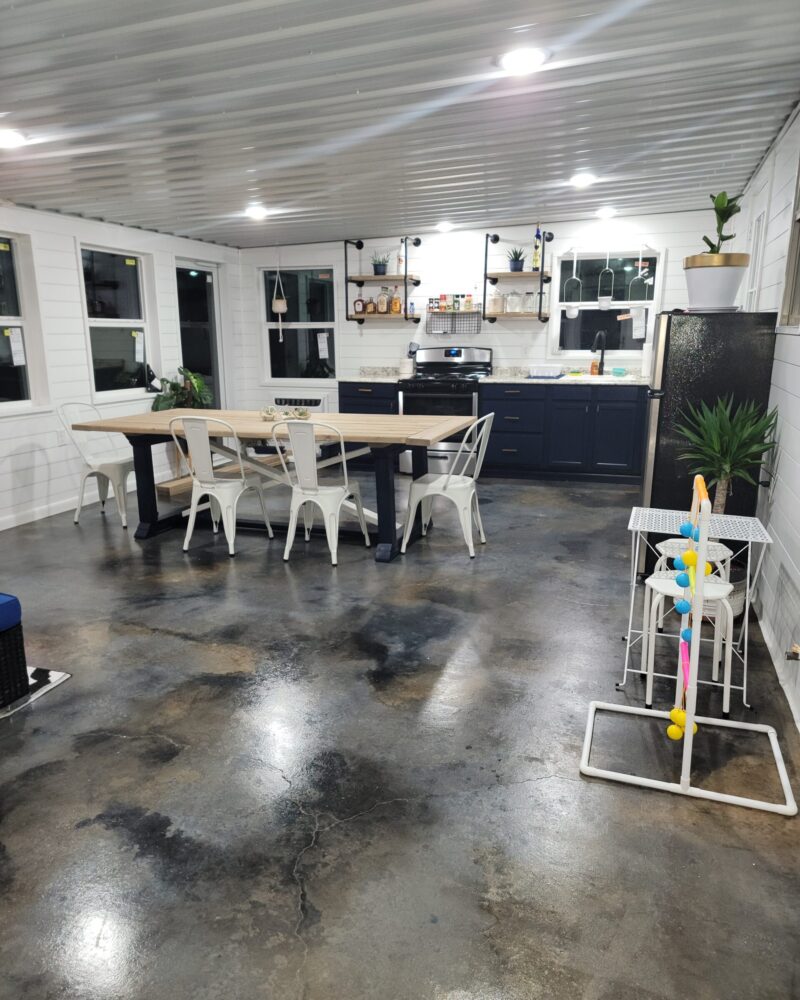
Mottled Color Effect with Puddling Method
This creative homeowner skillfully achieved a mottled color effect using ColorWave® Black, Stone Gray, and Iron Gray stains. By employing the “puddling method”.
- Project Completed In: 3 day(s)
- Estimate of Square Footage: 430 sq. ft.
- Project Description:
We used Colorwave Black, Stone Gray and Iron gray, used the “puddling method” and finished it off with an AcquaSeal gloss sealer. We also put 2 coats of wax afterwards. - Personal Tips:
Make sure you spend the extra time with cleaning prep. - Direct Colors Products Used:
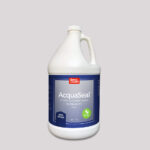
1 Gal. Black DIY ColorWave® & AcquaSeal™ Gloss Kit
1 Gal. Stone ColorWave® Stain
1 Gal. Iron ColorWave® Stain
1 Gal. ProWax Polish™ Satin
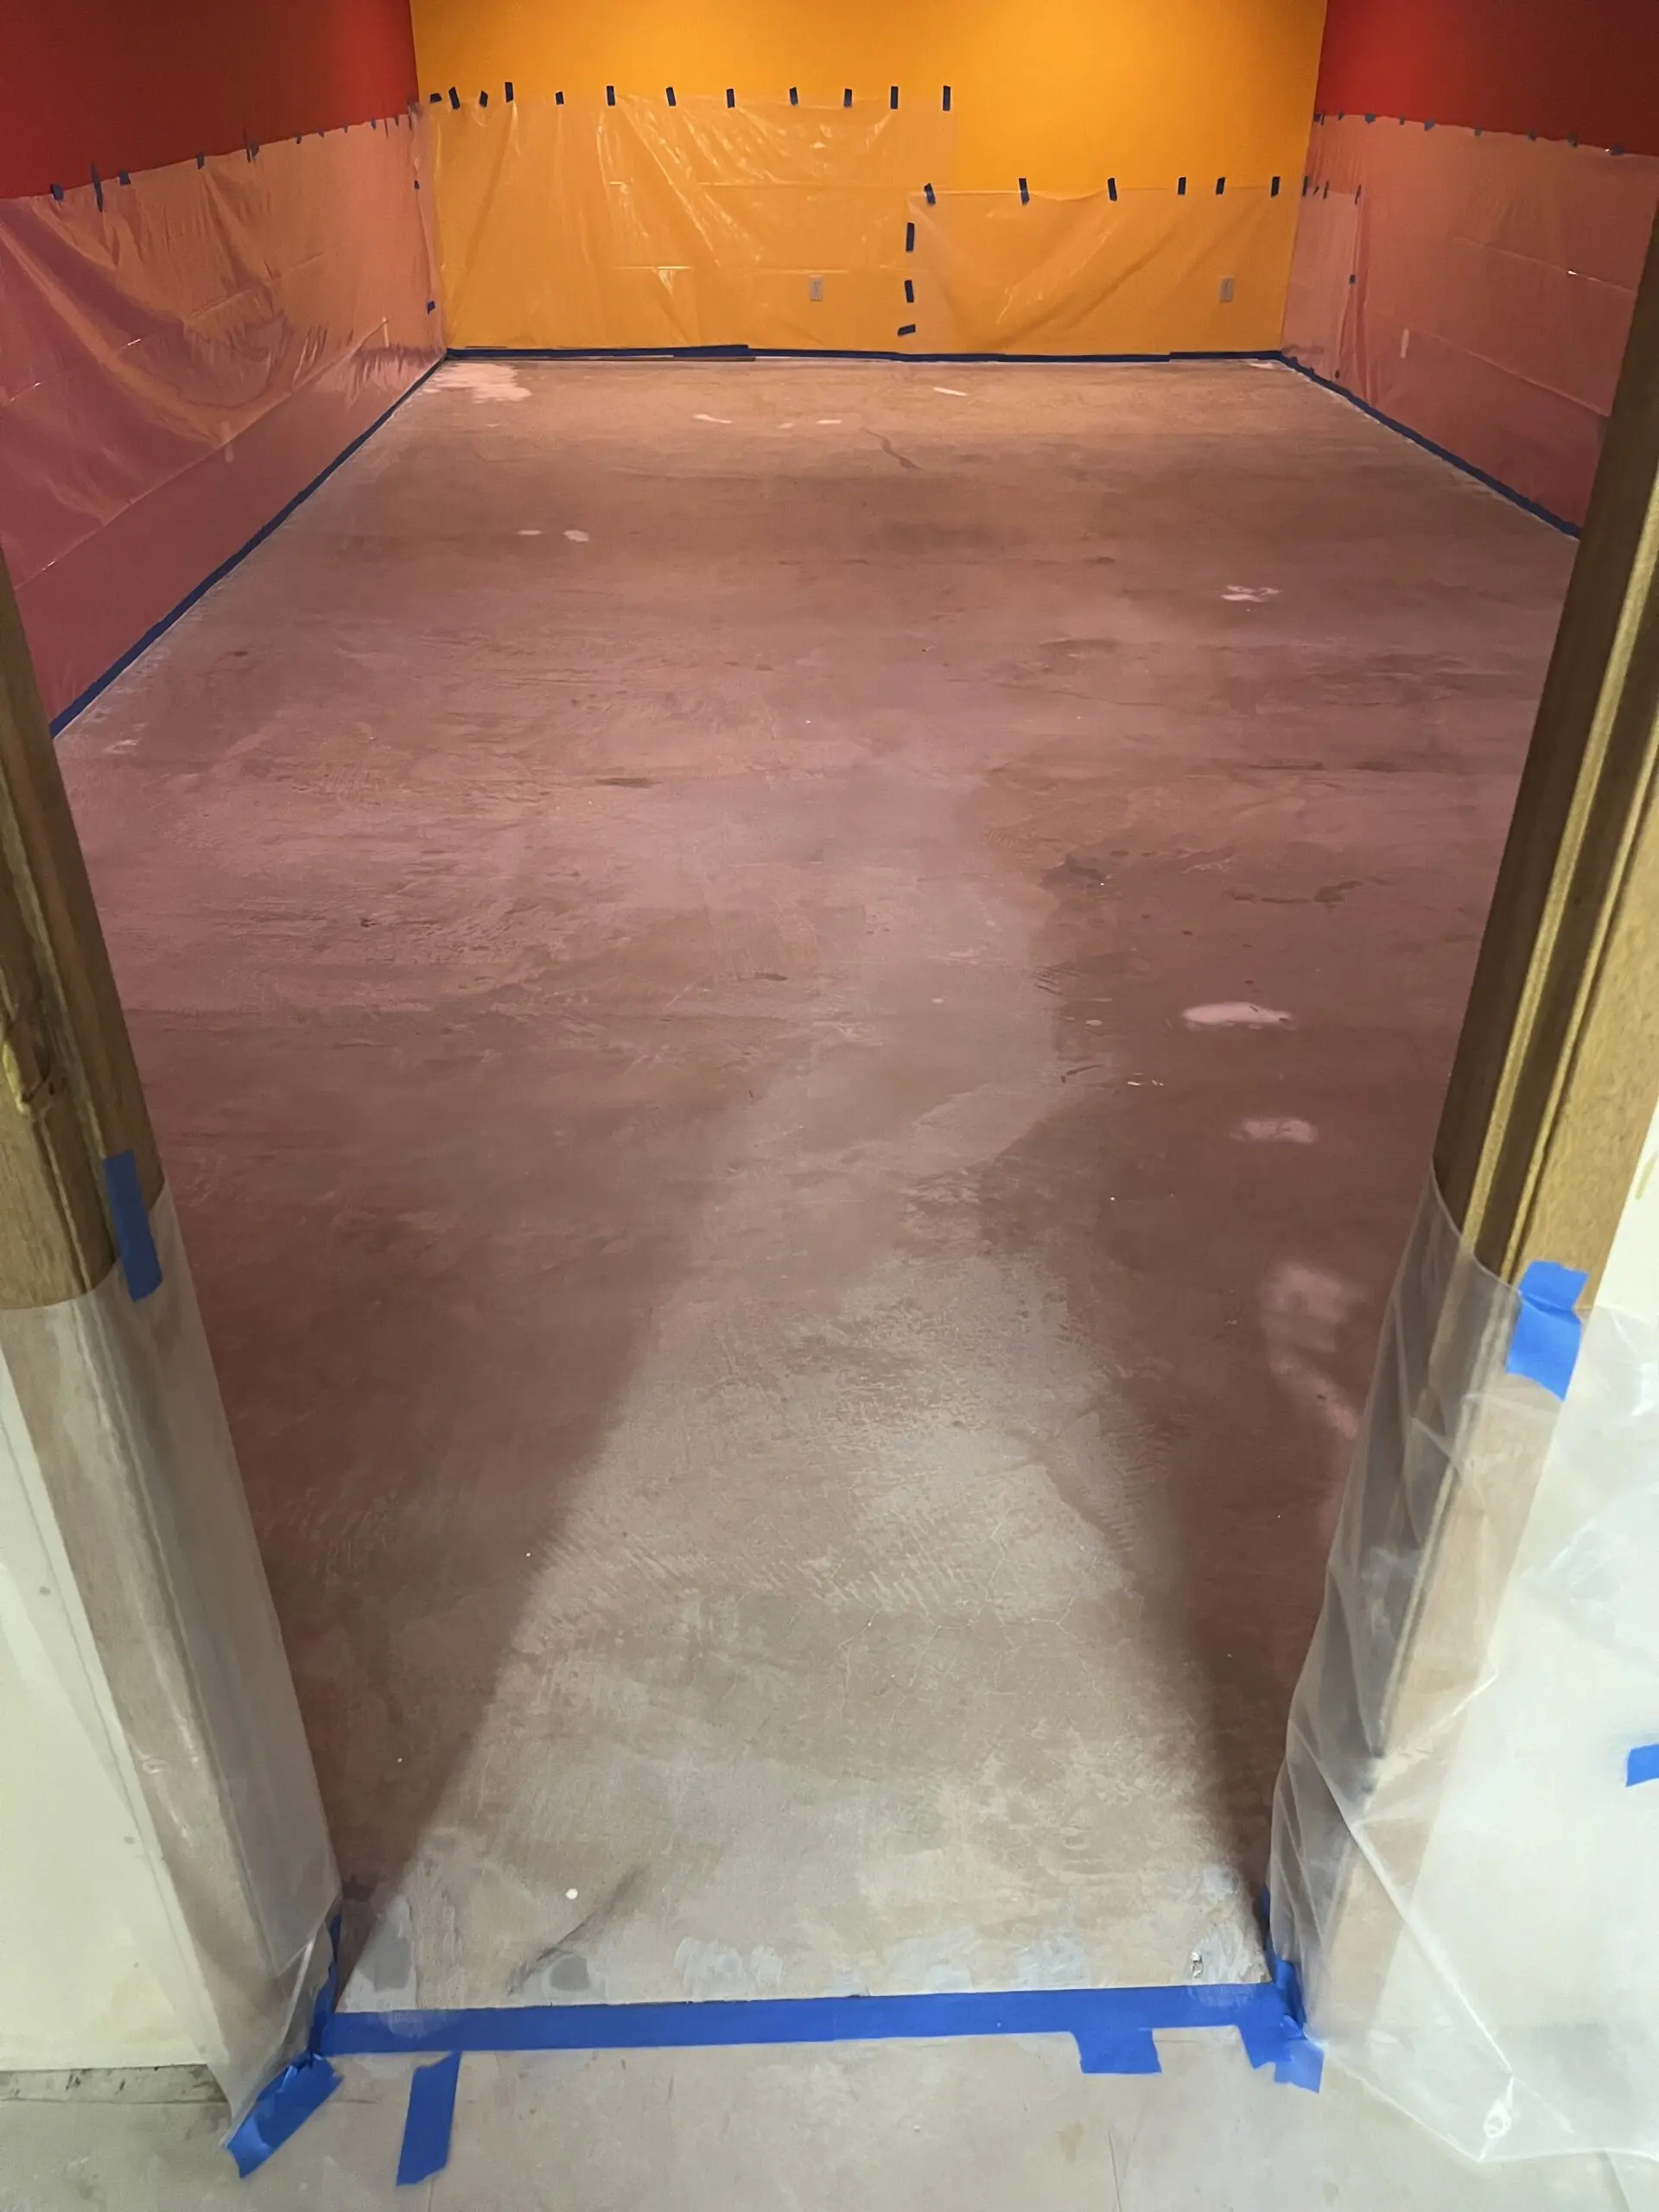
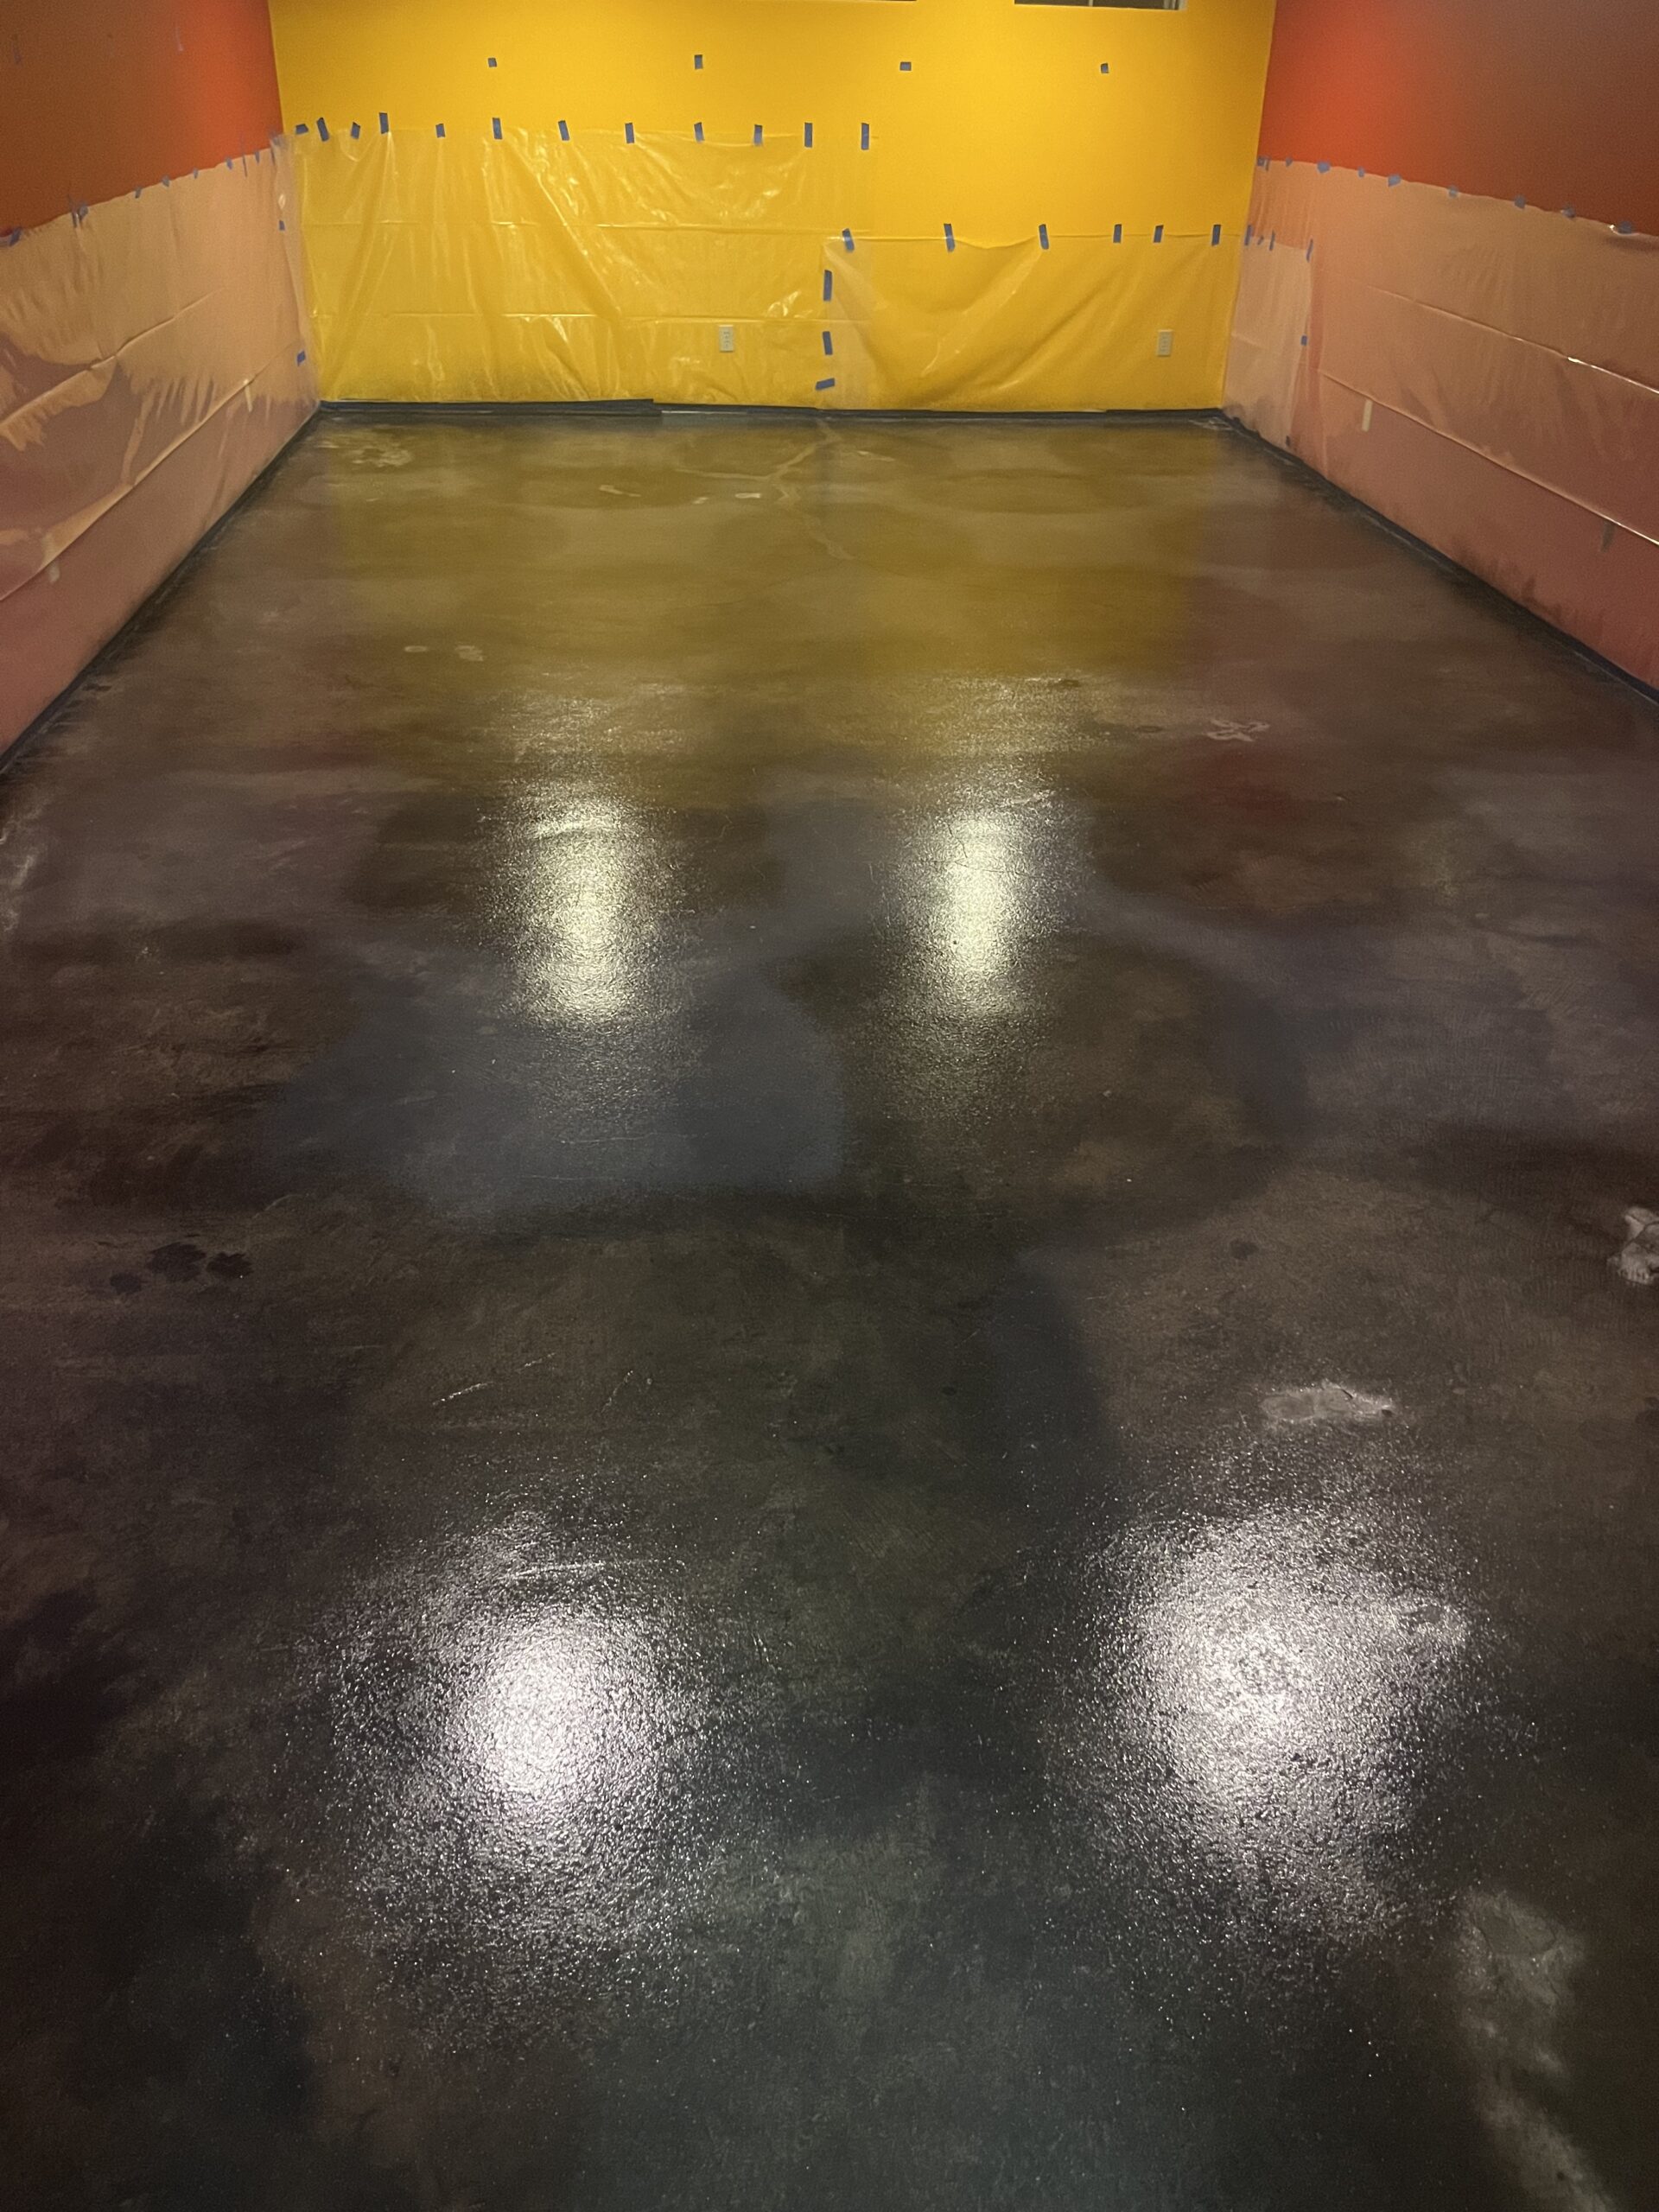
Monochrome Floor Makeover: A Play of Black and Steel Grey
Transforming a basic floor into a monochrome masterpiece, this project employed a blend of black and steel grey ColorWave® stains. With a focus on preparation, overlapping patterns, and finishing with a high gloss, the outcome showcased the power of attention to detail.
Project Info:
- Project Completed In: 8 day(s)
- Estimate of Square Footage: 550 sq. ft.
- Project Description:
I started with cleaning the floor. I used the ProClean degreaser from a pump sprayer. I soaked the entire floor, then sprayed down a little water. I rented a 17” floor sander and bought a 800 grit diamond impregnated disk for it. I would wet about a 3 by 3 foot section at a time and run the machine through it then I would push the dirty water with a squeegee and vacuum the water up. This was the most tiring part for me. After that I hung my plastic around the parameter of where I would be coloring and ended up mopping again twice with the degreaser again just for good measure. I let the floor dry 24 hours before spraying. Next I filled up two pump sprayers for my first coat. I used black and steel grey colorwave stain. I sprayed a circle pattern over lapping slightly with the two colors and did that through the whole space. 24 hours later a repeated for second coat and waited 48 hours before sealing. I ended up using 2 gallons of black and 2 1/2 gallons of the steel grey. I used the pump sprayer method also for the aqua seal gloss. I did two coats misting it on in circular motions. Using almost four gallons and waiting 24 hours before coats. After another 24 hours I mopped on the pro wax polish height gloss. For this I just used a microfiber mop and just coated it like I was mopping normally. I did two coats waiting 12 hours apart. Used 1 gallon. - Personal Tips:If I did it over I would have peeped the floor a little better. I had some paint spots that I left and didn’t use the stripper on them. Also I would probably do three coats of color next time. One more thing I will do next time is buy decent pump sprayers instead of the cheapest ones at Lowe’s as they gave me some issues with consistency.
- Direct Colors Products Used:
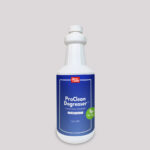
1 Qt. ProClean Degreaser™
3 x 1 Gal. Iron ColorWave® Stain AcquaSeal™ Gloss Kit
1 Gal. Black ColorWave® Stain AcquaSeal™ Gloss Kit
1 Gal. Black ColorWave® Stain
1 Gal. ProWax Polish™ Gloss
If you’re inspired by these projects and interested in exploring more industrial and mottled-looking floor finishes, don’t miss our blog post: ‘Stormy Gray Vibrance™ Dye: Your Ticket To DIY Magic!‘ Dive into the world of DIY magic with our Vibrance Dye.
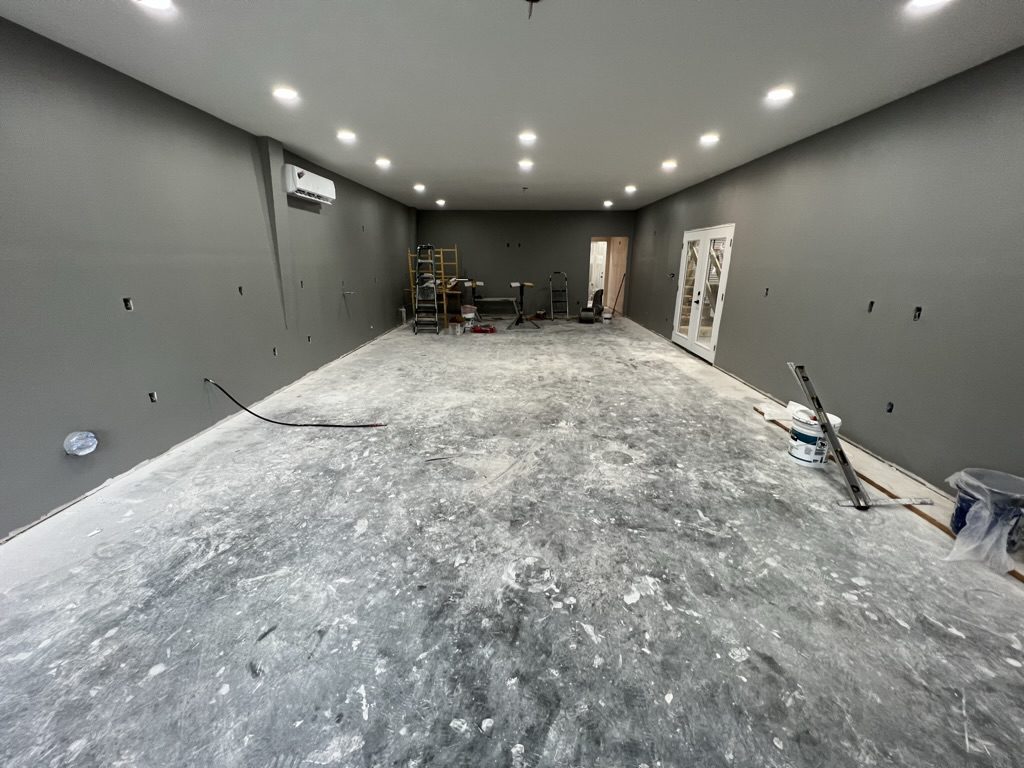
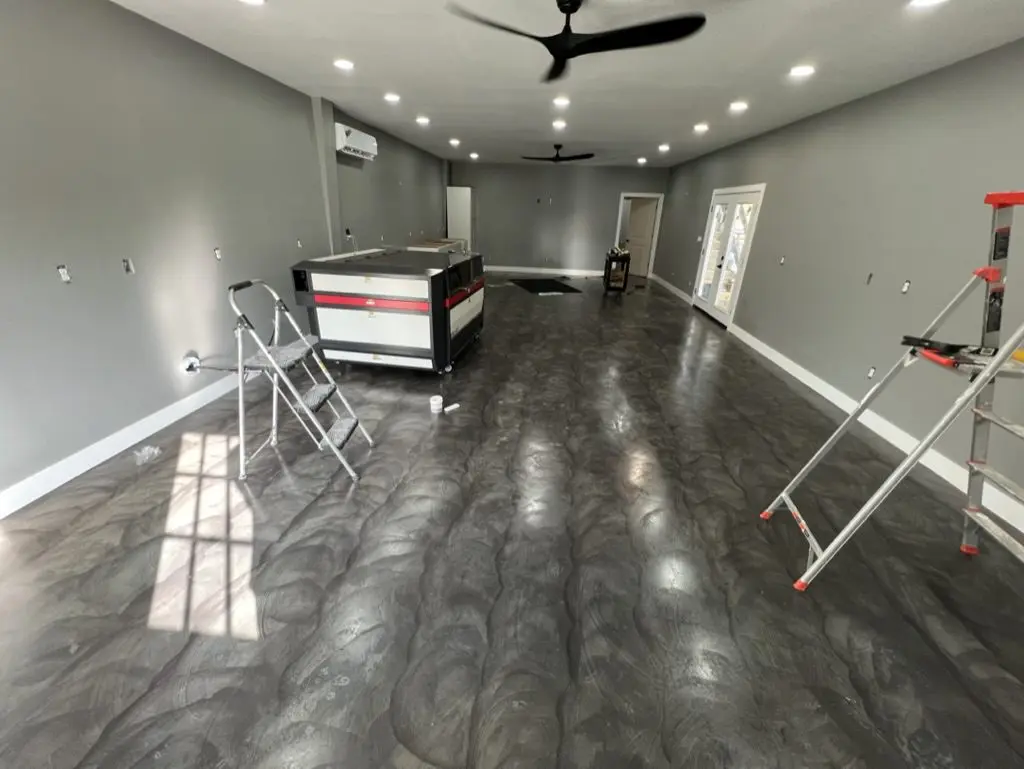
Sponge Swirls: Unexpectedly Perfect Shop Floors!
When traditional methods threw a curveball, the shop owners went with a sponge for their floor staining. Maybe it was the super smooth concrete? Regardless, the result was a unique swirl finish that was unplanned yet utterly captivating. Sometimes, happy accidents make the best designs!
Project Info:
- Project Completed In: 2 day(s)
- Estimate of Square Footage: 1200 sq. ft.
- Project Description:
Staining the inside part of our shop floors. - Personal Tips:
We used a sponge since rolling it on or spraying just did not want to work with us. Maybe the concrete was to smooth?
- Direct Colors Products Used:
1 Gal. Charcoal AcquaTint™
5 Gal. Charcoal AcquaTint™


