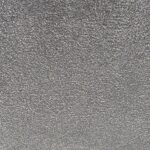
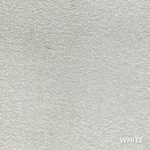
Stormy Gray Vibrance™ Dye: Your Ticket to DIY Magic!
Welcome to the fun world of DIY with Stormy Gray Vibrance™ Dye! This is not just any gray – it’s your new best friend for jazzing up concrete spaces! From driveways to basements and even garages, this gallery is bursting with cool ideas on how to bring some stormy goodness to your projects.
By Justin Richardson
Concrete Chic: Guest Room Makeover Magic!
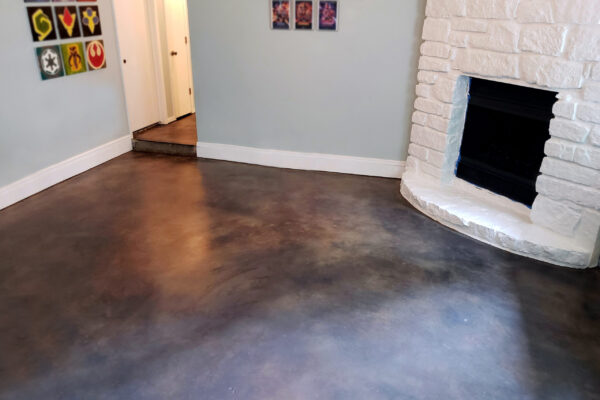
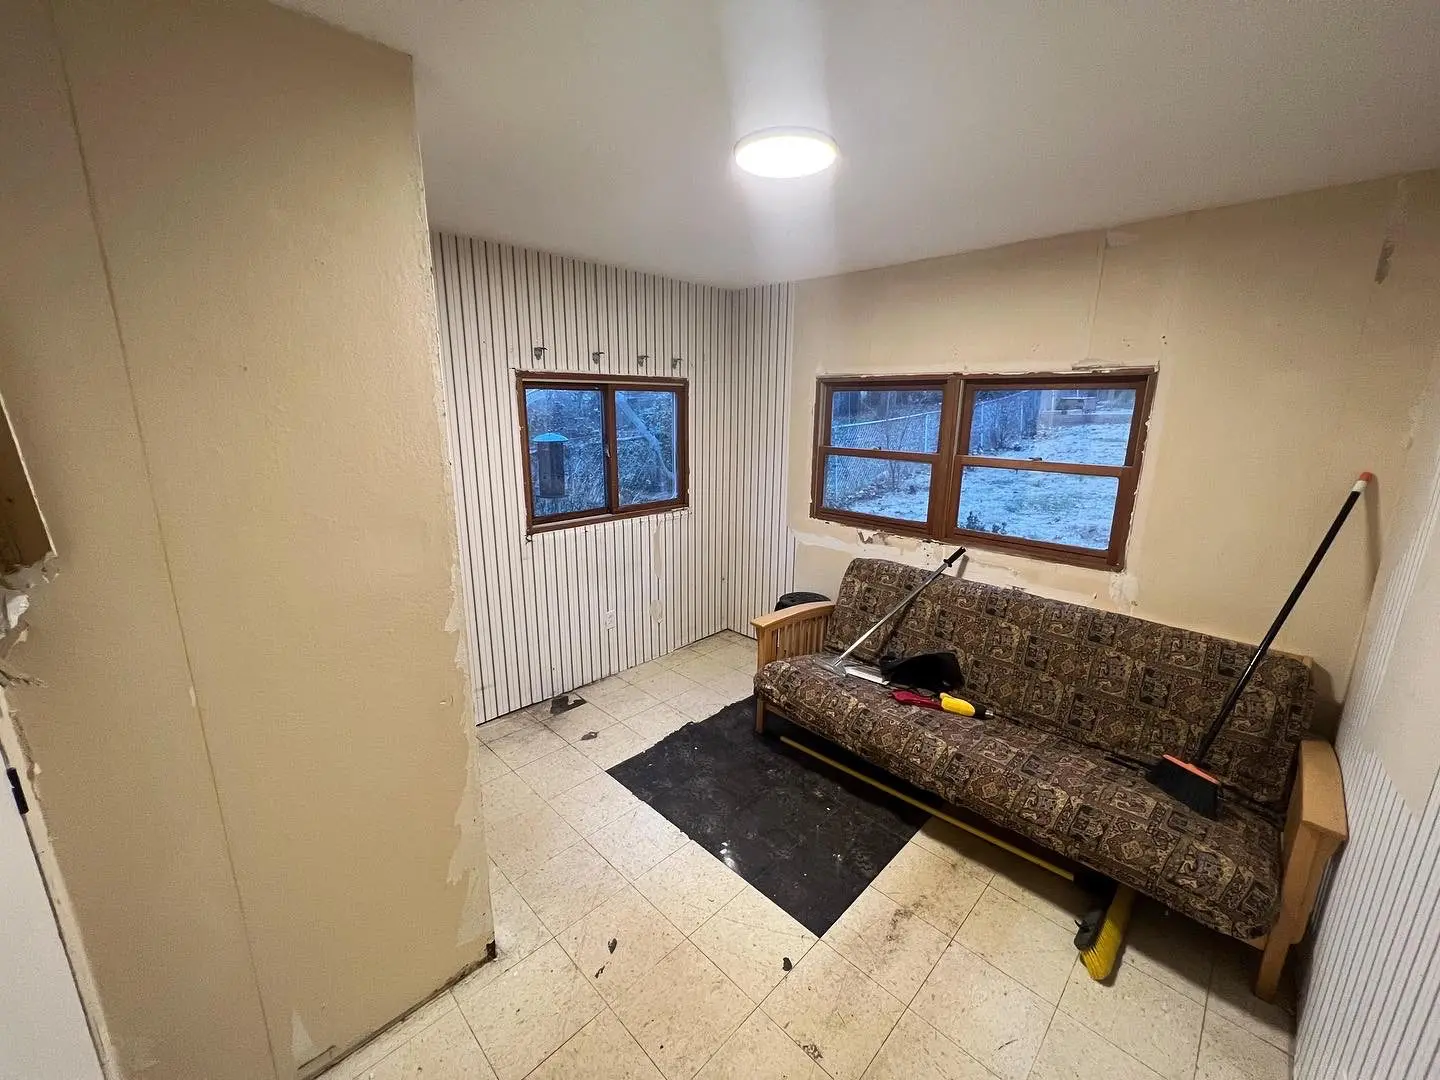
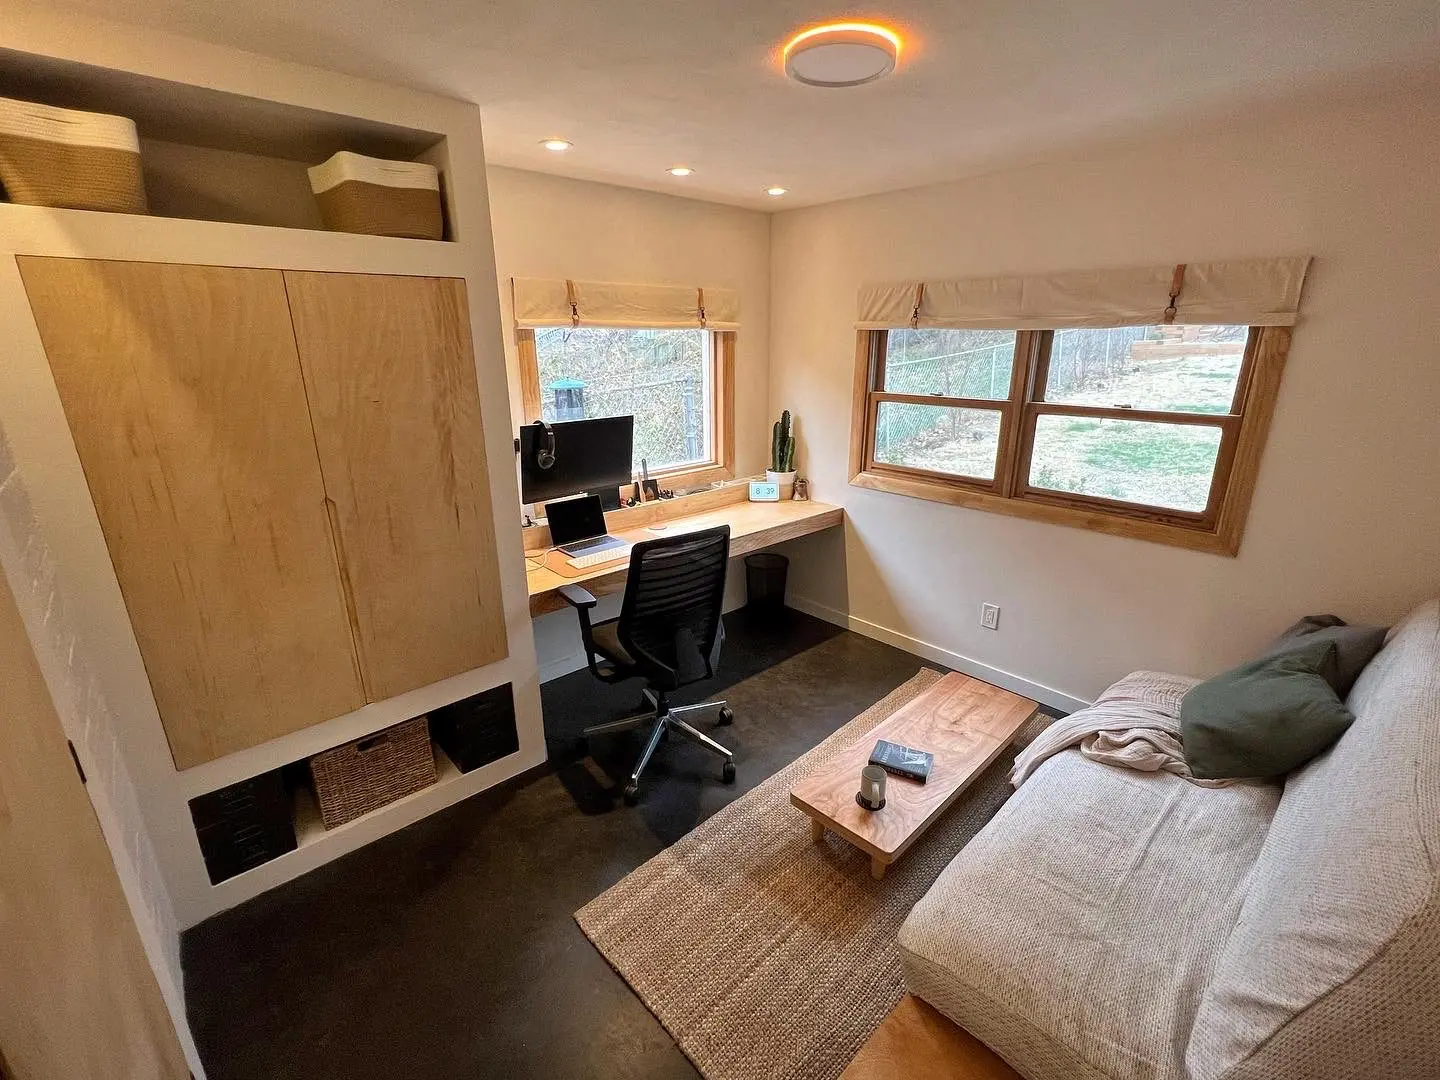
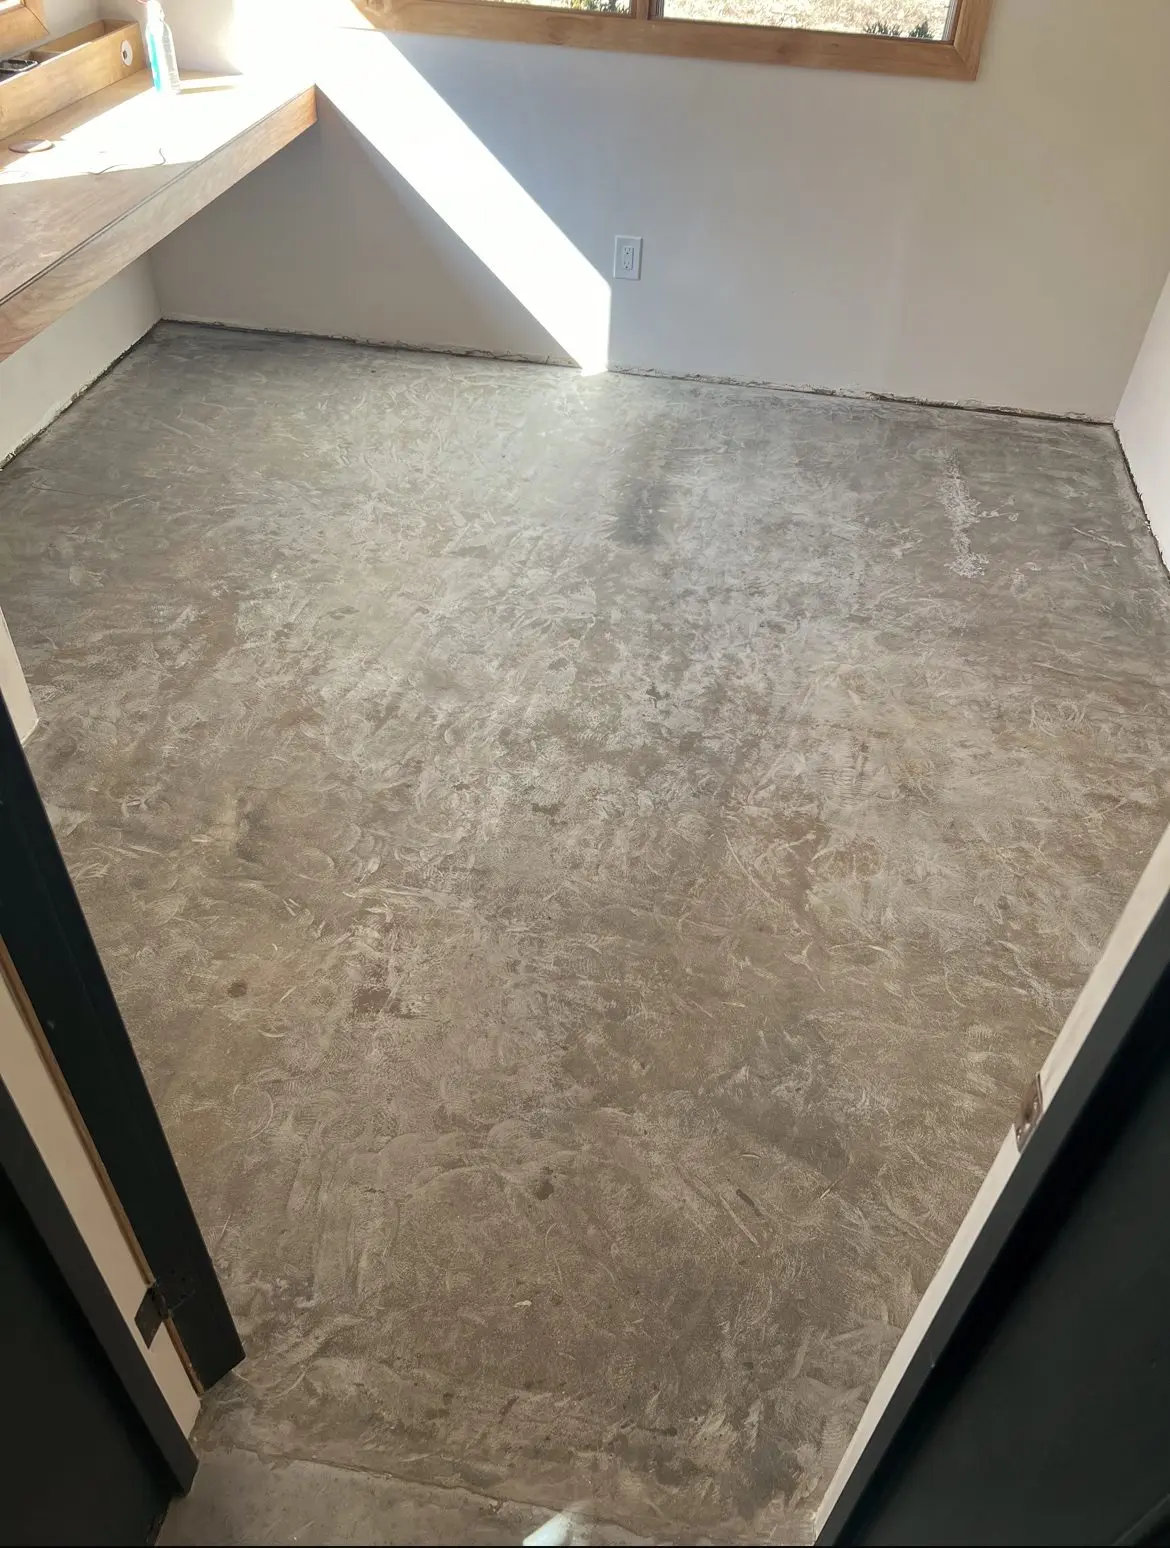
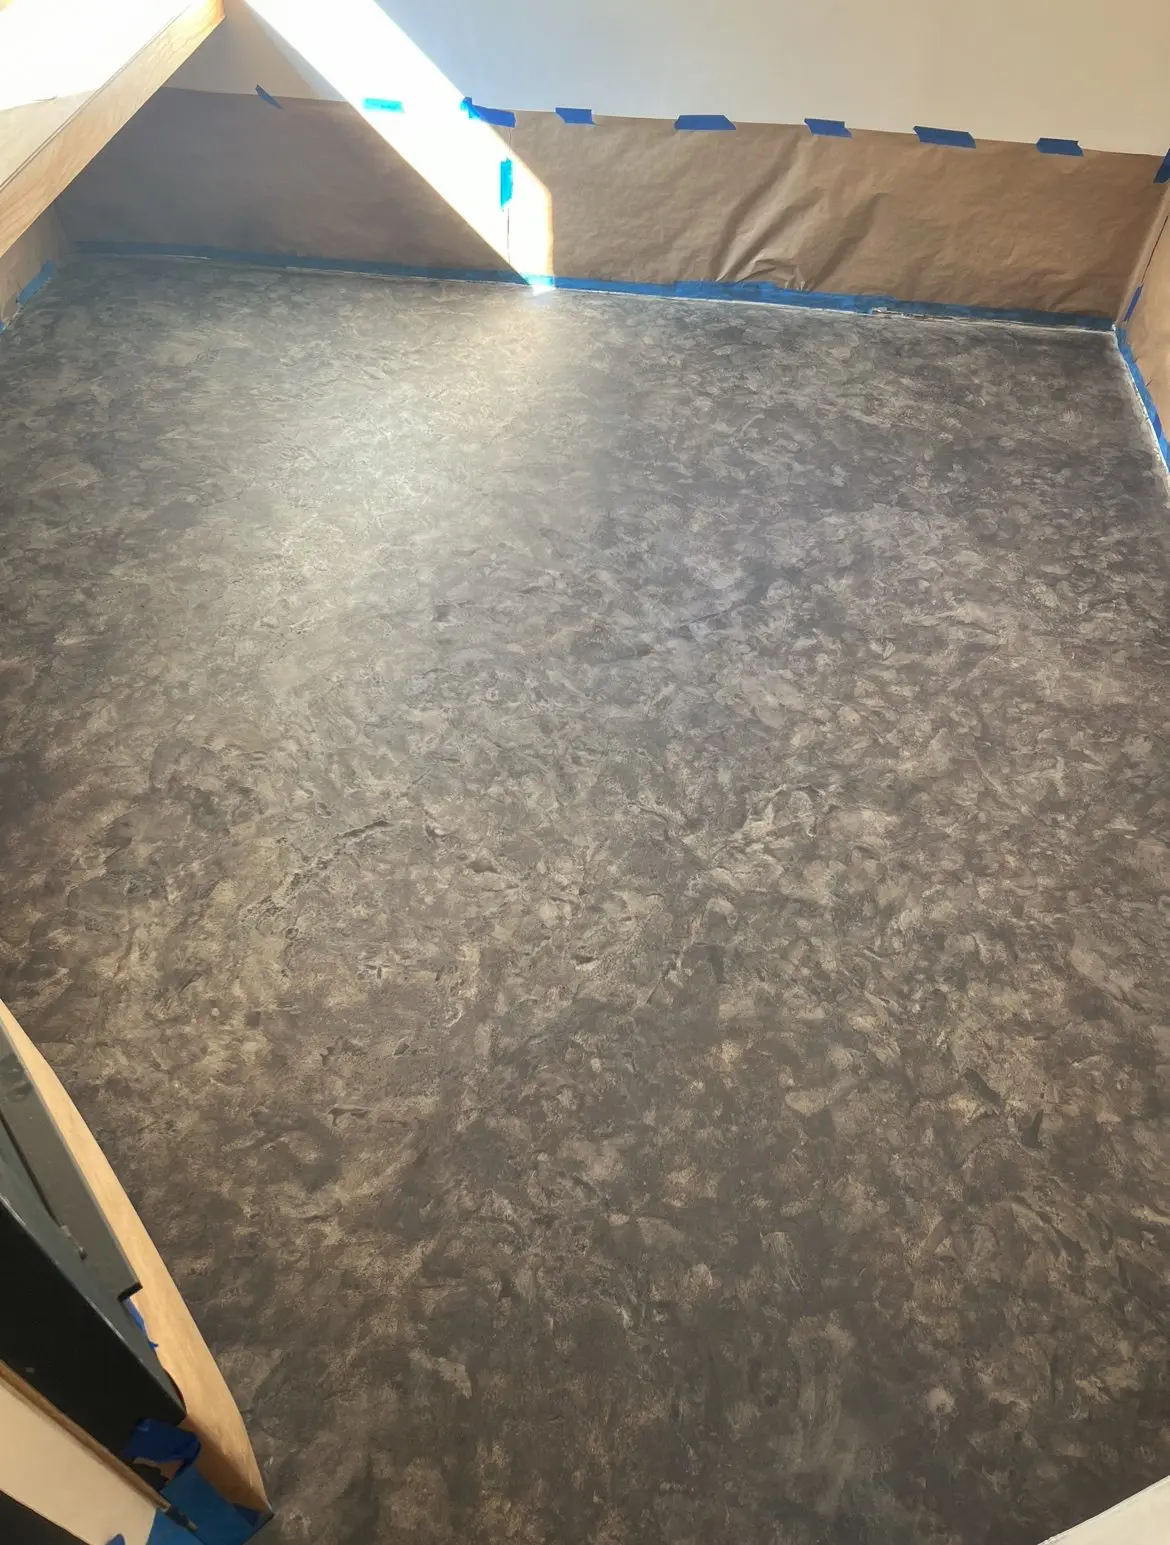
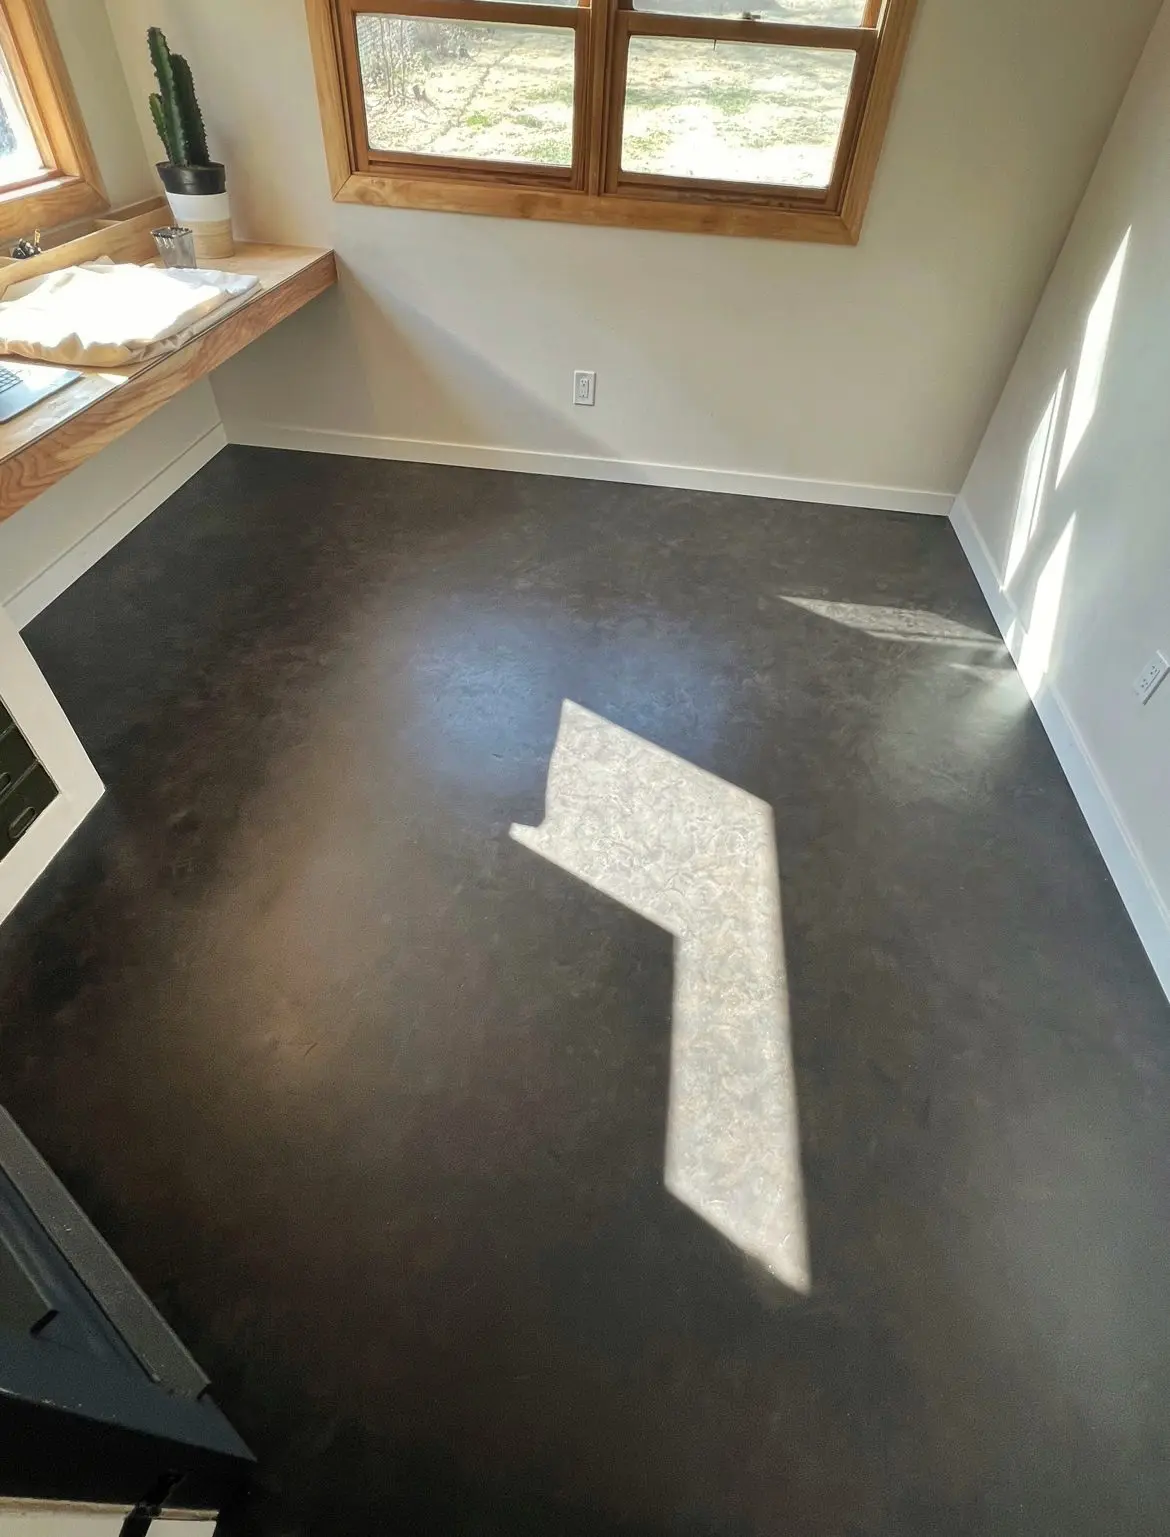
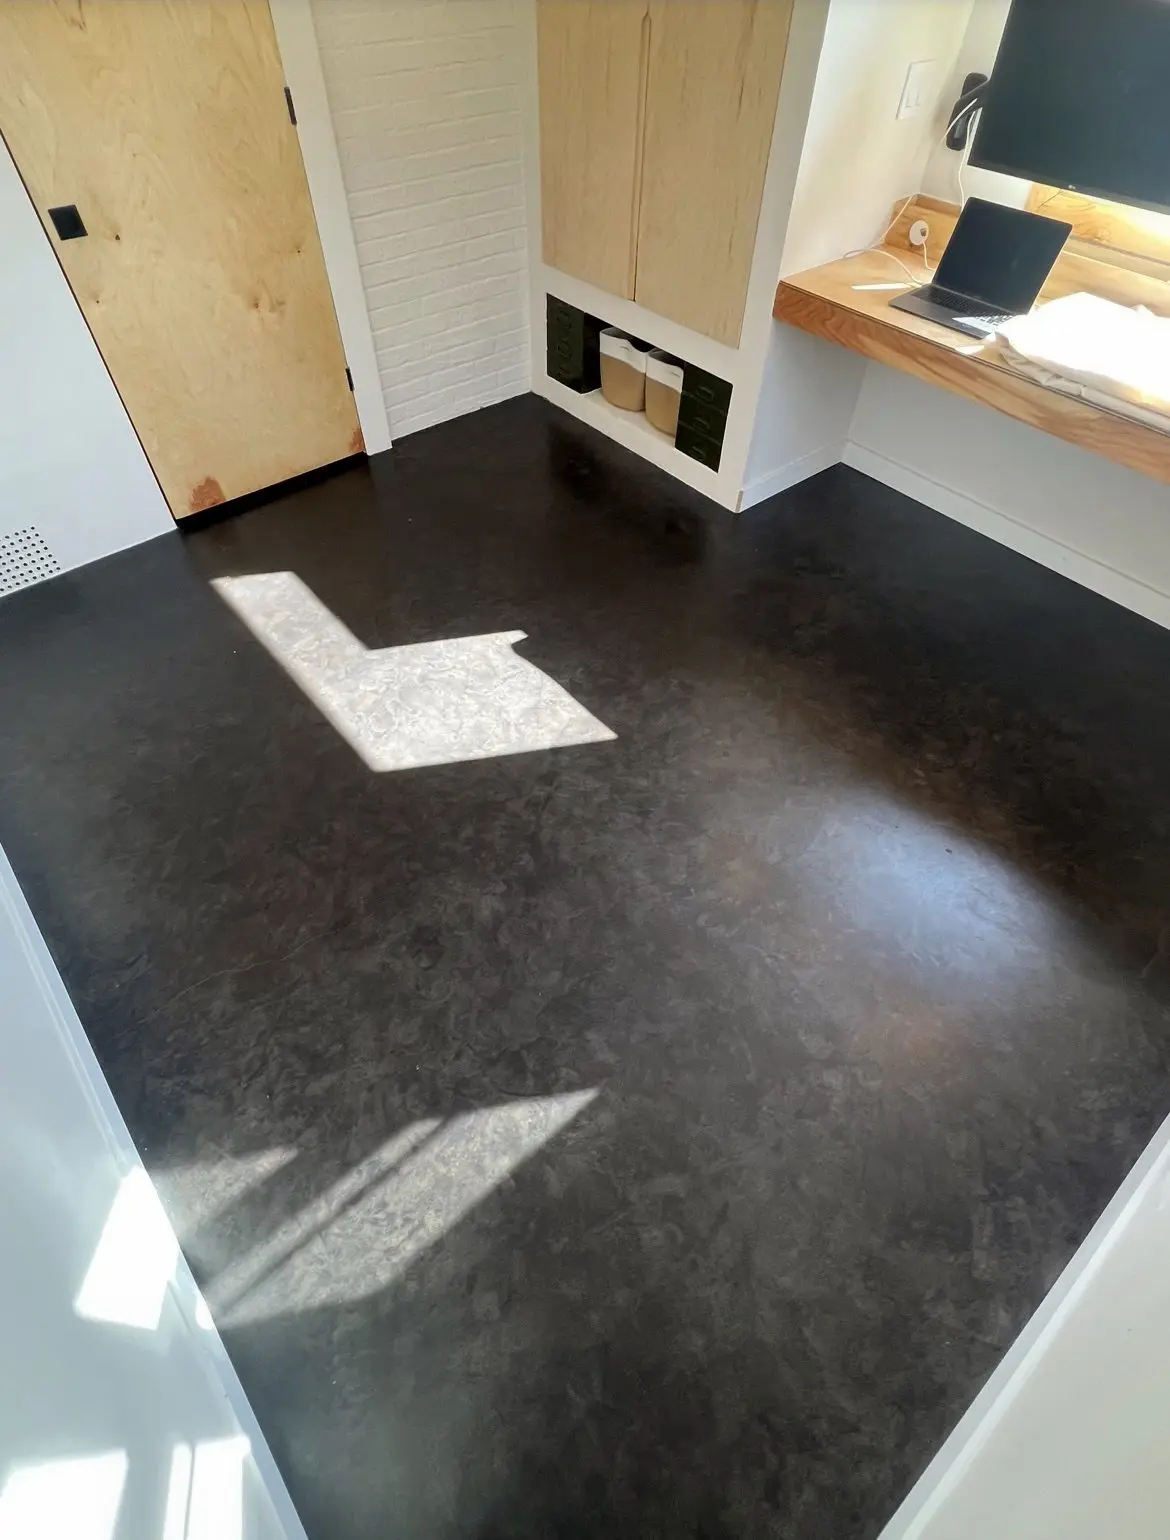
This isn’t just a bedroom renovation, it’s a love letter to raw materials! Waving goodbye to old linoleum, our DIY wizard scraped, ground, patched, and cleaned the floor back to its concrete glory.
Project Info:
- Project Completed In: 3 day(s)
- Estimate of Square Footage: 120 sq. ft.
- Project Description:
I was doing a complete rehab of a guest bedroom addition that was built on a concrete pad with the vision emphasizing the beauty of raw building materials. Direct Colors Vibrance Dye was the perfect solution for enhancing the beauty of the raw floor while maintaining the integrity of the material. The floor was previously covered with old linoleum tile flooring so the first step was to chip away the tile and remove the old mastic with a floor scraper and mastic remover. I then went in and did a light grind of the floor with an angle grinder and diamond pad to remove any remaining mastic and remove any major imperfections in the floor. Then I filled any cracks with a concrete patching compound. After meticulously cleaning the concrete and taping my walls to avoid any over spray, we were ready to apply the Vibrance Dye. The first coat of Charcoal was applied lightly with a garden sprayer and allowed to dry overnight. The second coat of Charcoal was applied with a sponge in an effort to add dimension to the finish and help conceal any major imperfections in the concrete. Lastly, I applied a very light coat of Stormy Gray and Charcoal, allowing 8 hours between coats. - Personal Tips:
Garden Sprayers can be fickle. Be prepared to catch any drips from the nozzle and have some warm water in a bucket handy to clean the nozzle in the event that it clogs. I tested some areas with the Preval Aerosol sprayer and was able to achieve a very uniform spray. This method wouldn’t be ideal for large spaces, but is definitely feasible for a single room. Embrace imperfections! That’s the beauty of concrete and this product. - Direct Colors Products Used:
1 Gal. Stormy Gray Vibrance™ Dye
1 Gal. Charcoal Vibrance™ Dye - Other Products Used:
Behr Concrete Sealer in a Matte finish.
Sunroom Serenade: A Stormy Gray Makeover!
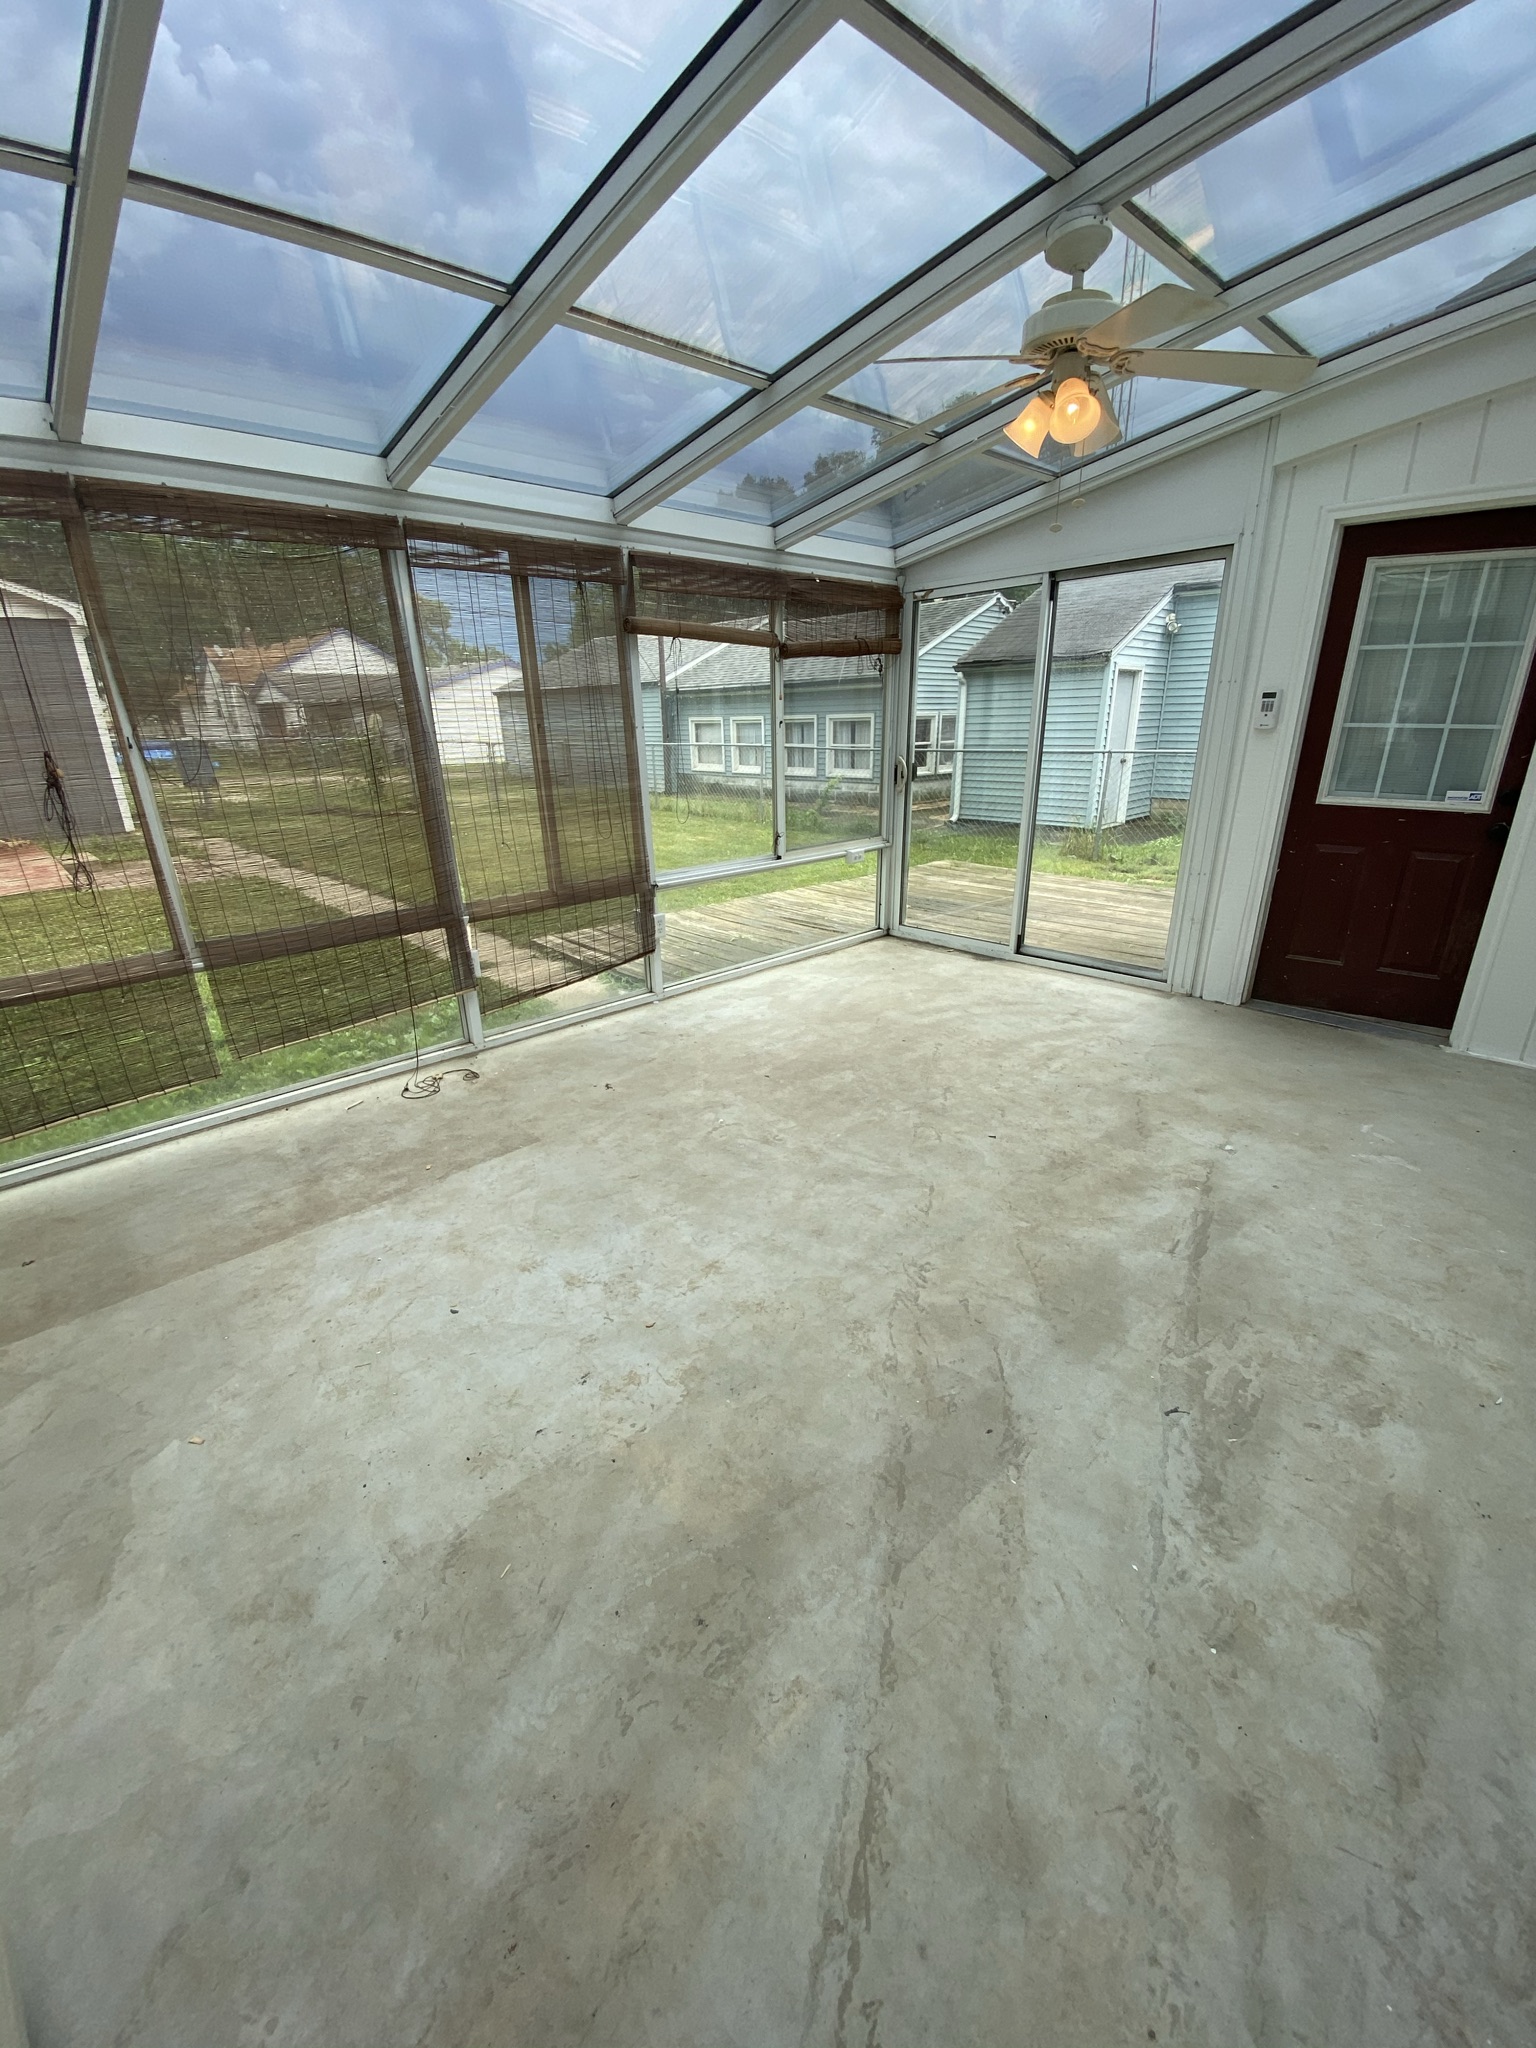
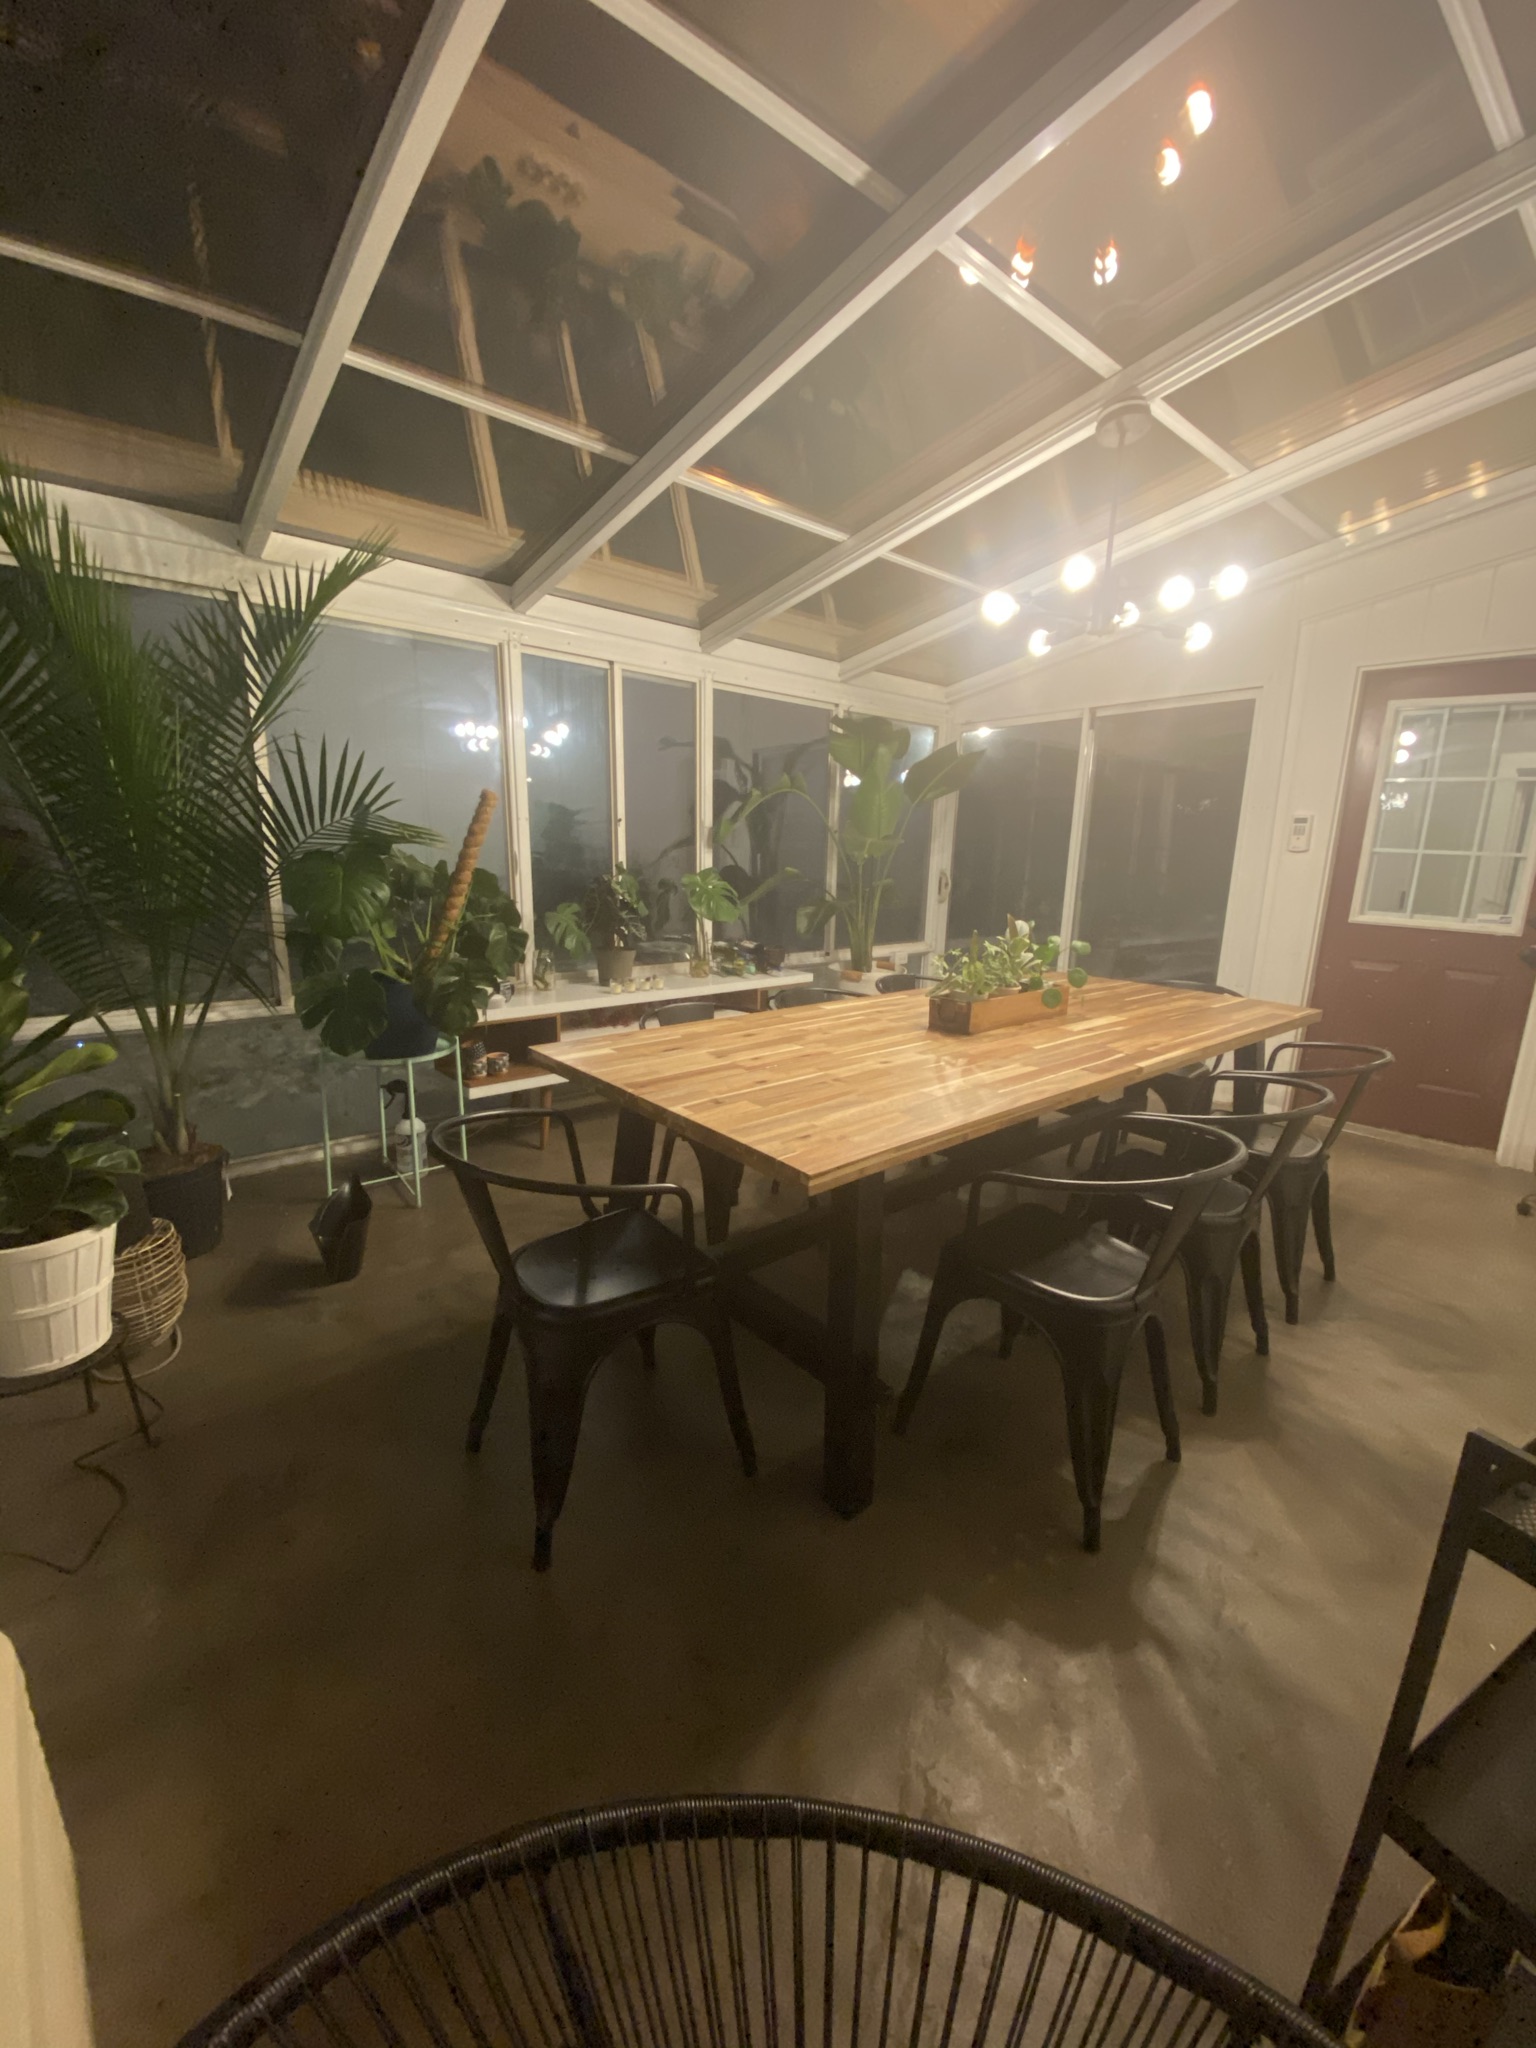
This sunroom’s transition into a stylish dining area is a thing of beauty. With Stormy Gray Vibrance Dye and the right sealer, the dusty floor was reborn, now garnishing plenty of compliments. Customer service came to the rescue answering all questions, making this makeover a sunroom serenade! For a deep dive into this transformation, check out our blog post: “Revamp Your Sunroom Flooring: Tips & Tricks.”
Project Info:
- Project Completed In: 3 day(s)
- Estimate of Square Footage: 225 sq. ft.
- Project Description:
We wanted a nice looking floor to turn our sunroom into a dinning area. Our floor went from non-astatically appealing and dusty, to a stormy grey color with a nice sealer. We get many compliments! - Personal Tips:
Make sure your room is at the correct temp. Reach out to costumer service for help, they answered all of my many questions! - Direct Colors Products Used:
1 Gal. Stormy Gray Vibrance™ Dye
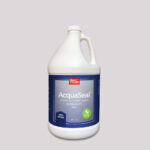
5 Gal. AcquaSeal™ Satin Concrete Sealer - Other Products Used:
wet vac to prep floor with dish soap, steel floor brushes to clean, and acetone pumper from directcolors.com
Concrete Dye Application How To Guide
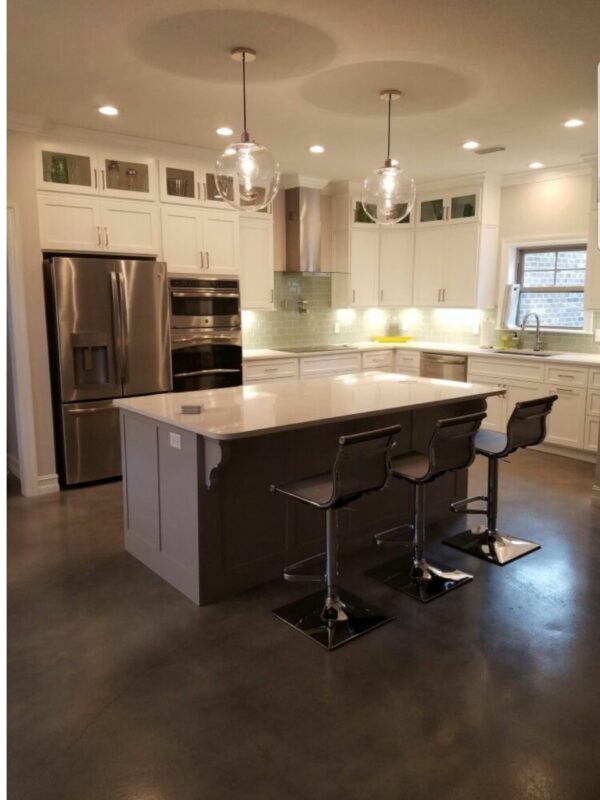
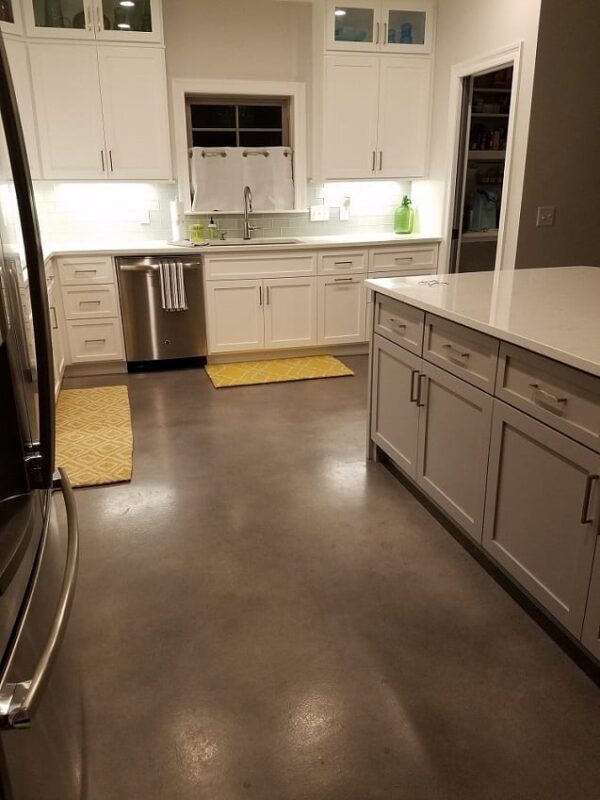
Stormy Gray Meets Modern Kitchen: A Recipe for Style!
Feast your eyes on this tasty kitchen transformation! Our DIY superstar used a blend of Stormy Gray, White, and Charcoal Vibrance Dye to create a sleek, modern concrete floor that perfectly complements the white cabinets and island. It’s a delicious mix of classic and contemporary that makes this kitchen the perfect spot for cooking up style!
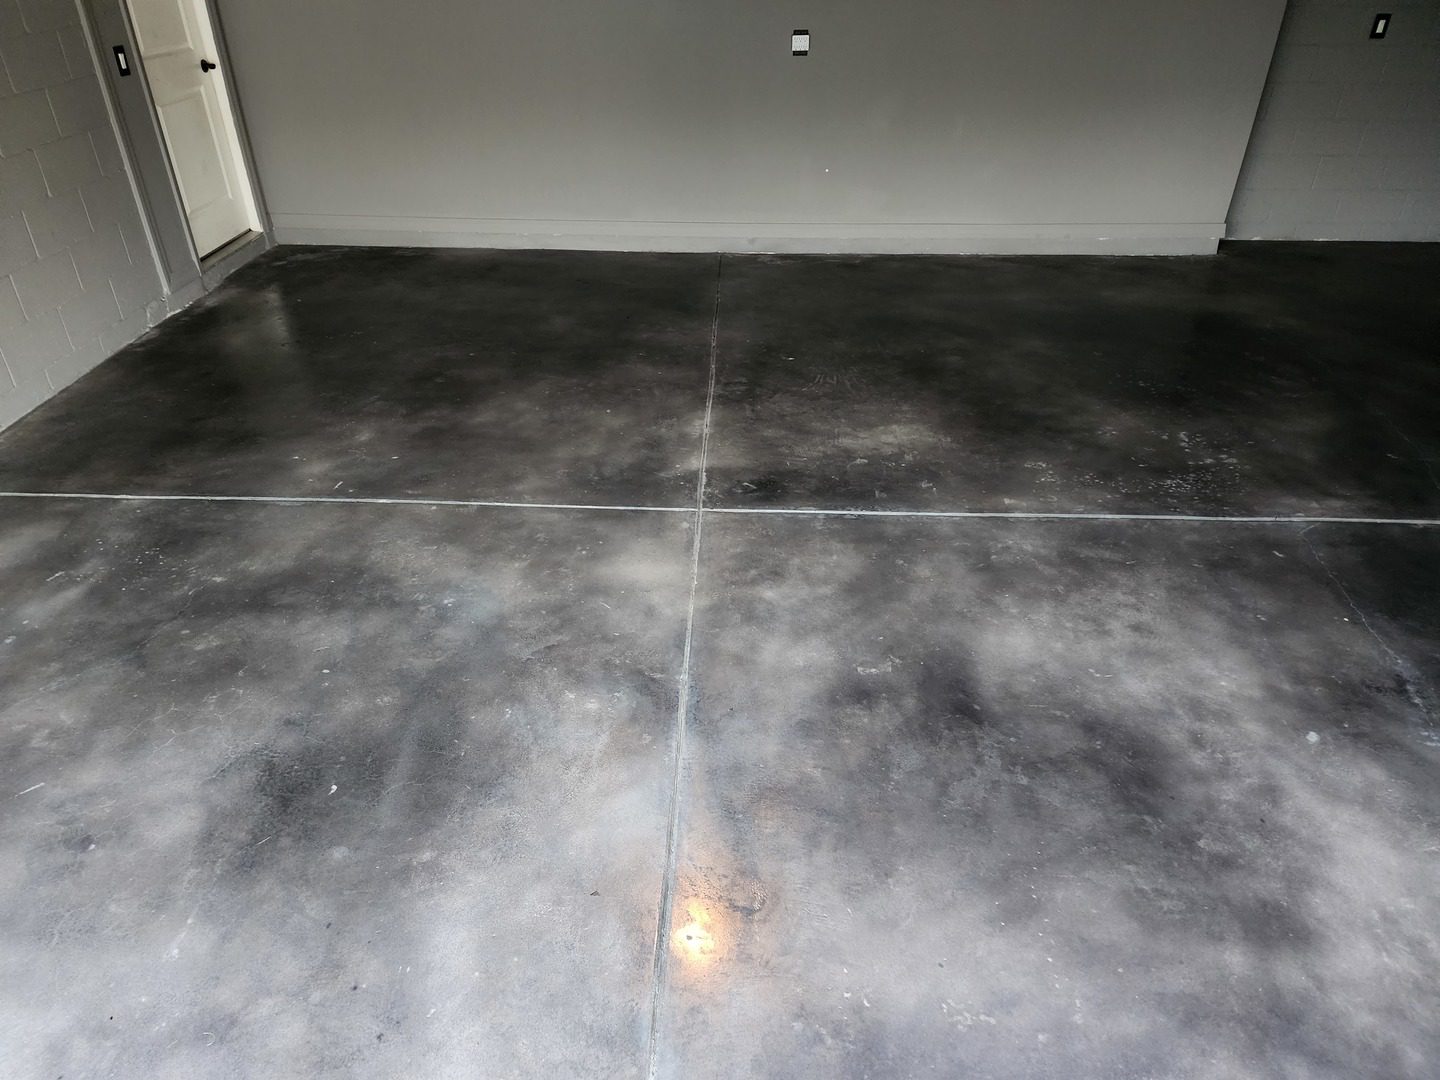
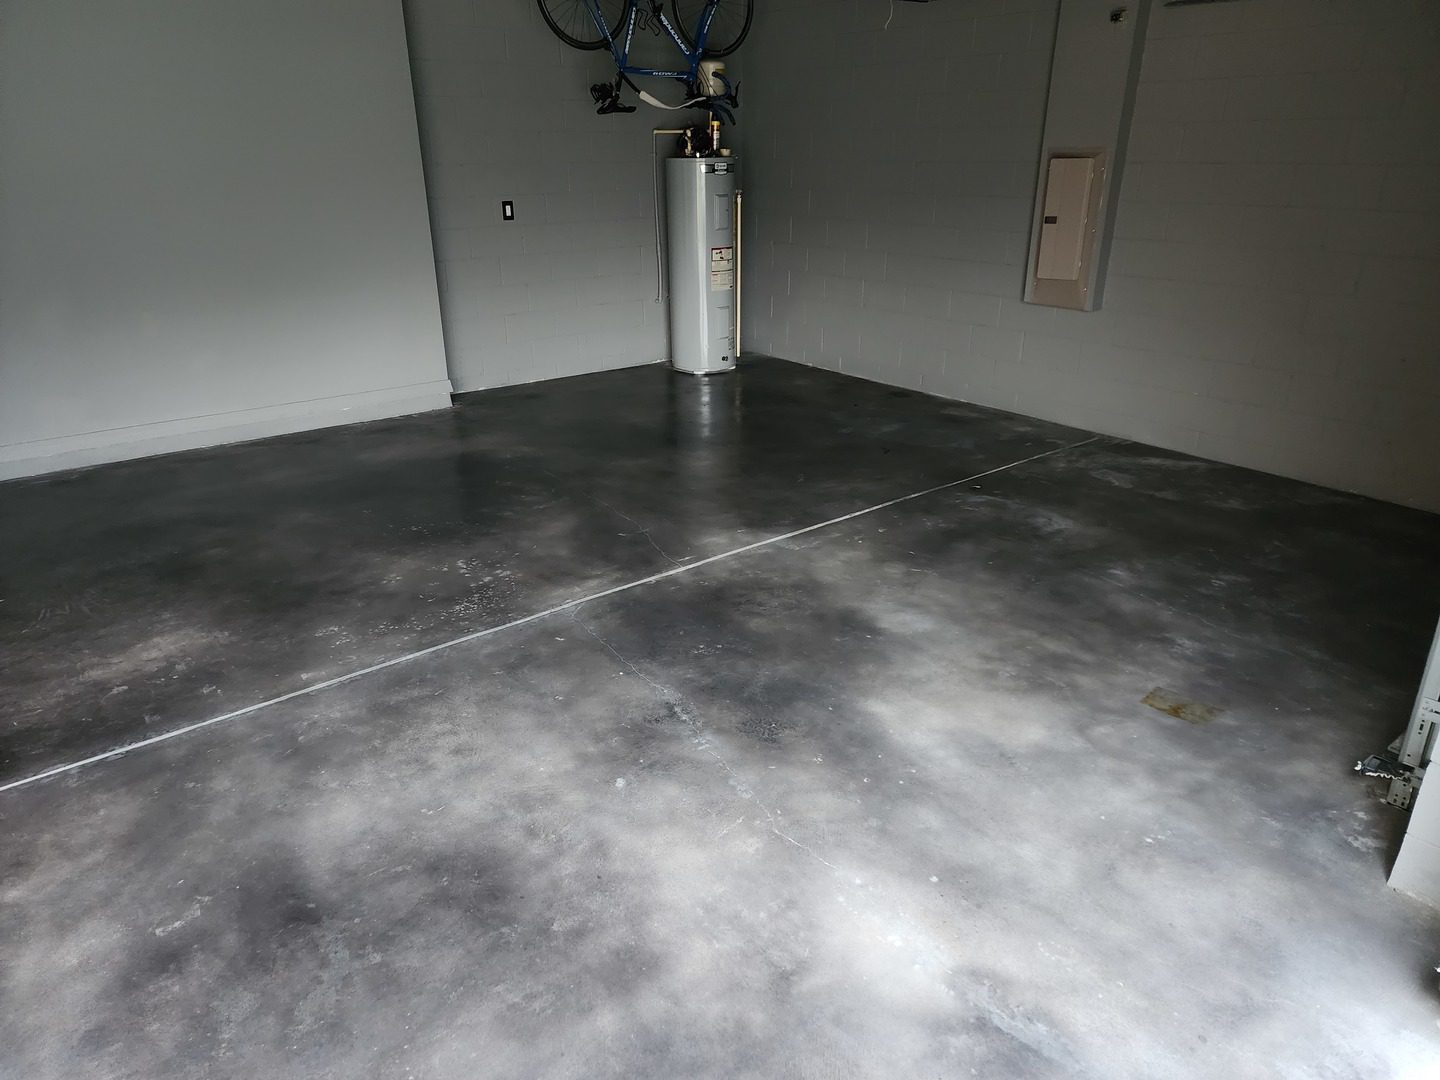
Garage Glam: Stormy Gray’s Cool Makeover!
Who said garages can’t be stylish? Check out this cool transformation featuring a mottled mix of Stormy Gray, White, and Black Vibrance Dye. The result? A garage floor that’s dark, dramatic, and dripping with cool factor. It’s a revamp that really revs up the style in this space!
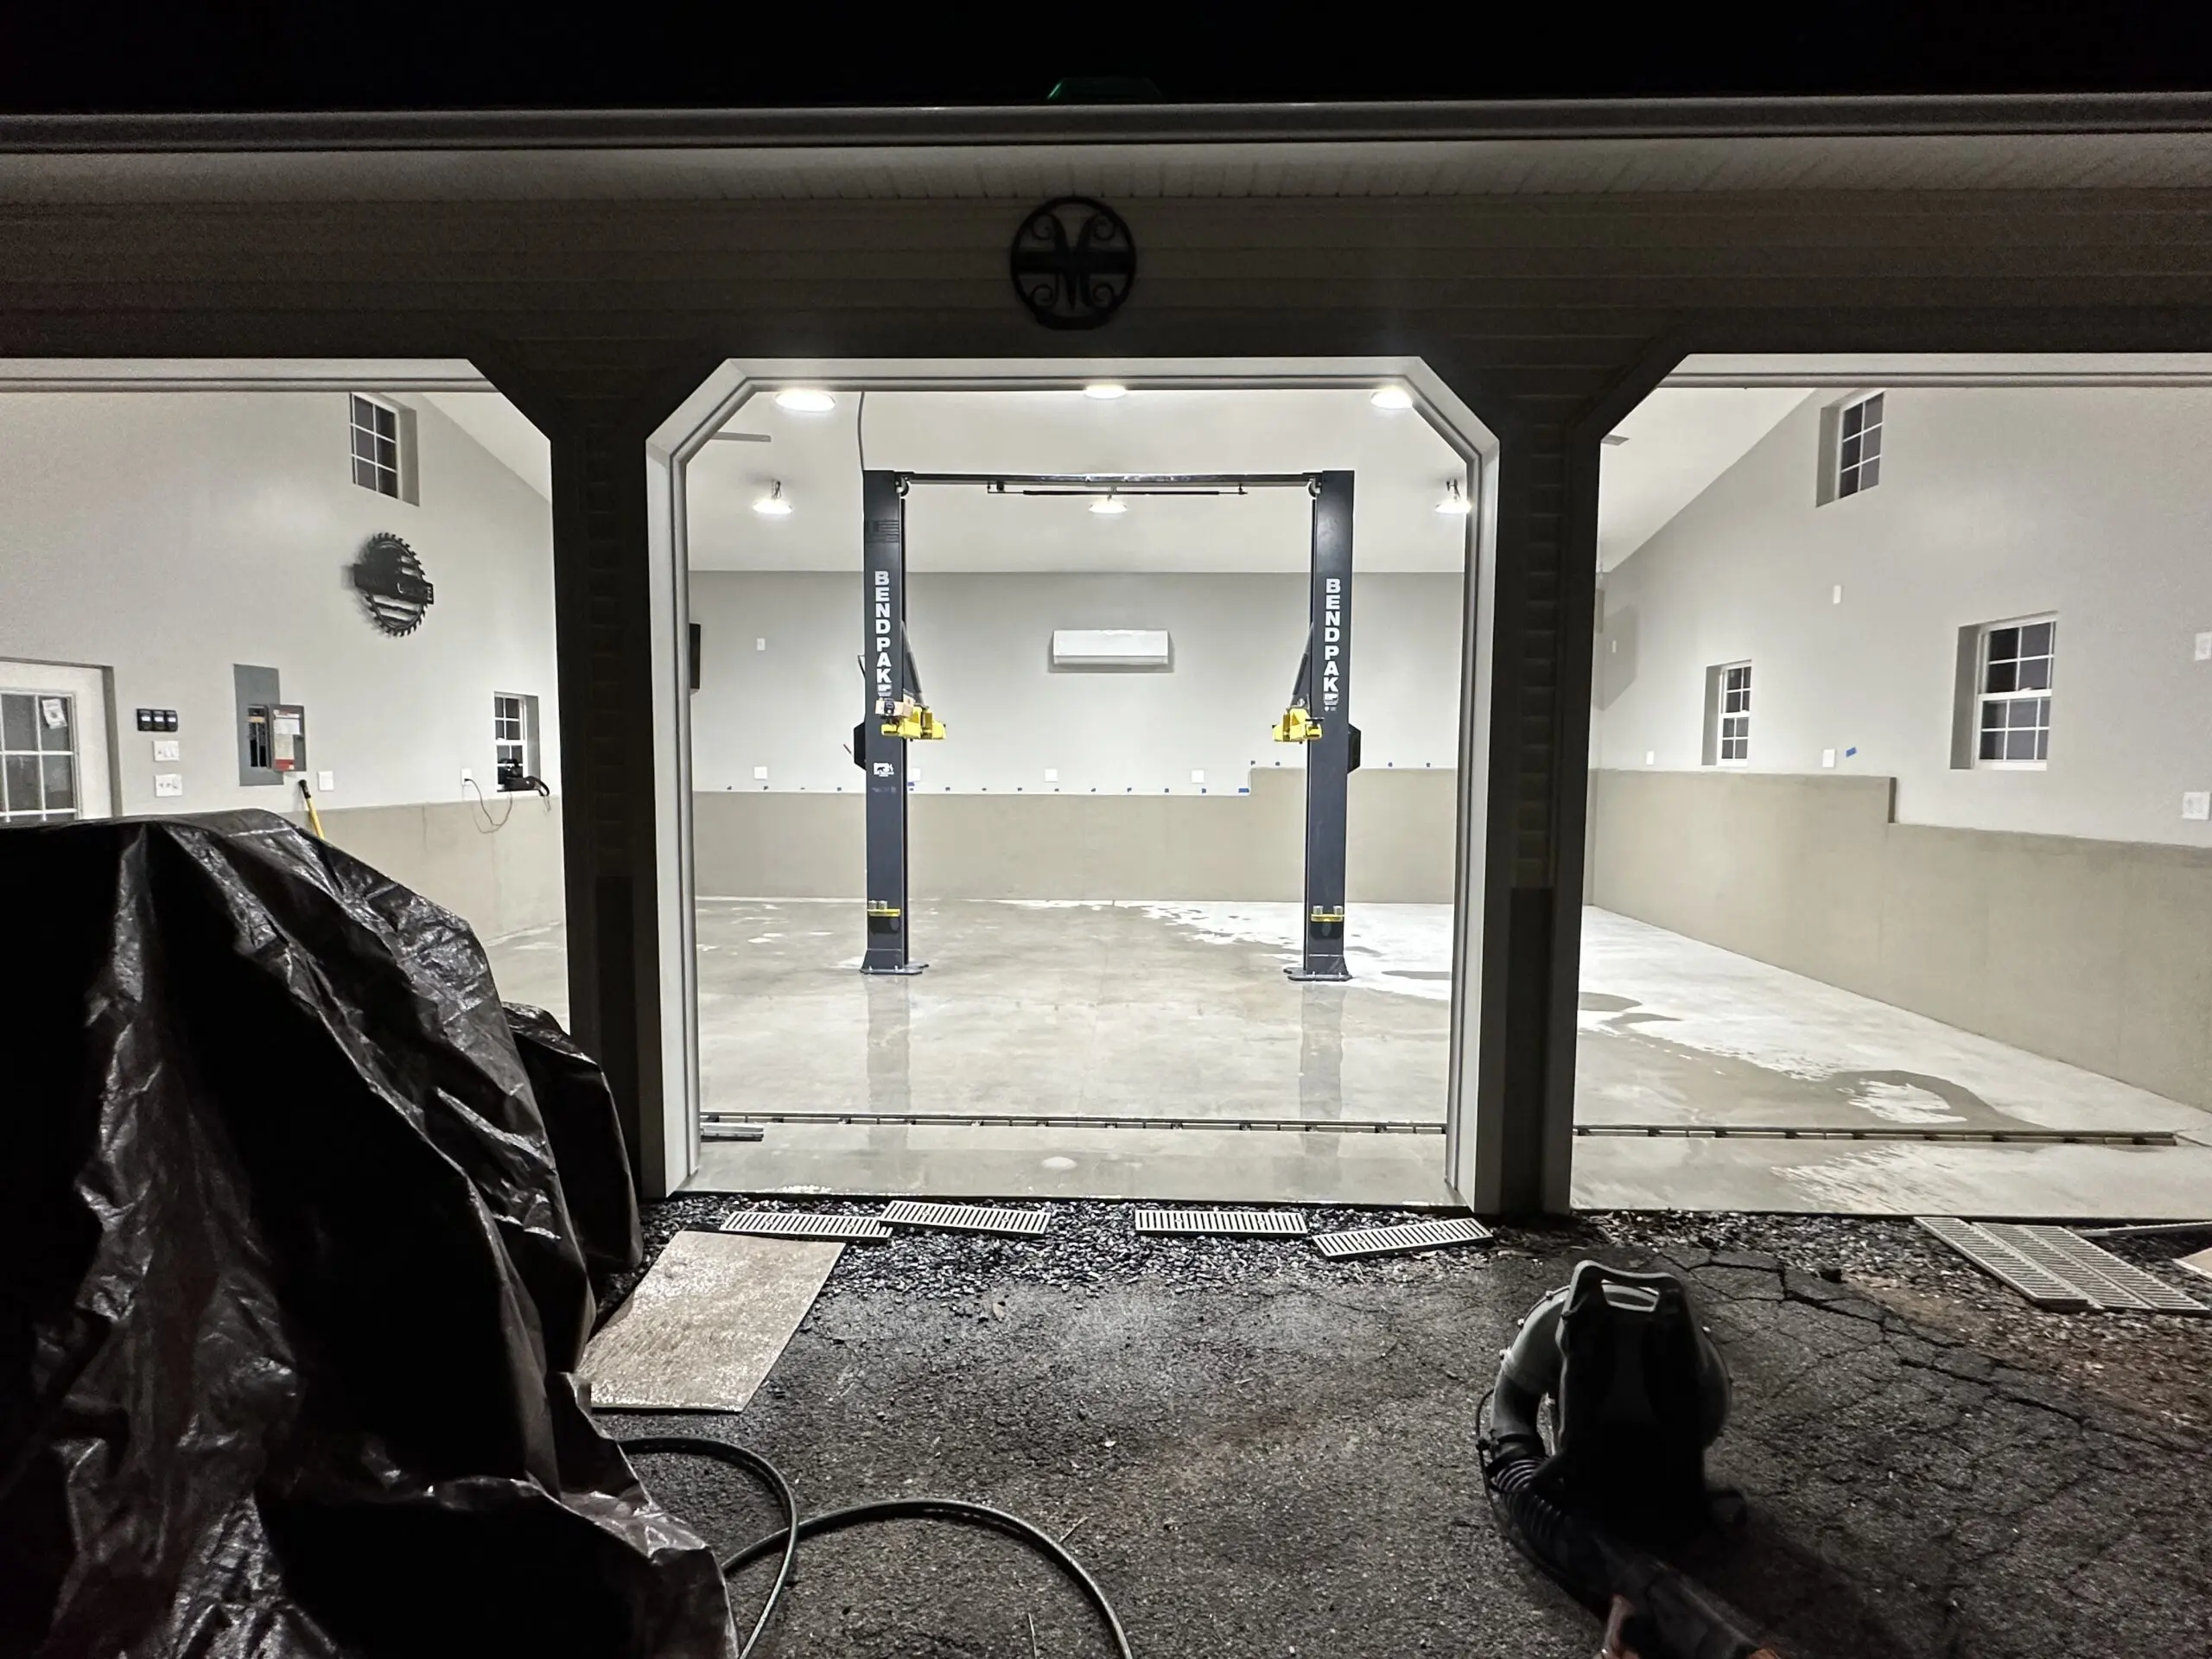
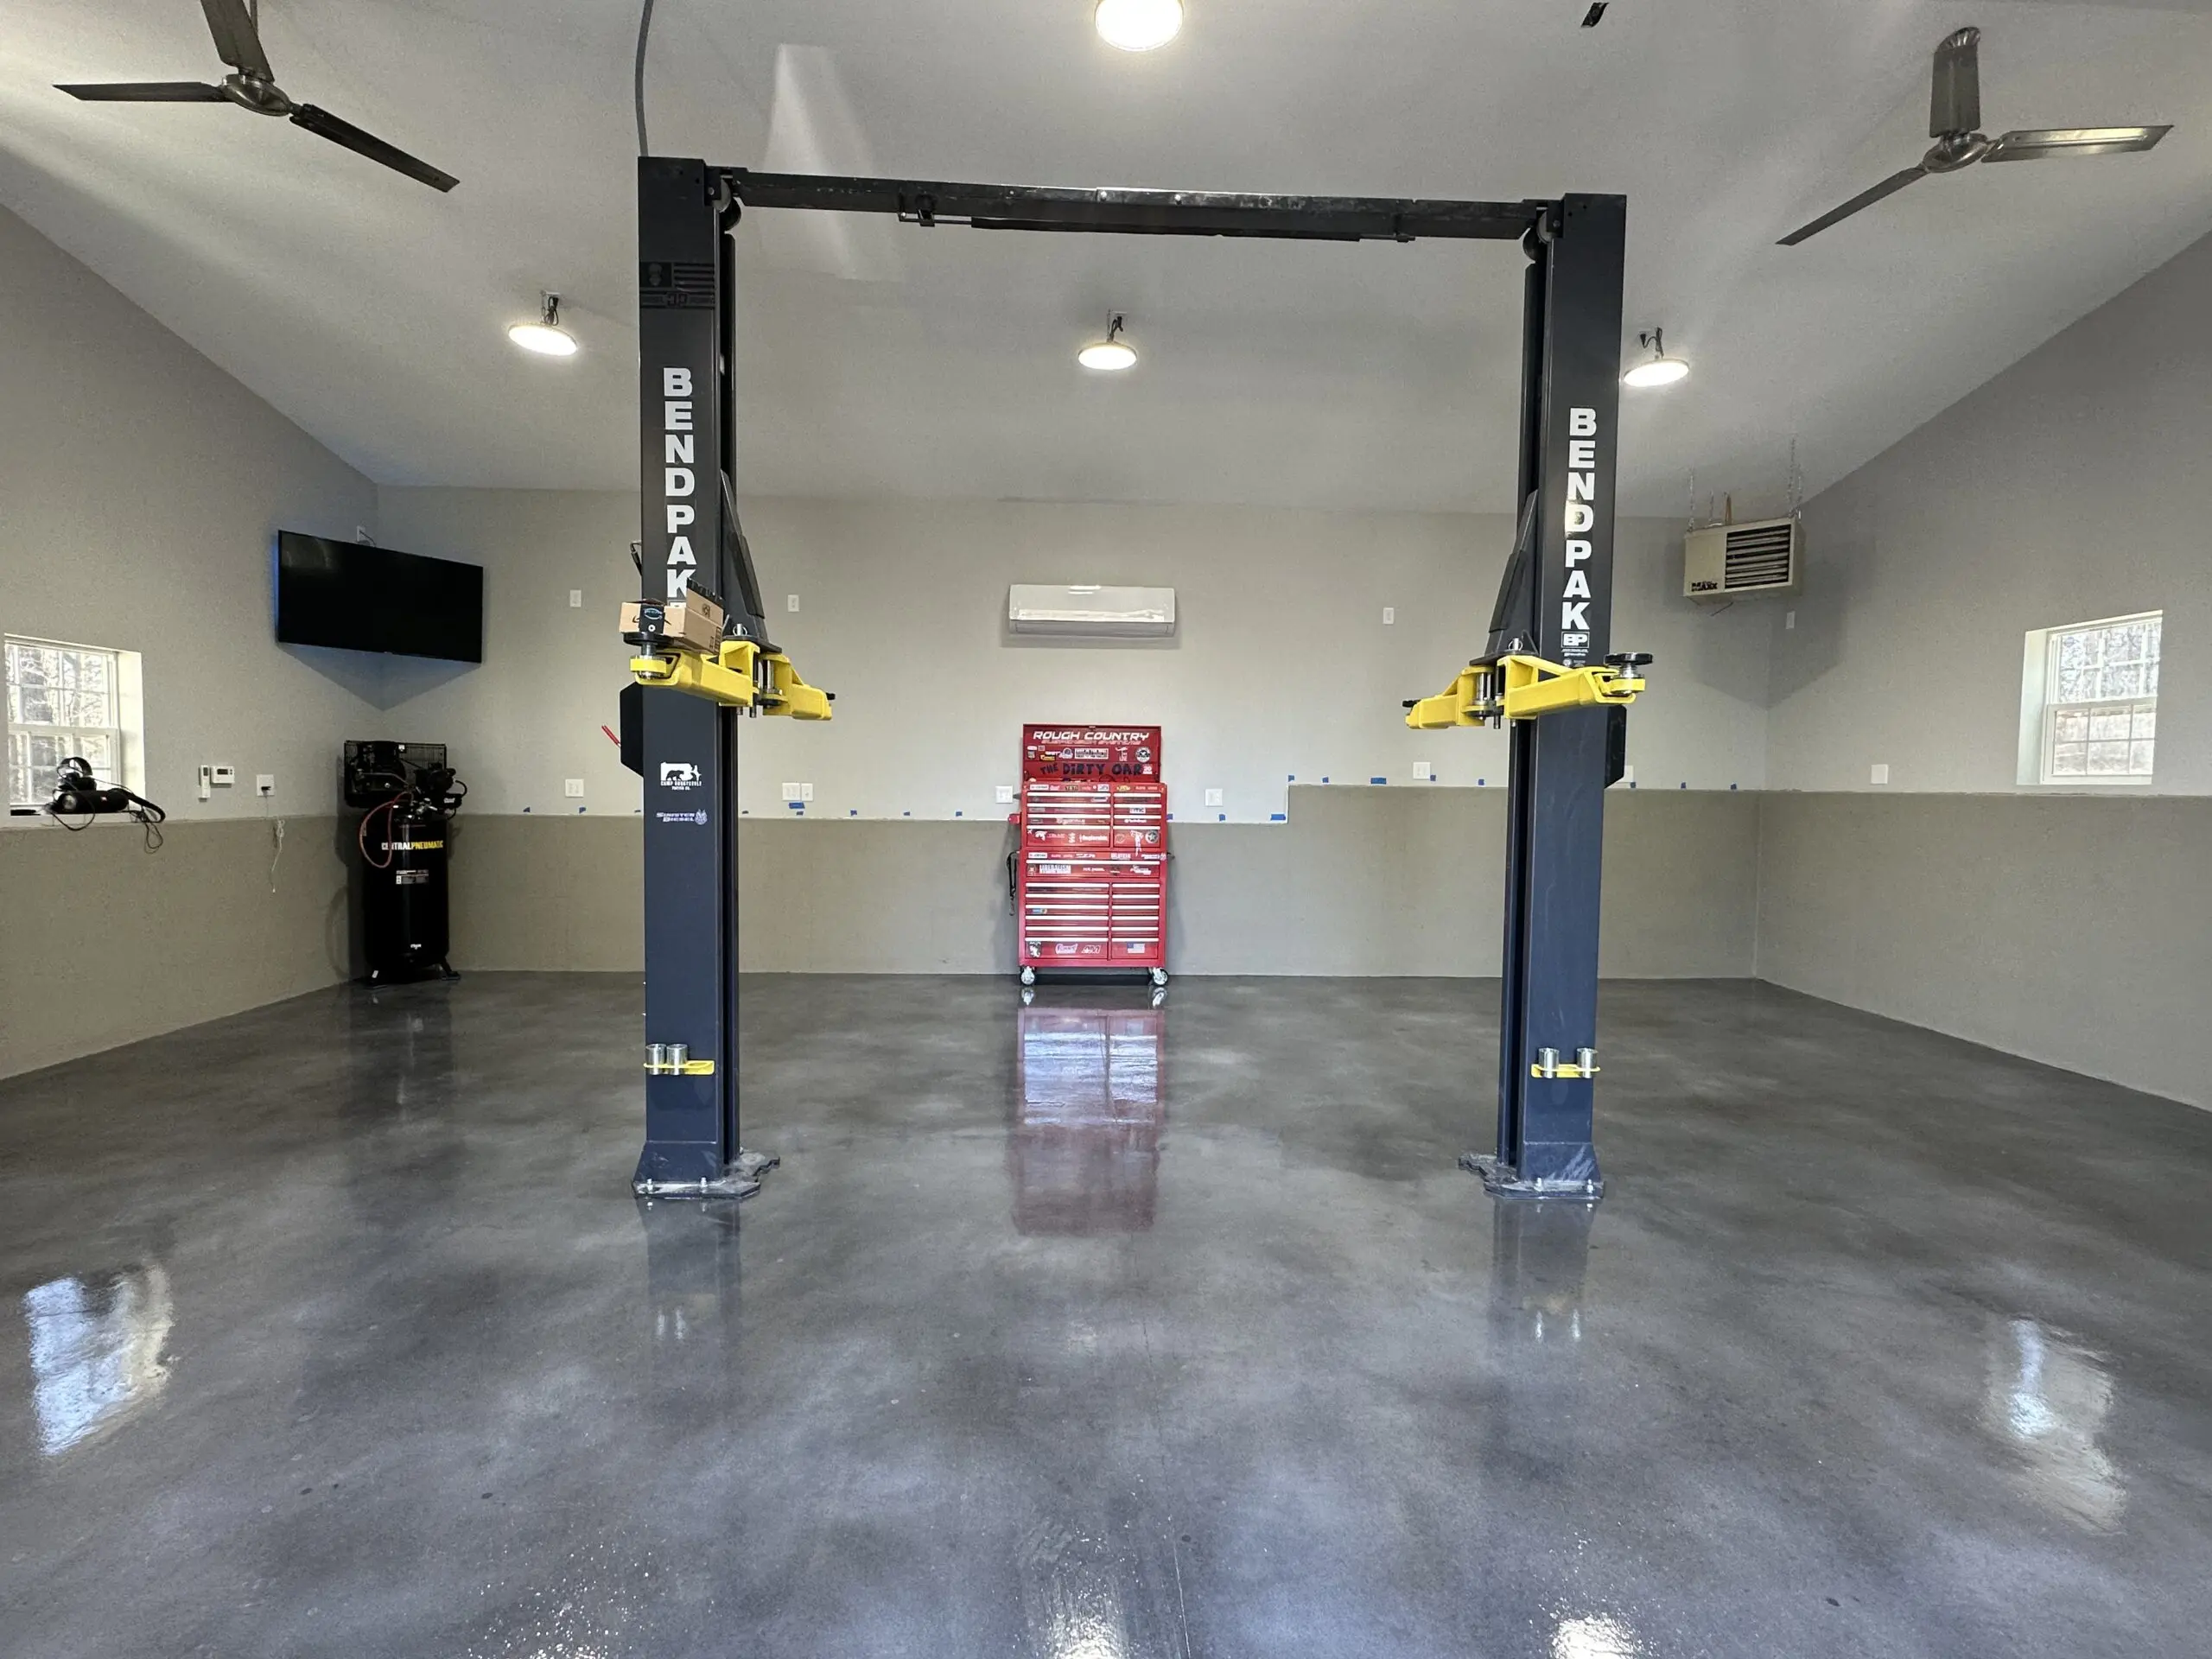
Garage Grandeur: A Stormy Gray DIY Triumph!
Ditching conventional flakes and paint, this garage transformation opted for a swirl of charcoal, stormy gray, and white from our Vibrance concrete dye collection. The stunning finish has left the neighborhood in awe.
Project Info:
- Project Completed In: 3 day(s)
- Estimate of Square Footage: 1000 sq. ft.
- Project Description:
Was looking to finish my new concrete garage floor with something other than flakes and paint. Scrolled the internet for ideas and found the Vibrance concrete dye. I really liked the look of the charcoal, stormy gray and white pics advertised on website. I rented a concrete grinder to prep floor for dye. Spraying the three colors of dye was a very easy process. Topped the floor with a polyaspartic clear coat so floor would be suitable for intended garage use. I Can’t be any happier with the results. All my neighbors and friends can’t believe I did this myself. I highly recommend this product to anyone. If you want a professional looking floor different from all your neighbors give it a try yourself. - Personal Tips:
Take your time and prepare floor accordingly. I used grinder, then pressure washed concrete. Let concrete dry before applying product. Use please use a good acetone approved sprayer. - Direct Colors Products Used:
Vibrance™ Dye Trial Kit (Stormy Gray, Charcoal & White)
2.5 lbs. Patch-Rx™ Concrete Repair
1 Gal. Stormy Gray Vibrance™ Dye
1 Gal. Charcoal Vibrance™ Dye
1 Gal. White Vibrance™ Dye - Other Products Used:
Polyaspartic clear coat
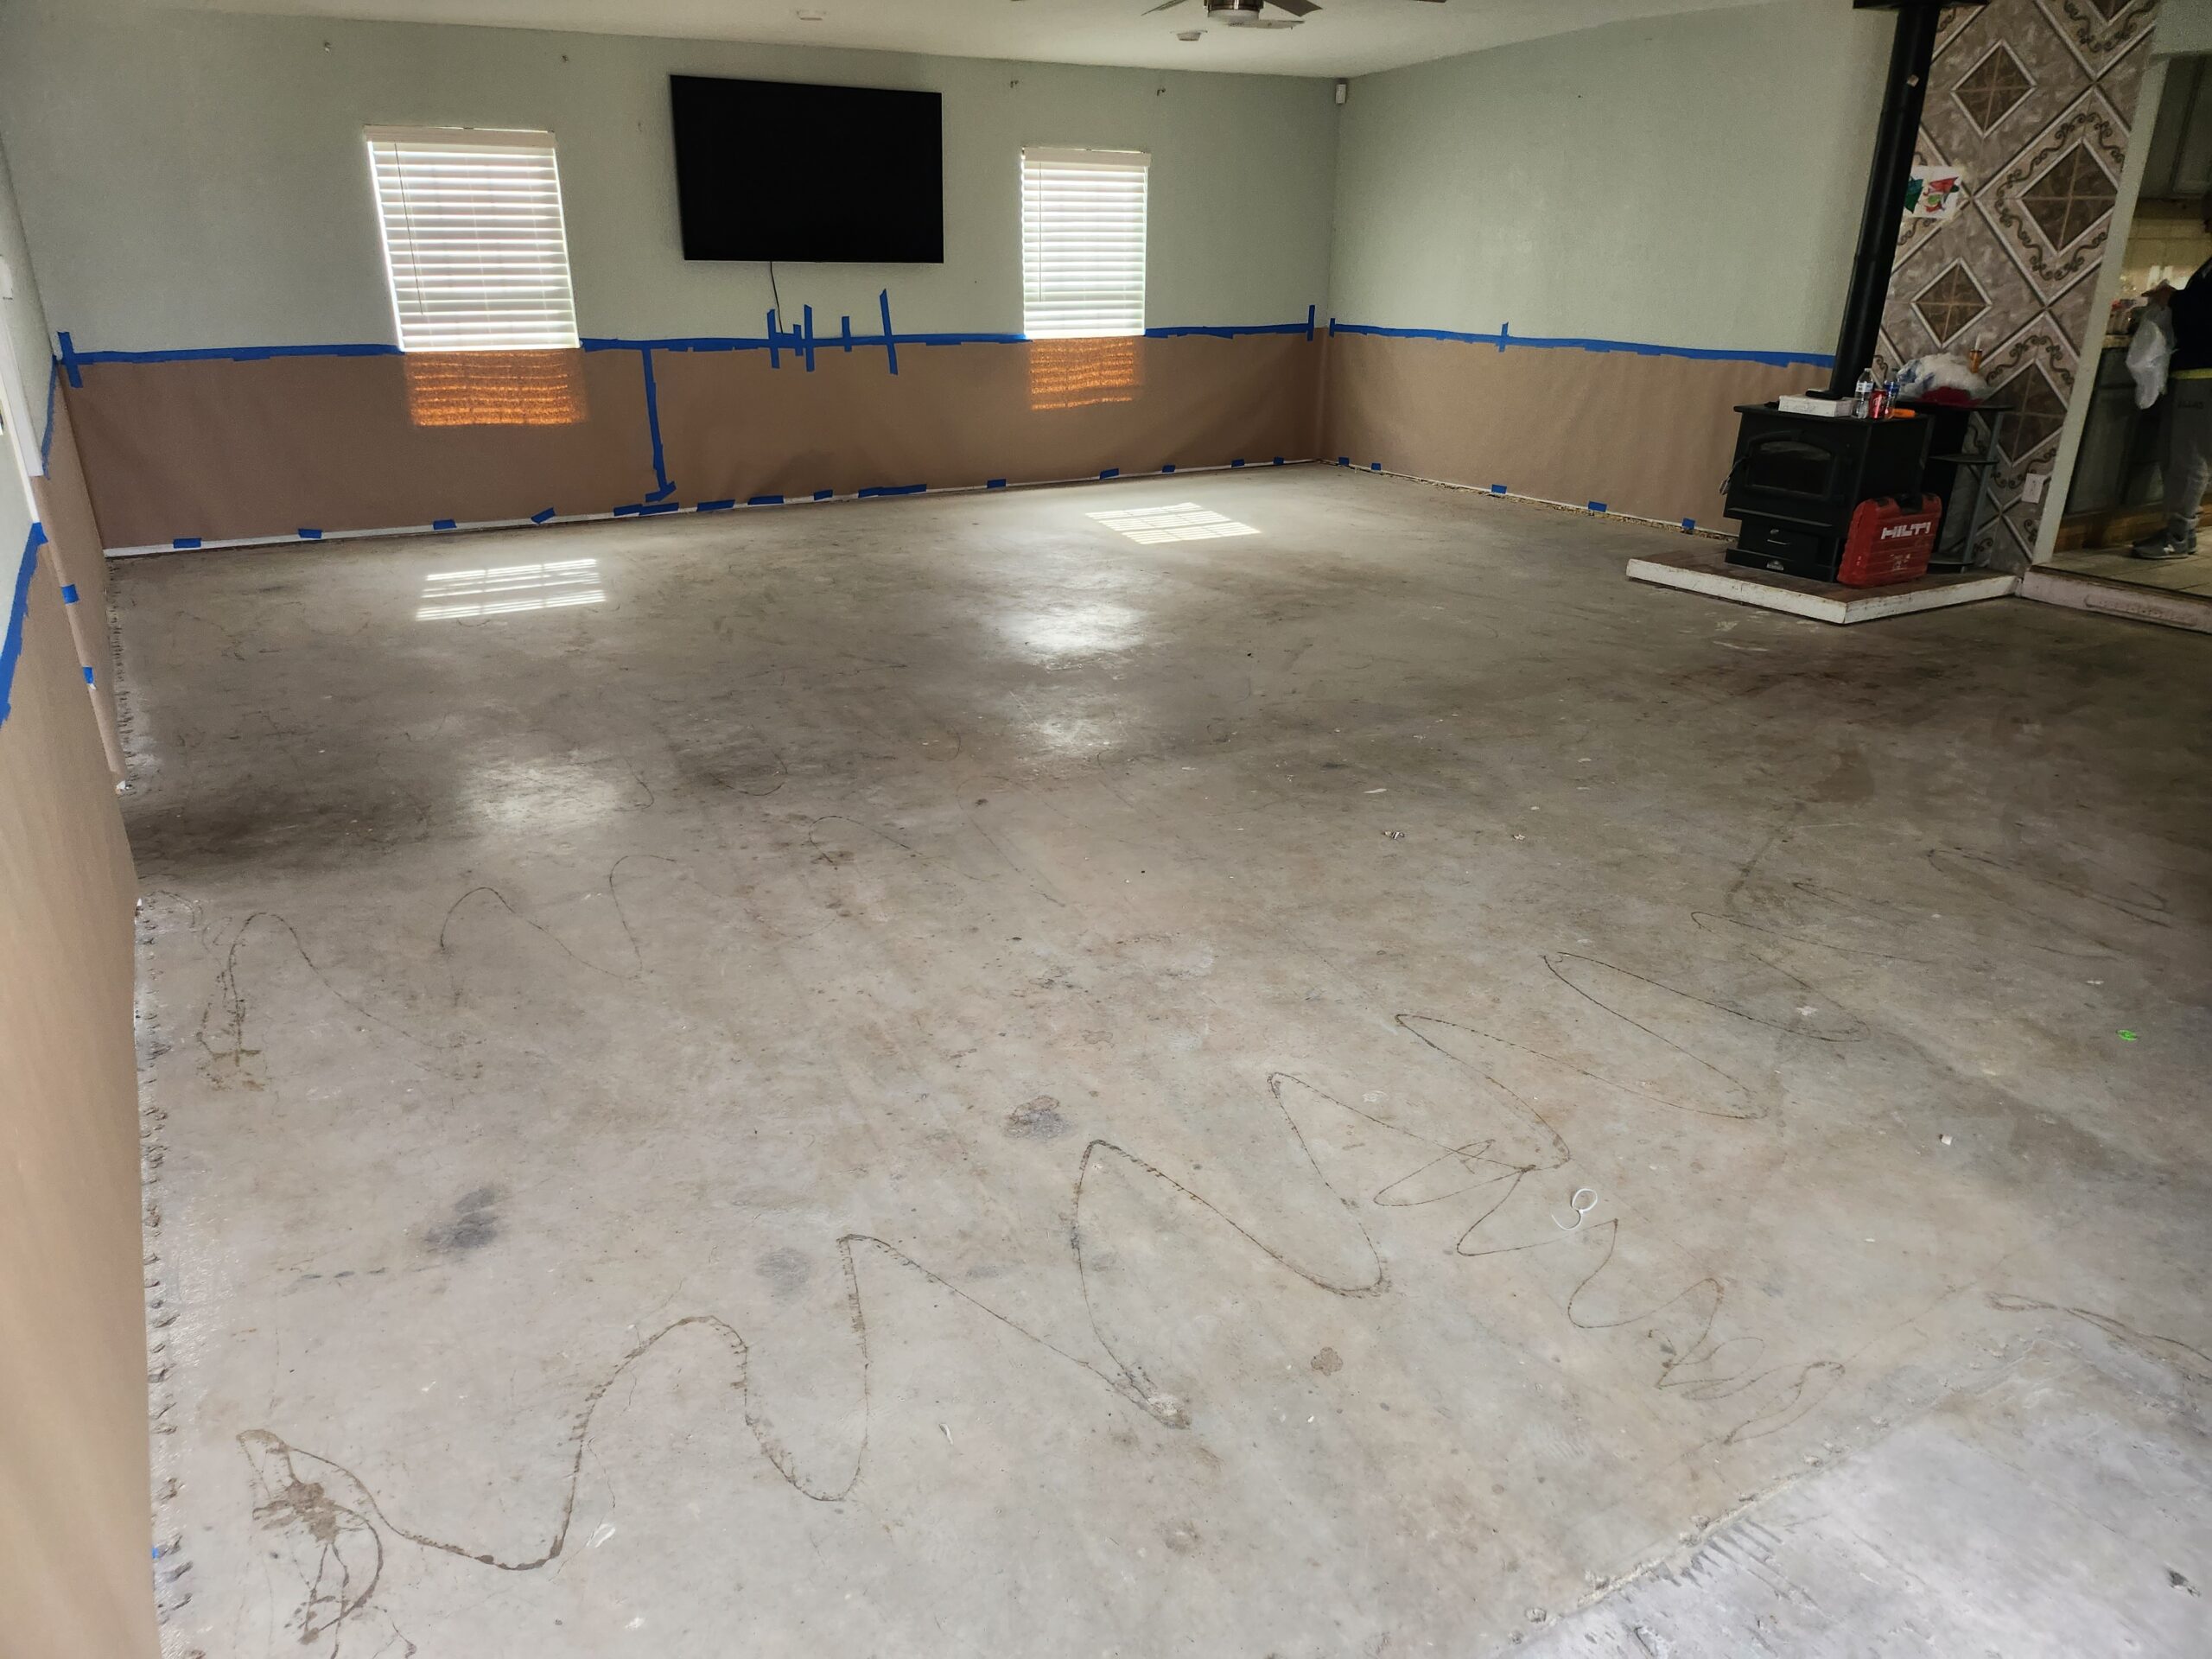
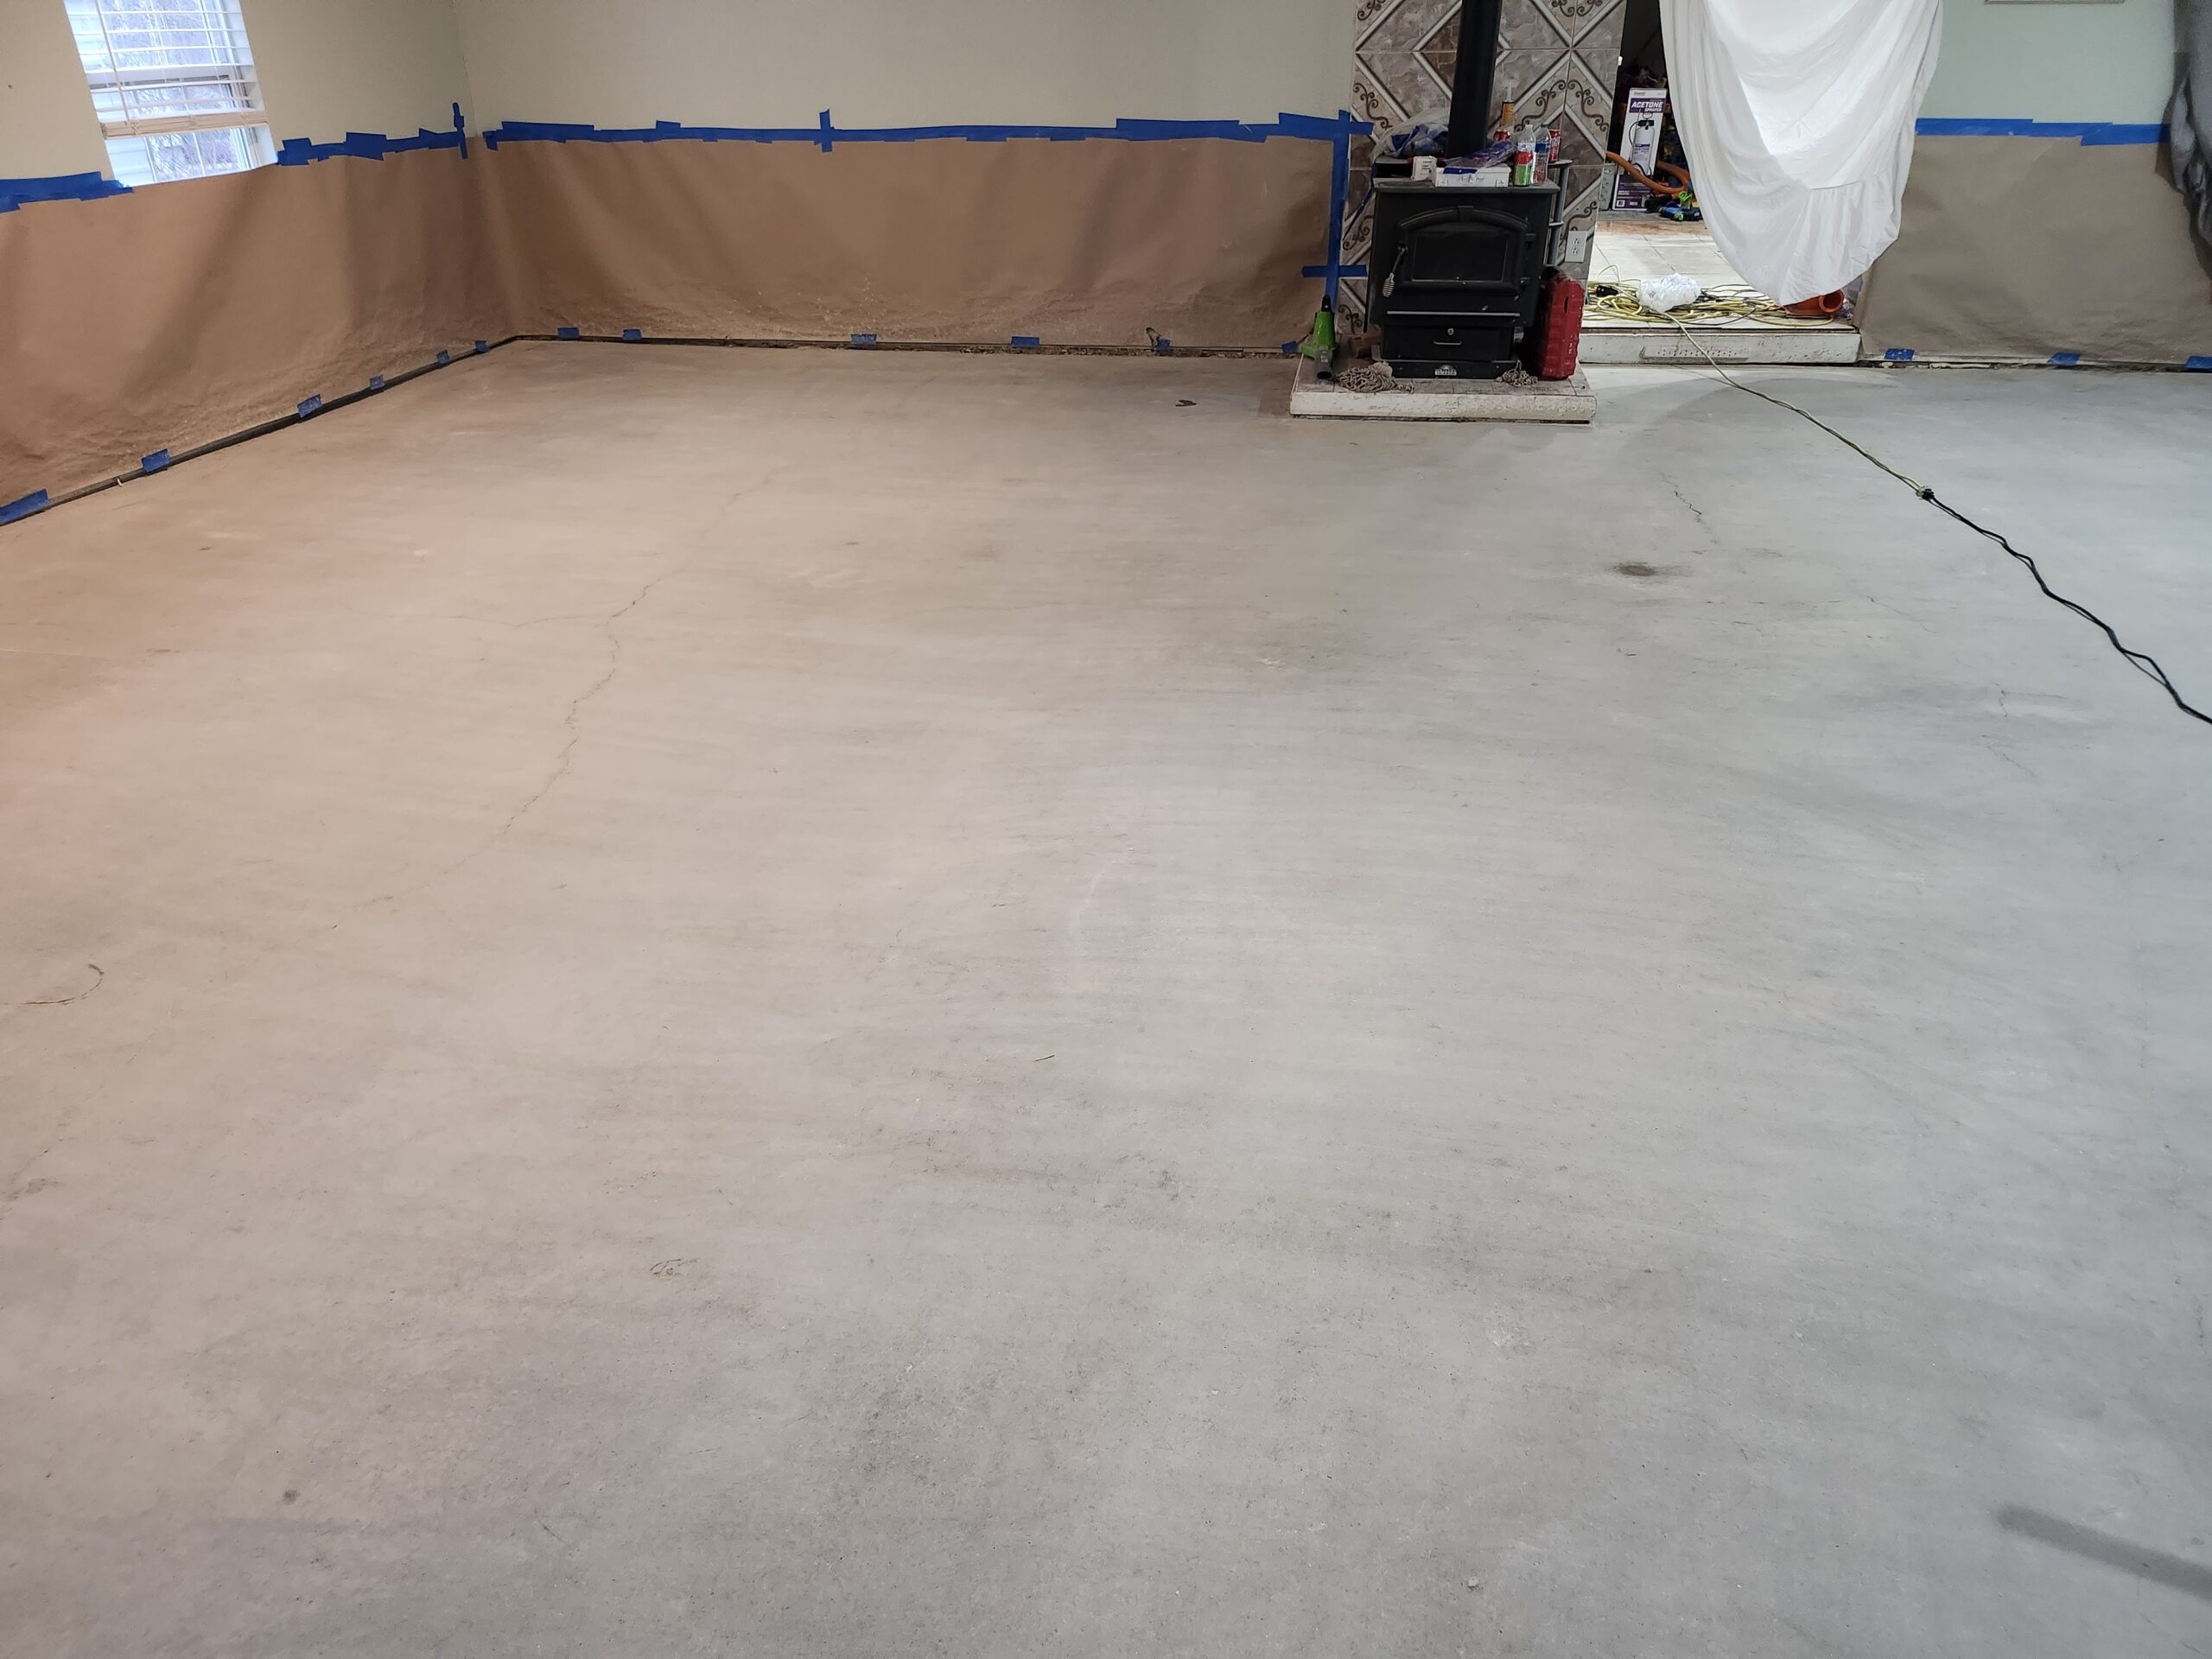
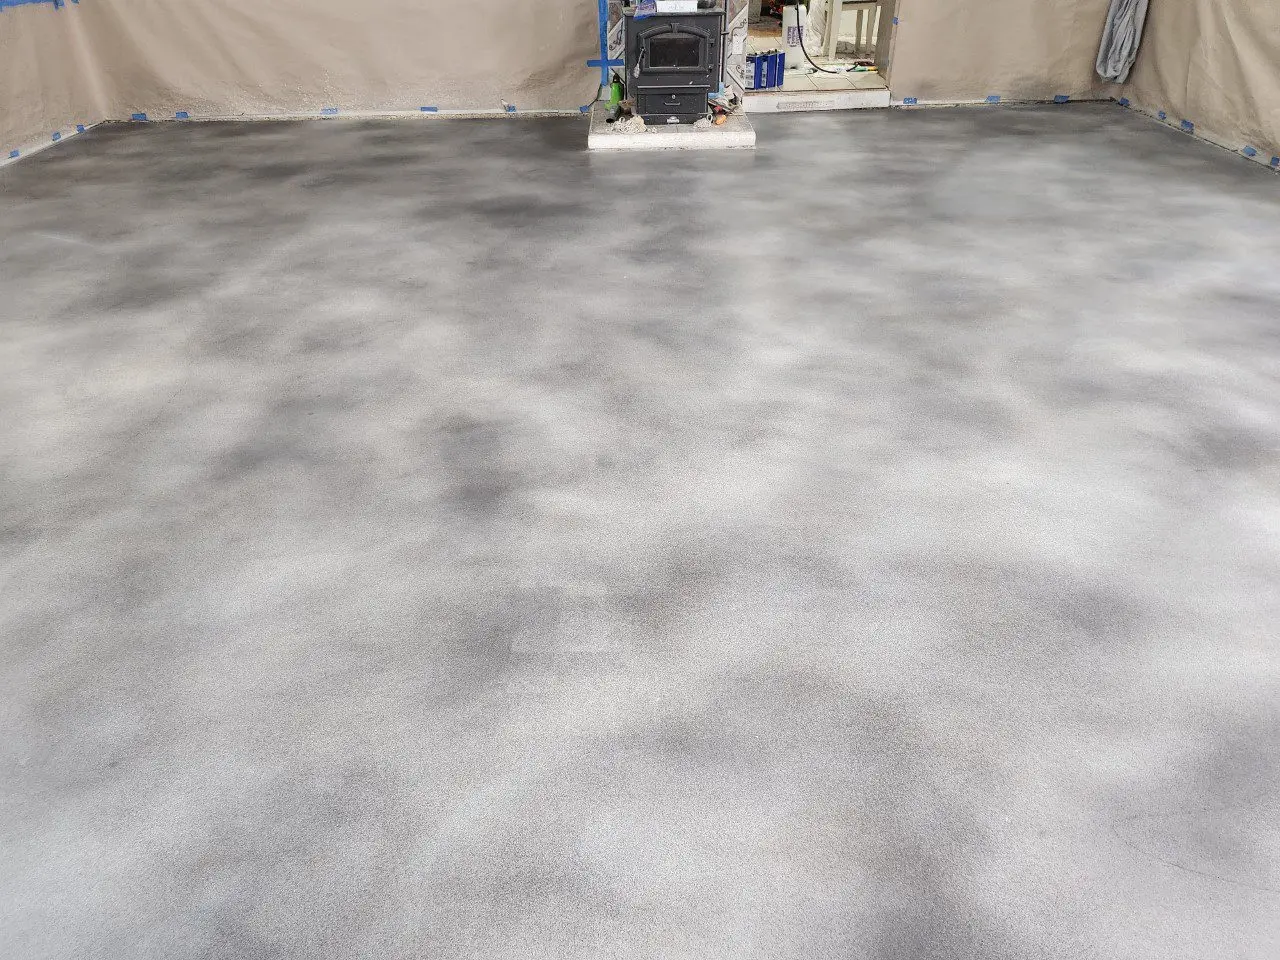
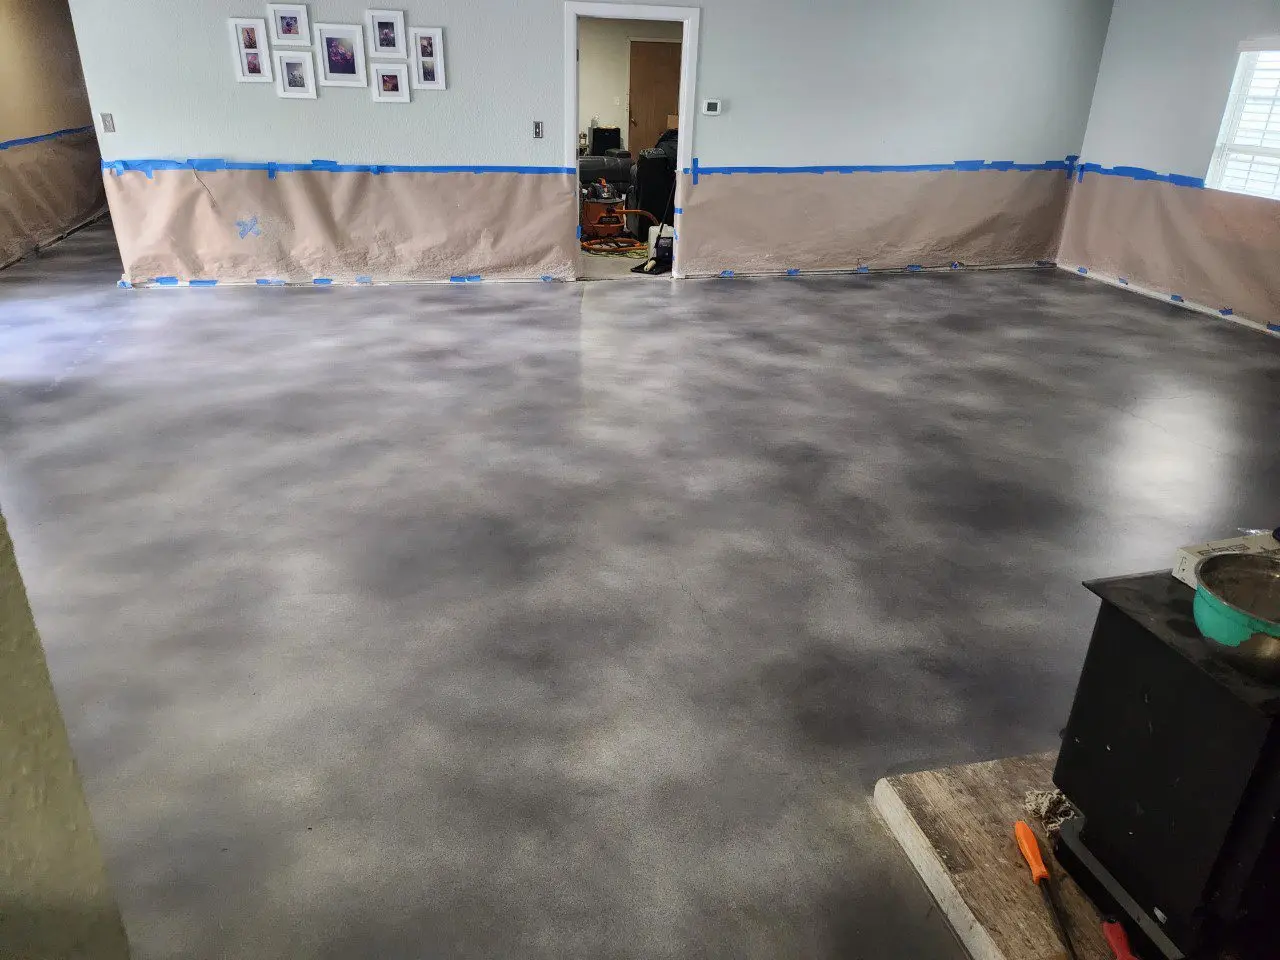
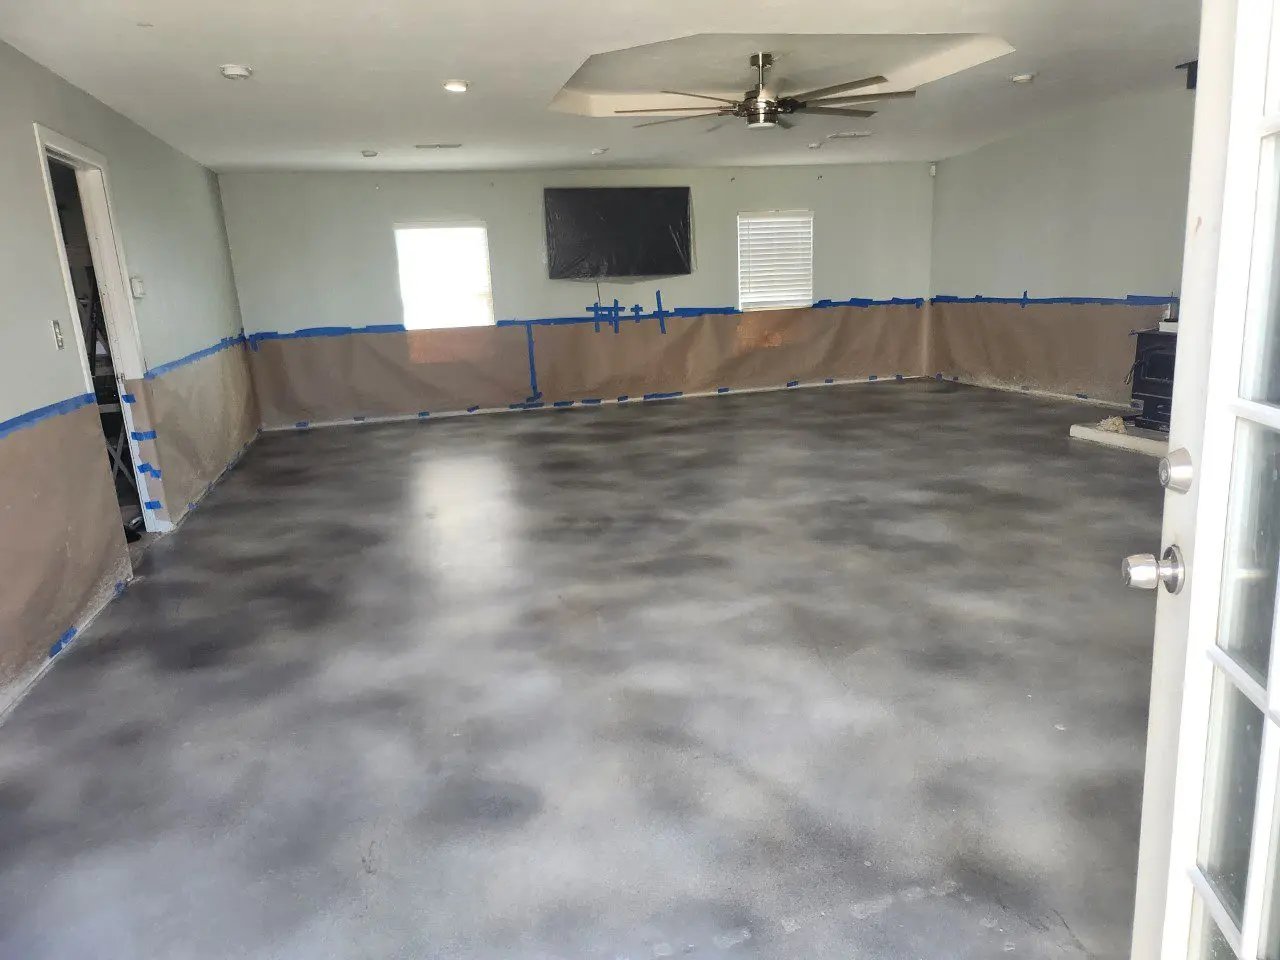
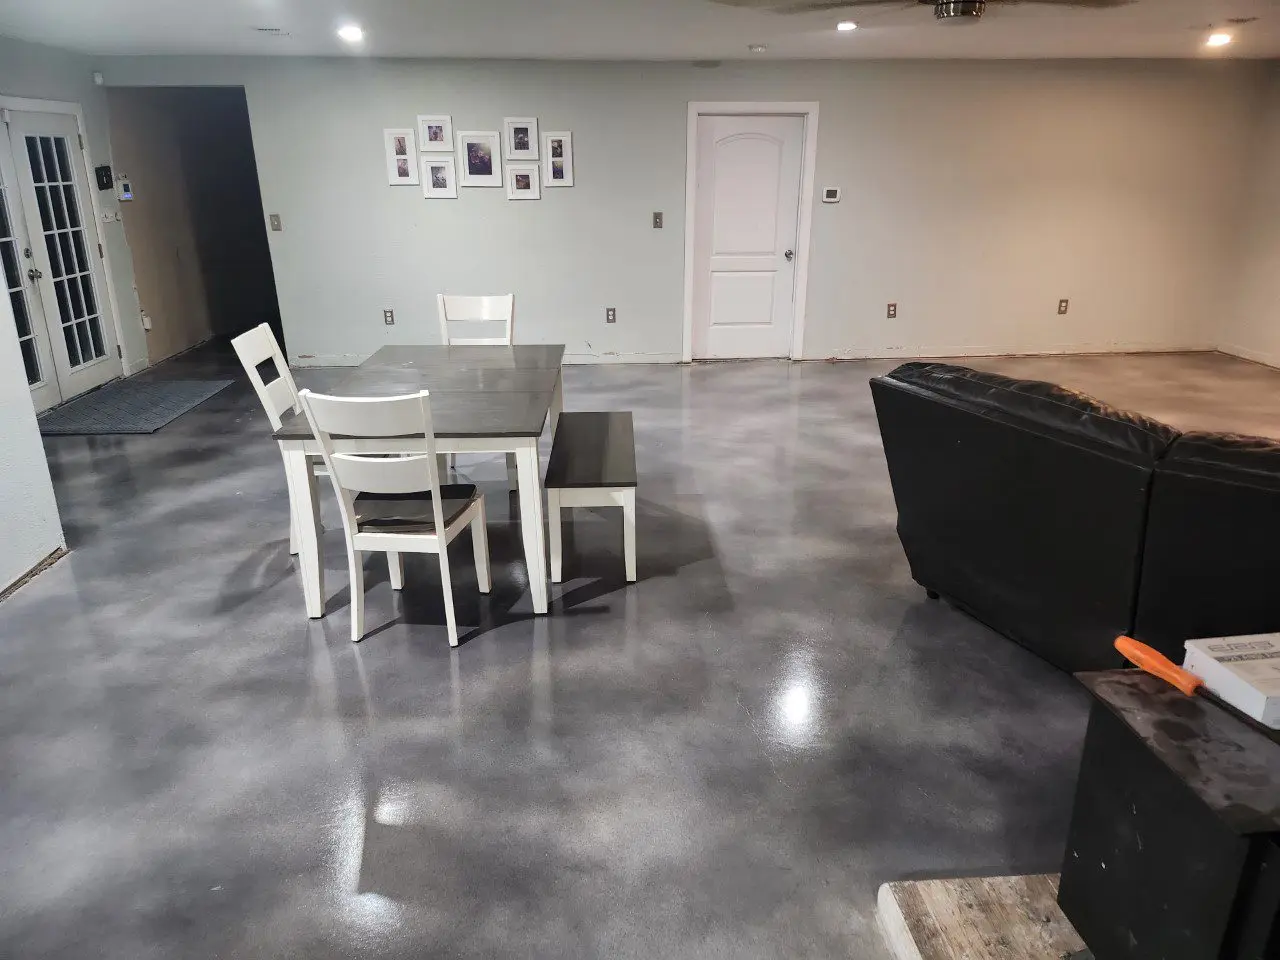
Carpet No More: A Cozy Concrete Makeover!
Kissed goodbye to the old carpet and said hello to a concrete floor of dreams with Vibrance Dye in White, Stormy Grey, and Charcoal. The prep work may seem daunting, but the outcome? Absolutely lovable!
Project Info:
- Project Completed In: 5 day(s)
- Estimate of Square Footage: 800 sq. ft.
- Project Description:
We removed the carpet out of our living room and used the vibrance dye to fix up the concrete underneath it. We love the outcome! - Personal Tips: Be prepared for the prep work.
- Direct Colors Products Used:
2.5 lbs. Patch-Rx™ Concrete Repair
1 Gal. Stormy Gray Vibrance™ Dye
1 Gal. Charcoal Vibrance™ Dye
1 Gal. White Vibrance™ Dye
5 Gal. AcquaSeal™ Satin Concrete Sealer - Other Products Used:
Acetone
Cabin Floor Glow-Up: From Plain to Perfectly Pigmented!
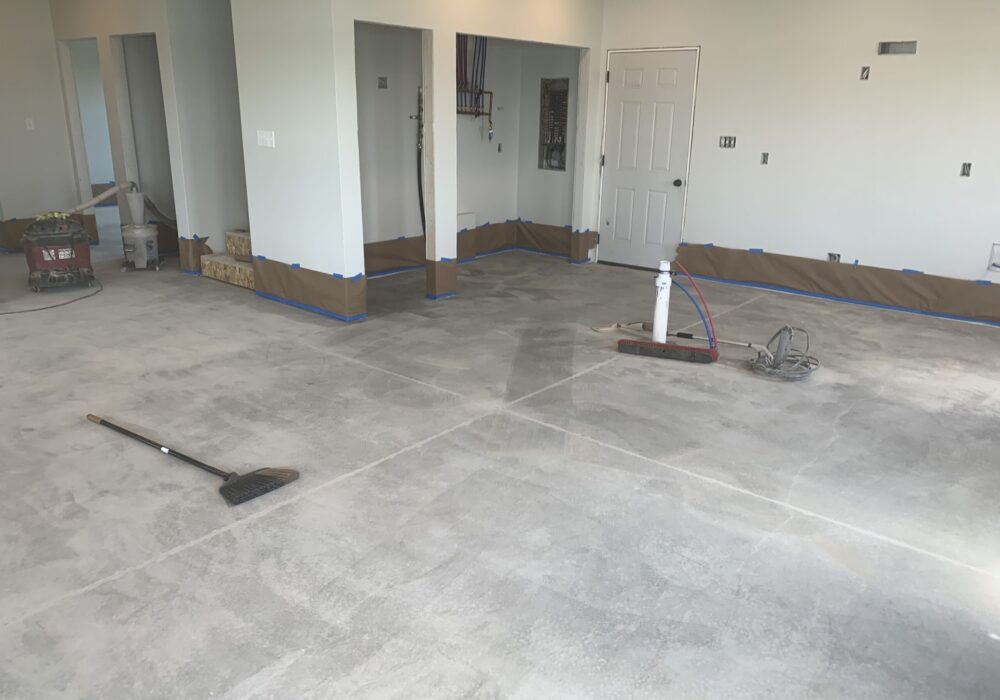
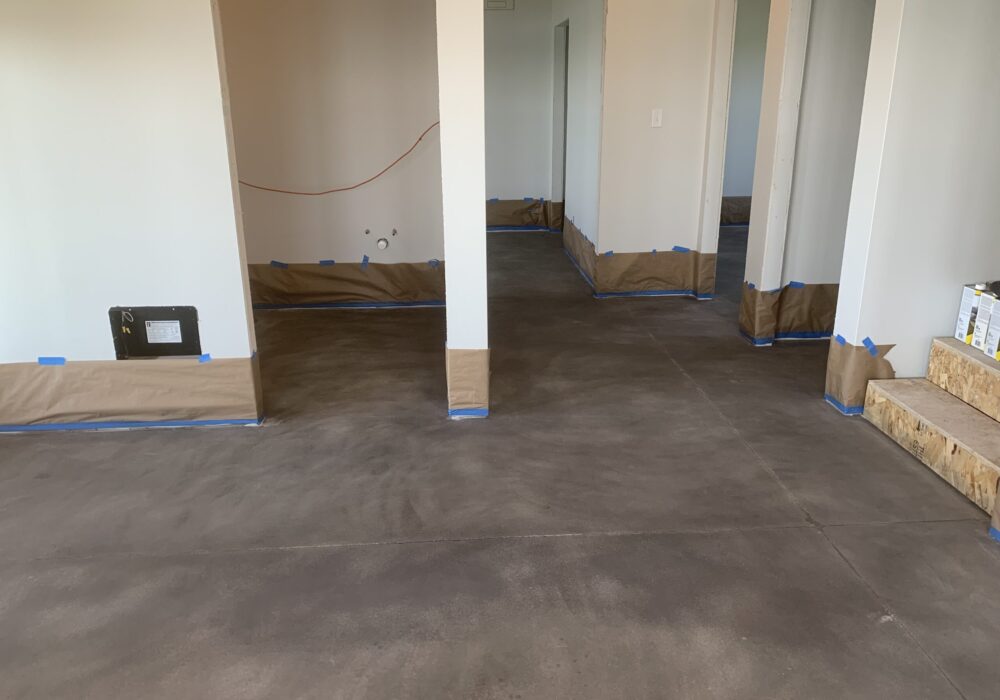
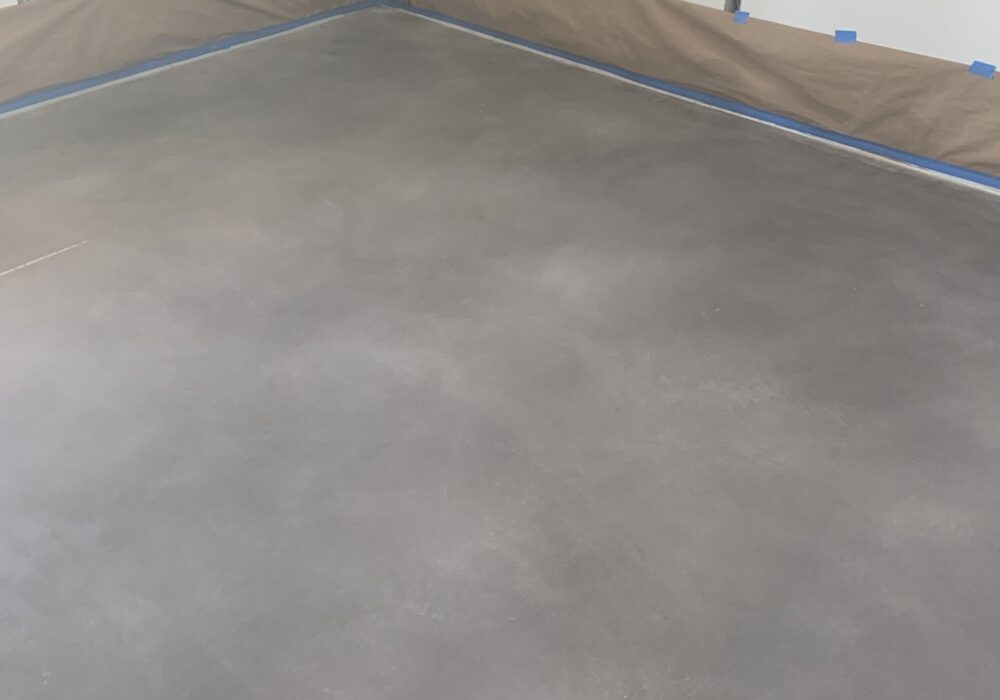
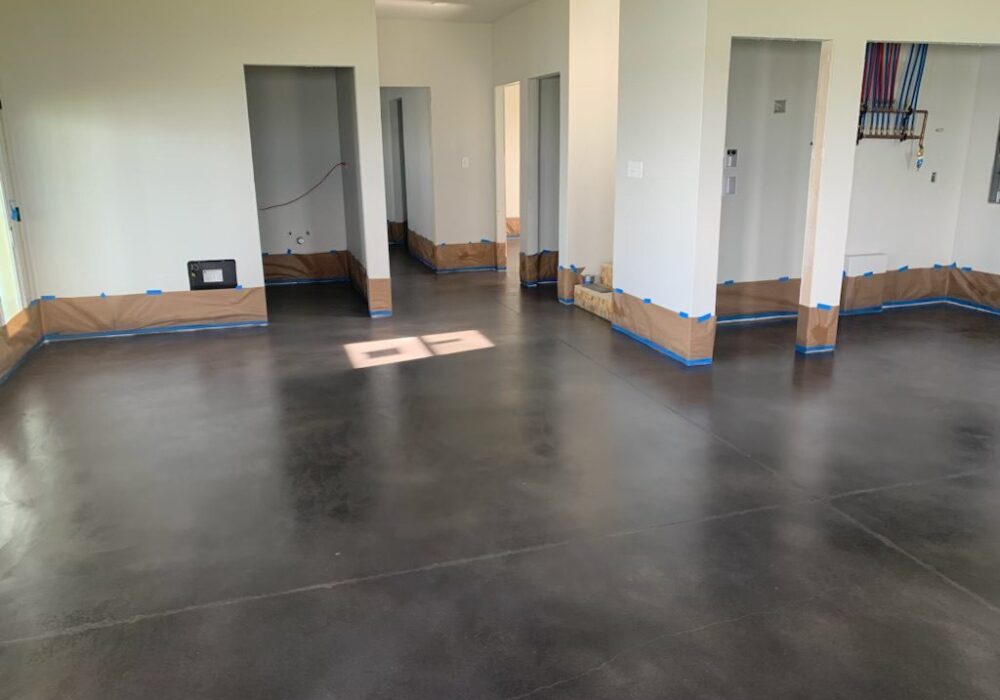
Bringing the beauty of nature indoors, this cabin’s concrete floor got a majestic makeover using our Vibrance dye. The intricate blend of stormy gray, charcoal, and a touch of white has given this cabin a floor that truly stands out.
Project Info:
- Project Completed In: 1 day(s)
- Estimate of Square Footage: 1080 sq. ft.
- Project Description:
We used the Vibrance dye to dye our cabin concrete floor.
First we used a grinder to buff up the concrete as well as clean debris that had gotten on it.
We mopped and cleaned it multiple times before we applied the acetone/dye mixture, which we had actually mixed days prior to applying it.We used 2 coats of stormy gray, 1 coat of charcoal, and 1 coat of white. It evaporated very quickly to allow for fast drying times.Then we rolled and brushed on a sealer and eventually will be further protecting it with a wax. We like how it turned out. - Personal Tips:
Just a note that the sealer does make it overall look darker/richer in color, so if you want a lighter floor be sure it’s pretty light before applying the sealer.We had a few splatters and spray spots, but a second person with a bucket to catch the spray at the start and stop of the spraying helps a lot. - Direct Colors Products Used:
3 x 1 Gal. Stormy Gray Vibrance™ Dye
1 Gal. Charcoal Vibrance™ Dye (Used 1/2 Gallon)
1 Gal. White Vibrance™ Dye
5 Gal. AcquaSeal™ Satin Concrete Sealer
Basement Beauty: DIY Stormy Gray Transformation!
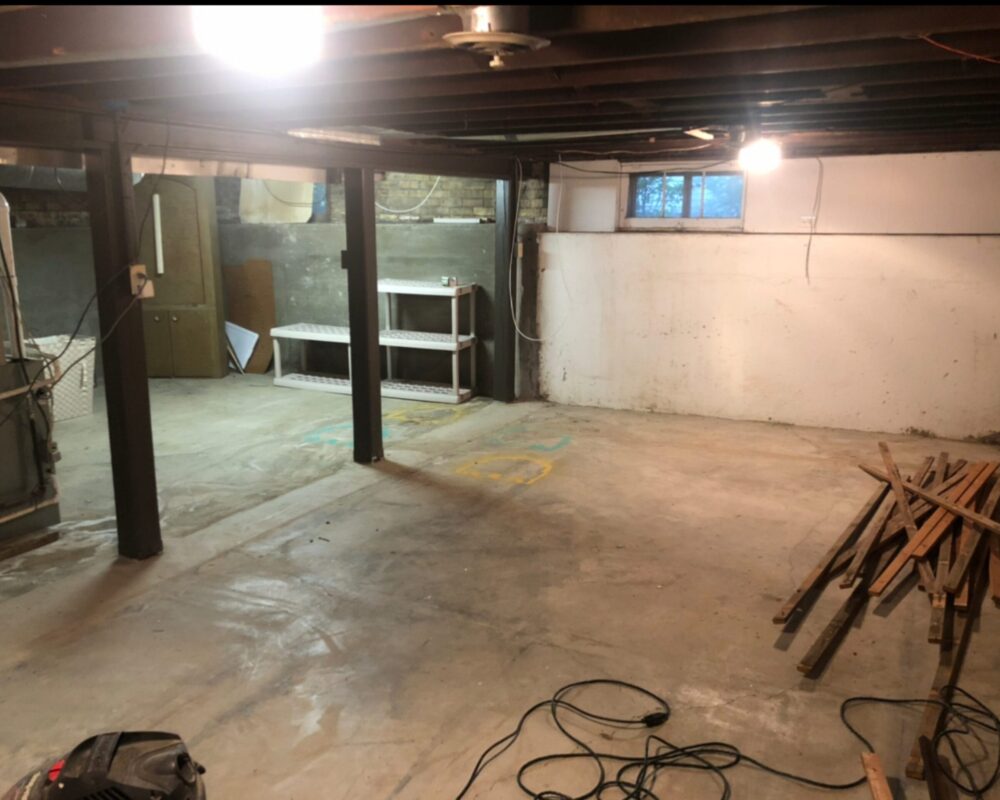
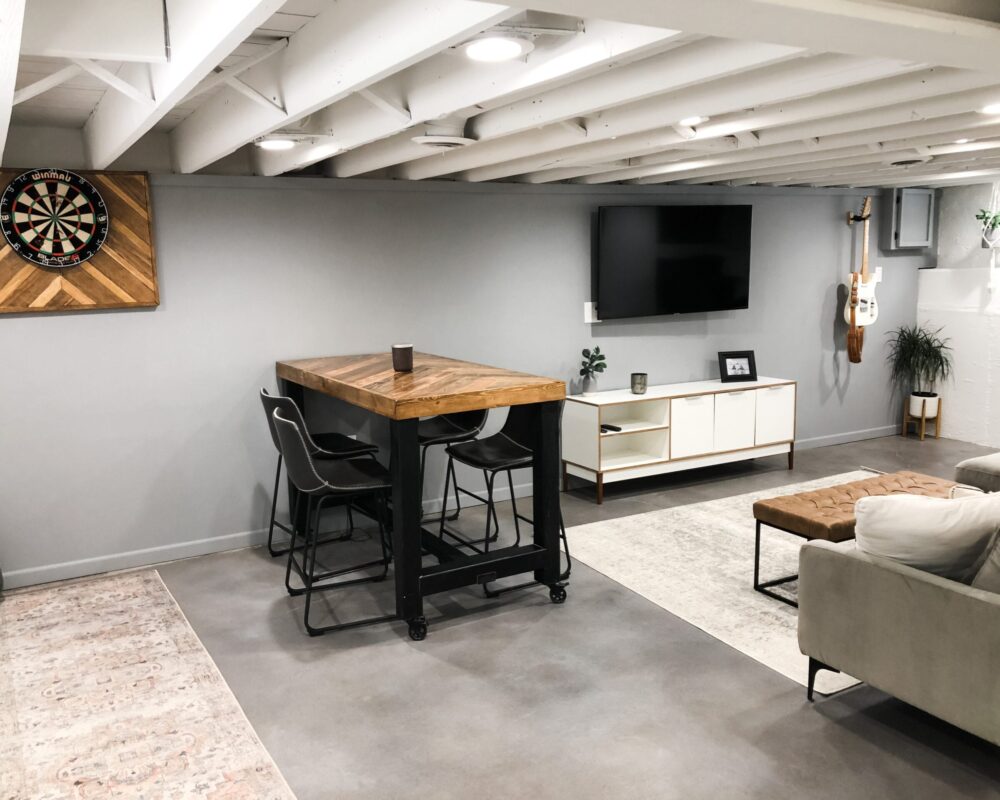
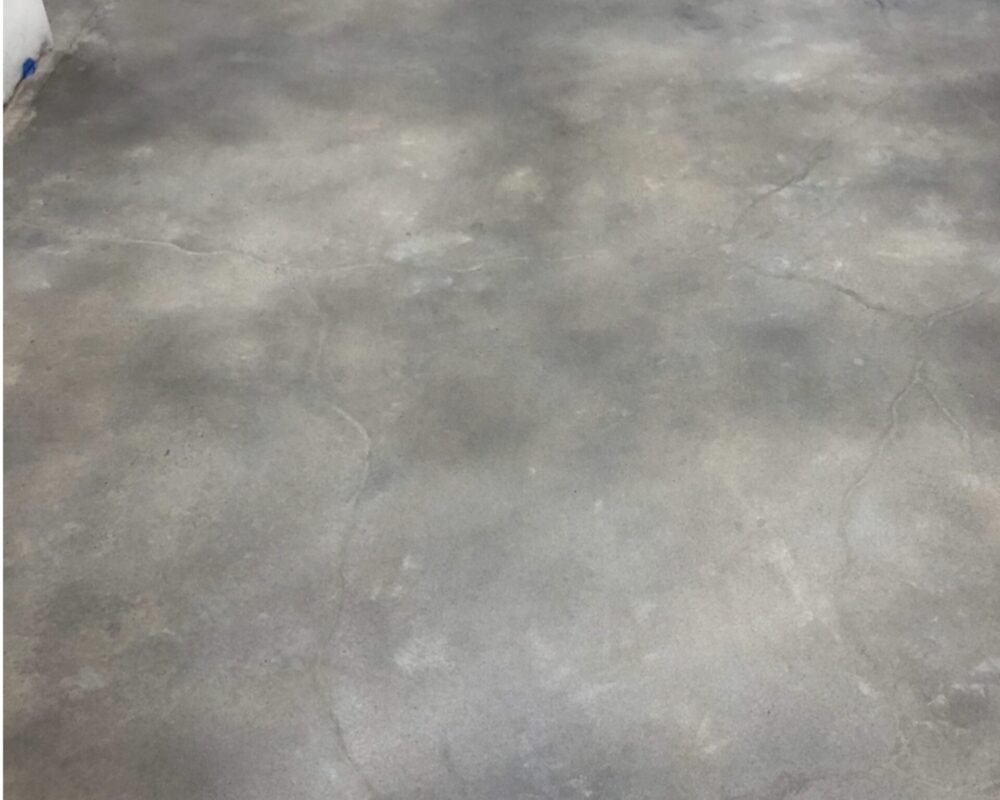
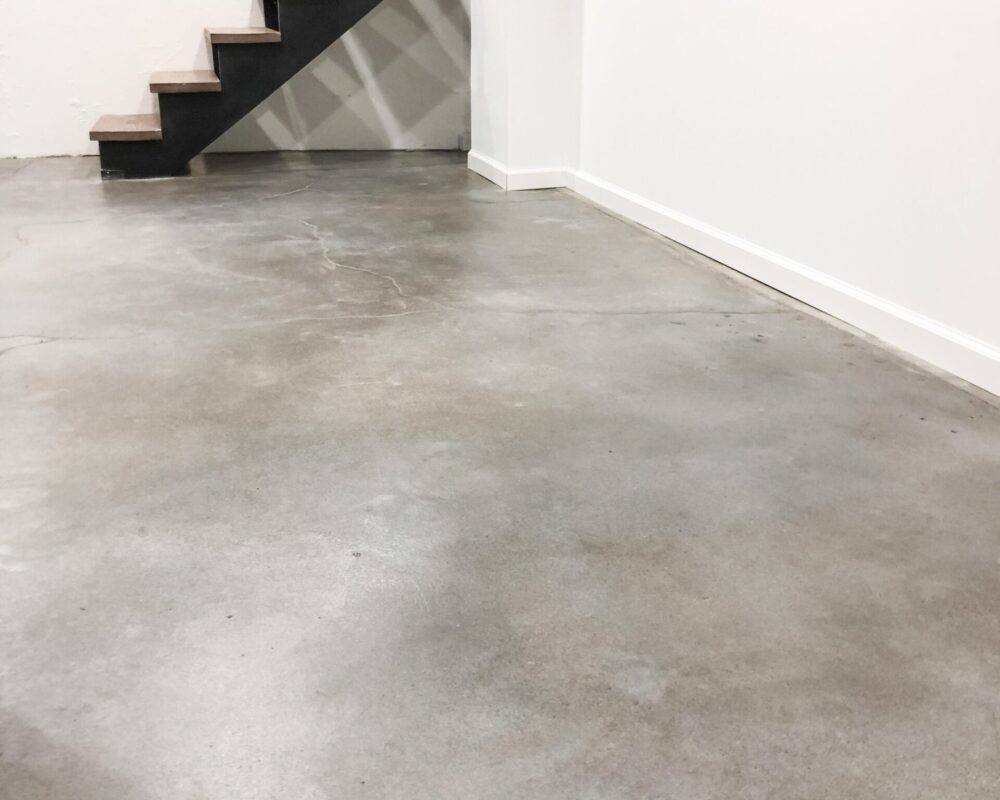
Say hello to a basement that’s not just livable, but lovable! This couple rolled up their sleeves, grabbed their grinders, and turned their 100-year-old stained basement floor into a showstopper using a mix of White, Stormy Gray, and Charcoal Vibrance Dye. For a deep dive into this project, check out our detailed post, “How To Color Your Indoor Concrete Floors Using Concrete Dye.“
Project Info:
- Project Completed In: 4 day(s)
- Estimate of Square Footage: 600 sq. ft.
- Project Description:
My husband and I had a goal to make our basement a livable space! After getting pricy quotes on having professionals stain our basement floor, we decided this was a project we would tackle ourselves for a fraction of the cost. Our home is 100 years old and our floor had a variety of old stains, spray paint and overspray on it. In order to get all of the old material off we decided to rent a concrete grinder for the day. This allowed us to remove all of the old paint from the floor so we had a really clean slate to work with. There were a few sections that the larger grinder could not get to, for these trouble areas we used a handheld angle grinder with a surface grinding tool. We has a few small hairline cracks in our floor. We decided to patch these before dying the floor with a basic cement mix from your local hardware store.Next, we cleaned up all of the dust (and in full transparency, there was a ton of dust). Next we moped the floor 3 times. Once with soapy water, and twice through with clean water.
After it was fully dry, we taped off our walls with plastic. Now it was time to spray! We sprayed one coat of solvent based satin sealer. We waited for the sealer to dry for approx.. 12 hours. Next we sprayer 2 coats of White Vibrance Dye (waiting the recommend dry time between coats). After leaving this to dry we sprayed 2 coats of Stormy Grey Vibrance Dye (waiting the recommended wait time between coats). Our last coat of dye was to add some dimension to the floor, this was achieved with the Charcoal Grey Vibrance Dye. After waiting for the final coat to dry, we finished up with 2 coats of the solvent based satin sealer. Leaving 12 hours wait time between each coat. We are so thrilled with how our floor turned out. After getting a ridiculously high quote, we were encouraged by the team at Direct Colors that we could tackle this on our own, and they were right! We would 100% do this again. We cannot recommend the products and team at Direct Colors enough. They walked us through this project start to finish, making us feel confident that we could do this. - Personal Tips:
Some personal tips that might help others:
-Test your sprayer before you begin to make sure it is going to spray properly.
-Do not skimp out on the prep work! This is so important to get a really great end result.
-Have a bucket and rag with you when spraying the dye. Our sprayer dripped a few times. Having a rag and bucket next to us allowed us to fix the dye on the floor and drab off the end of the sprayer.
-Wait about 1 hour and half for the dye to be ready before spraying. One coat we waited only about 1 hour, and the dye was not ready to go and clogged the sprayer.
-The biggest issue we had was sprayer malfunctions, but do not let that deter you! You can do this and it will be worth it!
- Direct Colors Products Used:
2.5 lbs. Patch-Rx™ Concrete Repair
2 x 1 Gal. Stormy Gray Vibrance™ Dye
2 x 1 Gal. Charcoal Vibrance™ Dye
2 x 1 Gal. White Vibrance™ Dye
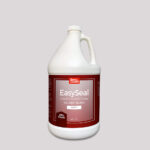
5 Gal. EasySeal™ Satin Concrete Sealer
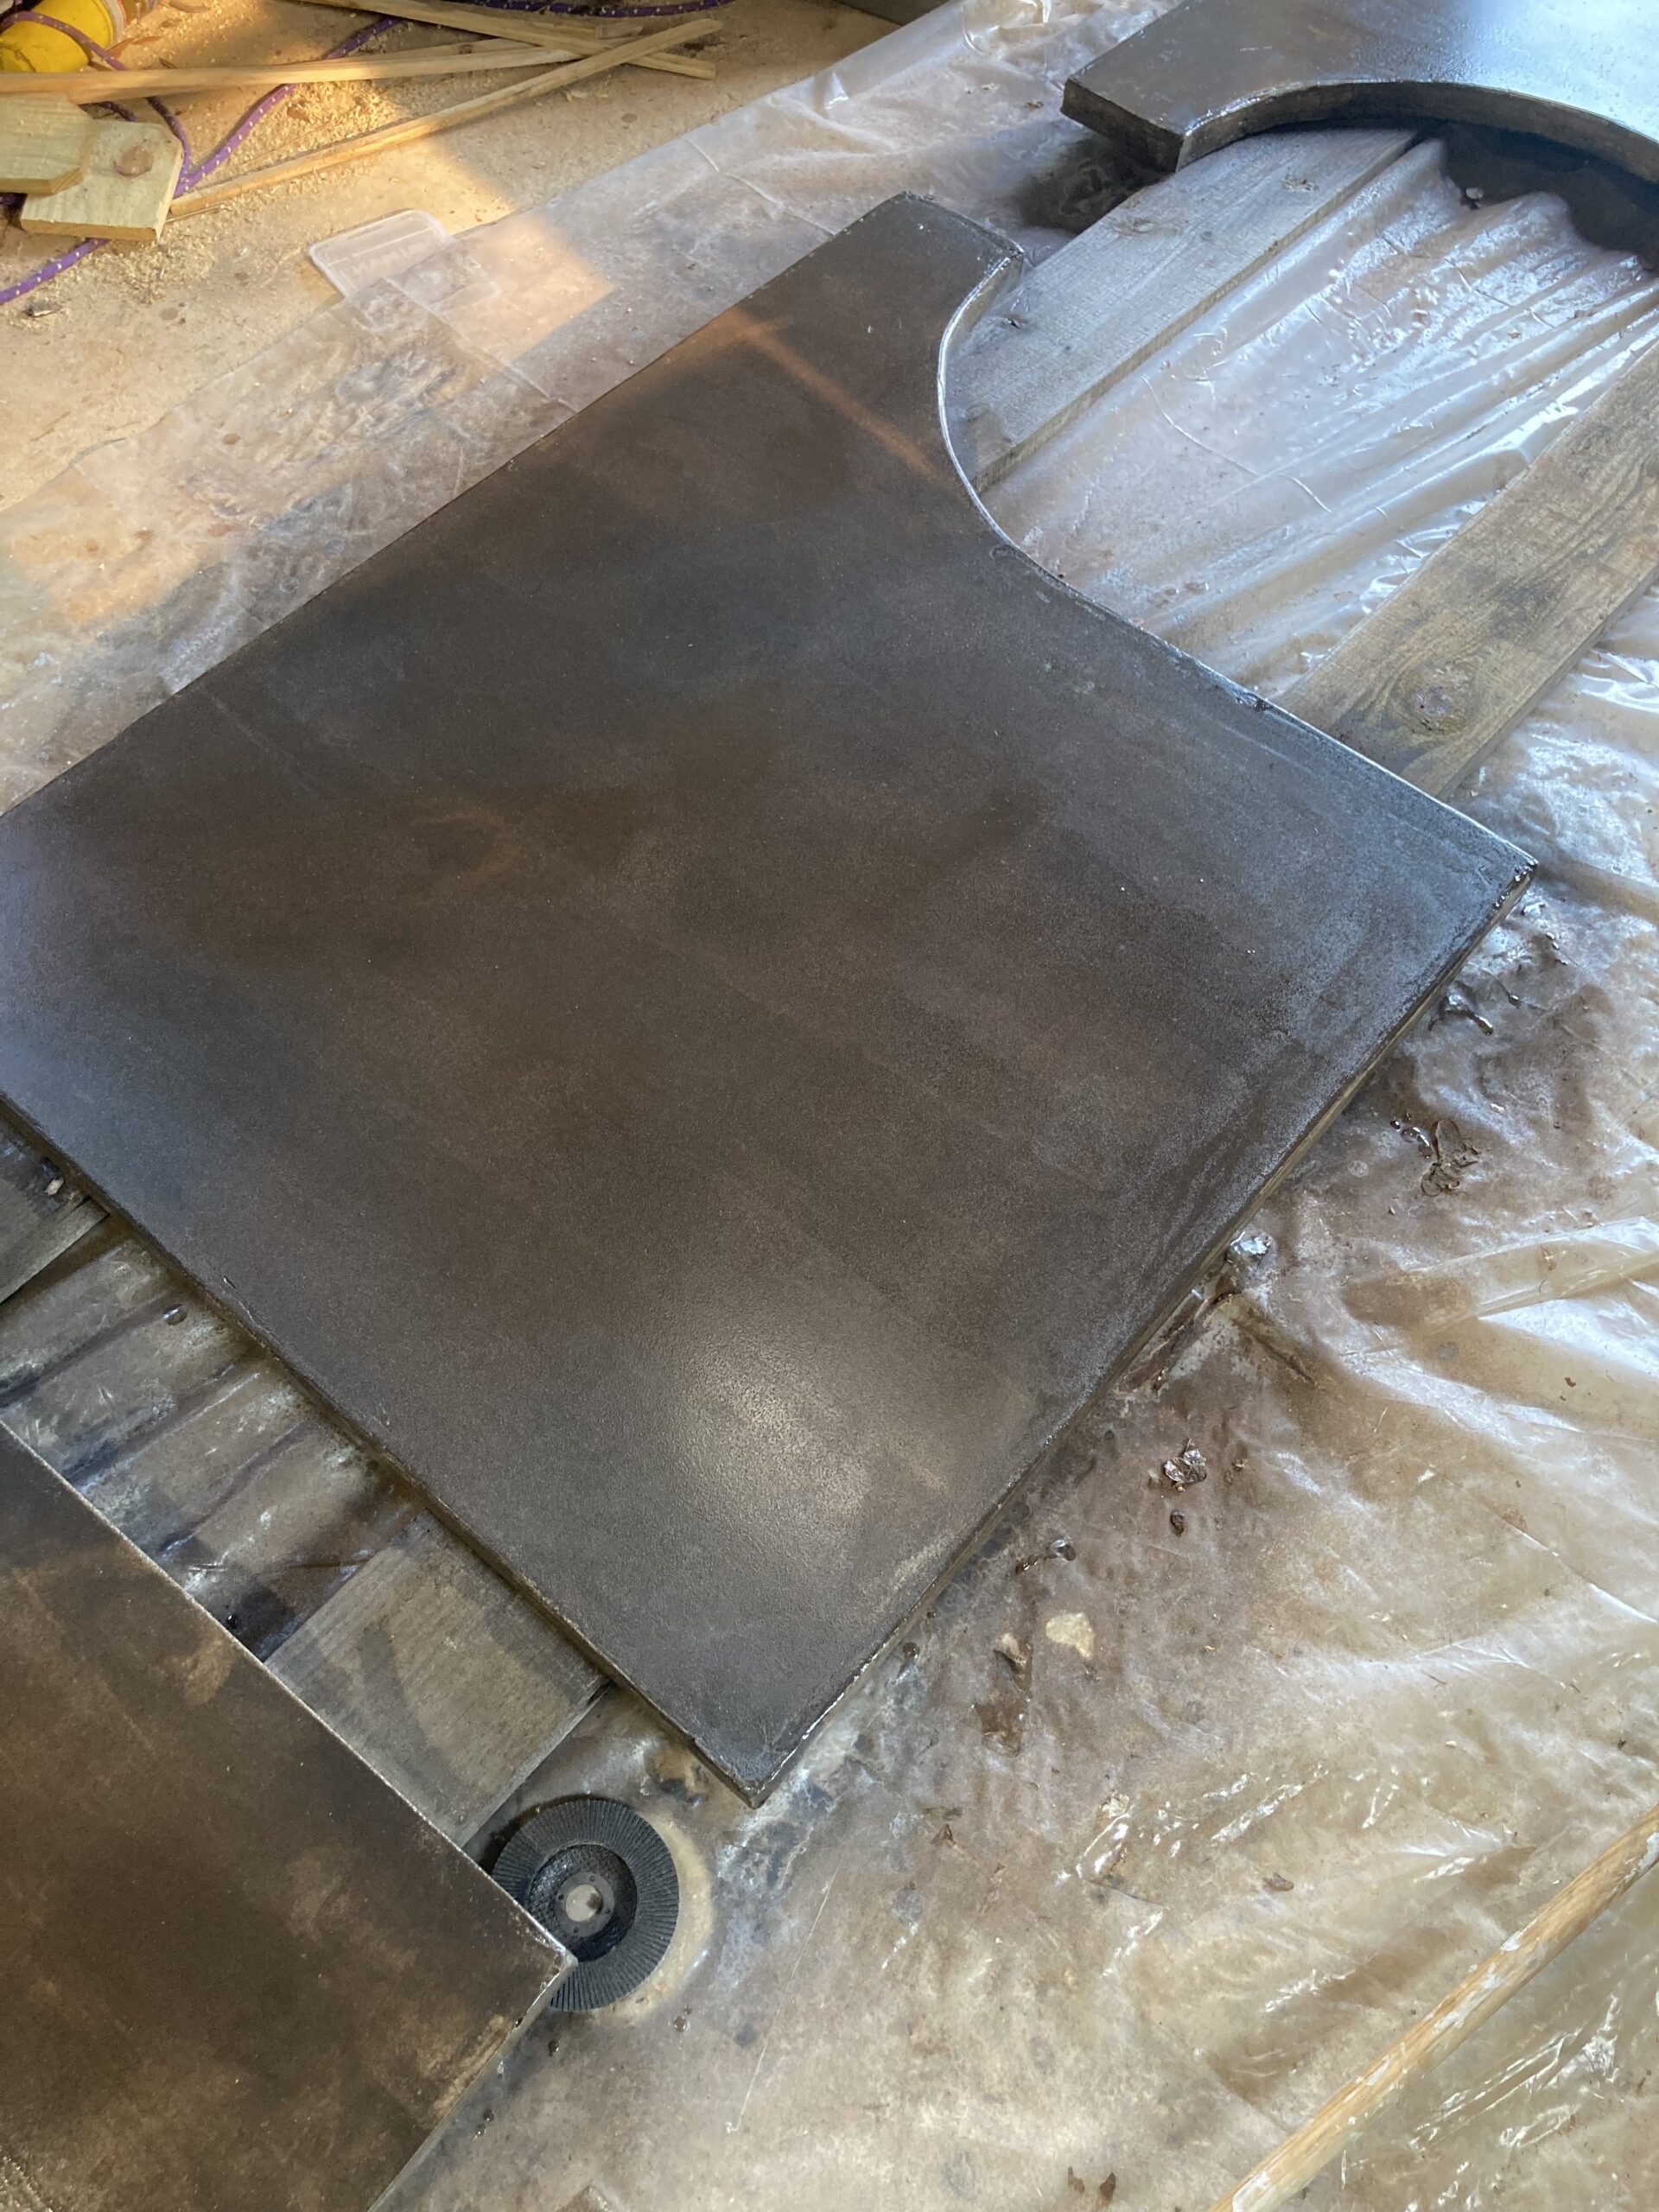
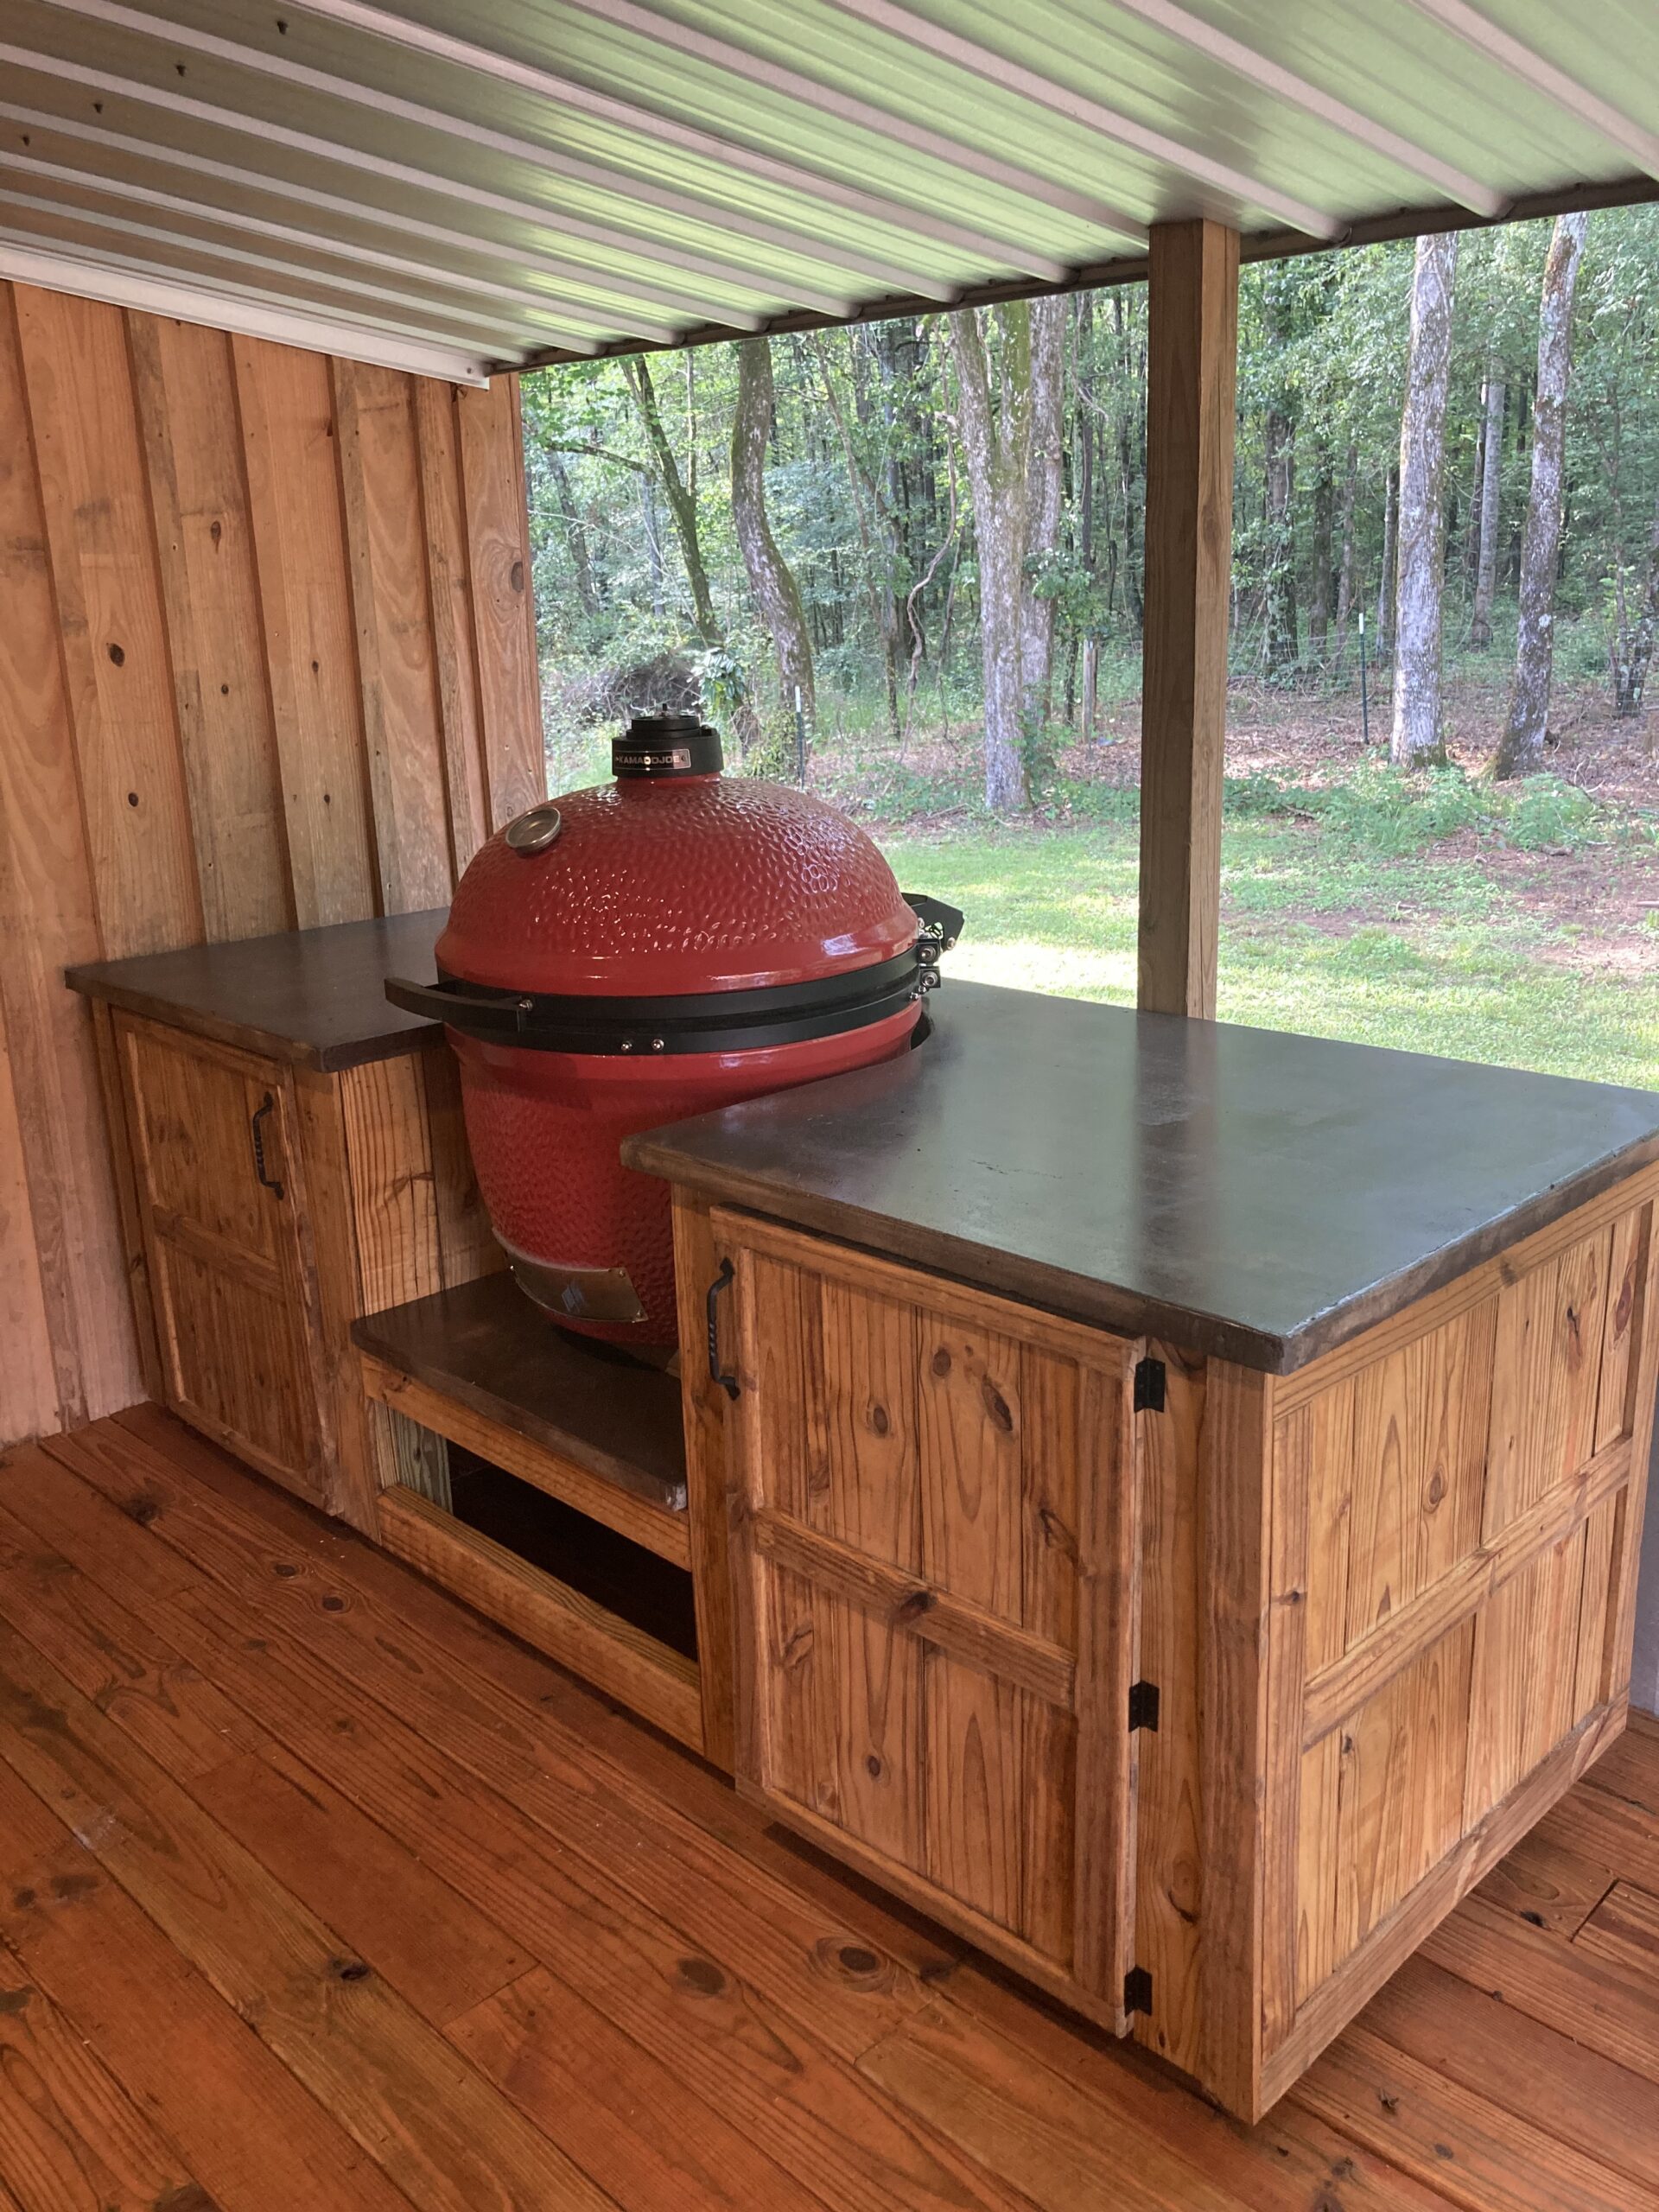
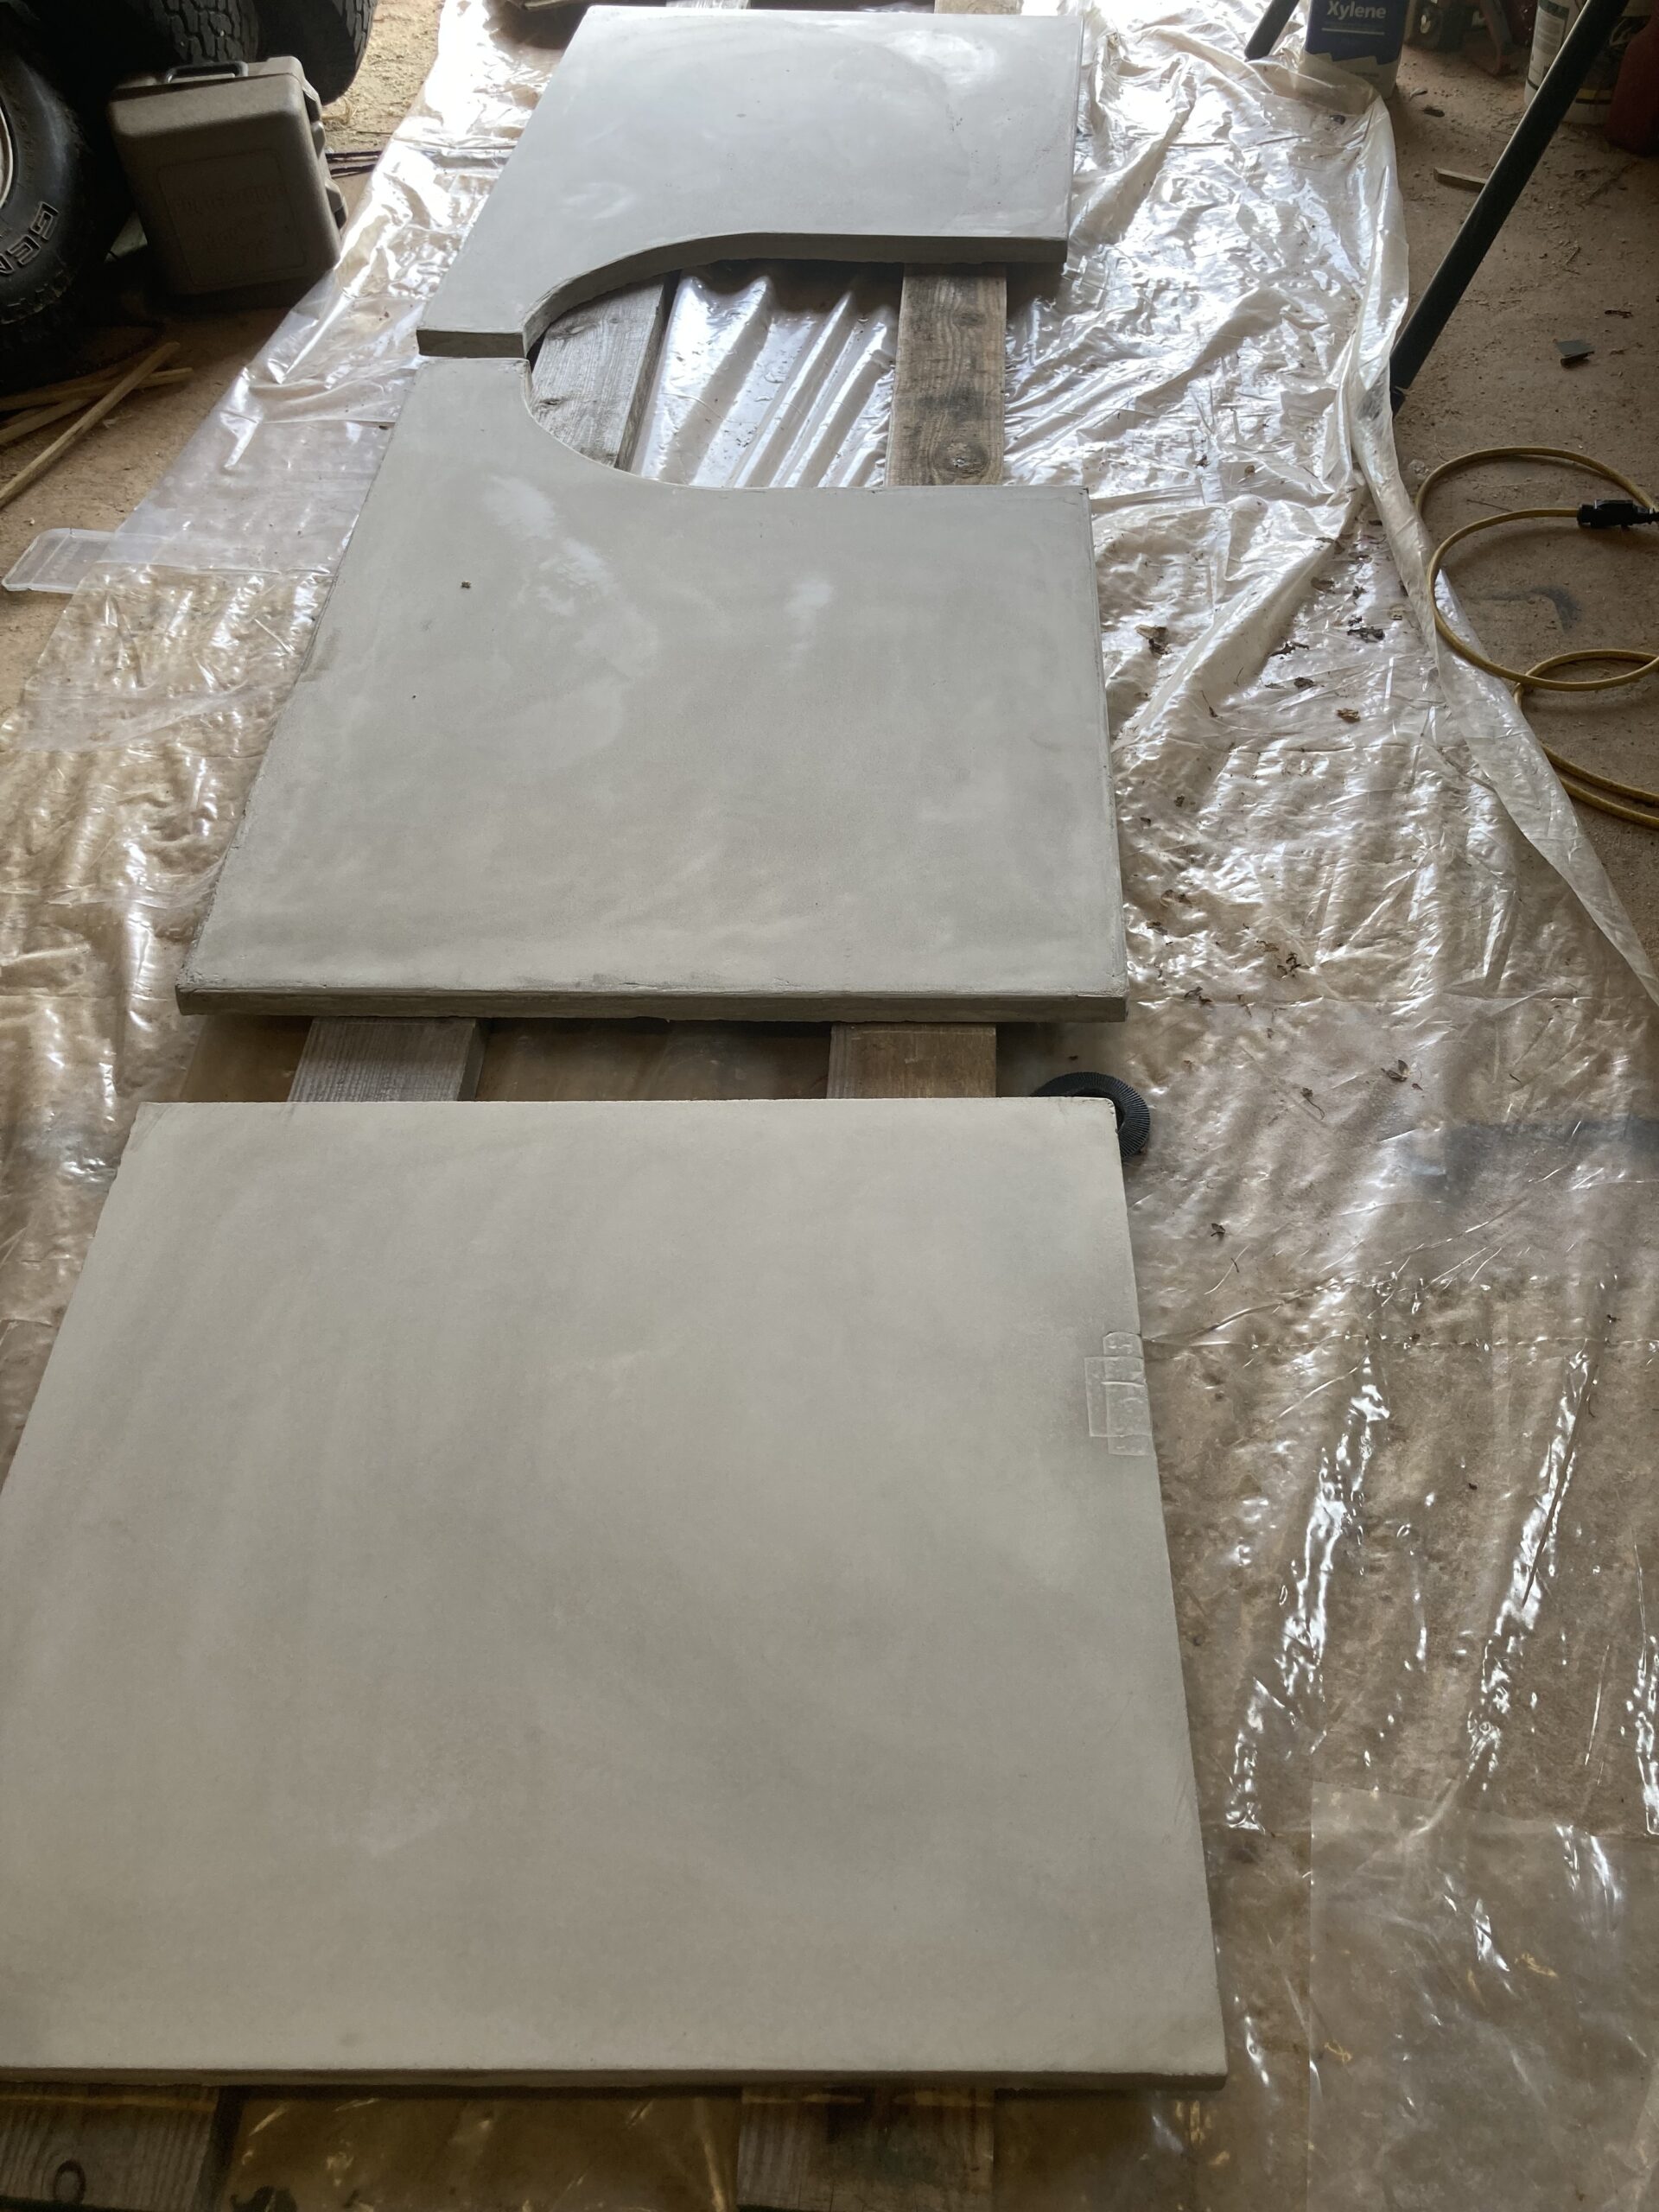
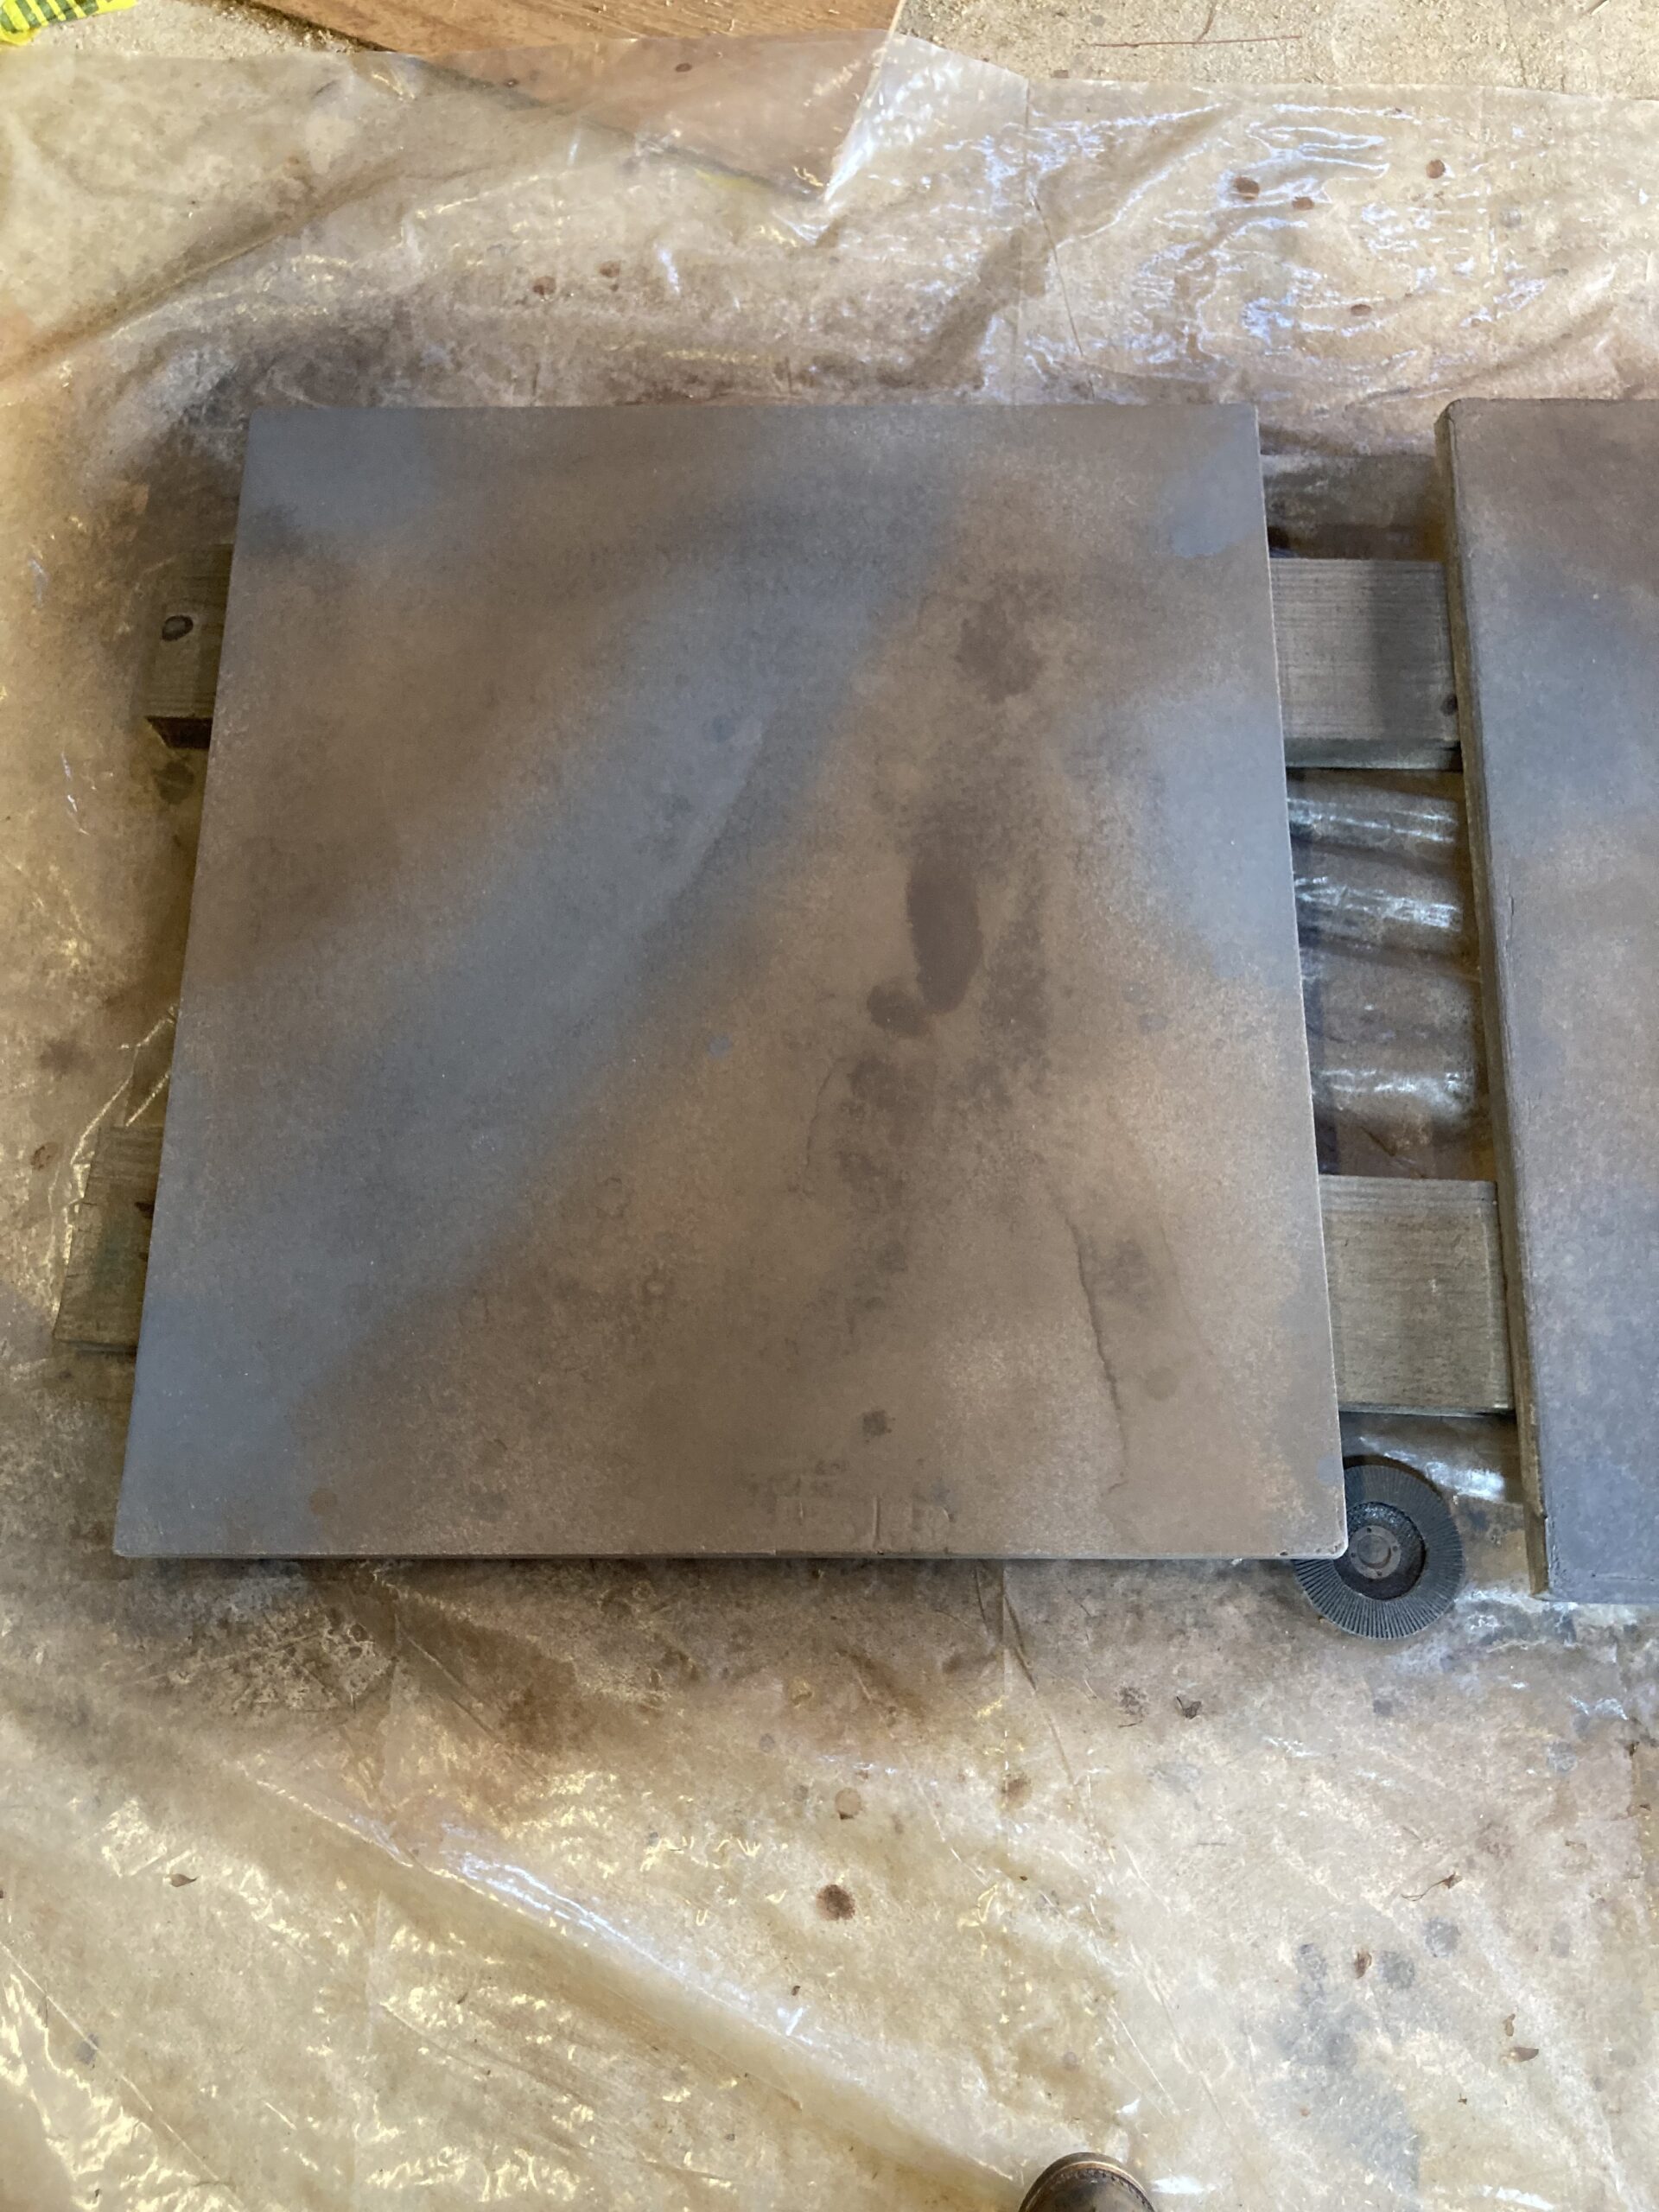
Rustic Radiance: BBQ Table Makeover
A fusion of traditional rustic vibes and modern aesthetics, this BBQ table countertop boasts a Driftwood Vibrance Dye base with bold strokes of Stormy Gray accents.
Glossy Grandeur: Stormy Gray Condo Transformation!
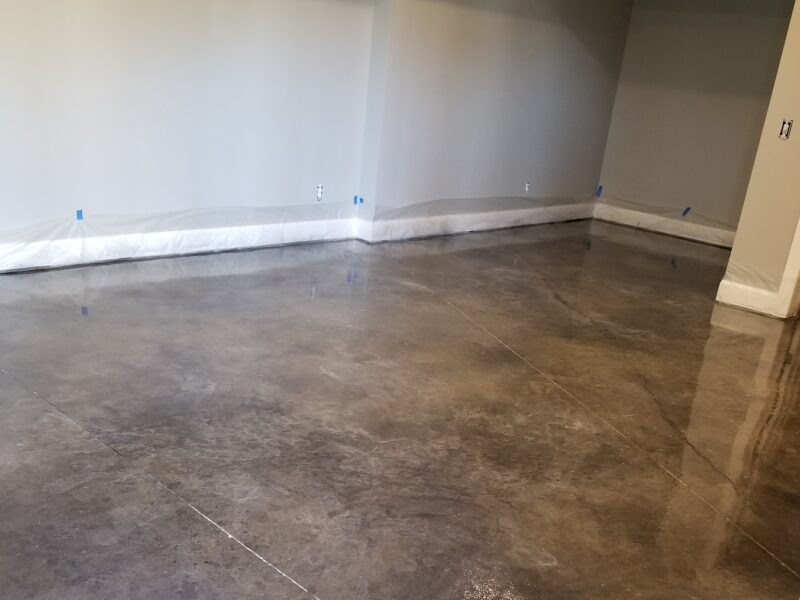
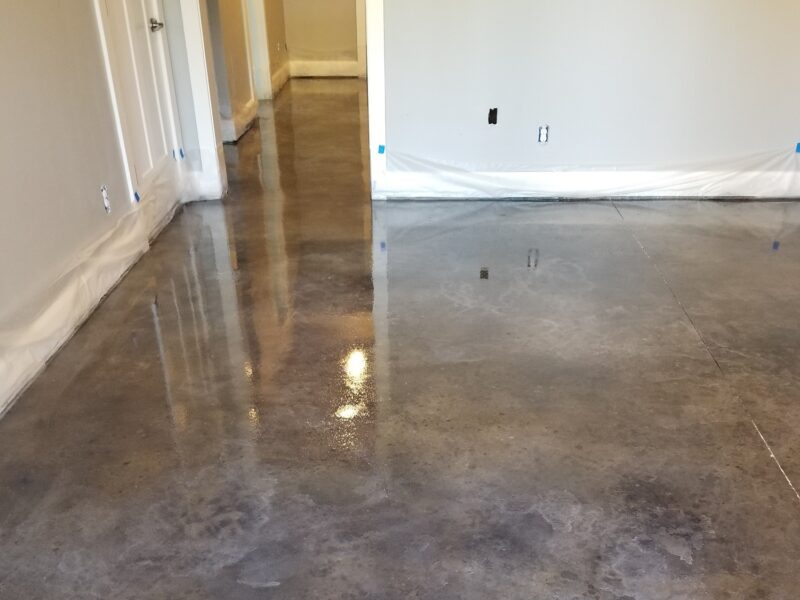
From basic to brilliant, this condo floor got a shiny new upgrade! Our savvy DIYer combined Stormy Gray and Driftwood Vibrance Dye, topped it off with a glossy sealer, and then gave it a final high-shine polish.
Stormy Elegance: Condo Floor Makeover!
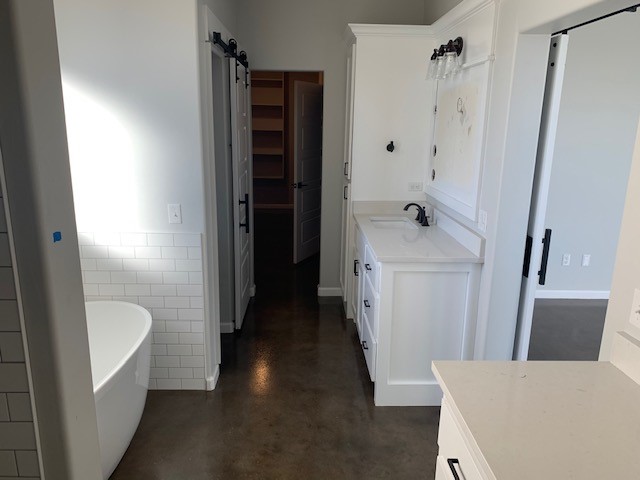
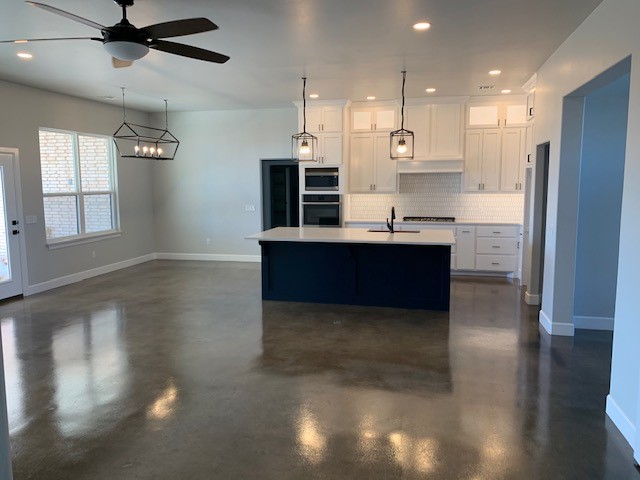
Who knew Stormy Gray, Charcoal and Driftwood could bring such warmth? With a touch of Vibrance Dye and a gentle seal, this condo’s floor, bathrooms and foyer all exude understated elegance. It’s a space that invites you to kick off your shoes and stay awhile!
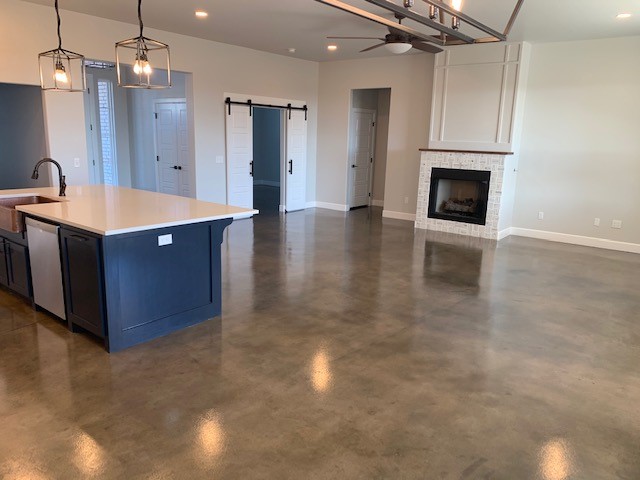
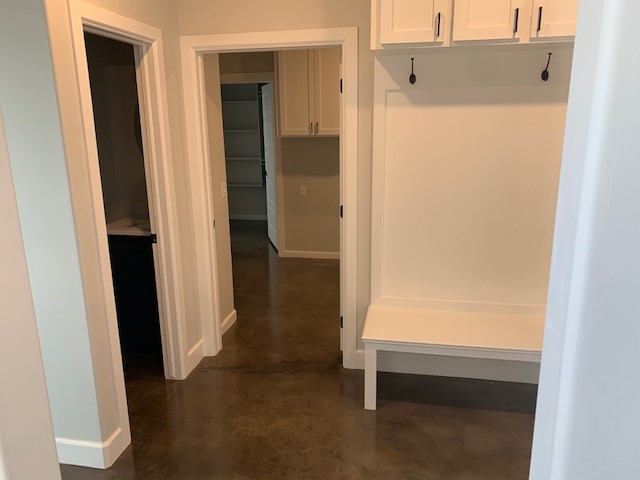
Stormy Basement Revamp: From Drab to Fab!
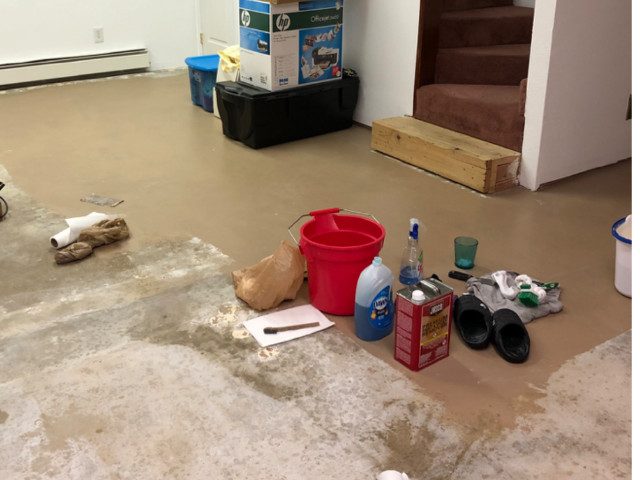
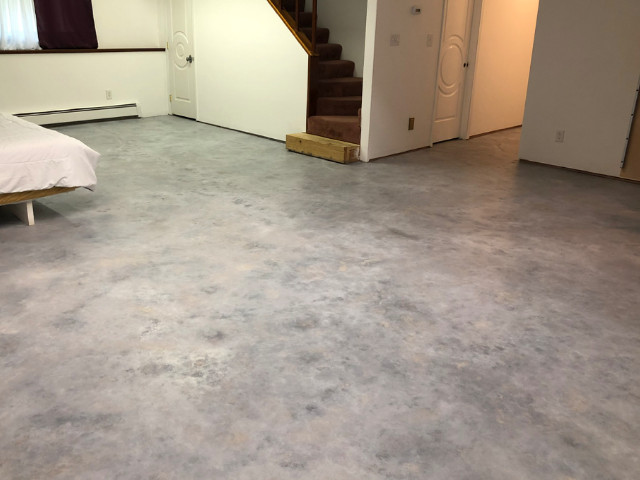
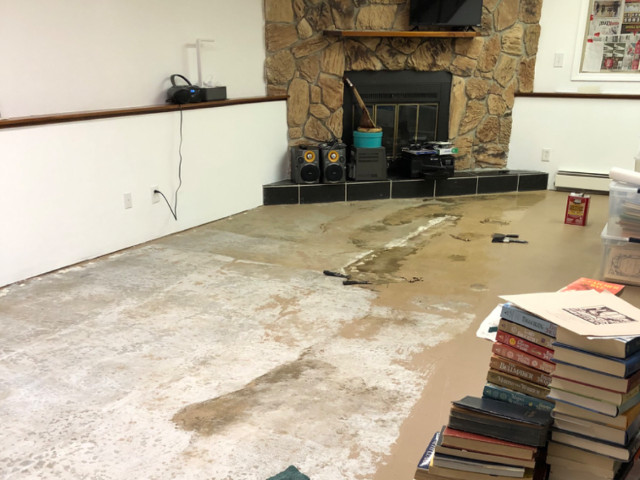
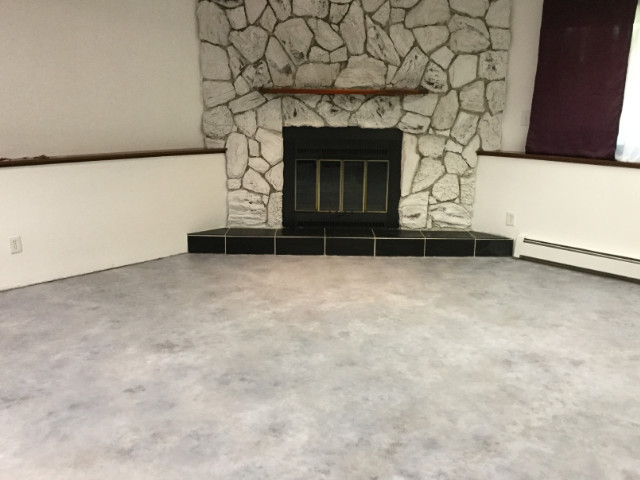
Our DIY hero ripped out mismatched flooring, restored the original concrete, and added a splash of stylish grays. Top tip? Experiment with application techniques for a personalized touch. With a bit of creativity and a can-do attitude, you can transform any space into a chic haven.
- Project Completed In: 365 day(s)
- Estimate of Square Footage: 1120 sq. ft.
- Project Description:
My basement concrete floor had four different types of flooring. I removed them all to the original concrete slab. All done by hand to minimize dust. Removed concrete paint from family room, closet under stairs and hallway.
Removed tile, glue and concrete leveling material from bedroom number one.
Removed laminate from bedroom number two.
Removed vinyl from bathroom. - Personal Tips:
Try different techniques (sponge, rag, brush, sprayer) to get the look you like.
Watch the Direct Colors videos for tips and ideas. - Direct Colors Products Used:
2.5 lbs. Patch-Rx™ Concrete Repair
5 Gal. Stormy Gray Vibrance™ Dye
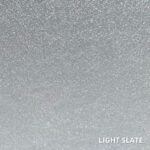
1 Gal. Light Slate Vibrance™ Dye
5 Gal. White Vibrance™ Dye
5 Gal. AcquaSeal™ Satin Concrete Sealer - Other Products Used:
P36 sandpaper
Paint stripper
Conquering the Concrete: A Stormy Gray Victory!
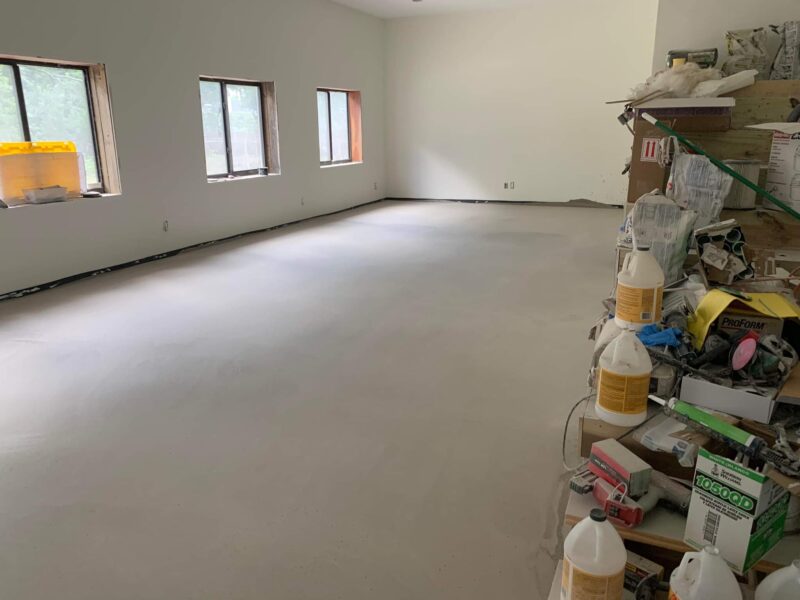
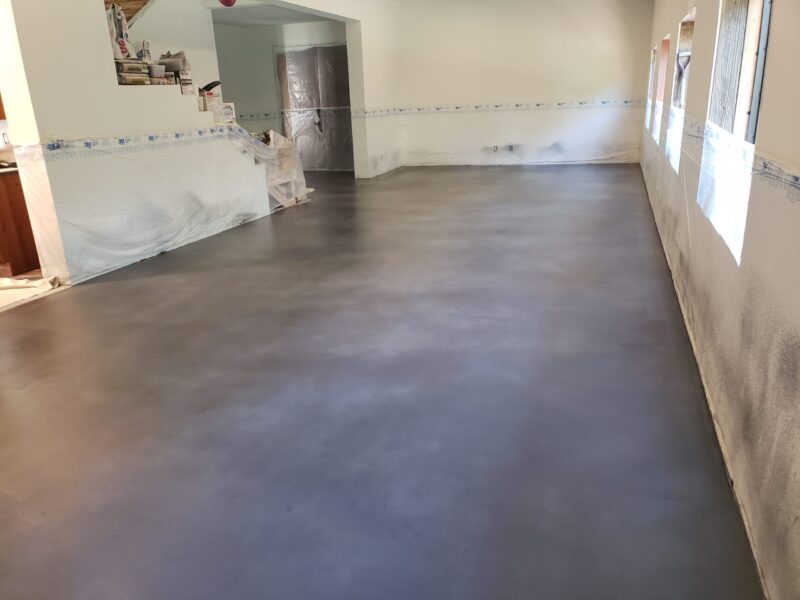
With some serious grinding, pouring, and a little bit of creative veining, this DIYer transformed an unorthodox project into a beautiful stained floor using a mix of Stormy Gray, White, and Charcoal Vibrance Dye. Beware of stepping in freshly sprayed dye, though!
Project Info:
- Project Completed In: 5 day(s)
- Estimate of Square Footage: 1600 sq. ft.
- Project Description:
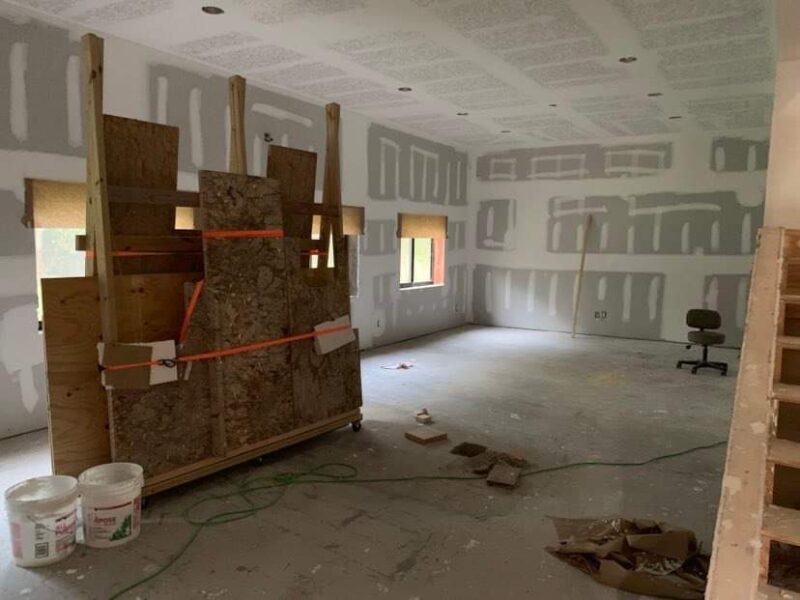
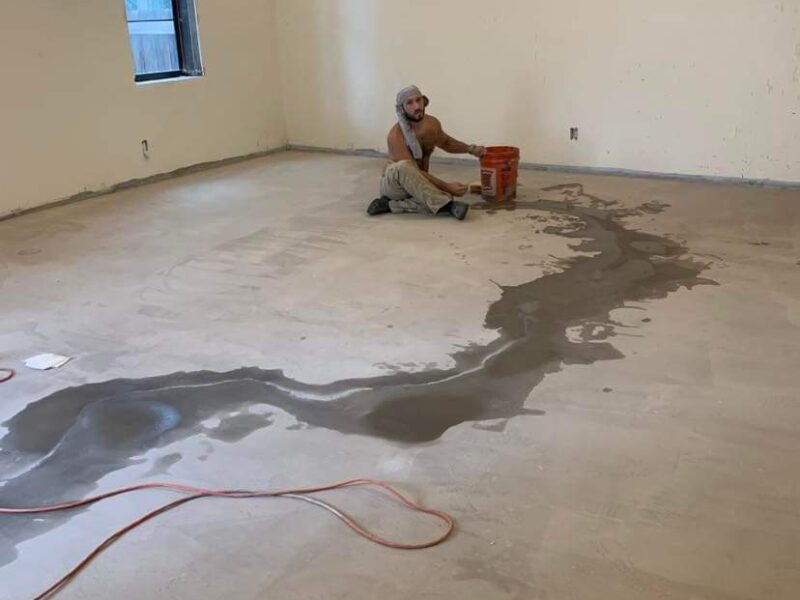
Headache!!! I had an extremely unlevel floor. I had to grind down some areas 1 inch (about 400 sq. ft.) and had to raise 300 sq. ft. 1 inch to get things overall with 1/2″. Then I had to pour 180 bags of the floor leveler and of course I was 16 bags short. This meant I was left with a cold joint for the final finish which I tried to accentuate and create a vein out of. Then I had to grind the surface to a 200 grit and blend the cold joint. Finally it was time to stain and stormy gray, white, and charcoal created one beautiful stained floor. This was a bit of an unorthodox project but I’m happy with it. I have more pictures also. I also plan to add a couple coats of direct colors floor wax when it arrives. I think that’ll really blend things out. I’ll know soon… - Personal Tips:
If possible to test your stain application and top coating method exactly as you plan to before hand, do it. My project turned out great from a stain aspect but the epoxy primer and urethane was only ok and I could have made that better but it’s alright for a first timer. Also, with the vibrance dye, don’t be dumb like me and step in it right after you spray it. I didn’t enjoy working those prints out. Finally, I may have applied too much stain but I found when applying my finish some dye would come up especially when brushing the edges. If possible, roll the edges when cutting in. - Direct Colors Products Used:
Vibrance™ Dye Trial Kit (Stormy Gray, Light Slate & White)
5 Gal. Stormy Gray Vibrance™ Dye
5 Gal. Charcoal Vibrance™ Dye
5 Gal. White Vibrance™ Dye
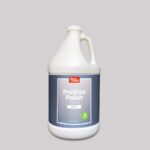
5 Gal. ProWax Polish™ Satin - Other Products Used: VSEAL epoxy primer and urethane (3015 and 3321) industra-coat.
Dark Depths: The Stormy Gray Basement Retreat!
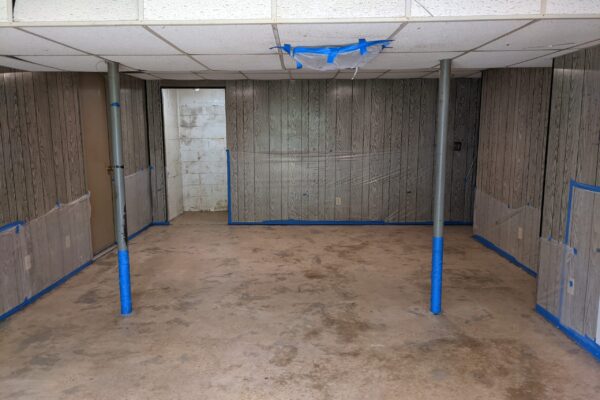
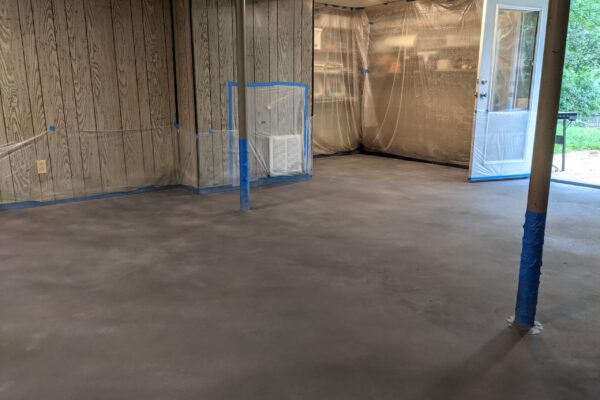
Navigating the fine line between charcoal and gray, this DIYer has created a basement that embraces the shadows. With patience and precision, the Stormy Gray Vibrance Dye settled into a deep hue that transformed the space into a cozy, dark retreat.
Project Info
- Project Completed In: 3 day(s)
- Estimate of Square Footage: 400 sq. ft.
- Project Description:
Basement Stormy Gray application. - Personal Tips:
I would suggest waiting the complete 6 hours for dye to cure. It’s better to be safe, and let it completely cure. Also, the stormy gray will come out a little darker at first. You will need to spray some in a bucket at first to get that out. Otherwise, it will look like a charcoal color. - Direct Colors Products Used:
3 x 1 Gal. Stormy Gray Vibrance™ Dye
3 x 1 Gal. Charcoal Vibrance™ Dye
3 x 1 Gal. White Vibrance™ Dye
4x 1 Gal. AcquaSeal™ Satin - Other Products Used:
3 gallon Acetone sprayer, Acetone, and a brush.
Streamlined Driveway Design On A Budget
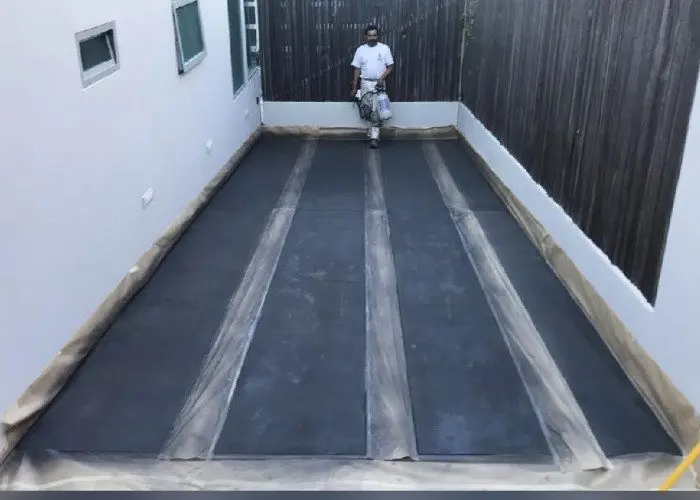
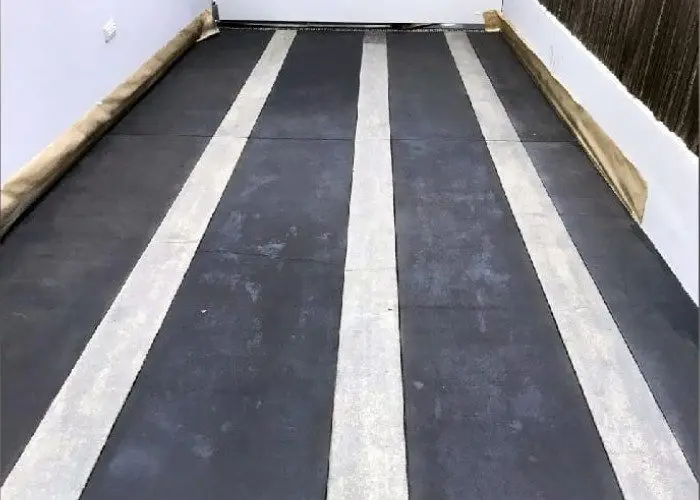
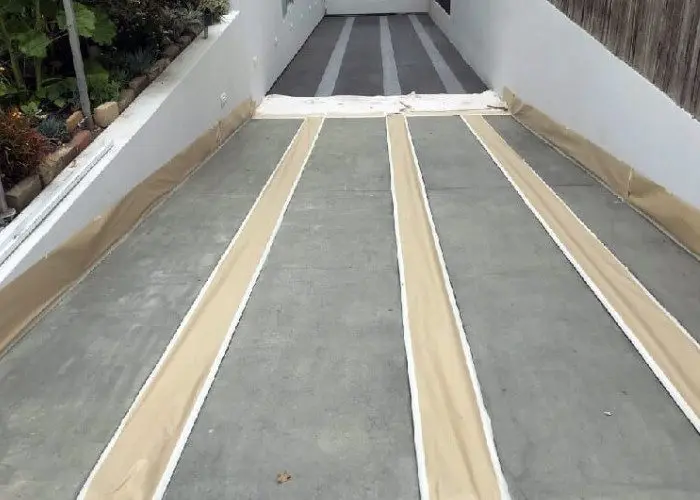
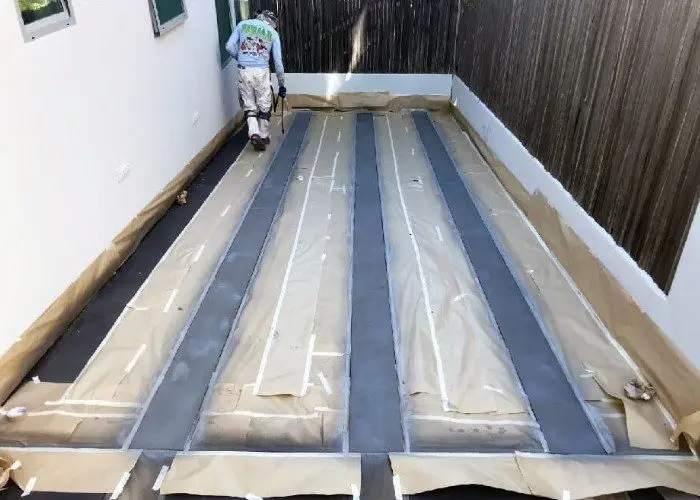
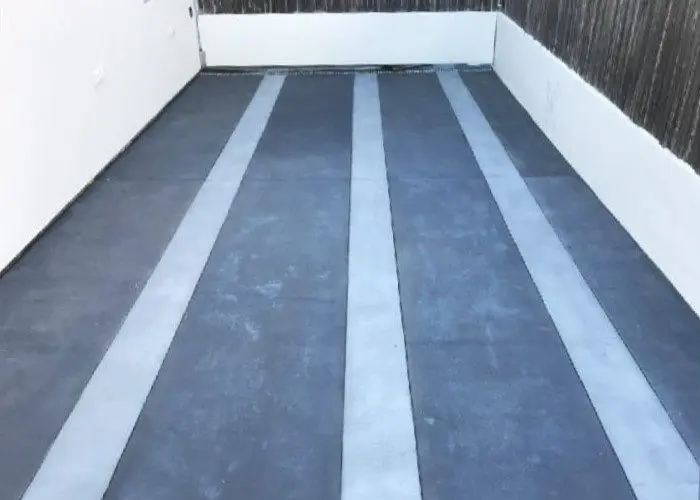
Using gray concrete dye in two colors, our customer made some clean lines on their concrete driveway. Then, they finished up with EasySeal. It’s amazing what concrete dye powder can do to add some much-needed color!
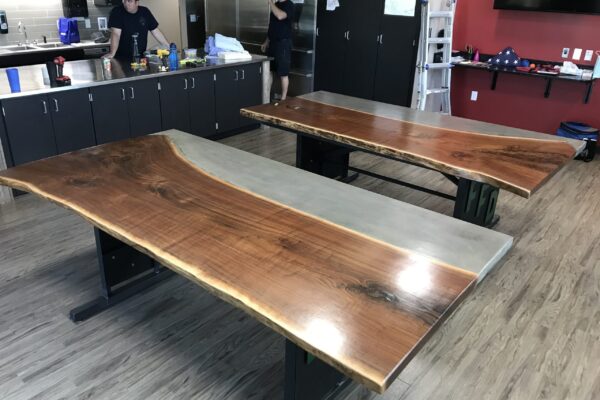
DIY Dining Table Concrete & Wood
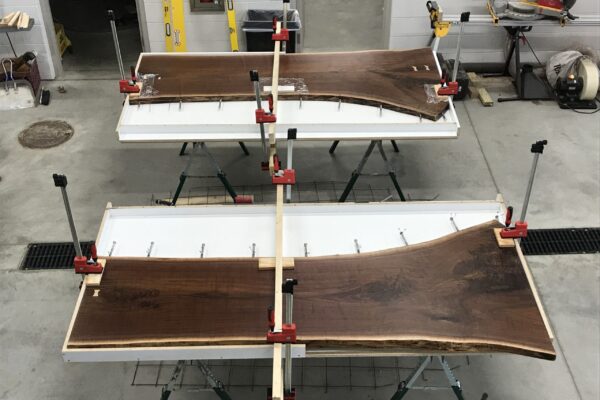
Concrete and wood just look so nice together! 😍 Learn how to make a custom concrete & wood dining table just as unique as this one. Check out our dining table how to guide.
Basement Brilliance: Stormy Gray Unleashed
Patience paid off in this basement makeover! Waiting the full six hours for the Stormy Gray Vibrance Dye to cure was key. Despite its initial darker appearance, the color lightened up, swapping charcoal vibes for the perfect stormy ambiance. Now, this basement is more like a secret hideaway!
