AcquaTint™ Gallery: Seamless Stain & Sealer Projects for Concrete
Step into the vibrant world of AcquaTint™! Our customer project gallery showcases the dual magic of stain and sealer combined, perfect for both interior and exterior concrete finishes.
By Justin Richardson
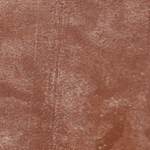
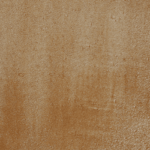
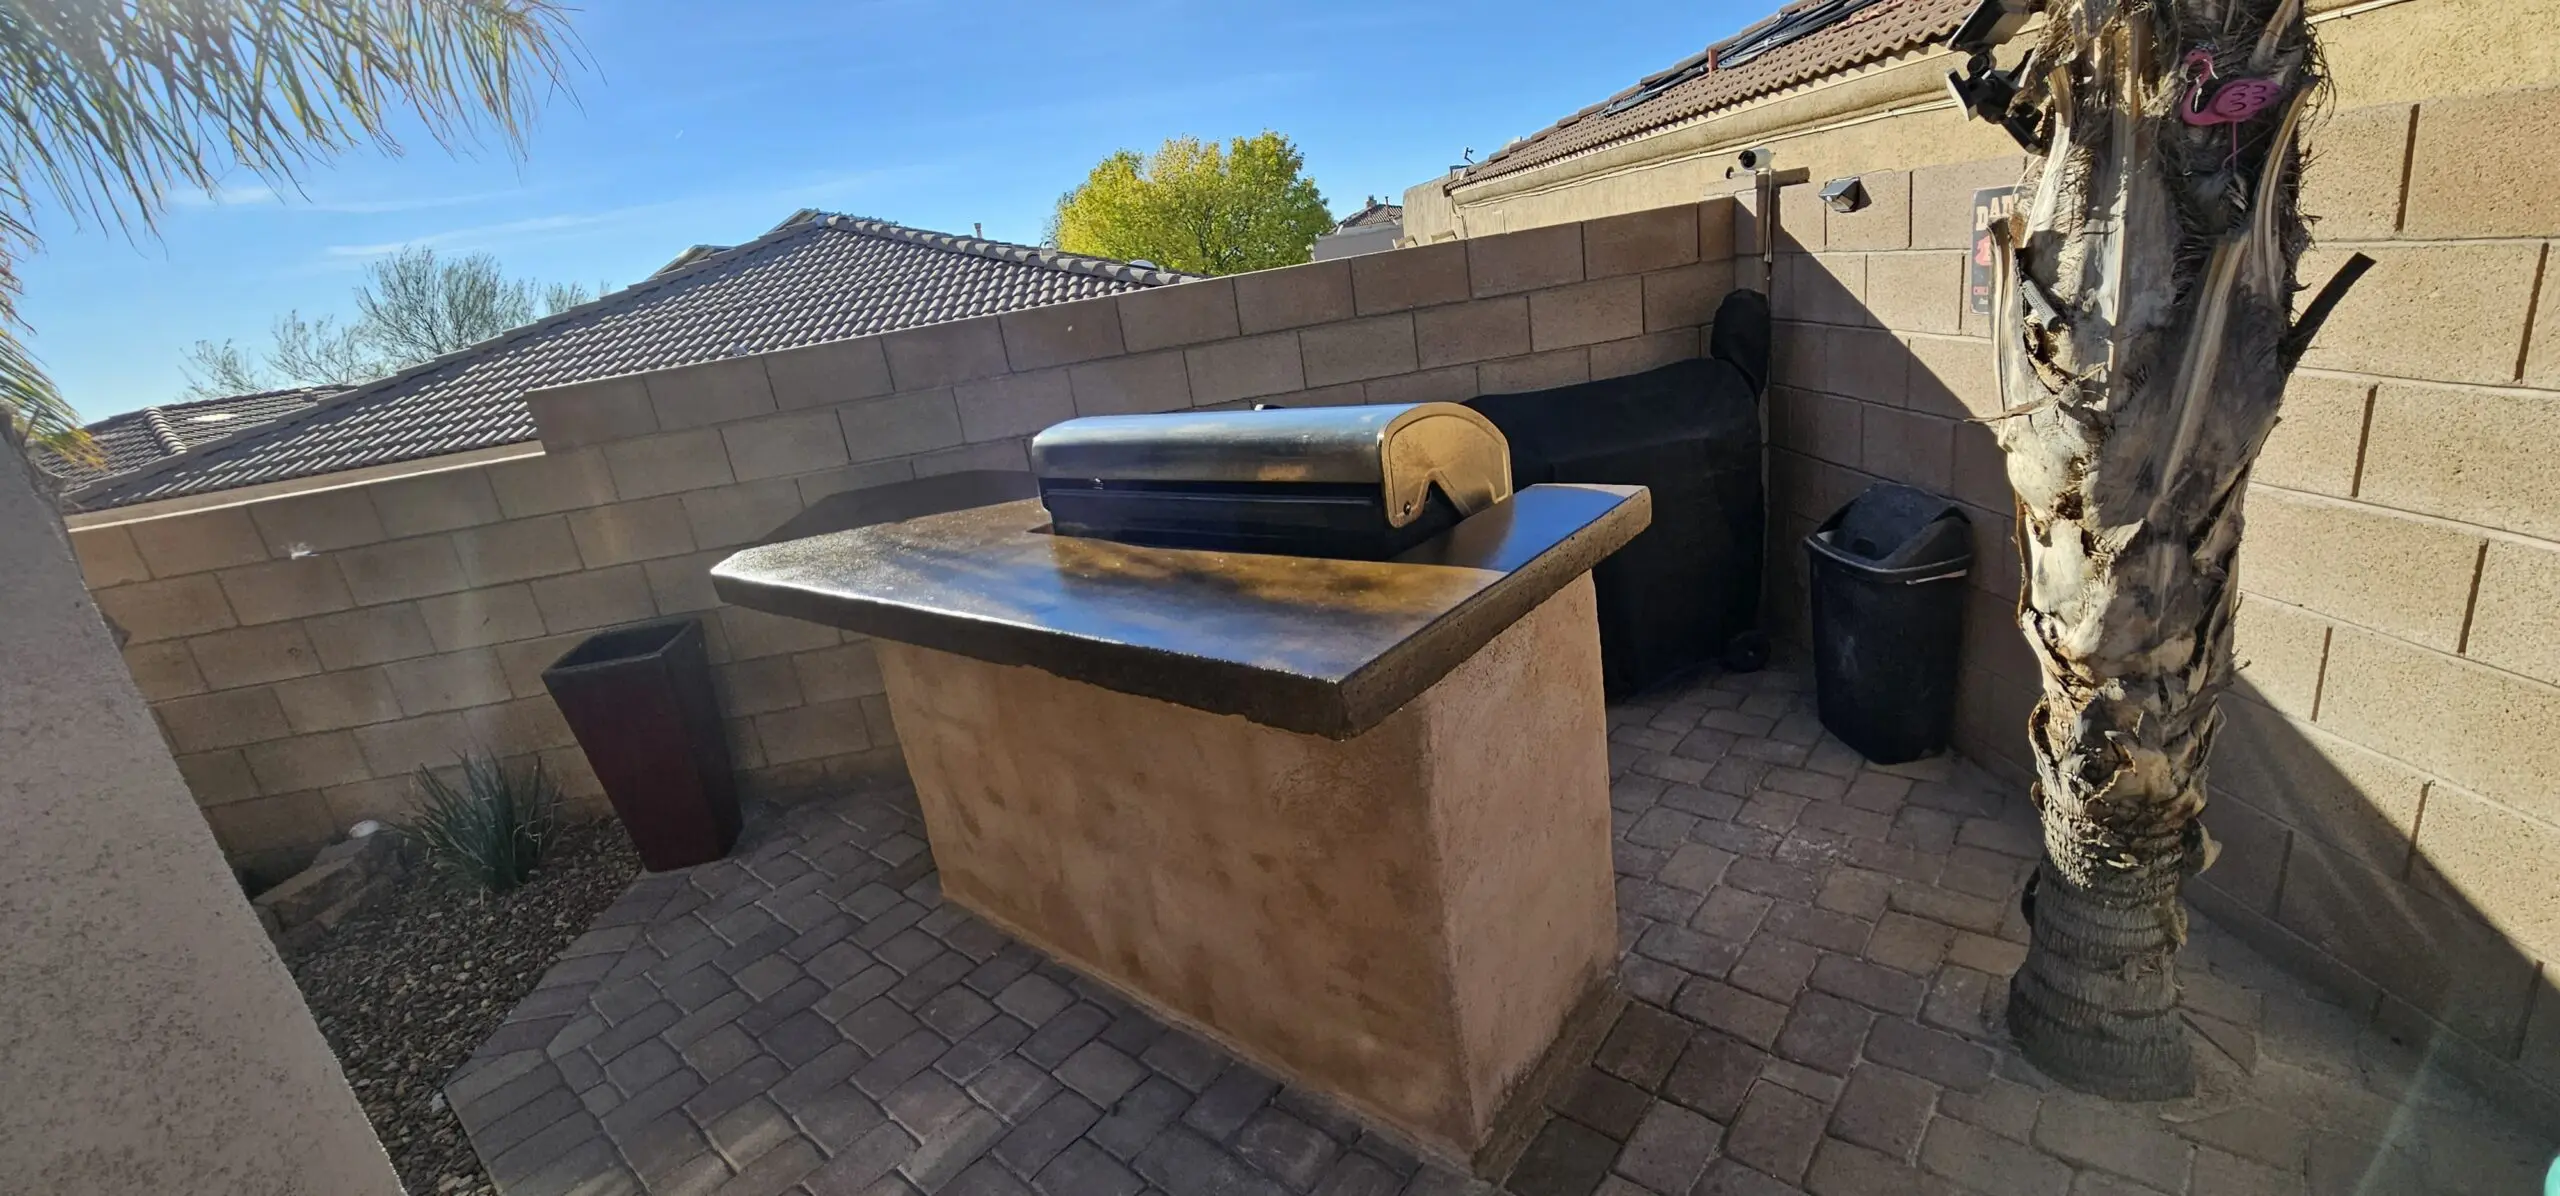
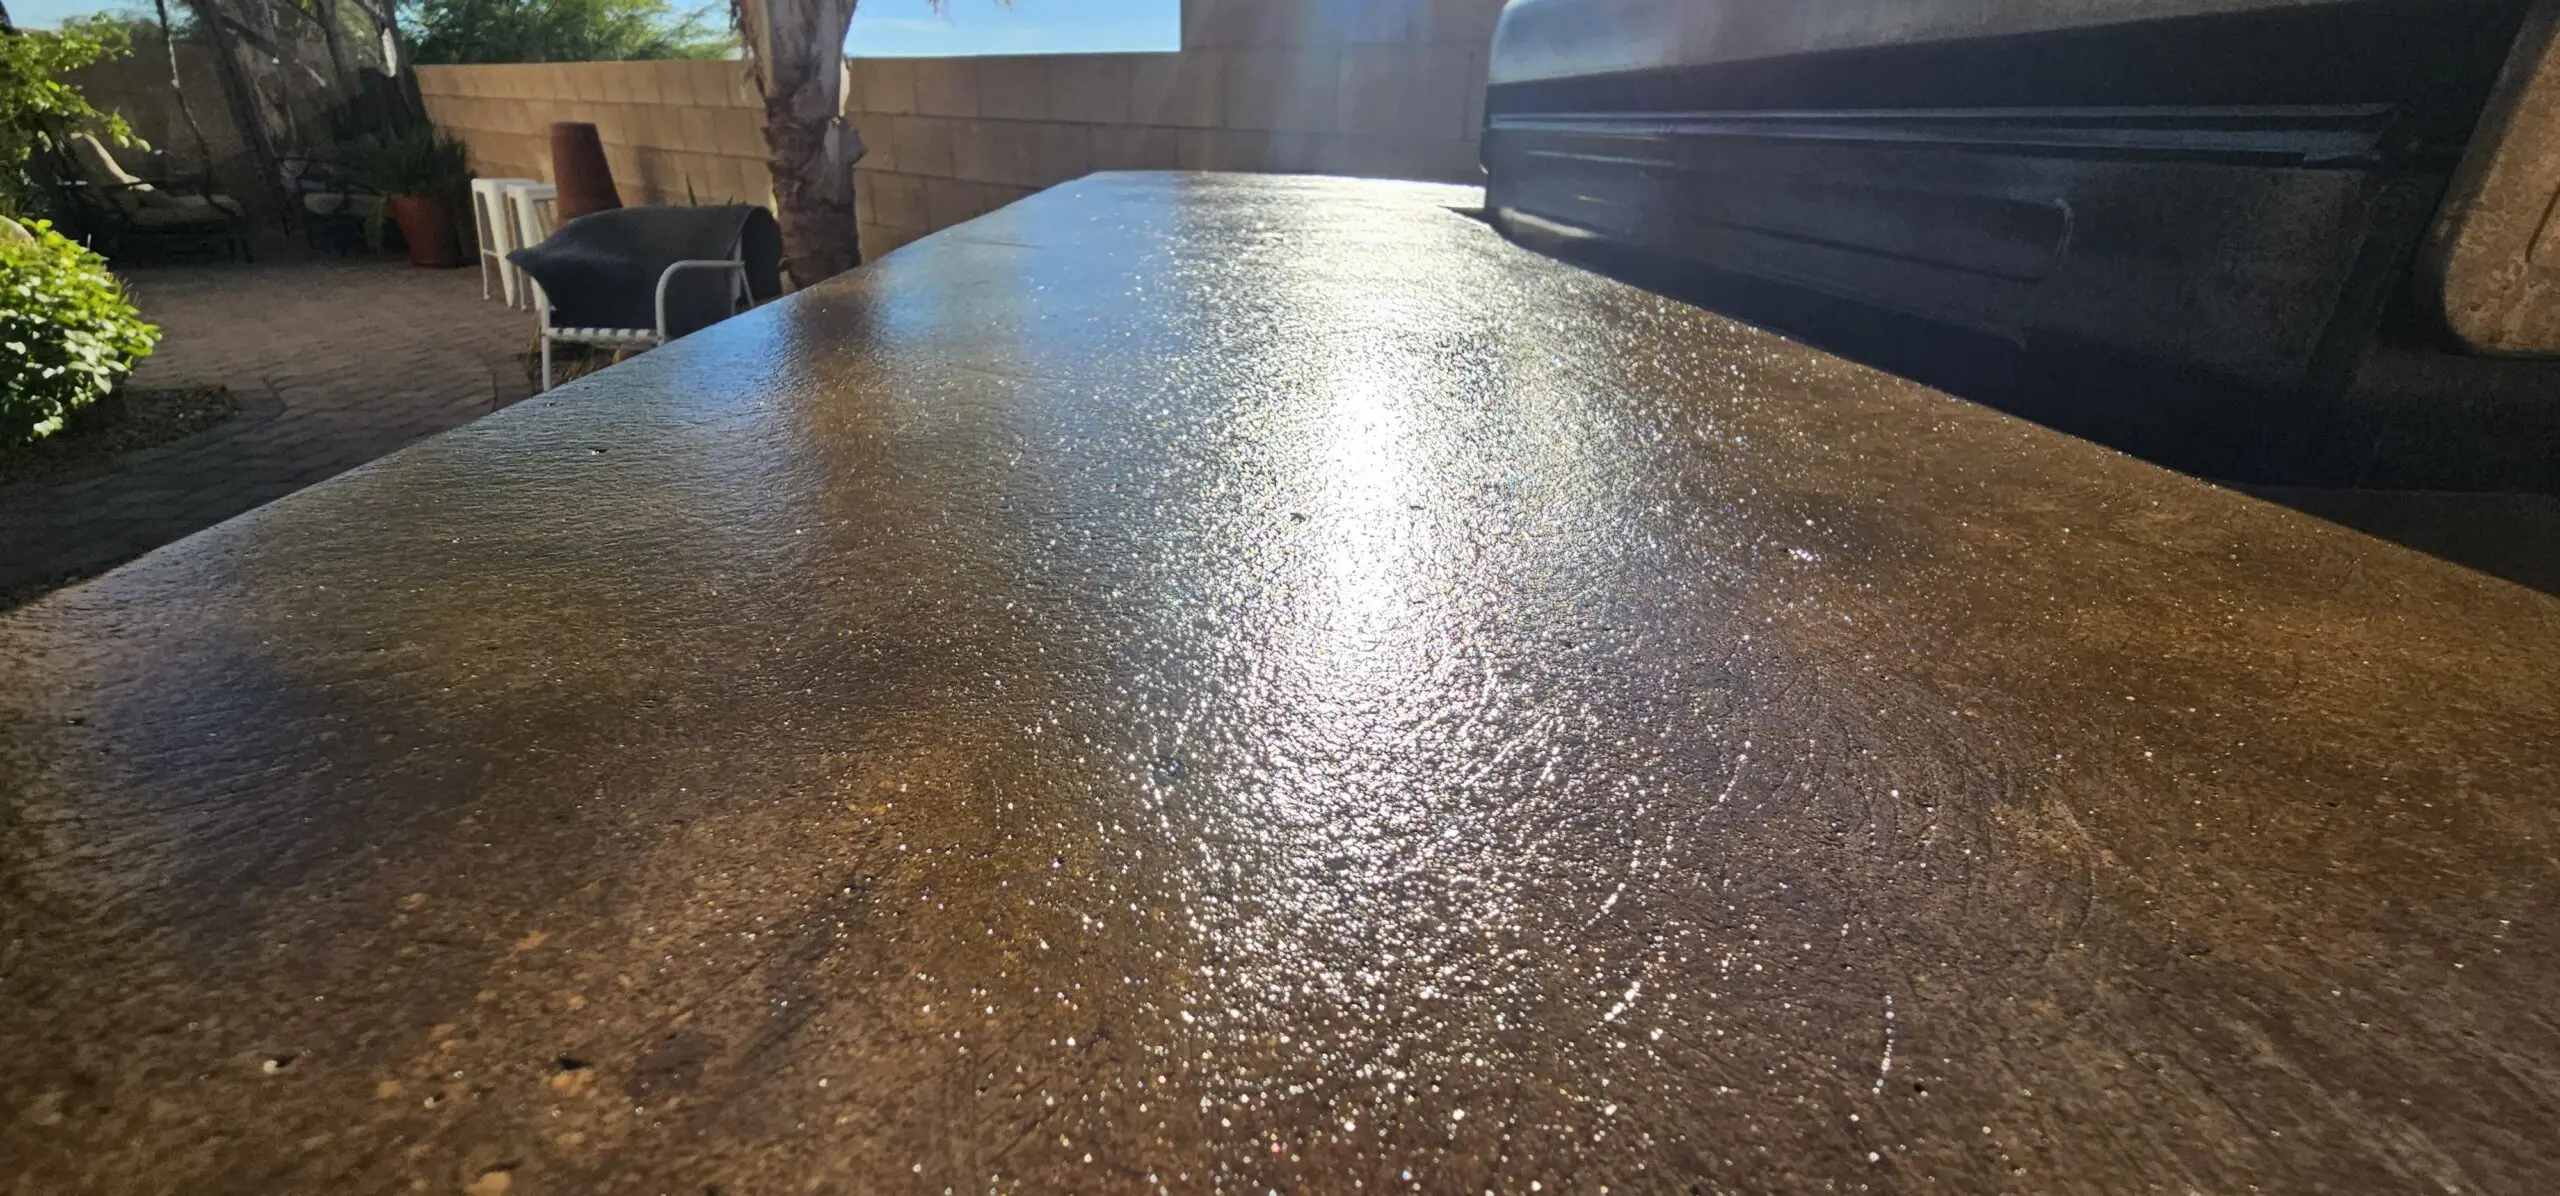
Aztec Brown & Cumin AcquaTint™
Project Info:
-
- Project Completed In: 3 day(s)
- Estimate of Square Footage: 220 sq. ft.
- Project Description:
Coating Experts (@juan_c_adame) grinded off a failed overlay and repaired some cracks on the concrete. Then we used Cumin and Aztec brown stain to create a marbled look. We finished the job with three costs of AcquaSeal™ Gloss Concrete Sealer. The results speak for themselves. - Personal Tips:
Take your time on the prep work! It will pay off. When applying the stain, don’t worry about a full coverage on the first spray let the stain do its job. It will look blotchy, but trust the process. Don’t rush it. This product is amazing. - Direct Colors Products Used:
1 Gal. Aztec Brown AcquaTint™
1 Gal. Cumin AcquaTint™
1 Gal. AcquaSeal Gloss™
Please be aware that each photo in this gallery showcases projects accomplished with our AcquaTint™ Tinted Sealer and is provided by actual customers, serving as a source of inspiration. However, since AcquaTint™ is semi-transparent, the final appearance of your project will be influenced by the initial color and condition of your concrete surface, and thus, your final results might vary. For the best results, we strongly recommend performing a small test on your specific surface before applying the stain to the entire project to ensure the final look aligns with your expectations.
Black AcquaTint™
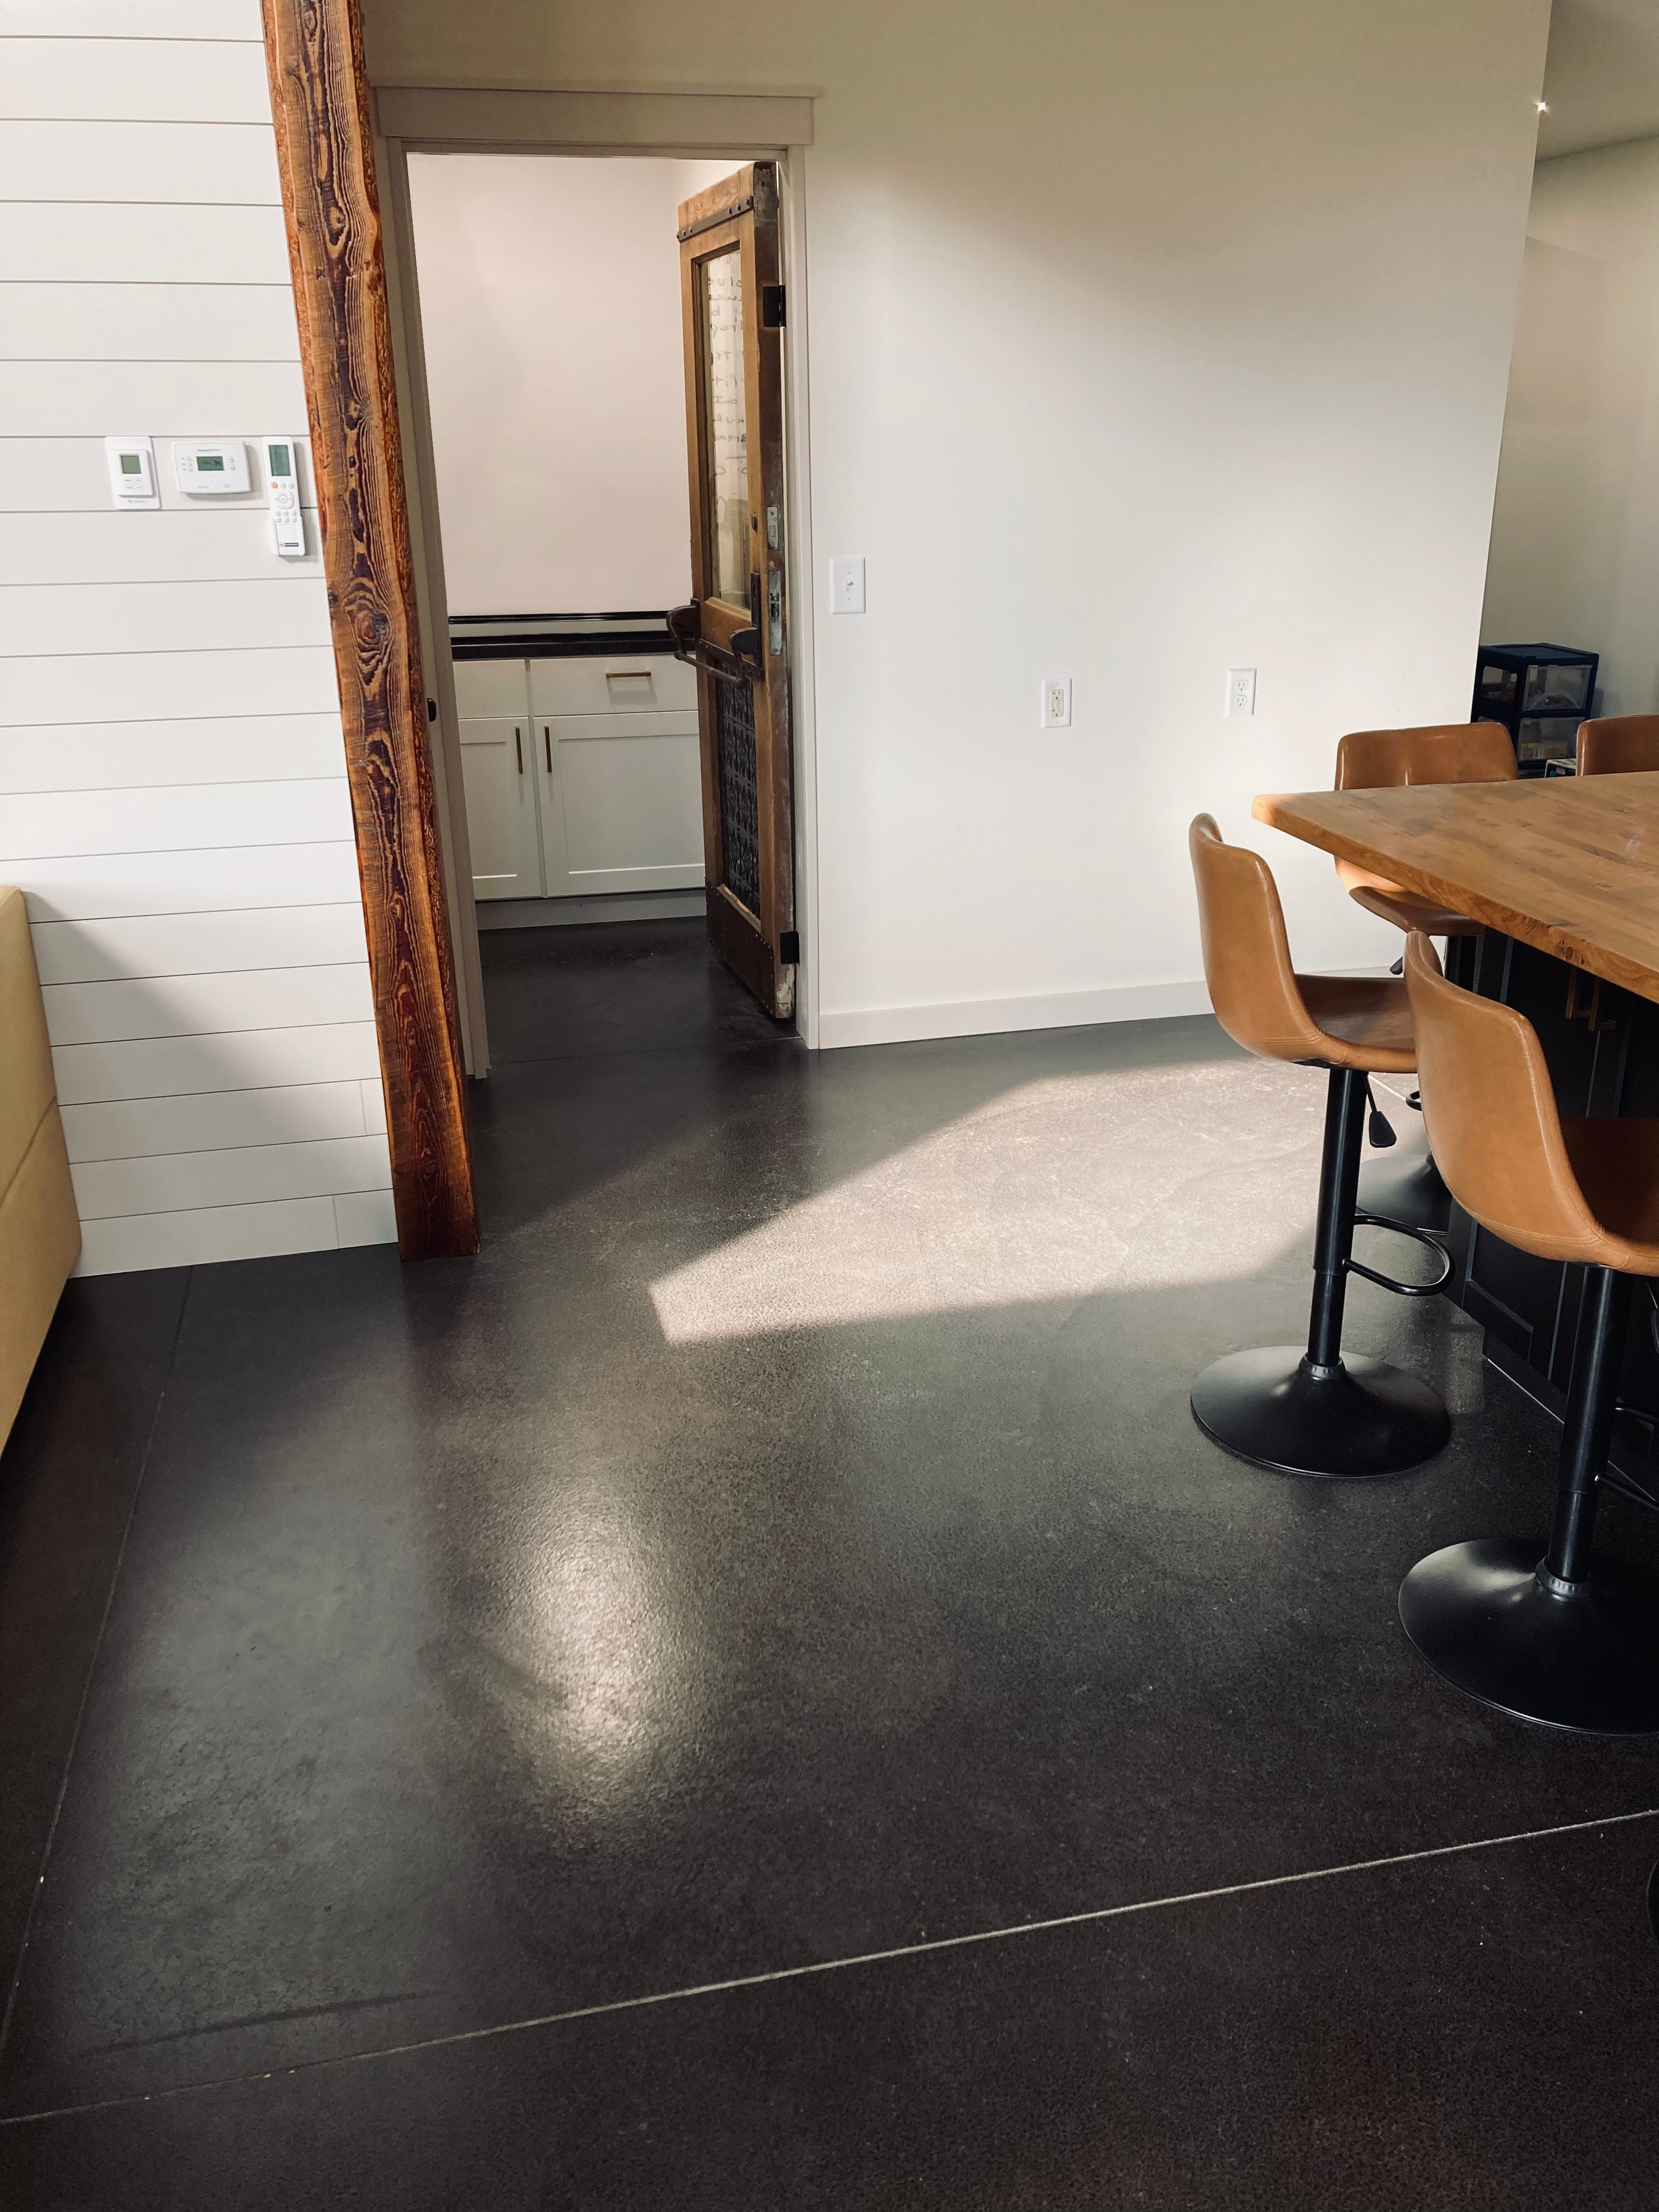
The homeowner kicked off their DIY project with a little hiccup: they had to spend 1.5 weeks removing an unexpected sealant from the new concrete. But once that was behind them, staining with AcquaTint™ in bold black was smooth sailing! They sealed the deal with the satin ProWax Polish™ for a sleek finish. The end result? Absolutely fab floors! A hot tip for fellow DIY-ers: if you’re thinking of staining, skip the sealant when pouring concrete. Spotlight on: AcquaTint™ Black and that gleaming ProWax Polish™. For more details about this project, check out From Blank to Black: A DIY Dream Floor!

Project Info:
- Project Completed In: 7 day(s)
- Estimate of Square Footage: 1500 sq. ft.
- Project Description:
This is one of the many diy projects we did on our new build. The hardest part of the floors for us was removing the old sealant that was put down on our new concrete at the time of pouring. That took us about 1.5 weeks to remove before applying this stain and wax. Applying it was quick and easy. We used the aquatint in black and satin prowax polish. We love the way they turned out! Definitely recommend! - Personal Tips:
Don’t get sealant on existing concrete at the time of pouring if you plan to do any staining. The staining was an after thought for us so we had to remove what was already placed. - Direct Colors Products Used:
1 x 5 Gal. Charcoal AcquaTint™ & ProWax Polish™ Satin Kit
3 x 1 Gal. Black AcquaTint™
Cafe Royale AcquaTint™
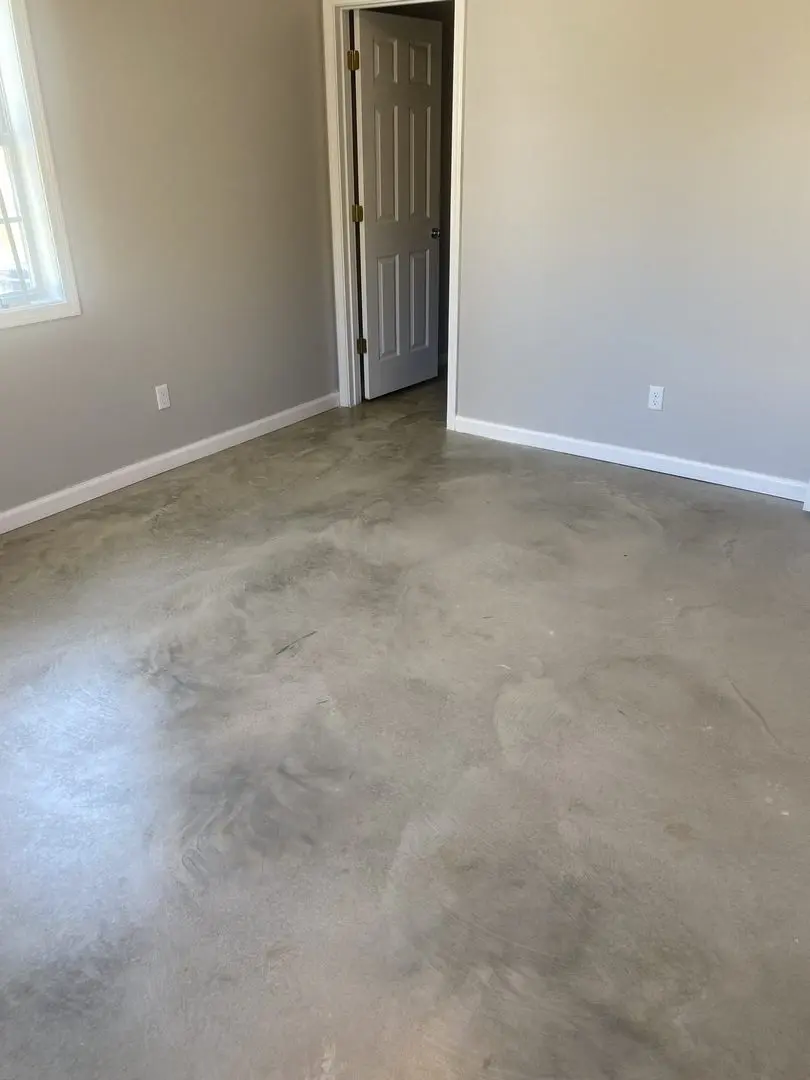
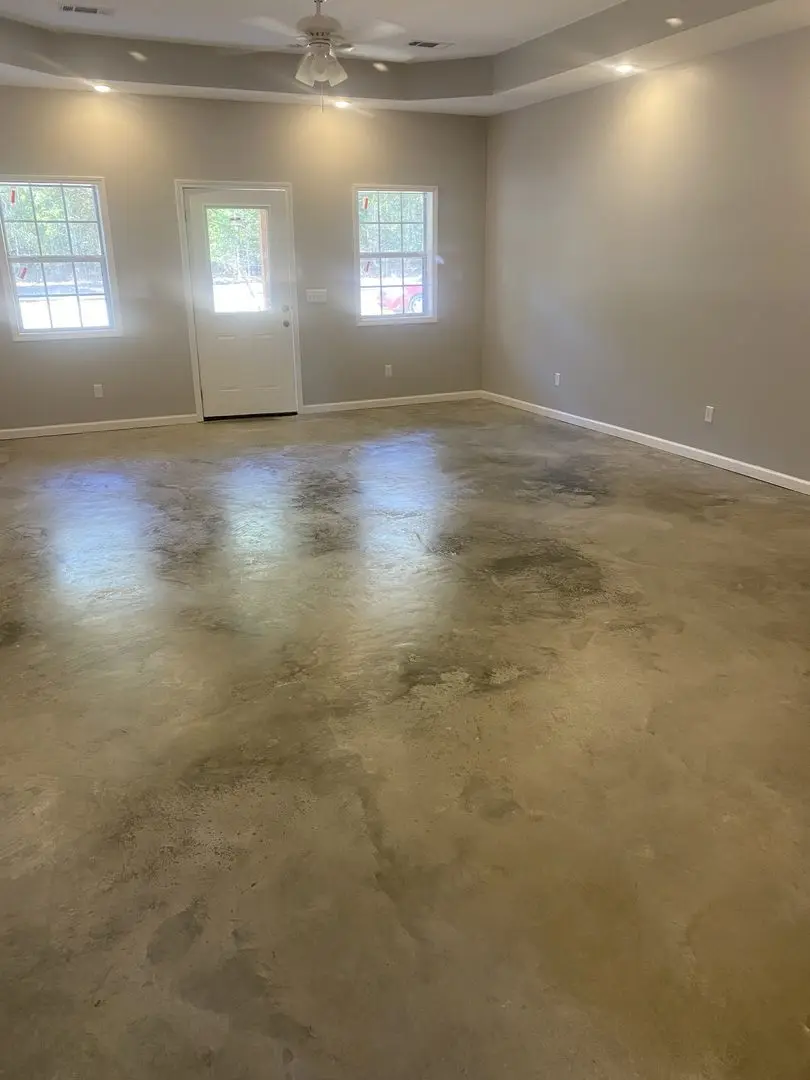
This project showcases a stunning concrete floor stained with Cafe Royale AcquaTint™ and finished with ProWax Polish™ Satin, delivering a beautiful, durable, and polished look to the space.
Charcoal AcquaTint™
Isaiah Medina transformed adhesive carpet tiles into a chic industrial concrete floor for his barbershop. After some painting mishaps, two coats of Charcoal AcquaTint™ were applied. His tip? Proper grinding and a clean surface are key. Want more details on this transformation? Check out Isaiah’s Barbershop Makeover: From Carpet to Chic Industrial Concrete!


Project Info:
- Project Completed In: 4 day(s)
- Estimate of Square Footage: 2500 sq. ft.
- Project Description:
My name is Isaiah Medina I’ve never done floors in my life. I recently started to open a barbershop with my wife. We have always been in love with concrete industrial looking floors. When we first purchase the space, it was covered in adhesive carpet tiles. So after removing them, it was covered in mastic. We figured we would work top down so we painted the ceiling’s first. Of course, all of that paint fell to the floor then we painted the walls white and of course we dropped some.
Then it was time to start the floors finally.
We rented a duel disk grinder, ground down the whole area, cleaned it really well, and then we applied the acquatint.
Two coats 15-20 hours apart. They’re very durable and easy to clean. - Personal Tips:
Spend the extra money and grind down your floors if you’re getting rid of a lot of adhesive.
It ensures that the stain or sealer gets really deep and provides a strong bond.
It creates a lot of dust, so make sure you use water to wet grind it to minimize that.
And don’t rush take your time make sure the floors are clean and have fun. - Direct Colors Products Used:
3 x 5 Gal. Charcoal AcquaTint™
3x 1 Gal. ProWax Polish™ Satin - Other Products Used:
Edco dual grinder
Harbor freight attachment & shroud to grind the edges
Harbor freight paper and tape to cover the edges.
Harbor freight 2 gallon pump to spray the sealer.
Gray AcquaTint™
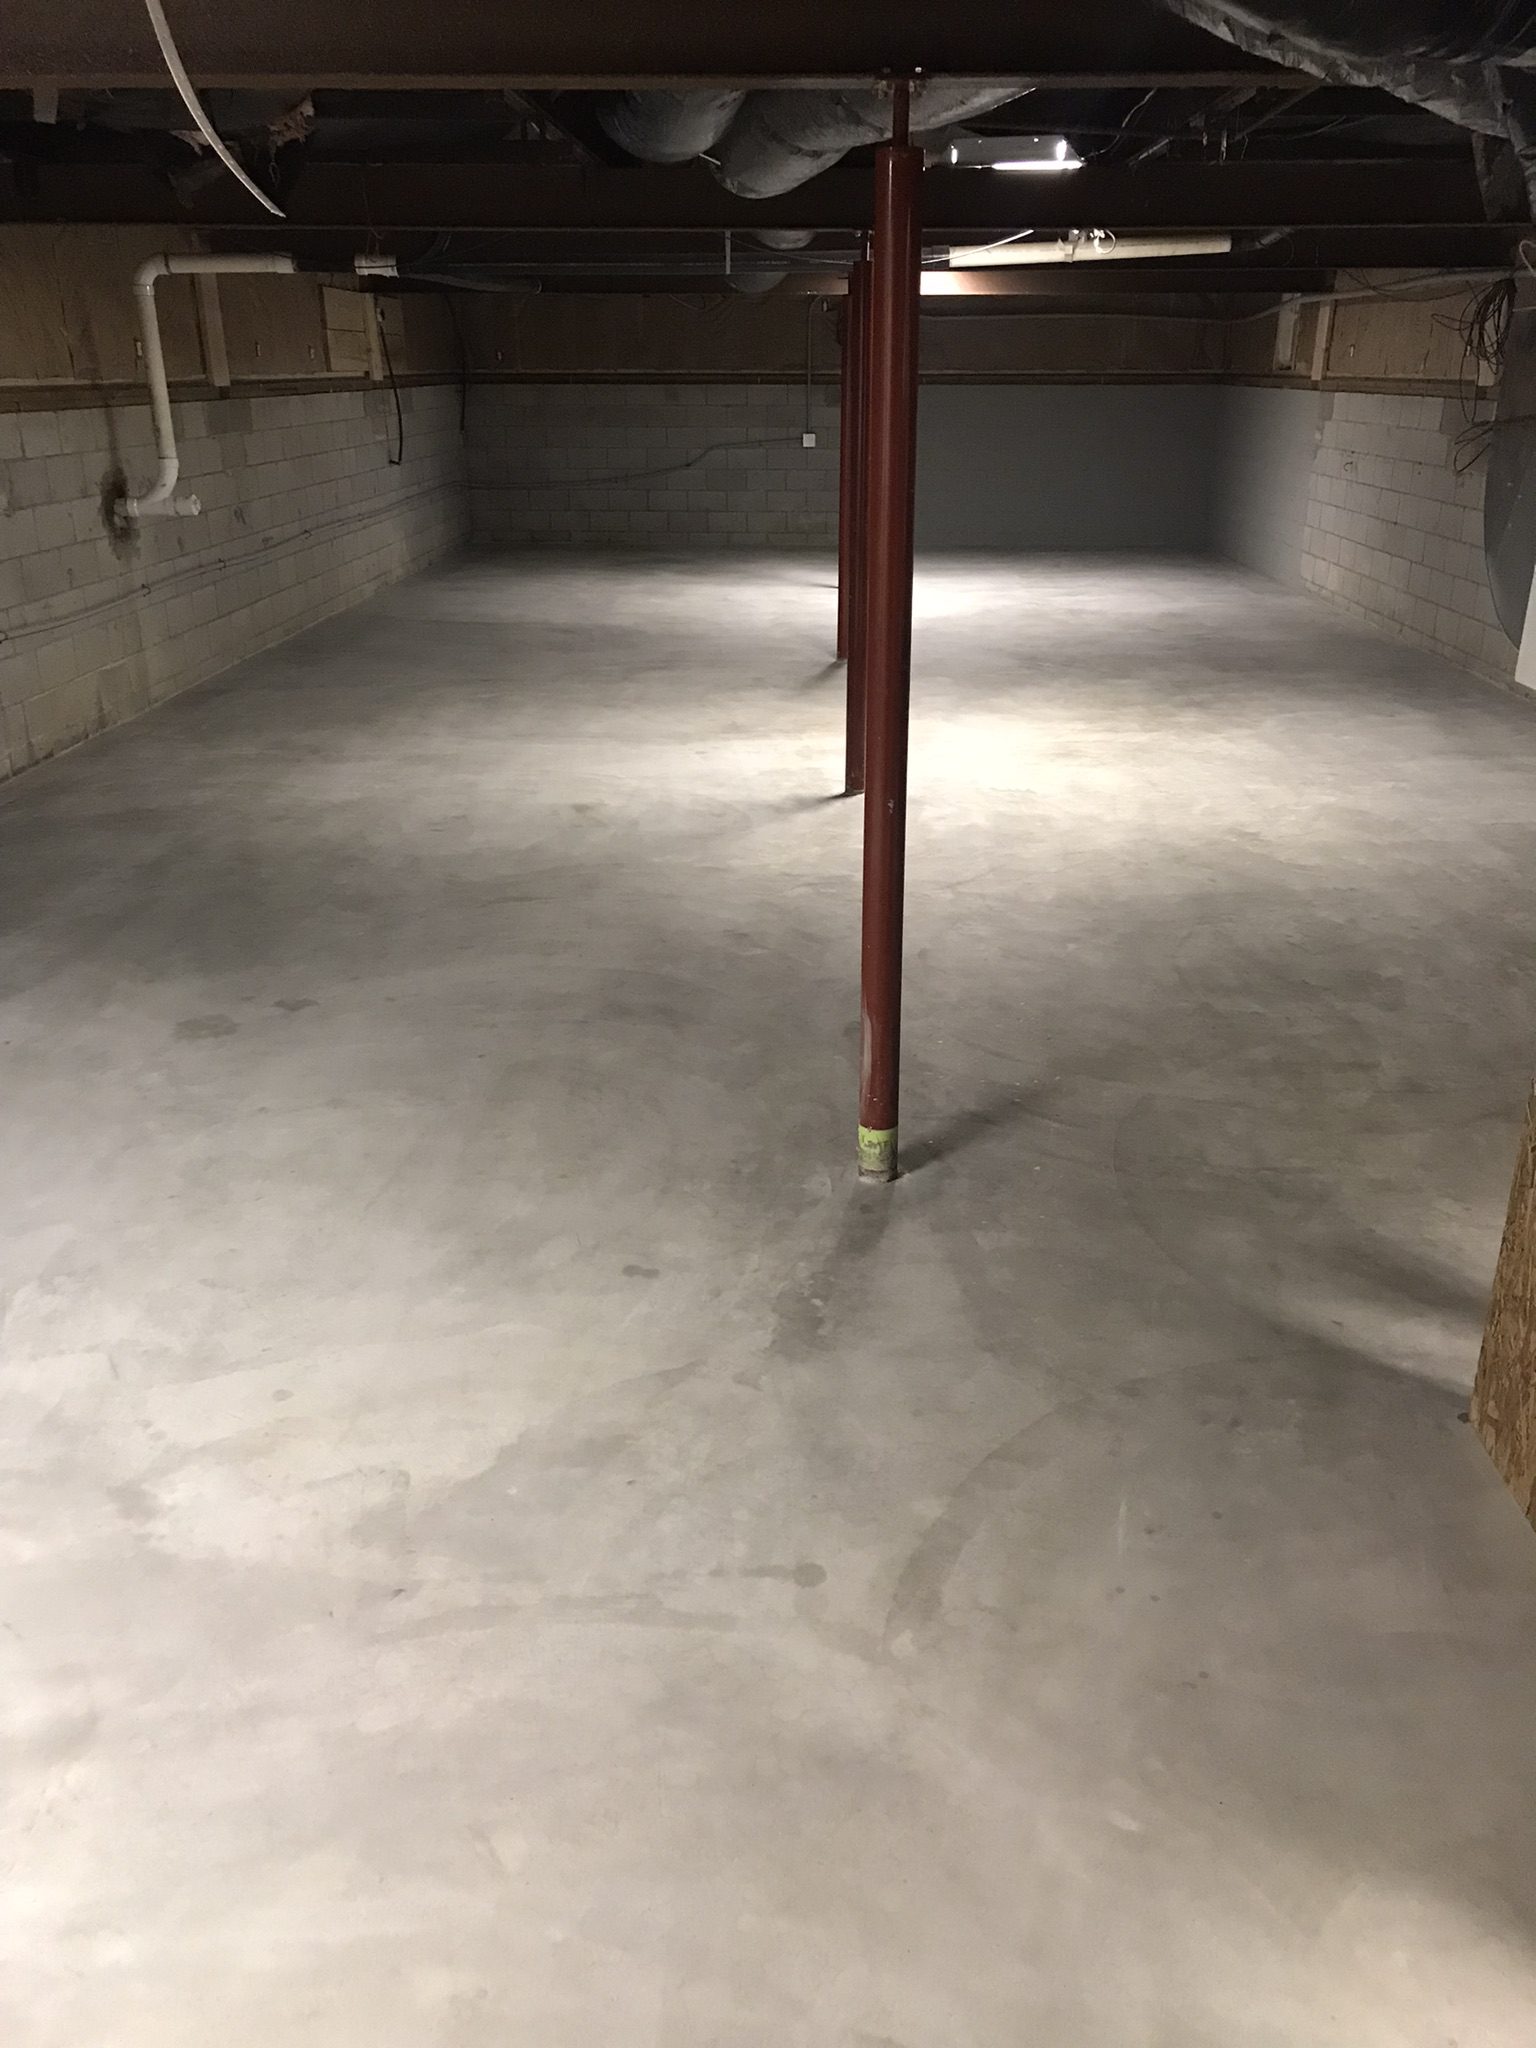
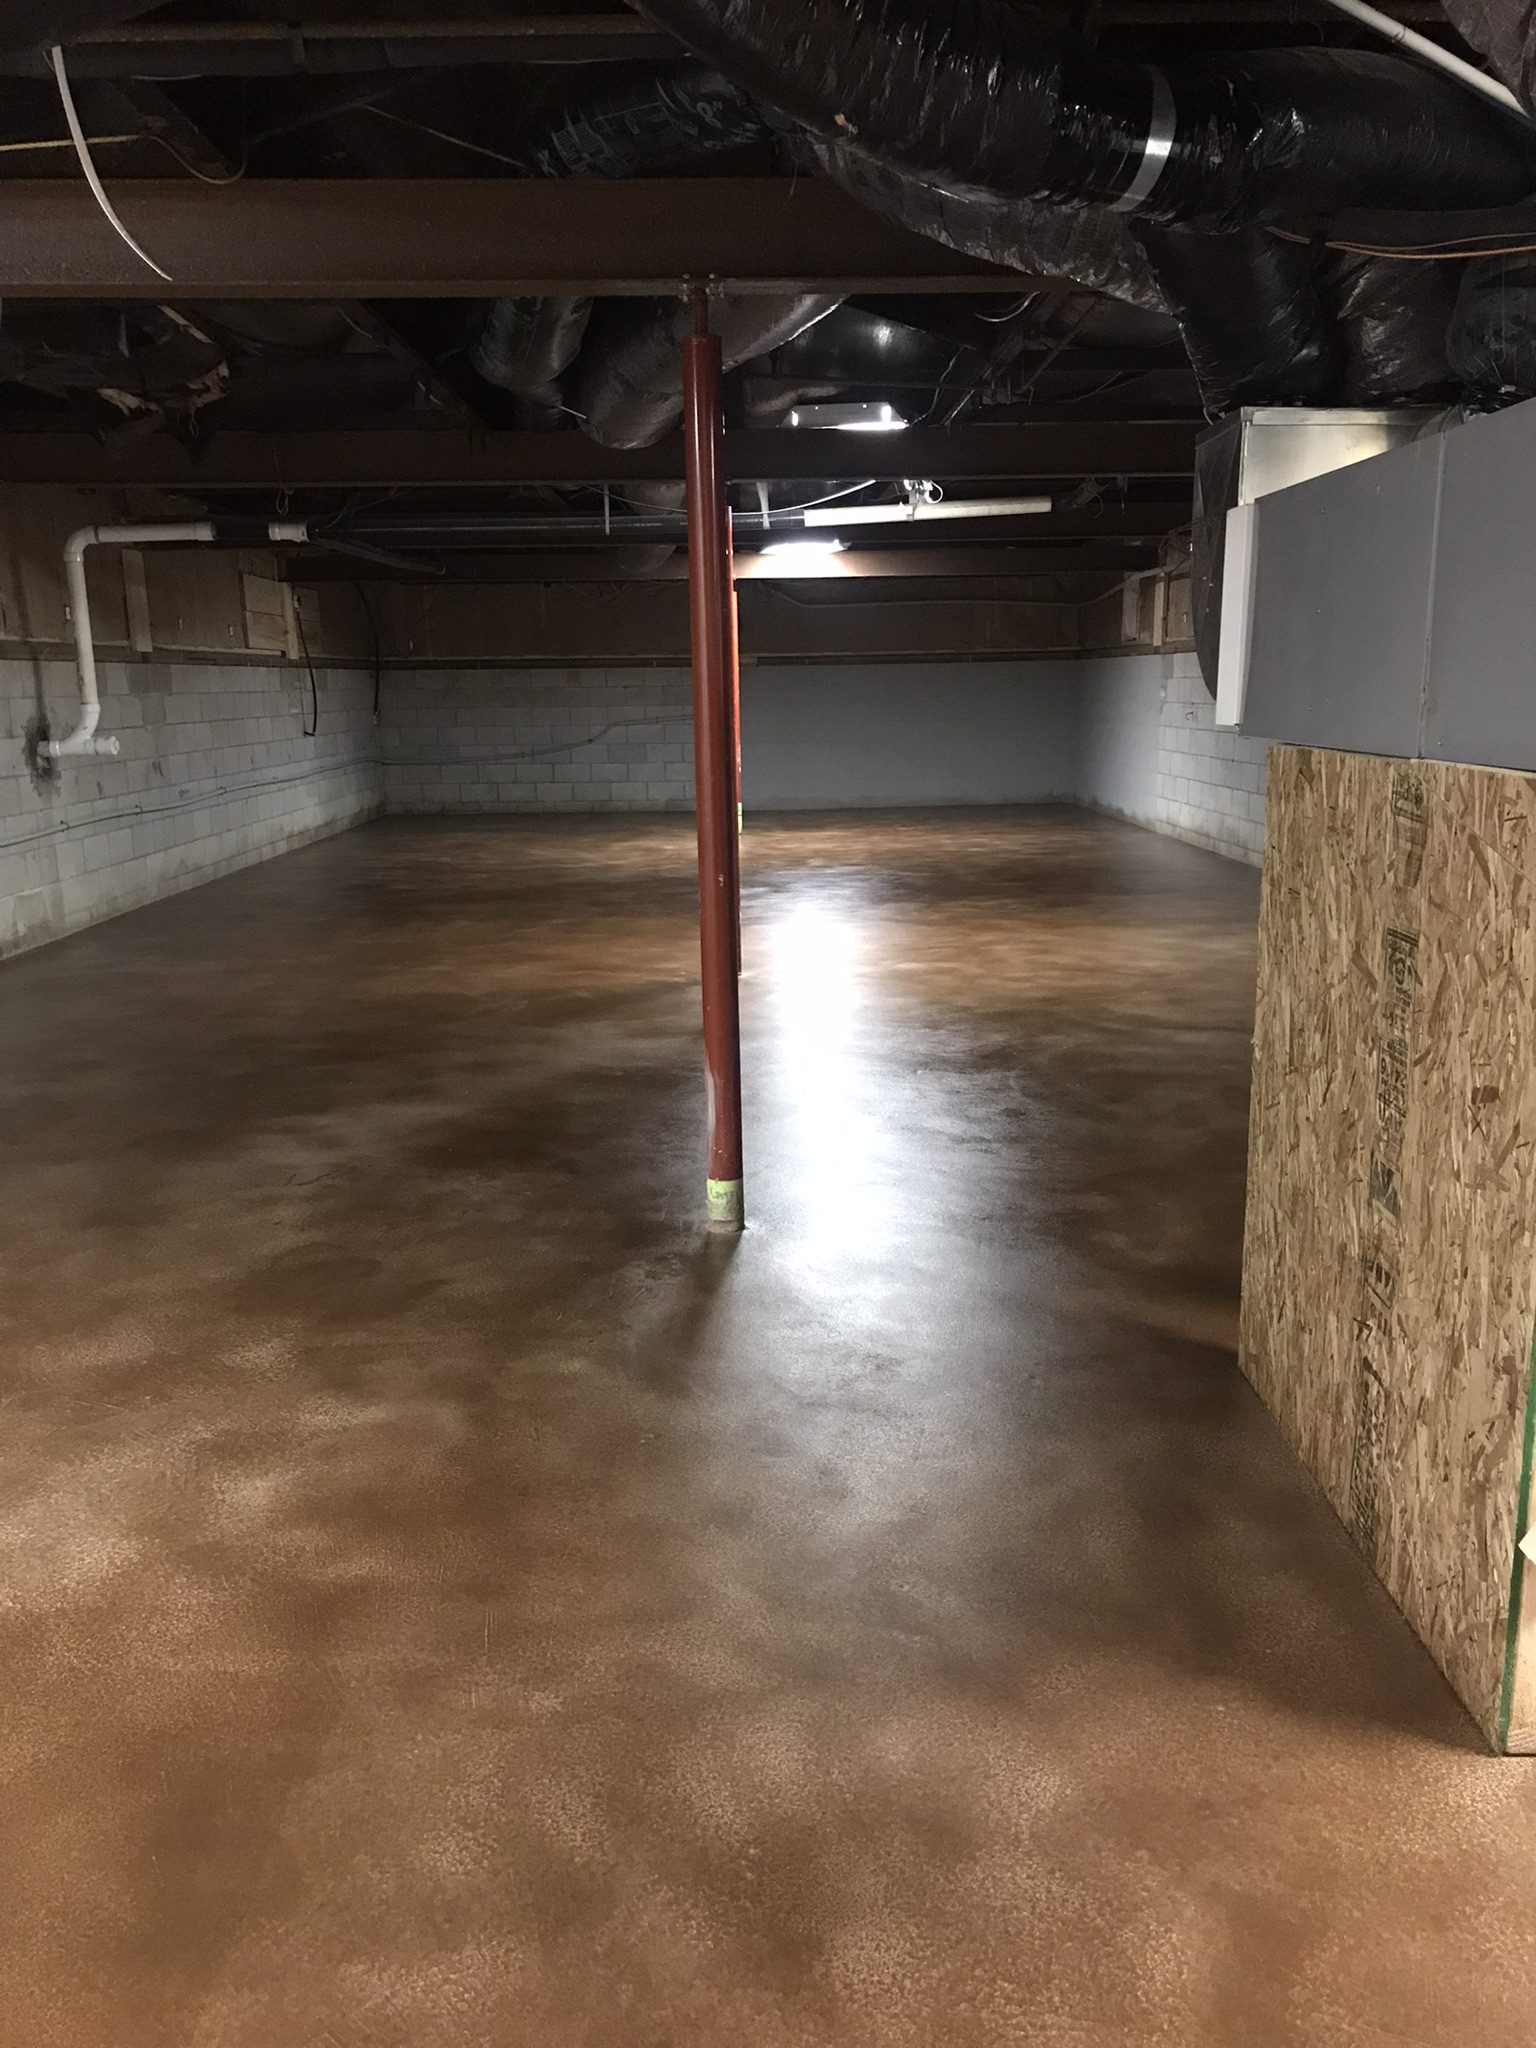
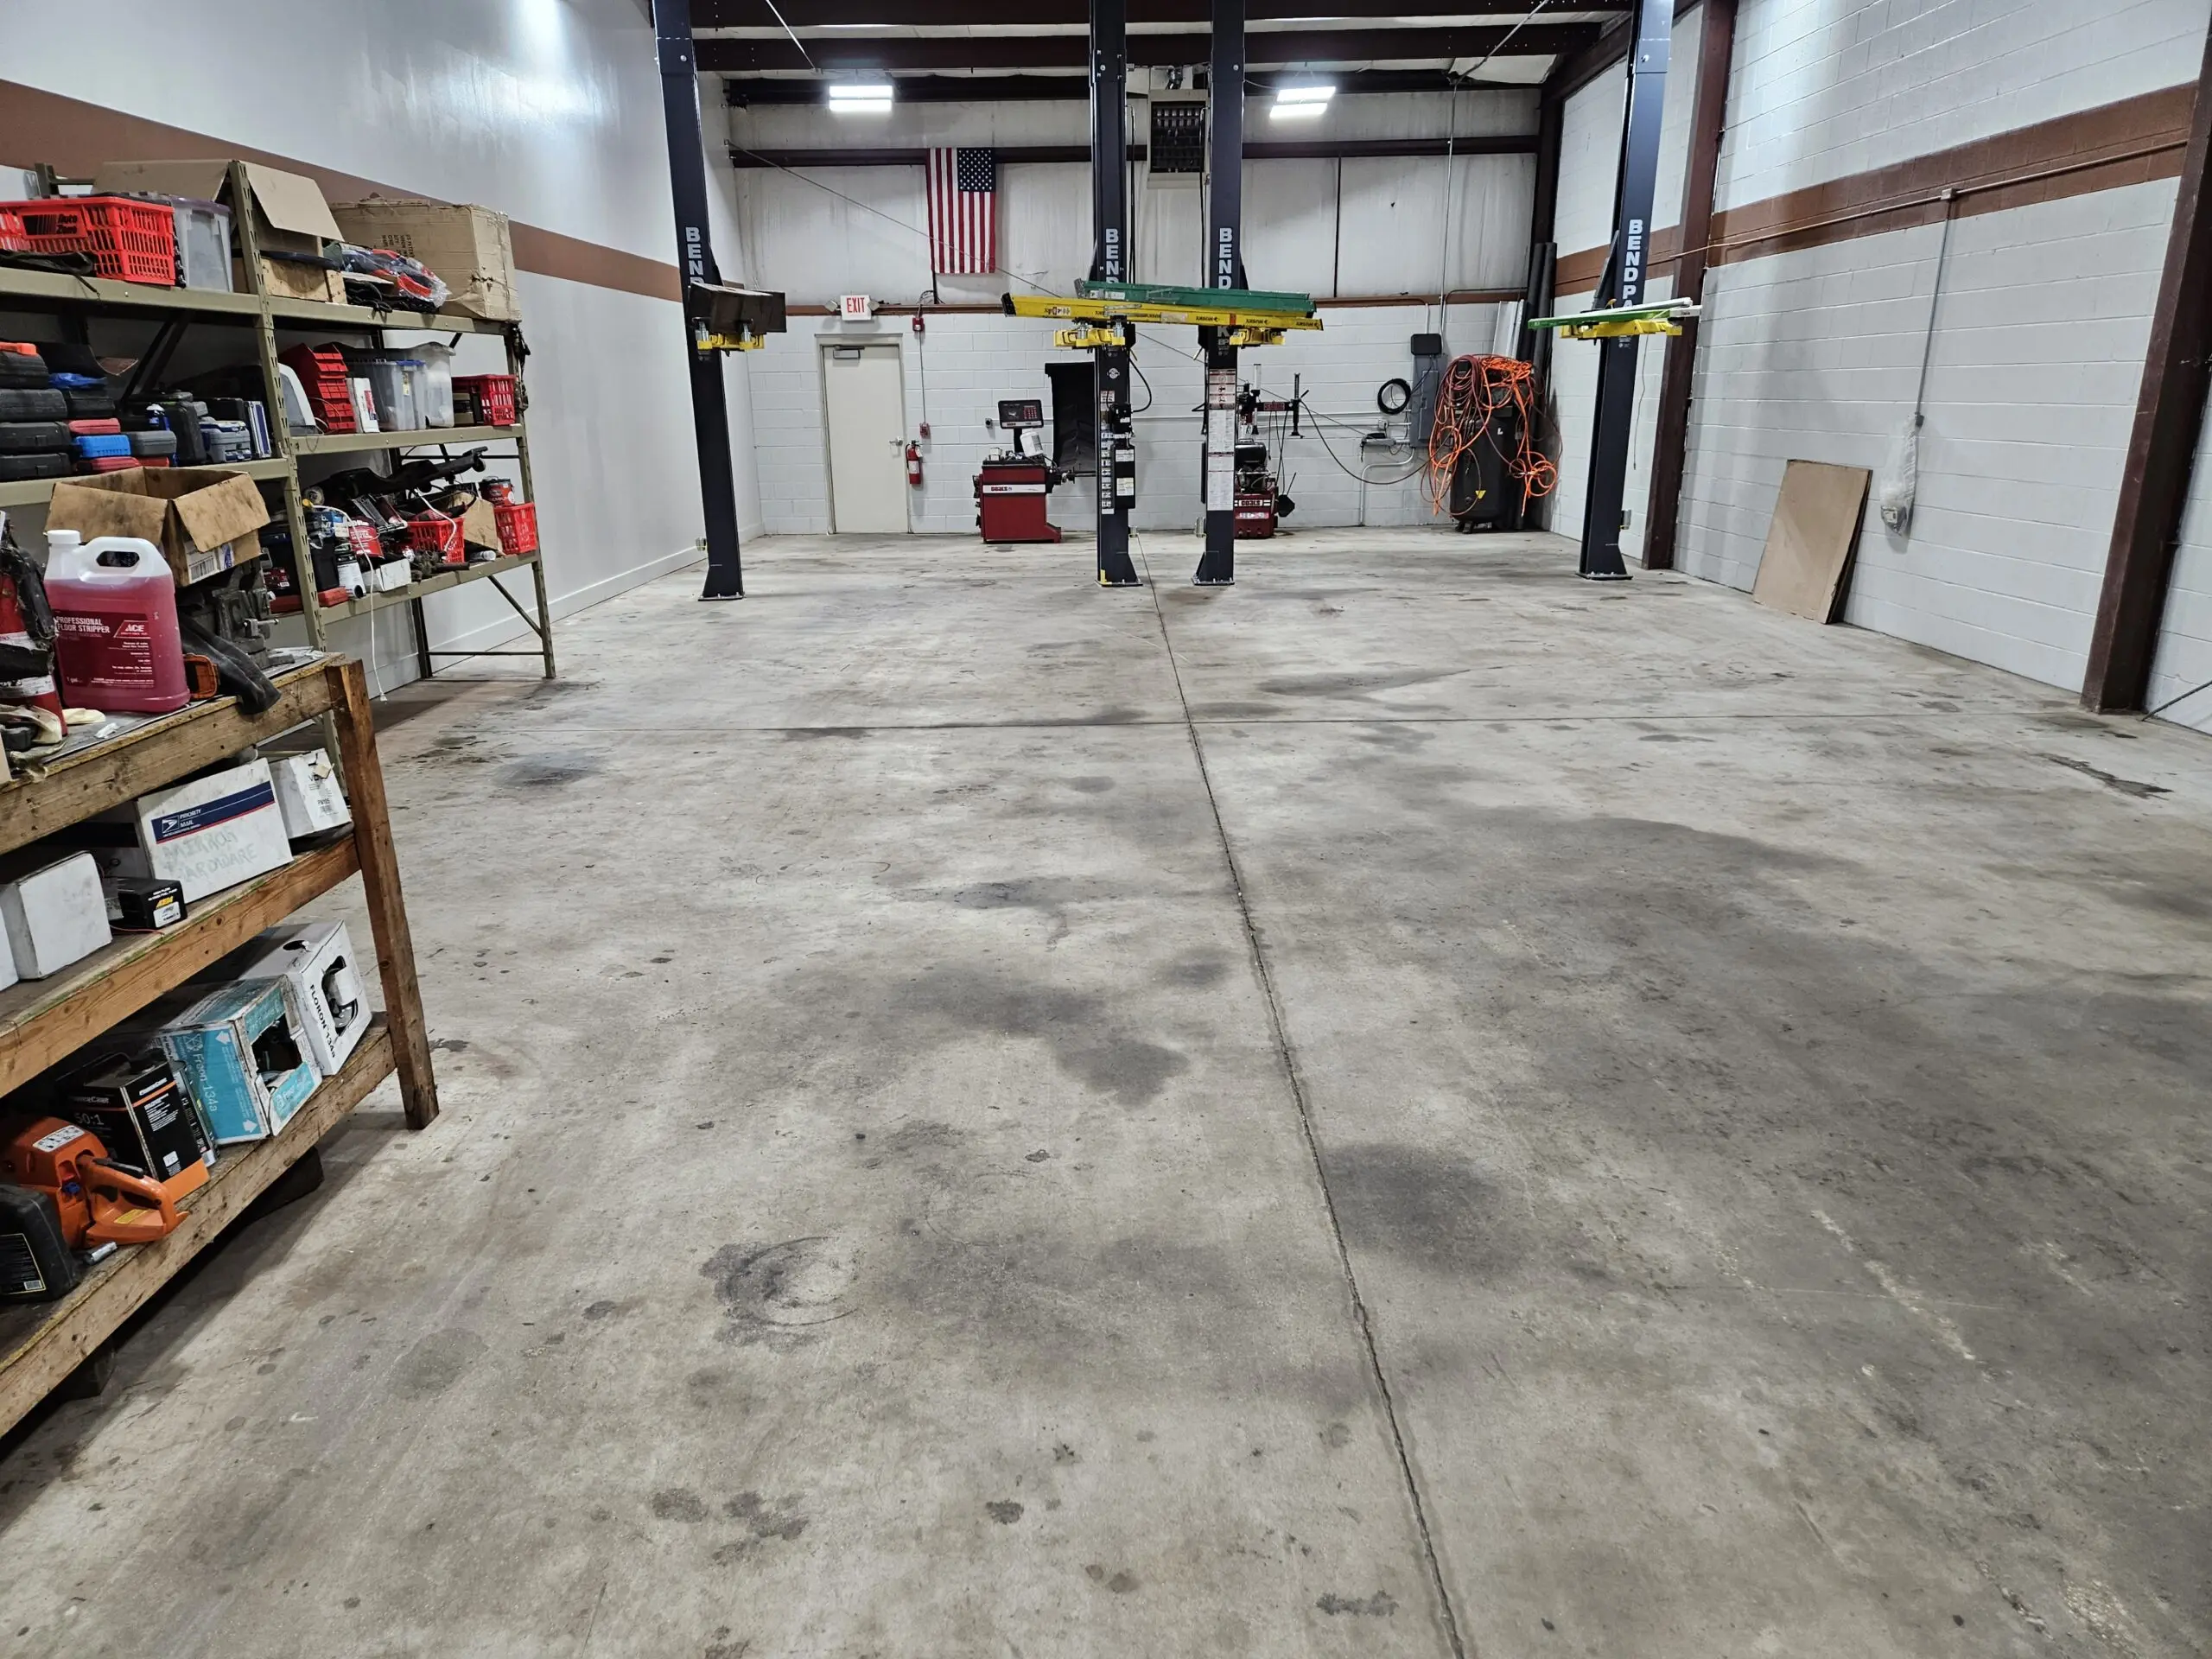
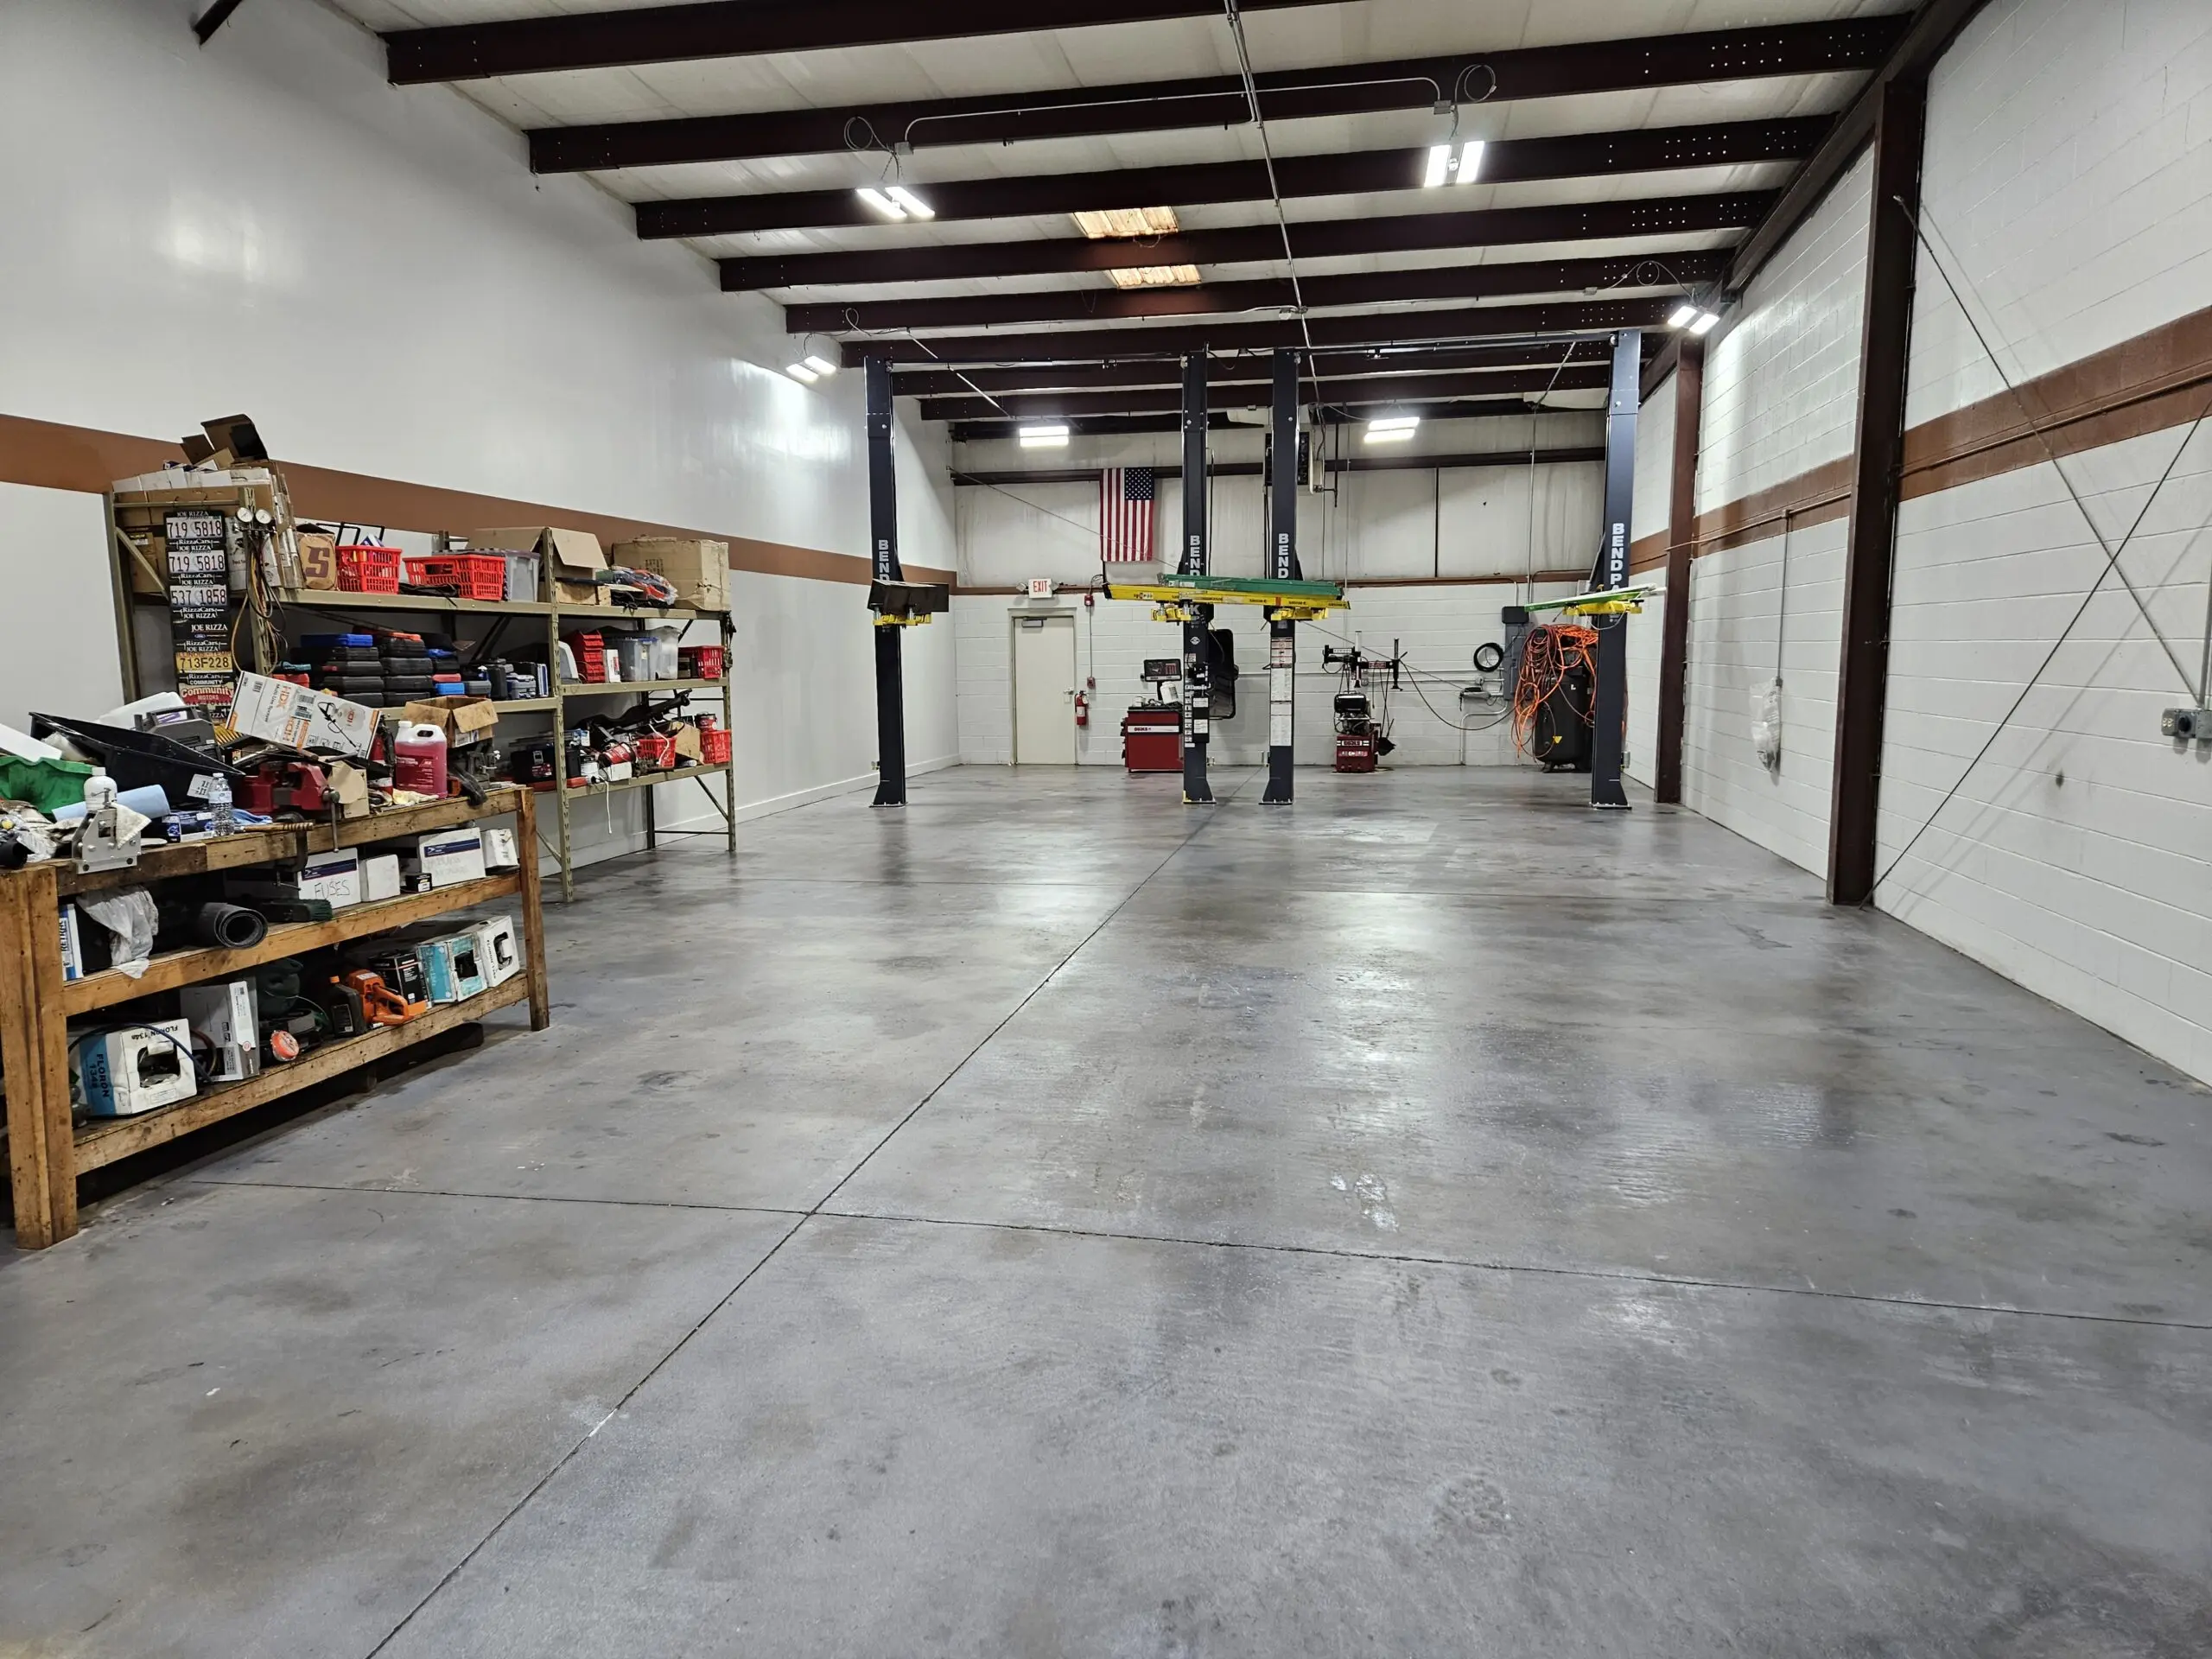
This garage shop floor was transformed using Gray AcquaTint™, providing a sleek and durable finish. The stain not only revitalized the space but also added a clean, professional look, perfect for a busy work environment.
Khaki AcquaTint™
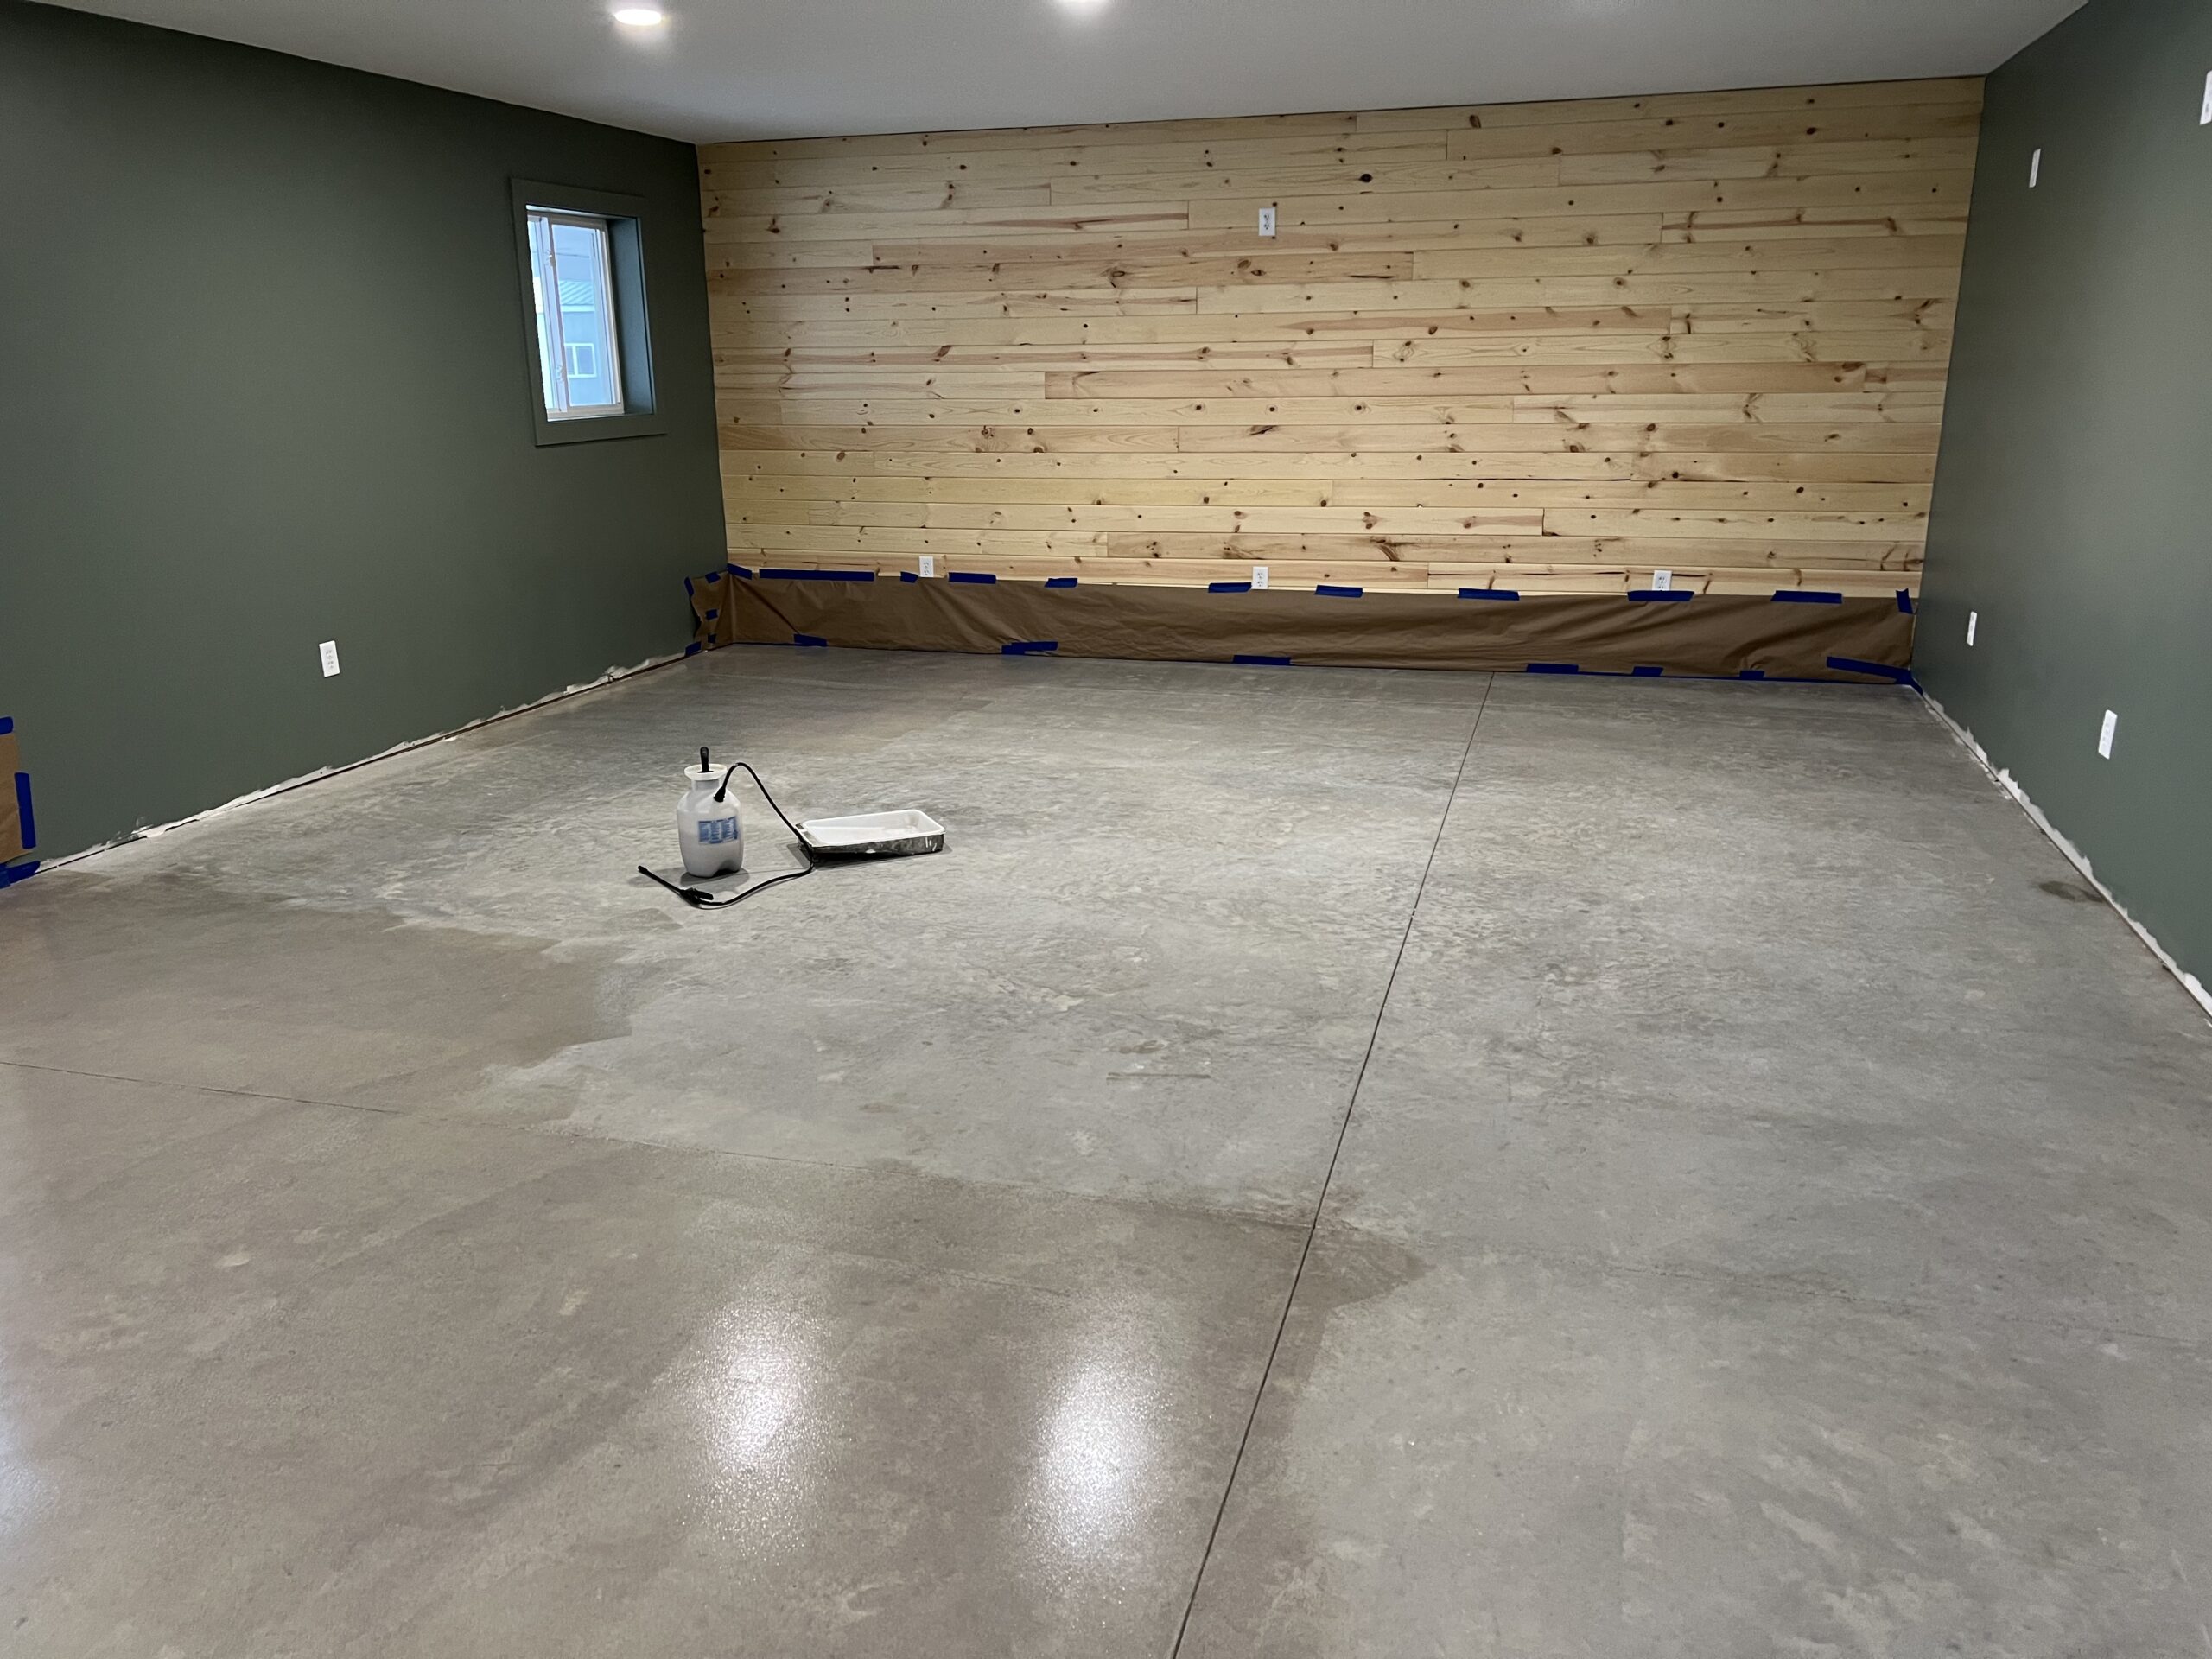
This project showcases a stunning concrete floor stained with Khaki AcquaTint™ and finished with ProWax Polish™ Satin, delivering a beautiful, durable, and polished look to the space.
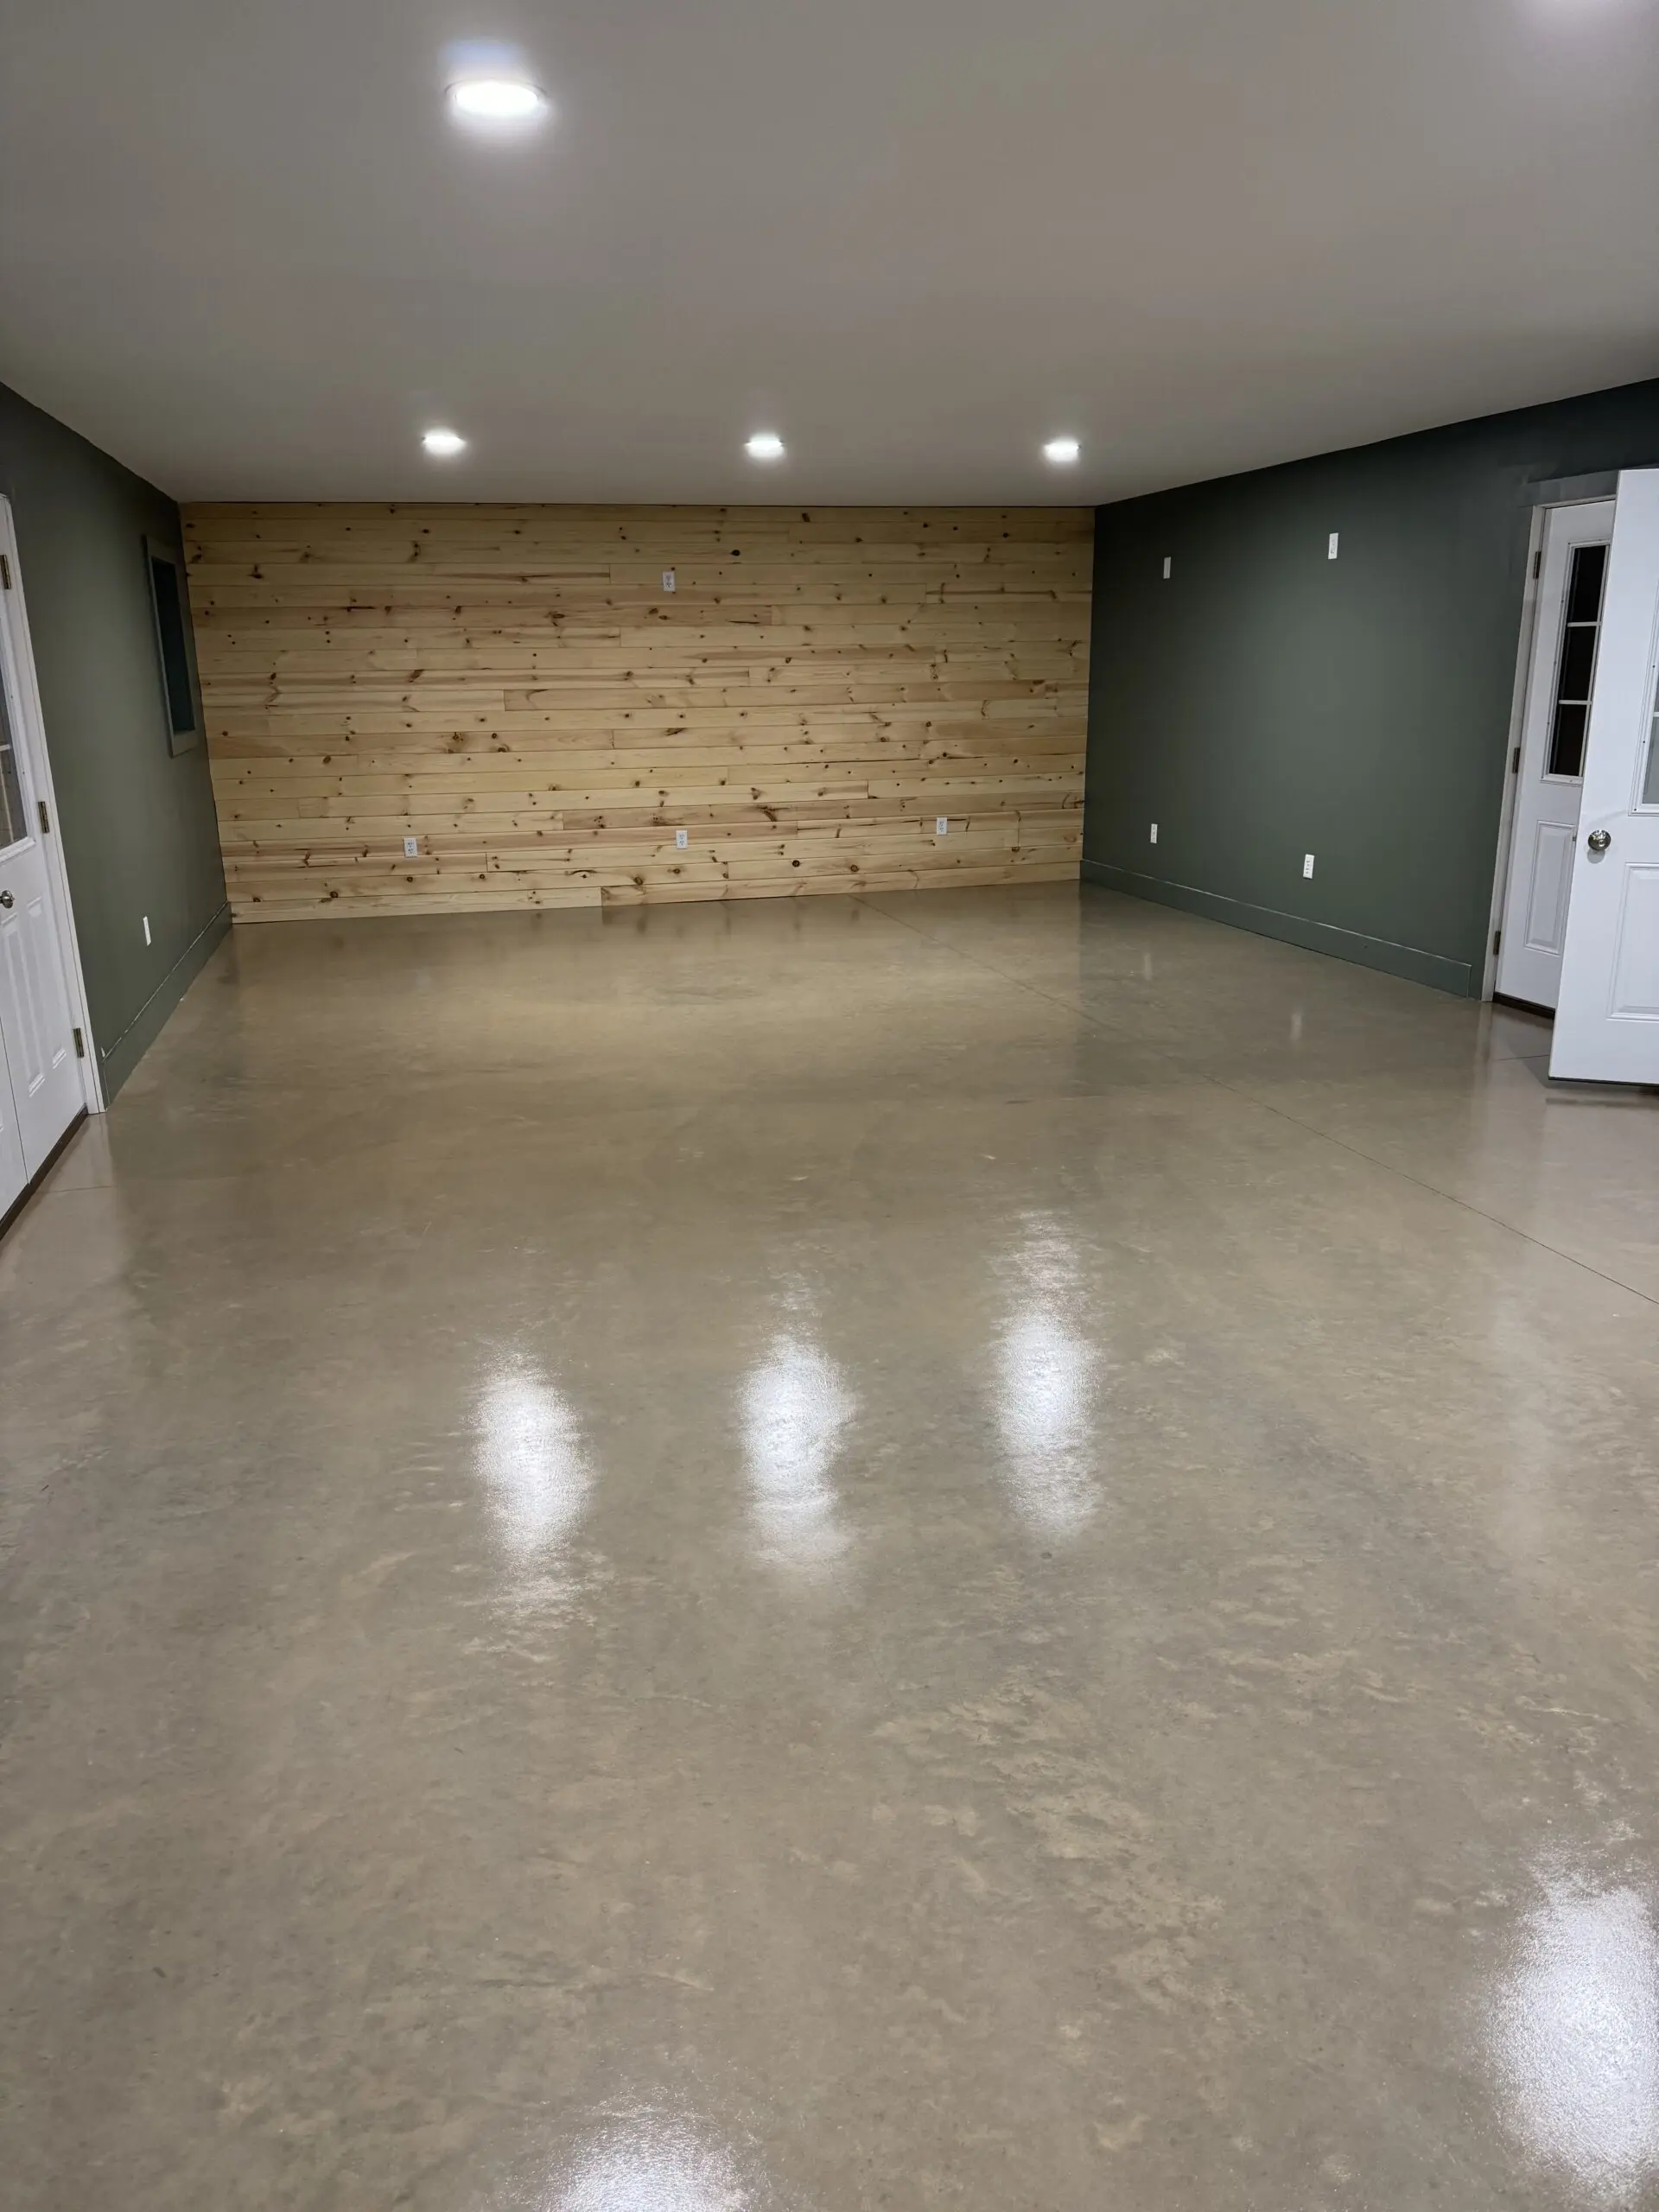
Project Info:
- Project Completed In: 4 day(s)
- Estimate of Square Footage: 1960 sq. ft.
- Project Description:
We used Direct Colors products to transform our barn living space to create a comfortable and cozy atmosphere while being durable and easy to clean. - Personal Tips:
One of the biggest tips we would offer is to do the proper prep work ahead of time to ensure even application and coloring. We took the time to prep and clean the surfaces as well as to protect the baseboard areas which made application much easier! - Direct Colors Products Used:
5 Gal. Khaki AcquaTint™ & ProWax Polish™ Gloss Kit
Light Charcoal AcquaTint™
Tackling the challenge of rejuvenating a steel garage, our DIYer went all out, blending the techniques of spraying and rolling. The outcome? A deep, stylish charcoal sheen on the floor. For more details about this project, check out Sleek Barndominium Makeover with AcquaTint™
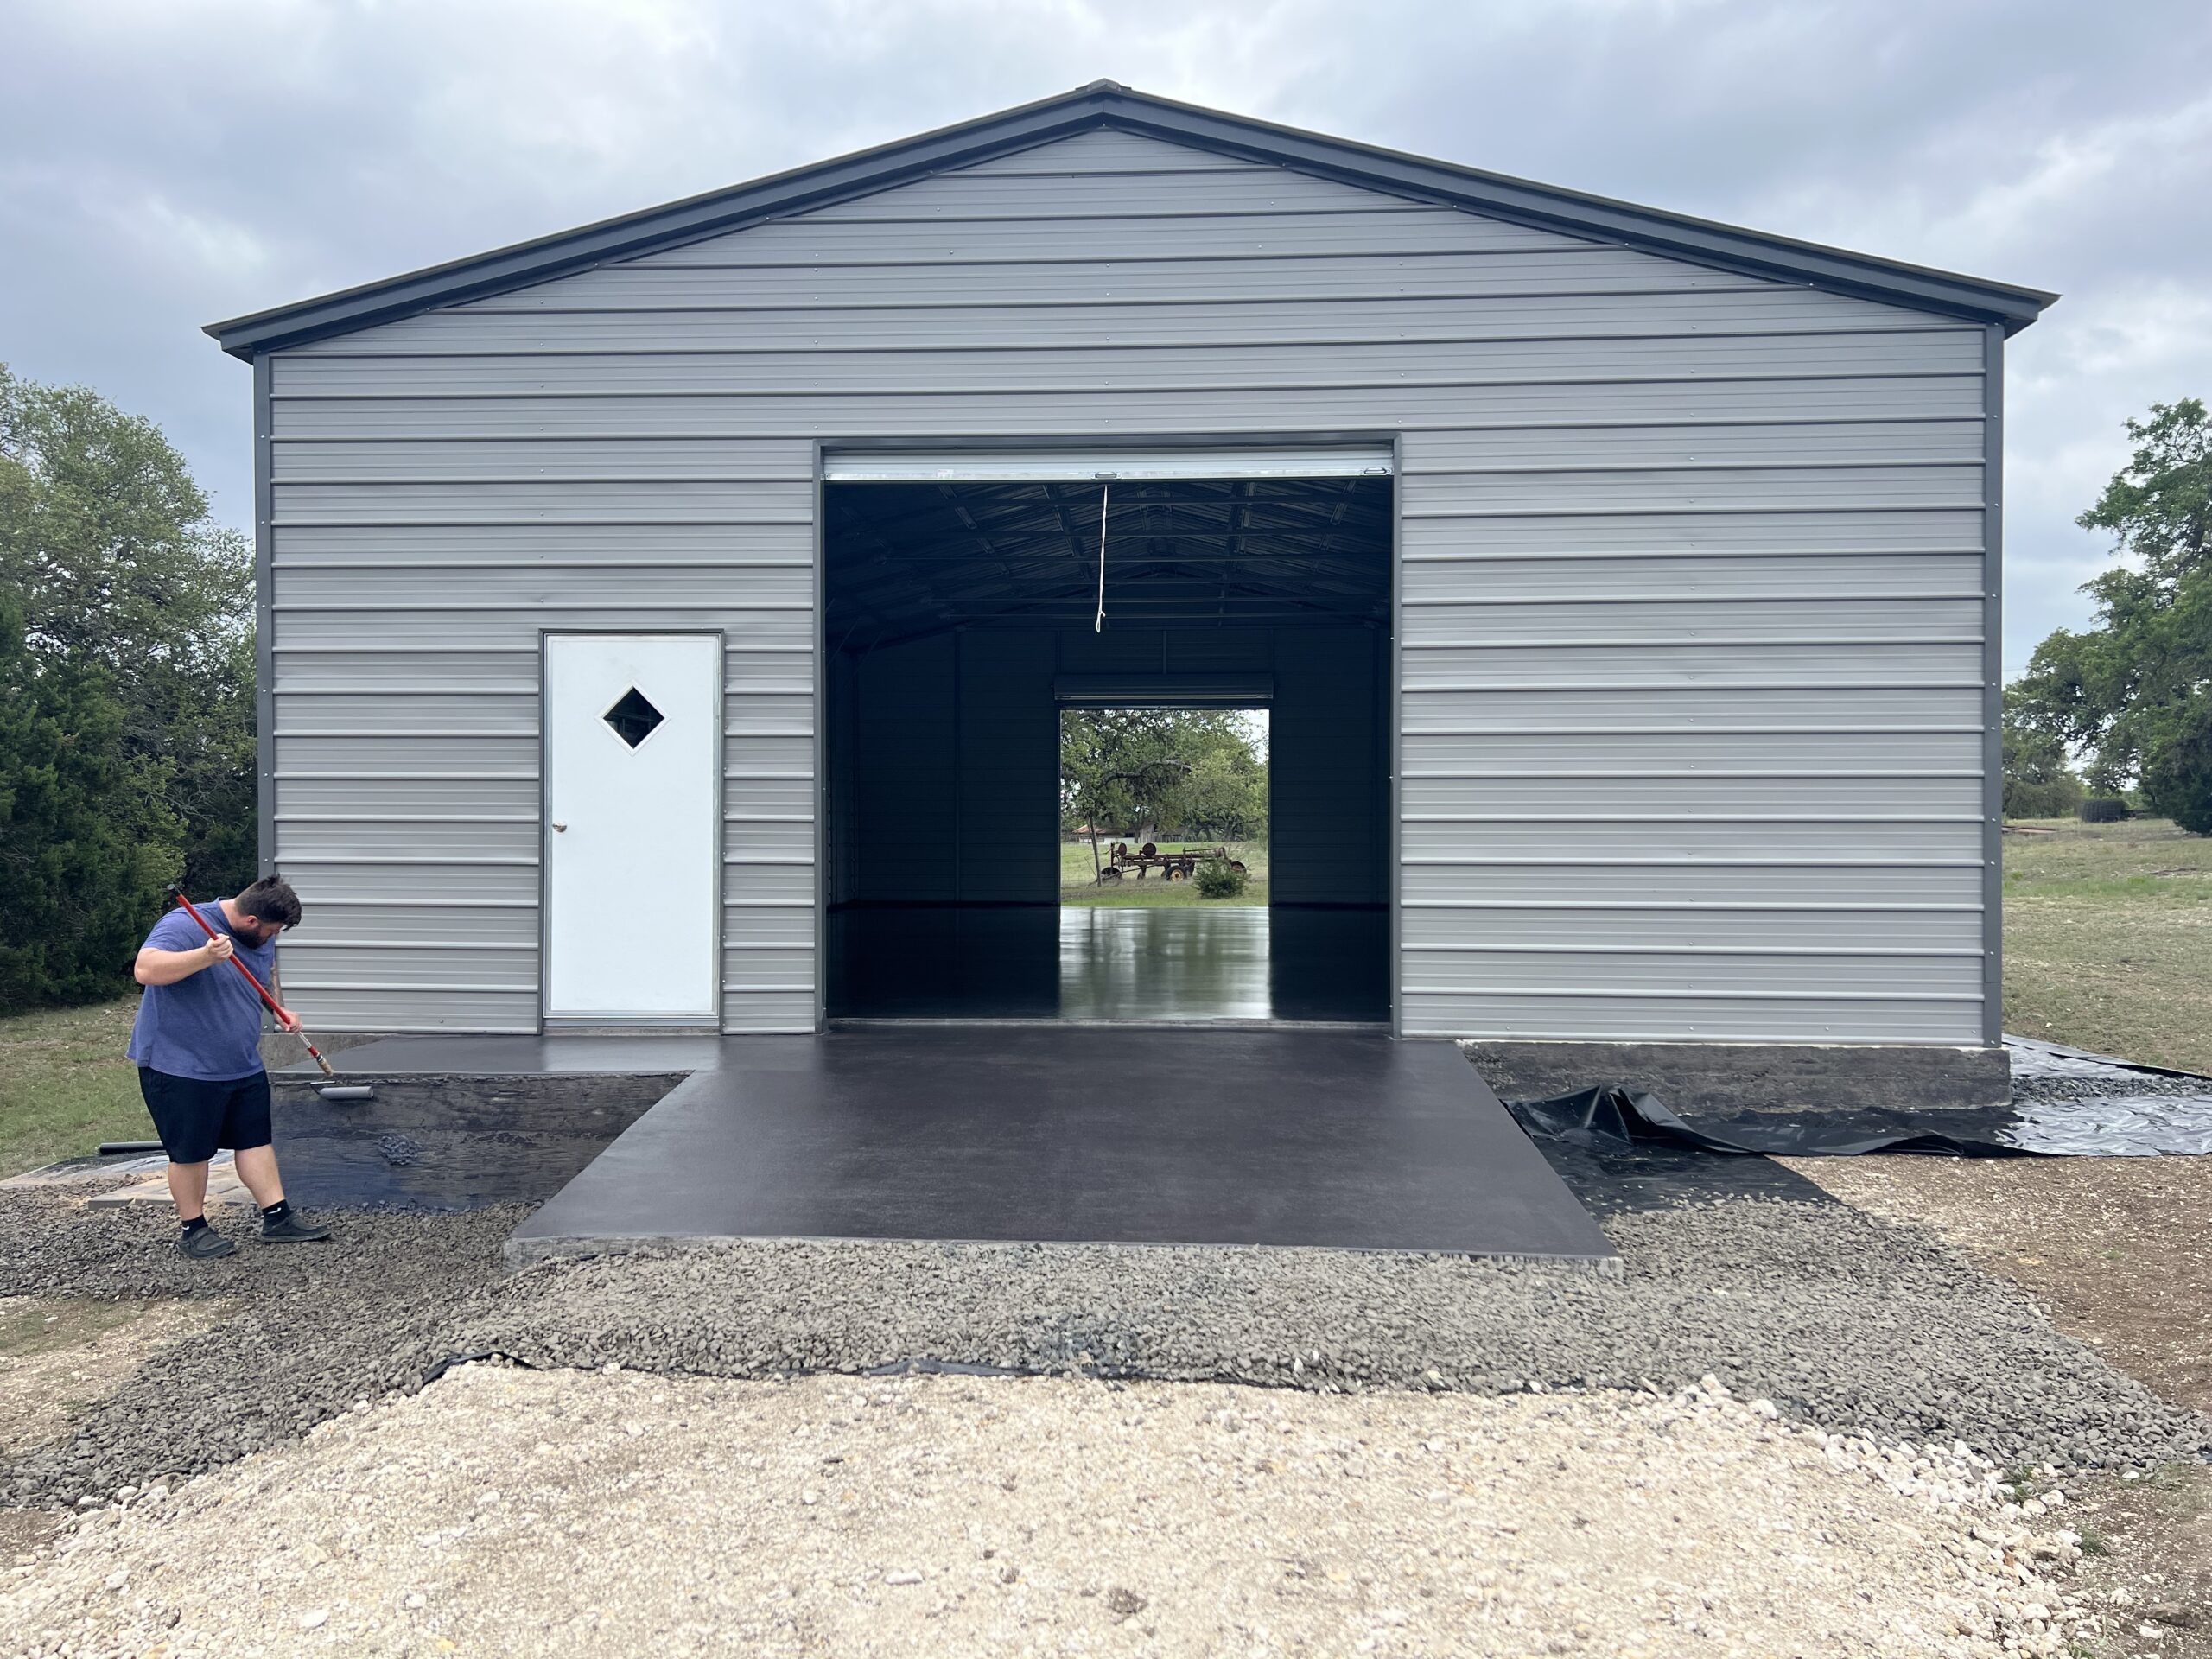
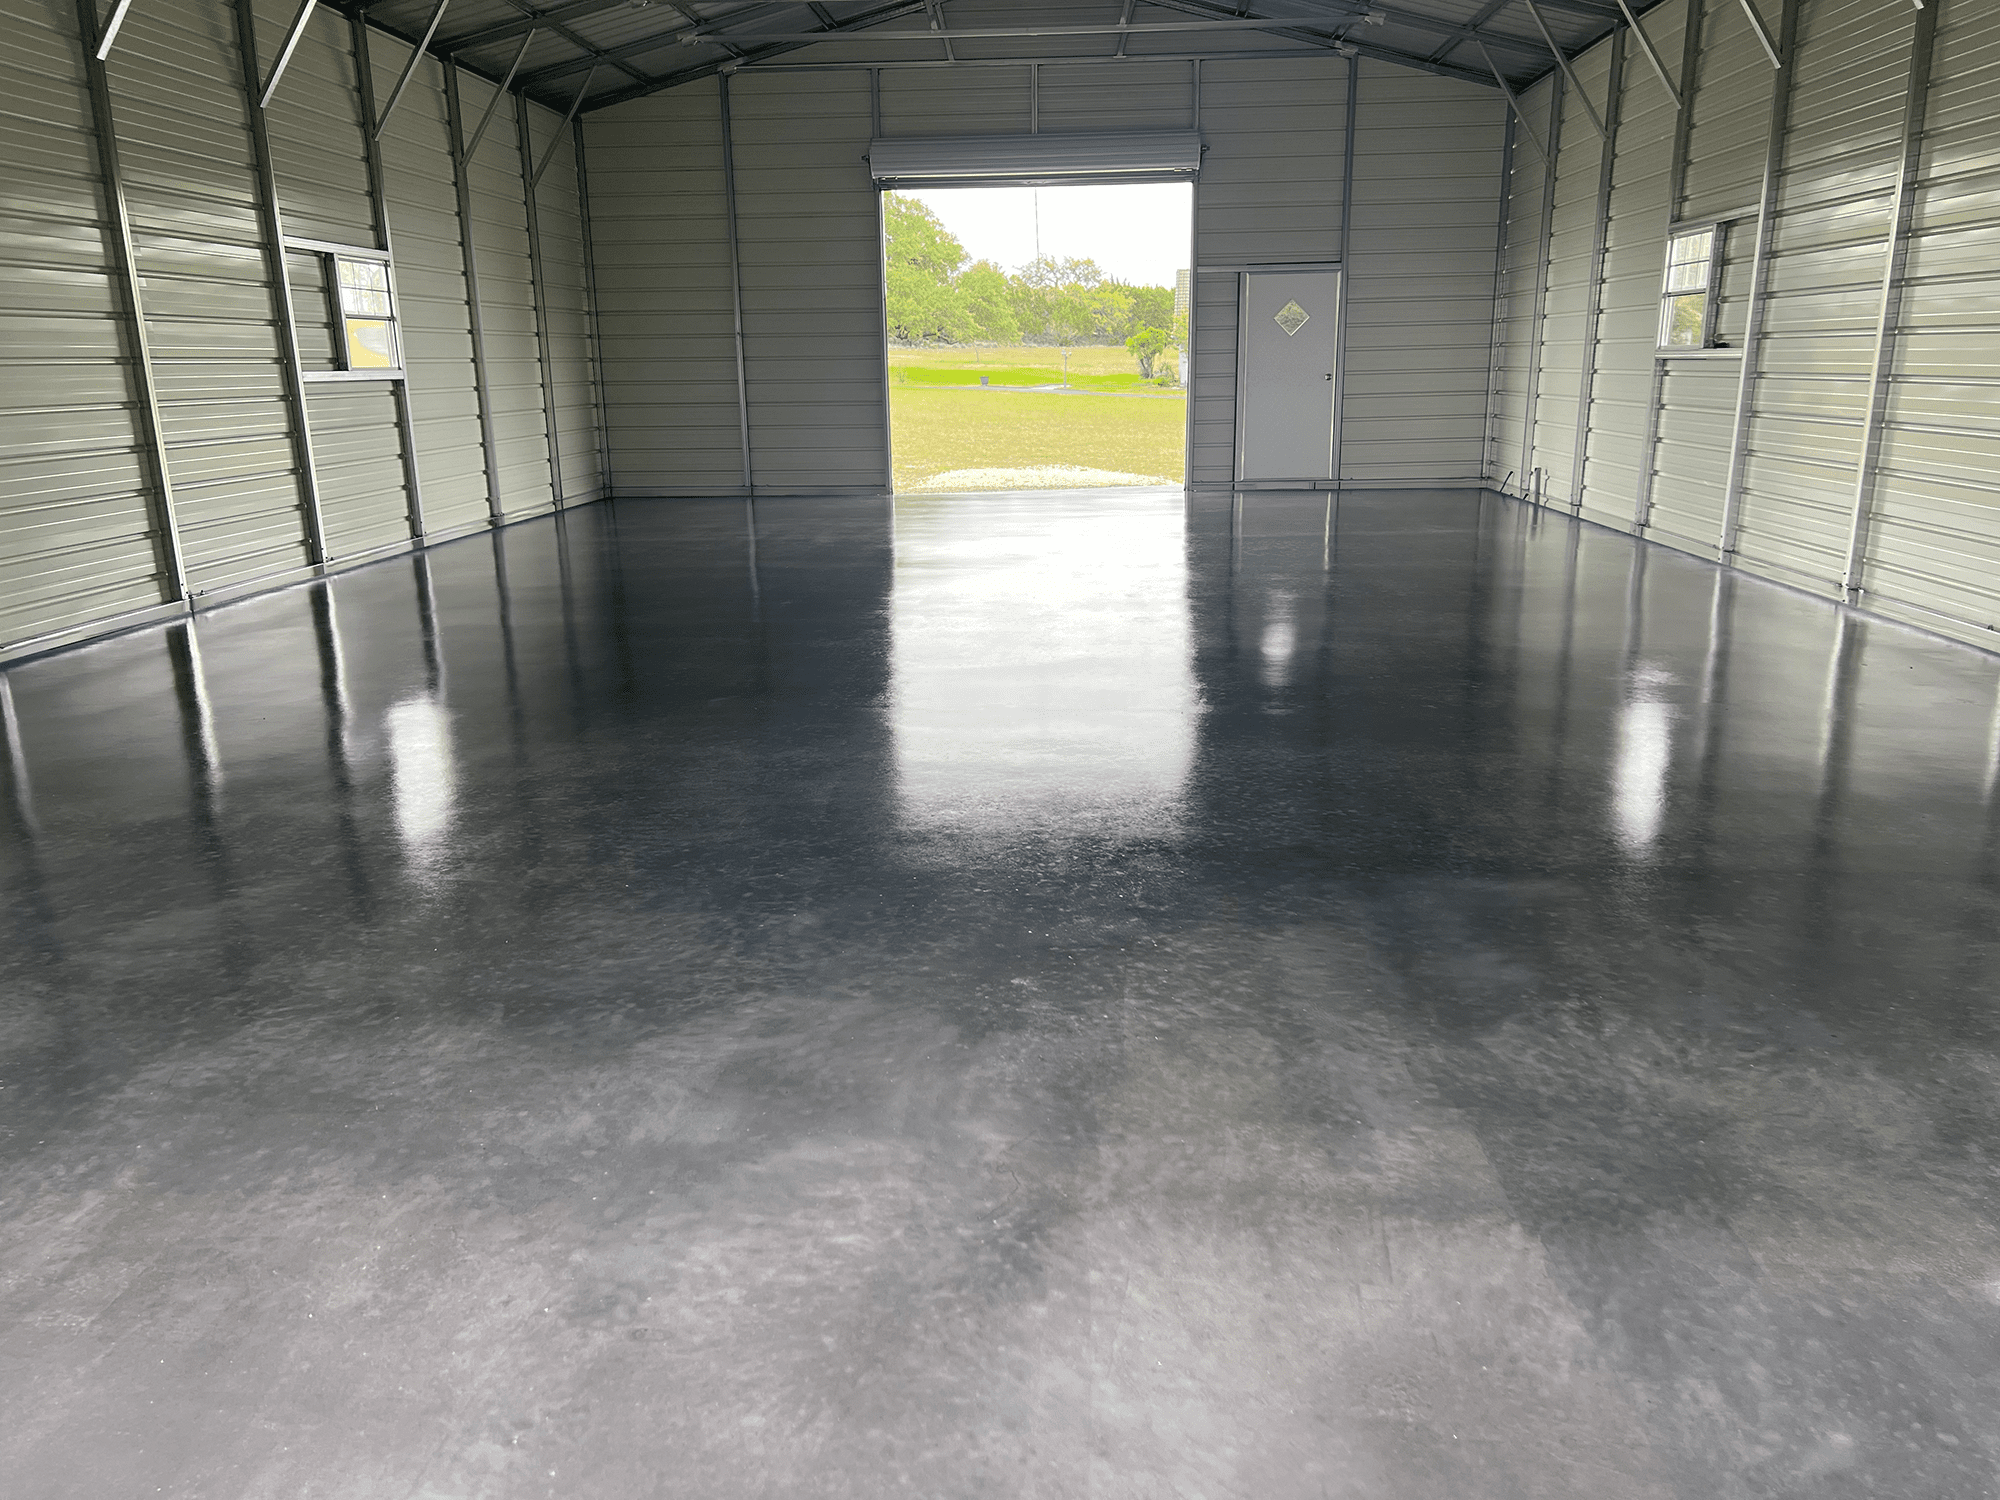
Project Info:
- Project Completed In: 5 day(s)
- Estimate of Square Footage: 1500 sq. ft.
- Project Description:
Interesting - Personal Tips:
Spraying along w roller application worked great for me - Direct Colors Products Used:
5 Gal. Charcoal AcquaTint™ & ProWax Polish™ Satin Kit
2 x 1 Gal. Charcoal AcquaTint™
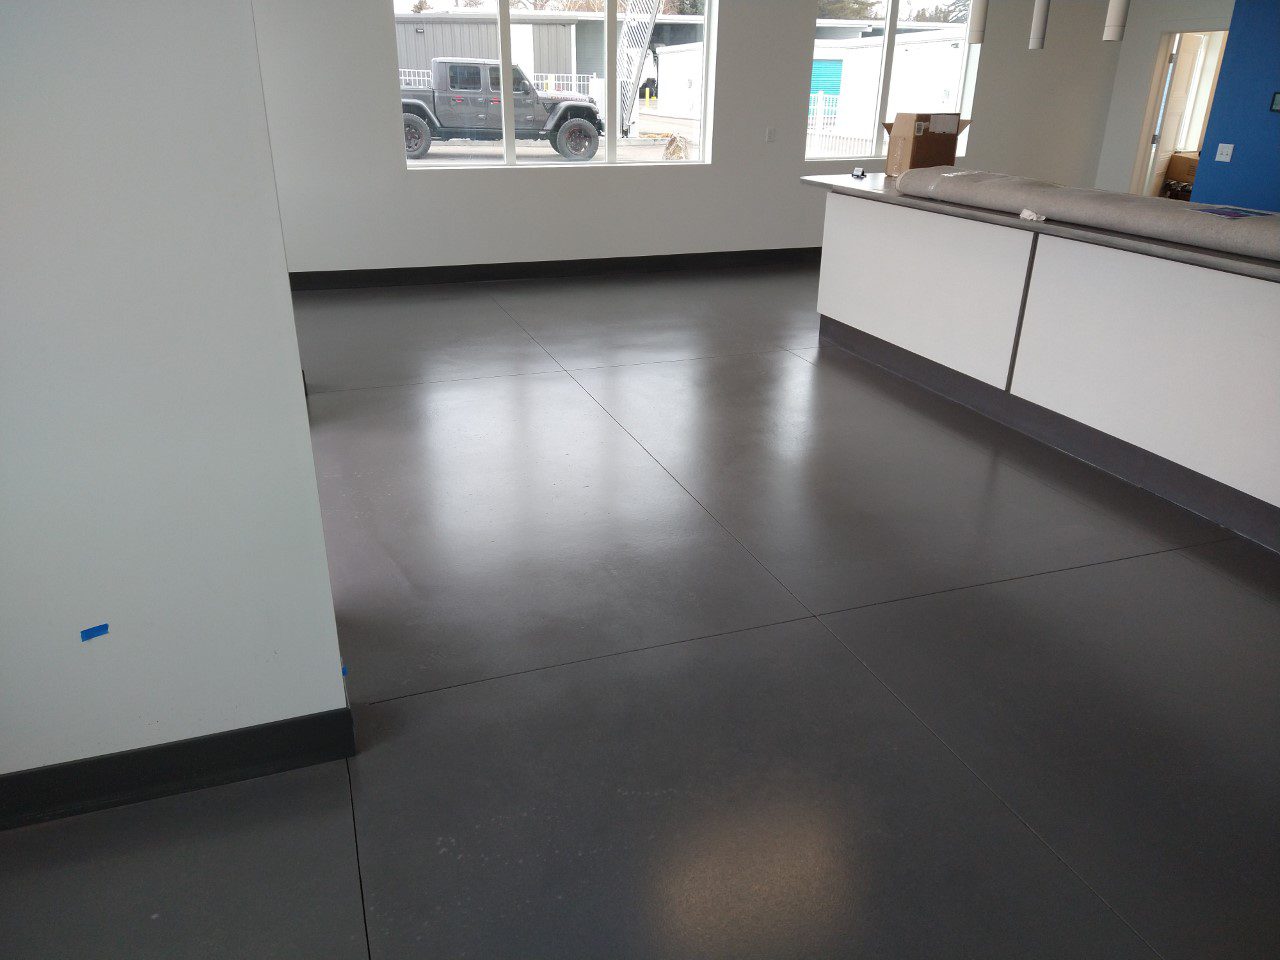
Silver Gray AcquaTint™
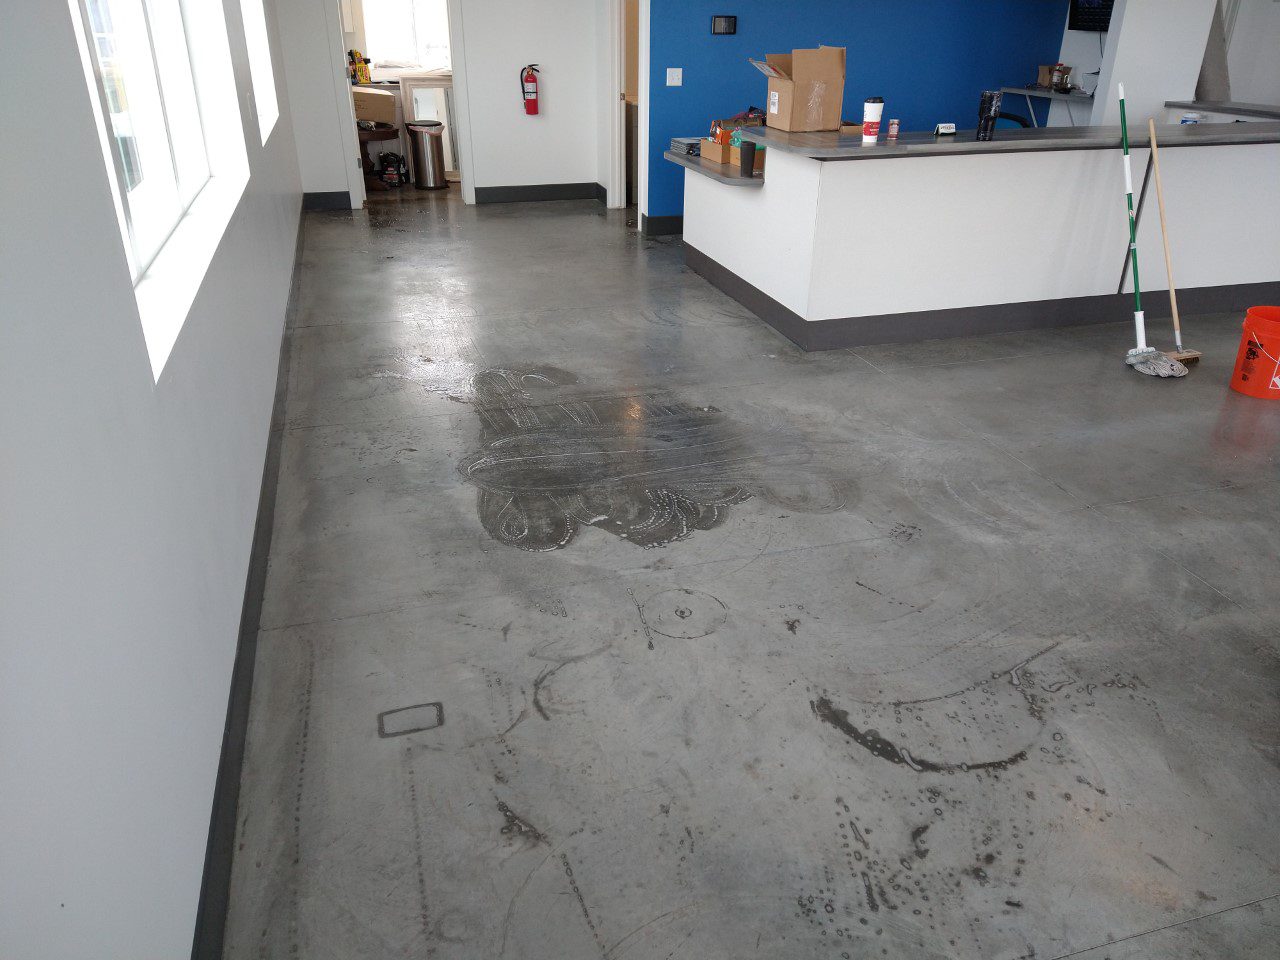
Got a commercial space that could use a little pep in its step? That’s just what this project accomplished. A faded gray concrete floor might not sound too inspiring, but with a helping hand from our Silver Gray AcquaTint™, it’s become a sleek and stylish foundation for the business. The result is a floor that not only looks great but can stand up to the hustle and bustle of commercial use. Check out this transformation for your own dash of inspiration.
If you’re inspired by these projects and interested in exploring more industrial and mottled-looking floor finishes, don’t miss our blog post: ‘Stormy Gray Vibrance™ Dye: Your Ticket To DIY Magic!‘ Dive into the world of DIY magic with our Vibrance Dye.
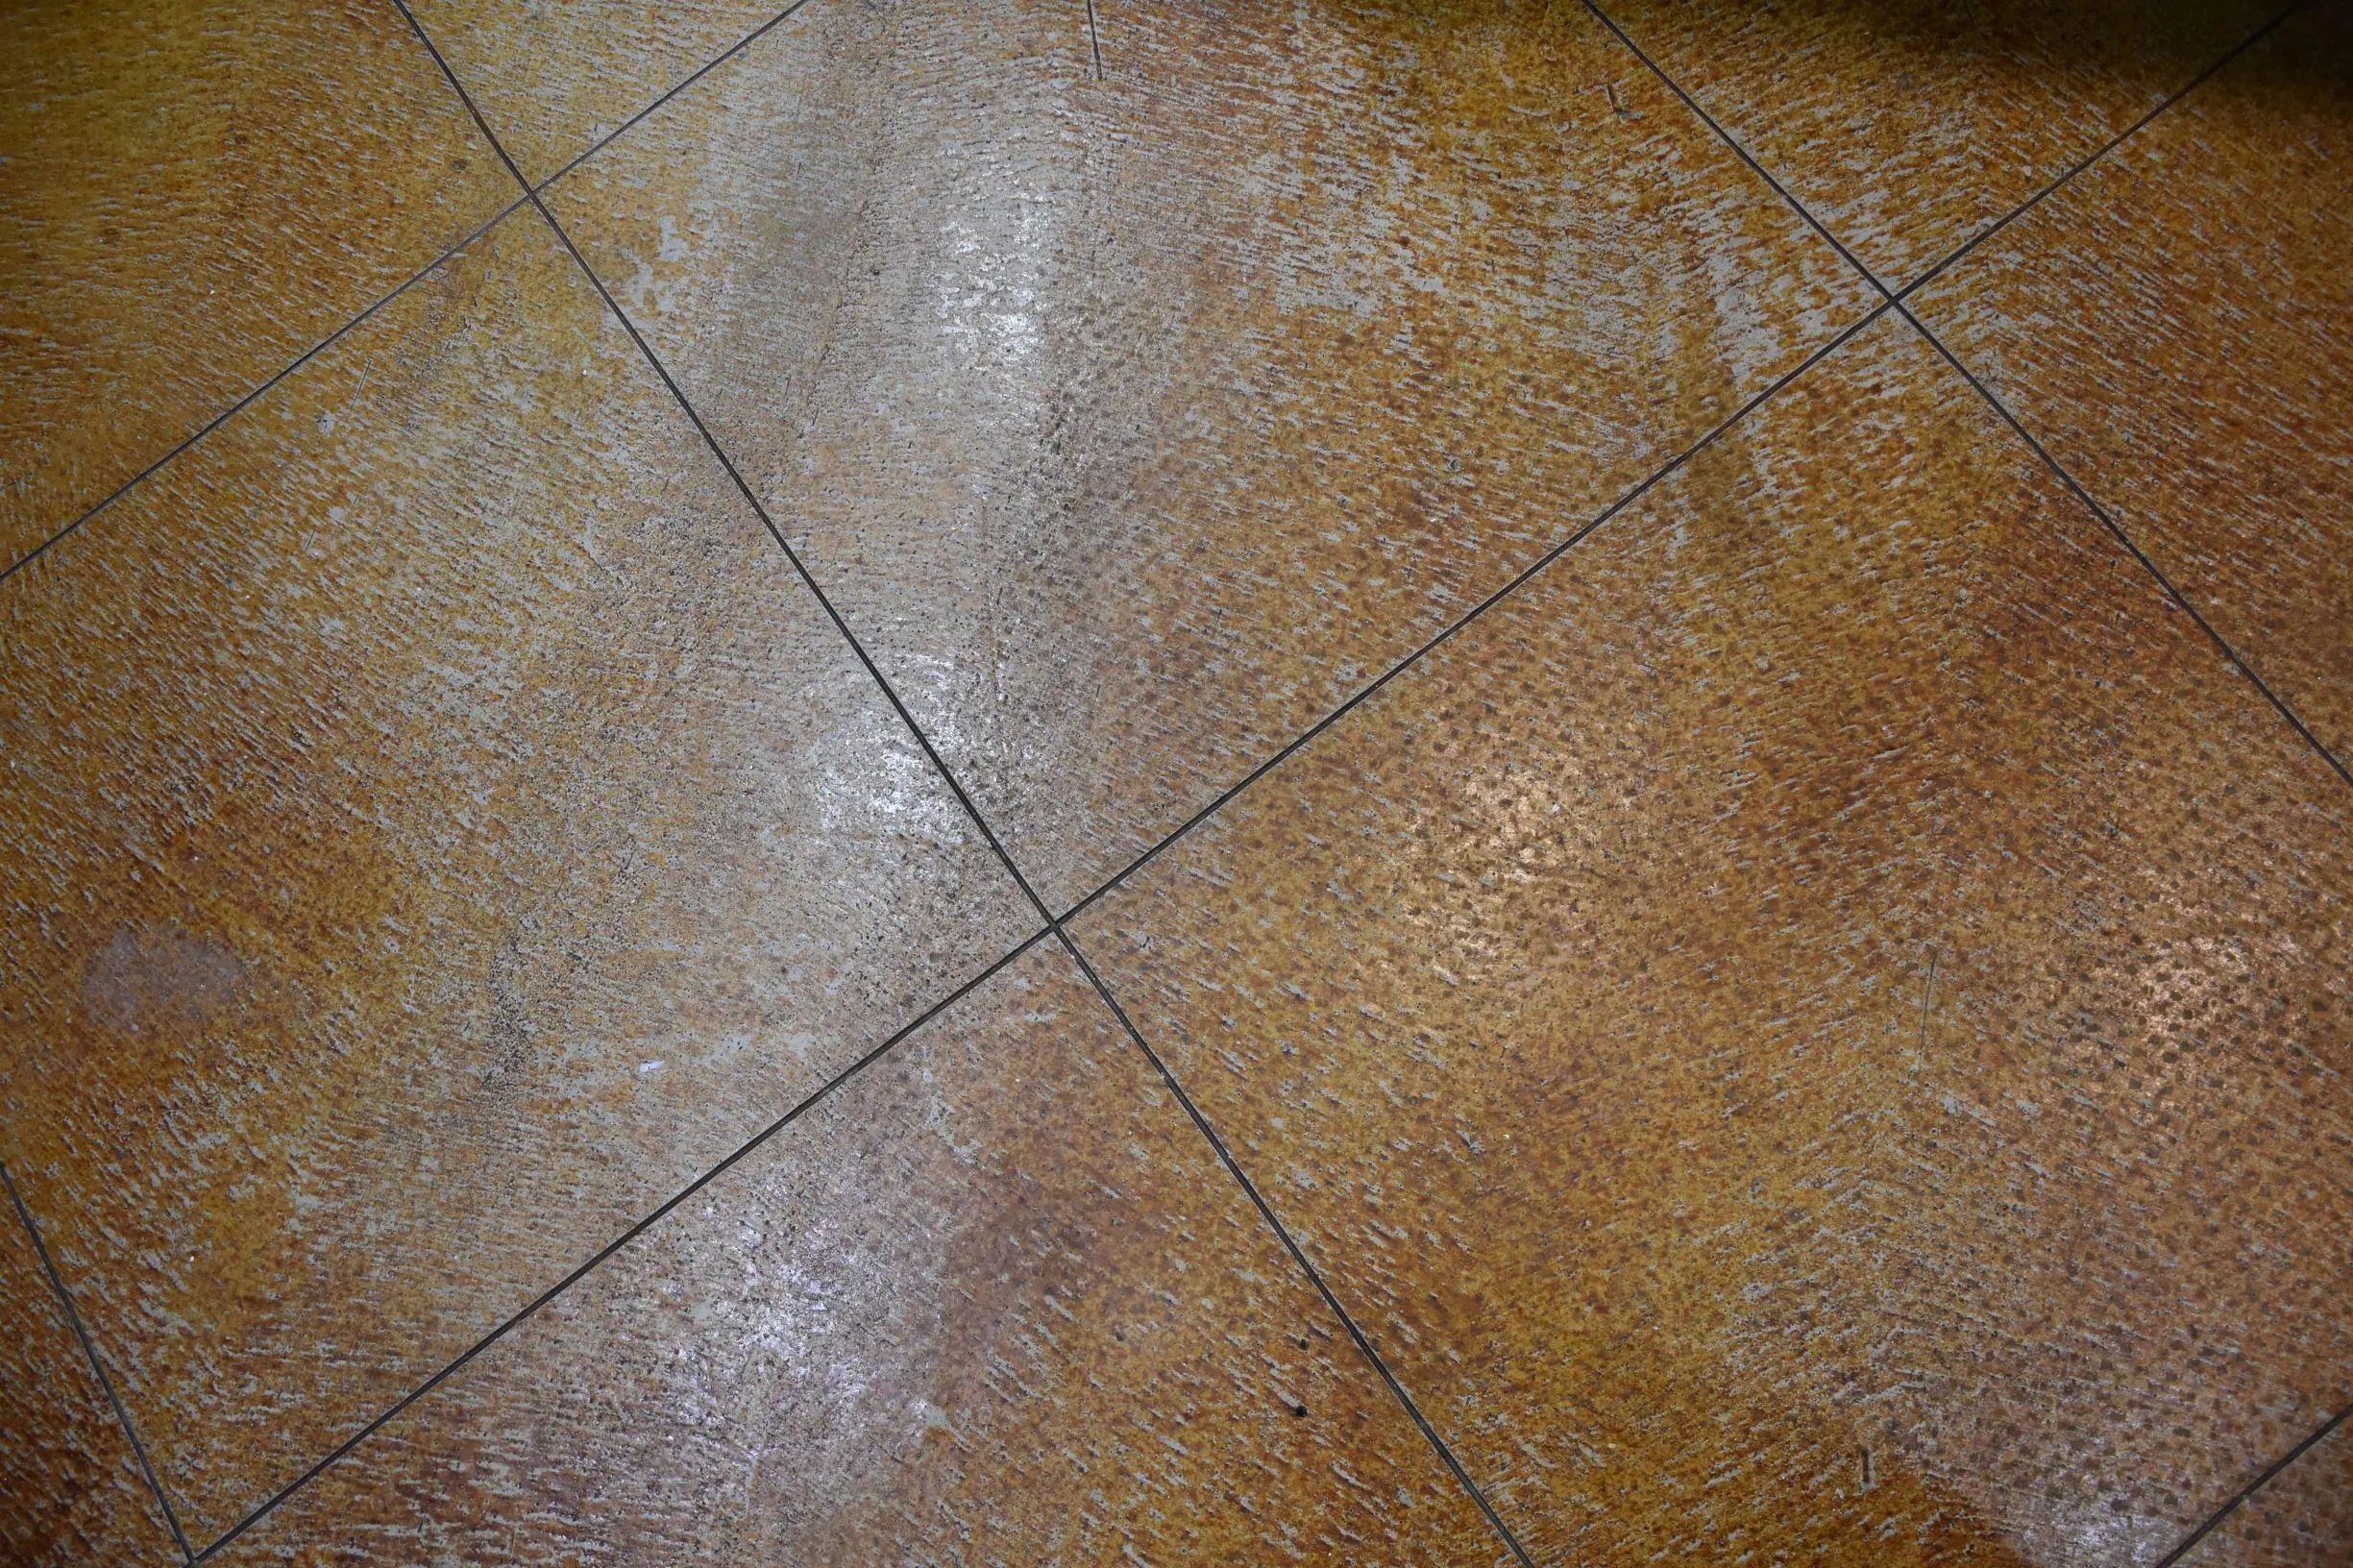
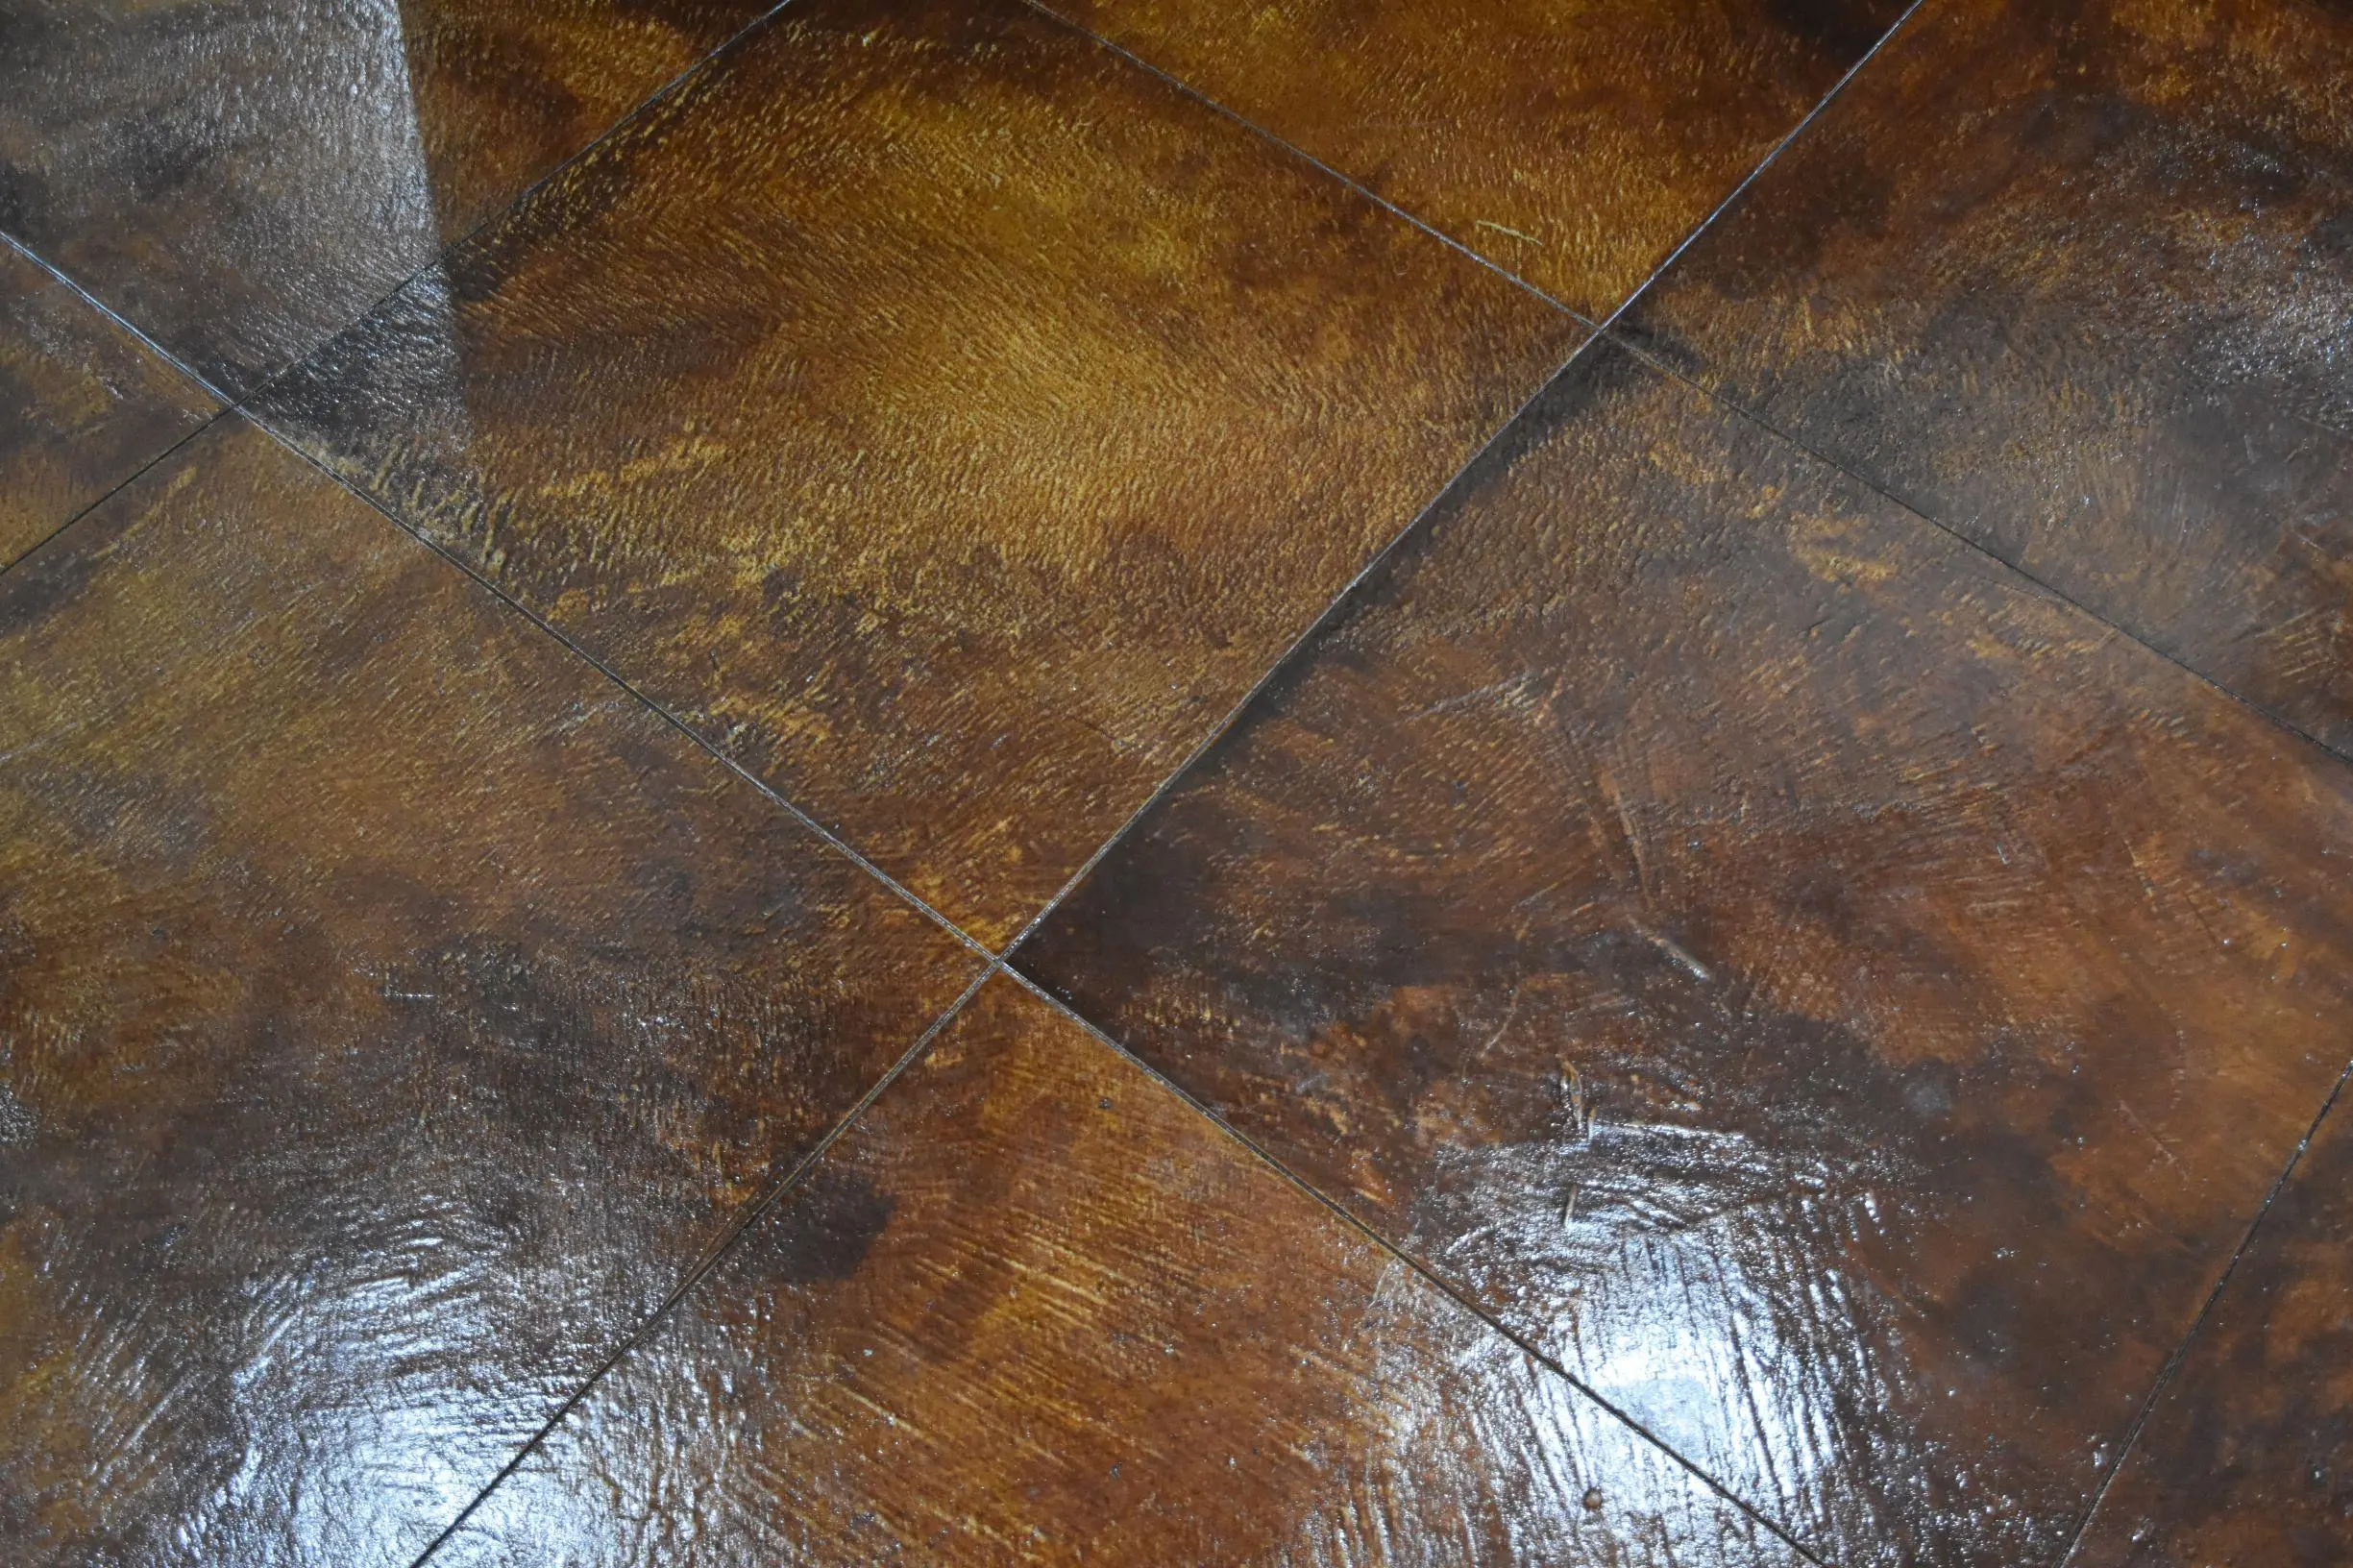
Terracotta AcquaTint™
A homeowner revitalized their worn concrete floors using Terracotta AcquaTint™, achieving a beautiful, varied finish. After preparing the surface and applying the sealer by hand with a brush, they sealed it with a clear satin finish. The result is a striking, glossy floor that looks like new, transforming the space with minimal effort.
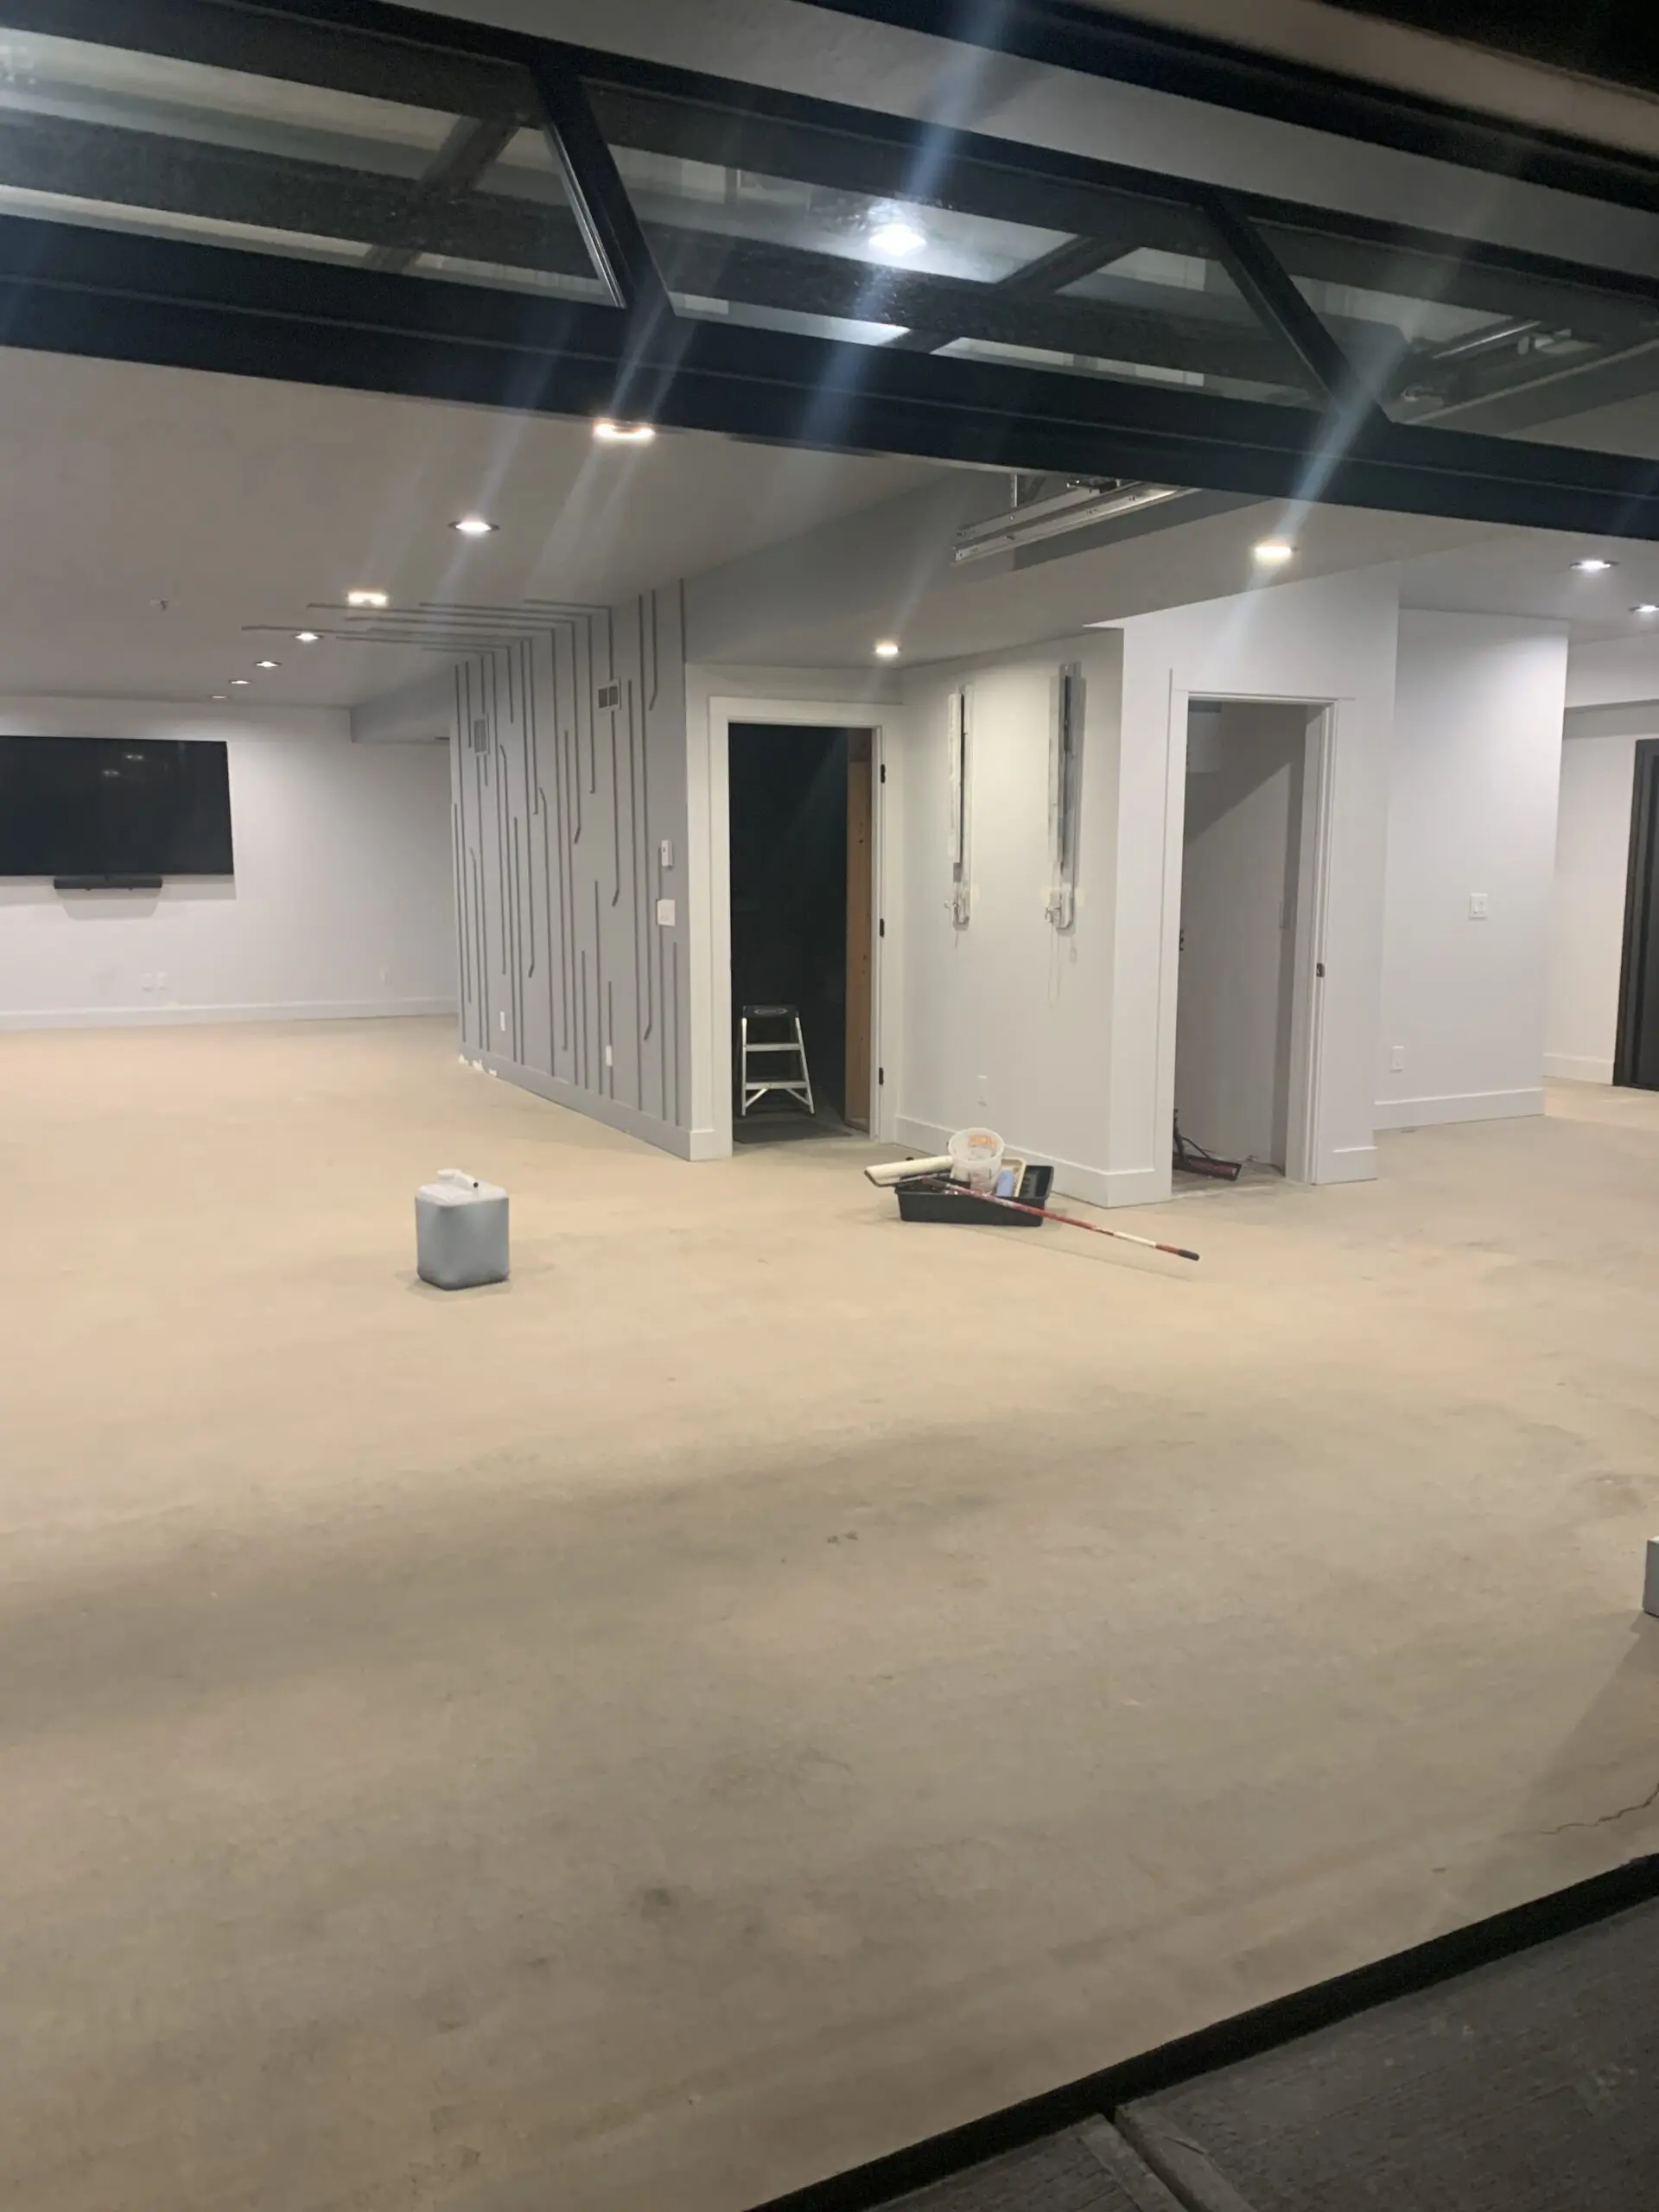
Black & Gray AcquaTint™
This project transformed a modern living space by staining the concrete floor with a mix of Black and Gray AcquaTint™ for a striking mottled, marbled effect. Finished with ProWax Polish™ for added gloss and durability, the result is a sleek, modern floor that complements the contemporary design of the room. For more details about this project, check out Basement Redo

Chic Salon Makeover with Natural Concrete Floors
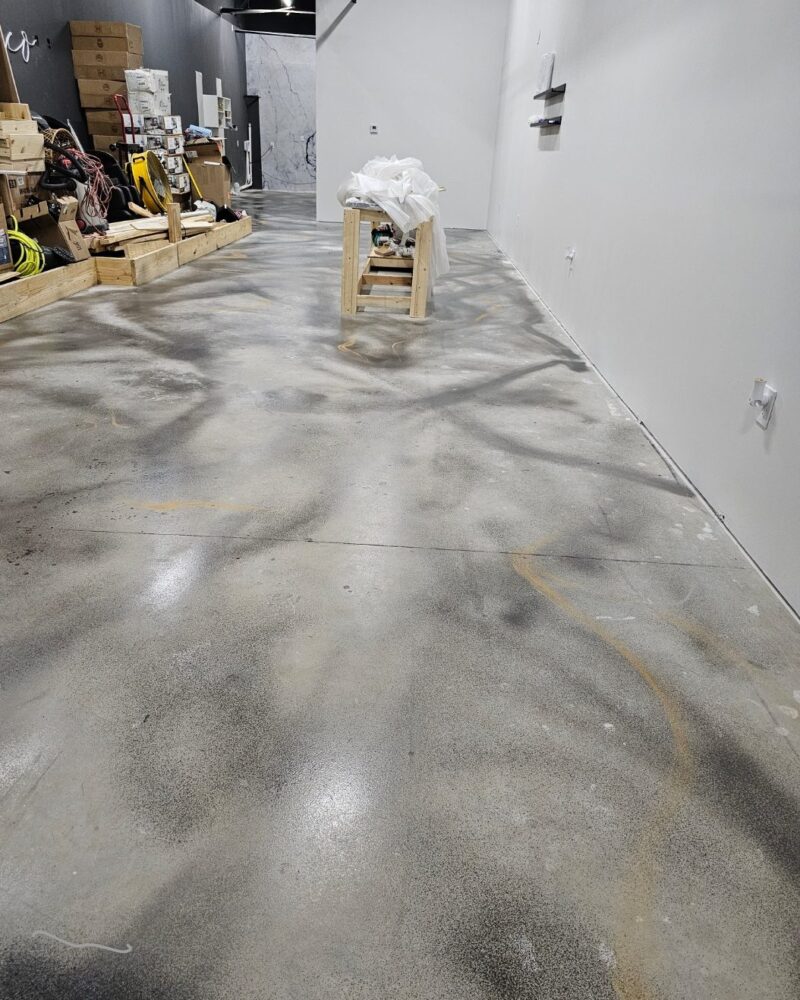
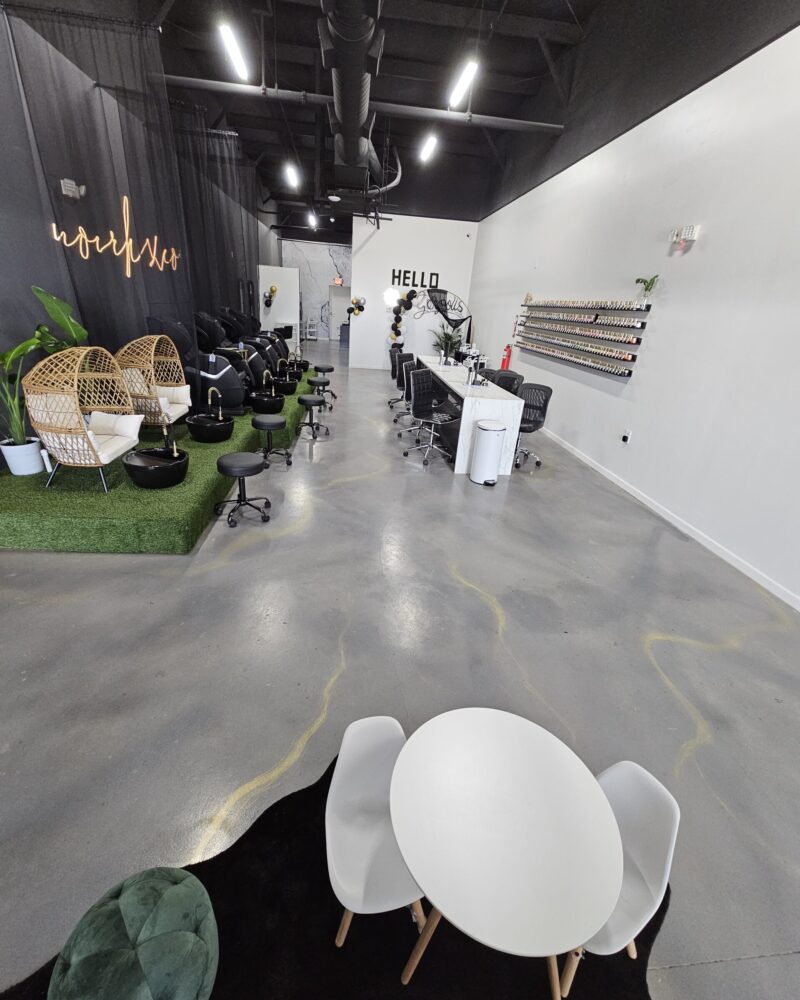
This salon project embraced the raw beauty of unfinished concrete floors. By preserving the natural blemishes and adding strategic detailing, the space was transformed into a chic, modern salon (NoirLuxco Nail Studio and Spa, Katy, TX). The use of AcquaTint™ in Charcoal and Silver Gray, combined with ProWax Polish™, ensured a non-porous, durable finish. For a touch of sparkle, Mica Powder was incorporated. The result is a distinctive salon floor that is not only functional, but also visually engaging.
Project Info:
- Project Completed In: 5 day(s)
- Estimate of Square Footage: 1720 sq. ft.
- Project Description:
Salon had unfinished concrete floors I loved the natural state and all the blemishes so i opted to let those shine but add some details and bc the floors cant be porous I needed to seal them so I did just that and love my floors! - Personal Tips:
Fill gaps, holes and cracks.
Use the darker color first then lighter colors to diffuse it per se. - Direct ColorsProducts Used:
2 x 1 Gal. Charcoal AcquaTint™
5 Gal. Silver Gray AcquaTint™ & ProWax Polish™ Satin Kit
1 Gal. ProWax Polish™ Satin - Other Products Used:
Mica Powder
Cumin & Wheat AcquaTint™
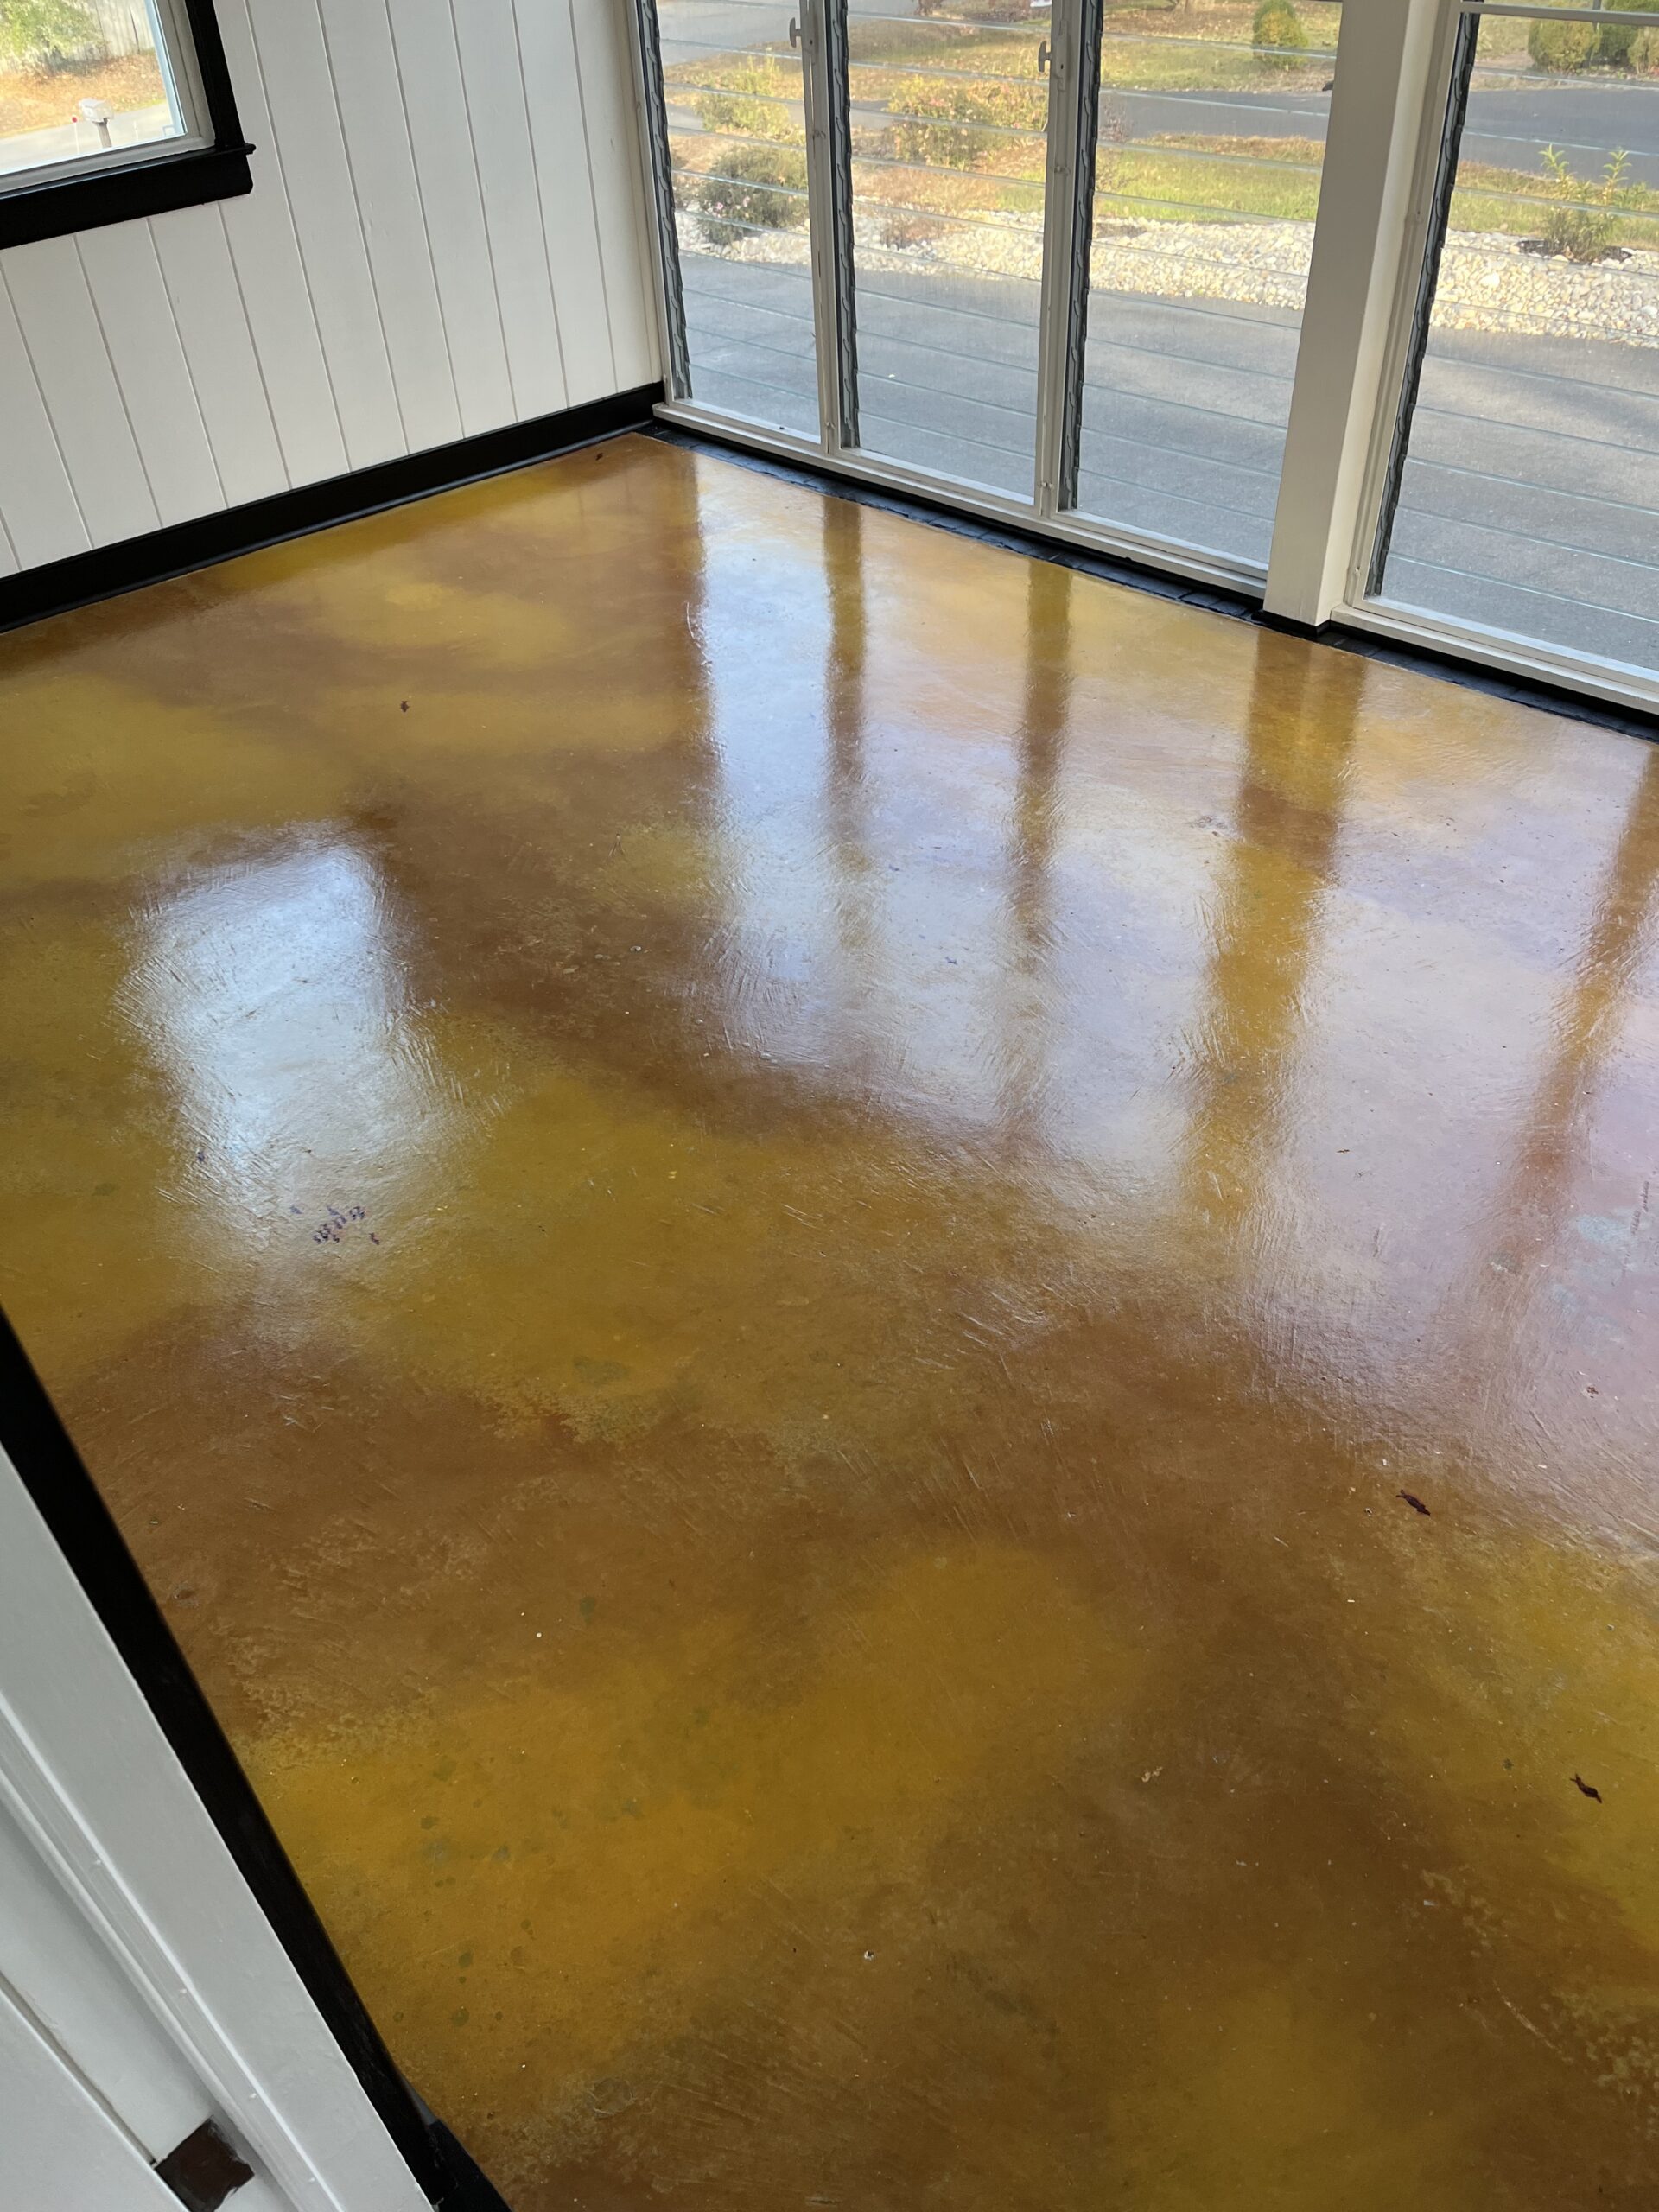
This sunroom floor was transformed by blending two AcquaTint™ colors—Cumin and Wheat—using spray bottles to create a marbled, pond-like effect. As the tints settled, they merged to form a unique design. Small fish were hand-stained into the pattern before sealing with ProWax Polish™, completing the look of a serene pond.
If you’re excited about transforming your indoor spaces, why not extend your creativity outdoors? Check out our blog ‘Charcoal Outdoor Stains: Real DIY Outdoor Projects You’ll Love‘ to discover fantastic ideas for your exterior concrete surfaces.


