ColorWave® Stain: Stunning DIY Concrete Transformations
Explore our gallery of before-and-after photos featuring DIY concrete staining projects. From living rooms to patios, see how ColorWave® Stain makes a difference.
By Justin Richardson
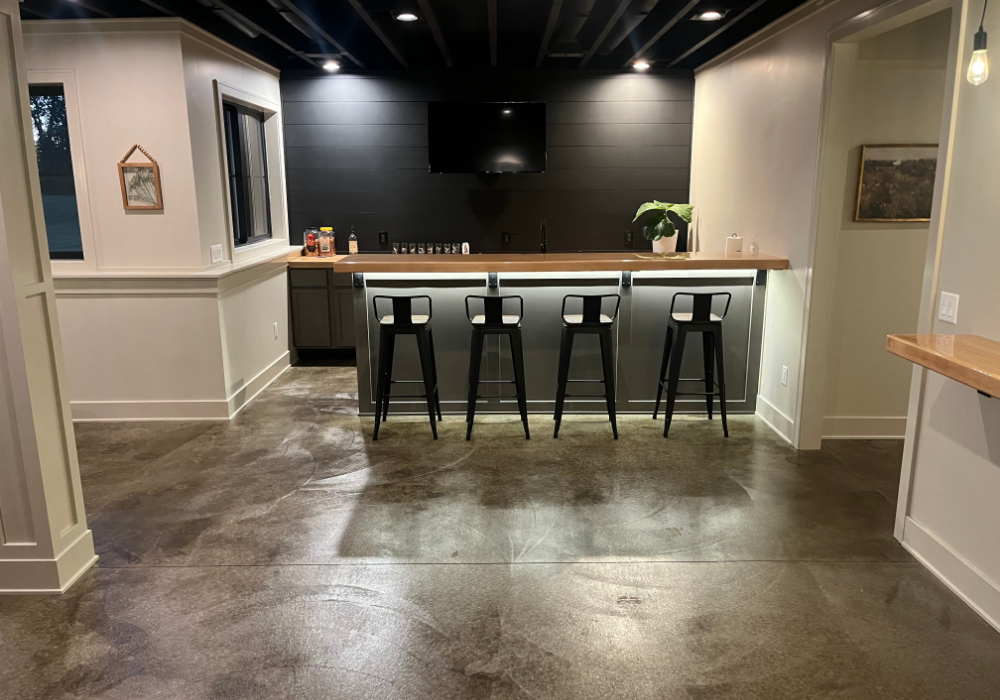
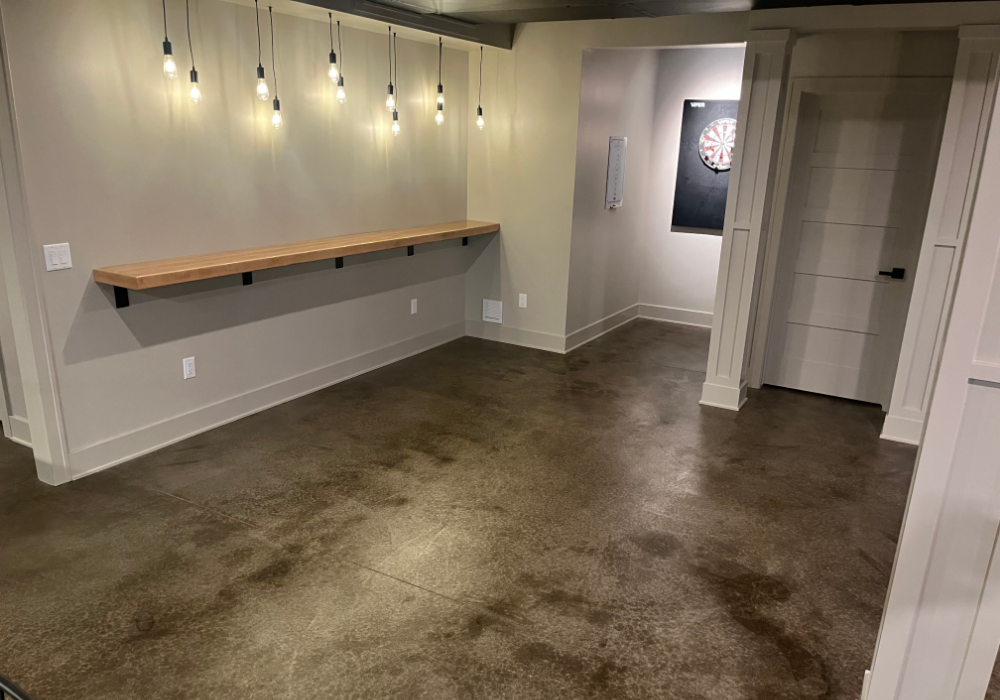
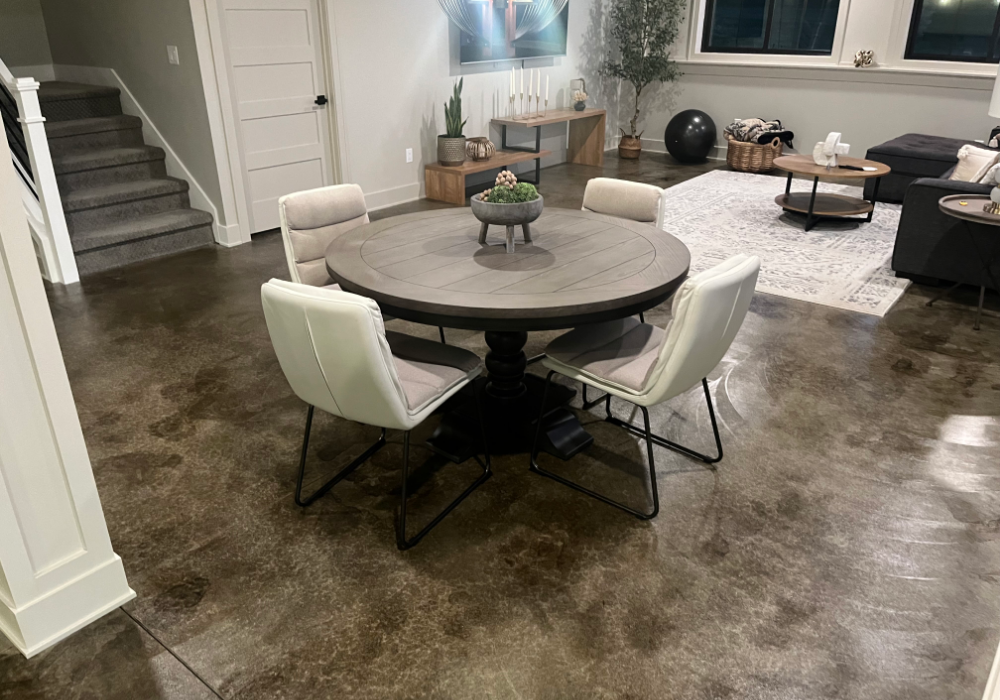
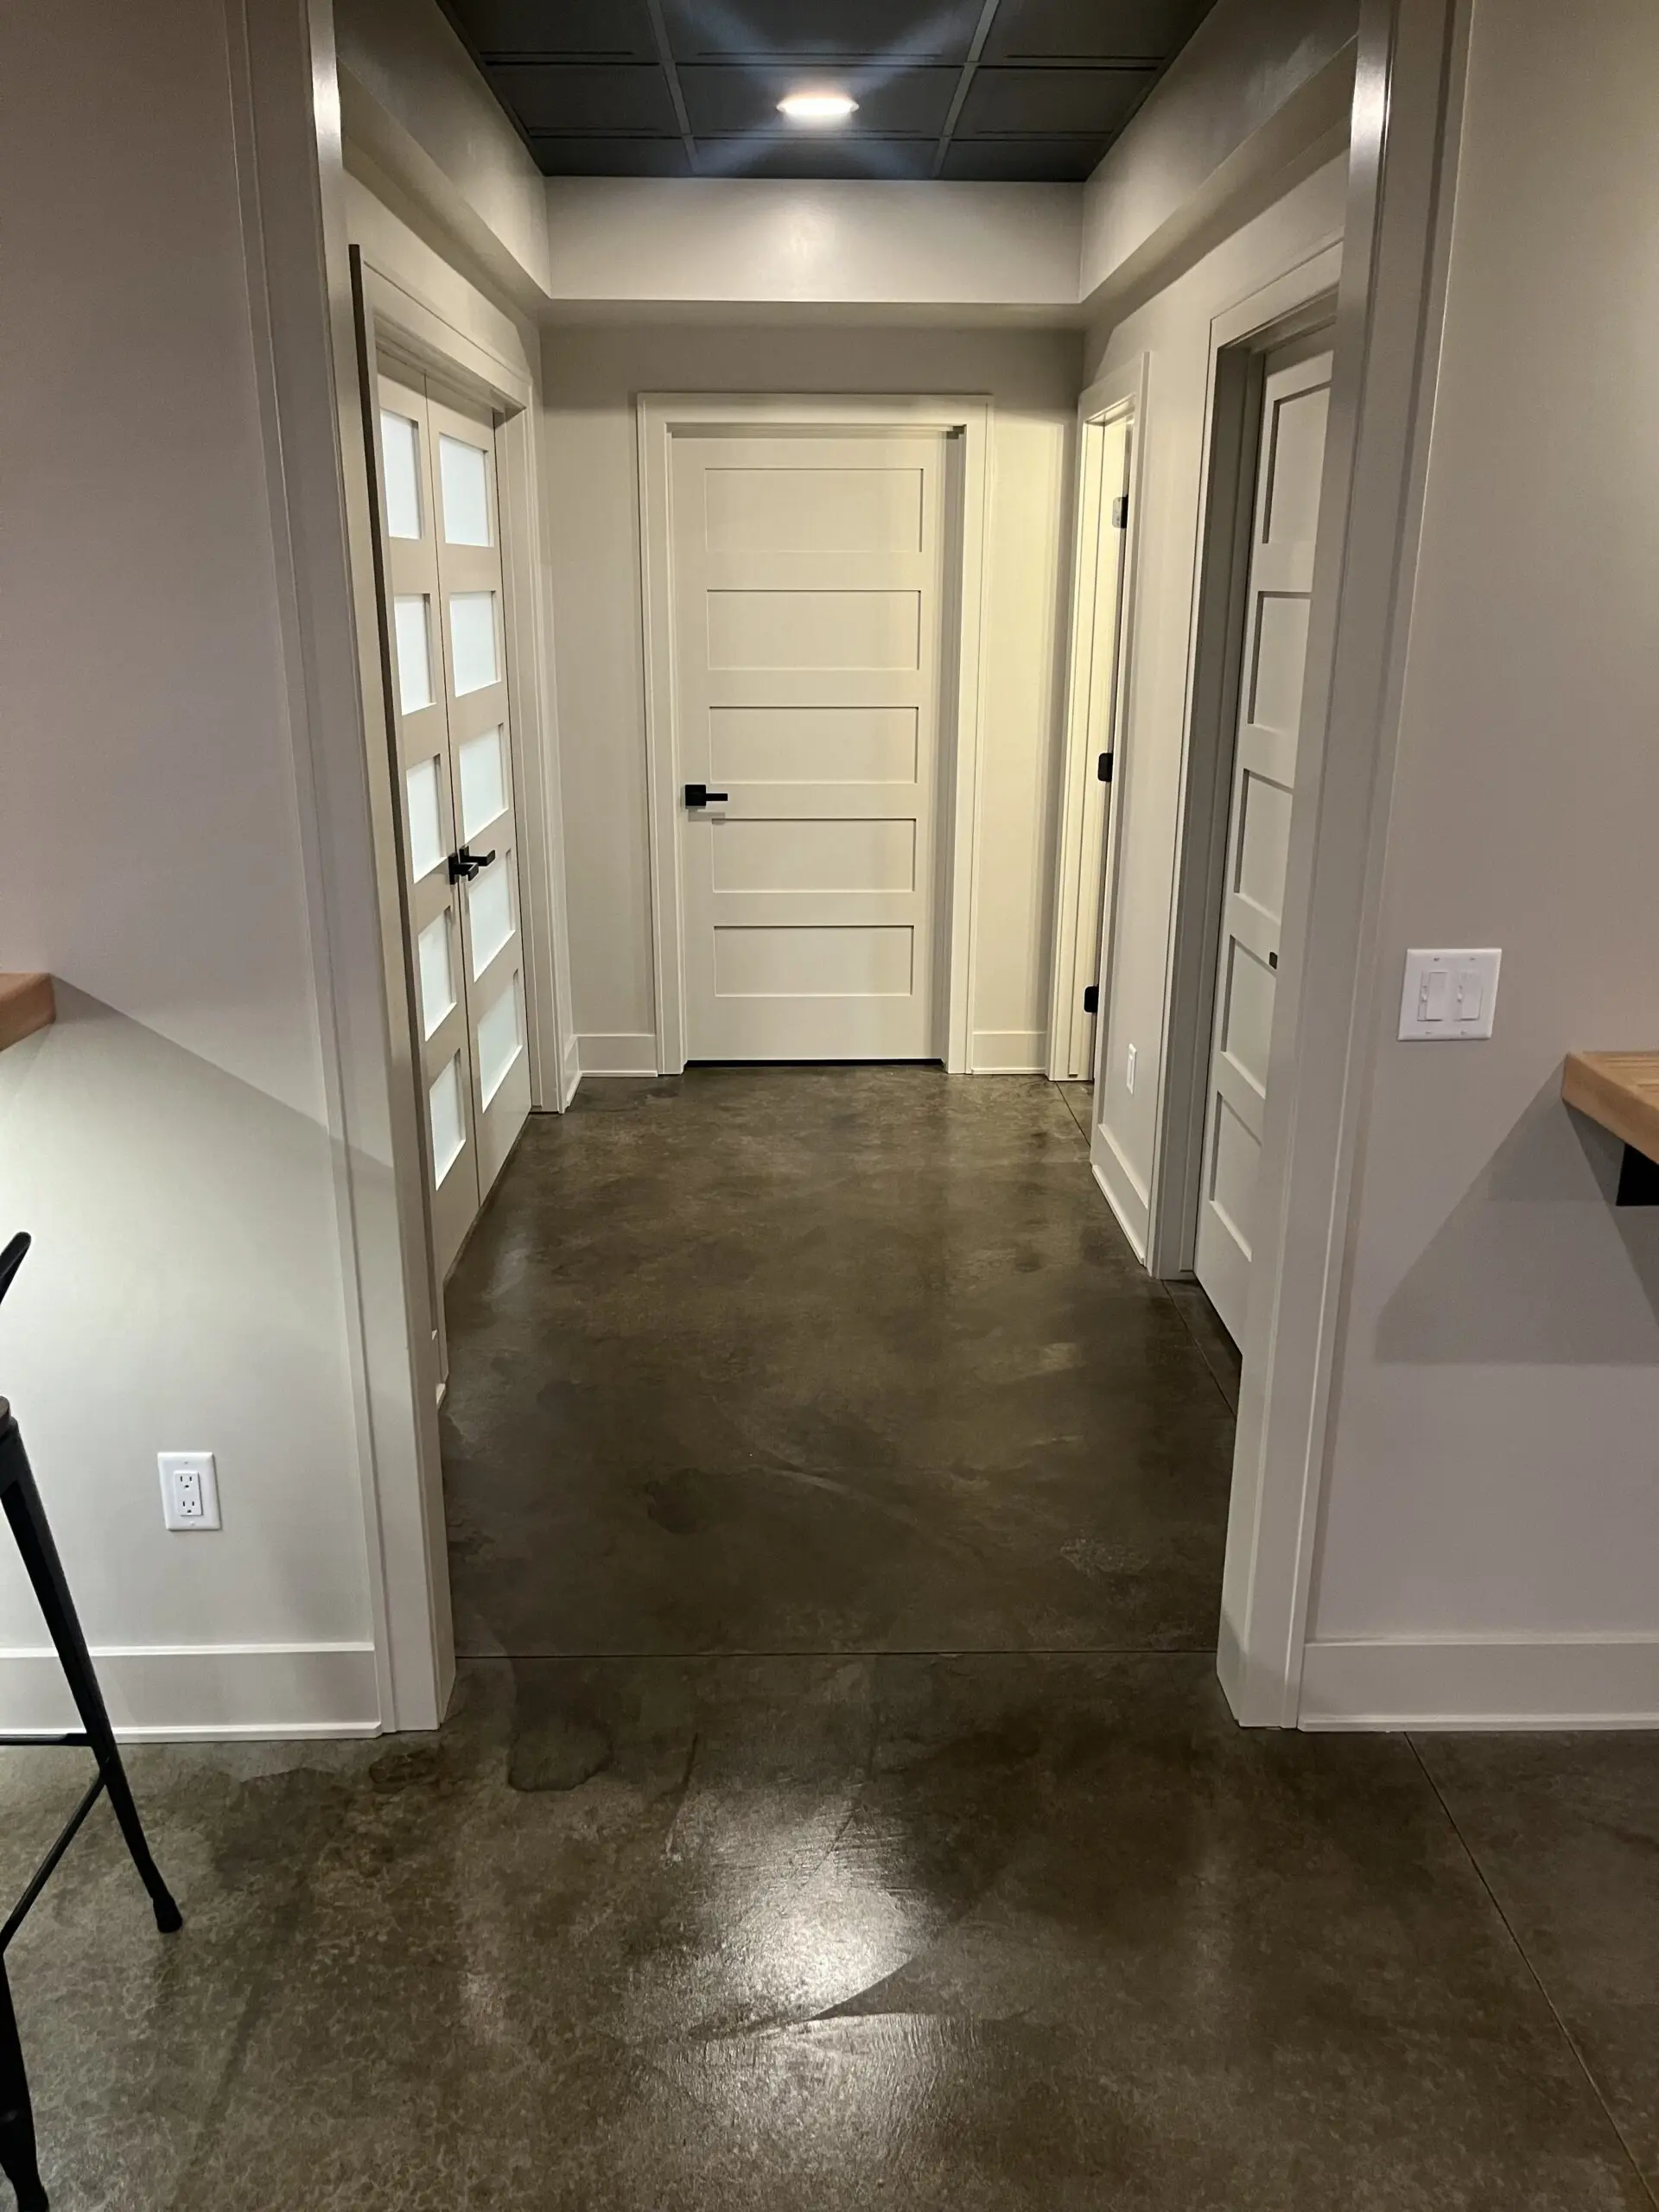
Modern Basement with Molasses-Stained Concrete Floor
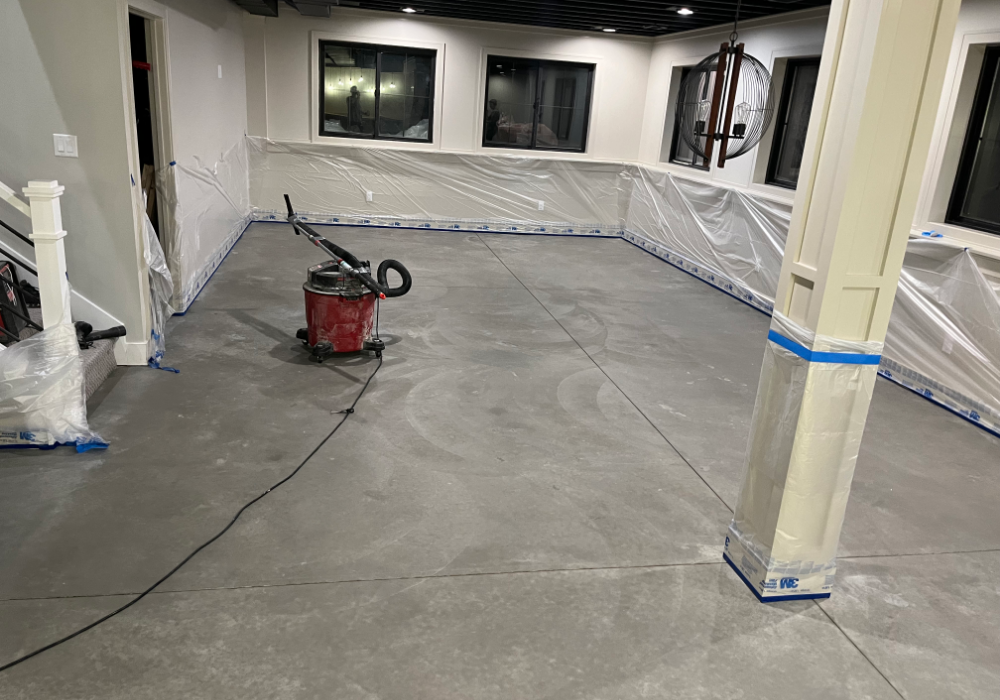
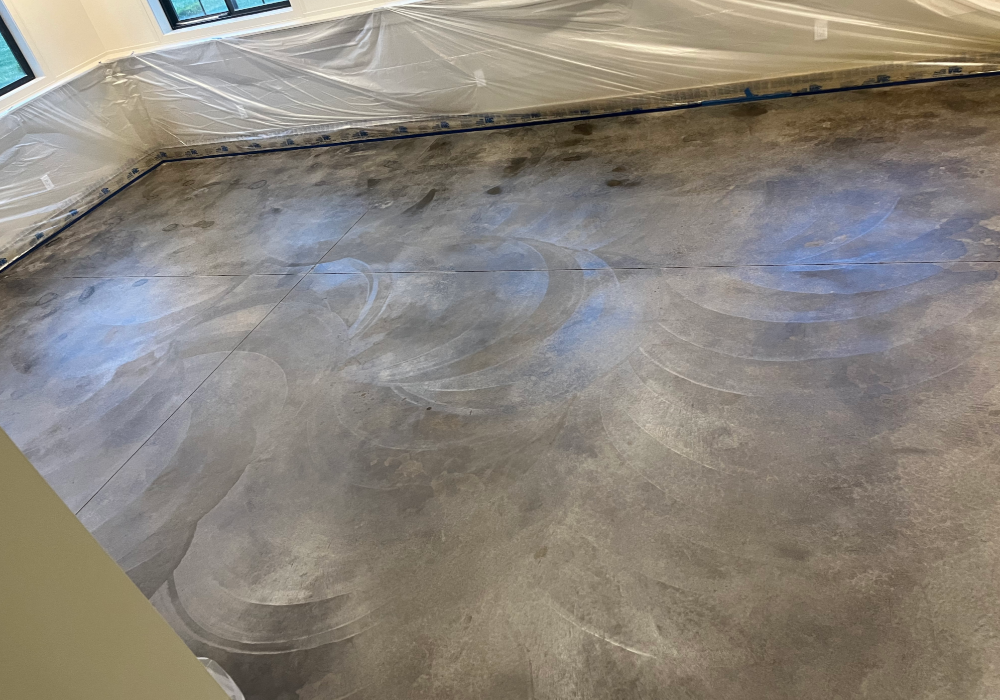
This project transformed a basement space with a smooth concrete floor stained using Molasses ColorWave®. The rich brown tones add warmth and sophistication, enhancing the bar, dining, and living areas with a polished, contemporary look.
Project Info:
-
- Project Completed In: 5 day(s)
- Estimate of Square Footage: 1500 sq. ft.
- Project Description:
We wanted to finish our basement with a unique style. So my wife and I decided to utilize the new concrete as the finished floor using a stain and sealer. - Personal Tips:
The cleaning process is the most tedious and time consuming, but it is the most important part. Make sure you are using compatible products for removing stains or paint from the floor to avoid any potential issues between DC products and cleaners. Lastly, follow the directions and do not cut corners. - Direct Colors Products Used:
5 Gal. Molasses ColorWave® & AcquaSeal™ Satin Kit
1 Gal. AcquaSeal™ Satin
5 Gal. ProWax Polish™ Satin - Other Products Used:
Simple green cleaner, floor scrubber, and a shop vac.
Please be aware that each photo in this gallery showcases projects accomplished with our ColorWave® Water-based Stain and is provided by actual customers, serving as a source of inspiration. However, since ColorWave® is semi-transparent, the final appearance of your project will be influenced by the initial color and condition of your concrete surface, and thus, your final results might vary. For the best results, we strongly recommend performing a small test on your specific surface before applying the stain to the entire project to ensure the final look aligns with your expectations.
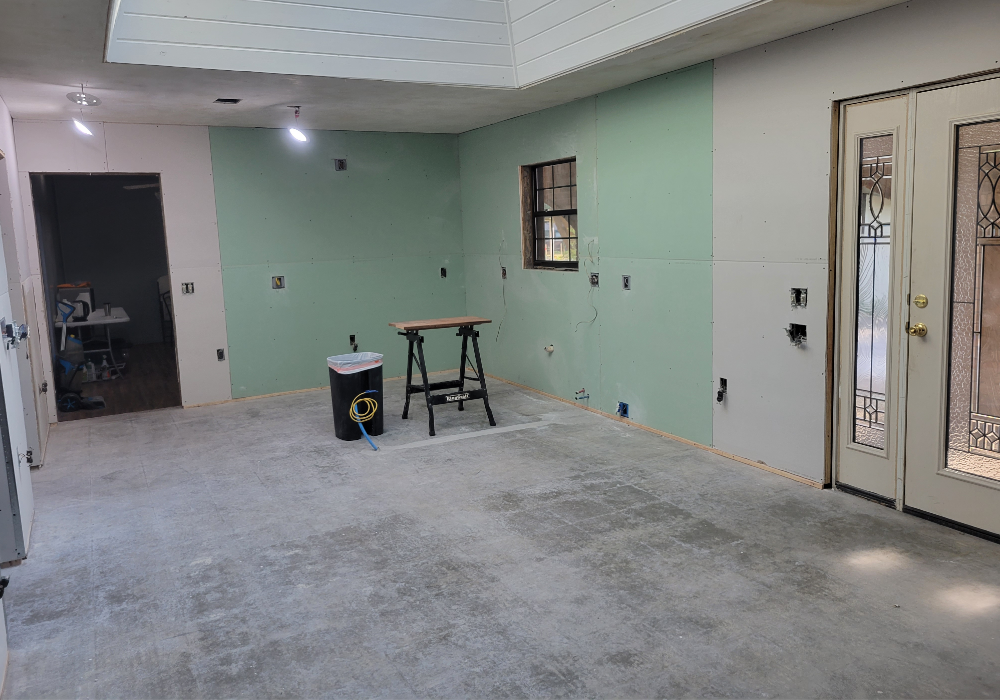
Tri-Room Remodel with ColorWave® Stain
This project highlights a transformative remodel of a kitchen, family, and laundry room, where everything was stripped down to the concrete and rejuvenated using ColorWave® Stain. Despite some challenges with the gloss application and a slight texture in the finish due to overgrinding, the result is a revitalized space with a pleasing new aesthetic.
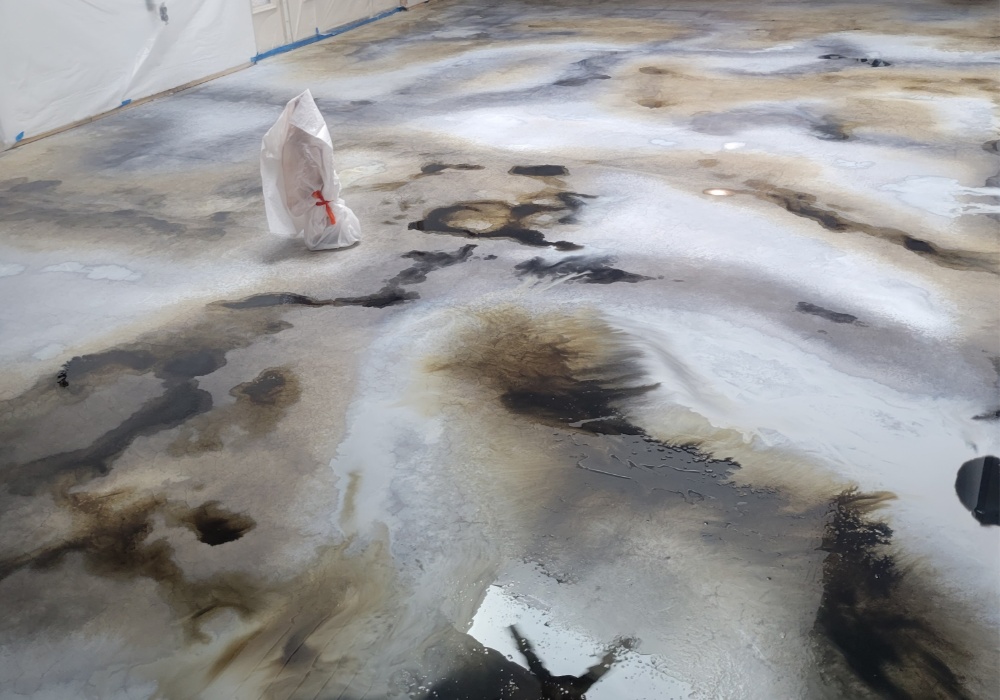
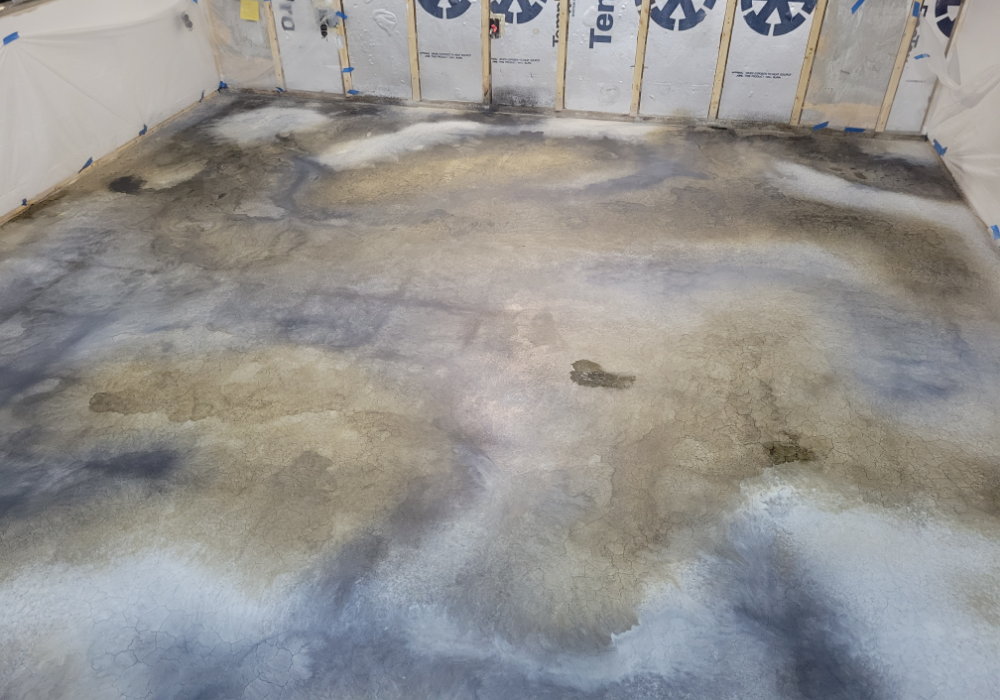
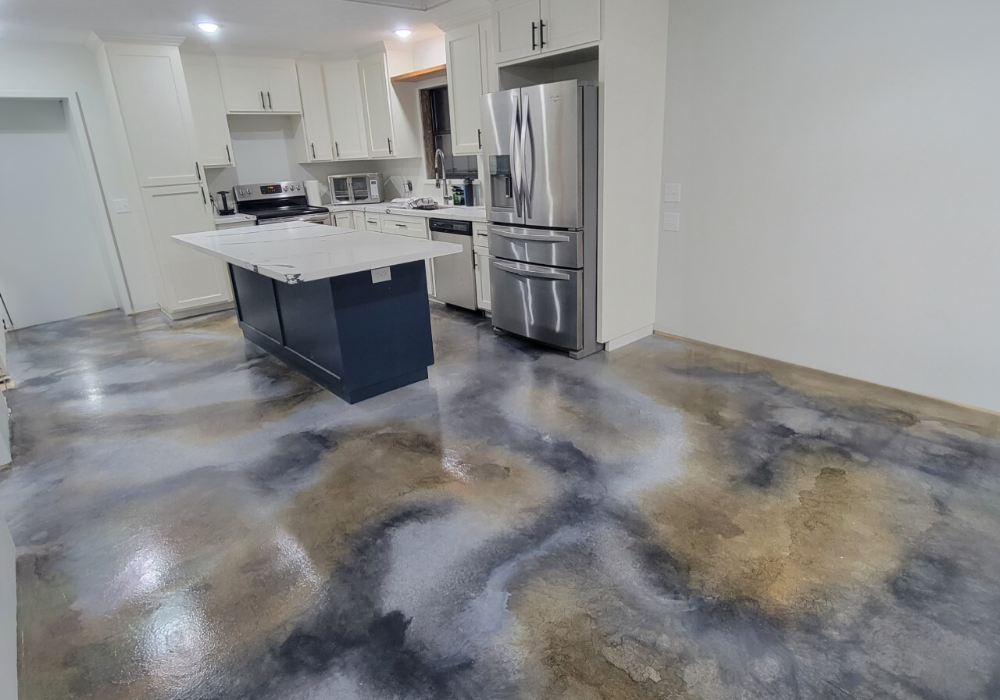
Tip: Apply the stains in a wet-on-wet technique, similar to acid staining, and used multiple layers to achieve the desired effect.
Project Info:
- Project Completed In: 7 day(s)
- Estimate of Square Footage: 500 sq. ft.
- Project Description:
Complete Kitchen, Family and Laundry Room remodel taking the rooms down to the studs including 2 layers of flooring to reveal the concrete. - Personal Tips:
I originally was drawn to the acid stain floors but chose ColorWave for the convenience but applied it somewhat like an acid stain with the wet on wet multiple colors. I started out with a white only (which I would skip were I to do it again). I did 3 layers of color, but two would have have worked well. I especially love the Silver which in certainly light a baby blue and reacts with the Iron Gray to be similar to a dark Navy.I used a first coat sealer of the EasySeal Satin and then topped it off with the EasySeal Gloss. The satin coverage was perfect, but the Gloss seemed to be soaking in too much in some areas and glossing better in others. I ended up putting 3 thin coats of the gloss for the best coverage. It is not fully glassy as I had hoped but has a slight texture which I believe is due to some overgrinding in areas. I finished with 2 coats of High Gloss Floor Wax. Due to the fumes in EasySeal Solvent Sealer, I would choose the water based sealer even though it is not as good for “re-sealing.” - Direct Colors Products Used:
ColorWave® Stain Trial Kit (Navy, Rust & Stone)
ColorWave® Stain Trial Kit (Black, Blue, Steel)
Patch-Rx™ Concrete Repair: Base Gray: 2.5 lbs
Patch-Rx™ Concrete Repair: Base White: 2.5 lbs
1 Gal. Silver ColorWave® Stain
3 x 1 Gal. White ColorWave® Stain
2 x 1 Gal. Stone ColorWave® Stain
1 Qt. Iron ColorWave® Stain
3 x 1 Gal. EasySeal™ Gloss
1 Gal. ProWax Polish™ Gloss - Other Products Used:
Angle Grinder with Diamond Blade, Rotating Sander, Simple Green Degreaser, Wet Dry Shop Vacuum.
From Basement Mess to Marble Elegance
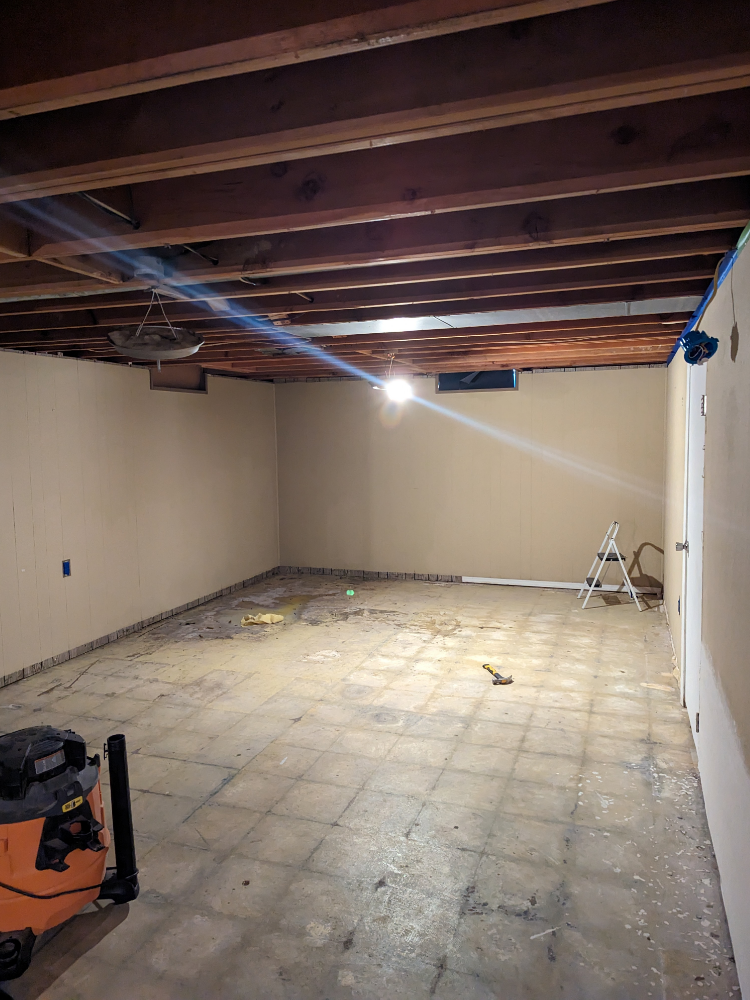
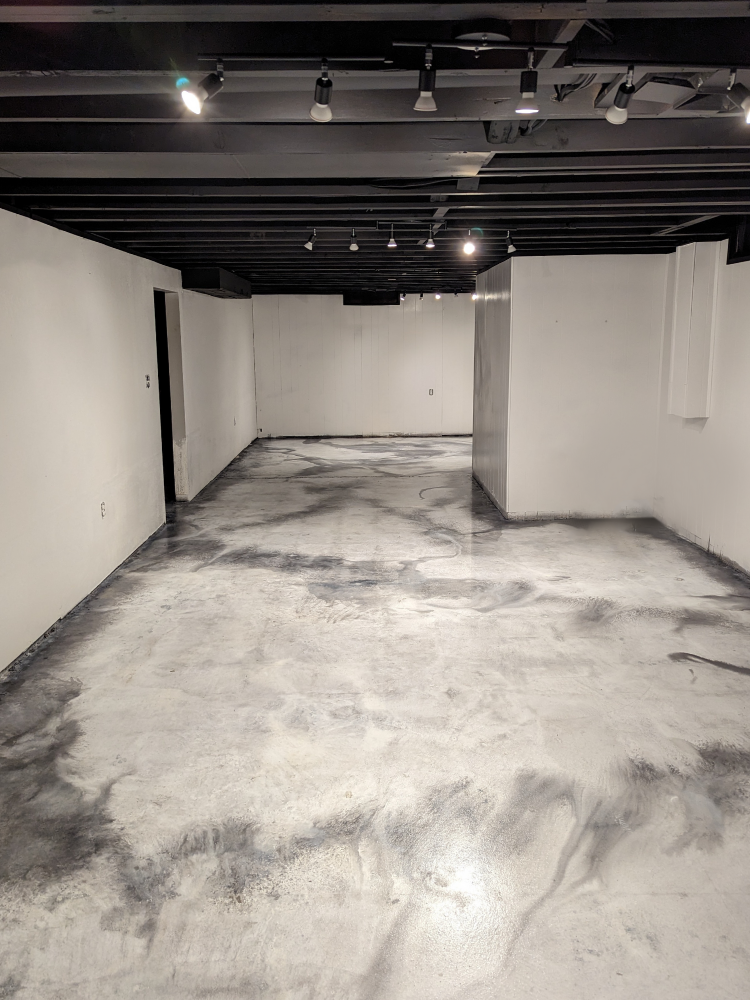
This project transformed a mastic-covered basement into a marbled masterpiece using White and Steel Gray ColorWave® stains. Despite initial tile ghosting, the application of sealer revealed a floor resembling a magnified marble slab, adding an extraordinary touch to an ordinary basement.
Project Info:
- Project Completed In: 7 day(s)
- Estimate of Square Footage: 420 sq. ft.
- Project Description:
I had a basement that was about 3/4 mastic that flooded about 5 years ago. When it flooded all of the 1970’s tile that was under the carpet lost its adhesion and came away. I was left with all the black asbestos mastic and a mess. Luckily I had already used Direct Colors for my countertops so I figured if there was one place that could solve my ugly basement this was the place. - Personal Tips:
BE PATIENT it is worth doing right and letting the product dry and/or cure for the correct time.Also, I had a lot better luck using one of the twist mops when applying the polish and just going over it lightly - Direct Colors Products Used:
1 Gal. Steel DIY ColorWave® & AcquaSeal™ Gloss Kit
2 x 1 Gal. White ColorWave® & AcquaSeal™ Gloss Kit
1 Gal. White ColorWave® Stain
1 Gal. ProWax Polish™ Gloss
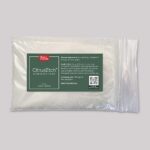
1 Gal. CitrusEtch™ Concrete Etcher
1 Qt. ProClean Neutralizer™ Concentrate
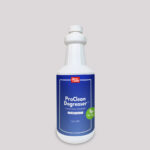
1 Qt. ProClean Degreaser™ Concentrate
1 Gal. Bean-E-Doo Mastic Remover - Other Products Used:
Libman floor brush
Twist mops
Floor scraper
Spyder scraper blade attachment for saw all
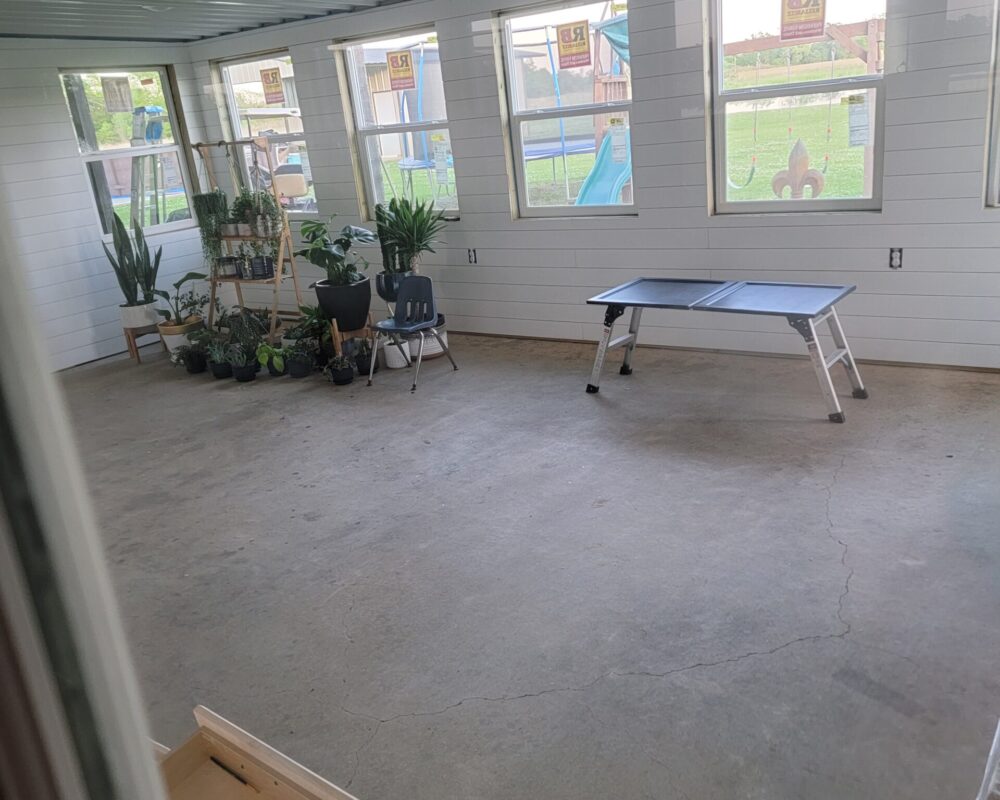
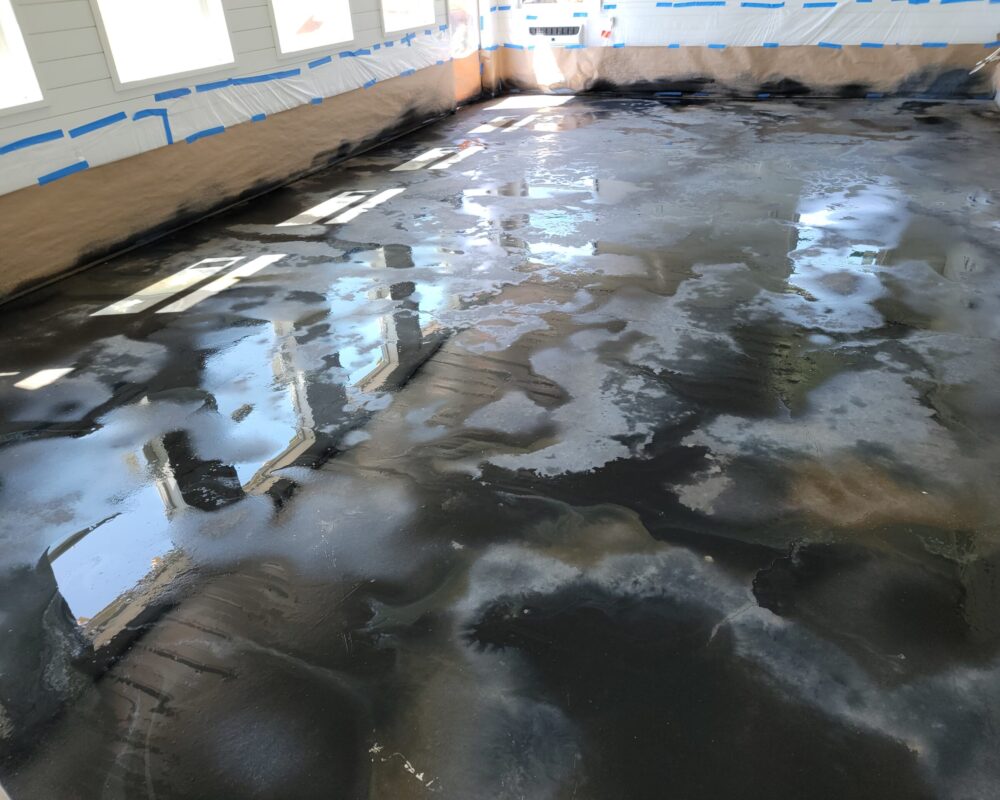
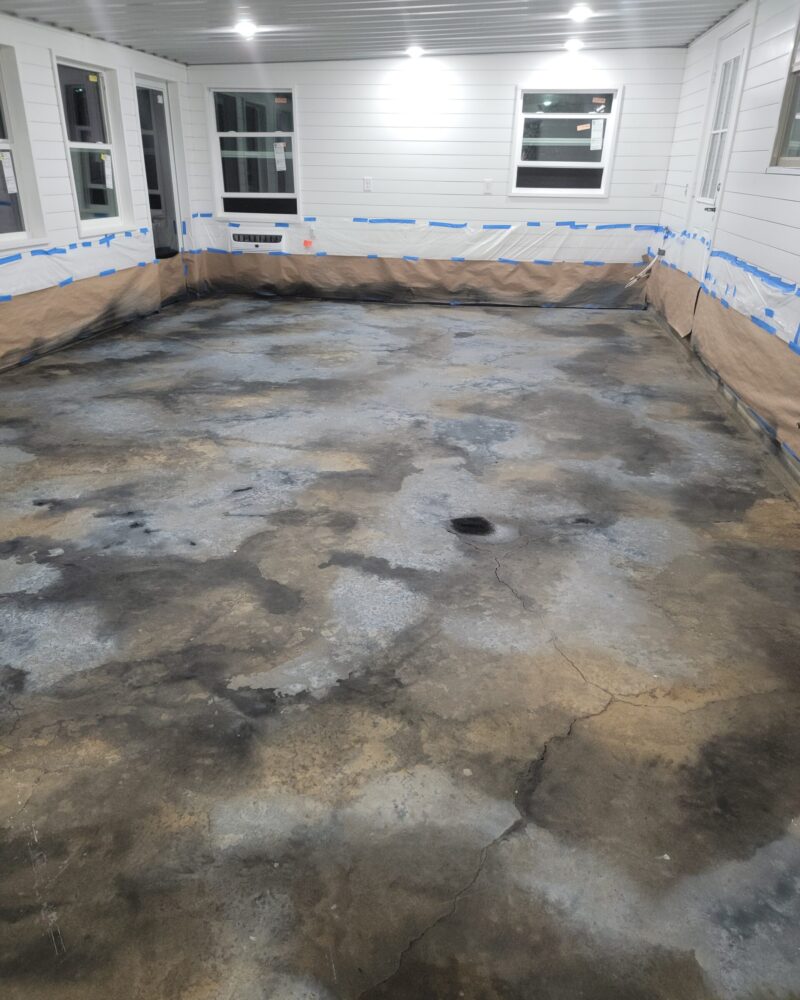
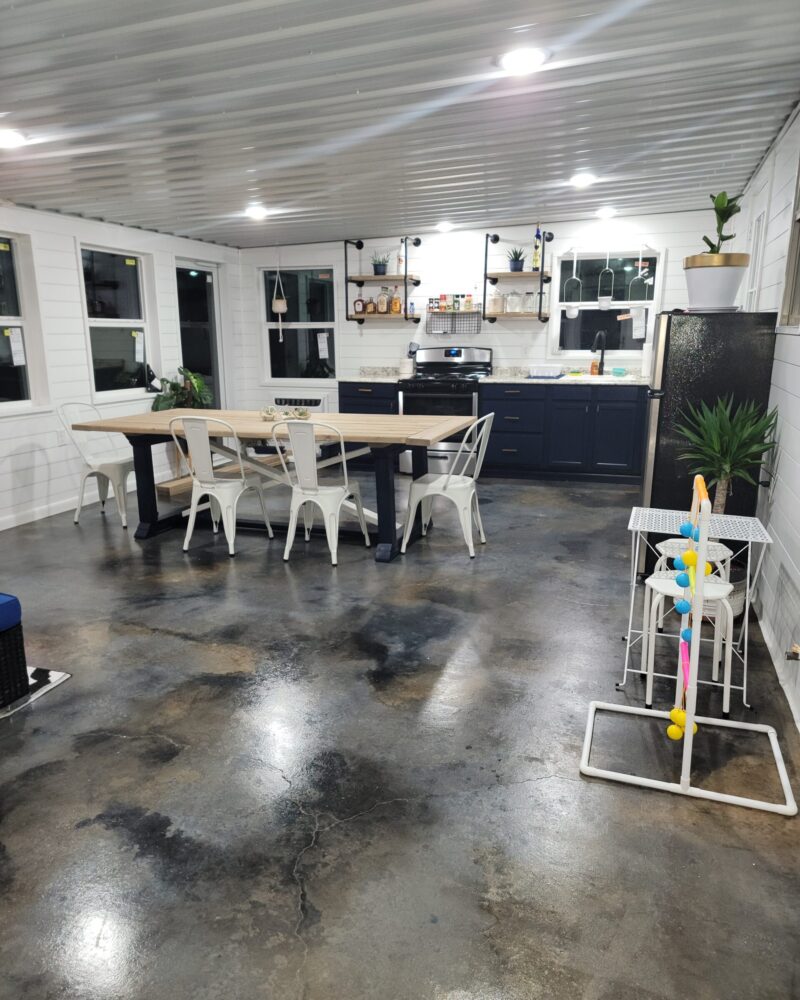
DIY Marbled Concrete Floors Using the Puddling Method
Breath new life into your space using ColorWave’s Black, Stone Gray, and Iron Gray hues.
Project Info:
- Project Completed In: 3 day(s)
- Estimate of Square Footage: 430 sq. ft.
- Project Description:
We used Colorwave Black, Stone Gray and Iron gray, used the “puddling method” and finished it off with an acrylic water based high gloss sealer. We also put 2 coats of wax afterwards. - Direct Colors Products Used:
1 Gal. Black ColorWave® Stain
1 Gal. Iron ColorWave® Stain
1 Gal. Stone ColorWave® Stain
3 x 1 Gal. AcquaSeal™ Gloss
1 Gal. ProWax Polish™ Satin - Other Products Used:
Wet Dry Shop Vacuum.
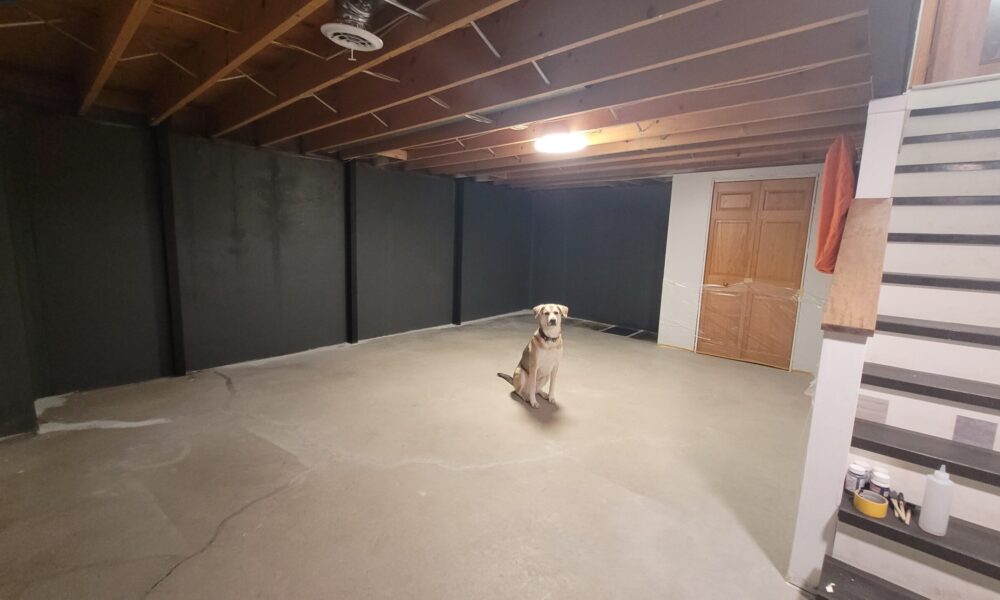
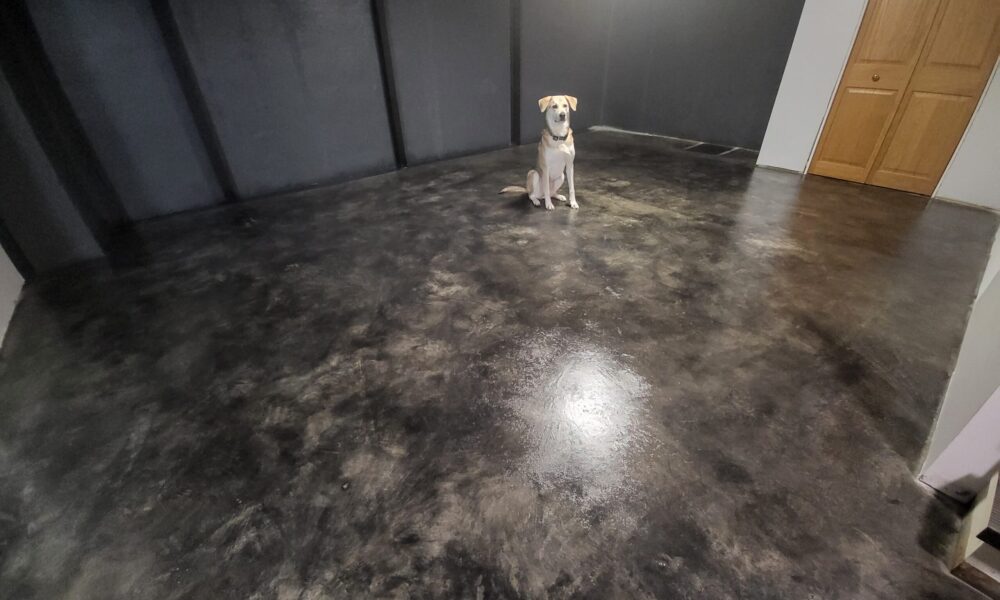
Industrial Basement Transformation: Crafting a Modern Home Office
Explore the transformation of an unfinished basement into a sleek, industrial home office. A homeowner overcame paint overspray and etching marks by using stain samples and a buffing technique to achieve a distinct stone-like look. Dive into this inspiring project to learn how to craft your own floor makeover.
Project Info:
- Project Completed In: 4 day(s)
- Estimate of Square Footage: 210 sq. ft.
- Project Description:
Our project is to make our basement into some usable bonus space. We aren’t completely finishing out the space but going for a polished industrial type of look. This space will be a future work from home office space. - Personal Tips:
We had a lot of paint overspray and learned that vinegar works great to pull that up and on stubborn areas my steam shot cleaner worked great. Don’t skimp on the prep, it was so much work but definitely necessary.We etched our floors and after the first coat of stain, we could see all of our scrub brush strokes from etching, it looks really bad. When the brush marks didn’t dry away we were left to problem-solve. We took out black and silver samples and tried to hide the worst areas. We left that to dry a bit and it didn’t look quite right so we actually took our bissell spinwave mop and swirled/buffed the stain. This worked great! It hid the etching marks and made a really nice stone type of look with the three colors. It was a rollar coaster but I love how it turned out. - Direct Colors Products Used:
ColorWave® Stain Trial Kit ( Black, Silver & Stone)
2 x 1 Gal. Steel ColorWave® Stain AcquaSeal™ Gloss Kit - Other Products Used:
Rust-Oleum Clean & Etch & ZEP Wet-Look Floor Polish
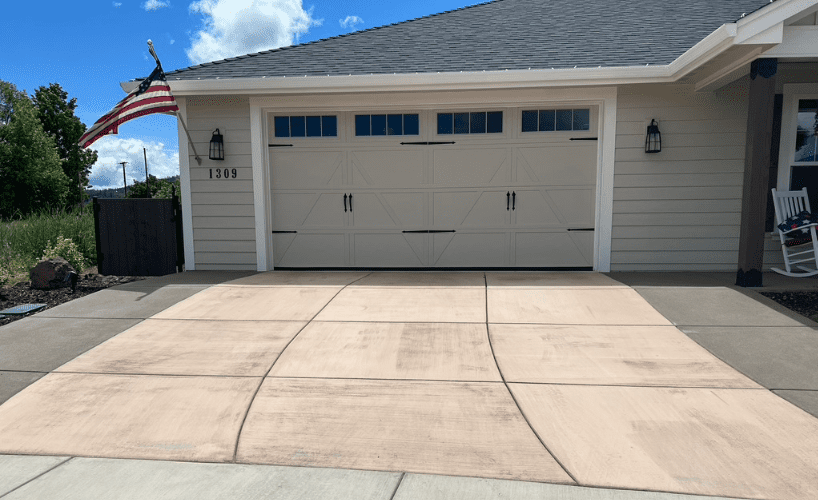
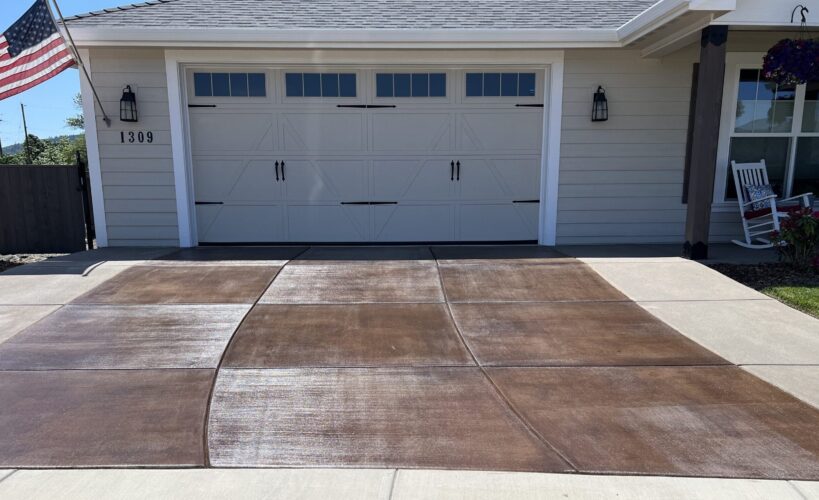
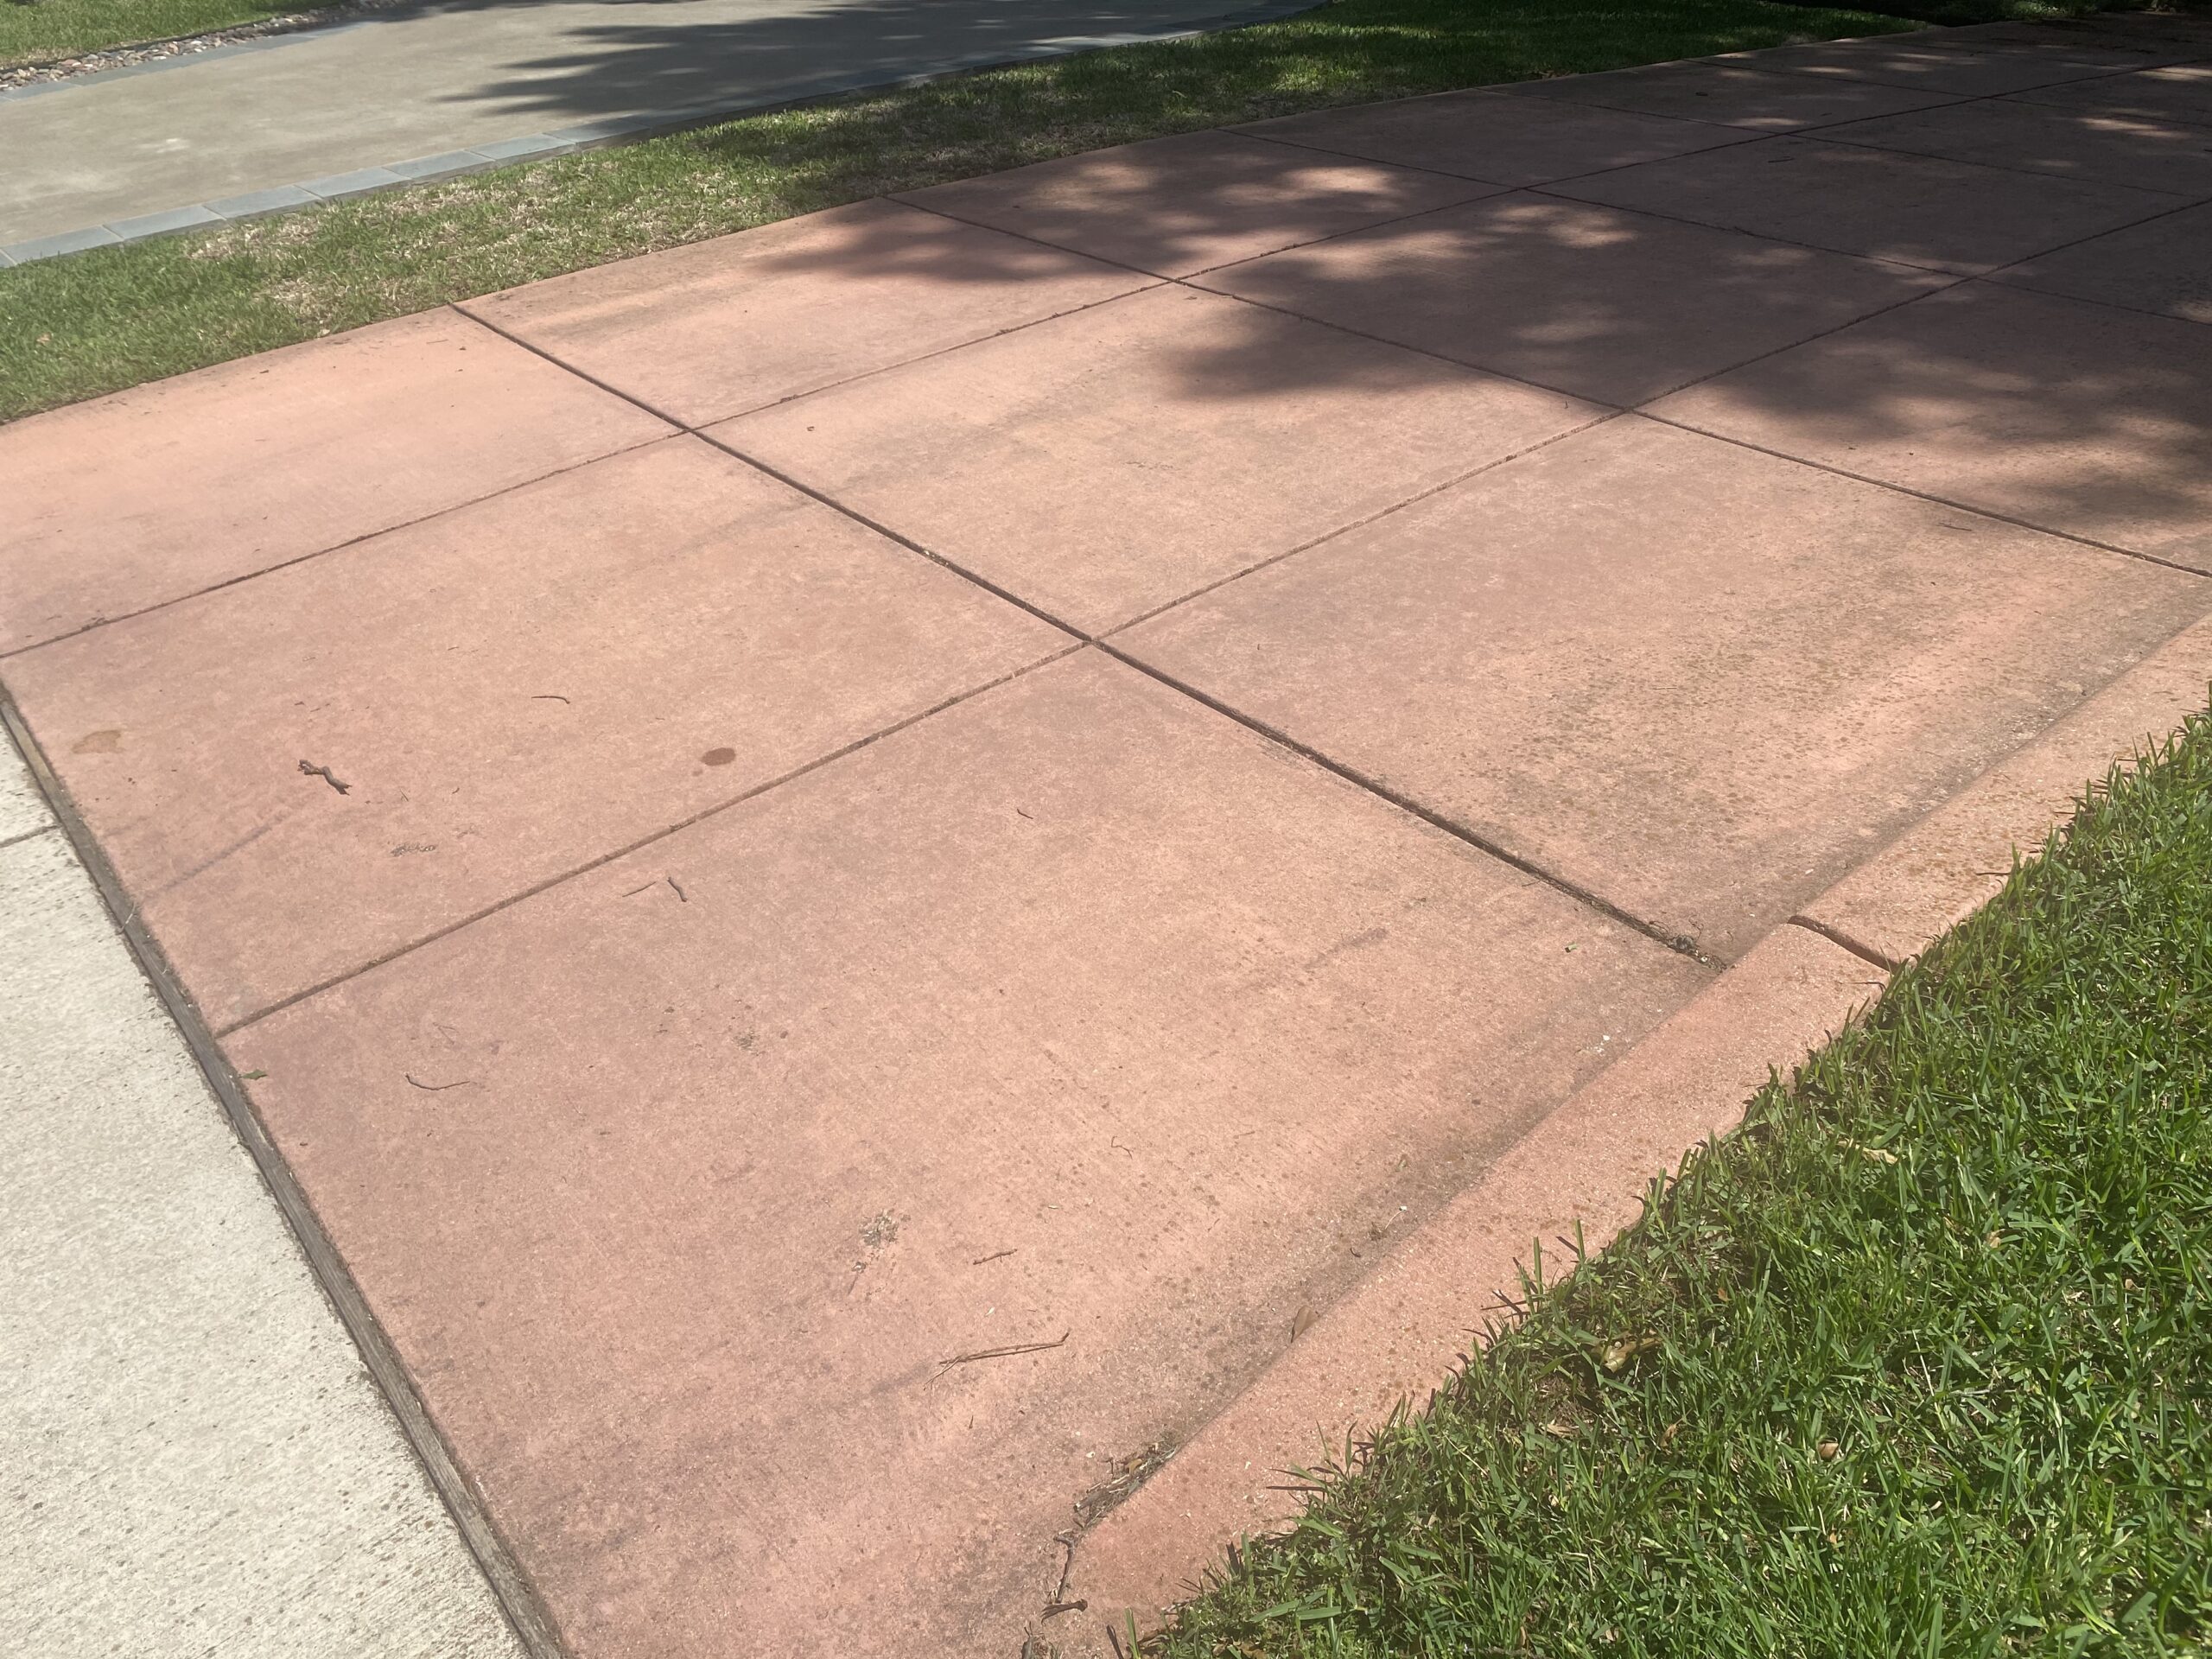
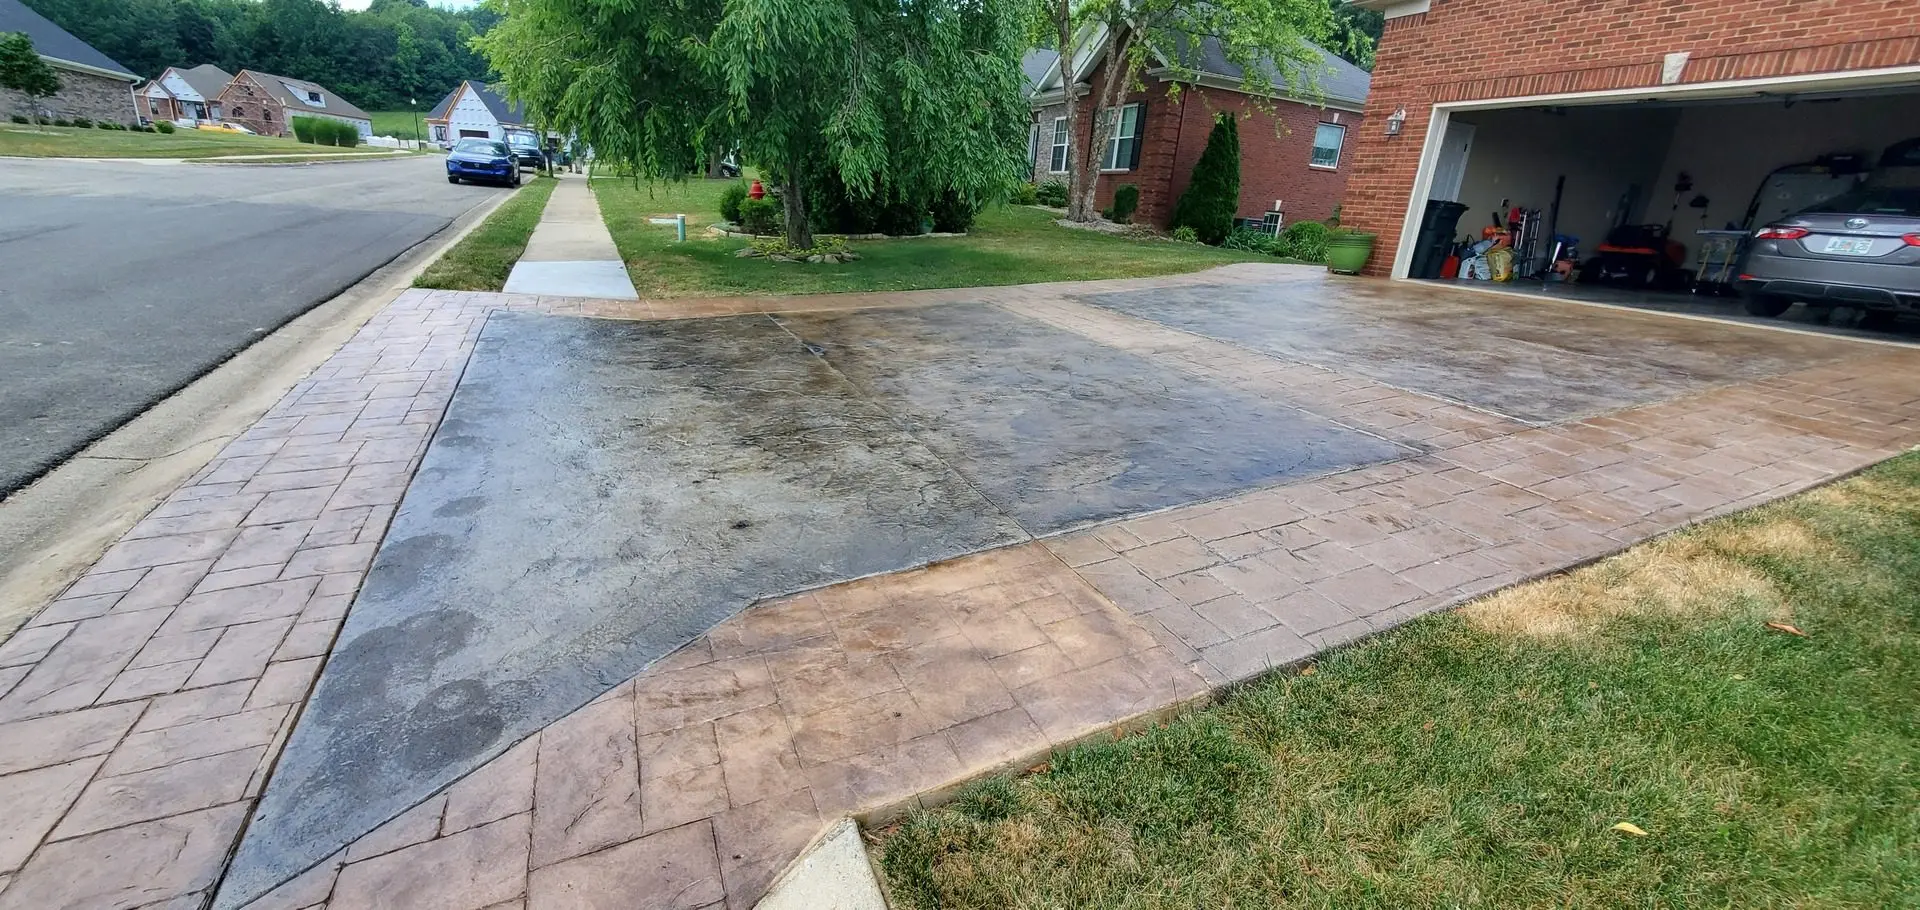
Fixing a Pink Concrete Driveway
This customer wanted a rich brown concrete driveway to match their home’s wood accents but ended up with a light peach color. After finding Direct Colors, they used ColorWave® stain to achieve the perfect shade.
Project Info:
-
- Project Completed In: 3 day(s)
- Estimate of Square Footage: 336 sq. ft.
- Project Description:
We wanted colored concrete for the middle section of our driveway. We selected a color from the concrete company, a color that was supposed to match the stained wood accents on the front of the house. Once is was all dry, the color was more light peach colored than the rich brown we were hoping for. Fast forward a few years and I found Direct Colors online. They seemed to have the answer to our problem. After carefully trying some samples, I ordered a whole batch of stain, antiquing, and sealer. The results are beautiful and exactly what we wanted. And I have plenty left over to fix our patio in the backyard. Thanks Direct Colors! - Personal Tips:
Tip #1– after the color don’t use the spiked candles on you shoes. I found, even walking very carefully, it left marks in the color. Since the color was dry and I was rolling the sealer, I simply wore an old pair of socks.
- Direct Colors Products Used:
3 x 1 Gal. Molasses ColorWave® Stain EasySeal™ Satin Kit
3 x 1 Gal. Aztec Brown Antiquing™ Stain
Achieving a Natural Stone Effect with ColorWave® White and Blue Stain
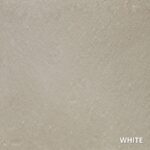
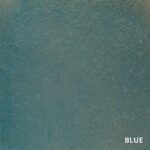
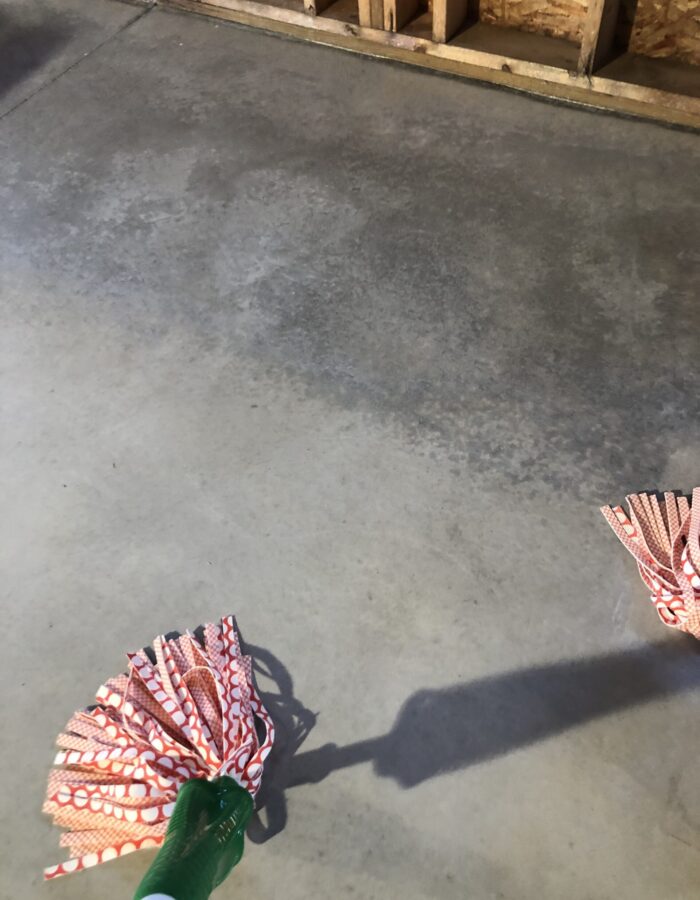
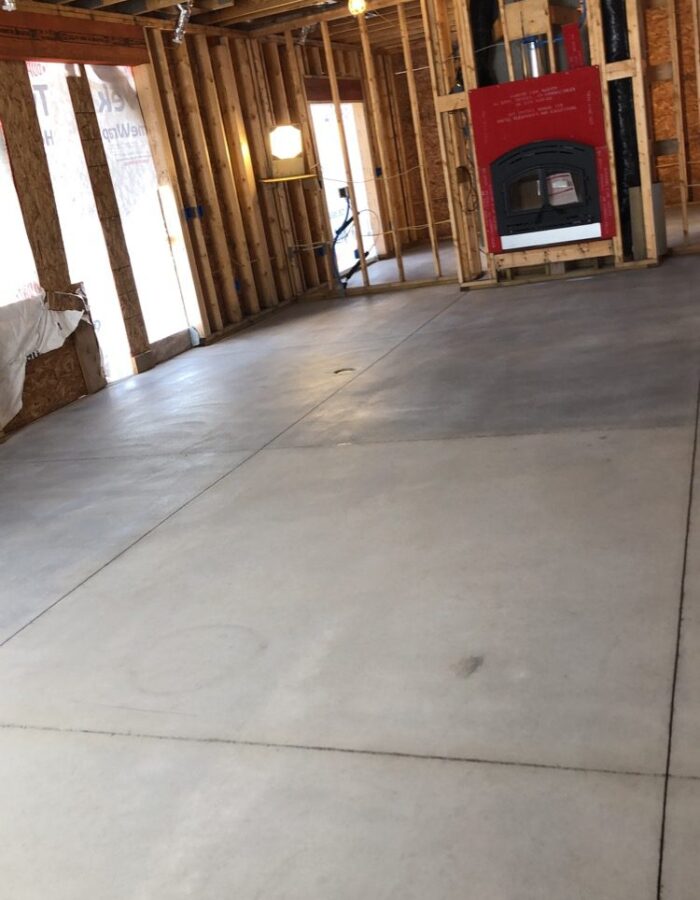
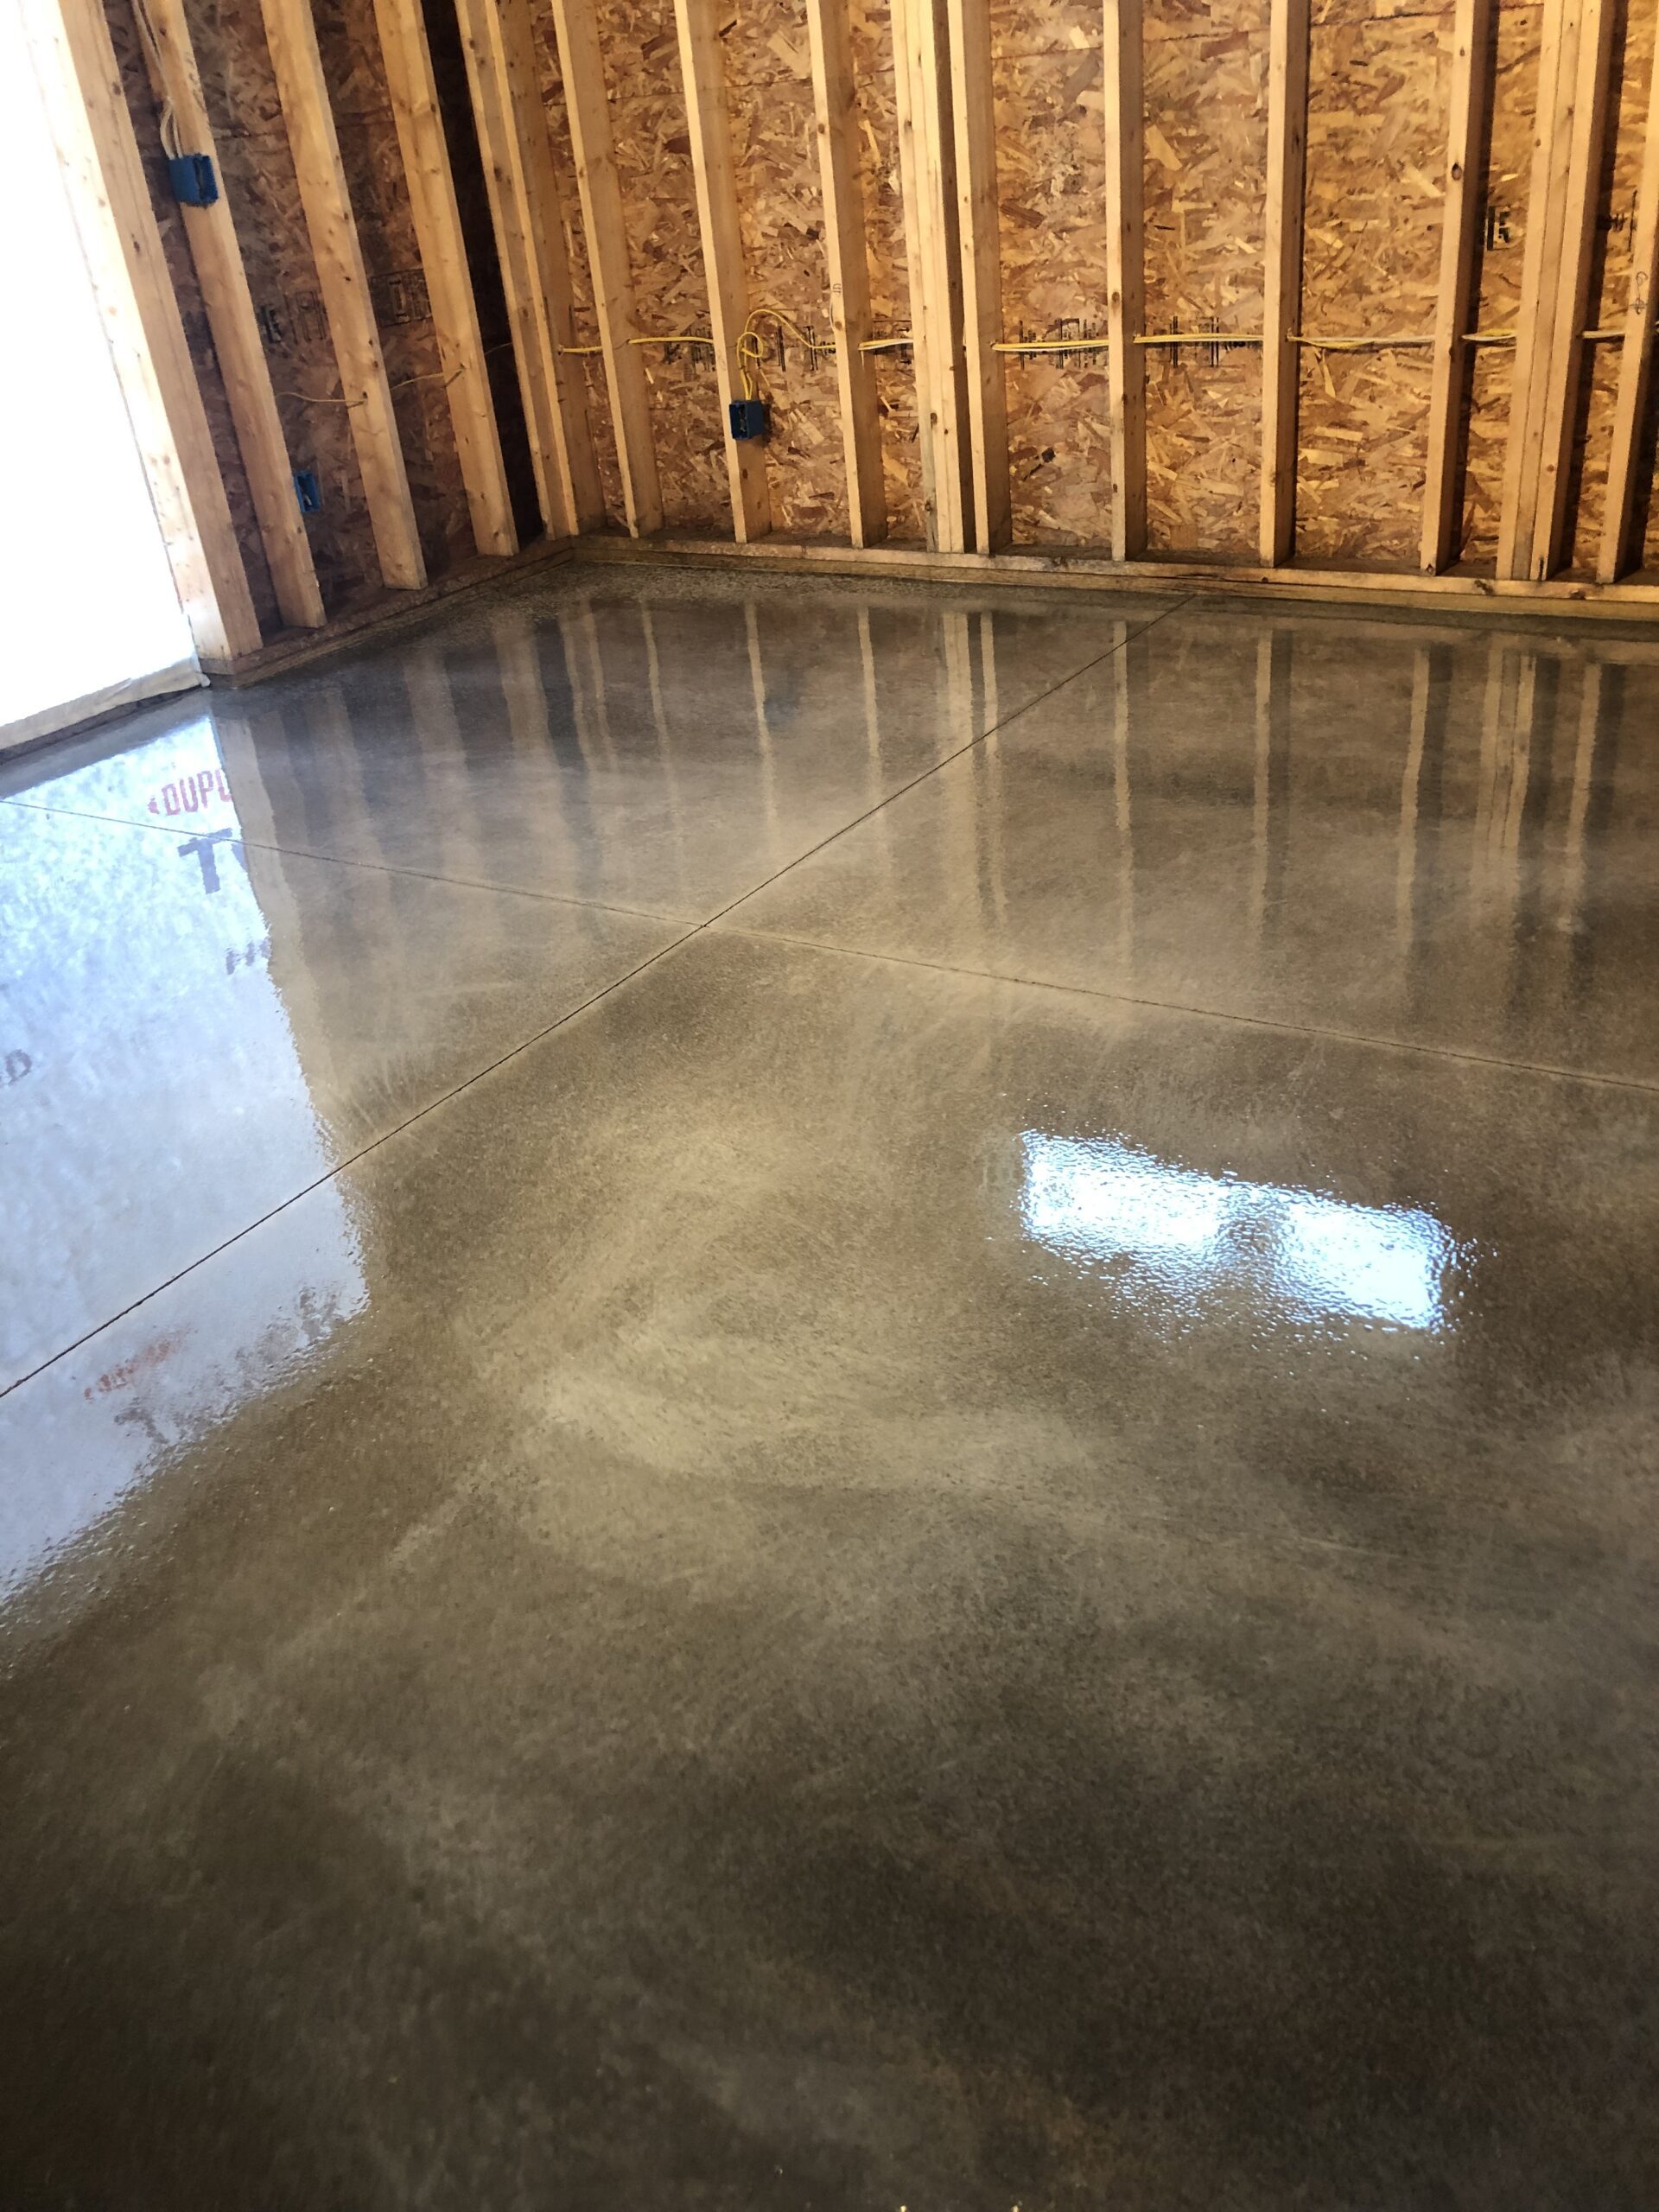
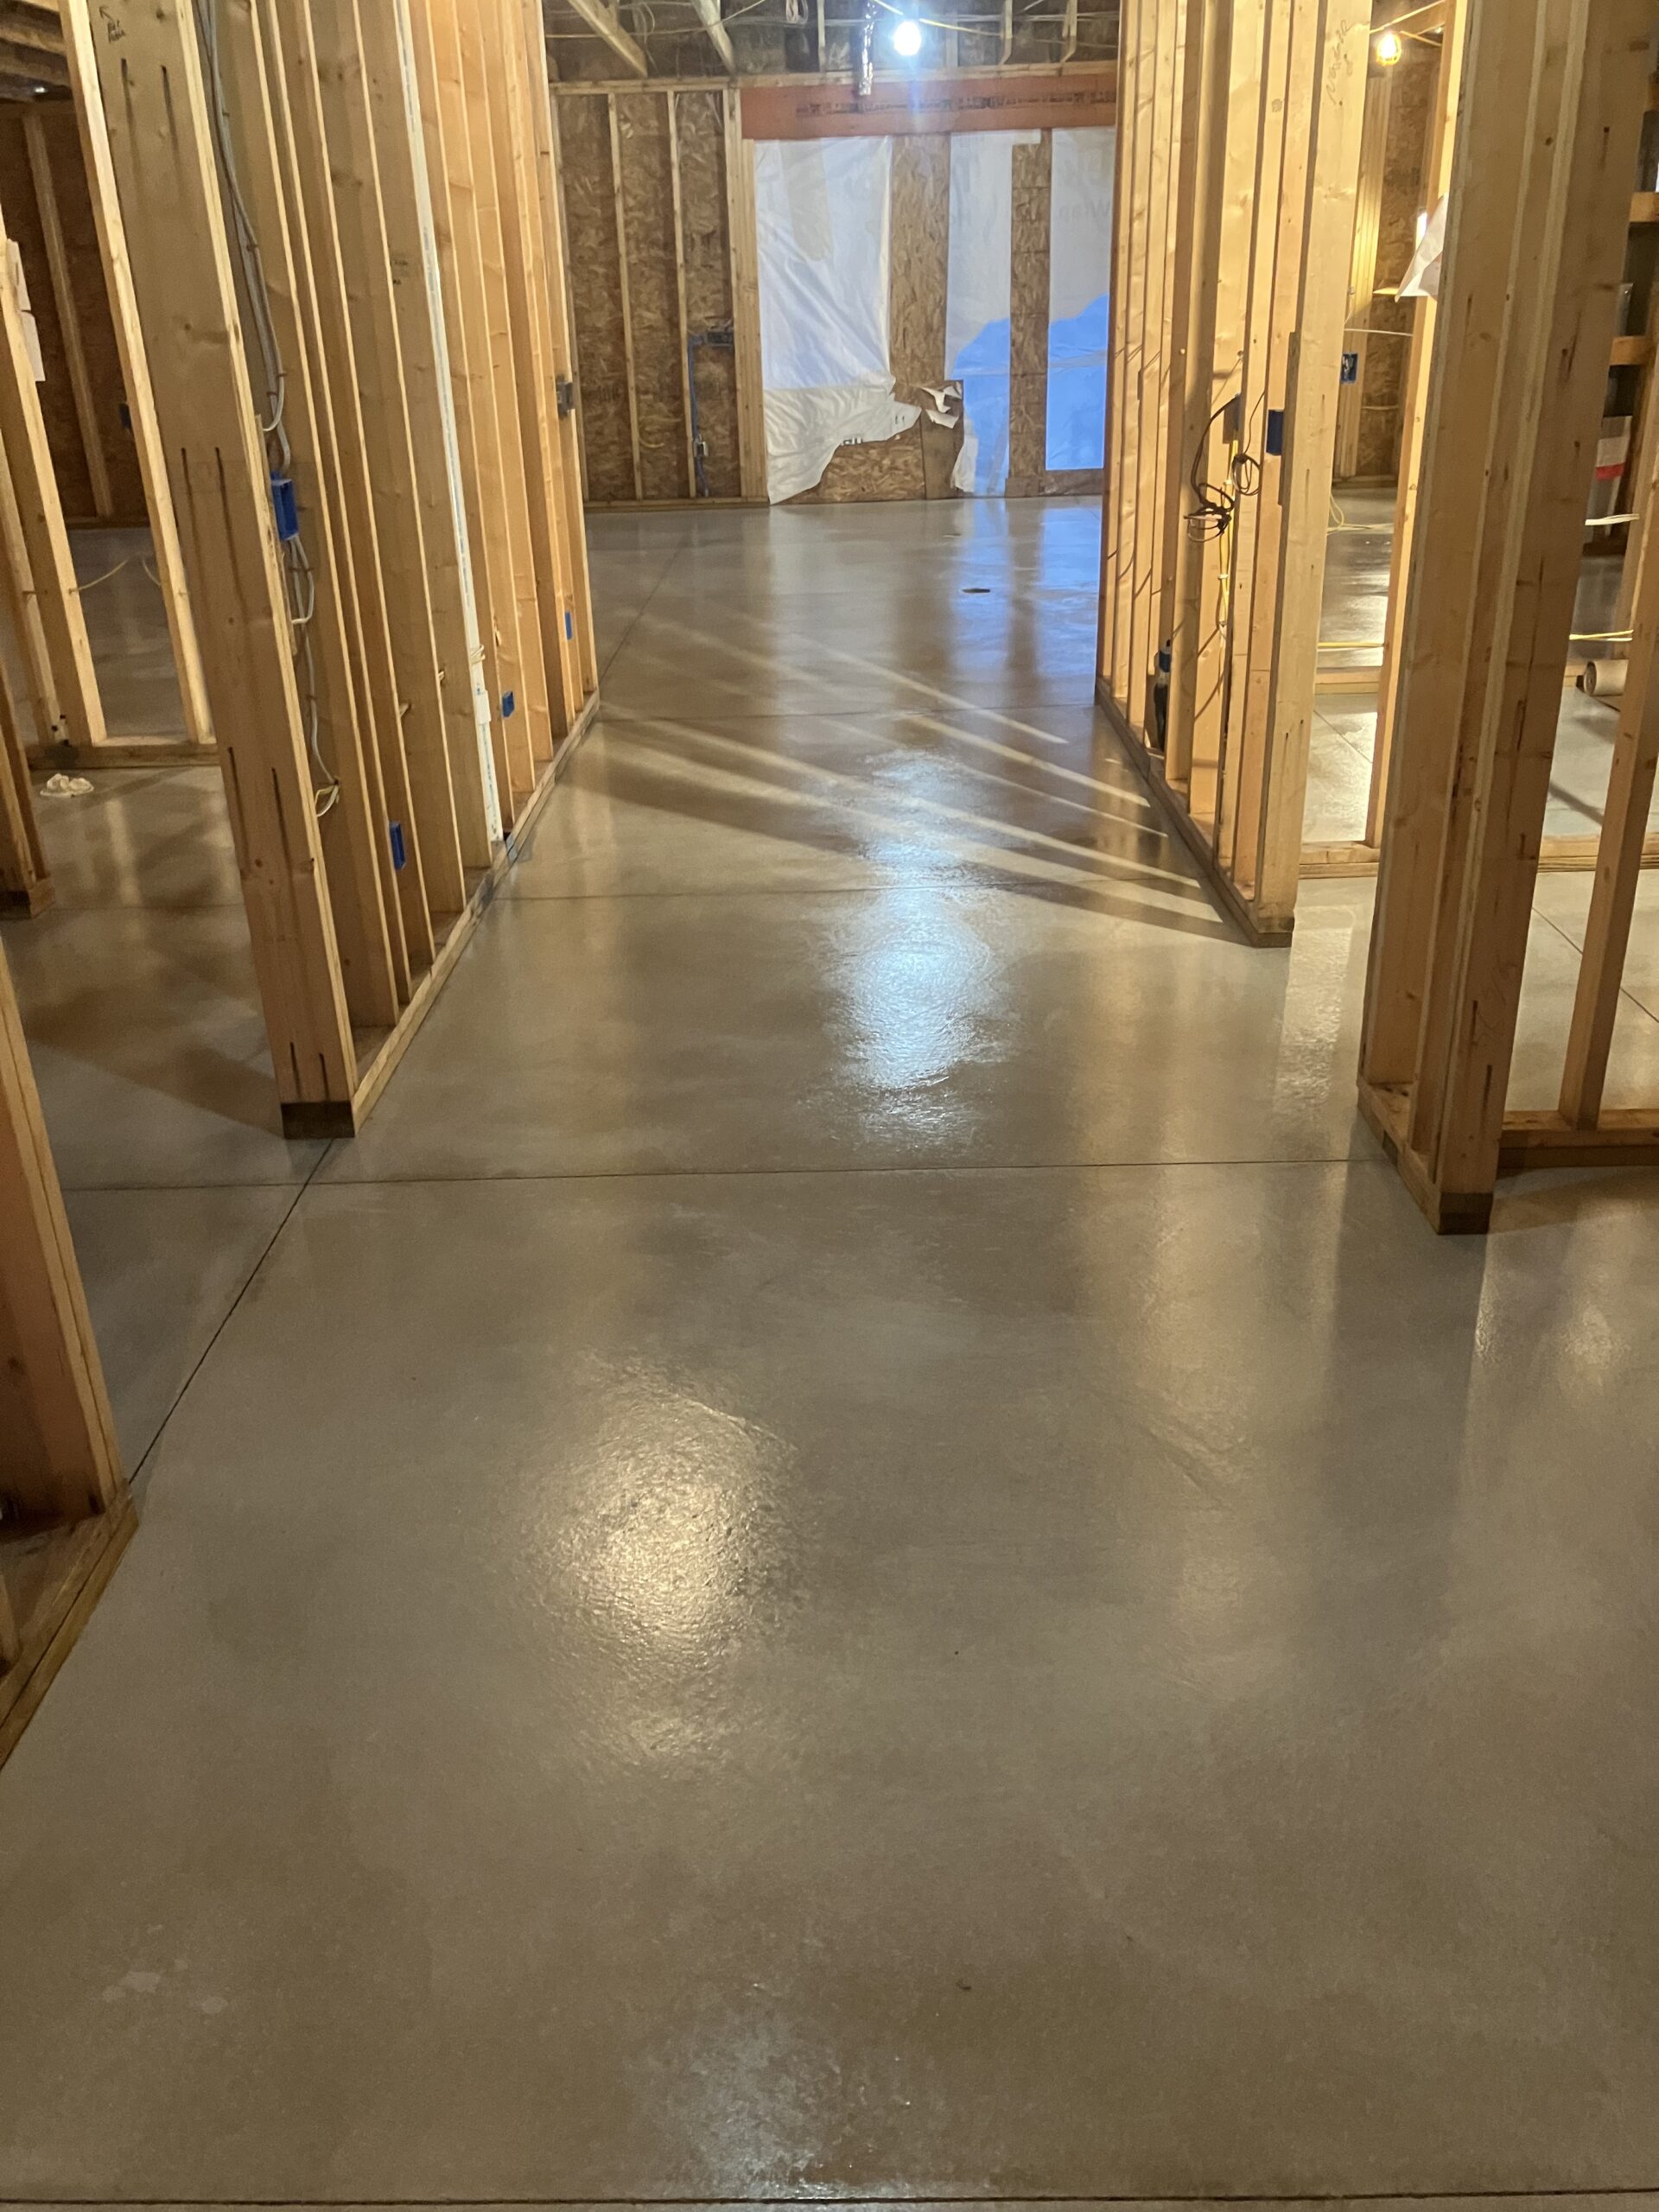
This project involved transforming the flooring of an entire home built on a slab on grade . The goal was to make the concrete floors resemble stone rather than plain concrete. White ColorWave® was applied throughout the home using a dry mop and hand-held pump sprayer, with blue added to the laundry and walk-in shower.
Project Info:
- Project Completed In: 3 day(s)
- Estimate of Square Footage: 2300 sq. ft.
- Project Description:
We have a slab on grade home that we chose to use those concrete floors as our flooring throughout the entire home. We wanted to add some color to them to make it look more like stone than just a plain concrete floor. We applied ColorWave white to the entire floor with a dry mop. We applied the white stain color using a hand held pump sprayer to the entire floor and then dry mopped it. We also added blue to the laundry and walk in shower. We power washed and wet vac on Friday. Vacuumed any leftover debris on Saturday morning applied the white and blue colors Saturday morning and put the first coat of sealer on Saturday afternoon. The second coat of high-gloss sealer went on Sunday afternoon. - Personal Tips:
We used the dry mop because we wanted more of a cloudy look than a sprayed on paint look. When rubbing the color in using the dry mop use circular motions rather than side to side. - Direct Colors Products Used:
ColorWave® Stain Trial Kit
5 Gal. White ColorWave® & EasySeal™ Gloss Kit
1 Gal. White ColorWave® Stain
1 Qt. Blue ColorWave® Stain
5 Gal. ProWax Polish™ Gloss - Other Products Used:
Wet Dry Shop Vacuum.
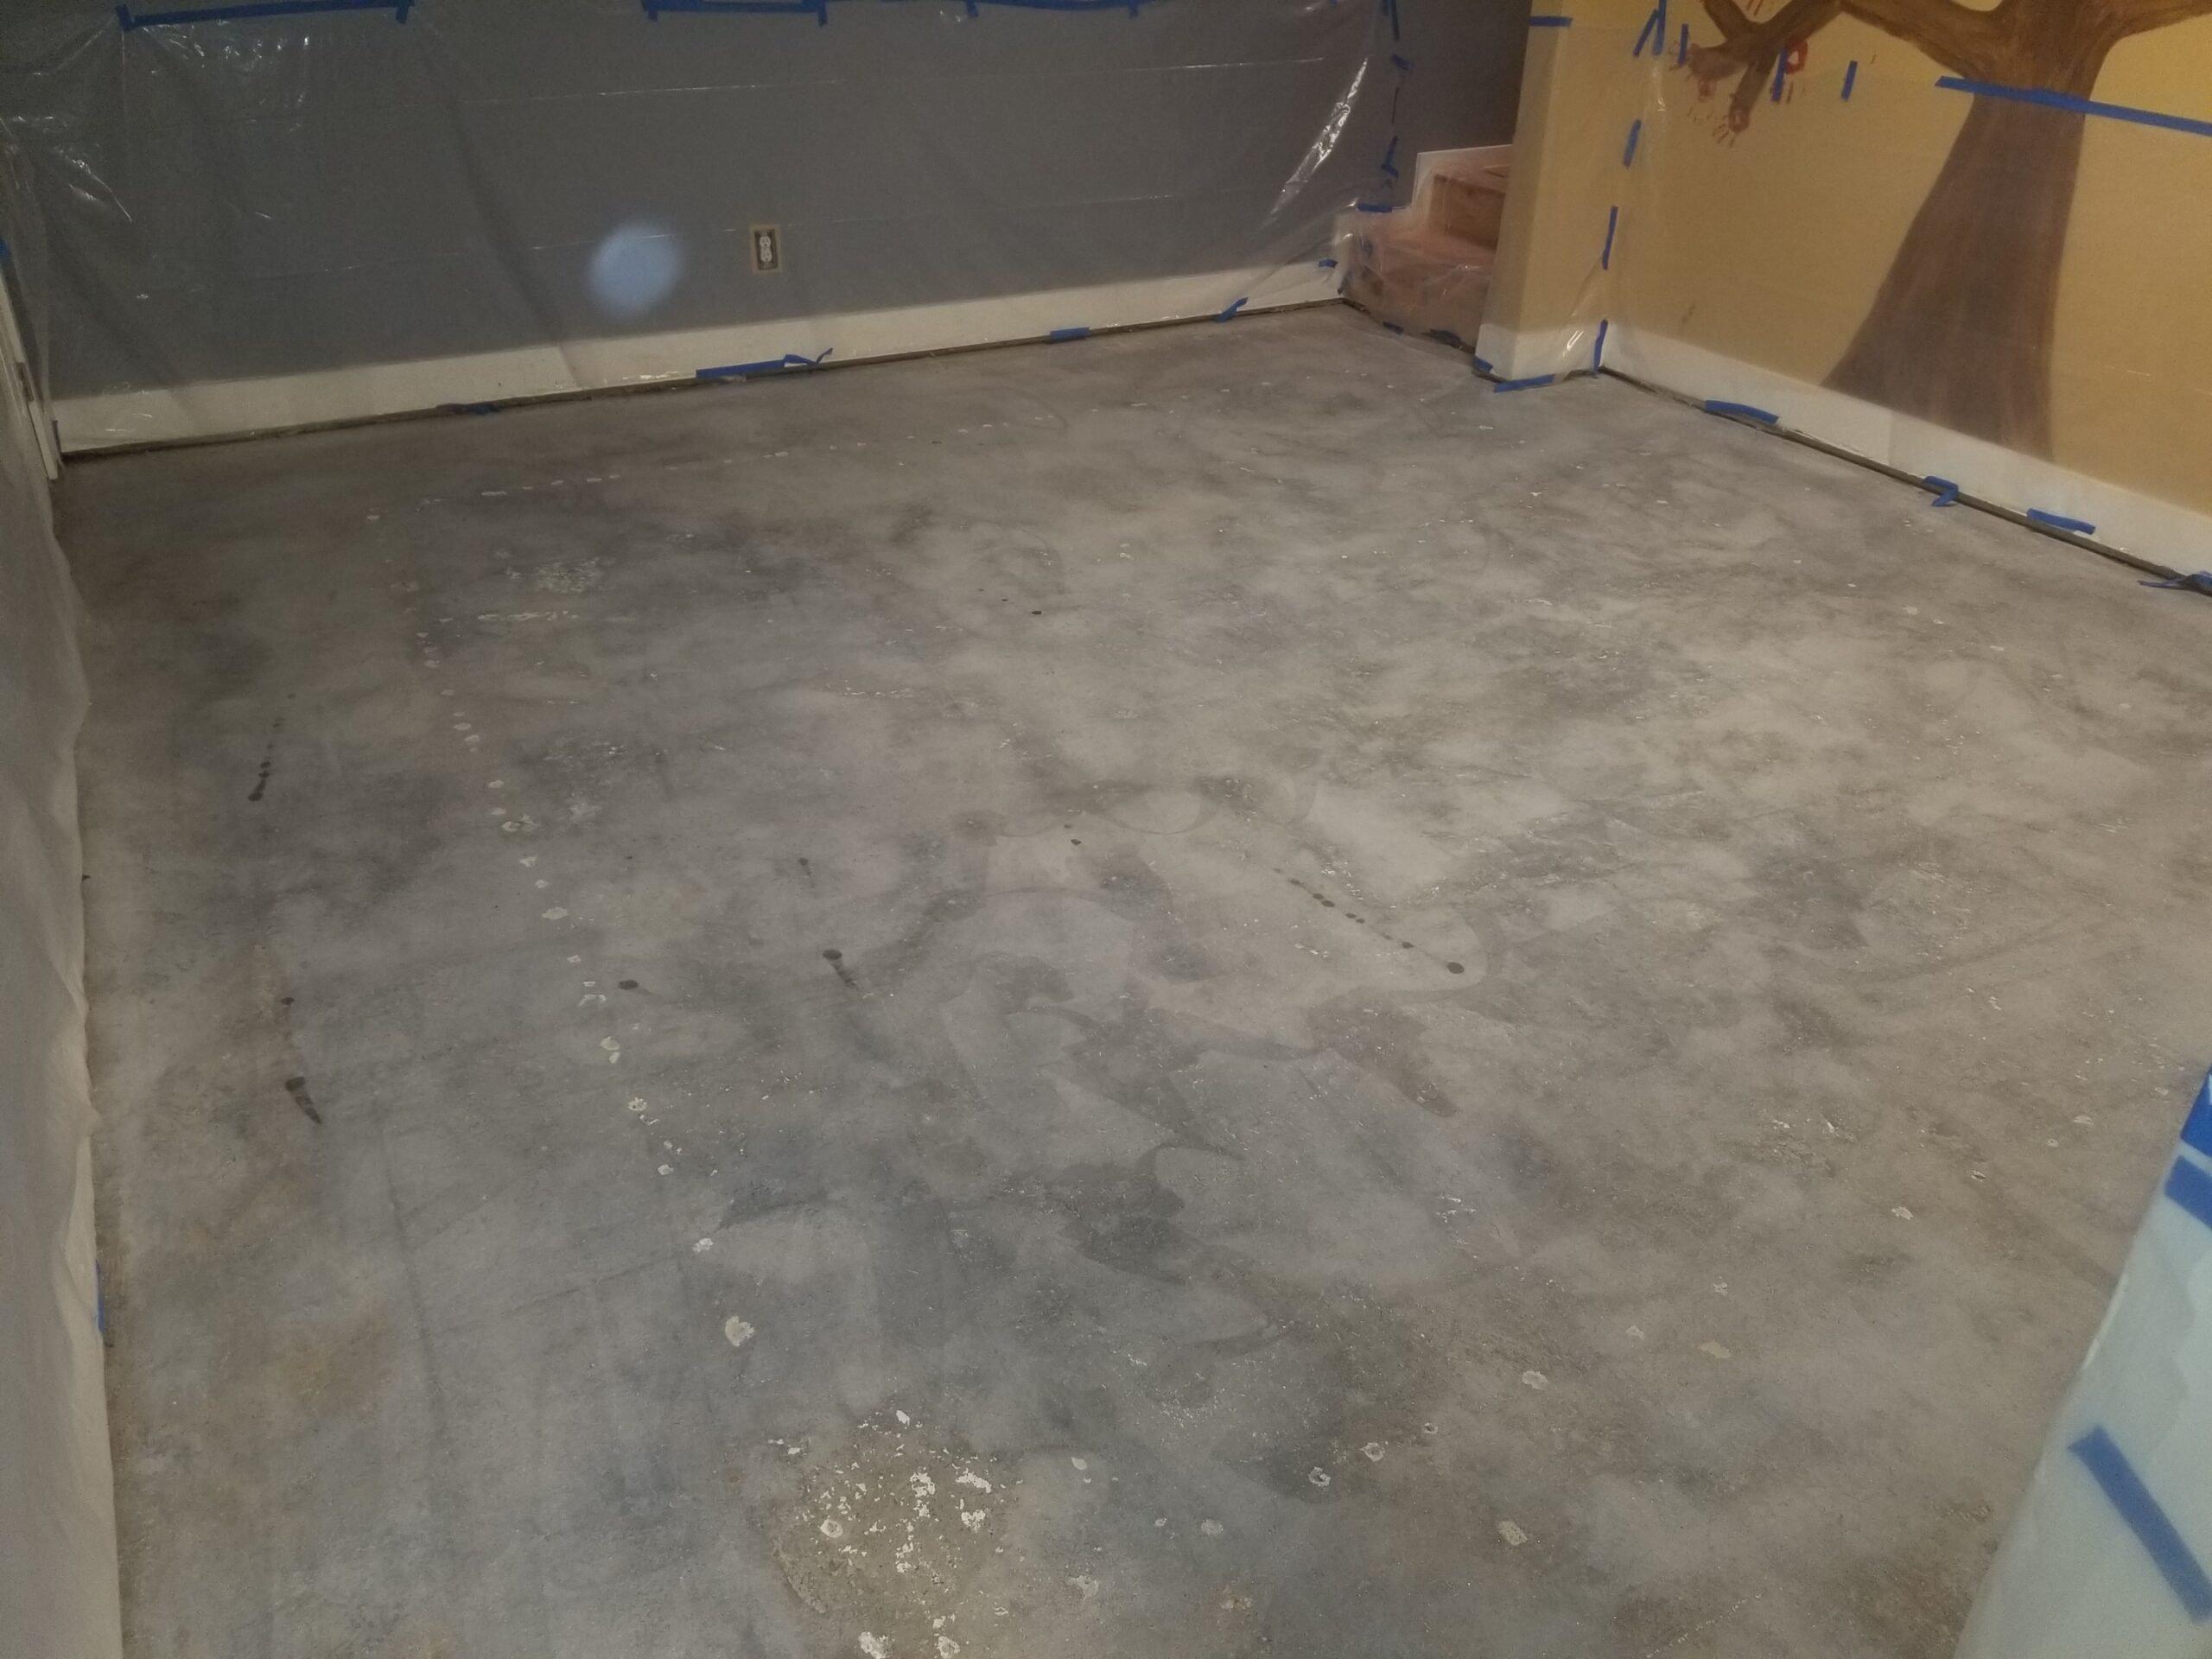
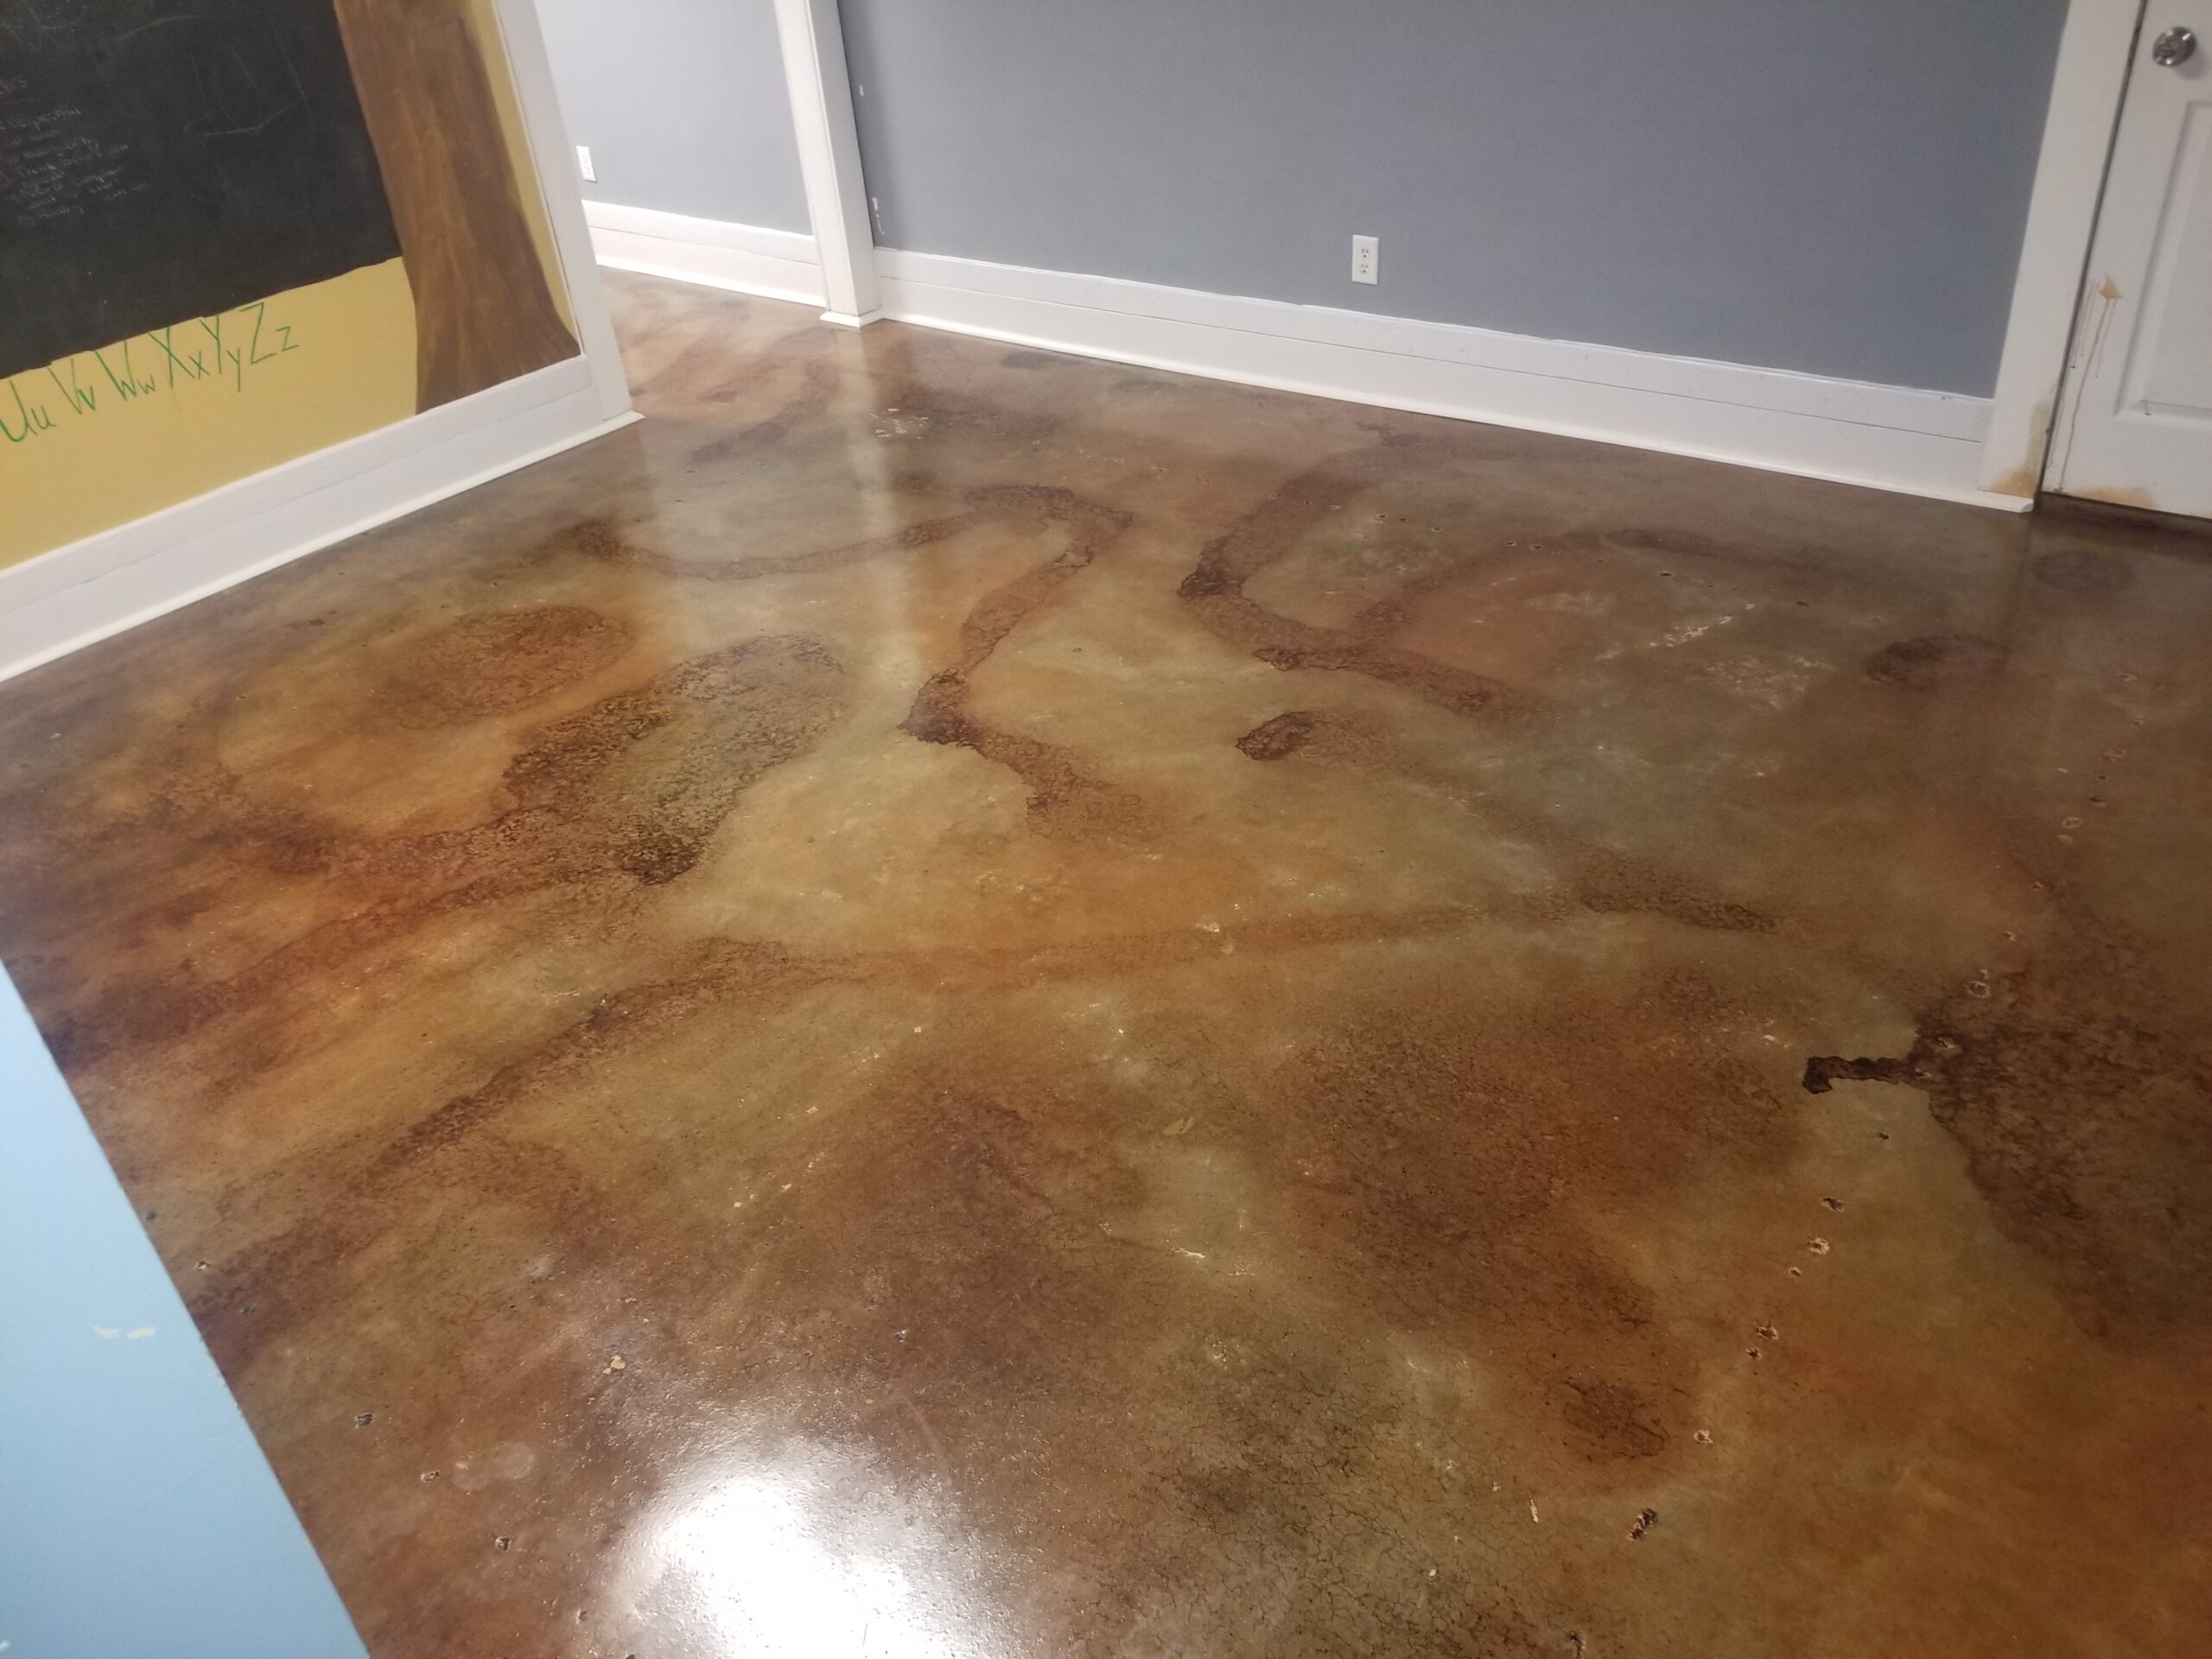
Mottled Makeover for a Pre-K Space
This Pre-K space was transformed with a mottled effect using ColorWave® Stain in Molasses and Mahogany. Two coats of EasySeal™ and a finish of ProWax Polish™ resulted in a lively and engaging environment for little learners.
Project Info:
- Project Completed In: 5 day(s)
- Estimate of Square Footage: 350 sq. ft.
- Project Description:
After concrete prep everything was easy the stain, sealer, and polish. Love the look and the finished product. - Personal Tip: Never put paint or adhesive on concrete. It’s hard to get off.
- Direct Colors Products Used:
1 Gal. Mahogany DIY ColorWave® & EasySeal™ Gloss Kit
1 Gal. Molasses ColorWave® & EasySeal™ Gloss Kit
5 Gal. ProWax Polish™ Gloss - Other Products Used:
Finish sander ( rented)
And a lot of mop water.
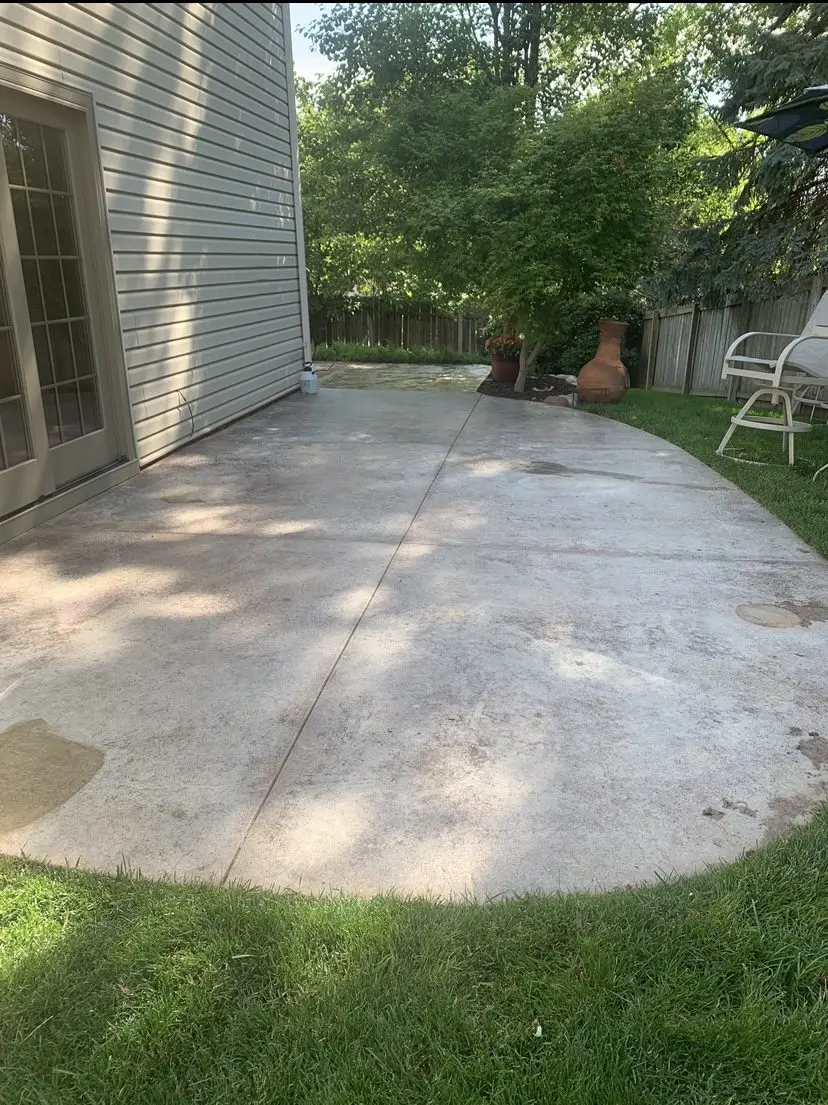
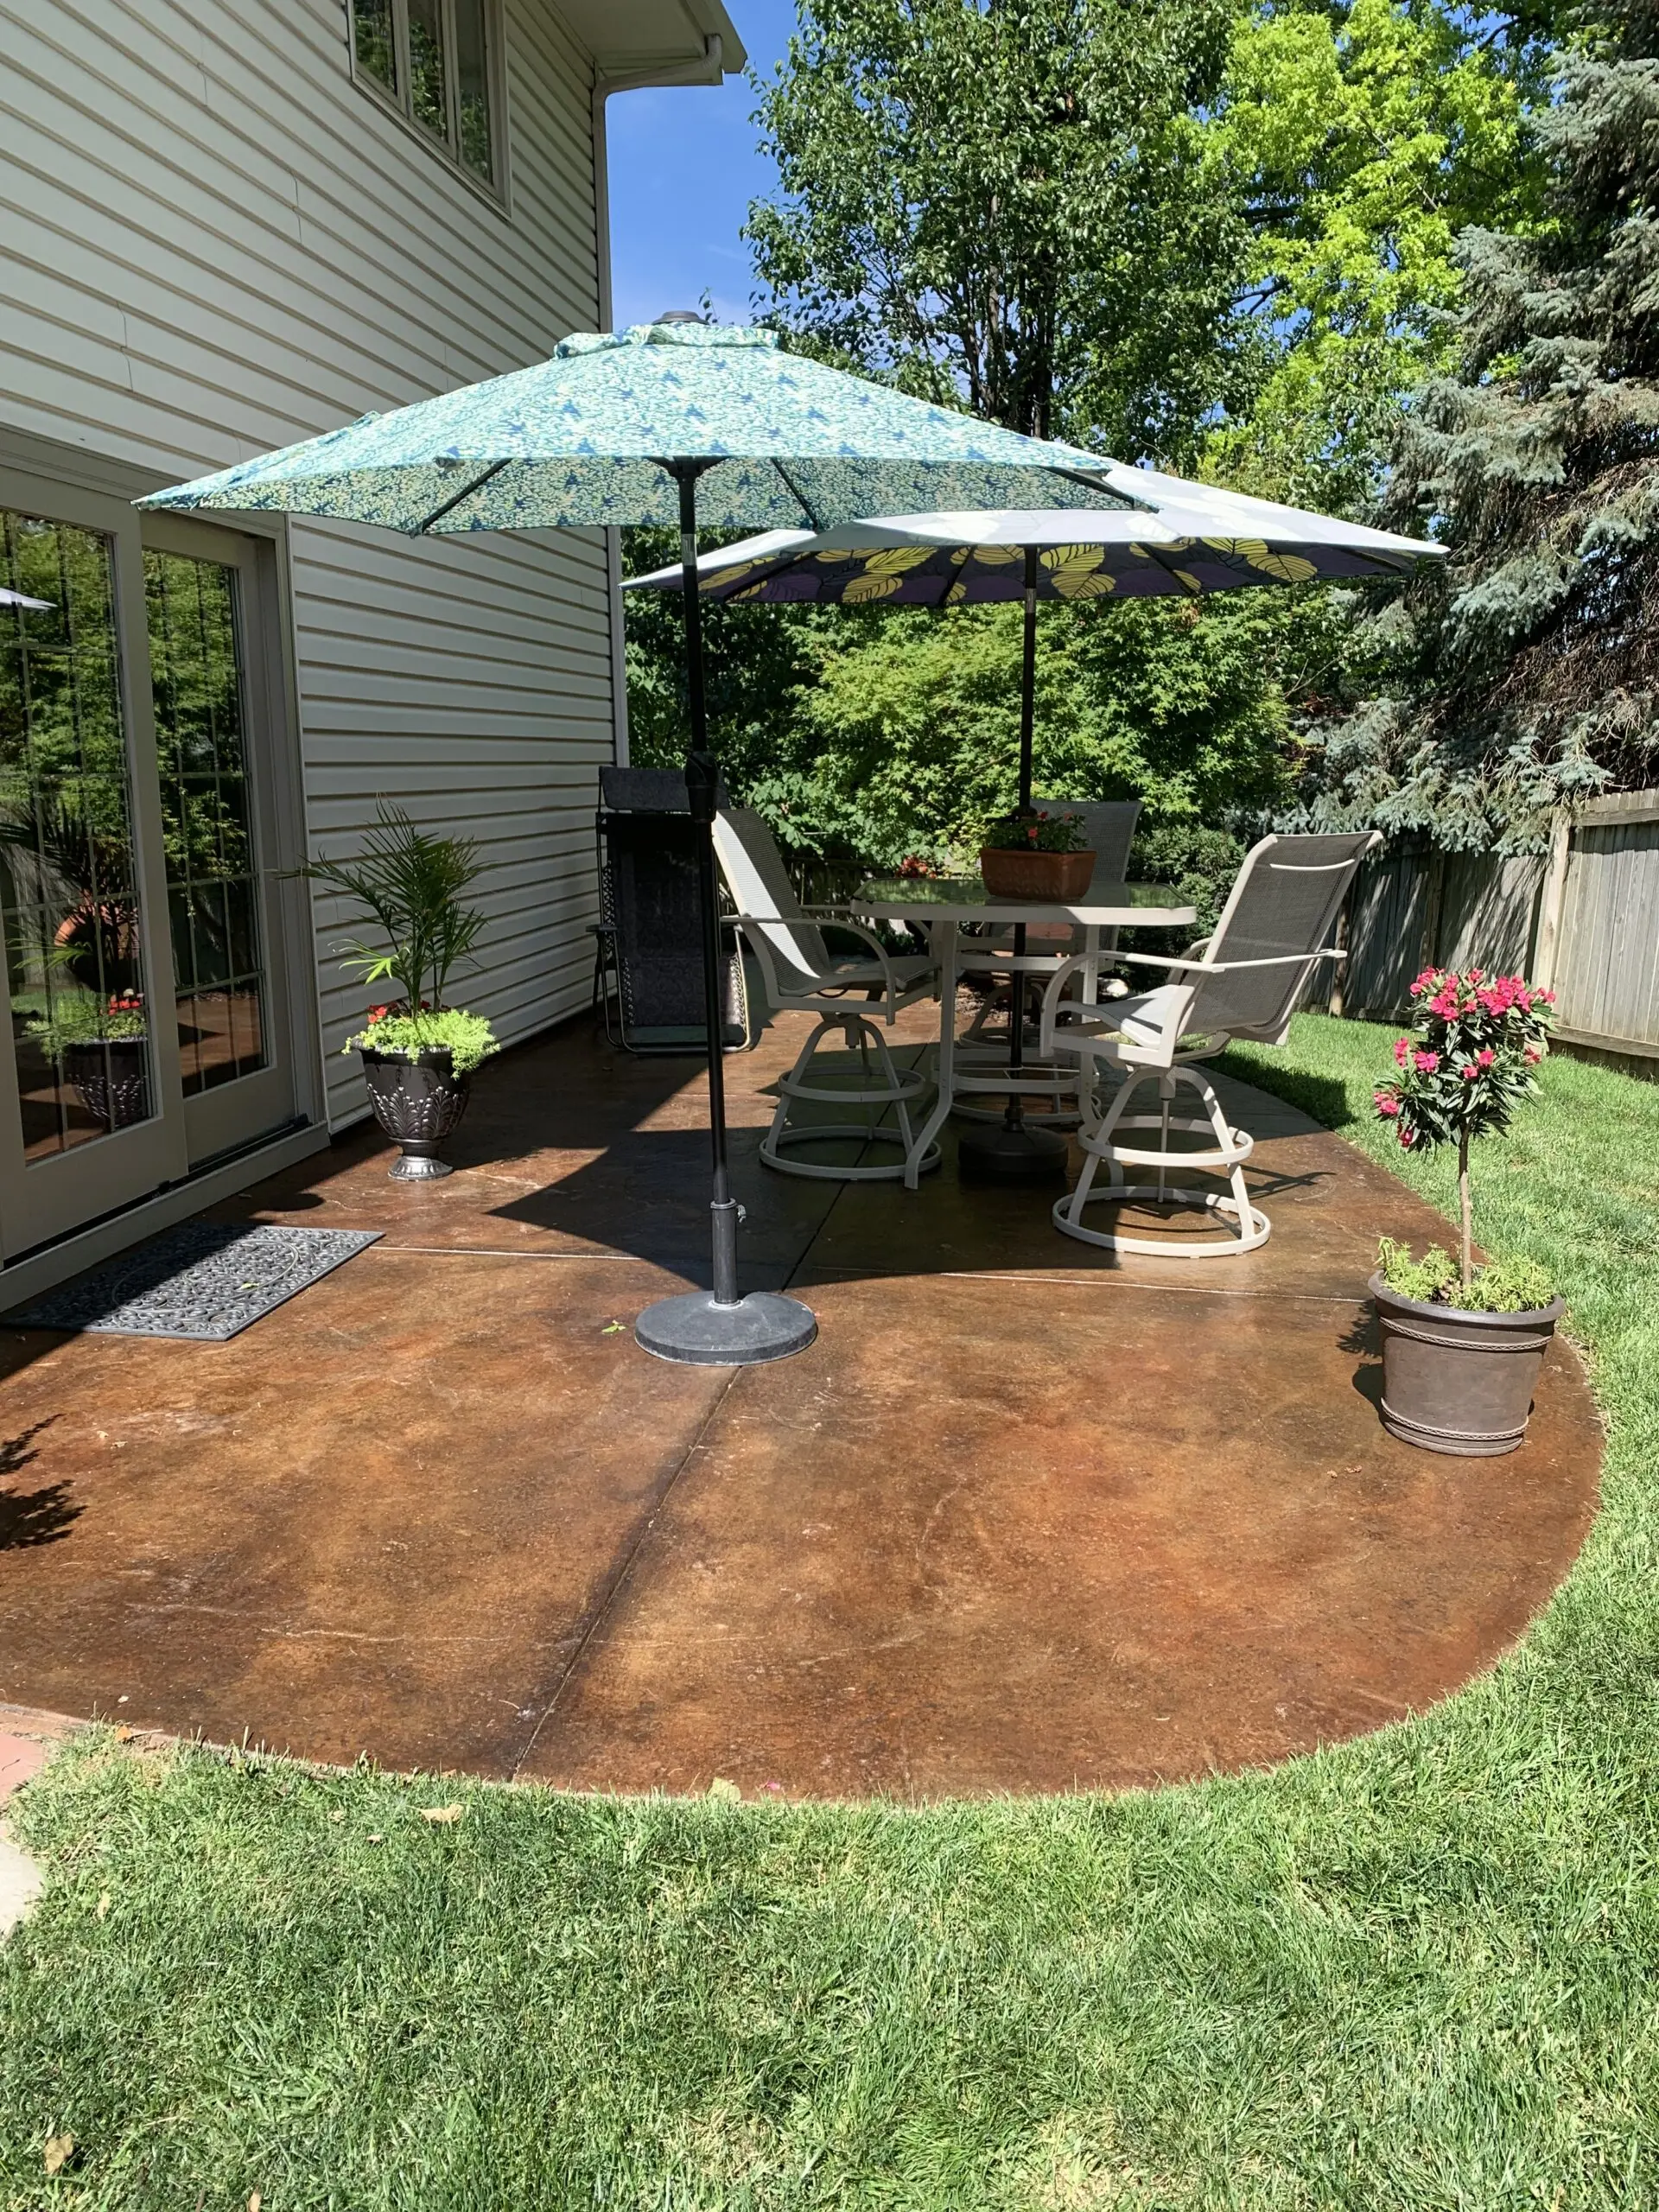
Revitalized Stamped Patio with ColorWave® Stain
After using the ColorWave Kit, this once-faded patio is now beautifully restored with rich Molasses and Mahogany tones, creating an inviting outdoor space.
Project Info:
- Project Completed In: 3 day(s)
- Estimate of Square Footage: 500 sq. ft.
- Project Description:
I have a ten year old faded patio that was originally colored concrete that was stamped and stained. Over the years I’ve tried applying sealer to make the faded color pop but was not successful. I found Direct Color and used the Colorwave Kit to clean, etch, stain and seal my patio back to its original but even better beautiful artsy style and finish! - Personal Tip: After I sprayed on the two Colorwave stains Mahogany and Molasses I then used an old broom to blend and smear them into the concrete stamp groves. I sprayed the sealer on and then used a paint roller on an extension pole to evenly spread it out.
- Direct Colors Products Used:
1 Gal. Mahogany DIY ColorWave® & AcquaSeal™ Satin Kit
1 Gal. Molasses ColorWave® & AcquaSeal™ Satin Kit
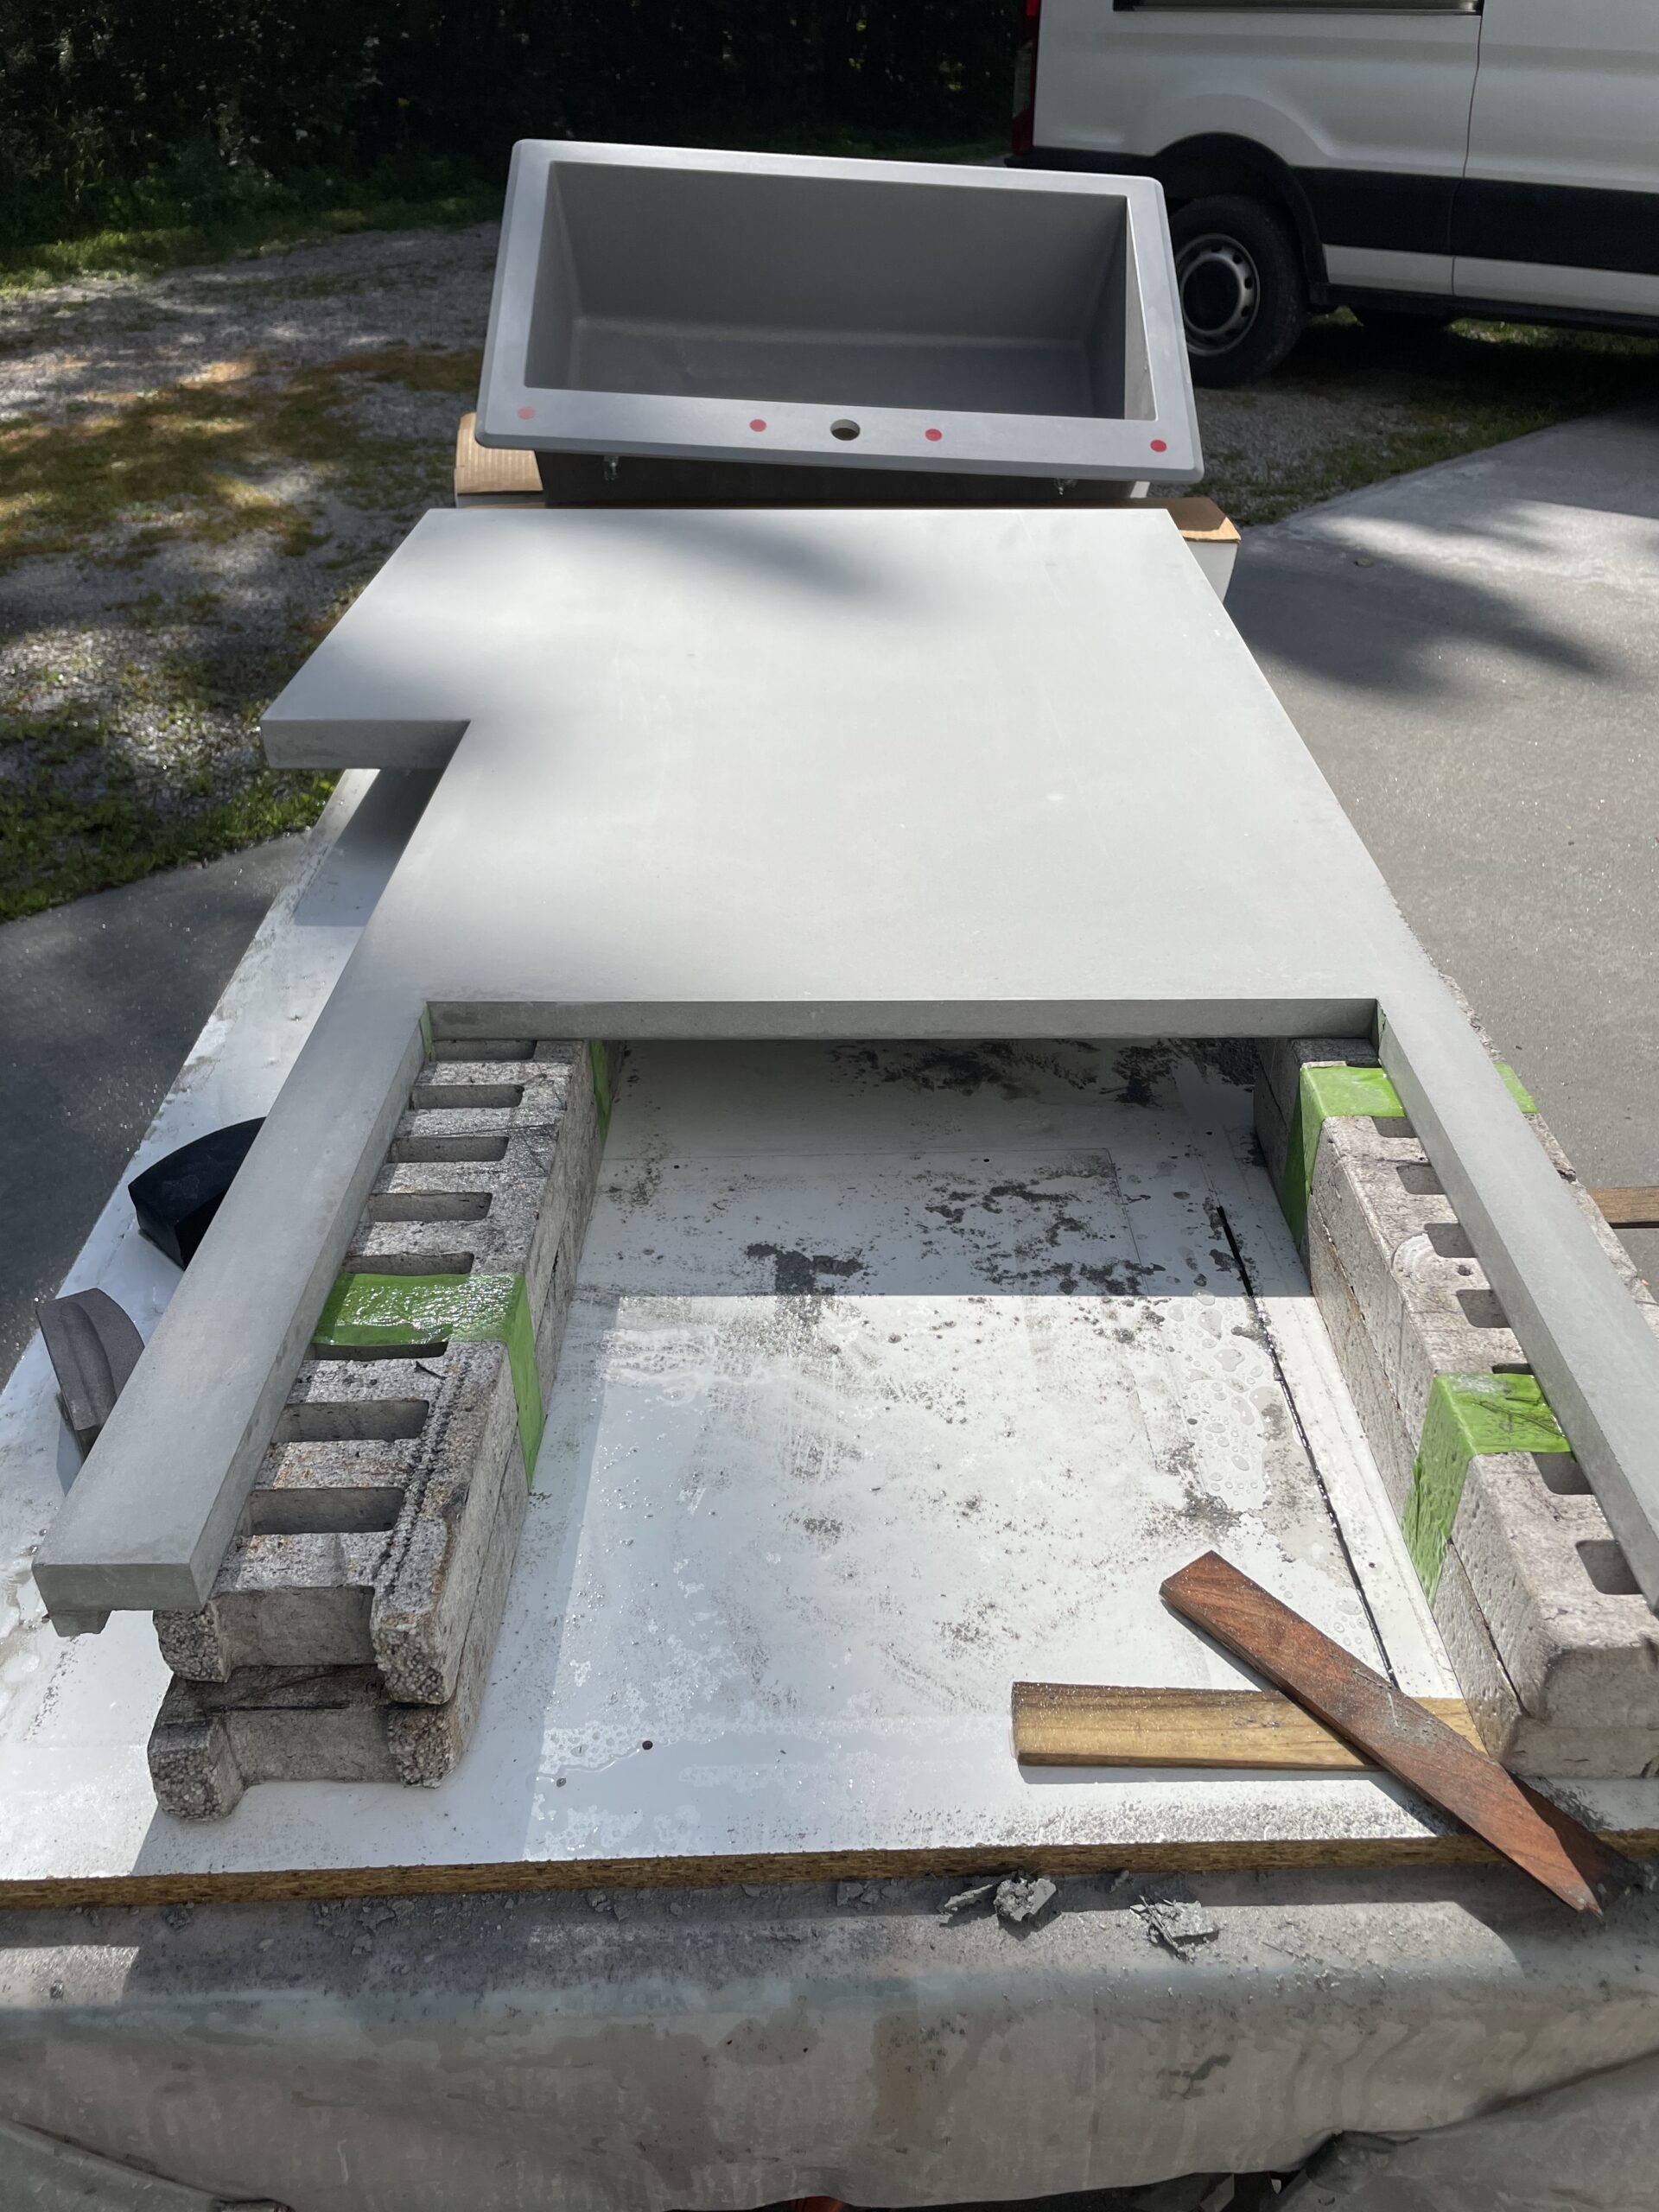
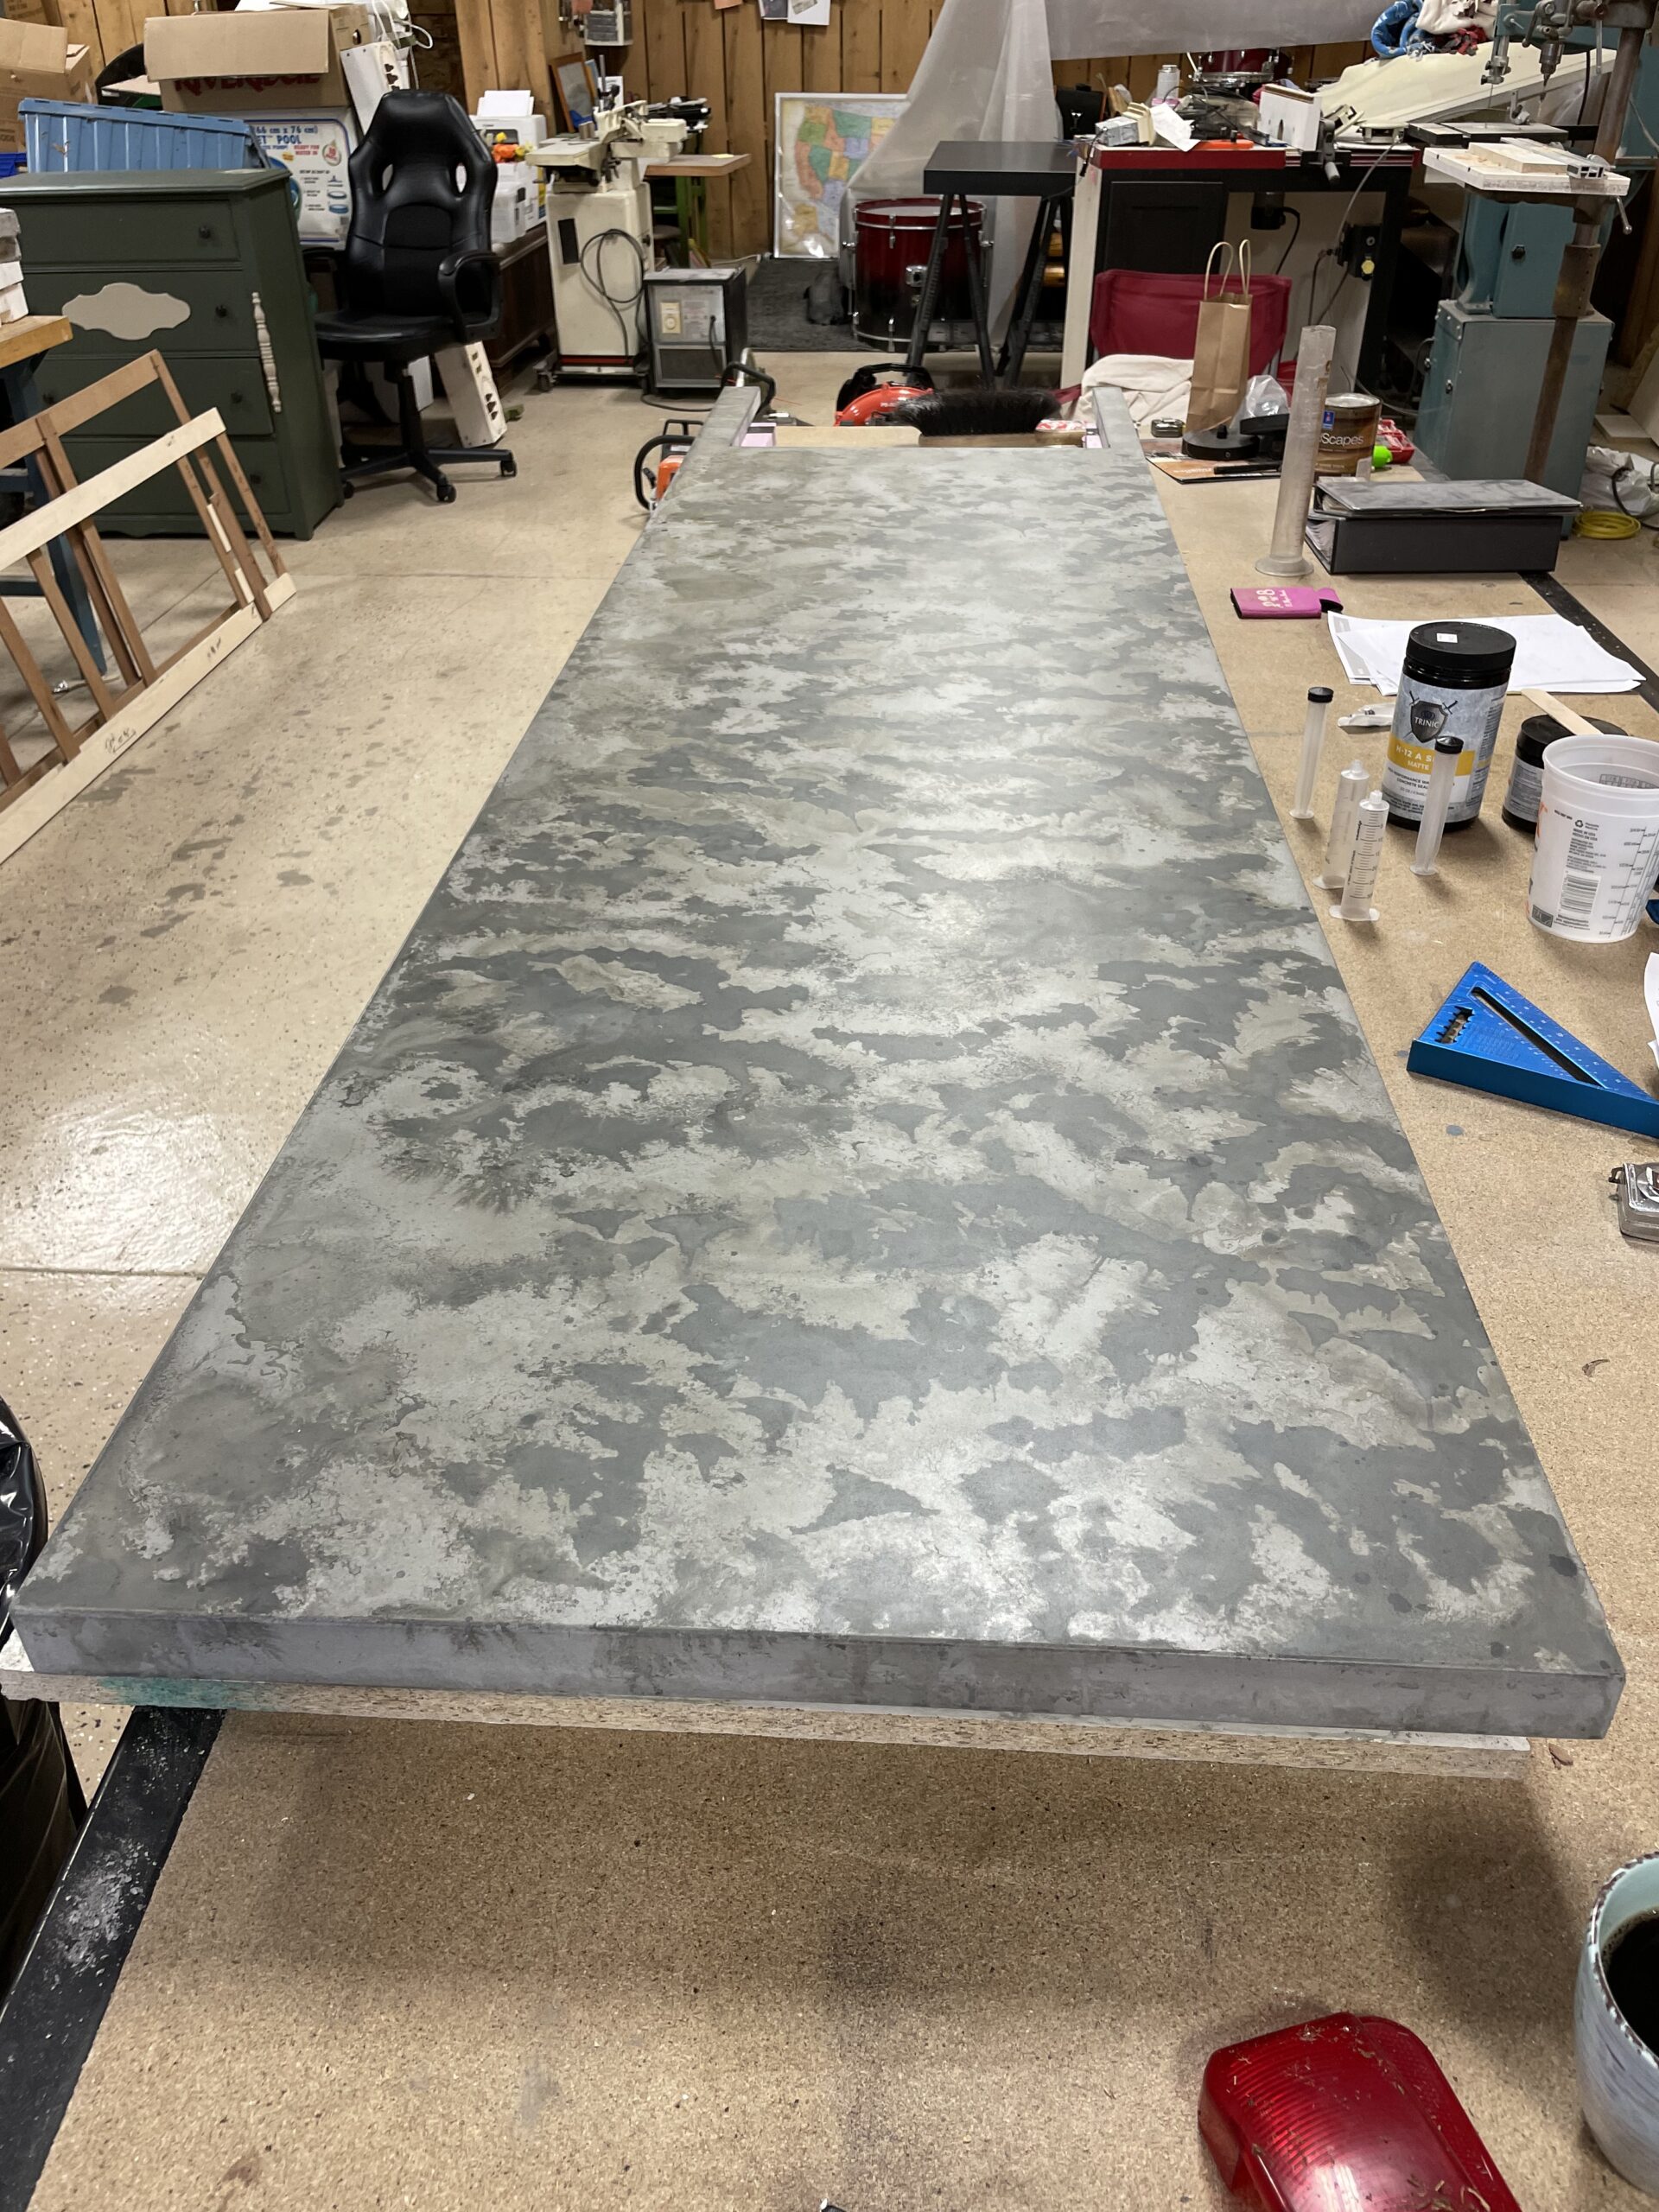
Custom Concrete Countertop by @cretewooddesigns
A custom concrete countertop created by @cretewooddesigns. The project involved working in layers and using water to blend colors, allowing for easy manipulation of the finish before sealing, resulting in a unique and much-appreciated final product.
Project Info:
- Project Completed In: 4 day(s)
- Estimate of Square Footage: 23 sq. ft.
- Project Description:
This was a custom concrete countertop project for our friends. They absolutely love it! ❤️ - Personal Tips:
Work in layers until you get the look you want. The product runs off easily before being sealed, so it’s easily manipulated to the finish you are wanting. Also, using water to help the colors come together well results in a unique look. - Direct Colors Products Used:
ColorWave® Stain Trial Kit (Iron, Molasses & Rust)
ColorWave® Stain Trial Kit (White, Steel & Stone)
1 Gal. Iron ColorWave® Stain - Other Products Used:
Trinic topical sealer
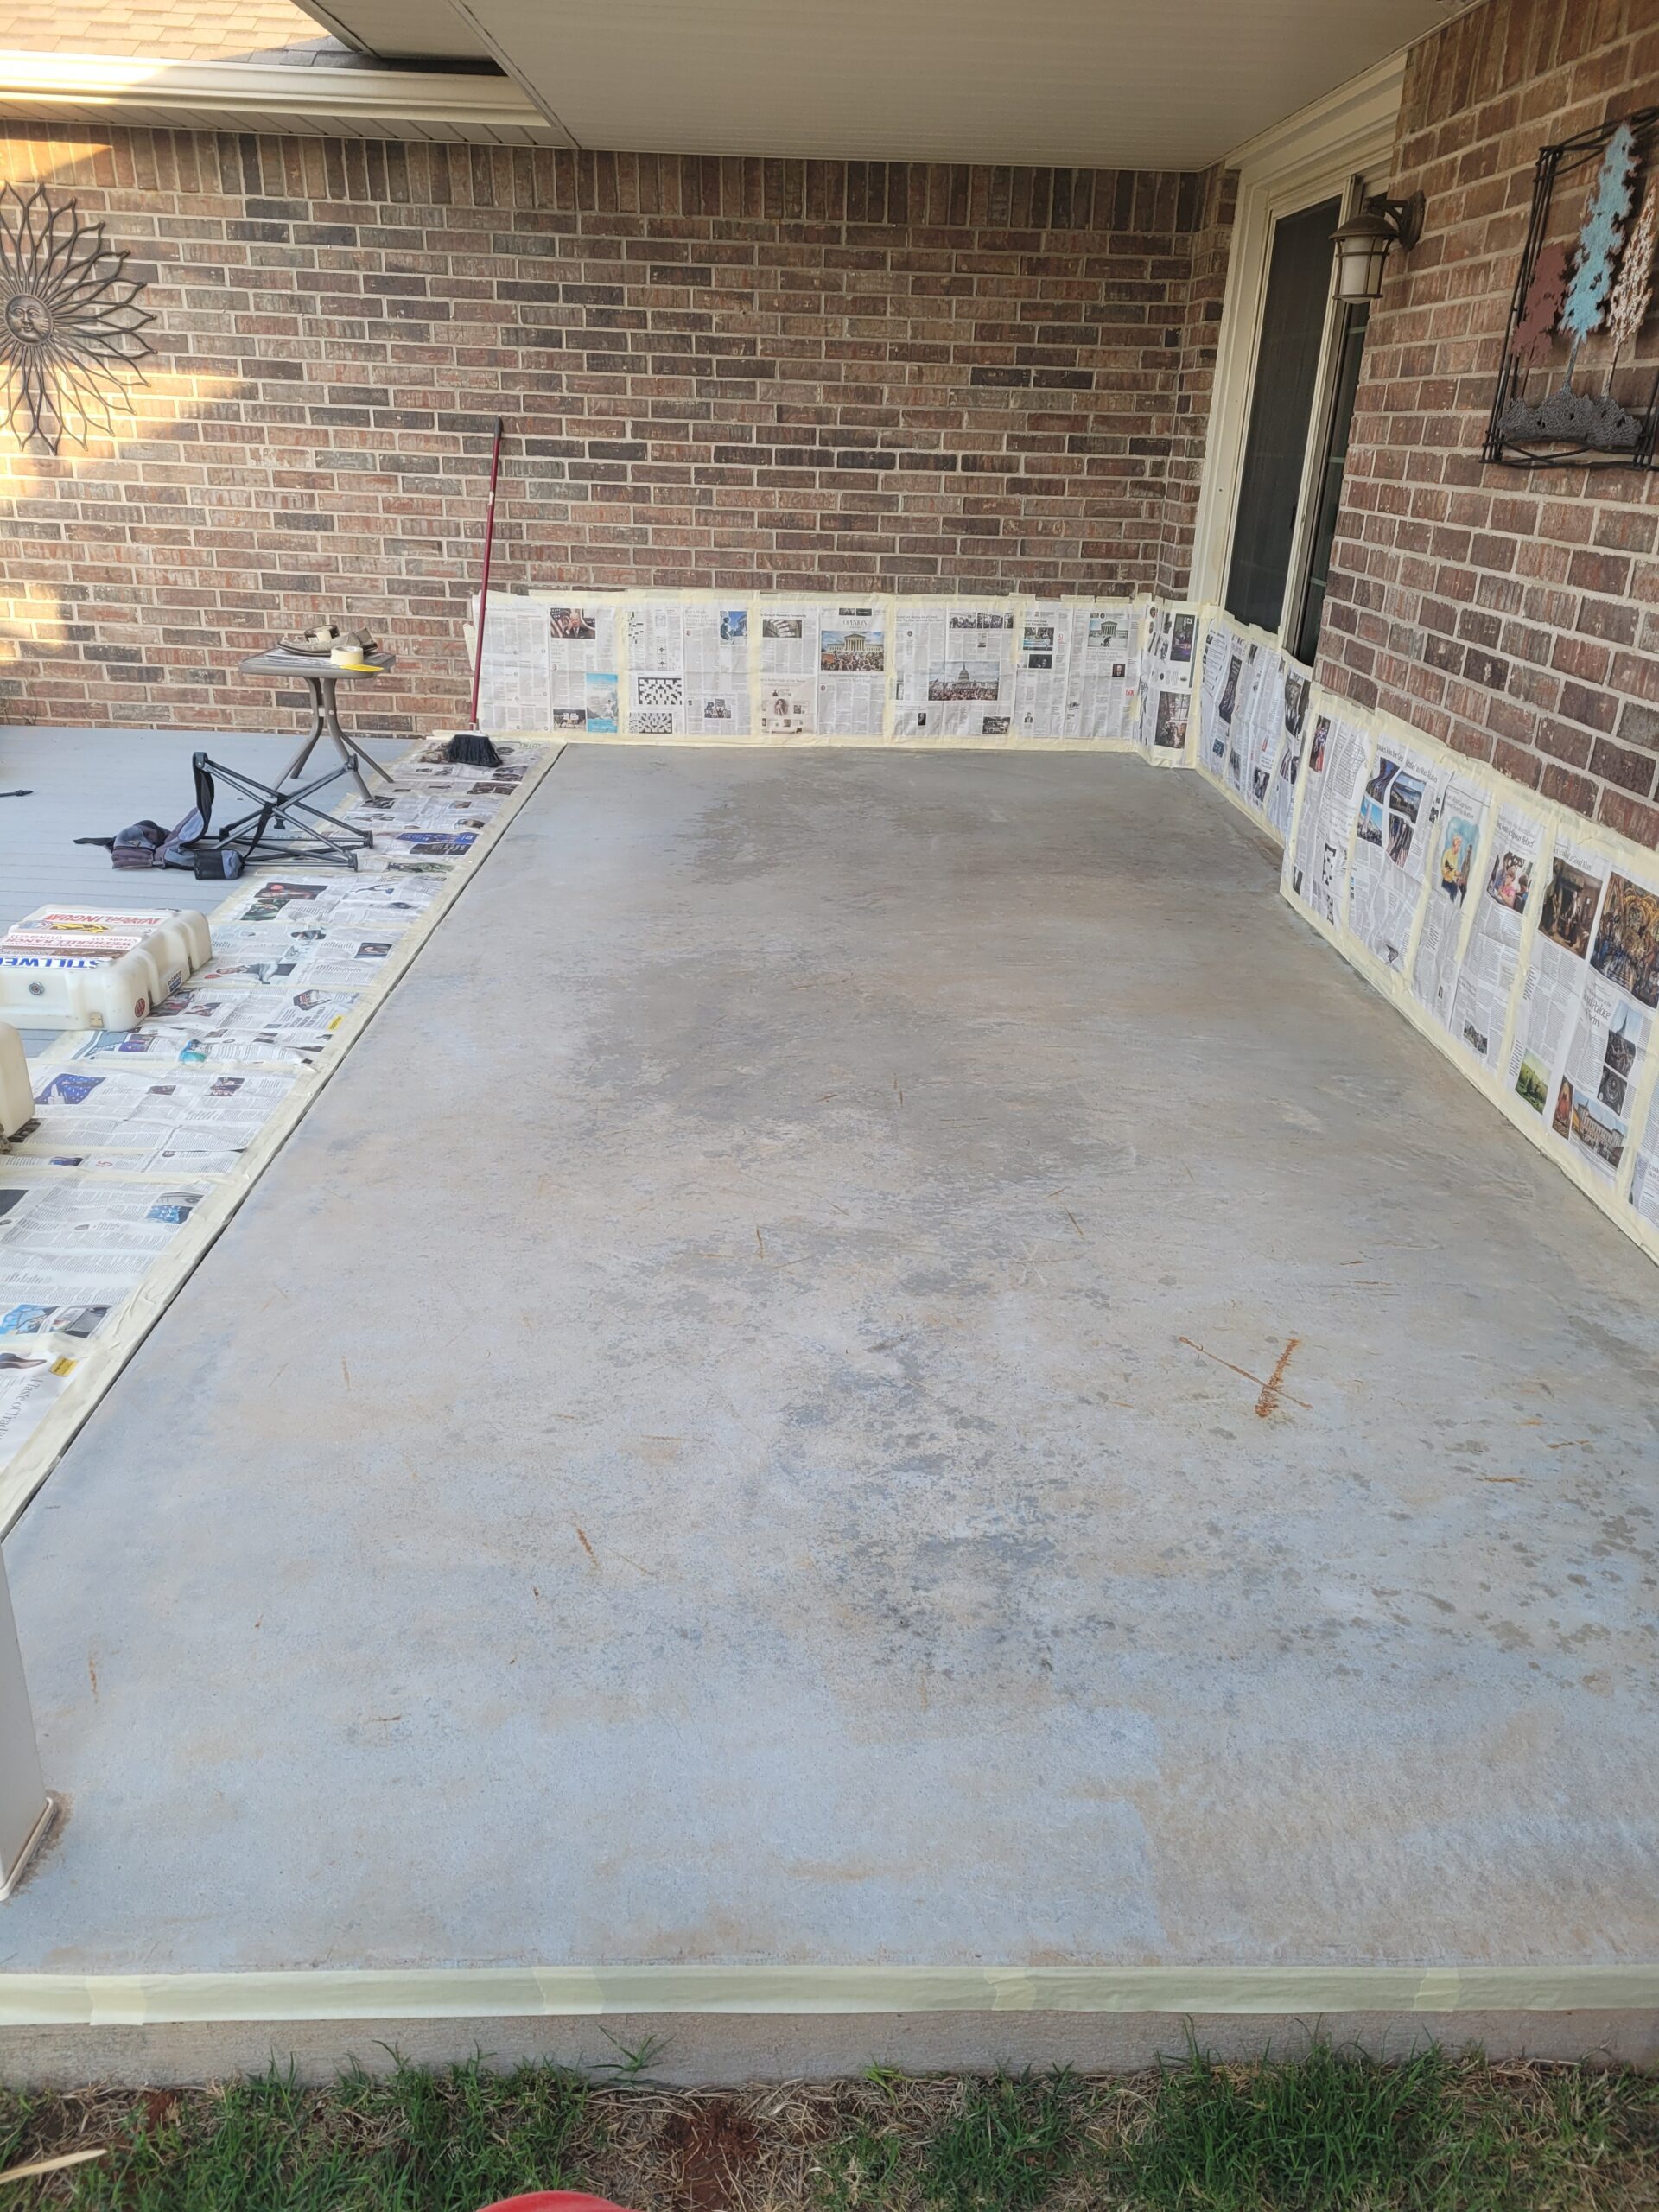
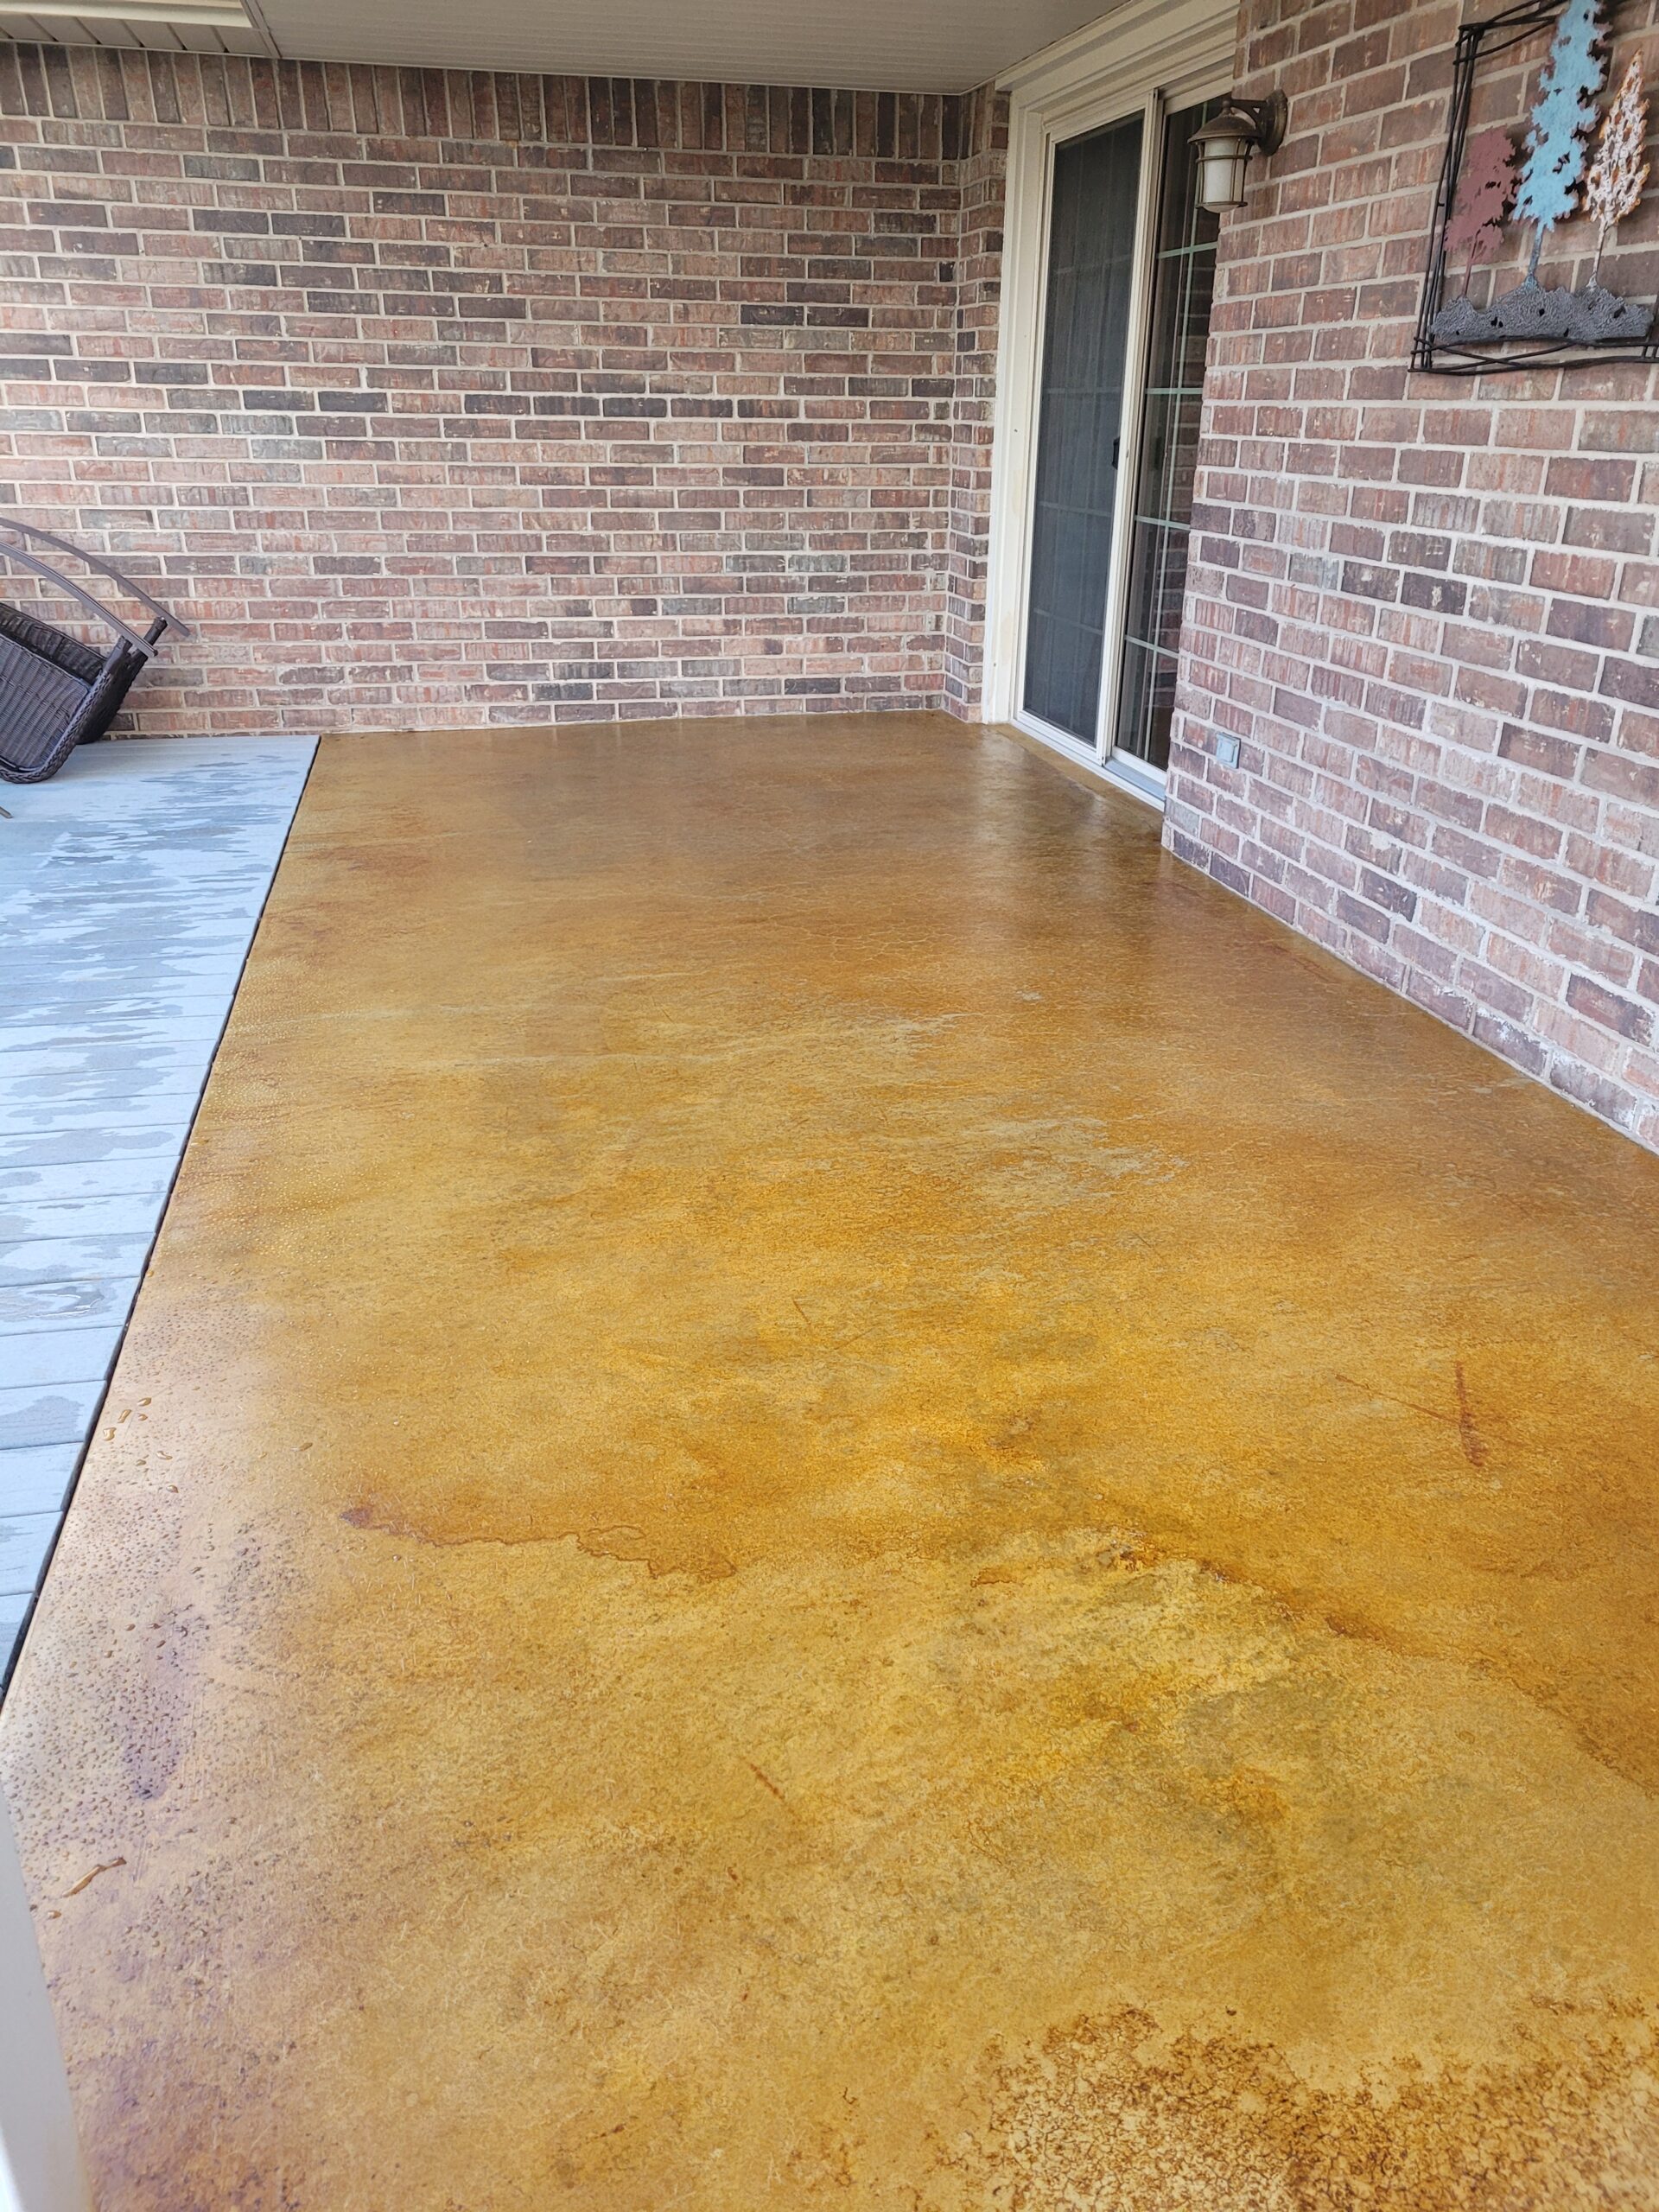
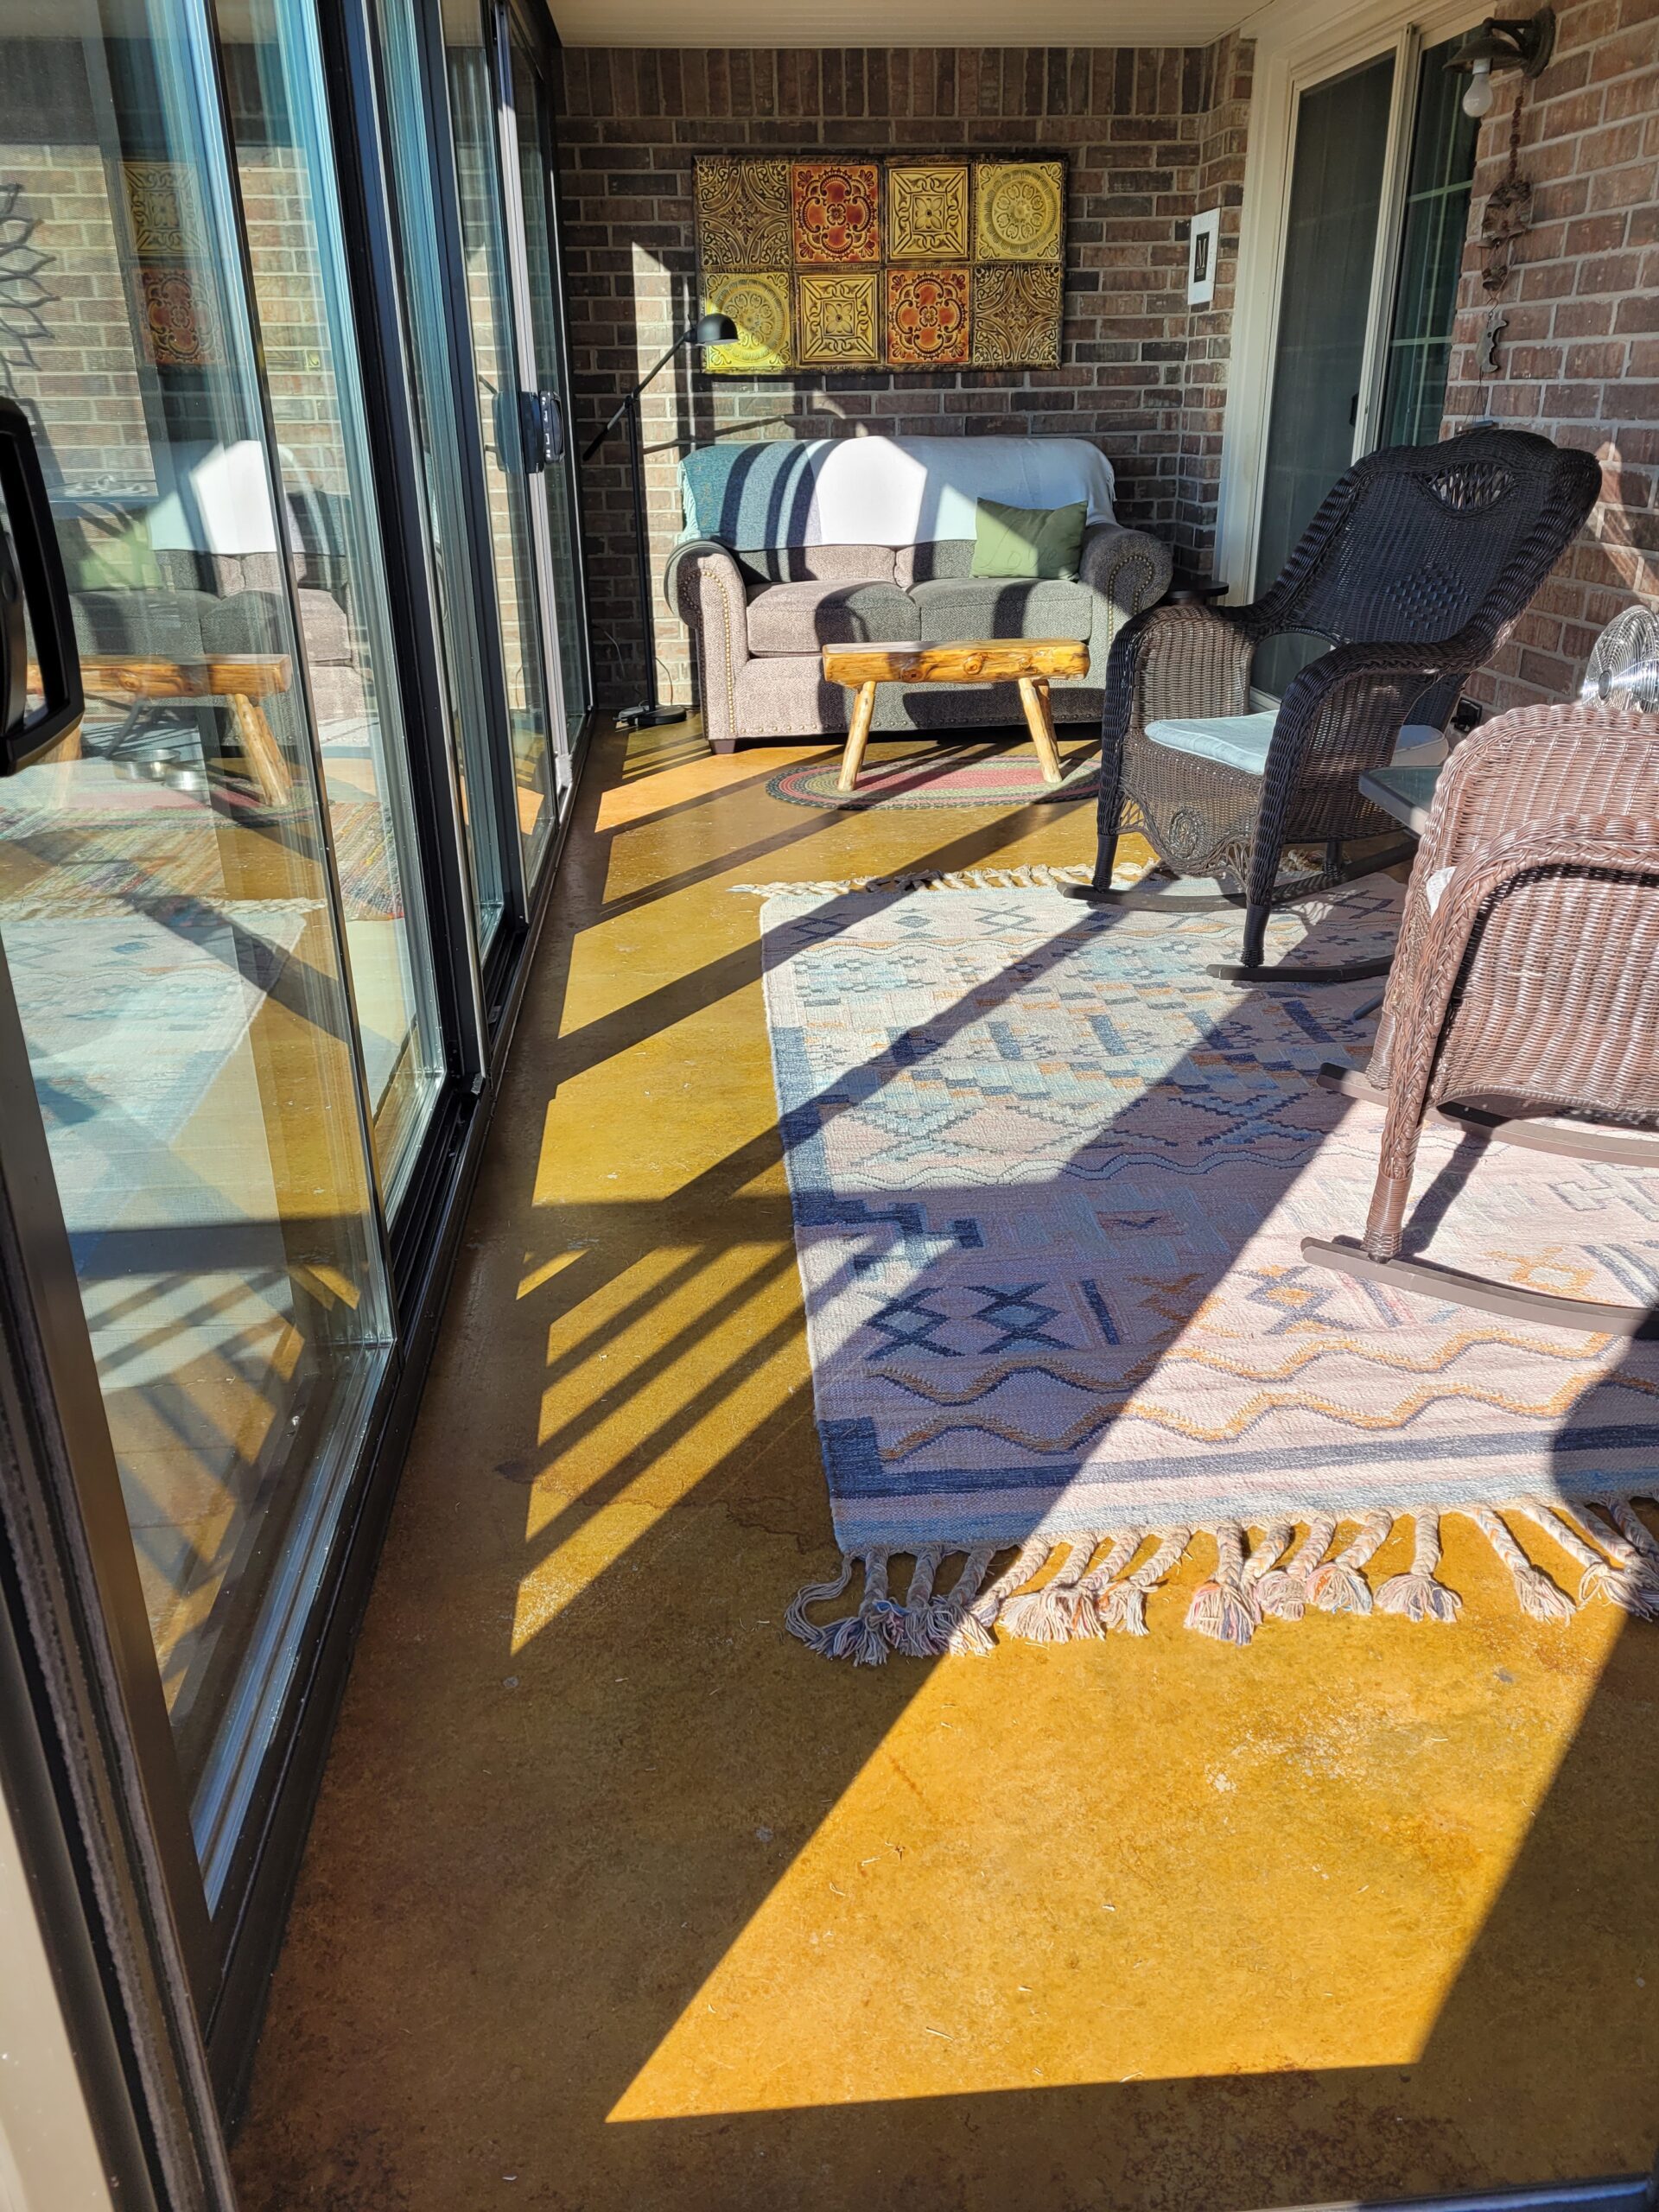
DIY Concrete Sunroom Makeover: Adding Character with ColorWave Gold Stain
If you’re looking to add some character to your outdoor space, a concrete patio makeover may be just the thing you need! That’s exactly what one DIYer did with their small 8×20 sunroom patio, and the result is stunning.
Project Info:
- Project Completed In: 5 day(s)
- Estimate of Square Footage: 160 sq. ft.
- Direct Colors Products Used:
1 Gal. Gold DIY ColorWave® & EasySeal™ Satin Kit
DIY Driveway Transformation with Water-Based Concrete Stain
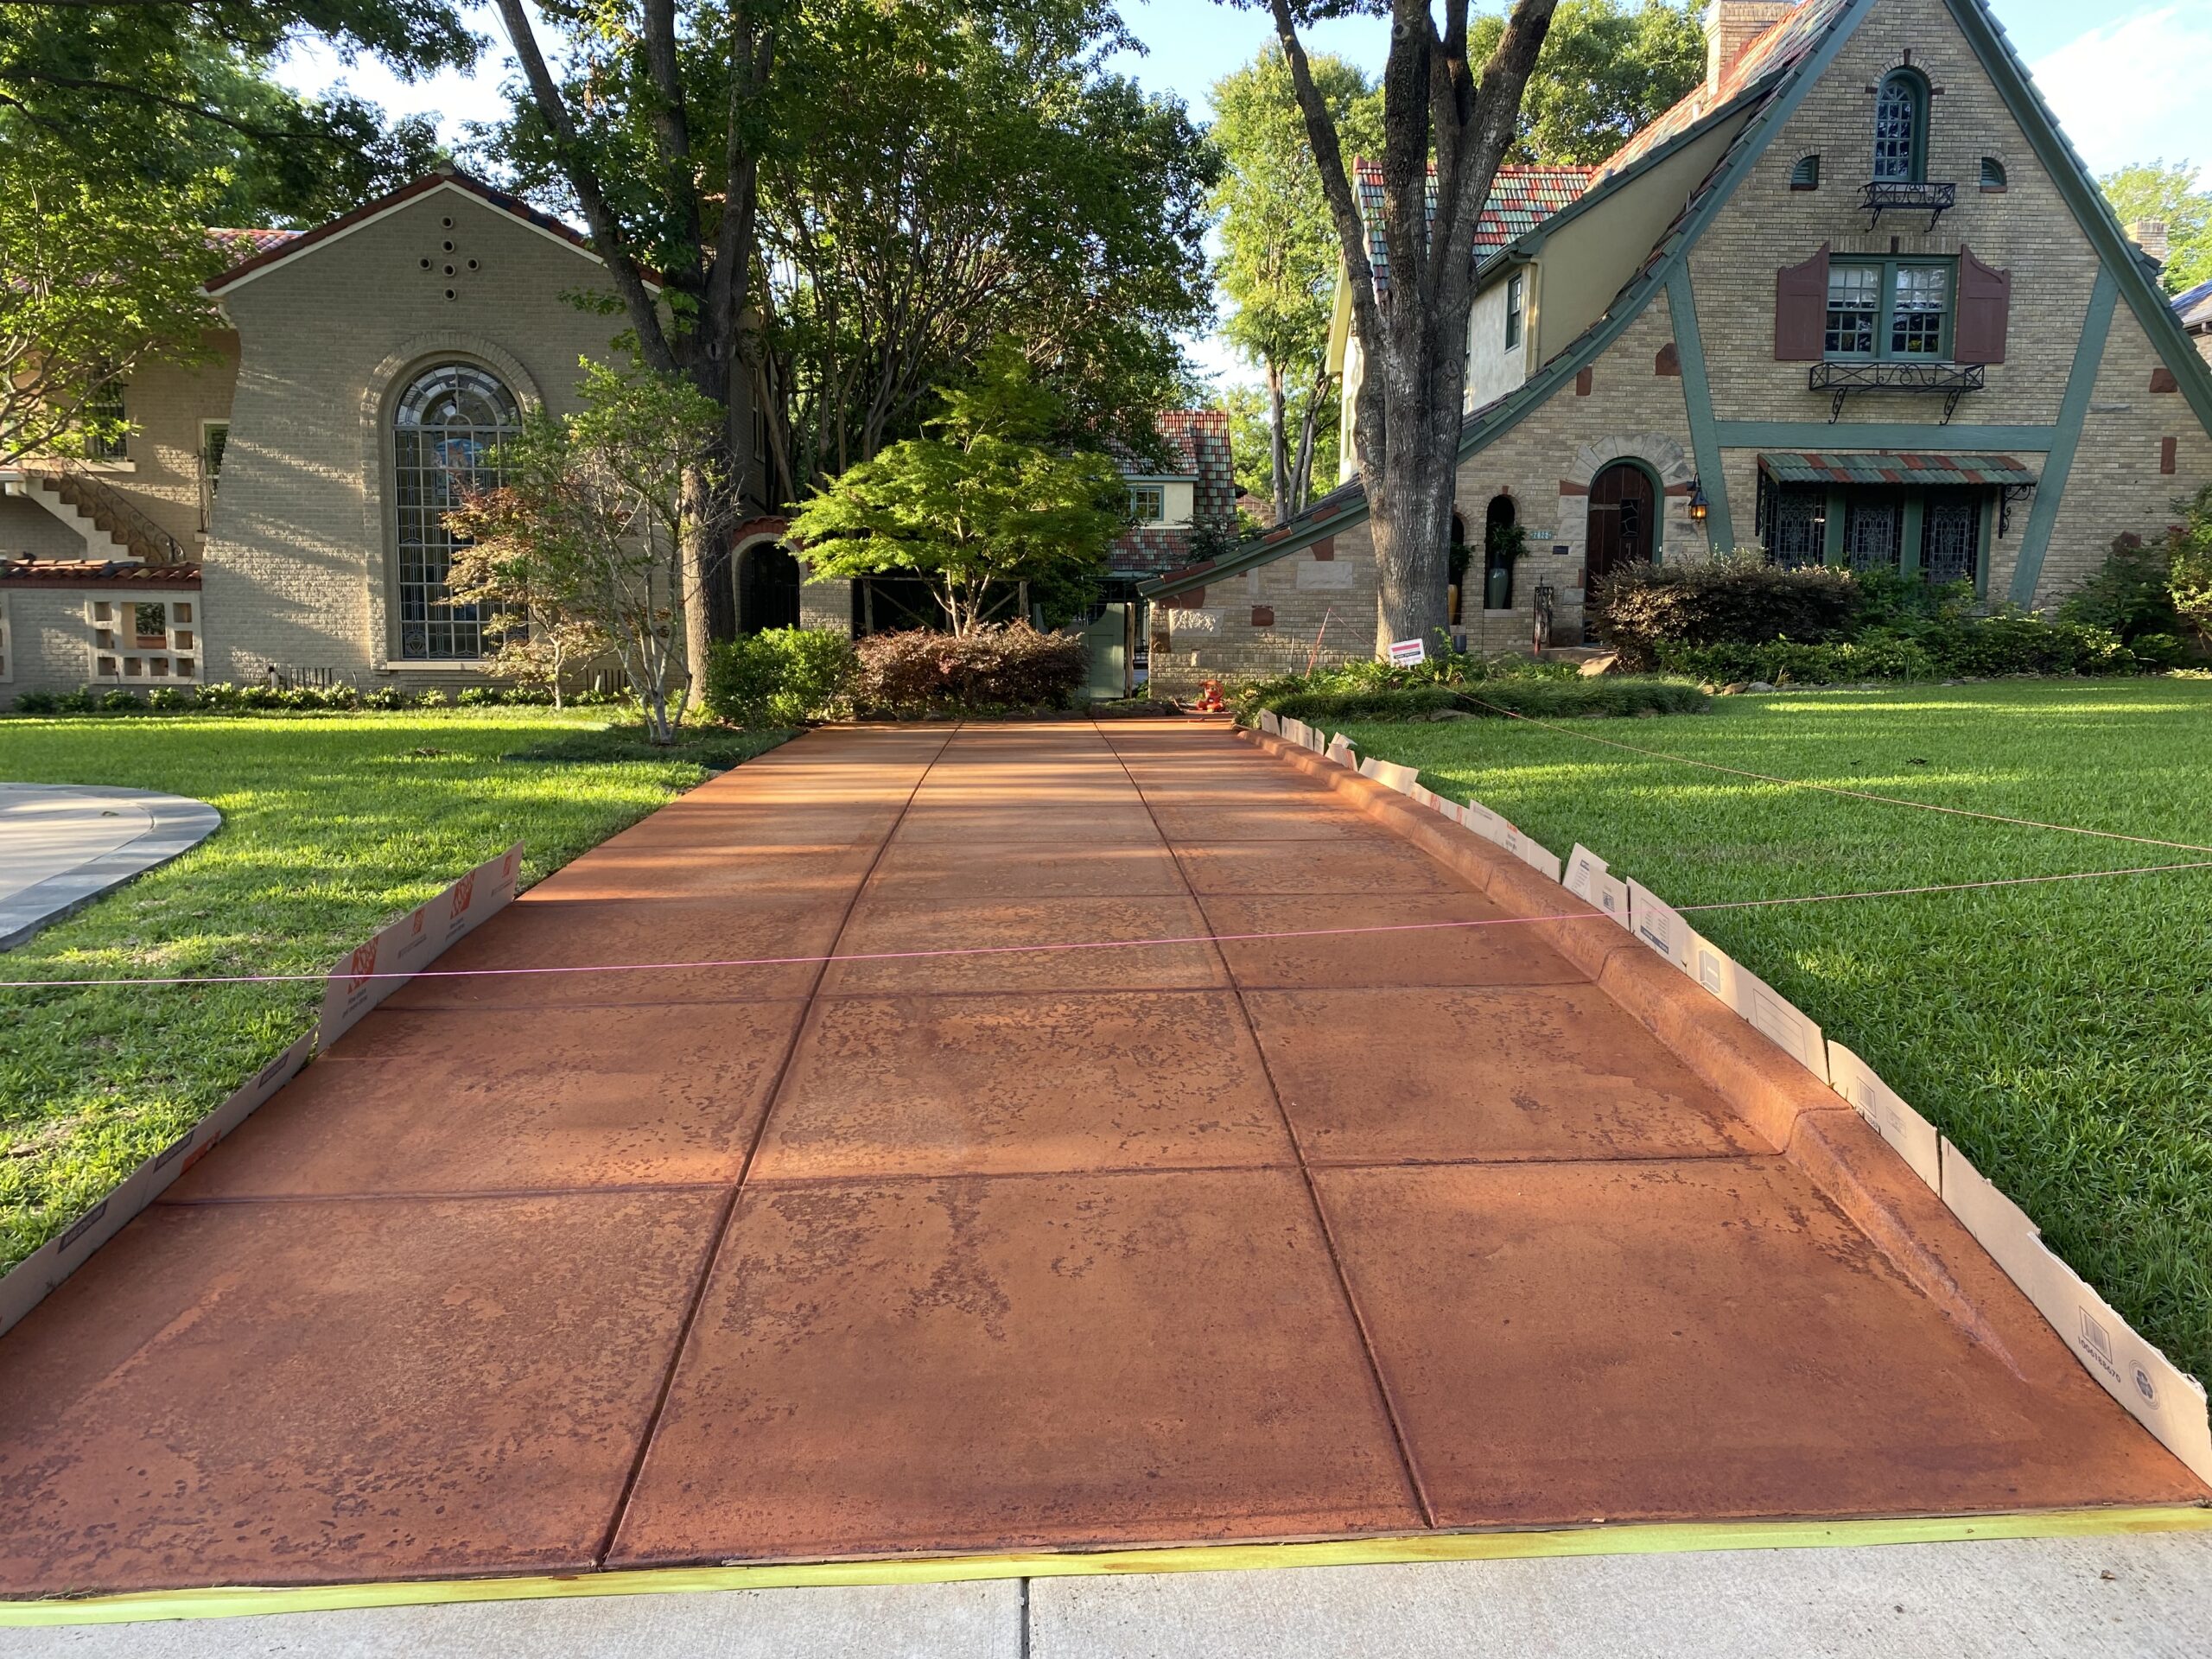
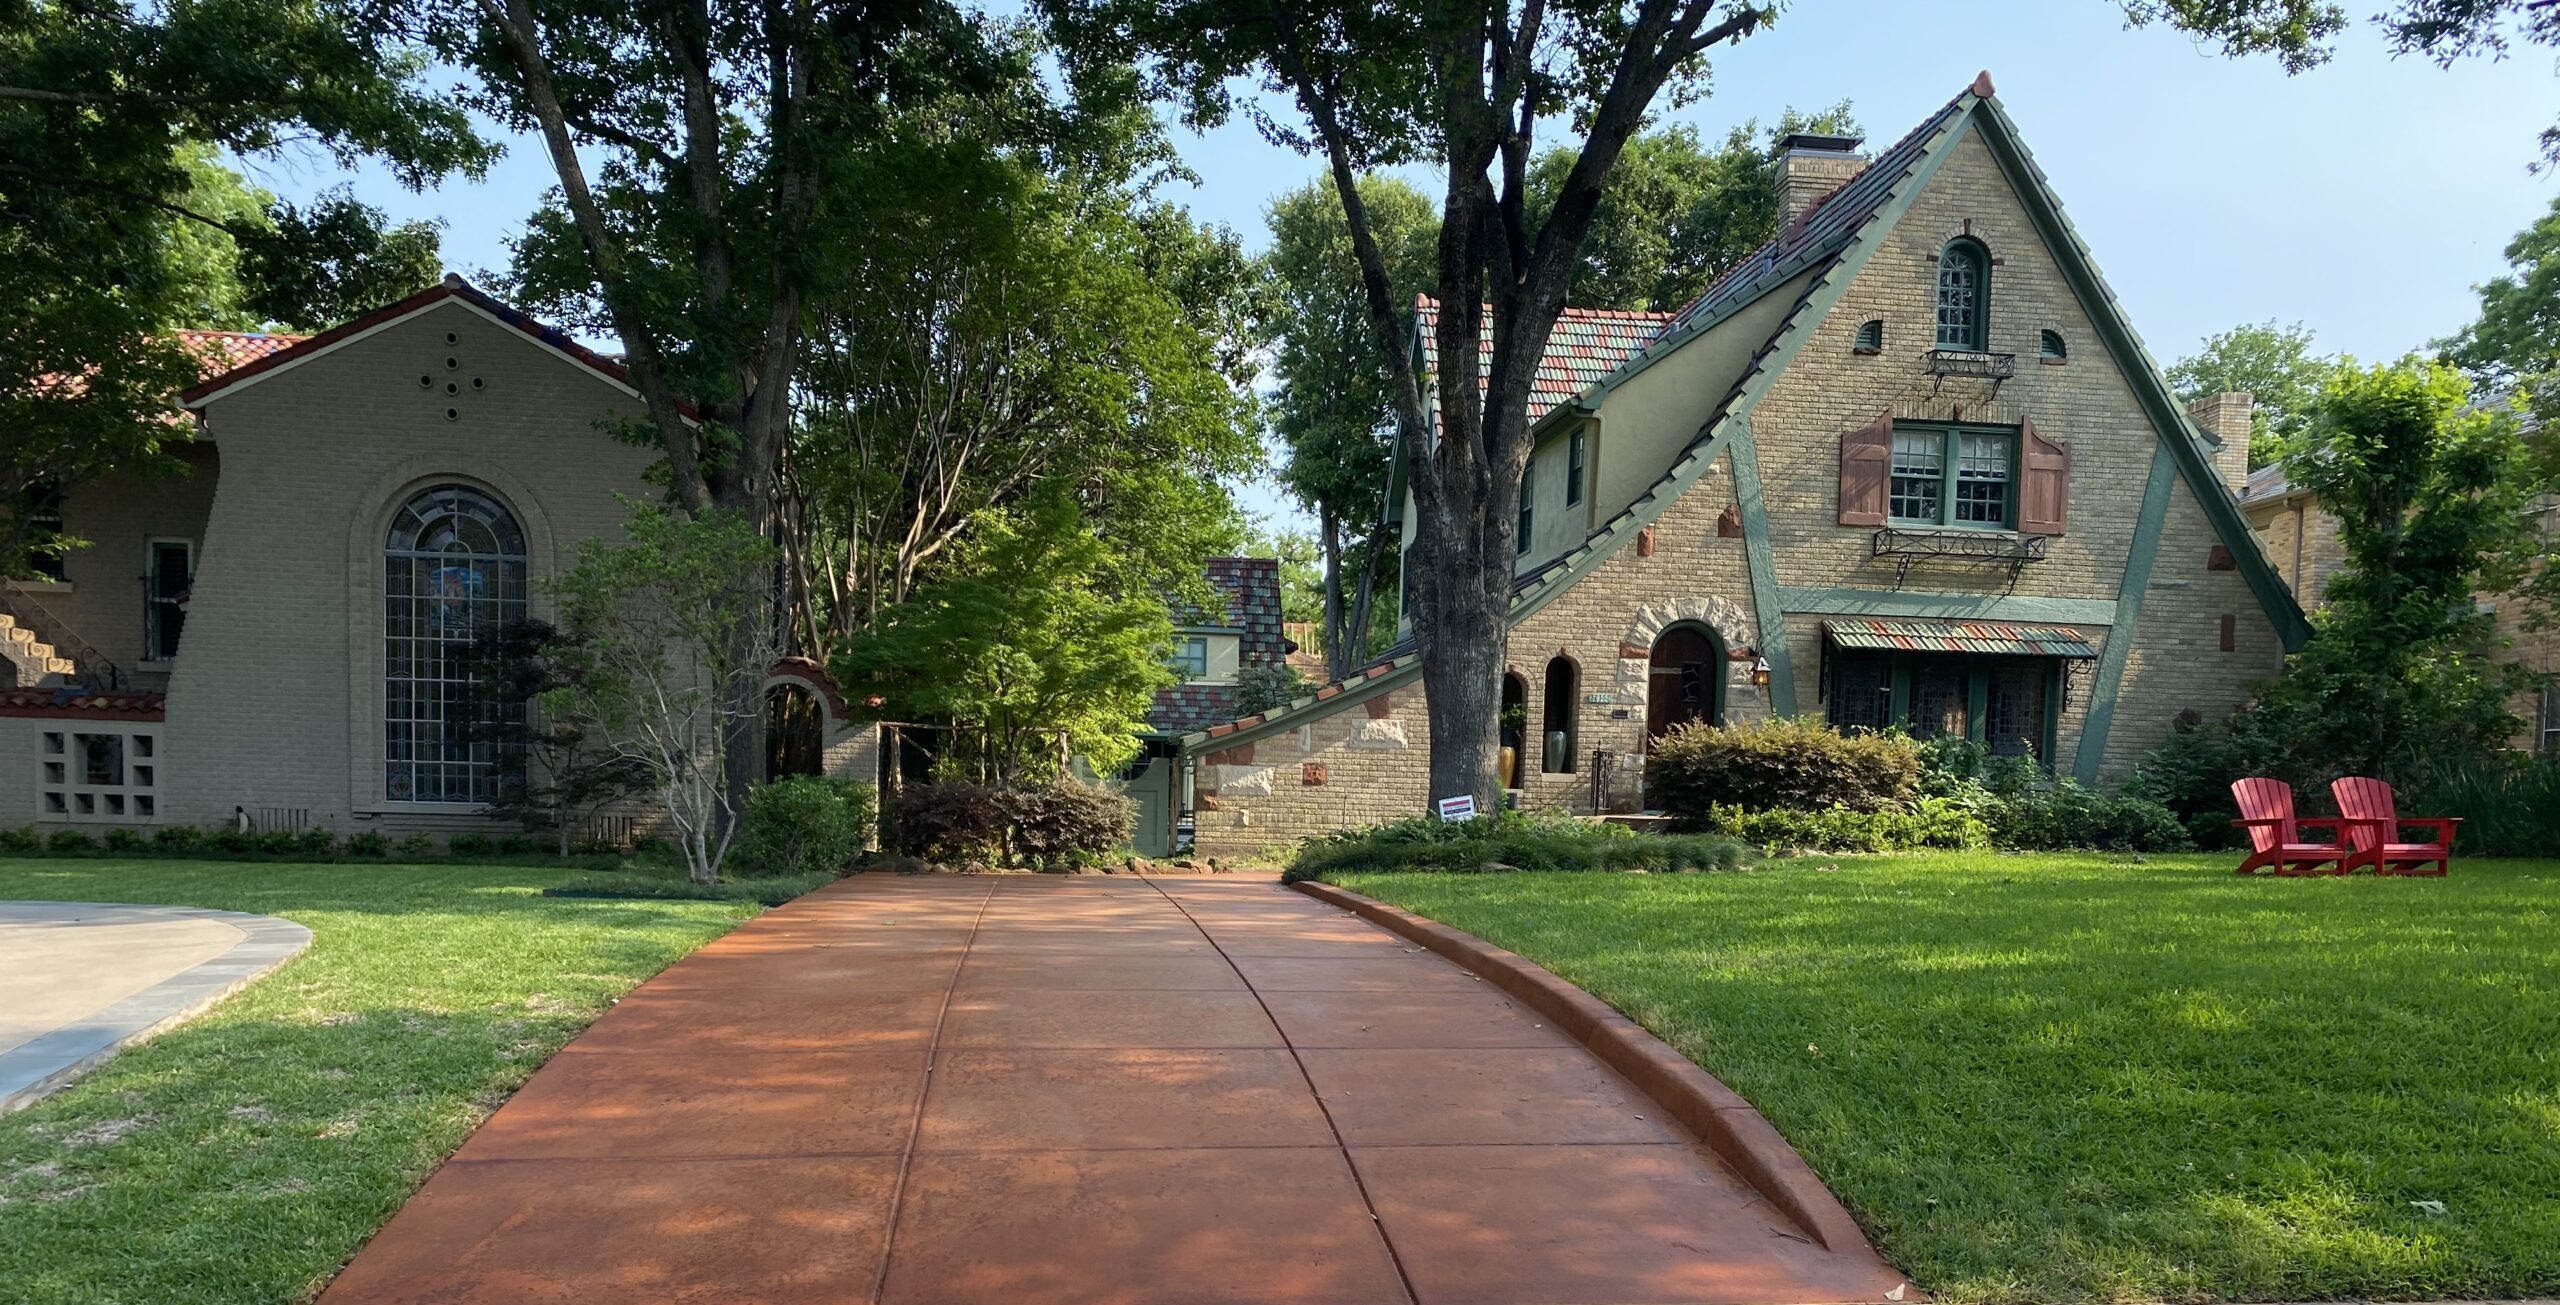
Are you tired of looking at a faded and dull concrete driveway? With a little bit of elbow grease and the right materials, you can transform it into a beautiful, refreshed space. That’s exactly what one DIYer did, and the results are excellent.
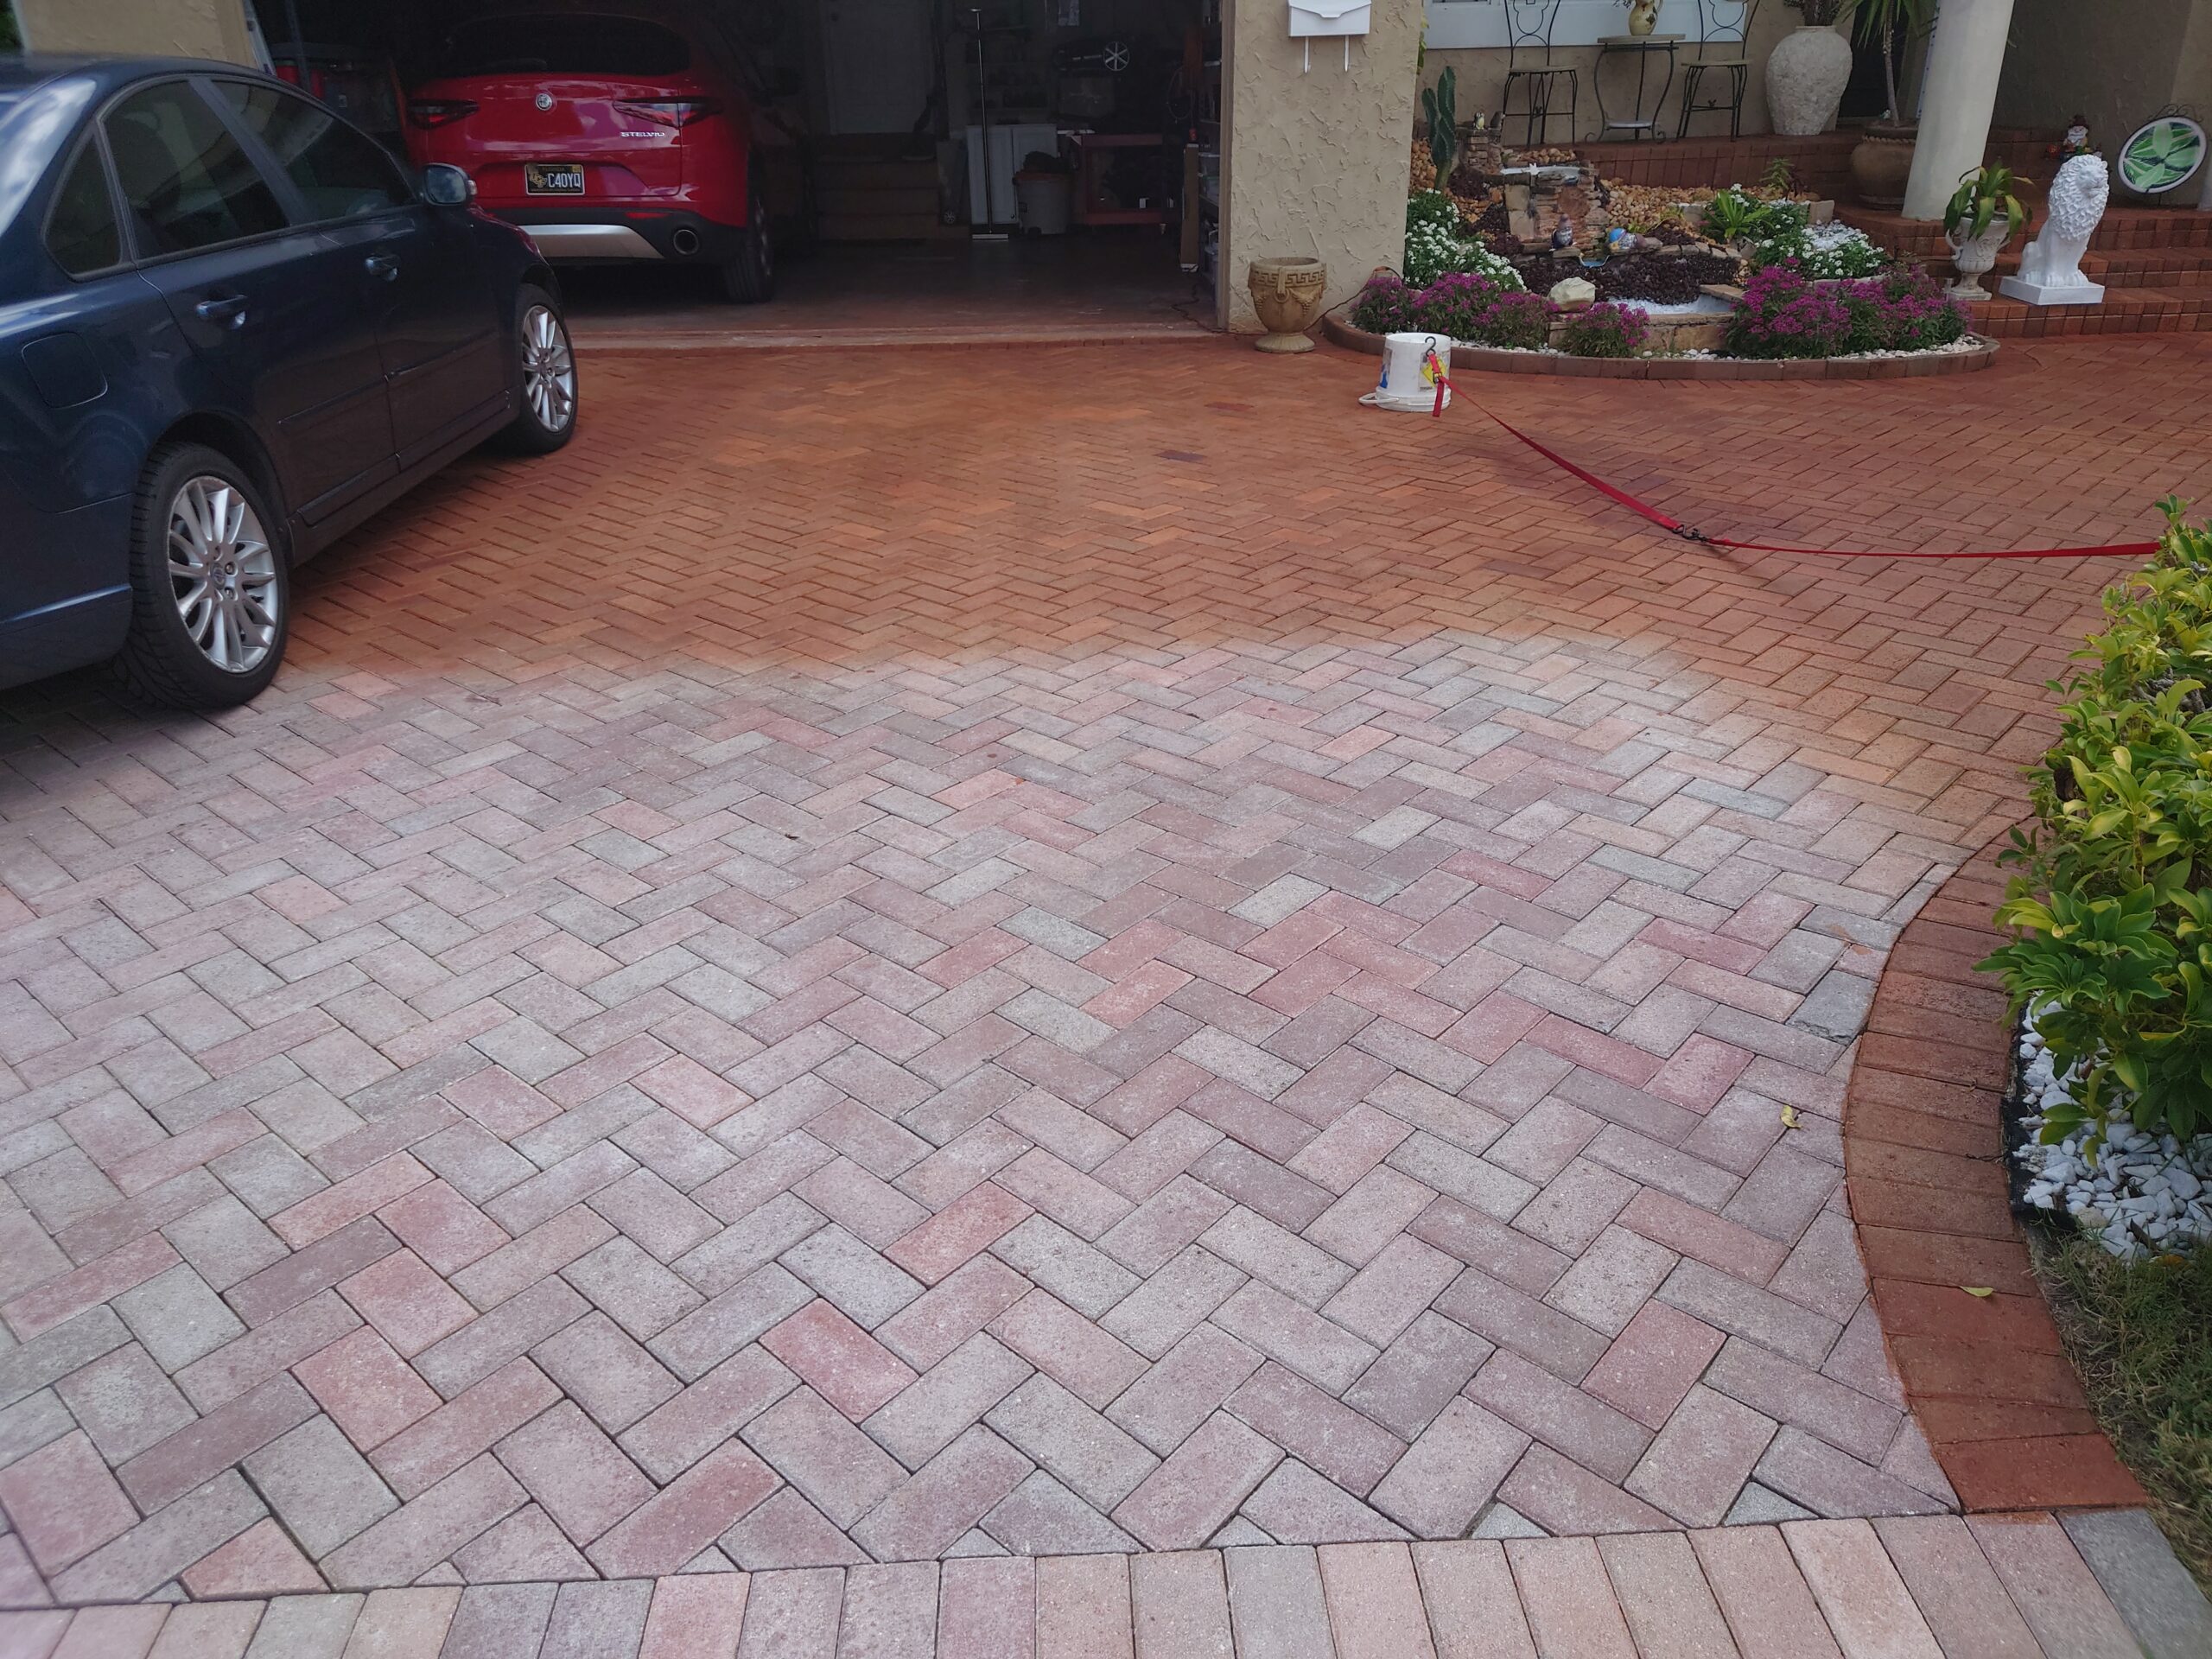
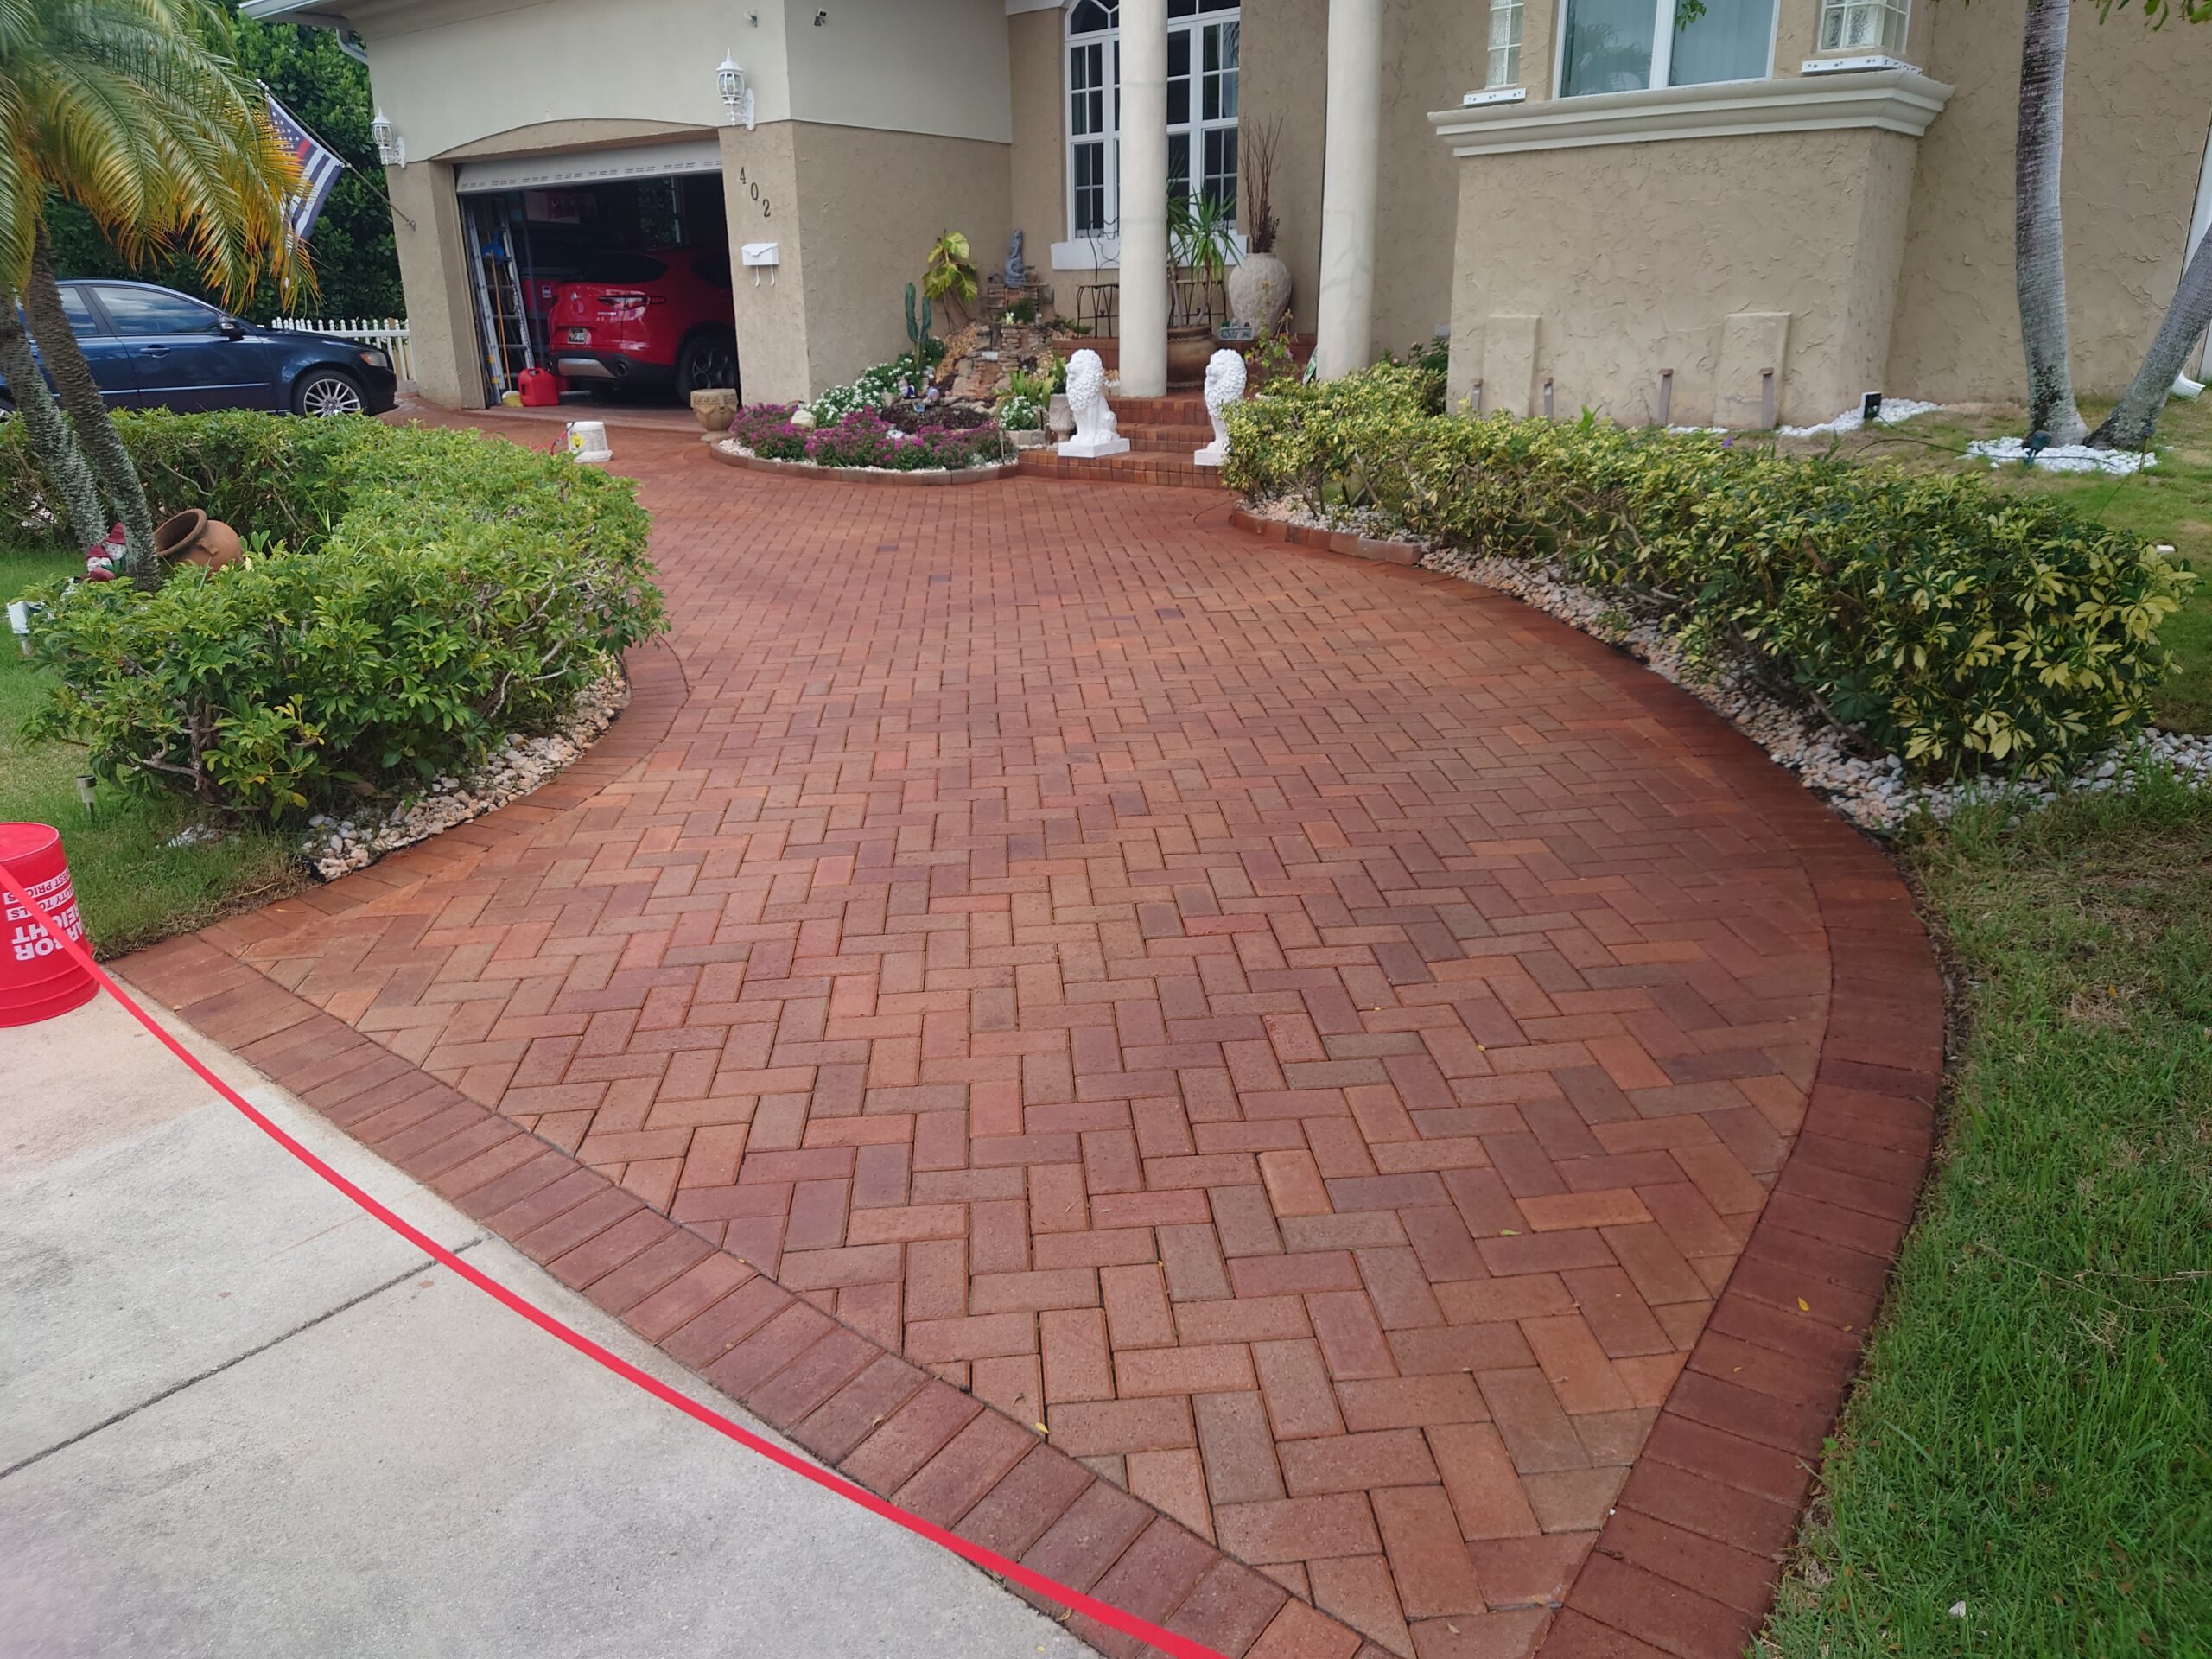
DIY Driveway Paver Re-Staining: Water Based Concrete Stains Before & After
Are your concrete pavers looking faded and dull? Give them a fresh new look with a DIY re-staining project! That’s exactly what one DIYer did, and the results are impressive.
Staining Heated Concrete Floors
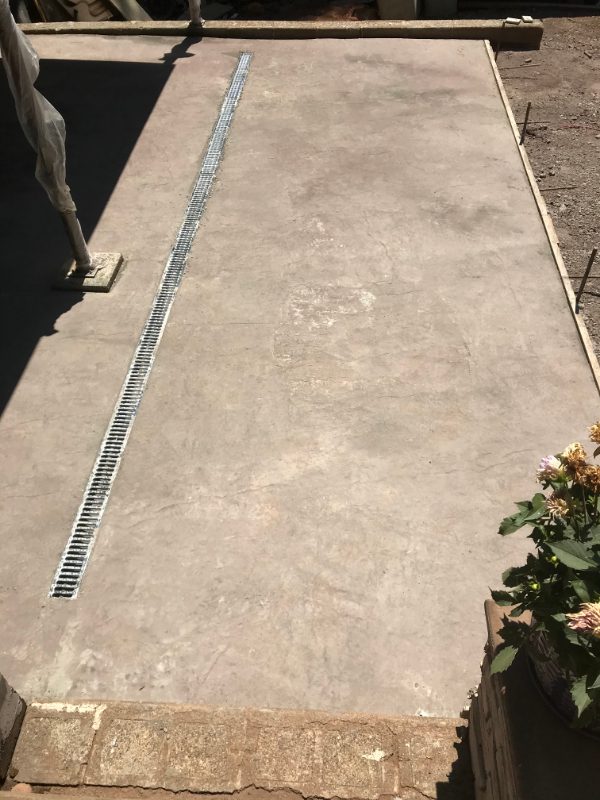
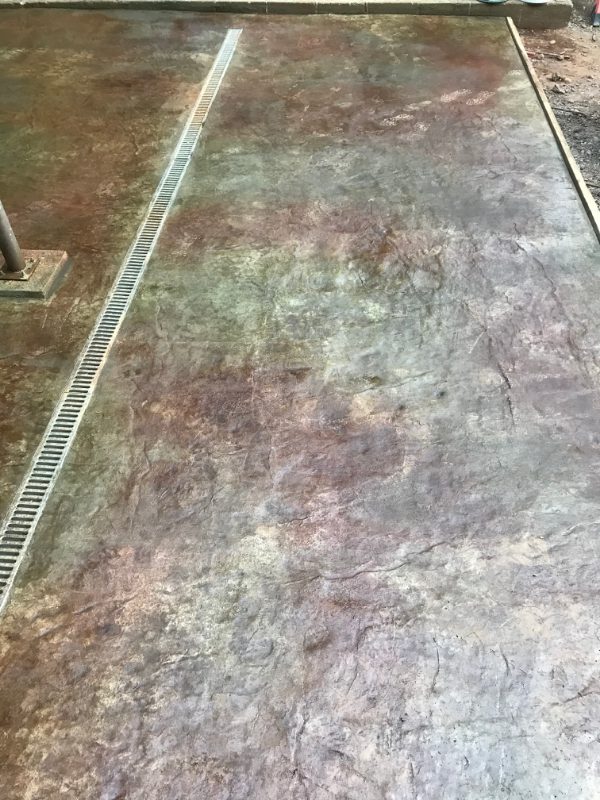
If you live in an area with harsh winter weather, a heated concrete driveway might be the perfect solution to keep your surface clear of ice and snow. With ColorWave stains, you can safely stain heated concrete floors without compromising the functionality of the heating system. These stains work well on both interior and exterior heated concrete, as they color the surface without interfering with the heating elements embedded within the concrete.
Project Info:
- Project Completed In: 15 day(s)
- Estimate of Square Footage: 360 sq. ft.
- Project Description:
New heated driveway approach - Direct Colors Products Used:
1 Gal. Almond ColorWave® Stain
1 Gal. Amber ColorWave® Stain
1 Gal. Olive ColorWave® Stain
2 x 1 Gal. AcquaSeal™ Gloss
Garage Floor Makeover
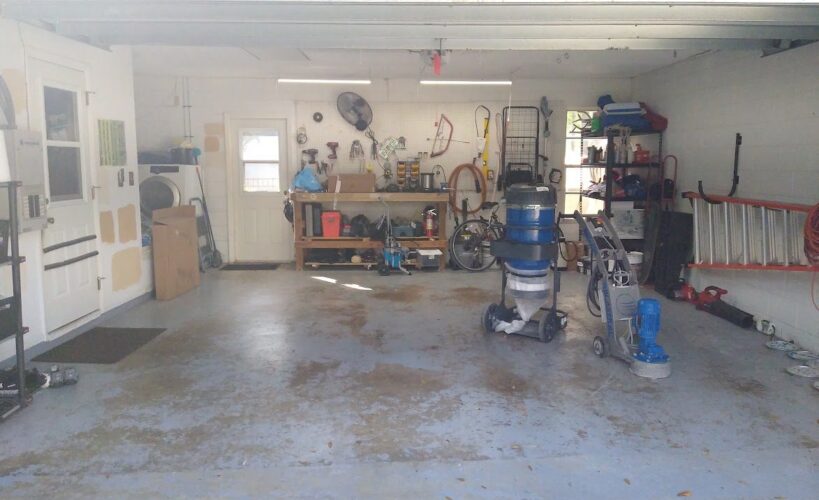
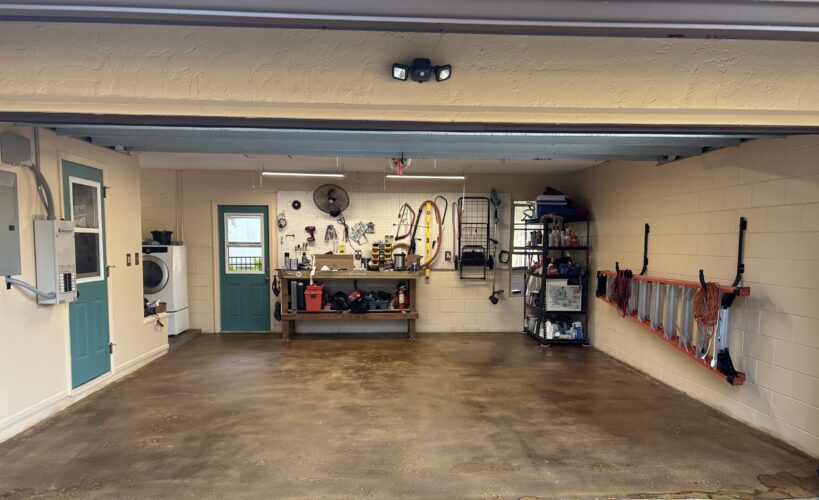
Project Info:
- Project Completed In: 5 day(s)
- Estimate of Square Footage: 500 sq. ft.
- Project Description:
My garage was unsightly; The previous owner applied some kind of coating and sealant that was coming up. I rented a concrete grinder to remove the coating. This took 2 days and was the hardest part of the project.On day 3 I applied 3 coats of ColorWave Amber. This was easy and only took 15 minutes per coat using a pump sprayer.On Day 4 I applied the first coat of EasySeal gloss. The directions say this can be applied using a pump sprayer, but it is too thick. I had to stop my project to go buy a roller and tray. I was worried the roller would leave streaks, but there are only a few and they are not very noticeable unless you are looking for them.I left the garage door open overnight because the VOC’s are no joke! I even turned off the AC because it was pulling air in from the garage and stinking up my house. I am not complaining though because I know this product will last!Day 5 I applied the second coat of sealer without any issues.The real test was 3 days later when I put the cars back in the garage. I was worried the coating would peel up and leave hot tire marks, but it didn’t!I would totally recommend these products for the DIY’er, I saved thousands of dollars from the quotes I received. - Direct Colors Products Used:
3 x 1 Gal. Amber ColorWave® Stain & EasySeal™ Satin Kit - Other Products Used:
Blastrac concrete grinder./li>
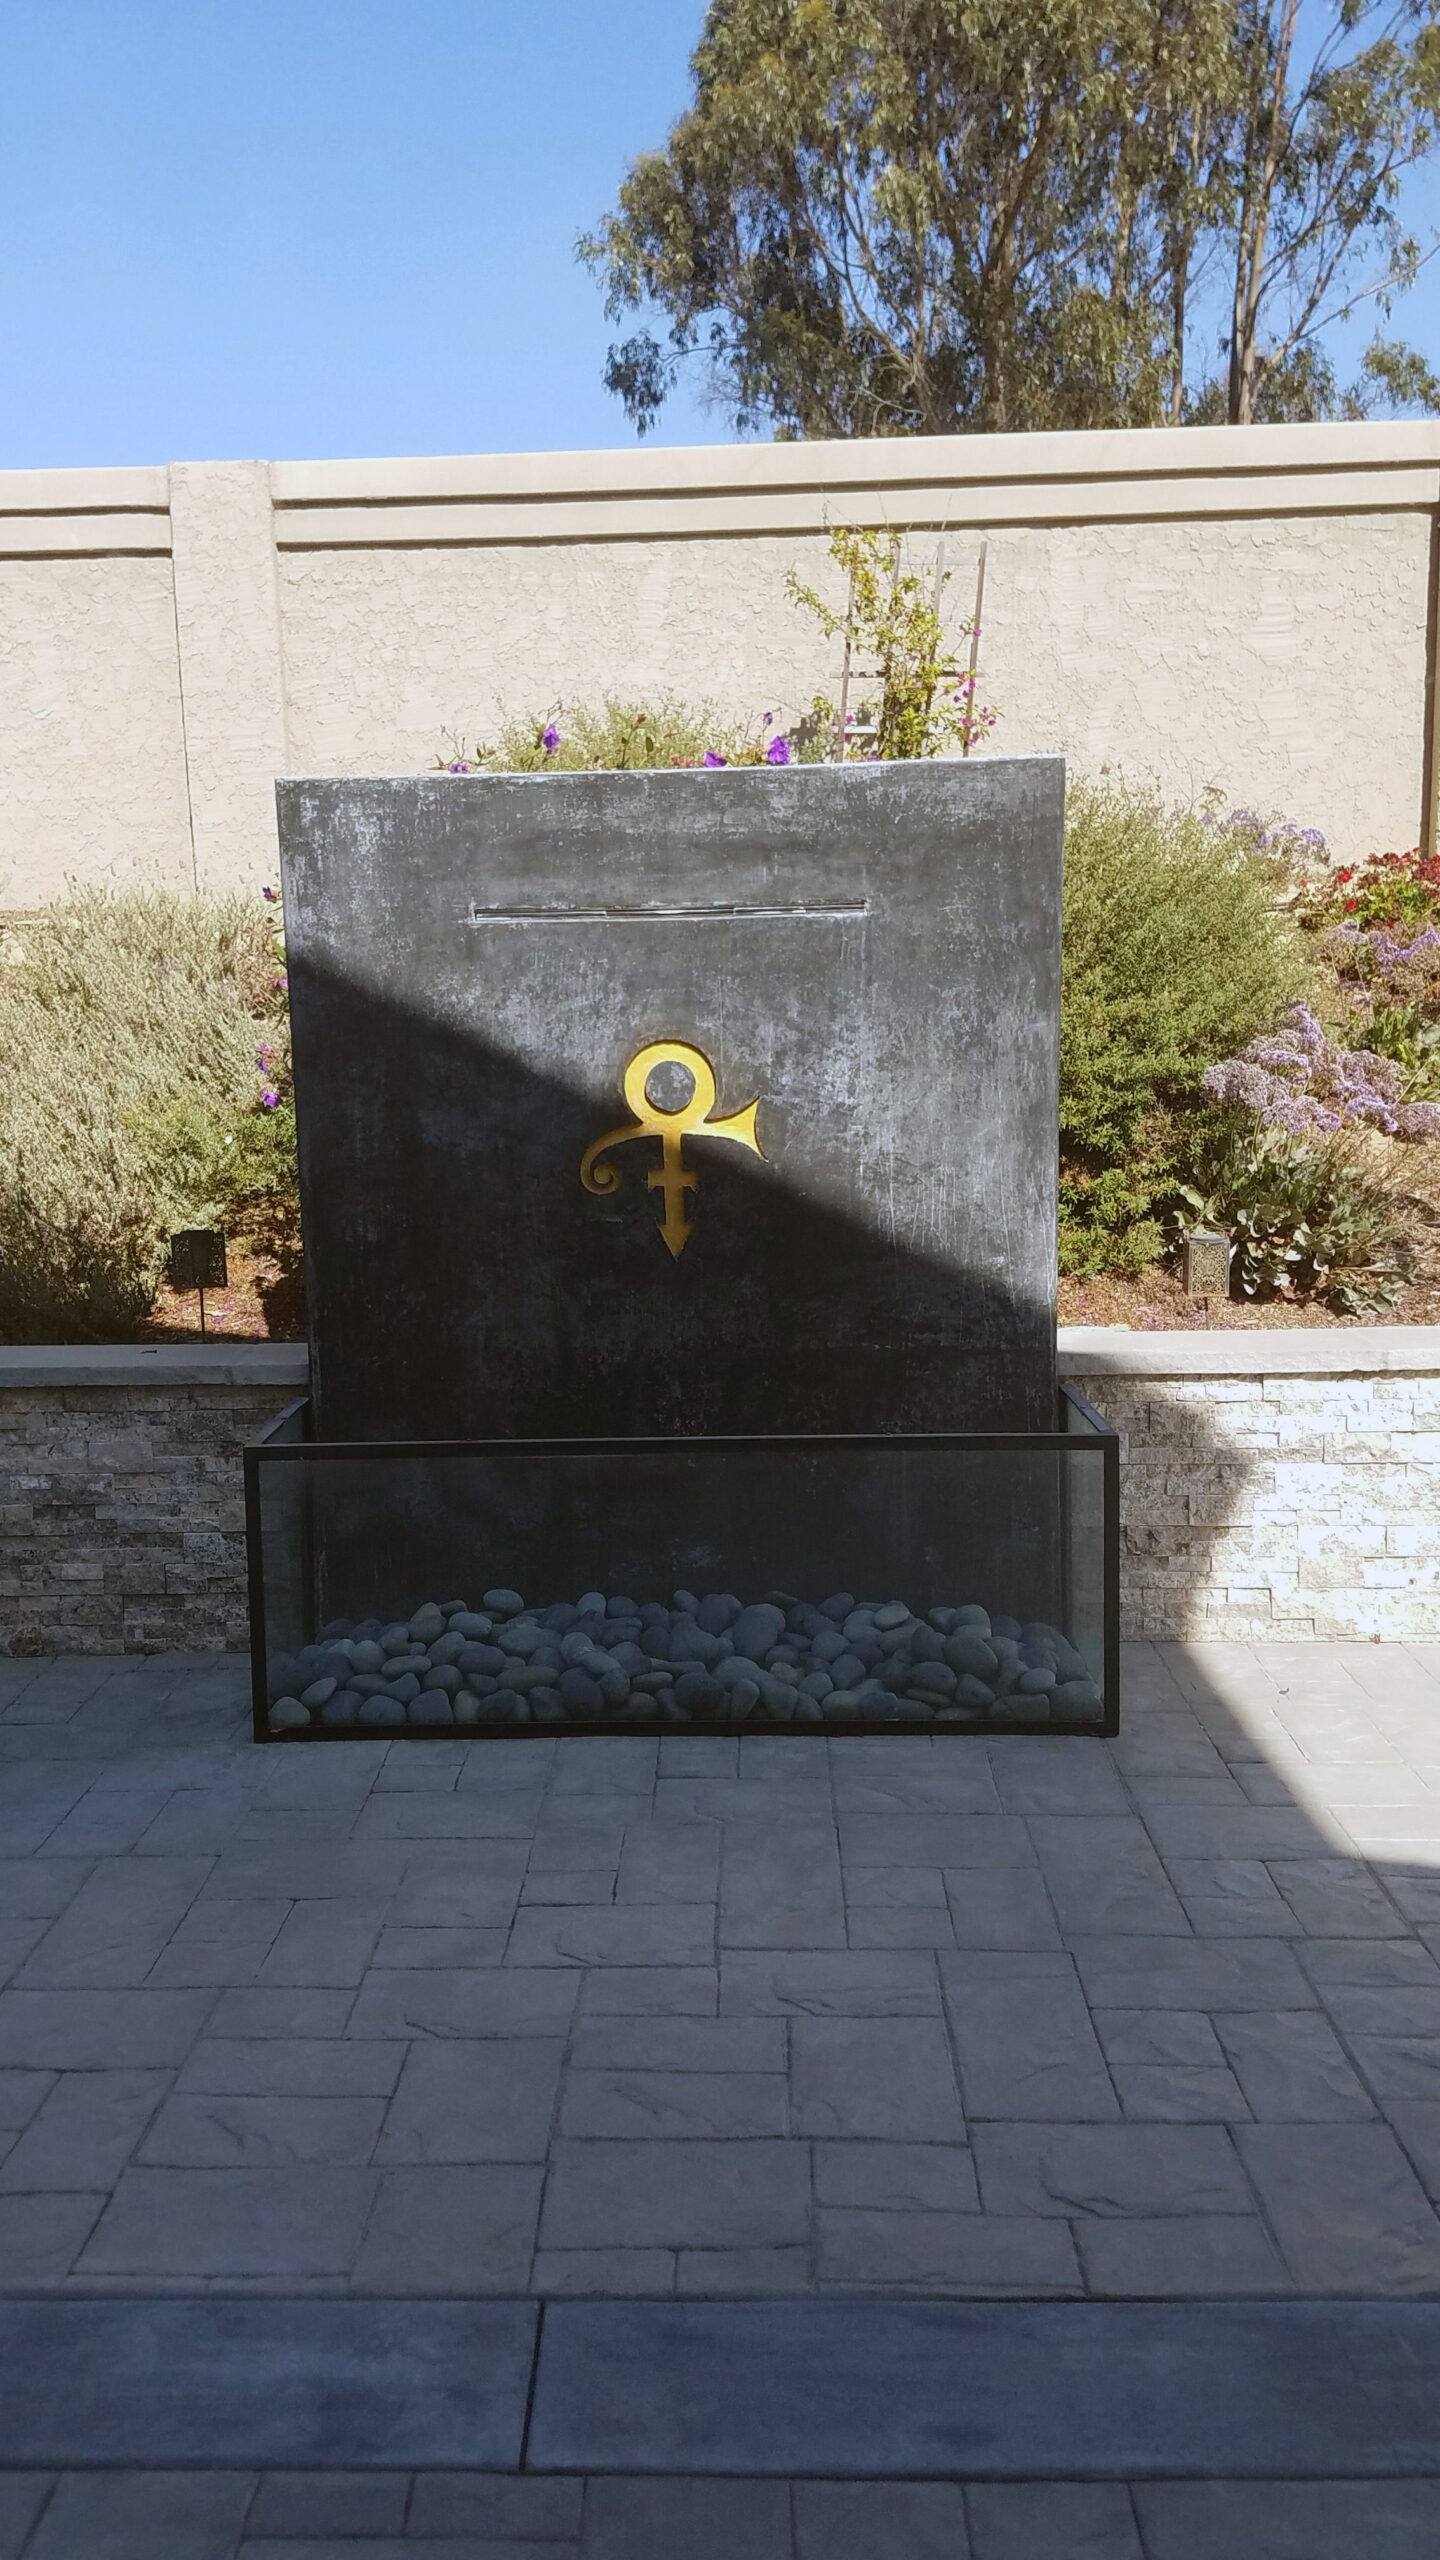
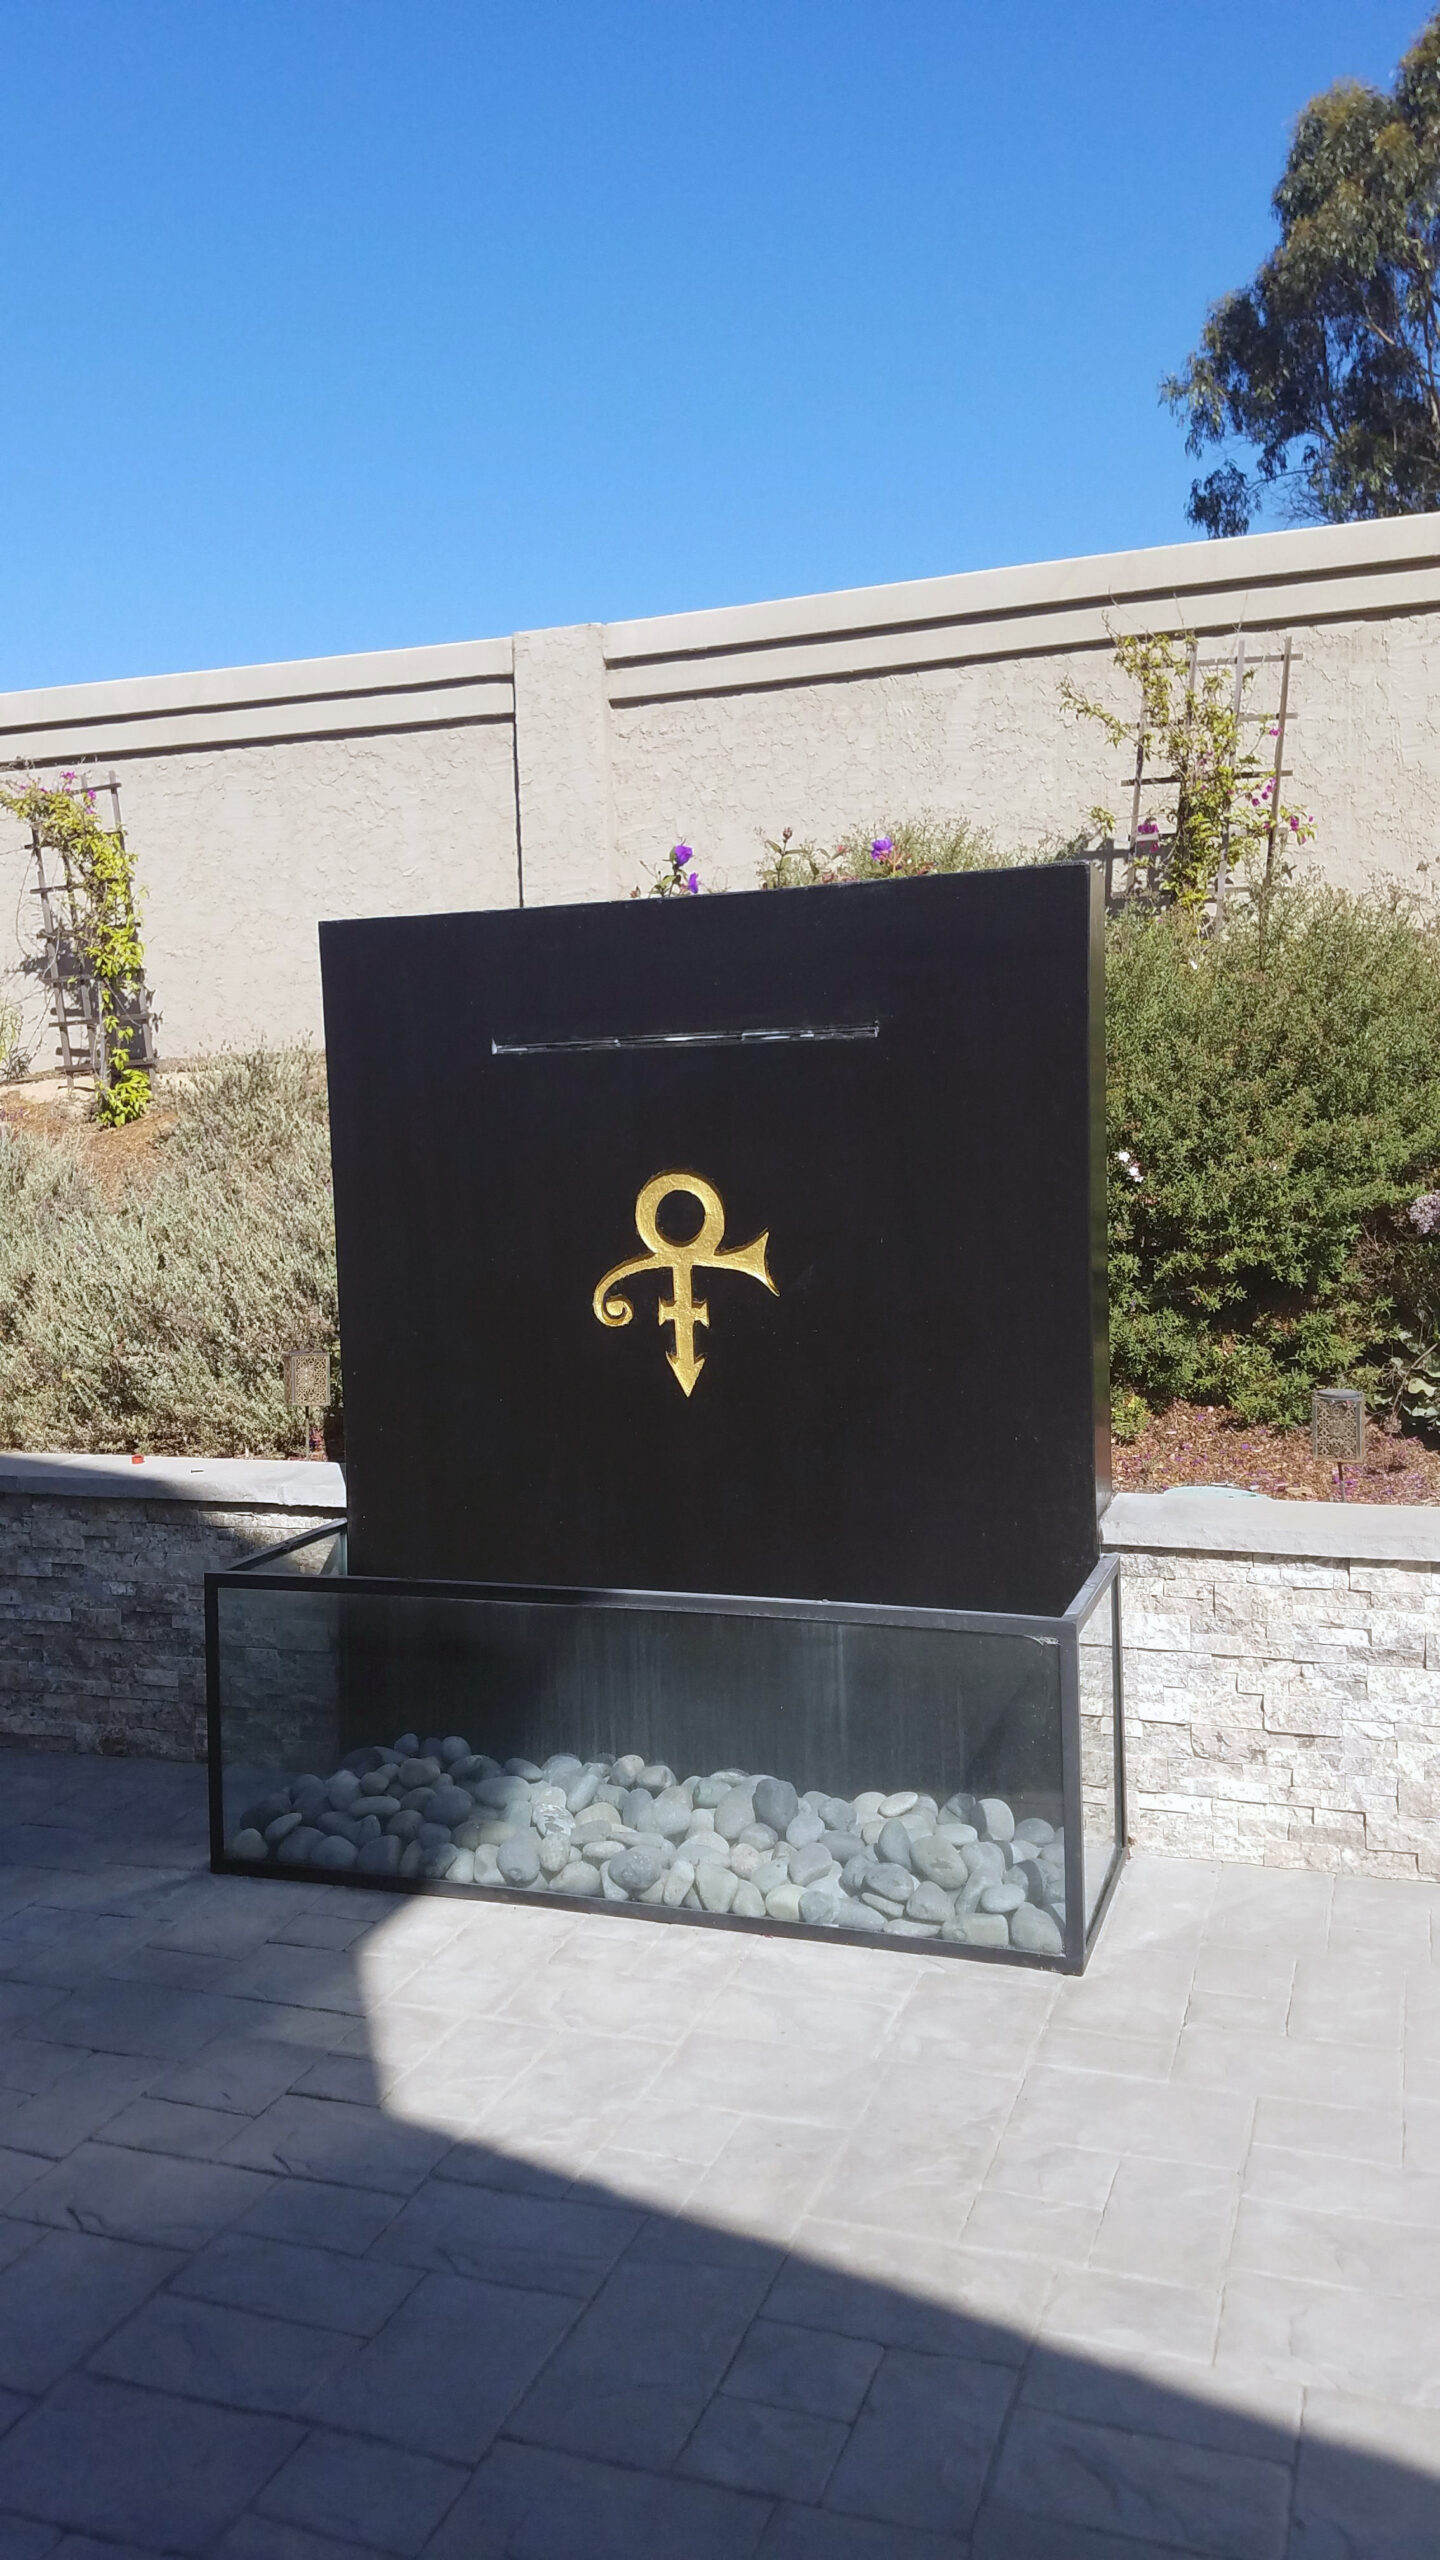
A Tribute to Prince
Stylish Entryway Floor
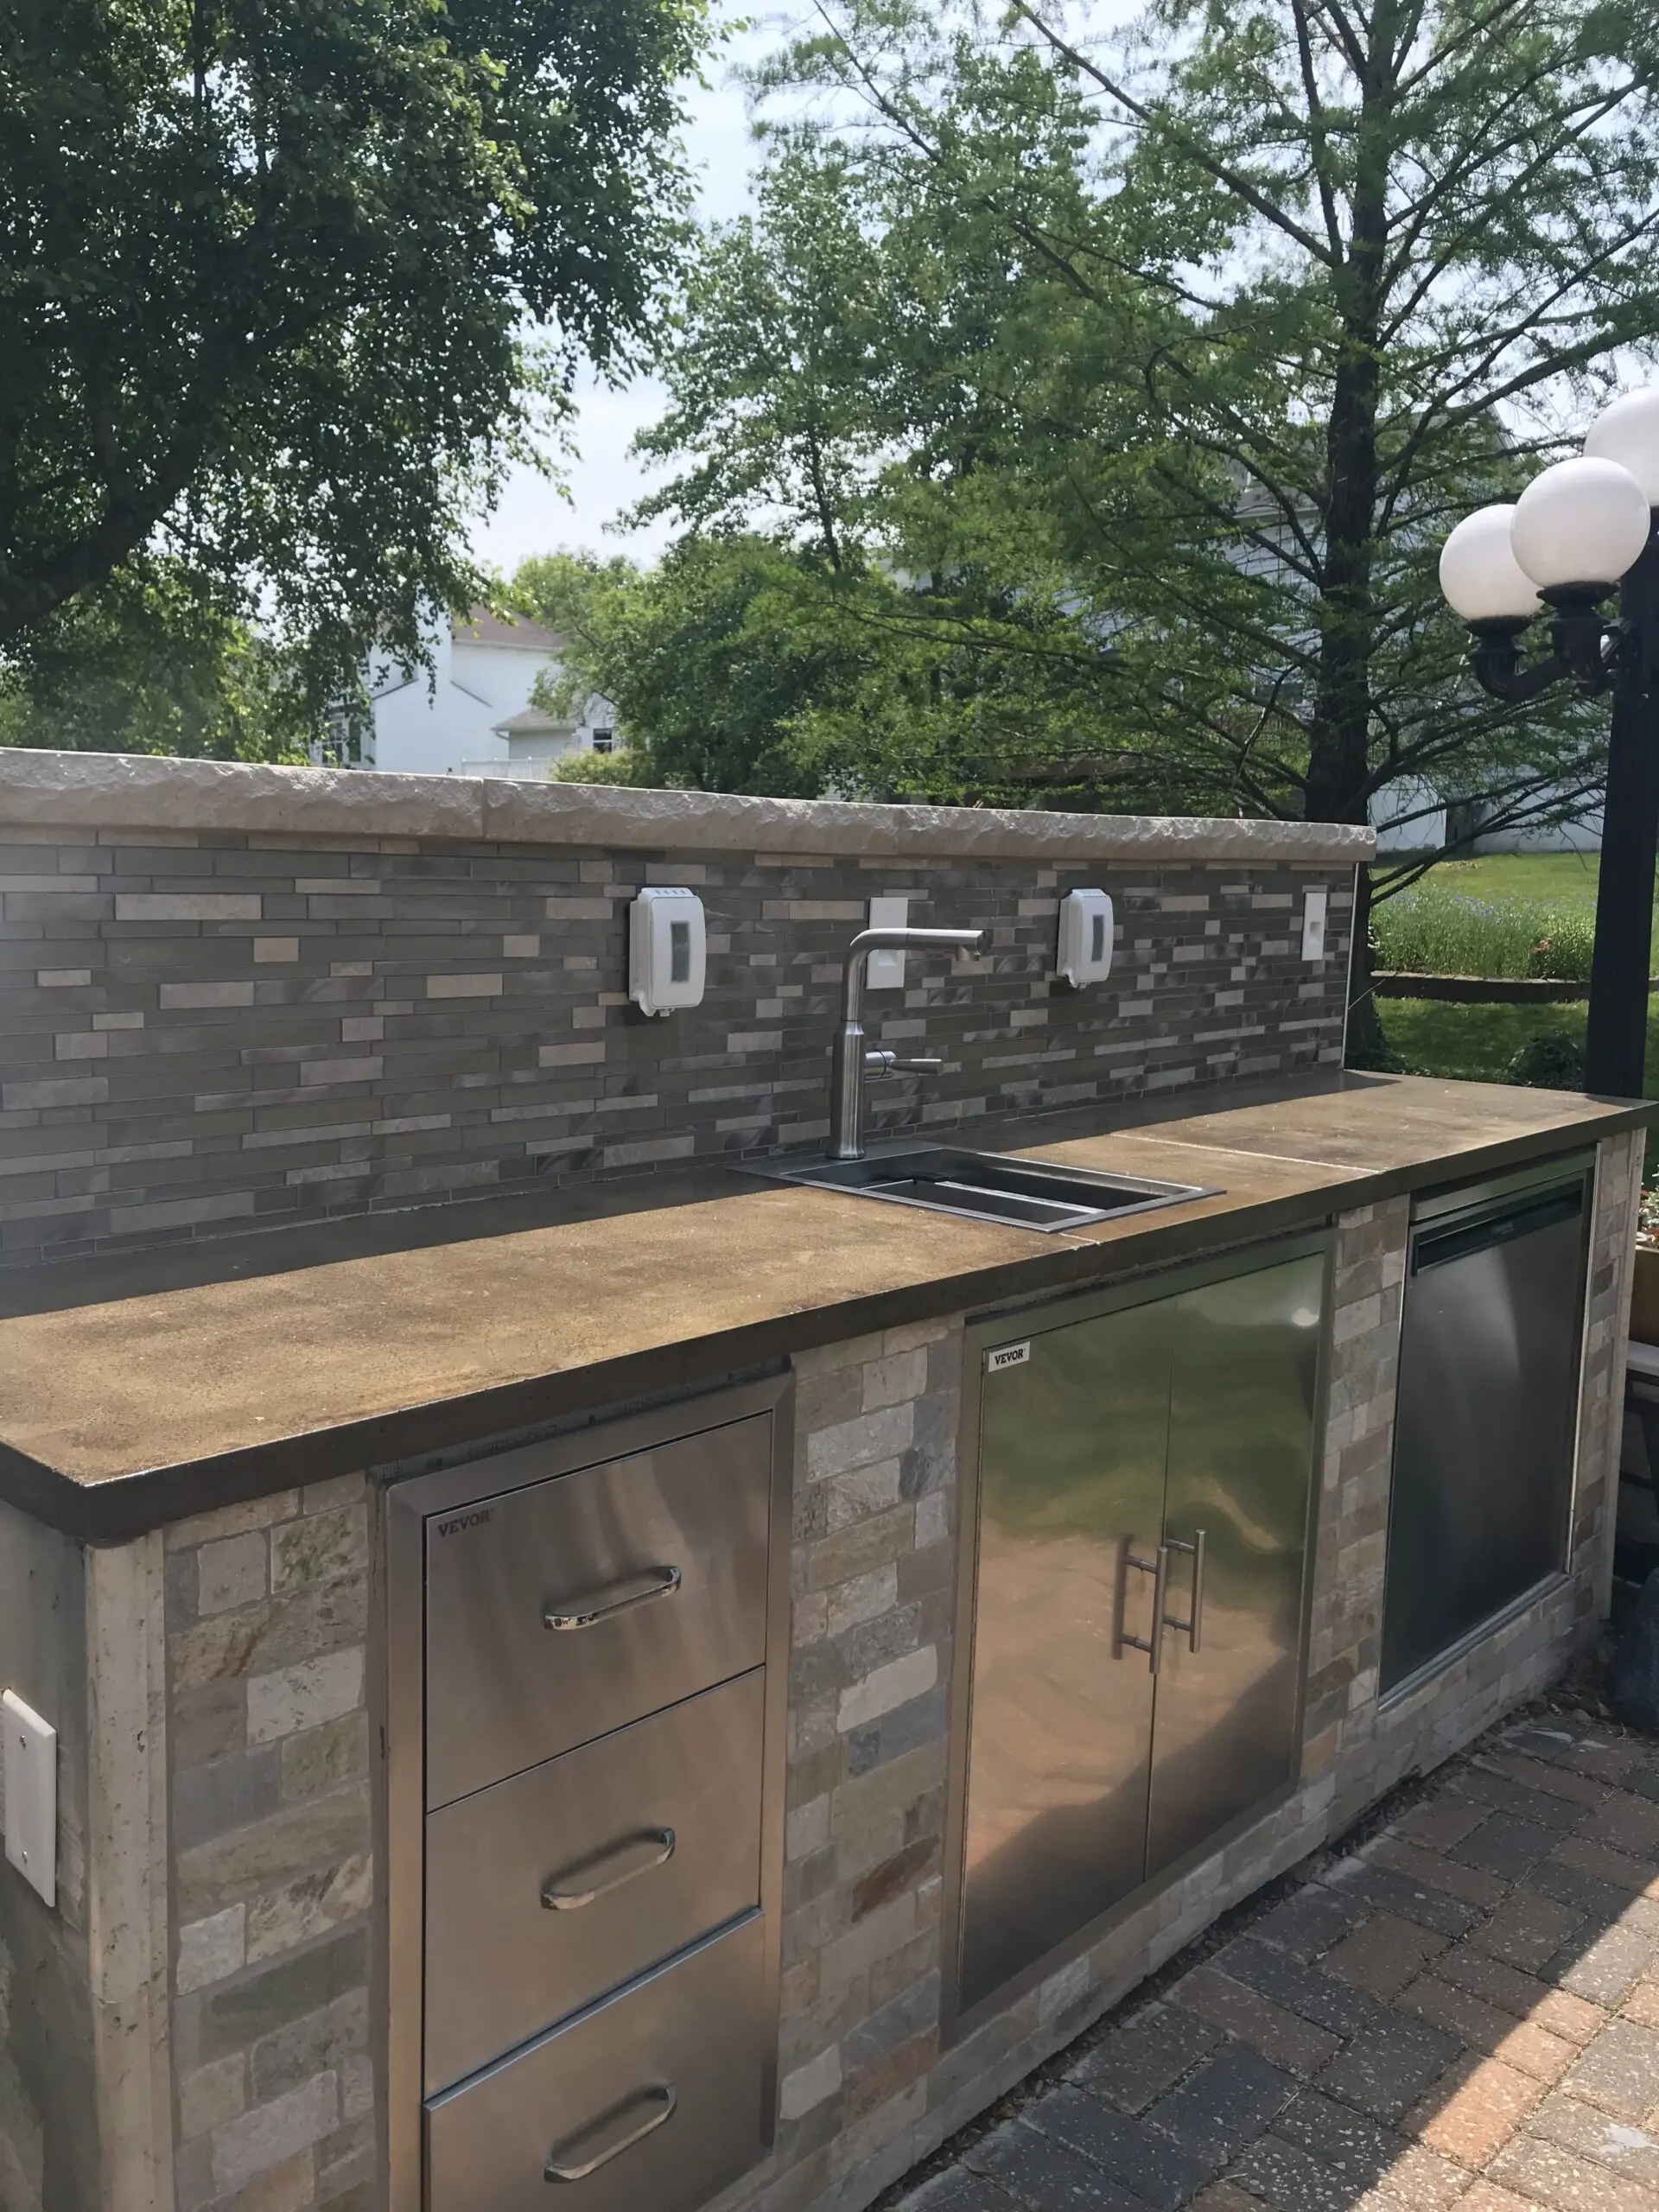
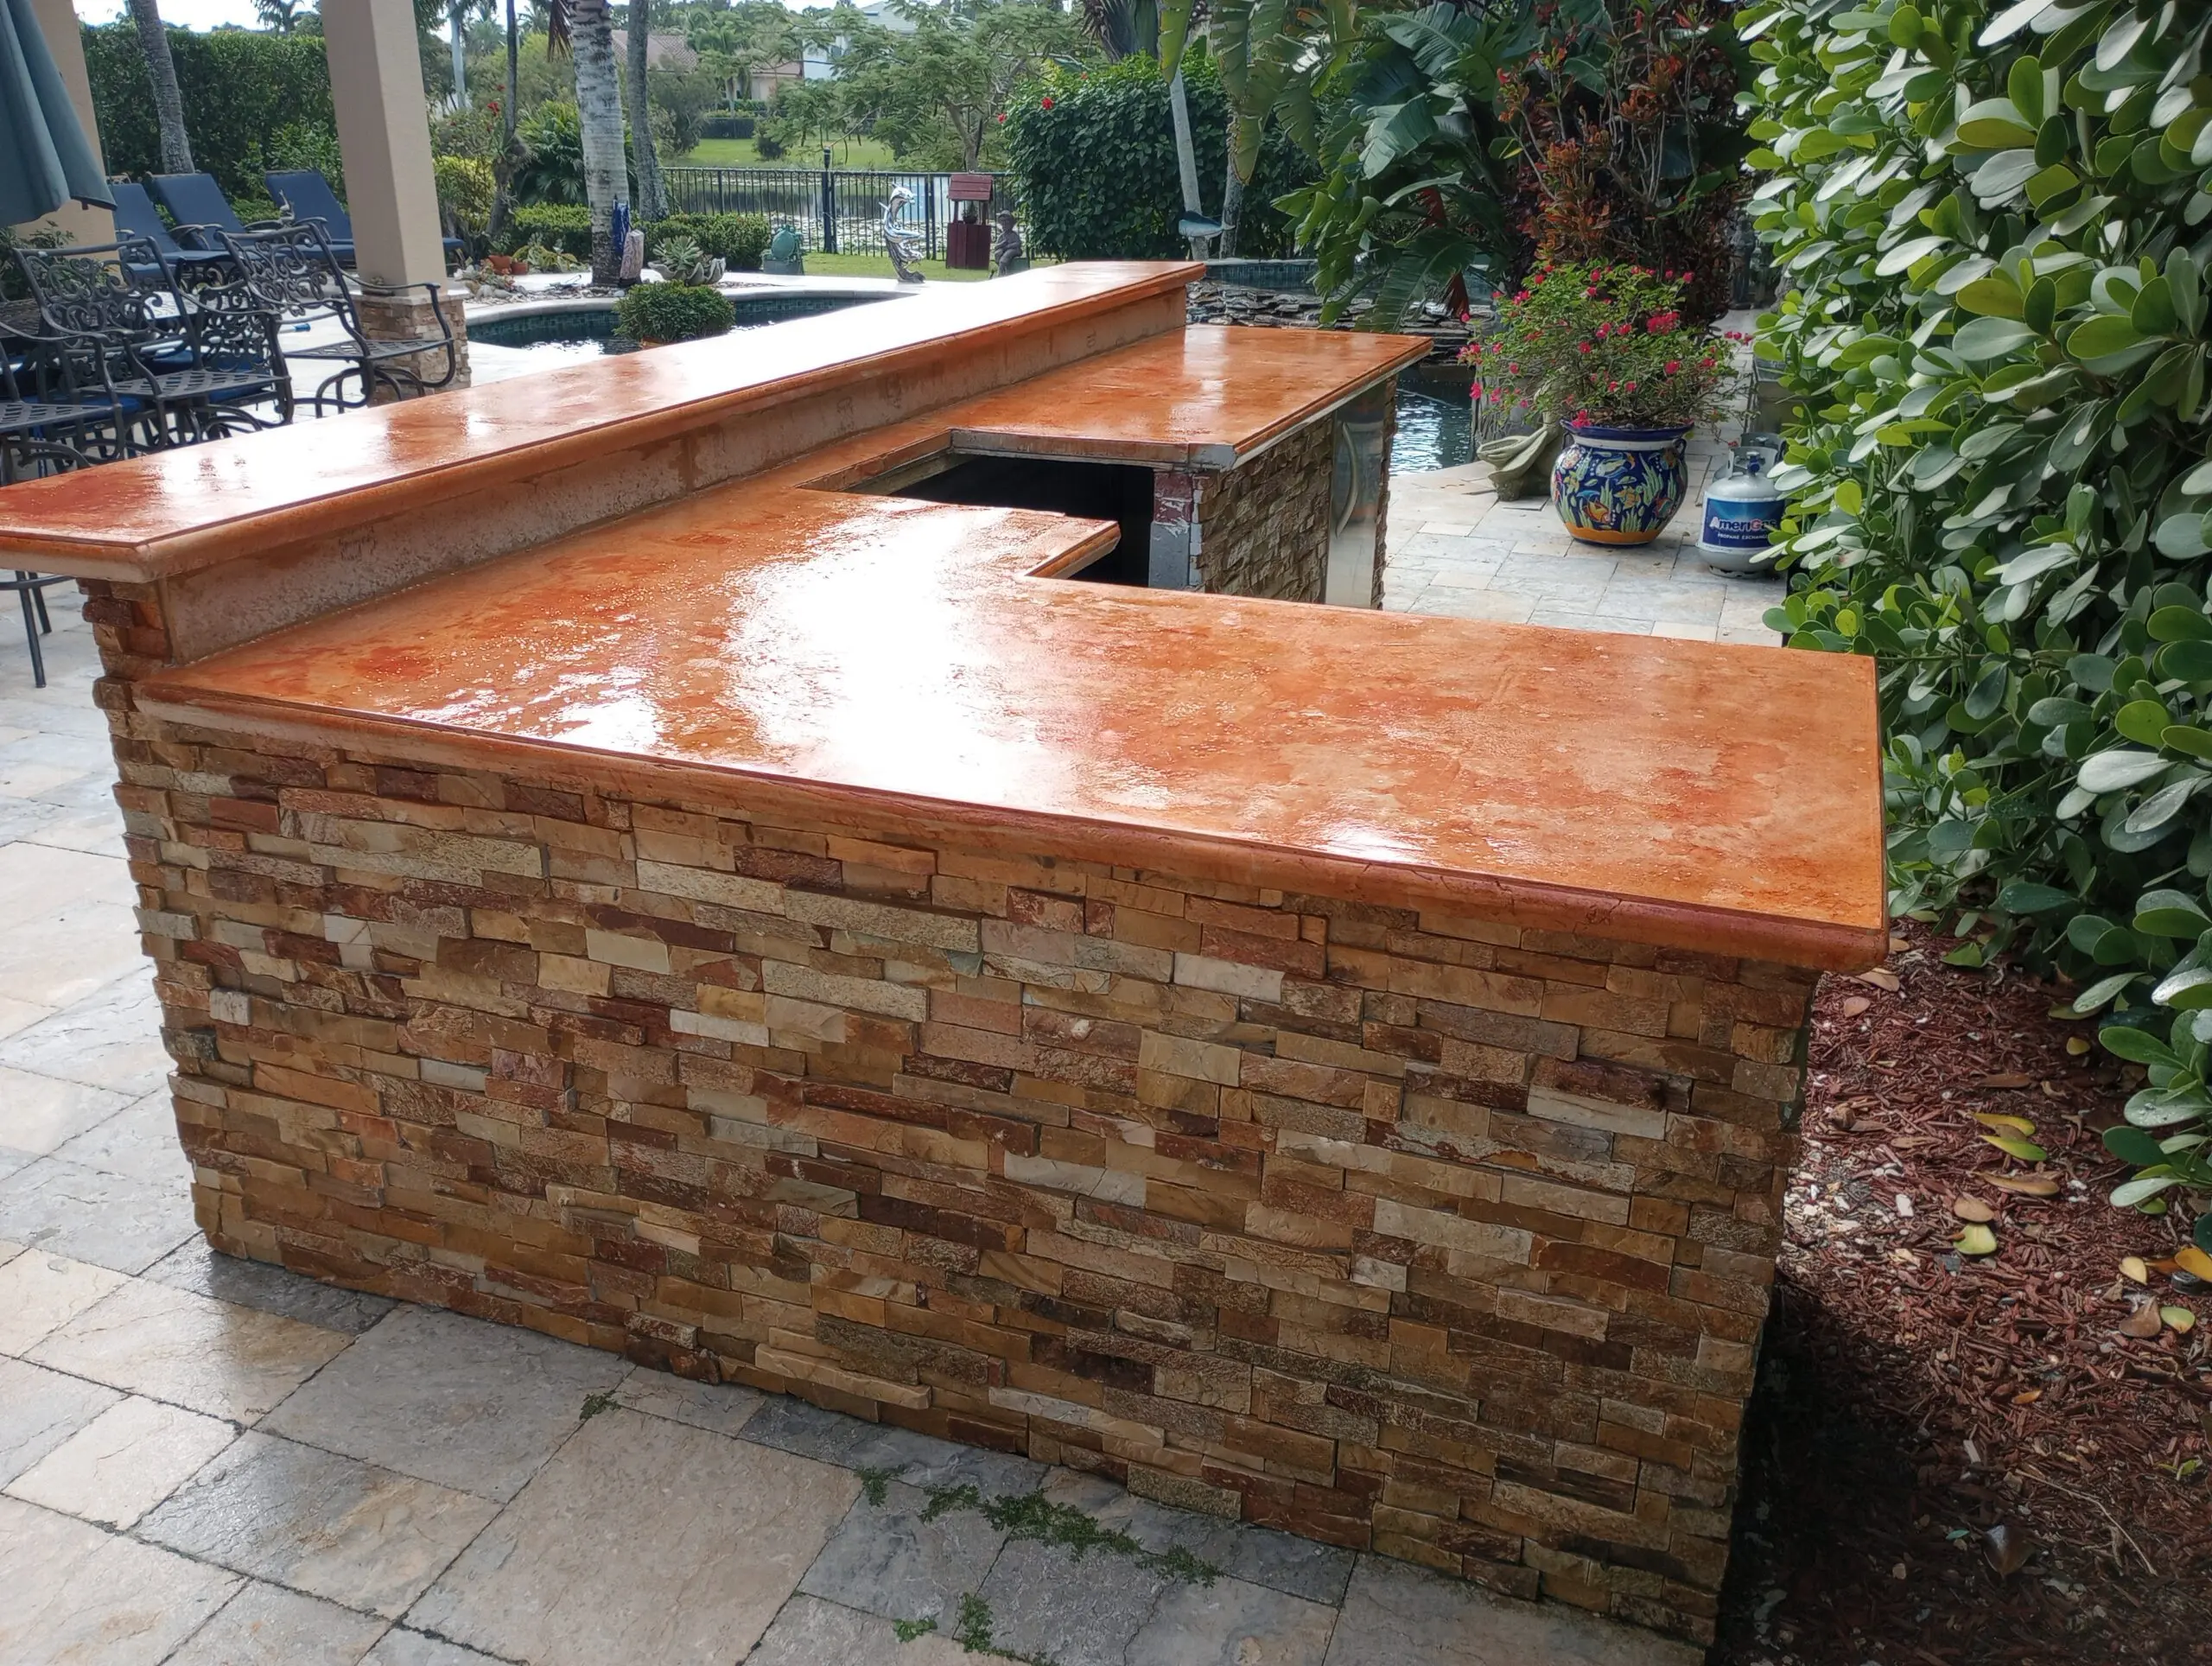
Outdoor Kitchen with Stained Countertop
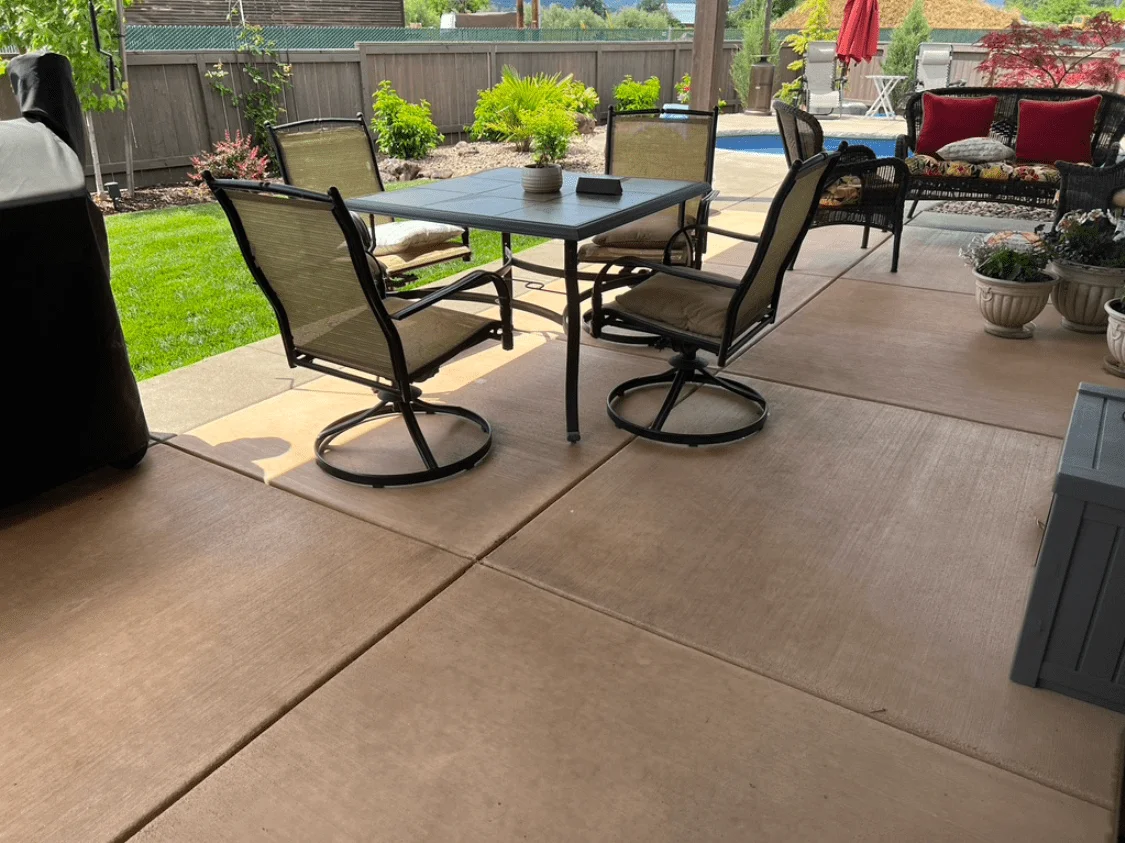
Molasses-Stained Patio
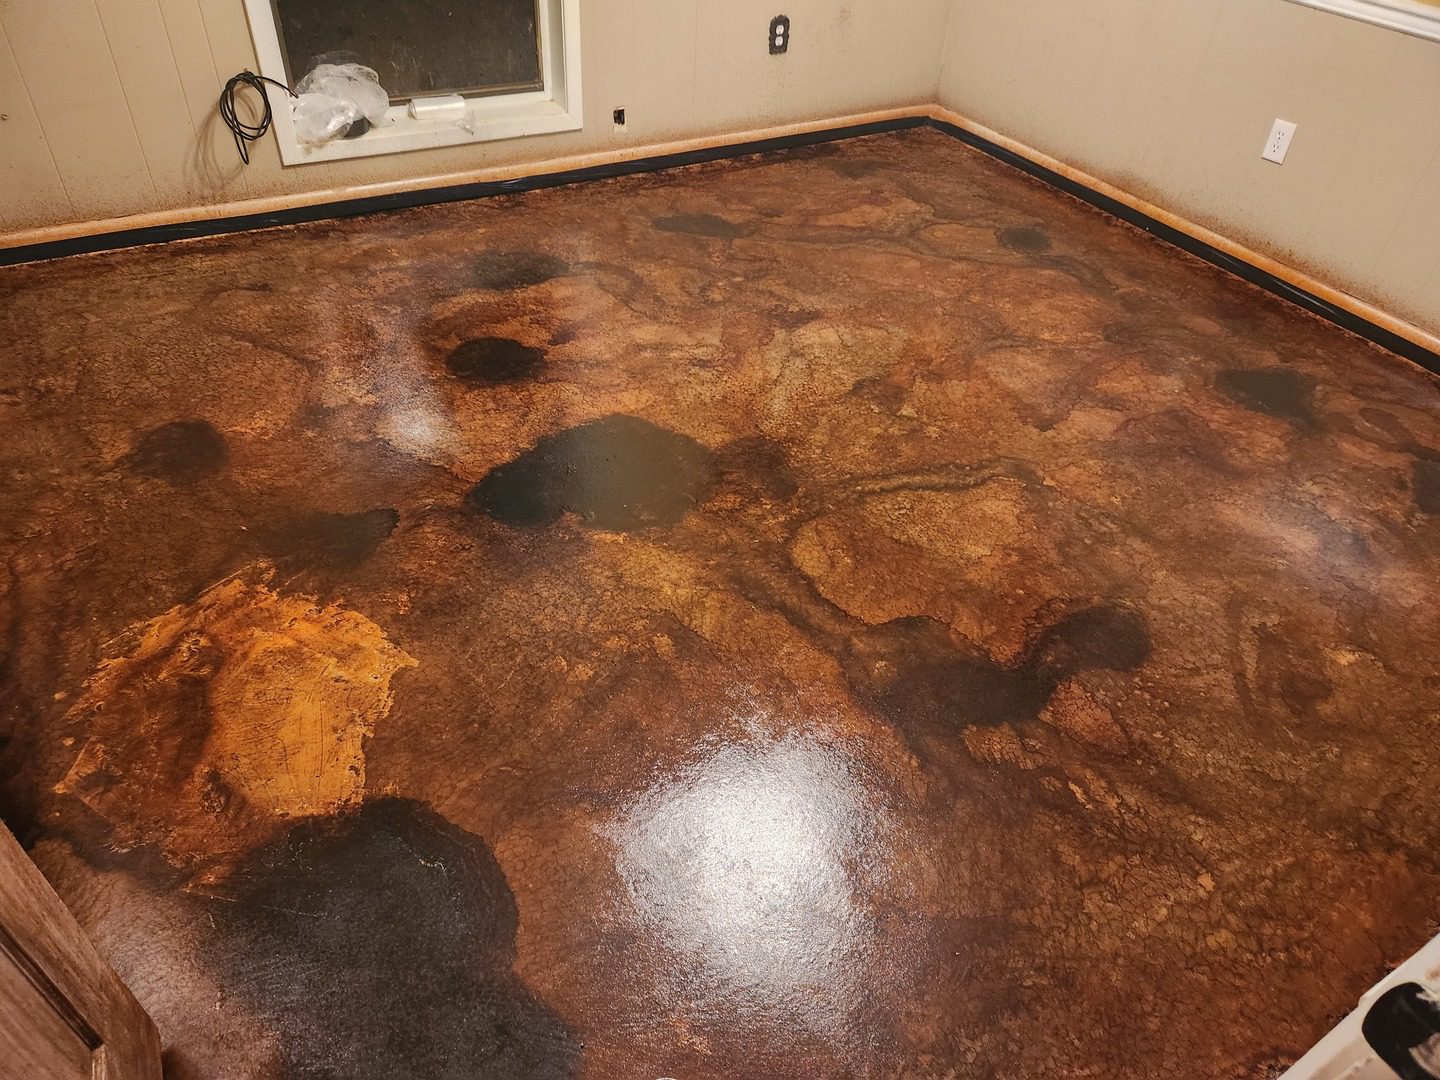
Vibrant Mahogany and Molasses Floor
Stone, Steel and White ColorWave®
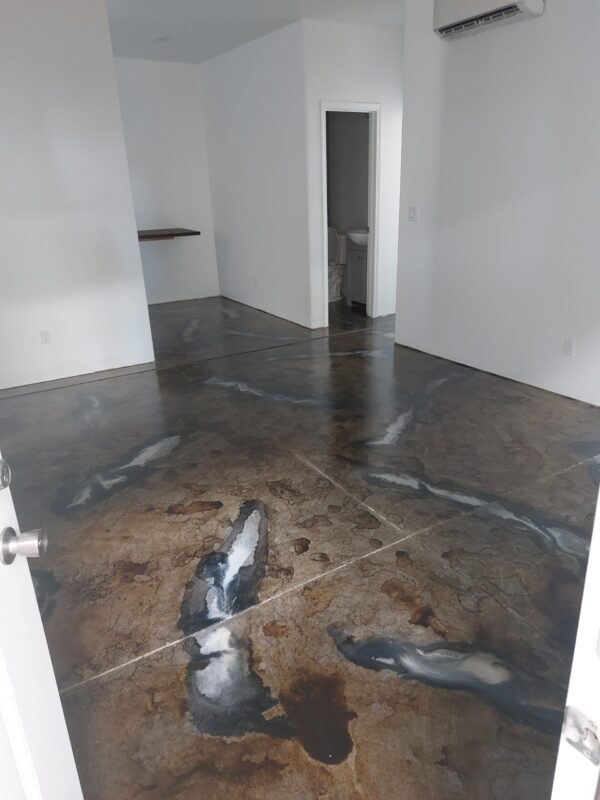
Black and Steel Gray Stained Hallway
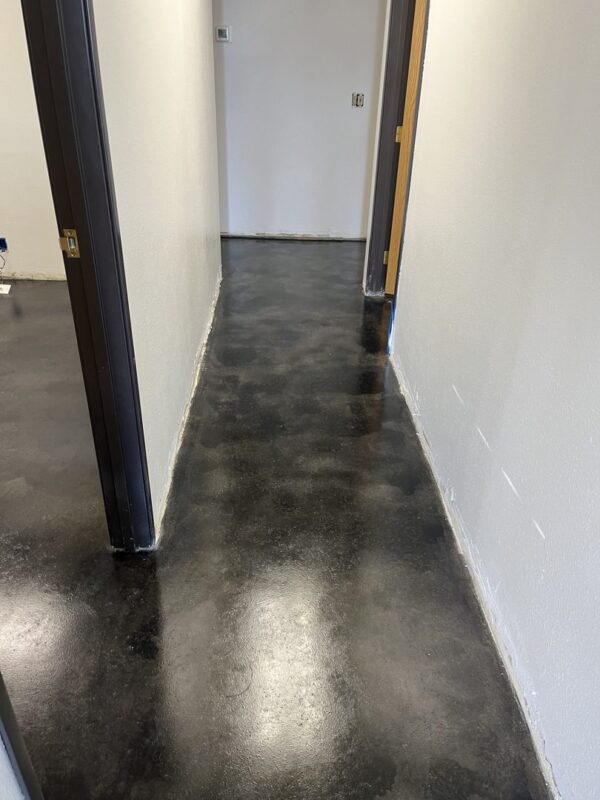
Steel Gray ColorWave®
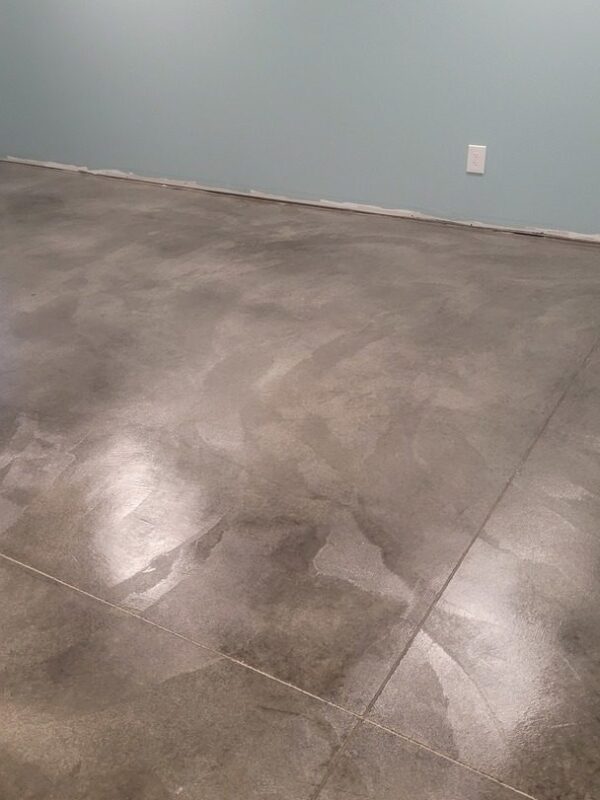
Steel ColorWave® on Stamped Concrete
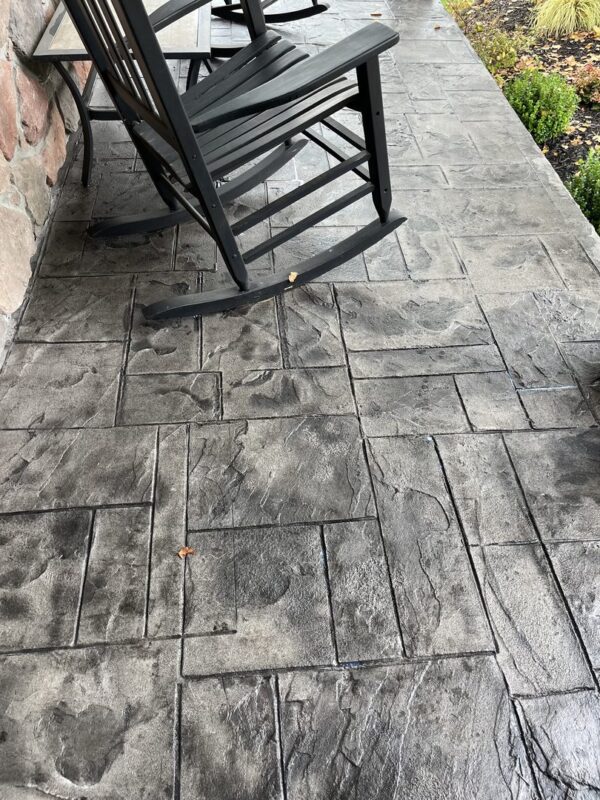
Black & Silver ColorWave®
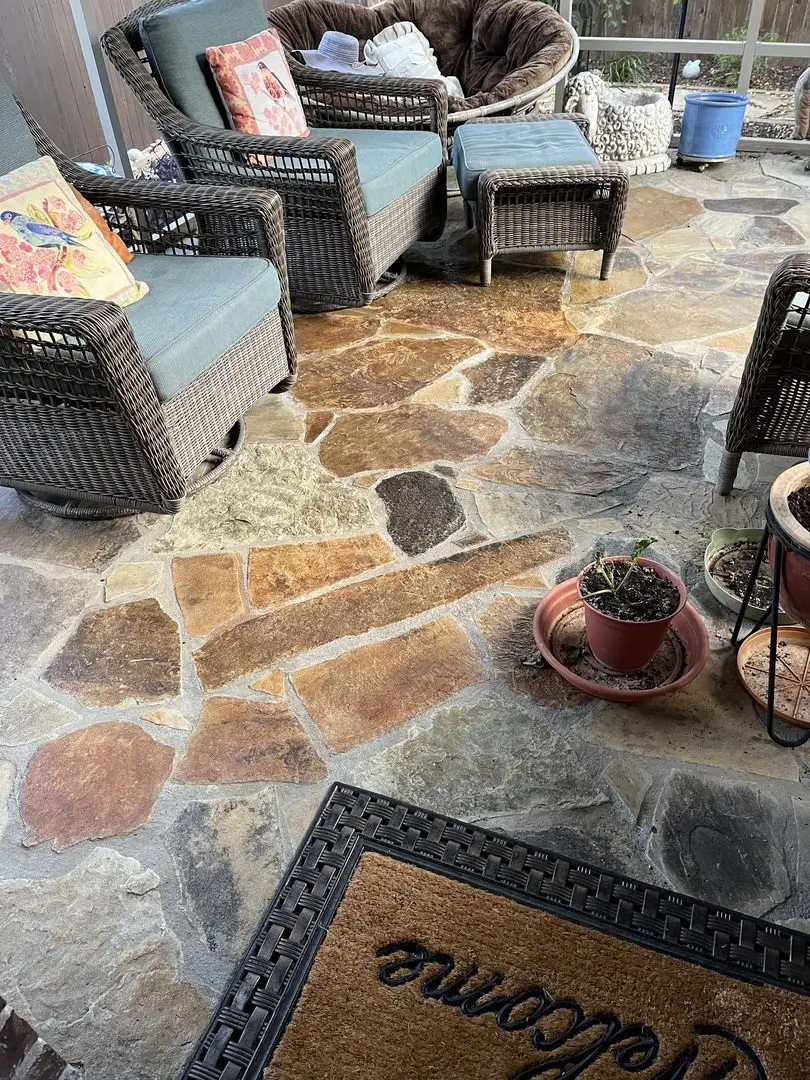
ColorWave® Stained Flagstone Patio
Black & Silver ColorWave®
Molasses and Steel Gray
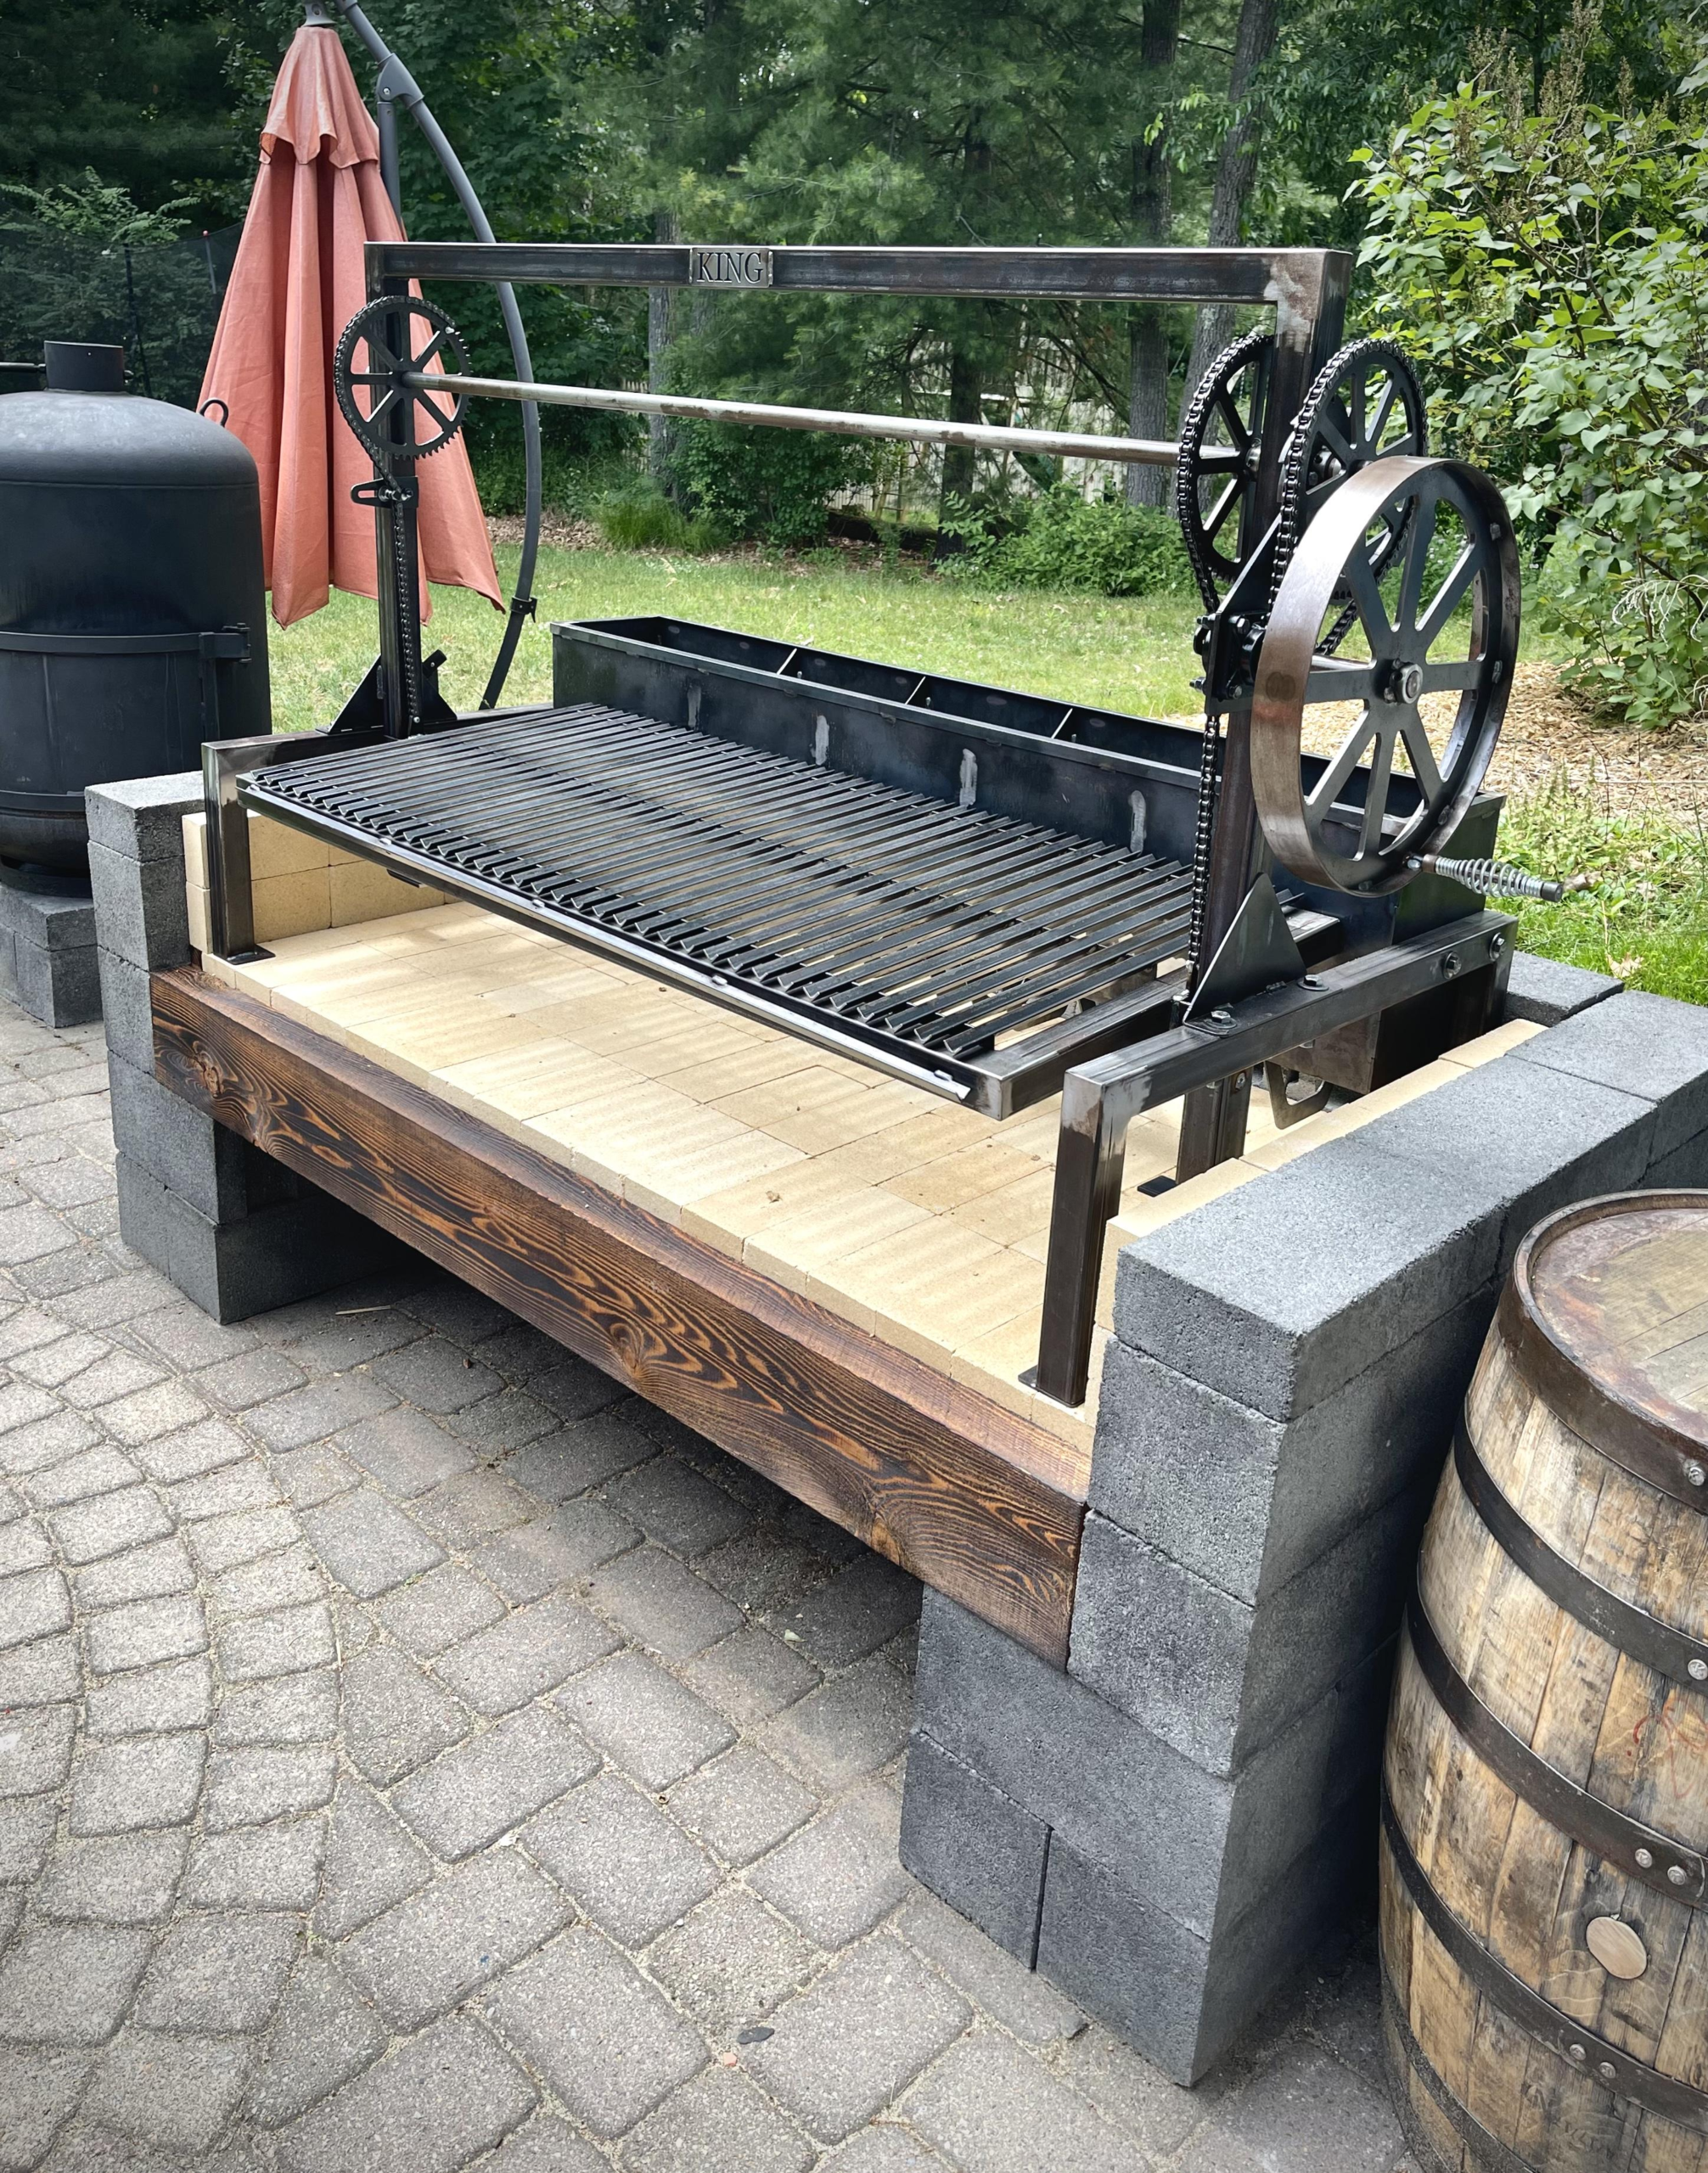
Sunset-Stained Outdoor Countertop
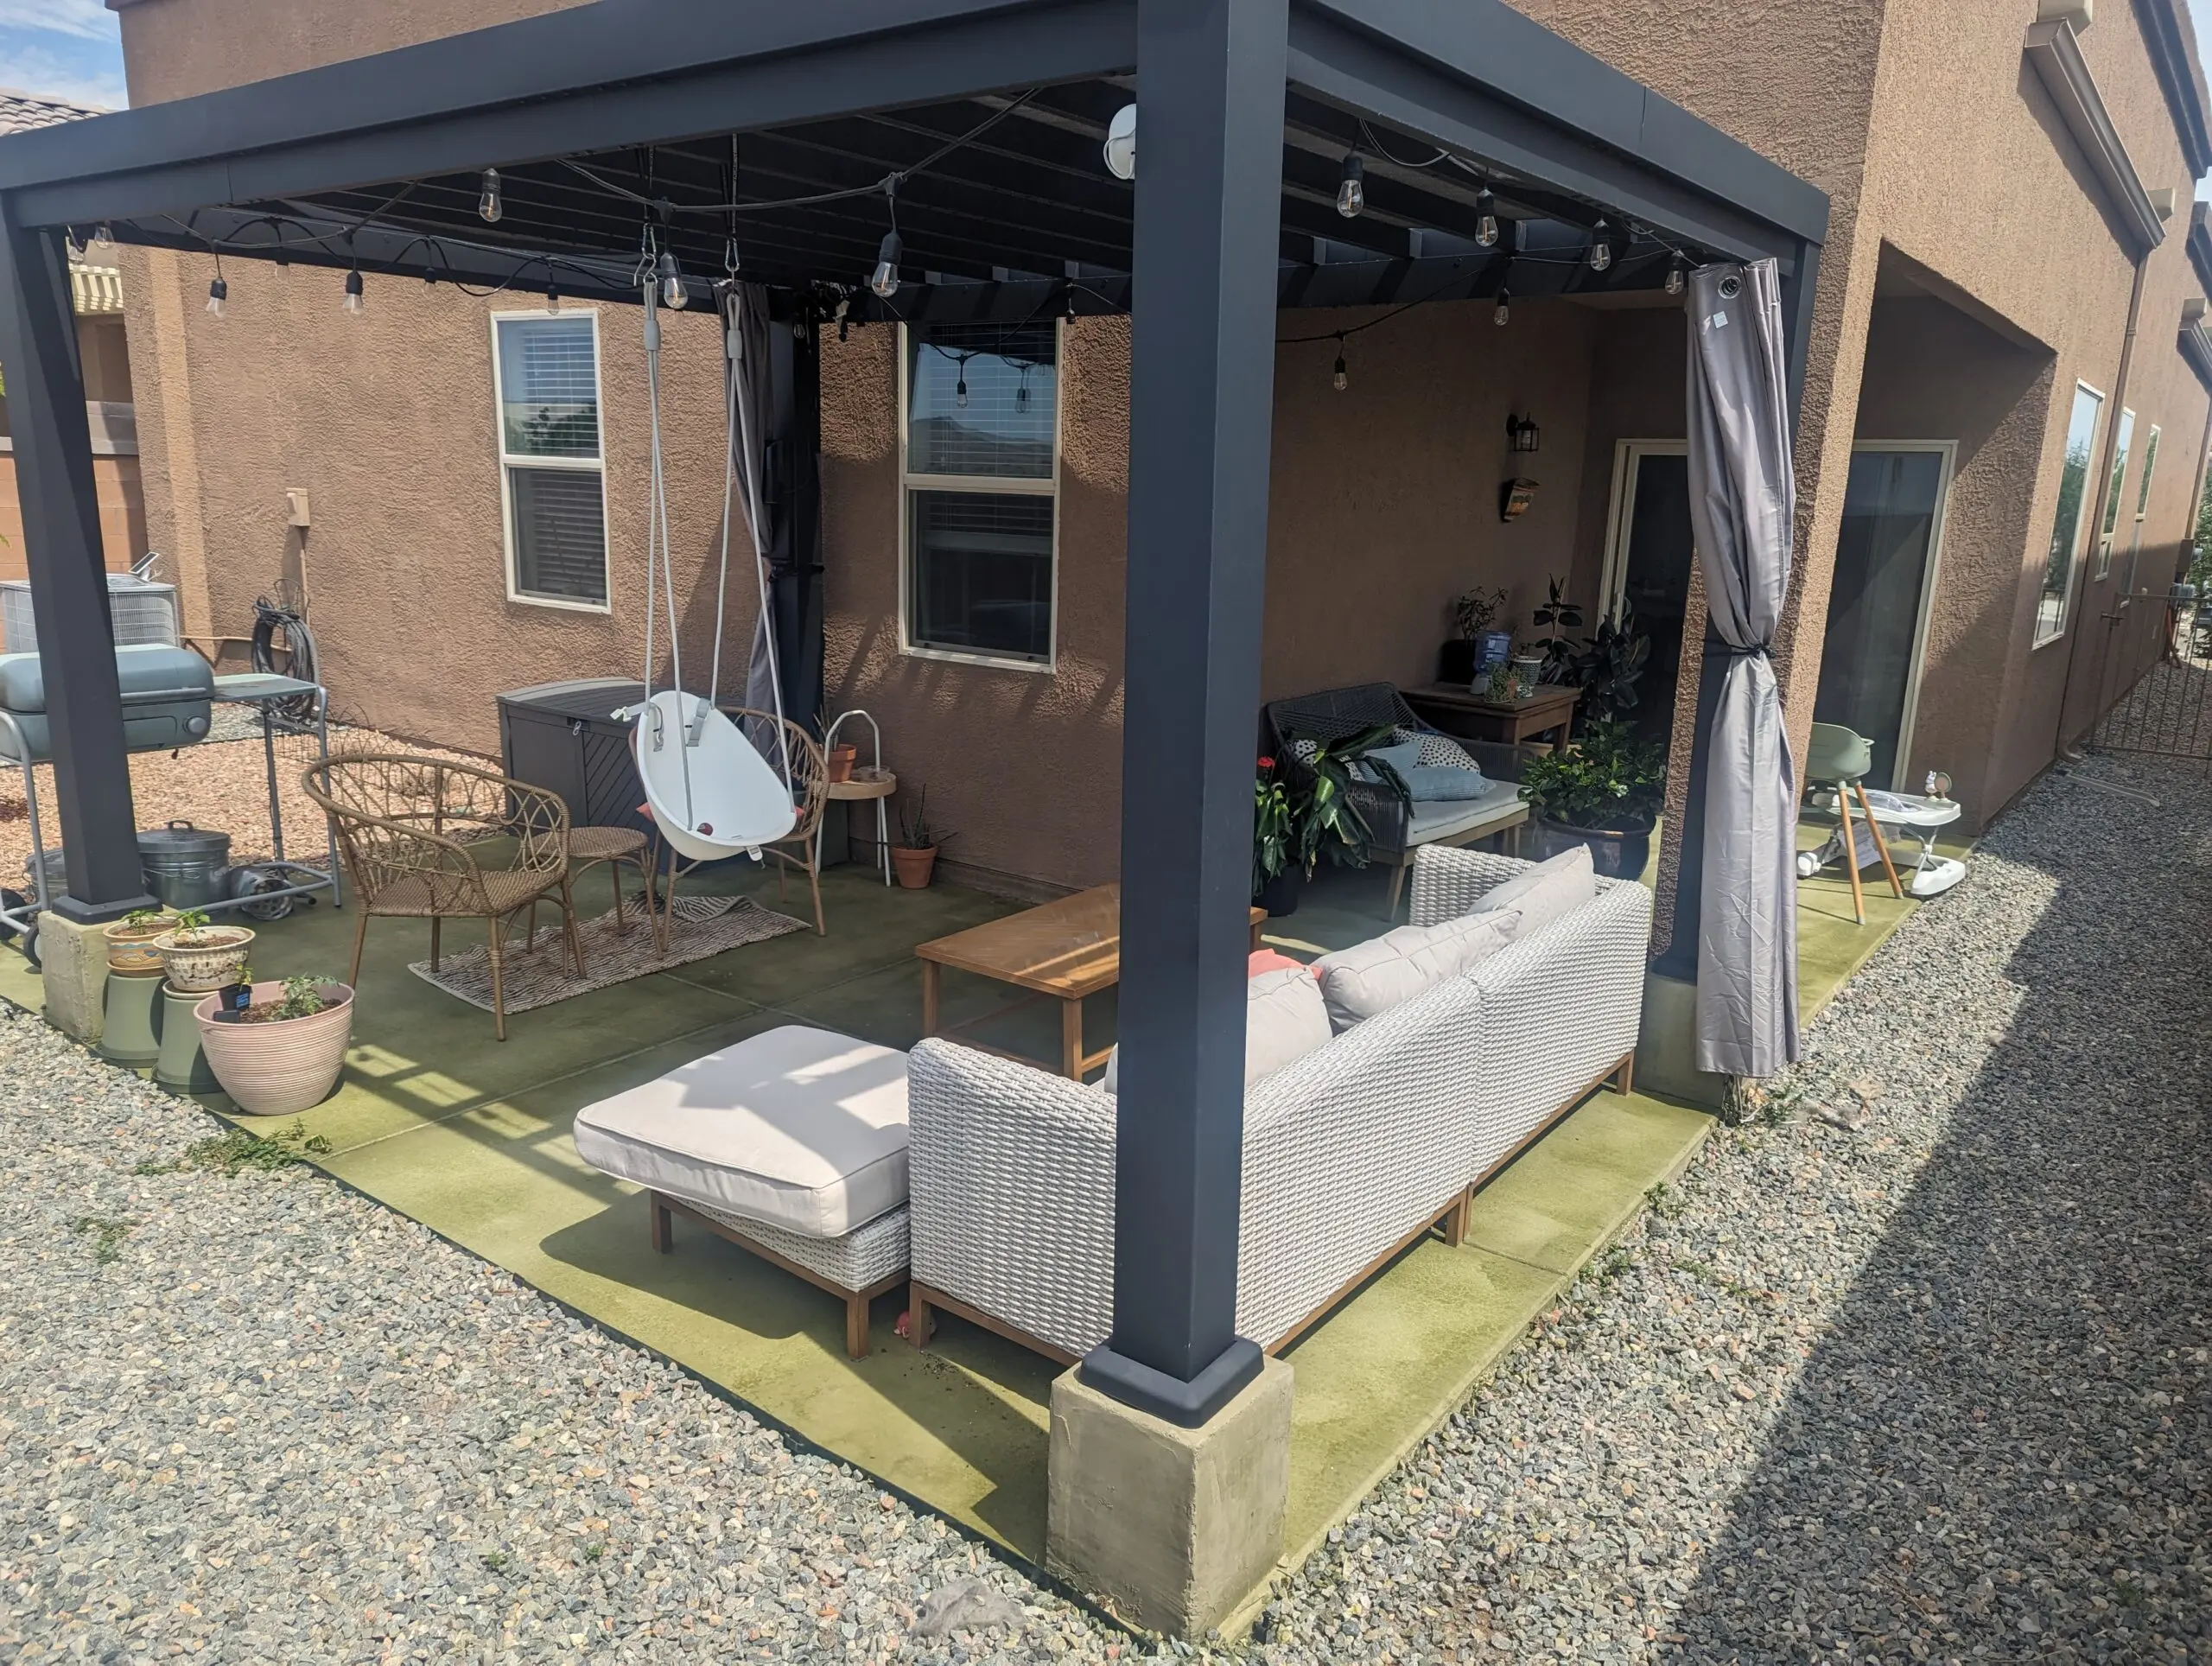
Cozy covered patio with Olive ColorWave®
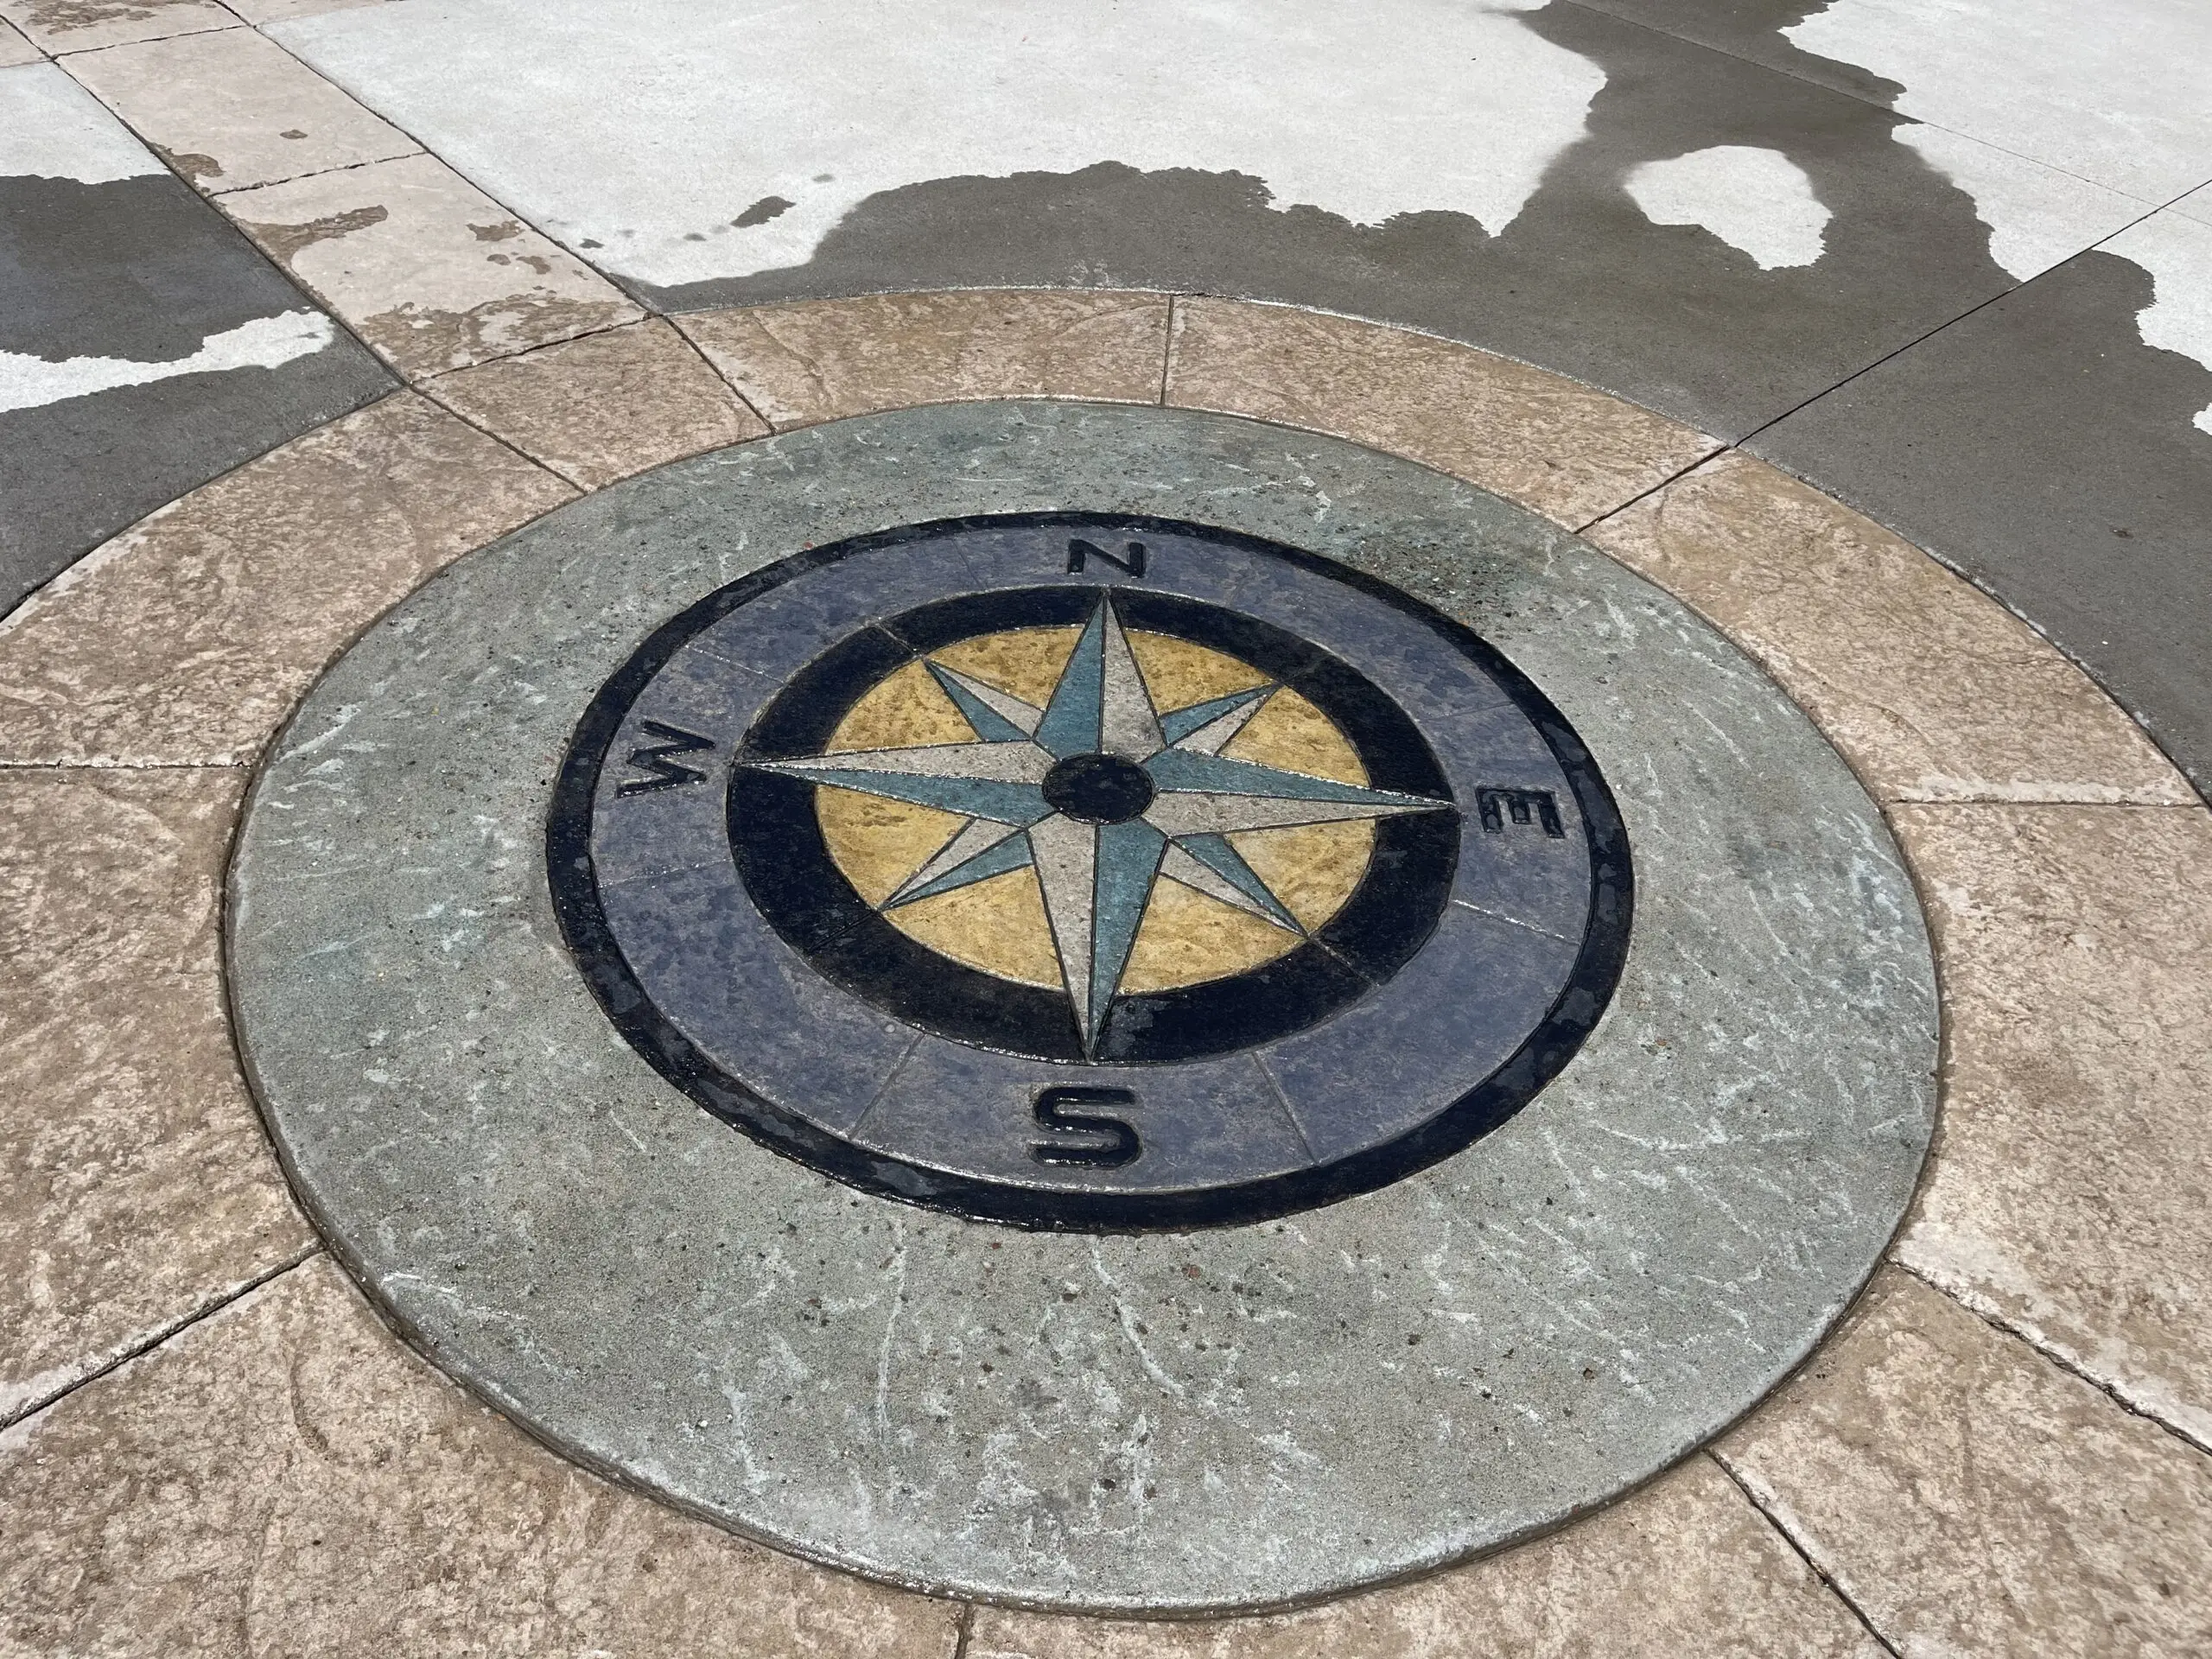
Stained Concrete Compass Design
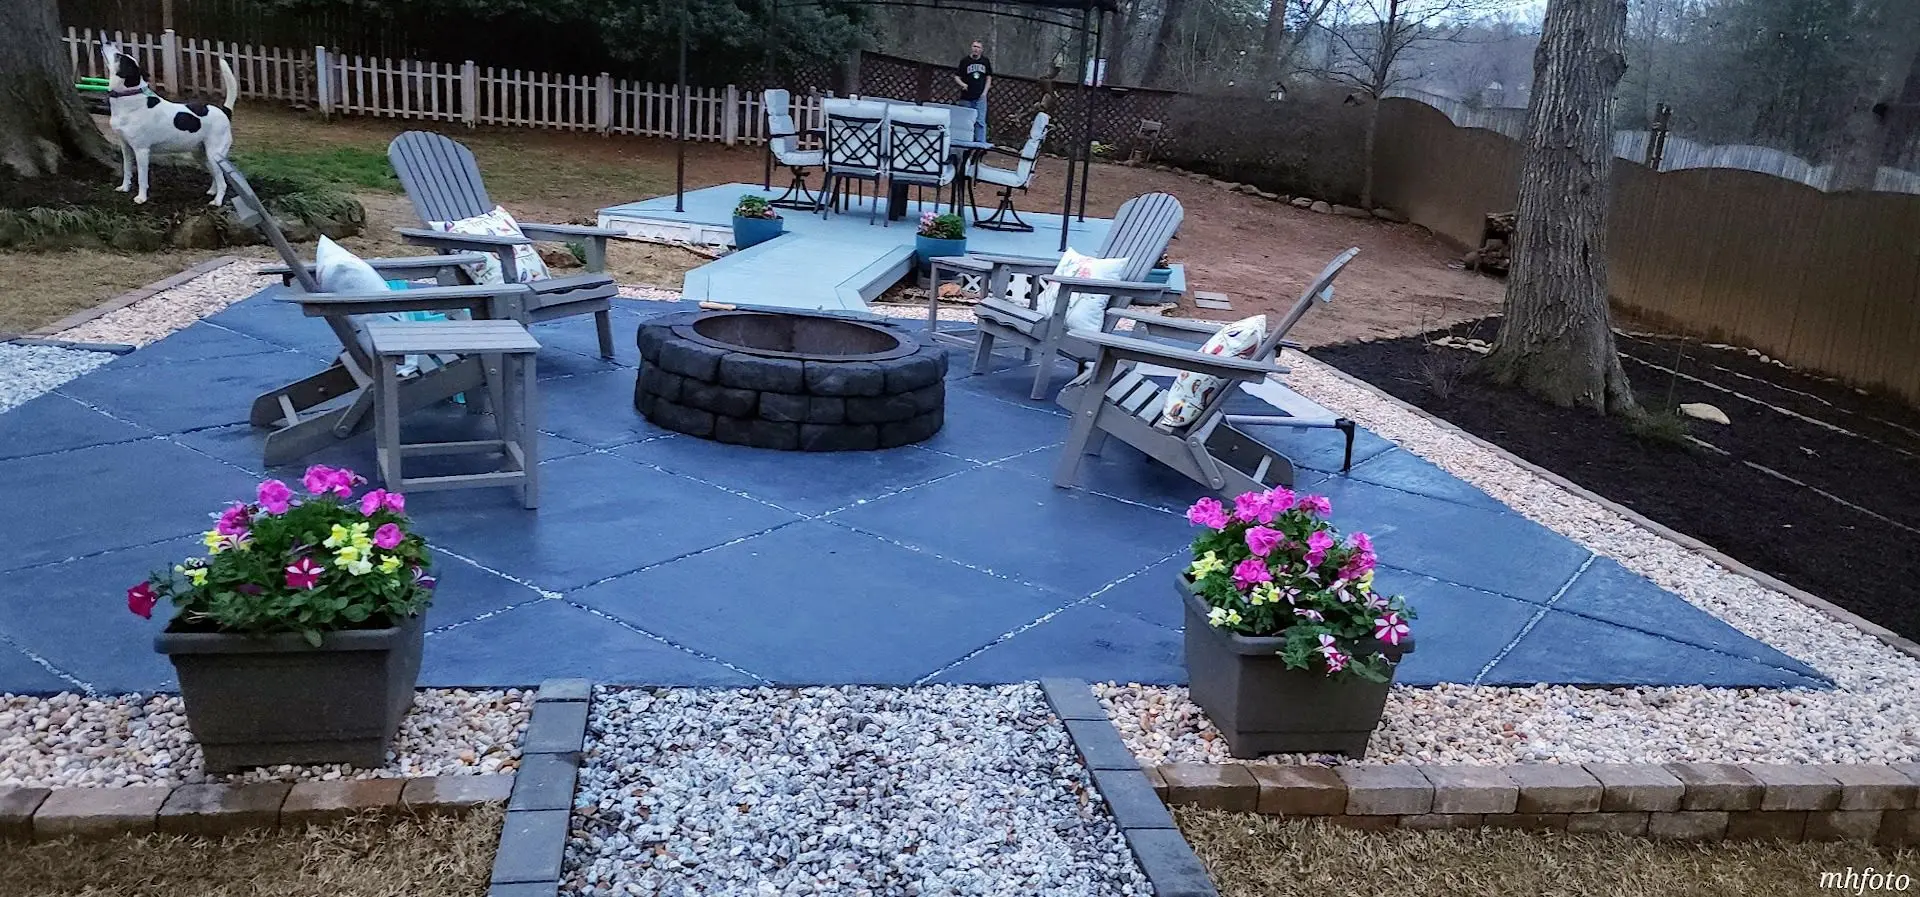
Stained Fire Pit Patio
