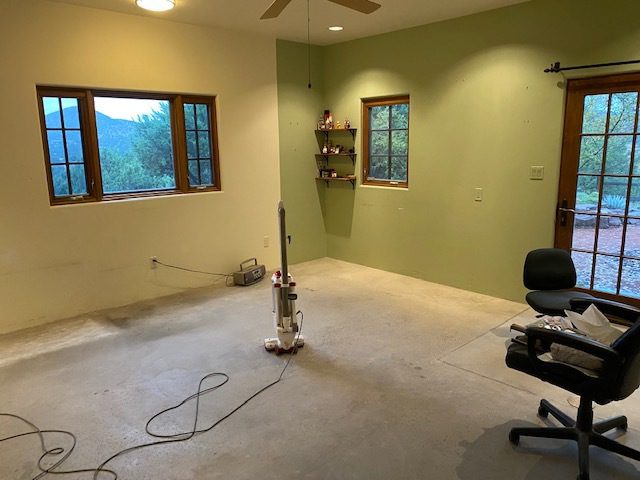
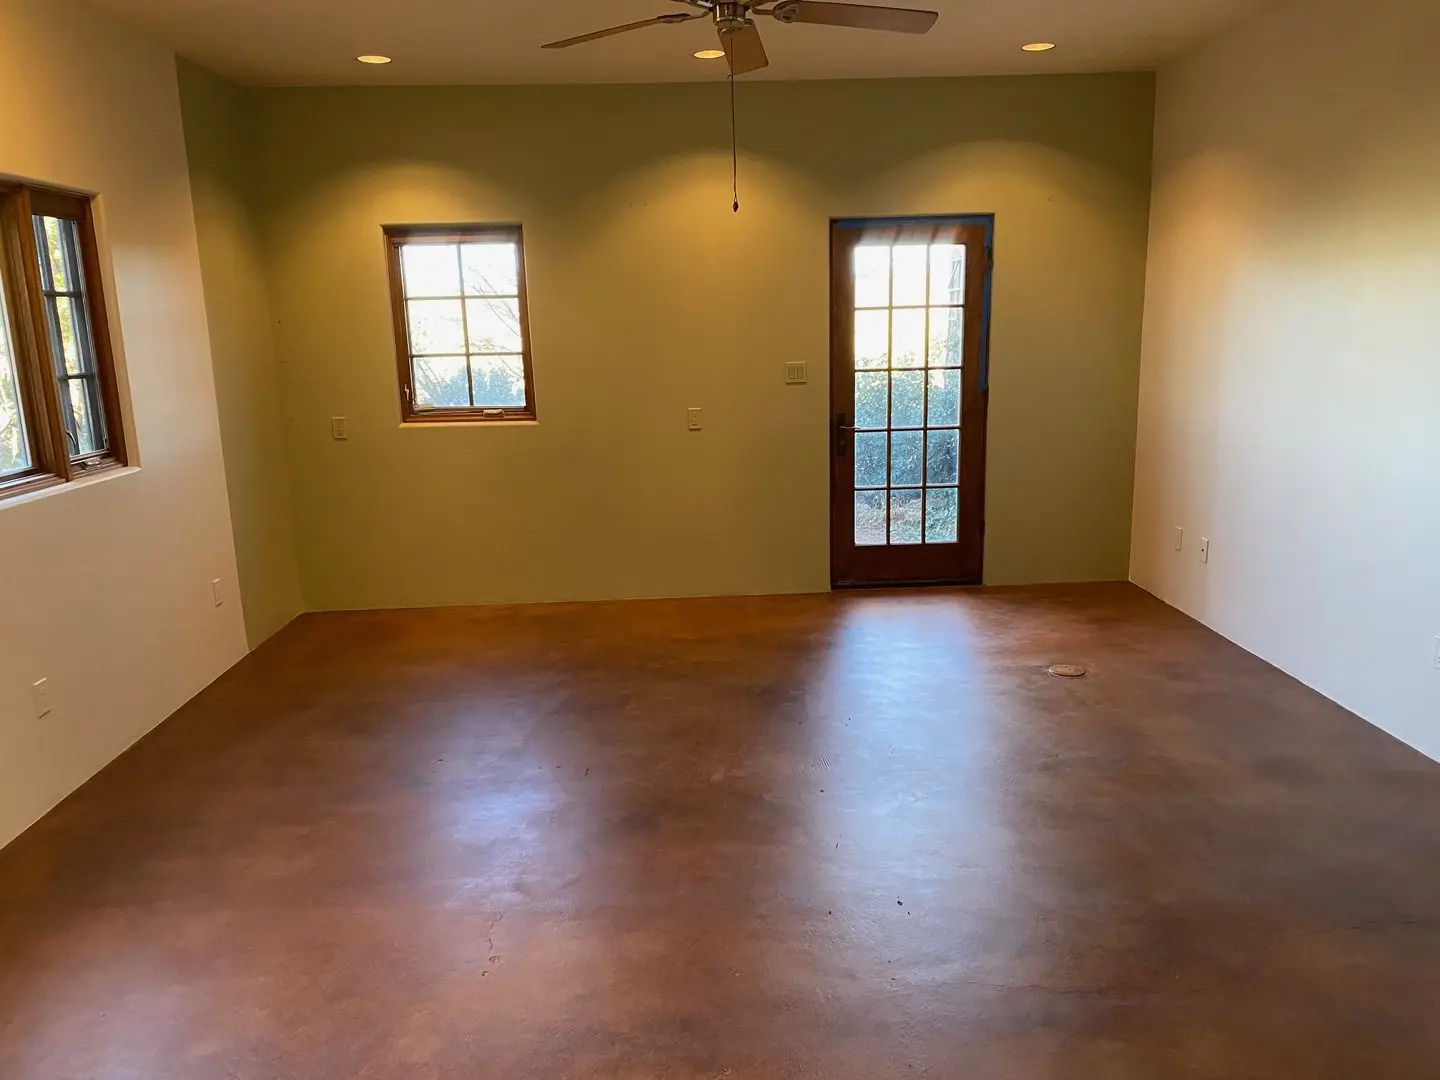
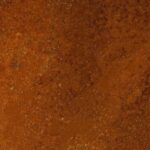
Awesome DIY Makeovers with EverStain’s English Red
Note: Remember, folks, these projects are here to spark your imagination and get those creative juices flowing! But keep in mind, your results might be a bit different. The condition of your concrete can make a big difference in how the English Red stain turns out.
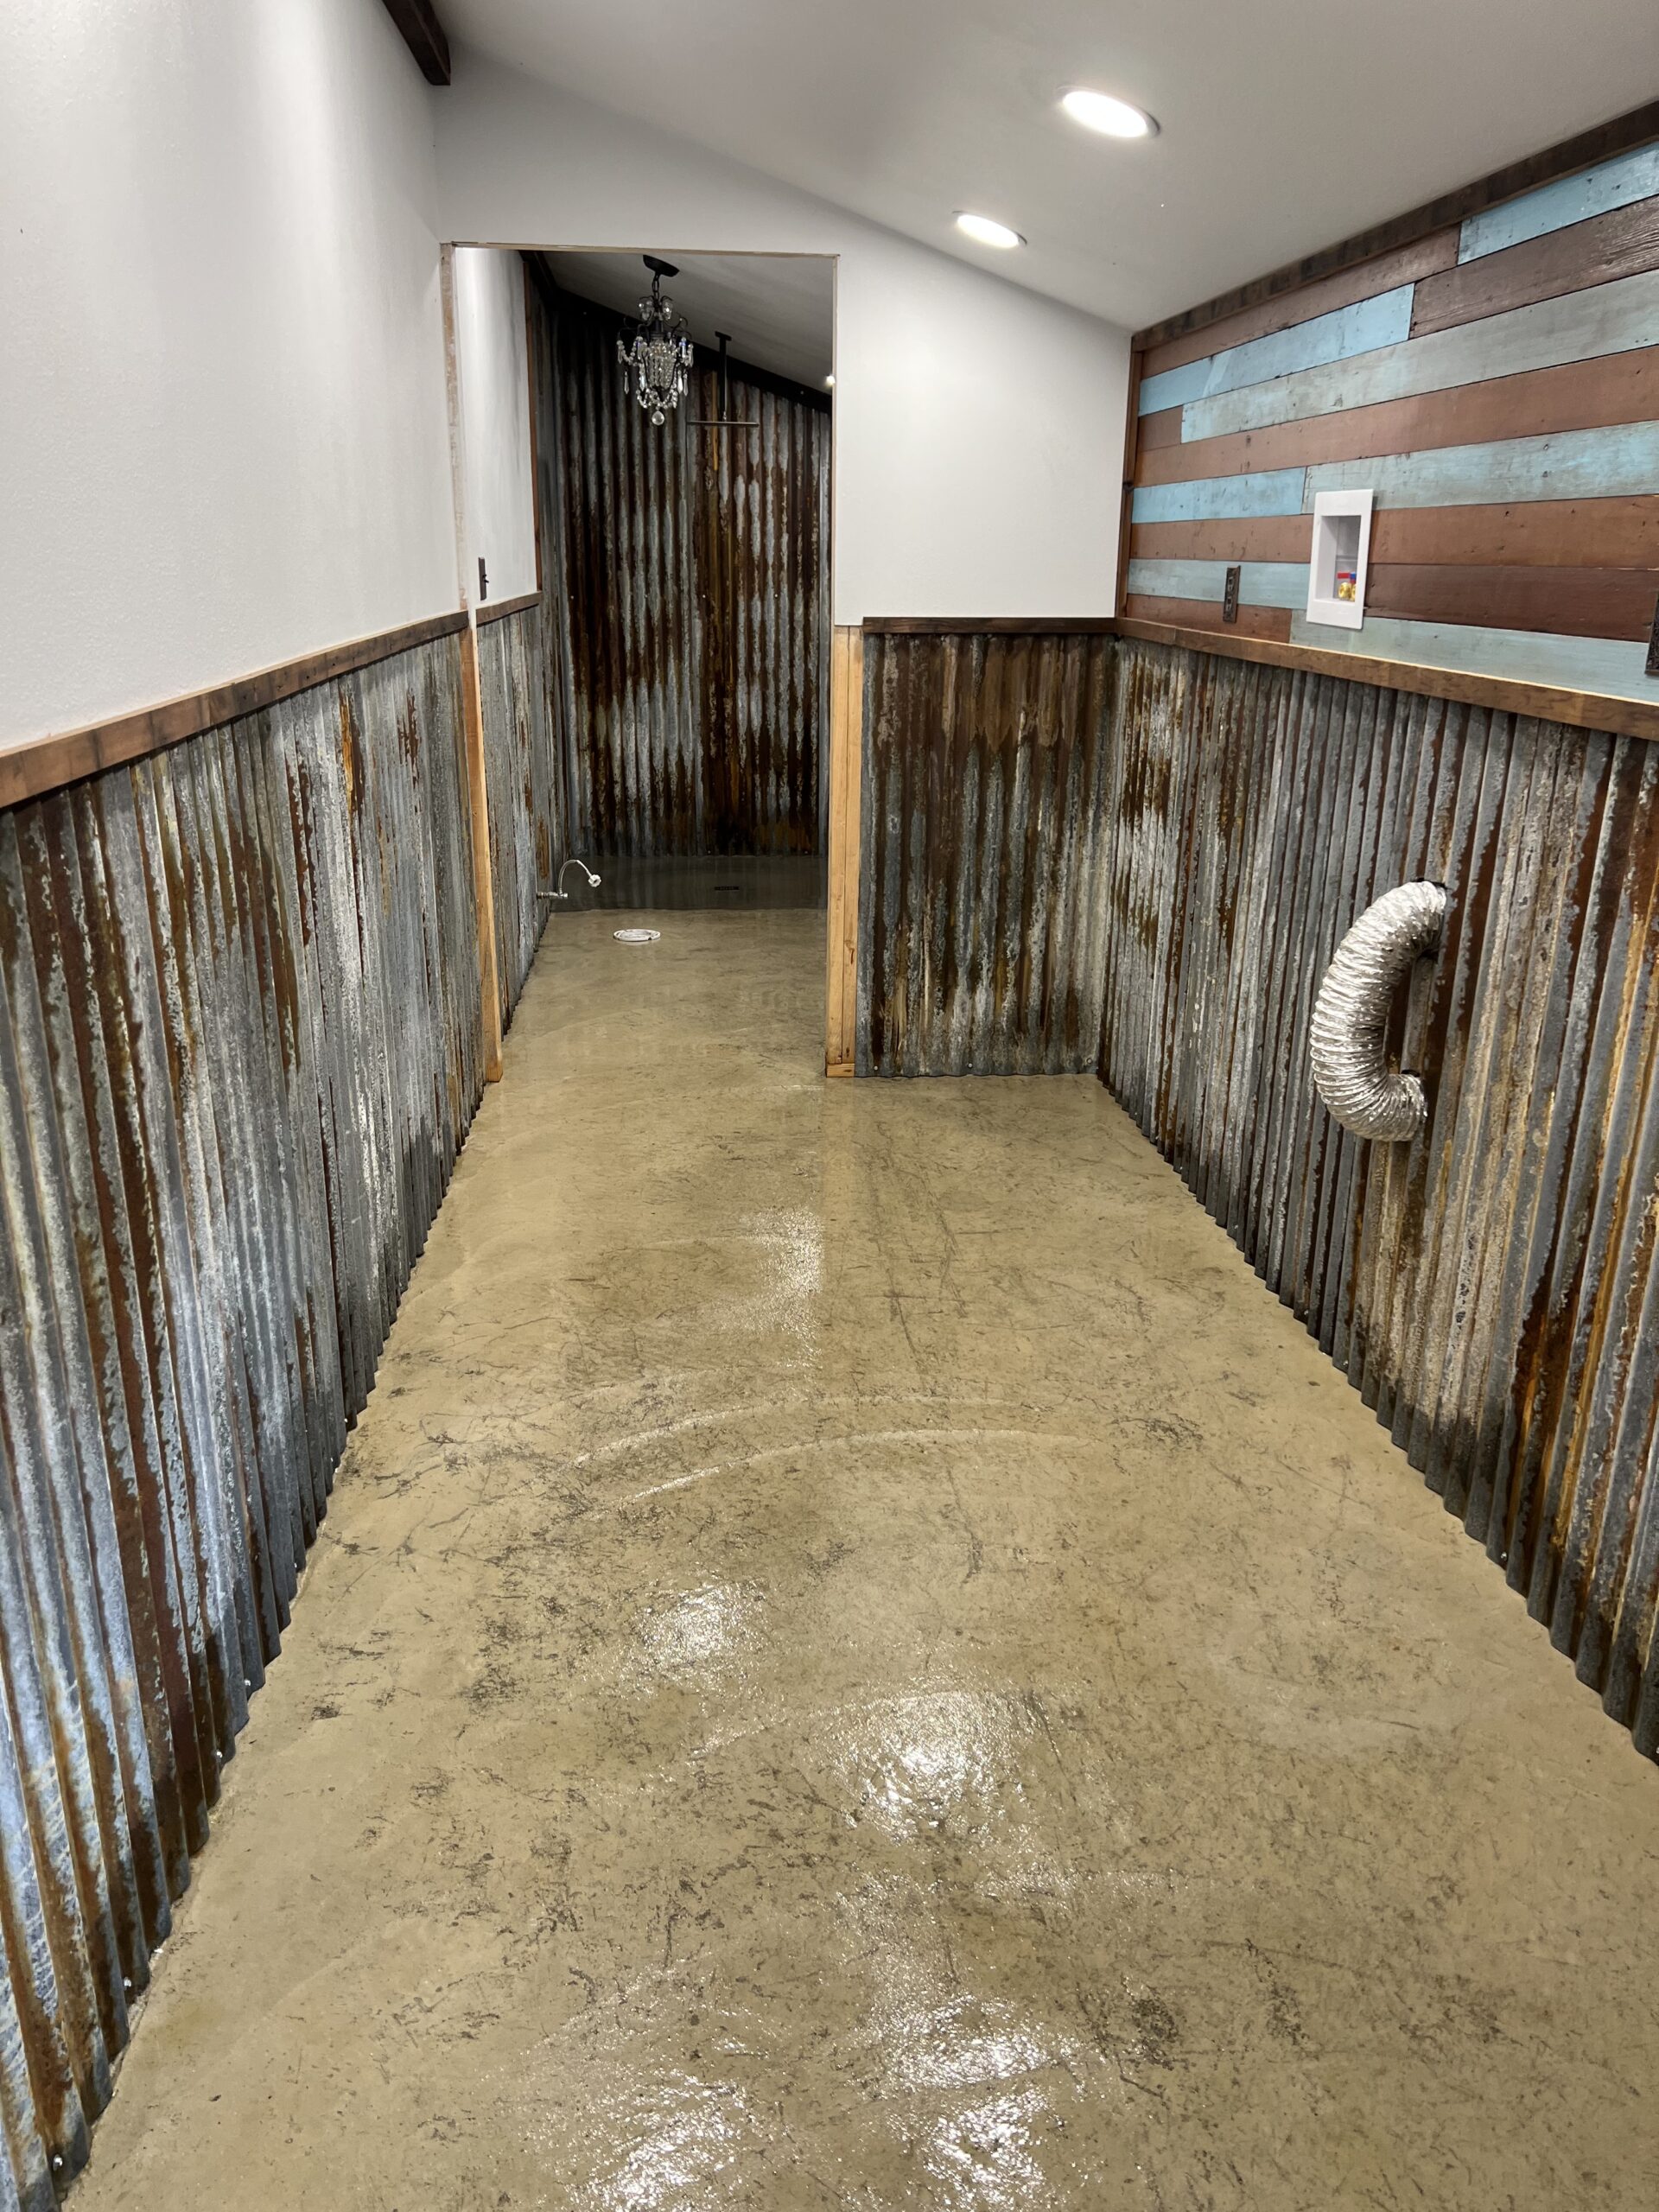
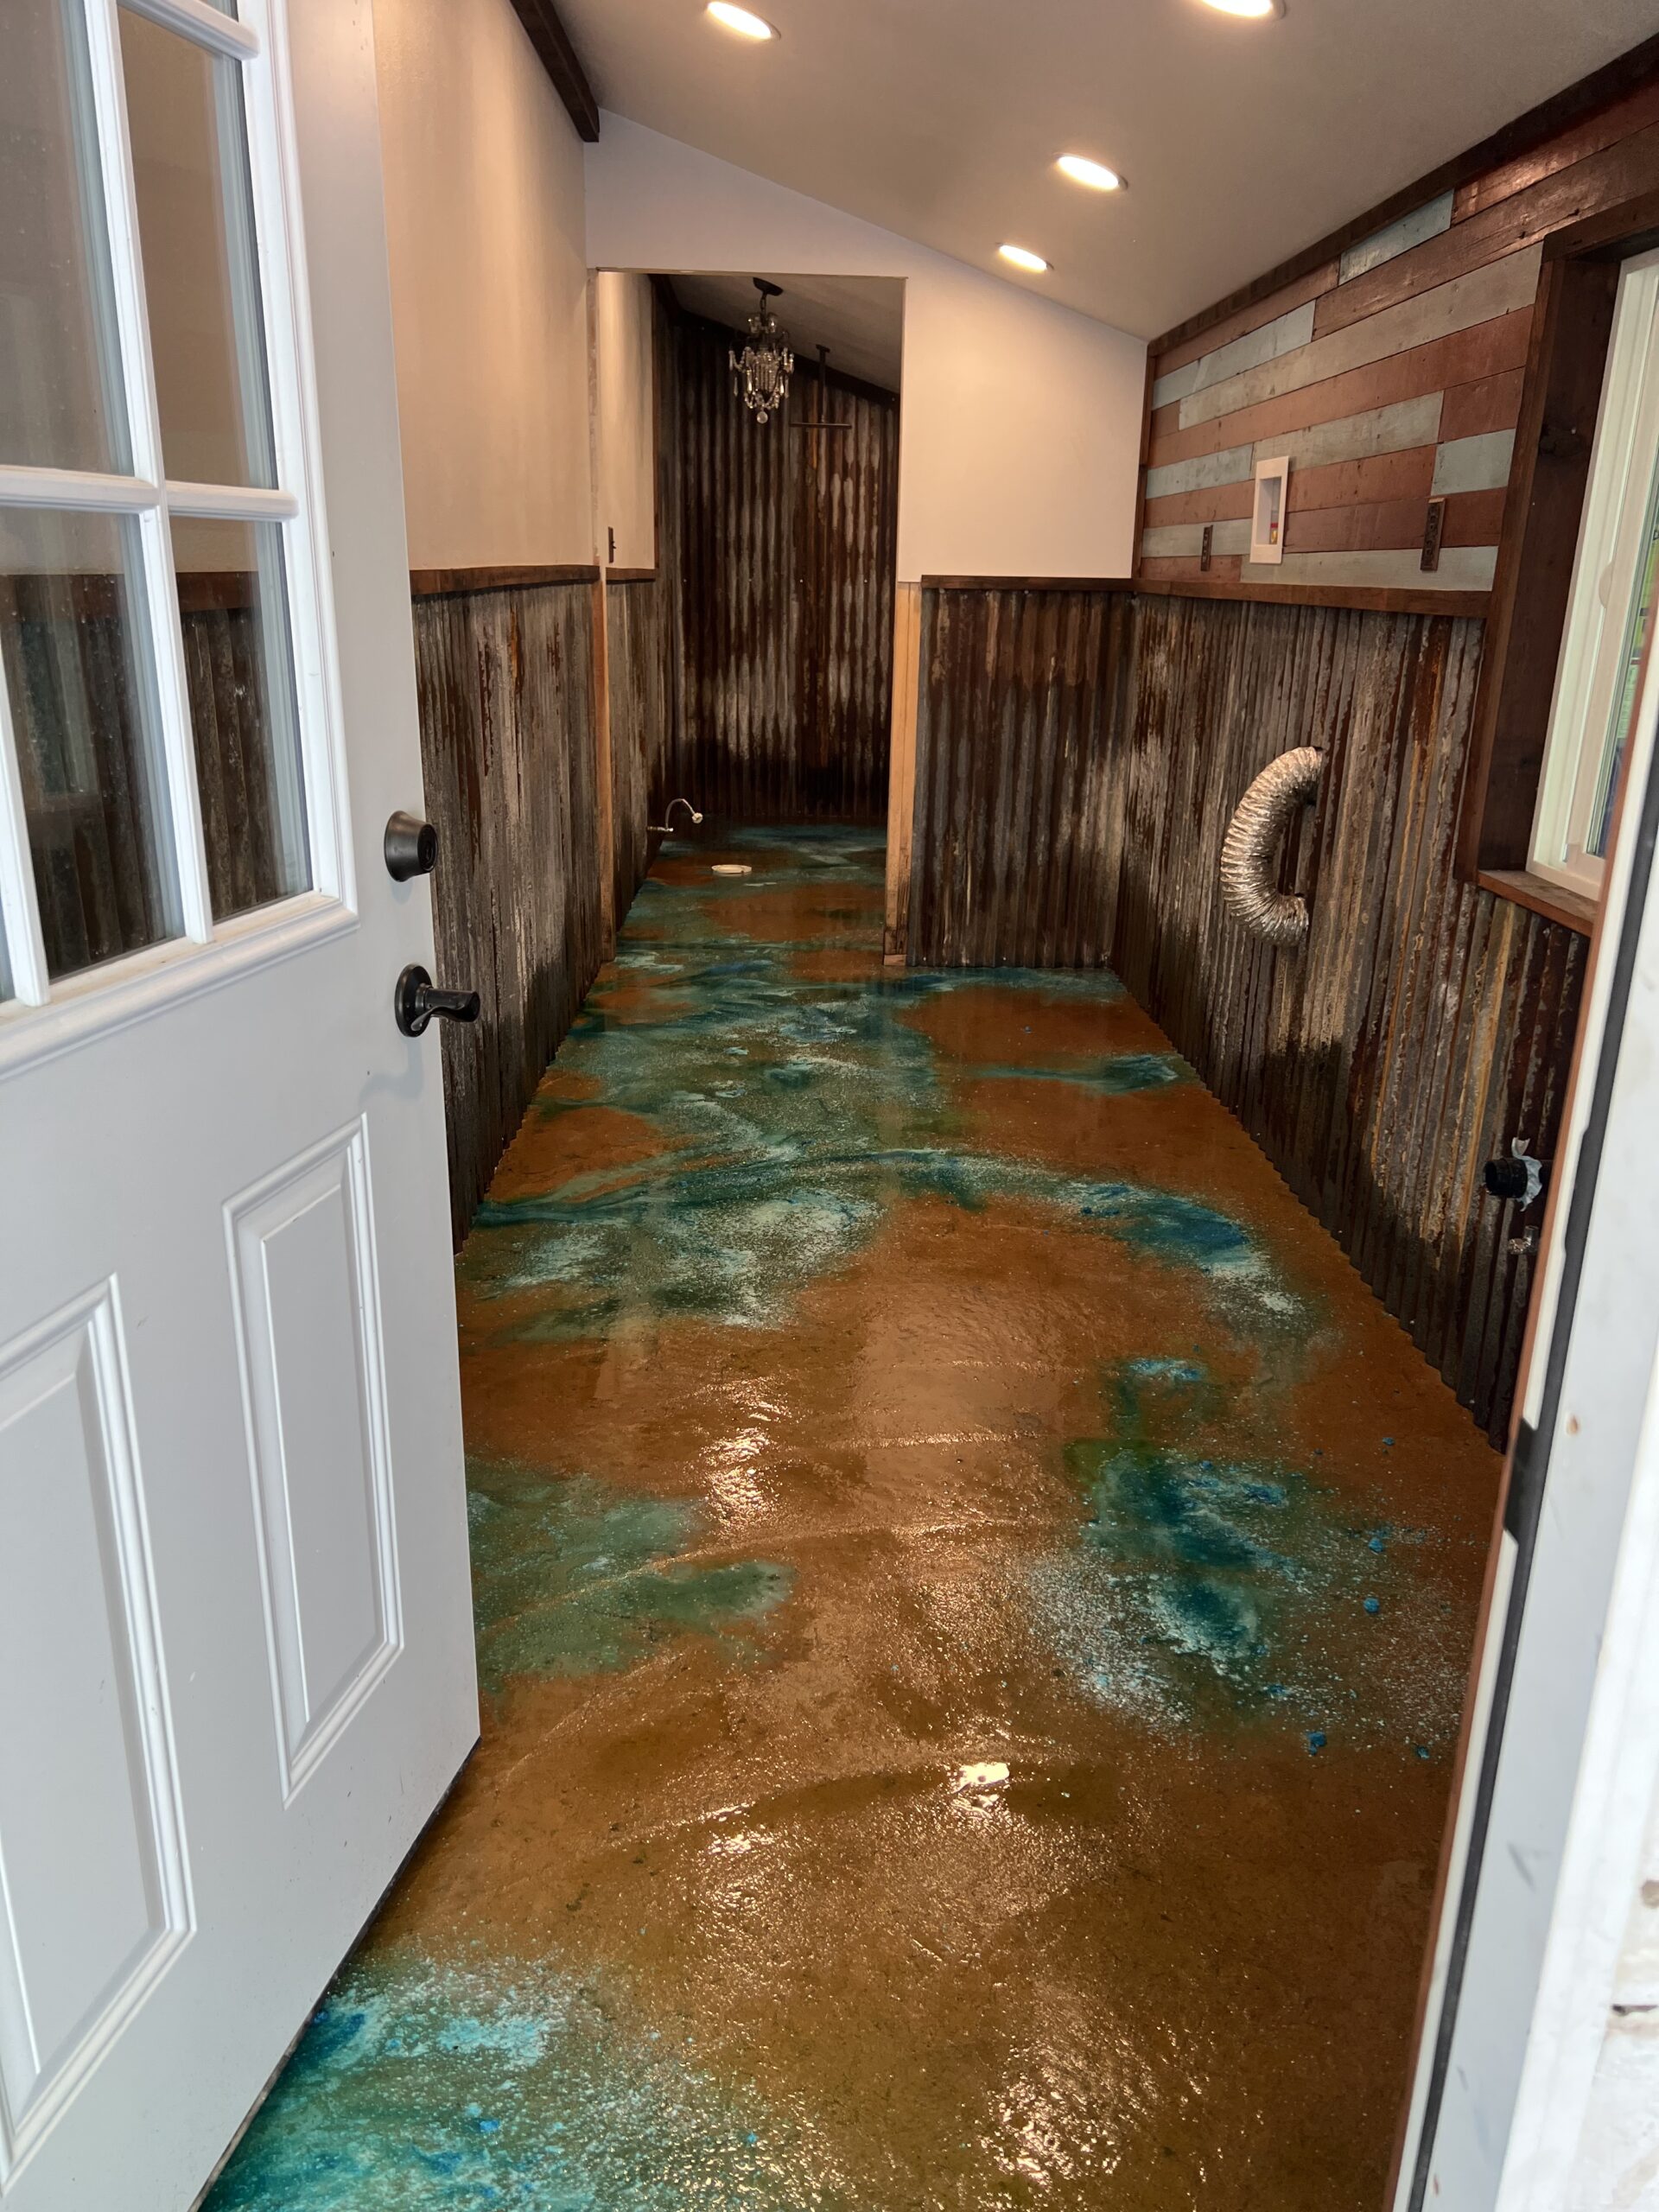
Multipurpose Marvel: Revamping Laundry Room and Bathroom with Acid Stains
This project showcases the transformation of a multipurpose laundry room and bathroom using Azure Blue and English Red EverStain acid stains. The project came to life effortlessly with the guidance of clear instructions and a comprehensive kit.
Project Info:
- Project Completed In: 7 day(s)
- Estimate of Square Footage: 200 sq. ft.
- Project Description:
multipurpose, laundry, room, and bathroom - Personal Tips:
don’t be afraid, it was so much fun, it looks better than I could’ve imagined. they gave very clear directions, and it really was no harder than mopping the floor. - Direct Colors Products Used:
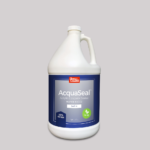
1 Gal. English Red DIY EverStain™ & AcquaSeal™ Satin Kit
1 Gal. Azure Blue EverStain™
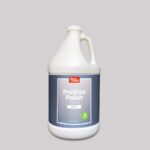
1 Gal. ProWax Polish™ Satin
- Other Products Used:
are used everything from citrus etch to wax finish, I purchased the kit that included everything from the gloves to the shoes!!
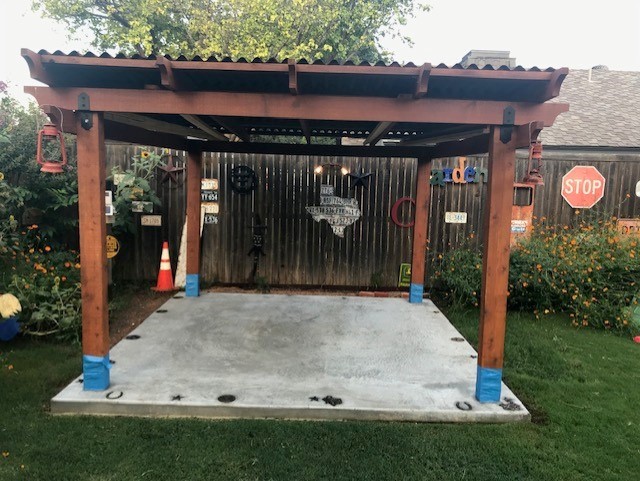
Cookhouse Creativity: A Backyard Upgrade with English Red and Azure Blue
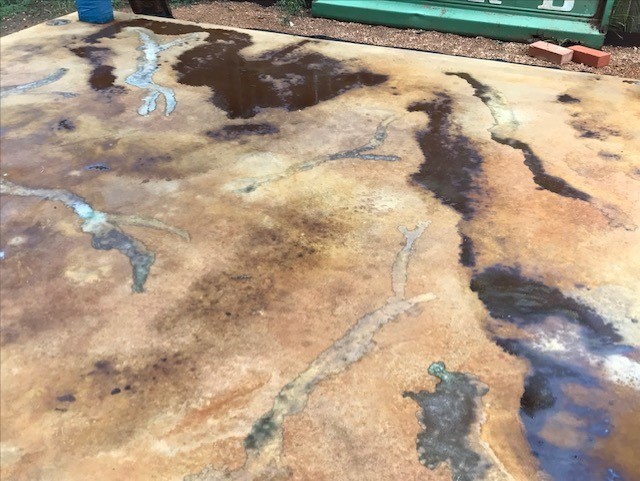
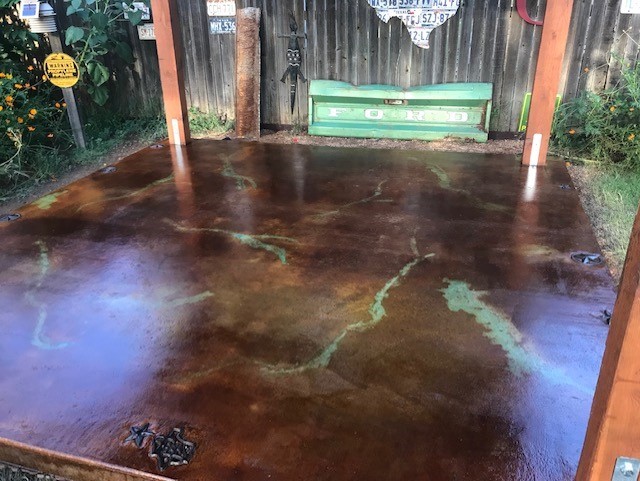
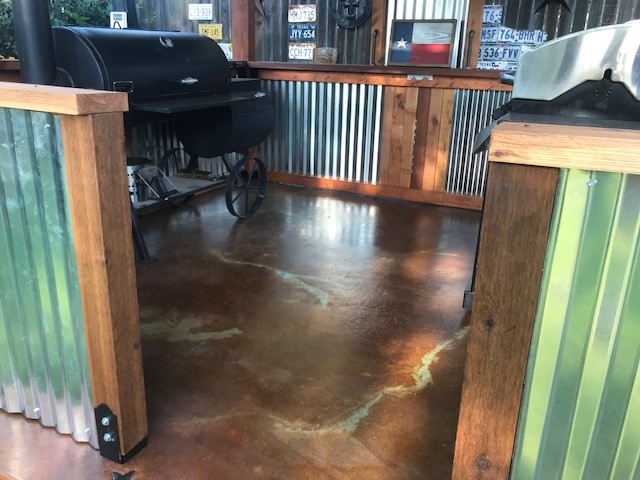
This project brought life to a backyard cookhouse with a vibrant acid-stained concrete floor. English Red and Azure Blue EverStain were used to achieve an engaging marbled look. With careful application, patience, and Texas heat, a standout floor came to life. Personal tips include advice on the marbling effect, proper neutralization and sealing, and even how to manage outdoor projects in hot weather. Dive into the complete process in the blog post “Creating Colorful Cookhouse Floors with EverStain Acid Stains“.
Project Info:
- Project Completed In: 3 day(s)
- Estimate of Square Footage: 110 sq. ft.
- Project Description:
Building a cookhouse in my back yard. Had fiber reinforced concrete poured and waited 60 days for concrete to cure before acid staining.
Washed concrete with concrete cleaner which contained a mild etcher. Concrete was very clean to start with. Let concrete dry overnight.
I tested the Everstain acid stain on one corner and had excellent reaction. I sprayed on 2 quarts of English Red diluted with water 1:1 for the first coat, waited 4 hours then sprayed on undiluted English Red for the second coat for a marbling affect. Temperatures was in the mid 80’s to low 90’s so drying time was fast and reaction had ceased. Let dry 6 hours then sprayed on a water mix of the neutralizer that came with my kit to neutralize the acid and rinsed thoroughly.
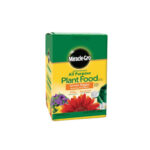
After the base staining was complete, I used a small spray bottle to apply 2/3 Qt of Azure Blue undiluted. I used a piece of cardboard with ripped edges as an edge guide when applying the blue attempting to obtain a vein affect. With remaining 1/3 QT of Azure Blue, I mixed one tablespoon of Miracle Grow powder and obtained a much deeper blue mixture. I then used a small hand sprayer to spritz and gently pour on some of the veining to bring out some deeper blues. I then used the remaining English Red and hit a few spots that were lighter than desired to darken those areas. Let dry 6 hours then sprayed on a water mix of the neutralizer that came with my kit to neutralize the acid and rinsed thoroughly.
I waited 24 hours of drying time to roll on the first coat of Solvent Based Acrylic Satin Concrete Sealer. Then waited until the next day and applied the second coat of sealer. Stayed off of concrete for a few days. - Personal Tips:
Follow directions and do not skip a step!
Time between steps will vary according to heat and humidity.
If you want a marbling affect, use a lighter color for the first coat instead of cutting with water. You will get a better reaction with undiluted acid. This is the only thing I wished I had done different.
Neutralize and wash after acid reaction and drying time has occurred. Make sure all residue is rinsed off before applying sealer and rinse water runs clear. Scrubbing with a soft bristle brush is a must. After drying, test for residue with a white cloth. If a lot of residue is present rinse again.
If rolling on sealer, roll 1st coat of sealer in one direction and the second coat in the other direction for example east – west then north-south to get a more even coverage. I always roll-on sealer to obtain good coverage.
Due to it being hot here in Texas and my project outside, I hung tarps to keep sun from hitting concrete after applying acid so drying would not be hastened and a good reaction would have time to occur. Don’t apply acid to hot concrete. On hot concrete the liquid won’t have time to soak in due to evaporation and will leave a lot of powdery residue which is wasted product. - Direct Colors Products Used:
1 Gal. English Red DIY EverStain™ & EasySeal™ Satin Kit
1 Qt. Azure Blue EverStain™ Acid Stain - Other Products Used:
Rust-Oleum cleaner & etch … (very mild etching solution)
Artistic Backyard Upgrade with Acid Stains
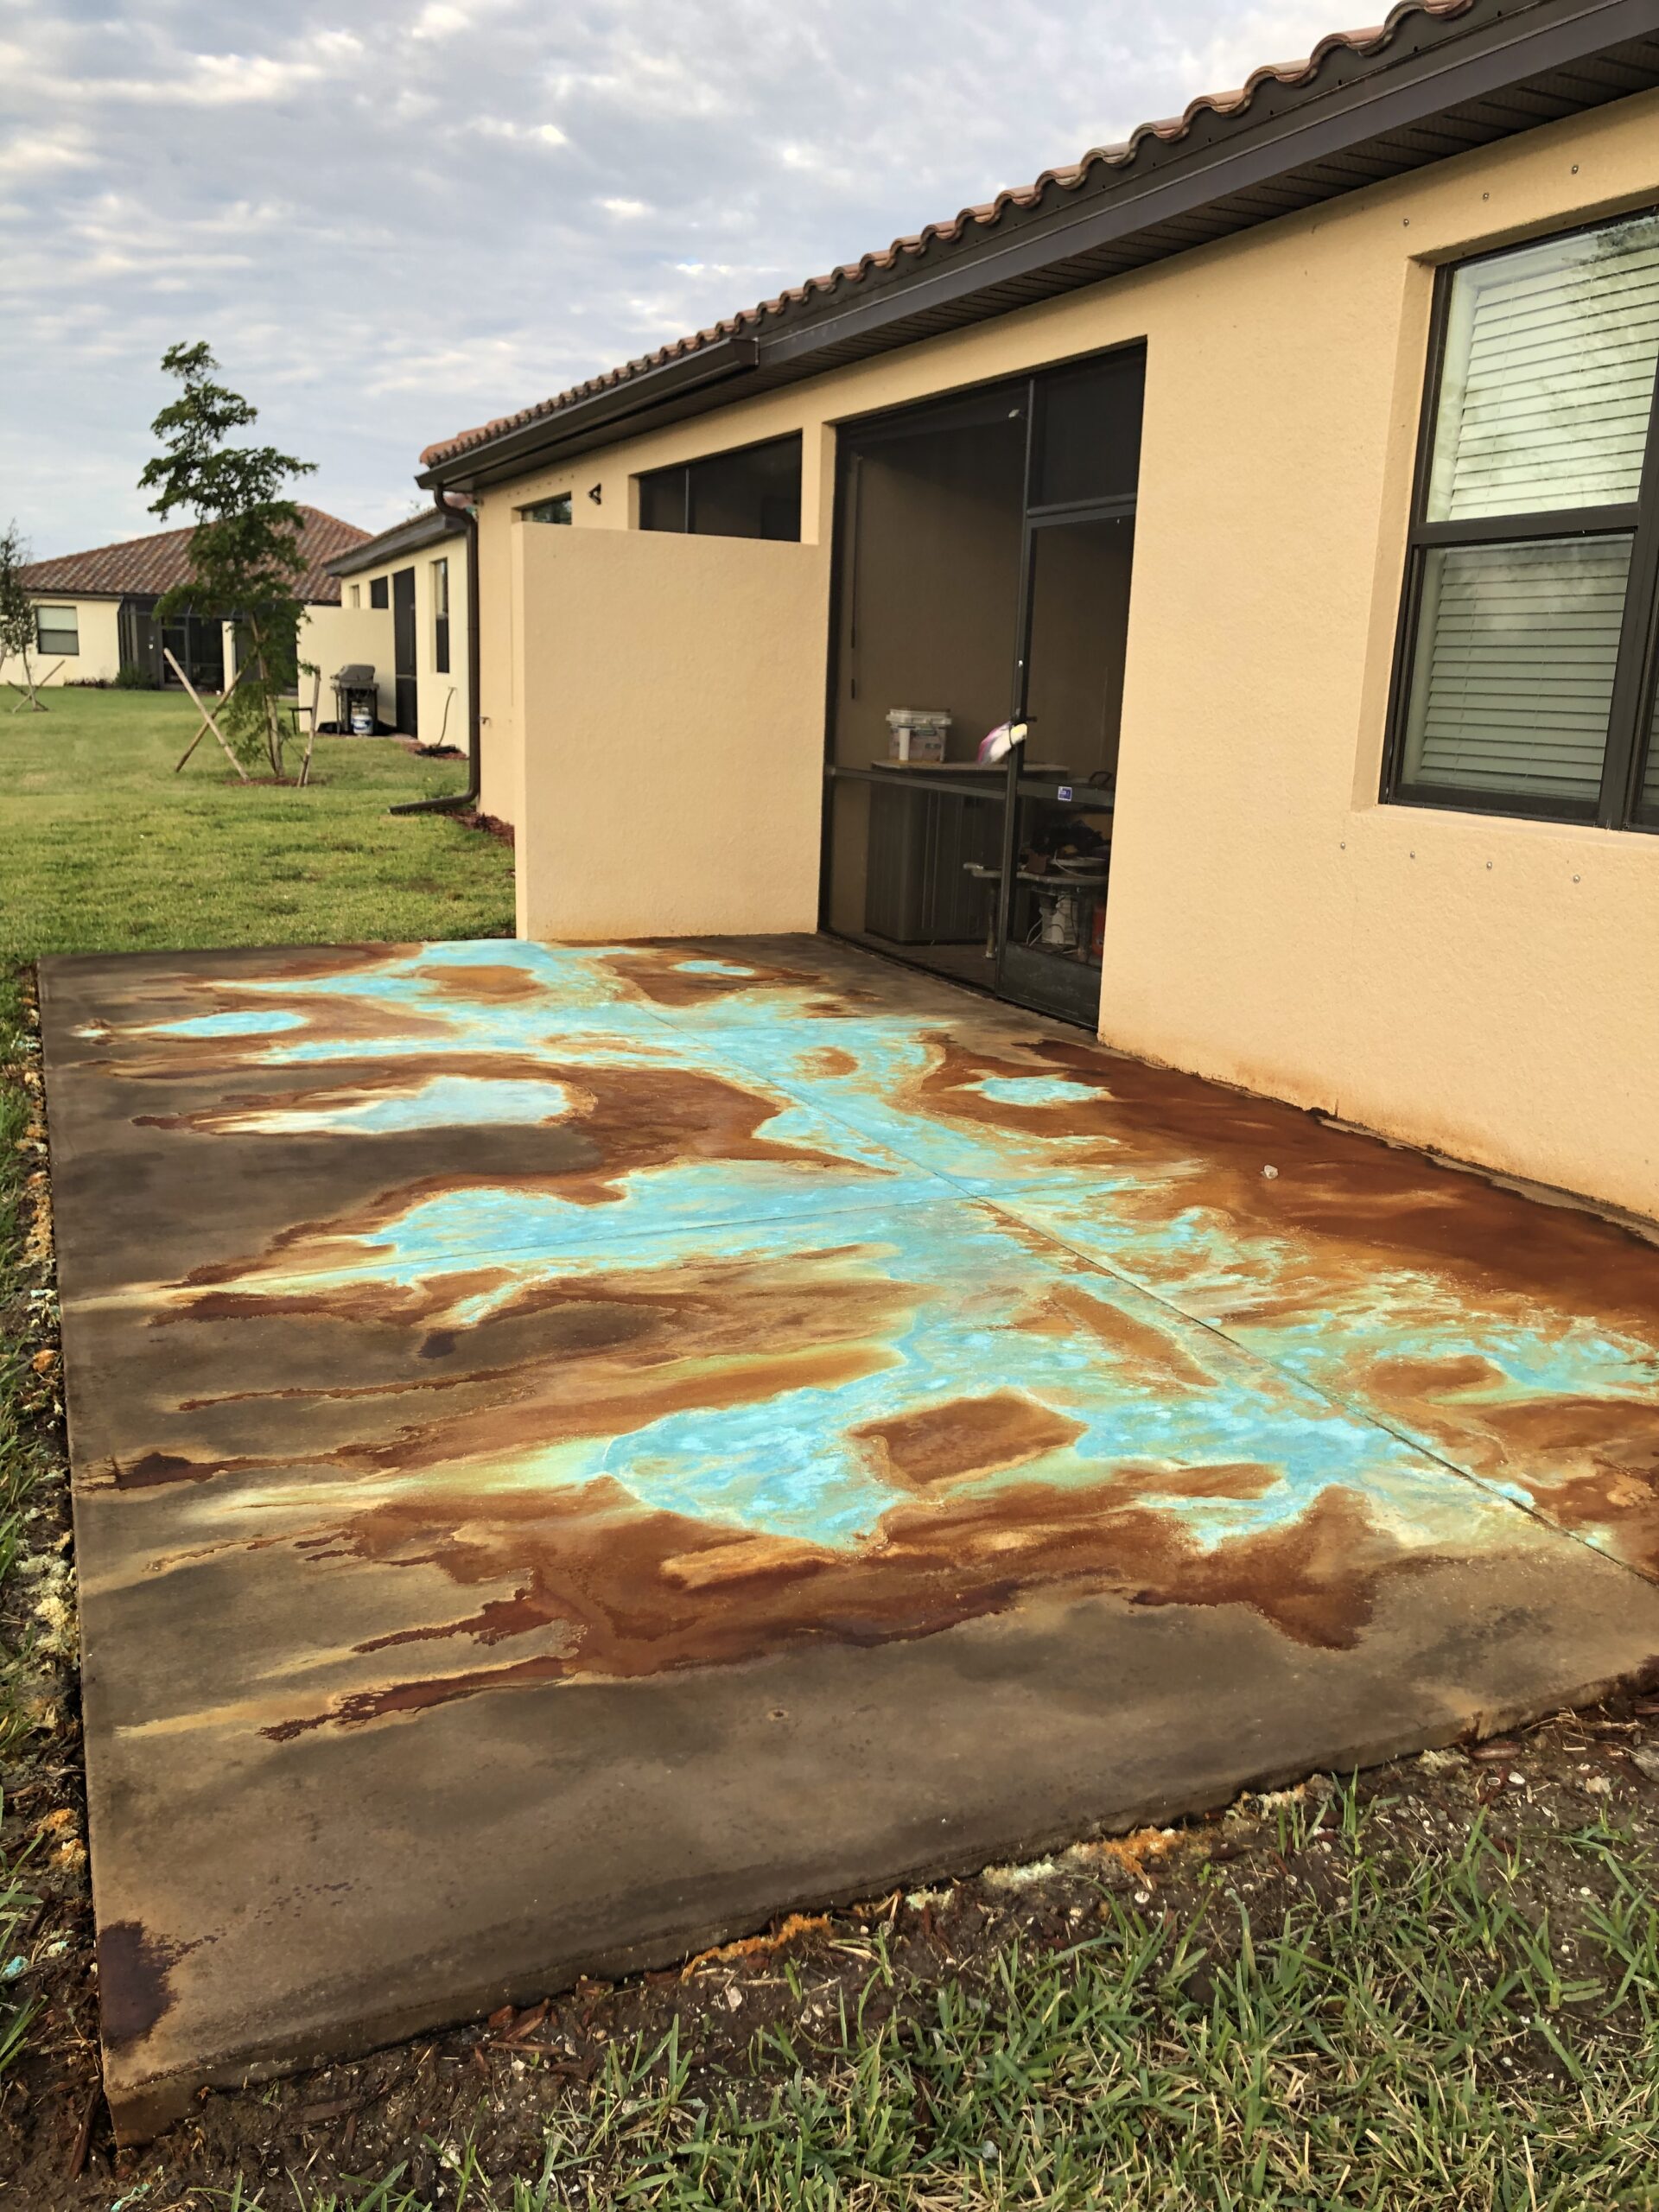
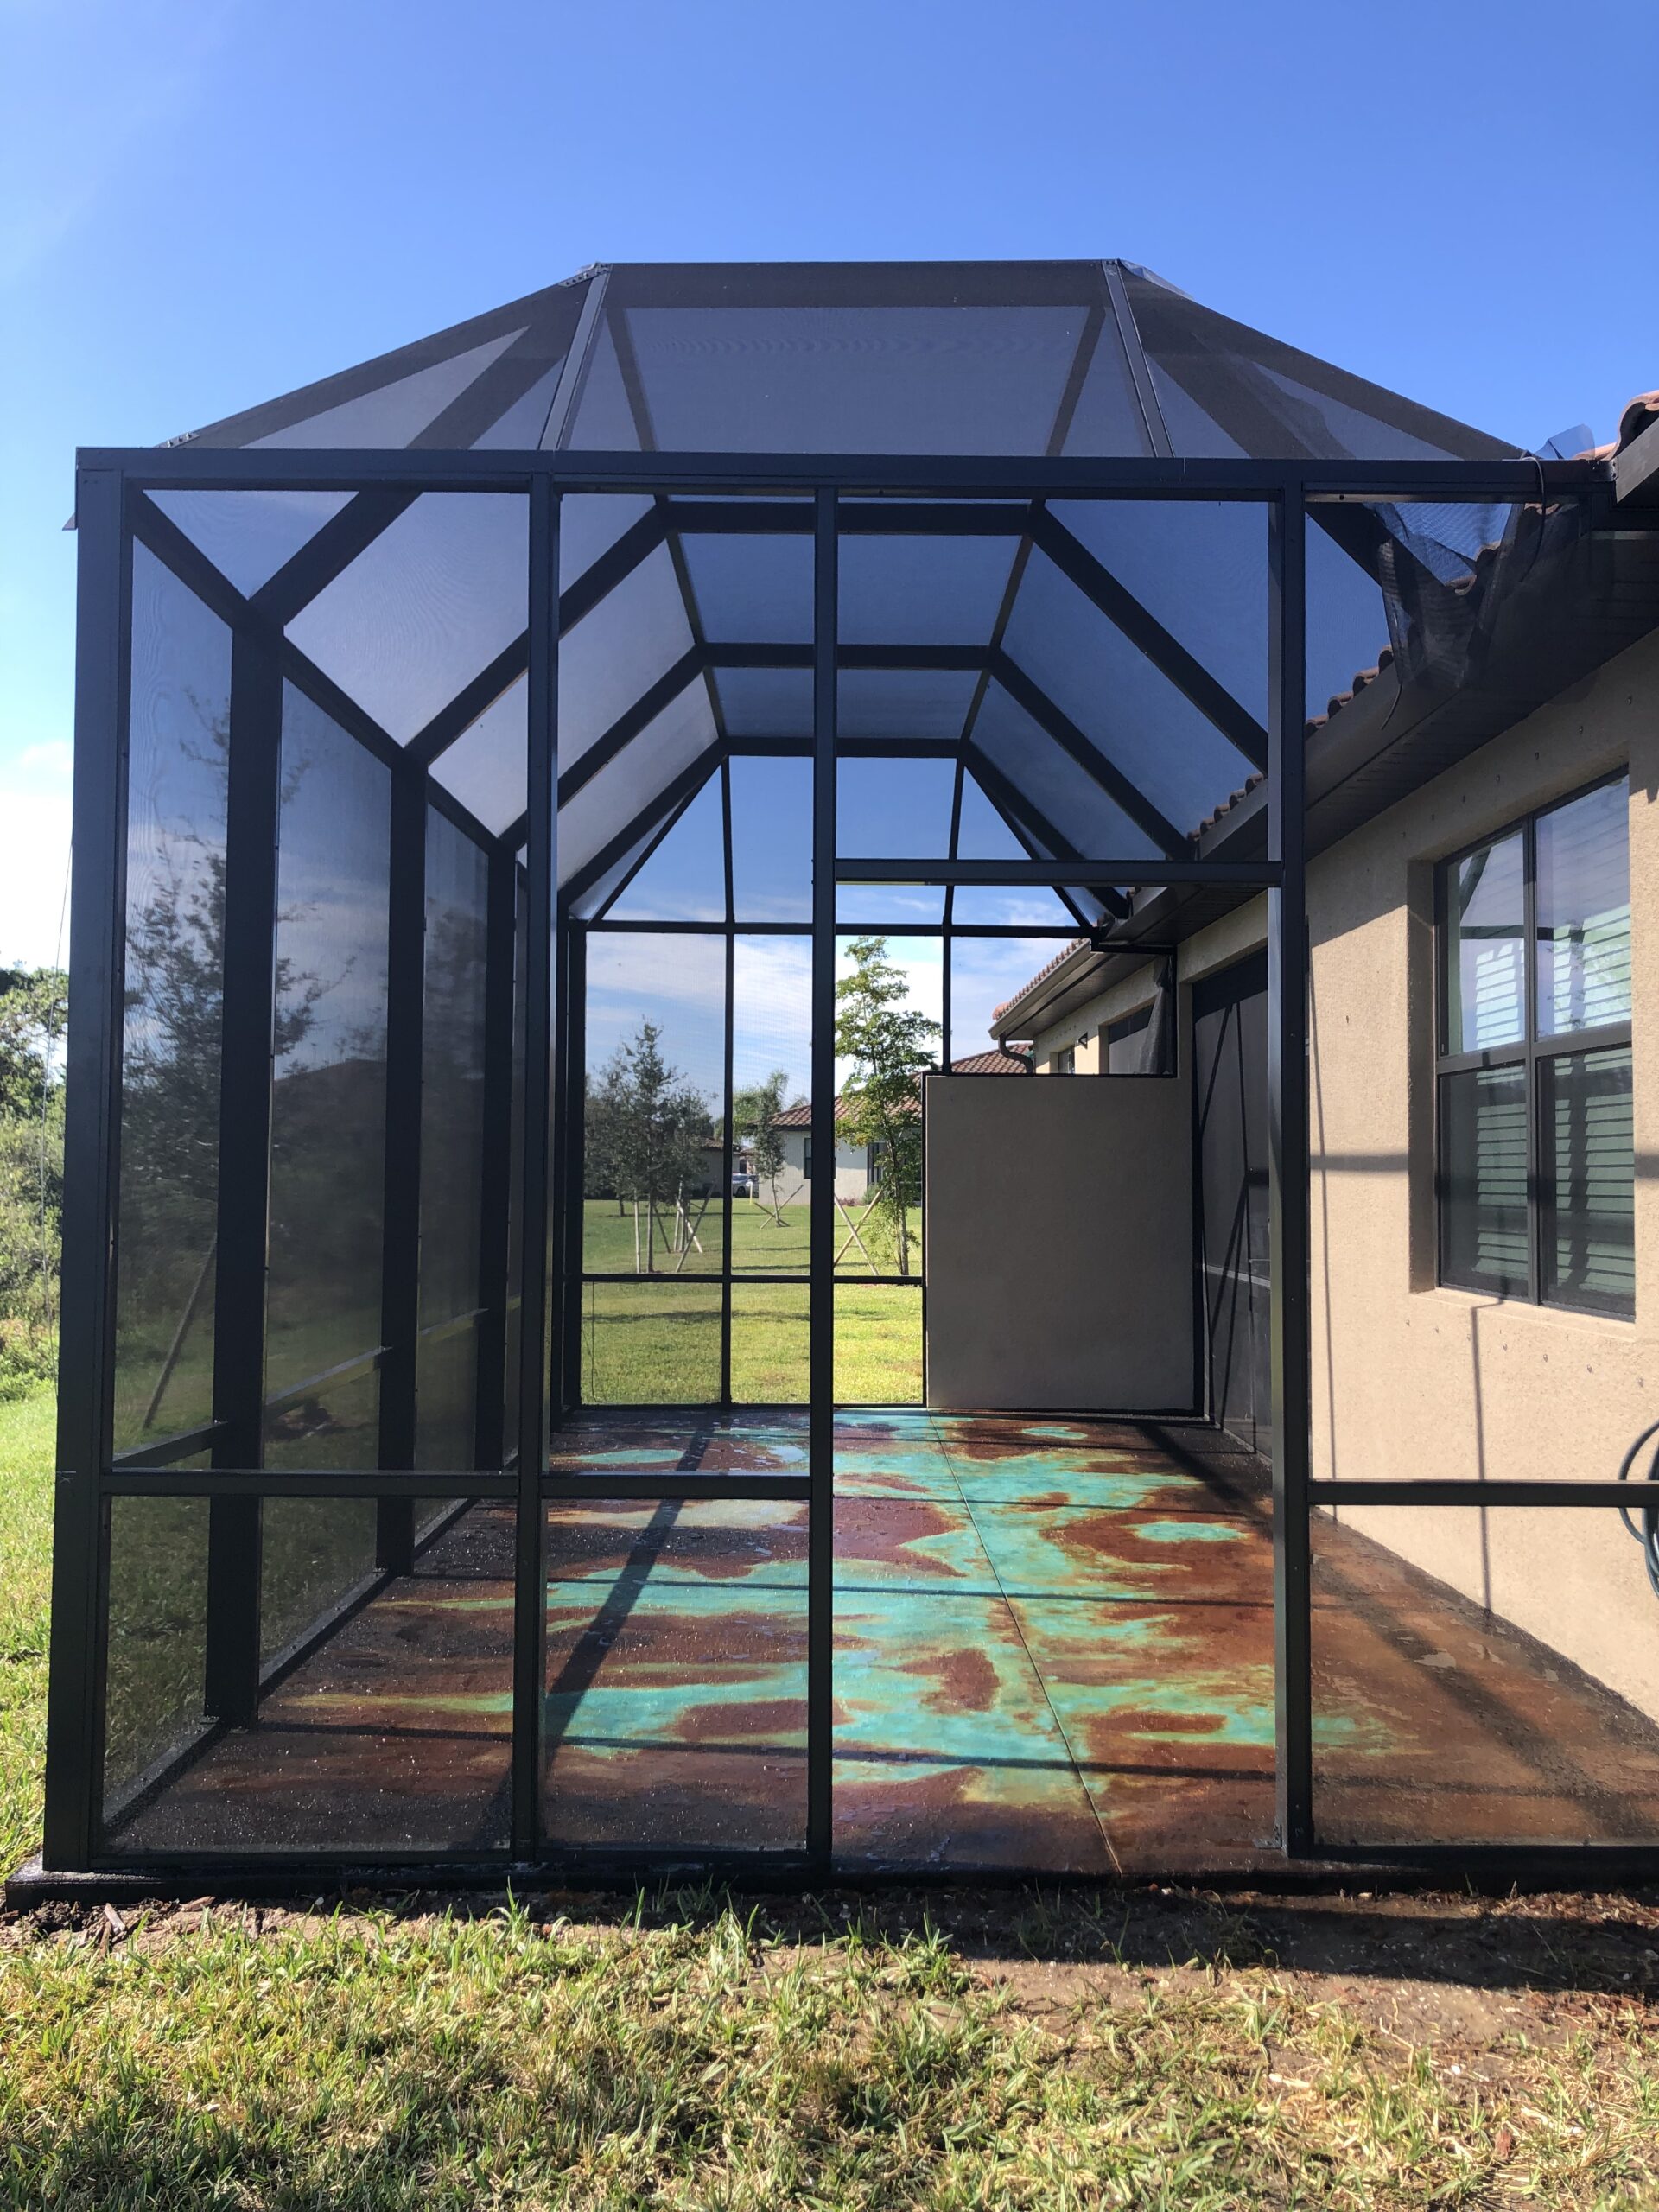
This unique project involved the transformation of a newly-poured 12’x24’ concrete slab, intended for a future backyard screen enclosure. To avoid the typical and mundane appearance of patio pavers seen in many backyards, I opted for the vibrant and artistic approach of acid staining with Direct Colors. The application process followed the tips and tutorials provided by Direct Colors. The addition of “Miracle Grow” blue granules accentuated the ‘lakes’ and ‘river’ of my design, giving it an extra ‘pop’. All products used for this project were from Direct Colors, including Azure Blue, English Red, and Black EverStain with High Gloss sheen. A unique tip was to layout the design with toilet paper strands, which worked excellently! For more details, visit our blog post: “How To Create A Vein Effect On Concrete With Acid Stain Colors“.
Project Info:
- Project Completed In: 3 day(s)
- Estimate of Square Footage: 280 sq. ft.
- Project Description:
I started with a freshly poured (ie., 1 month old) 12’x24’ concrete slab for a future backyard screen enclosure. All of my neighbors have boring patio pavers for their base … I wanted something unique and creative … hence Direct Colors Acid Staining! - Personal Tips:
Basically I watched all the videos that Direct Colors makes available along with 2 tips given by Samantha and Heather (sales reps at DC) which were to apply “Miracle Grow” blue granules to give “pop” to my lakes and river and laying my design out with strands of toilet paper … all went extremely well!
- Direct Colors Products Used:
1 Gal. English Red DIY EverStain™ & EasySeal™ Satin Kit
1 Gal. Azure Blue EverStain™ & EasySeal™ Gloss Kit
1 Gal. Black EverStain™ & EasySeal™ Gloss Kit
16 Oz. Non Slip Concrete Sealer Additive
Patio Perfection: A Concrete Facelift with Malayan Buff, Desert Amber, and English Red
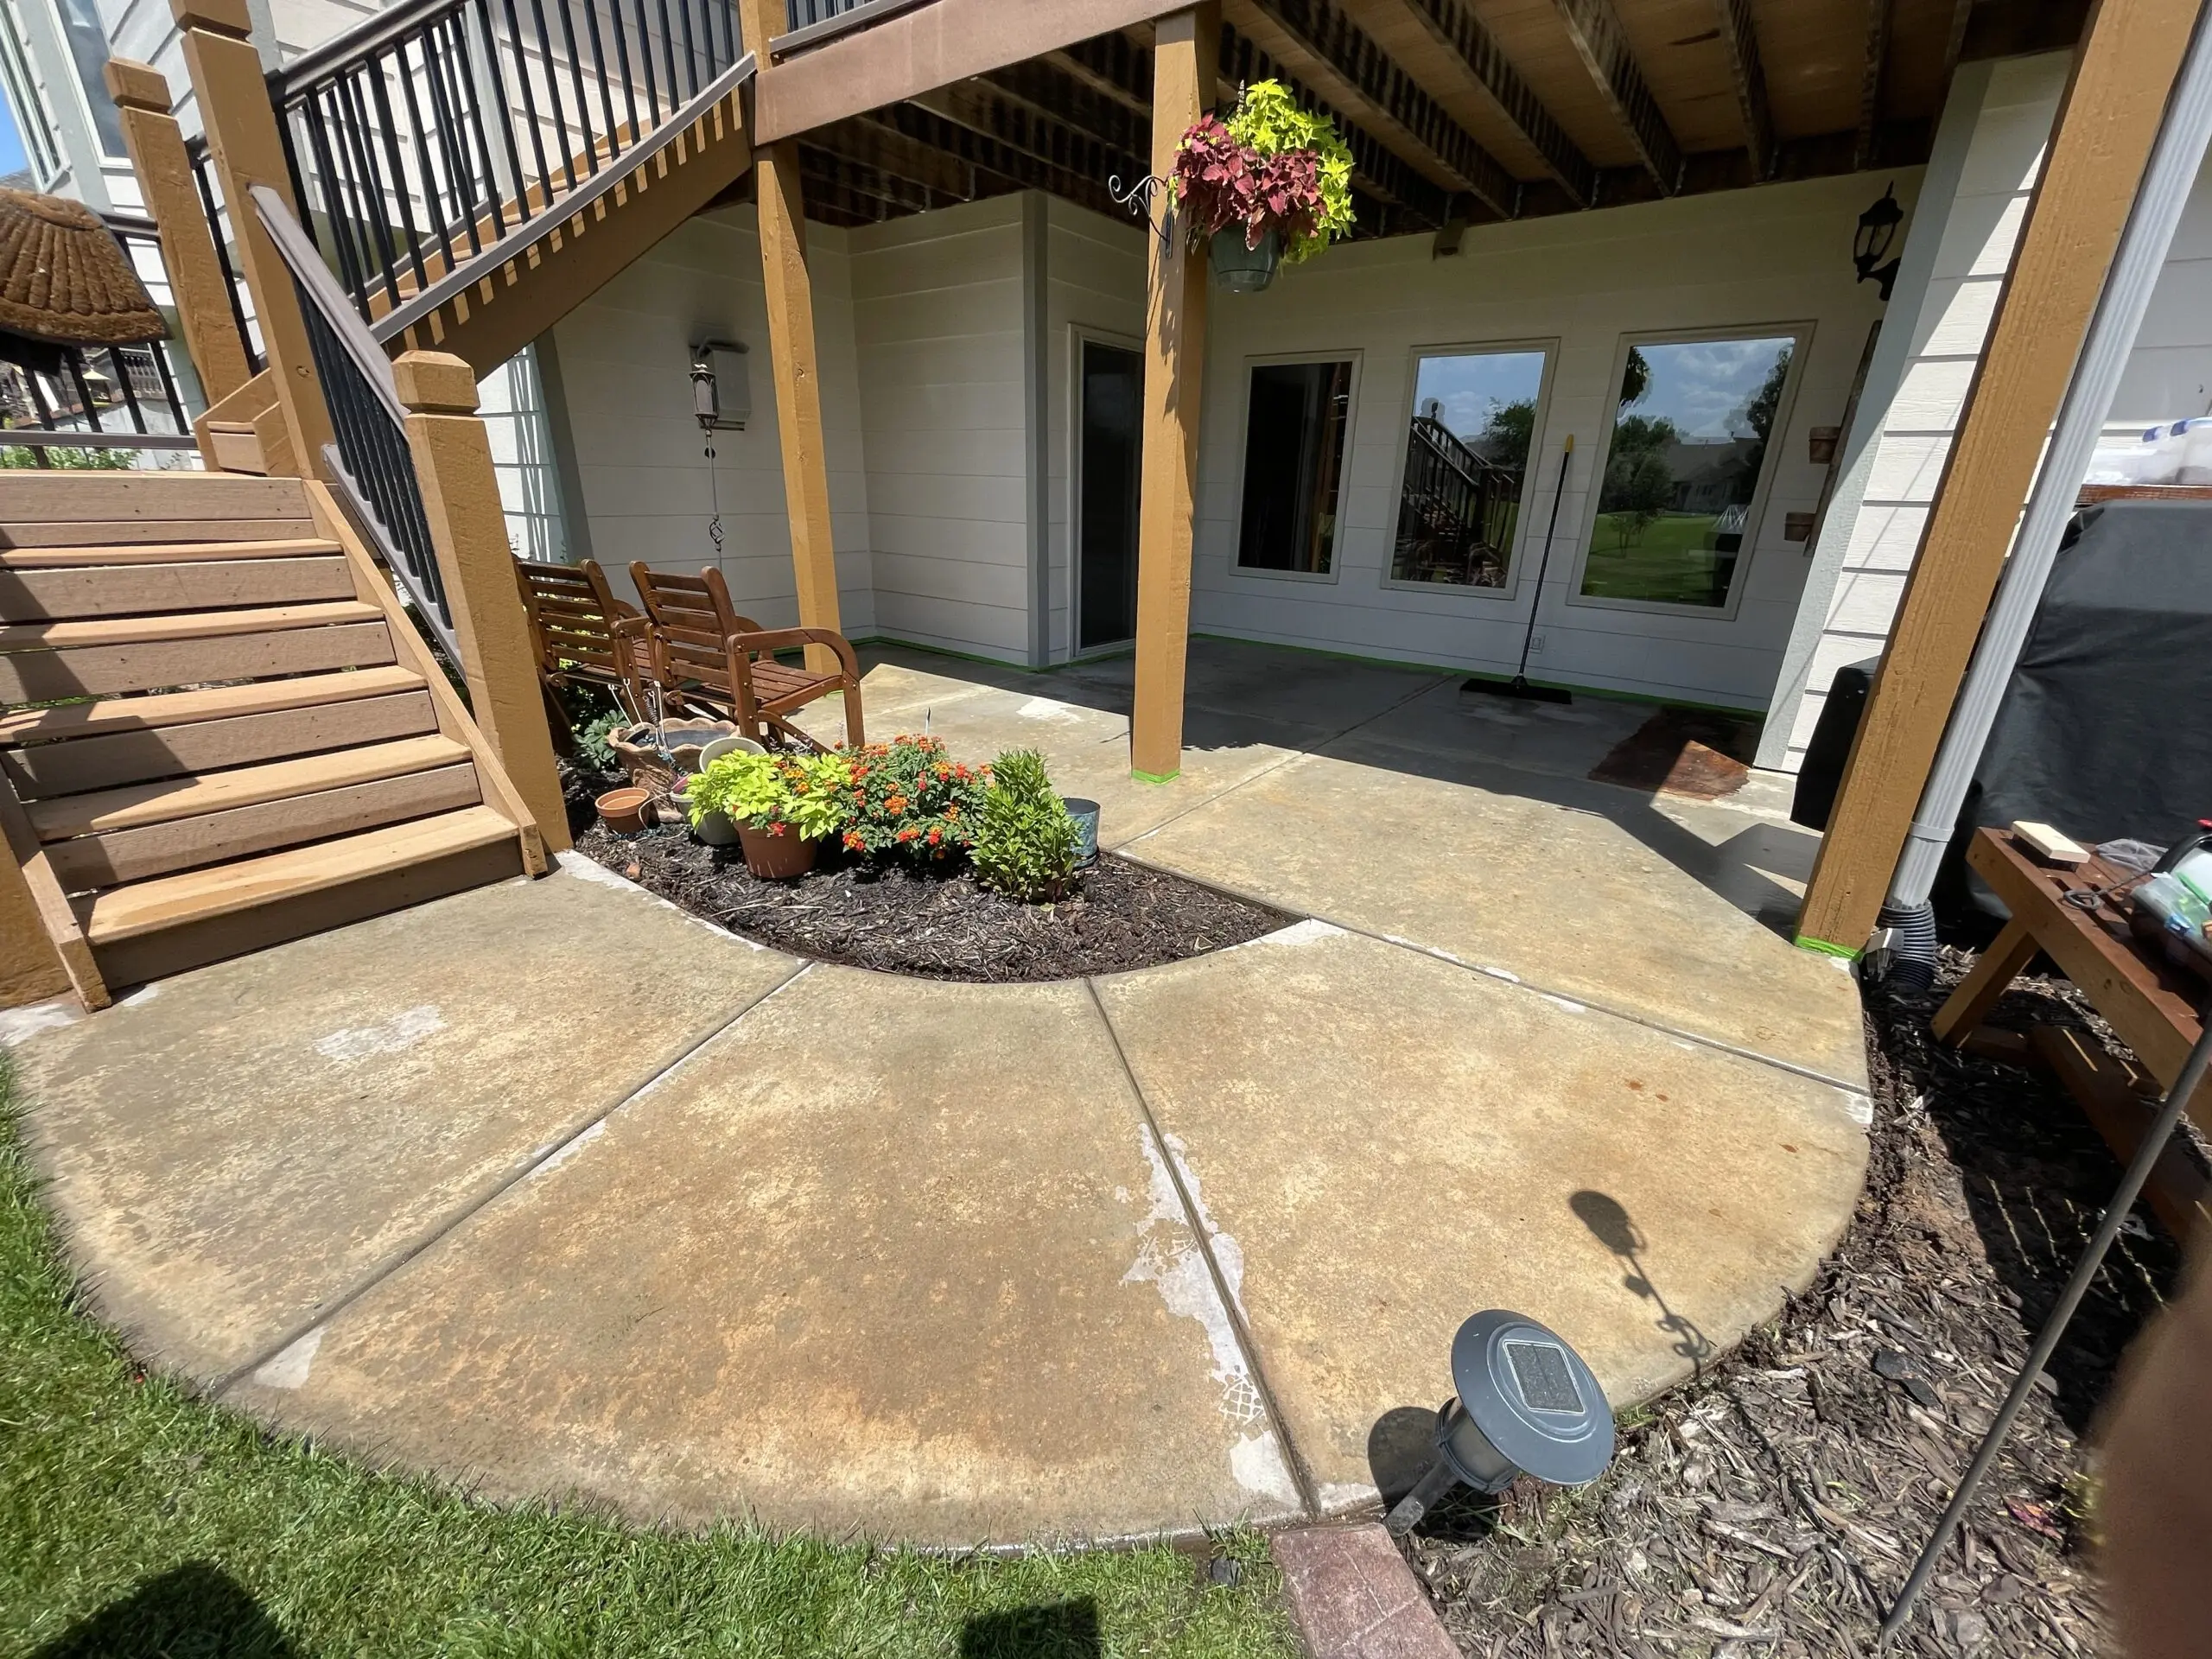
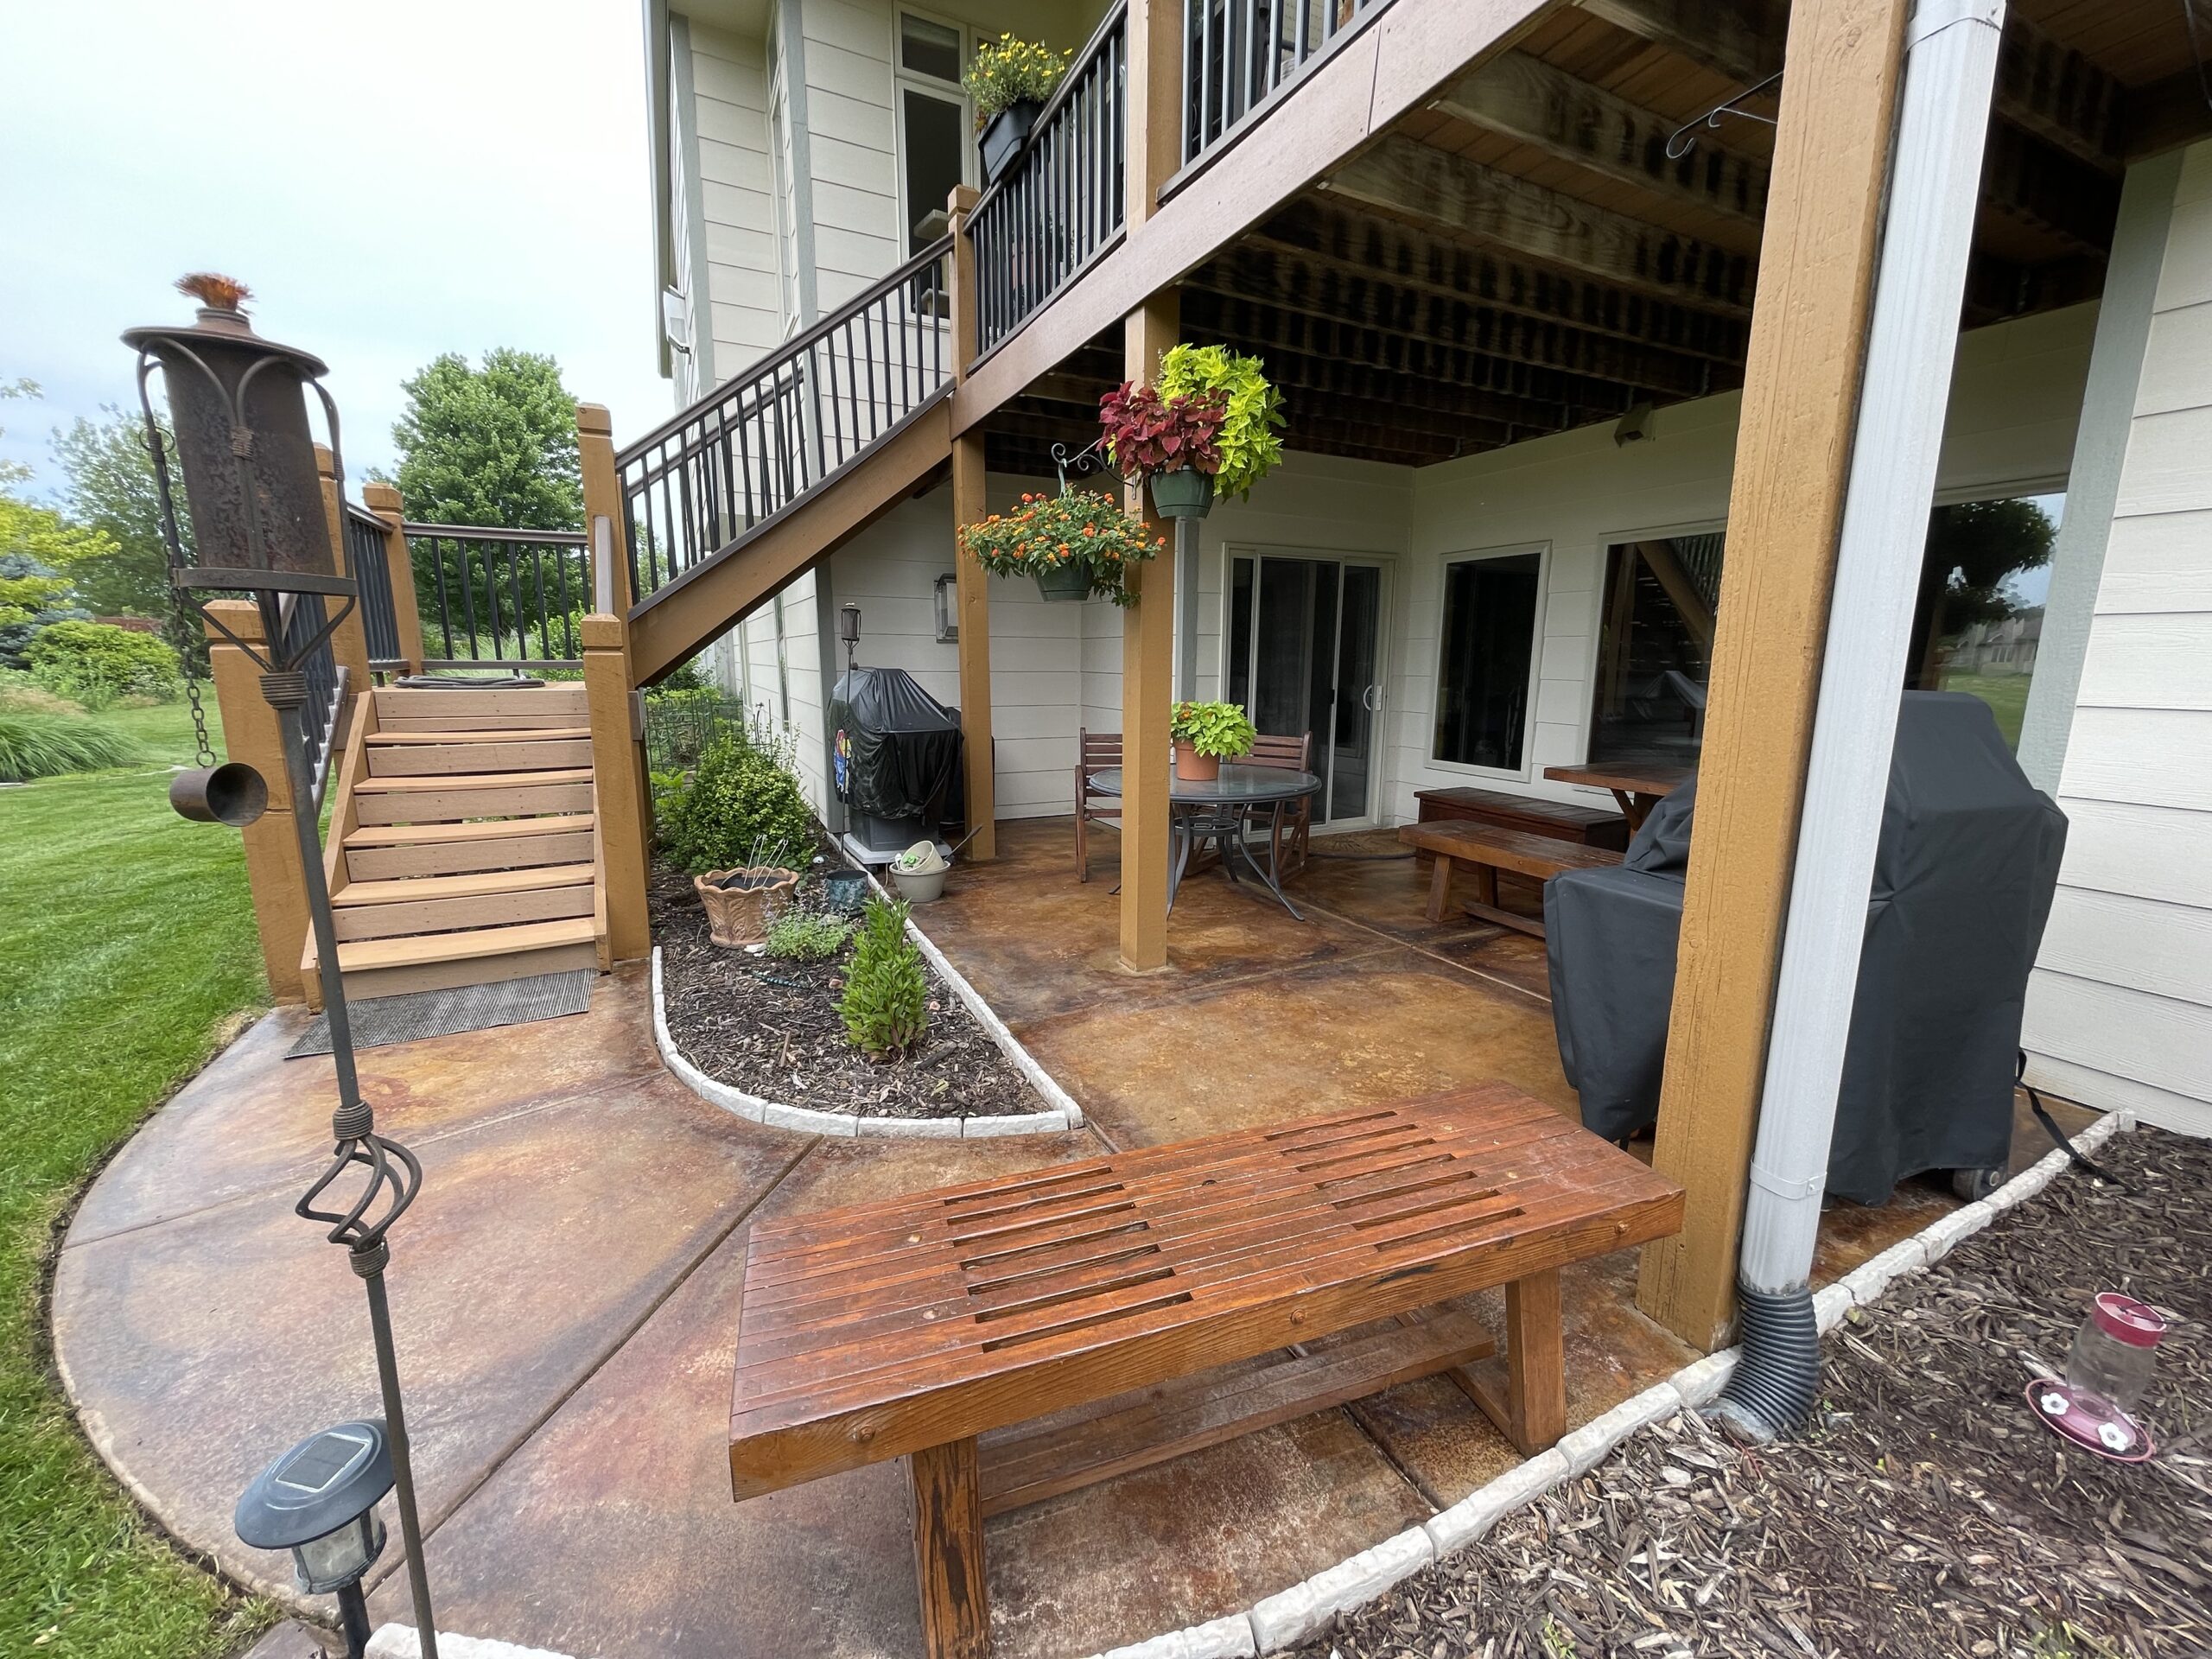
Ever wondered how a simple concrete patio can be transformed into a gorgeous outdoor living space? Here’s the answer! This DIYer took their 35-year-old patio from drab to fab using Everstain™ acid stains.
Project Info:
- Project Completed In: 4 day(s)
- Estimate of Square Footage: 225 sq. ft.
- Project Description:
My patio has some 35 year old redwood furniture that I decided to refinish which I did. Using Cabot’s wood finish and I sanded it down. After finishing noticing the gray concrete did not help appearance and I had bought some gel acid stain from direct colors pre-pandemic and never used them. Ended up getting Everstain Acid stain we 3 gallons of acid stain with neutralizer and sealant. I used some shoes with spikes and applied as directed by web site using a sprayer. Following advice of outlining the sections with the lighter color then using the Malayan buff filling in between the desert amber, then streaked it with the antique red to add dimension and almost create a look like grain in wood. I let it dry overnight to get maximum paint absorption then got it damp with light water and brushed with large broom. I then applied the sealant in 2 coats. The first coat was rolled on and the second was sprayed on. The most difficult part of project was moving the furniture off and back on patio. The prep work has to be done with power washing and taping up the sides of the house. - Personal Tips:
If you are going to spray use wide tape to block off things that you don’t want sprayed. I used 1 inch, probably should use wider if the wind catches it you got it on your house. - Direct Colors Products Used:
1 Gal. Desert Amber EverStain™ & EasySeal™ Gloss Kit
1 Gal. Malayan Buff EverStain™ & EasySeal™ Gloss Kit
1 Gal. English Red EverStain™ & EasySeal™ Gloss Kit
Faux Flagstone Porch Transformation
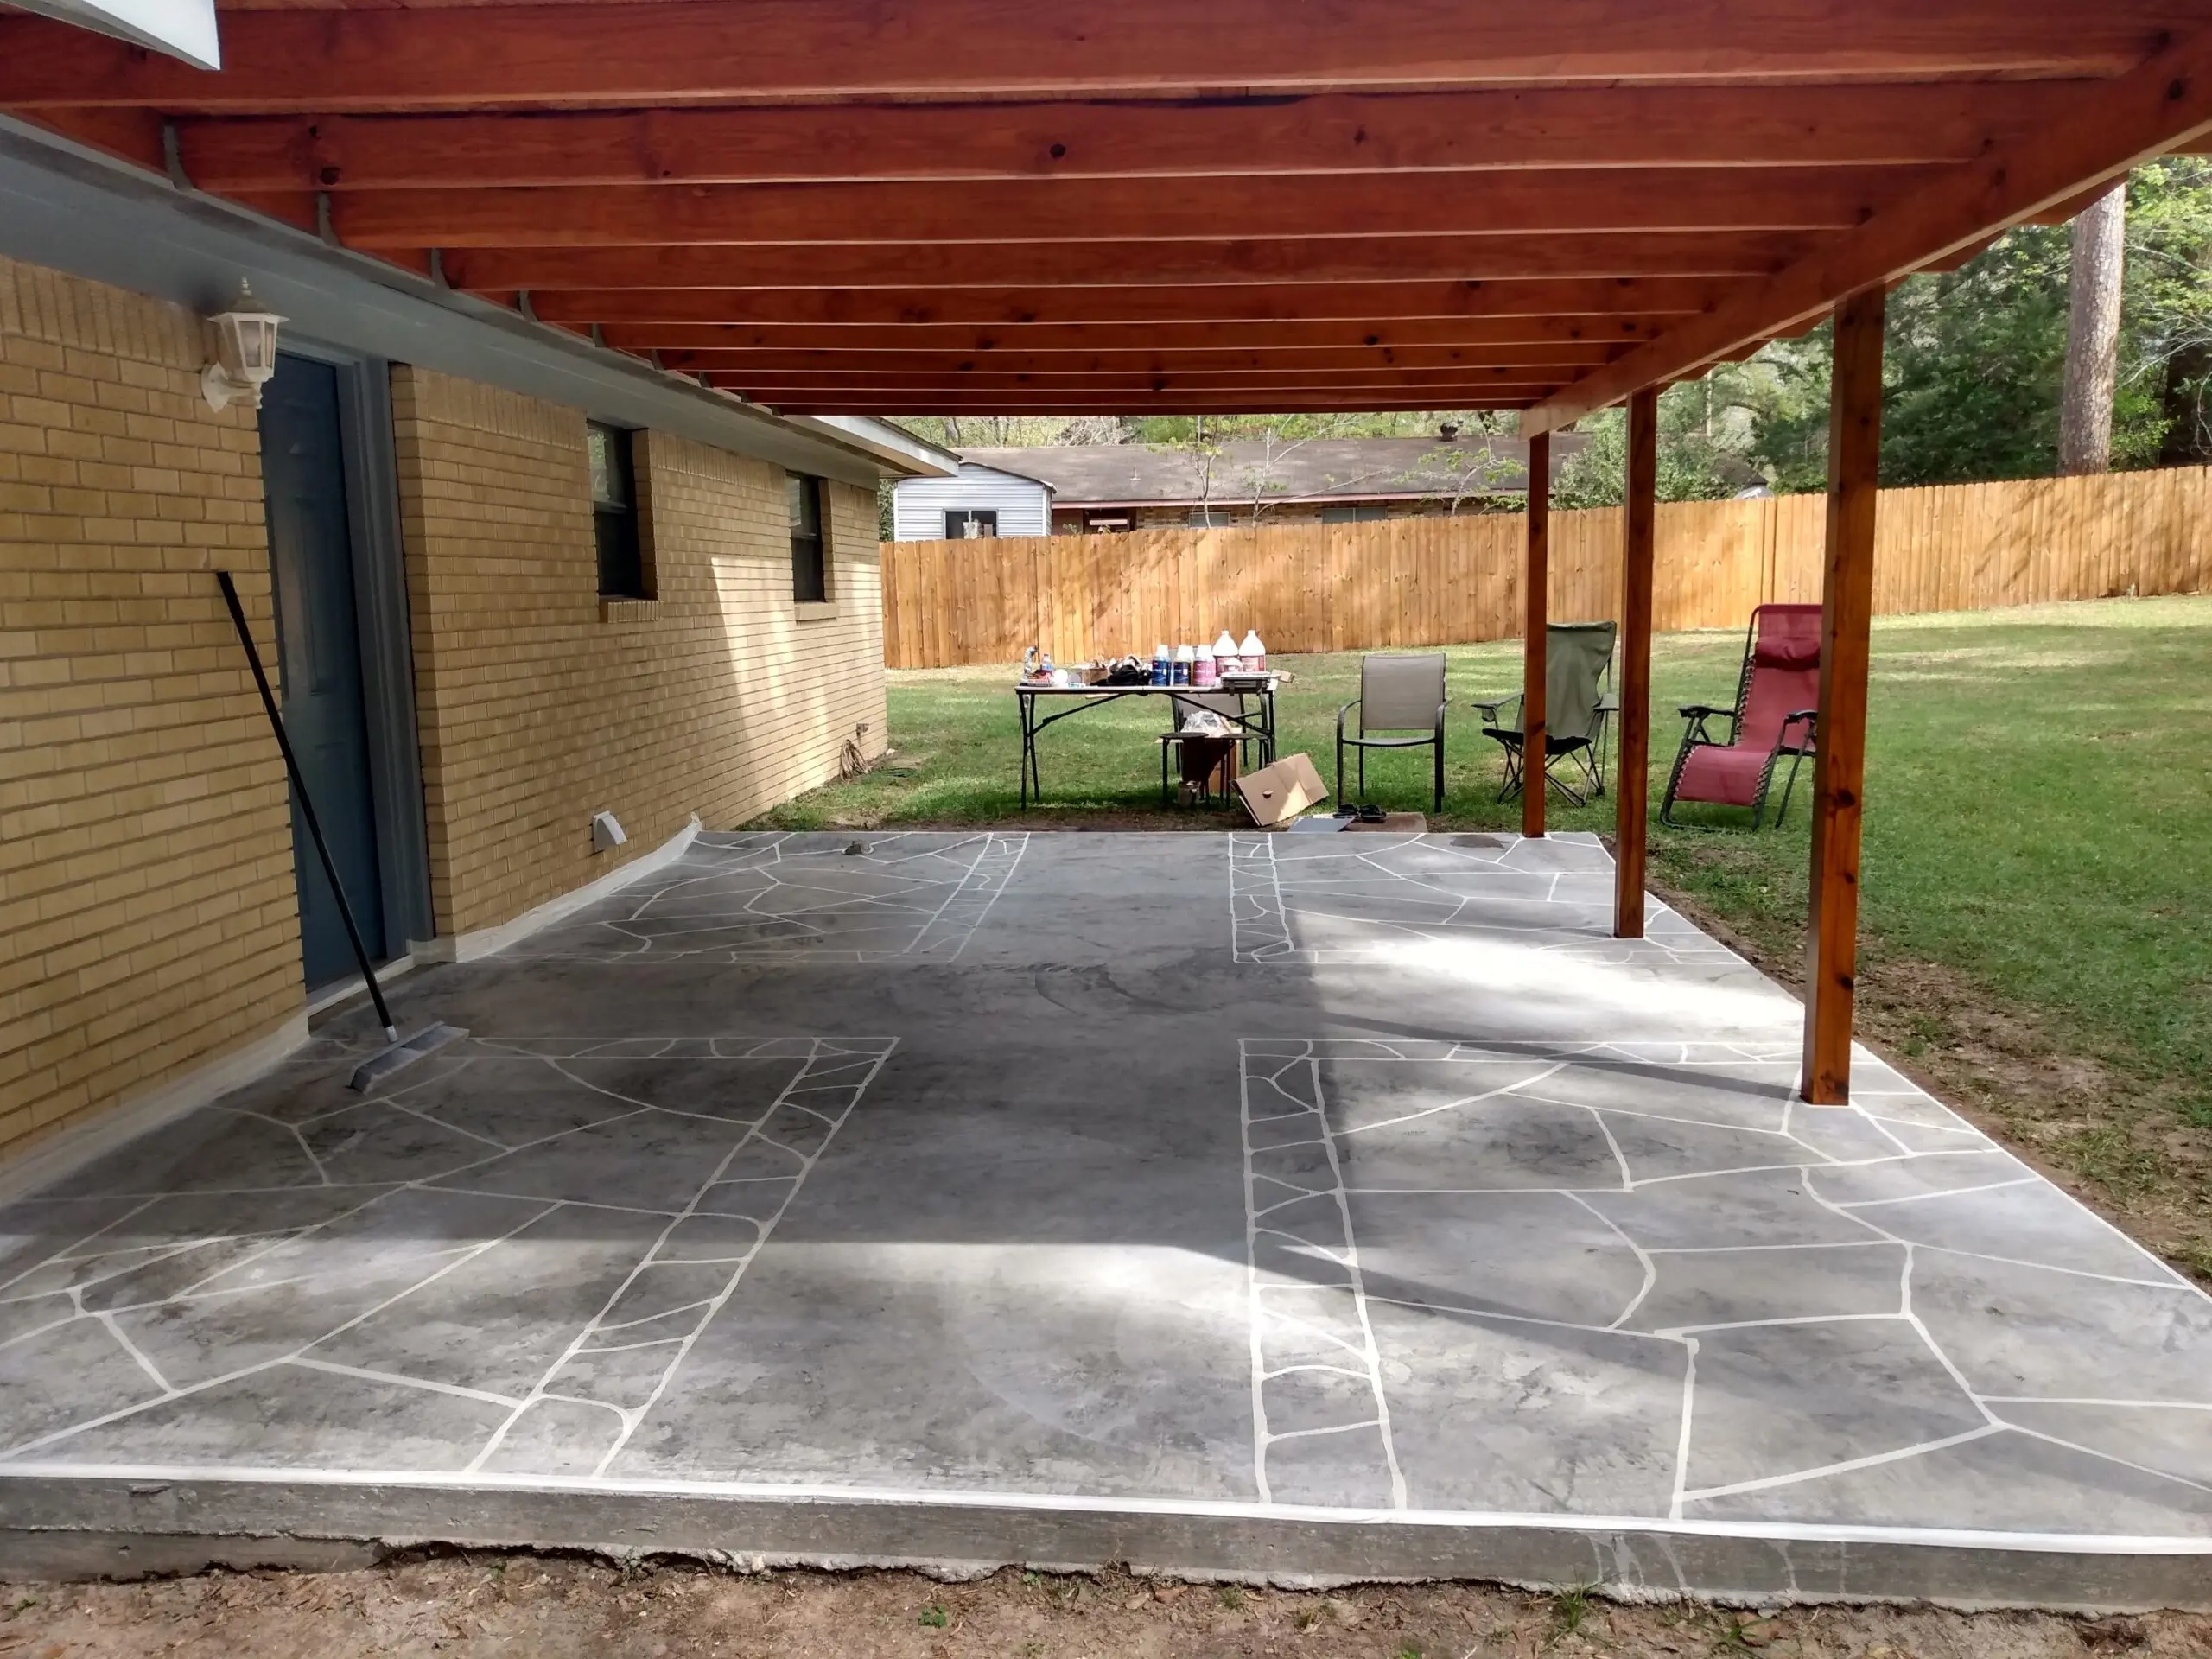
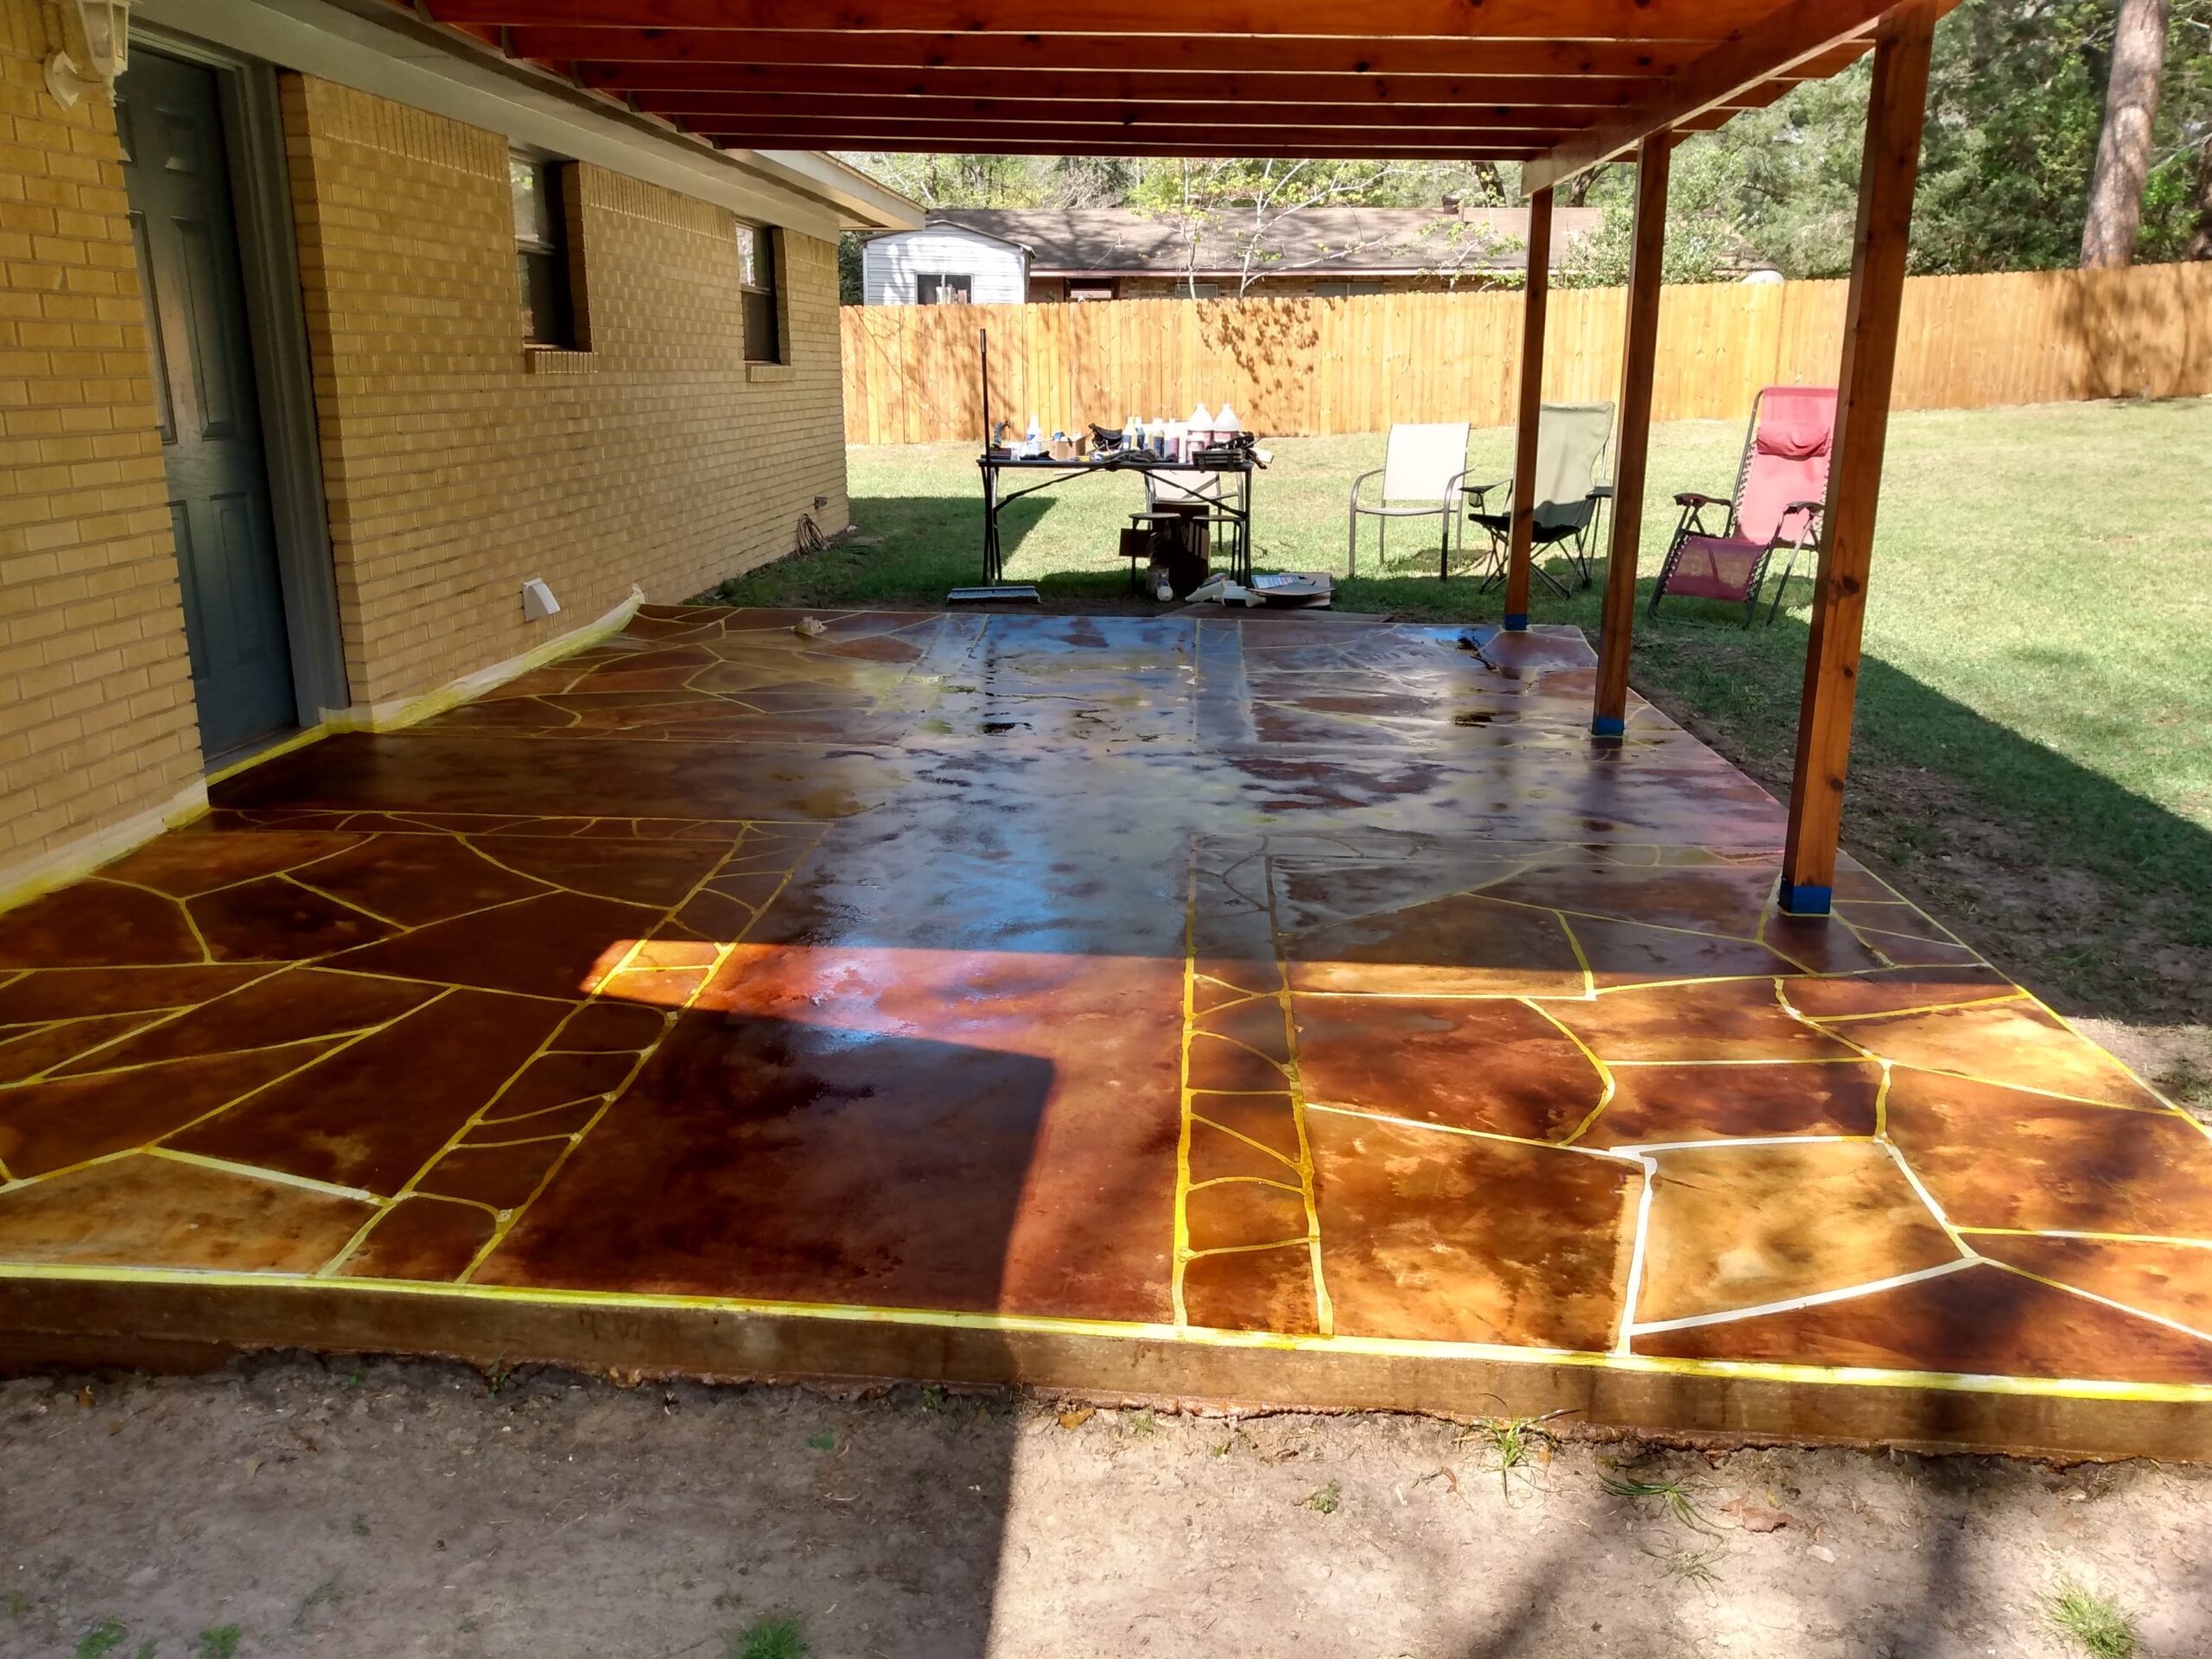
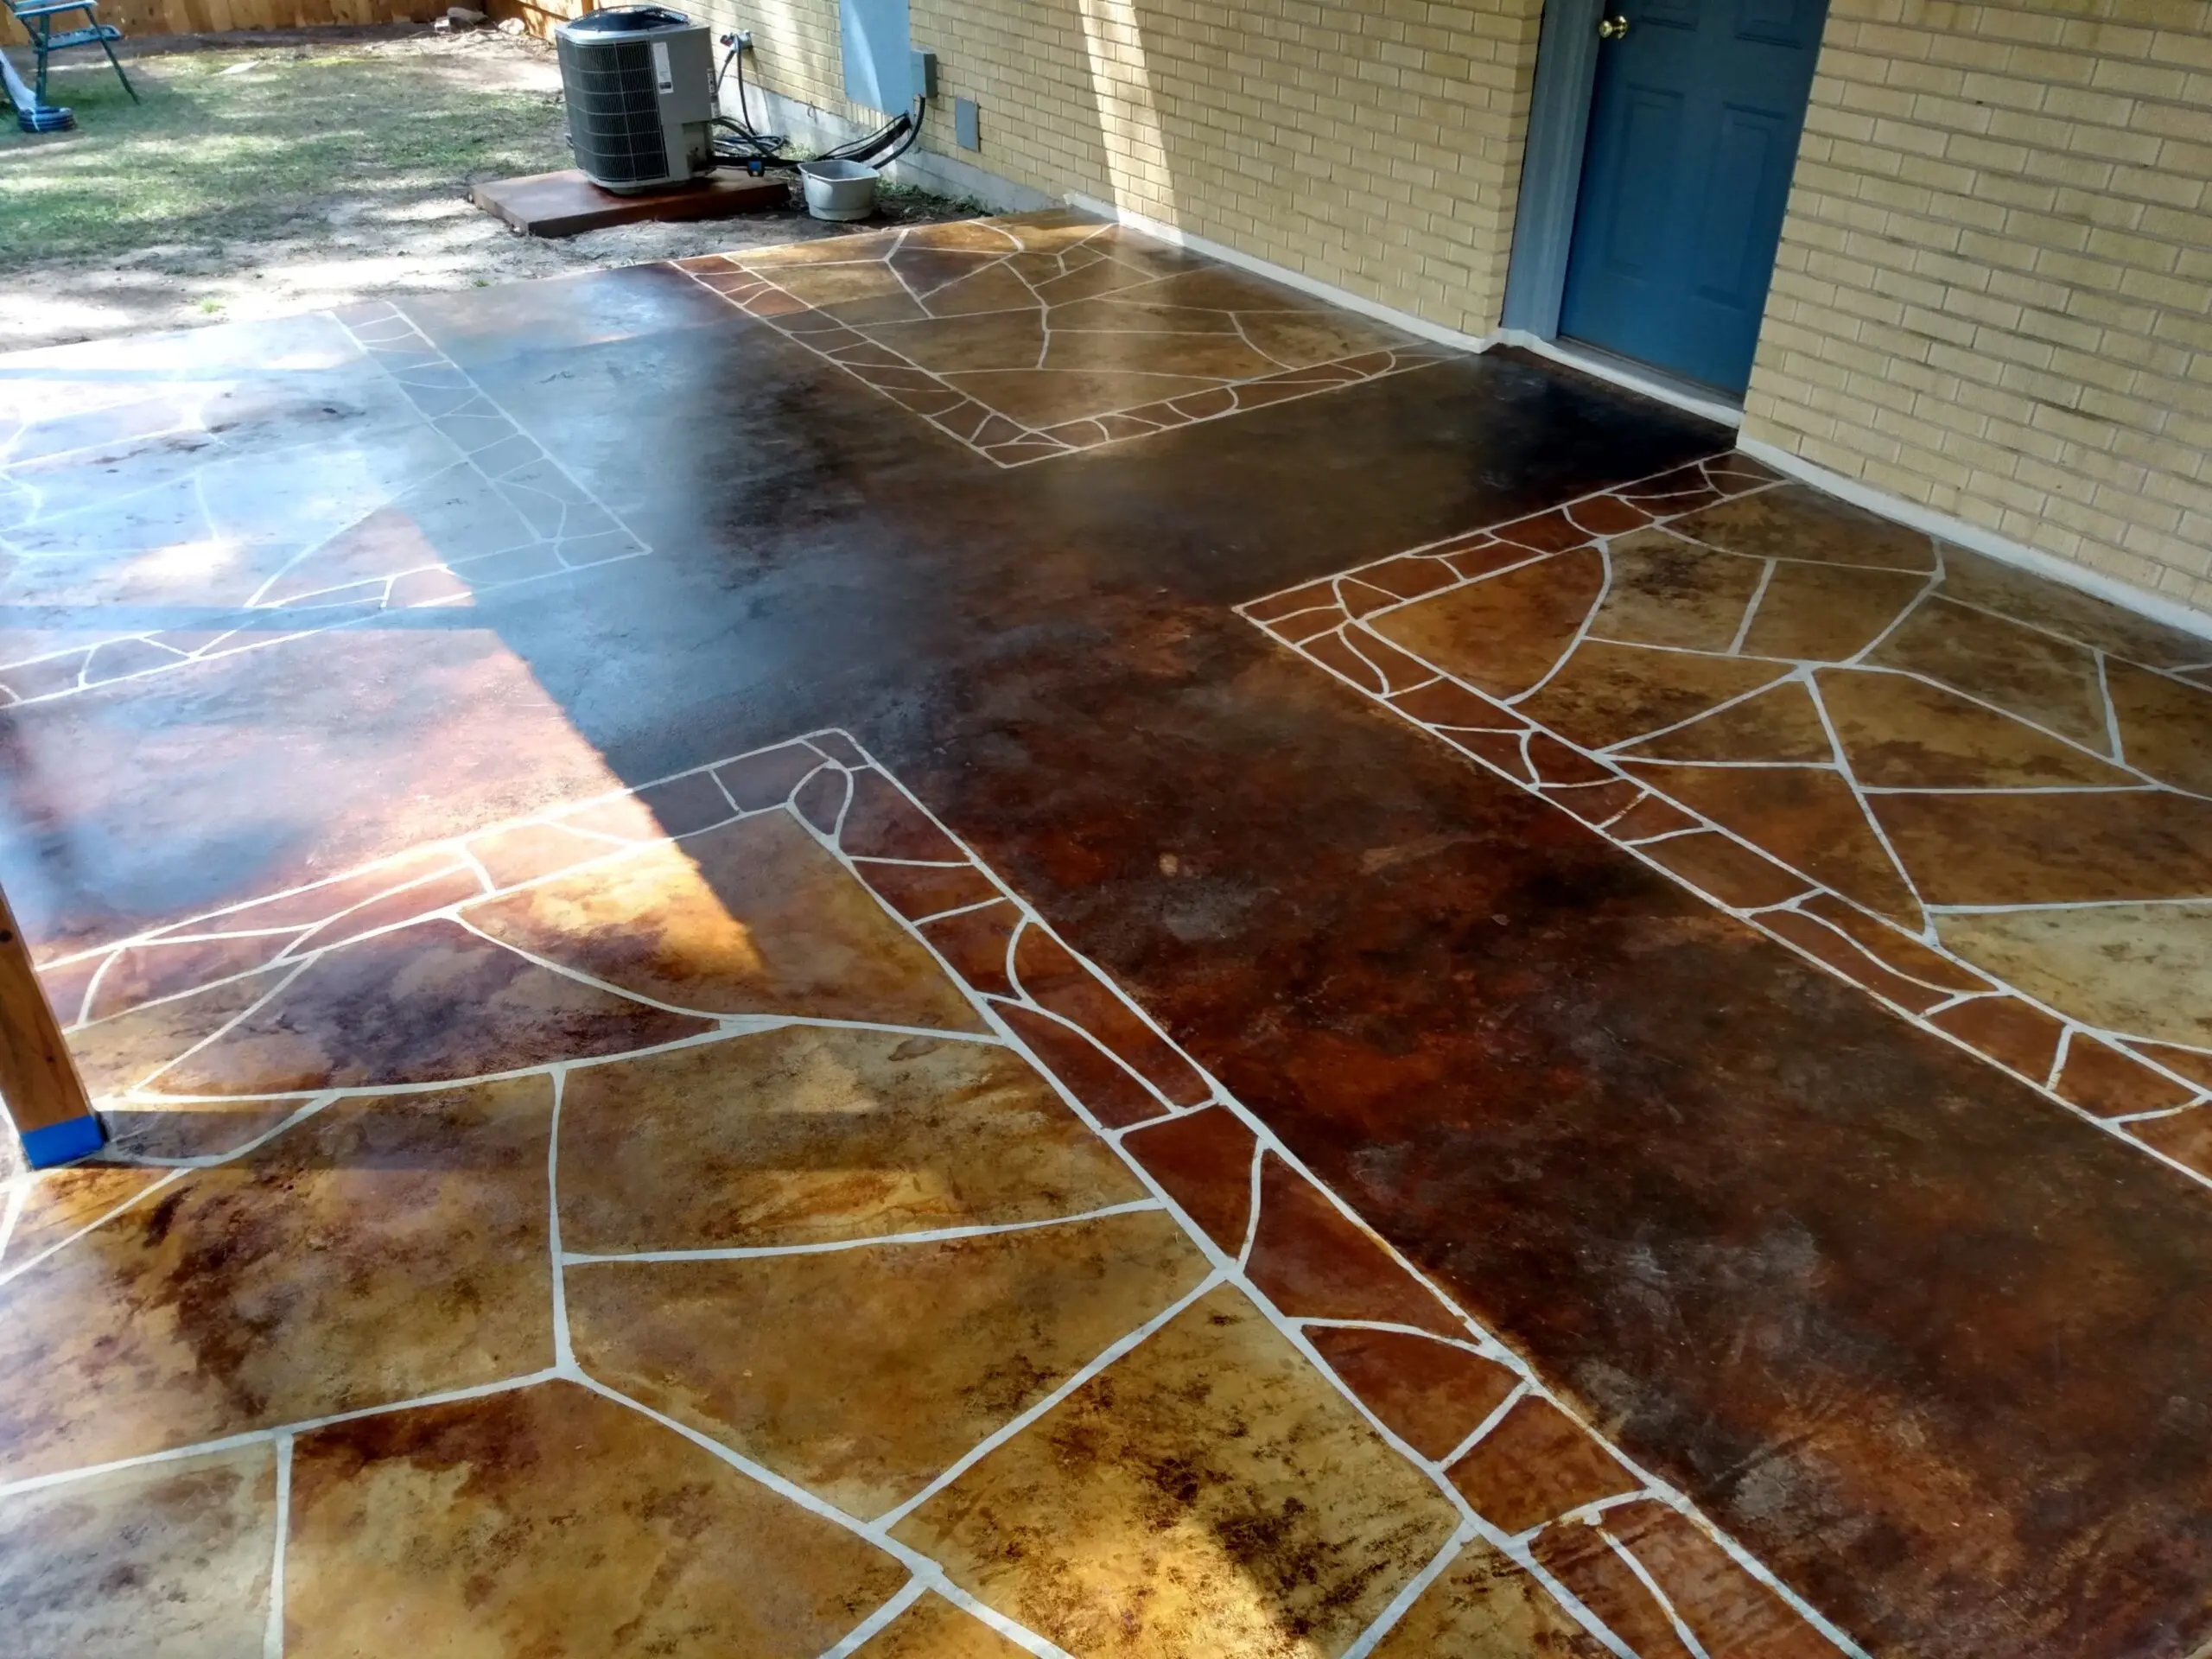
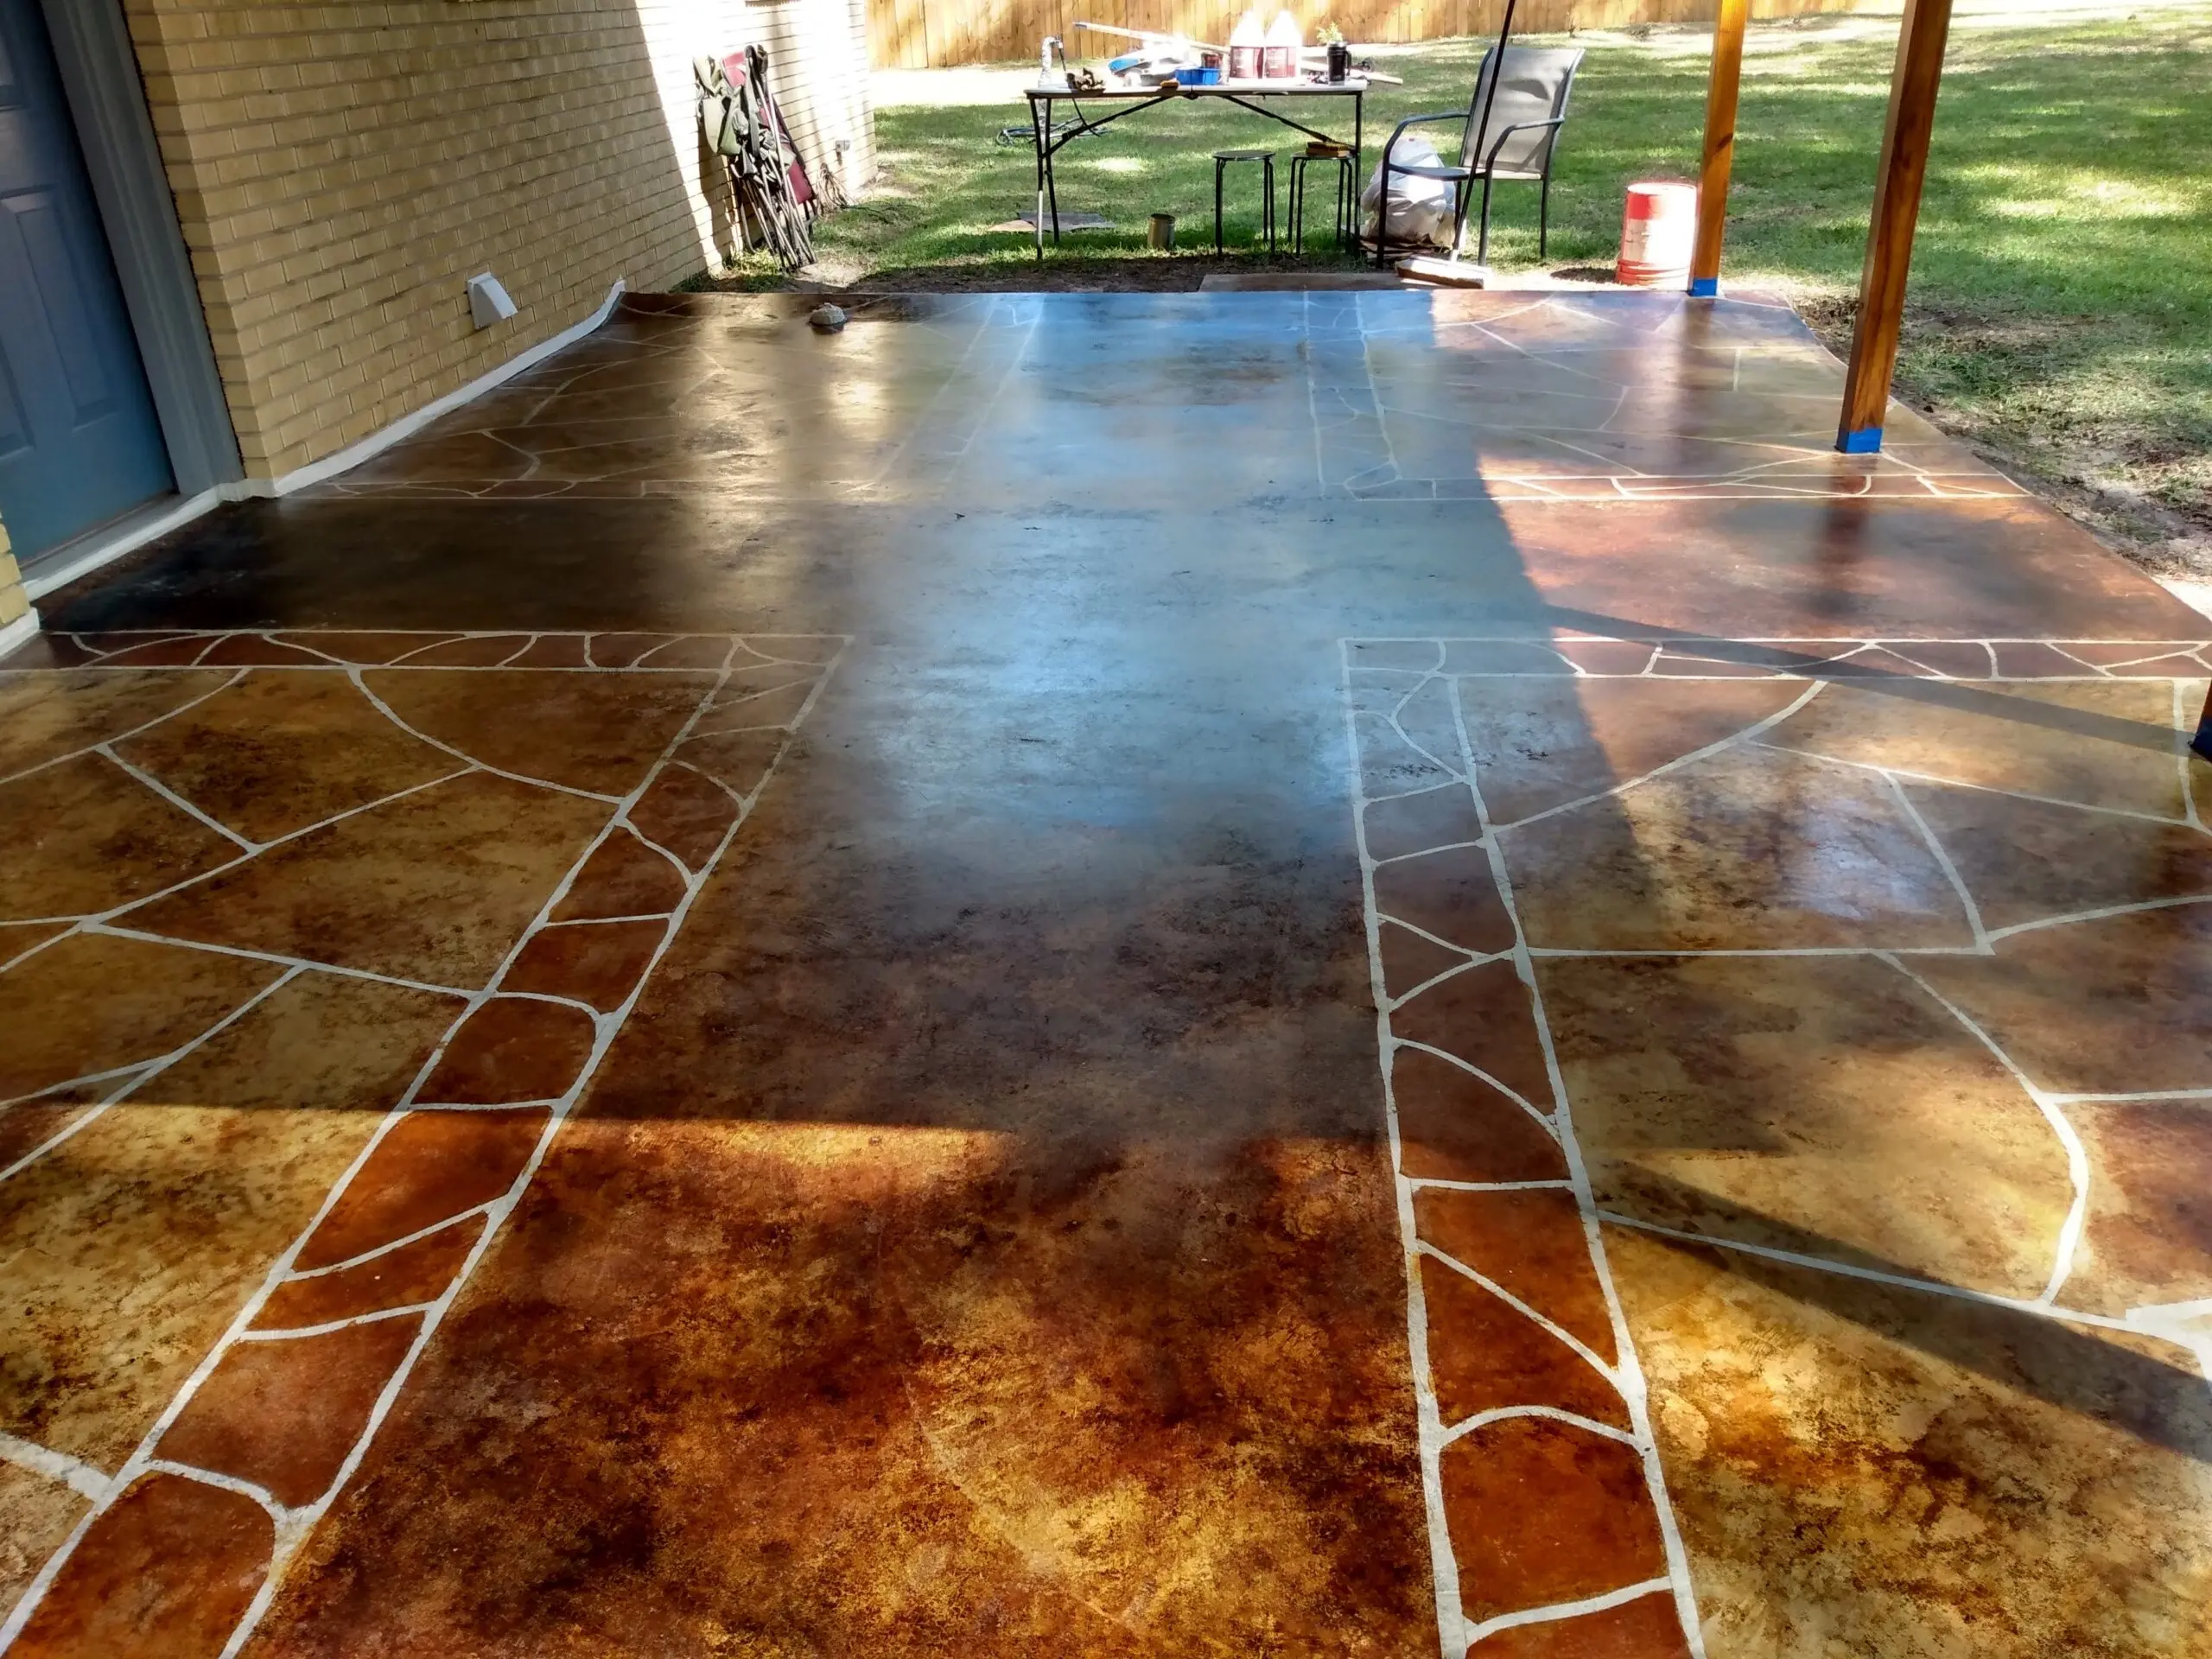
This project involved the conversion of a 3-year-old porch into a vibrant faux flagstone masterpiece. After pouring a new concrete slab, the floor was hand-troweled to achieve a smooth finish. Using EverStain™ Acid Stain in Coffee Brown, English Red, and Malayan Buff, a faux flagstone design was hand-painted. The finishing touch was provided by the EasySeal top coats. This artistic endeavor resulted in a stunning and unique porch floor, bringing a personalized touch to the outdoor space.
Project Info:
- Project Completed In: 20 days (weather) day(s)
- Estimate of Square Footage: 300 sq. ft. sq. ft.
- Project Description:
Porch built ~3 years back and could never decide between lumber flooring or $$ pouring slab until I got referred to a concrete worker with a reasonable estimate who assured me of a ‘slick’ finished floor (I know, when wet, etc. but I wanted a smooth finish. He hand troweled the final pass) . Once the floor was poured internet searches for ideas led to this page…
https://directcolors.com/diy/concrete-patio-ideas/
The faux flagstone got me. Never the artistic type ever, I had to try this. Little over a month cure time, taped it off…Coffee Brown walk way, English Red border, Malayan Buff and mixtures in the ‘stones’, all EverStain™ Acid Stain, Easy Seal top coats. To say I’m well pleased with the outcome would be a major understatement.
ps. One quart container of sealer came damaged and an email to Customer Service had a replacement on my doorstep in a couple days! Direct Colors is the go to for this type of project. - Personal Tips:
Some colors (on my floor English Red) will overpower everything else losing the contrasting tones I desired for this project….note that I used a spray bottle, and yep it bled over everywhere even though I thought I was going light. Were I to do this again, I’d use a brush and LIGHTLY keep it in the borders even if multiple passes were necessary. This is only if you’re wanting to see a dramatic color difference at borders.
I attempted to clean up the border bleed over with a Scotch Brite pad/ ammonia solution only to discover a remarkable lightening of color …touched up with stain again to find just enough mineral content left to return much of the contrast I desired. Patience with a project of this nature pays off!
Spike shoes are mandatory!
Direct Colors Products Used:
1 Gal. English Red DIY EverStain™ & EasySeal™ Satin Kit
1 Gal. Malayan Buff EverStain™ & EasySeal™ Satin Kit
1 Gal. Coffee Brown EverStain™
16 Oz. Non Slip Concrete Sealer Additive
DIY Architect Studio Transformation with Acid Staining
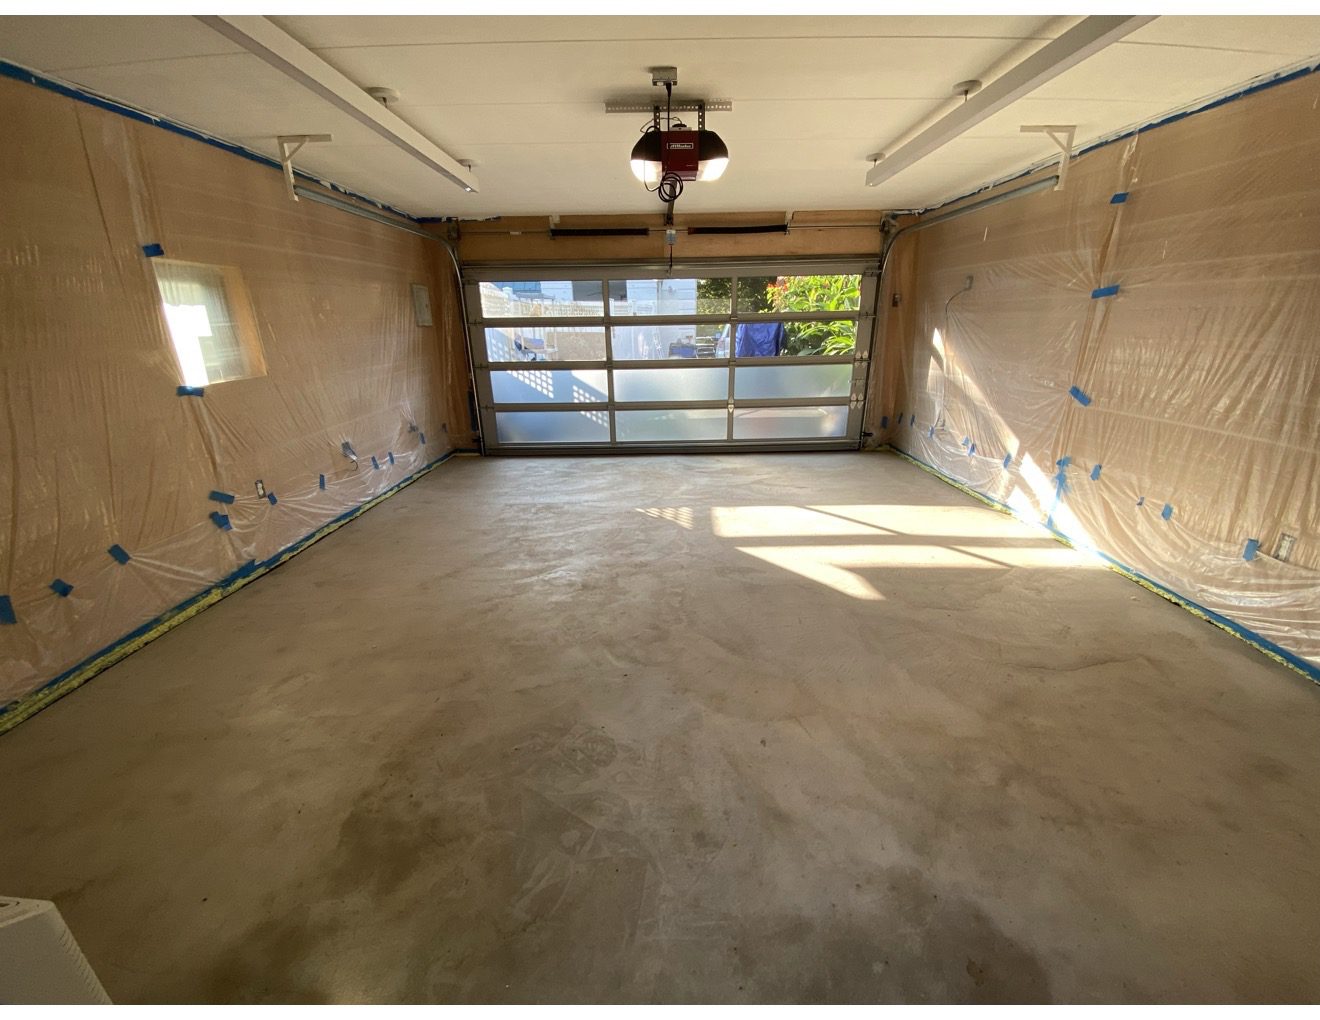
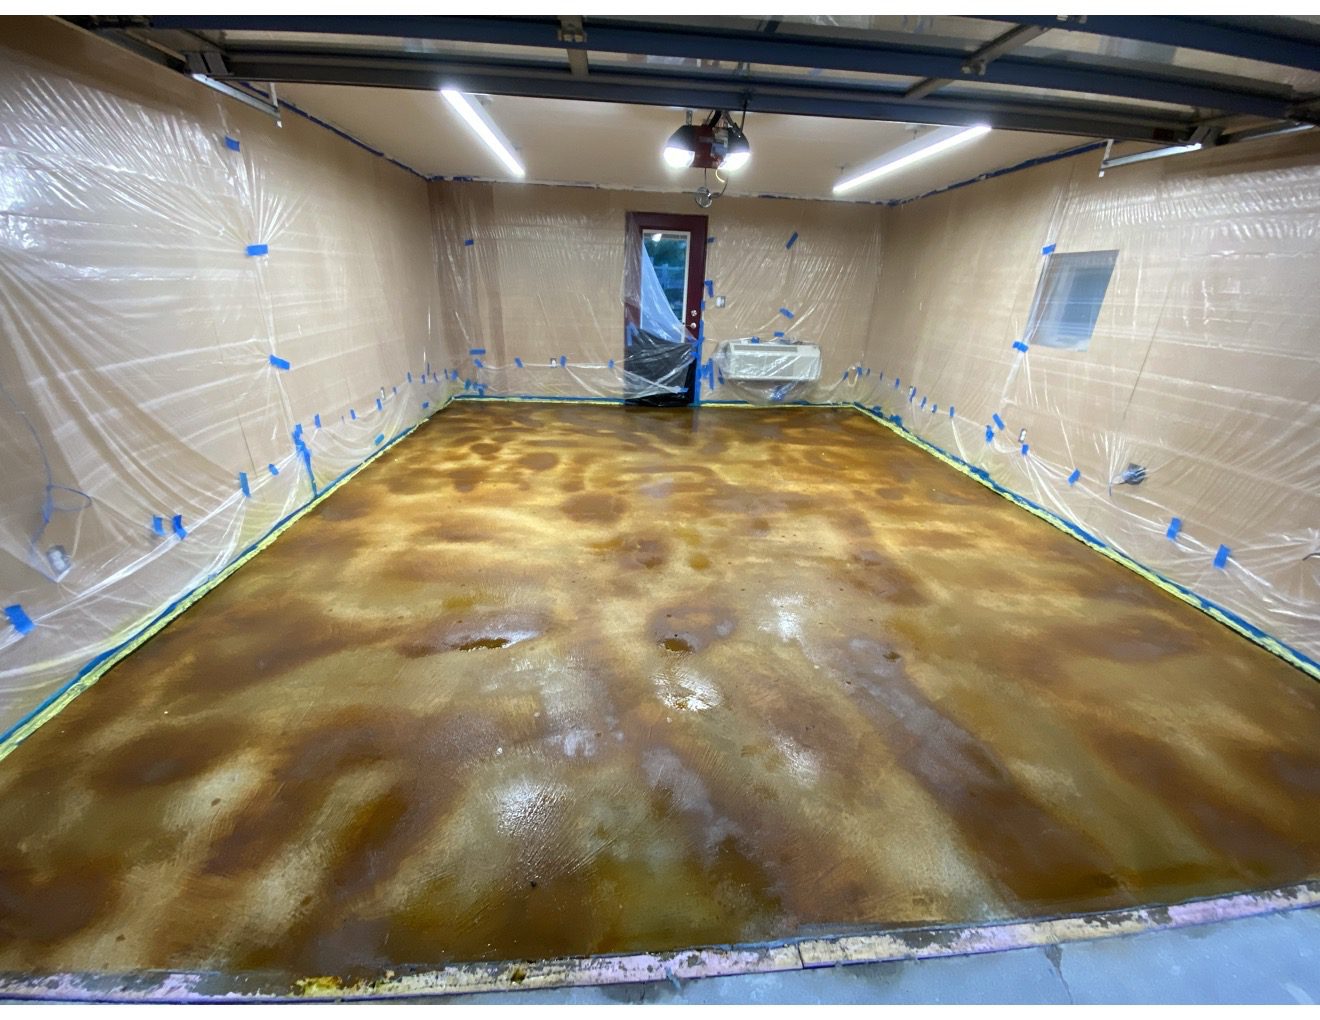
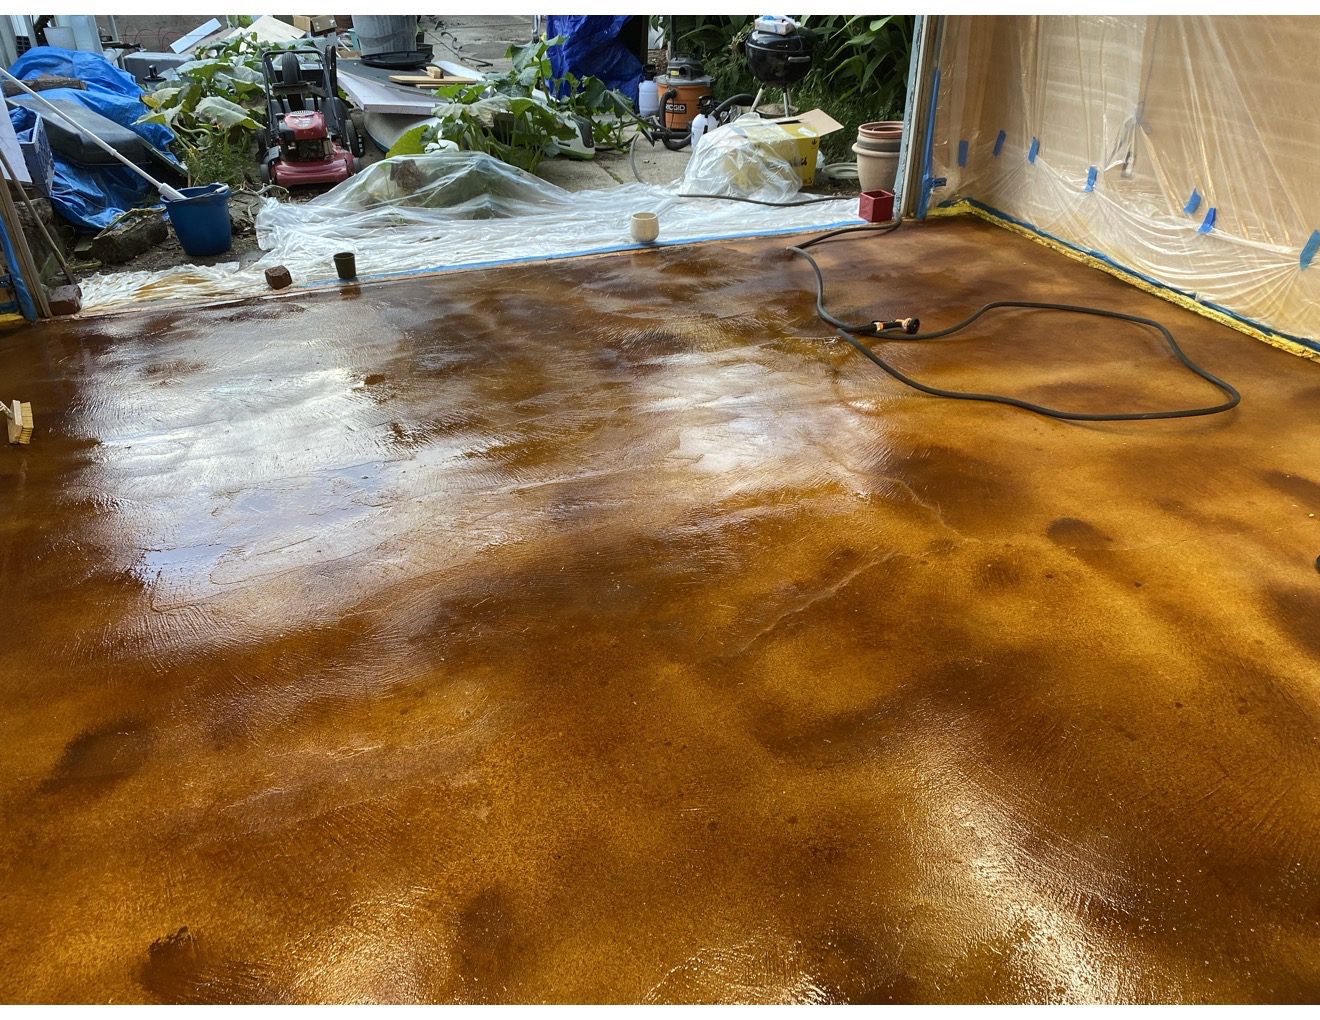
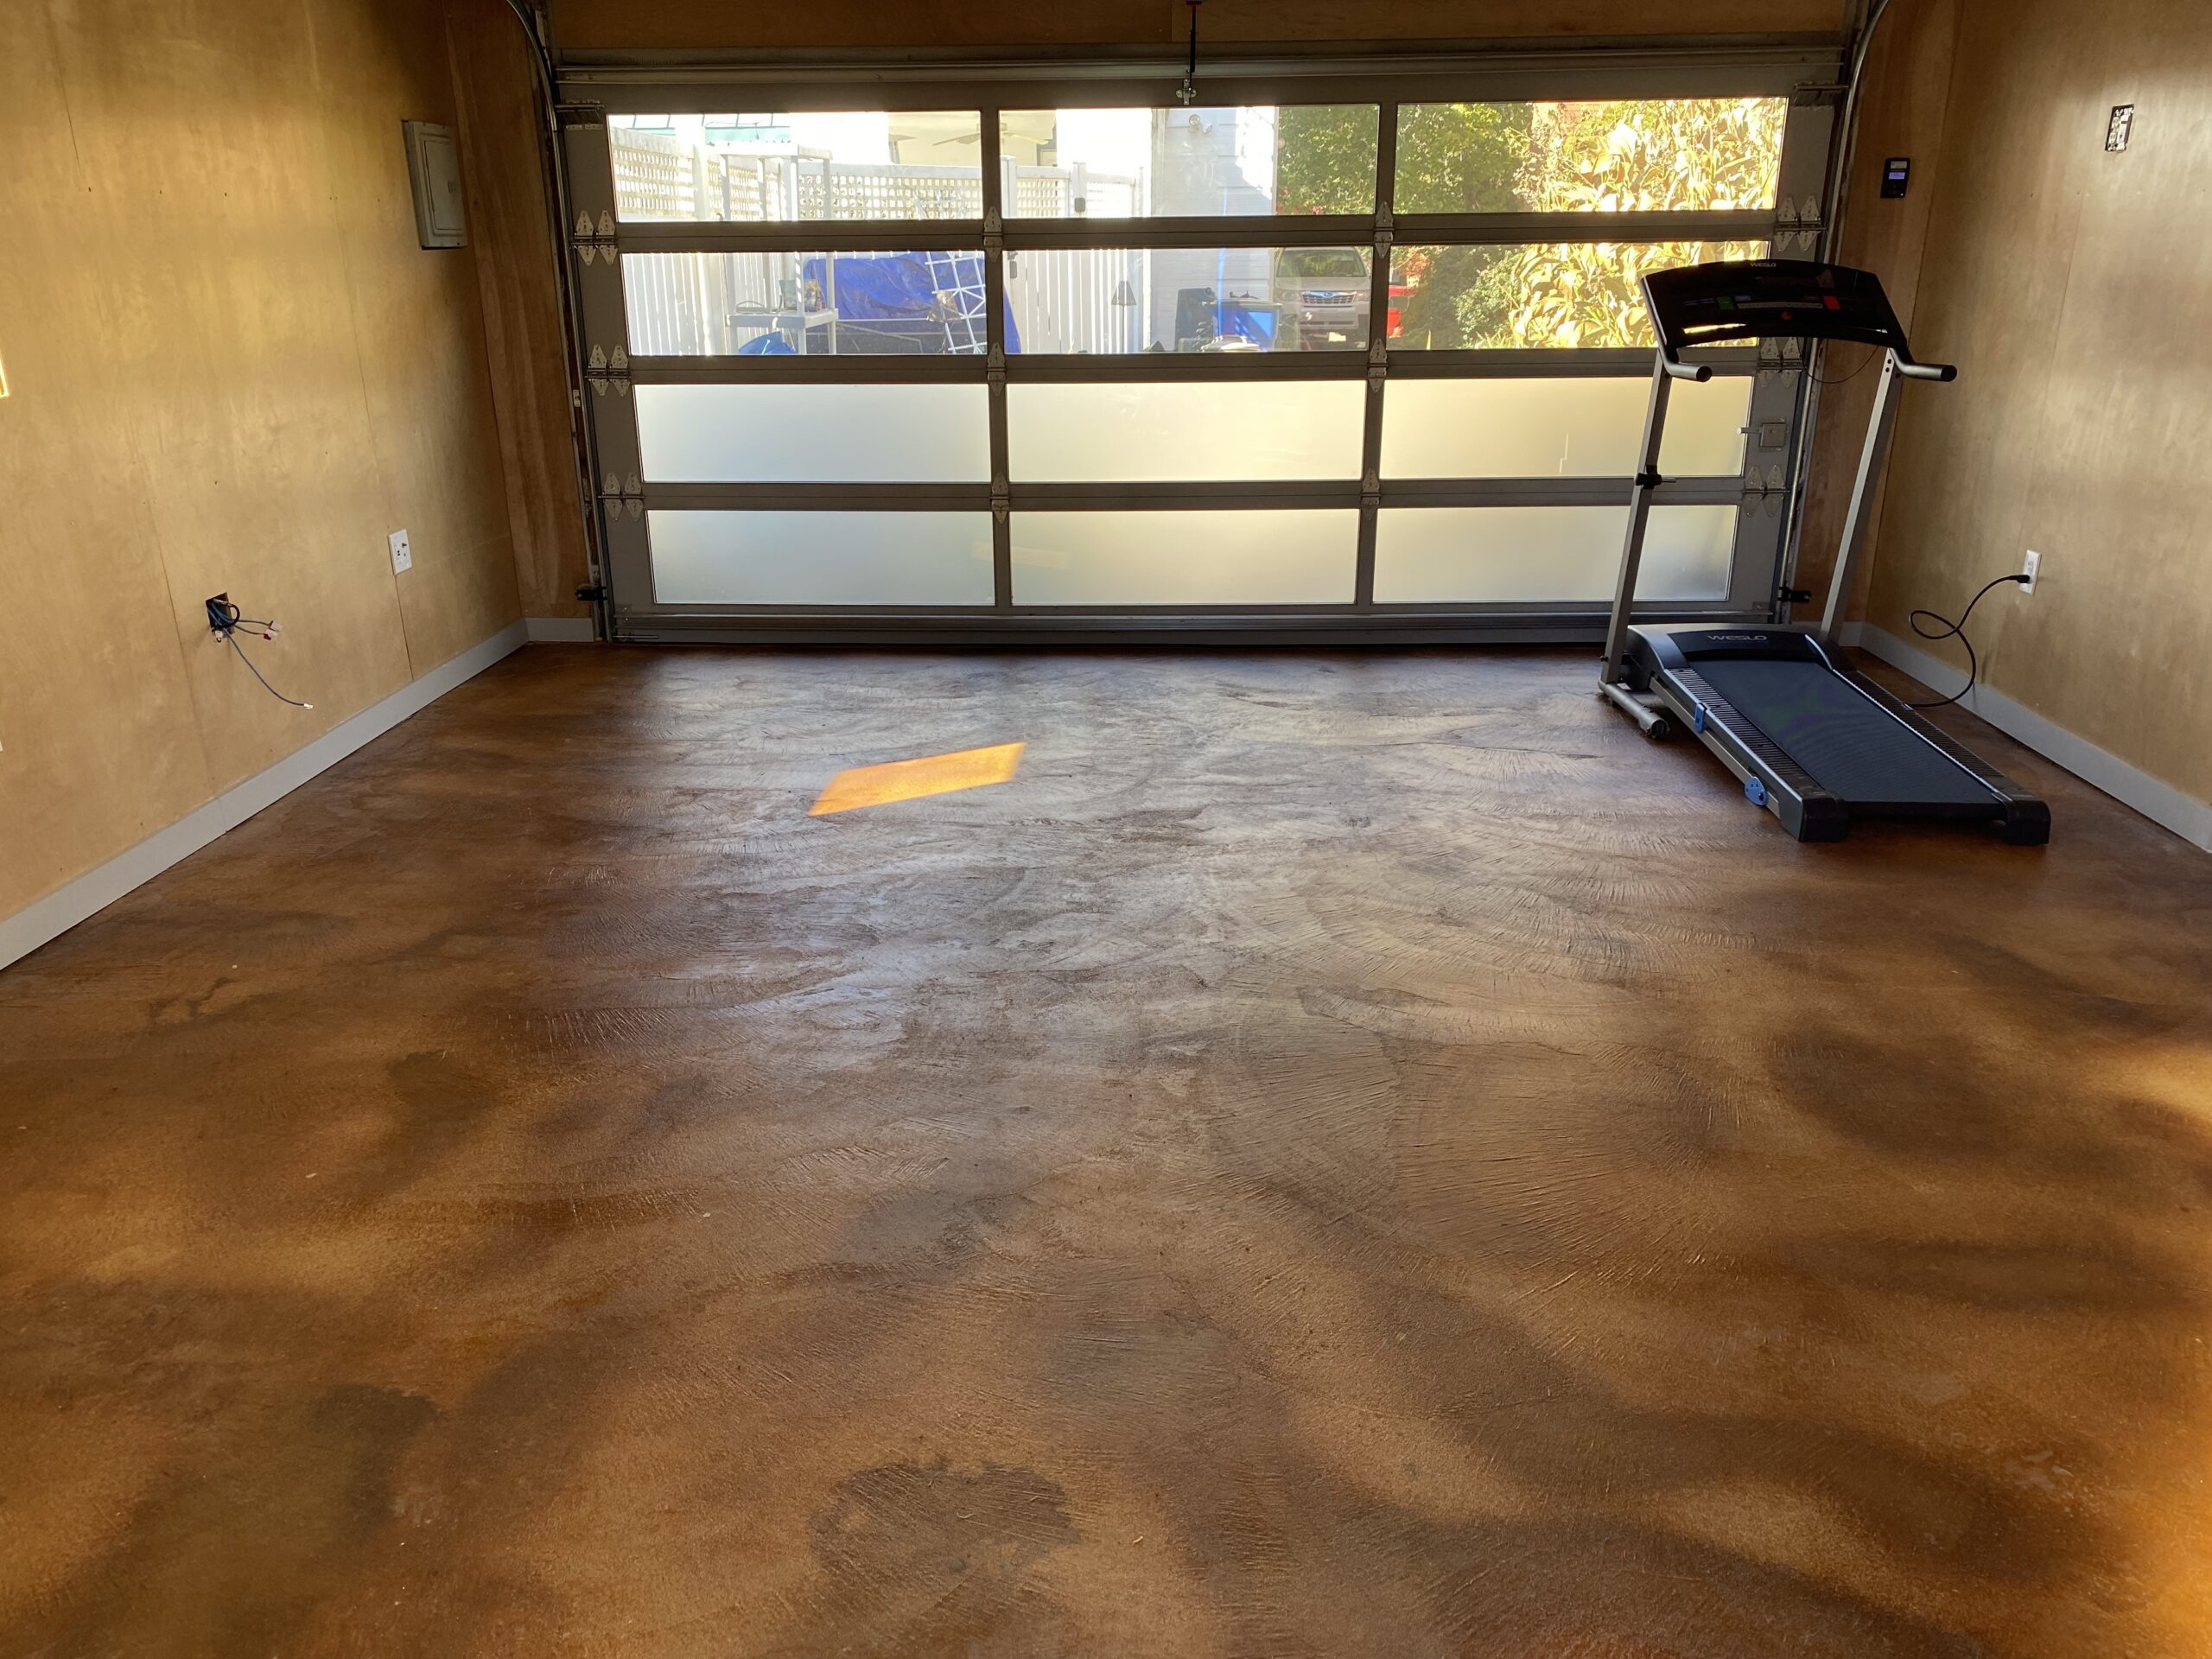
An architect revamped a decrepit detached garage into a captivating workspace by acid-staining a new concrete slab. After a 30-day curing period under plastic film and finishing the room renovation, the floor was prepared and stained using Direct Colors’ products. The process revealed that lighter initial acid stain applications allow for better color control.
Project Info:
- Project Completed In: 5 day(s)
- Estimate of Square Footage: 400 sq. ft.
- Project Description:
I’m an Architect and wanted to convert my detached garage into my work/studio space. The old concrete floor was in very poor condition so I knew I was going to need a new floor slab and I wanted to make the new floor a feature of the new studio space by acid-staining the new slab. I had seen some very nice acid-stained floors in some of my projects and I had assumed I would have to hire a contractor to do the work, but after reading the information on the Direct Colors website, I decided to do the staining work myself.
I had the old slab removed and replaced with new concrete. I did not put a sealer on the new slab but covered it with plastic film for 30 days to let it cure. I then did the other renovation work on the old garage space such as installing new wiring, furring, insulation, and plywood on the walls. After the plywood was finished with a clear sealer, I began the work on the floor.
I cleaned the floor with DC Cleaner & Degreaser as recommended and tried a few samples in a corner. I then spoke with a DC rep who was very helpful with some tips on how to work with two different stain colors for the desired effect and ordered all the materials I would need from DC. Ordering the DIY Kits gave me a better price than ordering individual products. - Personal Tips:
I would go lighter on the first spray application of acid stains as it is possible to get a good idea about the final colors in less than an hour. More spray applications can darken the color if desired, but you can’t get the colors lighter. - Direct Colors Products Used:
1 Gal. English Red DIY EverStain™ & AcquaSeal™ Satin Kit
1 Gal. Malayan Buff EverStain™ & AcquaSeal™ Satin Kit - Other Products Used:
Plastid film to cure new slab and to protect walls during application of acid stain
English Red & Coffee Brown Studio Refresh
This project used English Red and Coffee Brown EverStain acid stains in a one-bedroom studio. The simple use of these two colors made the room look better and more comfortable.
