EverStain™ Seagrass Acid Stain: Customer Projects
Check out these amazing projects from our customers using EverStain™ Seagrass acid stain. With its cool blue-green tones, this stain can bring a fresh look to any concrete floor. Get inspired and see how you can transform your space!
By Justin Richardson
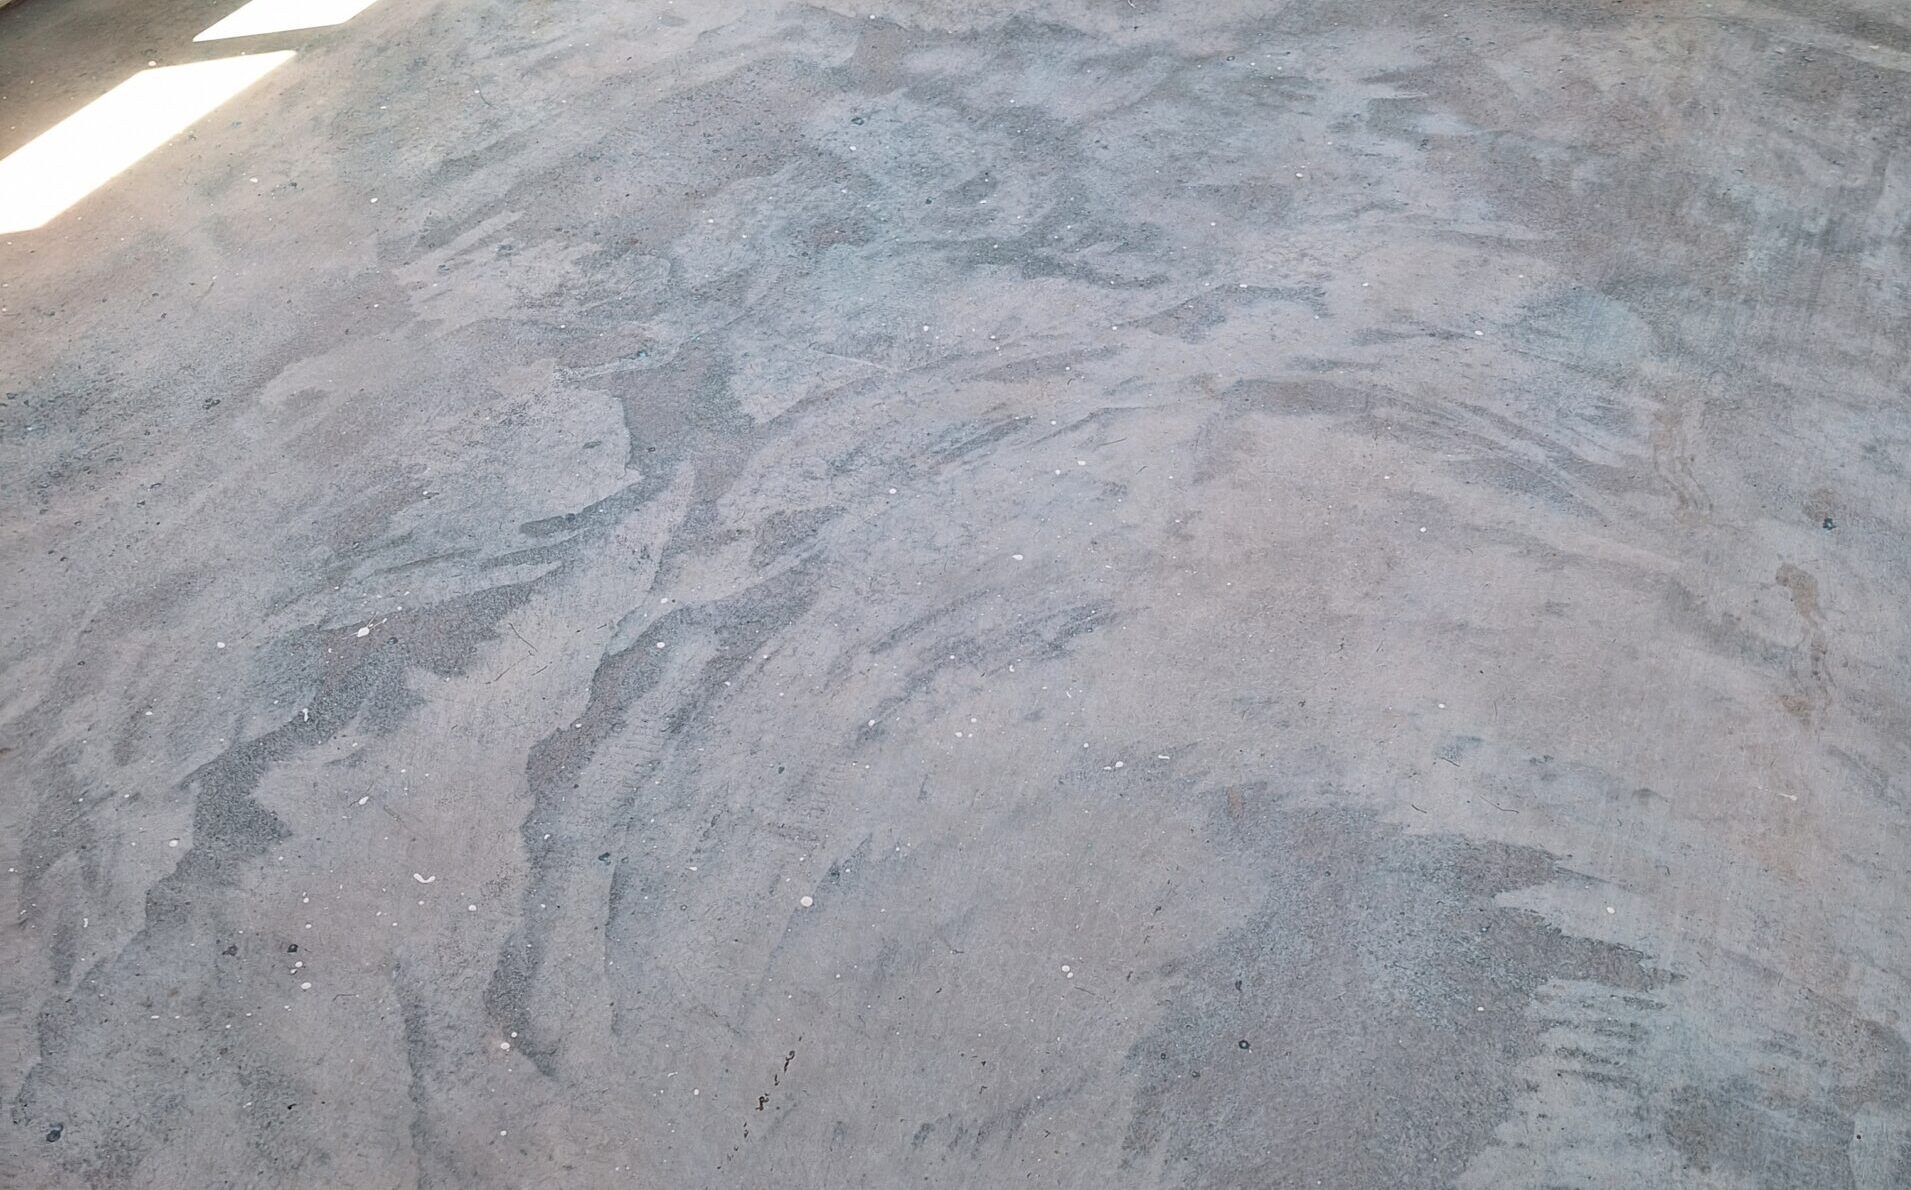
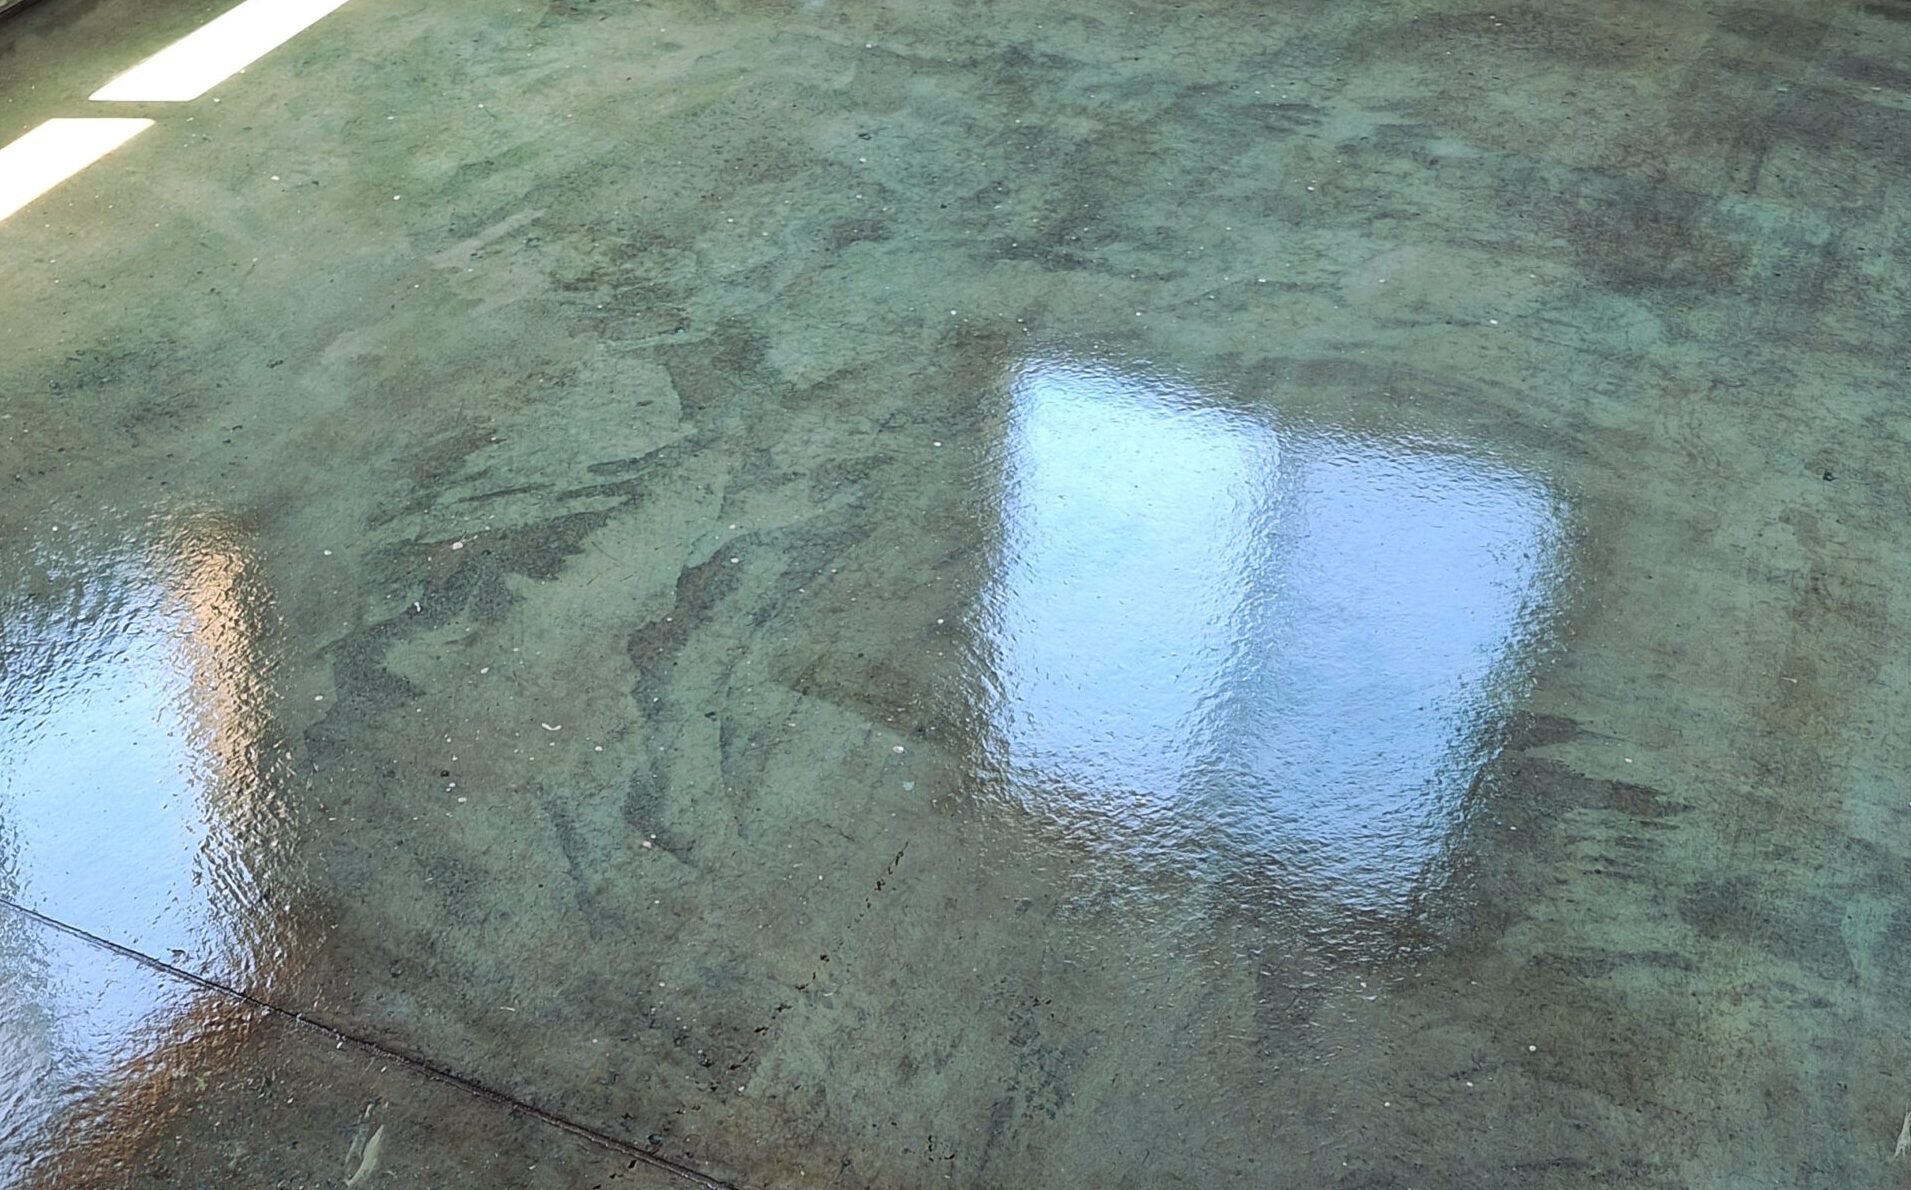
Barndominium Beauty: DIY Floor Transformation on a Budget
Turning half of a large metal building into a livable space was the mission. Wood or tile flooring was out of reach financially, but our EverStain™ Seagrass acid stain proved to be the perfect solution. With careful planning, persistence, and a vibrant choice of color, this DIYer not only highlighted the history of the old slab but added personal touches to it. Despite the project’s challenges, the new floor is a testament to creativity and determination, boasting durability to last for years to come.
Project Info:
- Project Completed In: 8 day(s)
- Estimate of Square Footage: 700 sq. ft.
- Project Description:
I recently moved into half of a large metal building (I think ‘barndomimium’ is the applicable term) and have been turning it into a livable space one bit at a time. My last Big project was my floor- I couldn’t afford wood or tile, and I loved that with acid stain I would be able to not only let the damage that the slab had gone through before I moved in become part of the design, but actually highlight its history and add my own pieces to it (and pick a crazy fun color to do it in!!!). The process was also totally compatible with my skillset and schedule, and has the durability to fit the environment I live in. - Personal Tips:
Set out your timeline ahead of time- I made mine as soon as I placed my order and it made me accountable to get it done and do it well.
If you feel like you aren’t getting the results you want, don’t stress, keep going because it just gets better and better.
Flush your sprayer between layers of sealer! I opted to spray and then smooth with a roller and it gums it up if you don’t regularly let it sit in warm water.
If your spike shoes aren’t staying on- duct tape them! Being securely strapped in mad either so much easier. - Direct Colors Products Used:
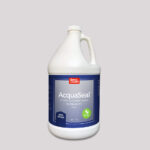
5 Gal. Seagrass EverStain™ & AcquaSeal™ Gloss Kit
5 Gal. CitrusEtch™ Concrete Etcher
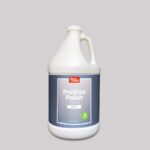
1 Gal. ProWax™ Polish Gloss (2) - Other Products Used:
HDX 1 Gal. Multi Use Sprayer
HDX Painters Plastic
3/8″ Nap Roller
Quickie Floor Scrubber
Libman Foam Mop
Blue tape
Paint roller handle
Paint roller handle fixed length extension poll
Gunite Spiked Shoes
Outdoor Porch Transformation
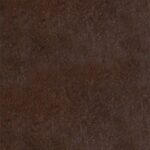
This 934 sq. ft. porch was the homeowner’s first attempt at acid staining. Despite being a beginner, the results exceeded expectations with EverStain Coffee Brown, Malayan Buff, and Seagrass stains, giving the porch a stunning new look.
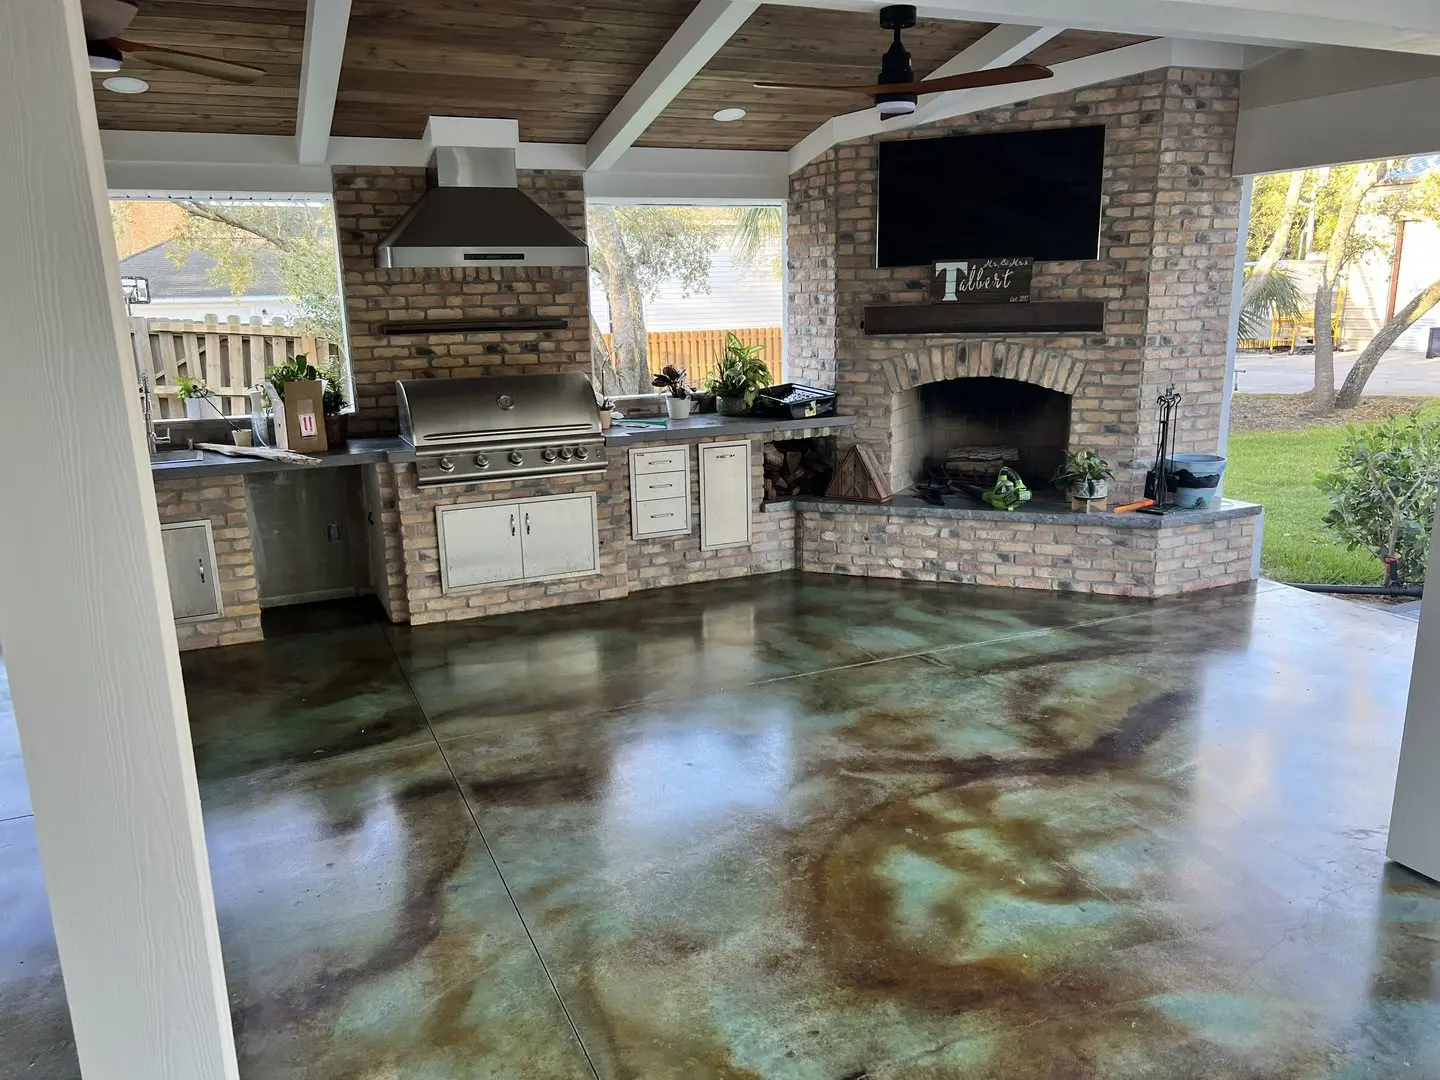
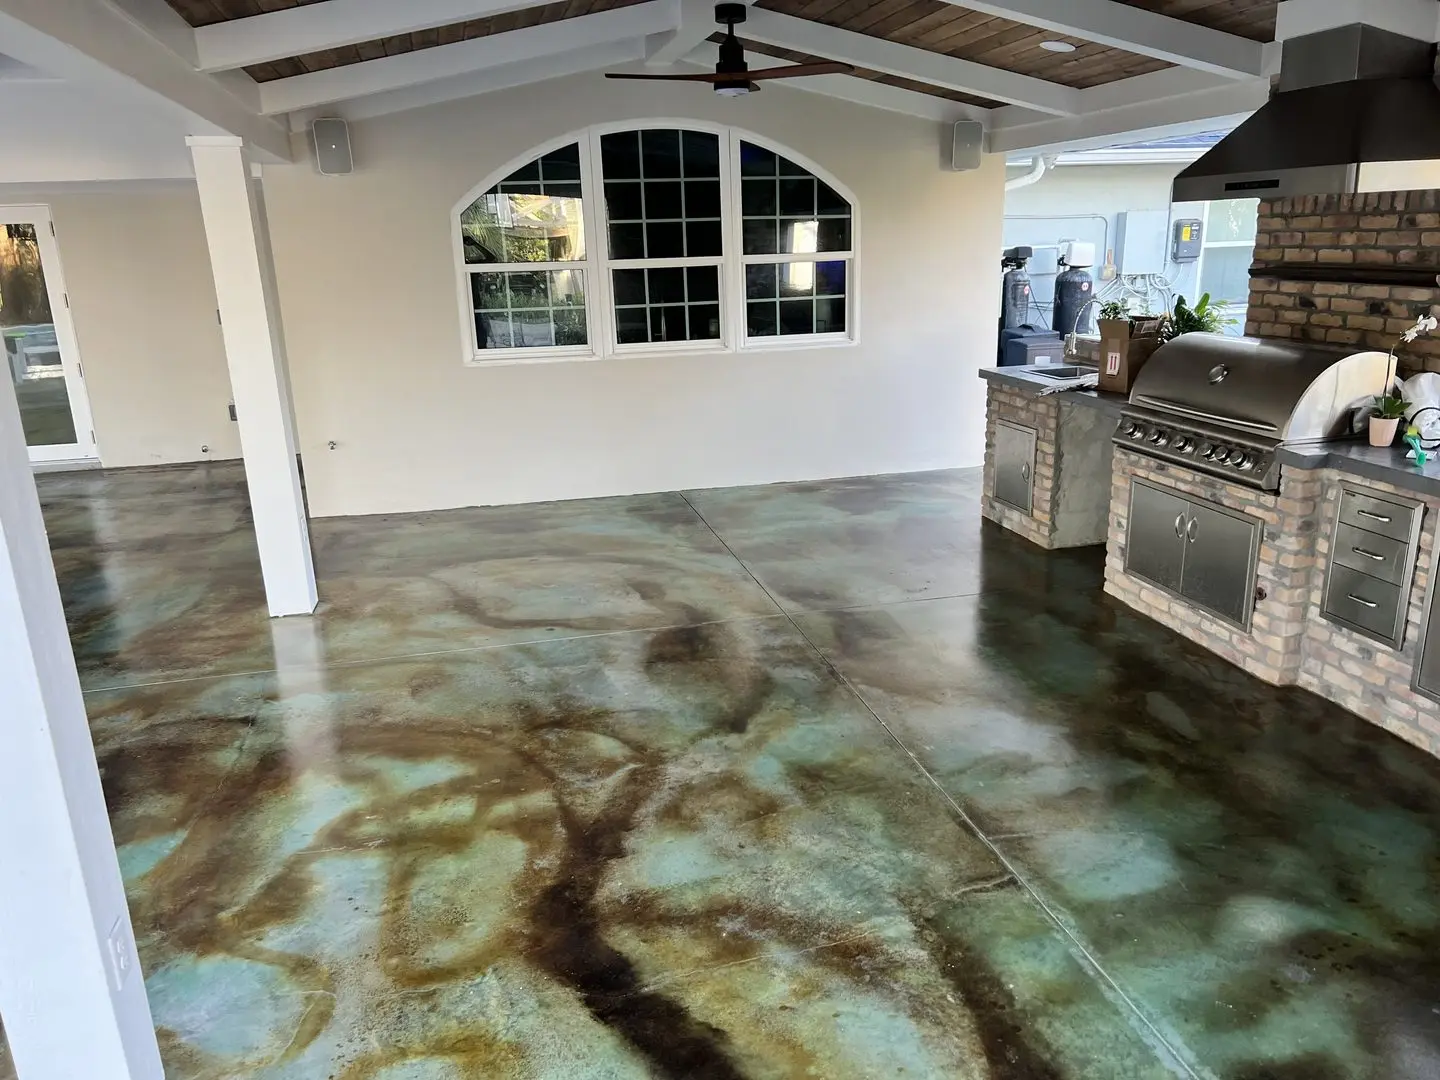
For best results, we recommend using our CitrusEtch™ product to properly prepare your concrete before applying the Seagrass stain. Keep in mind that the final color may vary depending on the original condition of your concrete.
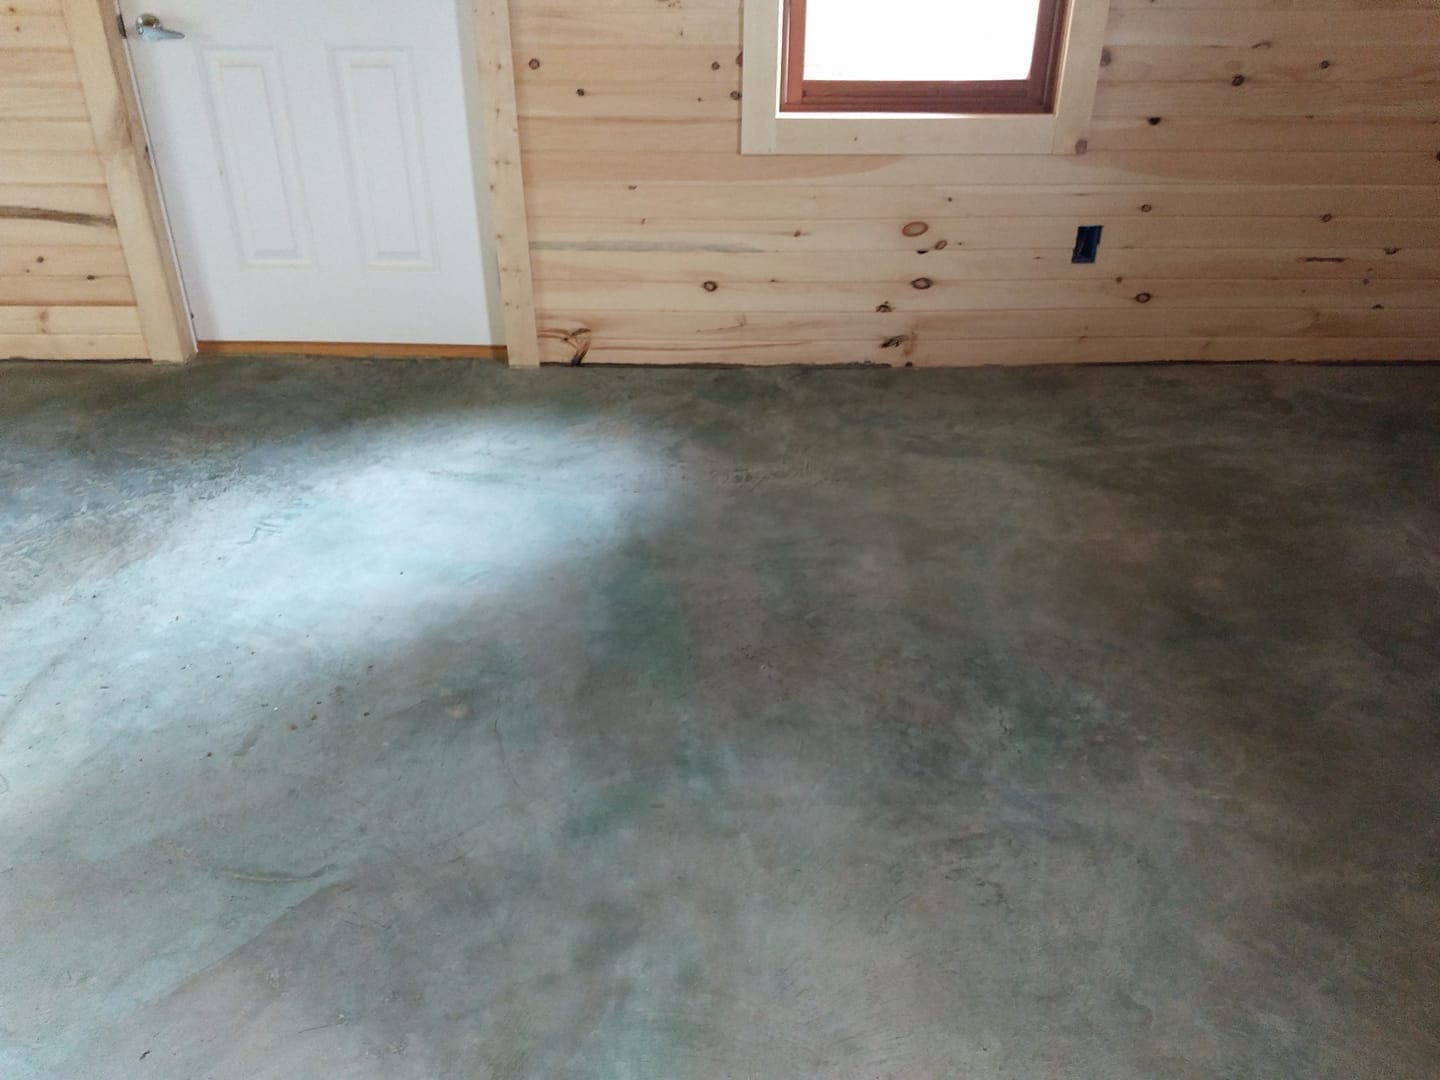
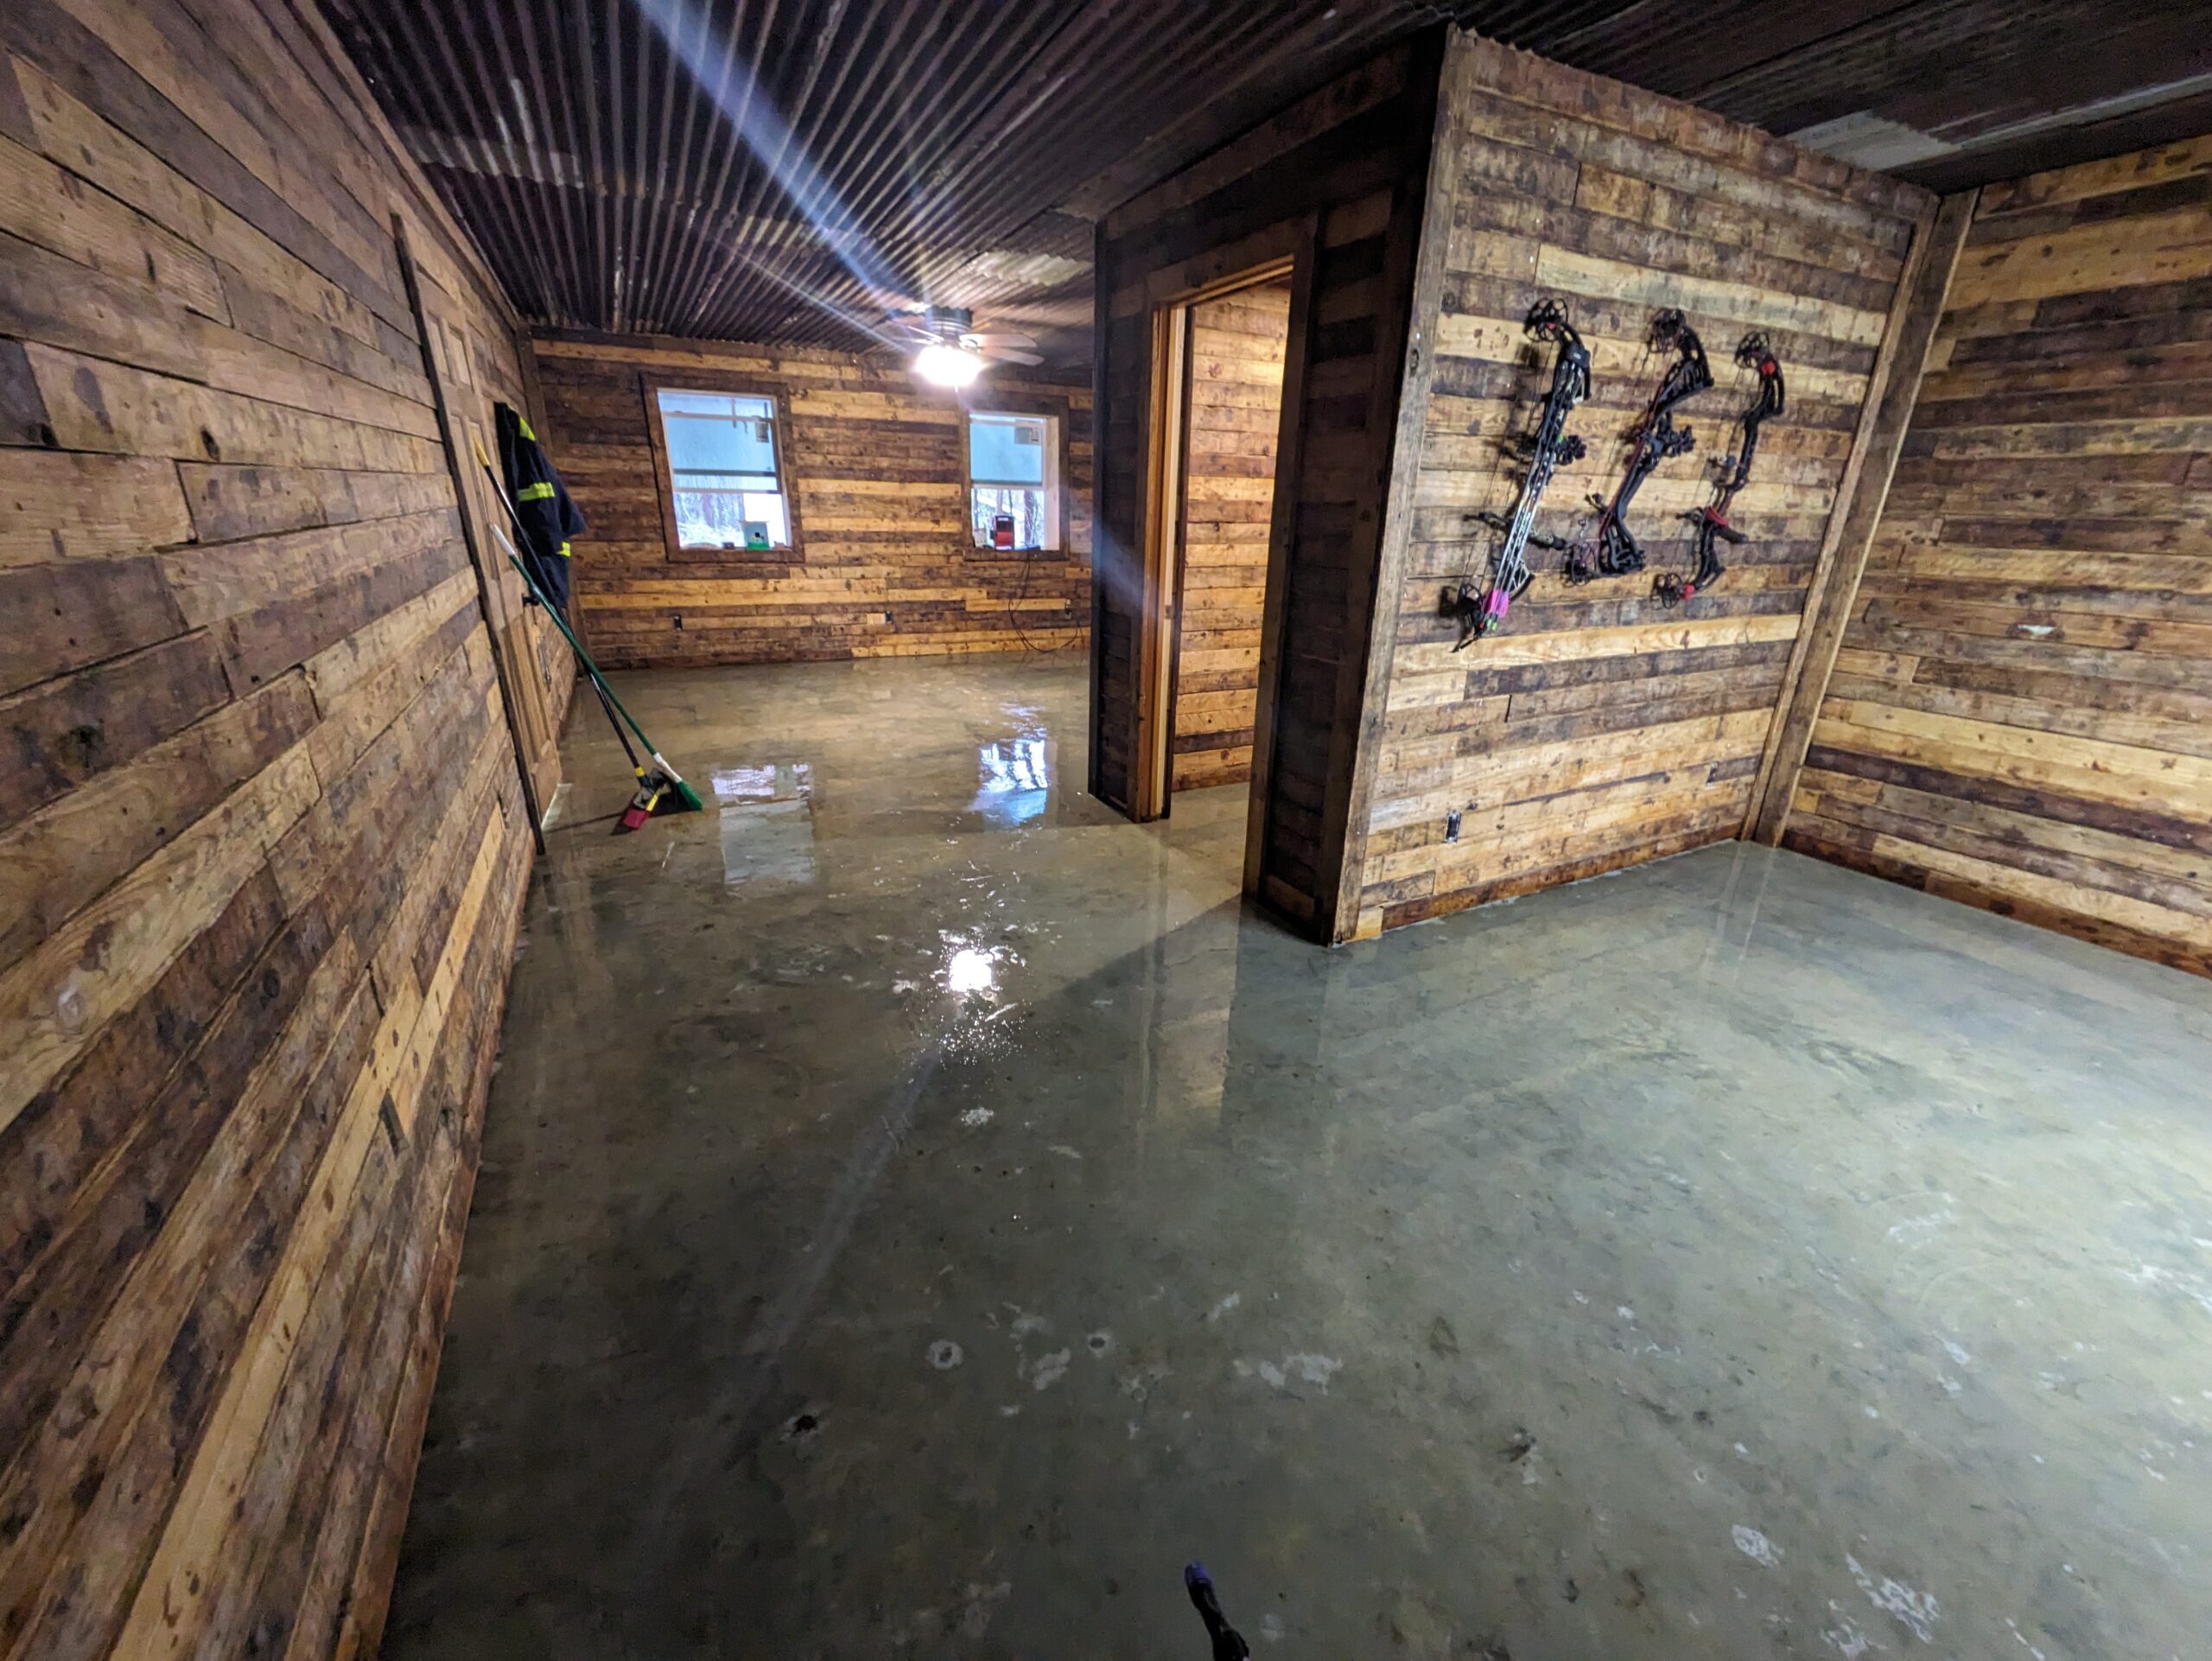
Rustic Shop Floor with Seagrass Acid Stain and Coffee Brown Veining
This shop floor was acid stained with EverStain Seagrass, enhanced by Miracle Gro for vibrant blue tones, and combined with Malayan Buff and Coffee Brown for a rich marbled effect. The polished finish perfectly complements the rustic wood walls for a bold and unique design.
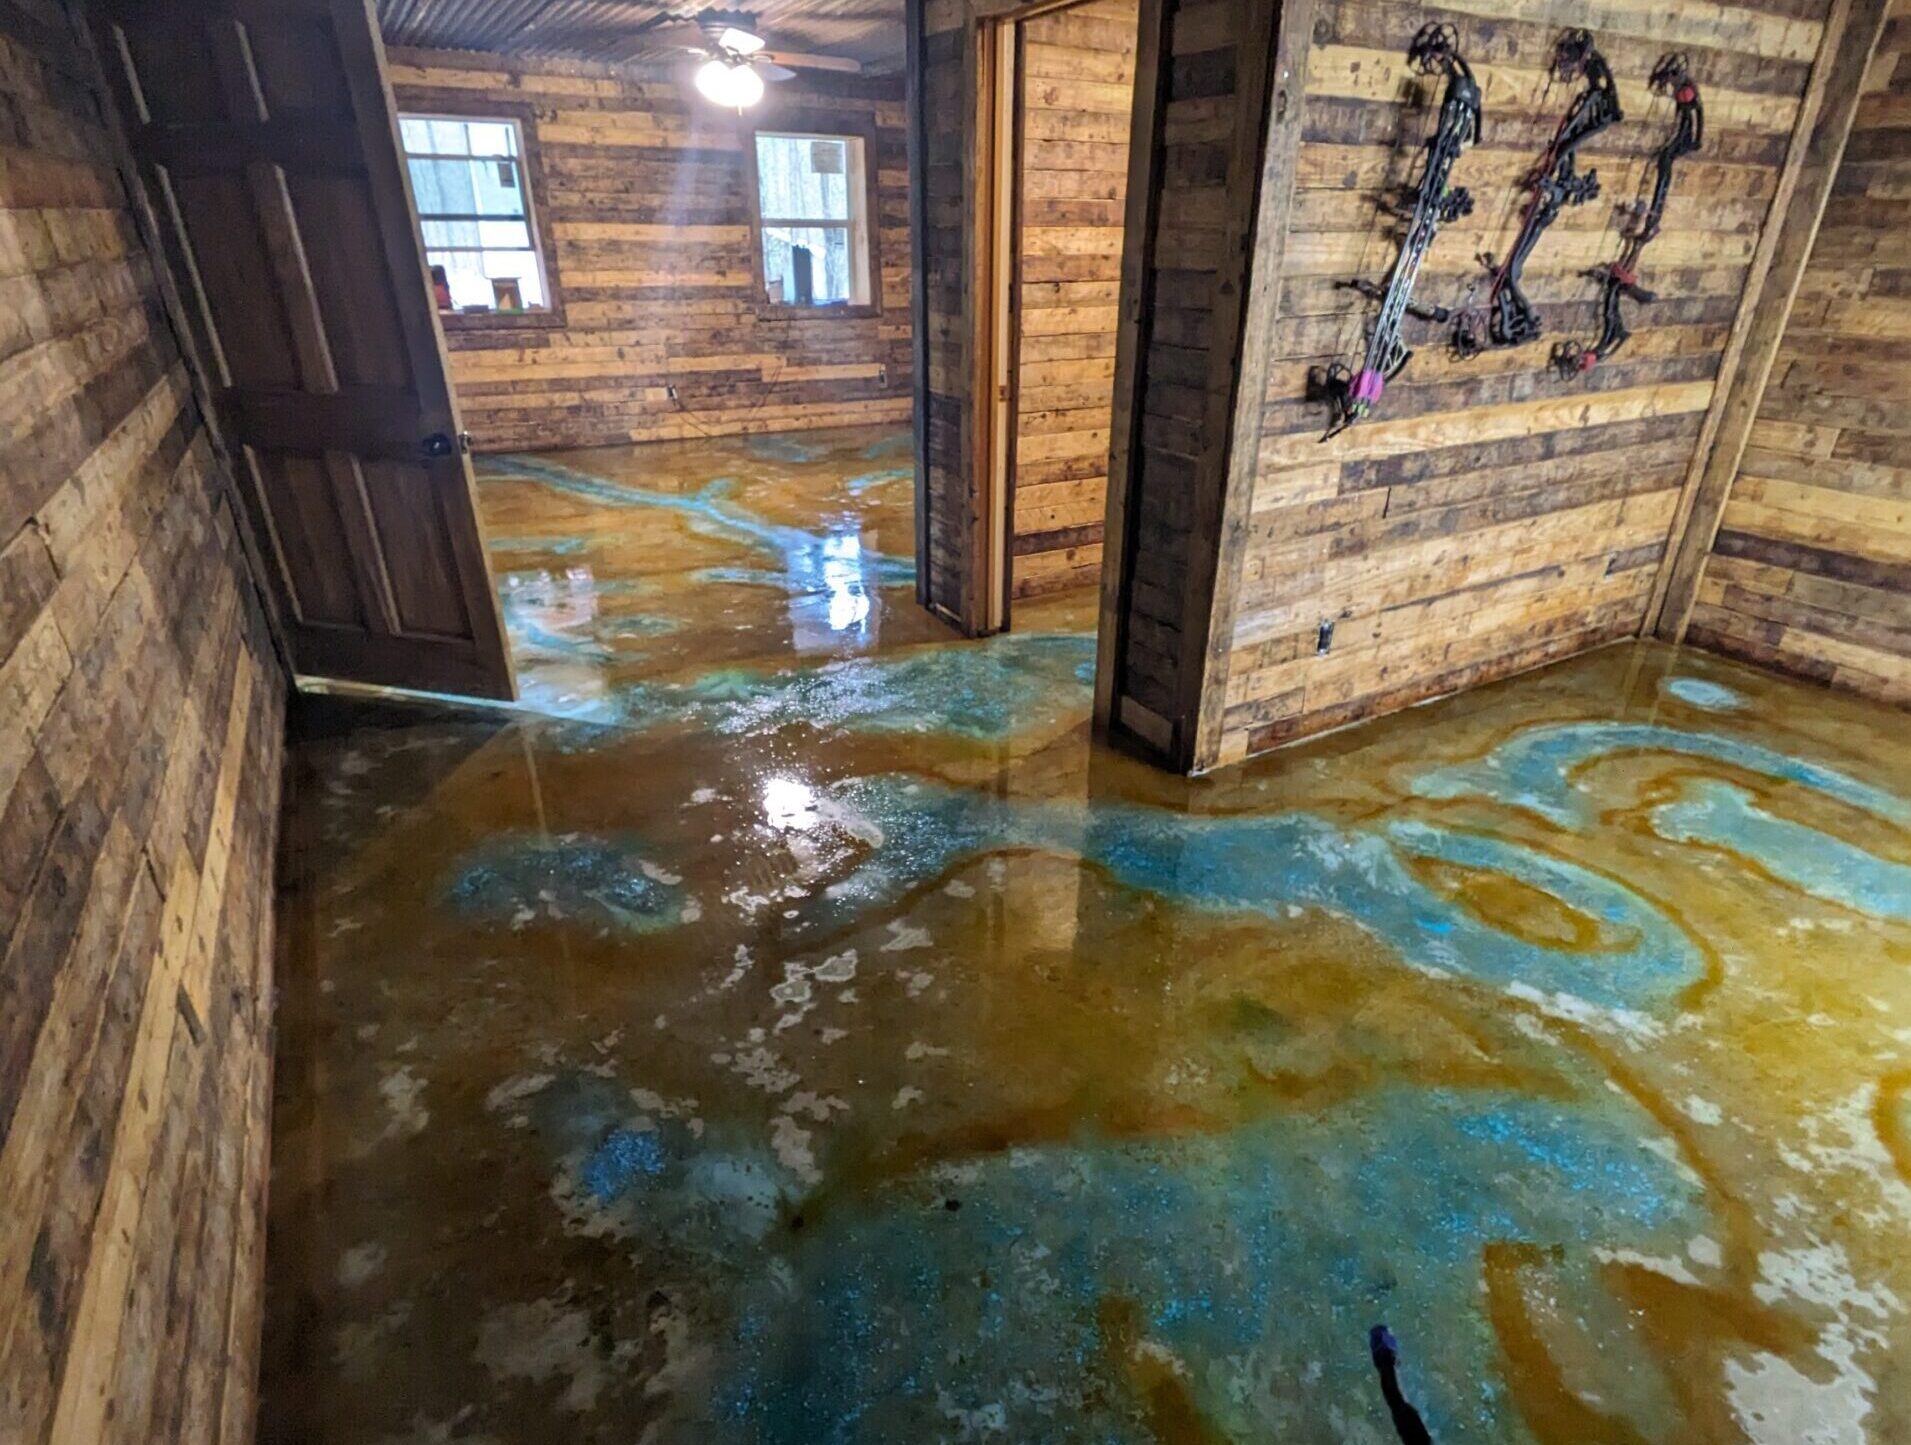
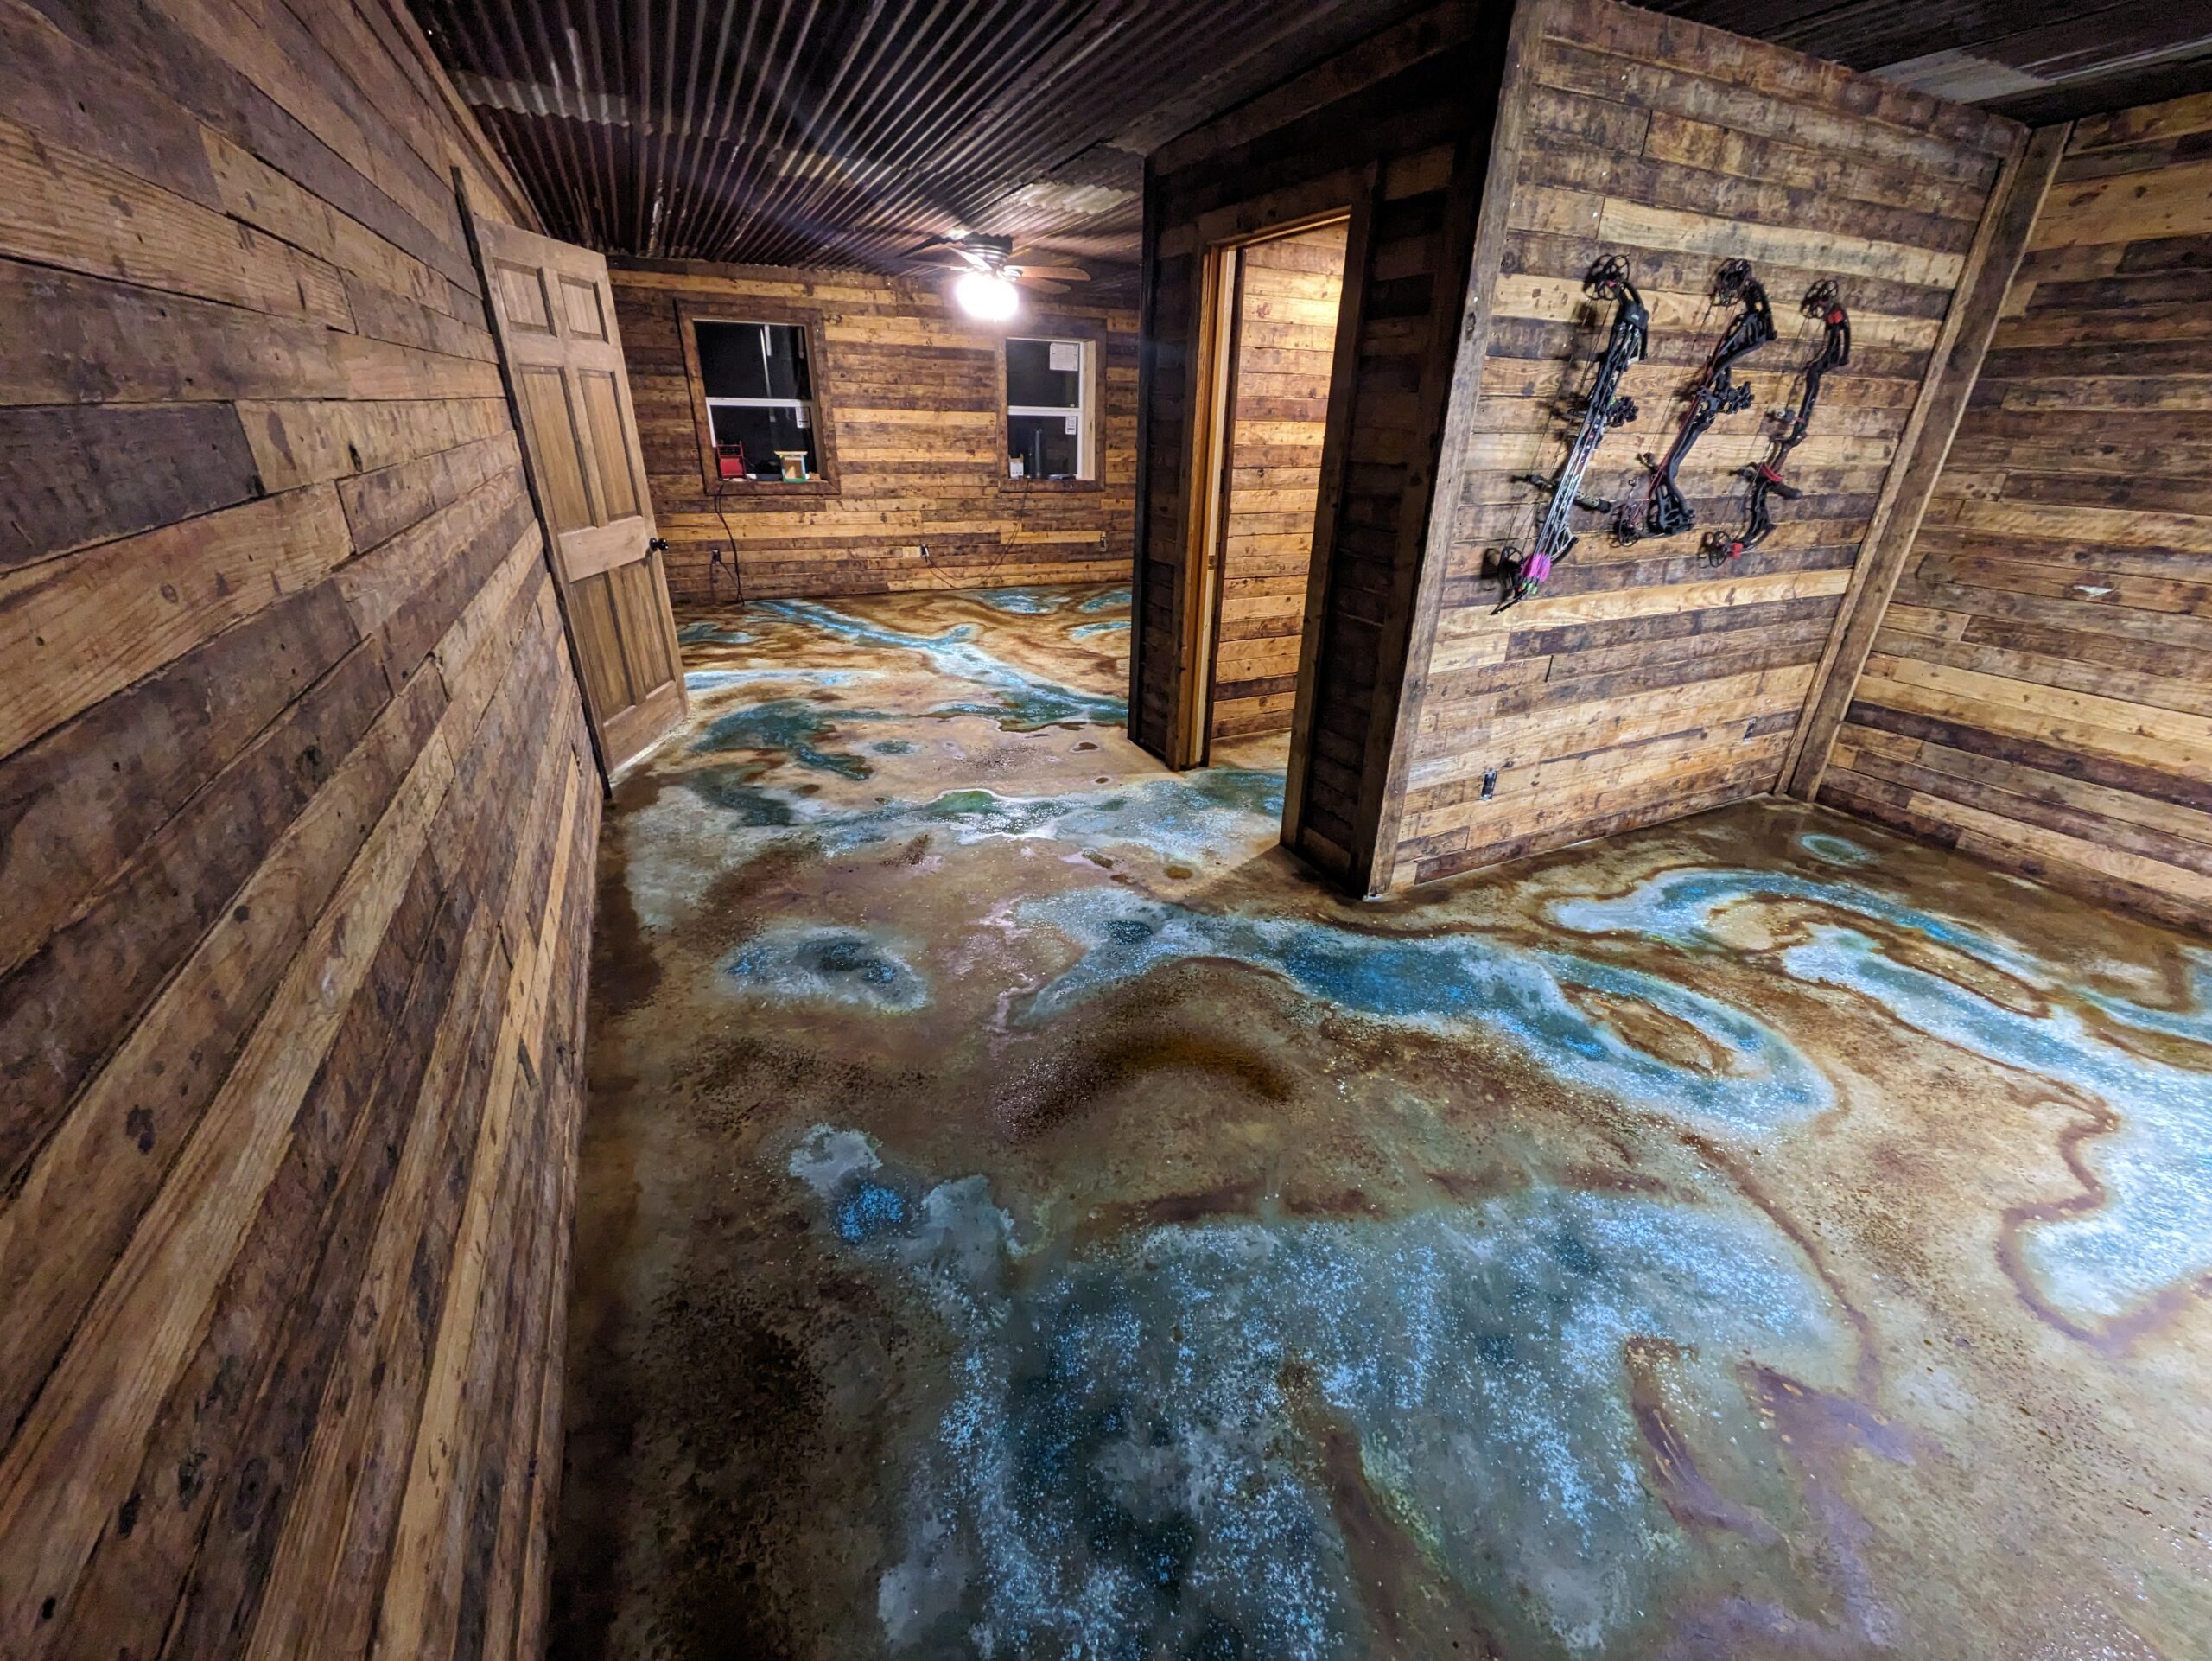
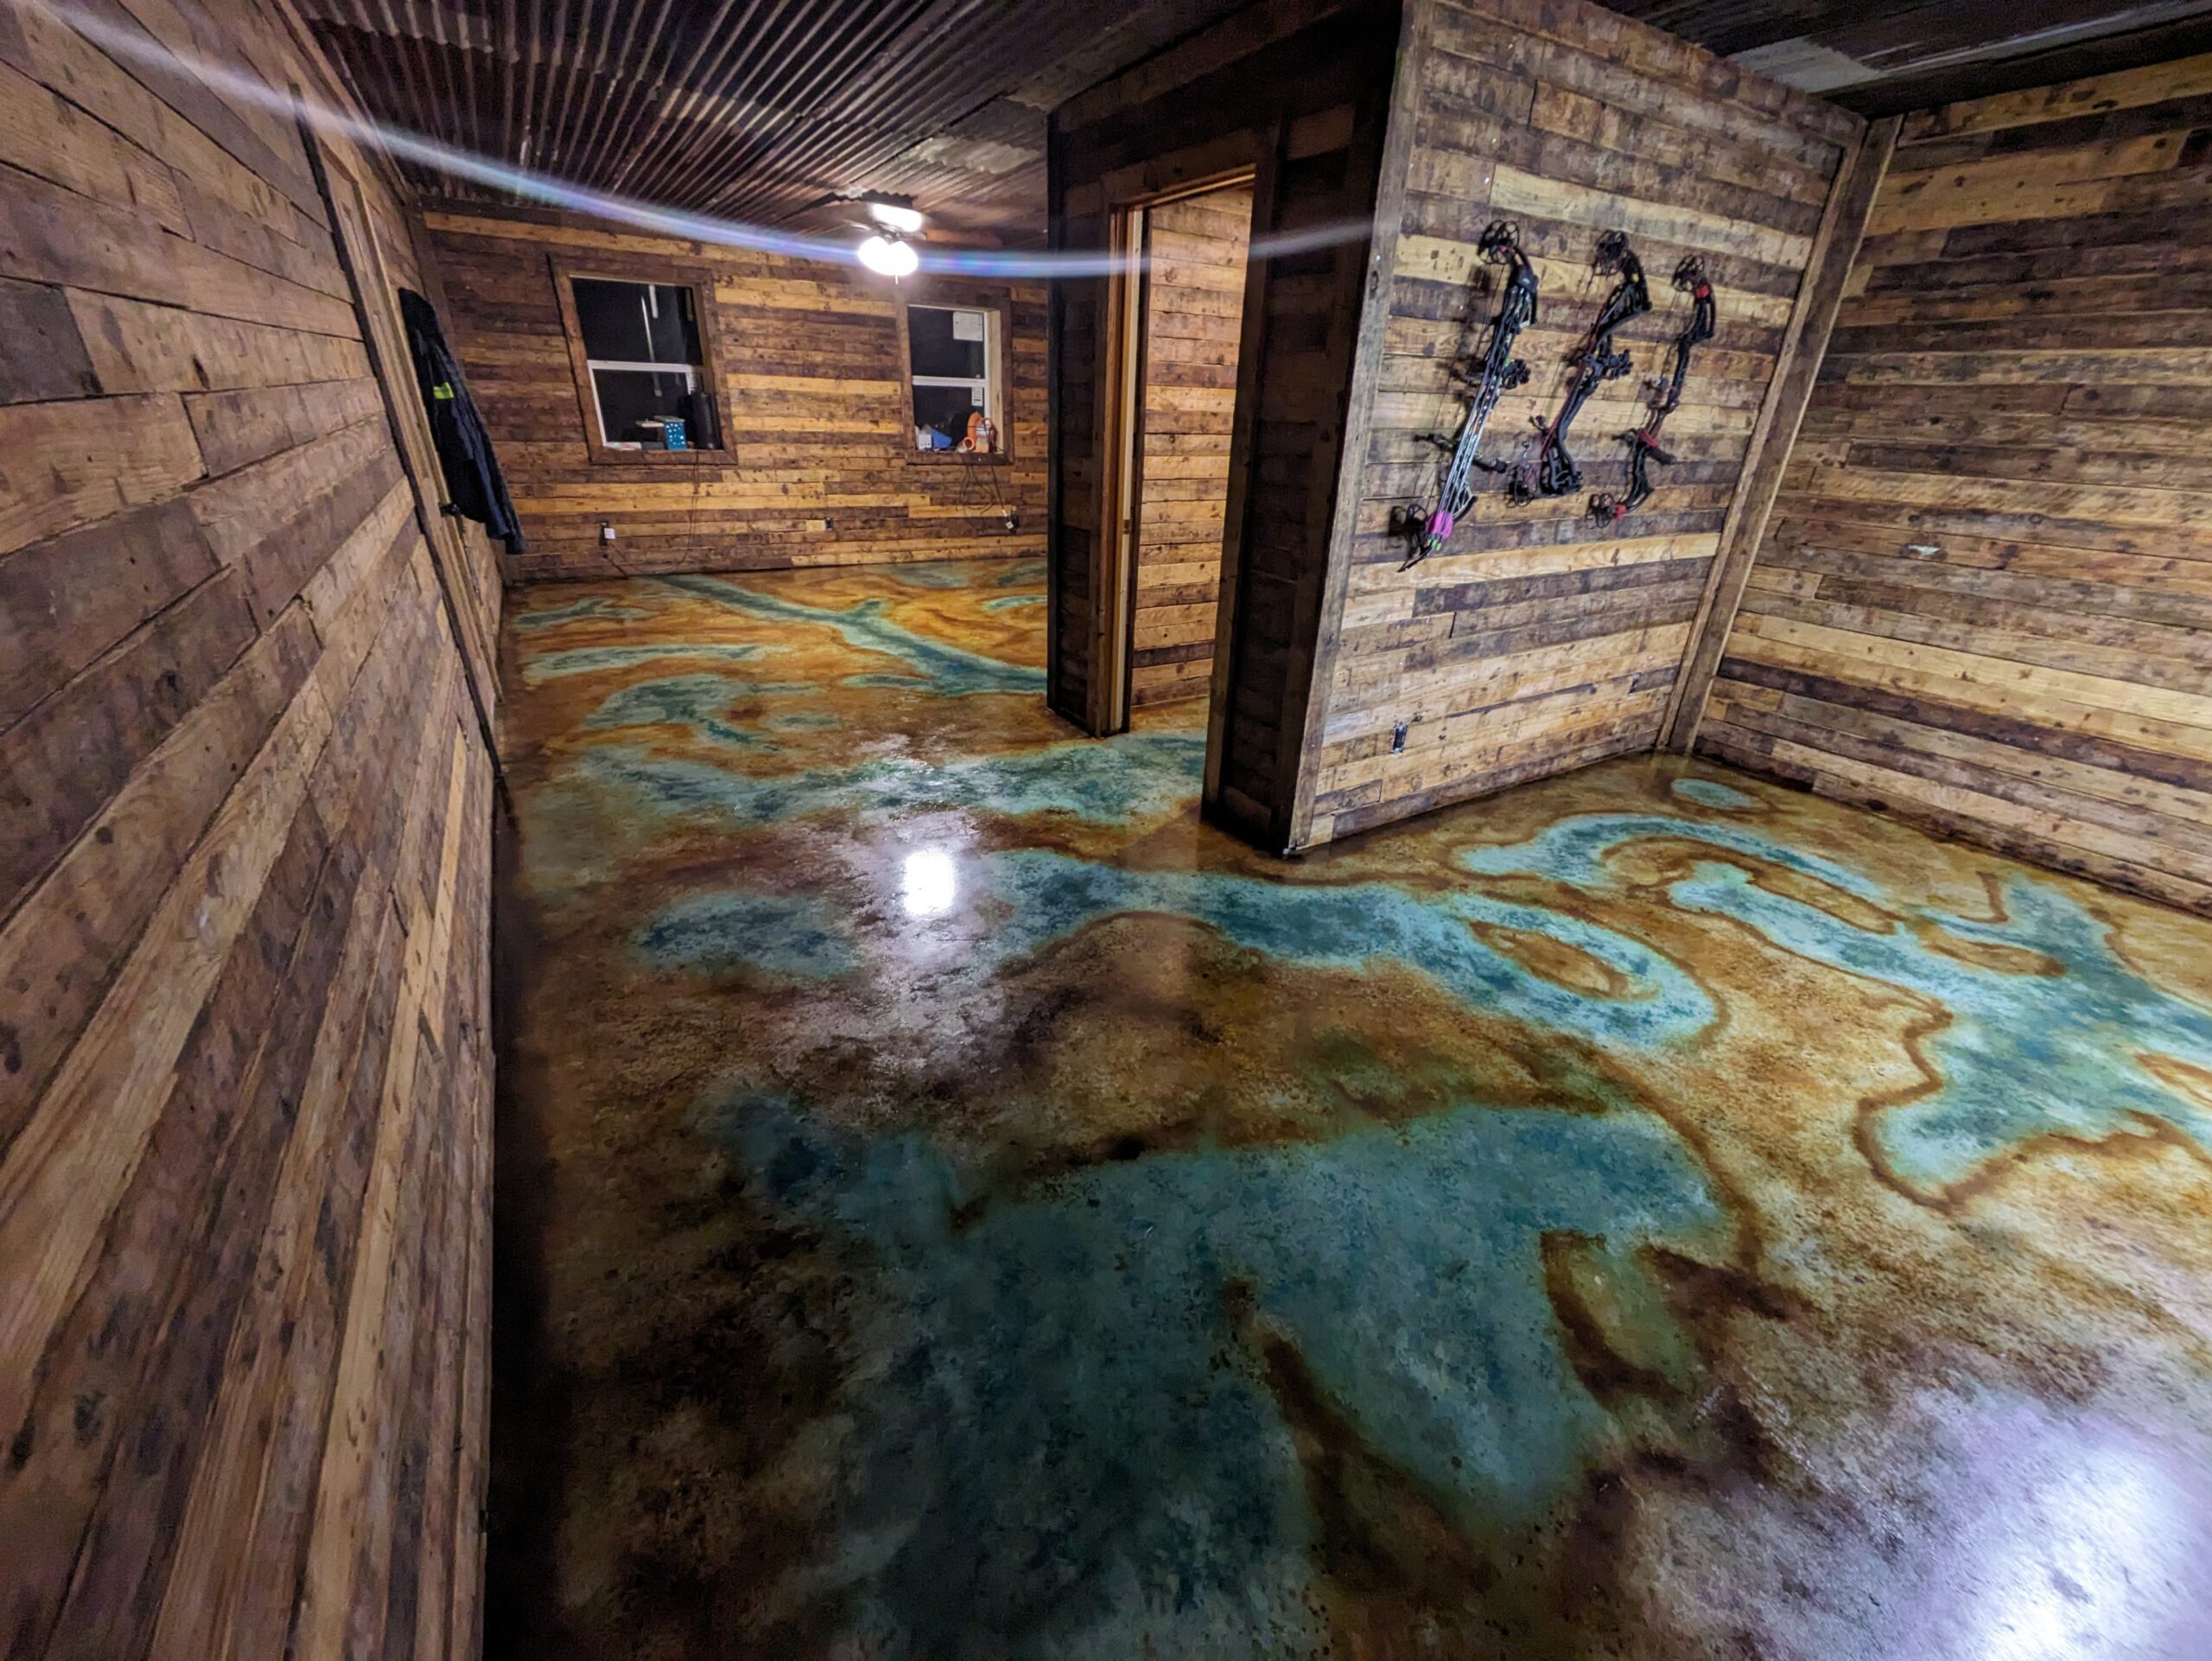
Project Info:
- Project Completed In: 4 day(s)
- Estimate of Square Footage: 450 sq. ft.
- Project Description:
This is a 16×30 room inside my shop. - Personal Tips:
Be sure and use the spike shoes. I didn’t on the citrusetch. I had to sand a few tire marks off my concrete after I had cleaned it. Some of the powder left from that left foot prints during the citrusetch.
Also, If you are going to use a pump sprayer to spray the chemical based sealer, it needs to have enough pressure to actually mist the solution. I used the $11 sprayers from Lowes and all it would do was spray in a stream. I ended up rolling it on. - Direct Colors Products Used:
1 Gal. CitrusEtch™ Concrete Etcher
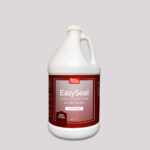
1 Gal. Seagrass DIY EverStain™ & EasySeal™ Gloss Kit
1 Gal. Malayan Buff EverStain™ & EasySeal™ Gloss Kit
1 Gal. Coffee Brown EverStain™ & EasySeal™ Gloss Kit
1 Gal. ProWax Polish™ Gloss - Other Products Used:
Miracle Gro
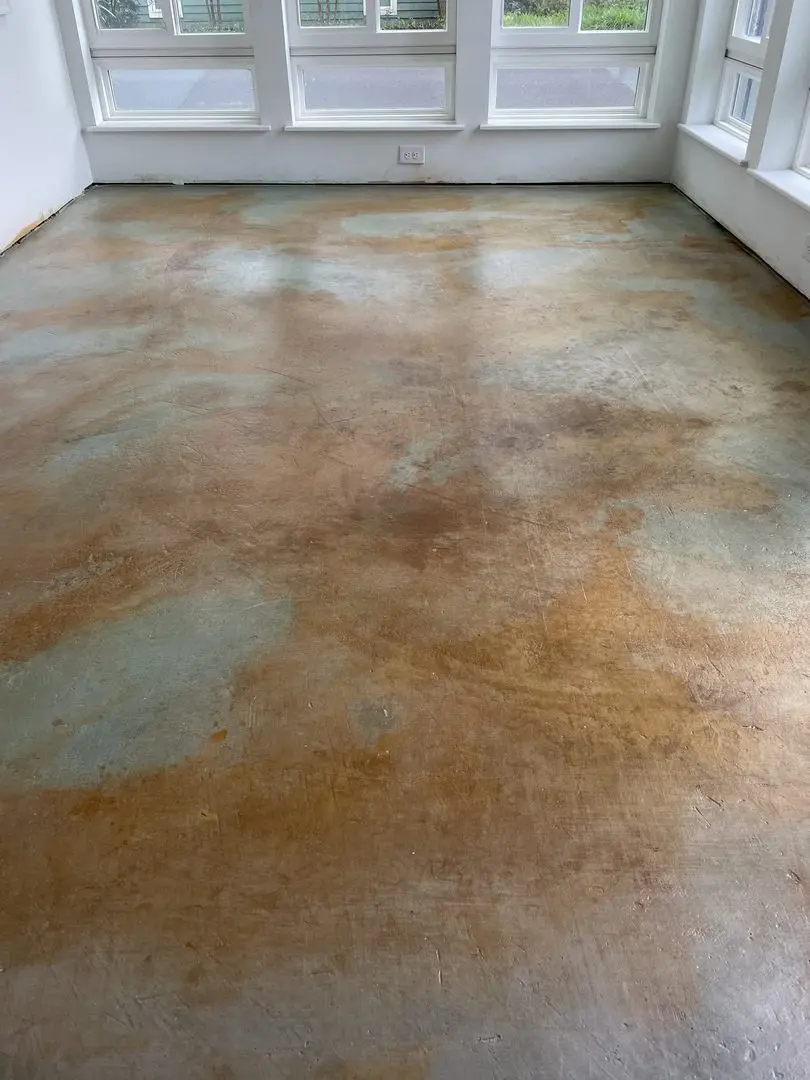
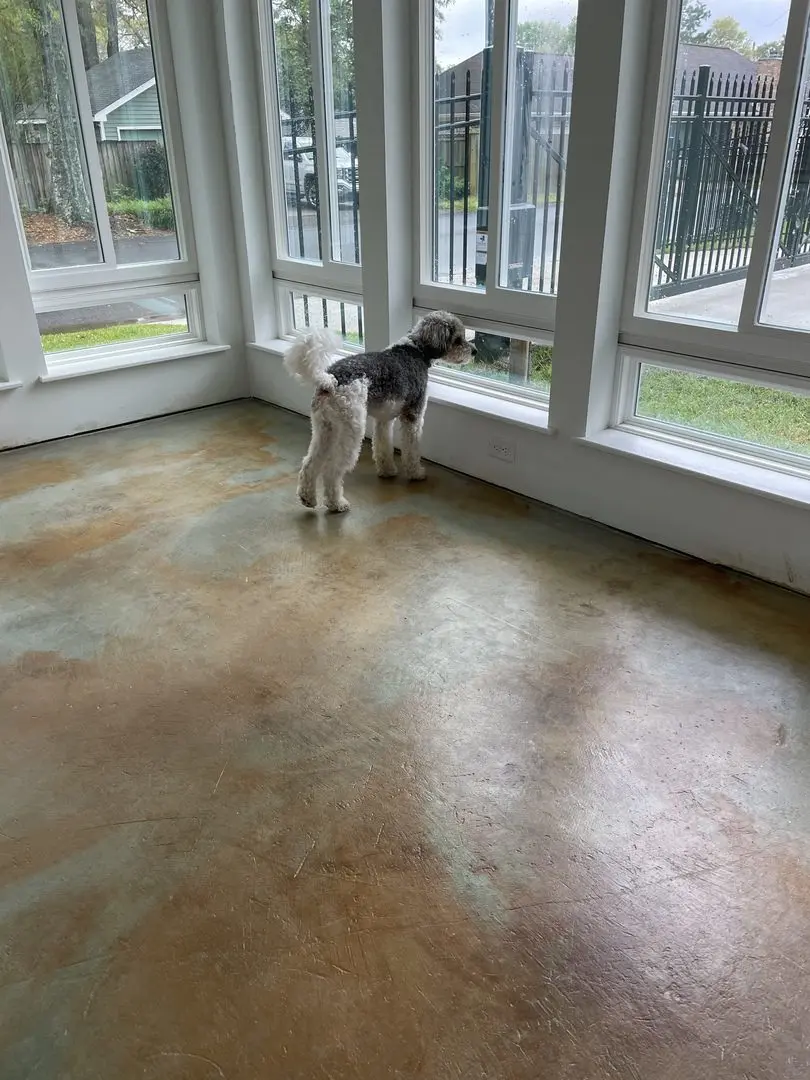
Sunroom Refresh: A Canine-Approved Makeover
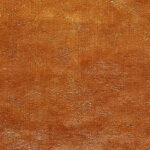
The sunroom in this project was given a fresh update with our Malayan Buff and Cola stains, accented with touches of Seagrass. Not only has the makeover brought a new vibrancy to the room, but it’s also earned the approval of the household’s furry friend. This sunroom now serves as the perfect spot for leisurely lounging and enjoying the view outside.
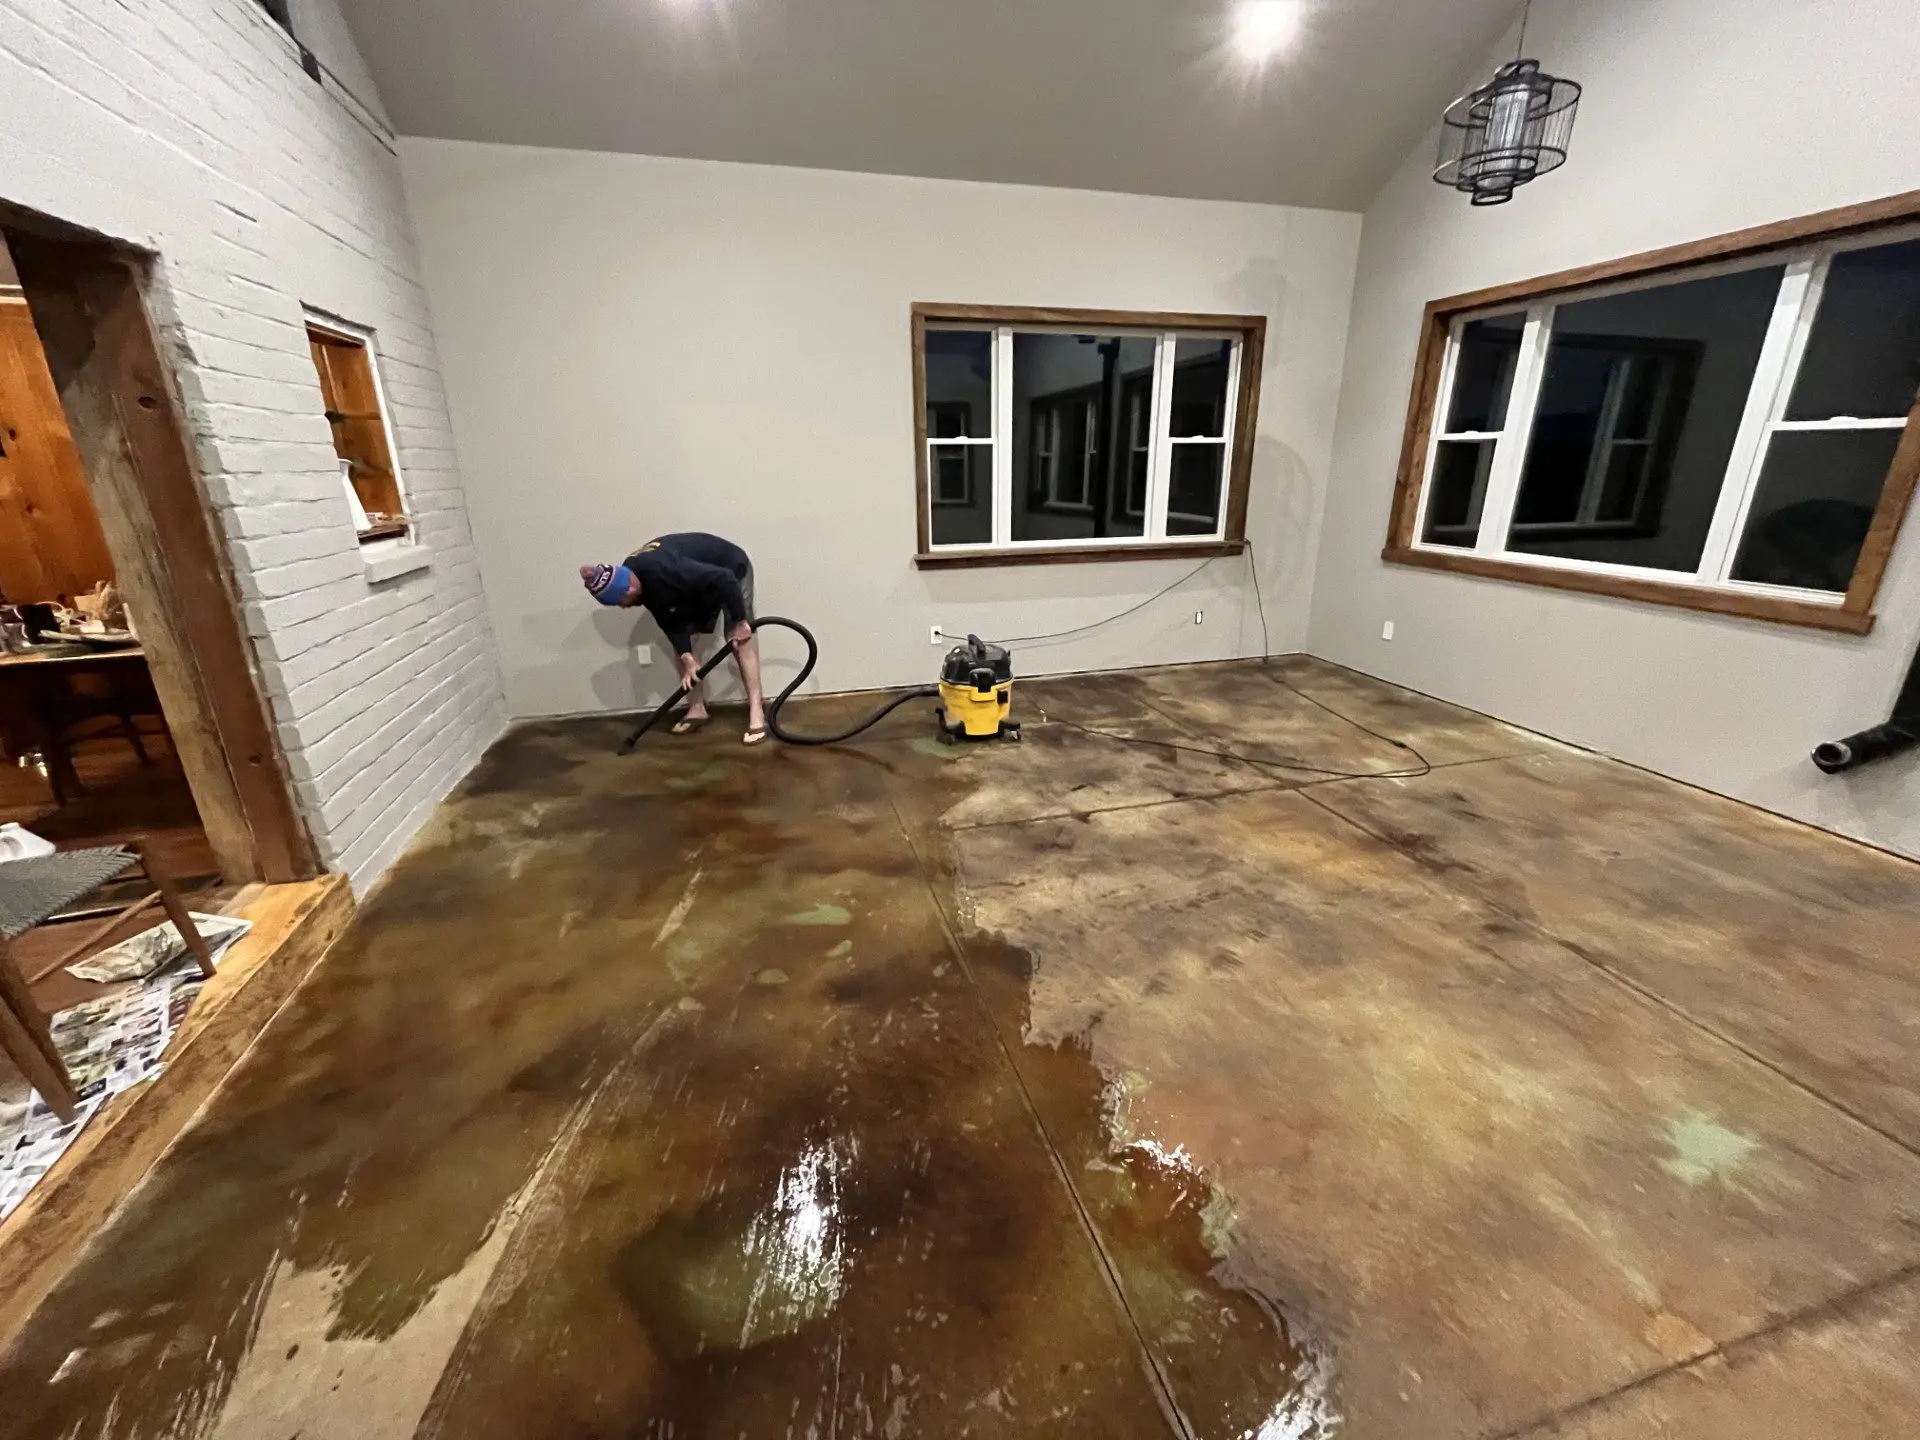
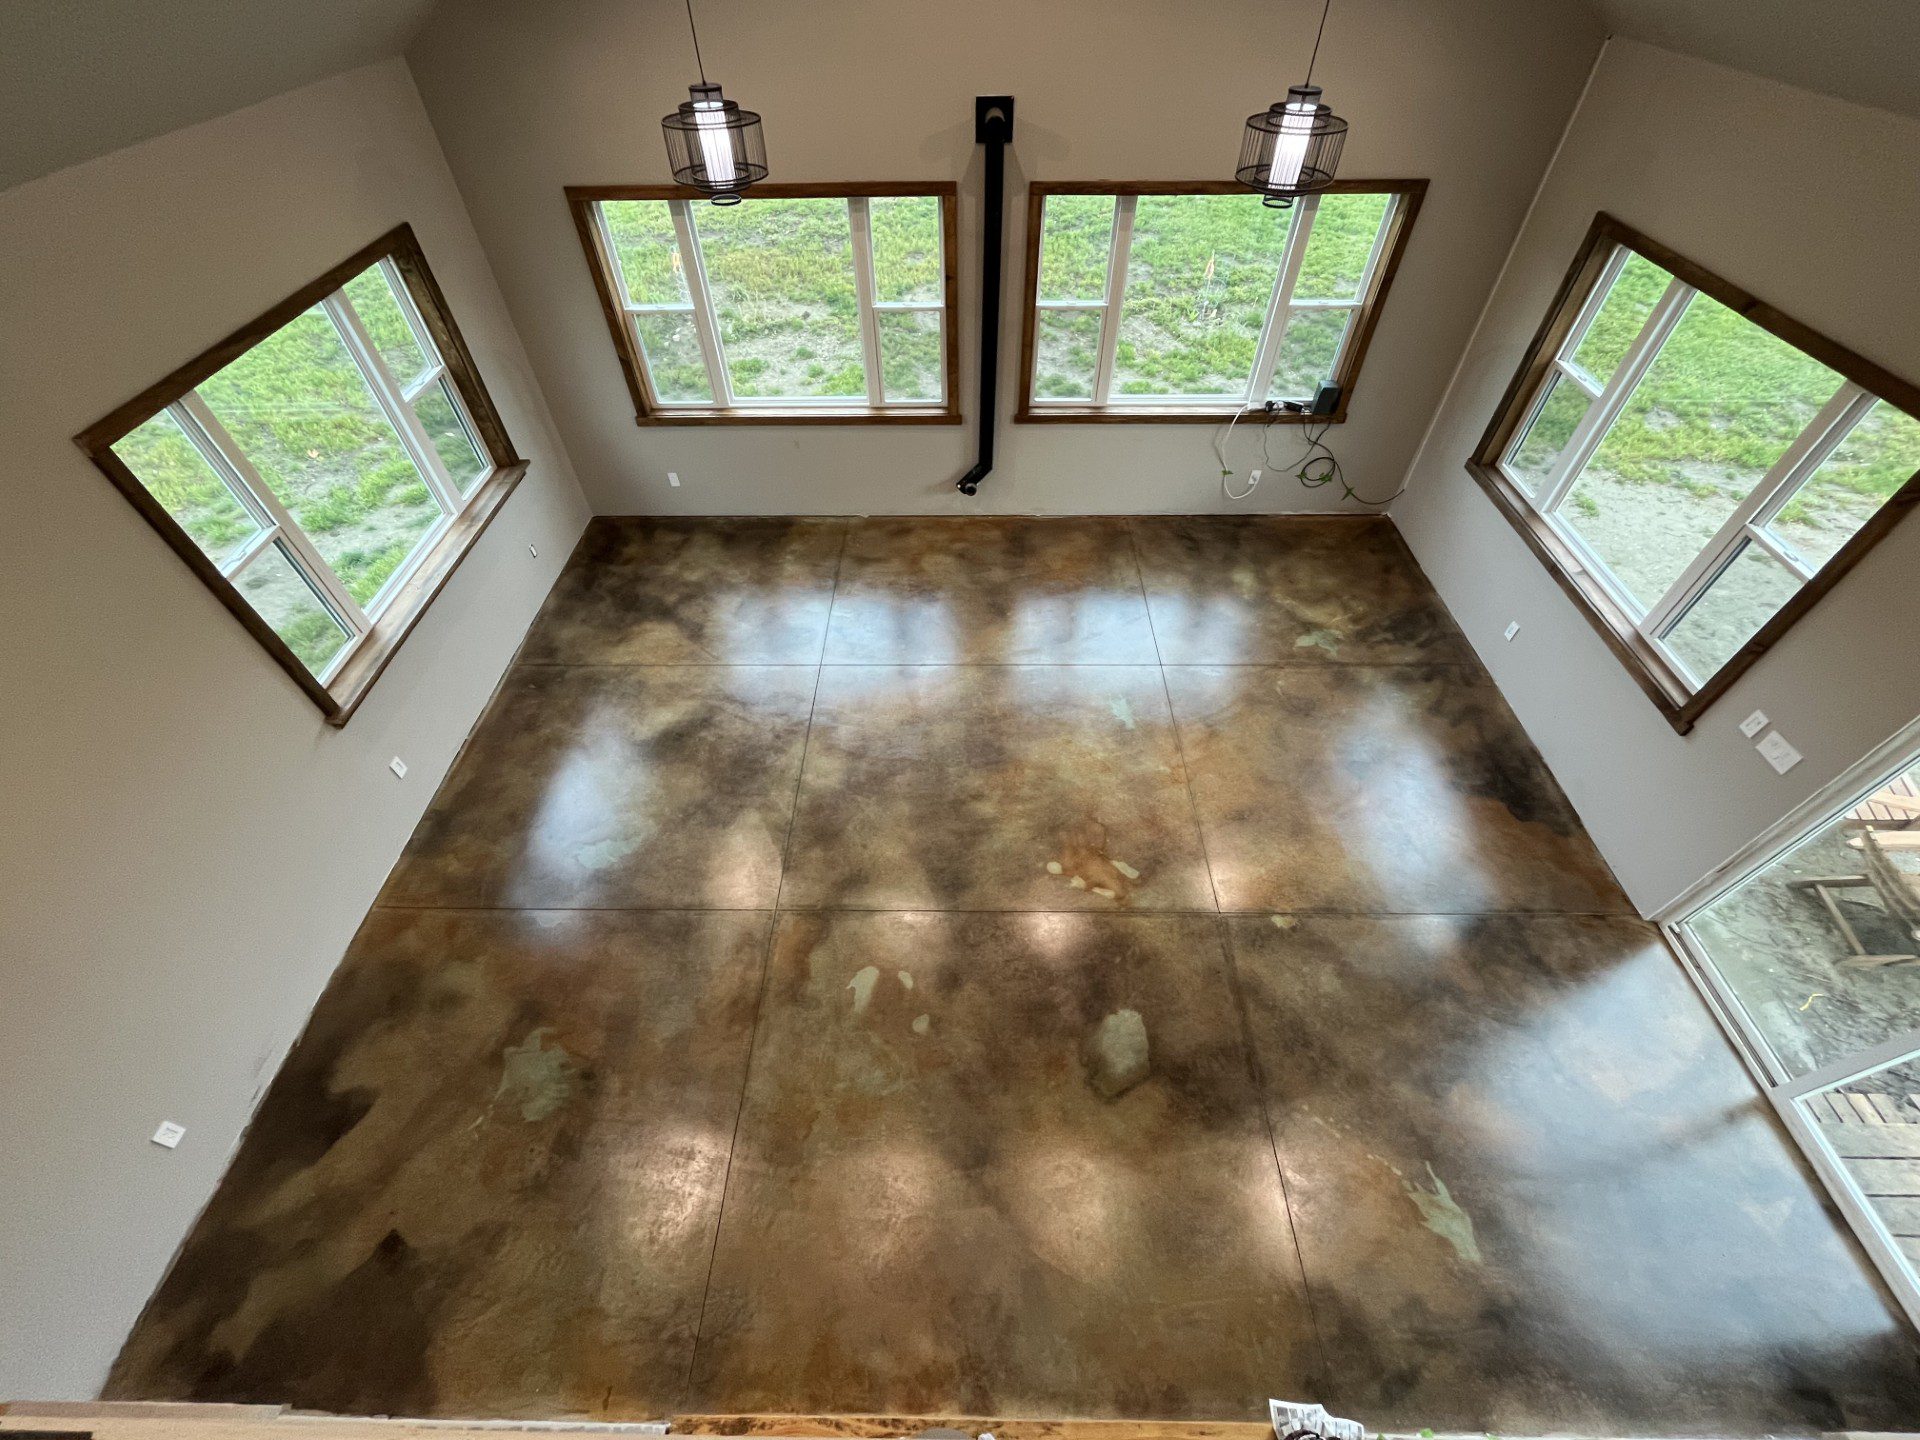
Achieving a Natural Marble Look with Acid Stain
This acid-stained concrete floor features a beautiful organic marble effect created by letting the stain pool naturally. By allowing the colors to blend and flow, the final result offers a layered texture that looks less “man-made” and more like natural stone.
Project Info:
- Project Completed In: 3 day(s)
- Estimate of Square Footage: 480 sq. ft.
- Project Description:
We had a raw concrete slab floor that had been sitting unsealed for about 1 year. This is a living room with quite a bit of foot traffic.We scrubbed the floor with simple green before applying the acid
I used a pump sprayer to apply the black and Malayan buff, alternating. I used a small hand spray bottle for the seagrass green color on top of the Malayan buff & black base.
Neutralized and then rinsed & wet vacuumed the water 3x.
Mopped another 4 rounds afterwards changing the water each time.
After 12 hrs of cure time, rolled on Acquaseal with a nap roller, 2 coats total.
3 coats of the ProWax polish with a microfiber mop. - Personal Tips:
WDon’t be afraid to let the acid pool and do its own flow & movement. I was going for an organic marble type of look, so I wish I had ordered a little extra product to make sure it was all pooling up in a way that looked natural and not too “man made” or sprayed on. That being said, after the reaction time it did develop into a really cool layered texture and didn’t look as much like a spray pattern as it did in the beginning. The more the colors blend, the more natural it looks in my opinion. - Direct Colors Products Used:
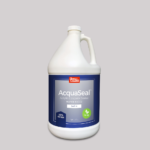
1 Gal. Seagrass DIY EverStain™ & AcquaSeal™ Gloss Kit
1 Gal. Malayan Buff EverStain™ & AcquaSeal™ Gloss Kit
1 Gal. Black EverStain™ & AcquaSeal™ Gloss Kit
1 Gal. ProWax Polish™ Gloss - Other Products Used:
Simple green (as a degreaser prior to applying acid)
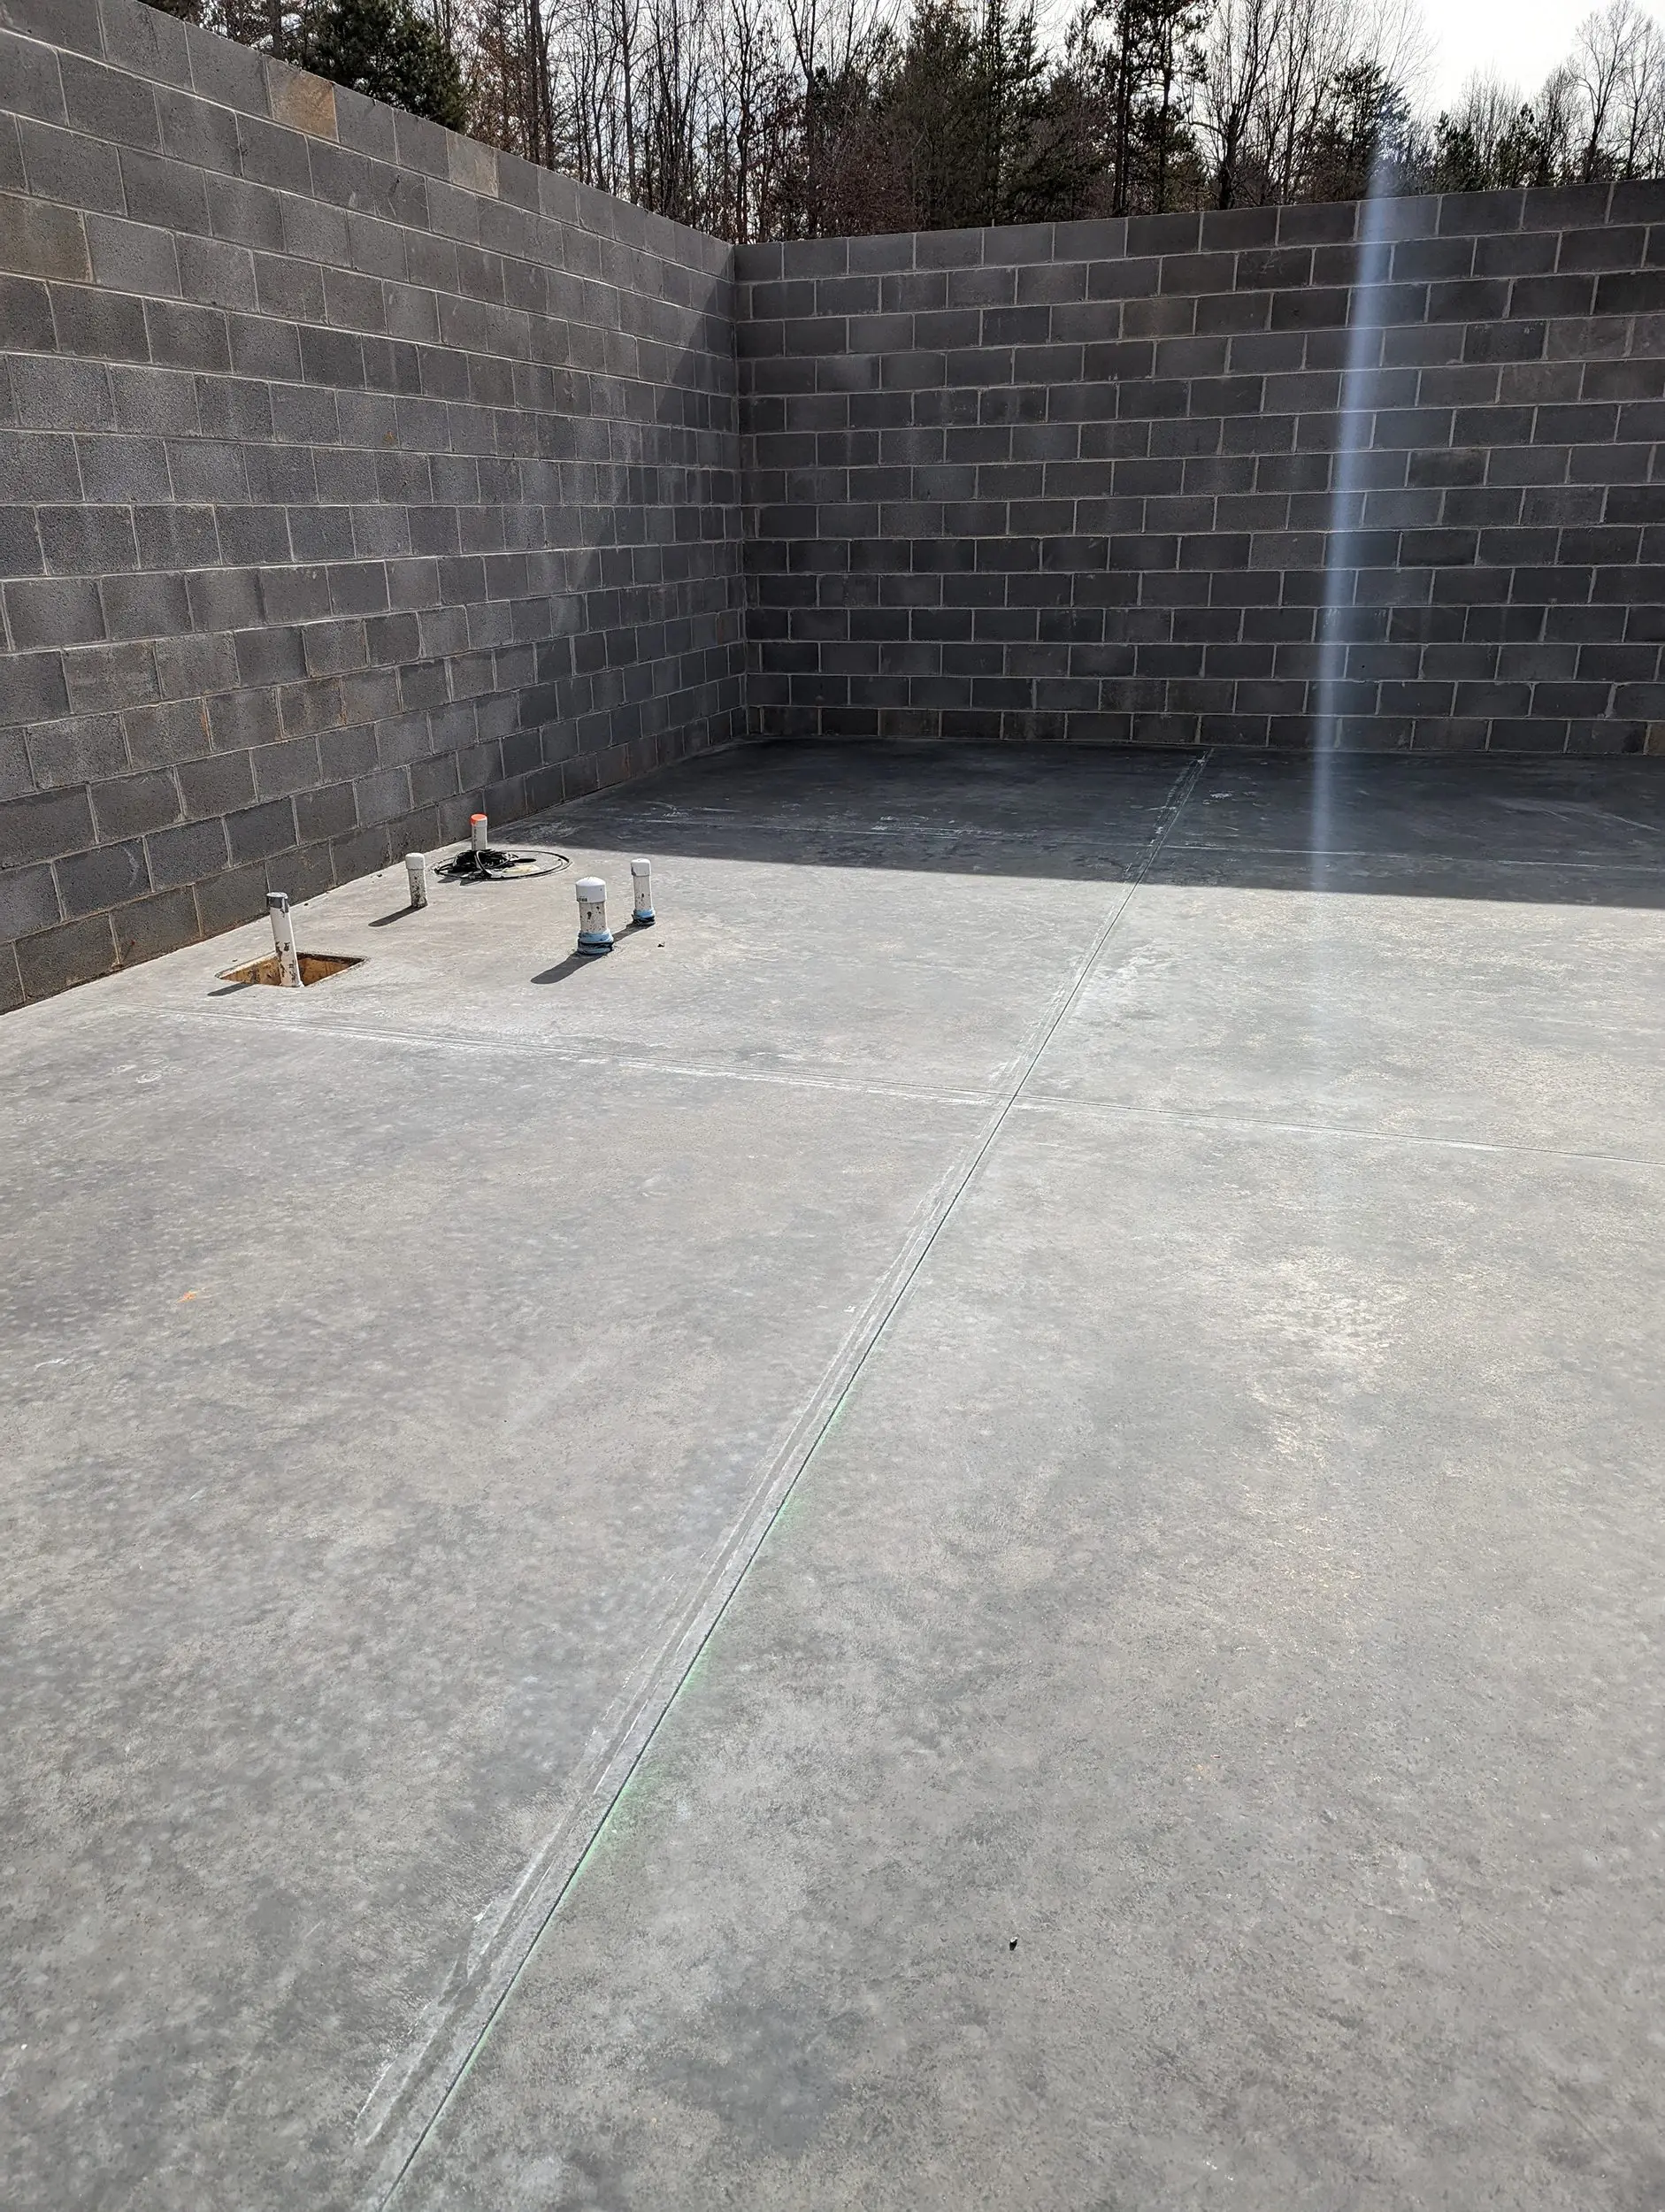
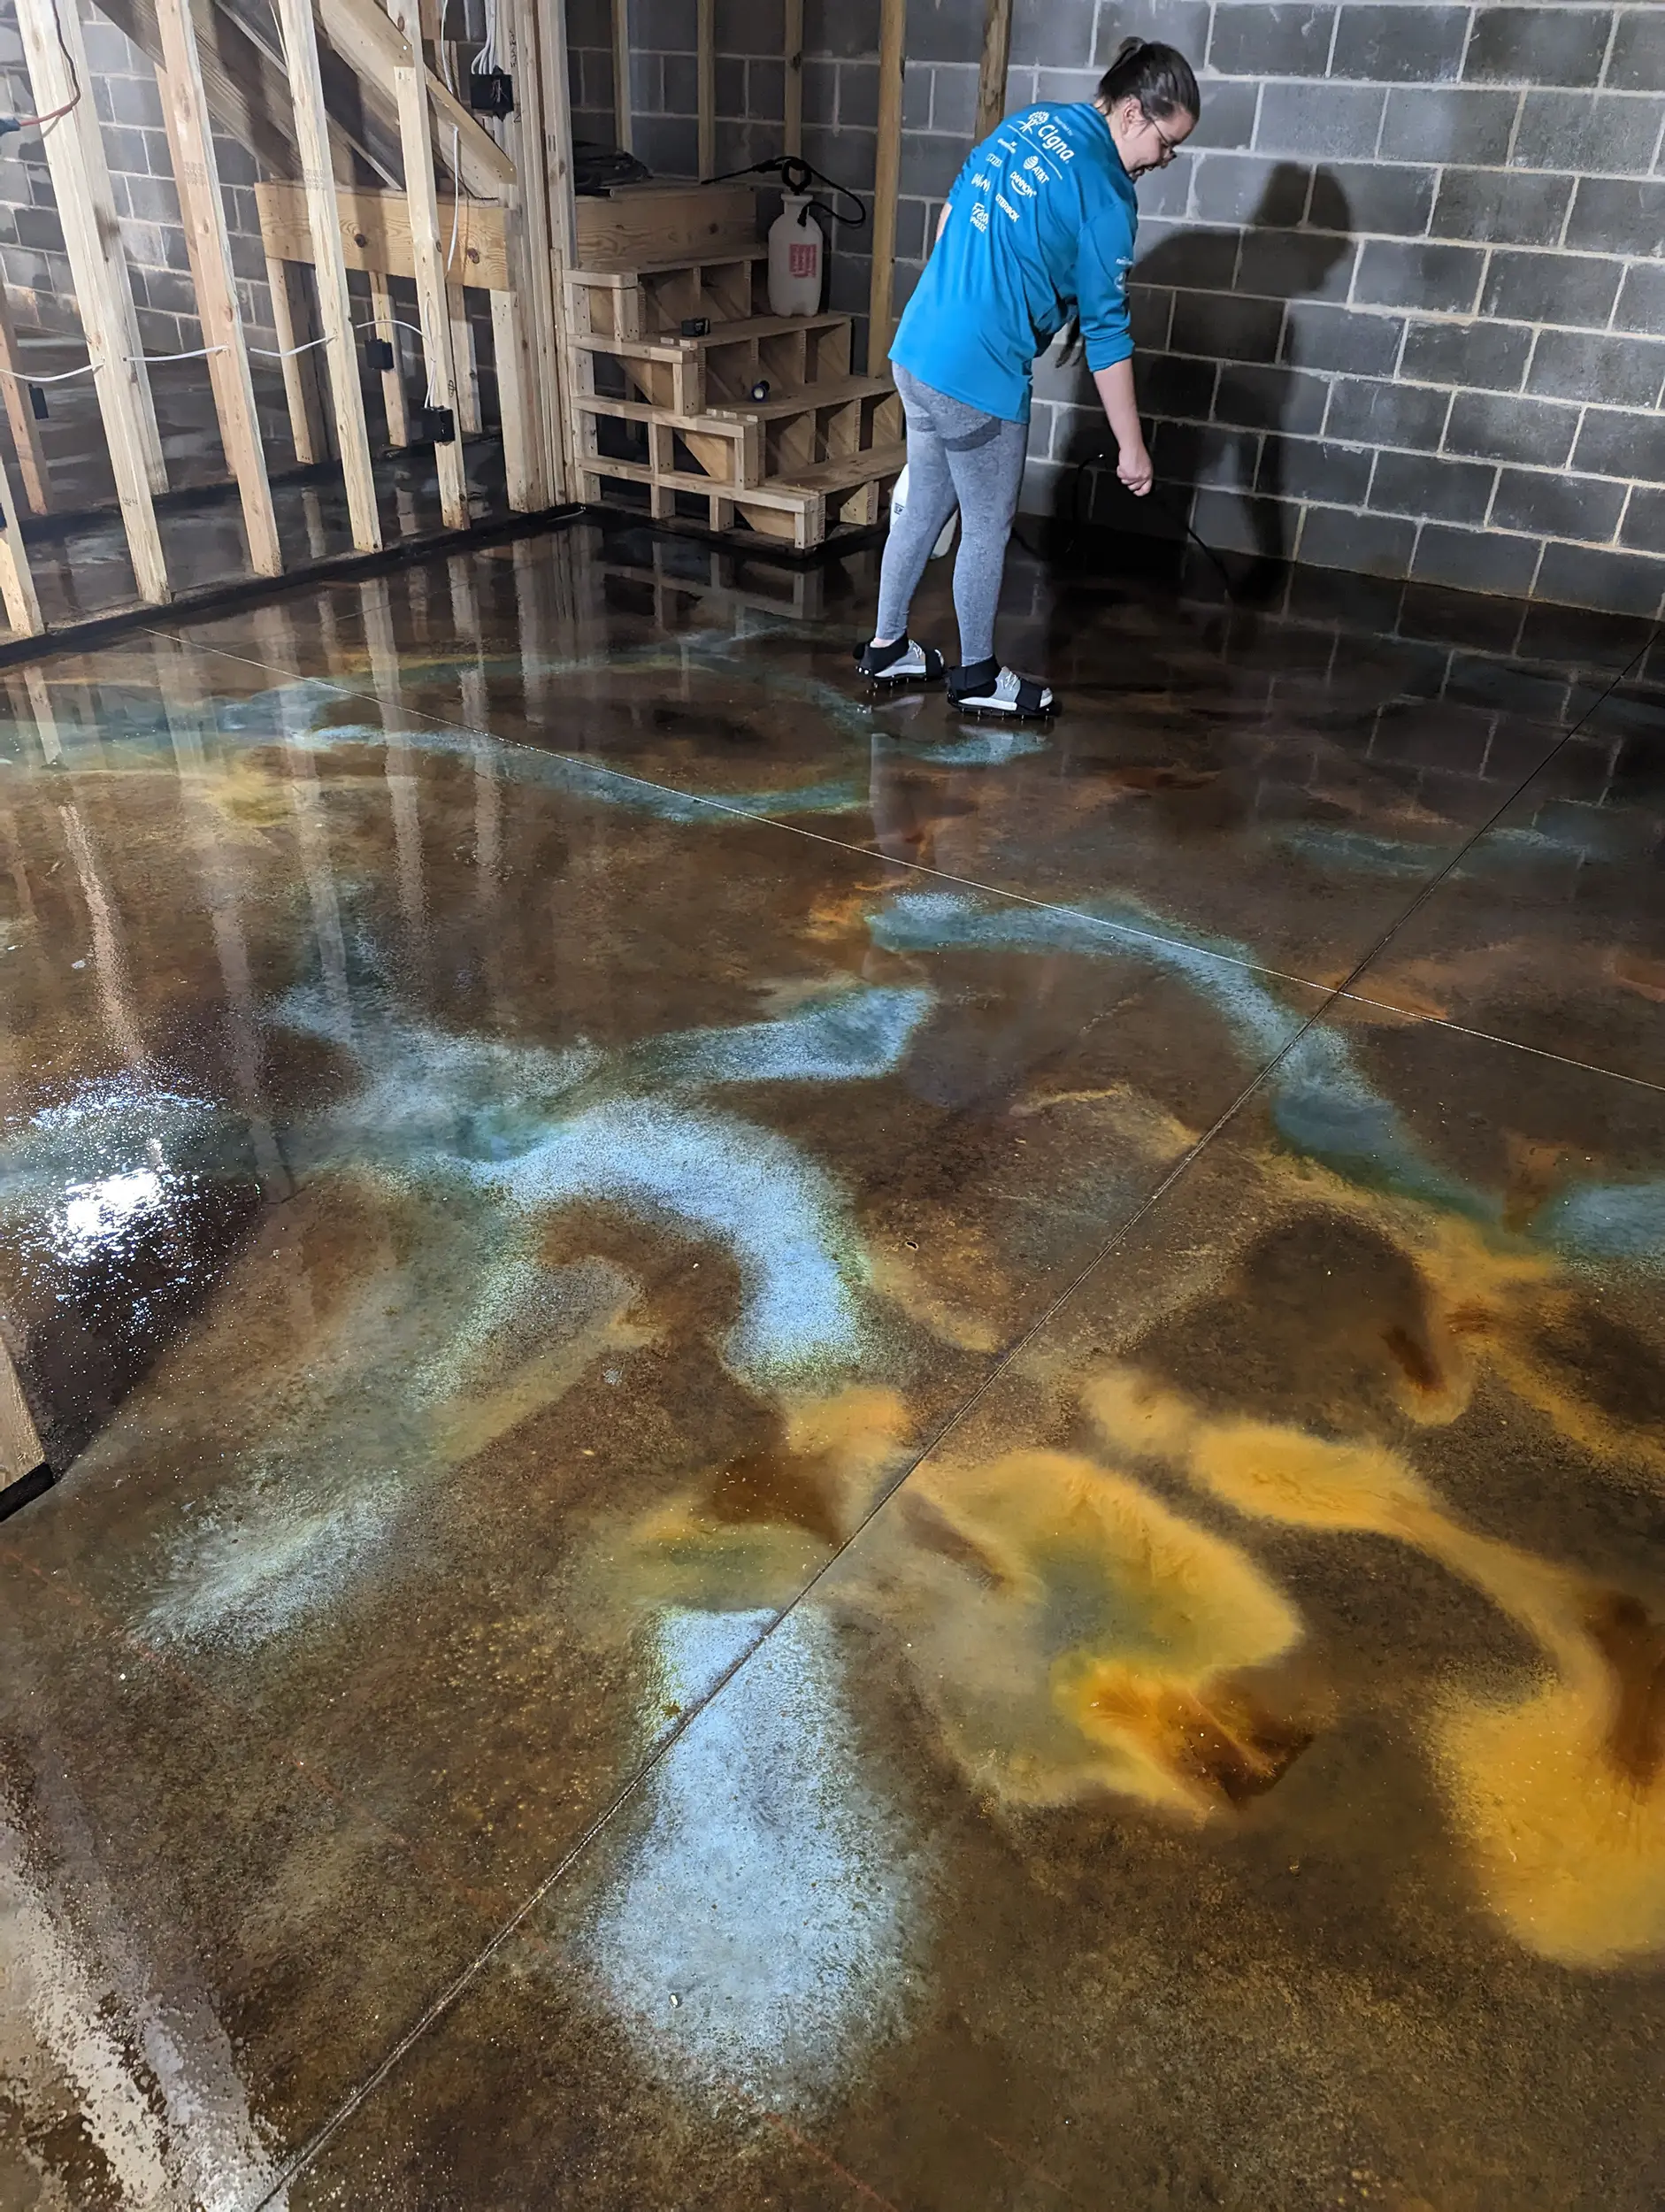
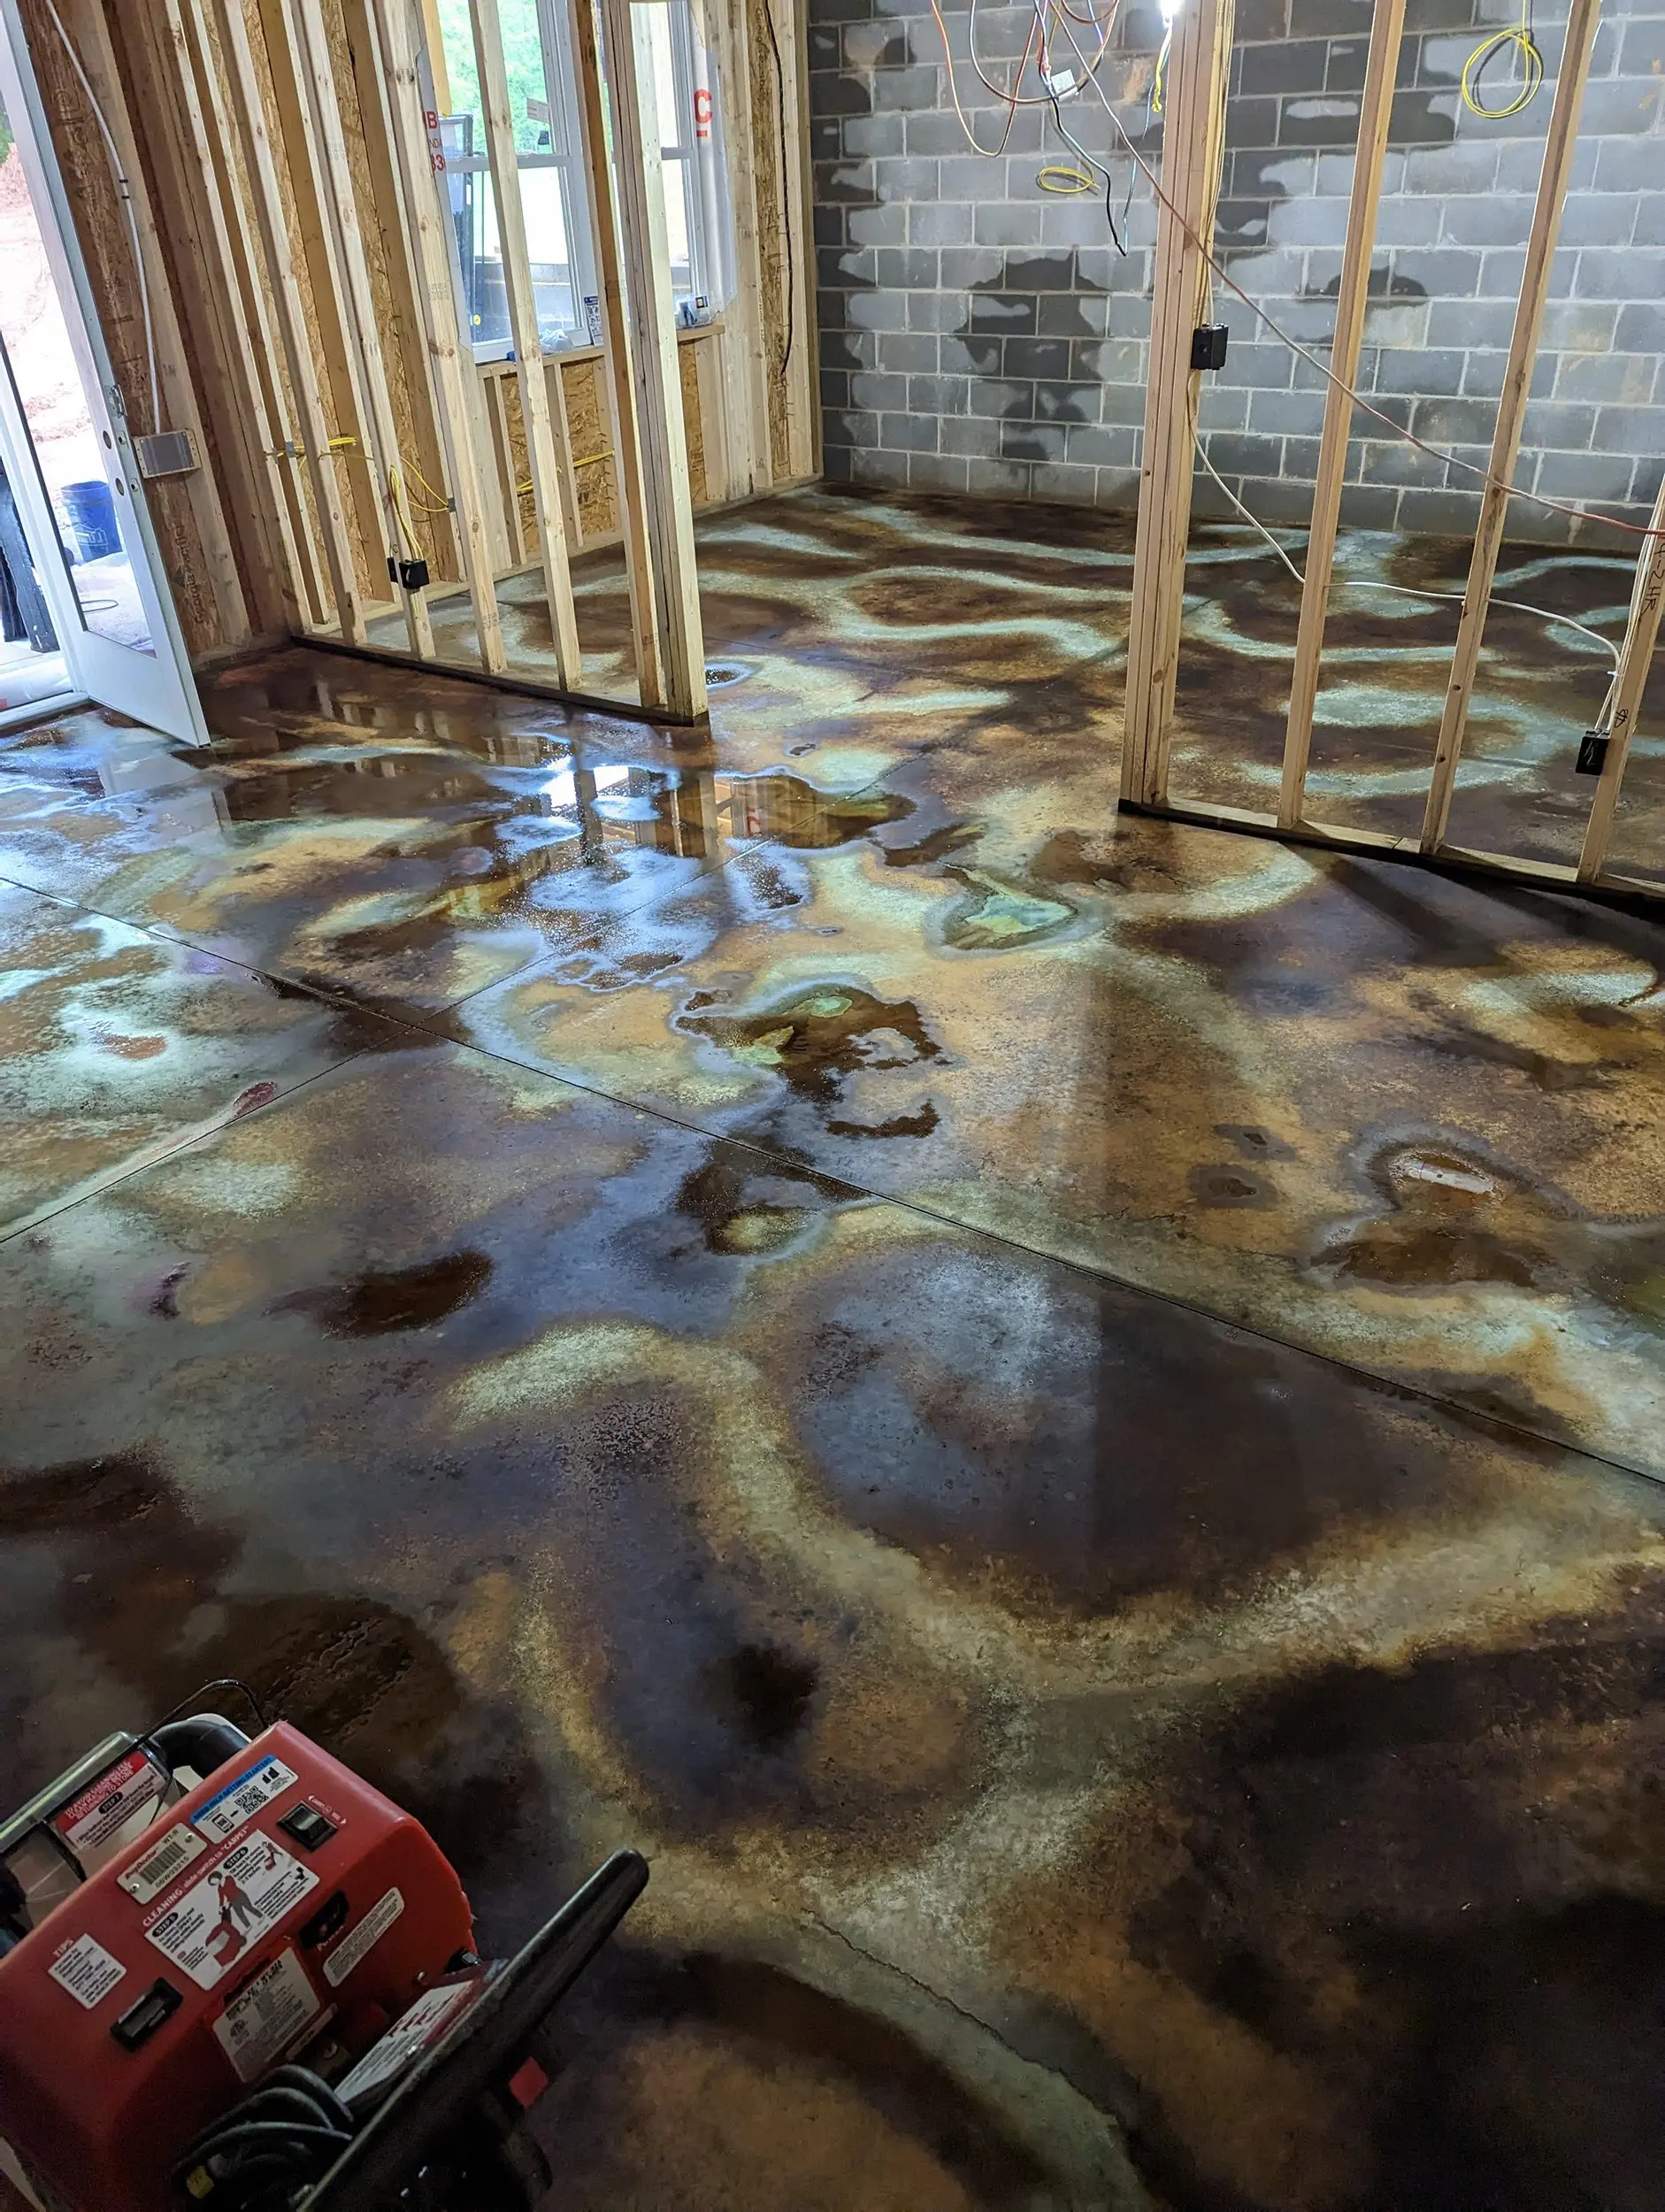
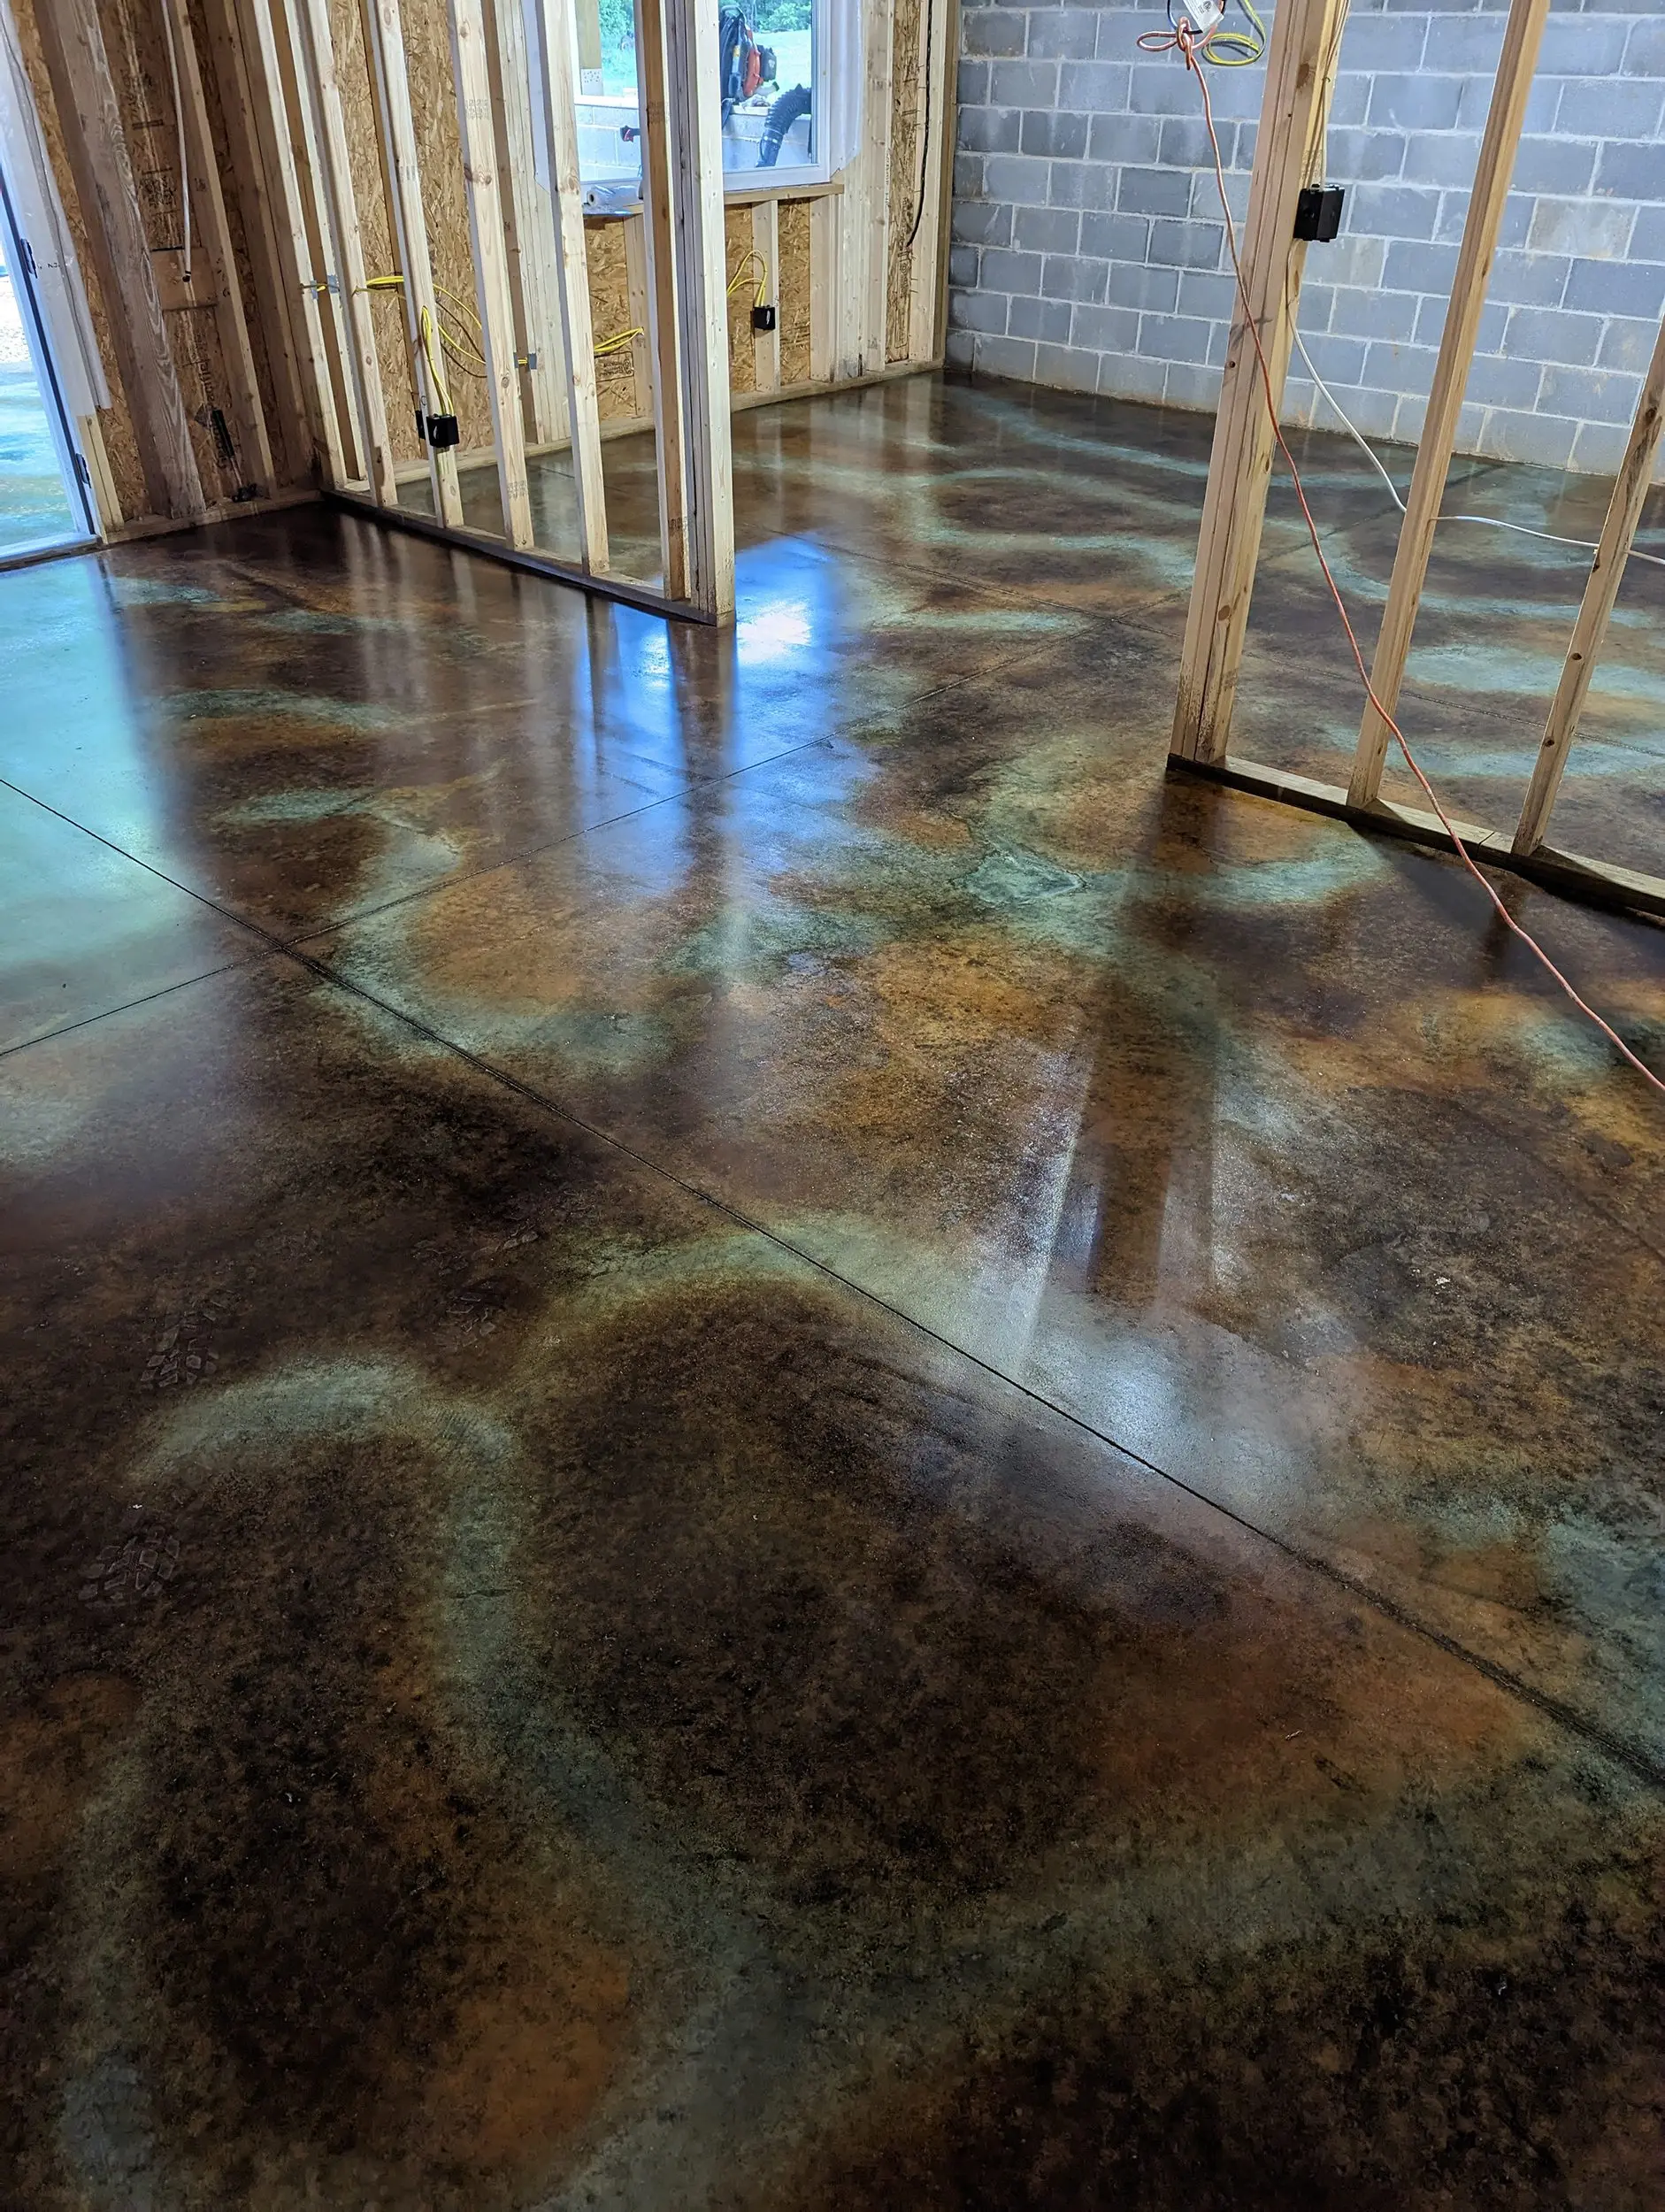
Multi-tone Acid Stained Basement Slab
This project involved the transformation of a new concrete basement slab in a newly built home. The slab, only two months old, was treated with a mixture of Coffee Brown, Malayan Buff, and Seagrass acid stains, then sealed for durability and shine. The result was a captivating multi-tone floor that added unique character to the basement space.
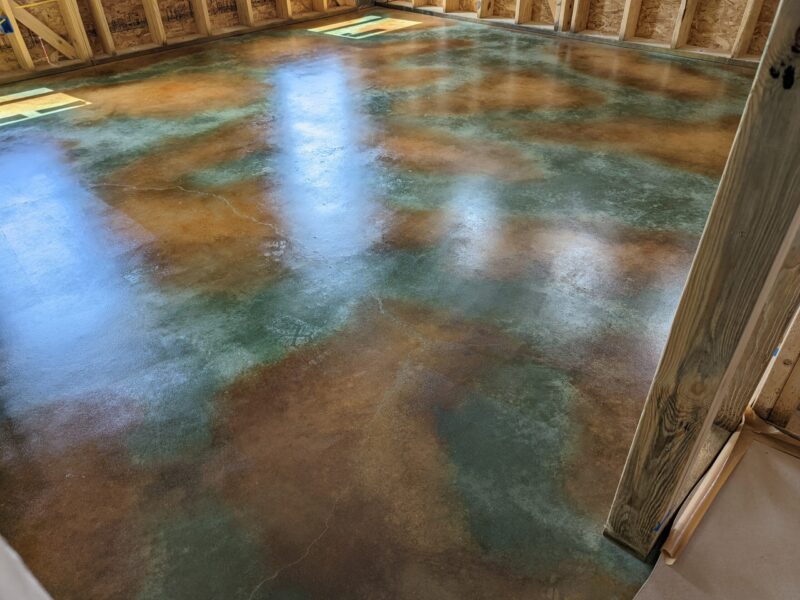
Dual-Tone Floor Design in a Barndominium Master Suite
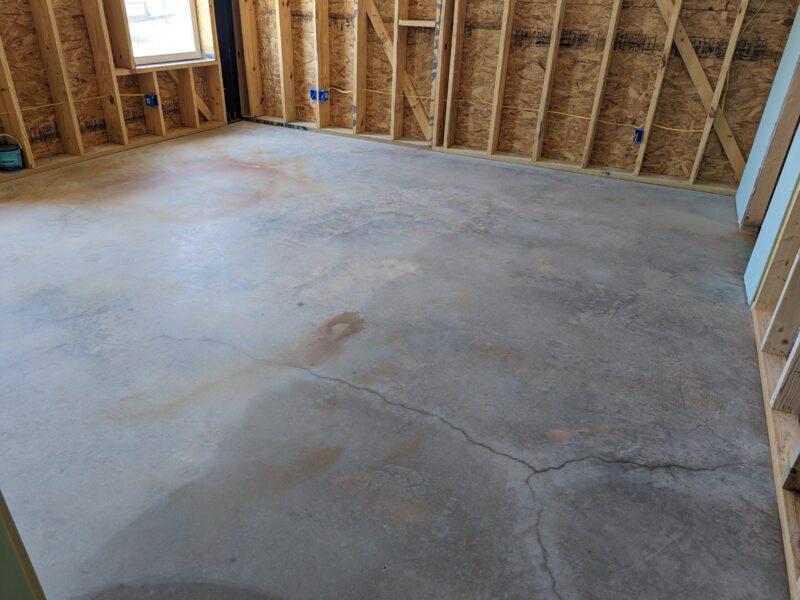
In this project, a casita’s master suite within a barndominium was refreshed with a floor makeover. Our Malayan Buff and Seagrass Acid Stains were expertly applied to create a striking, two-tone effect. The DIYer found success in using a pump sprayer for the sealer application, followed by a light touch of a moist paint roller to ensure an even finish. The result is a unique, eye-catching master suite floor that adds character to the barndominium.
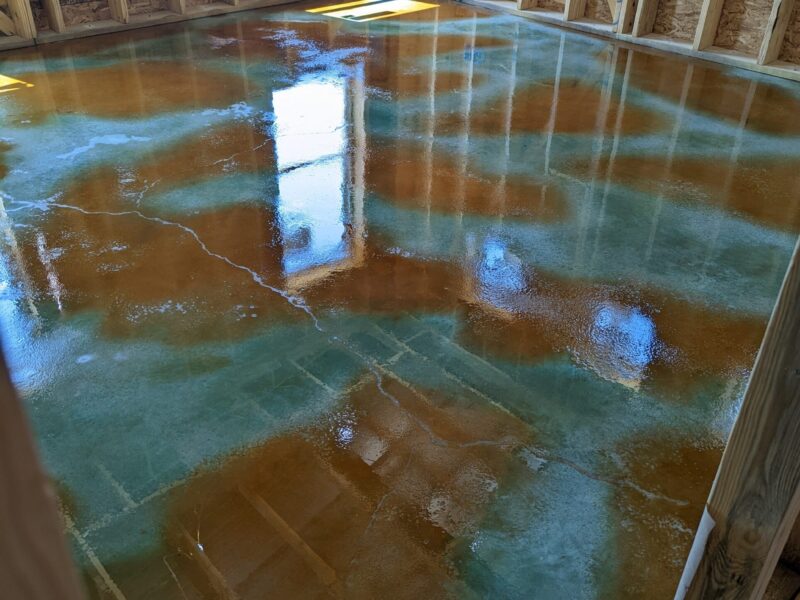
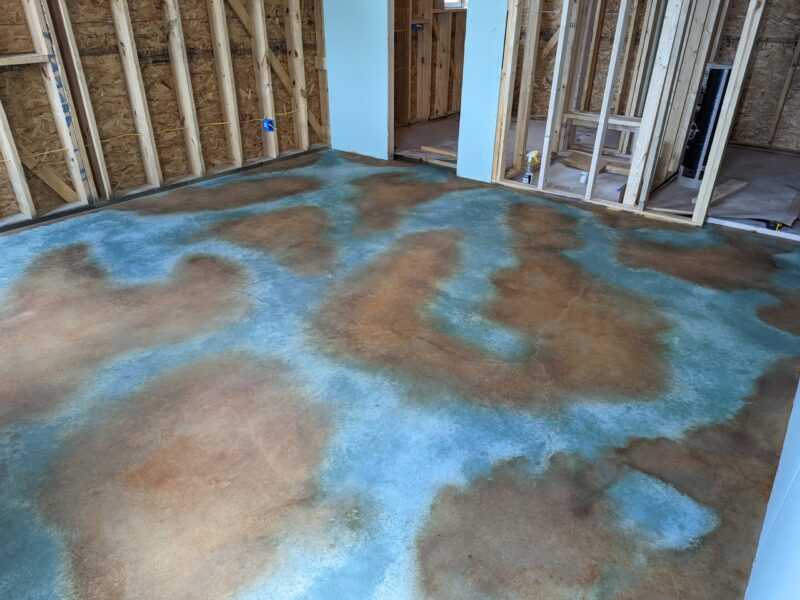
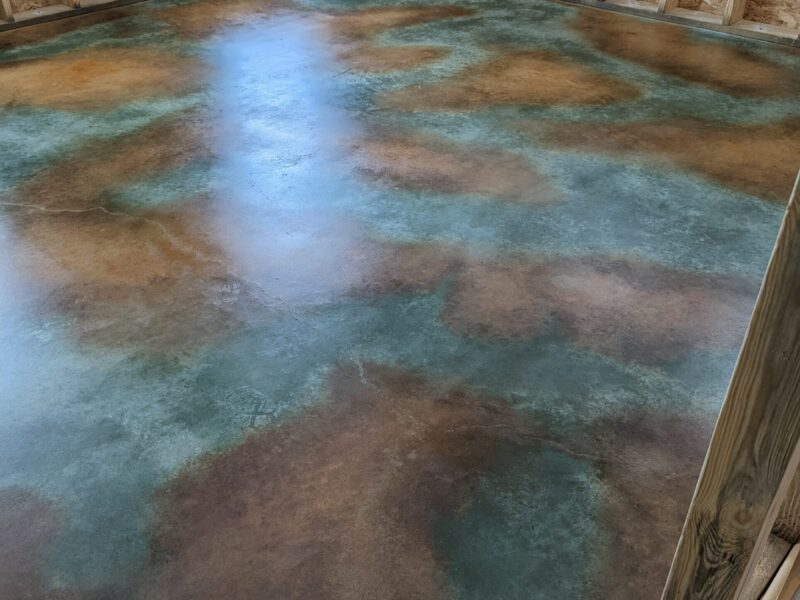
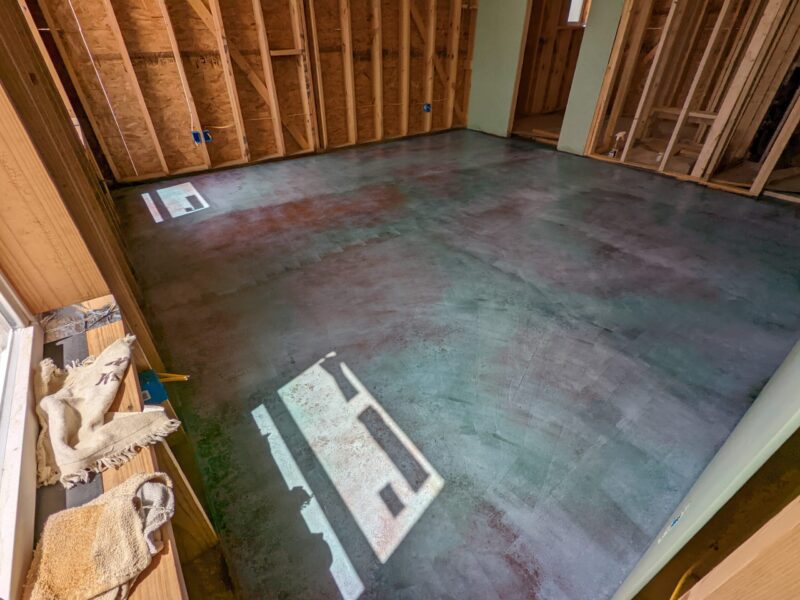
Project Info:
- Project Completed In: 4 day(s)
- Estimate of Square Footage: 200 sq. ft.
- Project Description:
Building a barndominium that consists of a casita on one side and the main house on the opposite side, this is the floor in the Master of the casita. - Personal Tips:
When it comes to the sealer, I found it best to spray on with a pump sprayer and then go over it with a moist paint roller with a light touch, to even it all out. - Direct Colors Products Used:
1 Gal. CitrusEtch™ Concrete Etcher
1 Gal. Seagrass EverStain™ & AcquaSeal™ Satin Kit
1 Gal. Malayan Buff EverStain™ Acid Stain
1 Gal. ProWax Polish™ Satin
Every image in this gallery depicts projects using our concrete stains, shared by actual customers. However, due to the semi-transparent nature of the stains, the end look will be influenced by your concrete’s original color and condition. Outcomes may differ. For best results, we advise a test patch on your surface before full application to ensure desired appearance.
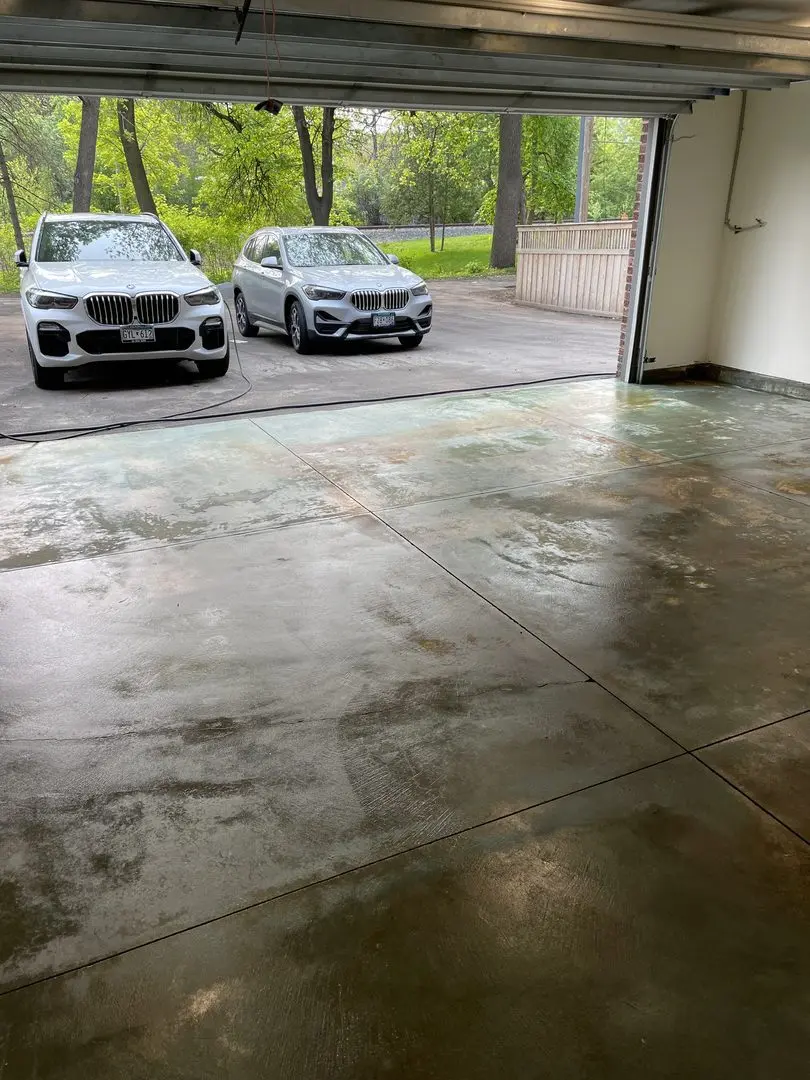
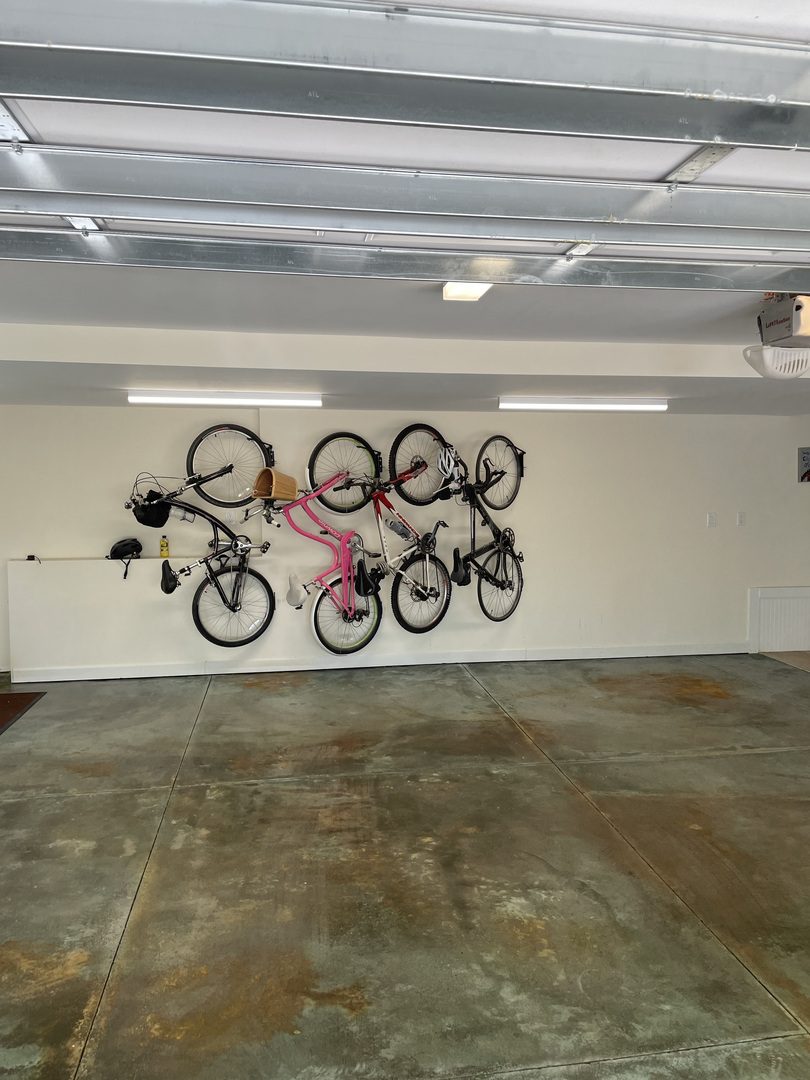
Zen-inspired Garage Transformation
Embracing the calming influence of nature, this garage project leveraged Seagrass and Shifting Sand EverStain acid stains to create a serene, light green finish that reflects tranquility. The tranquil color palette of this project turned a regular garage floor into a Zen-inspired oasis, proving that even practical spaces can inspire peace and relaxation.
Modern Marble-Style Acid-Stained Concrete Transformation
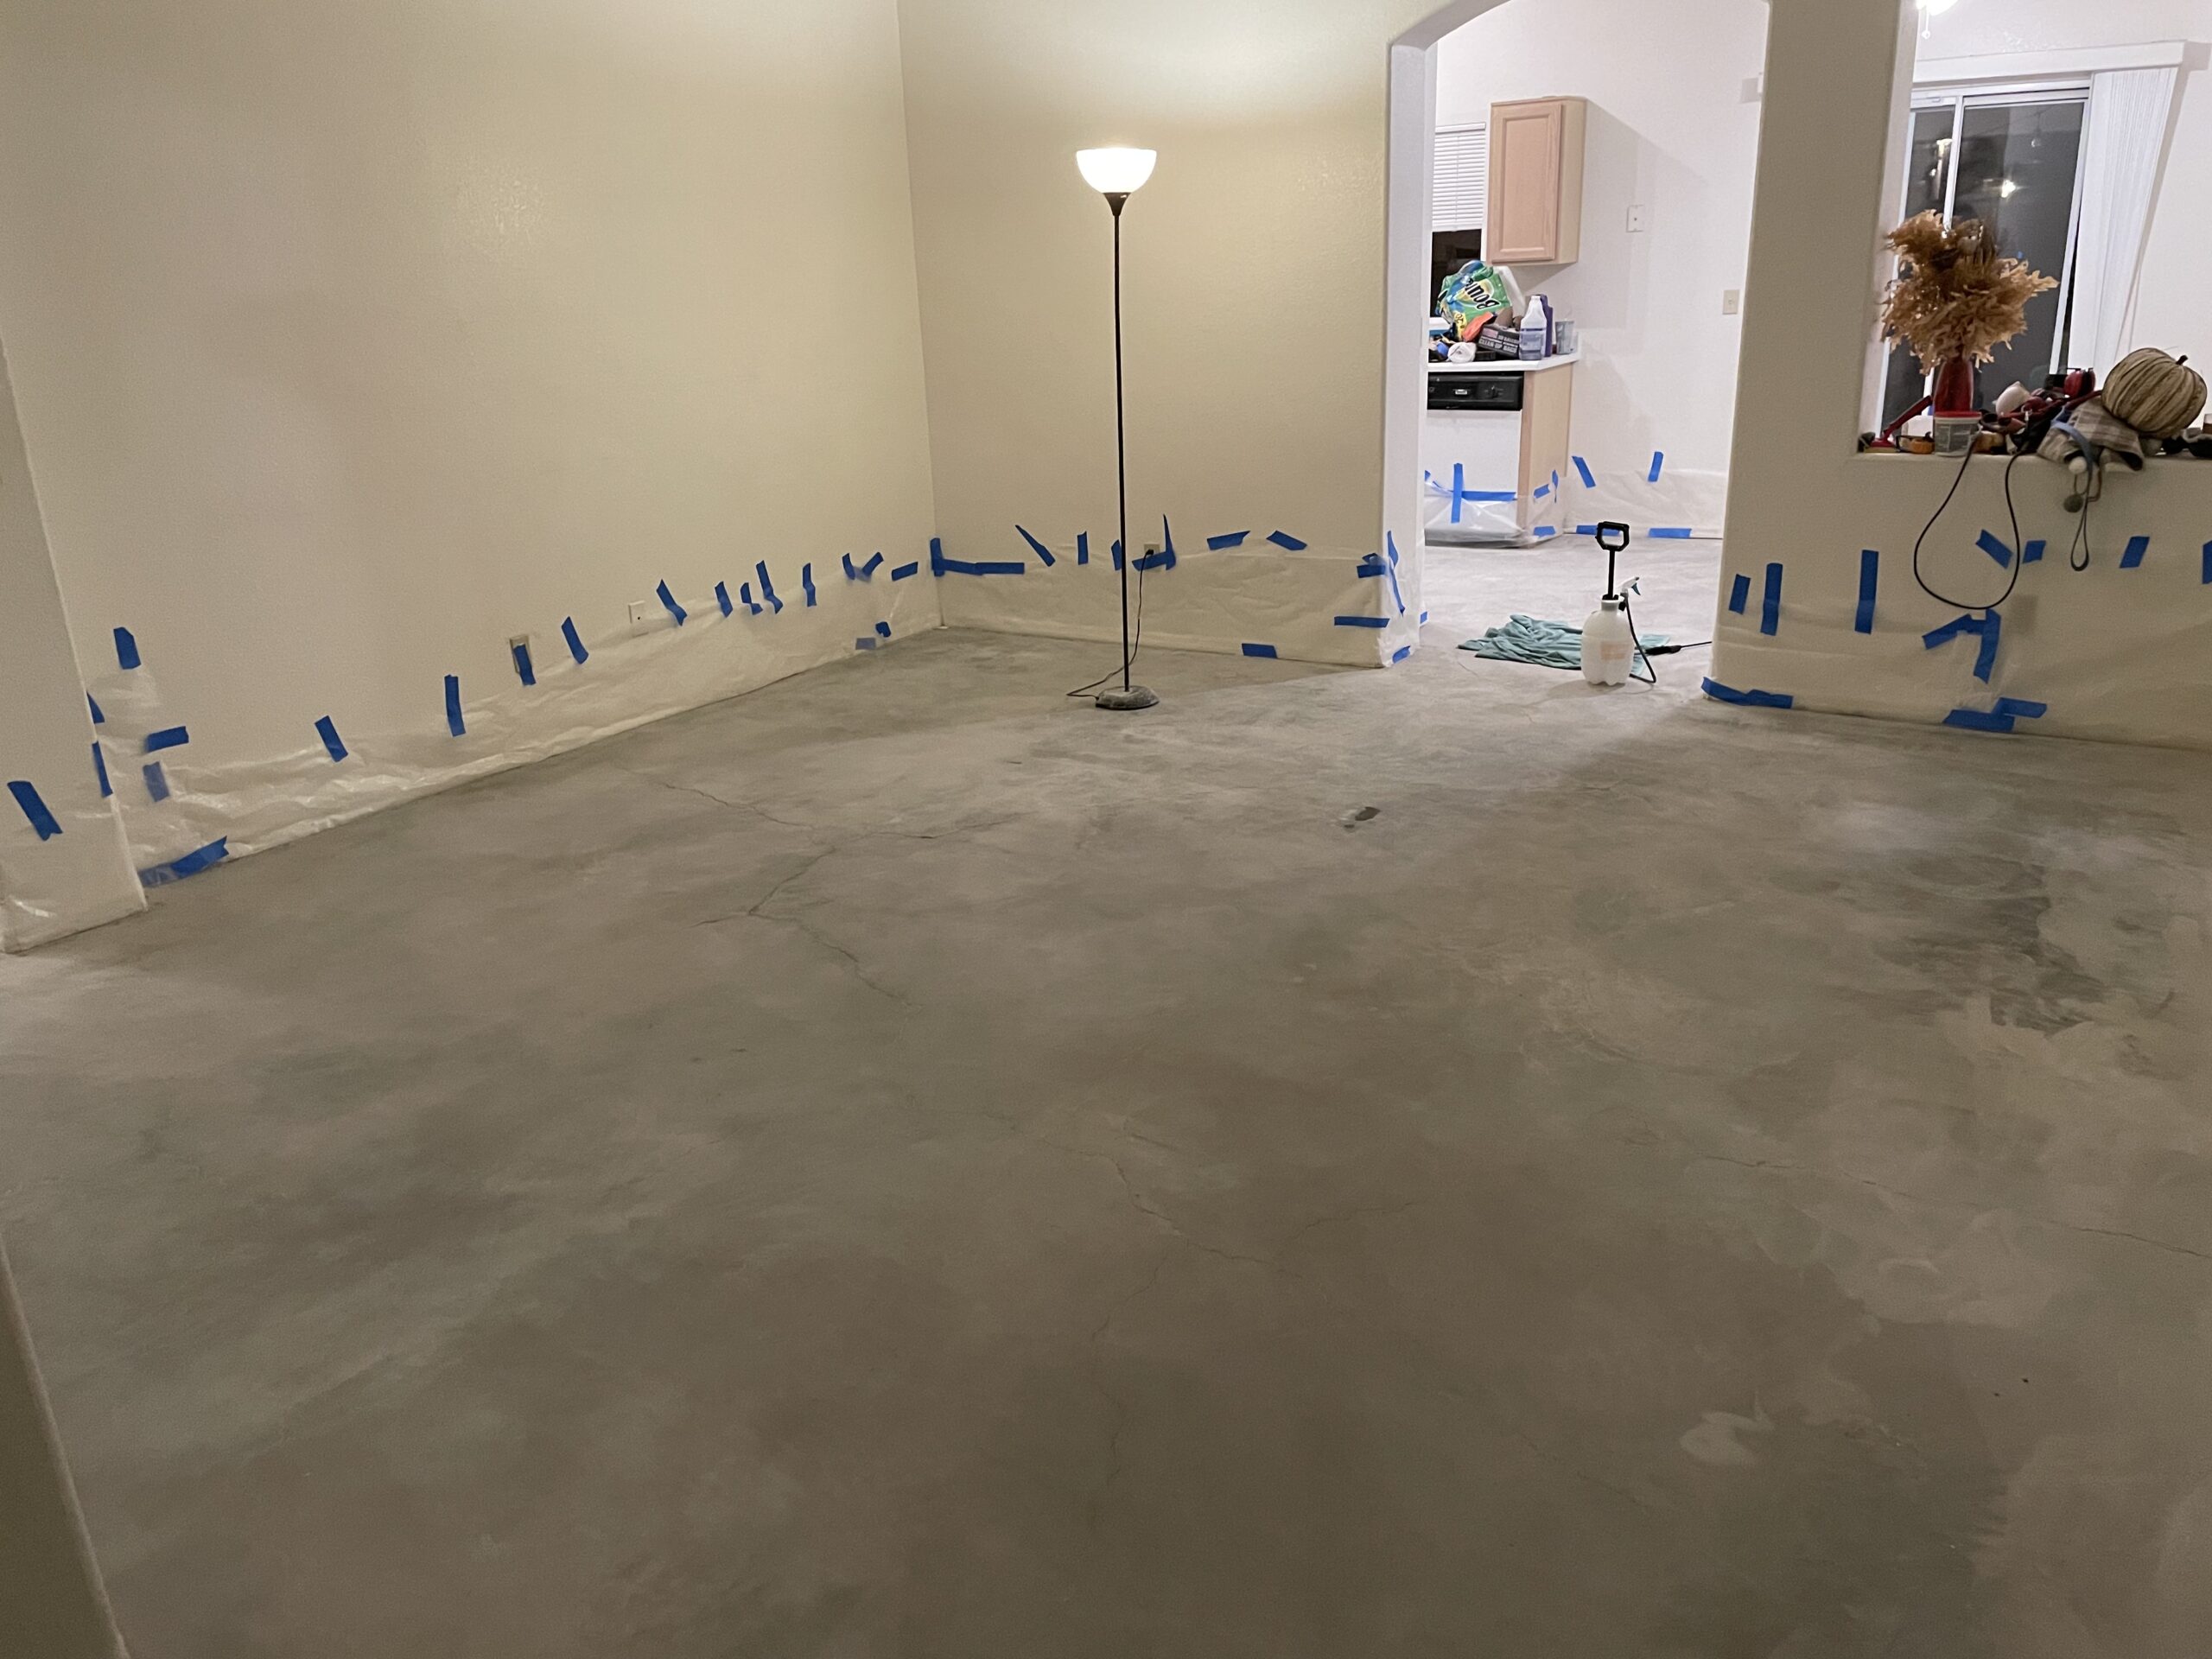
In search of a durable and stylish alternative to their old carpet and vinyl, homeowners opted for a marble-style acid-stained concrete finish in their living room, hallway, and kitchen. The result? A stunning, worn leather-like appearance that surpassed expectations.
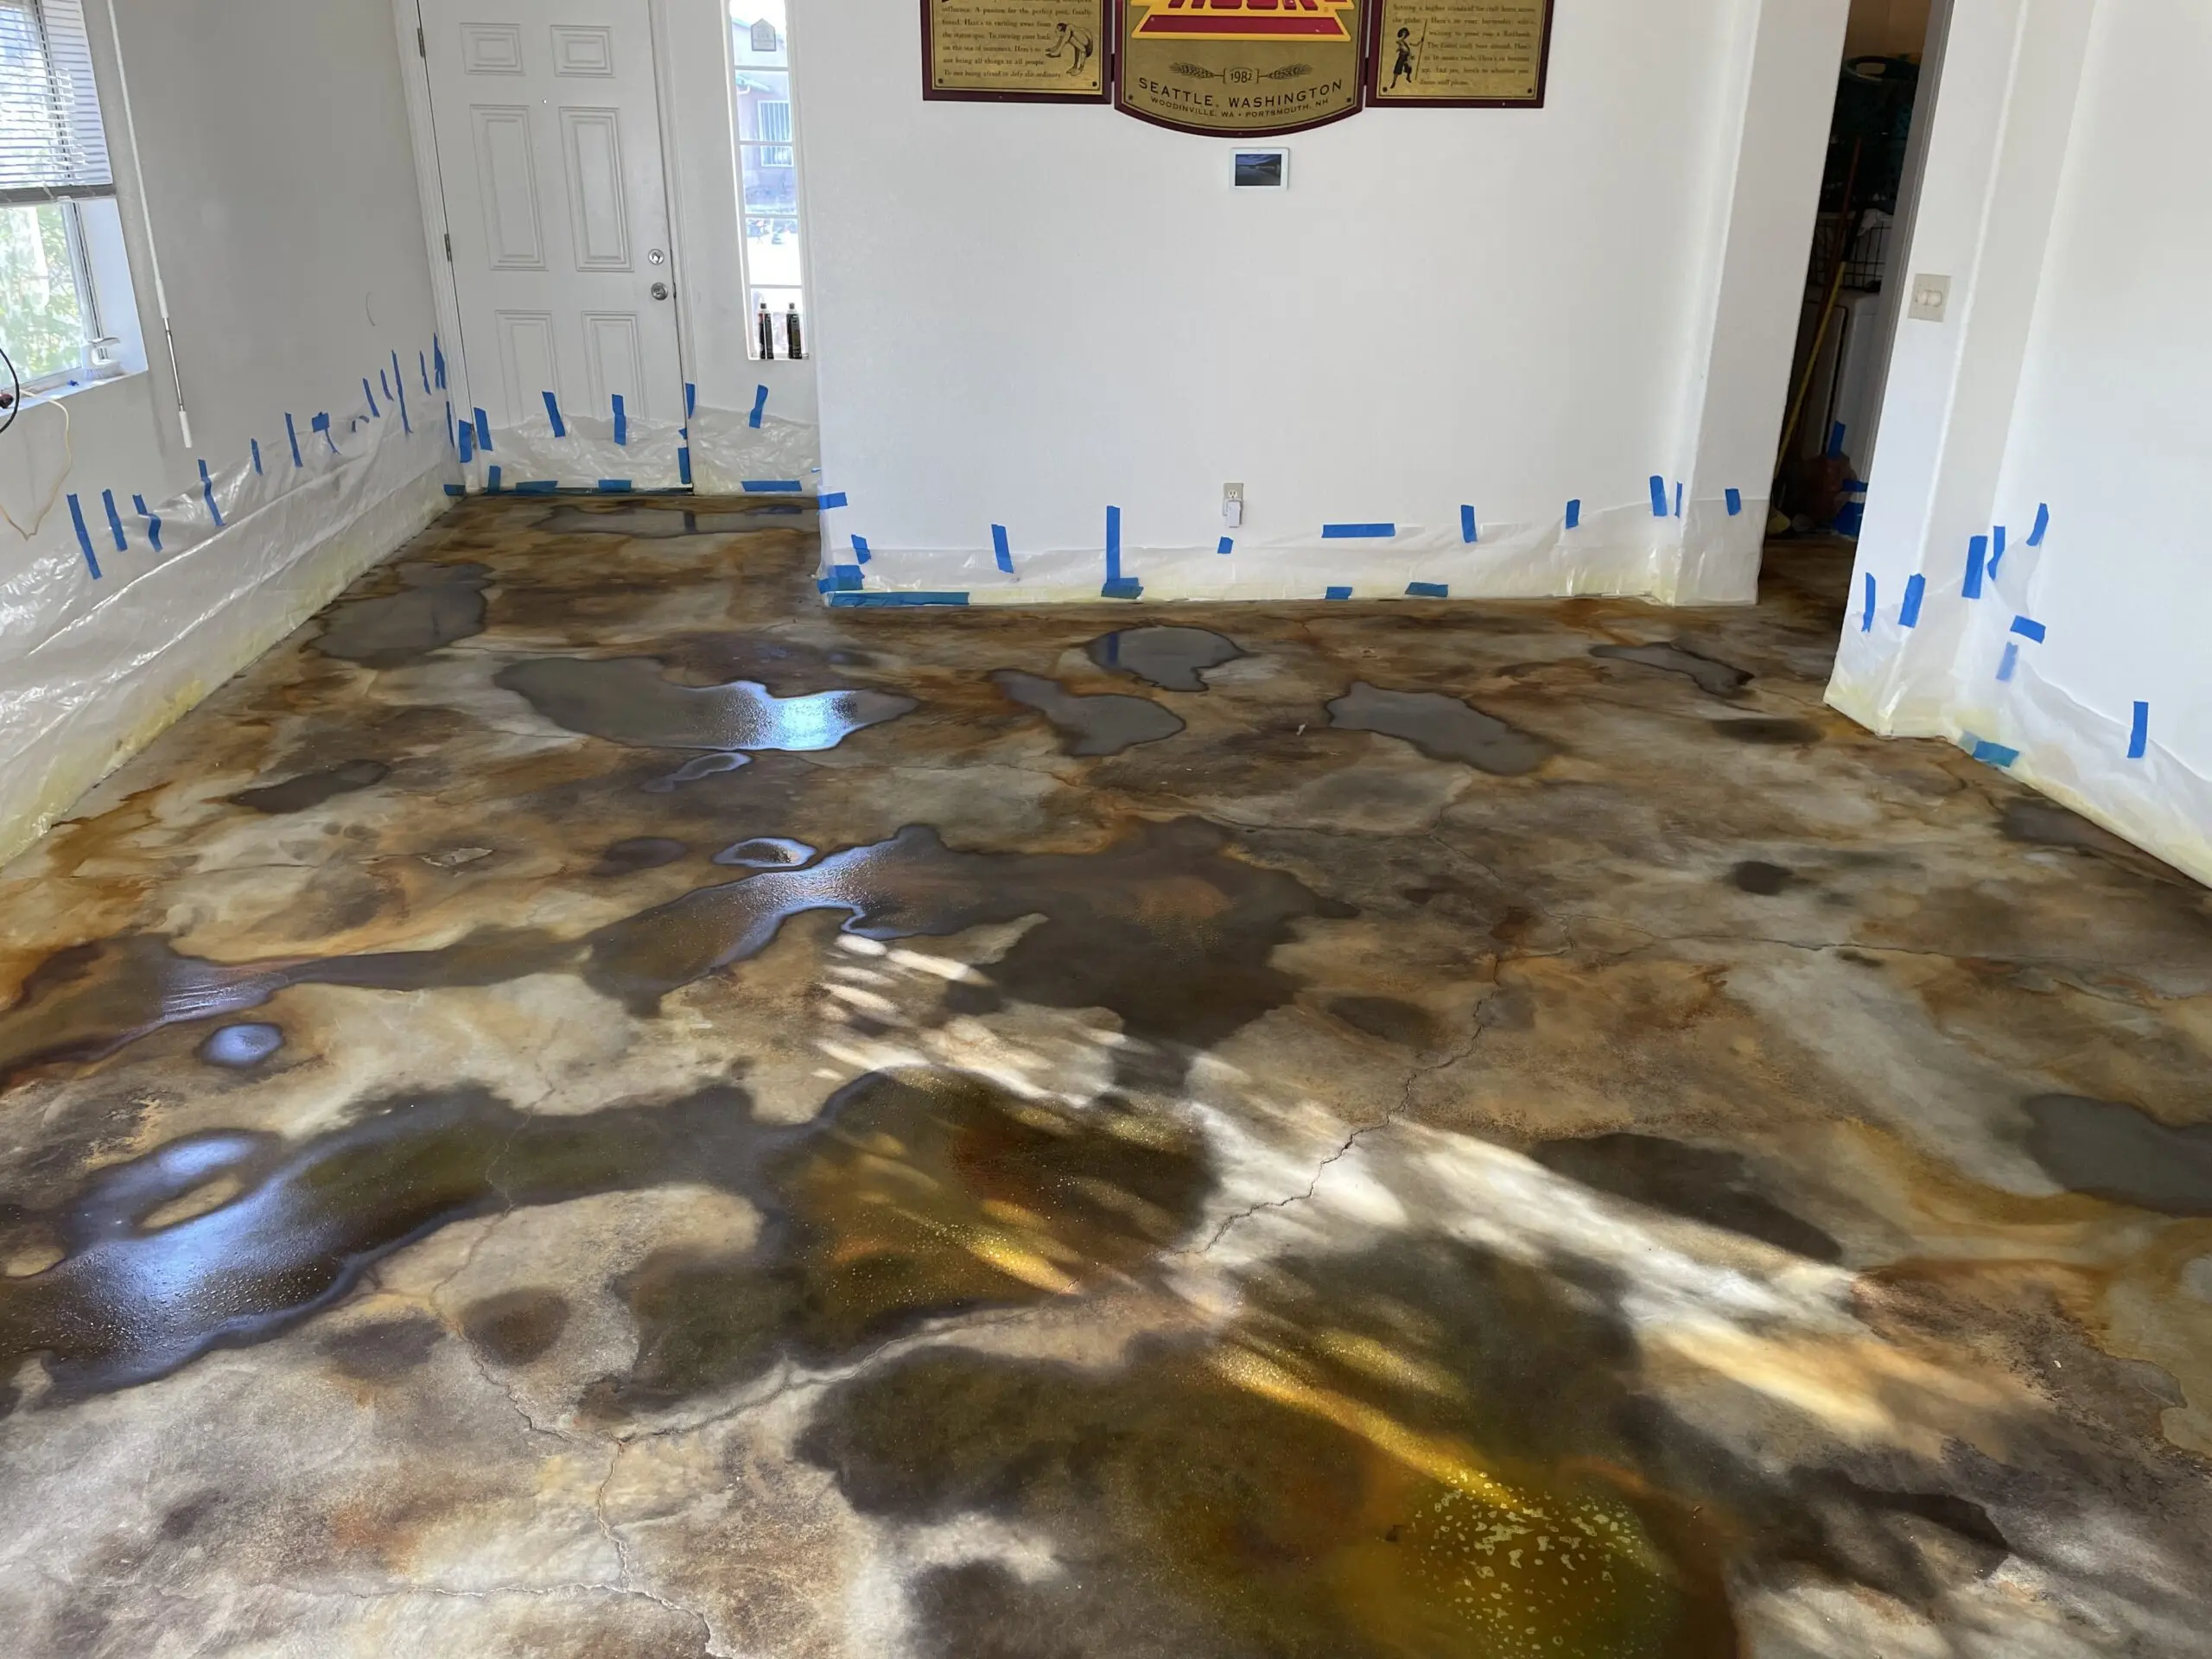
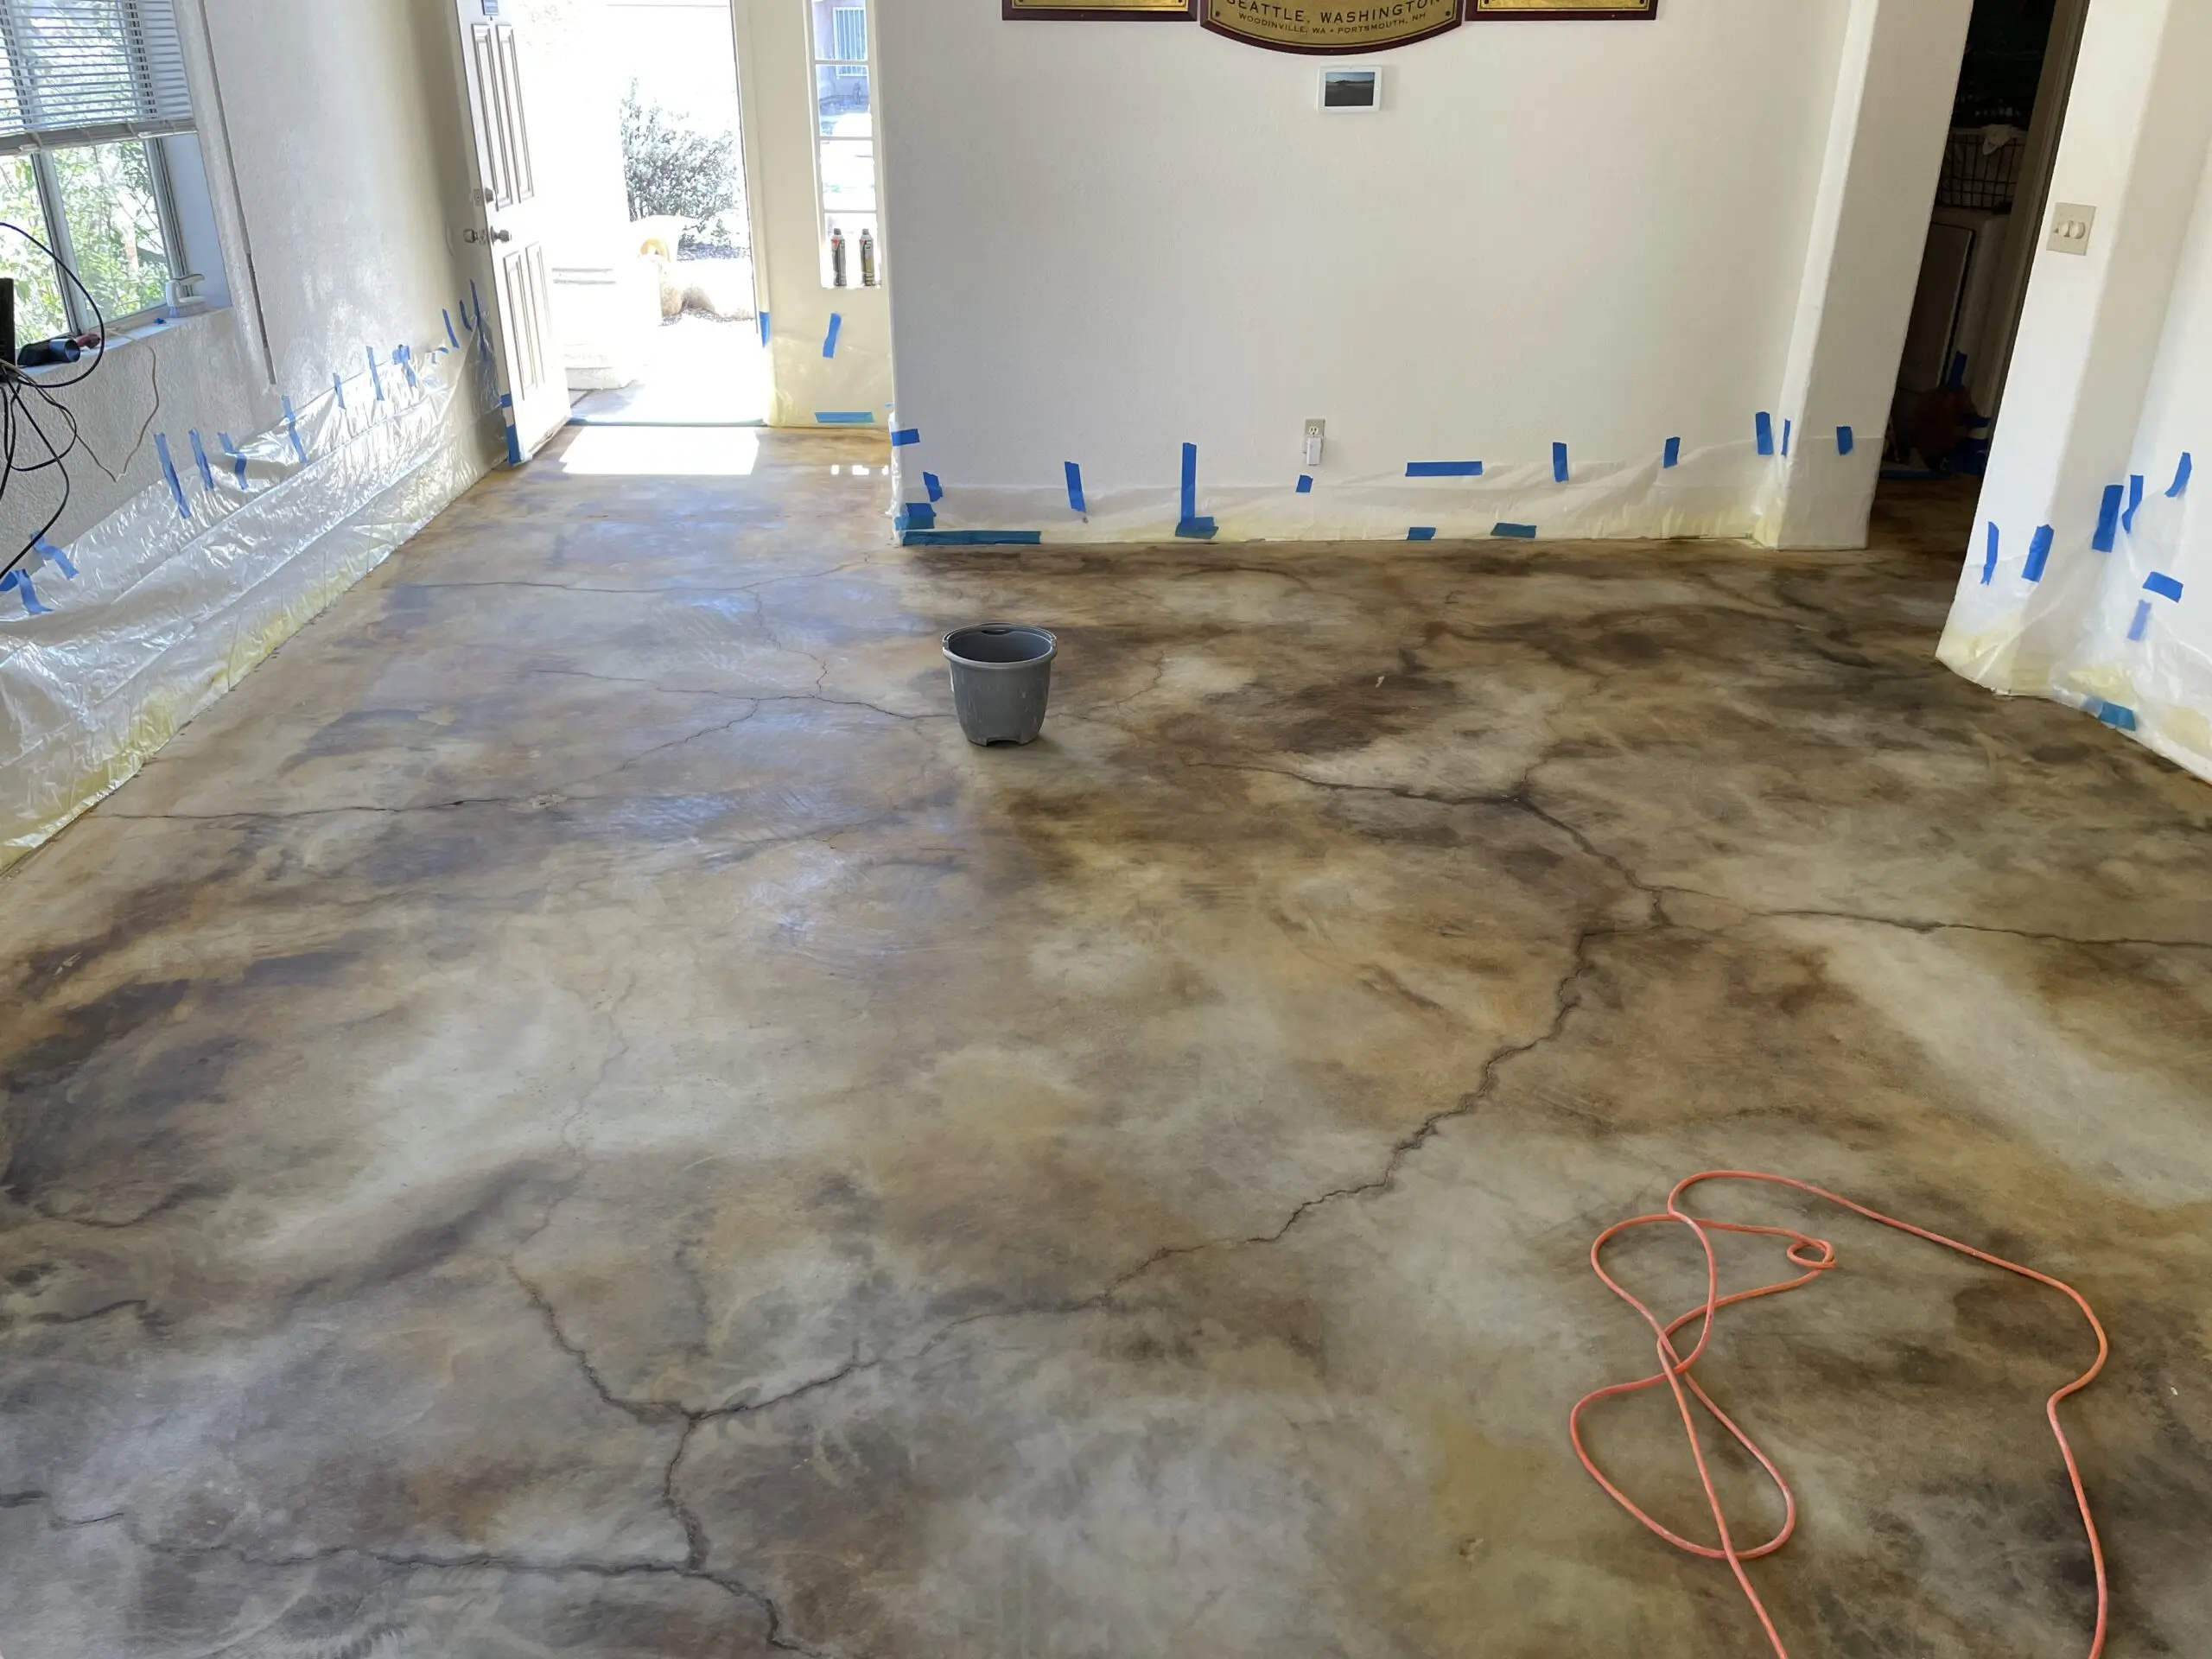
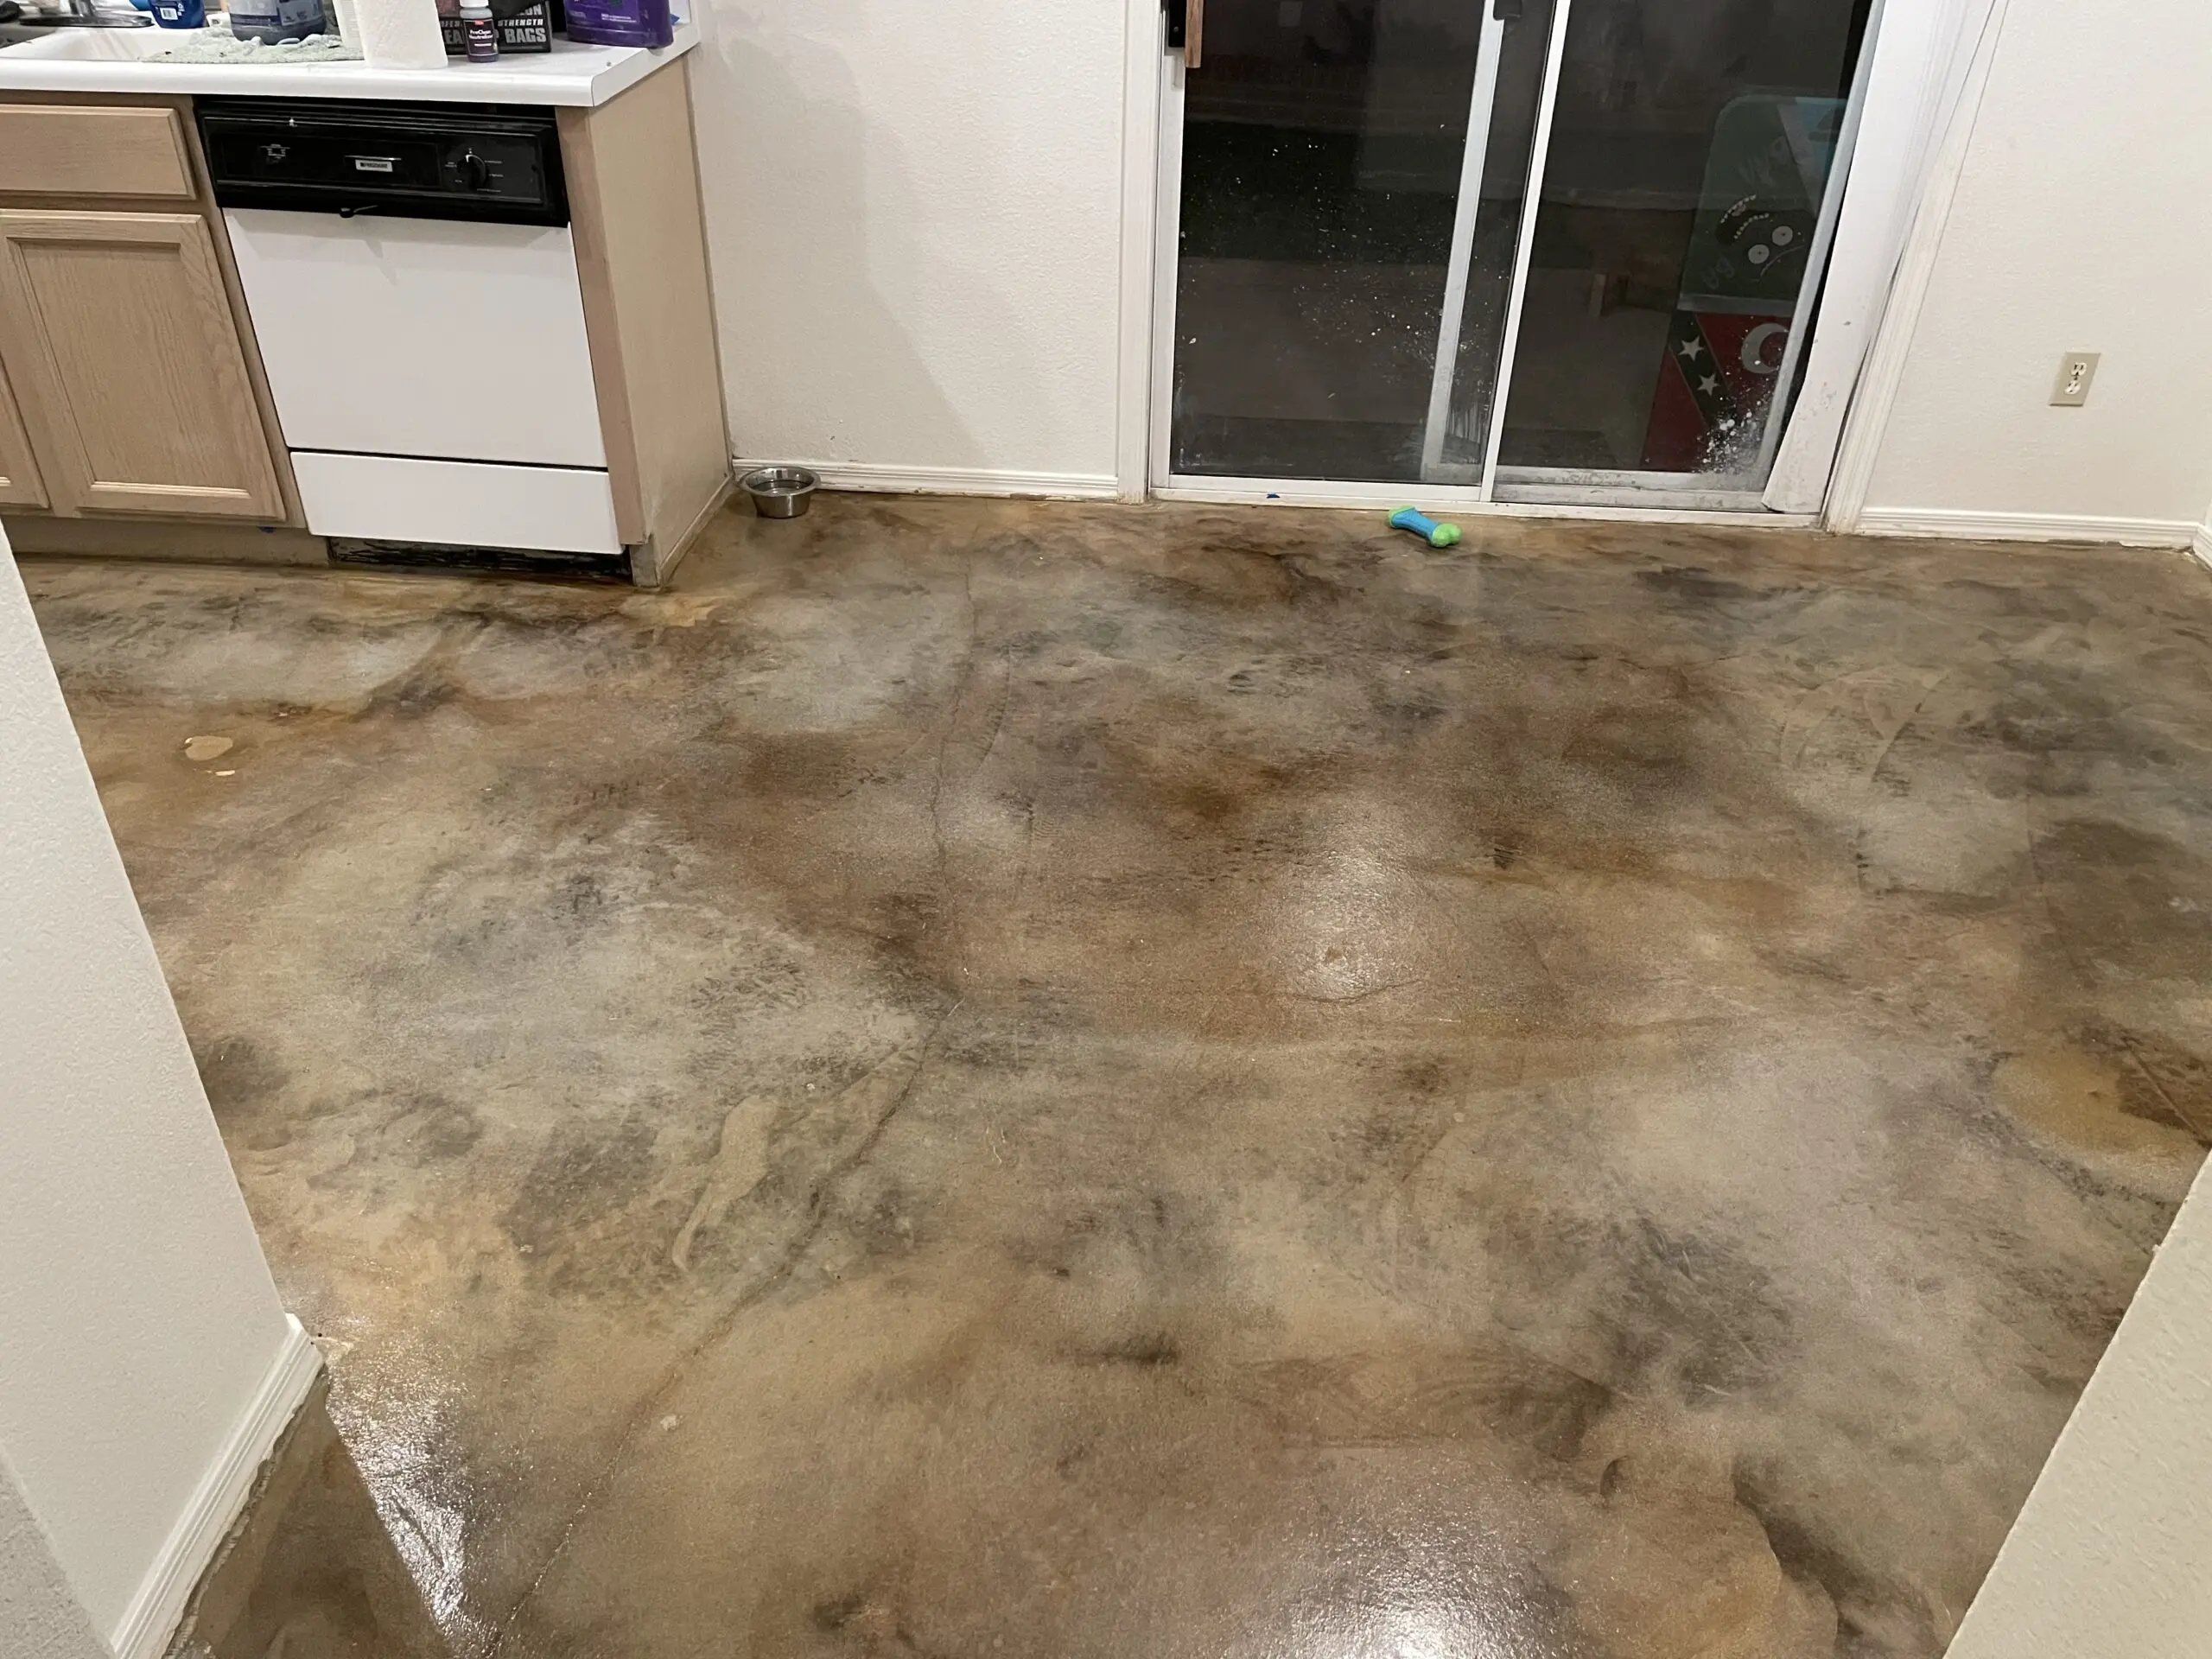
Project Info:
- Project Completed In: 5 day(s)
- Estimate of Square Footage: 900 sq. ft.
- Project Description:
My wife and I had carpet that we were tired of, and wanted to replace it with something more modern that would be durable for 10+ years. We removed all the carpet we had in our living room and hallway and our vinyl in the kitchen to replace it with a marble style concrete acid stain. The acid stain was something we hadn’t seen in a lot of homes in our area but we’re impressed after doing more research so we felt it was the best option! - Personal Tips:
If your concrete is older and has paint/carpet adhesive rent a good floor polisher with a coating removal blade.Give the acid plenty of time to react to the concrete.A good shop vac was the biggest help. Especially when cleaning up after the neutralizing of the acid. With a squeegee to pull water.Take your time and allow the sealer to go through its entire process before waxing.Don’t use a sprayer for the sealer. The 3/8 roller is definitely the best option after having clogged two different sprayers trying to spray the sealer on. (Yes I removed the filters) - Direct Colors Products Used:
1 Gal. Seagrass EverStain™ & AcquaSeal™ Gloss Kit
2 x 1 Gal. Malayan Buff EverStain™ & AcquaSeal™ Gloss Kit
1 Gal. Black EverStain™ & AcquaSeal™ Gloss Kit
1 Gal. ProWax Polish™ Gloss - Other Products Used:
Floor polisher with coating removal tool
Shop vac
Angle grinder with diamond floor grinder blade (for the edges)
Squeegee (HUGE help with neutralizing)
Floor brush
Trim pad
Spike shoes
3/8 nap roller
Transforming an Old Slab into a Beautiful Cabin Floor
In this DIY project, a 10-year-old slab was brought back to life in a new log cabin kitchen/dining area. The DIYer used our Malayan Buff, Seagrass, and Black acid stains in a random pattern to get a stunning, unique look. The process involved lots of stain, plenty of water for rinsing, and a final seal with our high gloss acrylic sealer. The end result? A gorgeous, unique floor that’s ready for many more years of use.
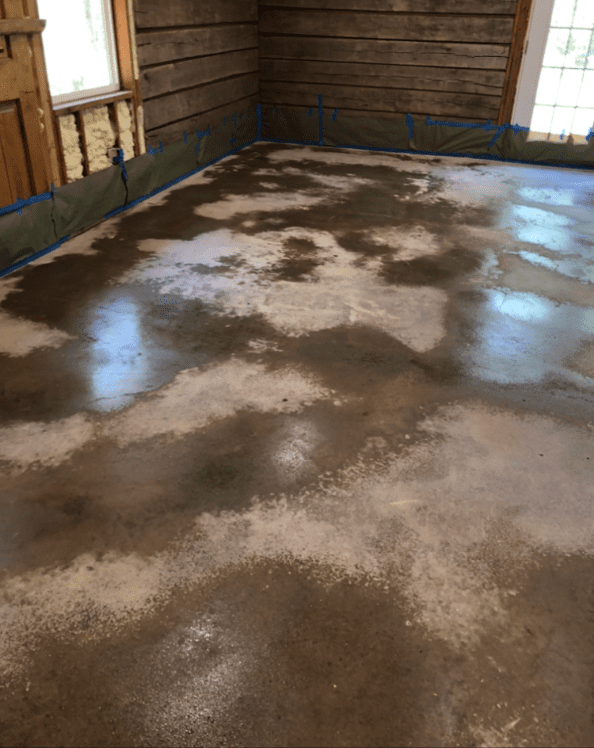
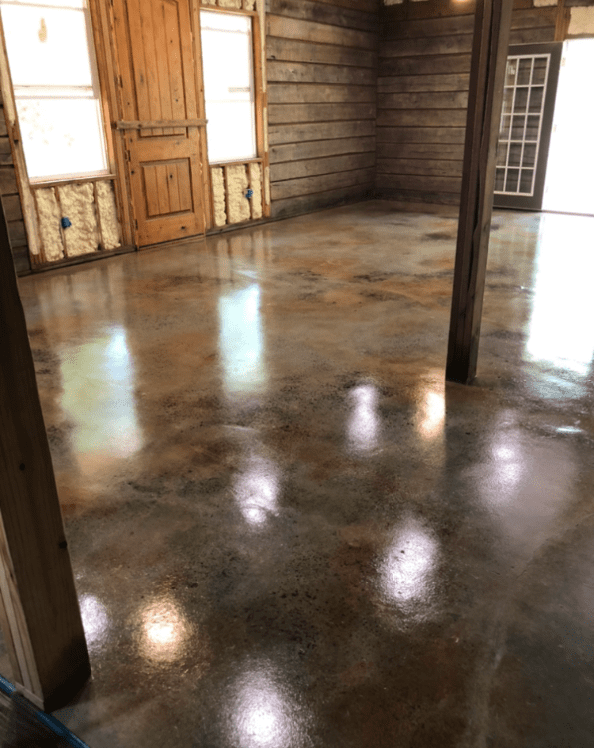
Project Info:
- Project Completed In: 7 day(s)
- Estimate of Square Footage: 800 sq. ft.
- Project Description:
Hi! I couldn’t be more pleased with your products.
My project is our new construction log cabin. The photos I’m sending are of the kitchen/dining room area.
We took over construction and the slab is about 10 years old.
After cleaning it thoroughly I bought the test kit of the 3 colors I was interested in, (Malayan Buff, Seafoam green, and Black), and tested an area that would be under the island.
With sprayers and my fashionable spiked shoes, I first put down the Malayan buff, then followed with the green, then sparingly with the black.
I did this all wet on wet so the colors would mottle together.
I did a second coat over the first, trying to keep over the same colors with each.
I figured that since I was doing random patterns it wouldn’t be a problem to me if I screwed up. It was fun!
After it dried, ( it was a couple of days before I could get to the neutralizing),
I mixed baking soda with water (1-2 tablespoons to each gallon.
Then I walked around with spikes on and just dumped gallons and gallons of the baking soda all over the floor and let it sit for a bit.
Then I got out the wet vac, put plastic bags over my feet, and wet-vacuumed it all up.
Then I rinsed with plain water 3 more times, and vacuumed up the water each time.
When dry, (I waited a couple days), with Direct Colors high gloss acrylic sealer, I sealed it using a sprayer. I sealed it with 2 coats. I used a paint roller for the second coat, as a I feel it went on more evenly.
The floor came out beautifully and when the other half of the downstairs is finished I will be doing another 800 square feet in the living room area. For this I will be adding some of the Cola color, to the other 3 colors I used and can’t wait to do it again! - Personal Tips:
1st Tip: Don’t be afraid to use lots of the stain, I feel like I went too light with the first coat. I ended up really liking how the green was coming out, so I went crazy with it on the second coat.
2nd Tip: Rinse with lots of water after neutralizing. At least 3 times. I feel this was key to a great seal when dry.
3rd Tip: I’m not using a sprayer for the high gloss acrylic sealer on the half of the house, I’m using a regular paint roller, (which I bought a long handle for).
Just make sure you buy good ones that say they won’t shed.
It was much easier and more even. - Direct Colors Products Used:
5 Gal. CitrusEtch™ Concrete Etcher
5 Gal. Seagrass EverStain™ & AcquaSeal™ Gloss Kit
5 Gal. Malayan Buff EverStain™ Acid Stain
5 Gal. Black EverStain™ Acid Stain
5 Gal. ProWax Polish™ Gloss - Other Products Used:
Simple plastic lawn/garden sprayers
Spiked shoes
Protective paper for walls,
Painters tape
Baking soda
Paint roller with long handle
Resilience Through Renovation: A Flood-Inspired Concrete Staining Project
When their house was devastated by Hurricane Ian, these homeowners decided to turn the tragedy into an opportunity. Instead of traditional flooring, they chose concrete staining for cost-effectiveness, durability, and a chance to make their floors even more beautiful than before. Using Seagrass and Black from Direct Colors, they captured the memory of the ocean waters that once flooded their property. With good preparation and patience, they were able to transform their space and make it through the storm.
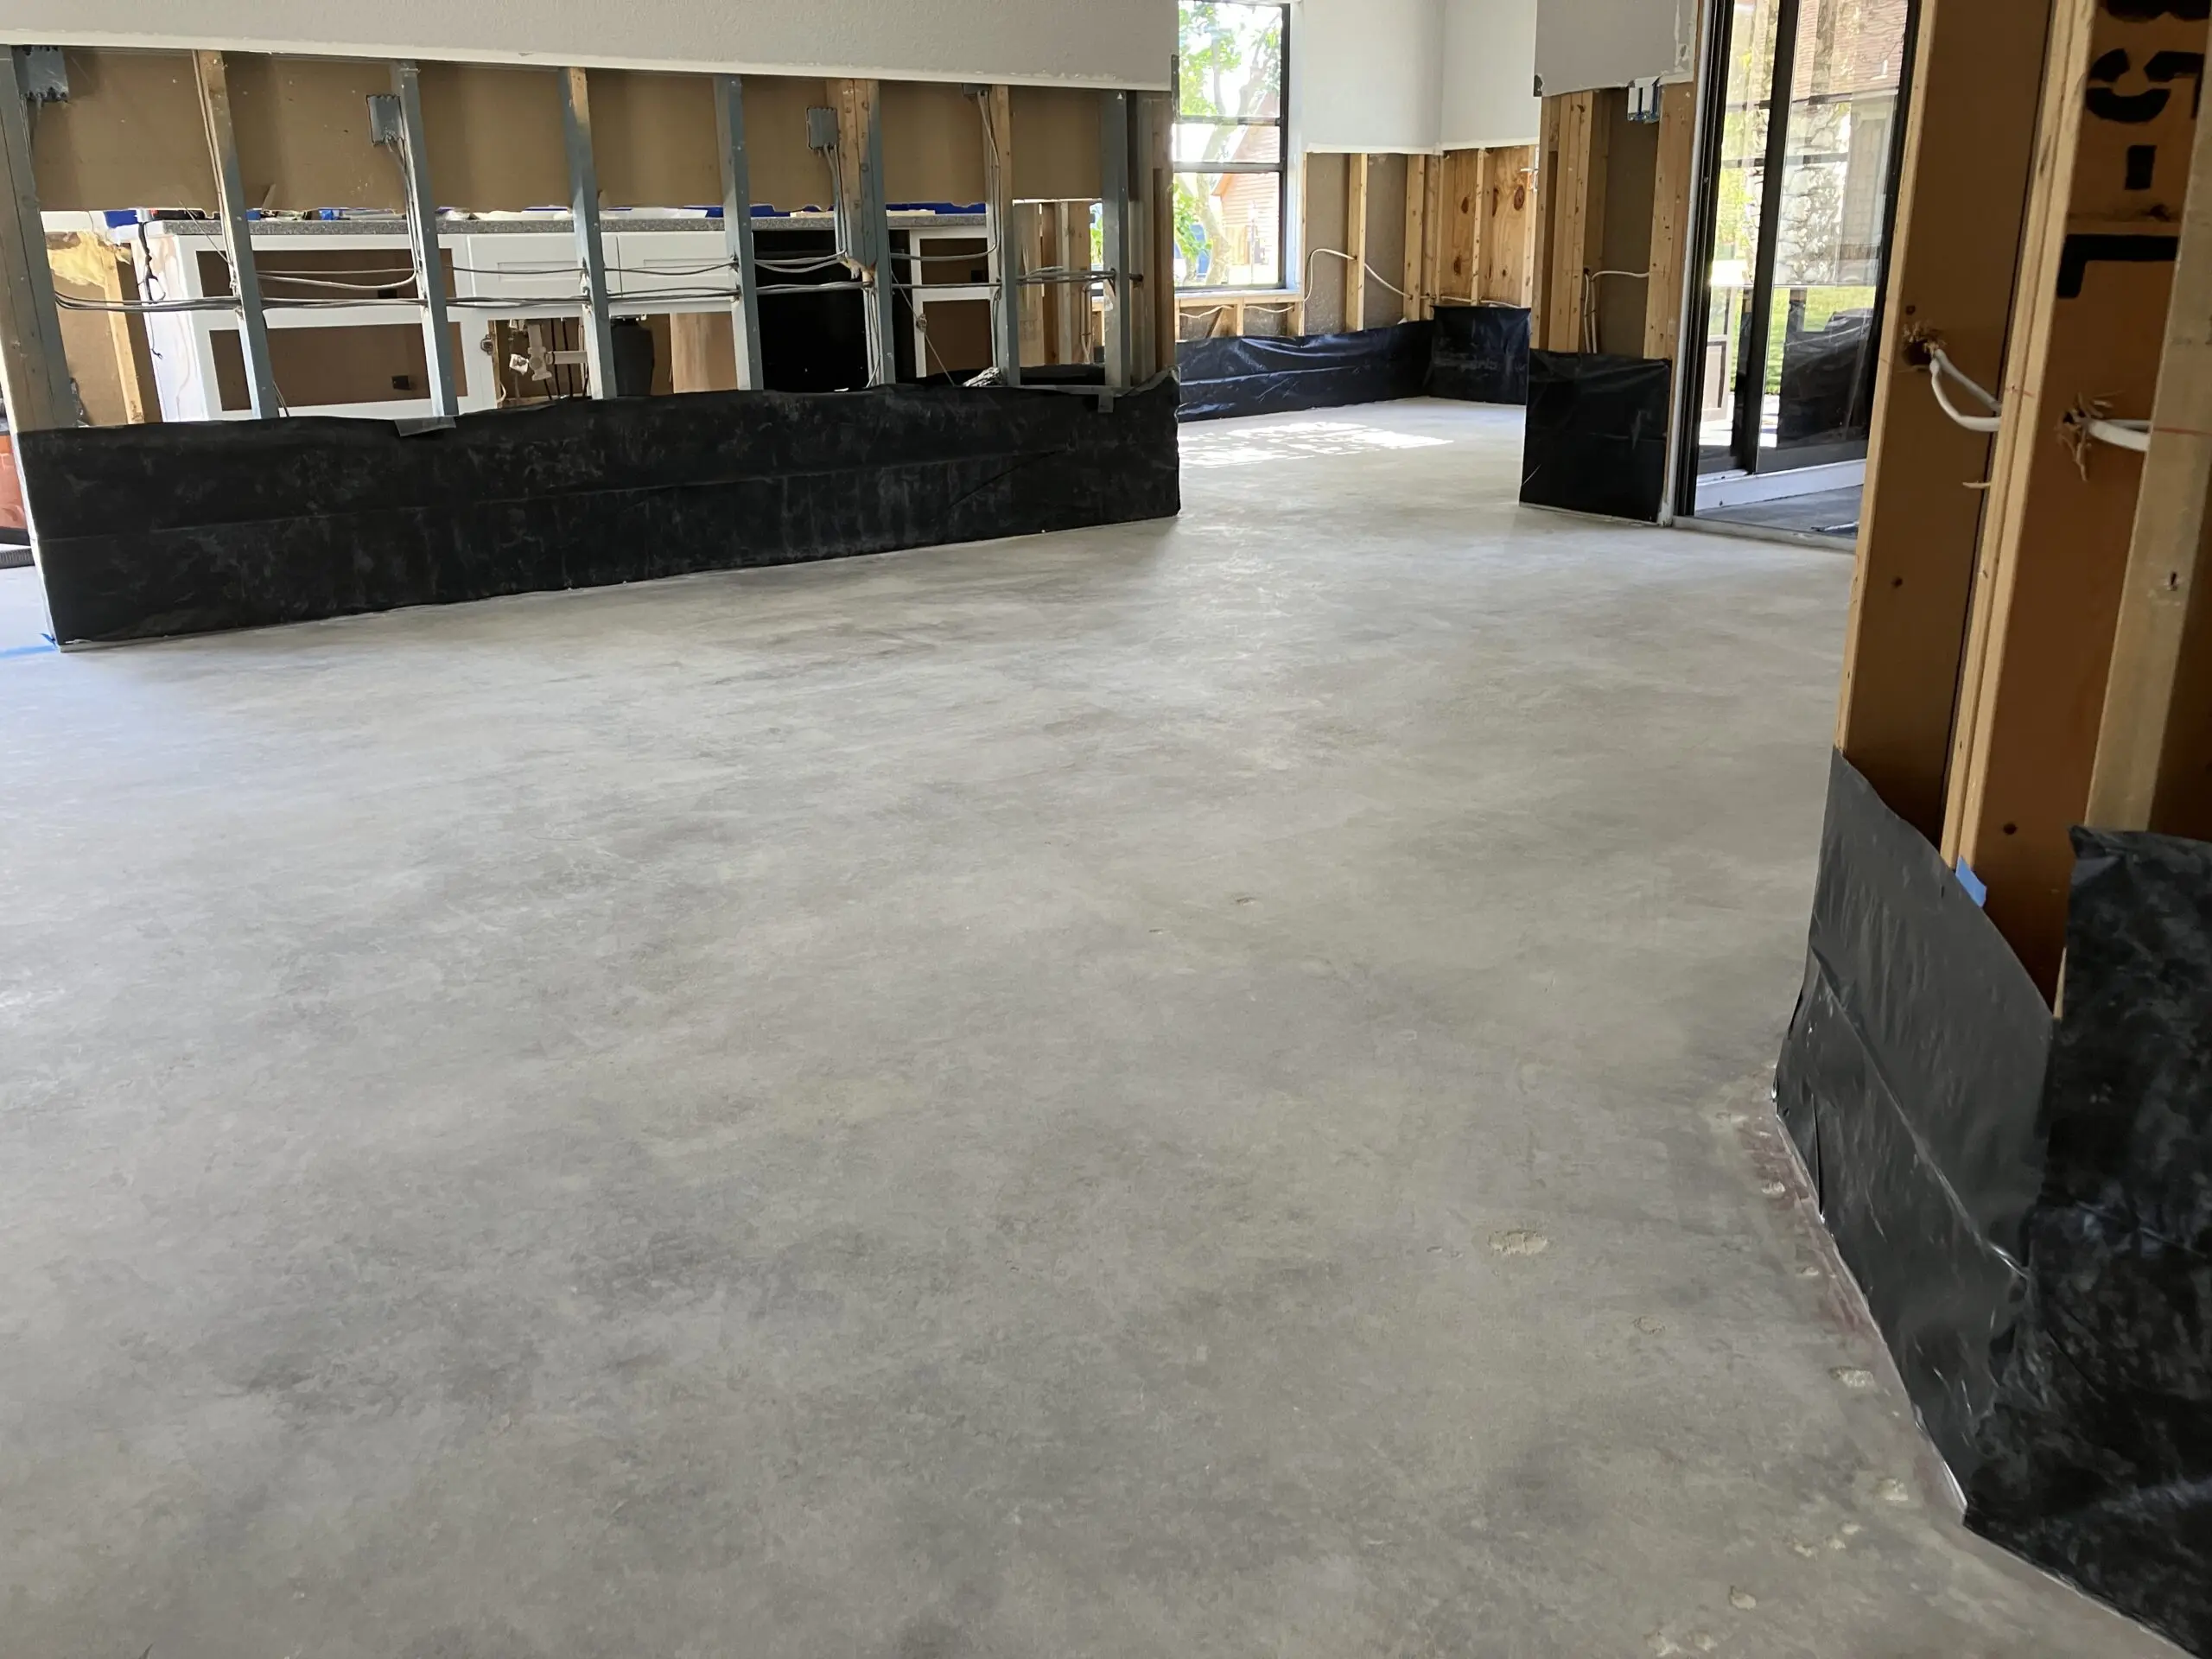
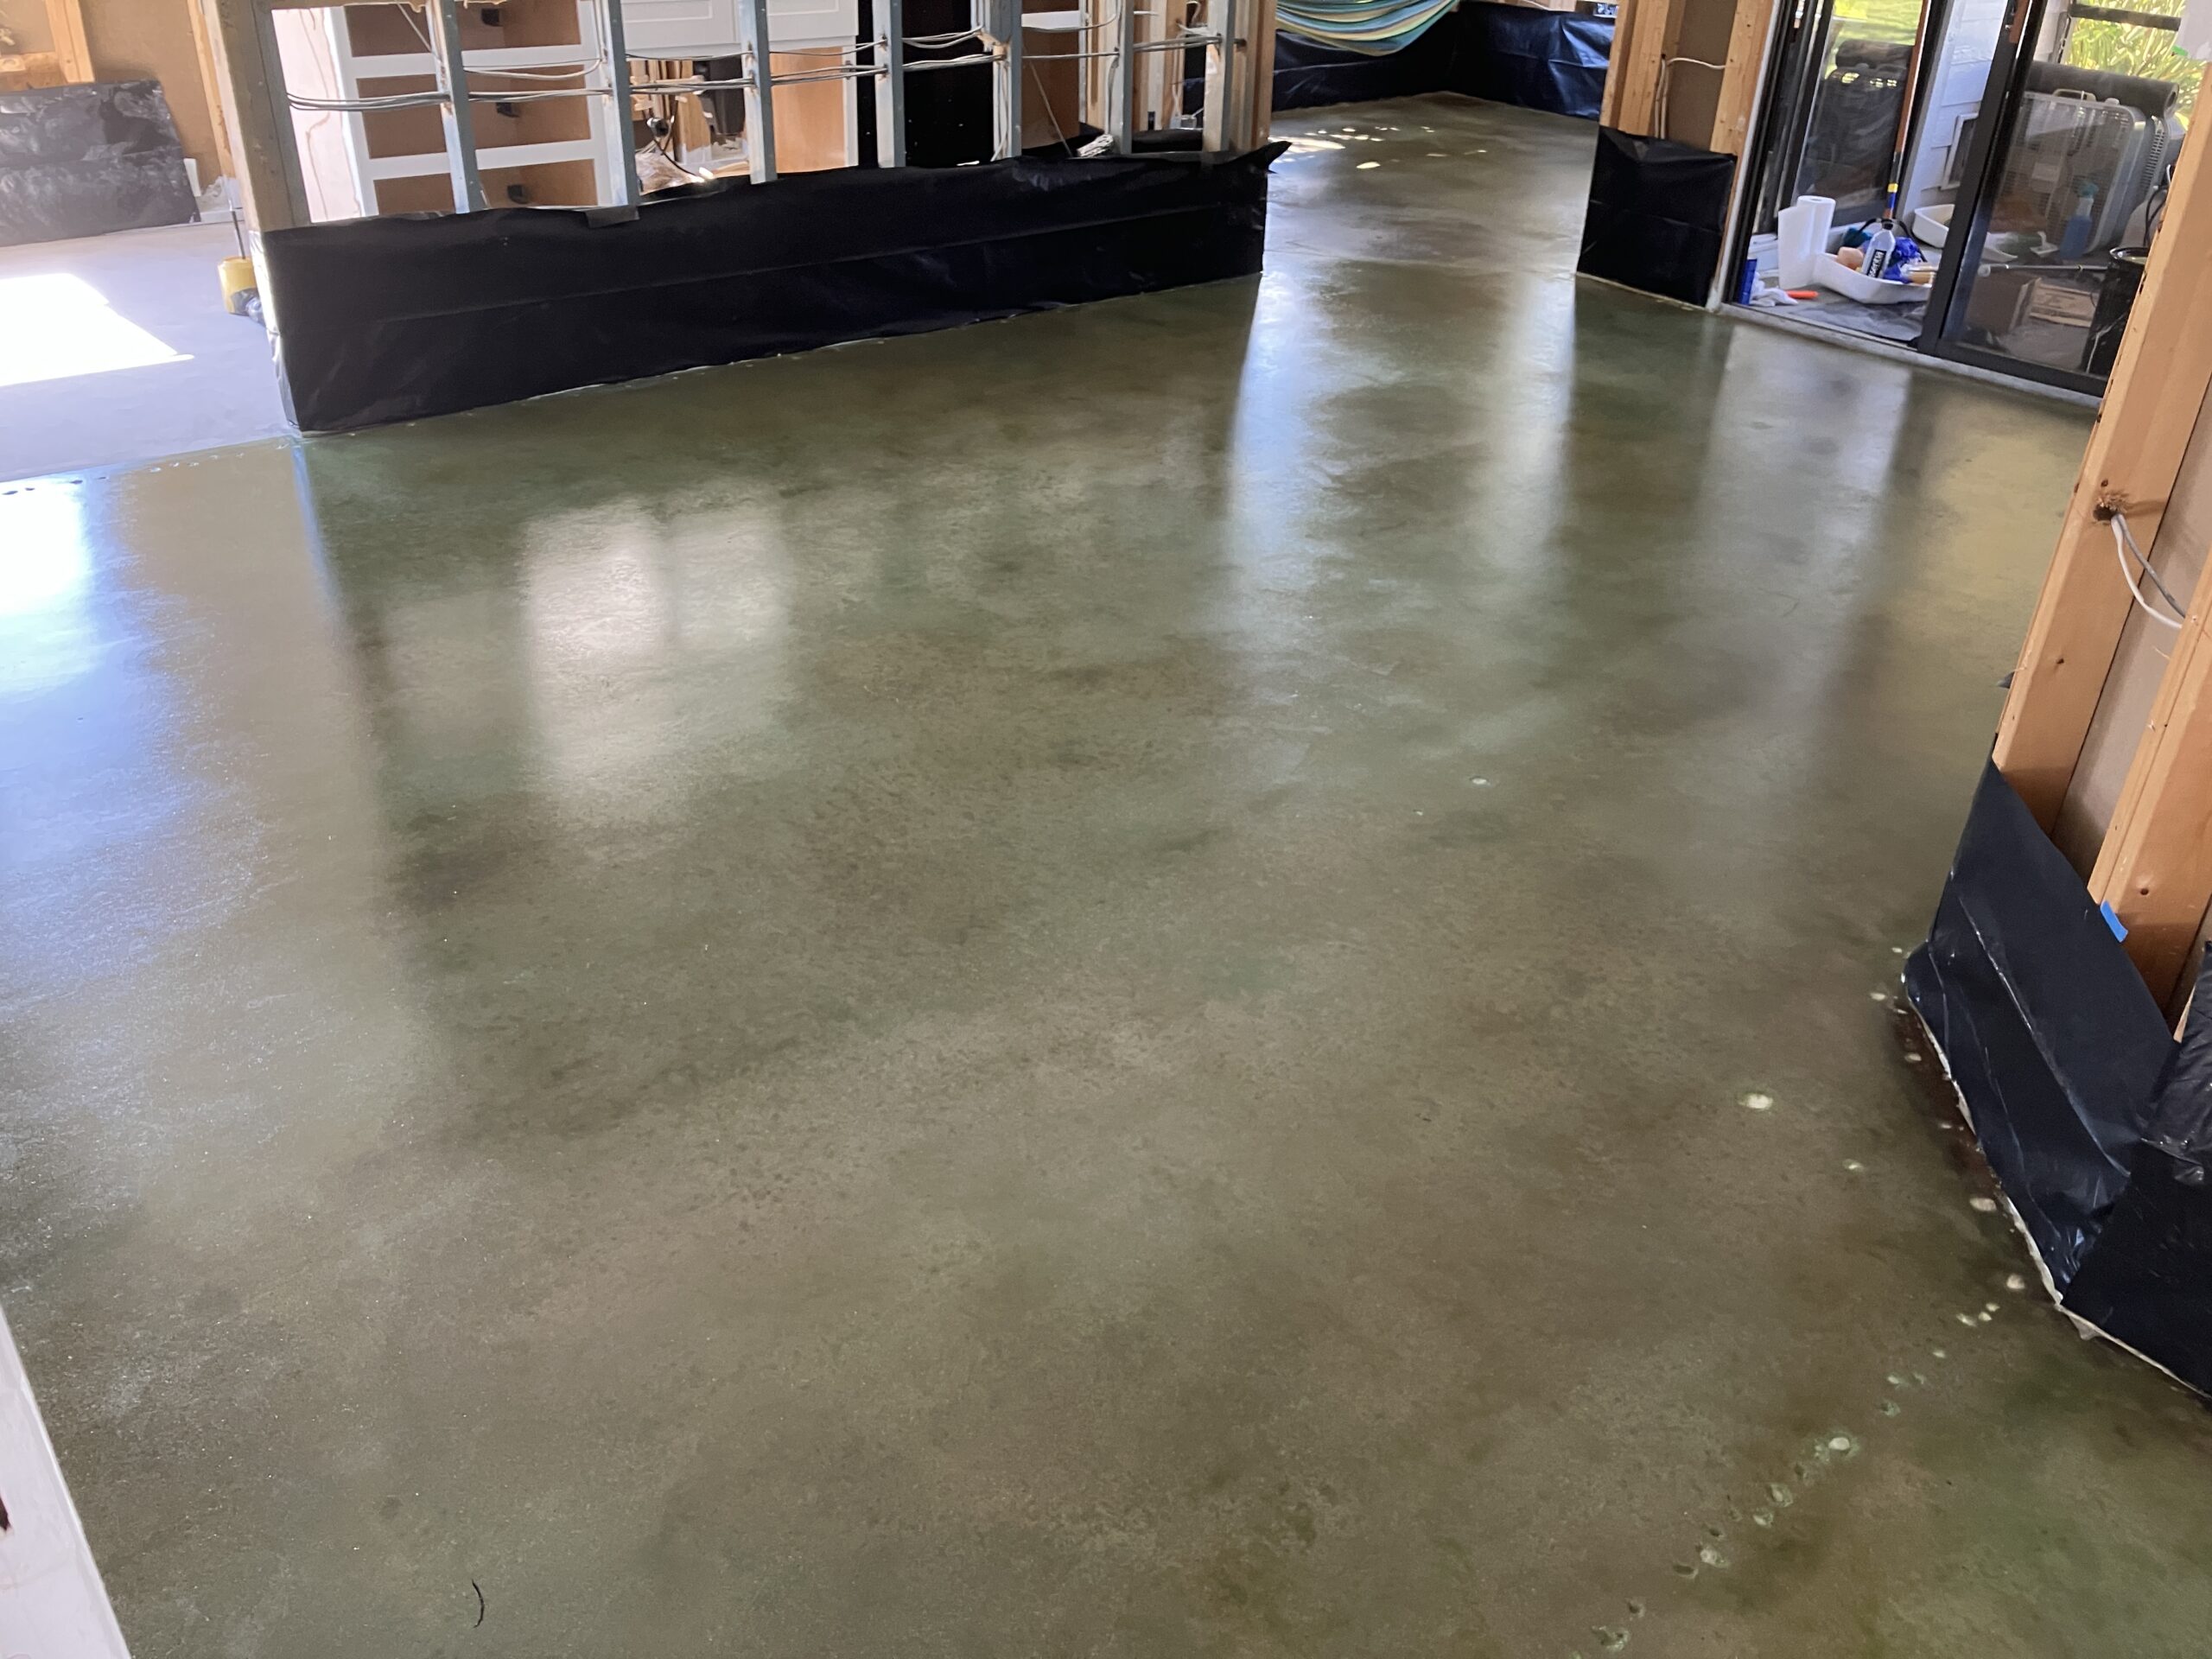
Project Info:
- Project Completed In: 5 day(s)
- Estimate of Square Footage: 1400 sq. ft.
- Project Description:
We needed a new flooring solution after our house was flooded from Hurricane Ian.Like everyone else in our neighborhood we had to remove all carpet and plank flooring.And replacing what was previously there just didn’t seem like a good option. Putting wall to wall tile was just too costly.
And because everyone else in our community was in the same boat, getting a contractor to our place was already months out.
So in an effort to rebuild our home back better and stronger concrete staining looked like the best option in every category.Cost, Durability, and hopefully we could purse make the floors more beautiful than before.
Never having done something like this before we chose Direct Colors because their website had all the information we needed to feel secure the we could complete this project ourselves
We choose SeaGrass and Black as a reminder that the ocean waters had washed through our property. Hoped to capture the moment forever in concrete as a reminder to us how powerful nature is and what we are enduring to rebuild.
It wasn’t without effort, or requiring us to learn new things, but nothing in life that’s worth something is easy.
We have made it through the rain, and made our place better than before.Thanks Direct Colors for helping us through this difficult time. - Personal Tips:
The better the prep work you do, the better the results
Will take longer than you might think to do it right - Direct Colors Products Used:
5 Gal. CitrusEtch™ Concrete Etcher
5 Gal. Seagrass EverStain™ & AcquaSeal™ Satin Kit
1 Gal. Black EverStain™ Acid Stain
5 Gal. ProWax Polish™ Satin
Carpet-to-Concrete Transformation: A New Look with Acid Stains
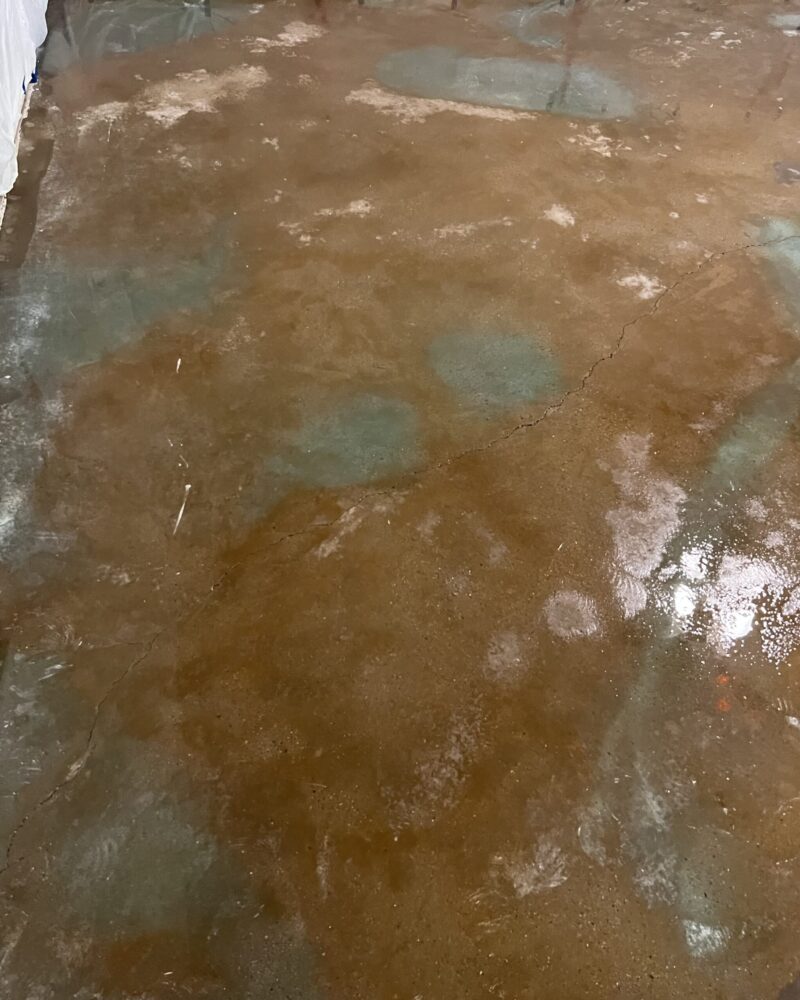
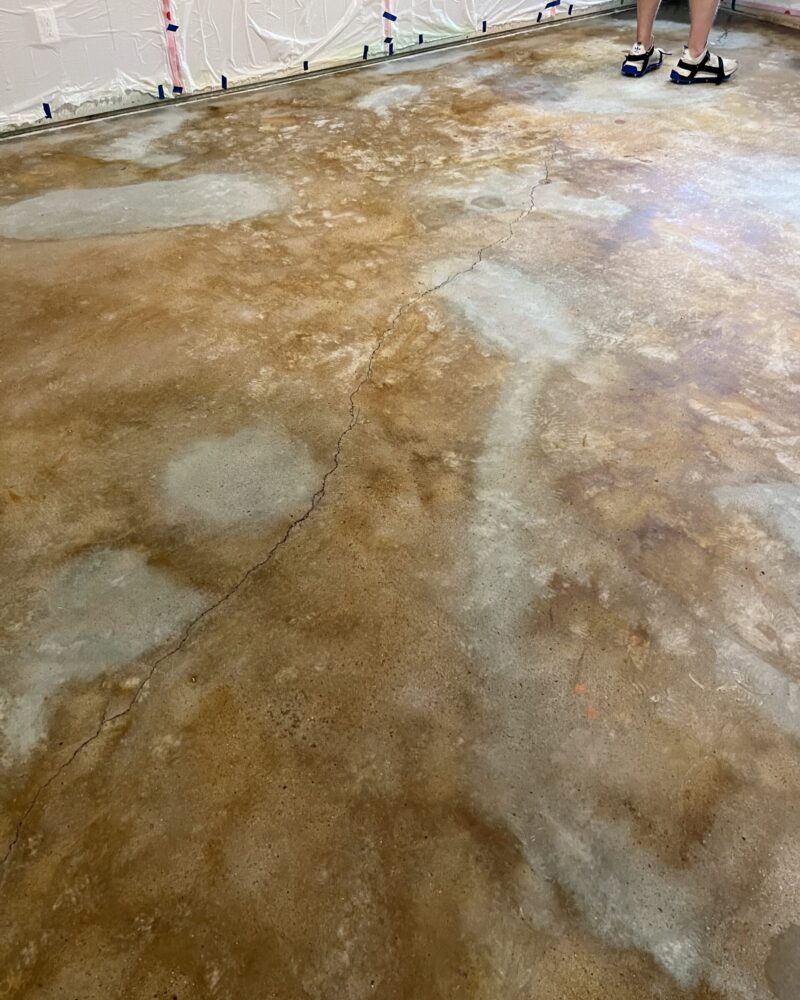
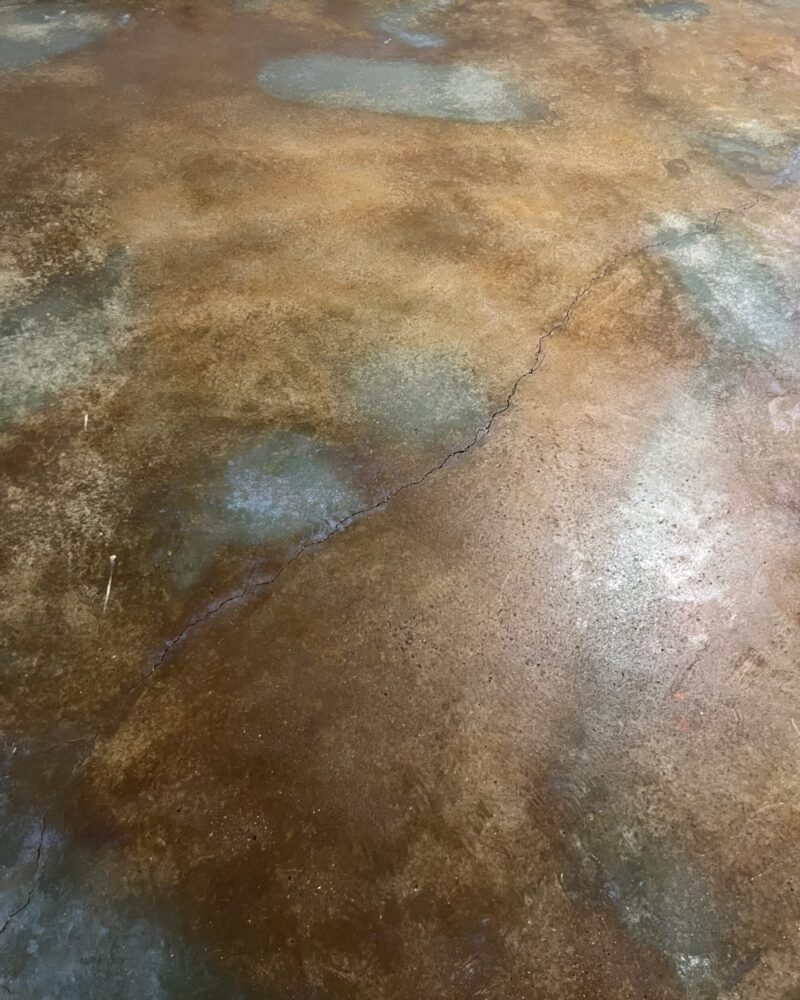
This project involved the removal of old carpeting and the careful preparation of the underlying concrete for a refreshing update. The homeowners sought a warm, earthy color scheme, so they opted for a blend of our Malayan Buff and Seagrass acid stains. Using the wet-on-wet technique, they achieved a vibrant and blended finish that transformed the floor. Despite the changing appearances at different stages, patience and trust in the process resulted in a beautiful end product.
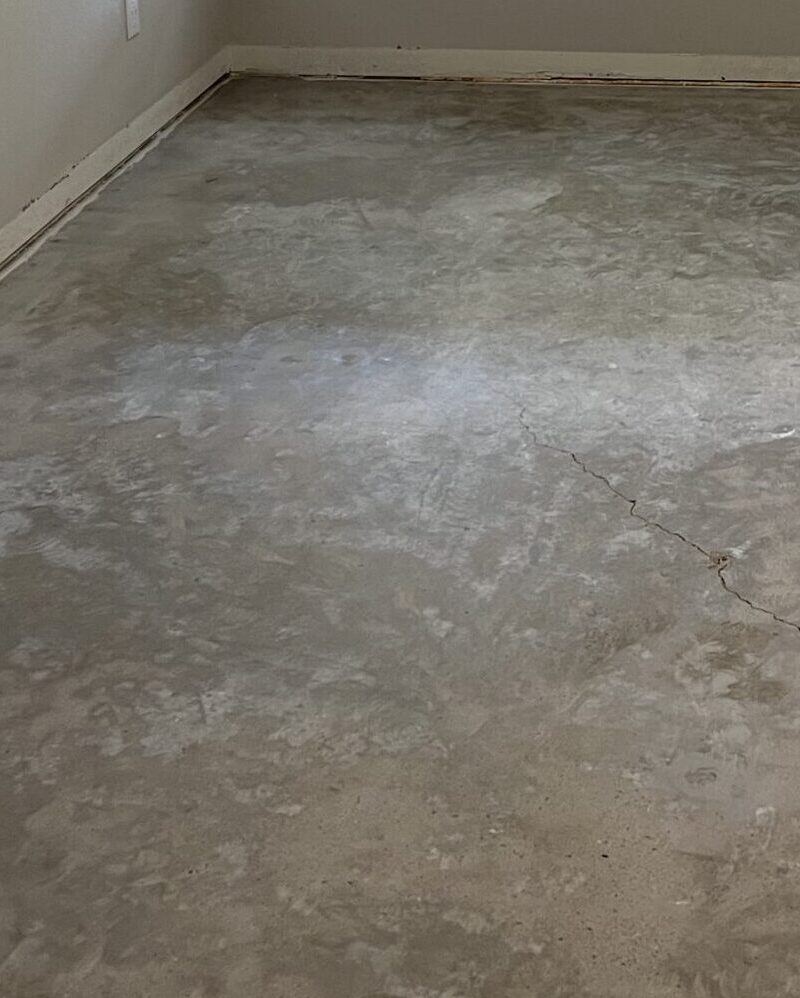
Project Info:
- Project Completed In: 4 day(s)
- Estimate of Square Footage: 200 sq. ft.
- Project Description:
We removed the carpet and prepped the concrete prior to receiving the products. We wanted more of the brown colors with some of the seagrass blending in so we decided that the wet on wet technique would probably give us the look we were after. Once the color was on, we allowed it to sit around 5 hours then neutralized it. - Personal Tips:
We chose not to Etch the concrete. Take the time to really research everything on the website. It really helped the process go much smoother than we expected. Trust the process. Each stage the floor looked completely different but the end product is beautiful! - Direct Colors Products Used:
1 Gal. CitrusEtch™ Concrete Etcher
1 Gal. Seagrass DIY EverStain™ & AcquaSeal™ Satin Kit
1 Gal. Malayan Buff EverStain™ Acid Stain
1 Gal. ProWax Polish™ Satin
Basement Renovation with a Classic Touch
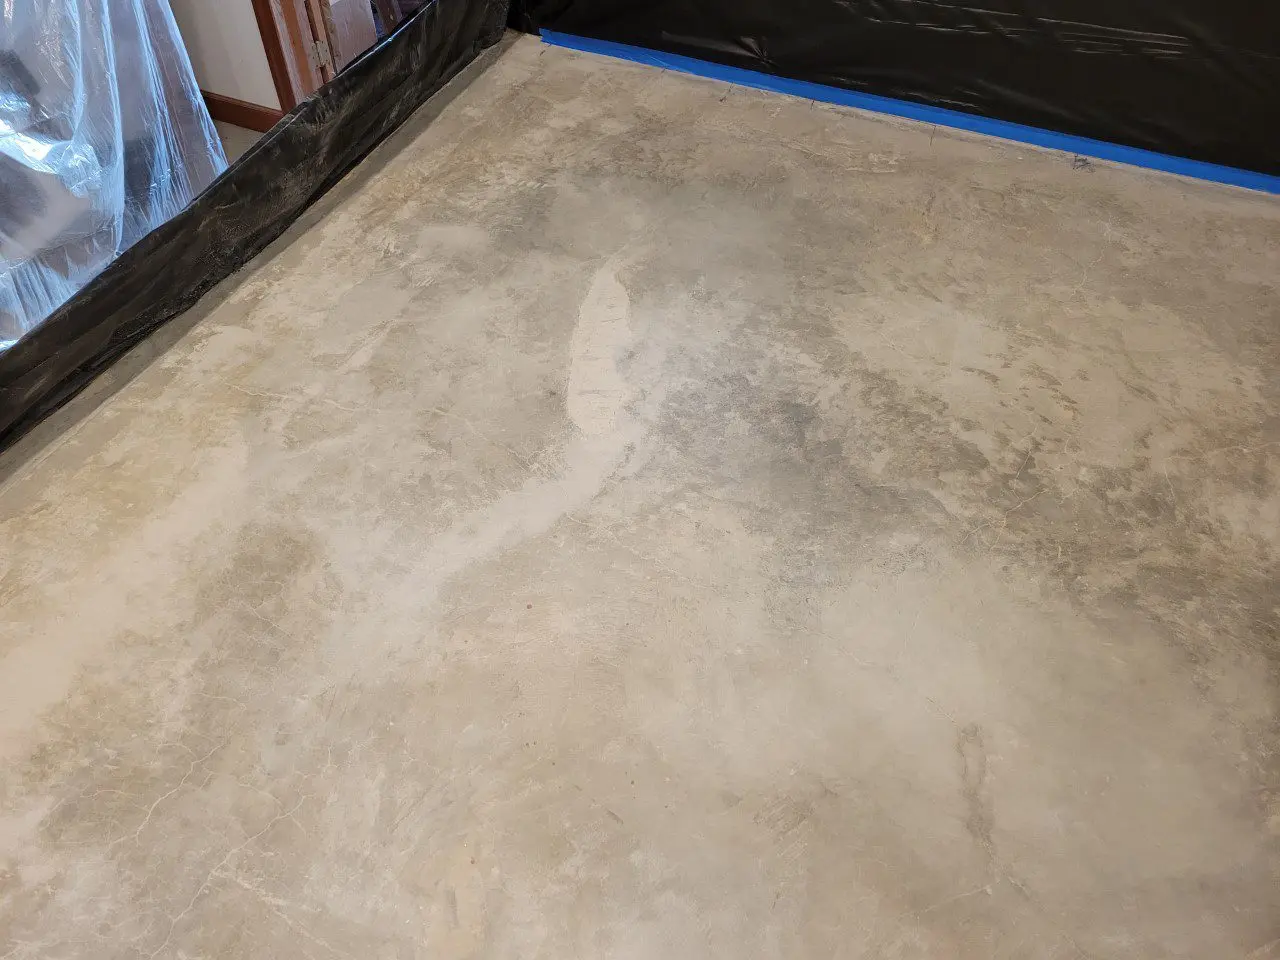
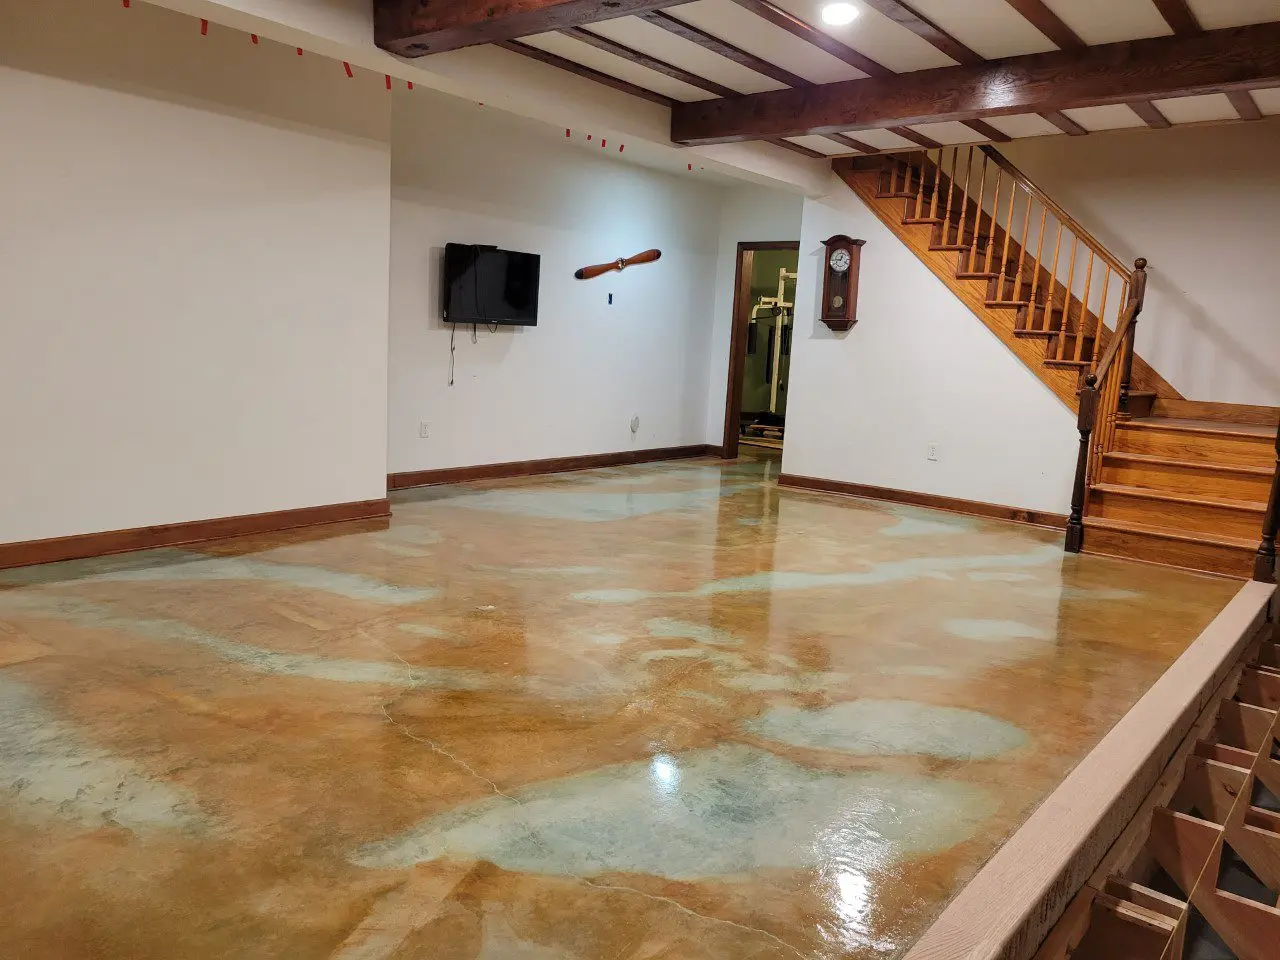
This project involved turning an old basement into an aesthetically pleasing living space using Malayan Buff, Avocado, and Seagrass stains. After meticulous preparation, including sanding, vacuuming, and staining, the result was a uniquely patterned concrete floor. Multiple rinses and scrubs were needed to remove residue, followed by sealant and wax applications for protection. Despite the hard work, the stunning outcome made it all worthwhile. The homeowner advises extra fans during dry sanding, thorough residue cleaning, and keeping a spare acid sprayer on hand.
Project Info:
- Project Completed In: 15 day(s)
- Estimate of Square Footage: 700 sq. ft.
- Project Description:
I built the house 20 years ago with no intention of using the basement are as living space. Fast forward 20 years and I changed my mind. I investigated having contractors come in and apply epoxy coating. I also purchased several gallons (different colors) of “concrete stain” from the local big-box hardware store. I applied sample areas on my floor to get a visual feel to see if that was what I wanted. I was not happy with it as it just appeared to be paint. I also did not like the “garage floor” look of the epoxy coatings offered by the contractors. While I had seen Direct Colors concrete stain pictures during my research, I knew it would be more work on my part, and I was hoping for something easy. This once-in-a-lifetime project had to be done right the first time, as there was not going to be a second. I bit the bullet (mentally) and decided to do the concrete stain so I would like the outcome.
The floor had not been damaged but there are two small settling cracks. I chose to not patch repair the cracks as they were tight and after reading that different mortars can have different colors, I preferred having the sight of a tight crack than color changes due to mortar. I’m glad I did; I like the look and it is hardly noticeable.
When I built the house 20 years ago, I used this basement area to stain my woodwork. In the process I spilled wood stain many places on the concrete. Therefore, I knew I would have to sand the concrete to get past the existing wood stain. I was unsure if I would do it as a wet-sand job, or a dry sanding, so I prepped the area by putting plastic up around the perimeter. I rented a floor sander with the concrete sanding disc at the local big-box hardware store and started sanding. At first I tried an area using water, knowing this would keep the dust down. But with the water I could not see the condition of the sanded area due to the slurry, then I tried sanding an area dry. I was much more comfortable seeing the floor when dry sanding. I had the basement window open with a fan in it pulling the air out of the house, a full face respirator, and I had a vacuum connected to the sander. About half-way through the sanding I noticed it was taking a lot of work to make any progress. I deduced the sanding disc was worn out and I removed it and returned to the hardware store for an exchange. As I only rented the machine for one day, I was worried about losing time to make the one-hour round trip for the new disc. After returning with the new disc and using it I was glad to have it! The sanding went so much better with the new disc and did a great job. At the completion of sanding, I swept and vacuumed the entire area, including the walls. This included removing the perimeter plastic (put up for wet sanding), as it had collected a lot of dust. I had the doorway from the basement to the upstairs plastic and taped off, but after going upstairs, I found that the plastic/tape job was not adequate, as the concrete dust managed to work its way upstairs into the living areas. So I went into action cleaning that up before it got ground-in.
With the floor swept and vacuumed (several times), I prepped the area for staining. This included new perimeter plastic. I chose three different color stains, Malayan Buff, Avocado, and Seagrass. I used three spray bottles, so I could work my way across the floor using all three, applying colors per my design. Again, with a fan in the window and a respirator, and now spiked sandals, I put the stain down. Having previously purchased the stain sample kit, I knew I wanted to wait the full time for as much color to burn into the concrete. The following day I rinsed and scrubbed the concrete and wet-dry vacuumed it up. I had a garden hose into the area to make it convenient, this worked well. While the floor was still wet I decided I wanted more color. After the floor dried, I went back and applied more stain in certain areas. And the next day rinsed and scrubbed the floor, then gave the floor a full day to dry. I checked for any residue and noticed the floor still had a significant amount of residue, so I rinsed and scrubbed again. After the third rinse and scrub the residue was no longer noticeable.
The following day I swept and vacuumed, then applied the first coat of sealant using a hardware store damp-type mop. As recommended, I applied the sealant in a north-south direction initially. Then on the second day I applied east-west. I had a considerable amount of sealant remaining, although I had purchased the recommended amount for my square footage. I believe I was just applying coats lighter than expected. After the second coat dried, I applied another north-south coat.
Two coats of wax on top of it finished it, and it is so much better than I could have dreamed. I am very glad I chose to do the concrete stain, and not paint or epoxy. The job did take some work on my part, but it was entirely worth it. - Personal Tips:
More/bigger fans when dry sanding.
Don’t sand unless you have to.
Drywall mud must be removed down to bare concrete.
Rinse and scrub the acid residue until the floor passes the white-glove test.
I was able to do a few hours a day or every other day. There was no rush to “get it done”.
The quantities recommended are fairly accurate.
Have a spare acid sprayer available. You don’t want to be in the middle of spraying and have an issue. Cheap insurance.
- Direct Colors Products Used:
5 Gal. CitrusEtch™ Concrete Etcher
3 x 1 Gal. Malayan Buff EverStain™ & AcquaSeal™ Gloss Kit
2 x 1 Gal. Avocado EverStain™ & AcquaSeal™ Gloss Kit
1 Gal. Seagrass DIY EverStain™ & AcquaSeal™ Gloss Kit
1 Gal. ProWax Polish™ Satin
The Kintsugi-Inspired Acid Stained Concrete Floor Transformation
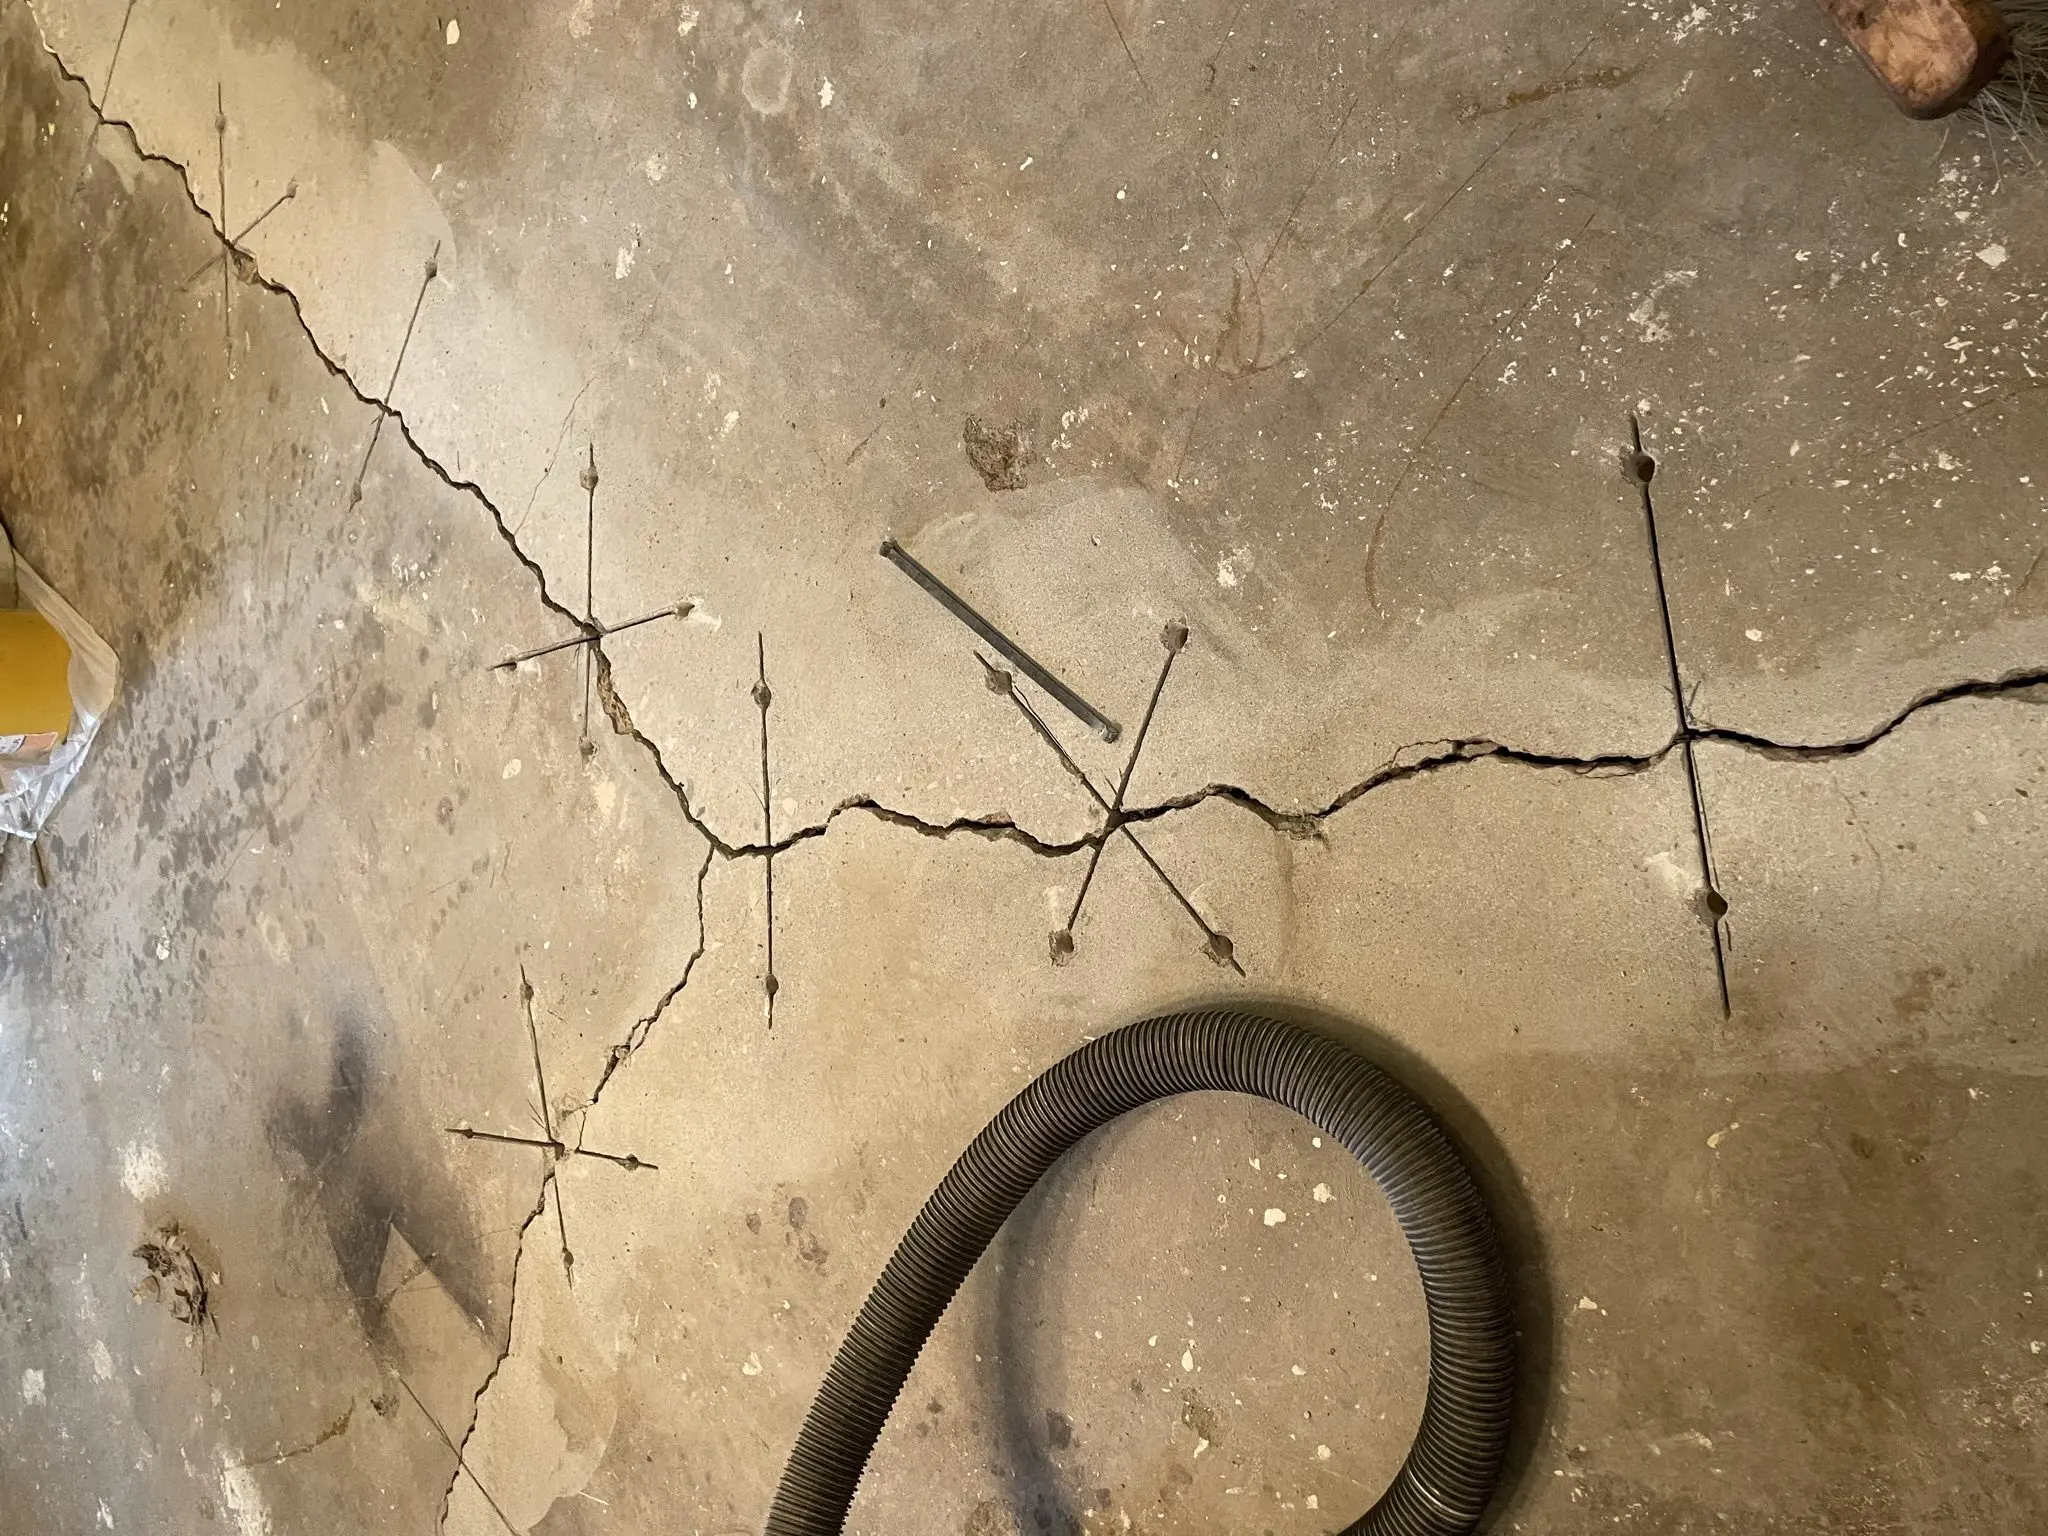
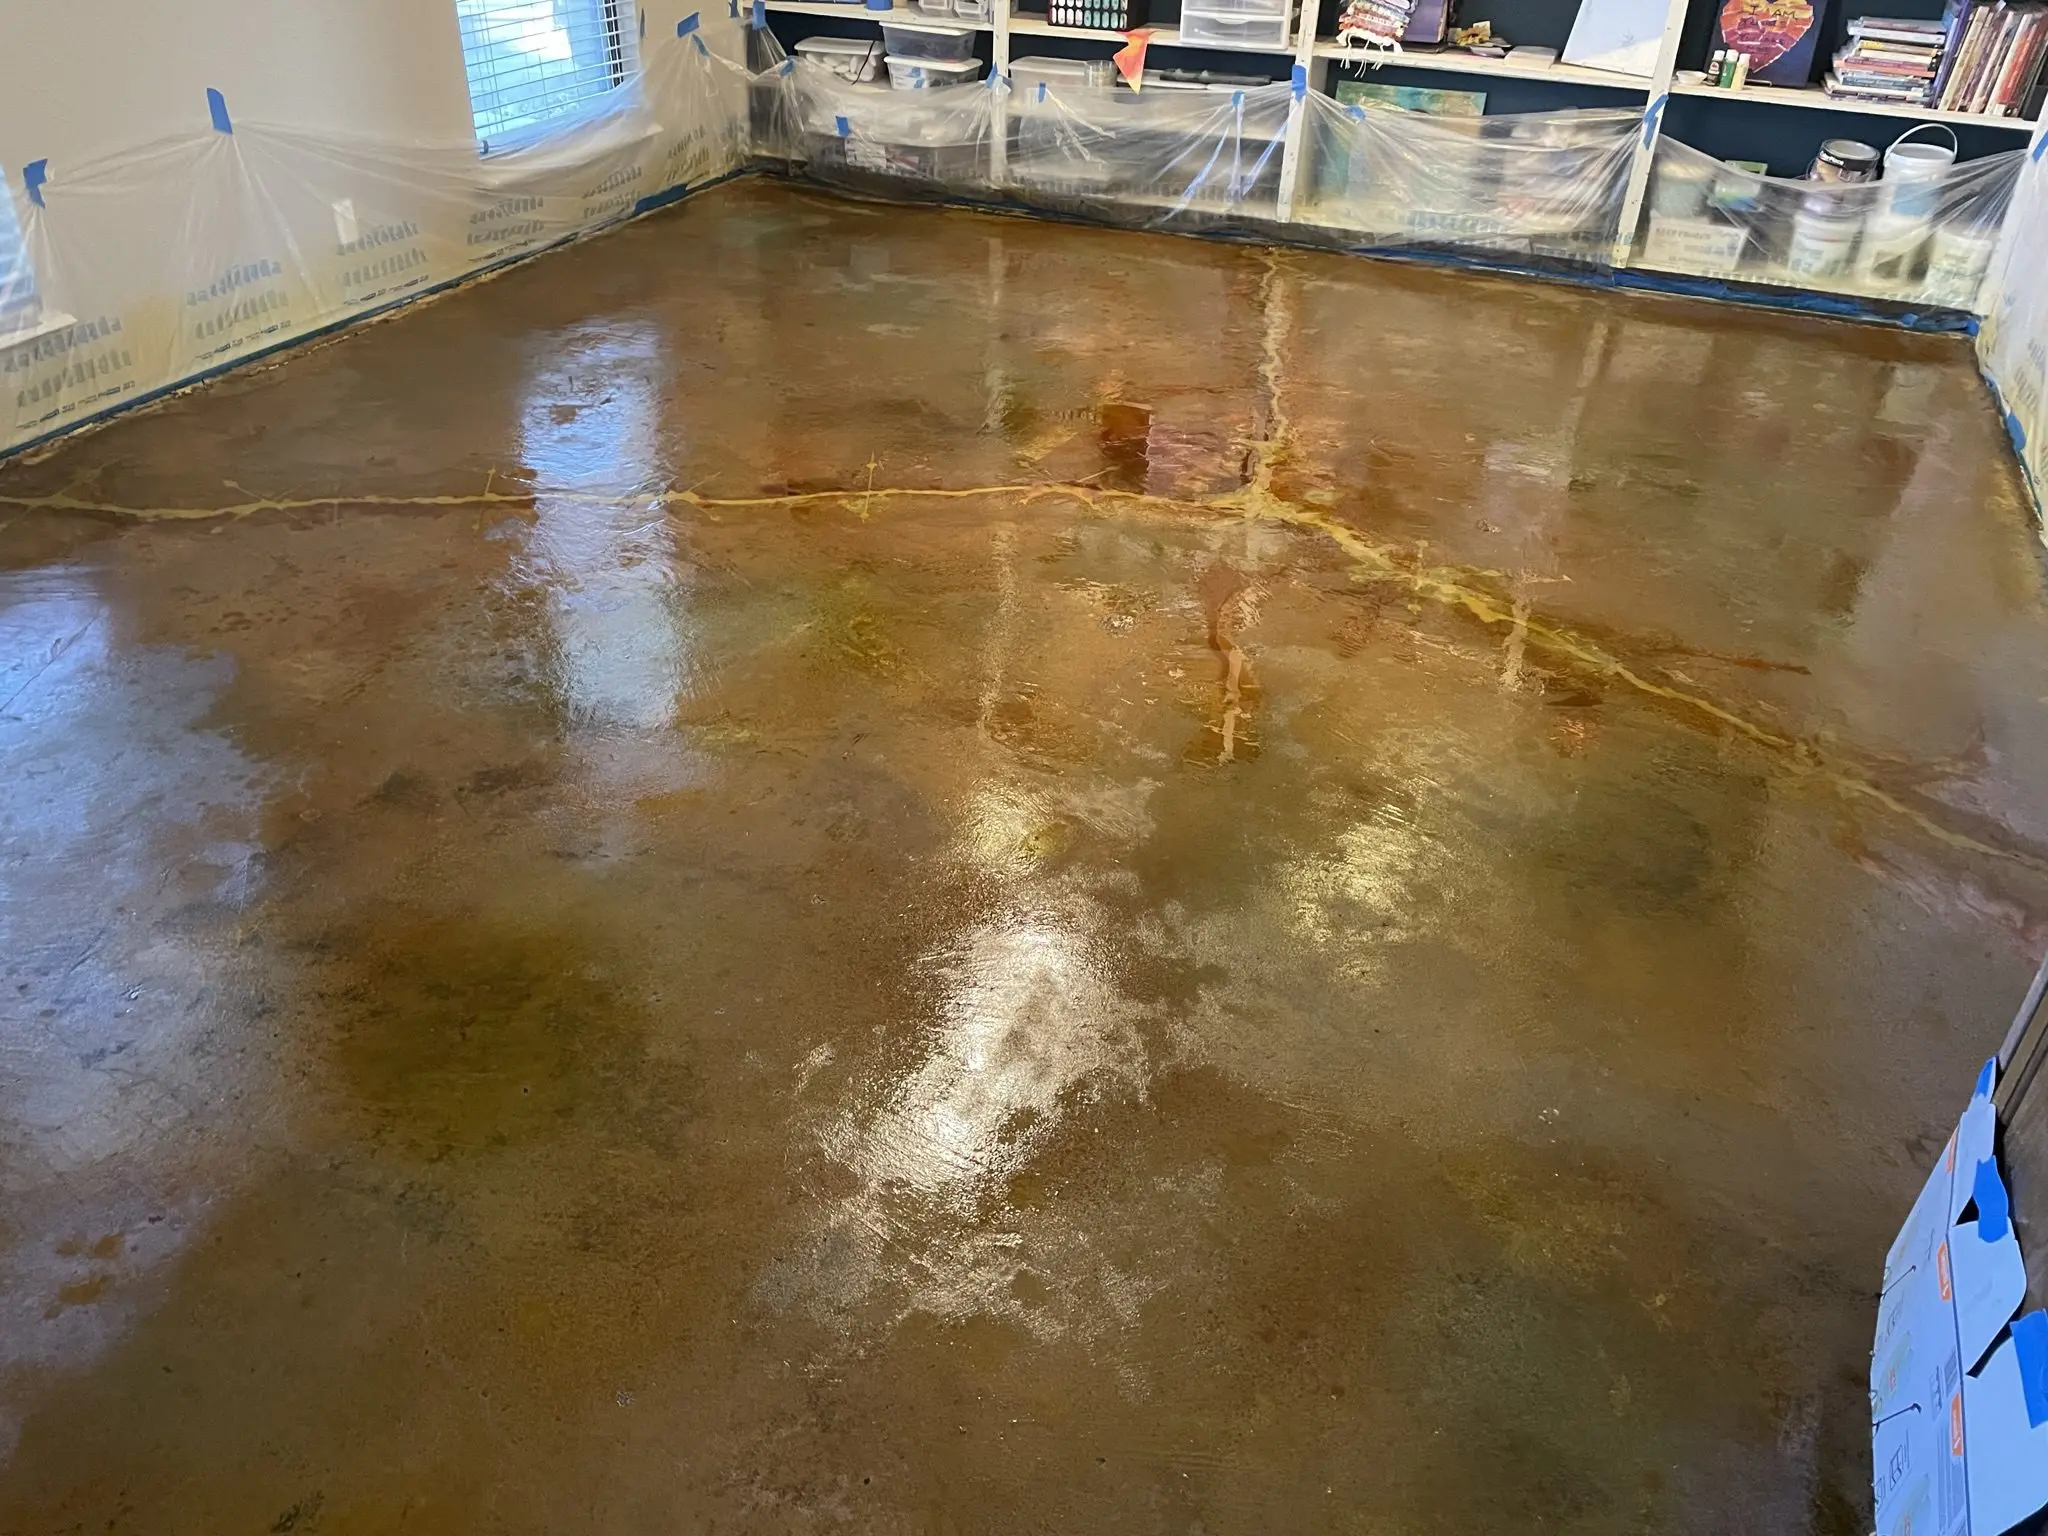
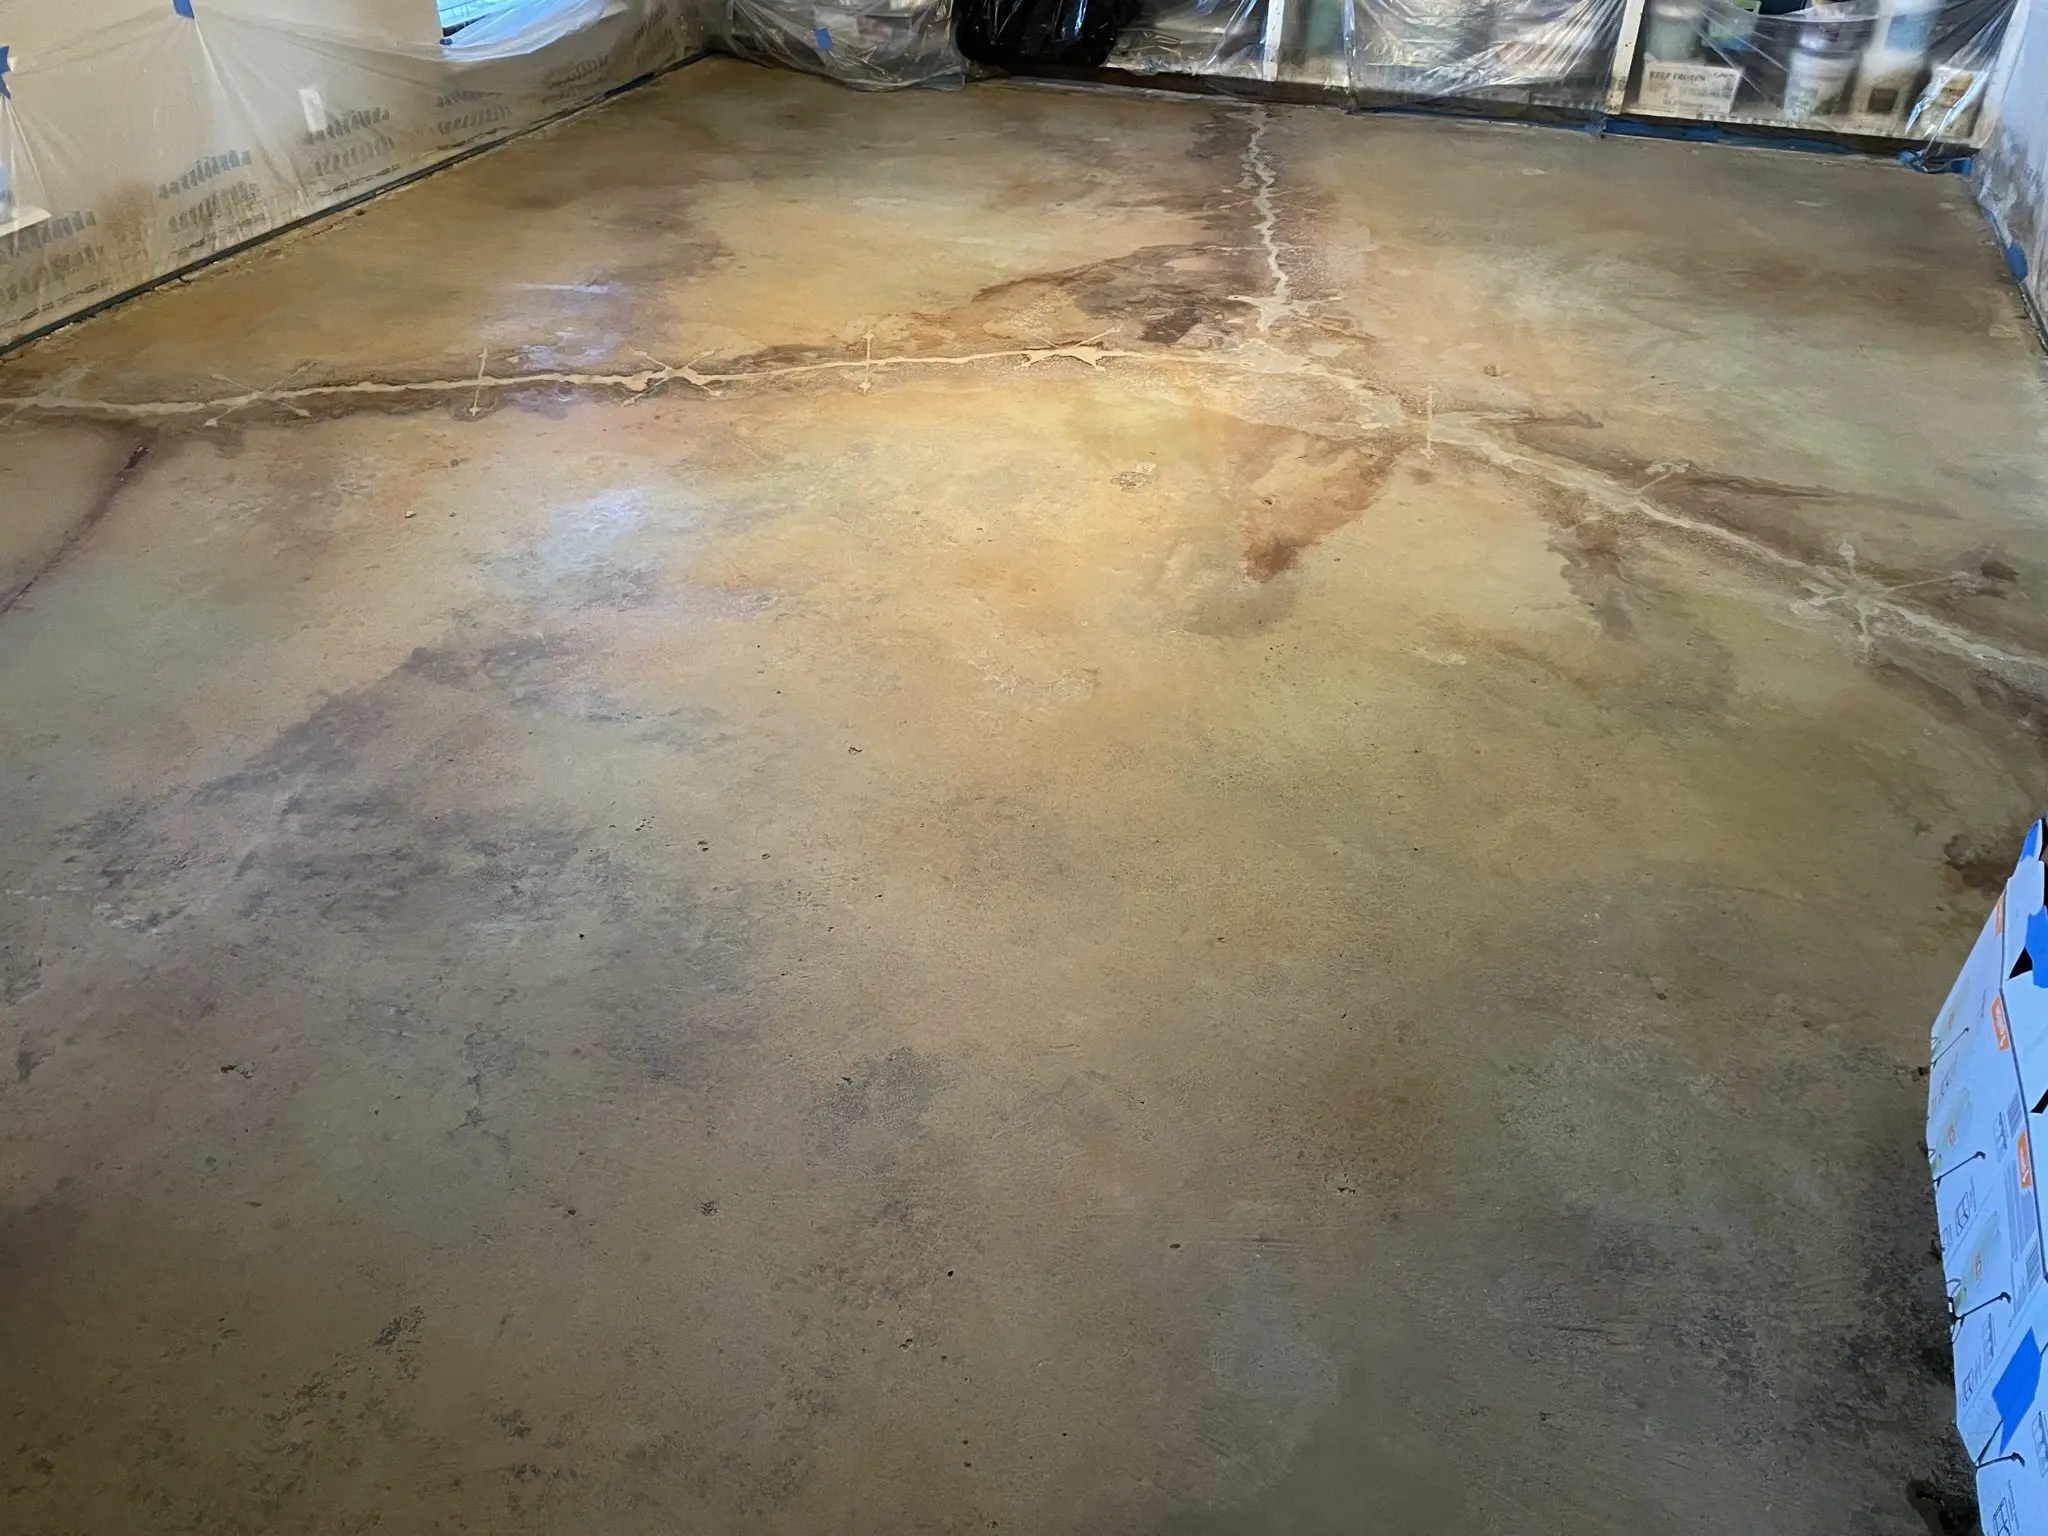
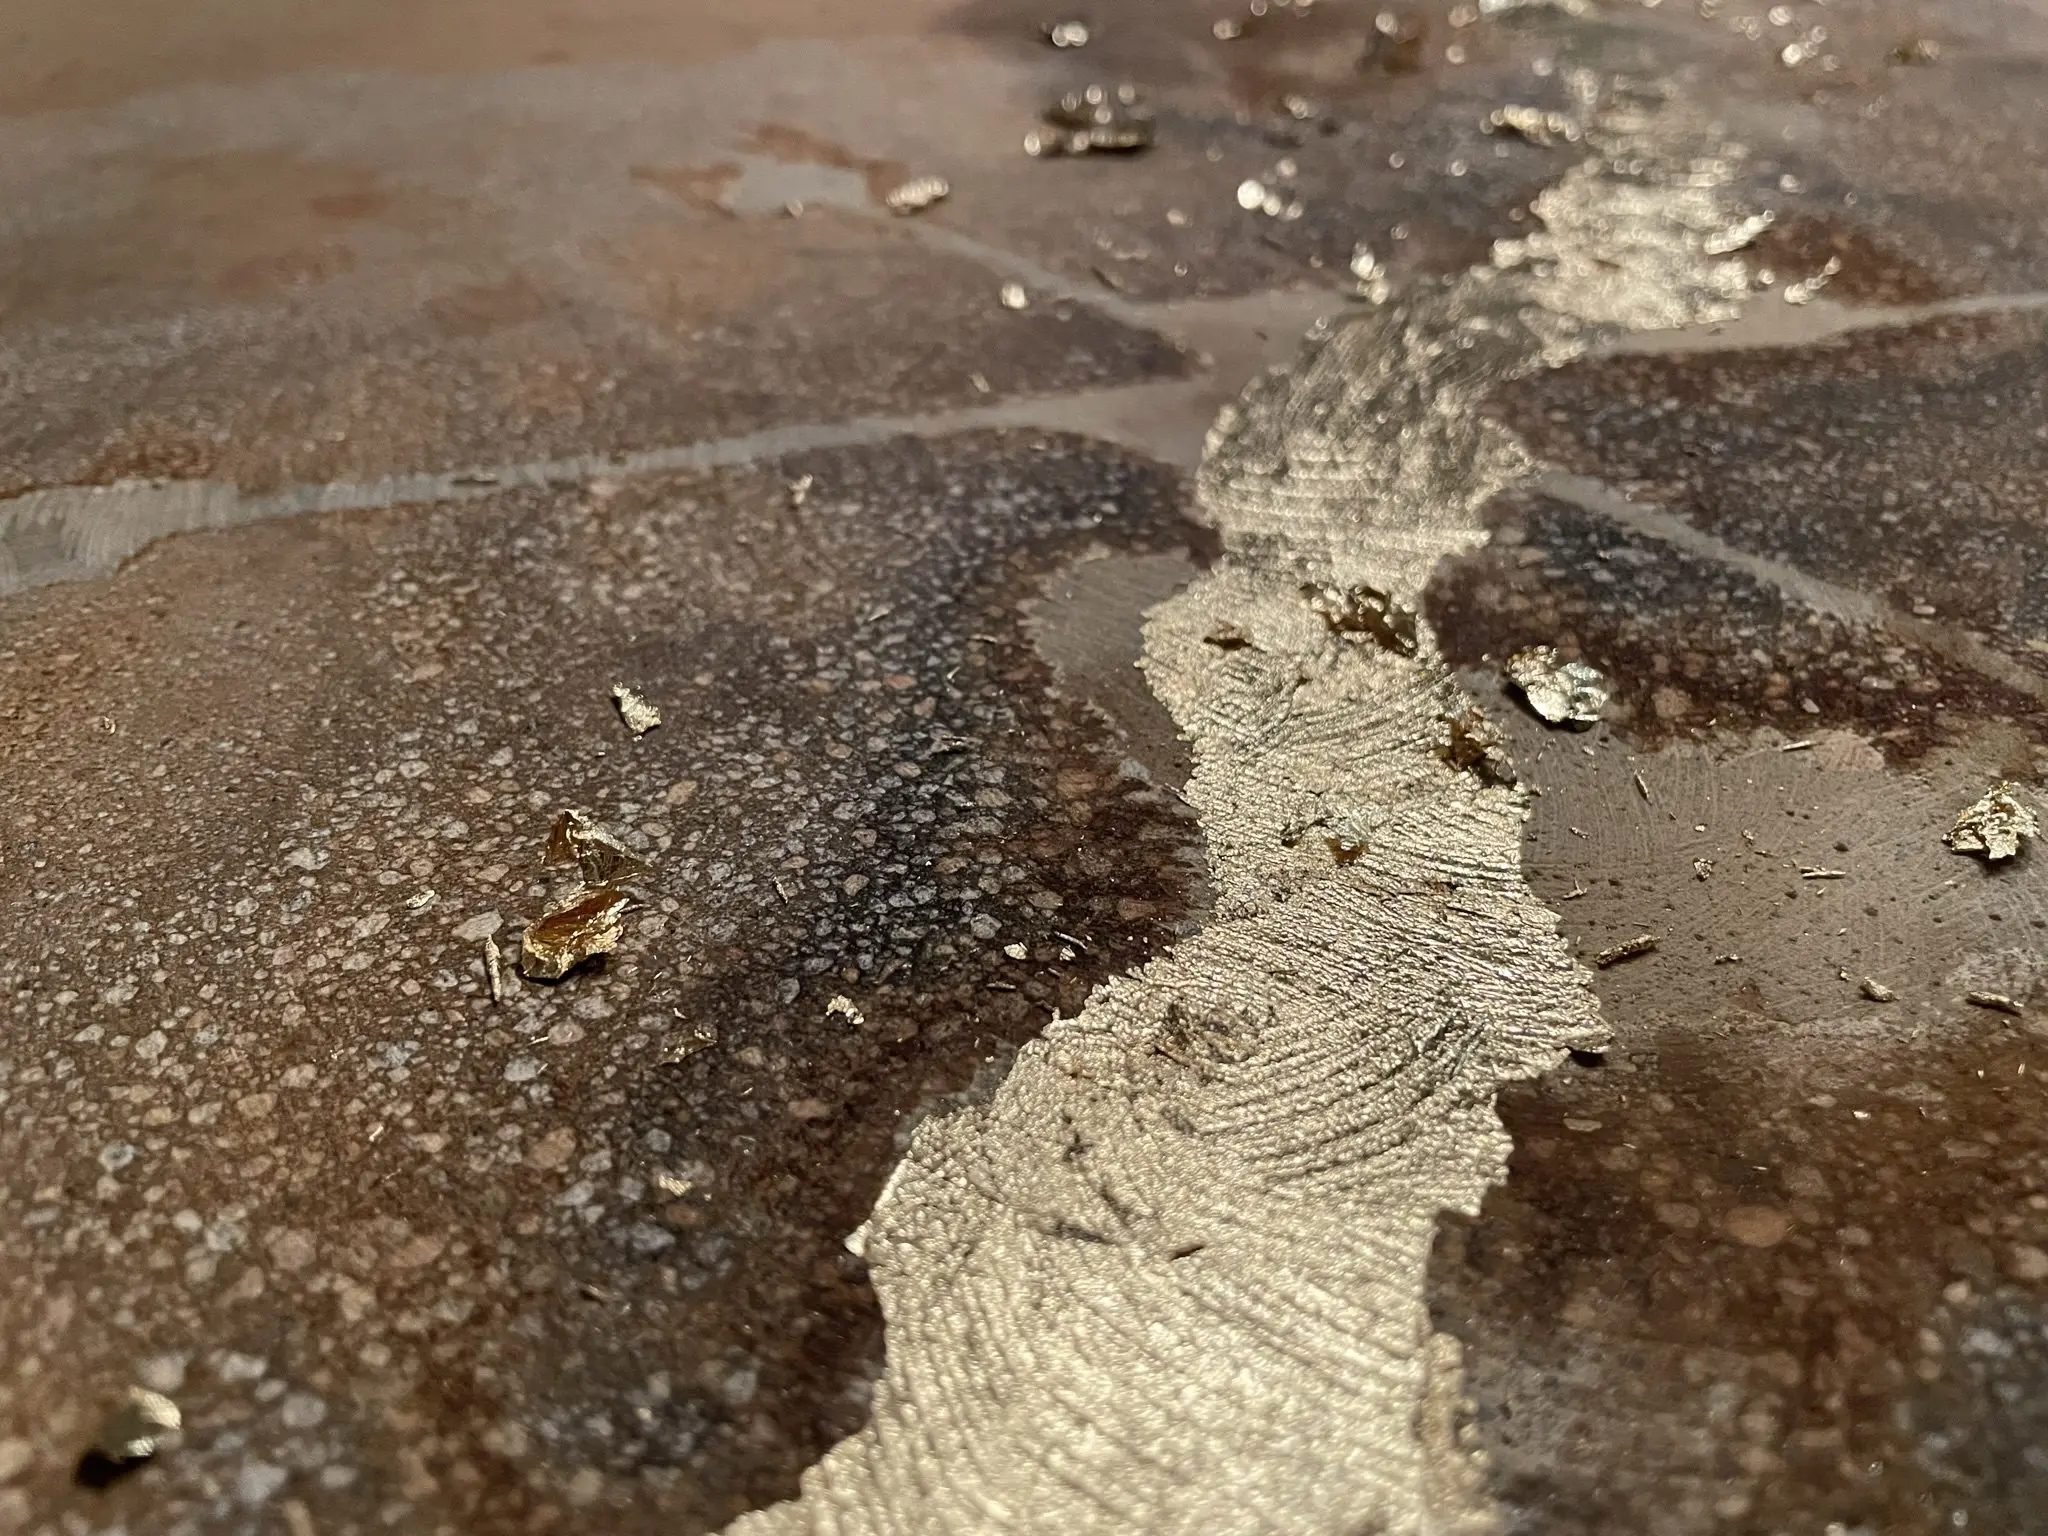
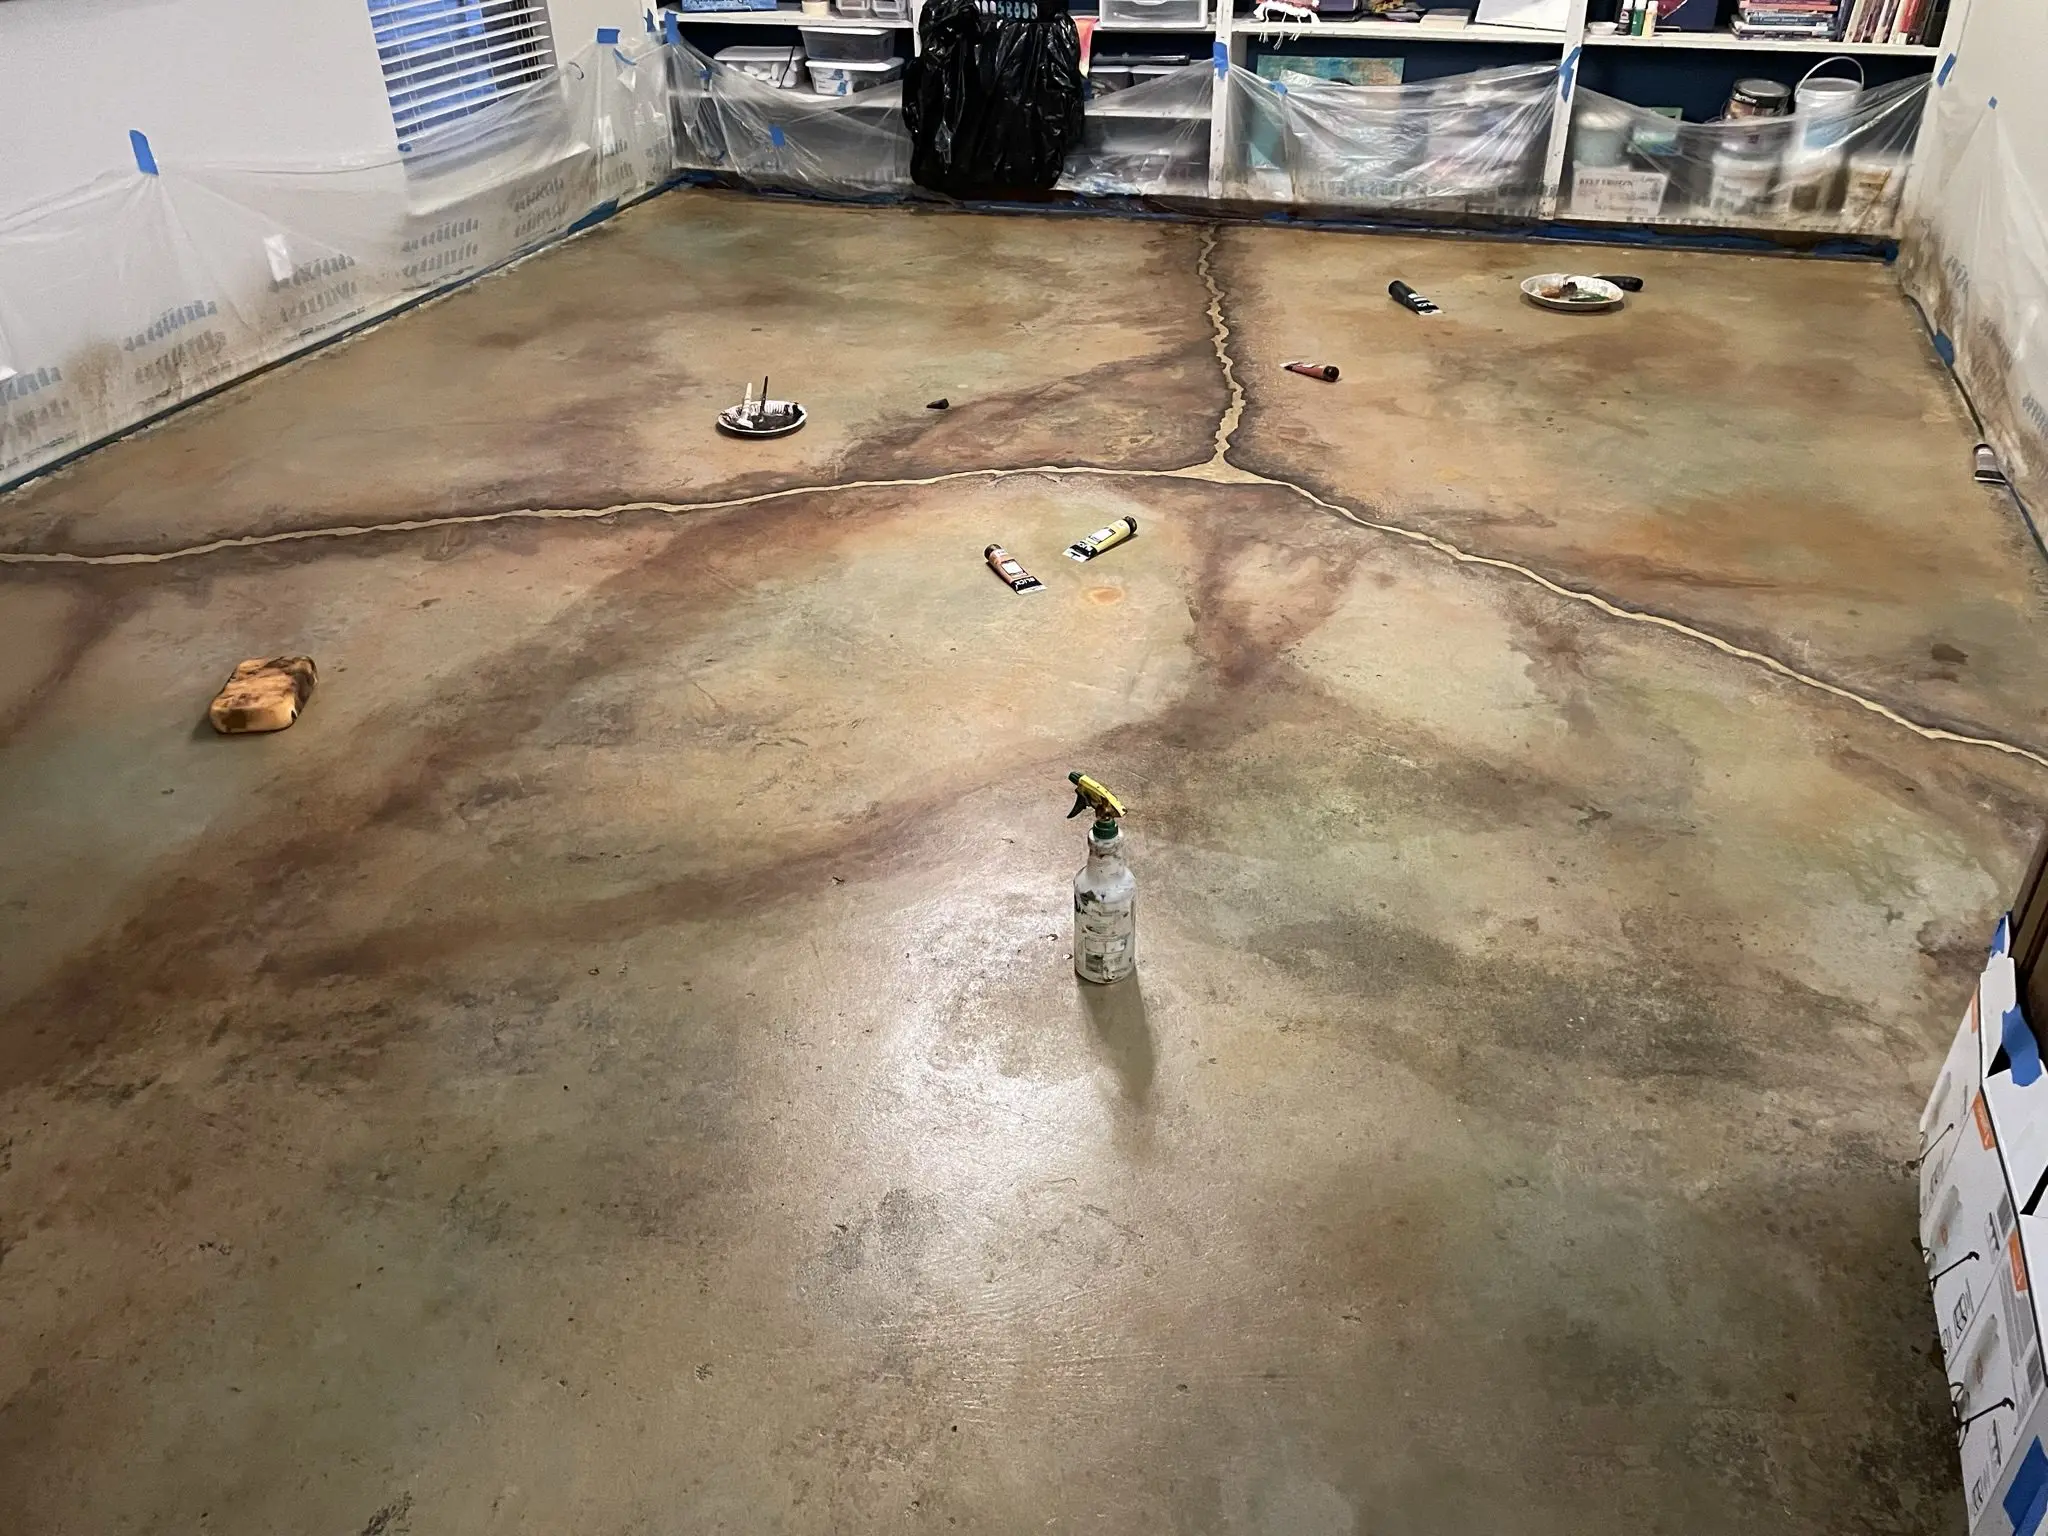
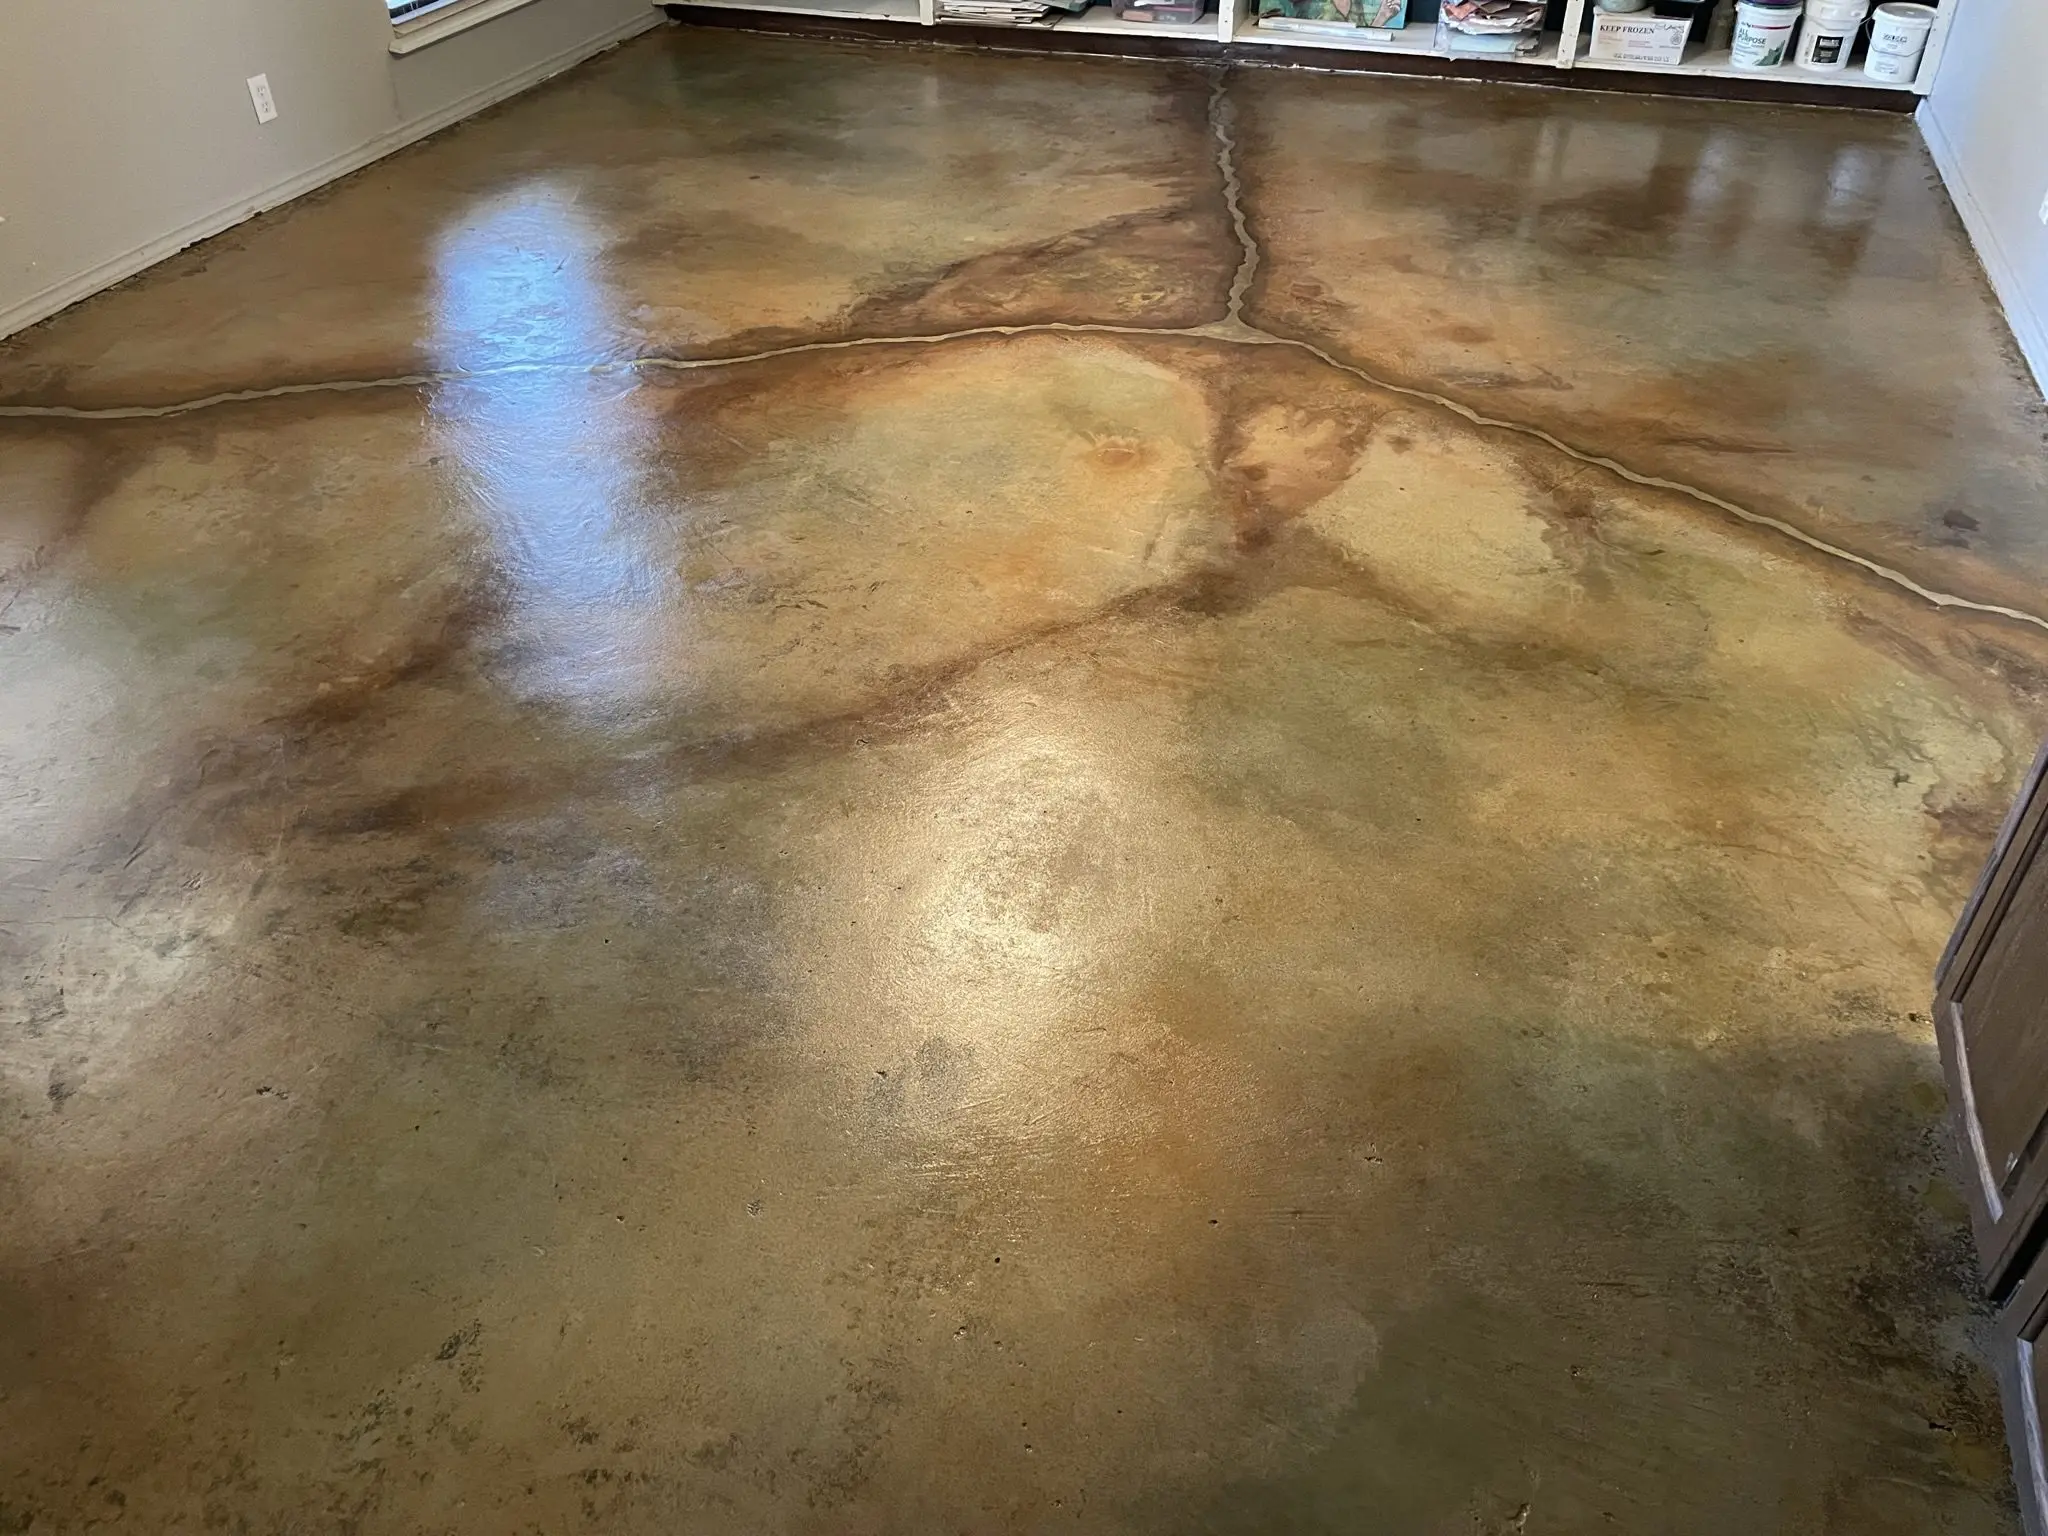
A unique flooring project that converted an old carpeted game room and bedrooms from a 1978 house into an inspiring art studio with acid stained concrete. The floor, which revealed significant challenges upon removing the carpet, including a major crack and multiple adhesive residues, was turned into an artistic masterpiece. Inspired by Kintsugi, the Japanese art of repairing broken pottery with gold, the homeowner chose to accentuate the floor’s imperfections instead of hiding them. Acid stains in Desert Amber, Seagrass, Coffee Brown, Malayan Buff, and Black EverStain were used to create a multi-tone effect, while gold leaf was applied to the crack to highlight its presence, symbolizing resilience and transformation. The project serves as a tangible representation of the homeowner’s art classes, which focus on acknowledging and turning life’s struggles into something beautiful. The final result is a visually stunning, one-of-a-kind floor that resonates with every visitor.
Project Info:
- Project Completed In: Over 3 months
- Estimate of Square Footage: 600 sq. ft.
- Project Description:
I recently bought a house built in 1978 that had very light carpet for the game room and 2 bedrooms. Having a dog and knowing I was going to use the game room as my art studio, I knew before I moved in that the carpet would have to go. From a cost perspective as well as aesthetic and functionality, I knew I wanted to go with stained concrete. I also wanted to use gold leaf on any cracks as my own version of kintsugi, the Japanese practice of repairing broken pottery covering the mended areas with gold as a way to honor the journey of the piece.But I had no idea what the concrete looked like under the carpet until AFTER I moved in and had to pull back the carpet for needed structural repairs. It was then I discovered a HUGE crack and long story short, I needed to get stitches to hold the slab together to protect against further movement. The concrete was so messed up as well that I began to second guess my decision to acid stain. But I had a vision and started in on the prep.My floor had everything wrong with it and prep was brutal. I tried mechanical and solvent methods to remove all the things that were on it, but was unsuccessful on the carpet pad adhesive, some of the high heat paint, and a few other things of questionable origin. Again, I began to despair of my decision because I couldn’t get it prepped to look as nice as the pics showed on the website. But there was no turning back at this point, so just did my best and went for it.And I must say, I worried too much! I did use multiple colors of stain which provided camouflage for some of the areas I struggled with and it turned out beautifully! I decided to highlight the stitched crack making it more dramatic. I added some acrylic paint after the first layer of sealer to even some areas out and also did the gold leaf on the crack.It’s a one of a kind floor that fully captures what happens in this room. I have art classes to help people process their brokenness, seeing their life from a higher perspective that shows how all the broken and hard can be something beautiful. It’s a great visual aid! - Personal Tips:
1. Do your best on prep, but don’t stress. I totally over thought it
2. Have a helper. I did it by myself and it was A LOT
3. I filled some divots with concrete patch and some with epoxy. They will both take the stain differently but I think I would do all patch next time as the epoxy is too shiny compared to the rest of the floor. - Direct Colors Products Used:
1 Gal. CitrusEtch™ Concrete Etcher
2 x 1 Gal. Desert Amber EverStain™ & AcquaSeal™ Satin Kit
1 Gal. AcquaSeal™ Satin Concrete Sealer
1 Qt. Seagrass EverStain™ Acid Stain
1 Qt. Coffee Brown EverStain™ Acid Stain
1 Qt. Malayan Buff EverStain™ Acid Stain
4 Oz. Black EverStain™ Acid Stain
2 x 1 Gal. ProWax Polish™ Satin - Other Products Used:
Acrylic art paint in Yellow Oxide, Raw Sienna, Burnt Sienna, and Burnt Umber that blended with my stain colors nicely.Imitation gold leaf sheets and special gold leaf adhesive and sealer (I would go with gold leaf paint if I did it again)
Loft Concrete Floor
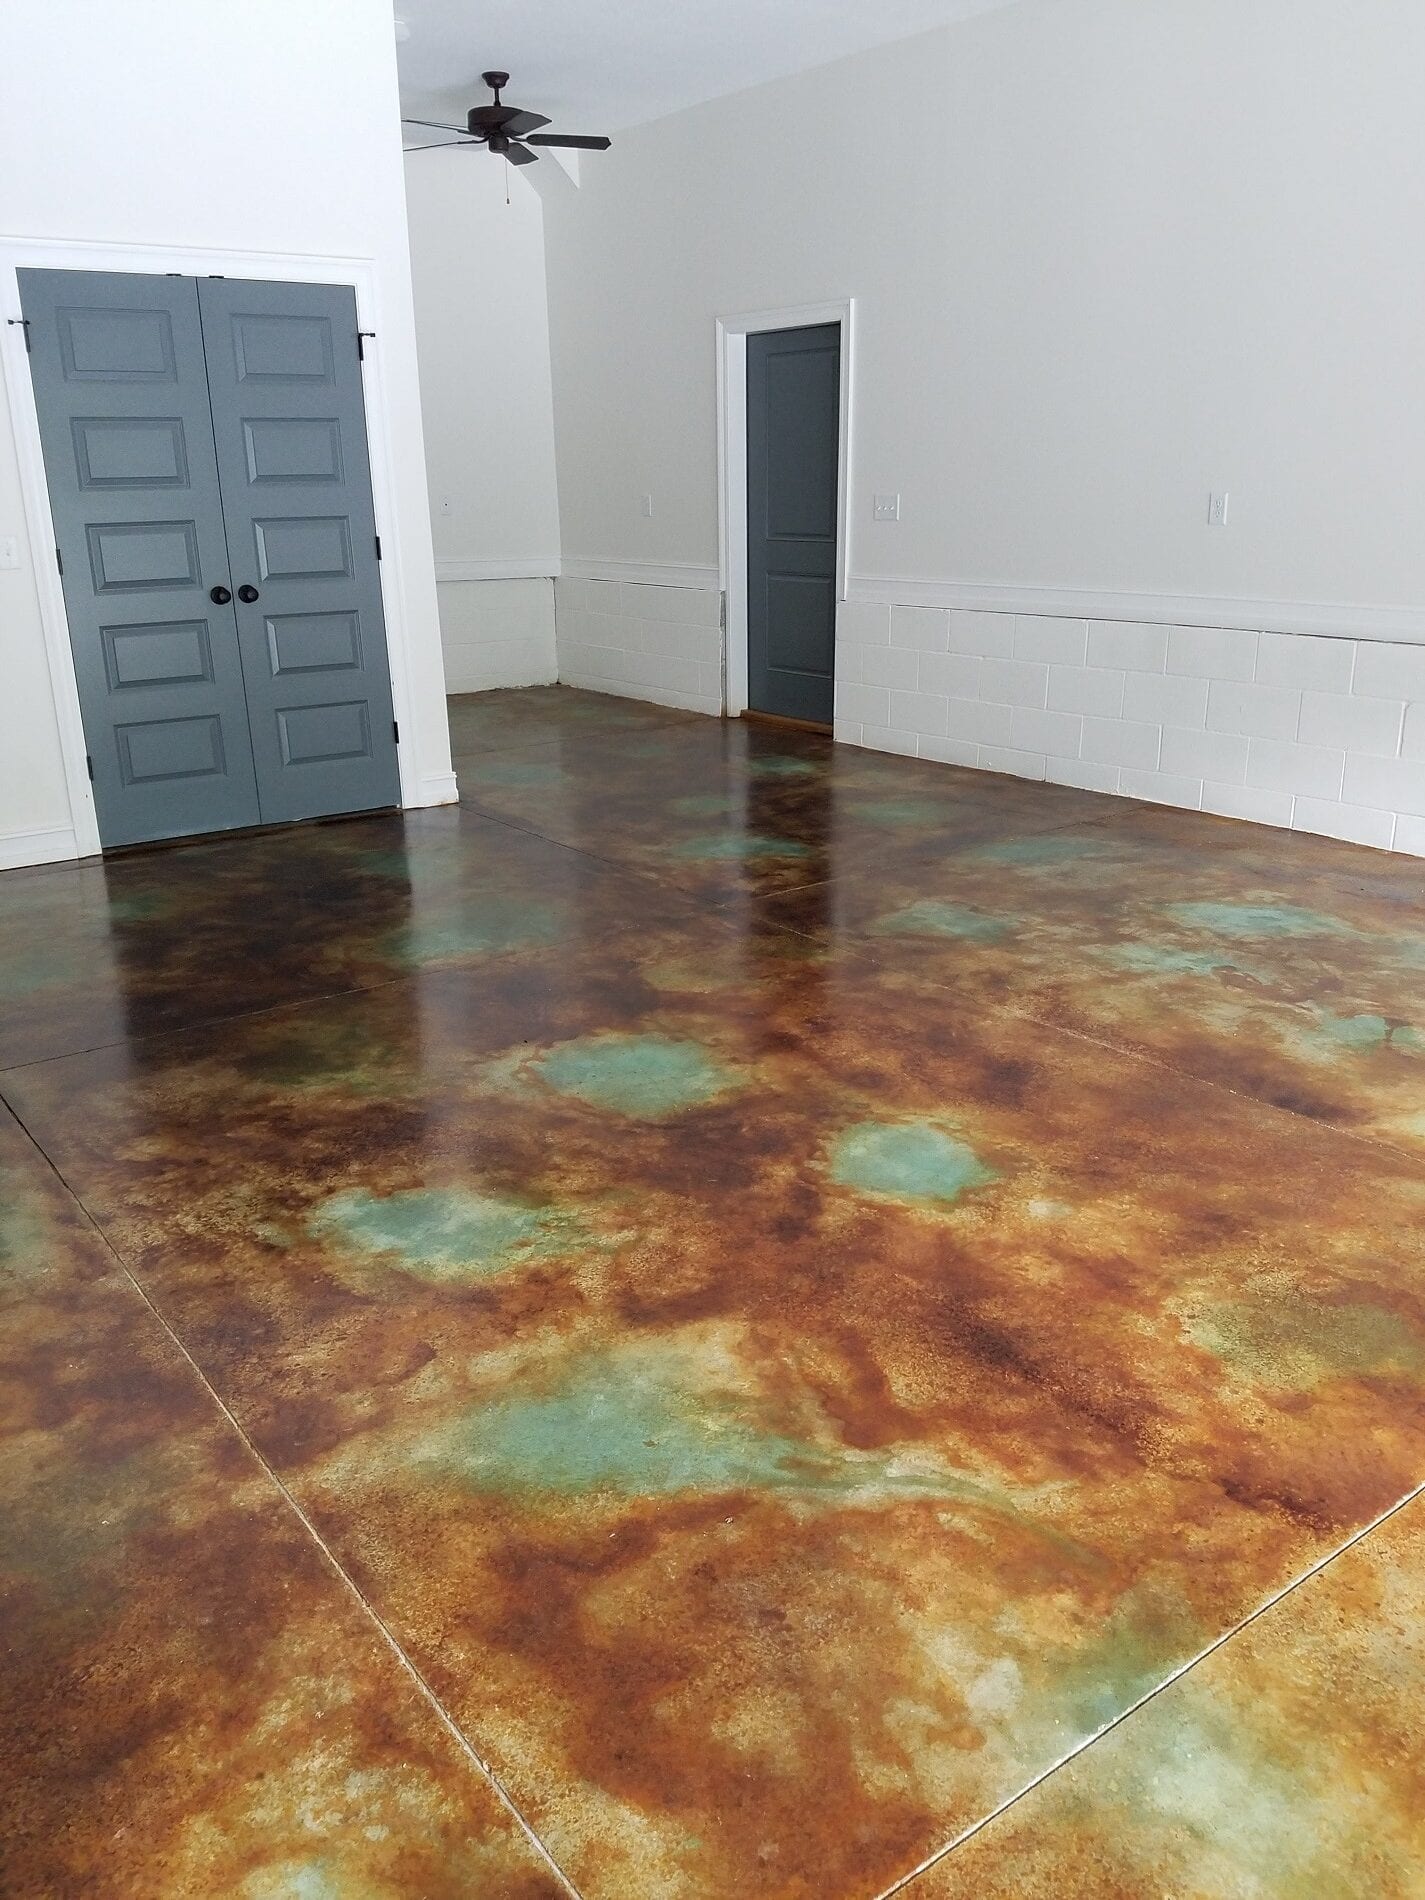
The concrete floor of this loft really stands out in this space! We love how the walls are crisp white so that the acid stained floor can be the main focal point.
Bathroom Floor
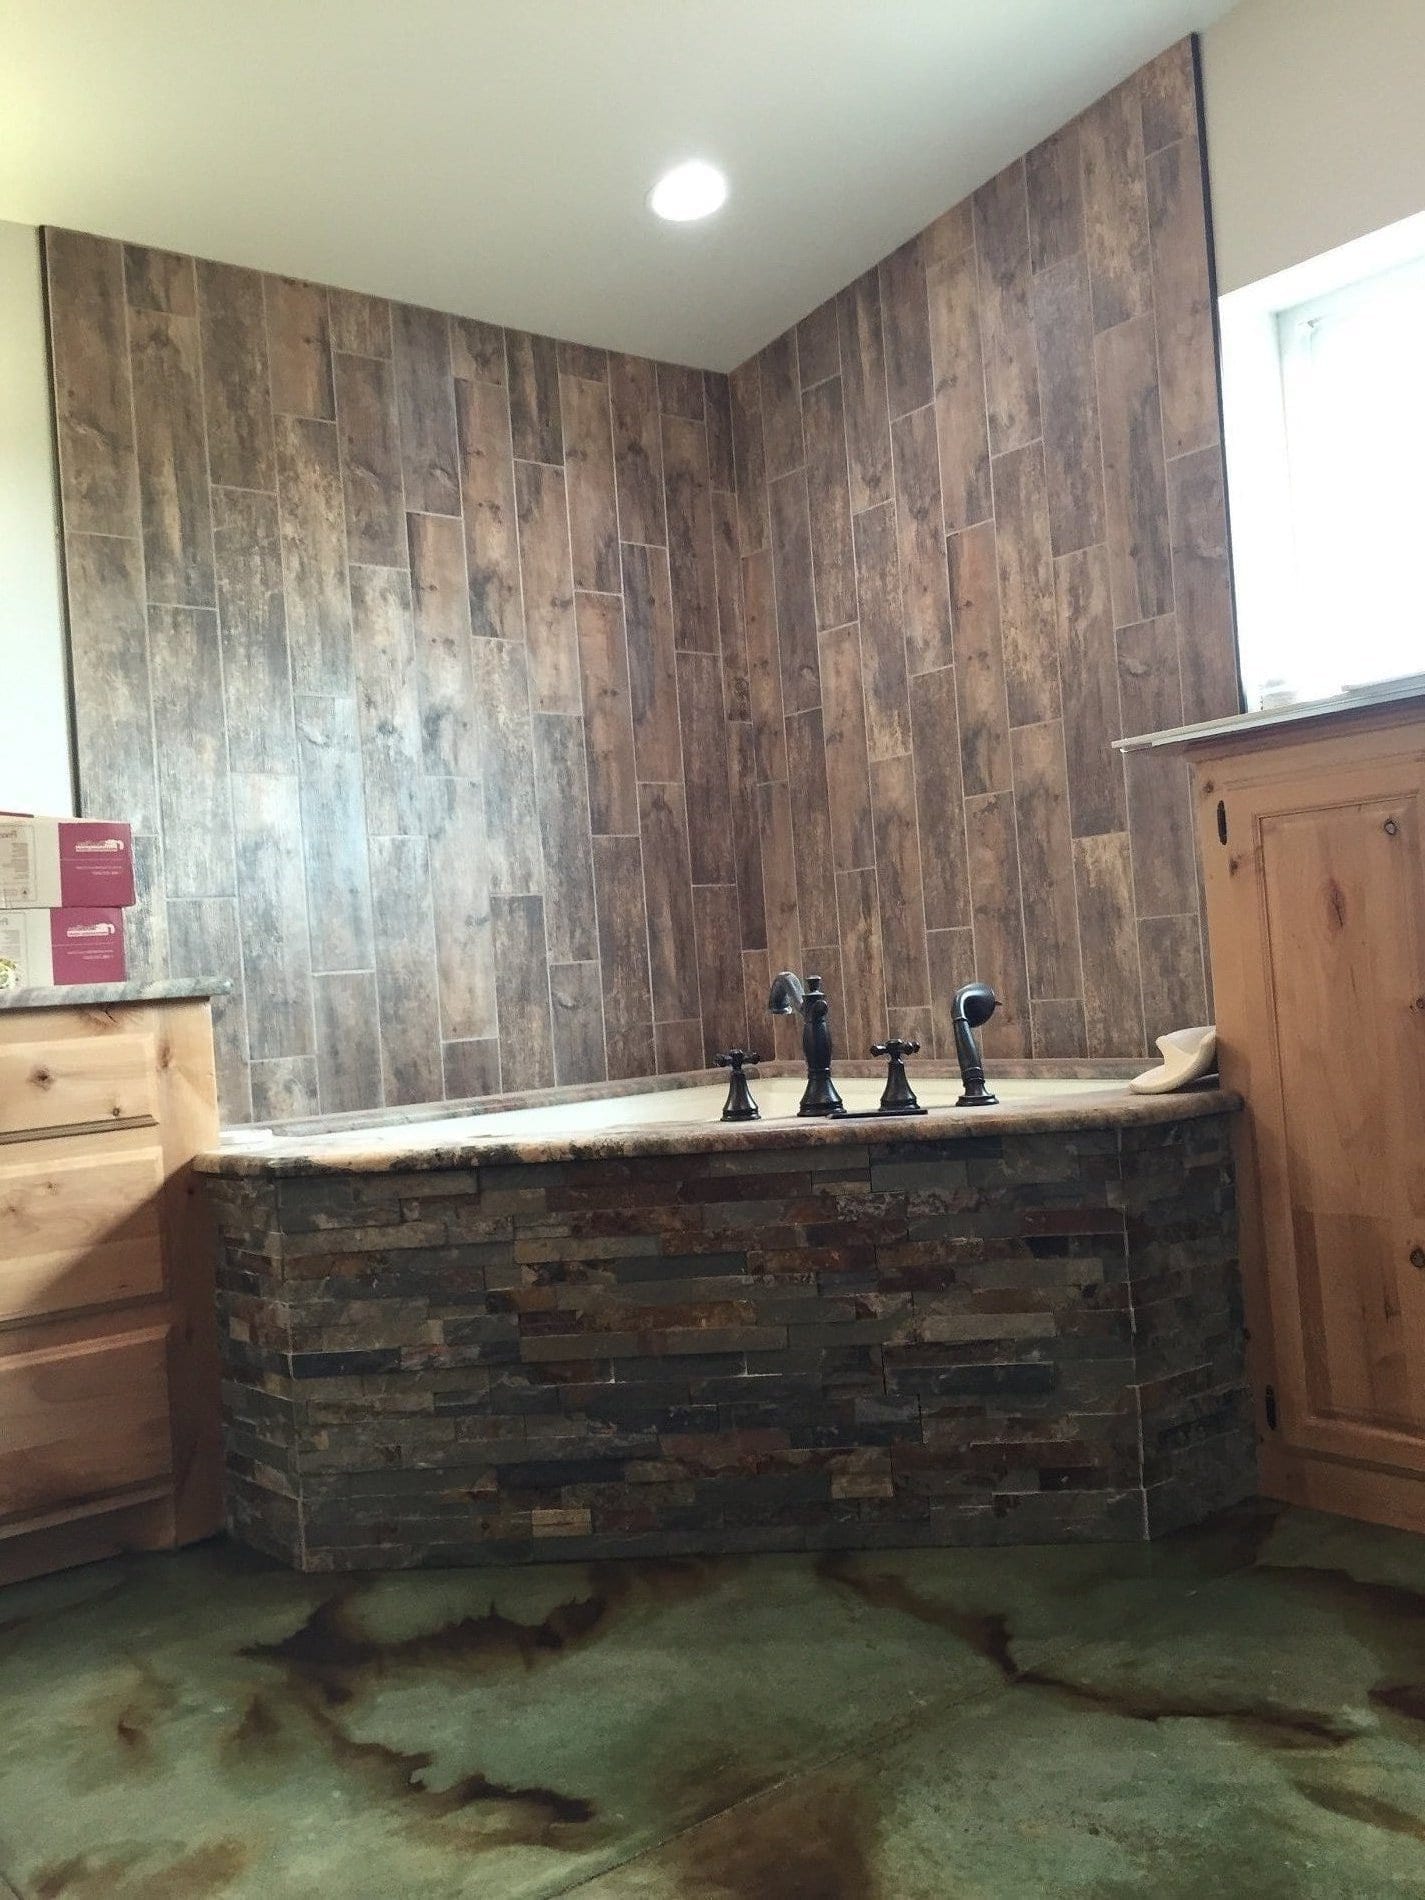
Wow, does that seagrass and coffee brown concrete stain complement that bathtub or what?
New House, Vibrant Stained Floors
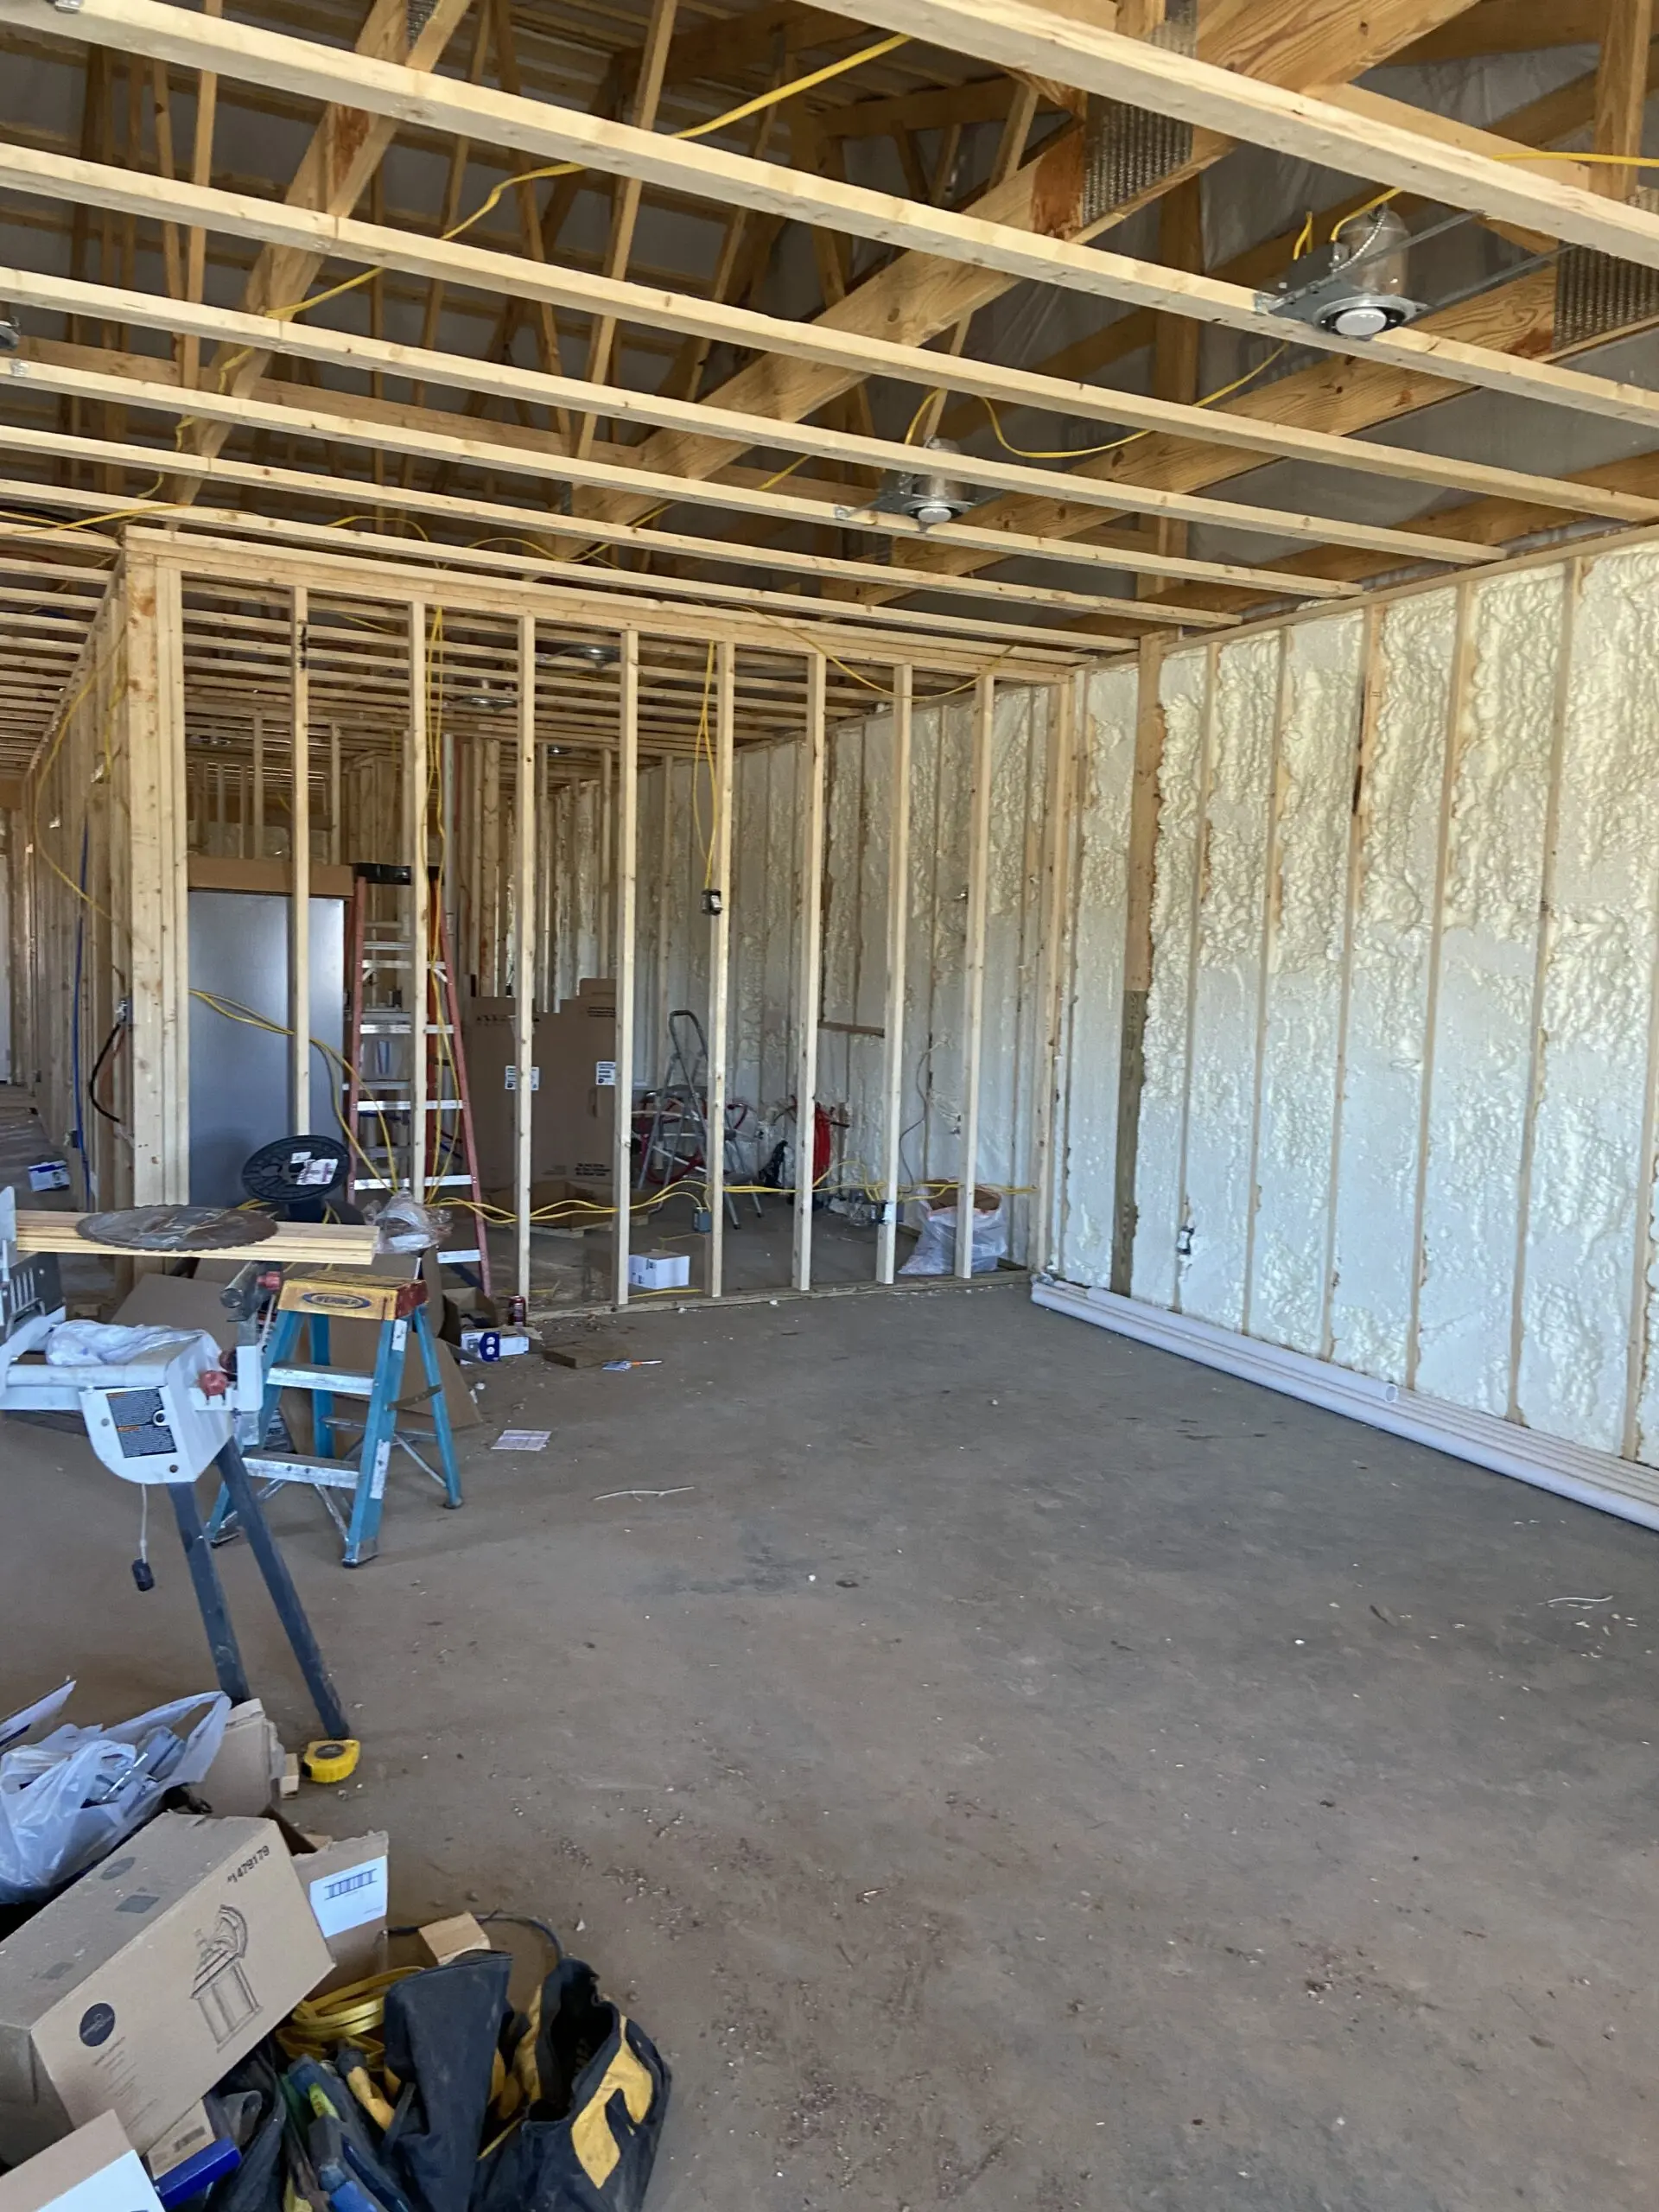
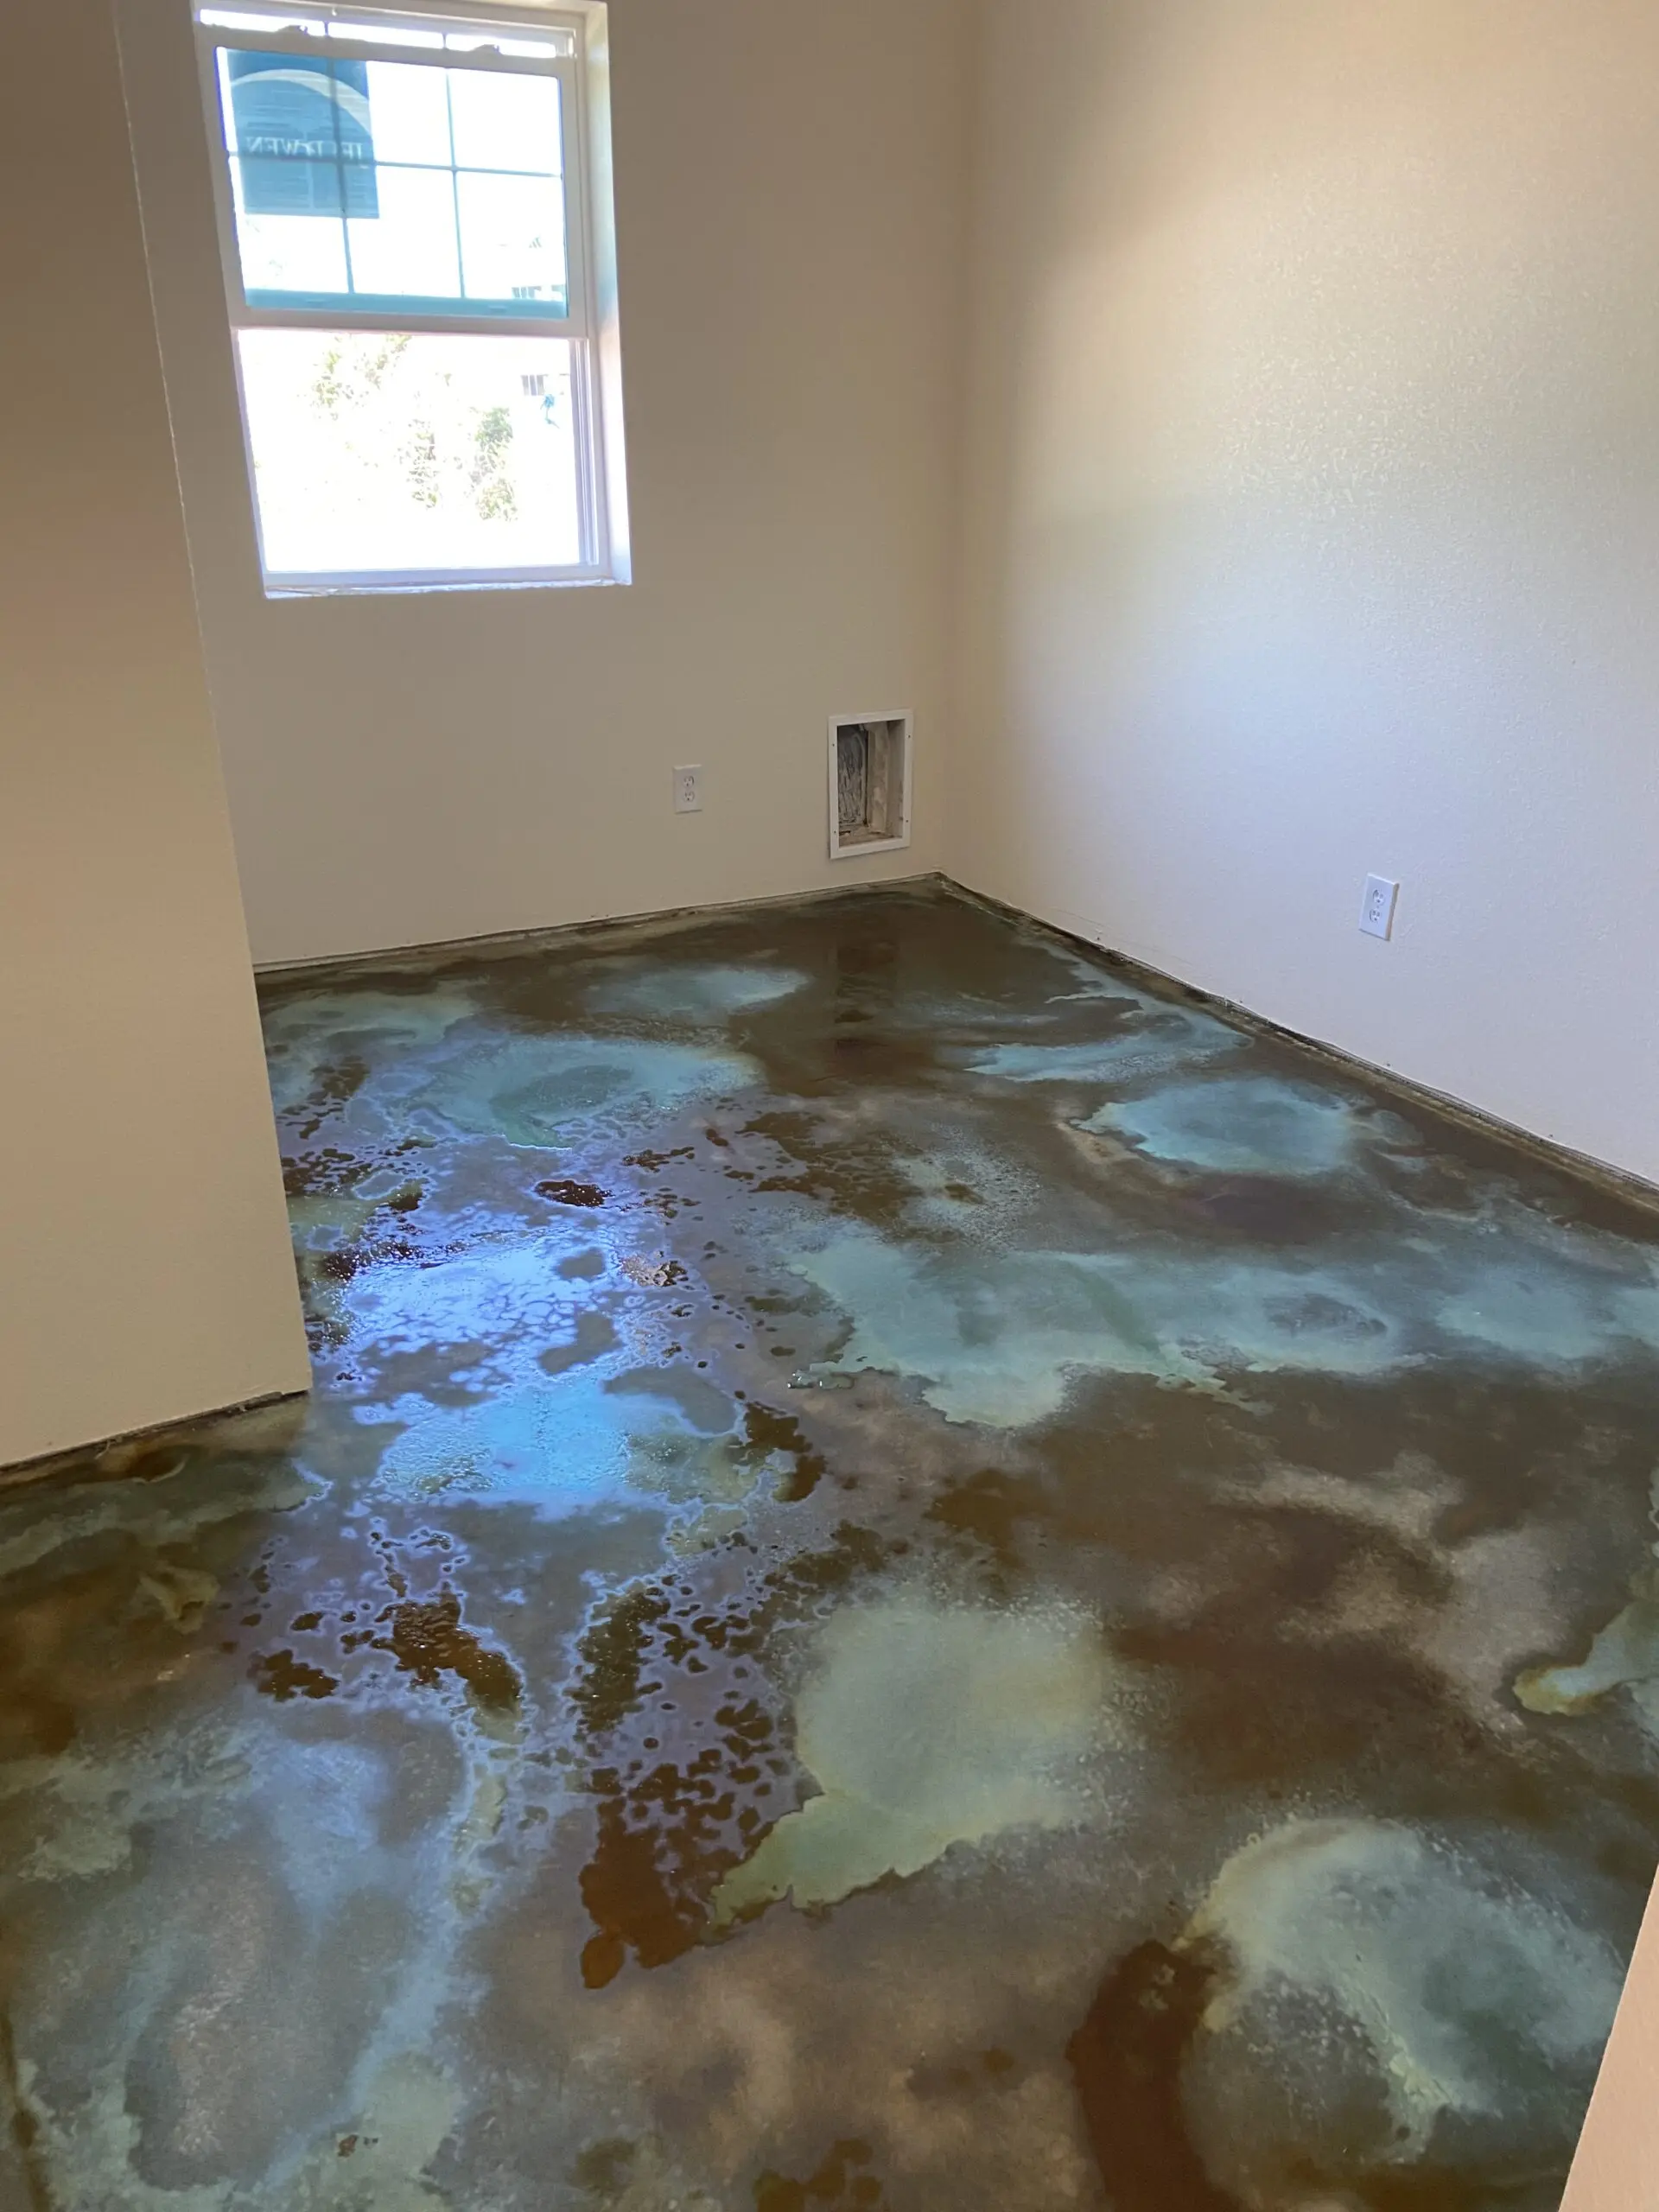
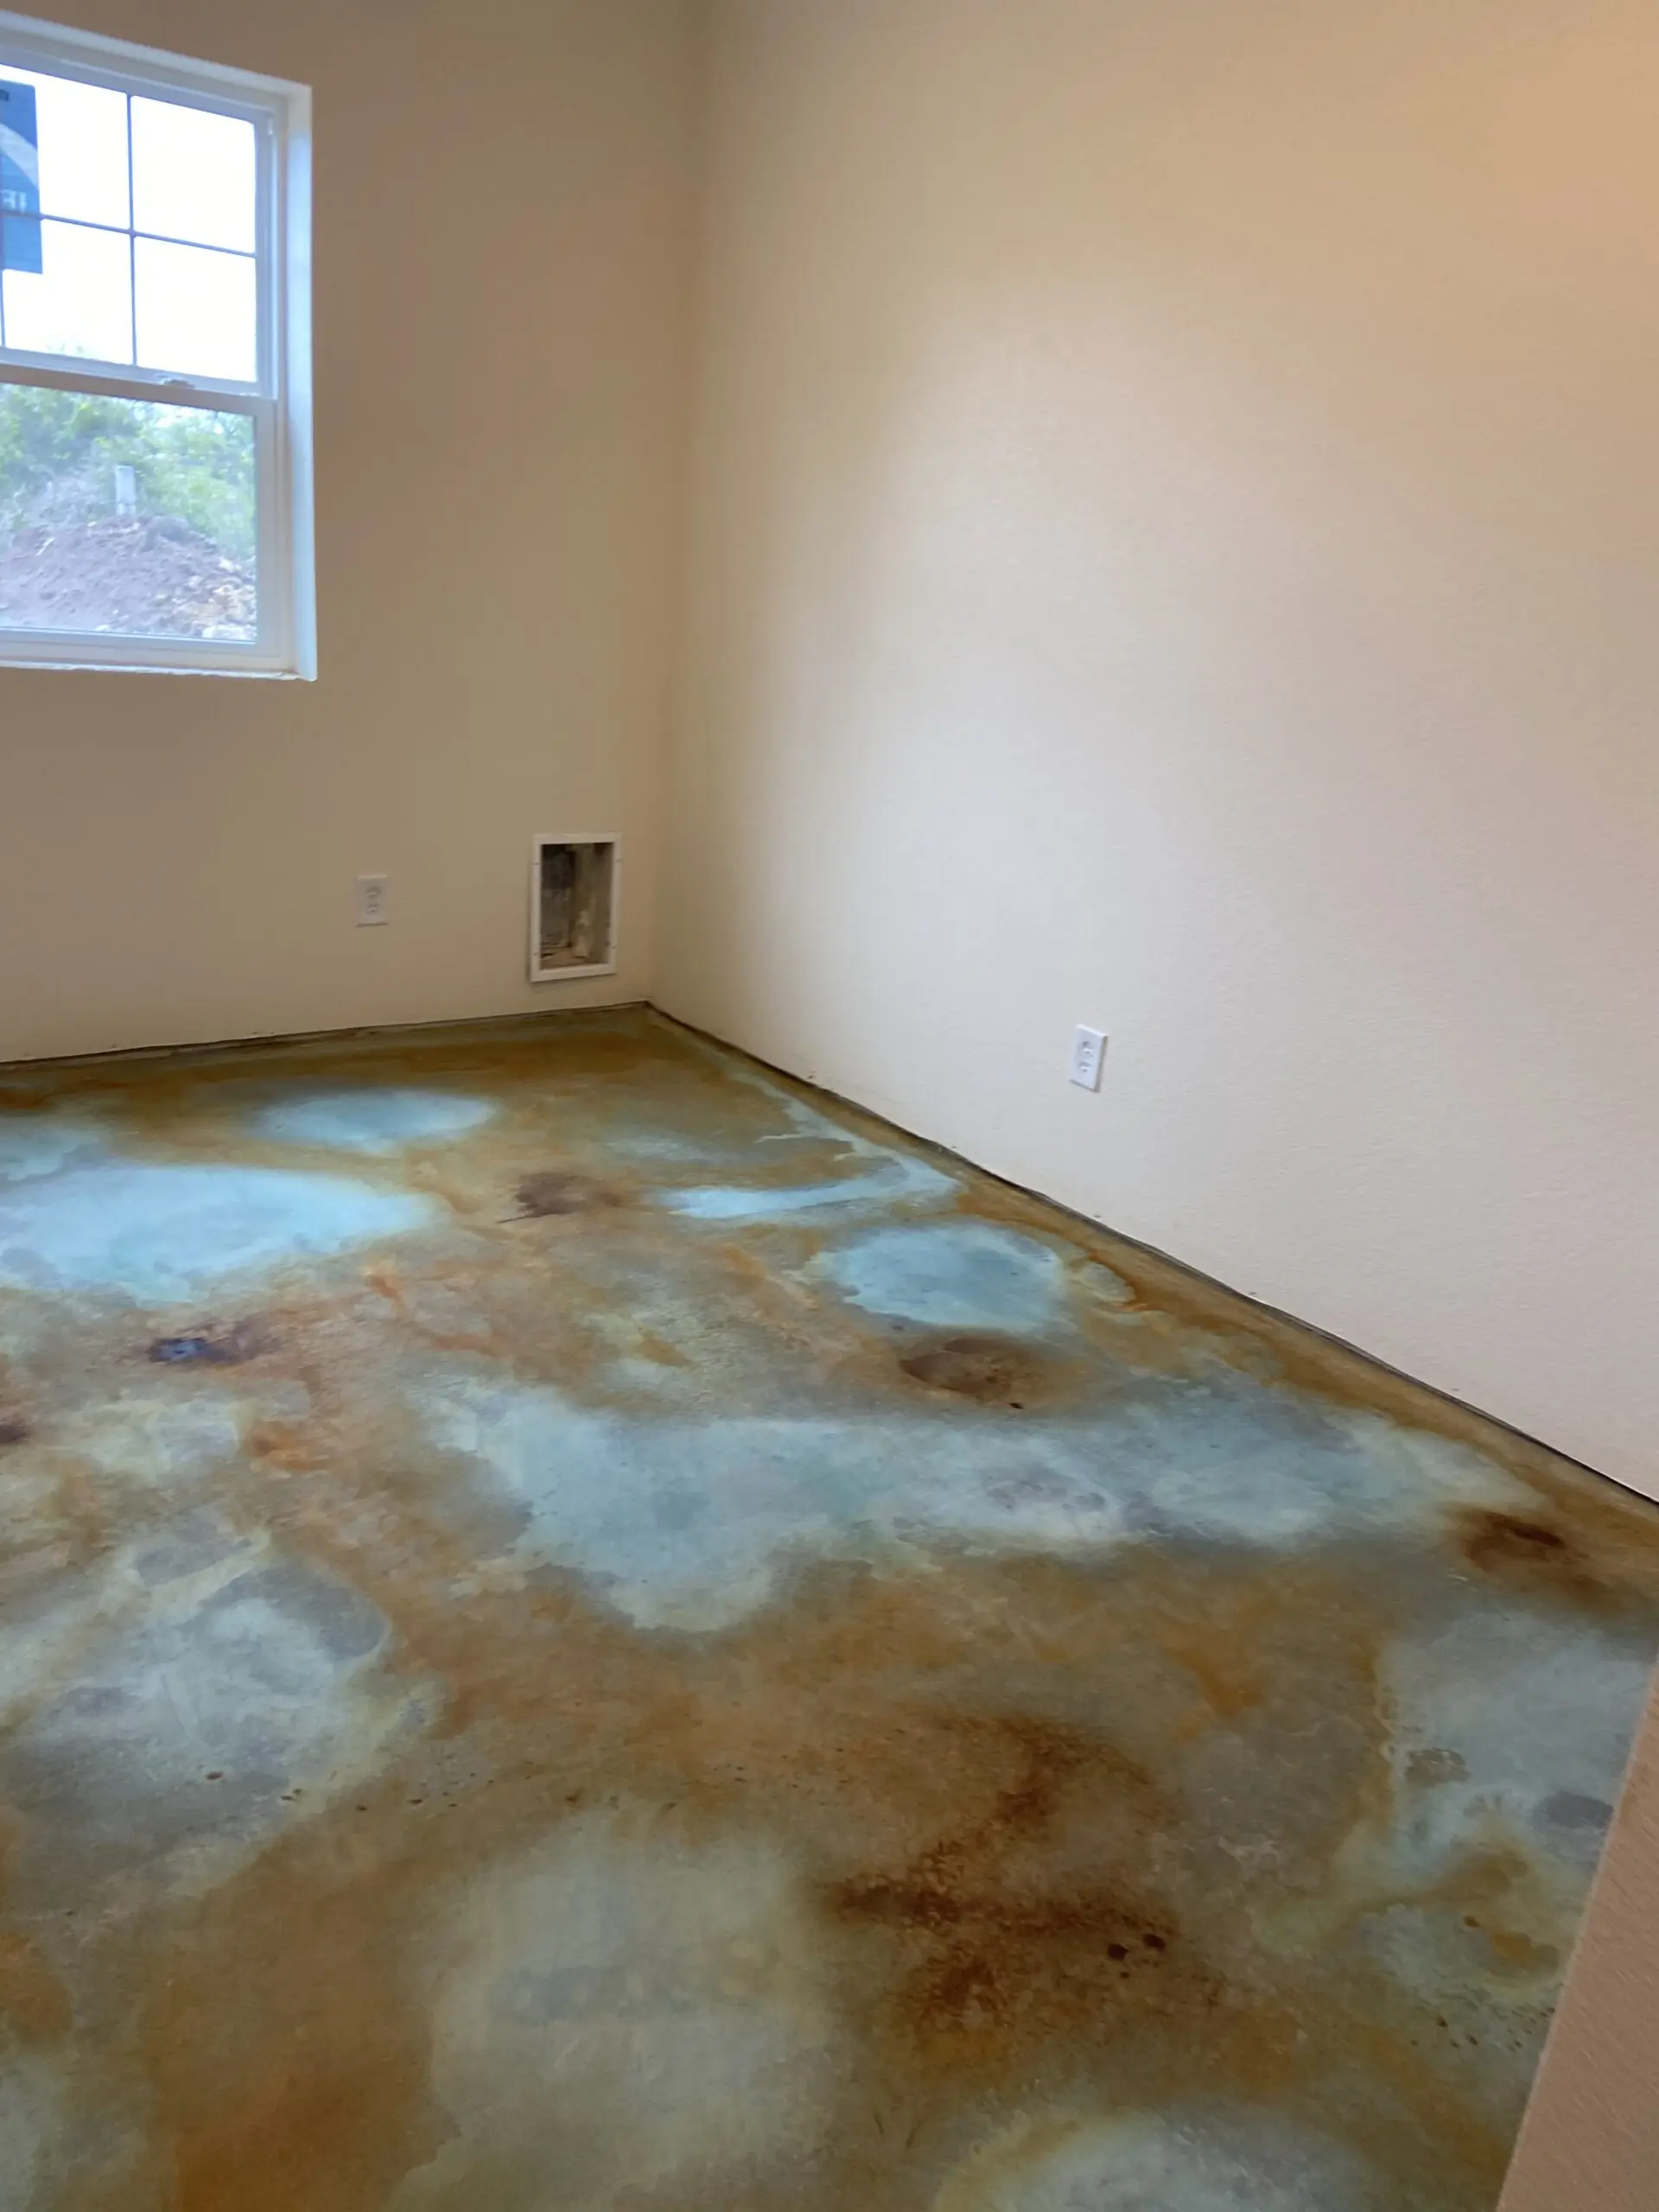
This project revolves around the construction of a new house, with an emphasis on creating stunning stained concrete floors throughout the property. The homeowners utilized a blend of Seagrass, Malayan Buff, and Coffee Brown EverStain acid stains to give the floors an aesthetically pleasing, unique character.
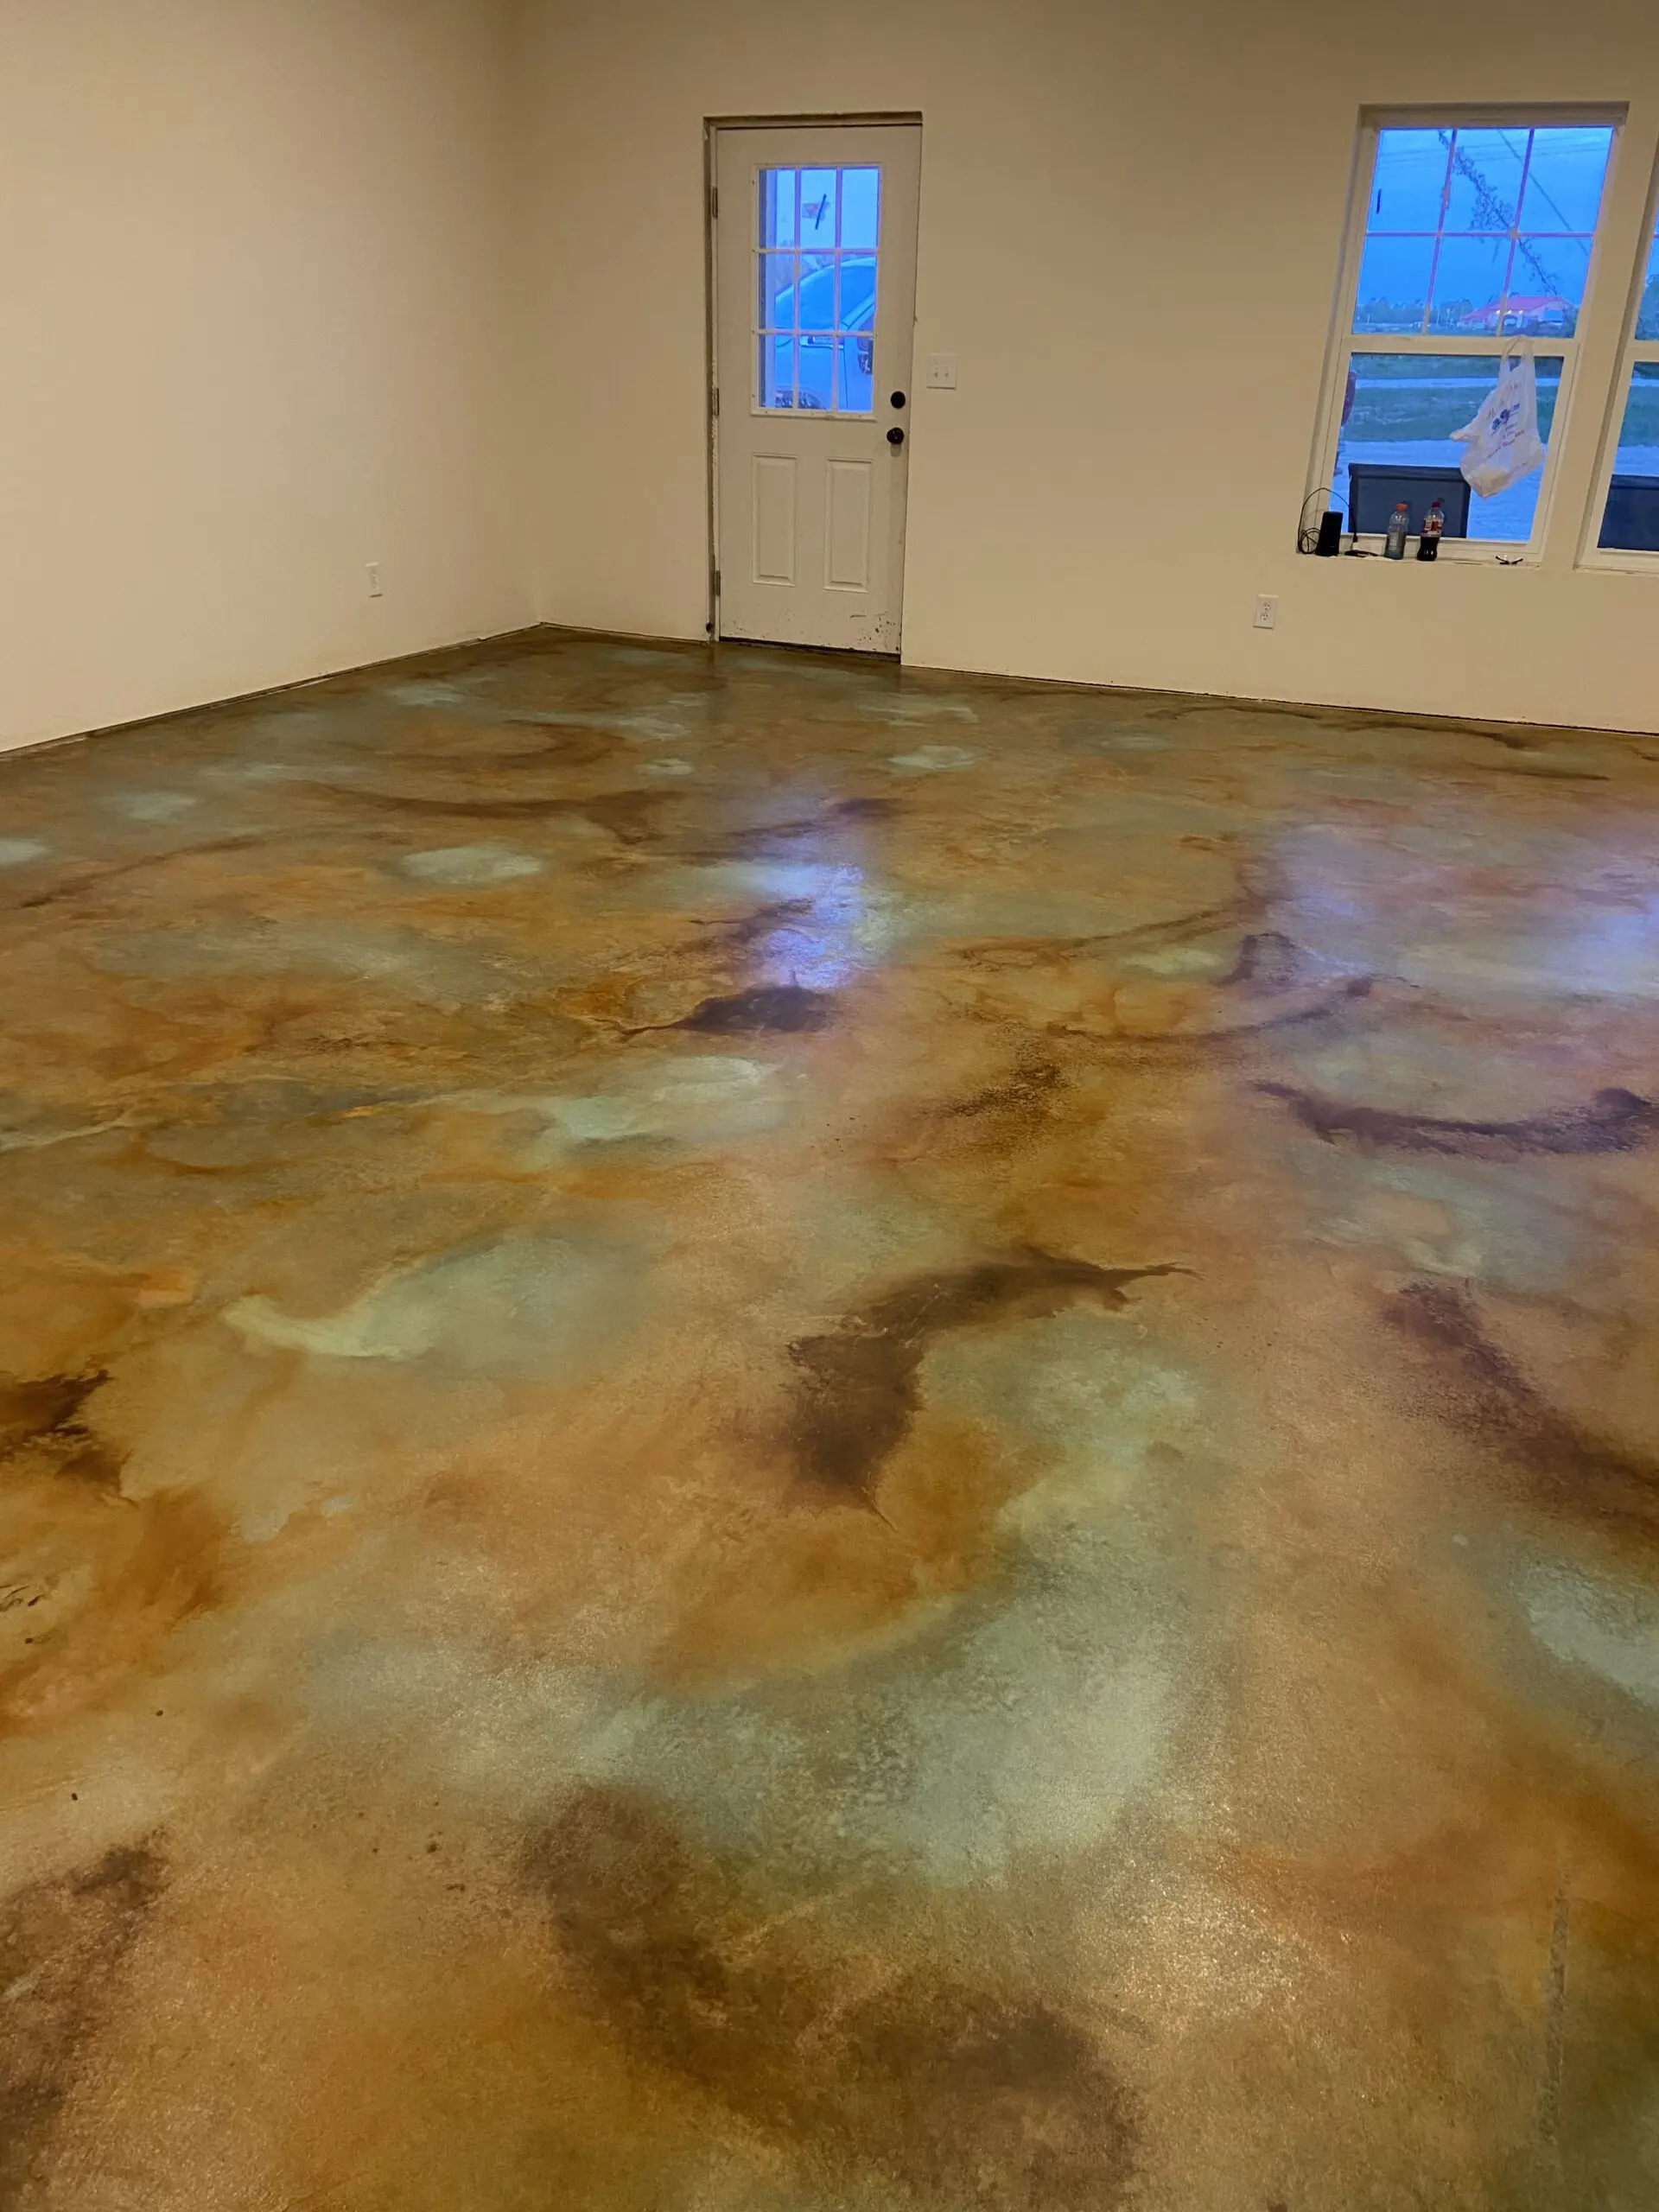
Project Info:
- Project Completed In: 4 day(s)
- Estimate of Square Footage: 1800 sq. ft.
- Project Description:
Building new house, stained floors thru out the house. - Direct Colors Products Used:
1 Gal. CitrusEtch™ Concrete Etcher
5 Gal. Malayan Buff EverStain™ & AcquaSeal™ Satin Kit
4 x 1 Gal. Seagrass EverStain™ & AcquaSeal™ Satin Kit
3 x 1 Gal. Coffee Brown EverStain™ Acid Stain
5 Gal. ProWax Polish™ Satin
Lakehouse Basement Floor Facelift
Whether you’re inspired to replicate a marble effect or match concrete stain colors with your existing home decor, testing your intended slab before committing to a fully-scaled project is essential. If you’re anything like this DC customer, you might find yourself addicted to the process of acid staining. Before you know it, your whole house and yard will be covered!
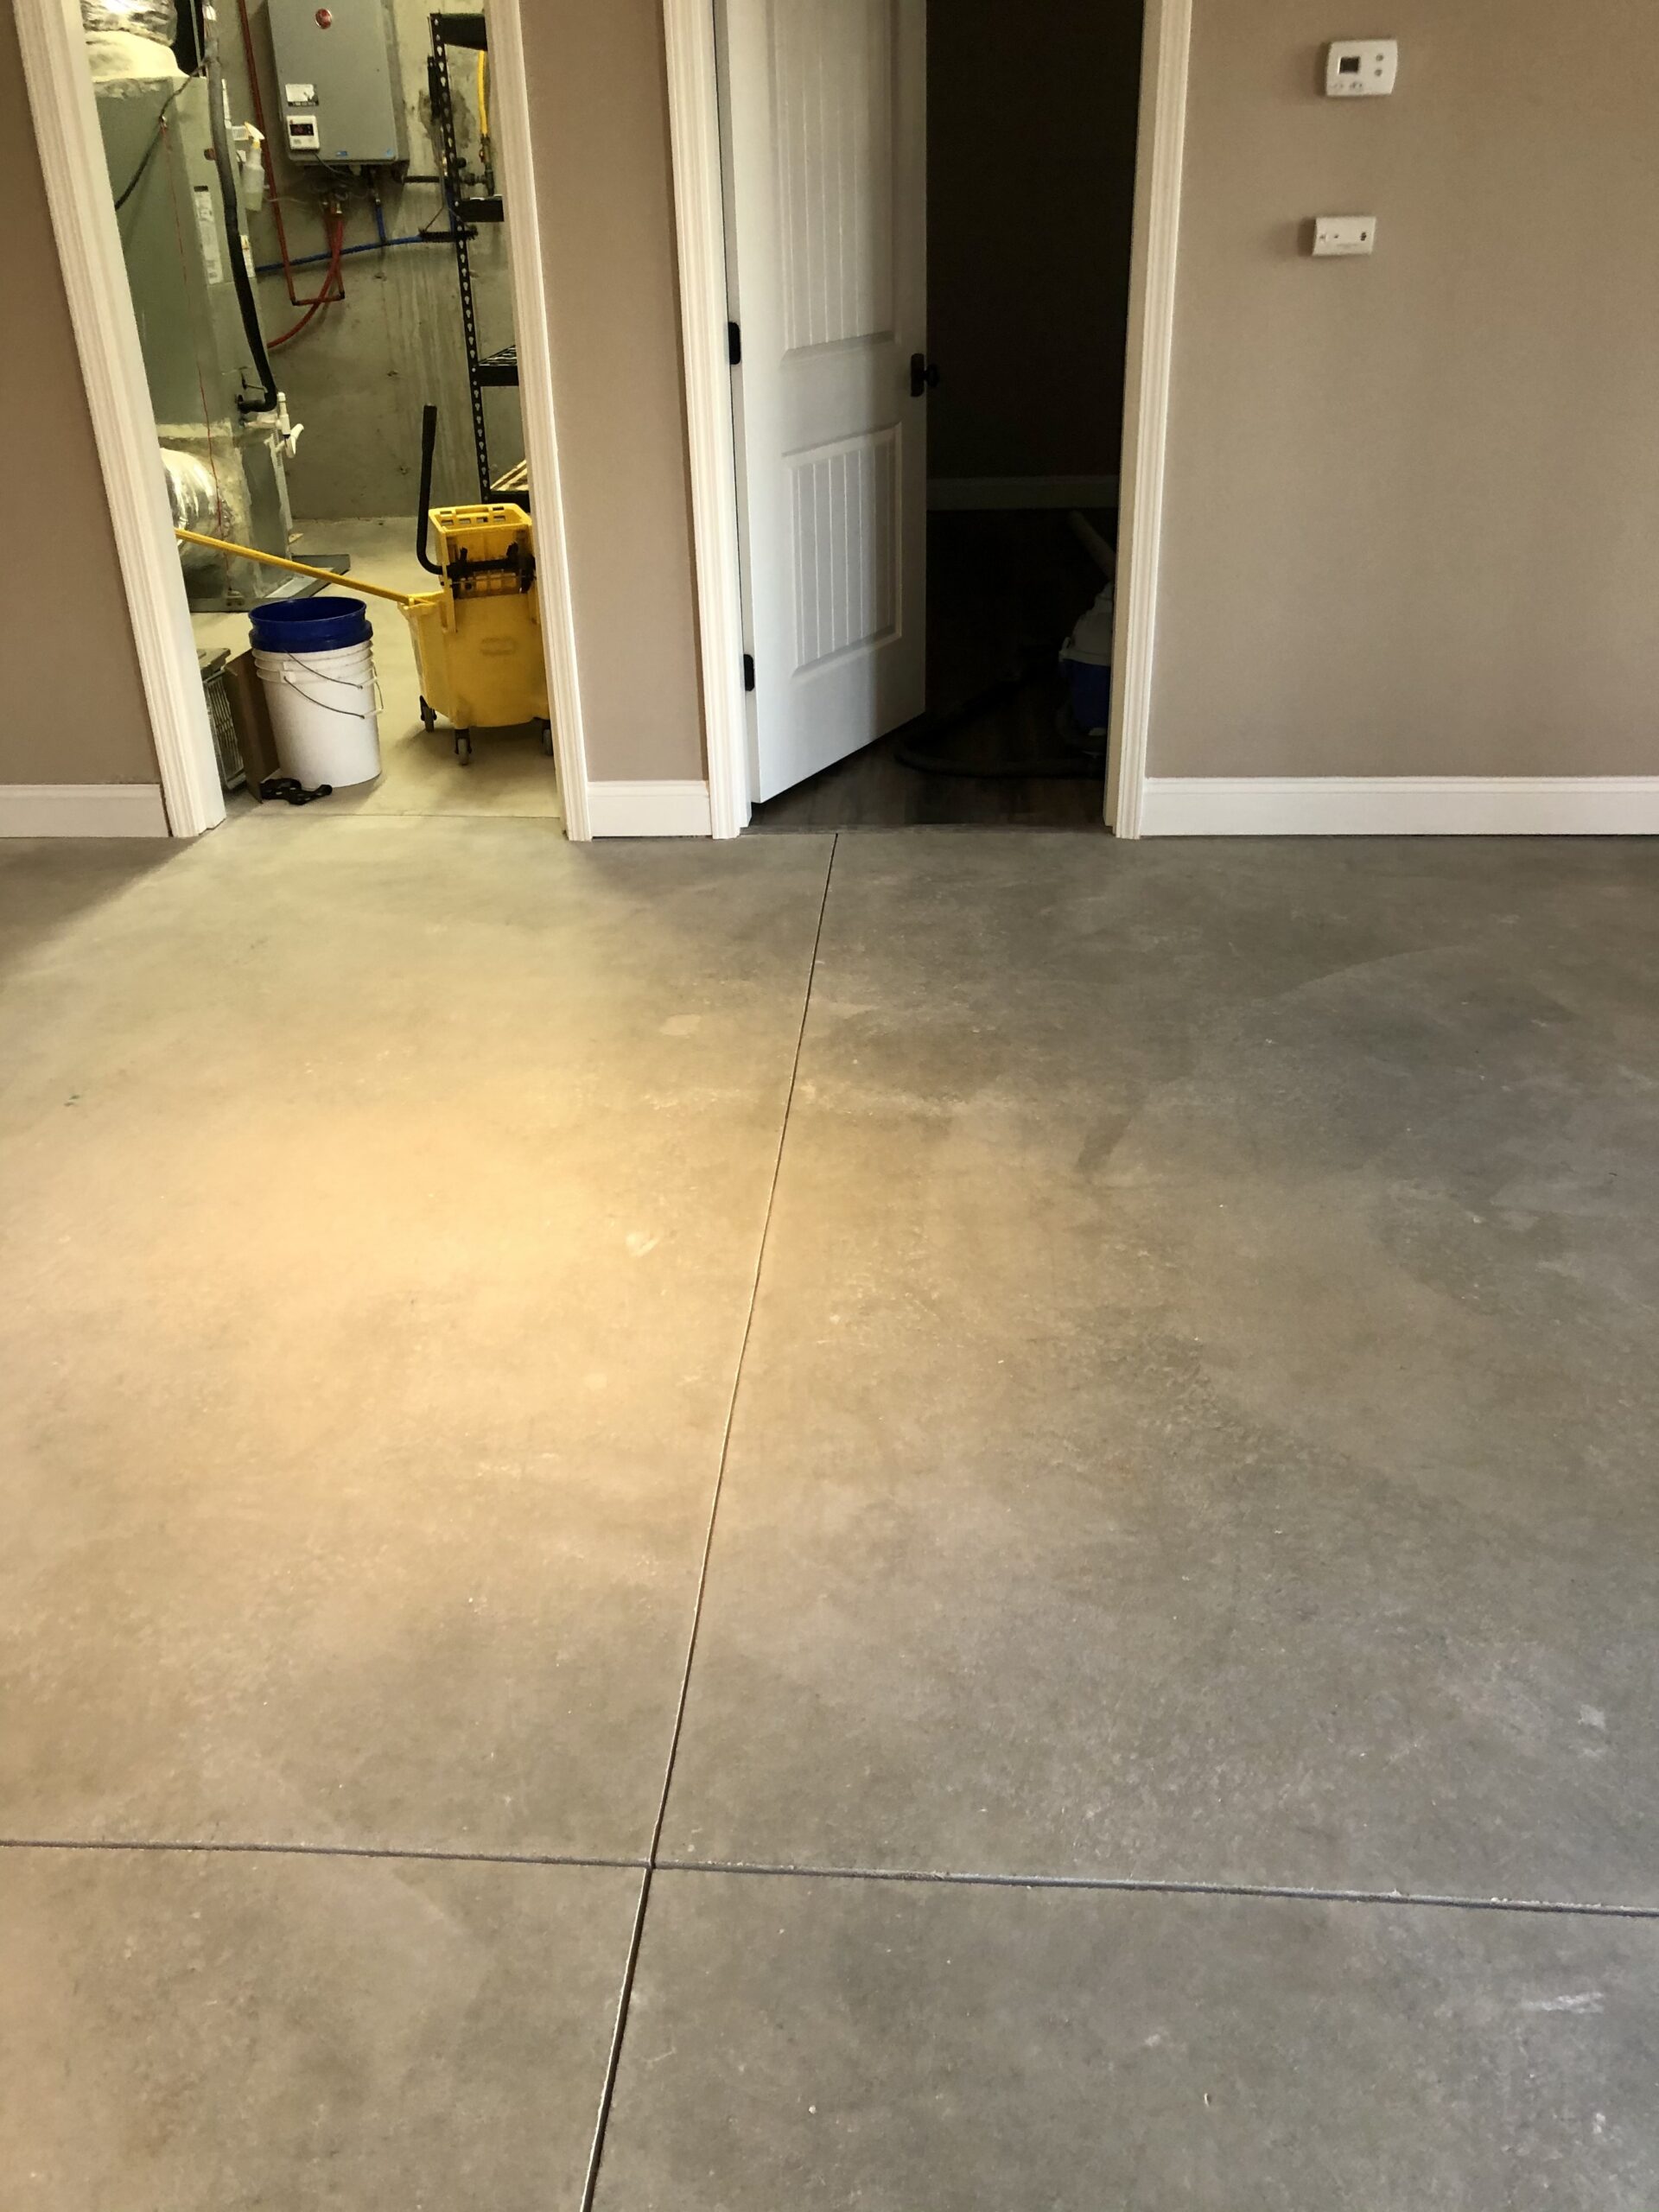
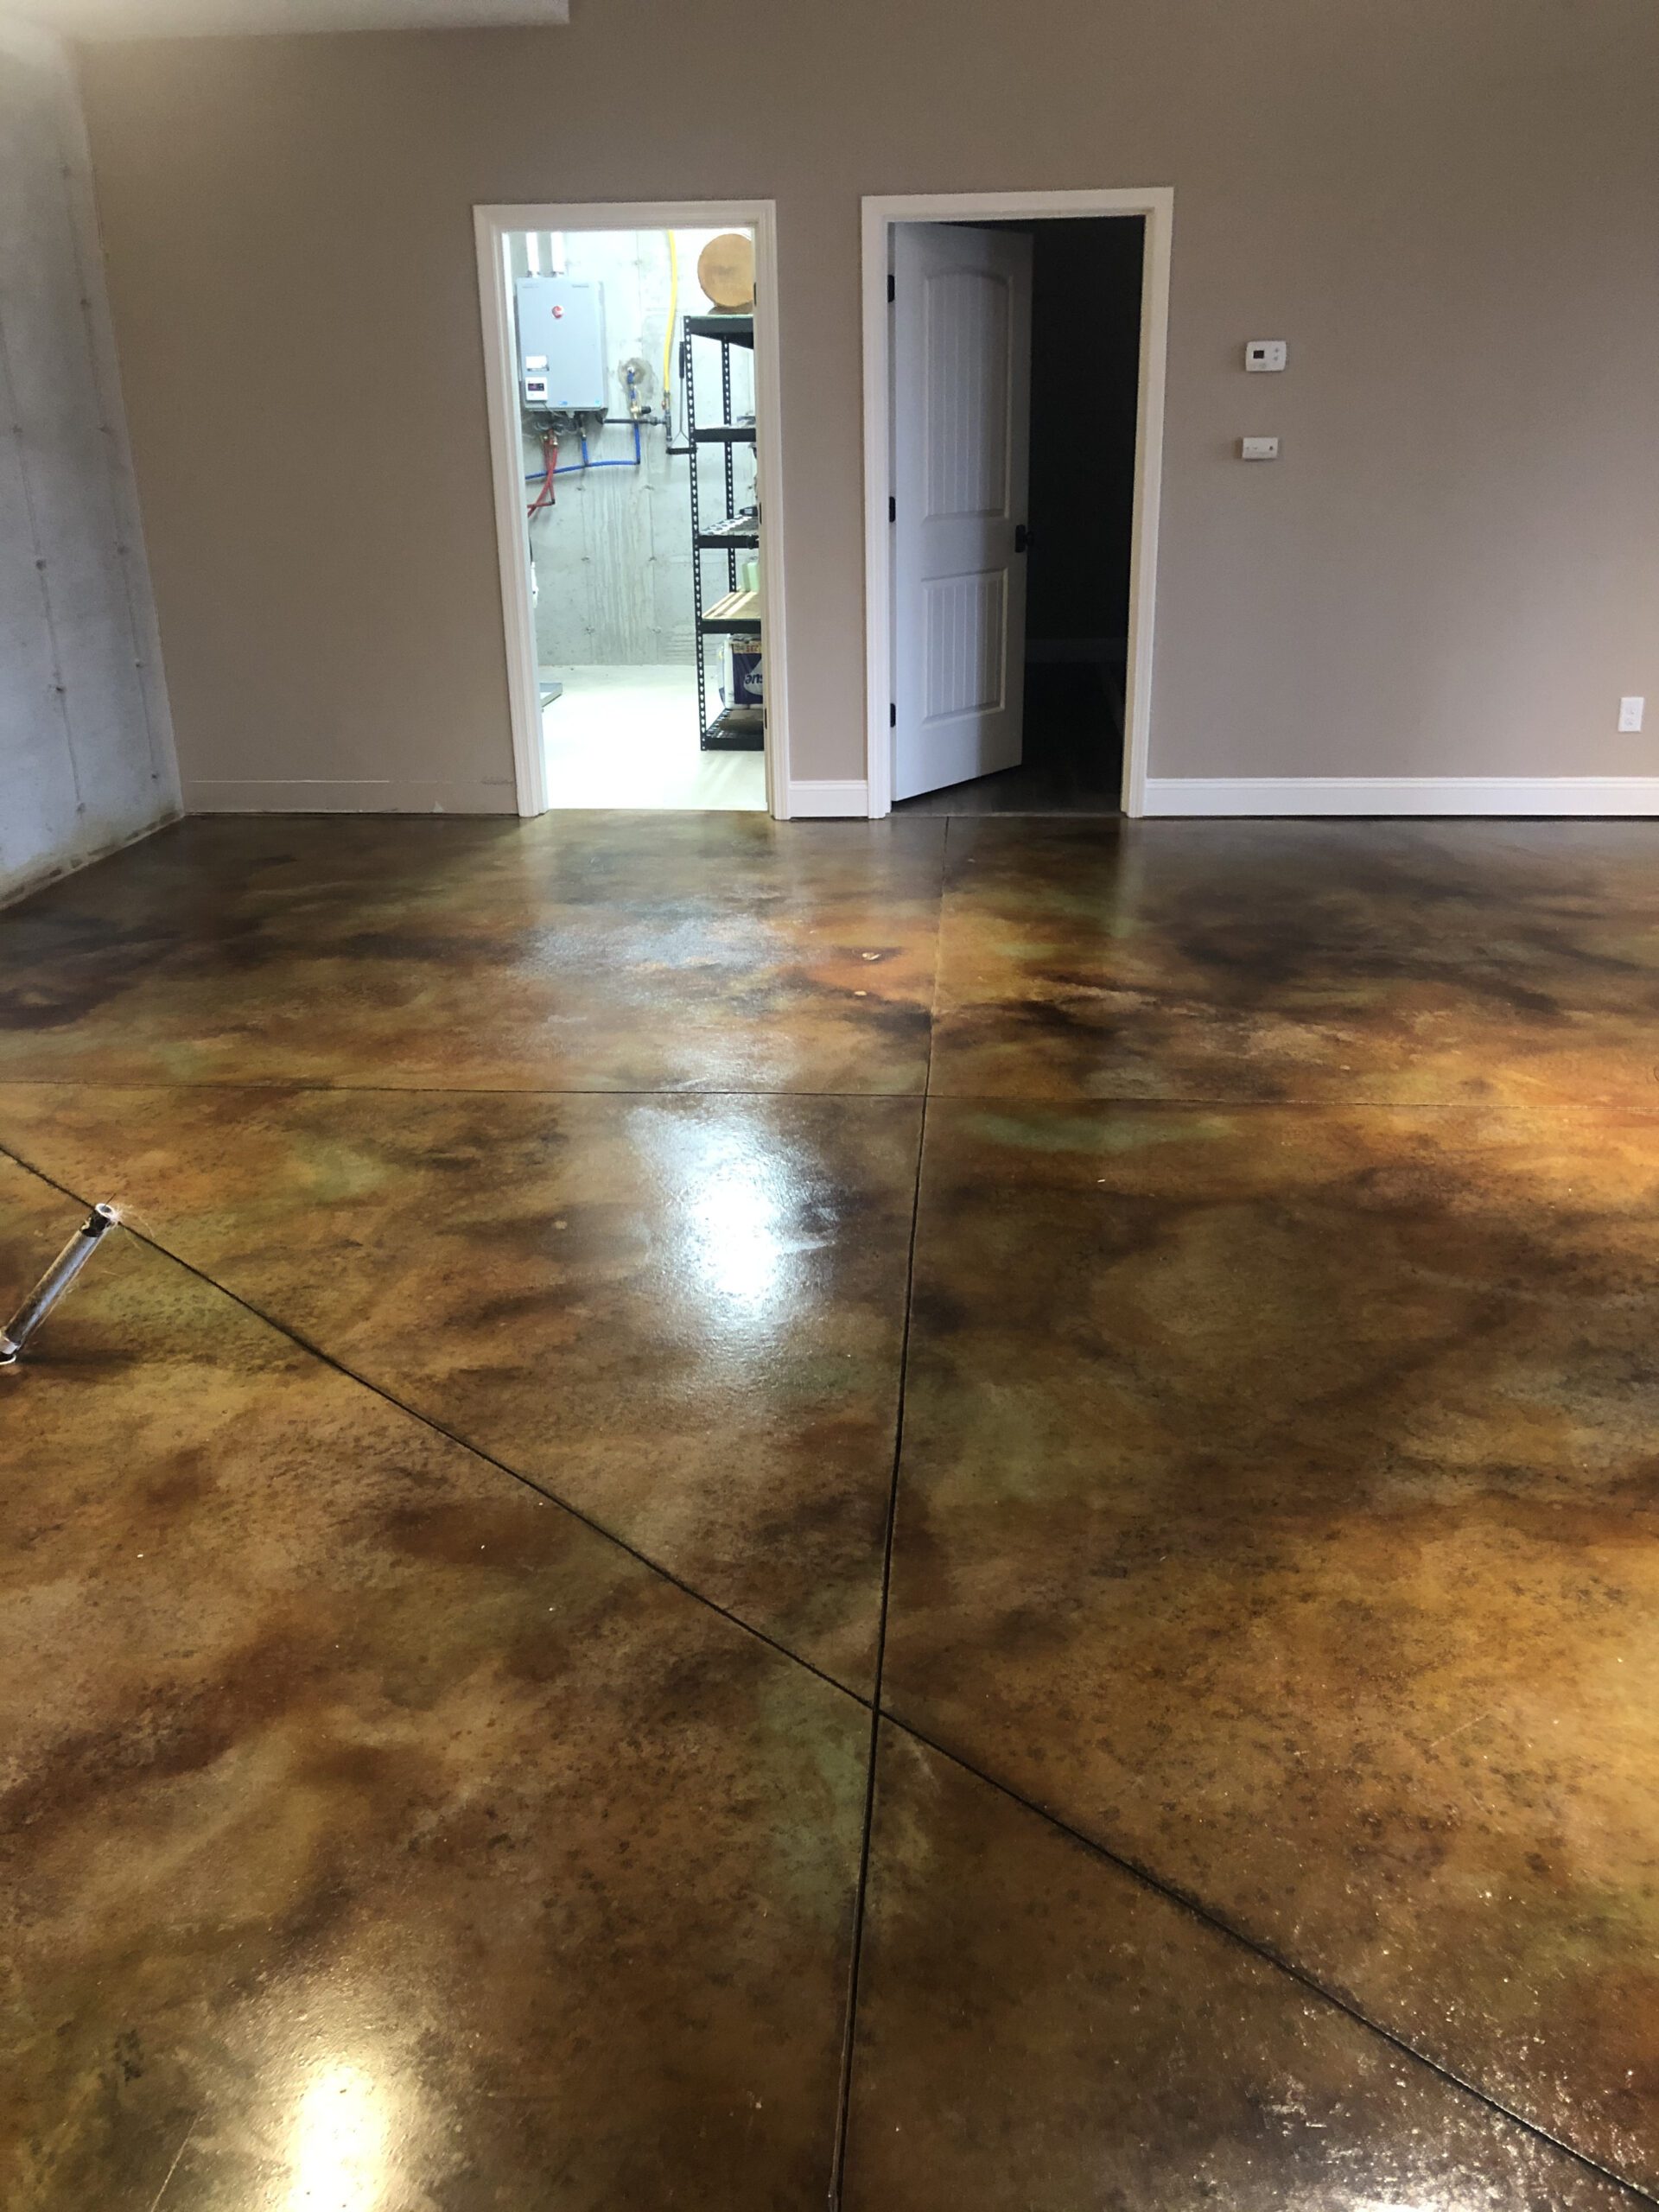
Project Info:
- Project Completed In: 5 day(s)
- Estimate of Square Footage: 300 sq. ft.
- Project Description:
I stained a basement floor of our newly constructed lake house. The concrete was finished with a smooth service but, nothing beyond that. I used Malayan Buff, Black and Sea Grass to create a marbled effect with a high gloss acrylic sealer. I took my time and allowed a lot of drying time between layers of sealer which is why it took 5 days. I absolutely love the end results! As a matter of fact I already have my next project planned (outdoor concrete slab patio).I love the process and am thinking of ways to use the product beyond the customary floor treatments! I’m thinking concrete statutes, figurines, stepping stones, etc. The possibilities are endless! - Personal Tips:
I used a lot of water to blend the three colors to make them look seamless. I used tank sprayers for the stain and had one just for water. I’d spray the stain. Then ‘feather’ any isi or lines with water. When I applied the next color I would use the water to blend the two stains. Knowing the results were unpredictable depending on type of concrete, finish, etc. made me a little nervous to begin with. Once I started the motions just seemed to flow. Again, I absolutely love the results! - Direct Colors Products Used:
1 Gal. Malayan Buff DIY EverStain™ & EasySeal™ Gloss Kit
1 Gal. Seagrass EverStain™ & EasySeal™ Gloss Kit
1 Gal. Black EverStain™ - Other Products Used:
Roller pad (paint roller) with a long broom type handle, acid appropriate sprayers, Scotch brand tape/plastic around baseboard & up part of wall, mop and mop bucket and Cat Track shoe covers (spiked).
