Stained Concrete Basement Floors – Transform Your Basement with Inspiration and Expert Tips
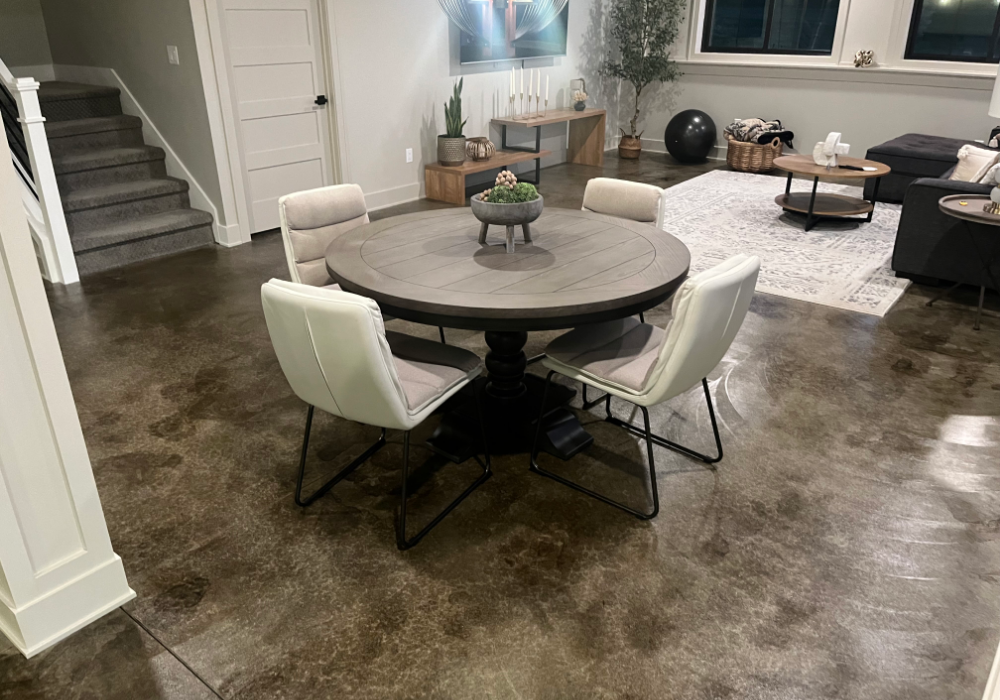
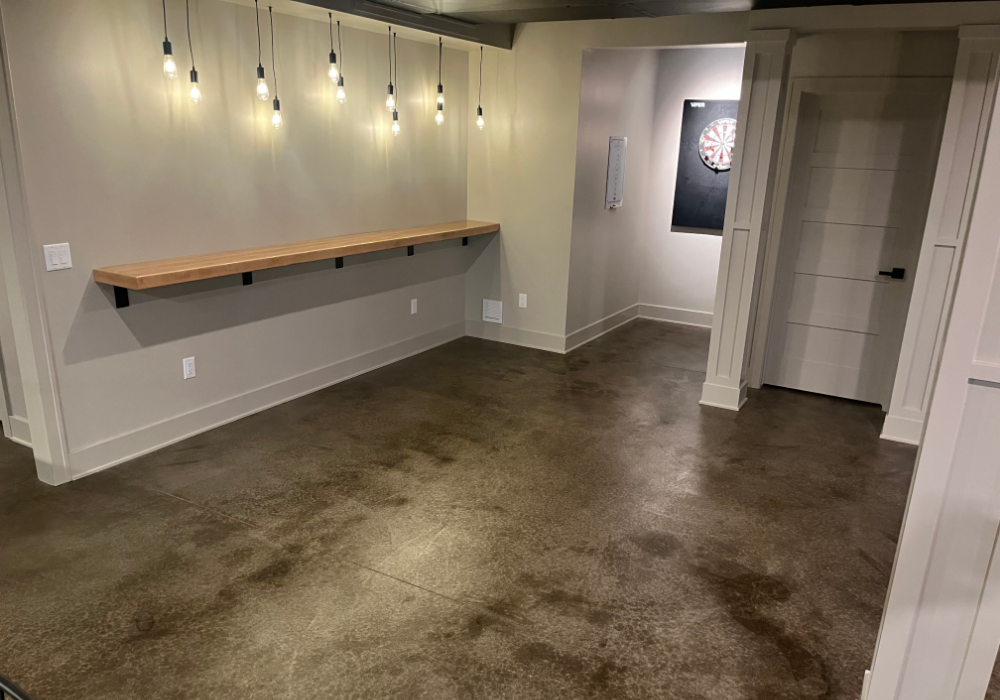
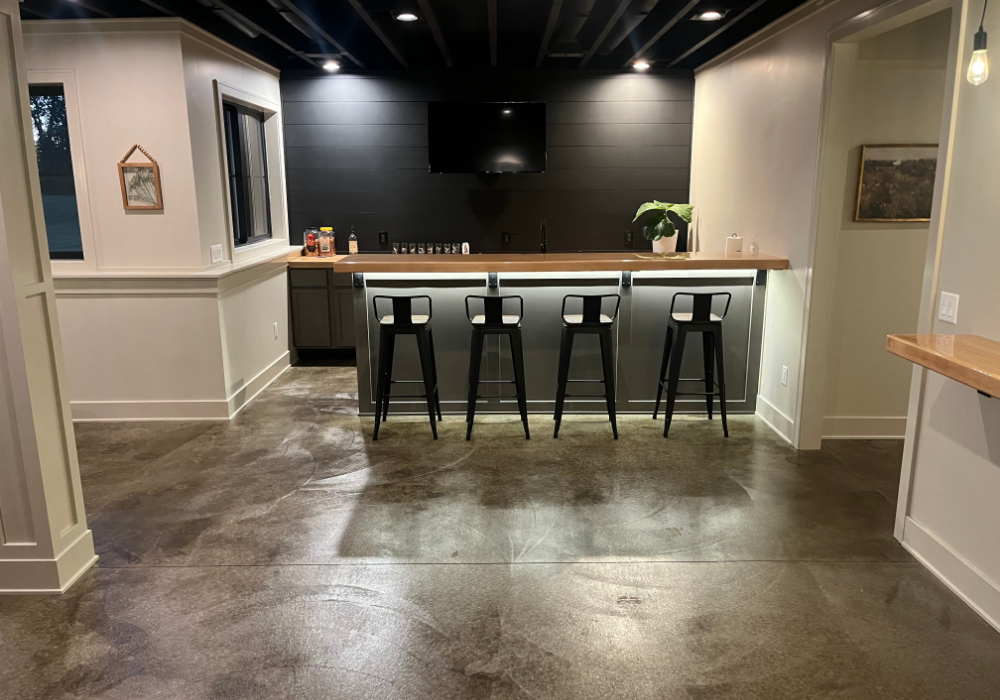
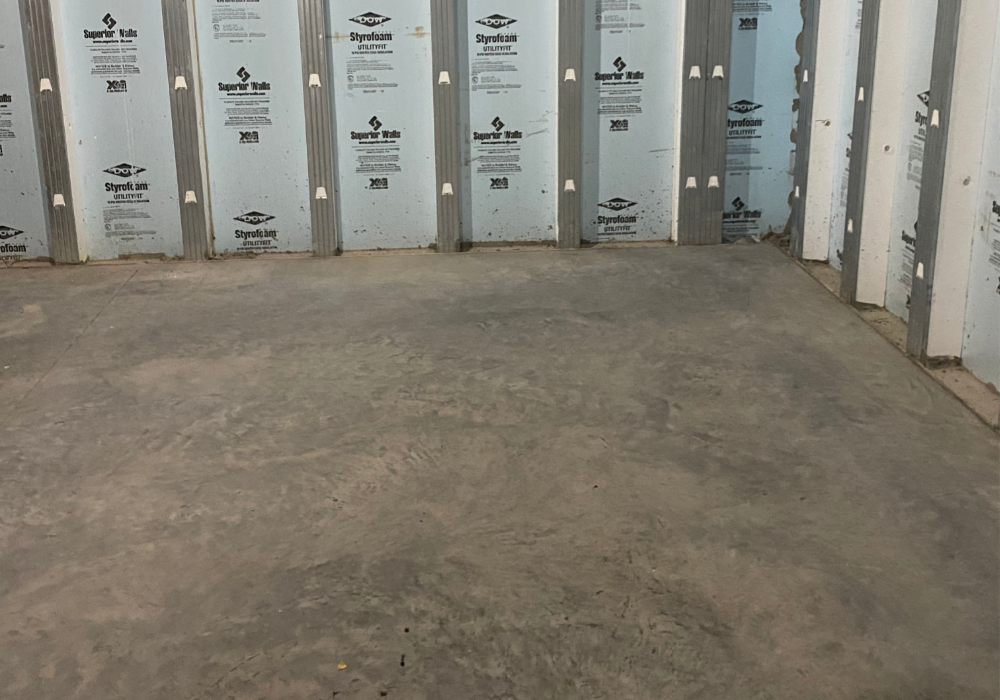
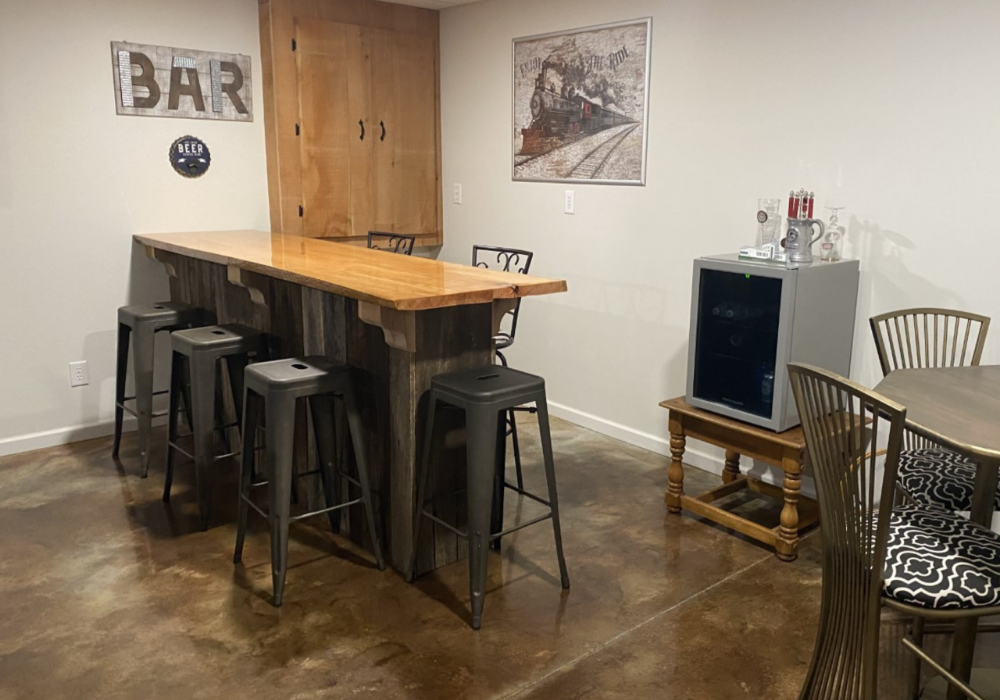
Discover the possibilities of transforming your basement floor with stained concrete. Browse our collection of customer projects featuring before, during, and after photos of stained concrete basement floors. Get inspired and learn tips and tricks for achieving the perfect finish for your own basement renovation project.
Revamping A Basement Into A Comfortable Living Area
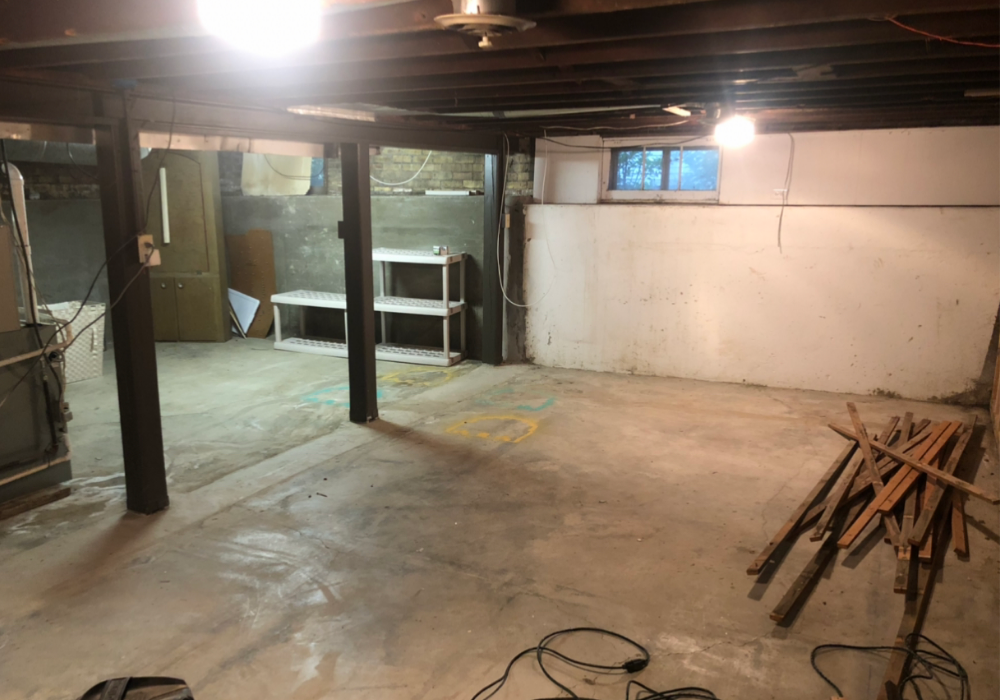
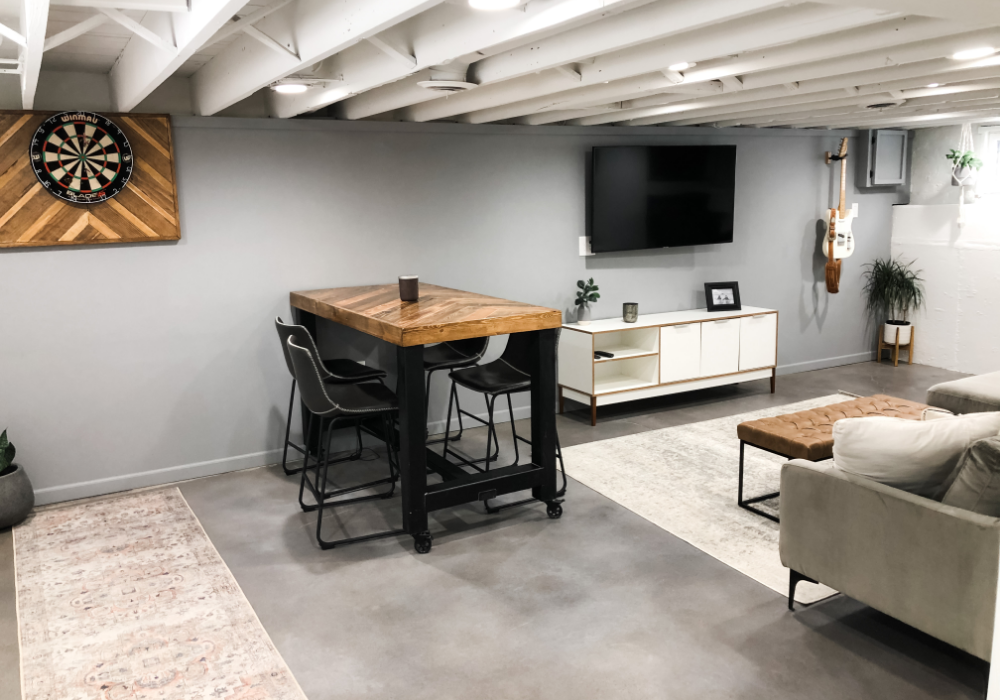
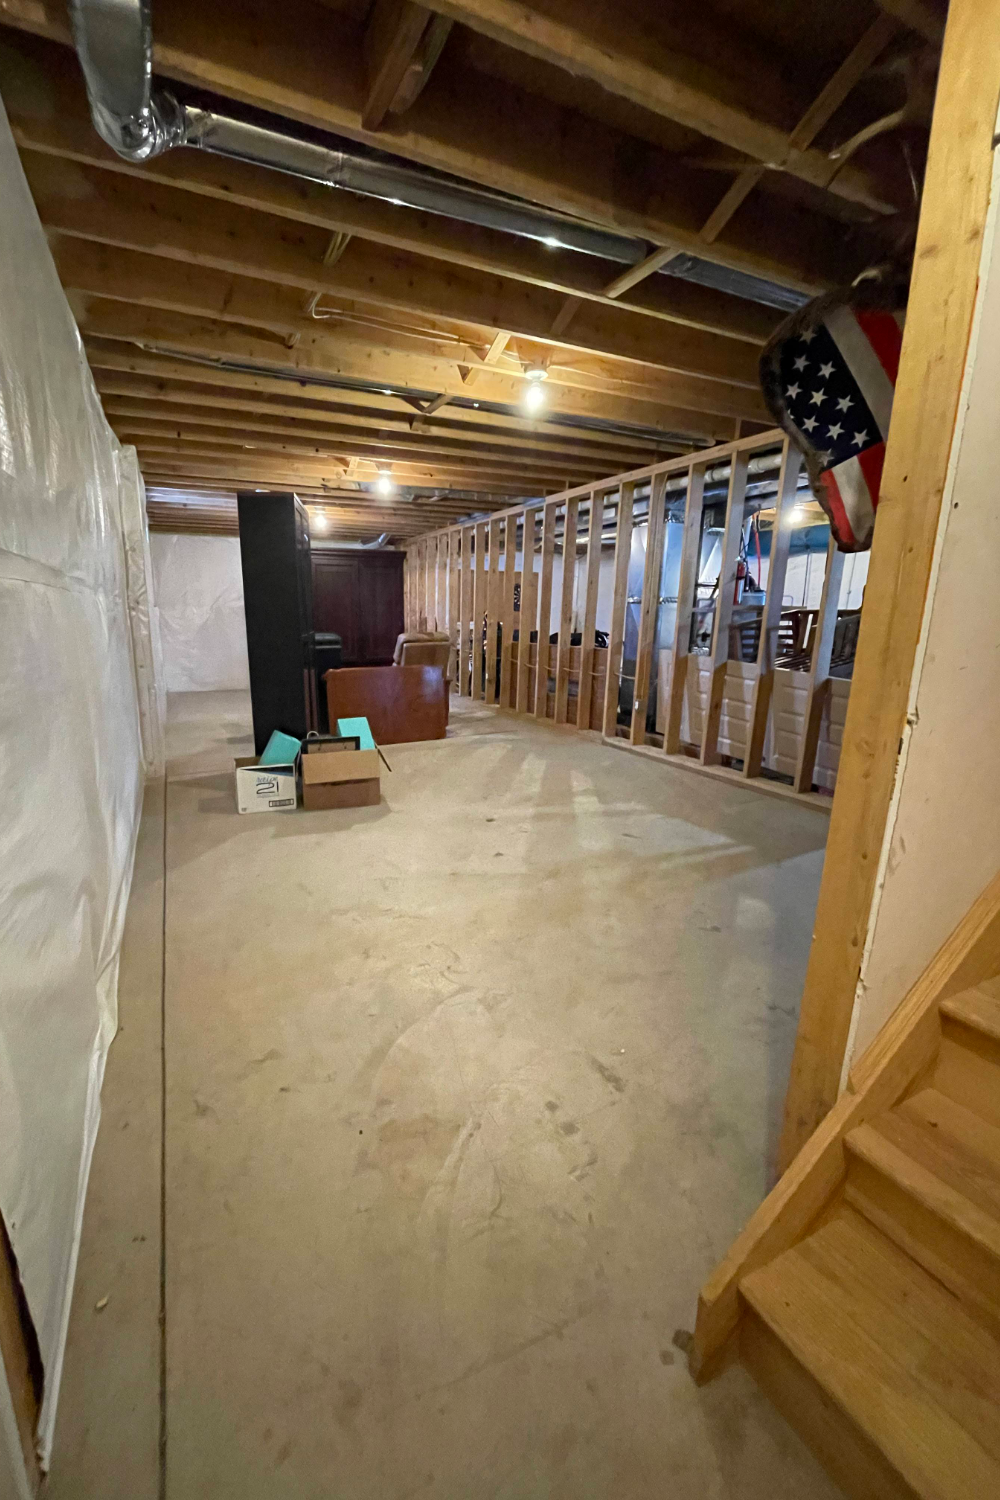
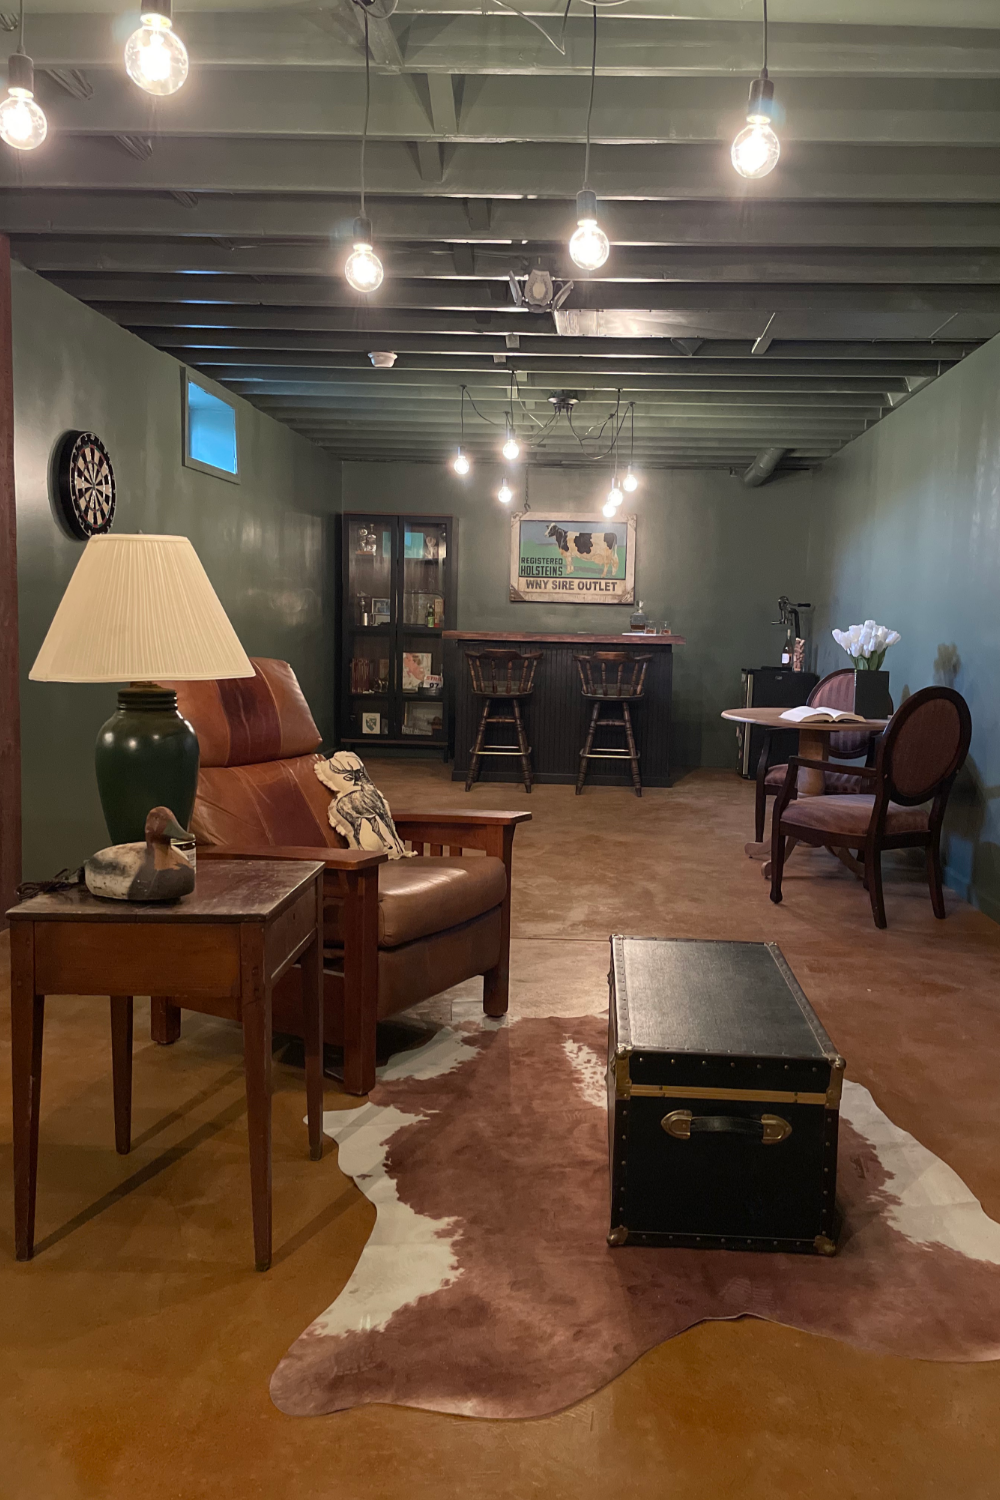
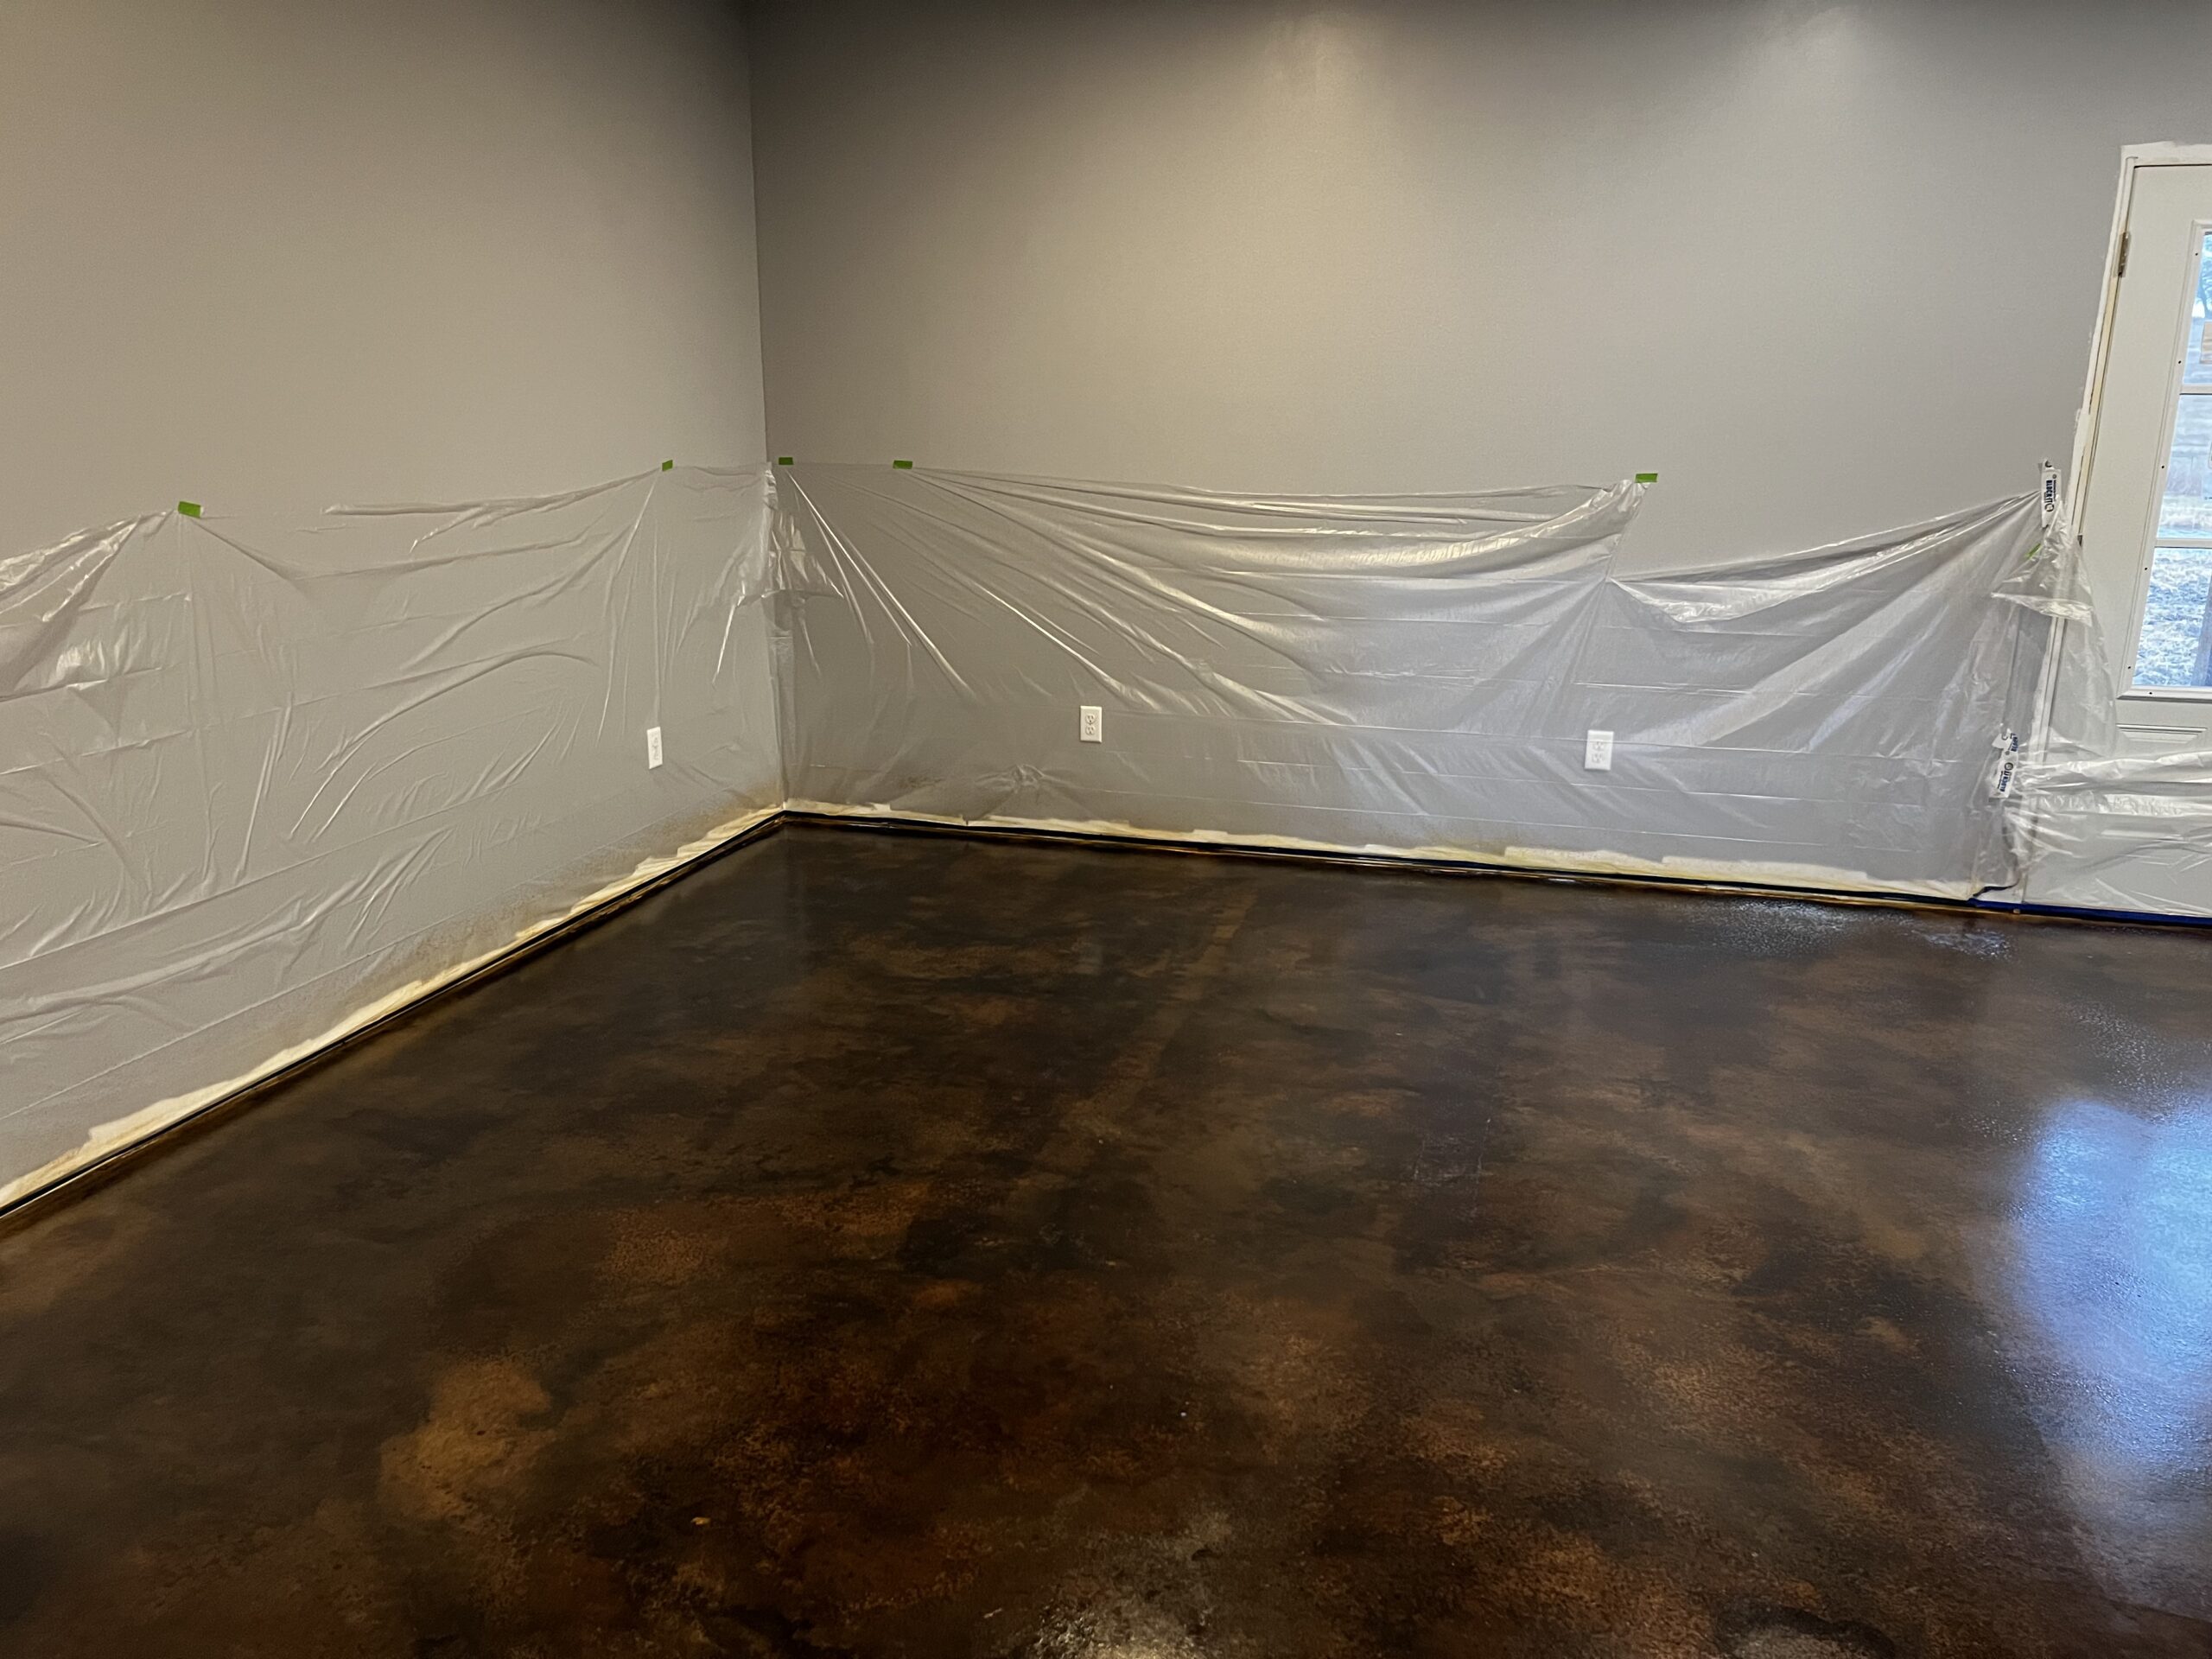
We were determined to transform our 100-year-old basement into a livable space, but we were discouraged by the high cost of hiring professionals to stain the concrete floor. So, we decided to take on the project ourselves with the help of Direct Colors.
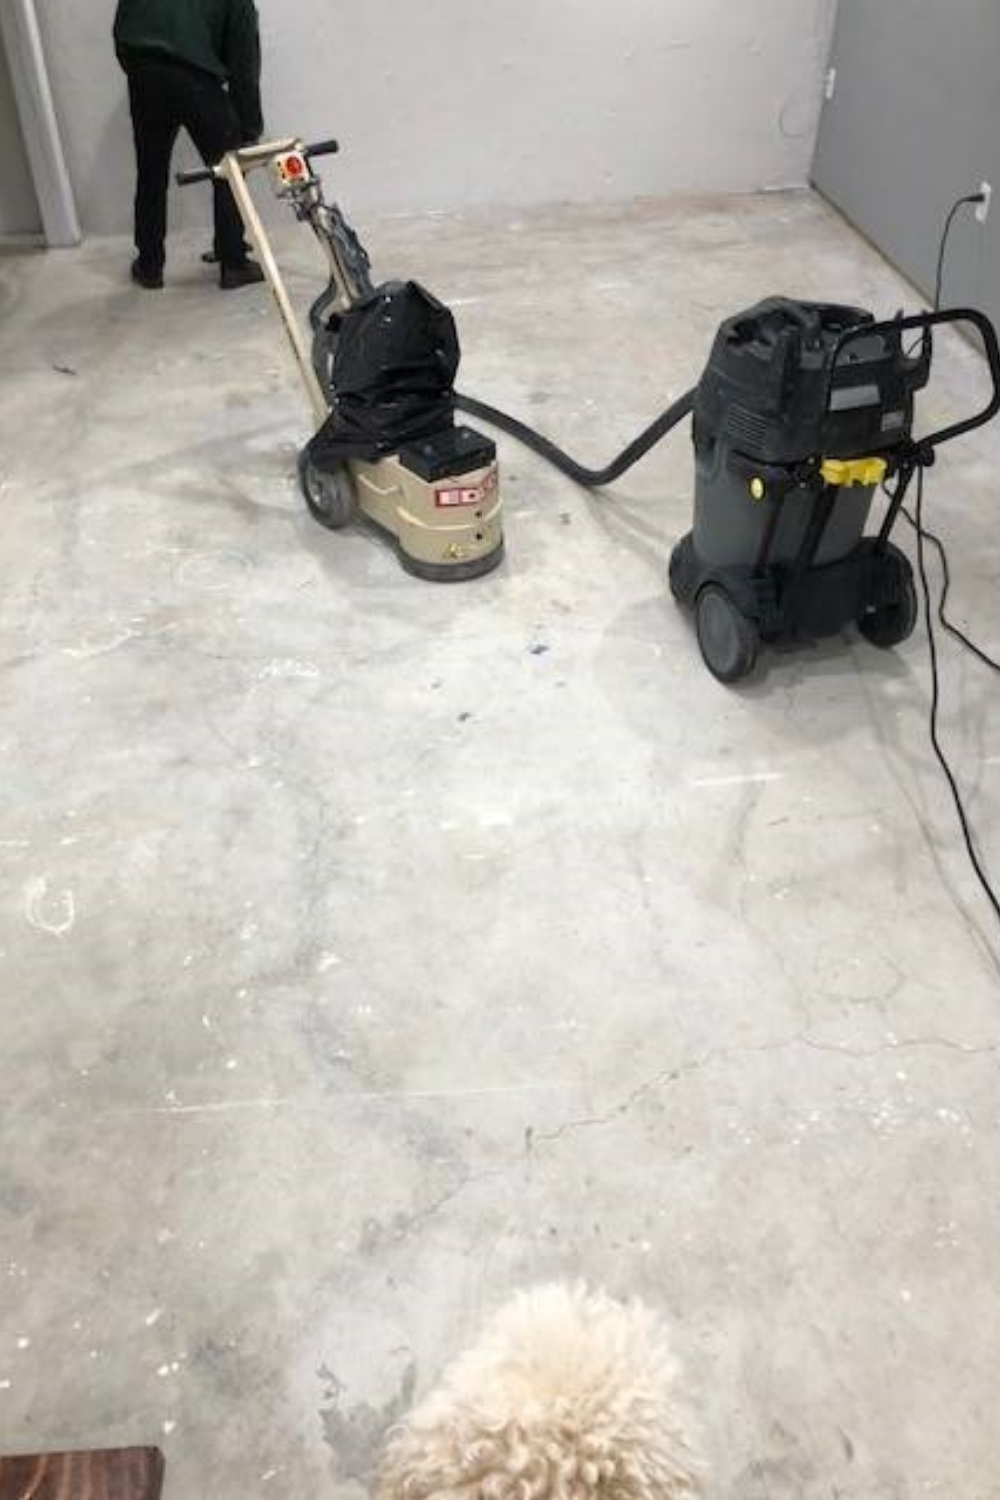
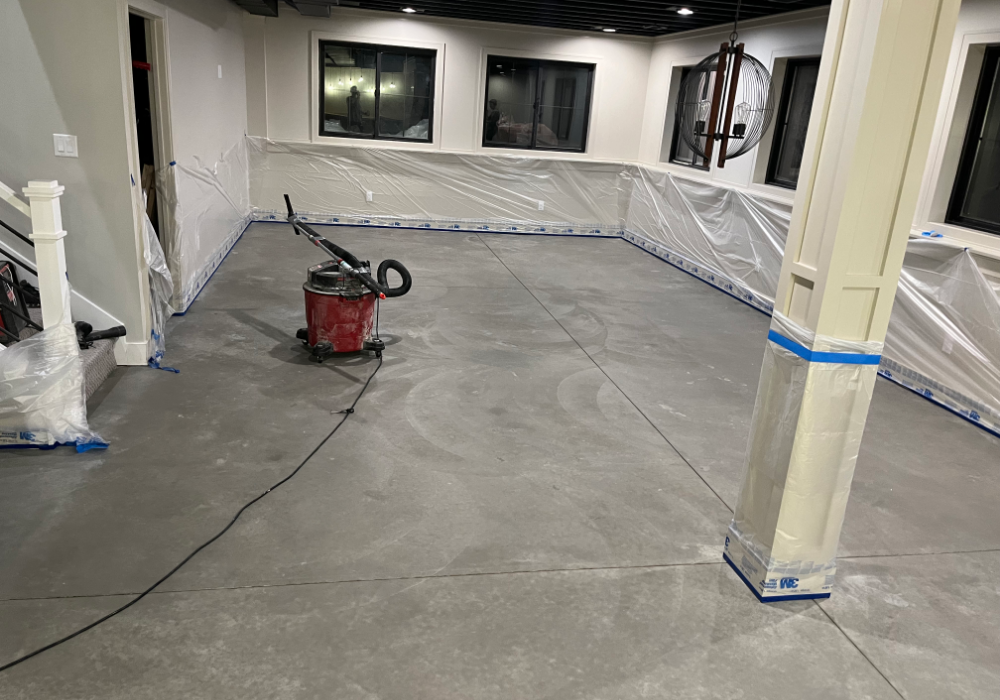
The first step was to remove all the old stains, spray paint, and overspray from the floor. We rented a concrete grinder and used a handheld angle grinder with a surface grinding tool to get into the hard-to-reach areas. We also patched a few small hairline cracks with a basic cement mix from the hardware store.
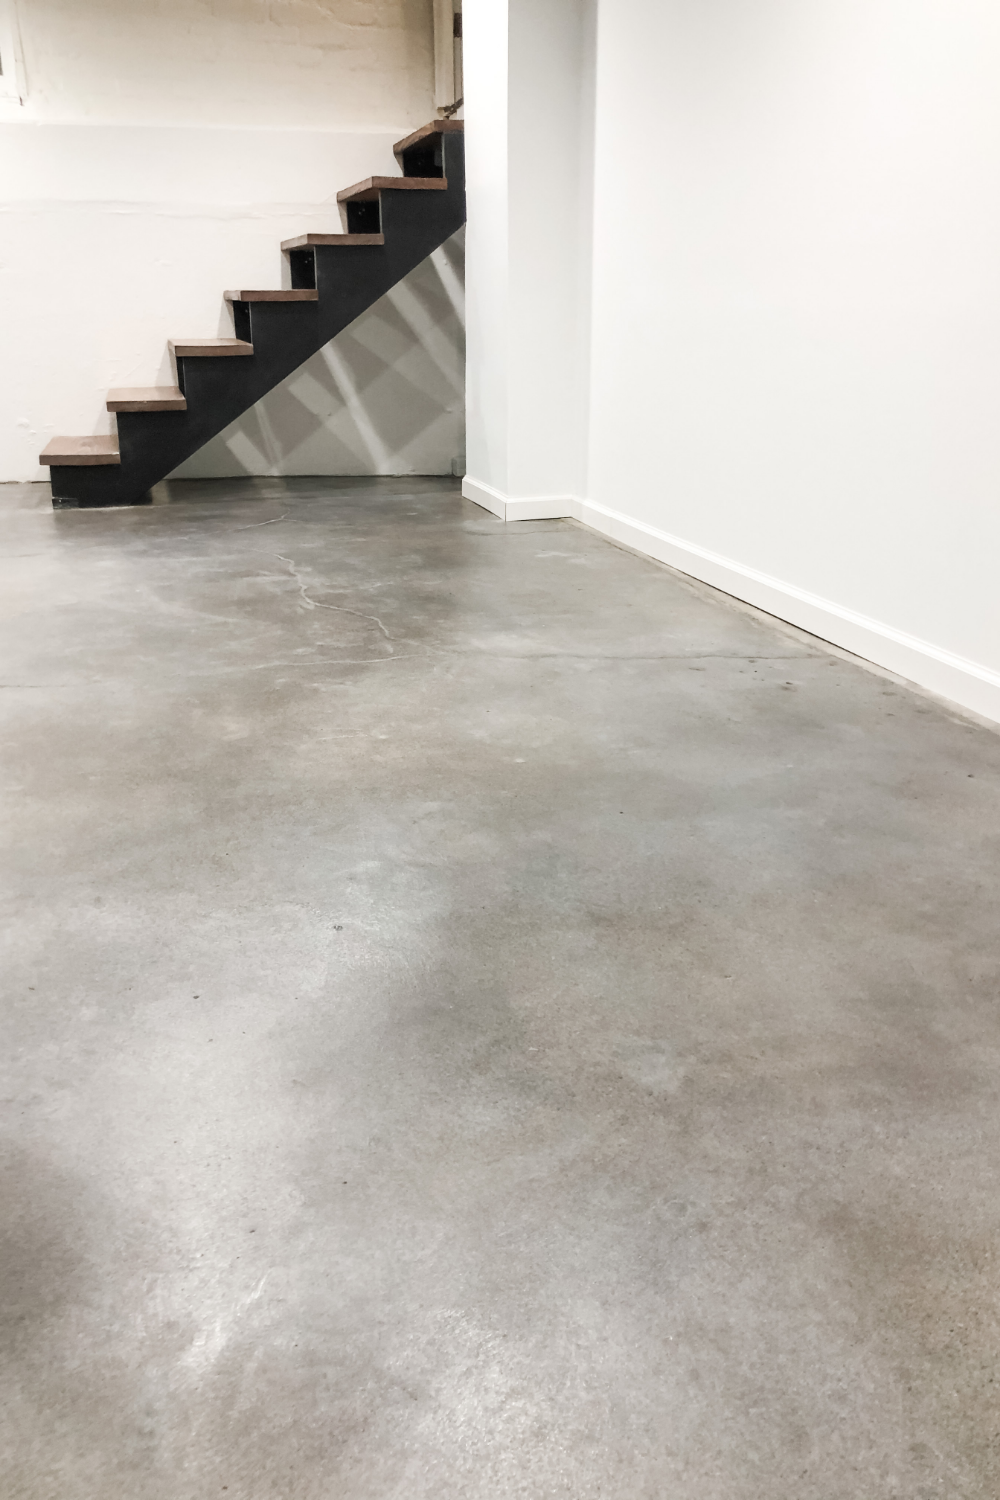
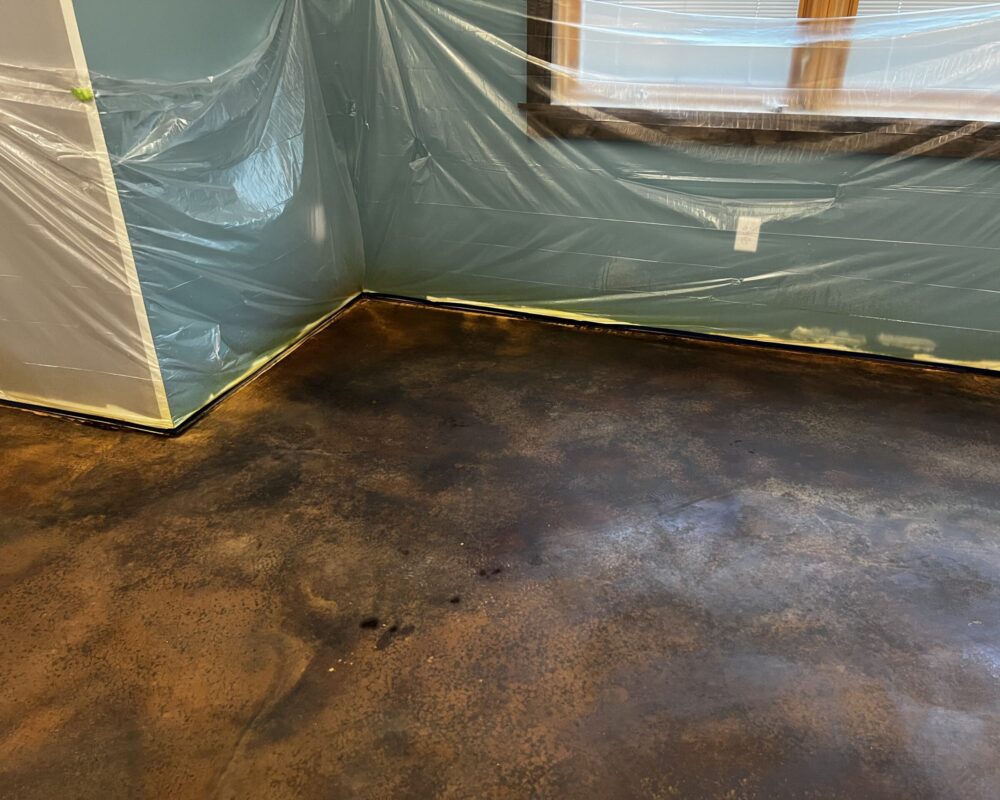
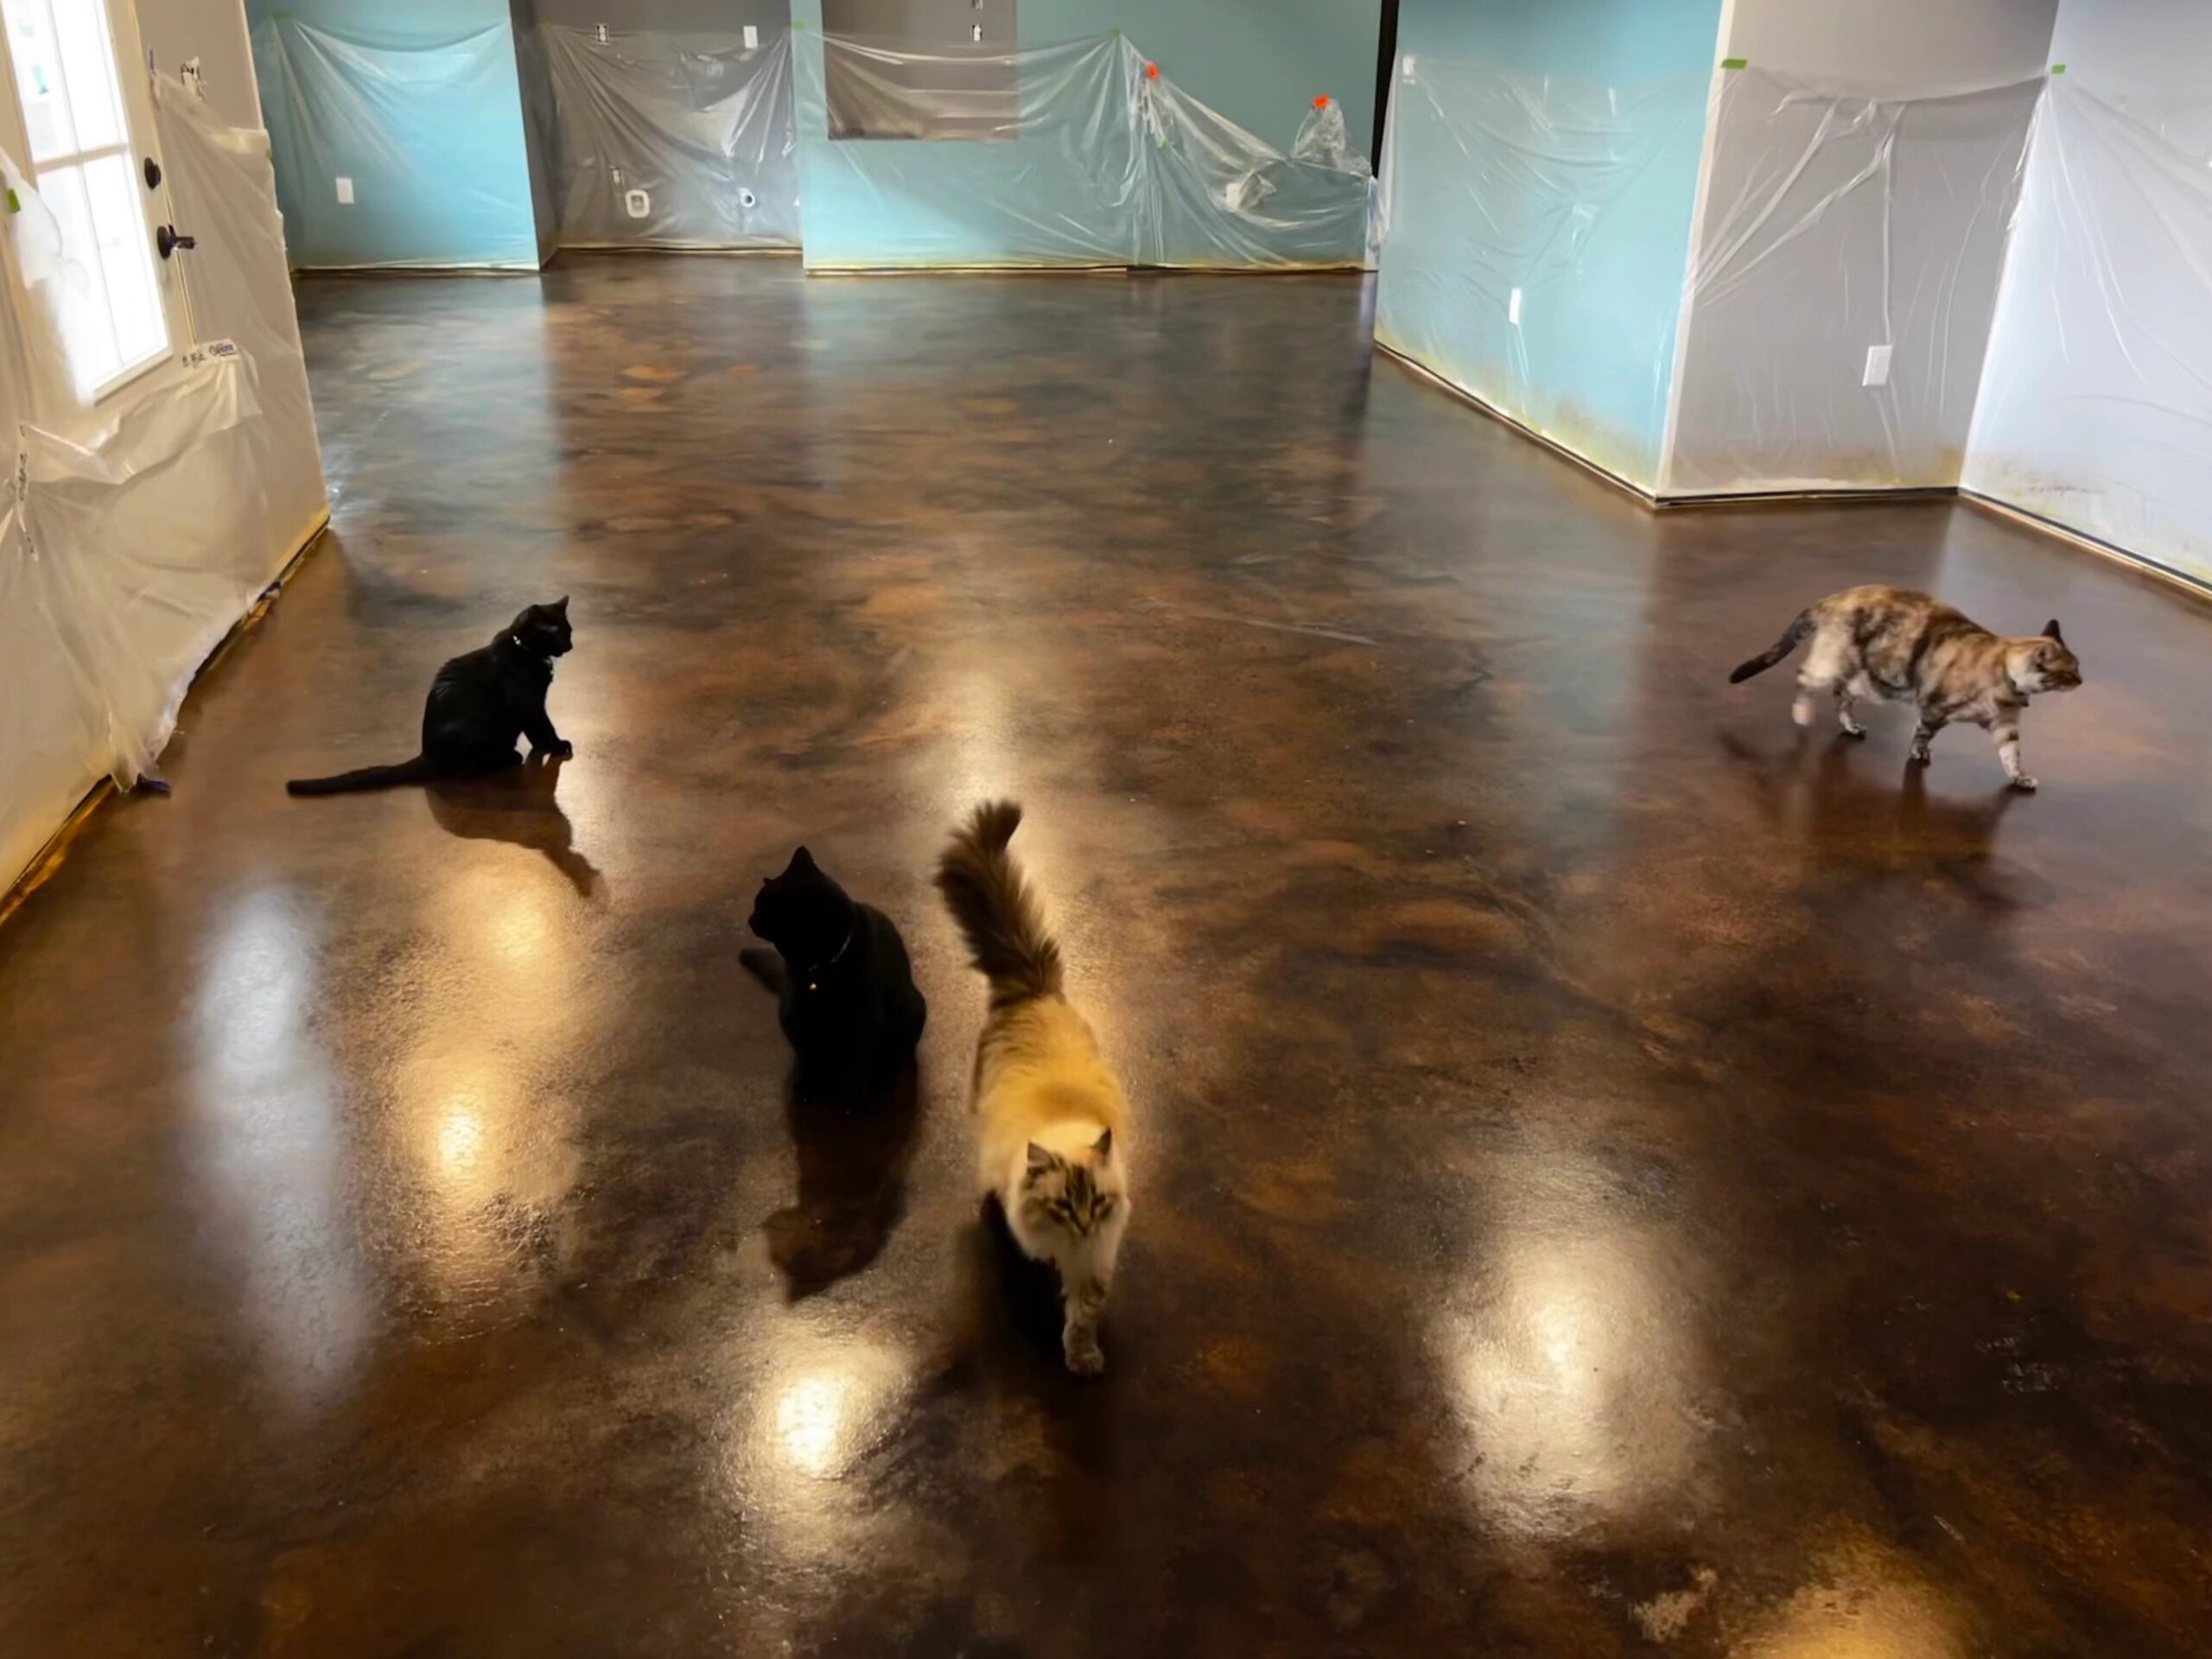
Next, we cleaned up all the dust and mopped the floor three times – once with soapy water and twice with clean water. Once the floor was dry, we taped off the walls with plastic and sprayed a coat of solvent-based satin sealer. We waited about 12 hours for the sealer to dry before applying two coats of White Vibrance Dye, with the recommended drying time between each coat. We followed the same process with Stormy Grey Vibrance Dye and then added some dimension to the floor with Charcoal Grey Vibrance Dye. After the final coat of dye dried, we applied two coats of solvent-based satin sealer, waiting 12 hours between each coat.
We were thrilled with the final result and couldn’t have done it without the guidance and products from Direct Colors. Our biggest issue was with sprayer malfunctions, but don’t let that deter you! With a little prep work and some patience, you can achieve beautiful, professional-looking results on your own. Some of our personal tips include testing your sprayer before starting, not skimping on prep work, and having a bucket and rag on hand to fix any drips or clogs. We also recommend waiting about an hour and a half for the dye to be ready before spraying and making sure to follow the recommended drying times.
Staining Concrete with Water-Based Tinted Sealer
If you’re looking to add a pop of color to your concrete flooring, water-based tinted sealer is a great option. Not only does it provide a beautiful finish, but it’s also easy to apply and maintain.
Upgrading A Basement Into A Cozy And Inviting Space
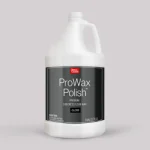
In this project, the customer transformed a 1500 sq ft basement into a playroom for their kids. The customer completed the project in 6 days and used Acquatint driftwood with satin ProWax Polish to give the concrete floor a finished look.
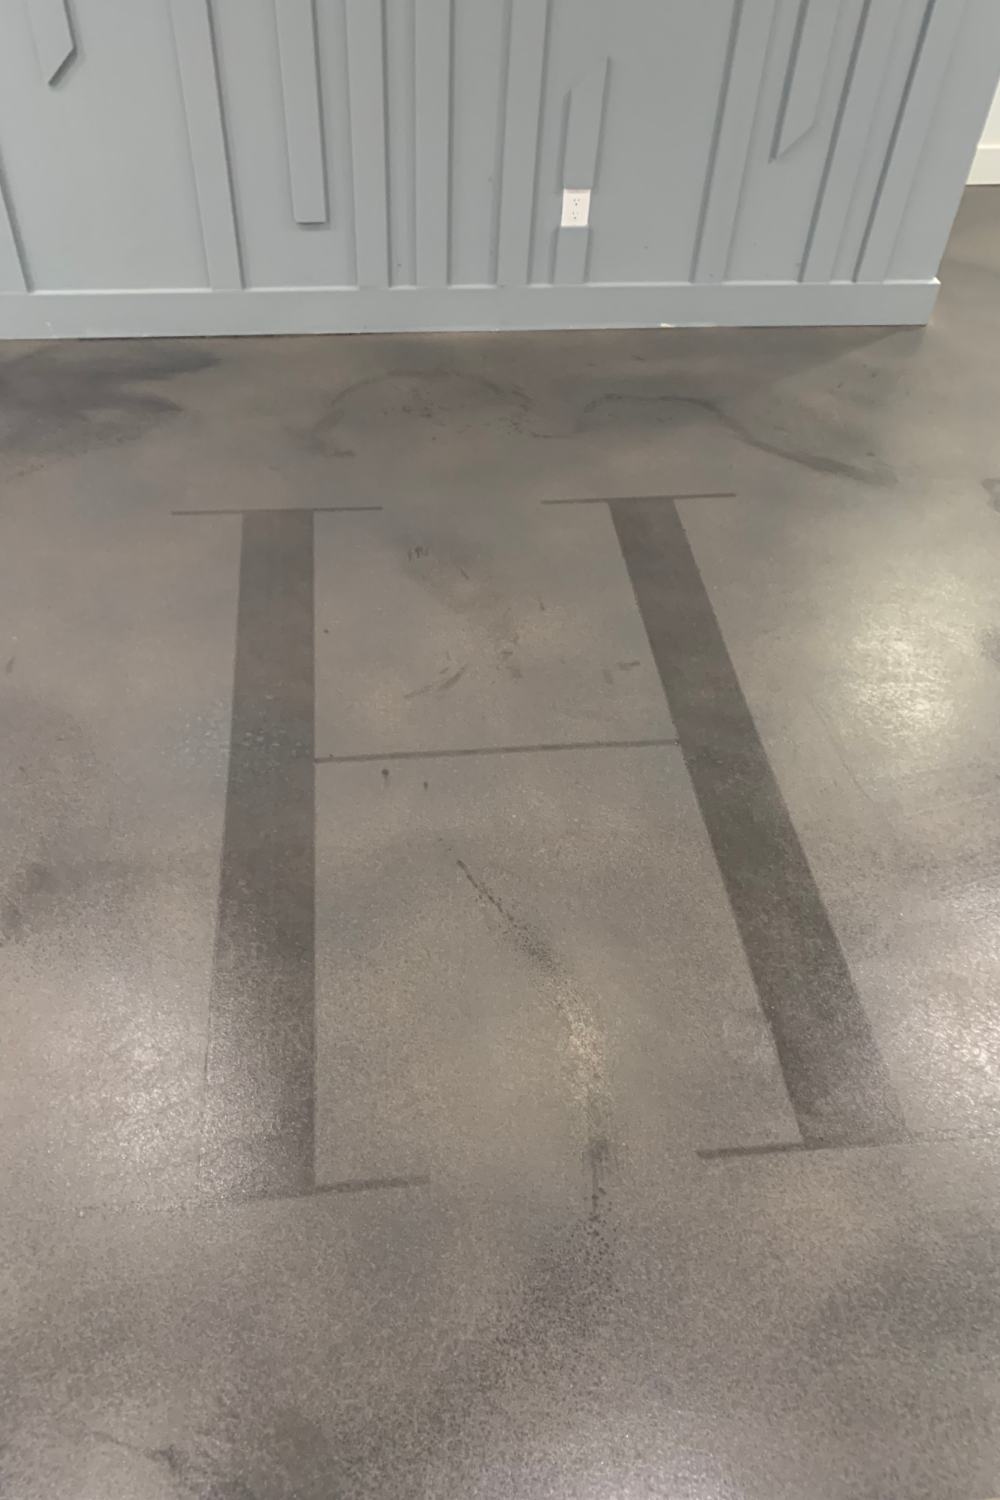
Unfinished Basement Gets a Mottled, Graffiti-Inspired Makeover with Aquatint Charcoal and Gray
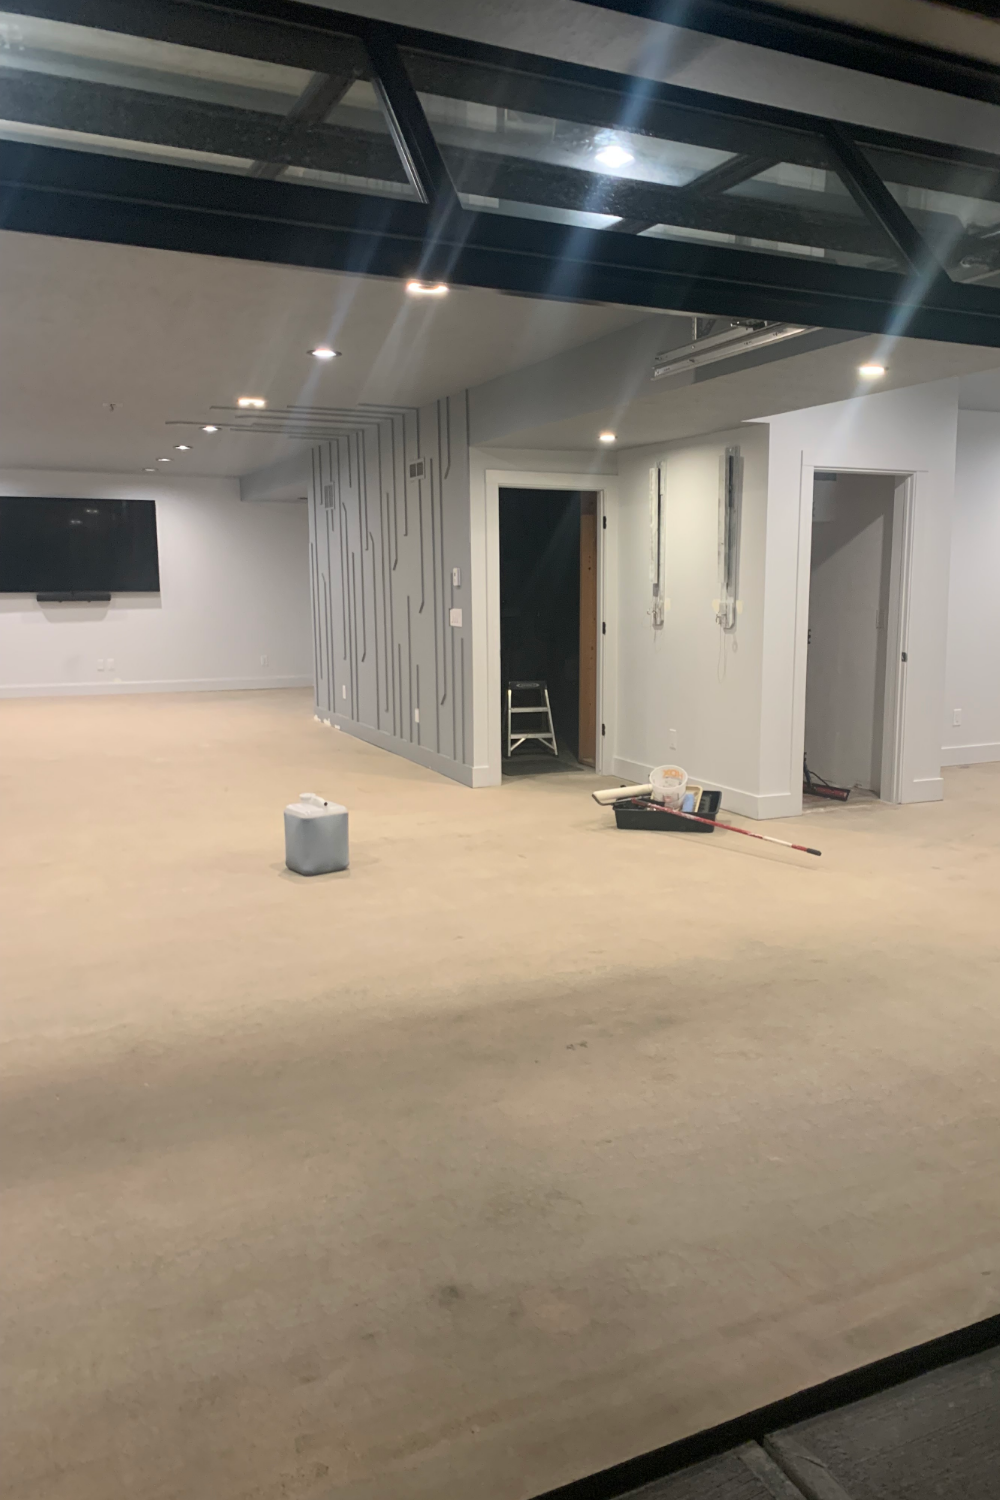
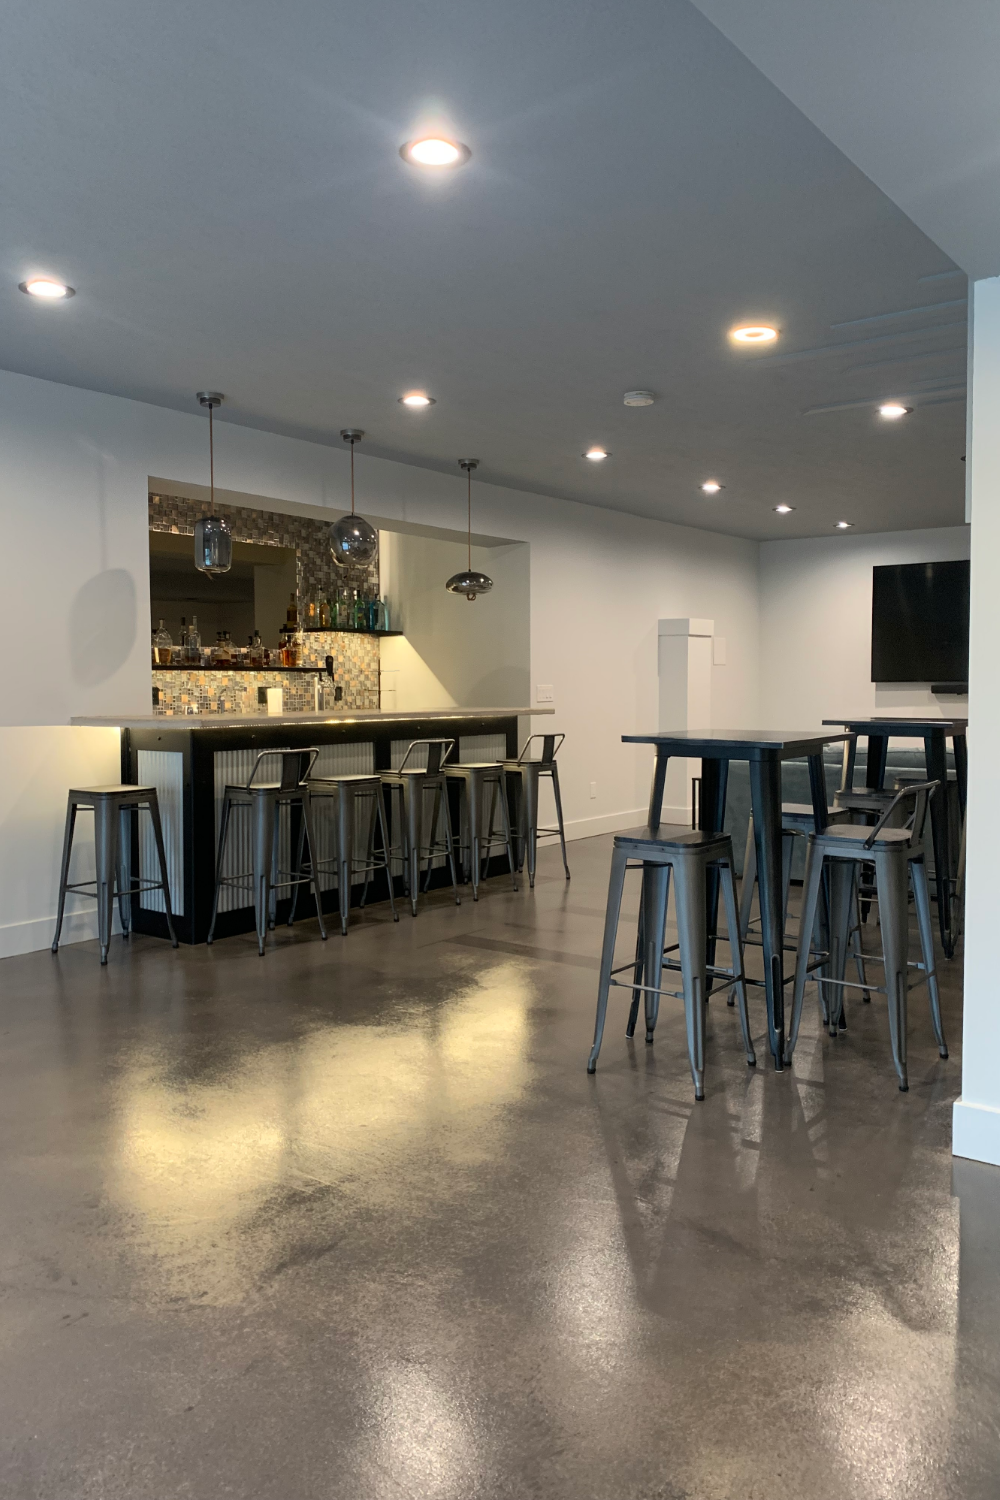
In this project, the customer transformed an unfinished 1800 sq ft basement floor using Aquatint Charcoal and Gray. The floors had previously been grinded and the customer spent 6 days on the project, including cleaning up drywall dust, mud, and paint from the surface. The customer used a sprayer to apply the initial design, which took 4-5 hours and used 2/3 of the 5 gallon container of charcoal. After letting the initial coat dry for 24 hours, the customer used a roller to apply a lighter gray color over the splashed charcoal, creating a mottled, random look. This took 6-7 hours and used 2 of the 5 gallon container.
After waiting another 24 hours, the customer applied three coats of wax using a paint pad, achieving a high gloss finish. Each coat took 4-5 hours to complete and used 4 of the 5 gallon container. The customer recommends stirring Aquatint constantly to prevent it from settling, enjoying the way the stain works when using multiple colors, and making sure to have good lighting when applying both the stain and wax.
Read more about this tinted sealer basement project.
Transforming a Basement into a Family/Rec Room with Desert Amber and Coffee Brown
In this project, the customer transformed a 400 sq ft area of their basement into a family/rec room using acid staining. The customer, who is an amateur DIYer, chose to use desert amber and coffee brown as the two colors for the acid stain process. The customer’s home has a French Country farmhouse style, but this space will have a more casual, industrial farmhouse and rustic feel, including a reclaimed wood feature wall, live edge bar area, and sliding barn door.
The customer completed the project in 8 days and has some tips to share with others attempting a similar project. The customer recommends being patient and watching “how-to” videos on the acid staining process. They also suggest reaching out to customer service with any questions, as the team is helpful and responsive. If the surface requires etching, the customer recommends cleaning it thoroughly before it dries and wearing spiked shoes to avoid slips. The customer learned this lesson the hard way and ended up needing to scrub the surface 12 times and use a hand sander to remove white shoe prints left behind after the etching process.
DIY Hydronic Radiant Flooring Project with Direct Colors: Tips and Tricks for a Beautiful Finish
If you’re thinking about installing a hydronic radiant floor system in your home, you might be wondering what kind of flooring to put on top of it. When we were in this position, we came across Direct Colors while browsing Pinterest and decided to try out their DIY trial kit to help us decide on colors and combinations.
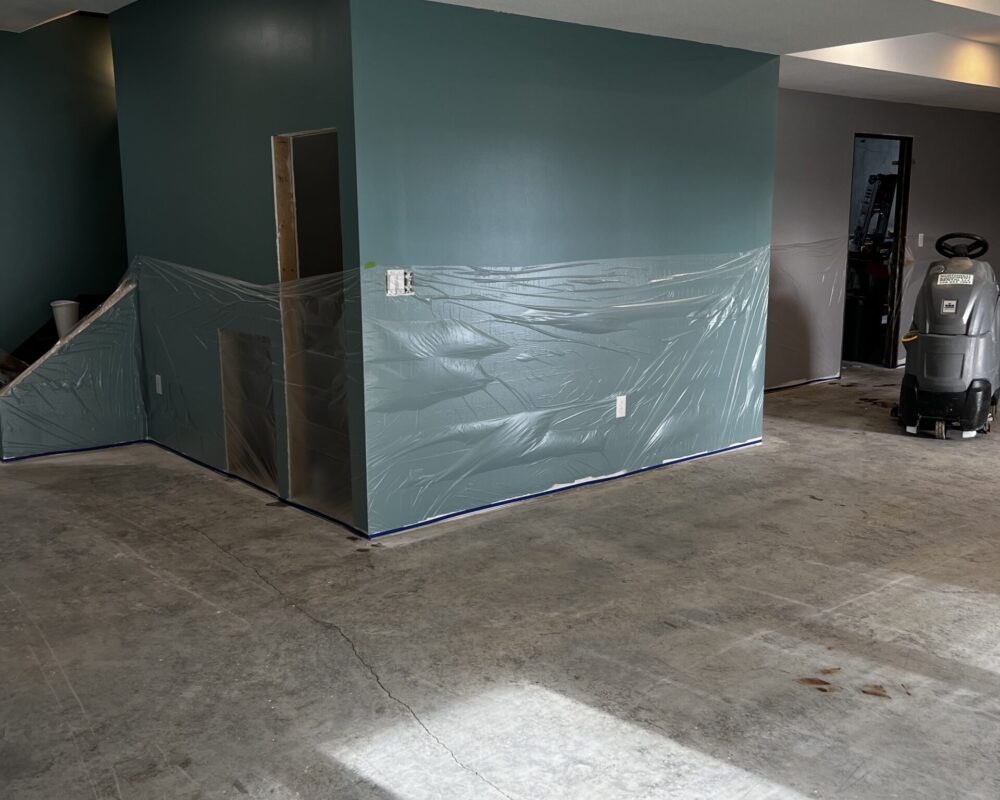
We ended up going with the Everstain DIY kit in Coffee Brown and Desert Amber, along with the Satin Acrylic sealer. The whole project took about 10 days from start to finish, and we were thrilled with the final results.
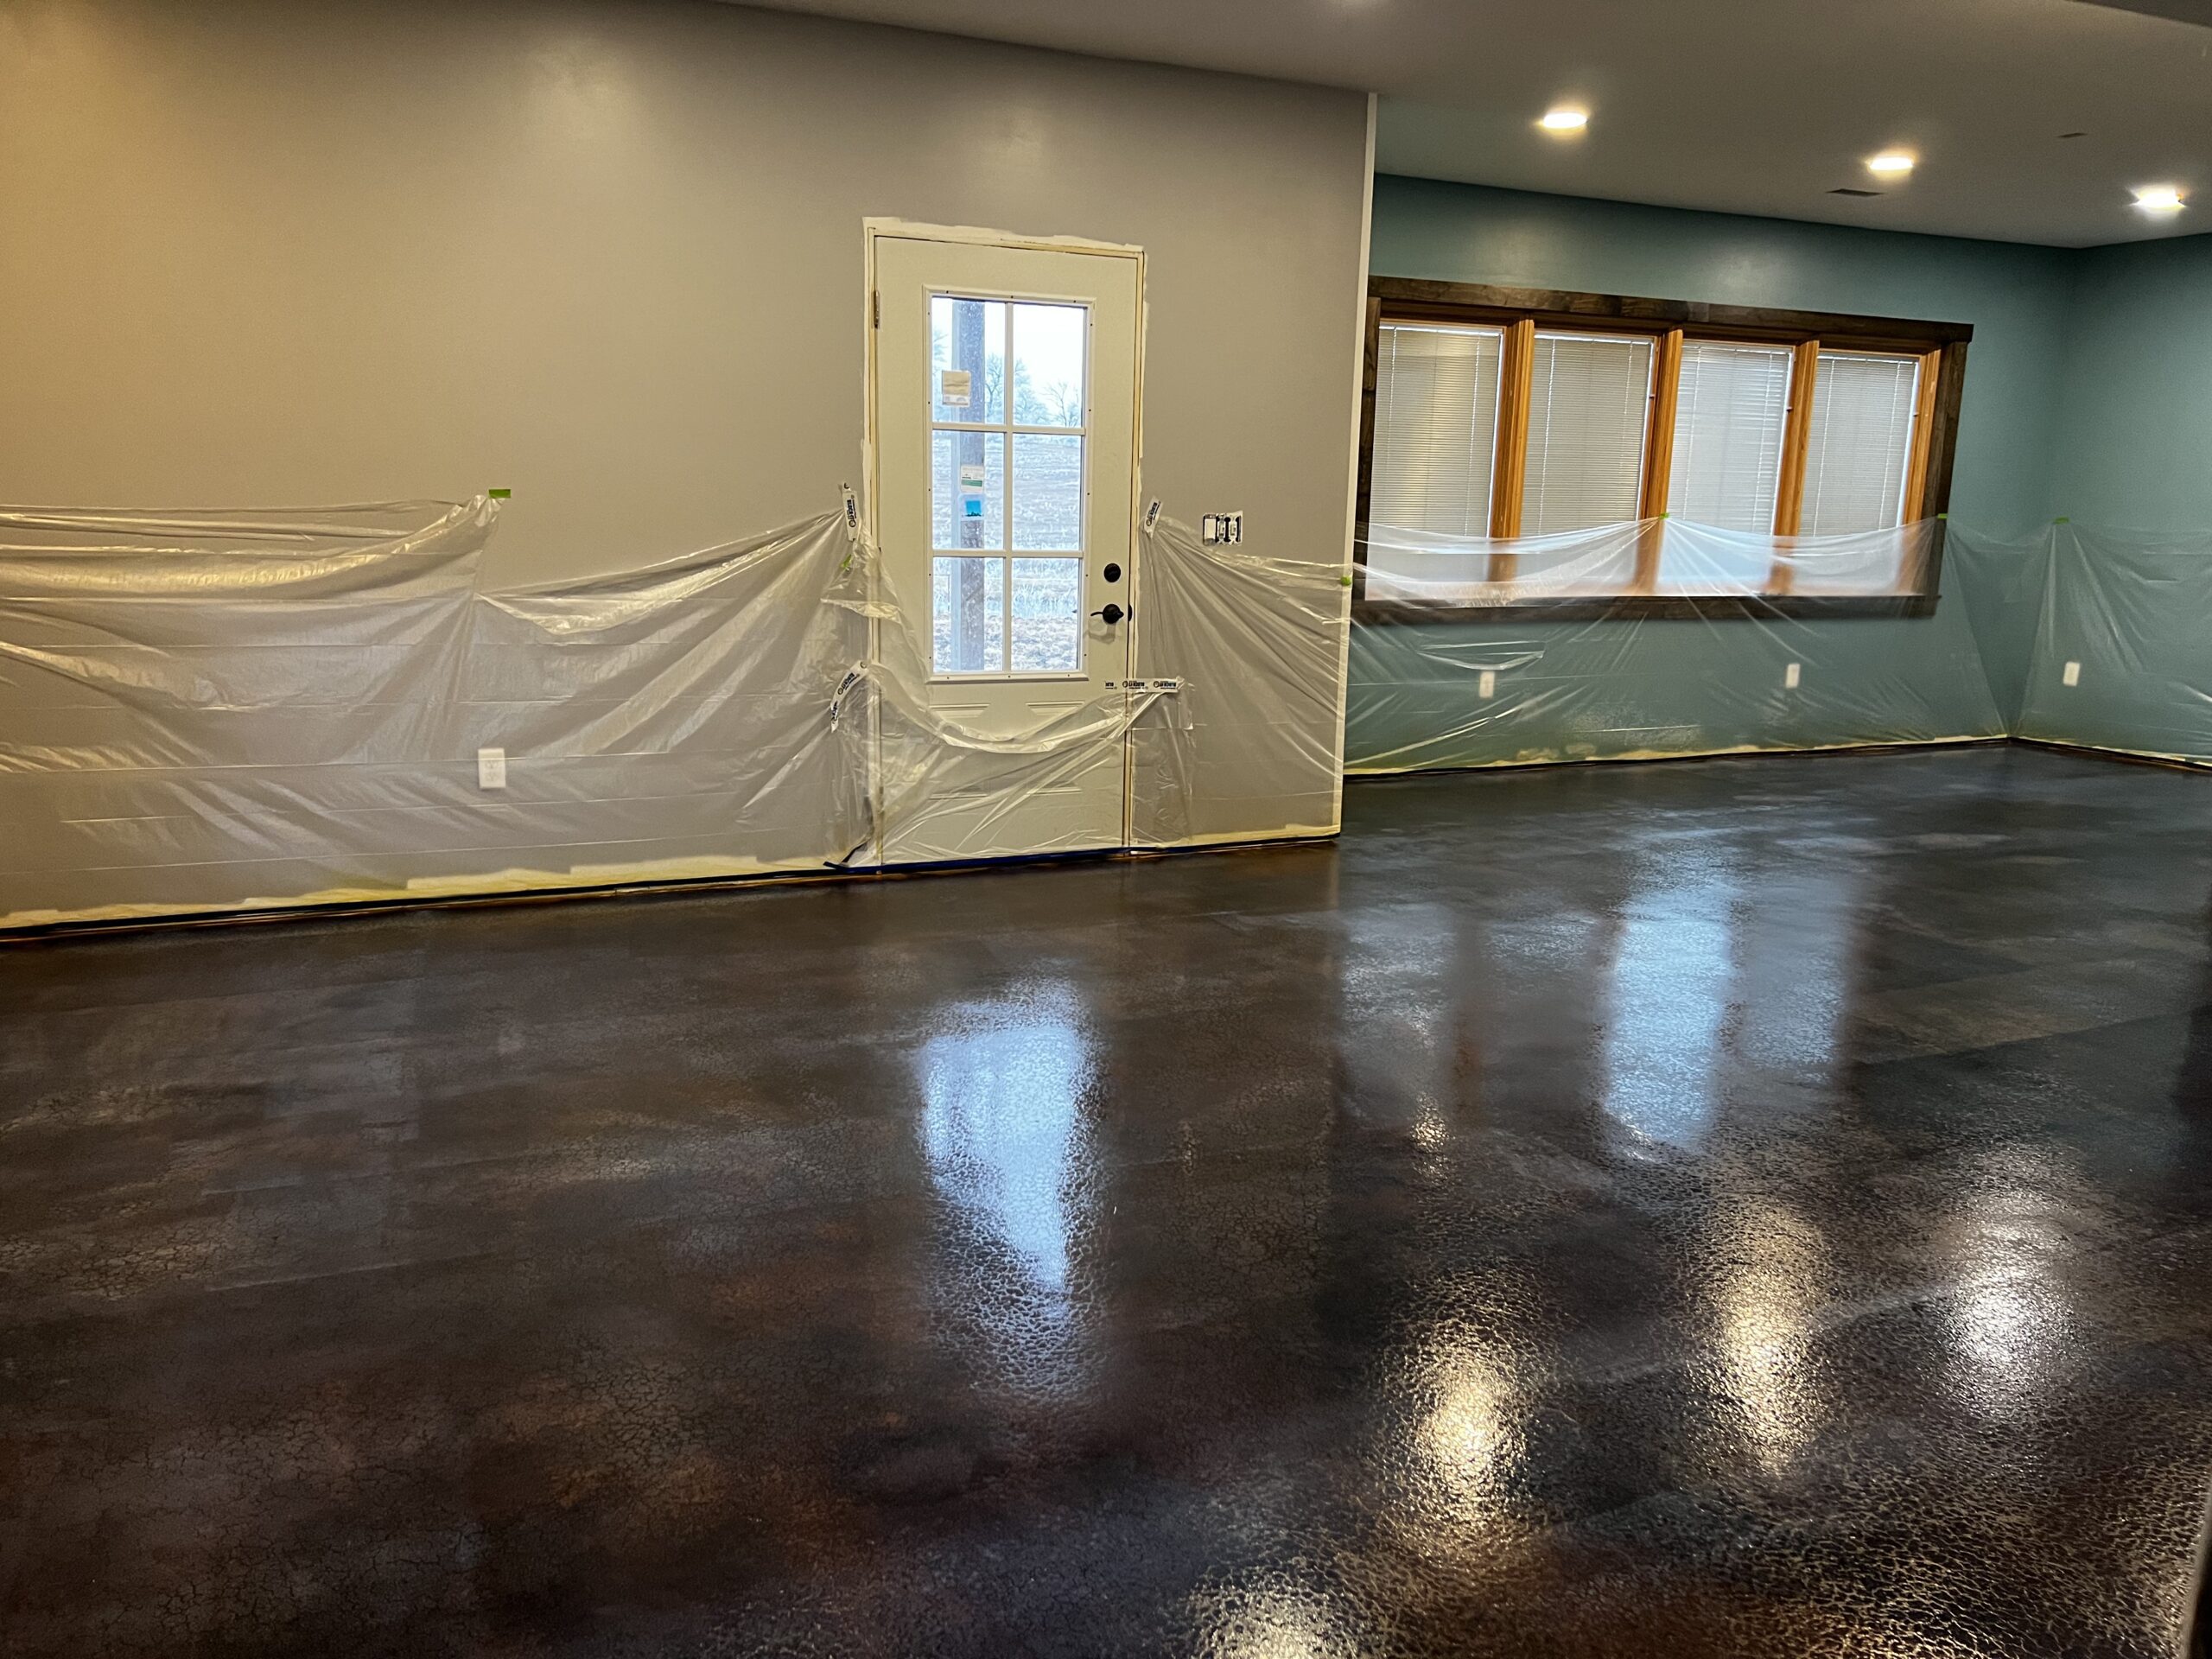
Here are a few tips we learned from our experience:
- We highly recommend doing the DIY trial kit. It was a great way to figure out which colors we needed to achieve the look we wanted and gave us a good understanding of the entire process.
- Make sure to order enough product. We underestimated how much we’d need for the “marbling” effect we were going for using the wet on wet method and ended up having to order an additional gallon of Coffee Brown to finish the floor.
- If you have a large area to clean and prep, consider renting a ride-on floor scrubbing machine. It will save your back and make the job go much faster.
- Don’t expect perfection on a floor that wasn’t perfect to begin with. Our basement had a few rough spots, trowel marks, and a small crack, but we blended these imperfections into our marbling design and they’re now almost impossible to spot.
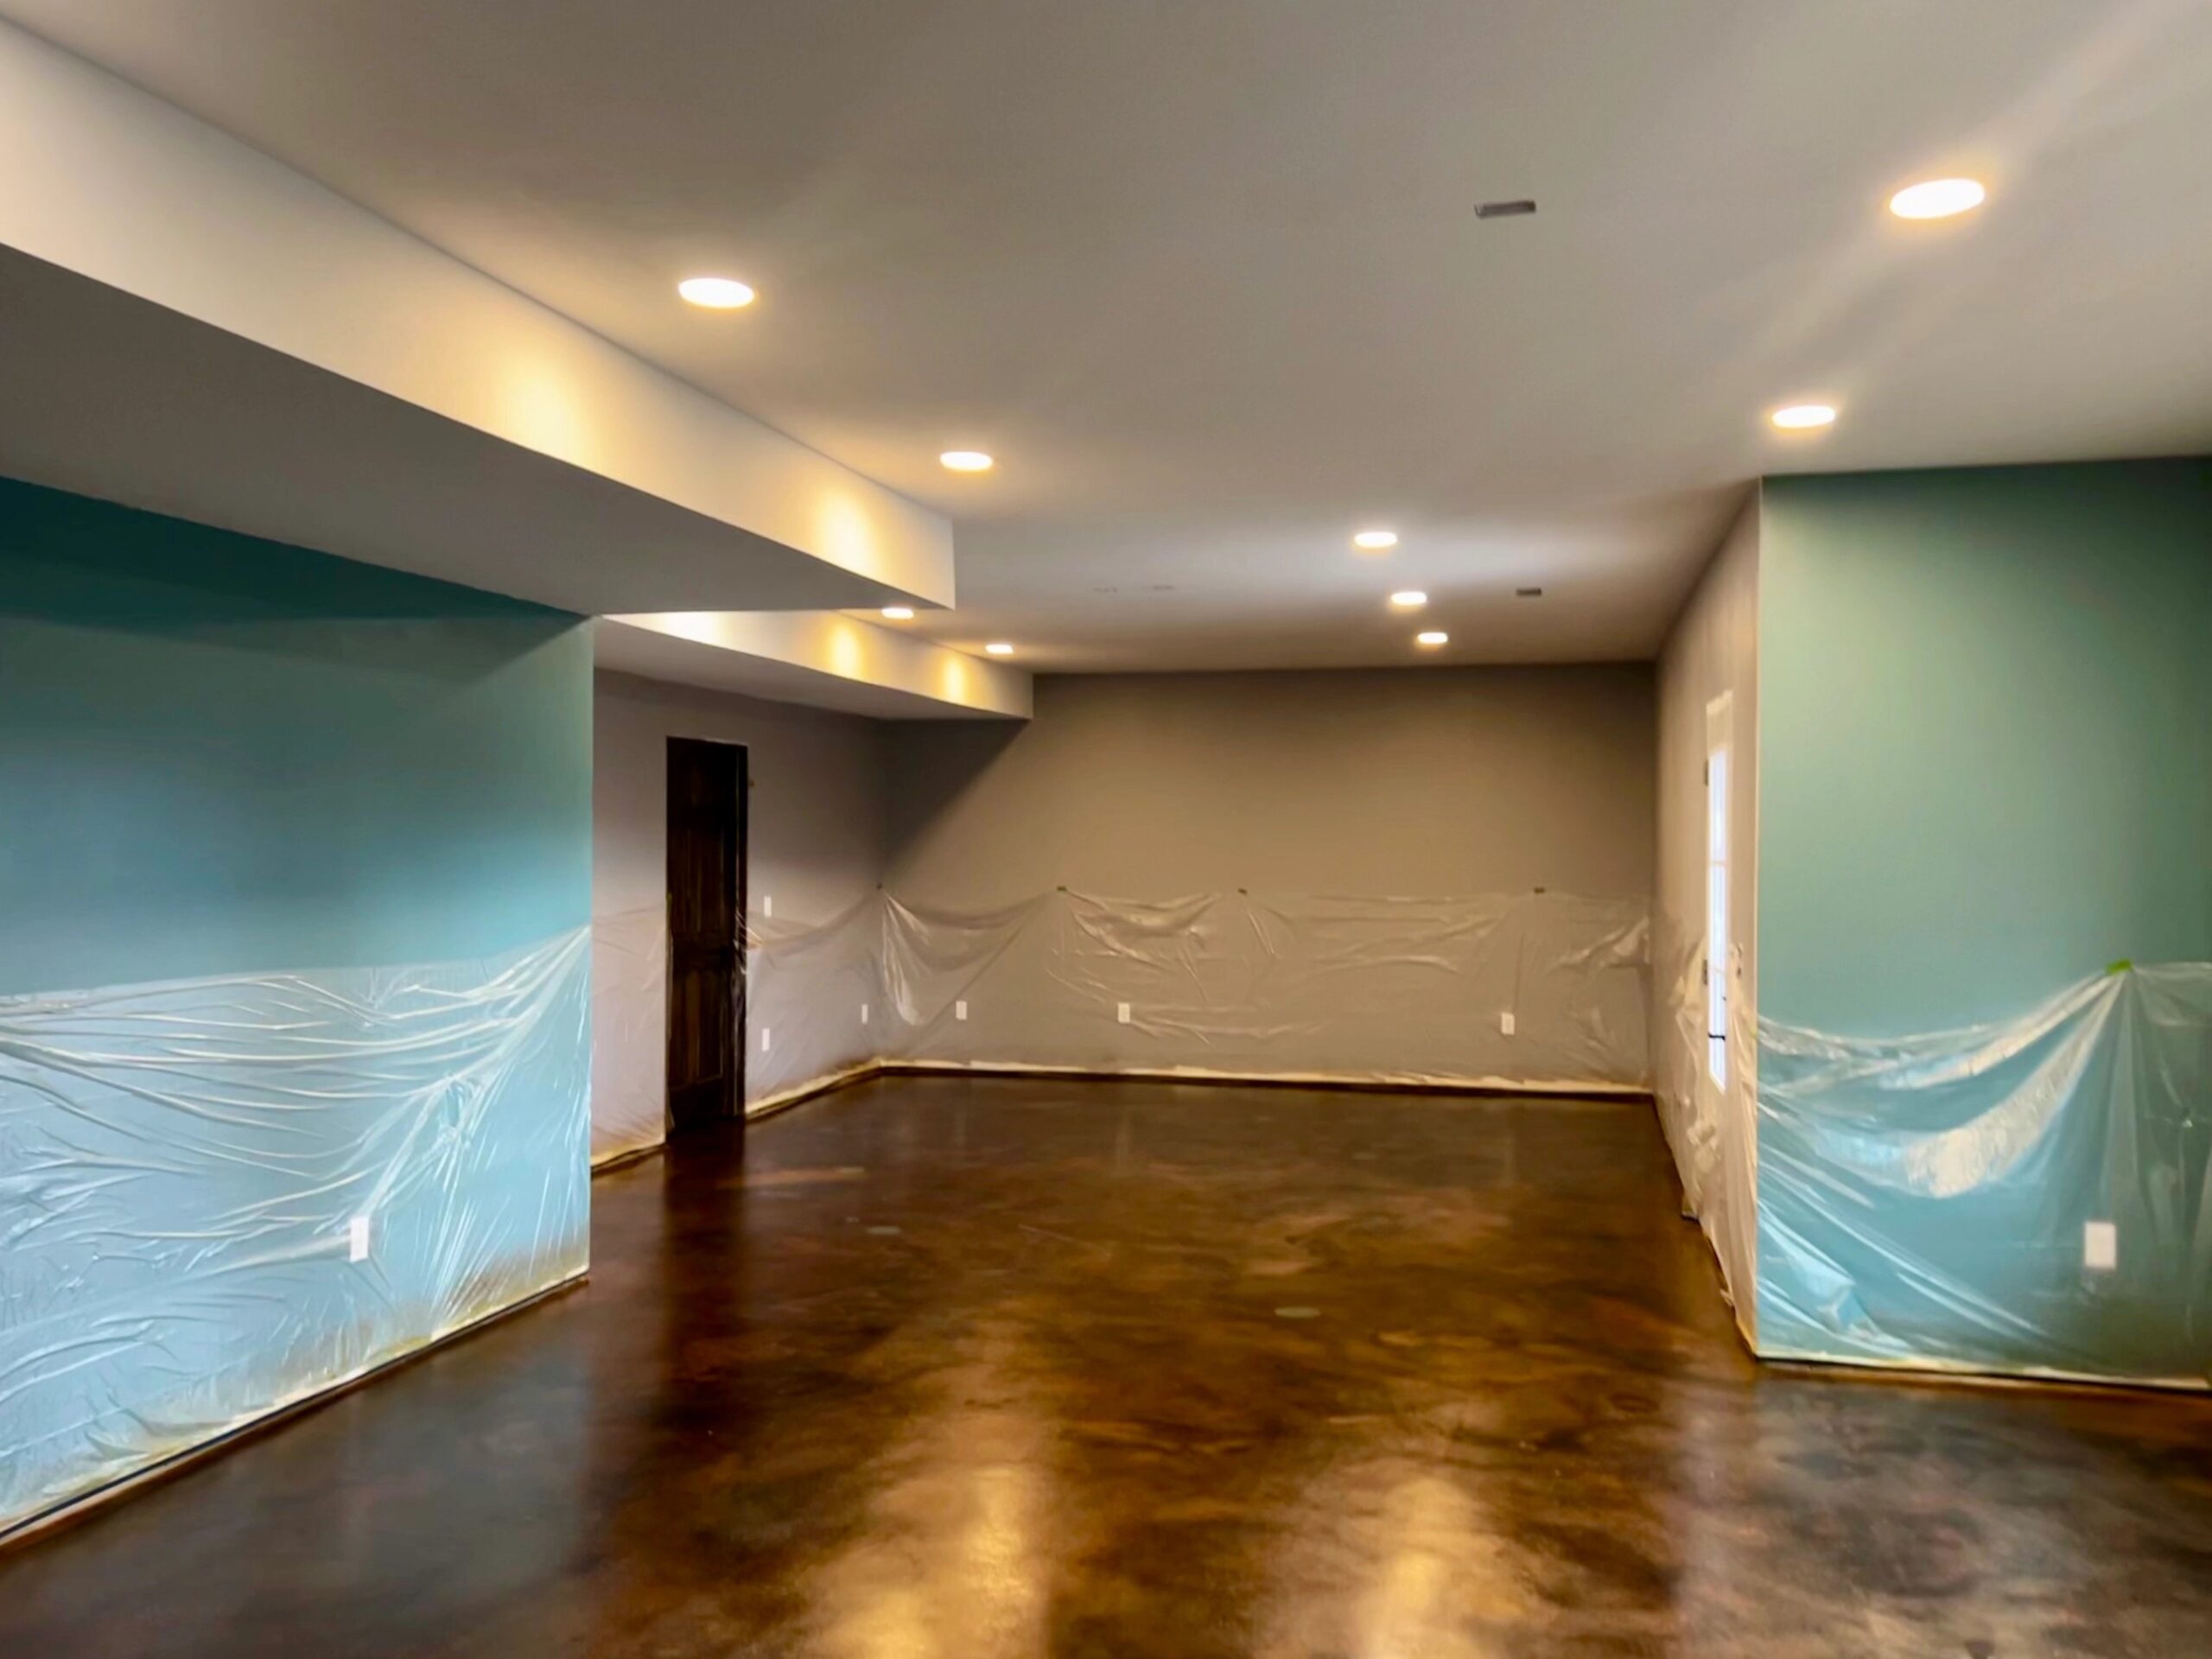
In addition to the products from Direct Colors, we also used Rust oleum 3-in-1 cleaner, degreaser, and etcher to prepare the concrete before applying the acid stain. All in all, we were very happy with the outcome of our project and would definitely recommend Direct Colors to anyone looking to add some color and character to their concrete flooring.
Sprucing Up a Basement with Blue and Brown Acid Staining: A Laundry Room Transformation
This was our second DIY acid stained concrete floor project! We are happy to report that we are very pleased with the results and we’ve learned a lot from our first project. This time around, we took a few “shortcuts” by not making the same mistakes we made previously, like forgetting to wear spiked shoes during the etching process.
The project took about a week to complete, working around our regular work schedules and allowing for drying time. We had some materials left over from our first project, including a gallon of sealer, half gallon of wax, and spiked shoes, so we only had to order the acid stain, etching solution, new sprayers, and cleaner/degreaser for this project.
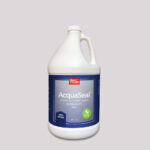
The floor in this soon-to-be finished laundry/workout area is approximately 300 sq ft and features Azure Blue and Coffee Brown EverStain acid stains. We finished the floor with AcquaSeal high gloss sealer and ProWax Polish, which we believe really makes the floor pop.
To prepare the surface, we first cleaned it thoroughly with the cleaner and degreaser. We then applied the etching solution and waited about an hour before cleaning up. The directions said to wait 20 minutes, but since our floors were machine troweled, we left it on a bit longer.
Next, we applied the Azure Blue stain and let it dry for about 5 hours. We decided to be sparing with the Coffee Brown stain and only used half of what we ordered. We did not dilute either color with water. The Coffee Brown stain is a very rich color and definitely the dominant one. We may use up the leftover brown stain on the storage section of our basement.
After applying the stains, we neutralized the surface with a mixture of water and baking soda, using a sponge mop to spread it. We then cleaned up the surface again with more cleaner and degreaser, rinsing with a water hose a few times before scrubbing it down. This time around, the cleaning and rinsing process only took about 6 times, as opposed to over 20+ the last time we did this.
Once the floors were thoroughly dry, we applied the first coat of sealant using a sprayer and squeegee. We pushed the sealant mostly forward to avoid leaving marks or lines. The next day, we applied a second coat of sealant. On Sunday, we finished the project by applying two coats of ProWax Polish.
Learn more about this laundry room concrete floor project.
Creating a Soft Blue Oasis with Azure Blue Acid Staining
In this project, the customer transformed a 400 sq ft basement floor with Azure Blue acid staining. The concrete floor was poured in the 1950s and the project took 3 days to complete. The customer wishes they had used a hard trowel surface prep for better results. They used Simple Green cleaner in the process. The finished floor has a beautiful light blue color.
Creating a One-of-a-Kind Art Studio Floor with Direct Colors Acid Stains
The Floor Was my Canvas: I acid stained approximately 300 square feet of my basement floor for an art studio space. I wanted a floor that would be easy to maintain and clean up, one that makes a statement and is eye catching, and a work of art in itself.
This was my first experience with acid staining concrete floor so I did several online searches and finally decided to use Direct Colors’ products. I was impressed with the online pictures of completed projects, the How-to videos, color options, and personal service given by Direct Colors’ employees. I needed to rely on the employees’ expertise several times, from knowing how to prep the concrete surface to get it ready to accept the stain, to knowing whether to apply the stain wet on wet or wet on dry. I also learned that I could allow the stain to react longer with the concrete than the recommended reaction time if I liked what I saw. It was exciting to see how one stain color evolved into many different subtle colors.
For my project, I sprayed on two coats of Azure Blue, and added Malayan Buff as an accent color, spraying over the Azure Blue wet on wet, and being certain to leave more Azure Blue than Malayan Buff showing through. After allowing the two colors to dry and react with the concrete (about 30 hours), I sprayed on 1 cup of ammonia to 1 gallon of water to stop the reaction process. Next I added color veins using Azure Blue (this resulted in an etched look of lighter blue), and then veins of Malayan Buff and English Red which created strong color accents. I also added small splashes of English red. When I was pleased with the overall look of the stain, I again sprayed on the ammonia water stopping the reaction of the stain, and then I spread on the acrylic, solvent-based gloss sealer which definitely brought the floor to life. I absolutely love my finished floor! I have to admit, It’s more gorgeous in person!
Check out more about this art studio floor.
Creating a Durable and Eye-Catching Basement Floor with Black Acid Staining
In this project, the customer transformed their basement floor by removing the carpet and applying black acid stain from Direct Colors. They filled in holes from removed tack strips with concrete patch, then used a floor grinder and diamond blade to smooth and level the surface. The customer degreased and mopped the floor before applying the acid stain in circular motions with a pump sprayer and broom. After 8 hours of etching, they neutralized the acid before applying two coats of acrylic sealer and three coats of industrial floor wax. The customer recommends using a better quality concrete patch and doing a test patch before applying the final coat of stain. They also used a pump sprayer, roller, and mops for cleaning and waxing the floor. The project took 5 days to complete.
DIY Basement Floor Makeover with Seagrass Acid Stain
In this project, the customer transformed a 1500 sq ft basement that was previously used for storage into a livable space. After receiving a $13K estimate from a local company to stain the floors, the customer and a friend decided to take on the project themselves. The 111 year old cement basement required extensive preparation, but the customer knew this going into the project.
They used Seagrass stain, wax, and sealer from Direct Colors to complete the transformation. The customer recommends using Citrus Acid to bring out the color of the stain and notes that the patched areas of the floor will absorb the stain differently, creating a built-in variant in color. The project took 10 days to complete.
Adding Color and Character to Your Concrete Floor with Acid Stain
Staining a concrete floor can be a great way to add character and interest to a space, and this homeowner did just that with their newly constructed lake house basement. Using Direct Colors EverStain Acid Stain in Malayan Buff, Black, and Seagrass, they were able to create a marbled effect that was sealed with a high gloss acrylic sealer. The process took five days, with plenty of drying time between layers of sealer.
One tip the homeowner had was to use water to blend the three colors together, using a separate tank sprayer just for water. They also found it helpful to “feather” any lines or areas that didn’t look seamless with water before applying the next color.
Overall, the homeowner was happy with the results of the project and already had plans for their next staining project – a concrete slab patio. They also mentioned being inspired to use the Direct Colors products for other projects like concrete statues, figurines, and stepping stones.
In addition to the Direct Colors products, the homeowner used a roller pad with a long handle, acid-appropriate sprayers, Scotch brand tape and plastic to protect the baseboards and part of the walls, a mop and mop bucket, and Cat Track shoe covers with spikes for added grip. With the right tools and some careful planning, it’s possible to achieve beautiful results when staining a concrete floor.
DIY Concrete Floor Makeover: Transforming a Basement with Acetone Dye
Staining a concrete floor can be a challenging and time-consuming project, but the end result can be well worth the effort. This project took a total of six days to complete, covering an estimated 700 sq. ft. of basement floor.
To begin the project, the floor was thoroughly cleaned using a floor buffer with a scrubber pad. Elbow grease and a mop and bucket were also used to ensure the surface was as clean as possible. Once the floor was clean, concrete etcher was sprayed on the surface with a pump sprayer and then vacuumed up with a shop vac. The floor was then mopped one more time with just water and allowed to dry overnight.
Next, three different Vibrance dye colors were applied to the floor, starting with the lightest color and working up to the darkest. The acetone dye was mixed according to the instructions and applied with an acetone sprayer. For the second and third colors, more dye was used in certain areas and the color was also applied with a sponge brush to add detail and depth to the color.
After the acetone dye had dried, a three-coat process of sealing the floor was begun. This involved applying one coat of sealer per day, using a roller. Once the sealer had dried, ProWax Polish in satin finish was applied with a roller, giving the floor a nice shine.
There are a few personal tips to keep in mind when undertaking a project like this. It’s important to have a small bucket on hand to catch any drips from the acetone sprayer, and to wear disposable shoe covers or old shoes when applying the acetone dye. A respirator mask is also a must, as the acetone smell can be quite intense. It’s also worth investing in a good quality roller to avoid streaks in the sealer. Finally, be sure to wipe up any wax drips immediately to avoid any noticeable imperfections in the finished job.
Concrete Floor Staining: Overcoming Challenges and Achieving Beautiful Results
Staining a concrete floor can be a fun and rewarding DIY project, but it’s important to be prepared for the unexpected. This homeowner learned that lesson when they began staining the 1400 sq. ft. unfinished walkout basement of their new home.
After ordering the trial kit and experimenting with the acid stain on a small area, the homeowner moved on to cleaning the entire basement floor. However, they quickly realized that the curbless shower was not going to drain properly, leading to extra work and a lot of concrete dust. To keep the dust contained, they set up fans to create negative pressure in the room and taped off the bathroom.
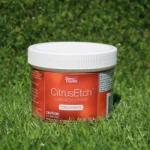
The concrete dust proved to be stubborn to remove, but the homeowner was eventually satisfied with the cleanliness of the floor. They then used Direct CitrusEtch to etch the floor, only to discover that every footprint they had made while tracking concrete dust around the basement had been etched into the floor. After trying several methods to remove the footprints, including scrubbing and sanding, they ended up renting a hard floor scrubber to get the job done.
Once the floor was prepped and cleaned, it was time for the fun part – applying the acid stain. The homeowner used Direct Colors Concrete Acid Stain in avocado, applying two coats and waiting about eight hours in between to allow the stain to set. They then neutralized the acid with a solution of baking soda and water, and applied three coats of acrylic satin sealer.
Throughout the process, the homeowner learned a few personal tips. For example, they found it helpful to order sample colors to get a better sense of what the final result would look like. They also recommend considering renting power equipment if you’re working on a large area like a basement.
Overall, this project took six days to complete and required a range of products, including Simple Green for cleaning, store brand baking soda for neutralizing the acid, and a hard floor scrubber. With some patience and persistence, it’s possible to achieve beautiful results when staining a concrete floor.
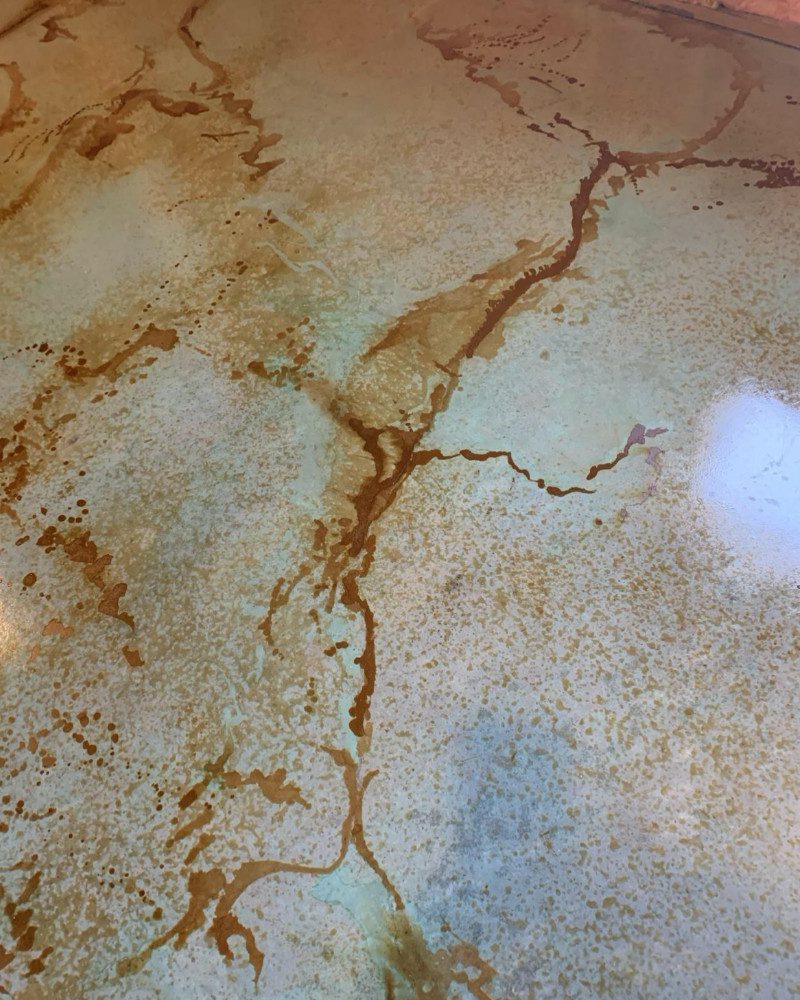
Acid Staining a Concrete Basement Floor: Step-by-Step Photos of Veining Technique
If you’re looking to add some character and interest to your concrete basement floor, acid staining can be a great option. Our step-by-step guide will show you how to achieve beautiful results using the veining technique.
Pros and Cons of Stained Concrete Basement Floors: Durability, Customizability and Cost-effectiveness vs Cold Surface, Moisture Issues and Noise
Pros of stained concrete basement floor:
- Durable and long-lasting: Concrete is a very durable material and can withstand heavy foot traffic and heavy loads without showing much wear and tear.
- Low maintenance: Stained concrete floors are easy to clean and maintain, and they don’t require much upkeep.
- Customizable: Stained concrete can be colored and stained to match any decor and personal preference, also it can be sealed for a glossy finish or left matte.
- Cost-effective: Stained concrete floors are often less expensive than other flooring options, particularly when compared to natural stone or tile.
Cons of stained concrete basement floor:
- Cold surface: concrete has a tendency to hold in the cold which can make it uncomfortable to walk on during the cold months.
- Moisture issues: concrete can absorb water and moisture, leading to mold and mildew growth if not sealed properly, also it can cause cracking and heaving.
- Noise: The hard surface of concrete can make it quite loud, so it may not be the best option for basements that will be used for living or sleeping spaces.
Choosing the Best Stain for Your Concrete Basement Floor: Acid-based, Water-based, Concrete Dyes, and Epoxy/Polyurethane Coatings
When it comes to staining a concrete basement floor, there are a few options to choose from. The best kind of stain will depend on the desired look and finish, as well as the condition of the concrete. Some of the most popular options include acid-based stains, water-based stains, concrete dyes, and epoxy or polyurethane coatings.
Acid-based stains are the most popular choice for staining concrete floors. They penetrate the surface of the concrete and react chemically to create a unique, mottled look. They can be used to create a variety of colors and patterns, and are permanent and UV resistant.
Water-based stains are another popular option for staining concrete floors. They are easy to apply and clean up, and they offer a wide range of colors. They don’t react chemically with the concrete, so the final color is more predictable. They also don’t emit strong odors like acid-based stains.
Concrete dyes are similar to water-based stains in that they are easy to apply and clean up, and they offer a wide range of colors. Unlike acid and water-based stains, concrete dyes are not absorbed into the concrete, they are applied on the surface and penetrate into the pores of the concrete. They can be used to achieve a more consistent and controlled color than acid or water-based stains.
Epoxy or polyurethane coatings can be used to add durability and a glossy finish to the concrete surface. They are not considered as stains but coatings.
It’s important to note that, regardless of the type of stain used, proper surface preparation, application, and maintenance are crucial for achieving optimal results and longevity.