Explore Driftwood Concrete Stain Transformations
By Justin Richardson
Dive into our gallery of Driftwood Concrete Stain projects. From patios to interiors, discover how this versatile color upgrades any space. Get inspired for your next DIY concrete staining project!
Wood Plank Illusion: Driftwood Stain on Stamped Concrete Patios
King Sealing, LLC, masterfully transformed two small patios with a wood plank stamp, using our Driftwood Antiquing™ Stain and Satin EasySeal™ to create an authentic wood appearance. This project exemplifies precision and attention to detail, offering a durable yet elegant outdoor enhancement.
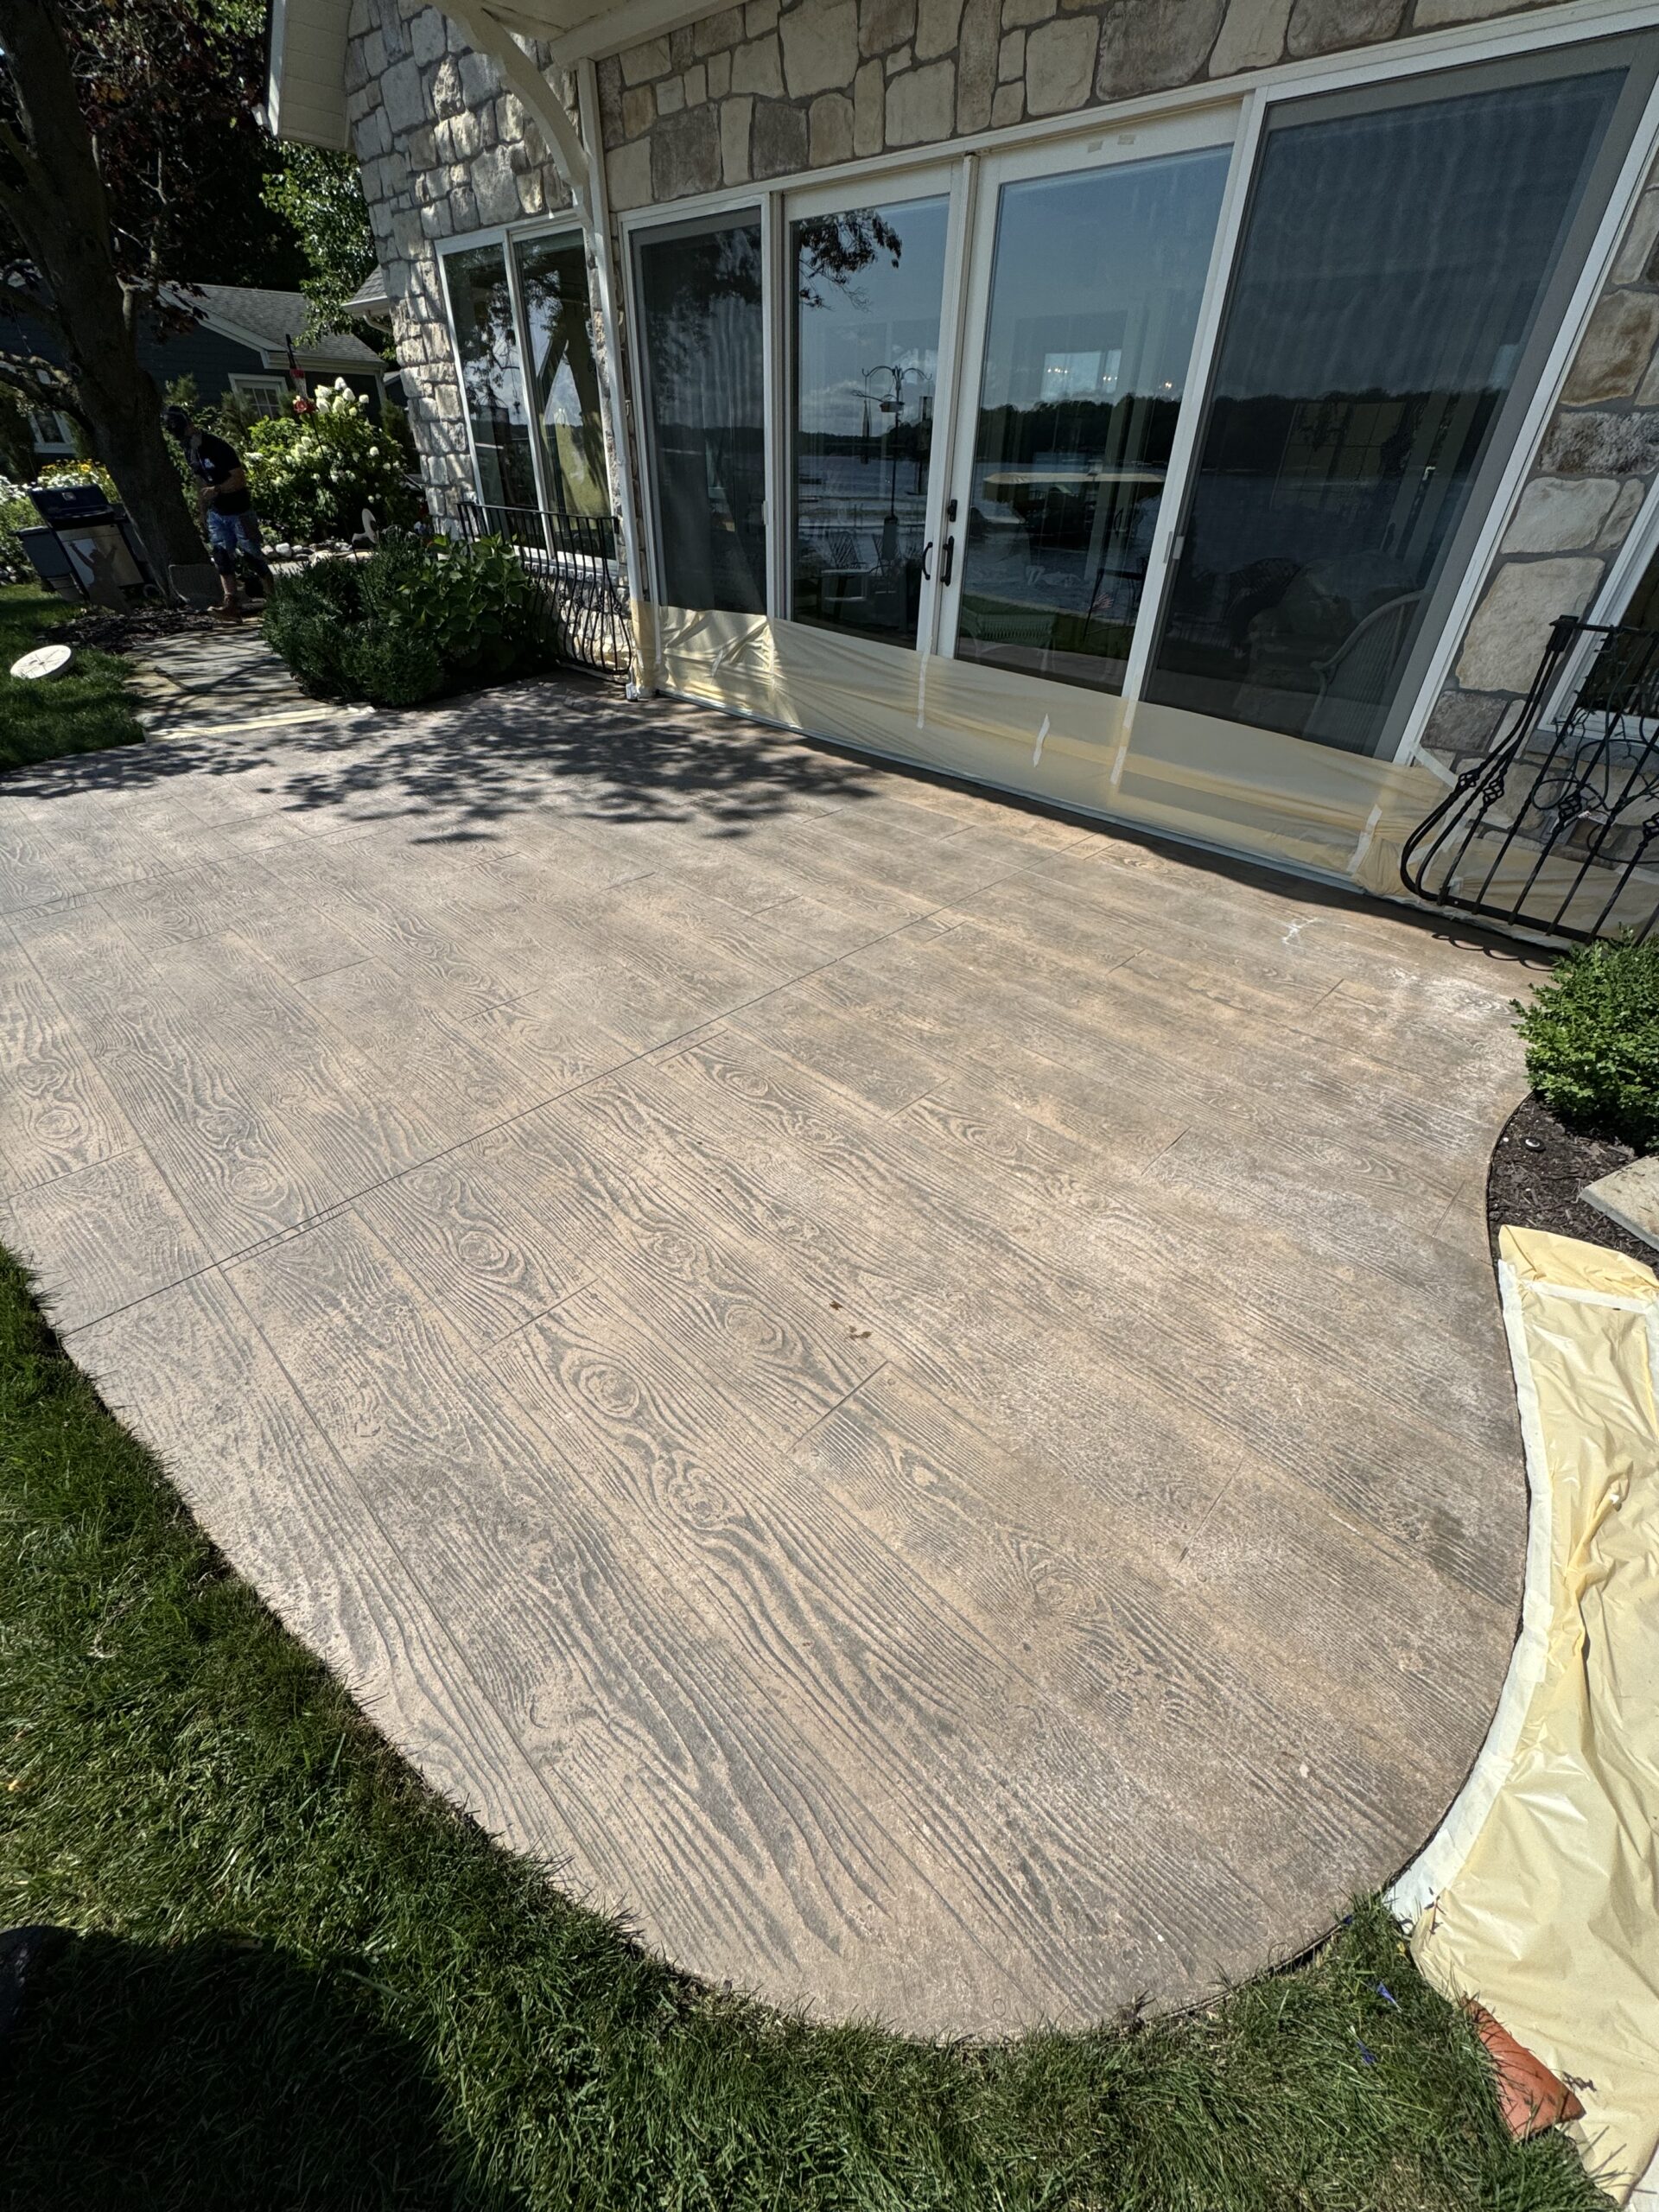
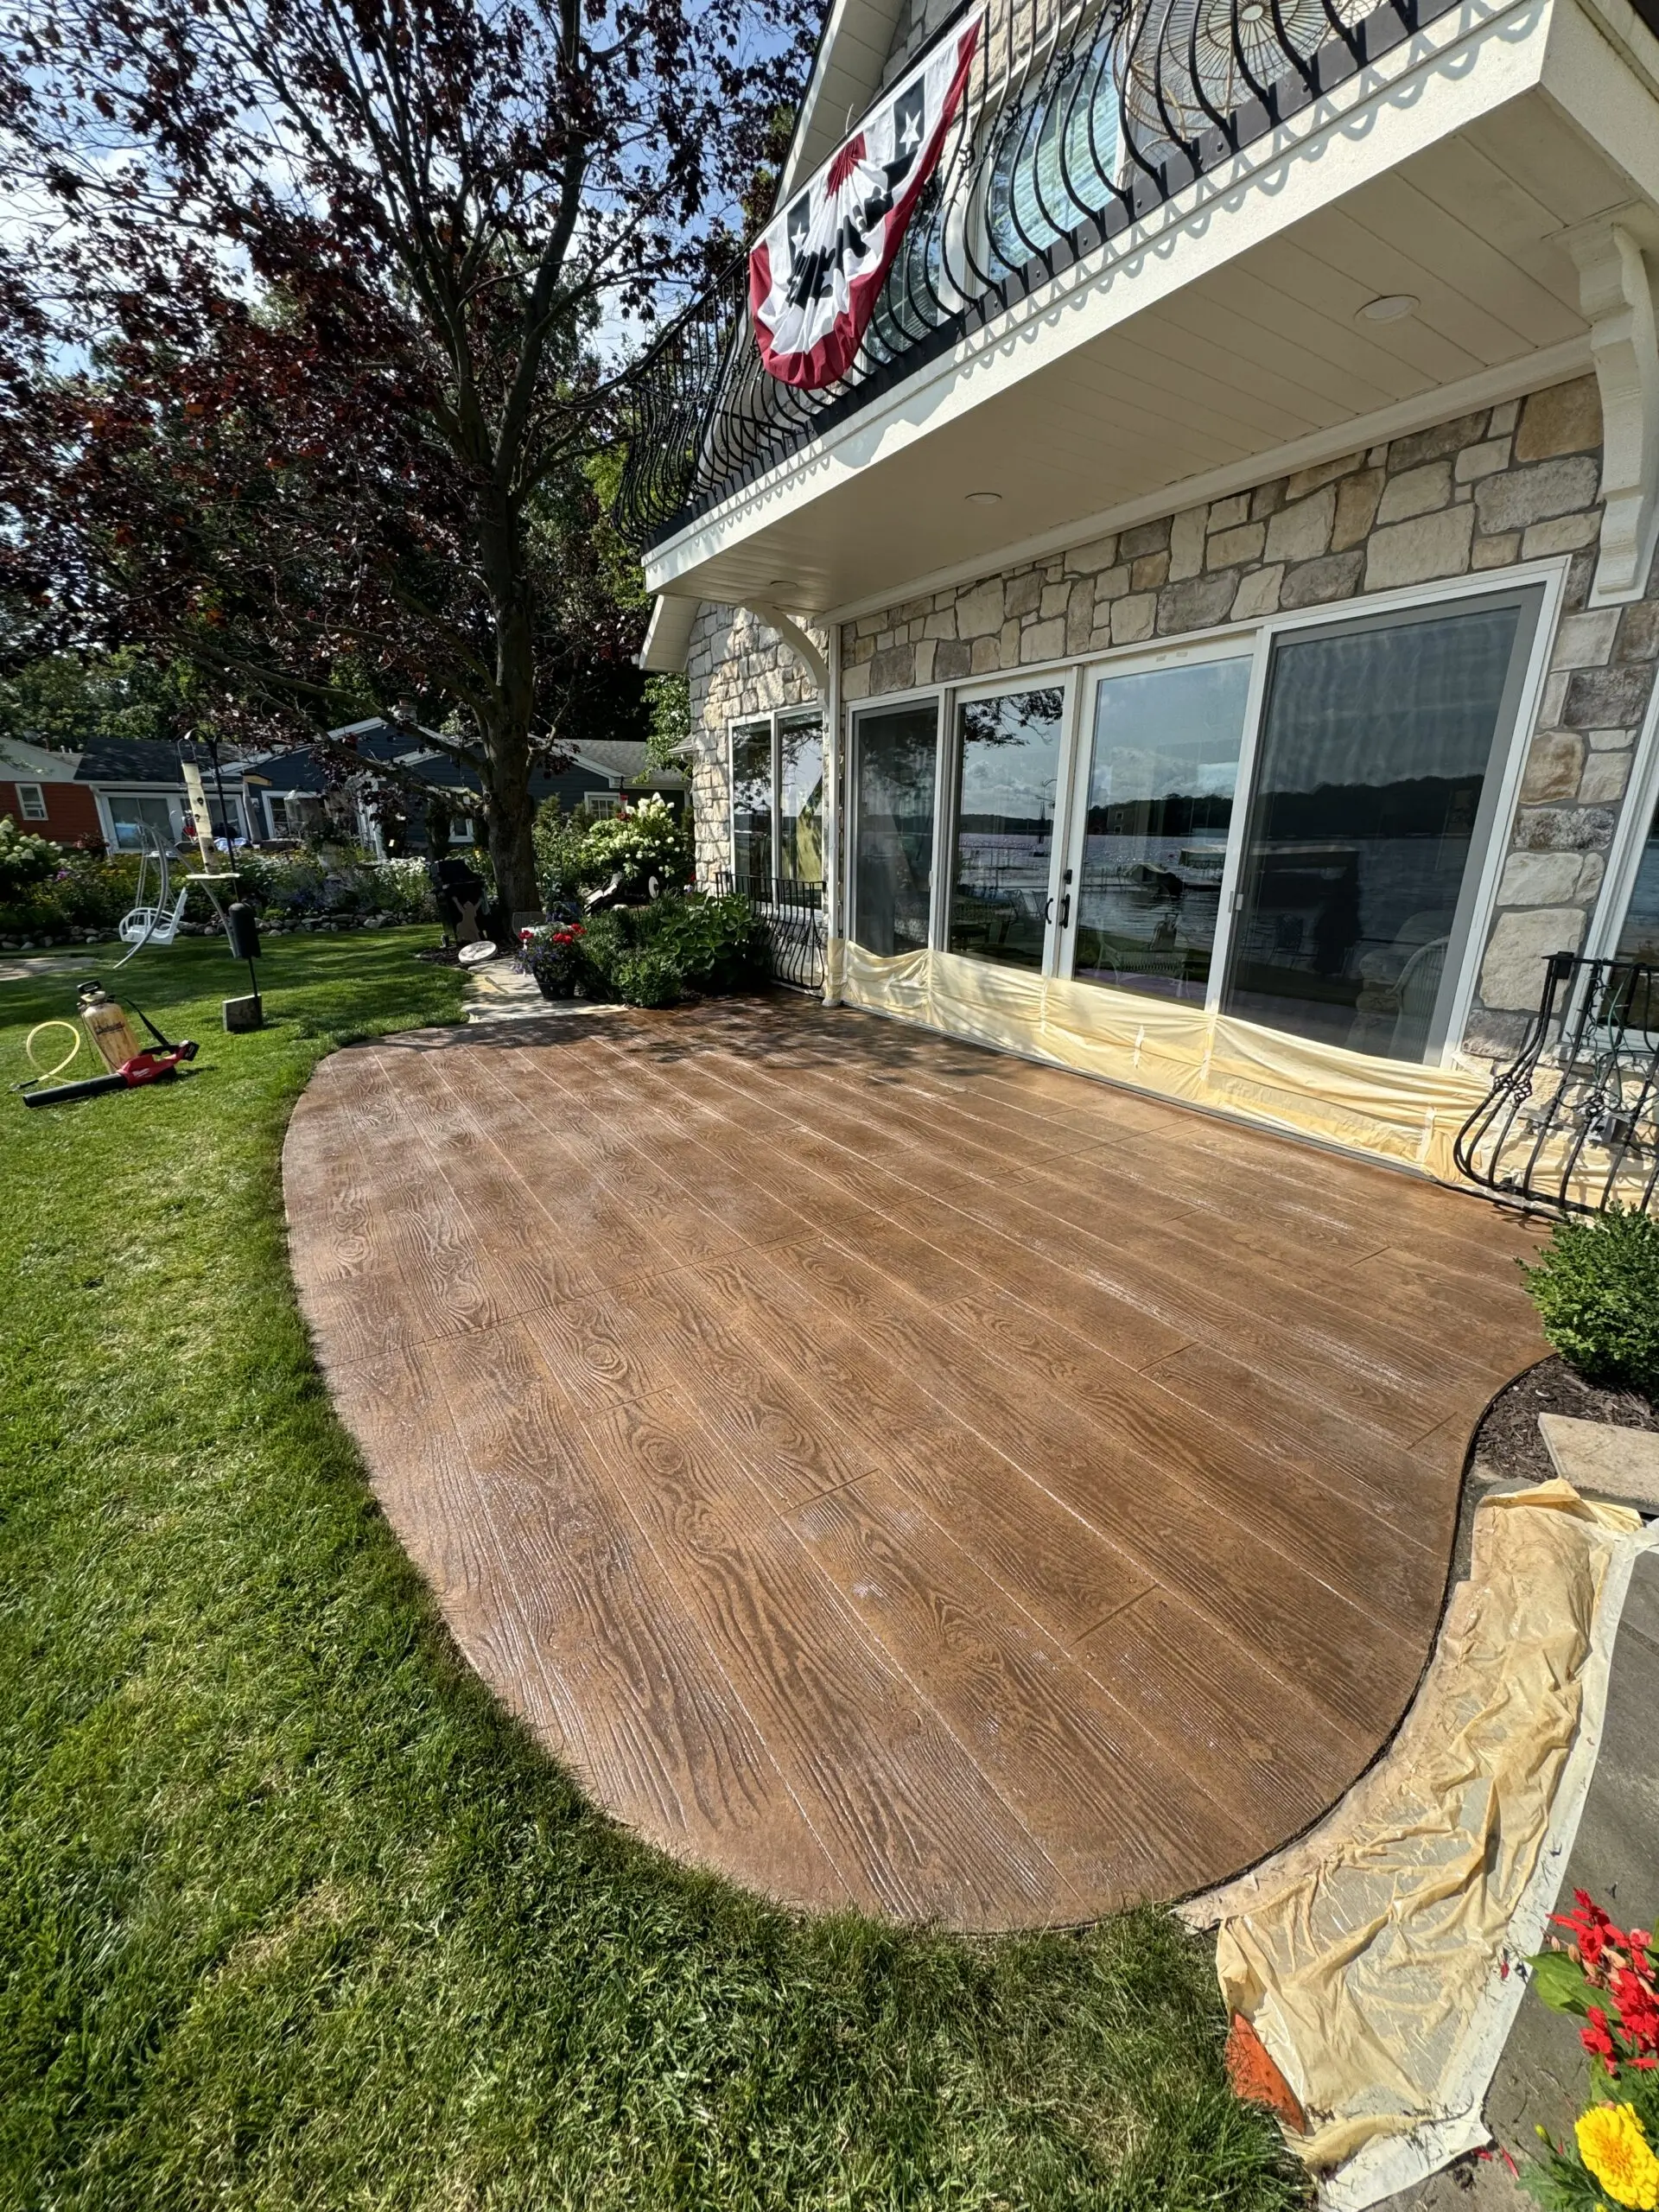
Front Porch and Patio Transformation
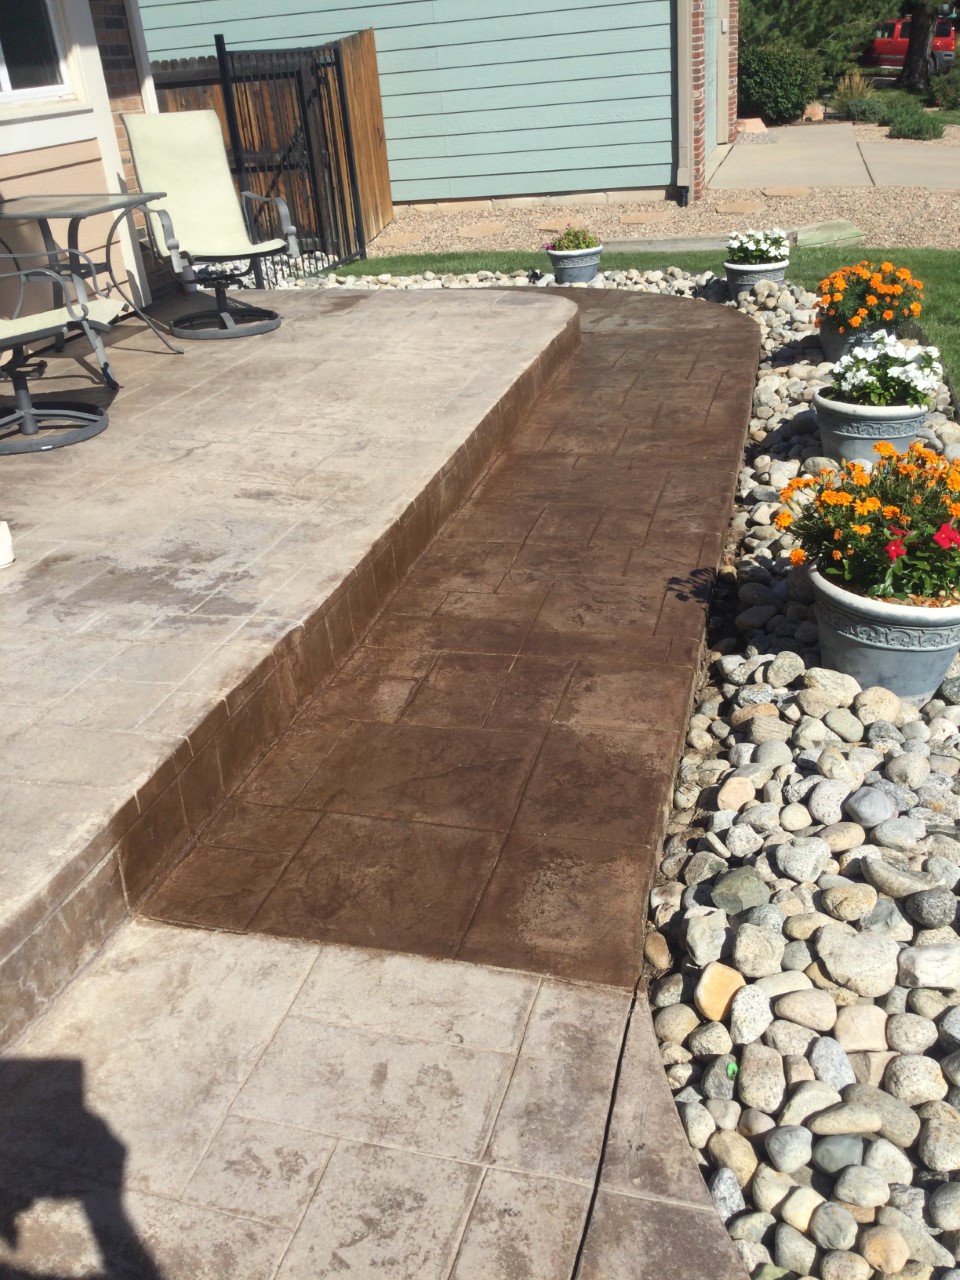
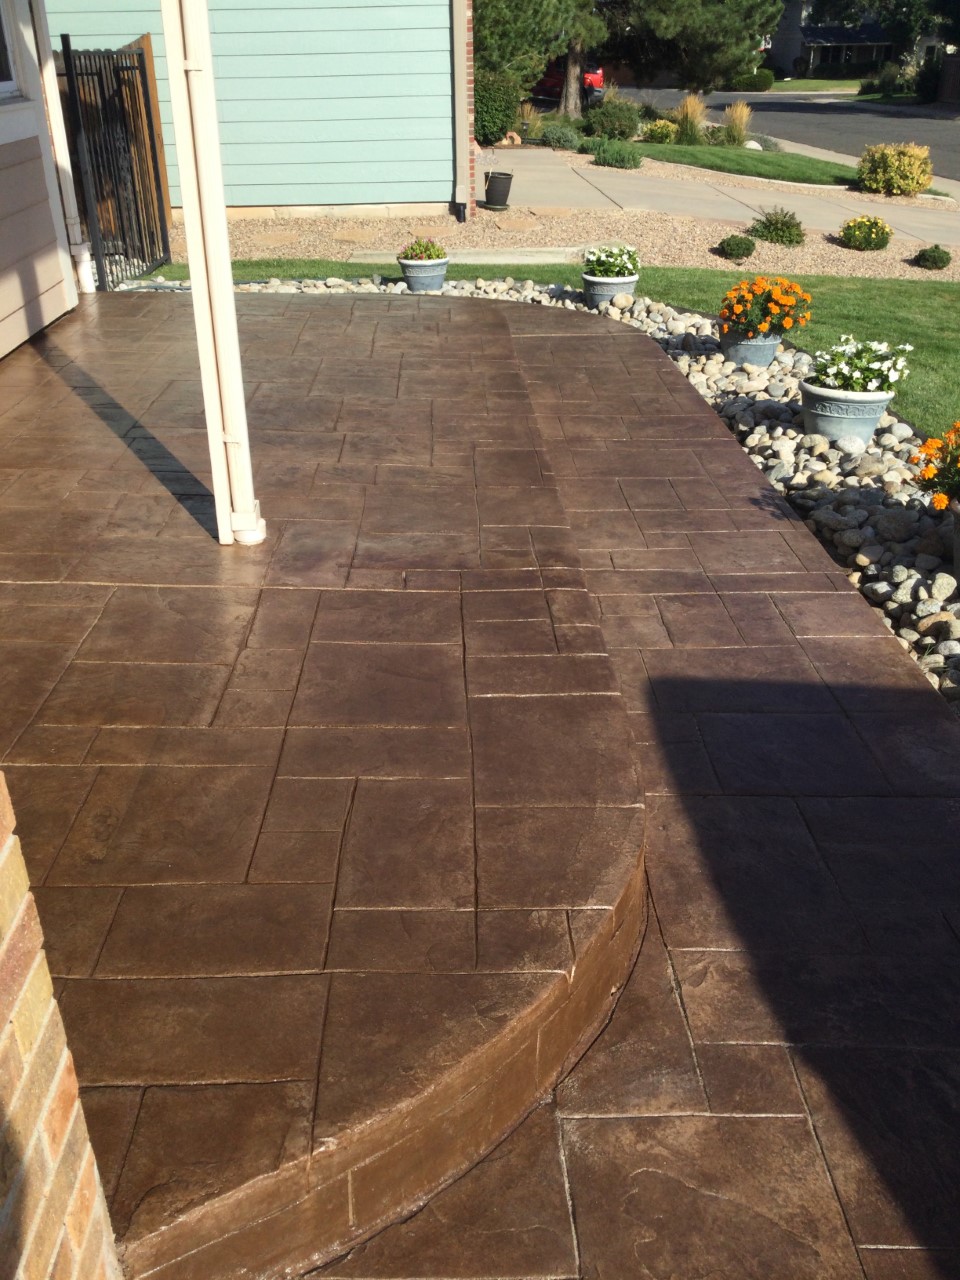
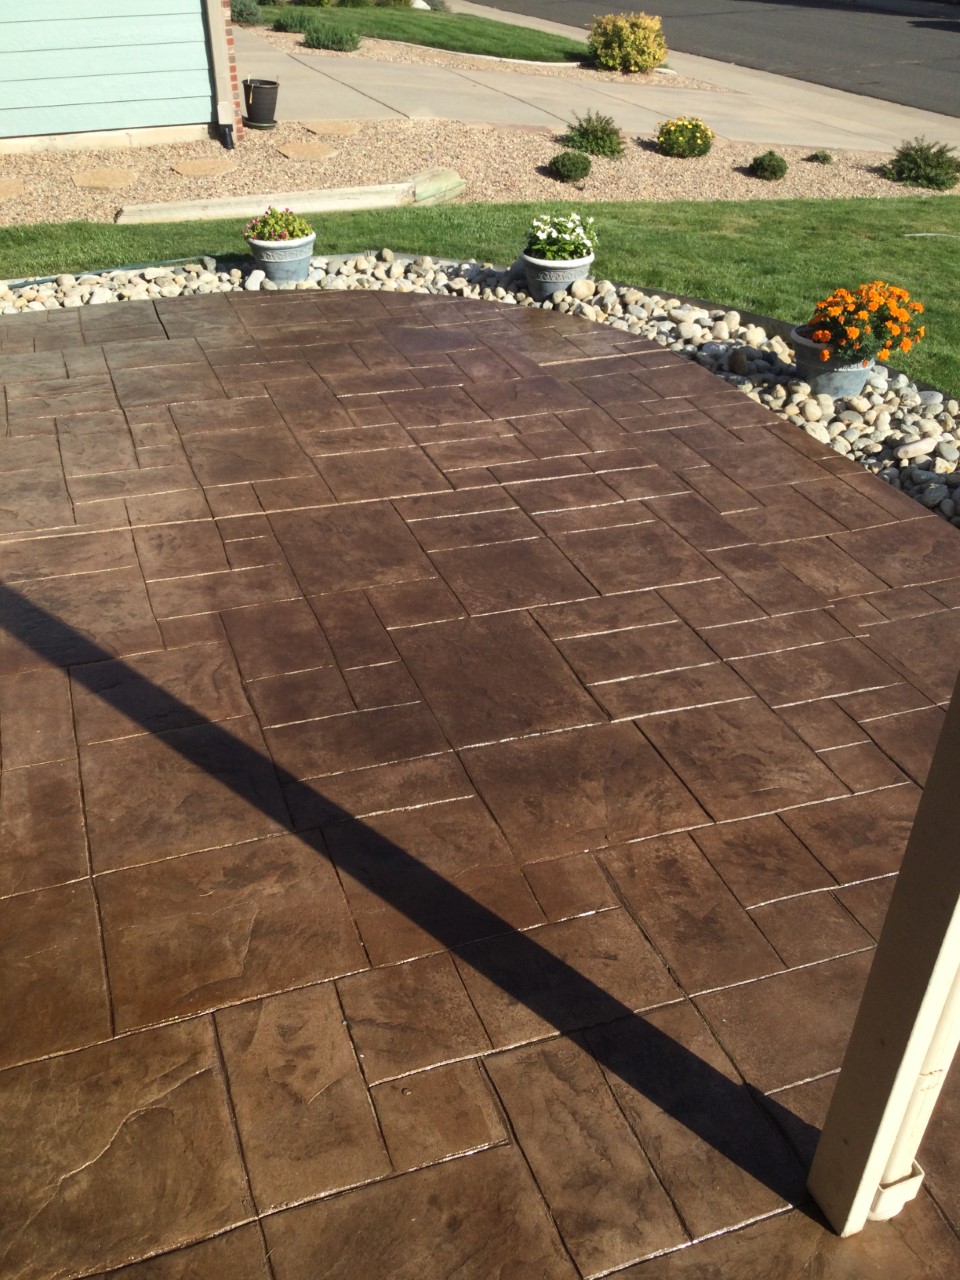
See how a tired-looking porch and patio get a fresh, new look with our Driftwood Antiquing™ Stain. The pictures show the change from old to new. Remember, cleaning the area and removing old coating is important for a smooth result. You too can make your outdoor areas look great with our products!
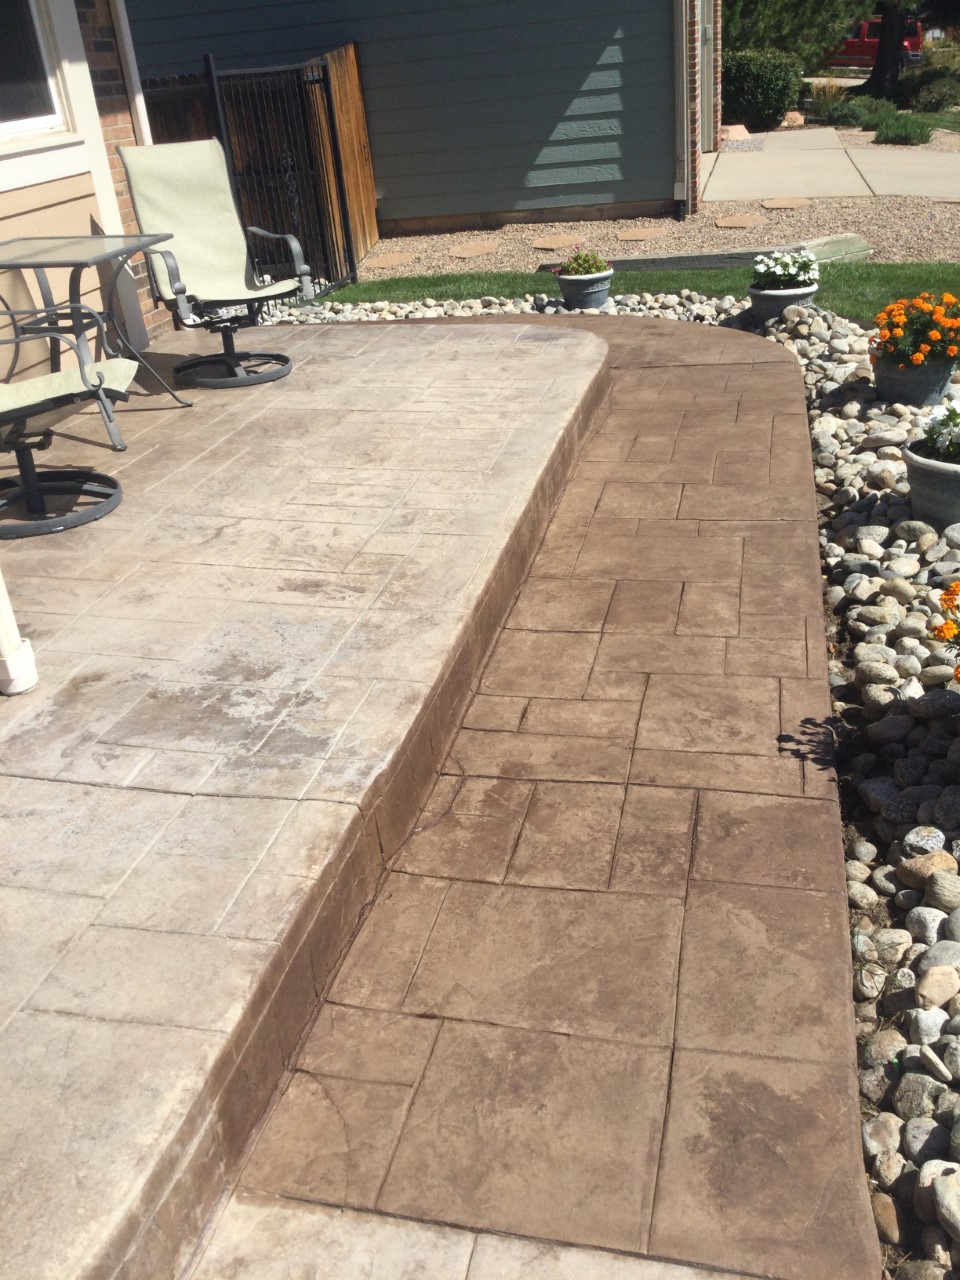
Project Info:
- Project Completed In: 3 day(s)
- Estimate of Square Footage: 200 sq. ft.
- Project Description:
Front porch and patio re-stain and seal. As you can see in the first picture, the left side is faded and worn out, while the lower right has been stained. The other pictures follow through to the completed job, looks fantastic, your products really did great! - Personal Tips:
Make sure to clean the area that will be stained and remove as much of the old clear coat (if any) that is on it to have a smooth finish! - Direct Colors Products Used:
1 Gal. Driftwood DIY Antiquing™ & EasySeal™ Gloss Kit
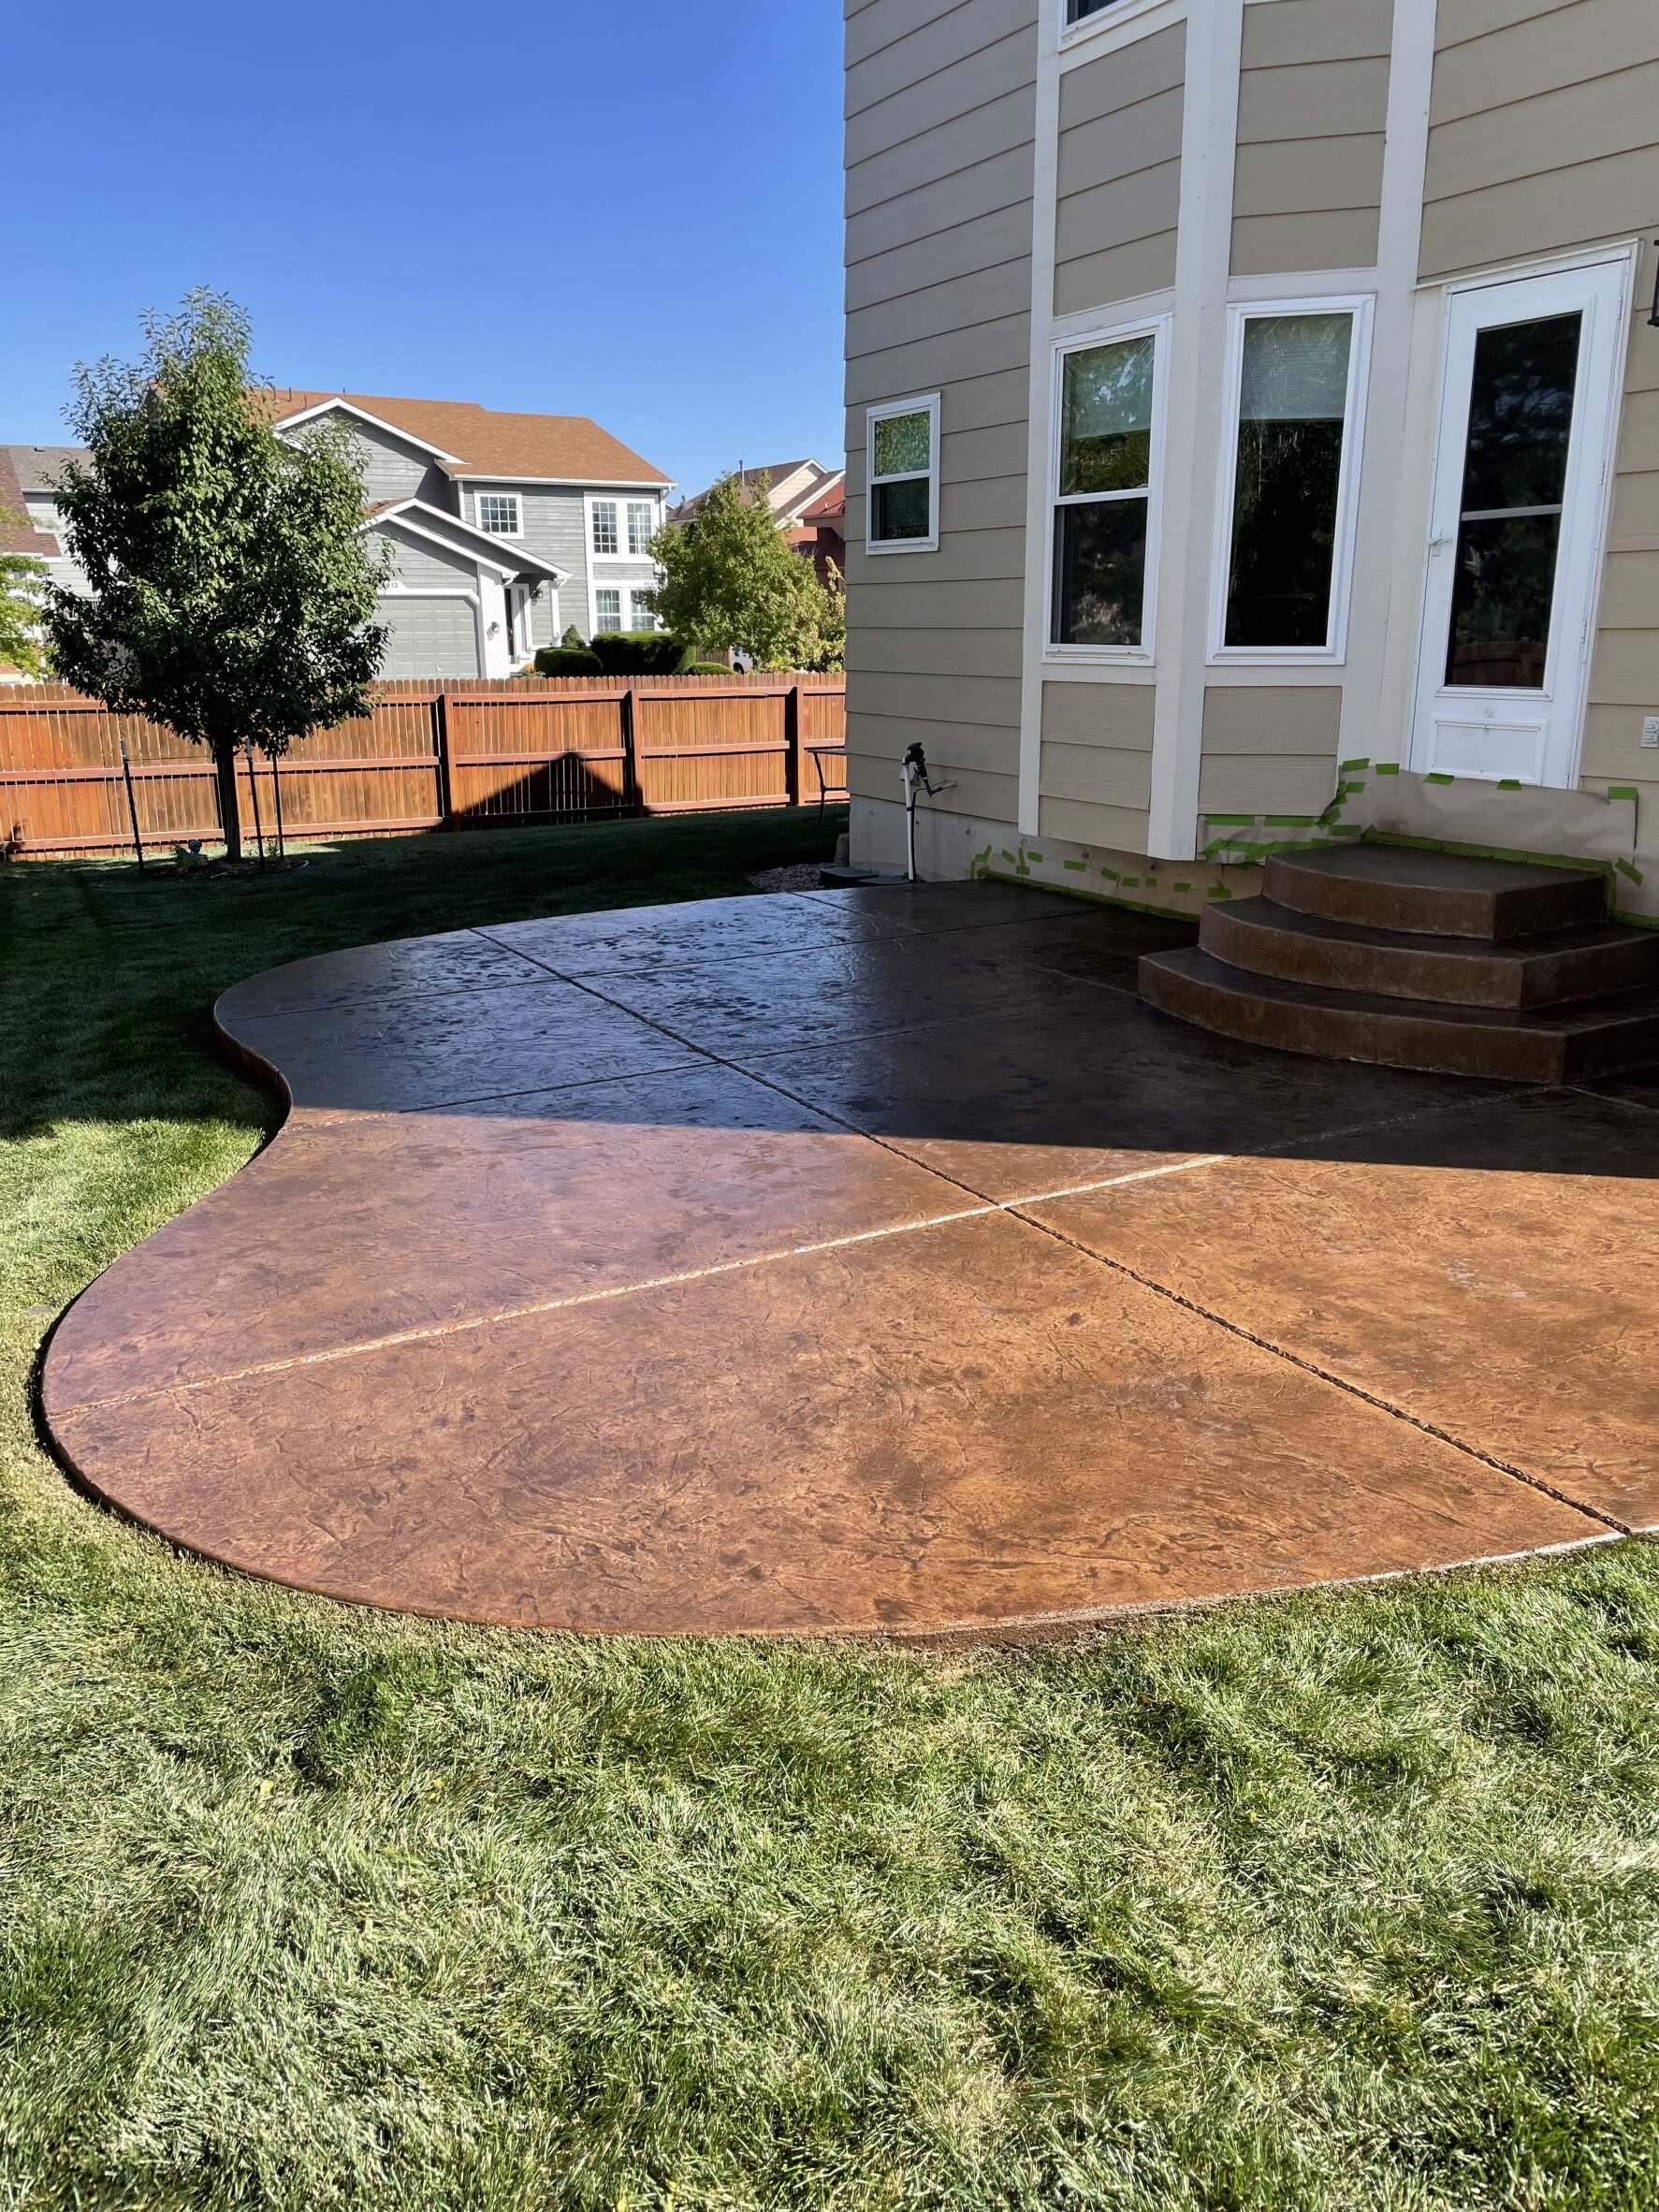
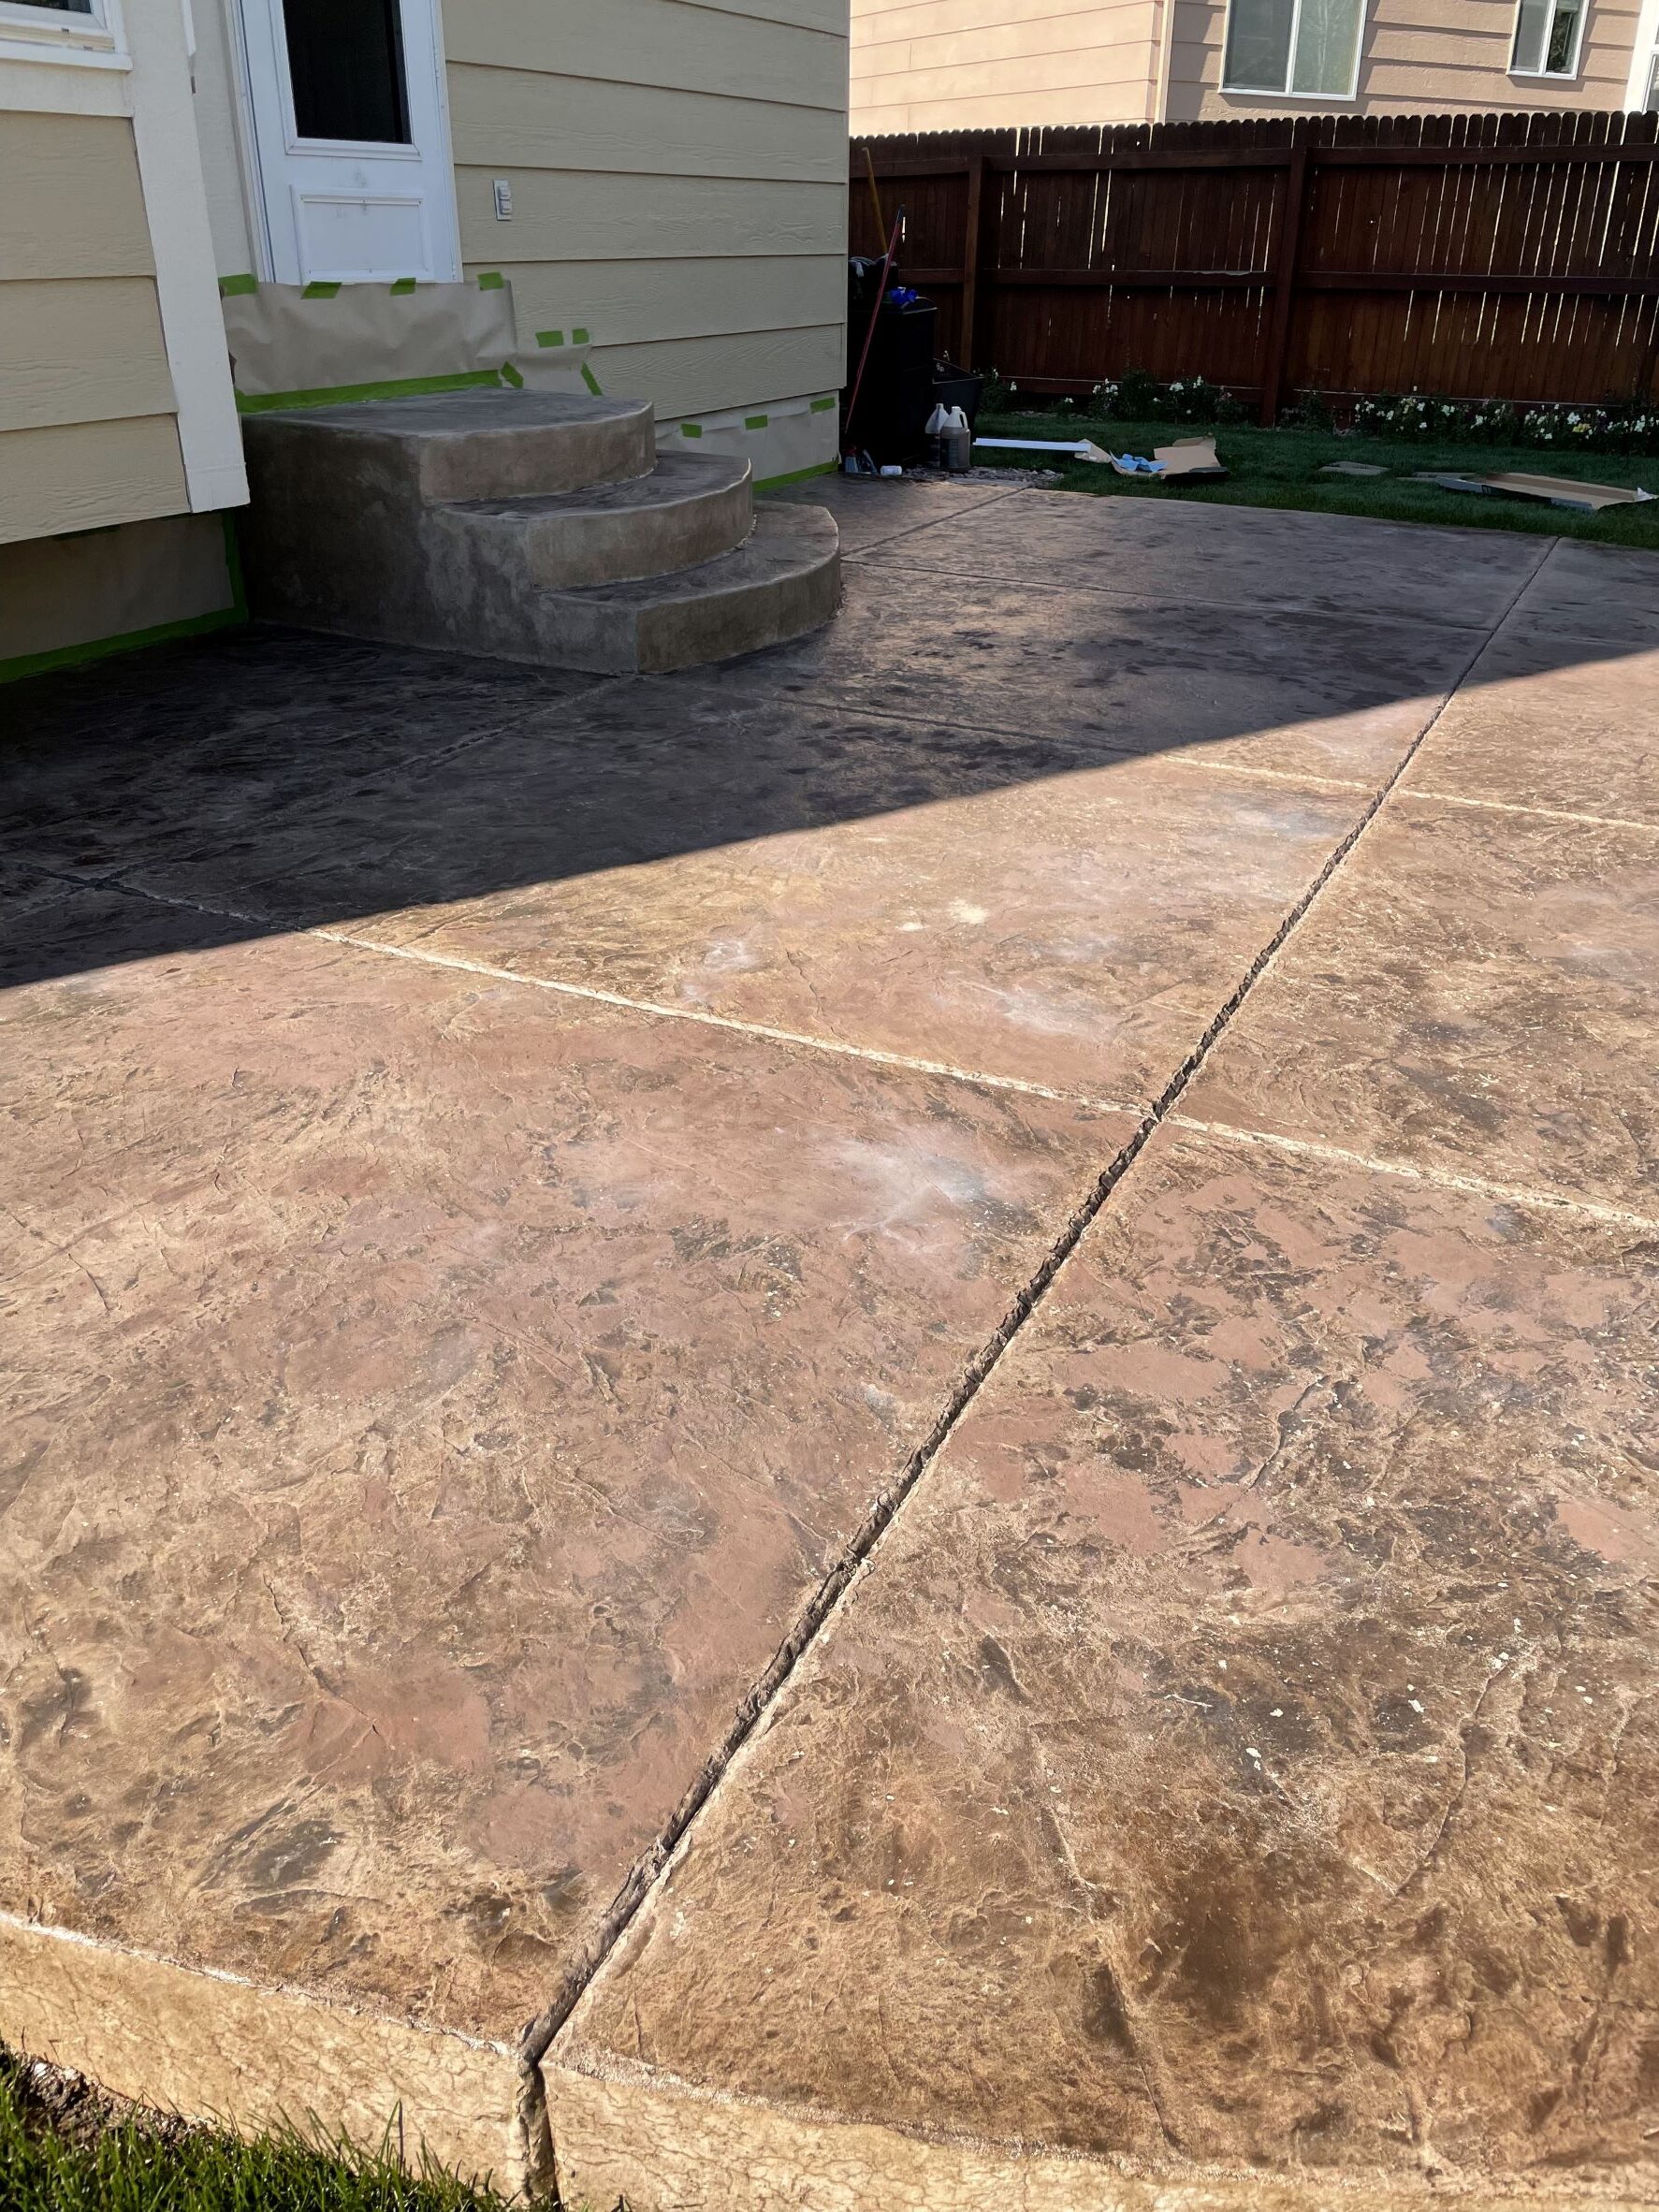
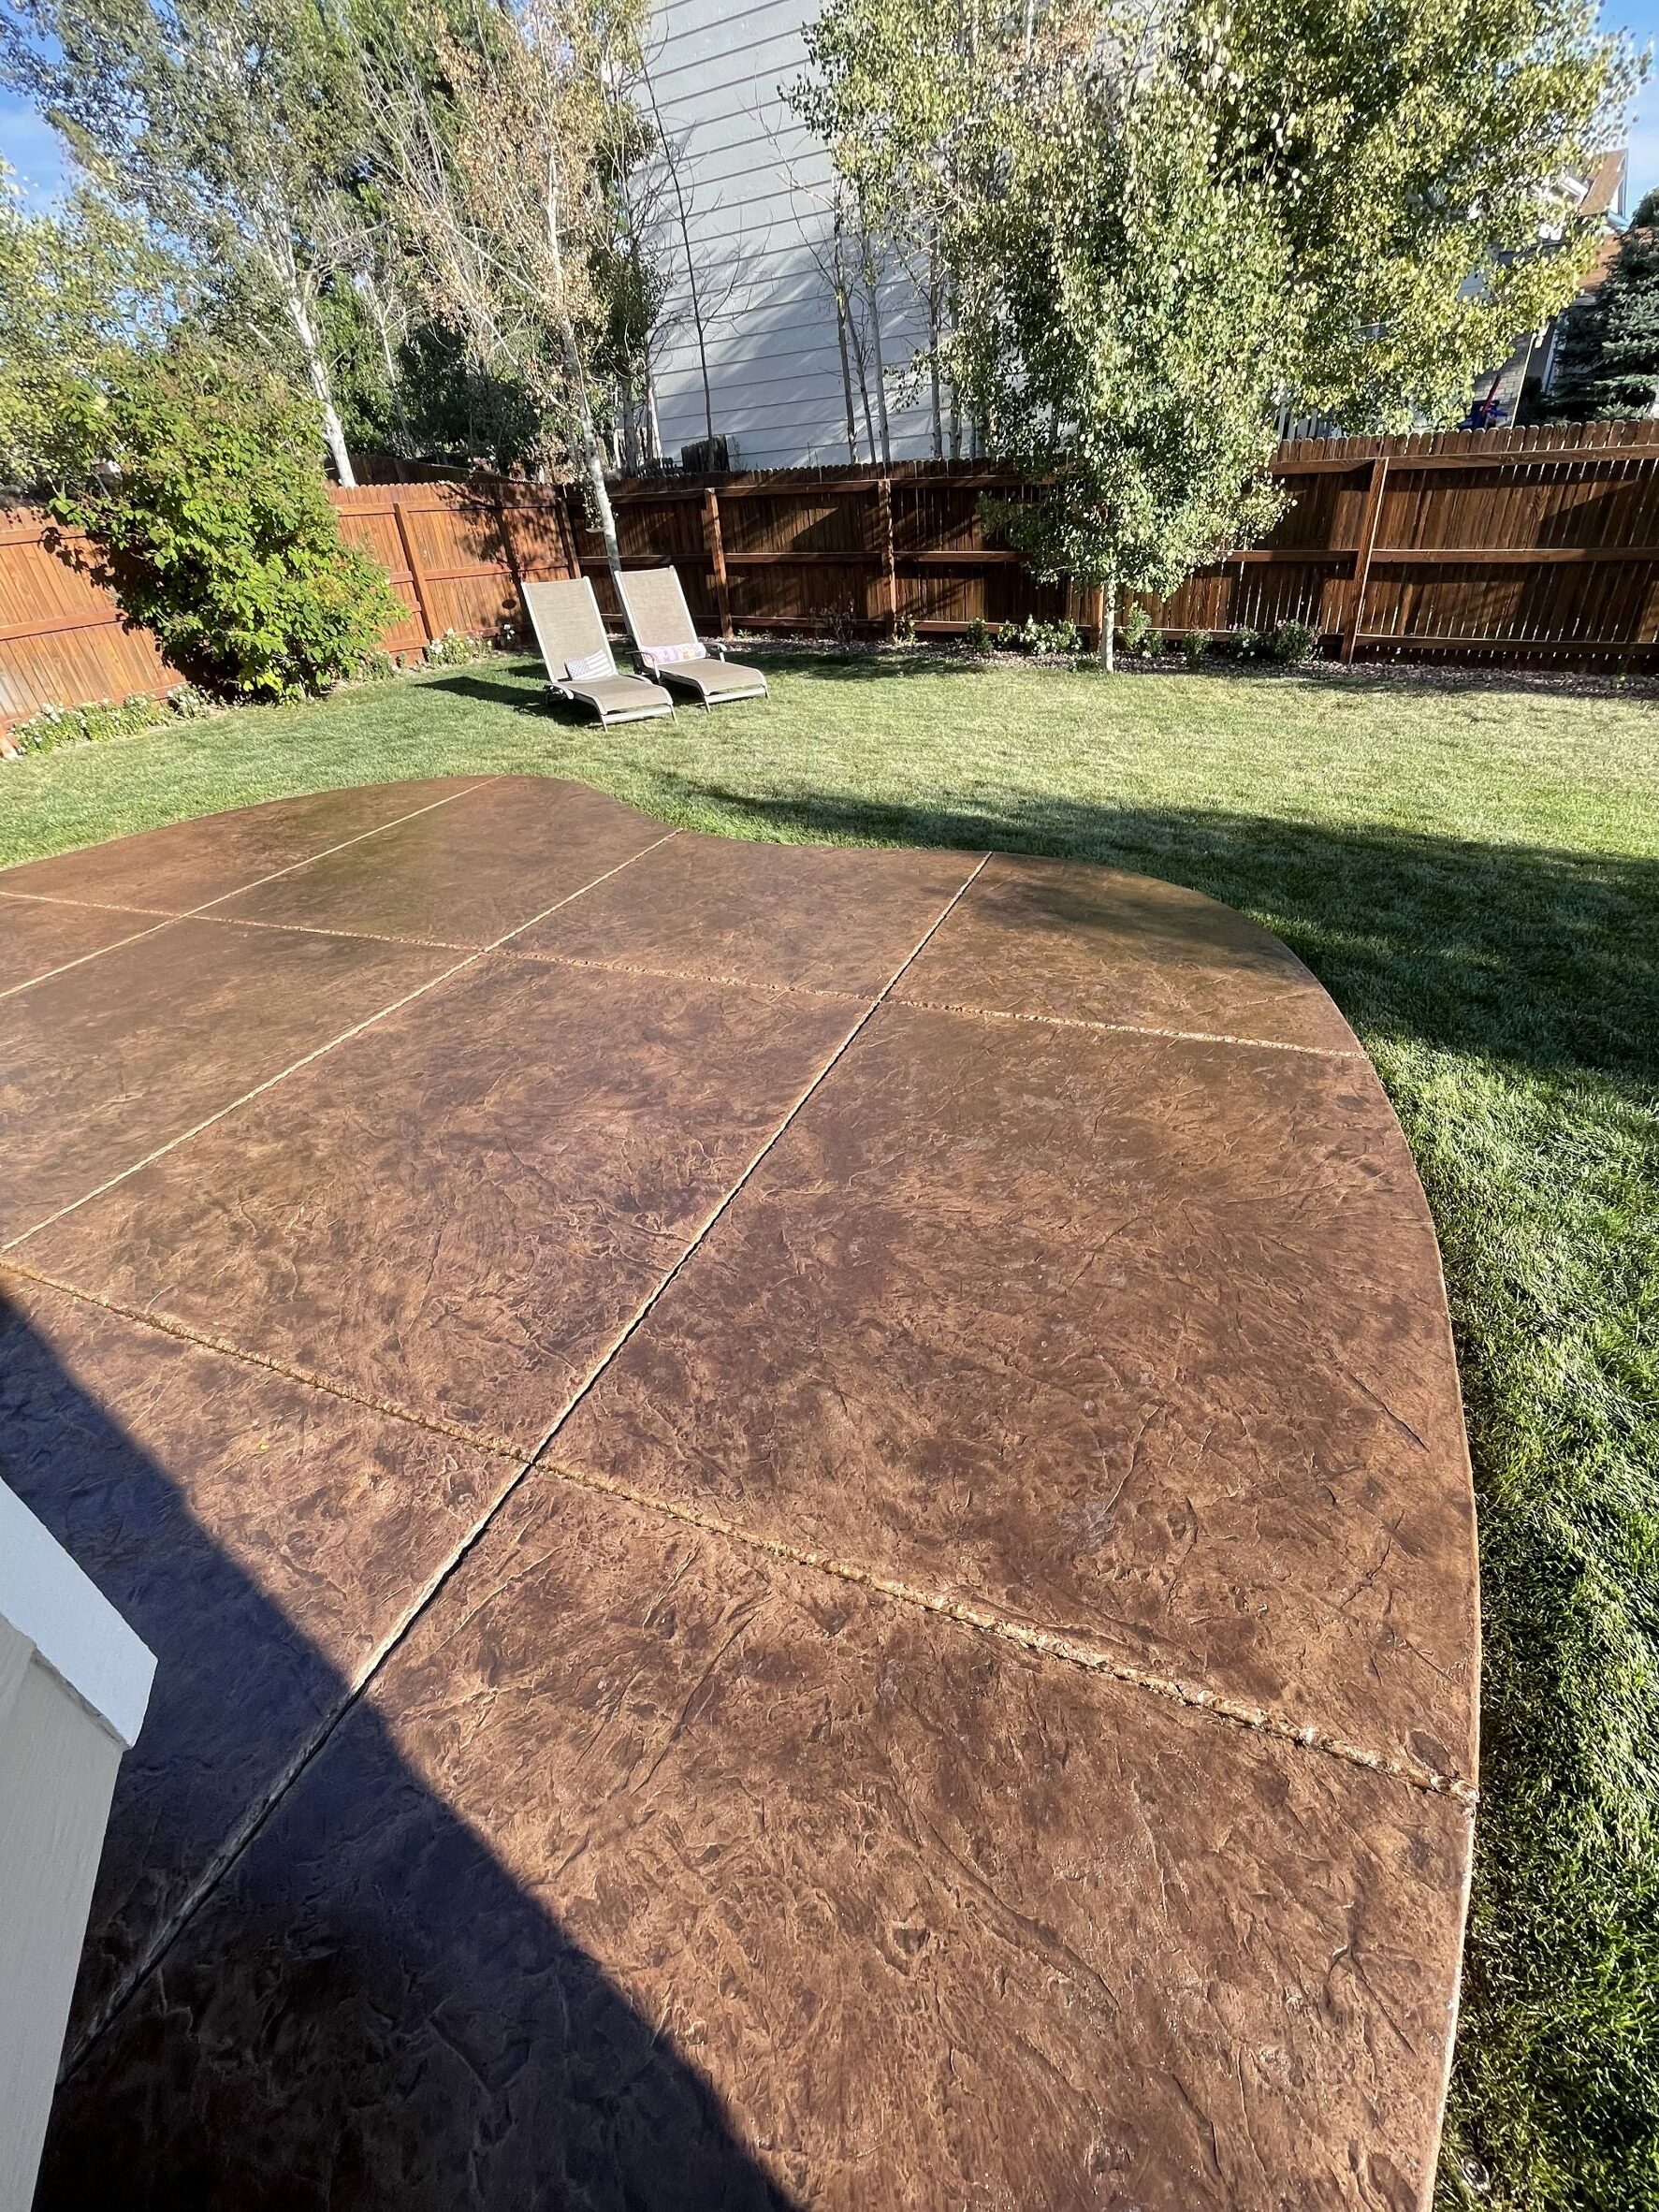
Renewing a Weathered Patio with Driftwood Antiquing™ Stain
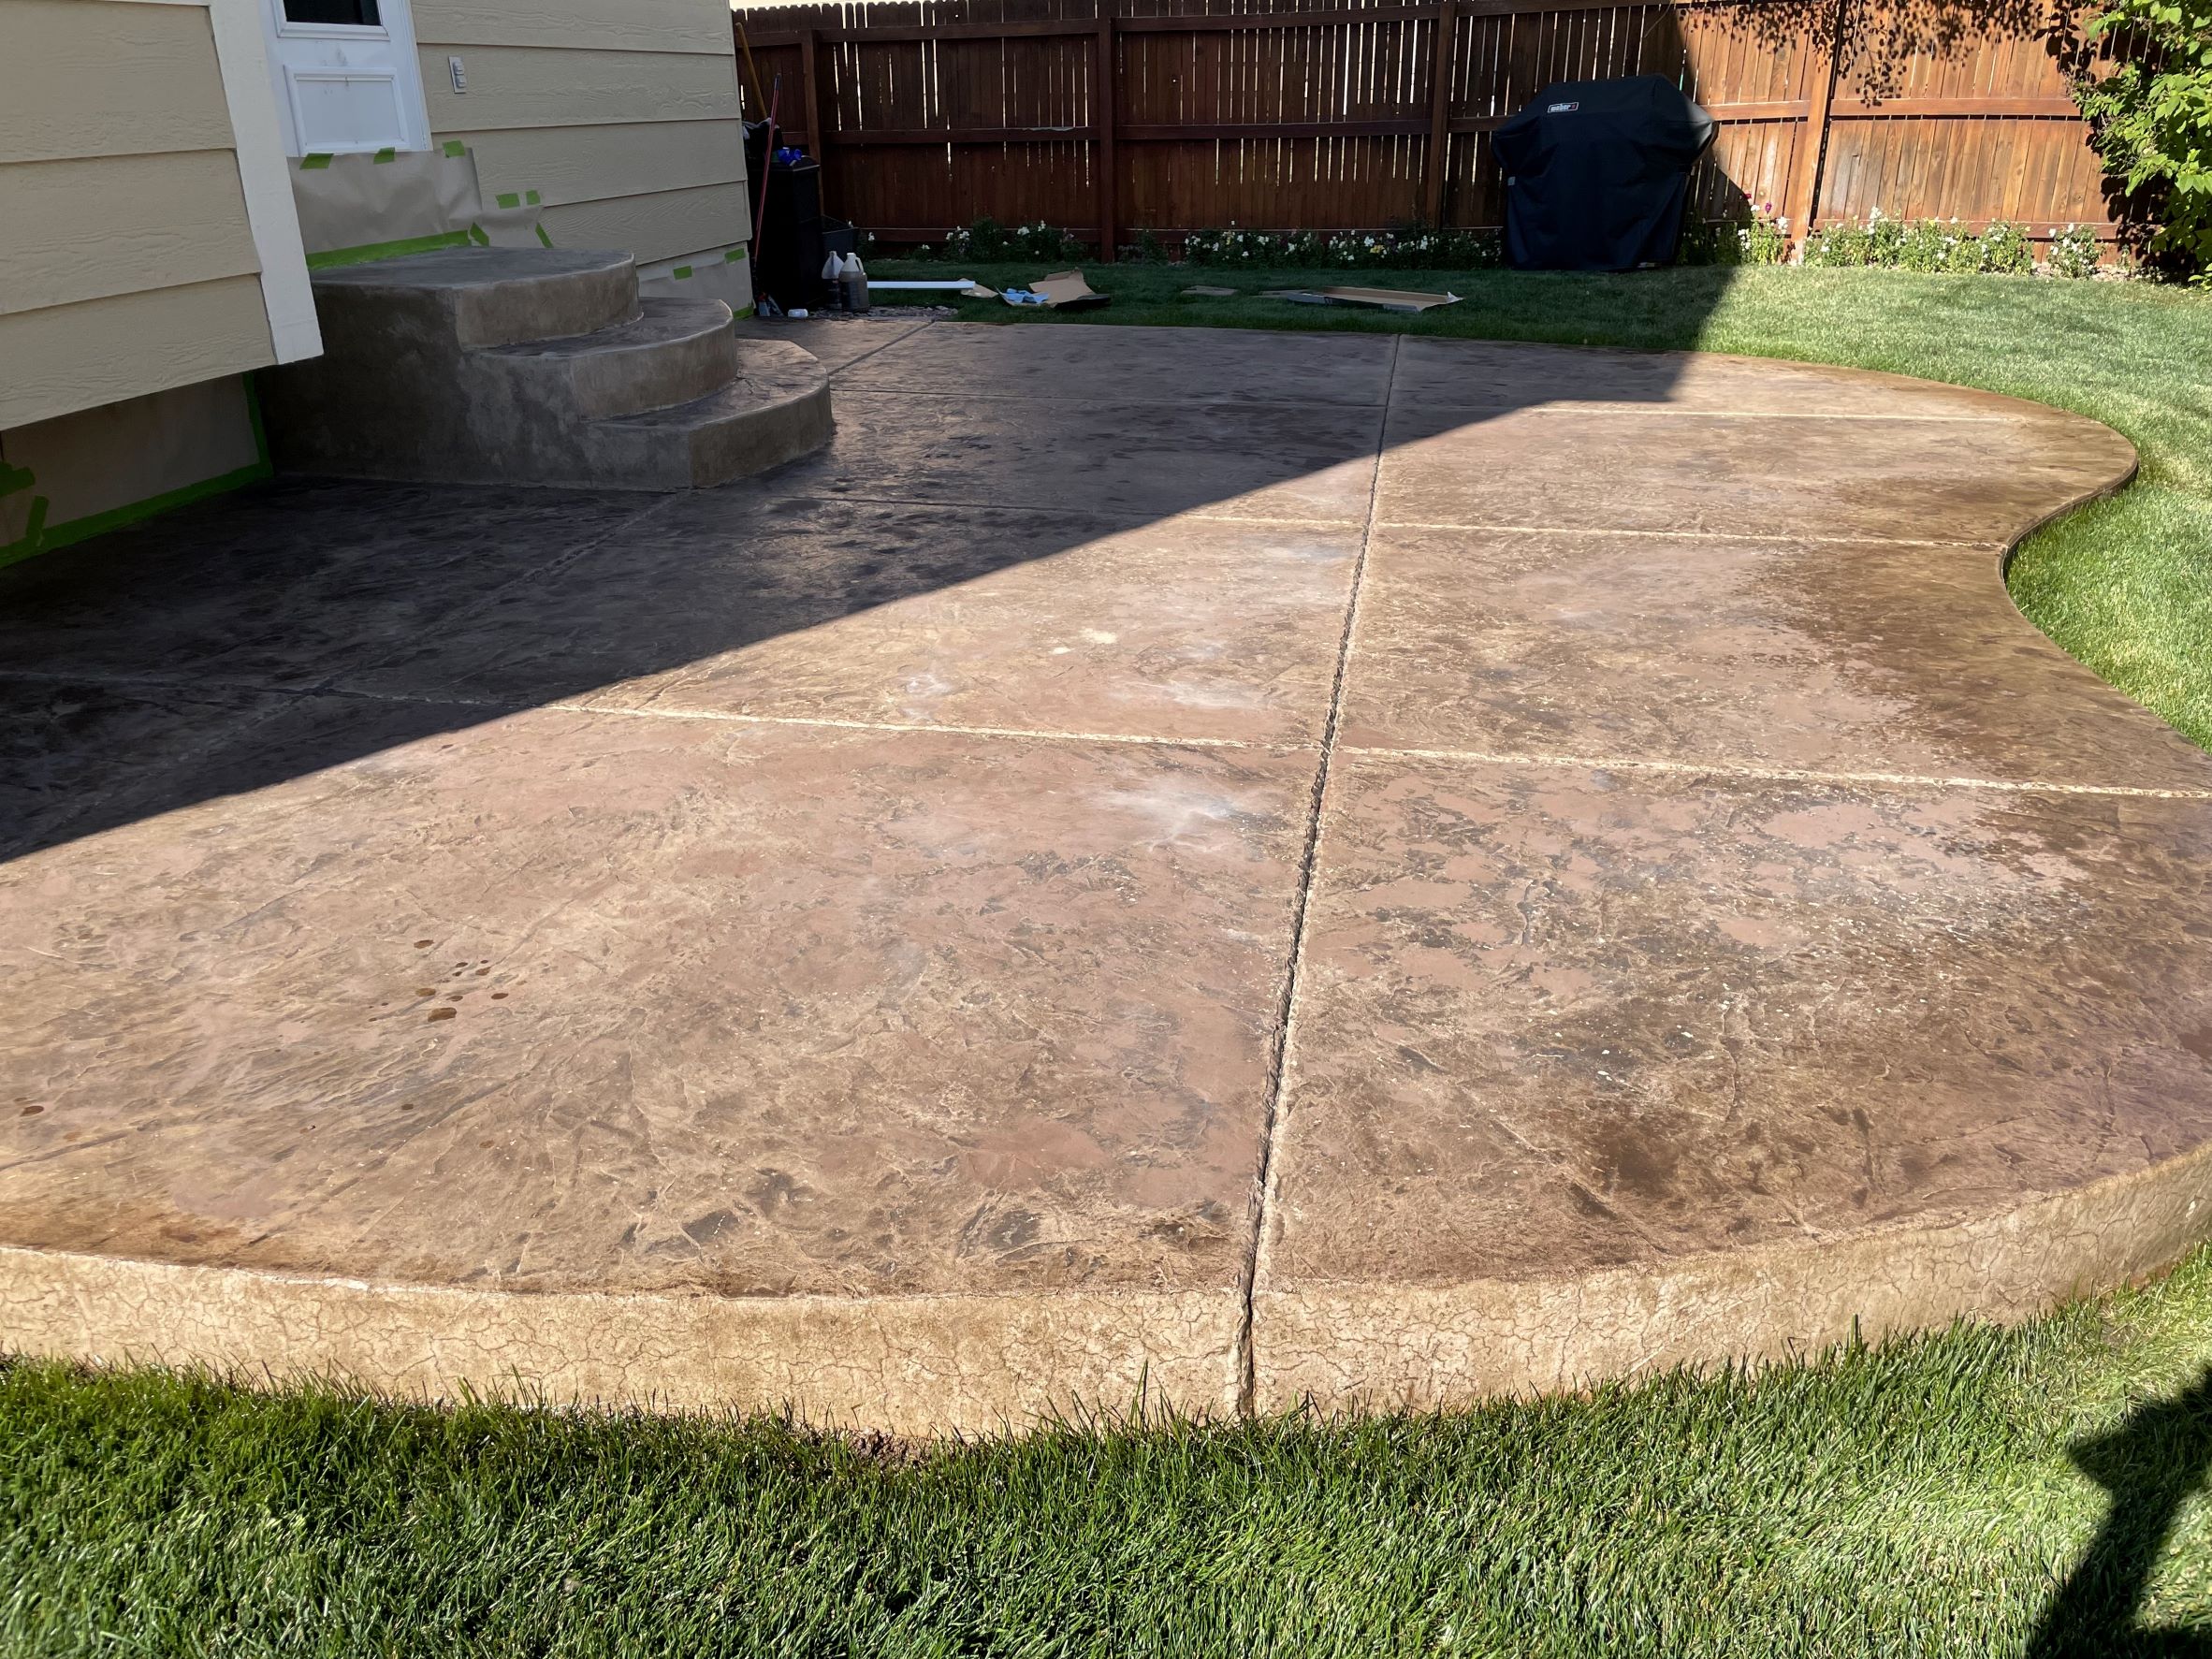
See how a patio, battered by Colorado weather, is transformed into a stunning space using our Driftwood Stamped Concrete Antiquing™ Stain. Pitted areas were repaired using a patching compound and pigment, before applying the stain with a sprayer and sealing it for a vibrant finish. Remember, it’s all about the right pressure when sanding and rolling. Patience and technique turned a worn-out patio into a brand-new marvel!
Project Info:
- Project Completed In: 2 day(s)
- Estimate of Square Footage: 400 sq. ft.
- Project Description:
Started off with Colorado weather damaged concrete, typical freeze and expand pitting, and warn faded coloring and sealant due to the strong sun we have. Used the Direct Colors concrete patching compound and some concrete pigment to patch all the pitted areas. Used a pump sprayer to apply the antiquing stain, which went on easily and consistently. Applied the two coats of acrylic sealer and the color popped! My patio looks brand new. We are extremely happy with the outcome, easy application, and great look. - Personal Tips:
When filling concrete pits with the patching compound, sand down the compound slightly before it’s solid, otherwise it’s almost impossible to sand down..
When applying the acrylic sealer, let the weight of the saturated roller do the work. I personally found that rolling the roller back from the far end, let the sealer apply nicely.. Roll the roller nice and slow to prevent the acrylic sealer from bubbling as it dries. - Direct Colors Products Used:
1 Gal. Driftwood DIY Antiquing™ & EasySeal™ Gloss Kit
1 Gal. Driftwood Antiquing™ & EasySeal™ Gloss Kit
Patch-Rx™ Compound: Base Gray: 2.5 Pound
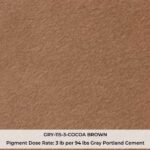
1 lb. Concrete Pigment Color Cocoa Brown - Other Products Used:
Pressure washer to clean it off
Extension pole to attach the roller
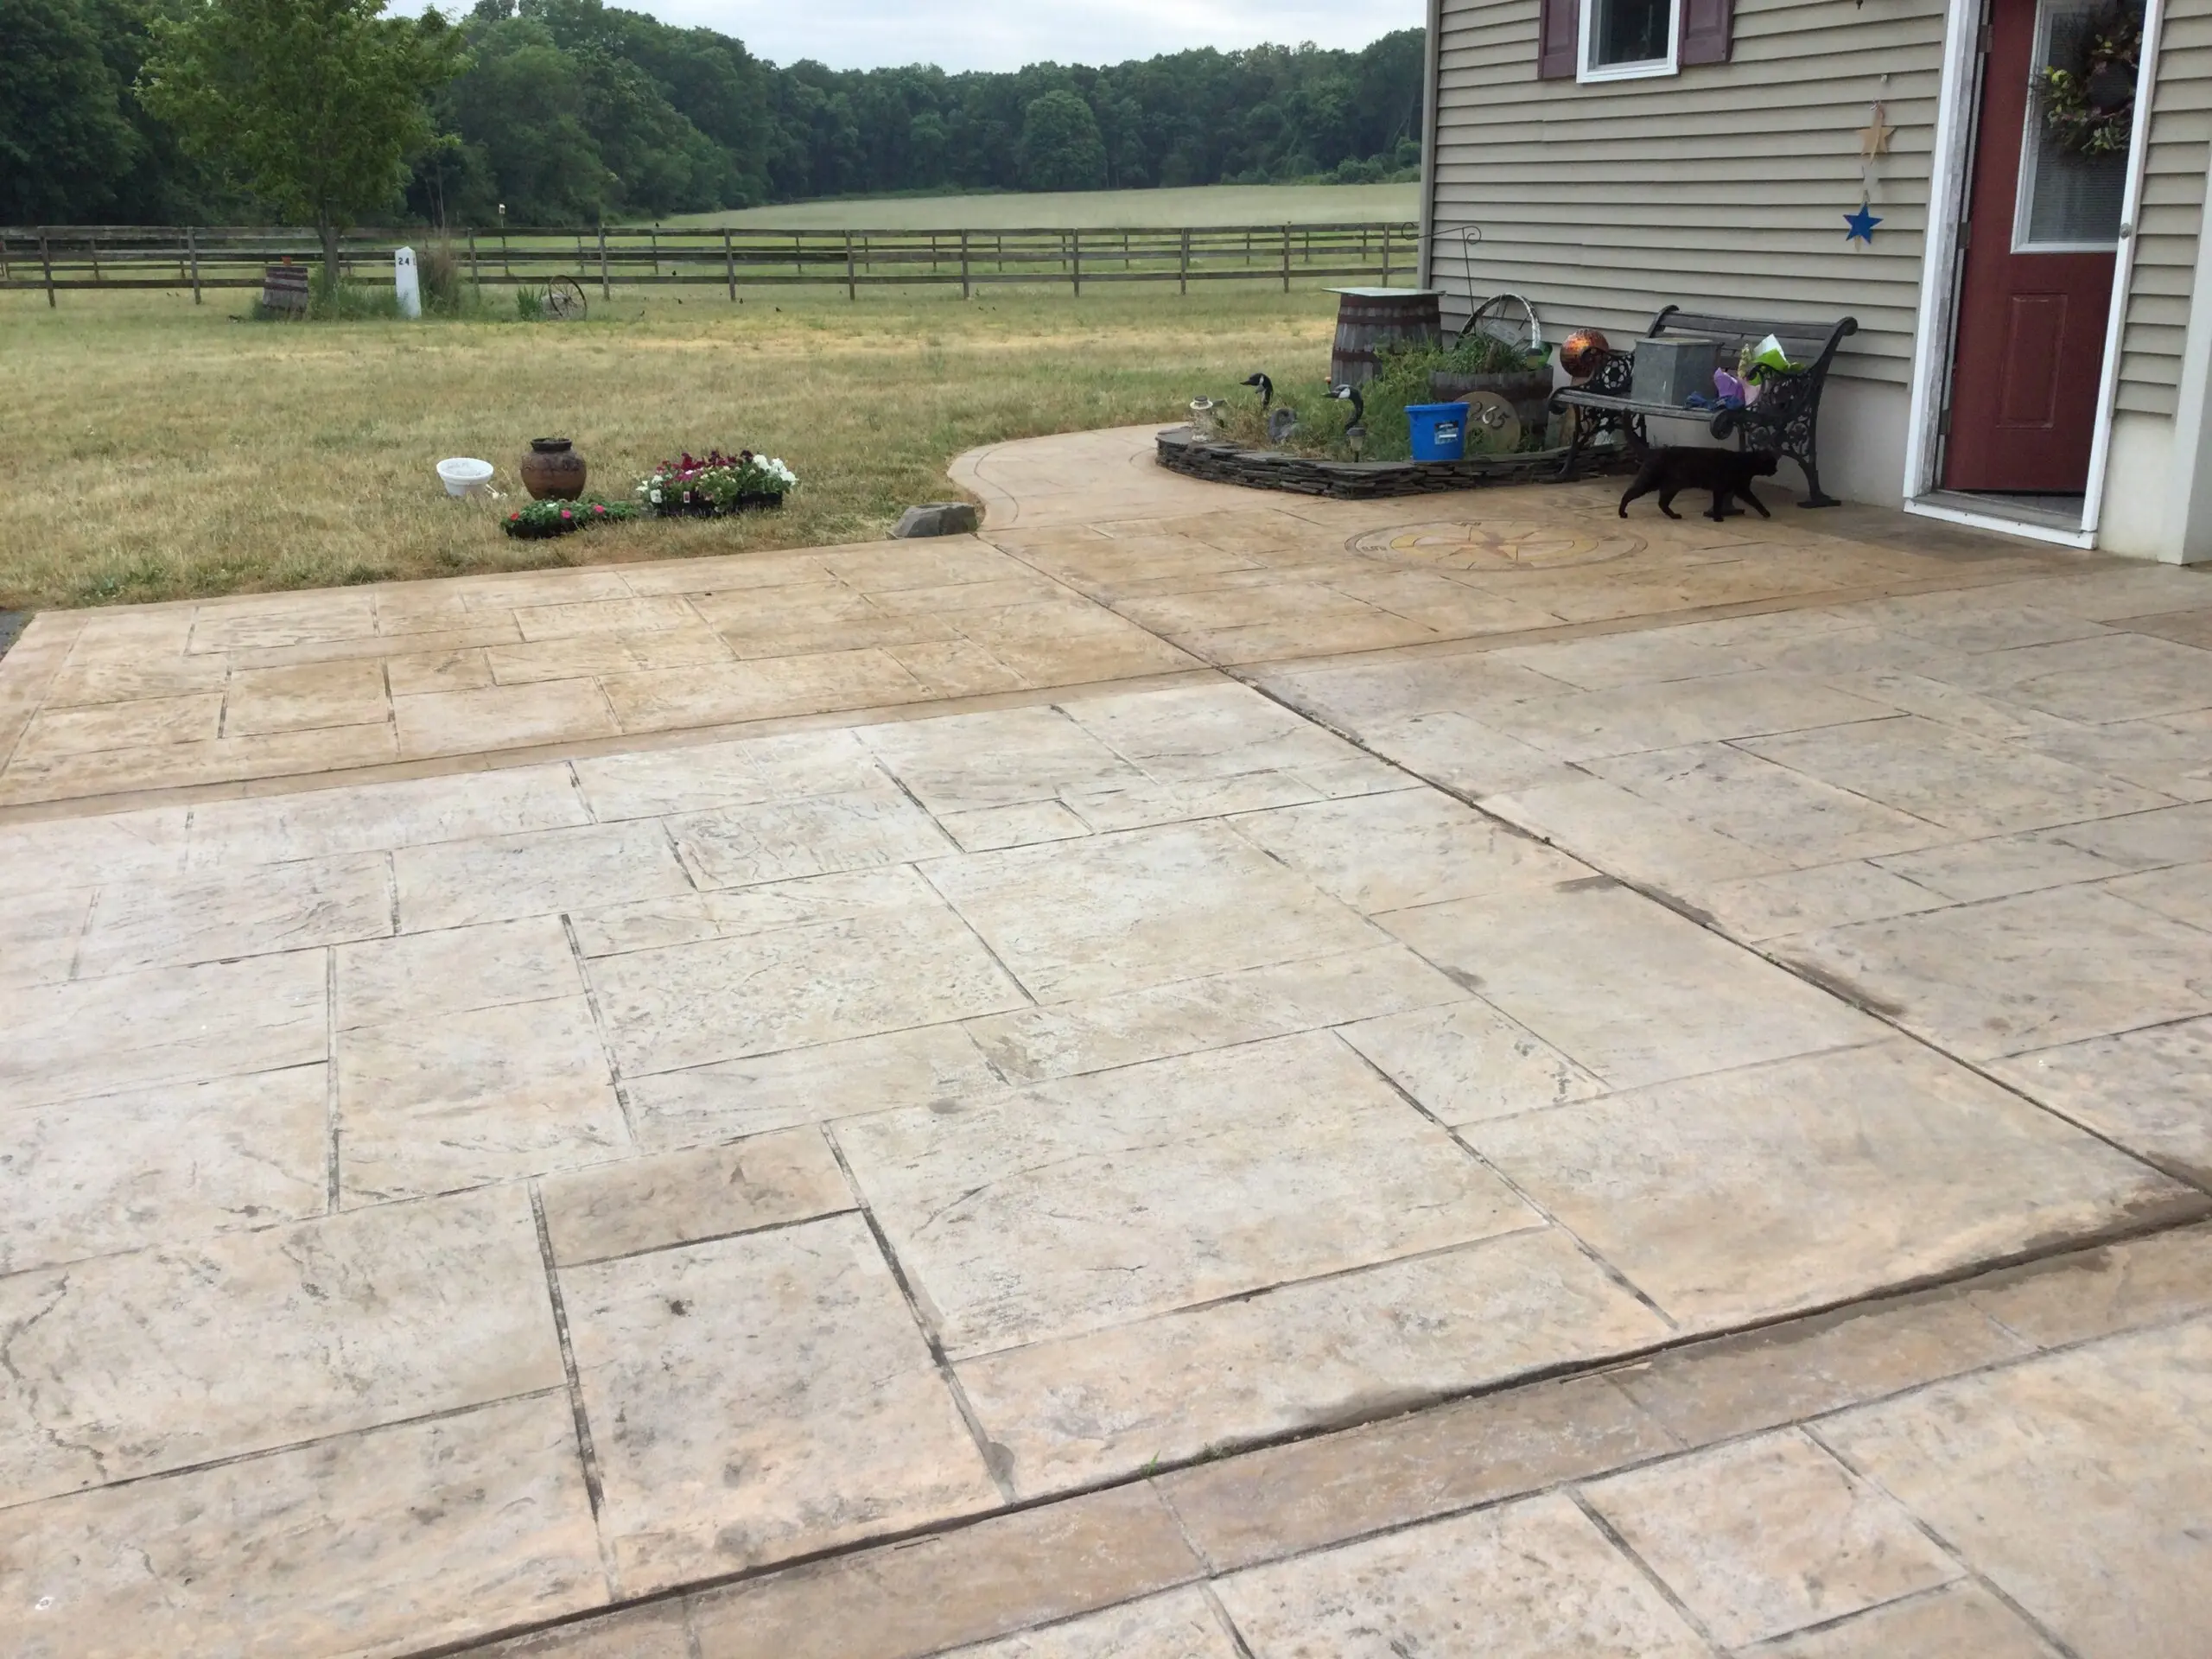
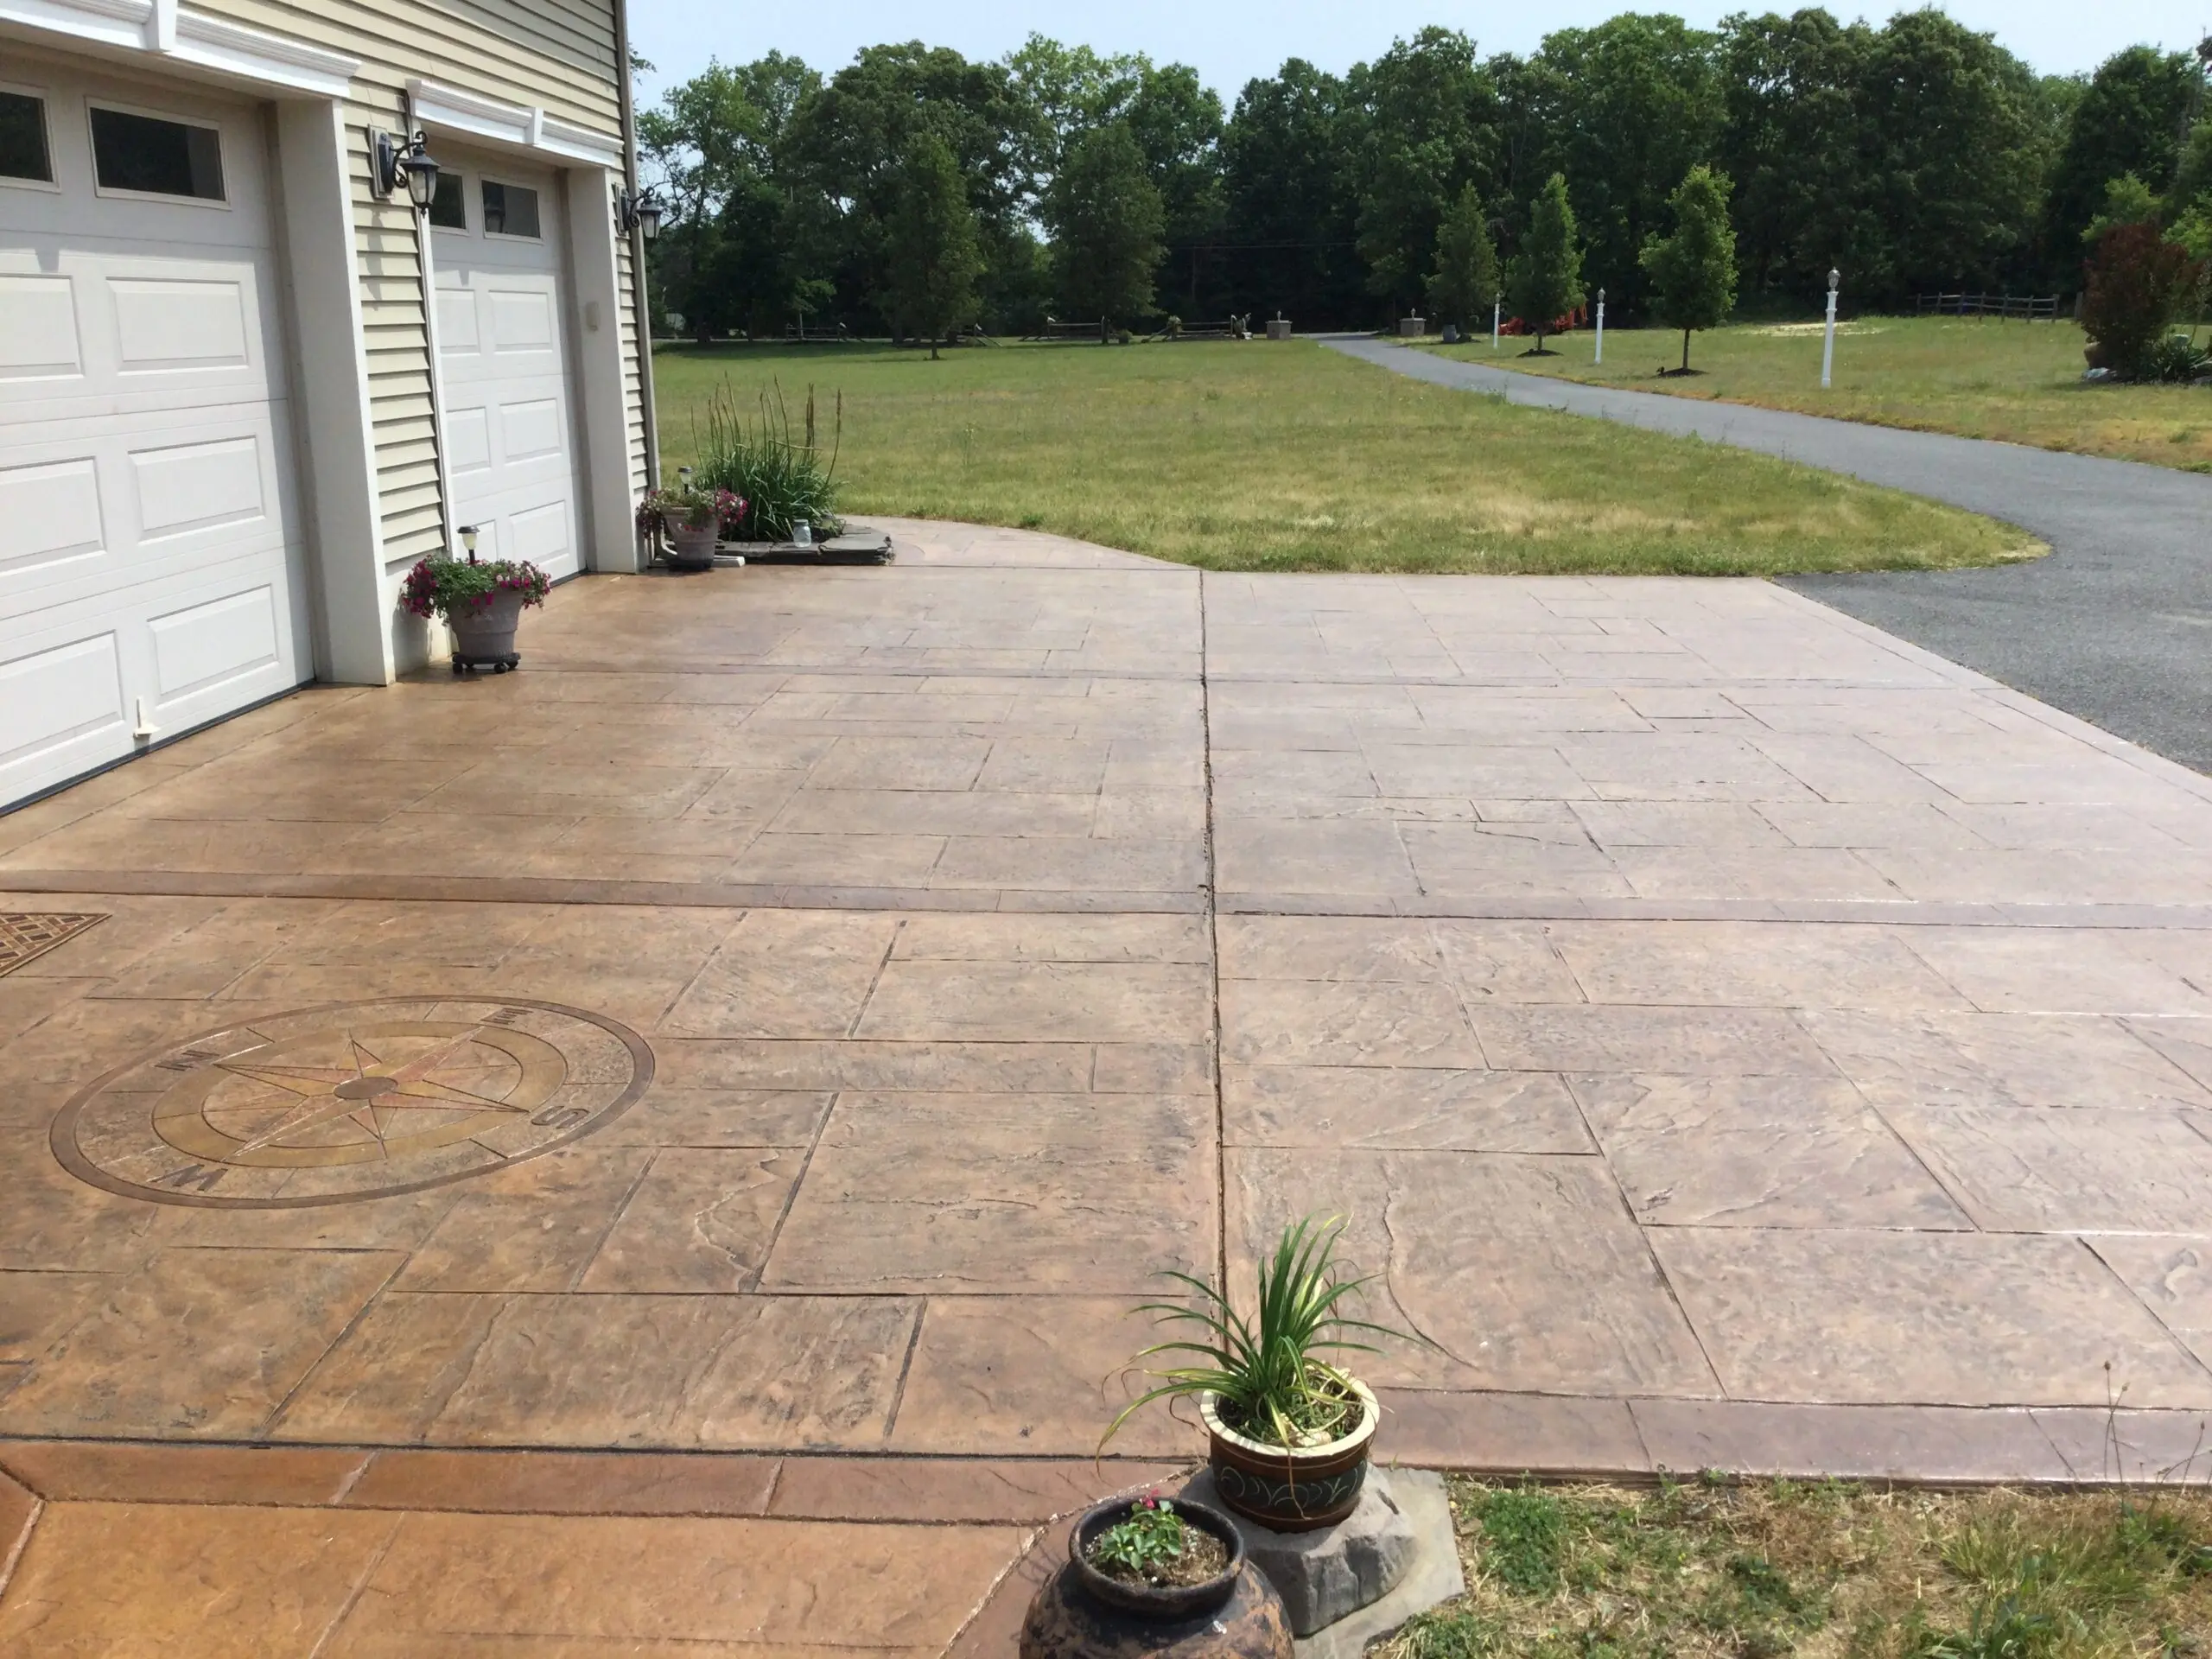
Reviving a Stamped Concrete Driveway Pad with Driftwood and Cafe Royale Antiquing™ Stain
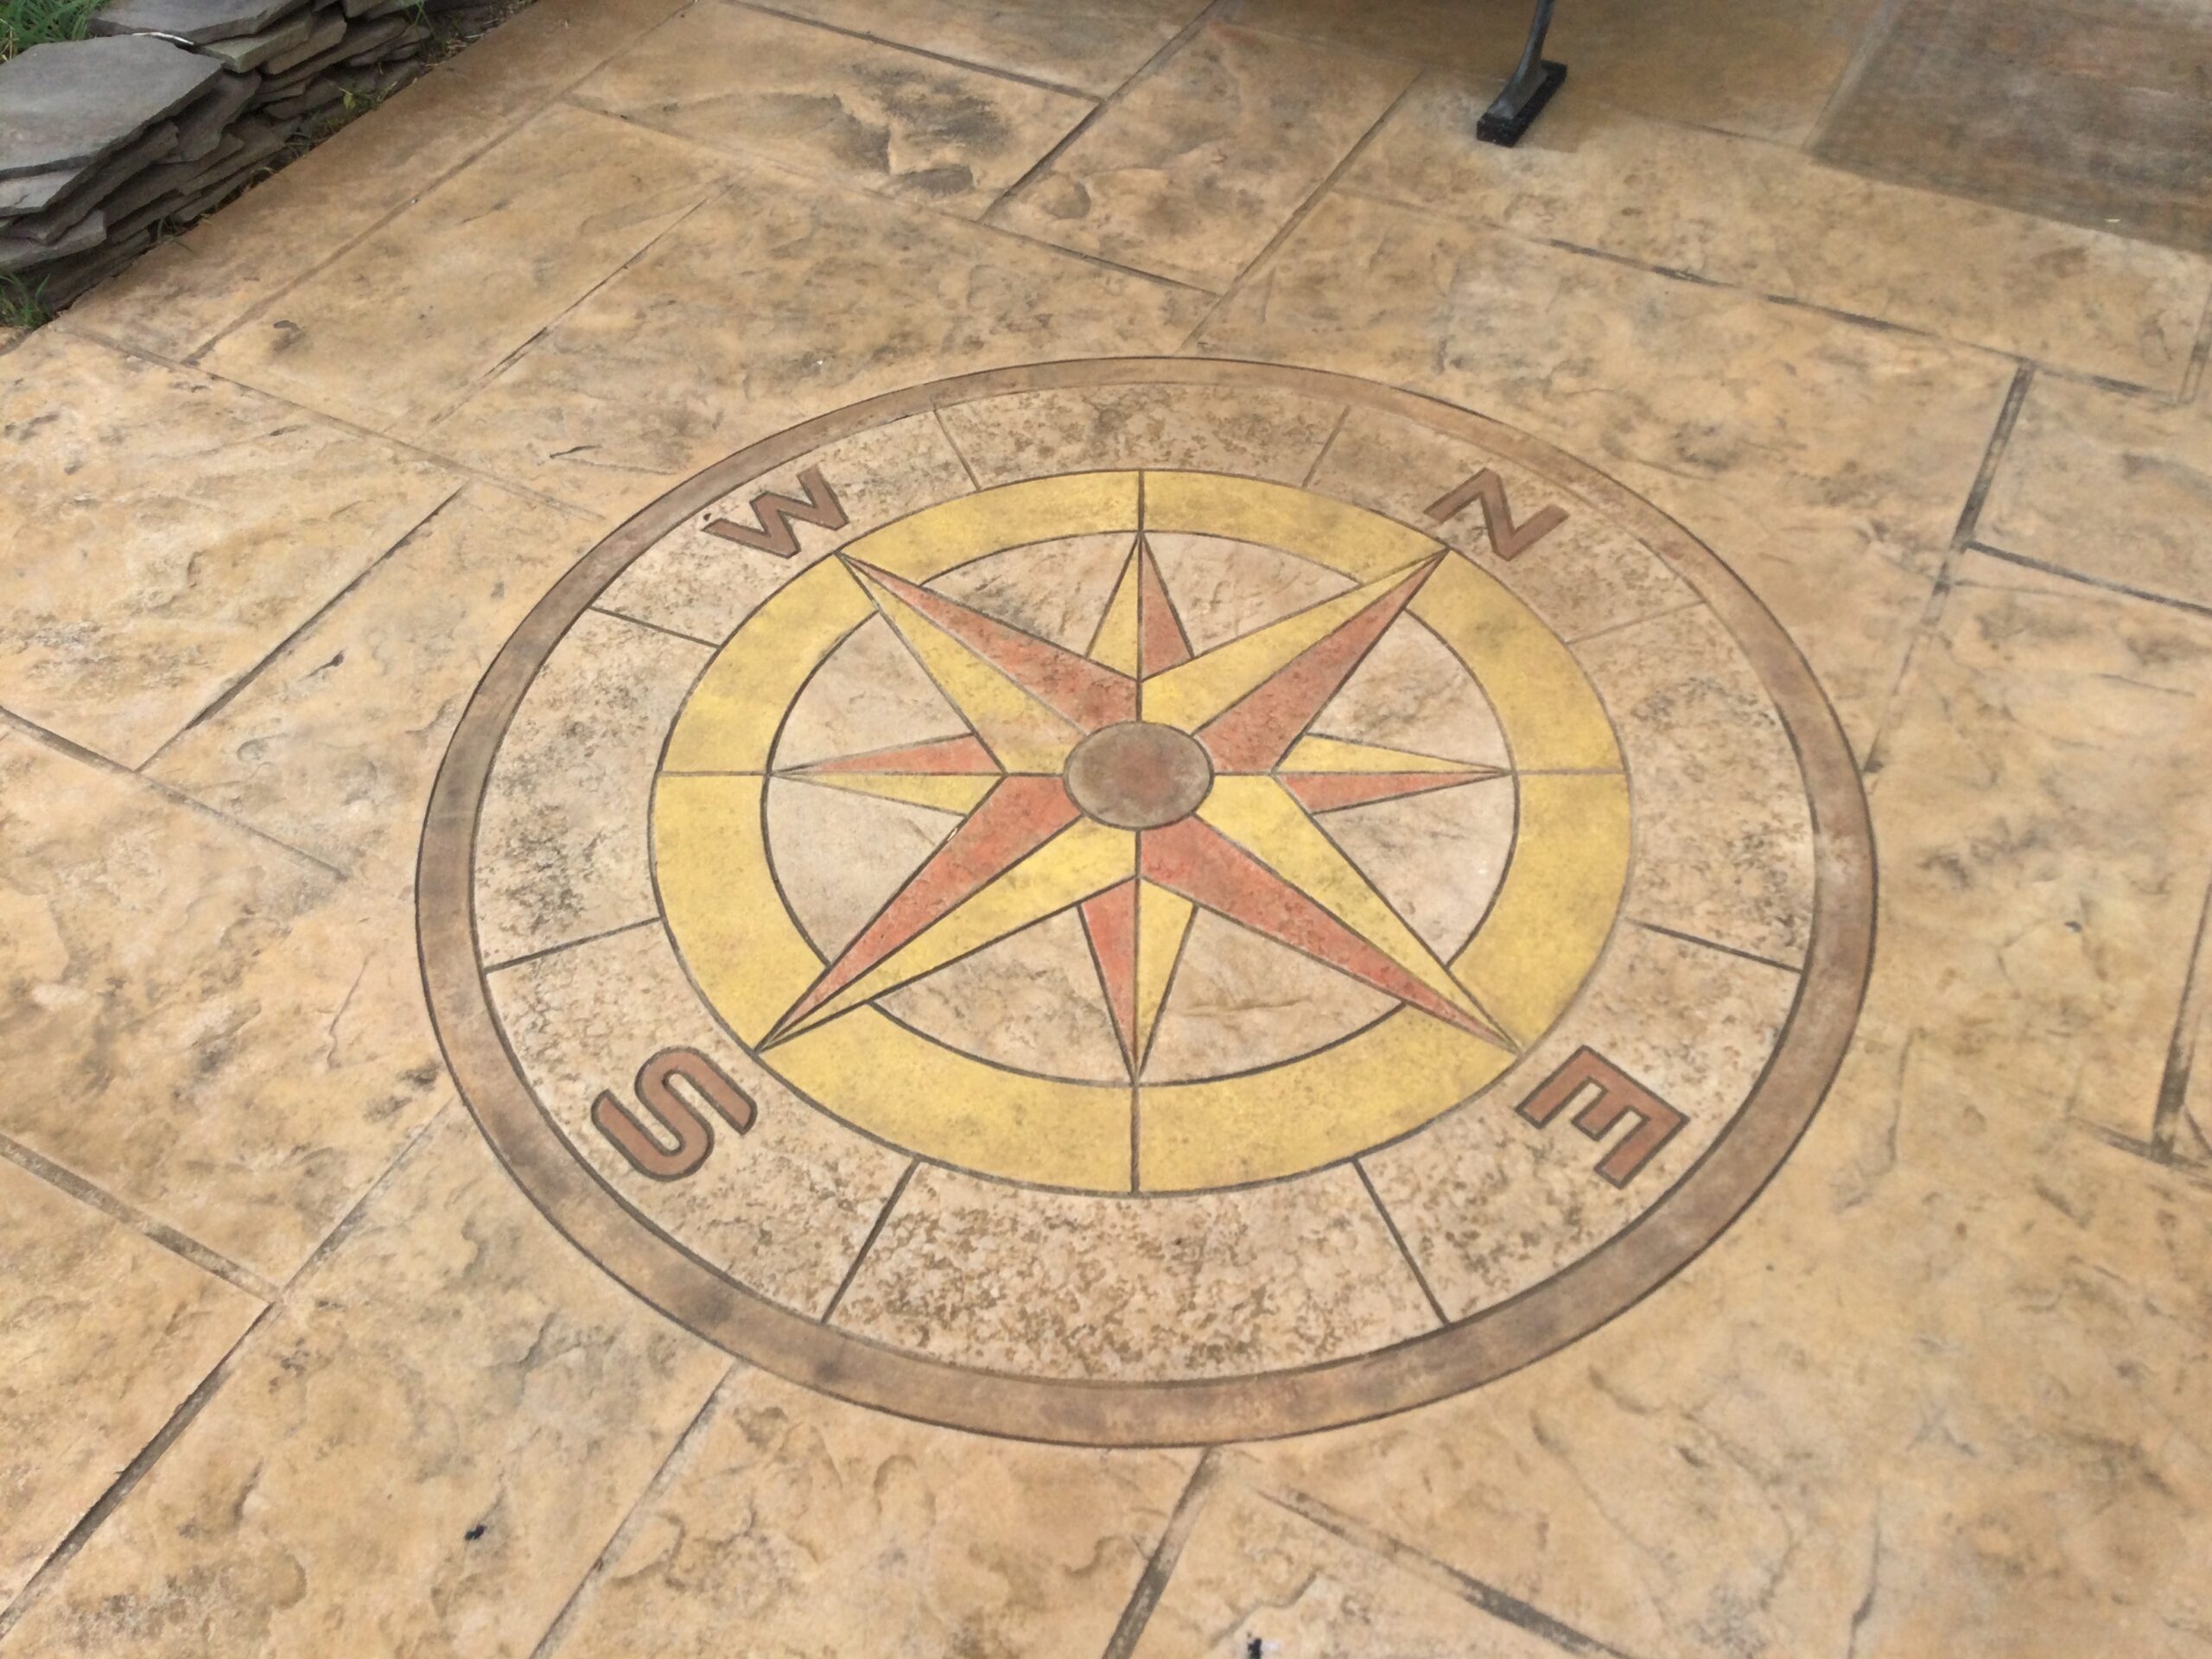
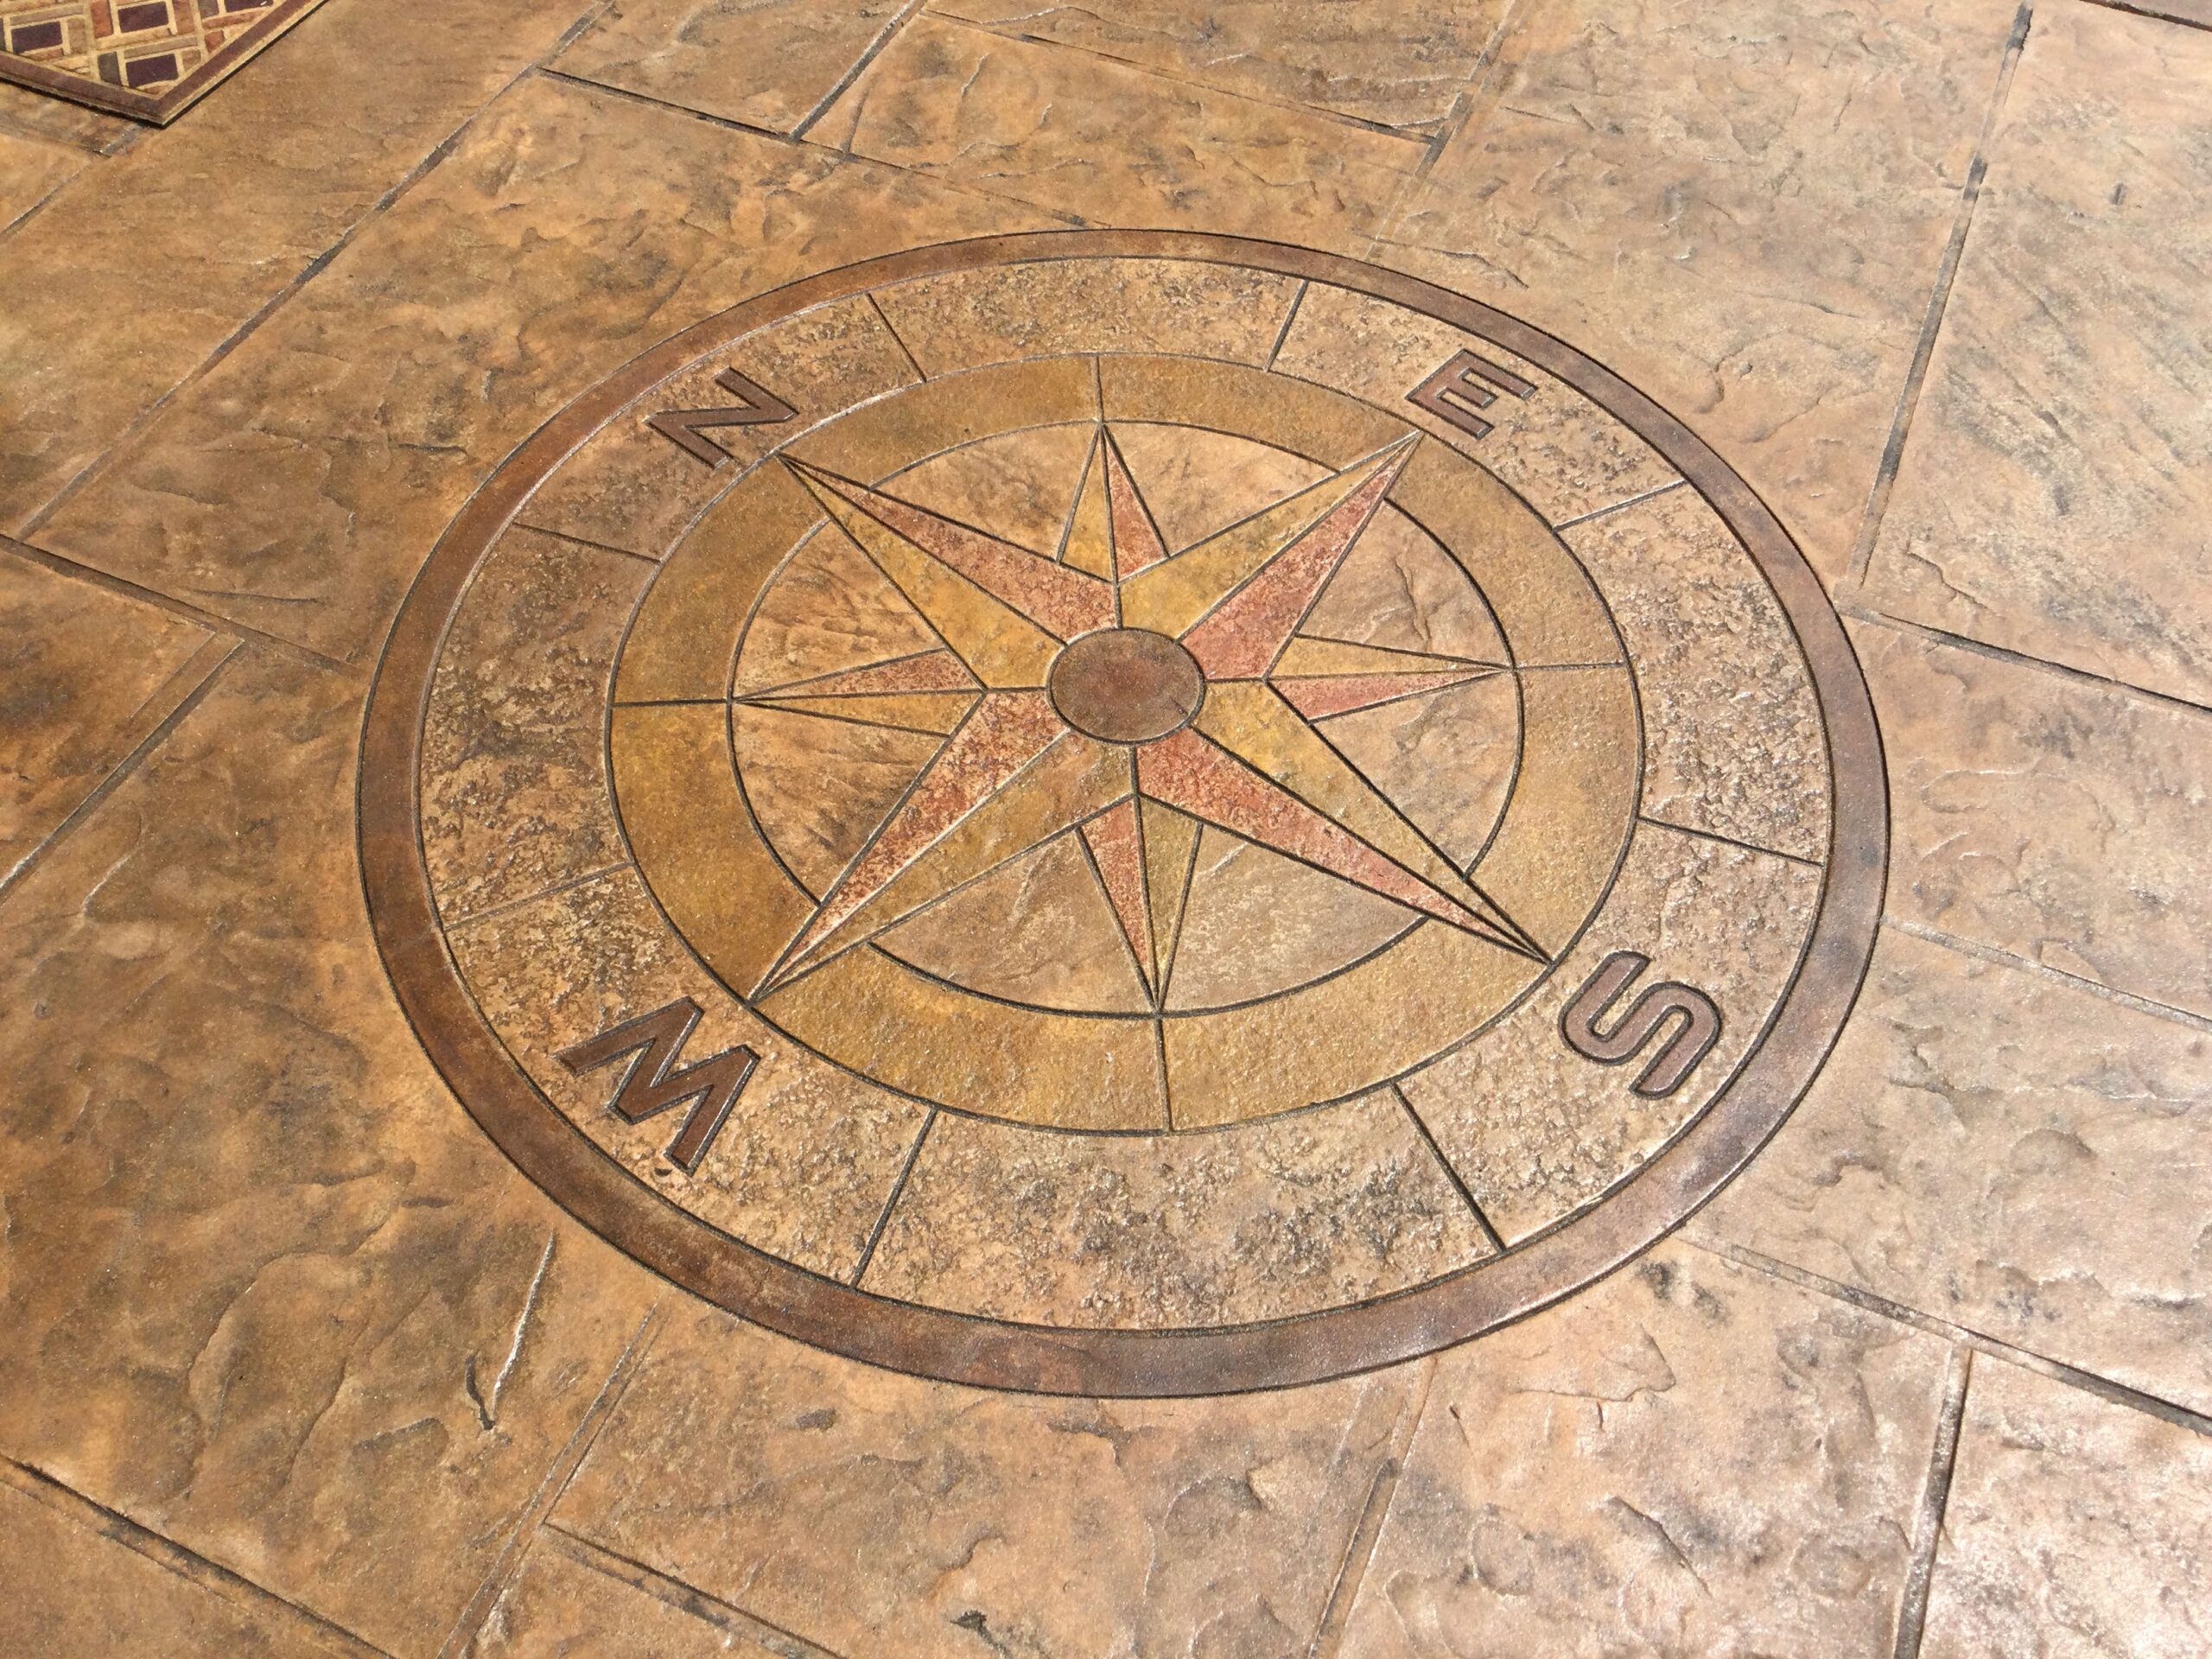
Discover the transformation journey of a sun-beaten, overlay stamped concrete driveway pad. Our customers refreshed their driveway, along with their compass rose imprint, using Cafe Royale with Aztec Brown accents and a touch of Crimson, Wheat, and Black for the compass. The result was simply stunning. Key advice: apply several generous layers of stain and don’t shy away from sealing.
Project Info:
- Project Completed In: 3 day(s)
- Estimate of Square Footage: 750 sq. ft.
- Project Description:
Our driveway pad in front of our garage is overlayed stamped concrete. It gets lots of use from our cars and lots of sun! It has been 2 years since we stained and sealed it. We also have a compass rose stamped into the area that we walk on. We choose a compass because we live on North West Blvd! We choose to stain it Cafe Royal with Aztec Brown accents. The conpass rose needed to be freshened up too, so we purchased your sample kit with the colors Crimson, Wheat and Black. It turned out beautiful!! - Personal Tips:
Apply several layers of stain to darken it. And be generous! I don’t think you can mess this up! So easy! We sprayed on the stain and let it dry overnight. My husband and I (we are 64 and 65!) worked together. I sprayed on the sealer and he immediately rolled it, with a long-handled paint roller, for a nice even, thin layer. By rolling it, we could get close to the house and garage doors easily. After one day, we repeated the sealing process. The stain just comes alive when that sealer is applied!! - Direct Colors Products Used:
5 Gal. Driftwood Antiquing™ & EasySeal™ Satin Mega Bundle
5 Gal. Cafe Royale Antiquing™ & EasySeal™ Satin Mega Bundle
1 Gal. Aztec Brown Antiquing™ Stain
4 Oz. Crimson Antiquing™ Stain
4 Oz. Wheat Antiquing™ Stain
4 Oz. Black Antiquing™ Stain - Other Products Used:
Swissmex Acetone sprayer
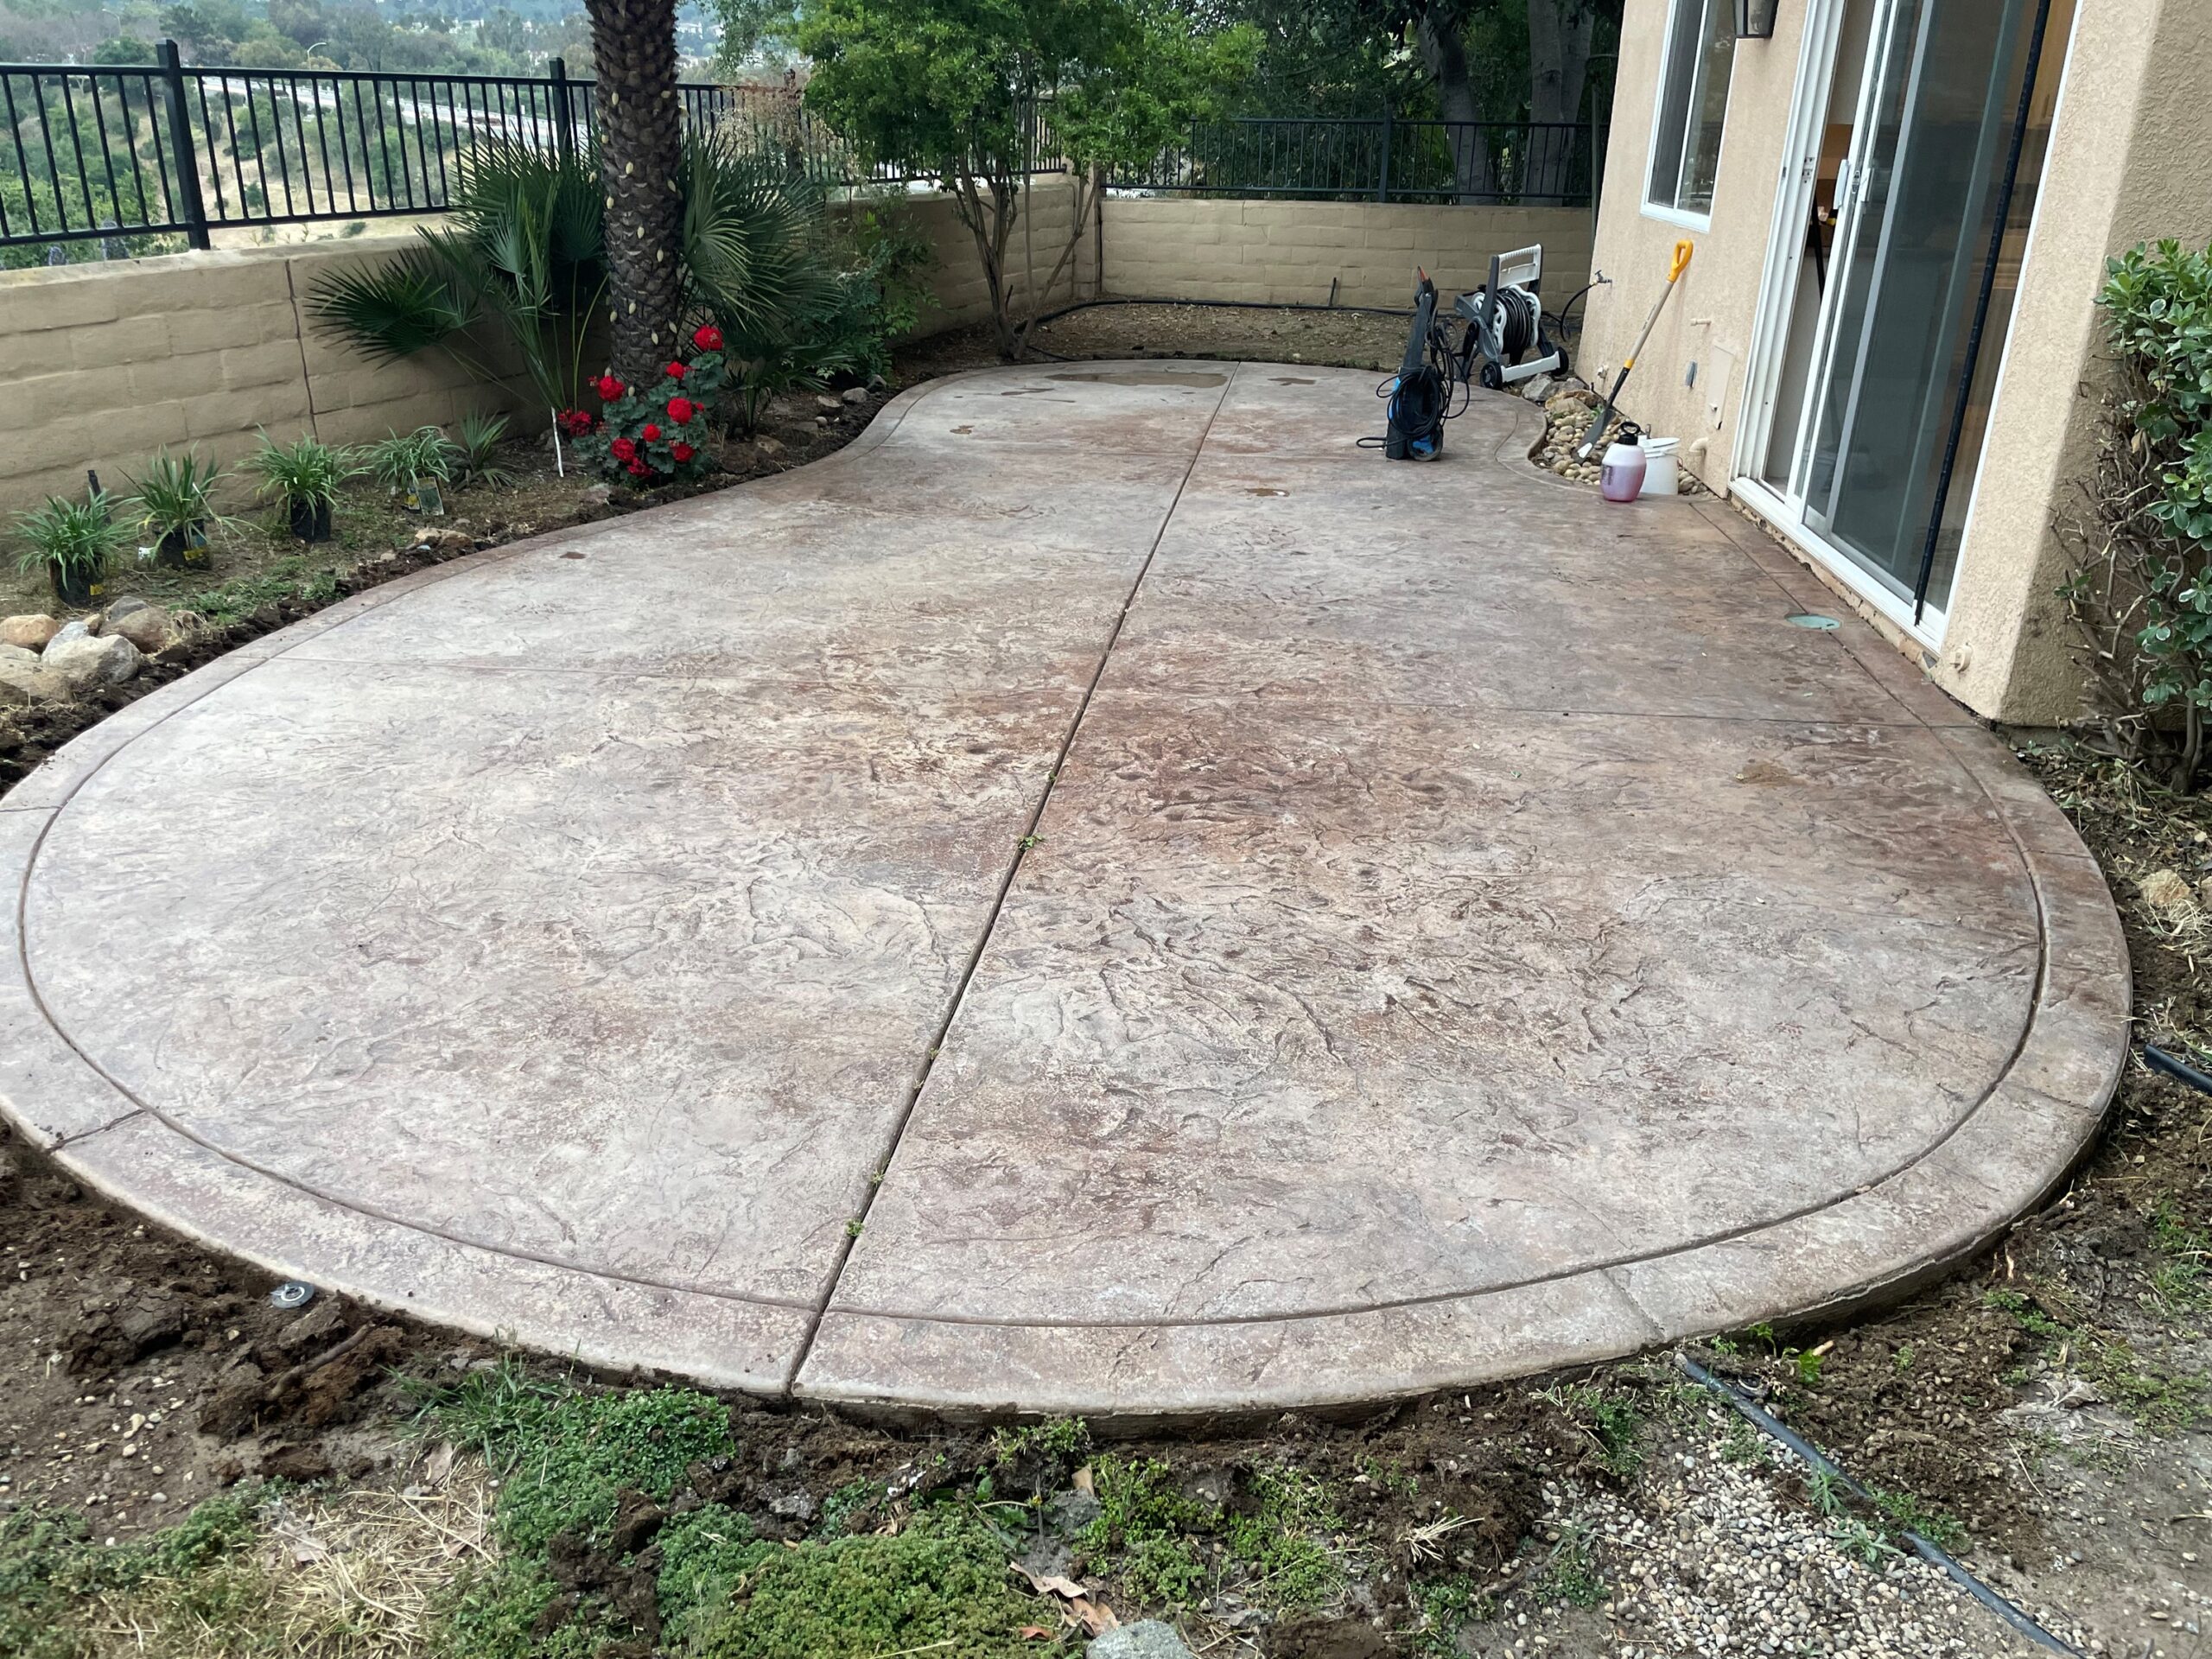
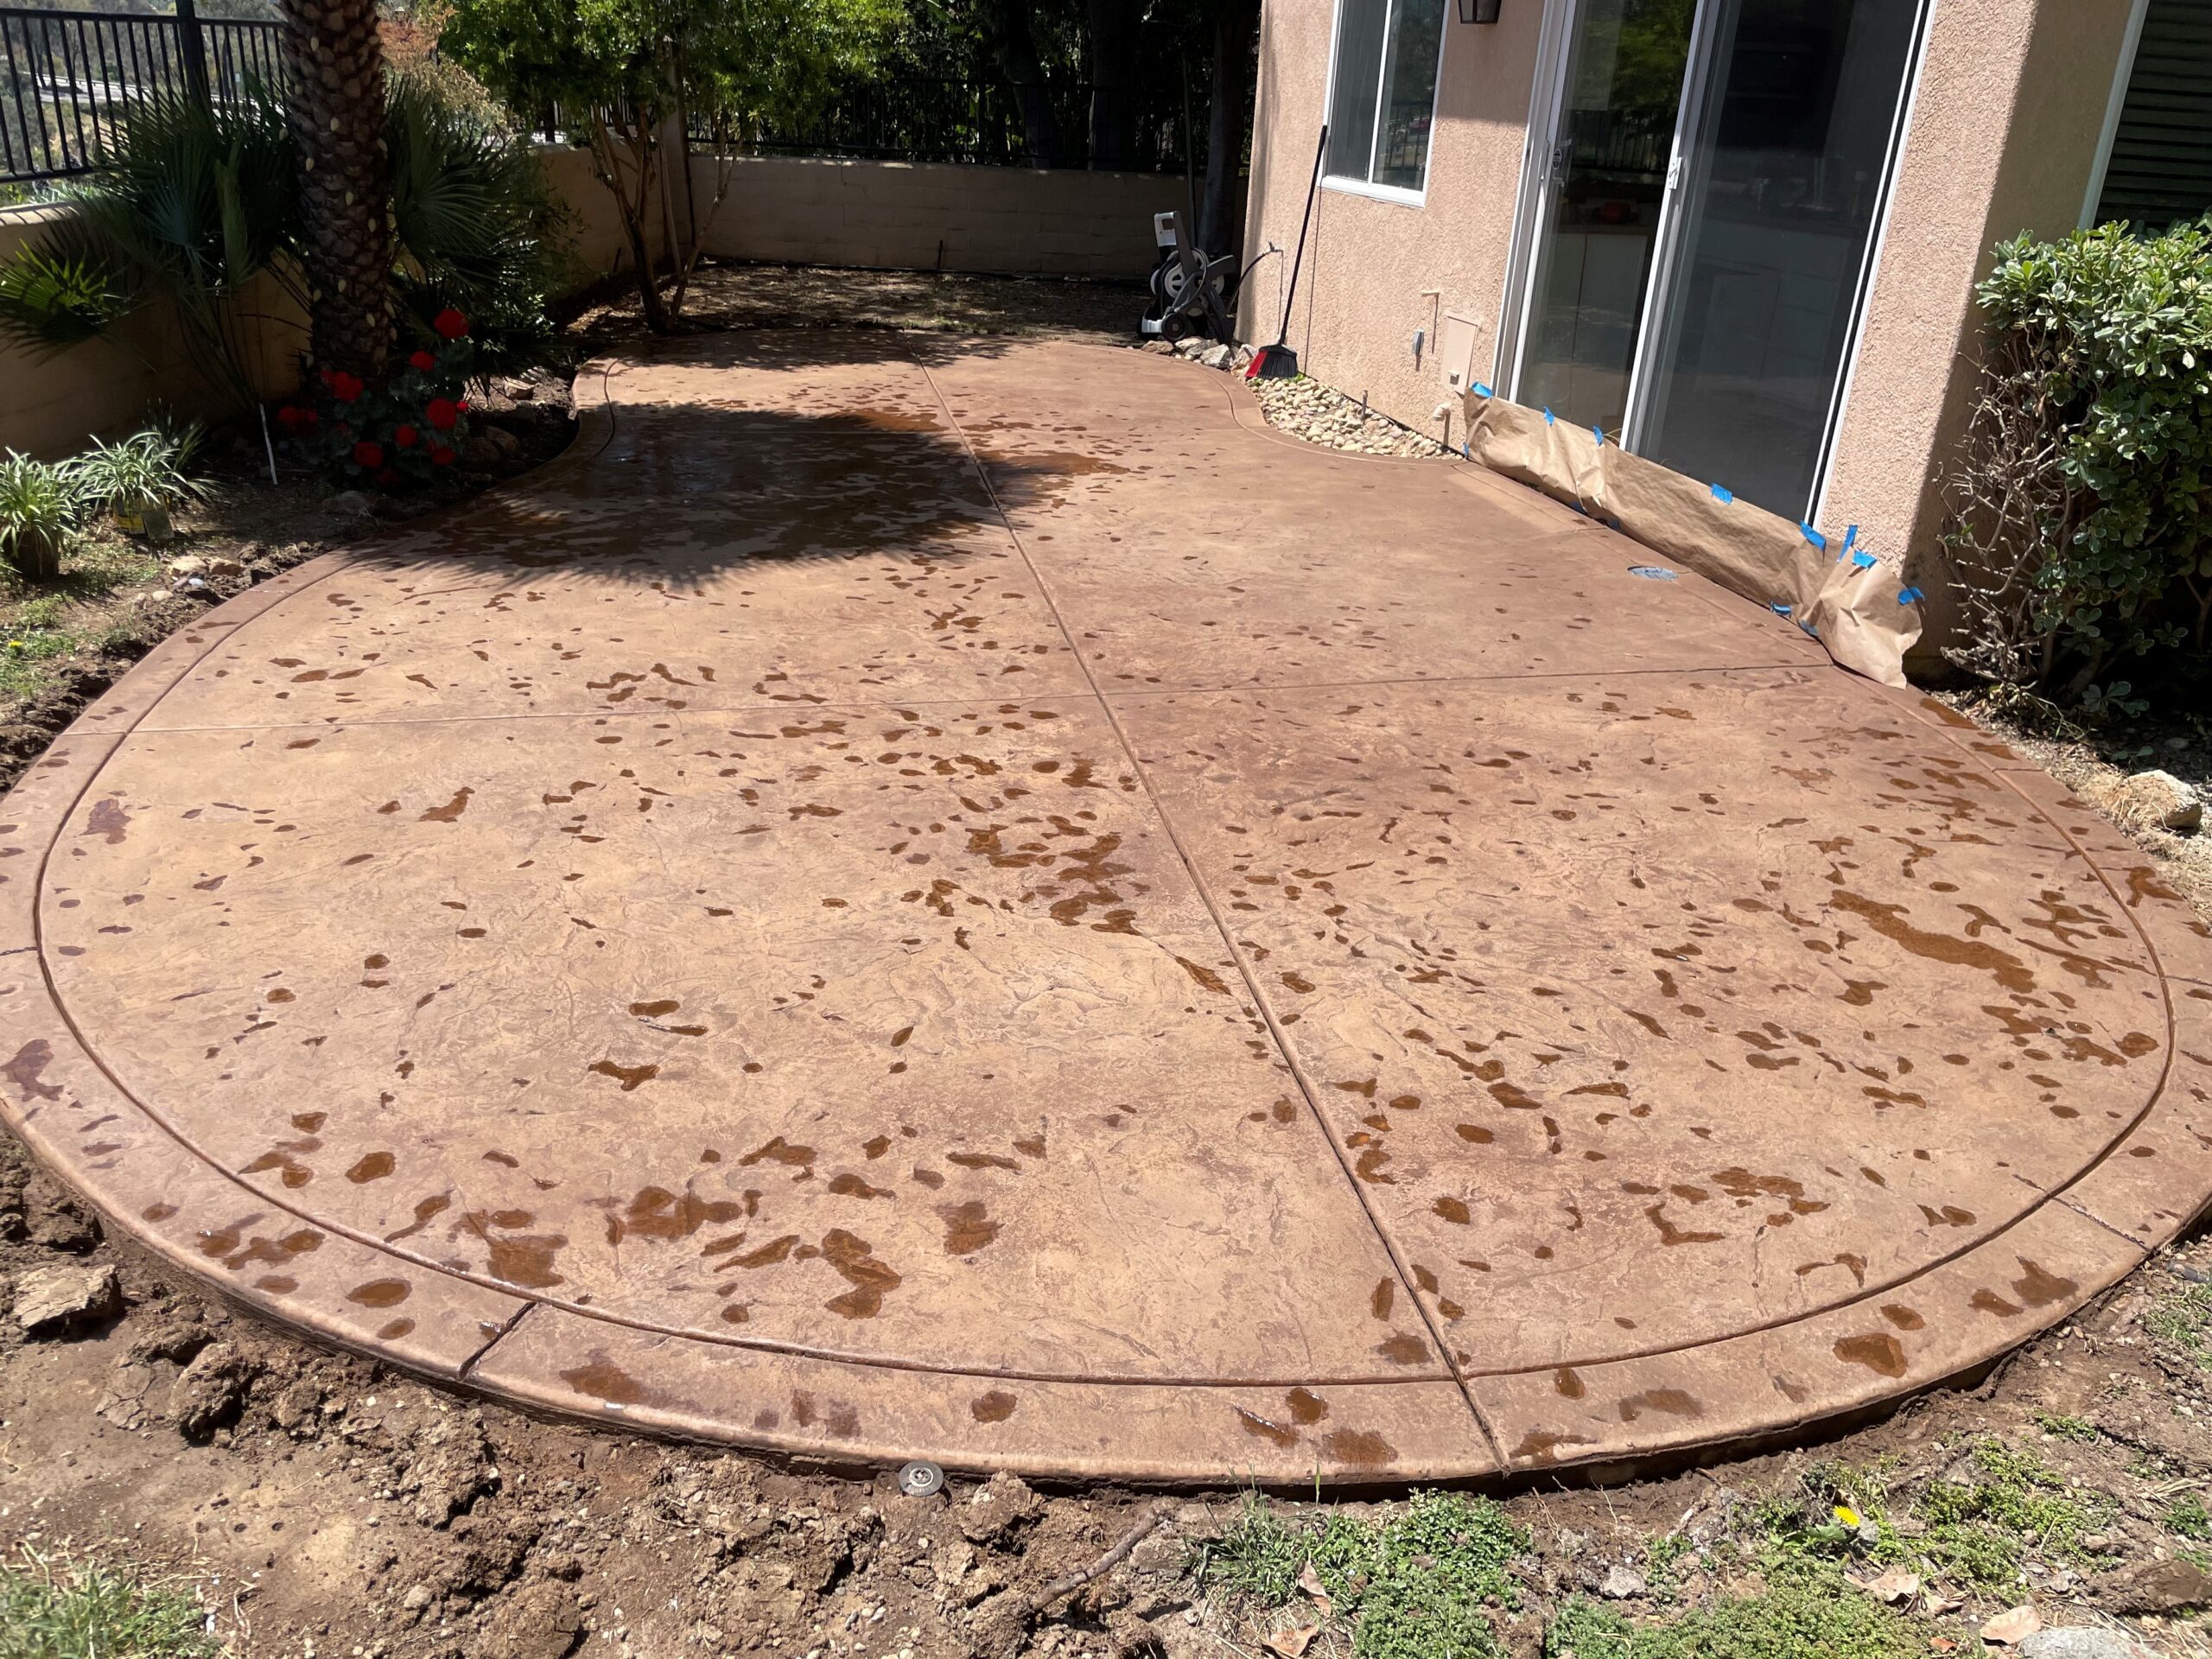
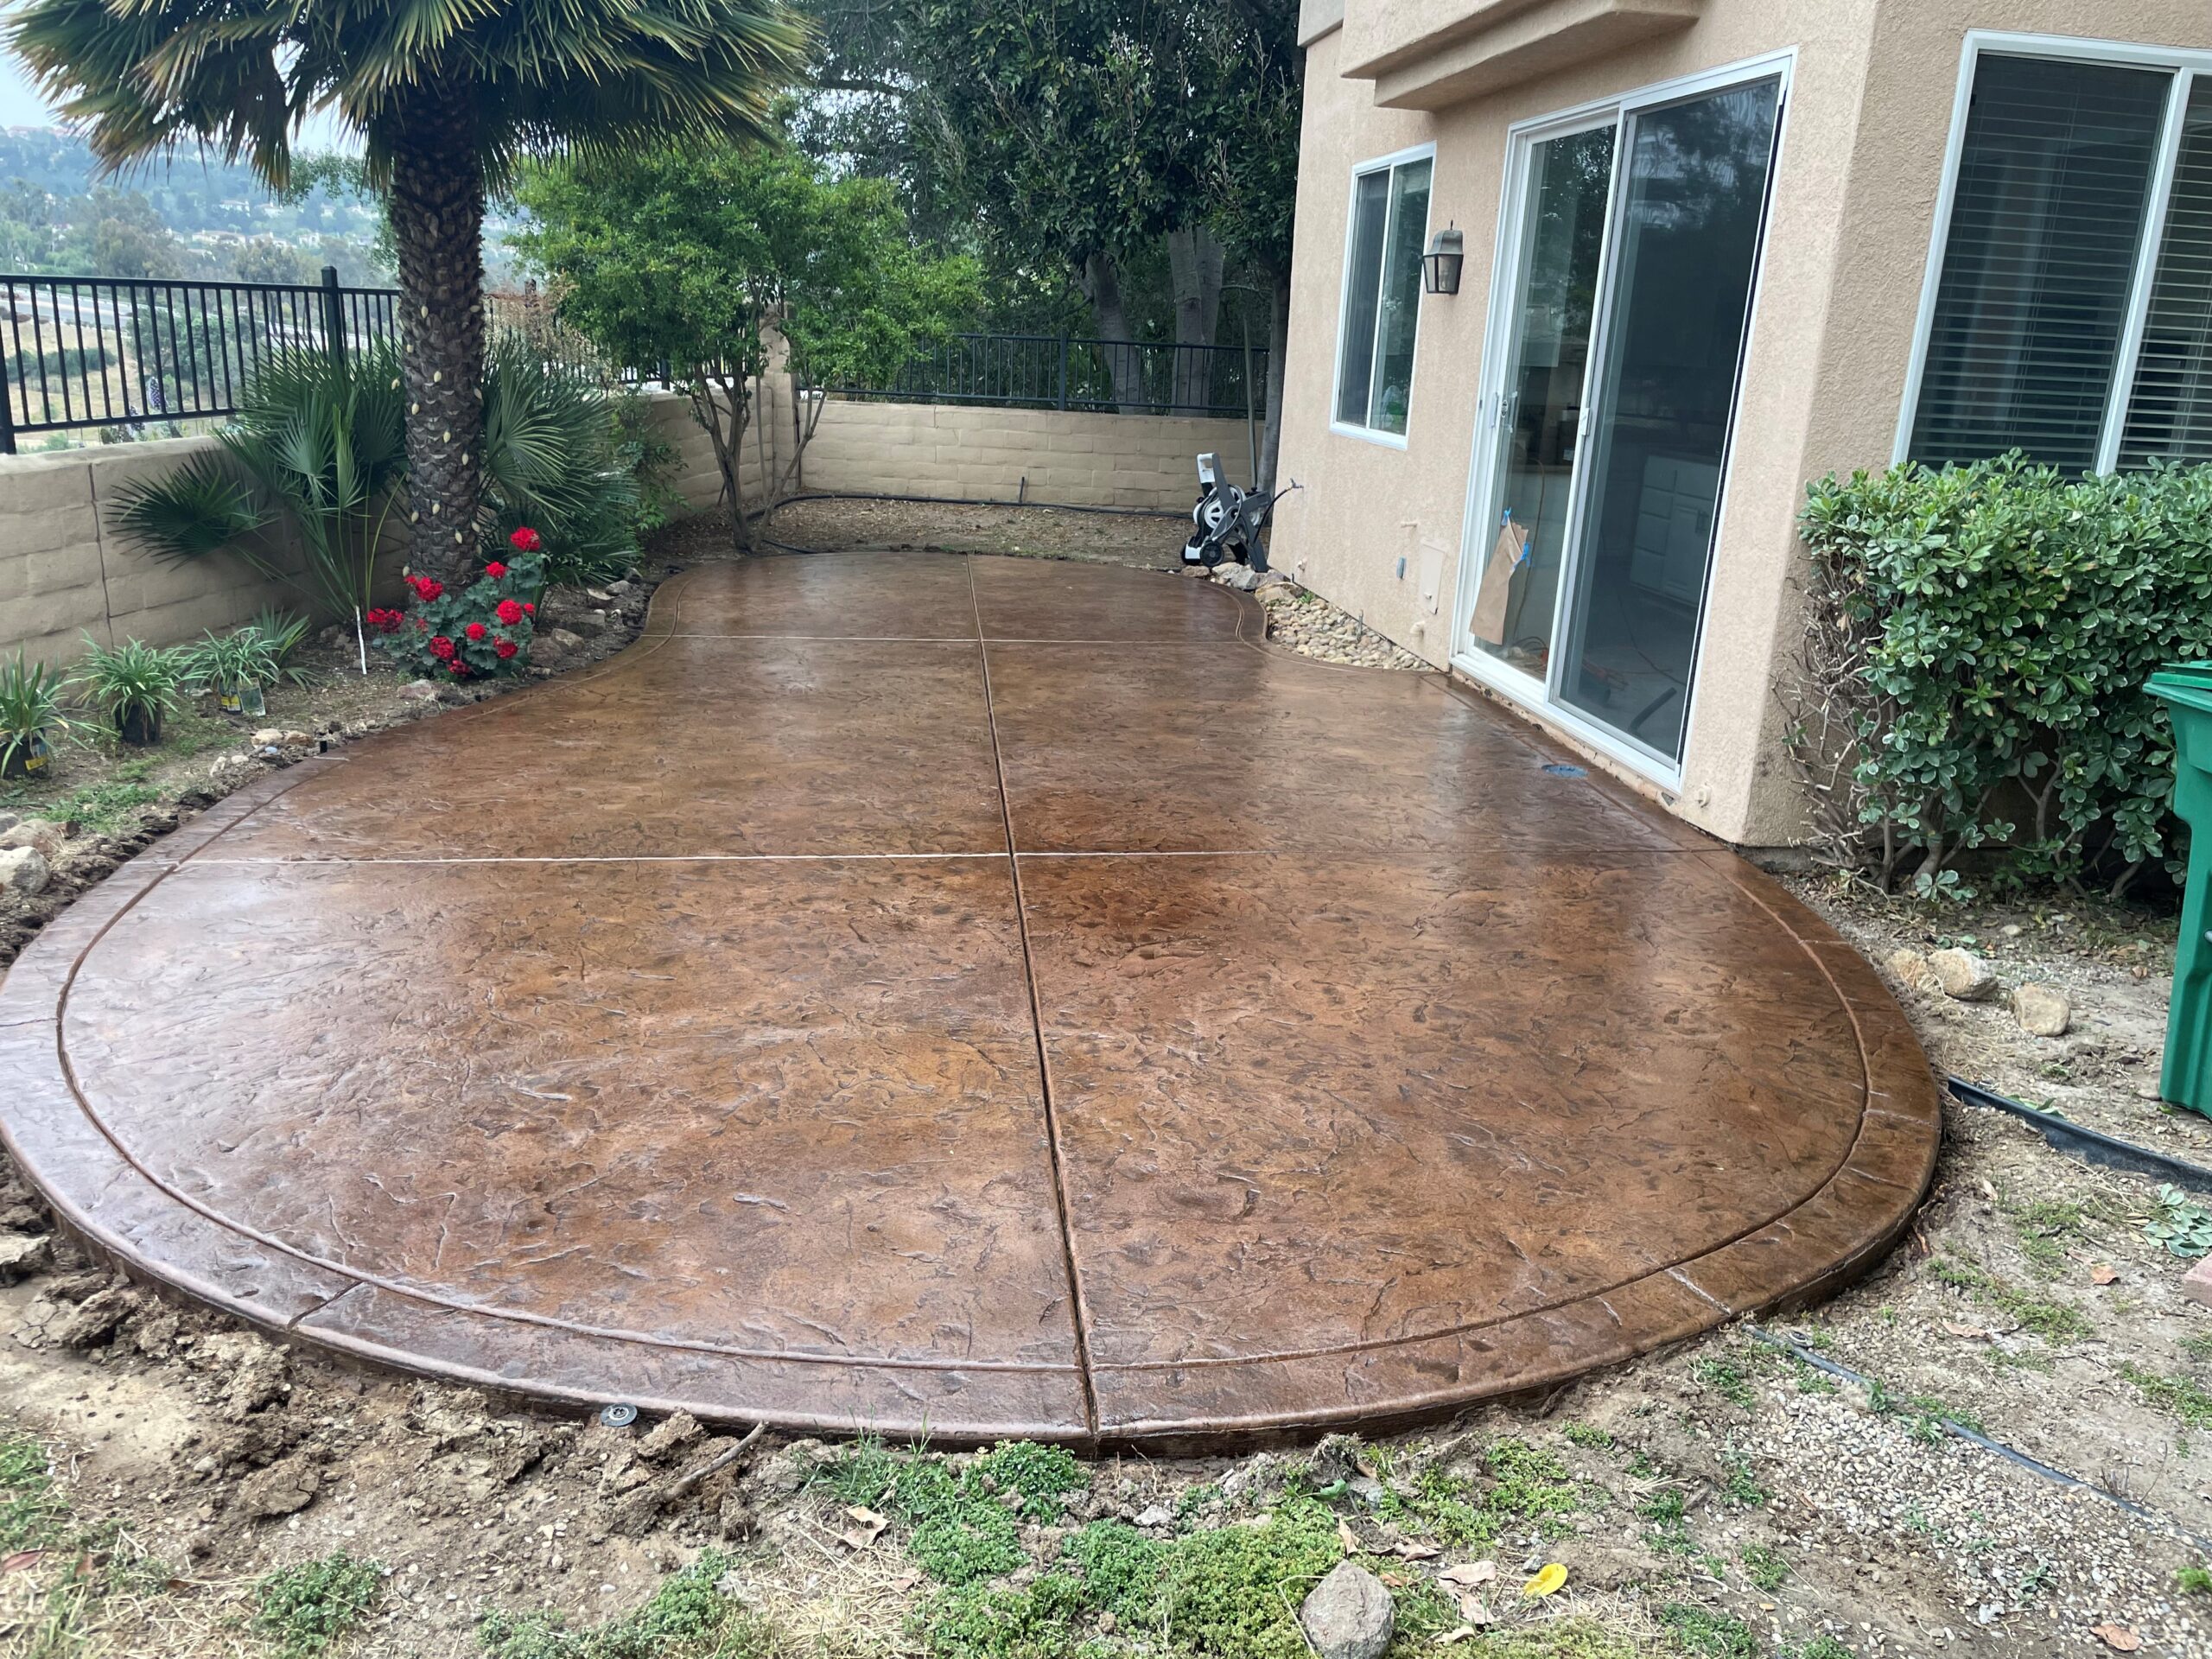
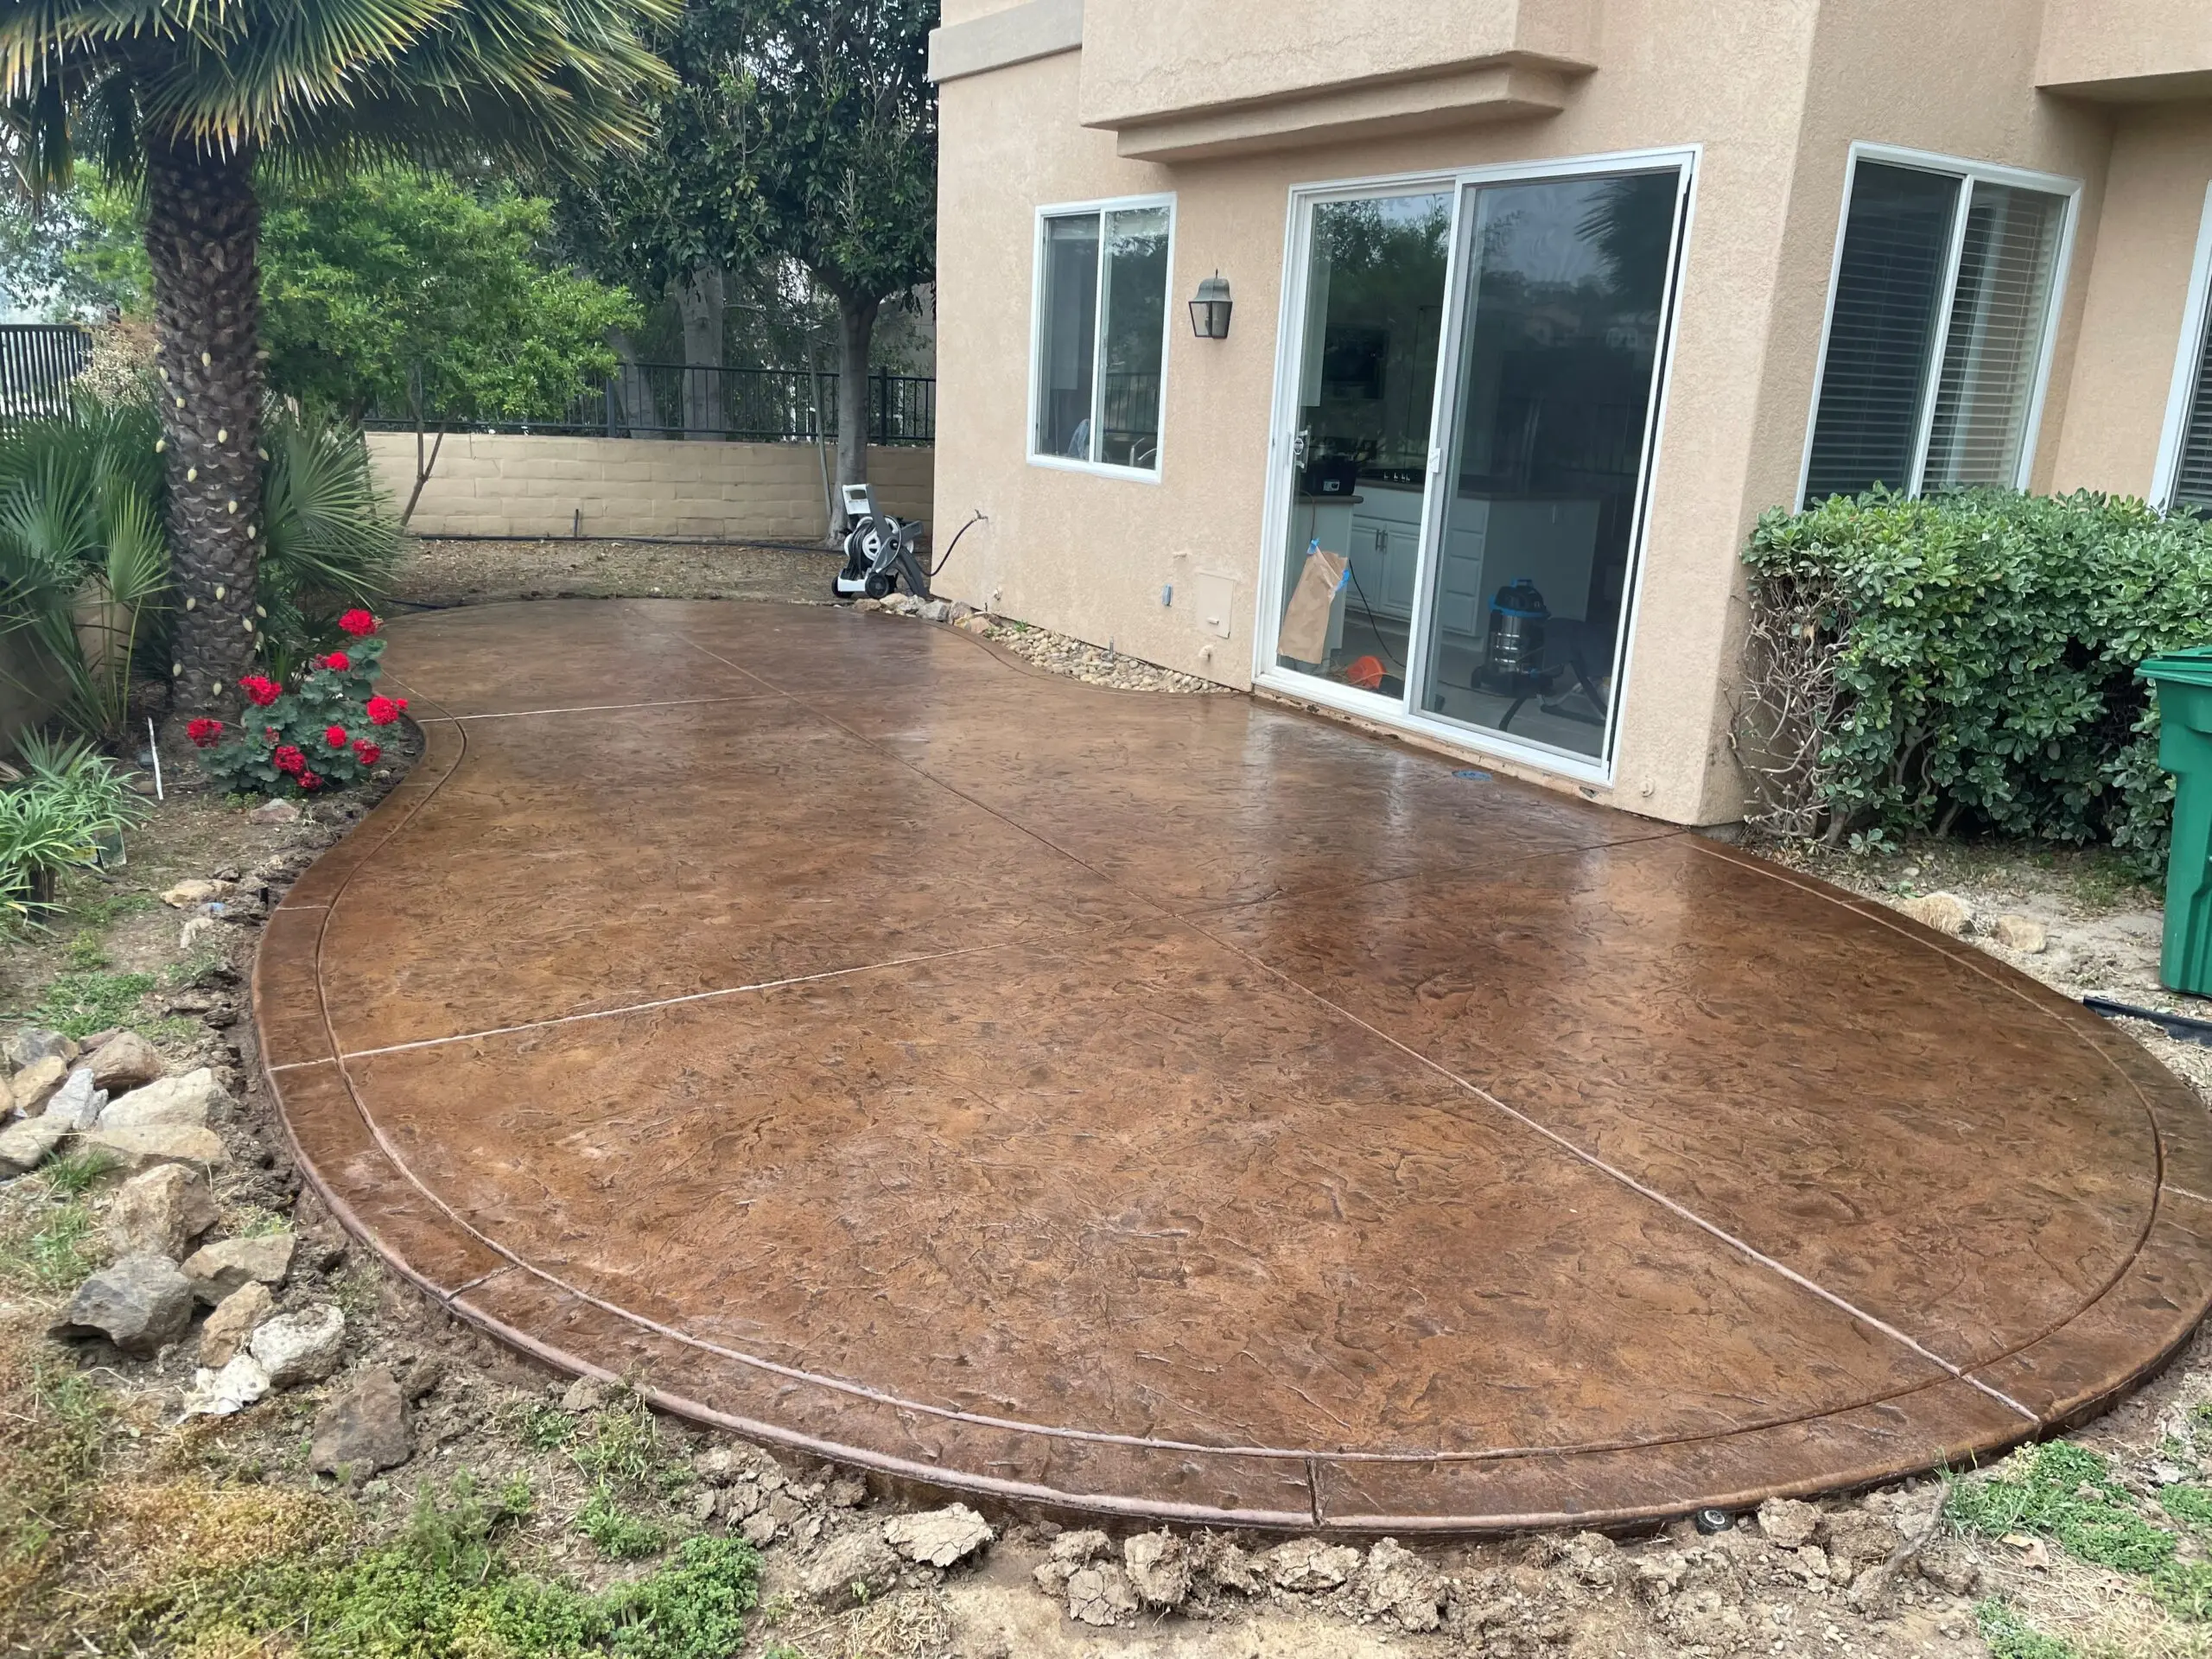
Reviving a Backyard Patio with Driftwood Antiquing™ Stain
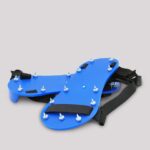
See how a backyard patio was effortlessly restored to its former glory with our Driftwood Antiquing™ Stain. The process was straightforward and fun, delivering results that make the patio shine like new. Remember: wear spiked sandals post-antiquing to prevent footprints and don an N95 mask while applying sealer to avoid inhaling heavy fumes.
Project Info:
- Project Completed In: 2 day(s)
- Estimate of Square Footage: 400 sf sq. ft.
- Project Description:
Antiquing and re-sealing the backyard patio to bring it back to life. The application process with the Direct Color kit was super simple and a fun project to complete. Very happy with the results acheived. The back patio looks like new again ! - Personal Tips:
Make sure to order the kit and where the spiked sandals after antiquing is down so as not to leave footprints. Also wear them to apply the seal along with a good N95 mask as the EasySeal fumes are quite heavy. - Direct Colors Products Used:
1 Gal. Driftwood DIY Antiquing™ & EasySeal™ Satin Kit
1 Gal. Driftwood Antiquing™ & EasySeal™ Satin Kit
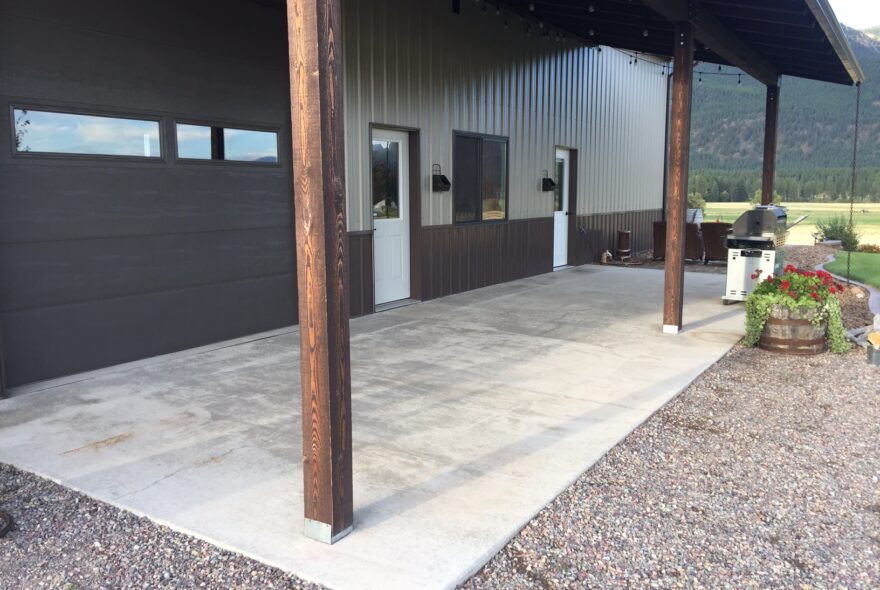
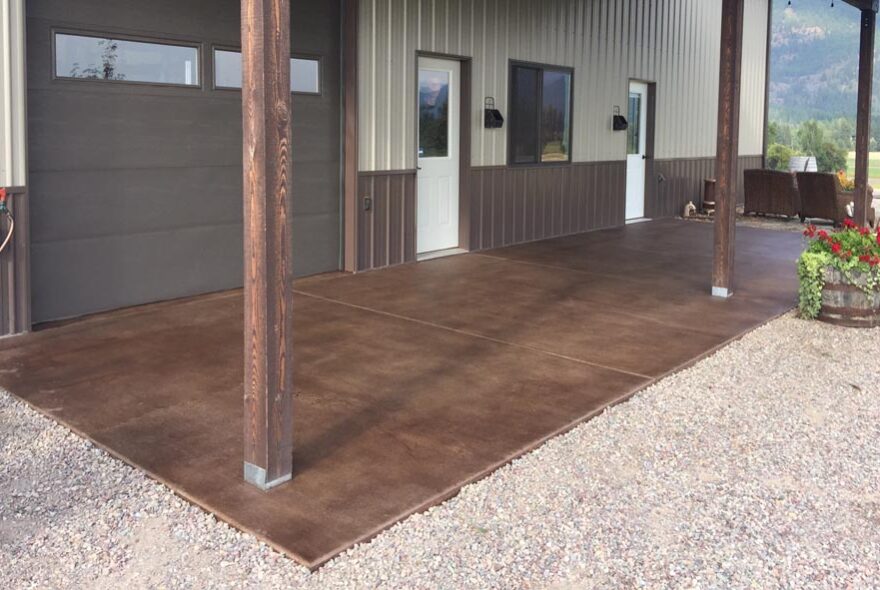
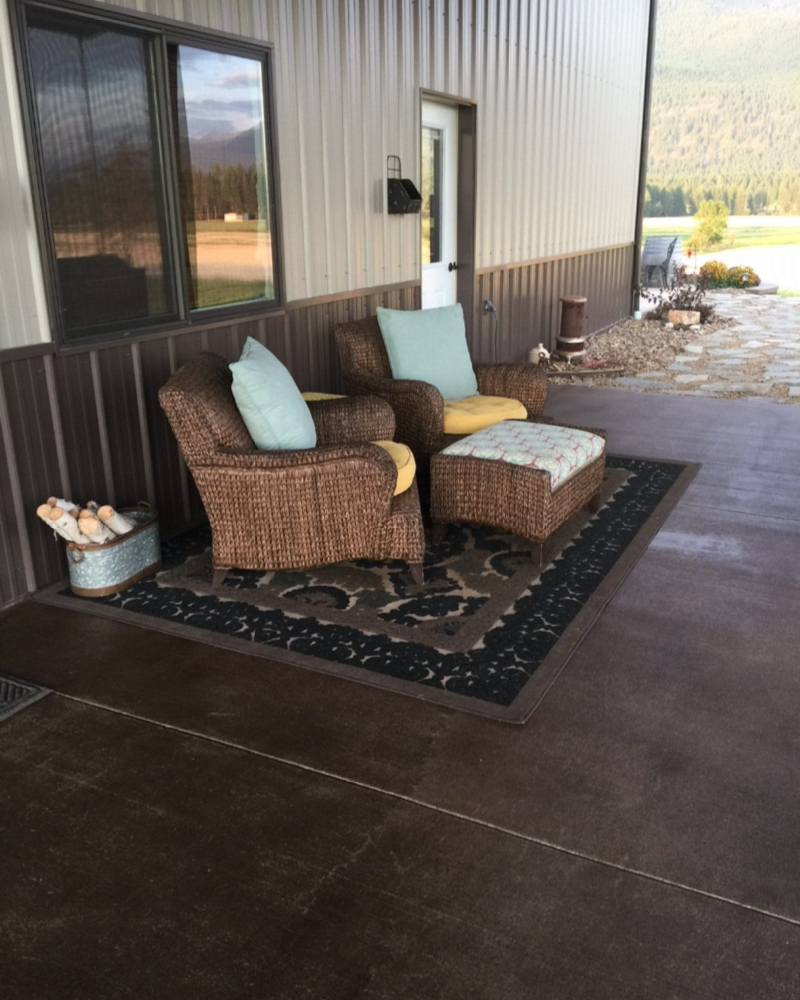
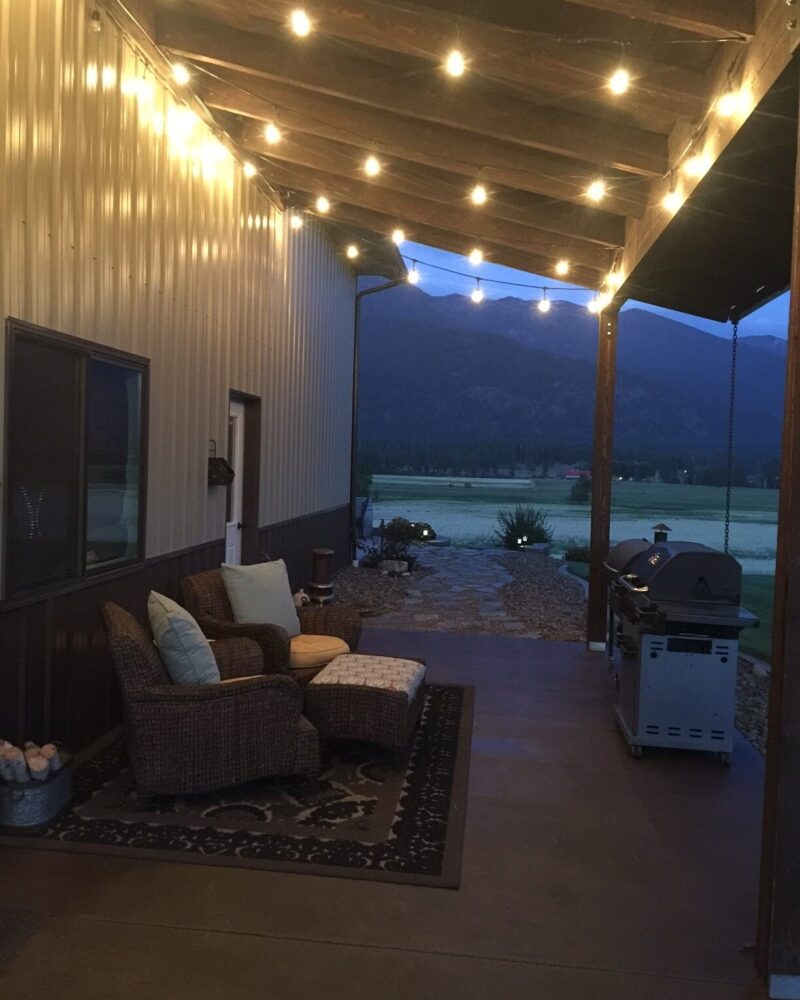
Enhancing a Broomed-Finish Pole Barn Patio with Driftwood Antiquing™ Stain
Discover how a customer transformed their broomed-finish front porch of a pole barn using our Driftwood Antiquing™ Stain. The stain accentuates a rustic and industrial charm that harmonizes perfectly with the pole barn’s unique character. This is a compelling example of how our stain can adapt to and amplify the vibe of any given space. For a deep dive into this project’s details and step-by-step process, don’t forget to visit our blog.
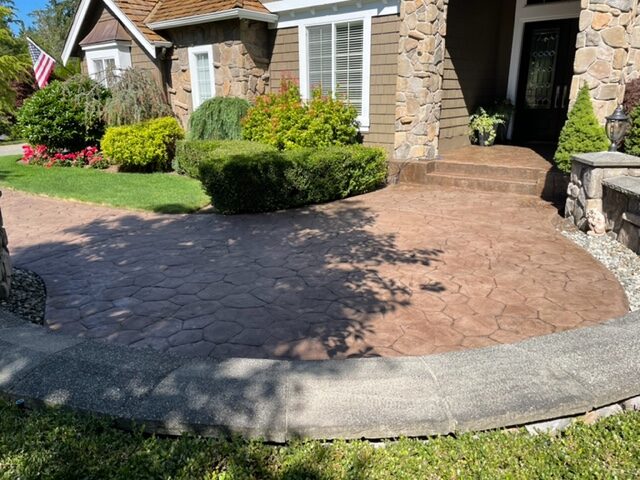
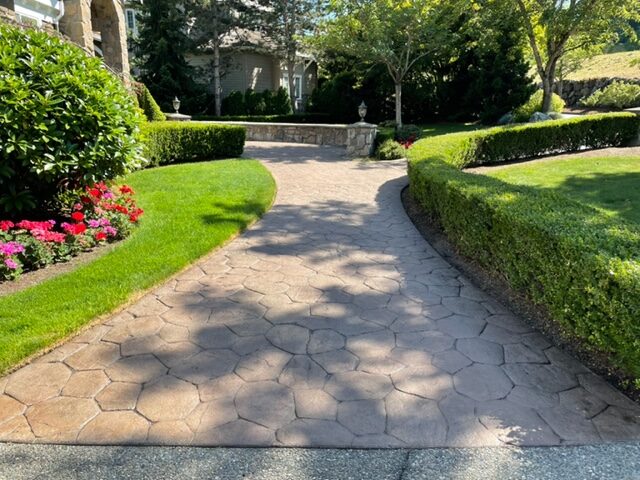
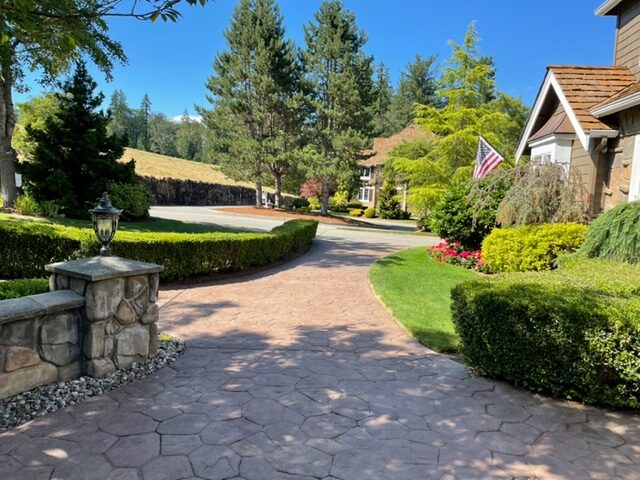
Resurrecting a Stamped Concrete Entryway with Driftwood Antiquing™ Stain
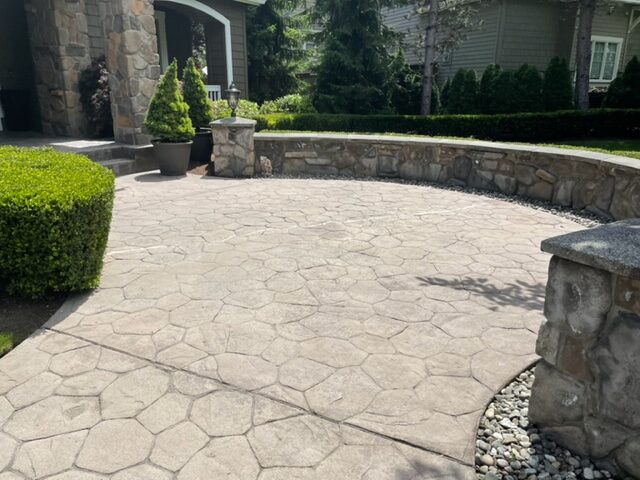
Take a look at how a neglected 2000 sq ft stamped concrete entryway gets a makeover with our Driftwood Stamped Concrete Antiquing™ Stain. Despite initial unevenness due to exposure and damage, careful pressure washing and multiple stain and sealer coats revived its looks. The key to success? Patience, cleanliness, and letting the roller do its magic. The transformation took three days but was worth every moment!
Project Info:
- Project Completed In: 4 day(s)
- Estimate of Square Footage: 2000 sq. ft.
- Project Description:
This is a 2000 sq ft stamped concrete entry that has not been maintained. Our goal was to bring the entry back to a consistent finish and seal it to improve it’s appearance. There was quite a bit of variation as some areas were covered and others exposed to full sun. Pressure washing had damaged some areas. - Personal Tips:
We pressure washed the concrete first using a low pressure cleaner and then high pressure to remove any dirt and debris. We allowed it to dry for 24 hours. We chose to roll the antiquing stain as there was quite a bit of variation in the impressions. We used a 3/8″ roller cover being sure to get even coverage. We did allow some of the stain to settle into the recessed creating an attractive color enhancement. Let the roller do the work! We chose to do three coats to achieve uniform coverage. We then rolled the clear sealer. Again, we chose to do three coats which resulted in an amazing color effect and it also leveled some of the gritty areas. It’s an amazing change that took us three days. Keep the area as clean as you can but don’t worry about any small leaves or debris. It is easily removed before additional coats. We waited four hours between coats with temperatures in the high 70s. No issues with tracking or roller marks. - Direct Colors Products Used:
2 x 5 Gal. Driftwood Antiquing™ & EasySeal™ Satin Kit - Other Products Used:
3/8″ roller covers
Chip brushes for touch up
Revitalizing a Faded Stamped Concrete Pool Deck with Antiquing™ Stain
Dive into this transformation of an 800 sq. ft. faded stamped concrete pool deck, brought back to life using our Driftwood and Cumin Antiquing™ Stains. While the process took longer due to the concrete’s high porosity and old sealer removal, the end result was a stunning poolside oasis. Key tips: Ensure accurate measurements, stock up on extra sealer for porous surfaces, and avoid old sealer stripping if possible.
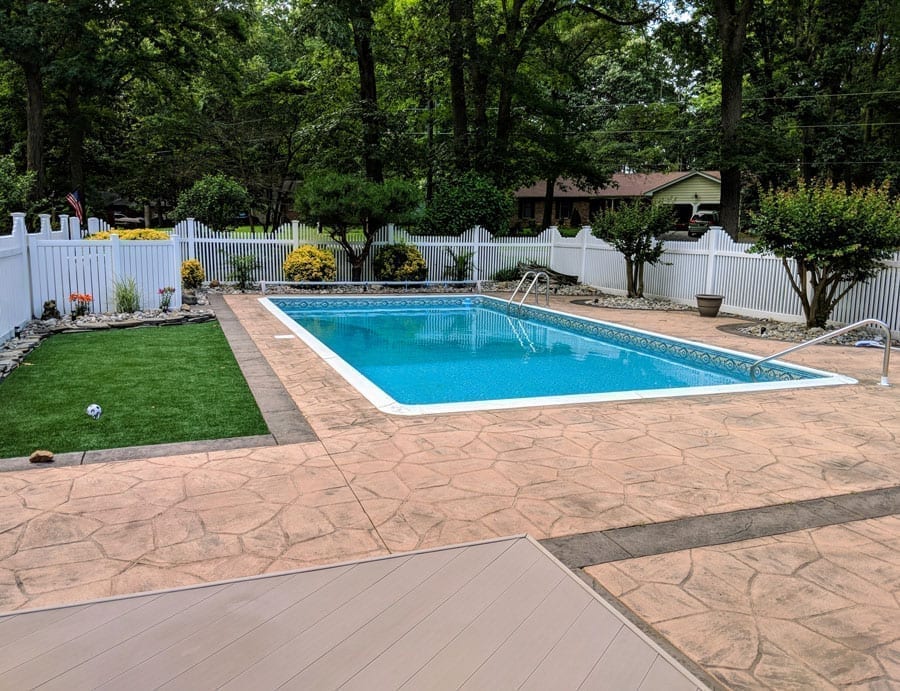
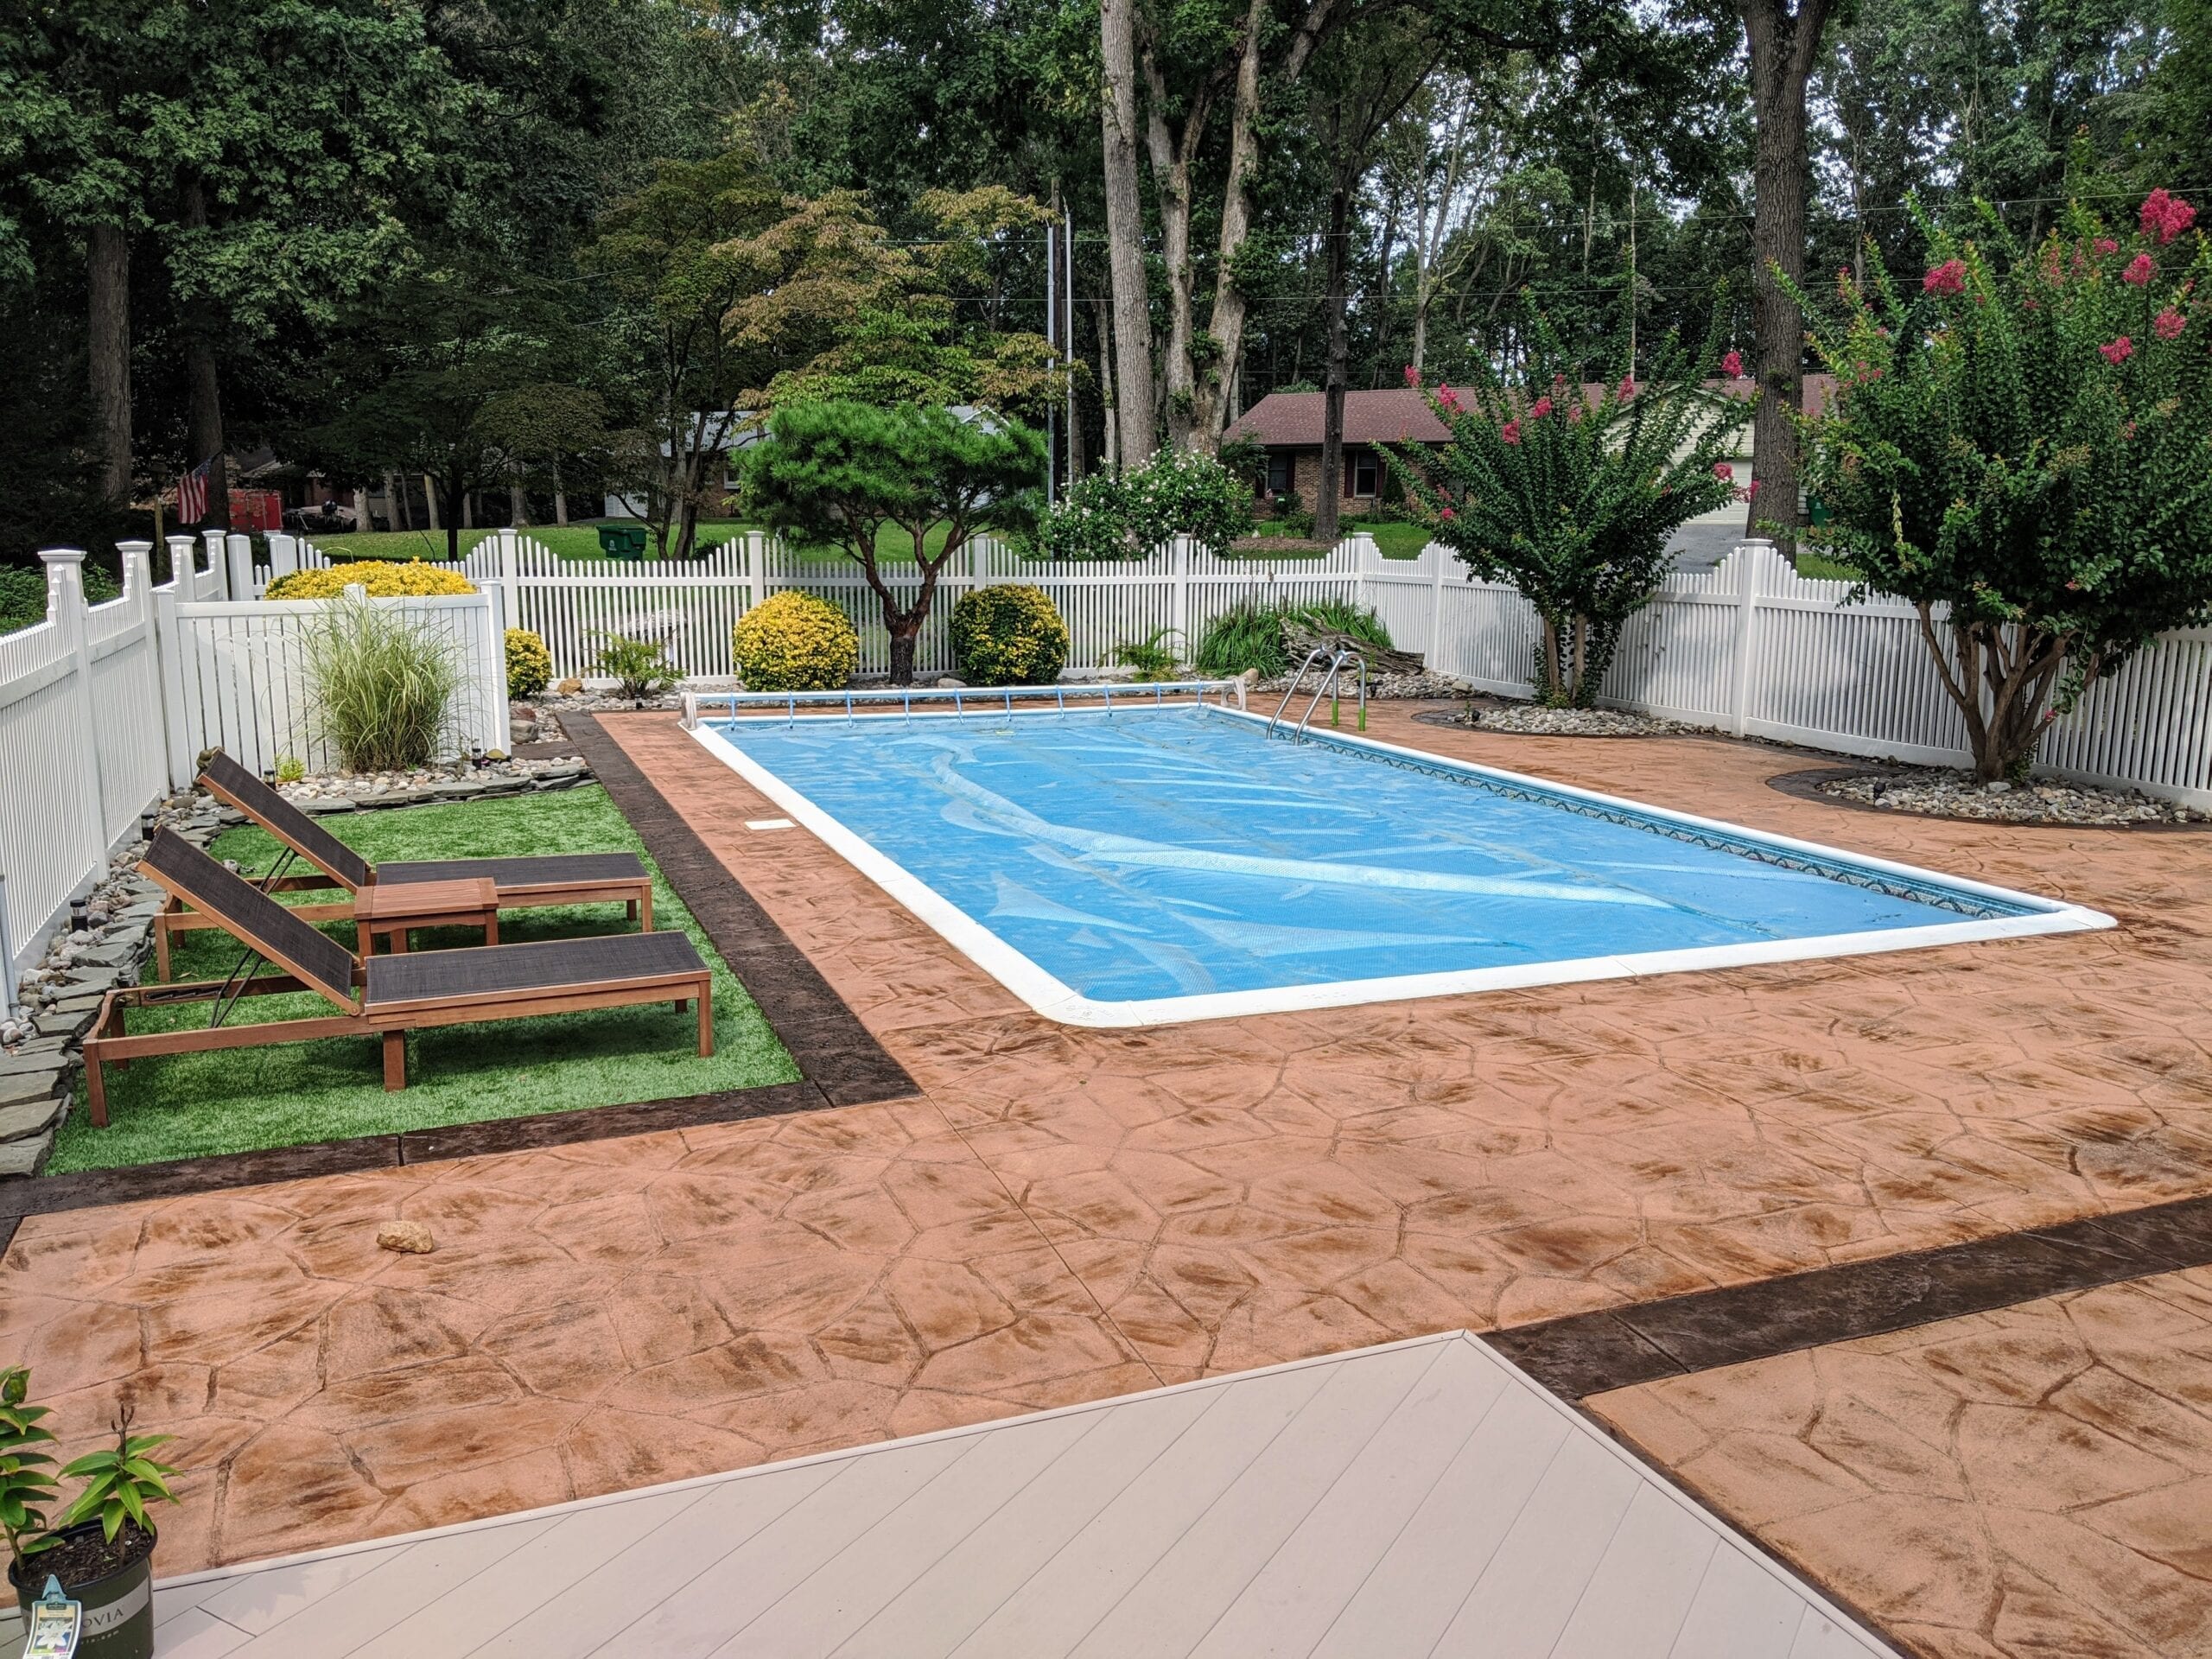
What is the approximate size of your project?
800 sq. Ft.
Which Direct Colors products did you use? Your order number will do, if you have it.
Antiquing Stain DIY Kit
Antiquing Stain in Driftwood 3 gallons
Antiquing Stain in Cumin 3 gallons
Acrylic Solvent Based Satin Sealer 11 gallons (very porous concrete with 3 layers)
What other products did you use to complete your project?
Pump sprayer
Painter’s solvent (xylene not available in my state) for clean up and previous sealer stripping
Power washer
How long did your project take to complete?
Longer than anticipated, which is where my tips come in to play
1 week of stripping old sealer
1 day for Direct Colors Cleaner and Degreaser and drying overnight
3 days sealing 3 layers letting them each dry overnight (ran out of sealer and tarped off for 1 week before being able to apply more sealer in 2 more consecutive days)
We would also love to hear any personal tips about your project that may help another Direct Colors customer do one of their own.
“Make sure you have proper measurements, and buy extra sealer for extremely porous concrete. It is better to have extra to have in the future to reseal than to run out and have to tarp off the project until you can get more. If you do not have to strip your old sealer, don’t!”
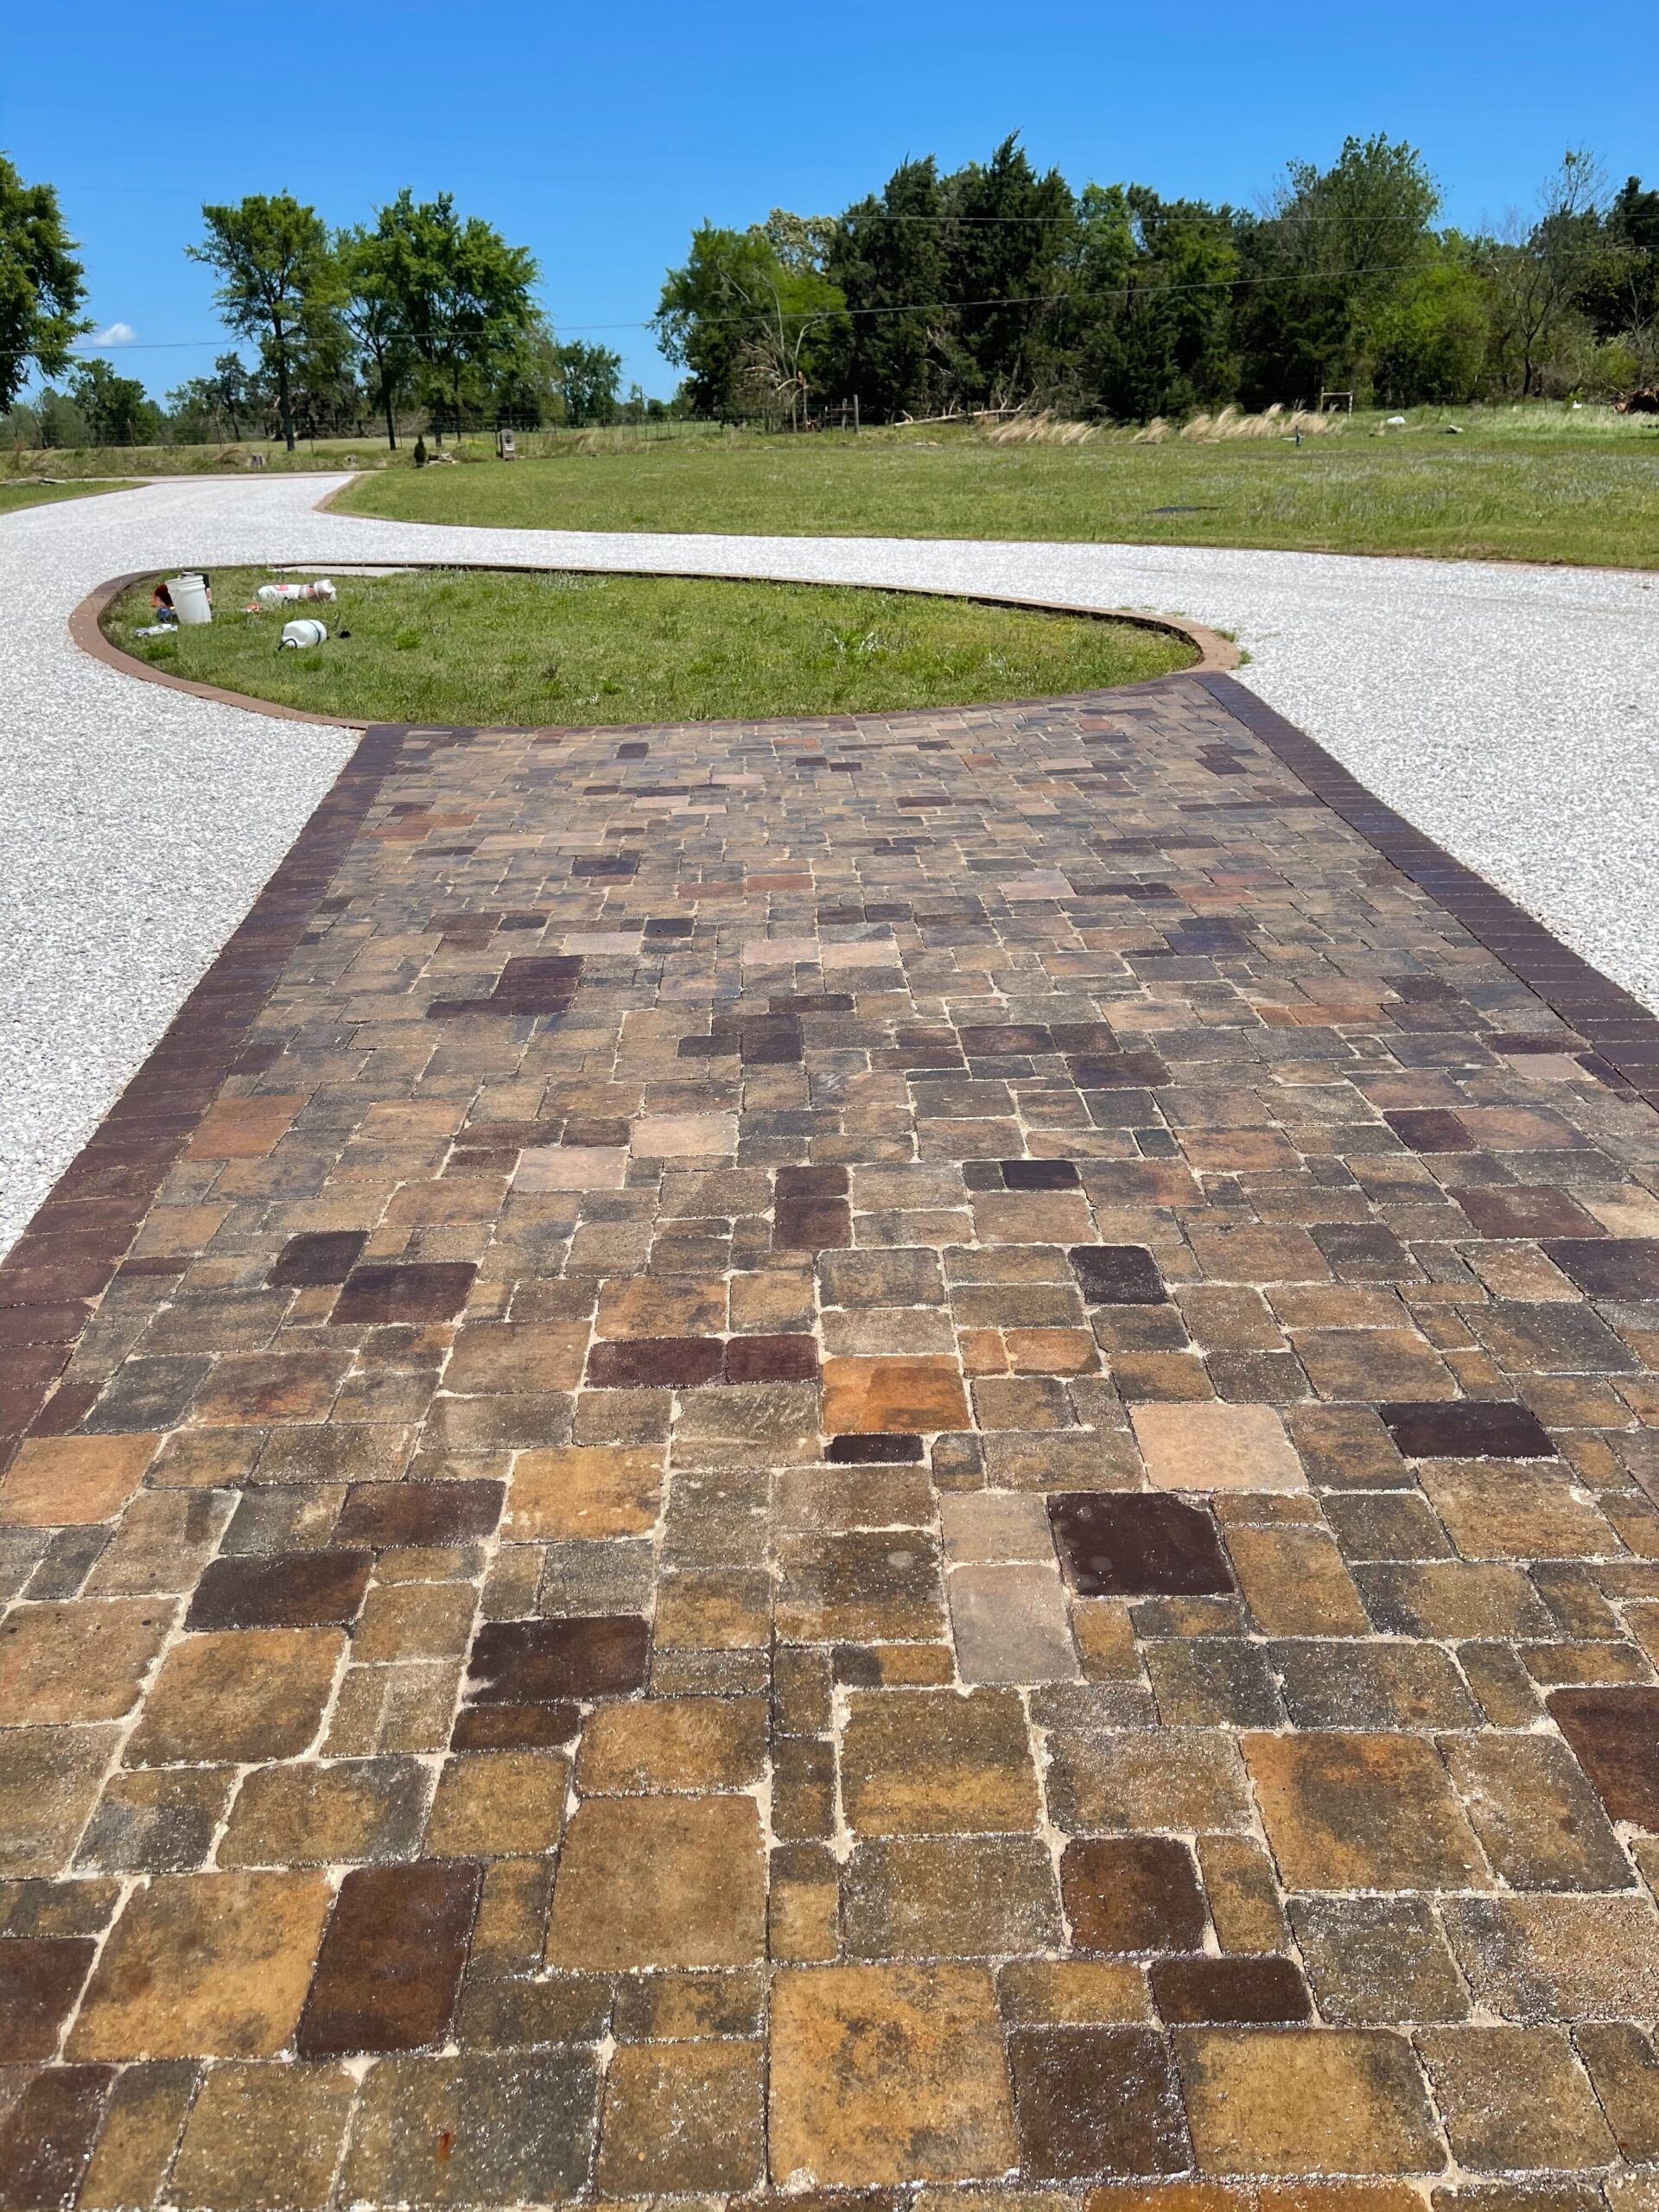
Multi-Colored Paver Driveway Transformation with Portico™ Paver Stains
Explore this impressive project where a customer brought their paver driveway to life with a mix of five different Portico™ paver stain colors: Driftwood, Aztec Brown, Khaki, Terracotta, and Yukon Gold. Each paver was individually stained and edged with Driftwood. The final touch? A gloss EasySeal™ to bring out the vibrant hues. The striking result? A driveway that mirrors the color palette of the porch.
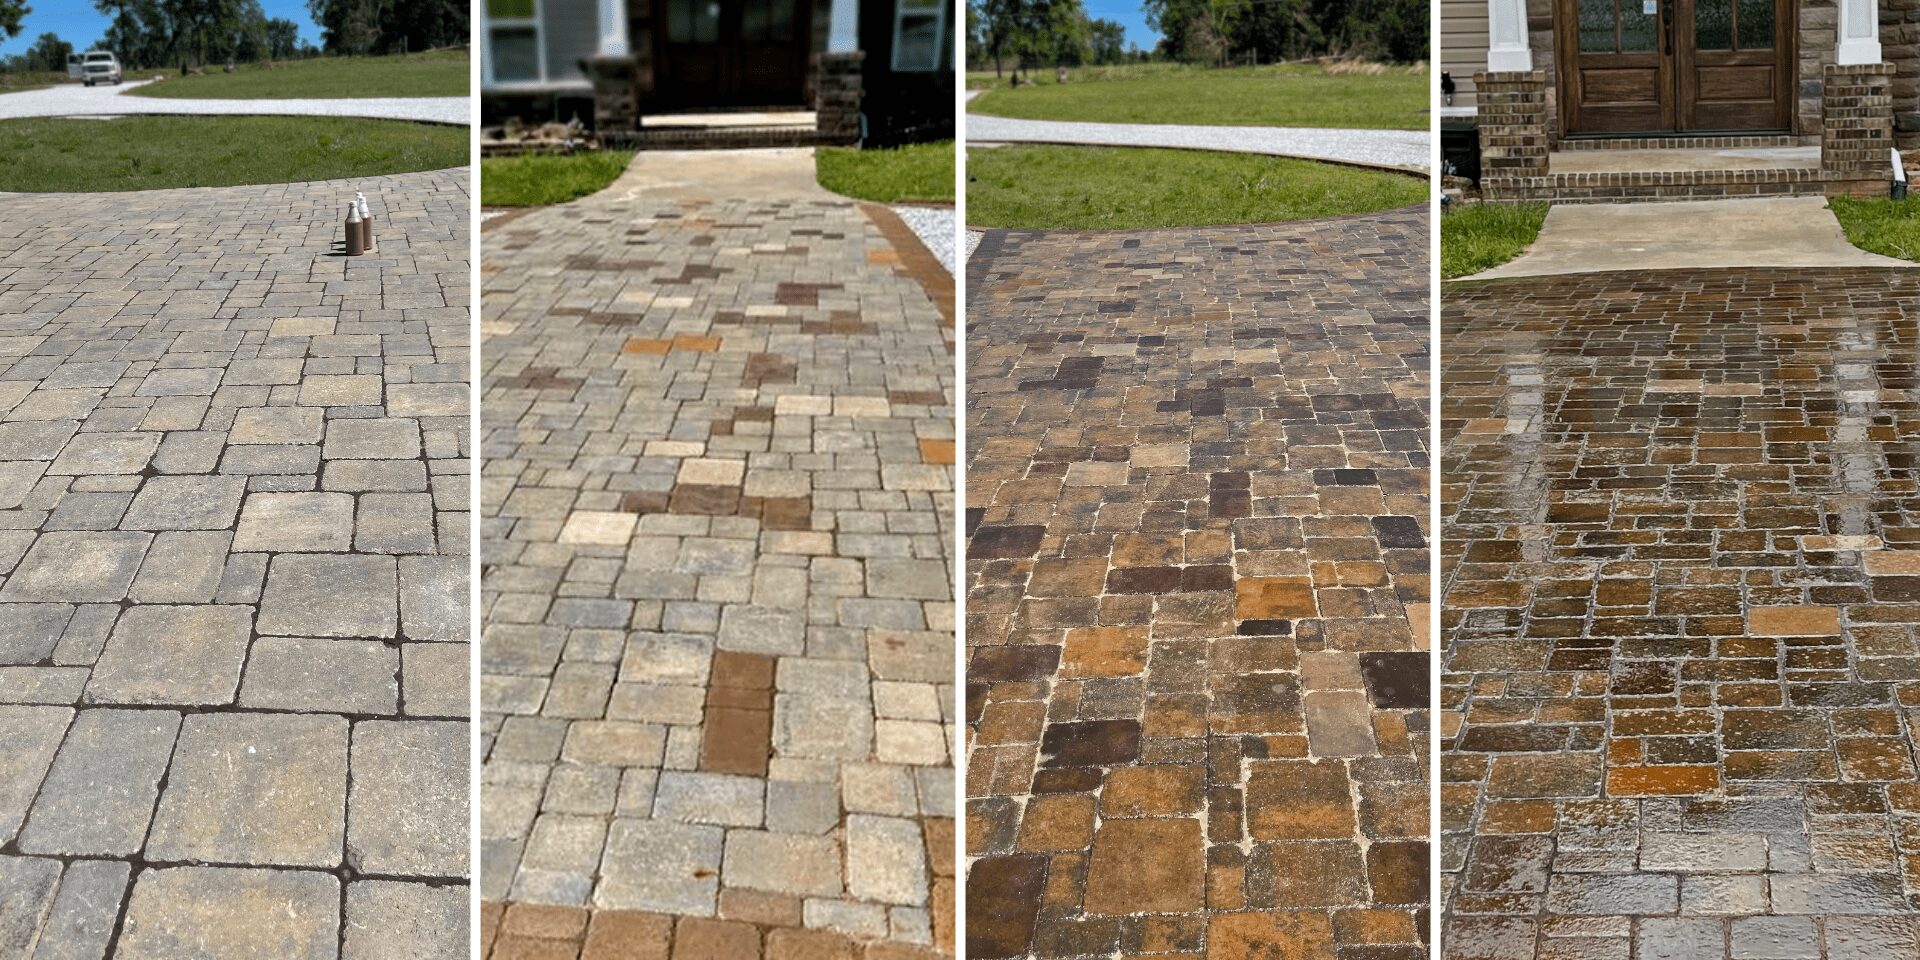
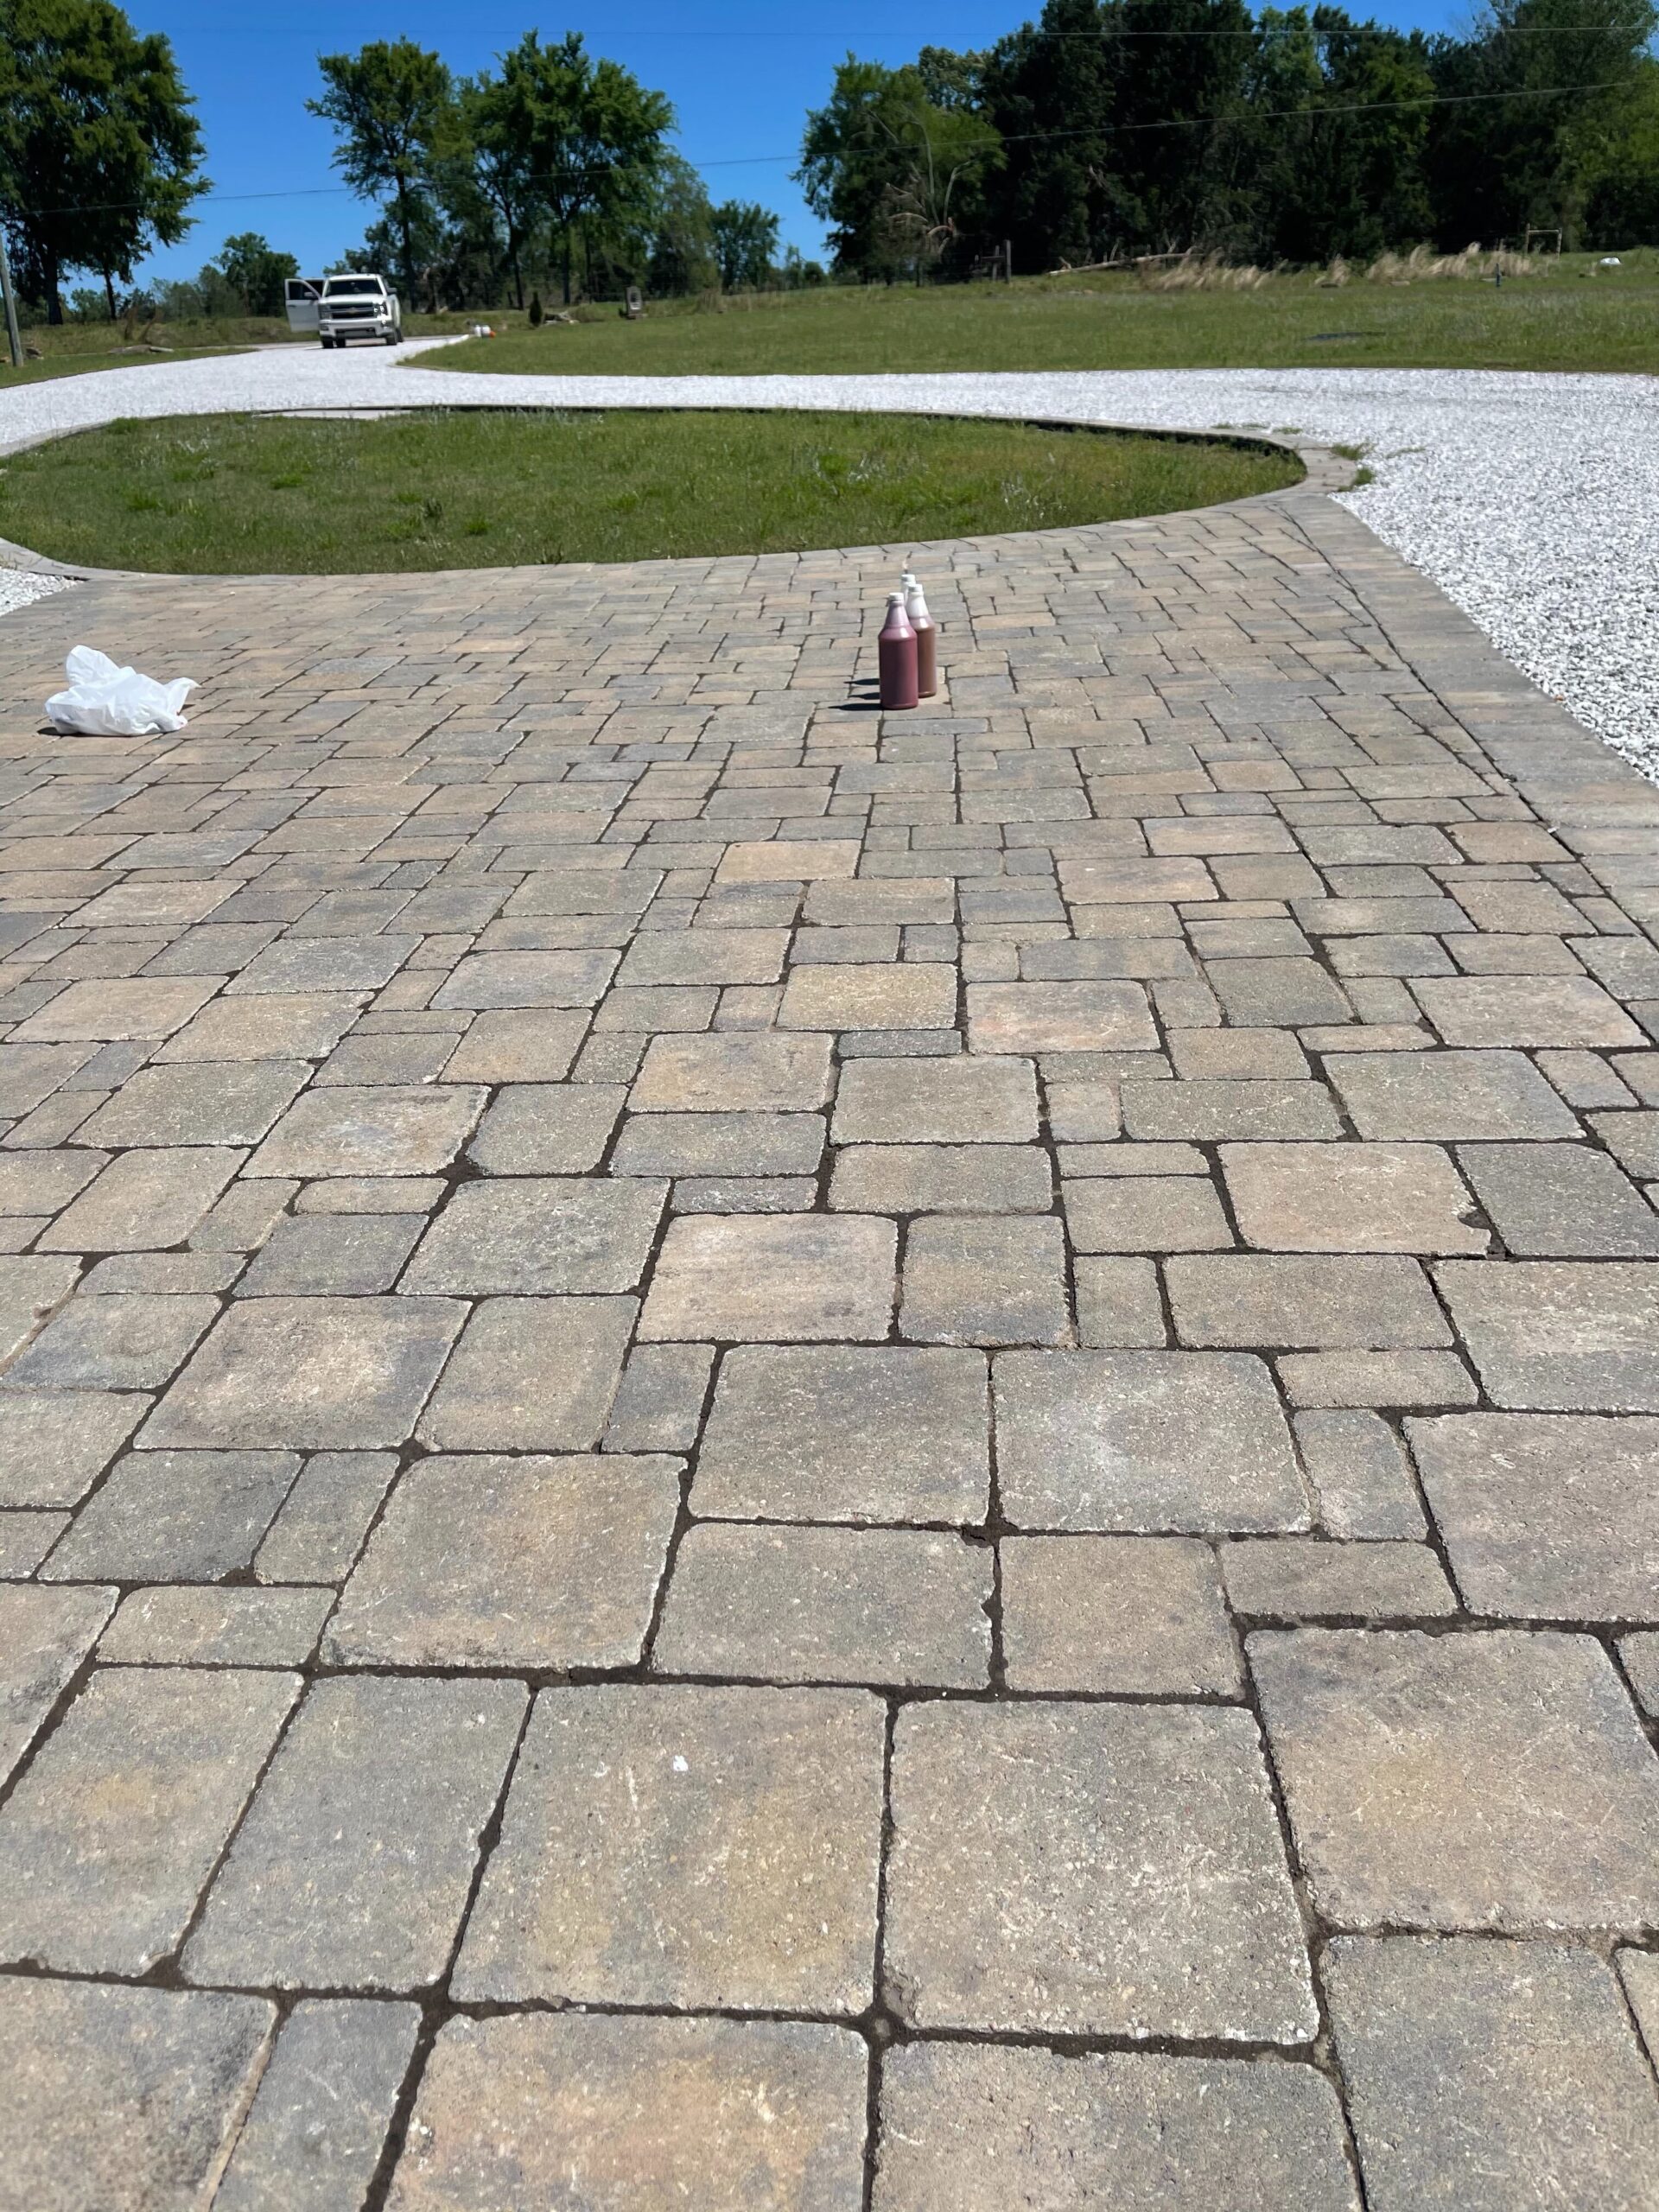
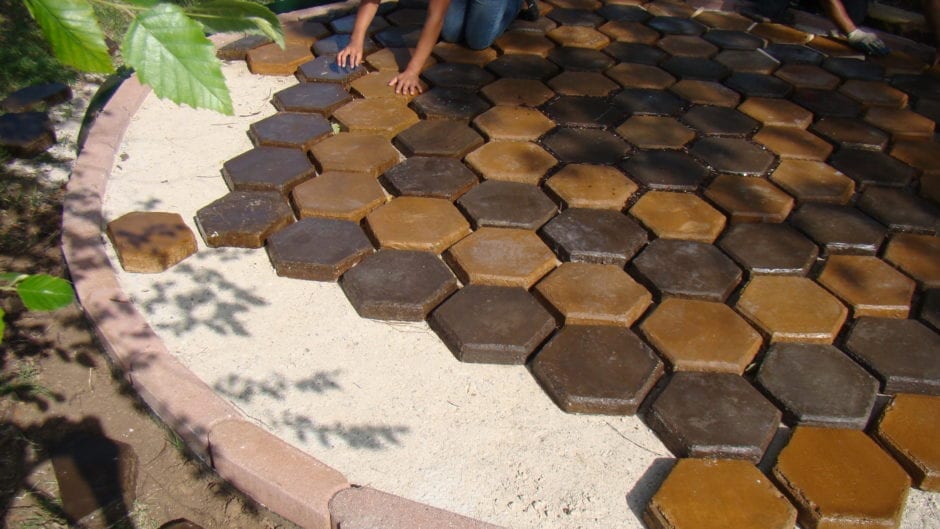
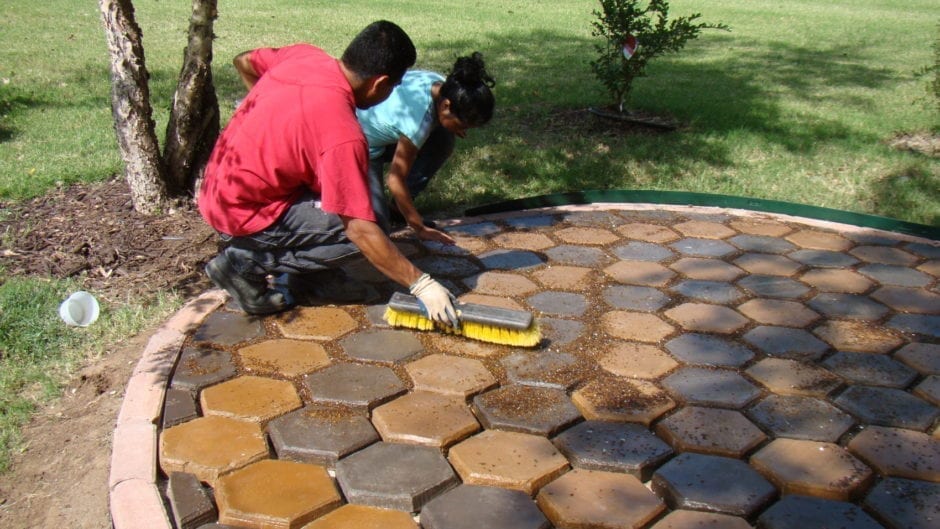
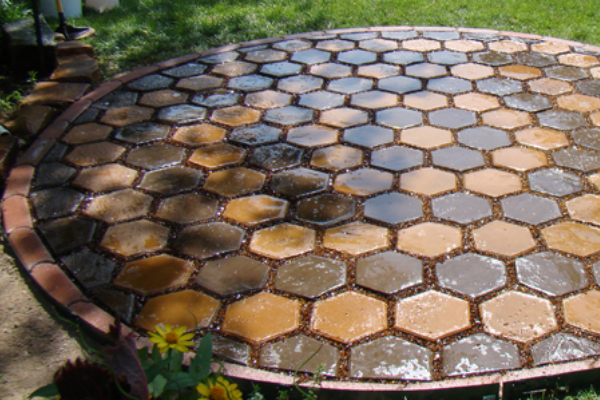
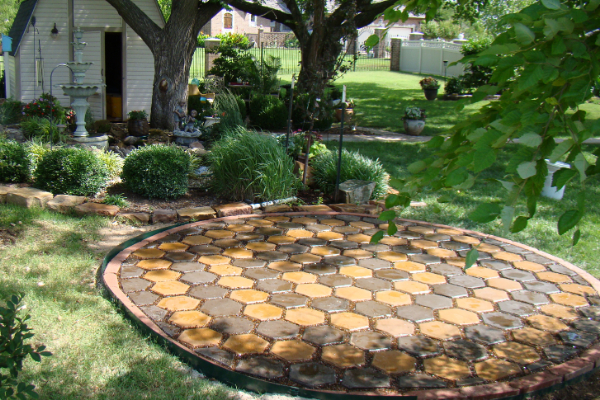
Hexagonal Harmony: Stained Pavers in a Circular Patio Design
Showcasing a meticulous arrangement of hexagonal pavers stained in varying shades of Driftwood, this circular patio beautifully complements the surrounding greenery and offers a unique, artistic outdoor setting
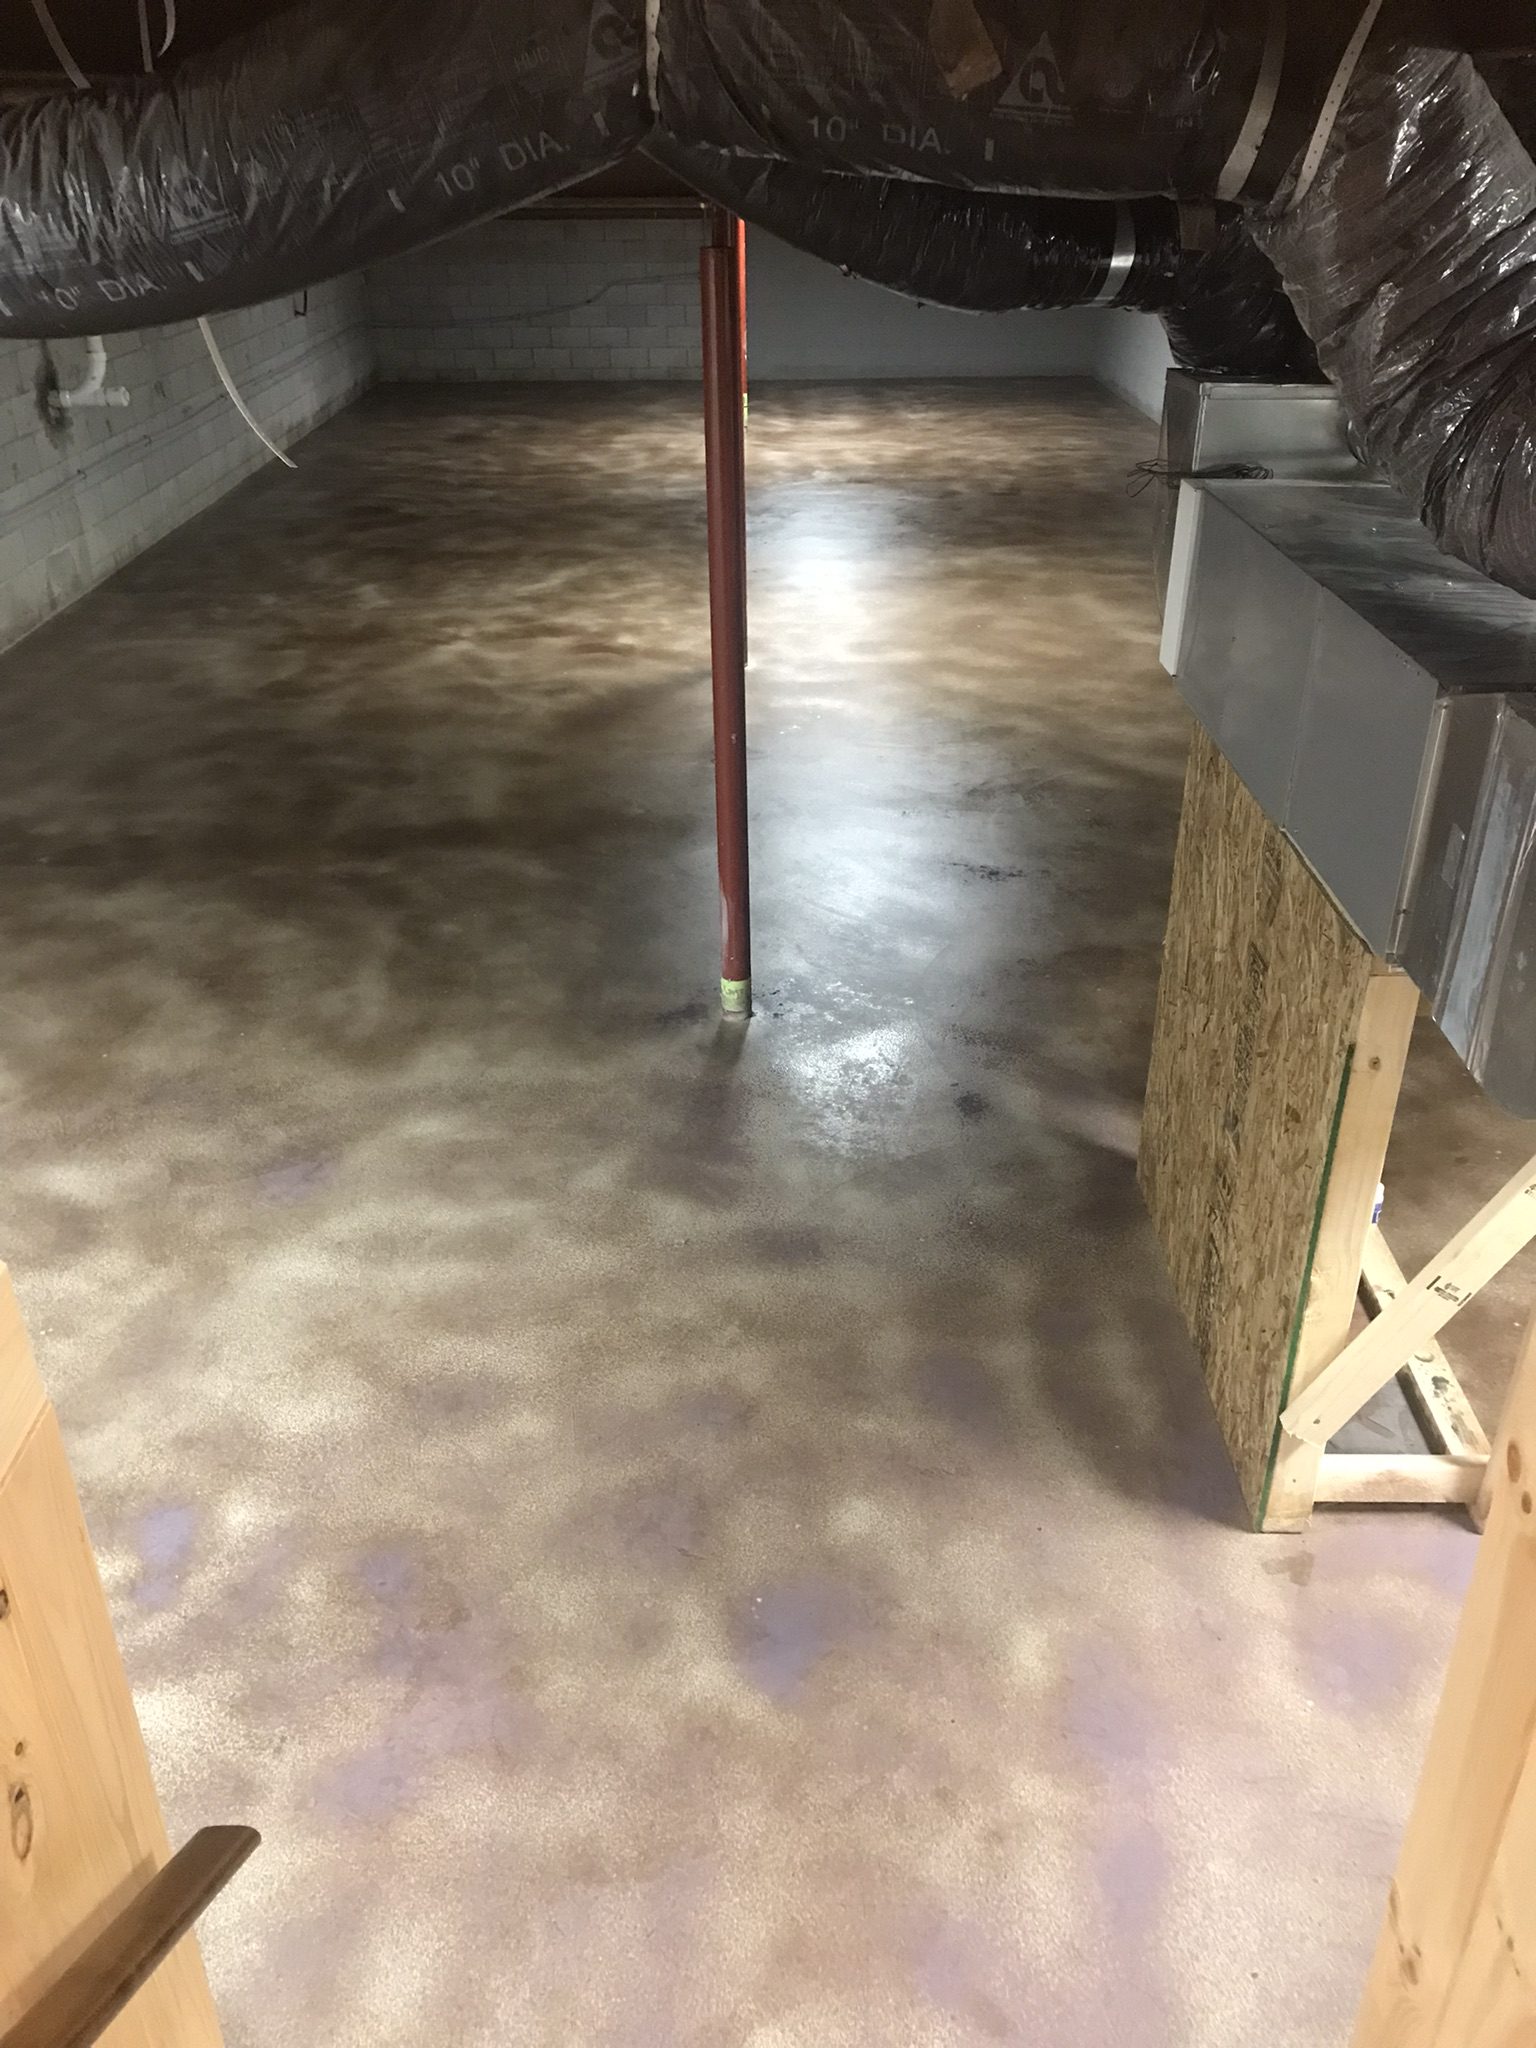
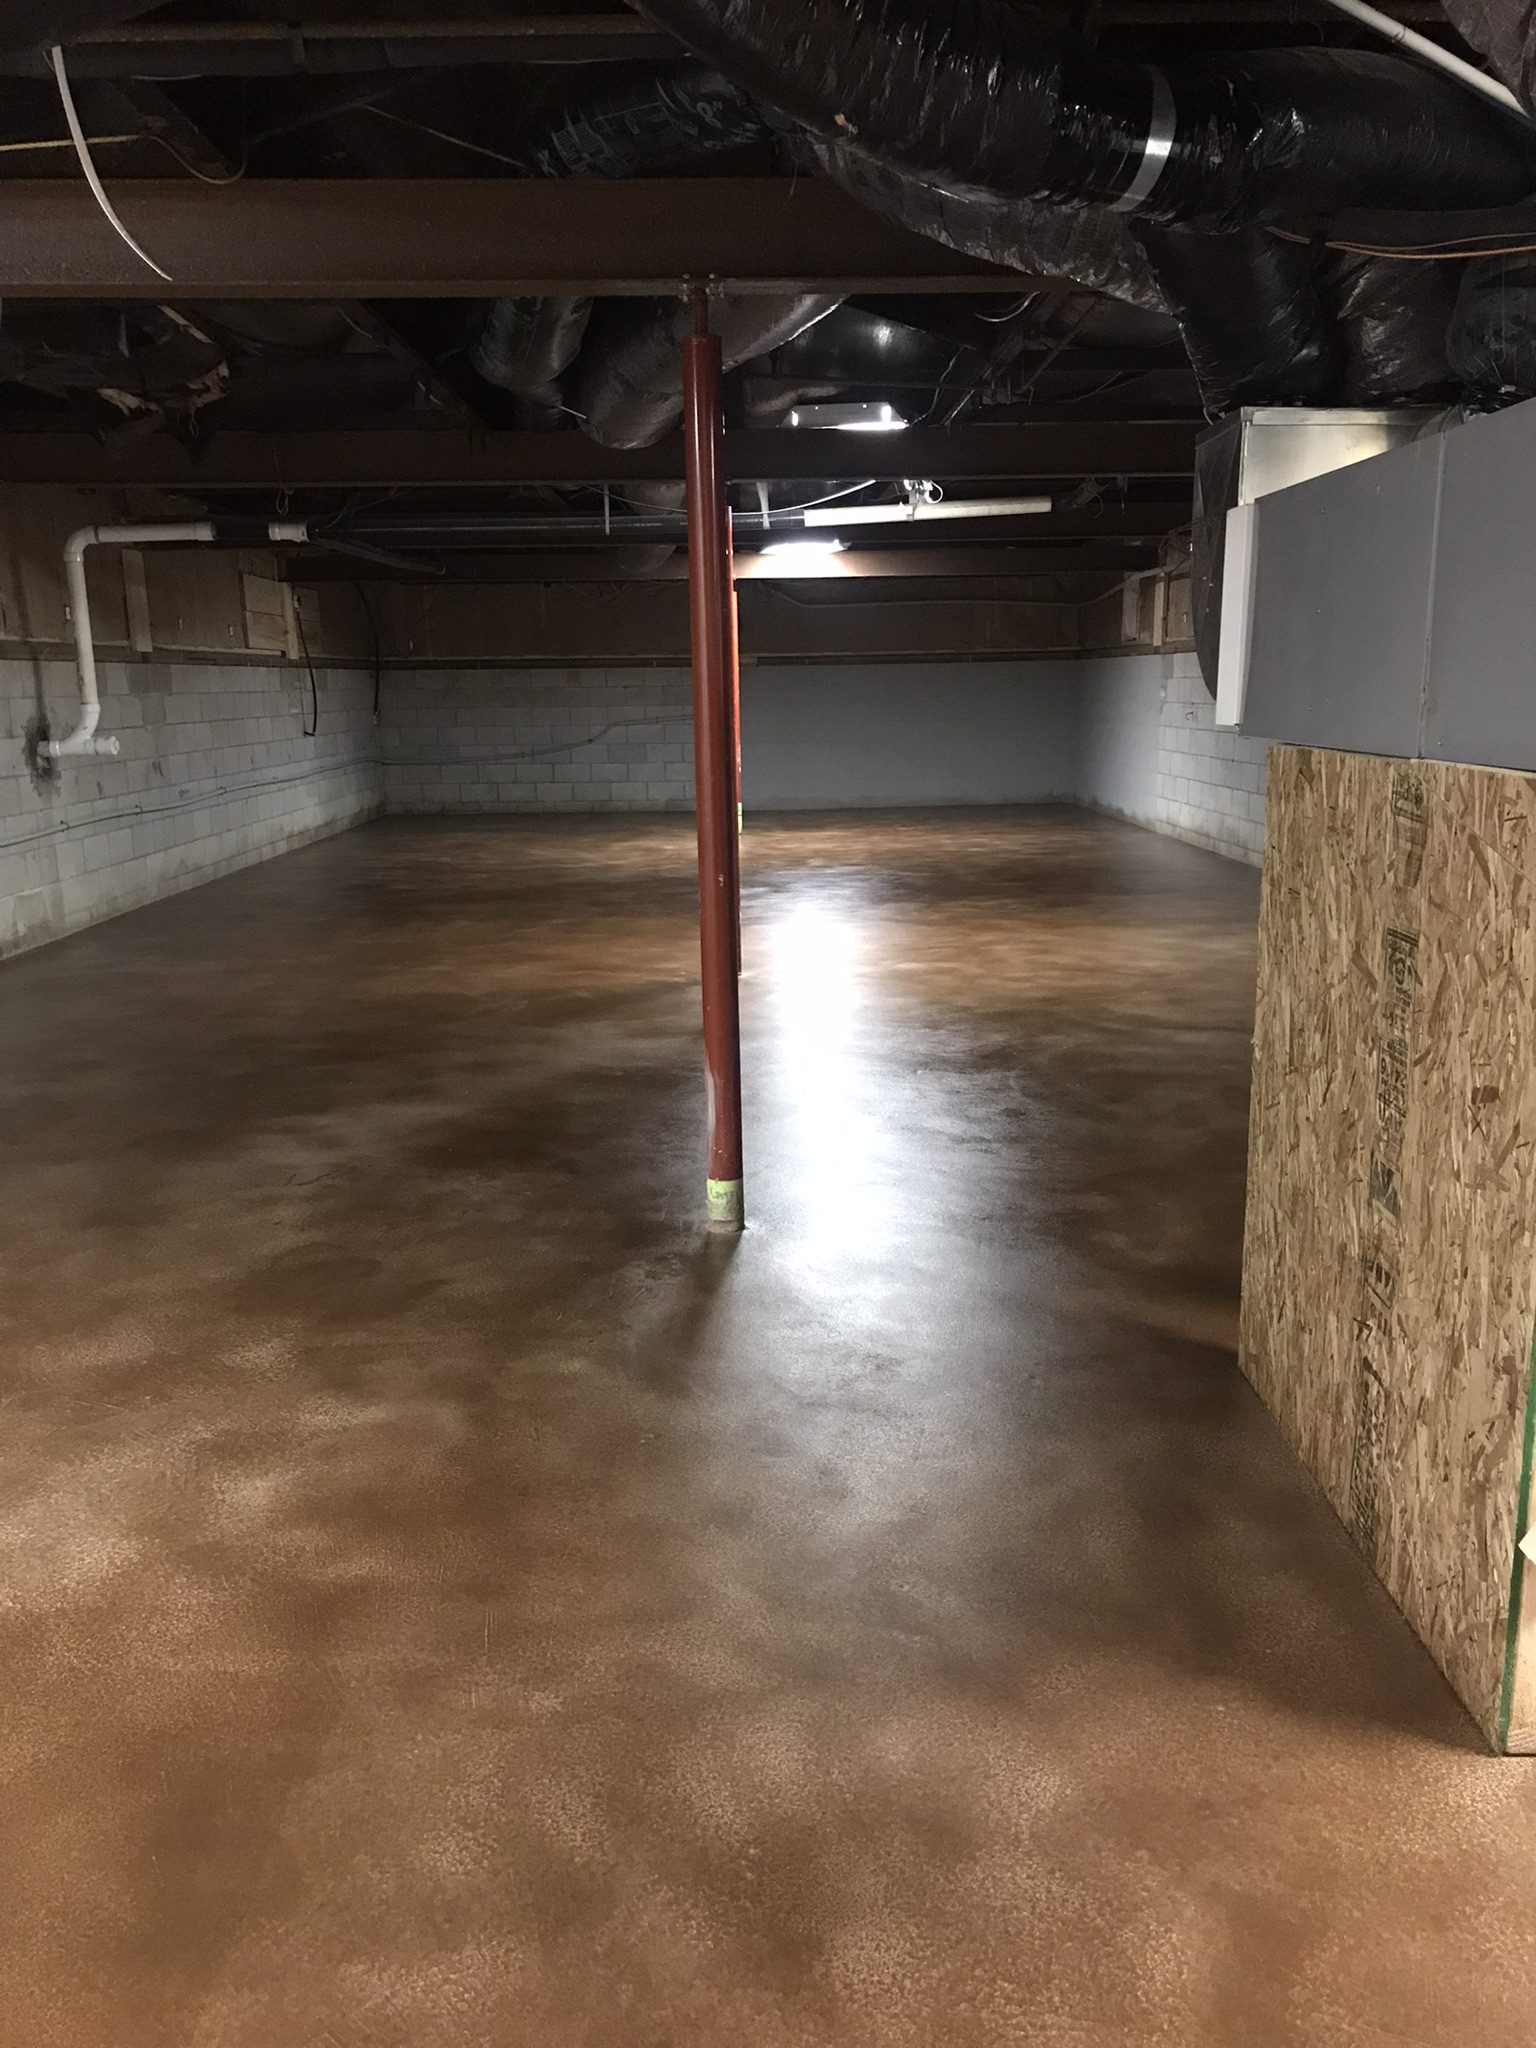
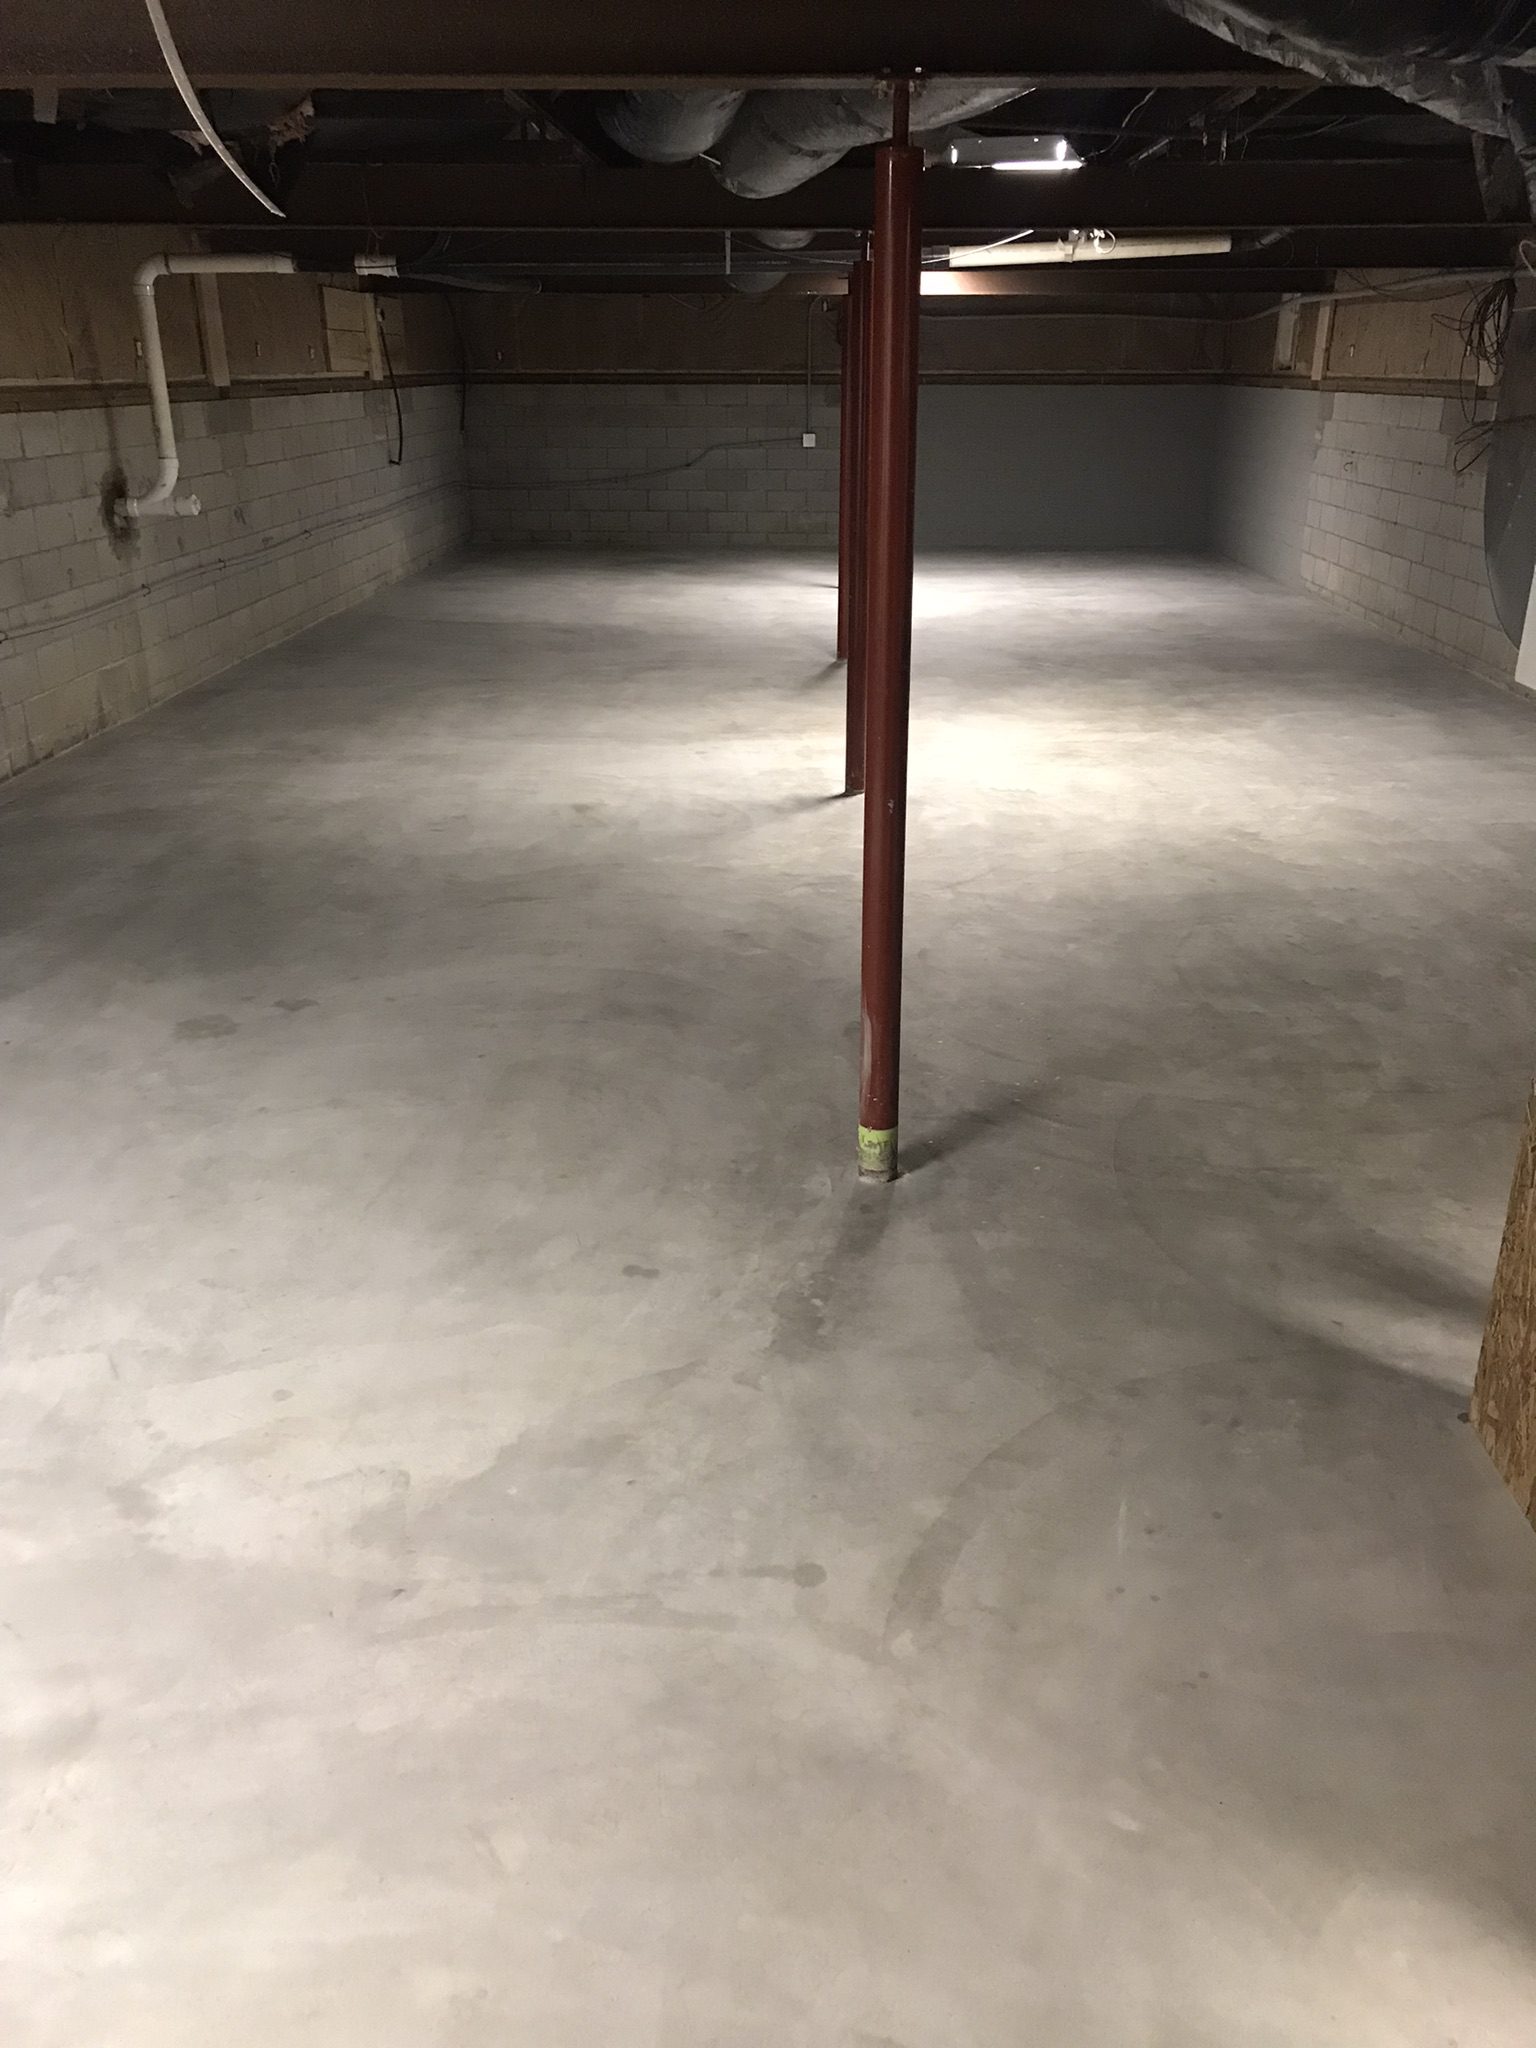
Converting a Plain Basement into a Kids’ Playroom with Driftwood AcquaTint™
Explore how a simple basement was transformed into a fun-filled playroom for kids using our Driftwood Aquatint™ and ProWax Polish™. The key to a great outcome is all in the preparation: always etch and clean your floors prior to staining.
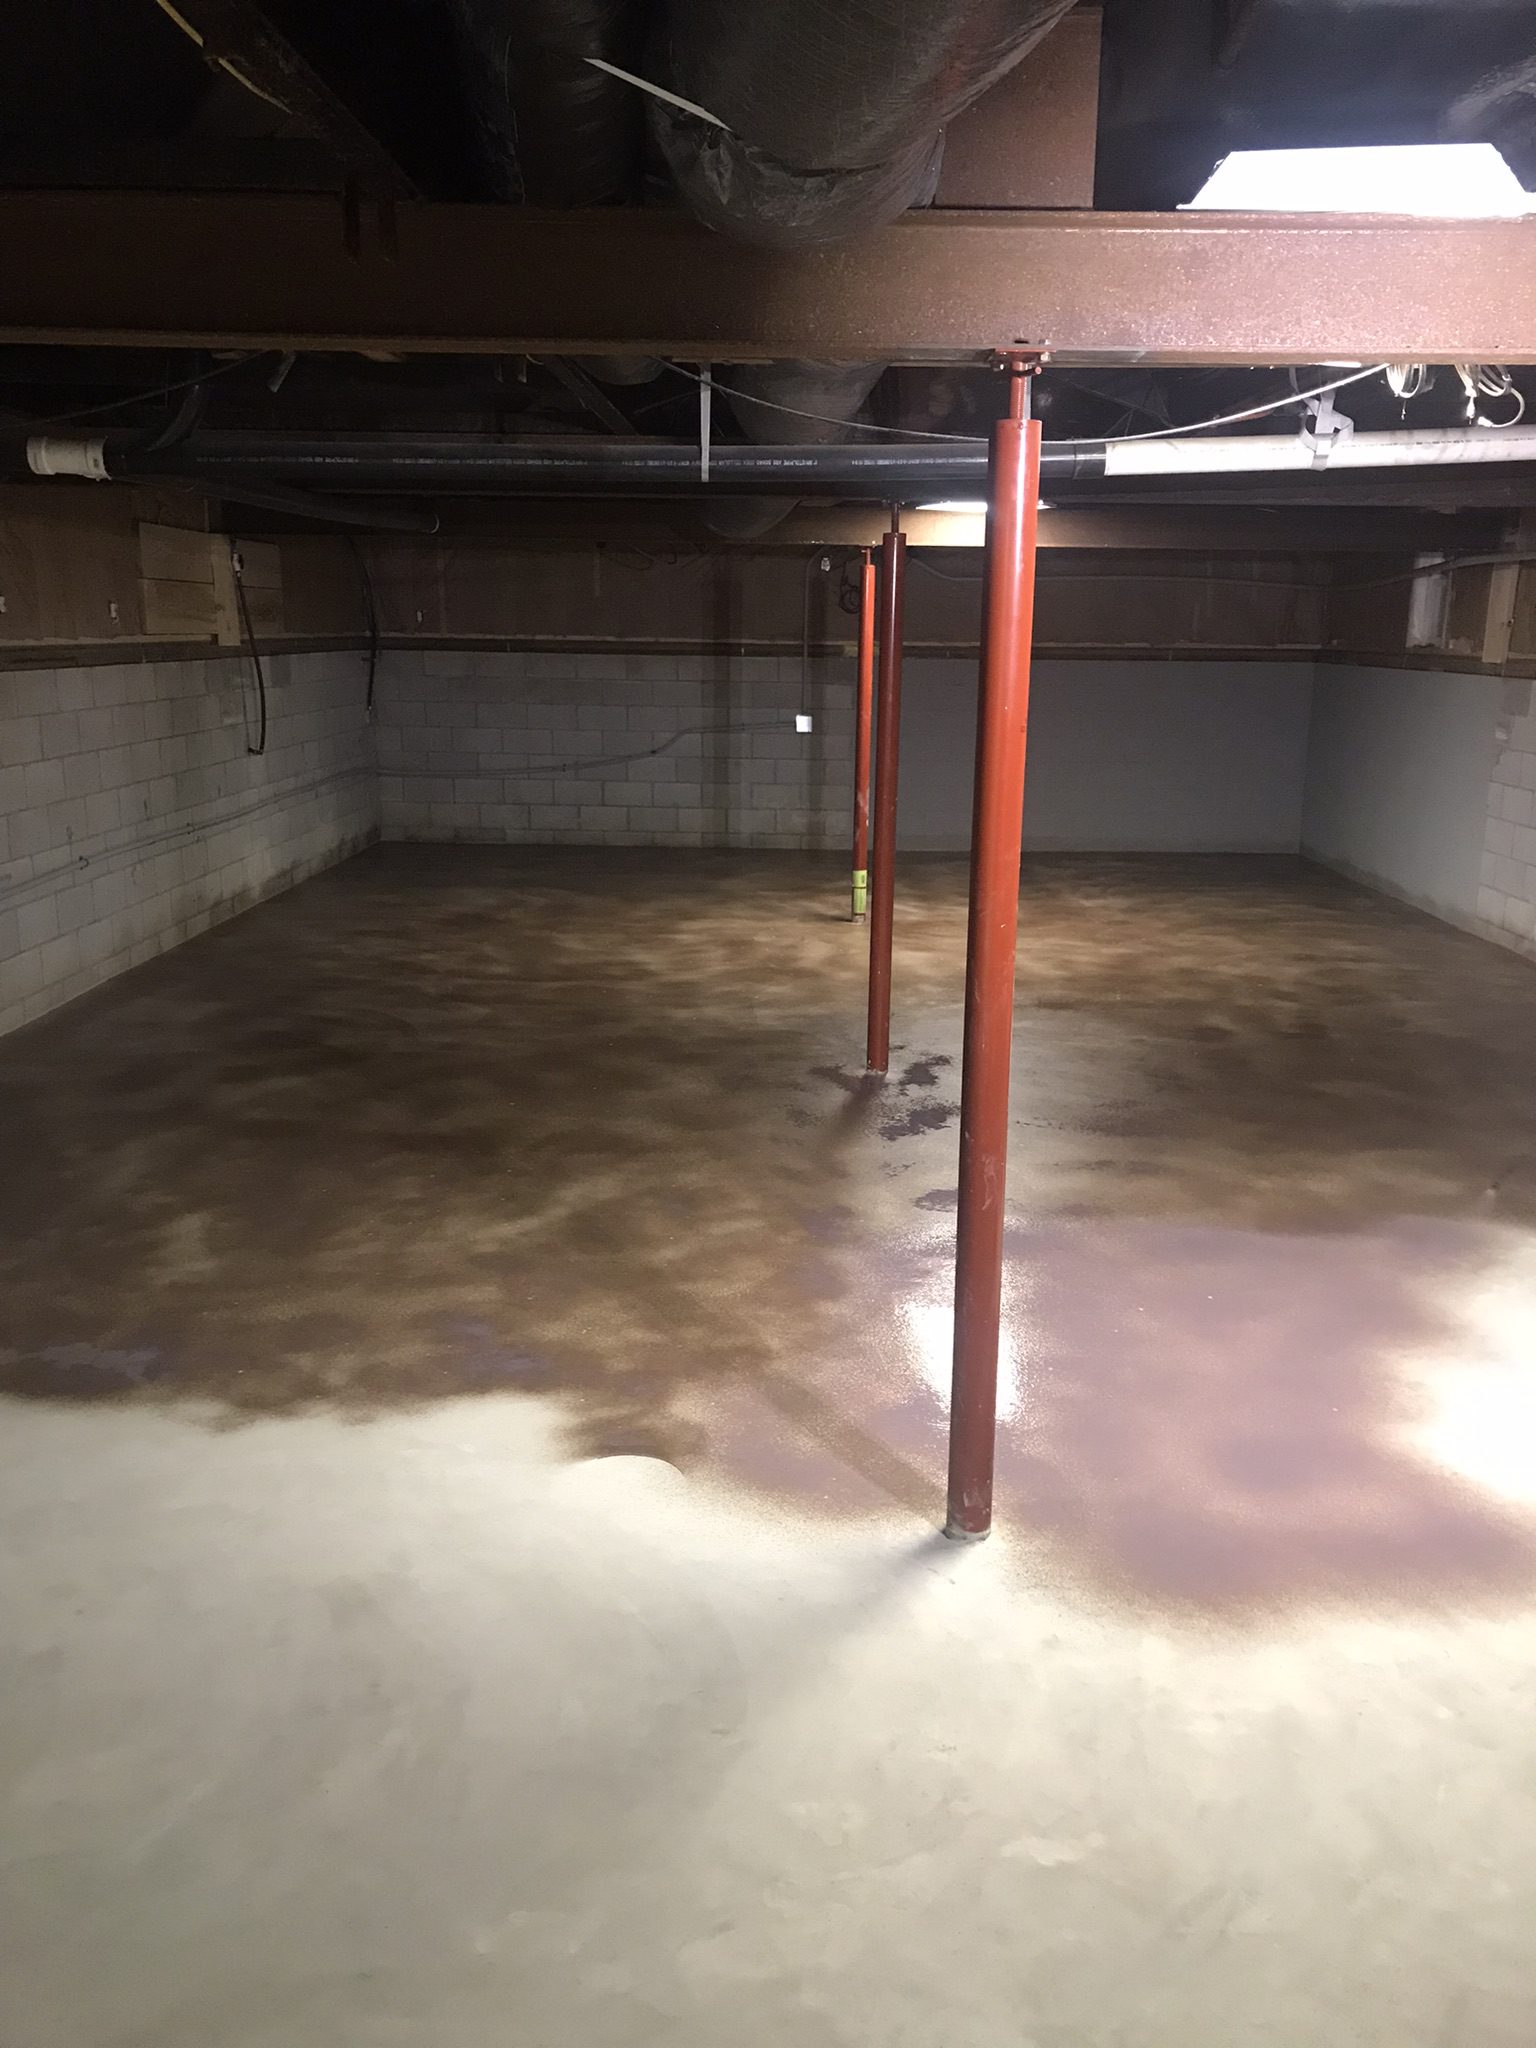
Project Info:
- Project Completed In: 6 day(s)
- Estimate of Square Footage: 1500 sq. ft.
- Project Description:
Turning our plain basement into a fun play room for the kids . - Direct Colors Products Used:
5 Gal. Driftwood AcquaTint™ & ProWax Polish™ Satin Kit
1 Gal. Driftwood AcquaTint™ & ProWax Polish™ Satin Kit
2 x 1 Gal. Driftwood AcquaTint™
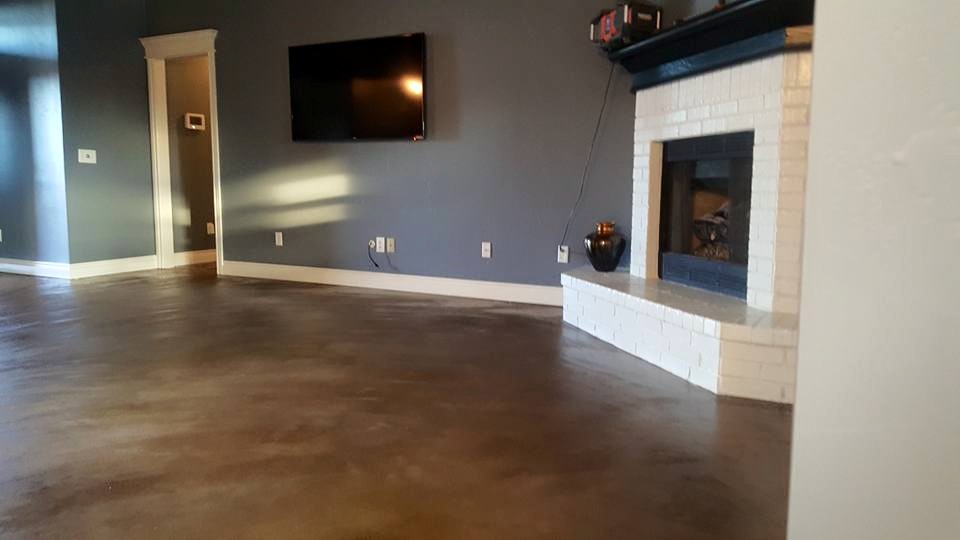
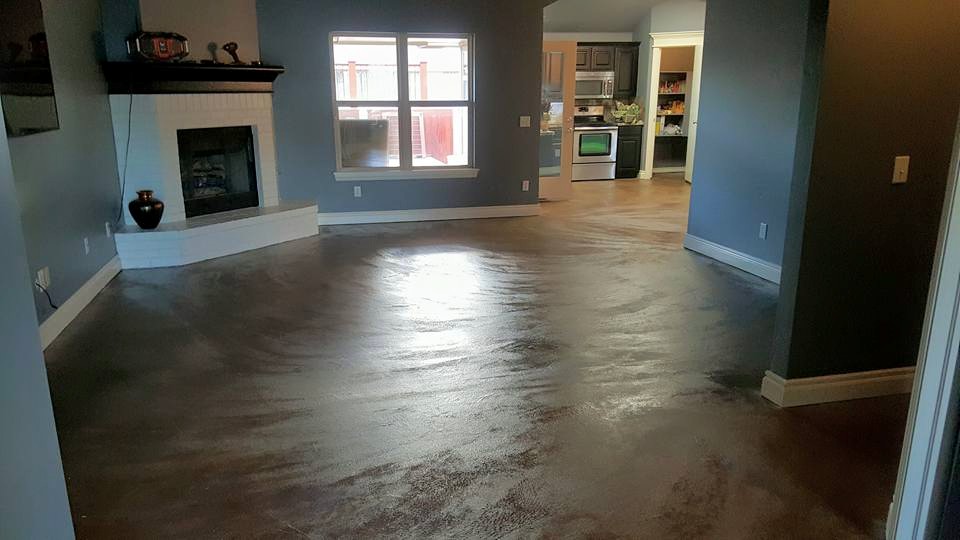
Dyed Interior Concrete Isn’t That Crazy!
Concrete floors are an excellent alternative to your typical wood floors or carpeting in the living room.
With that being said, we admire how this DIYer used concrete dye to add color to their living room floor. Not only does it create a warm atmosphere, but it’s easy to maintain and looks great!
Pretty ‘N’ Polished Concrete Floors
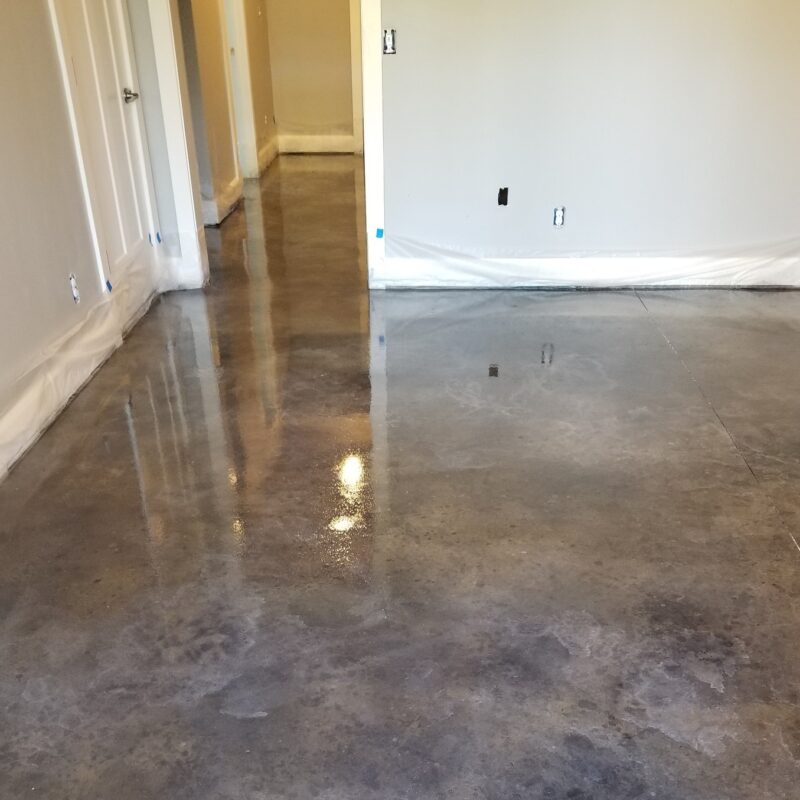
Wow, look at that shiny floor! For this indoor concrete floor, gray and brown concrete dyes were used for a varied look. Glossy water based sealer and a high gloss concrete floor wax completed that super glossy look.
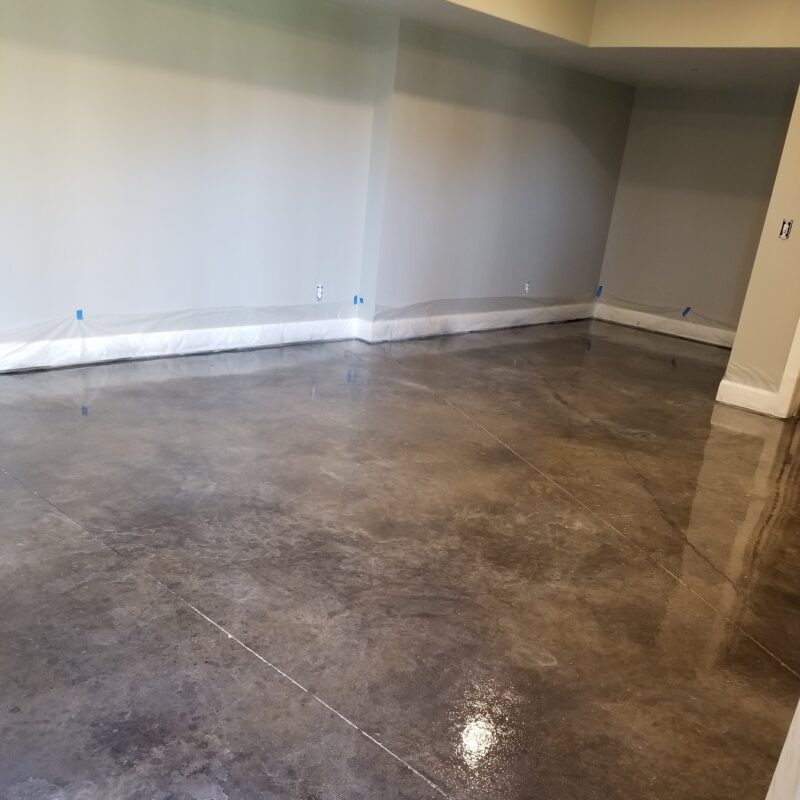
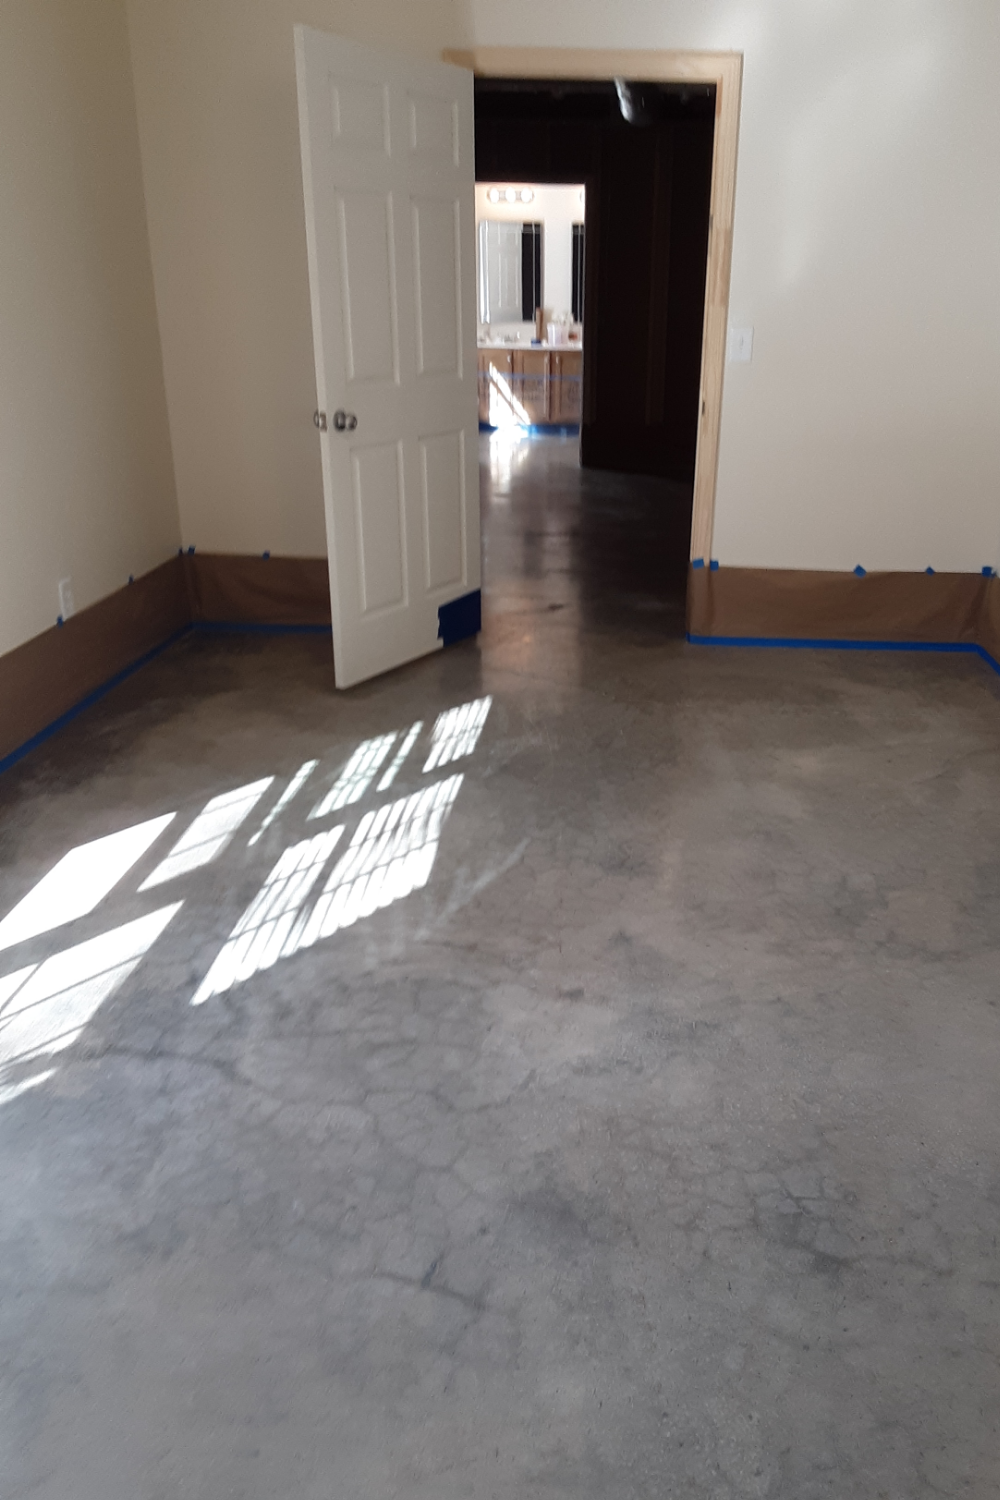
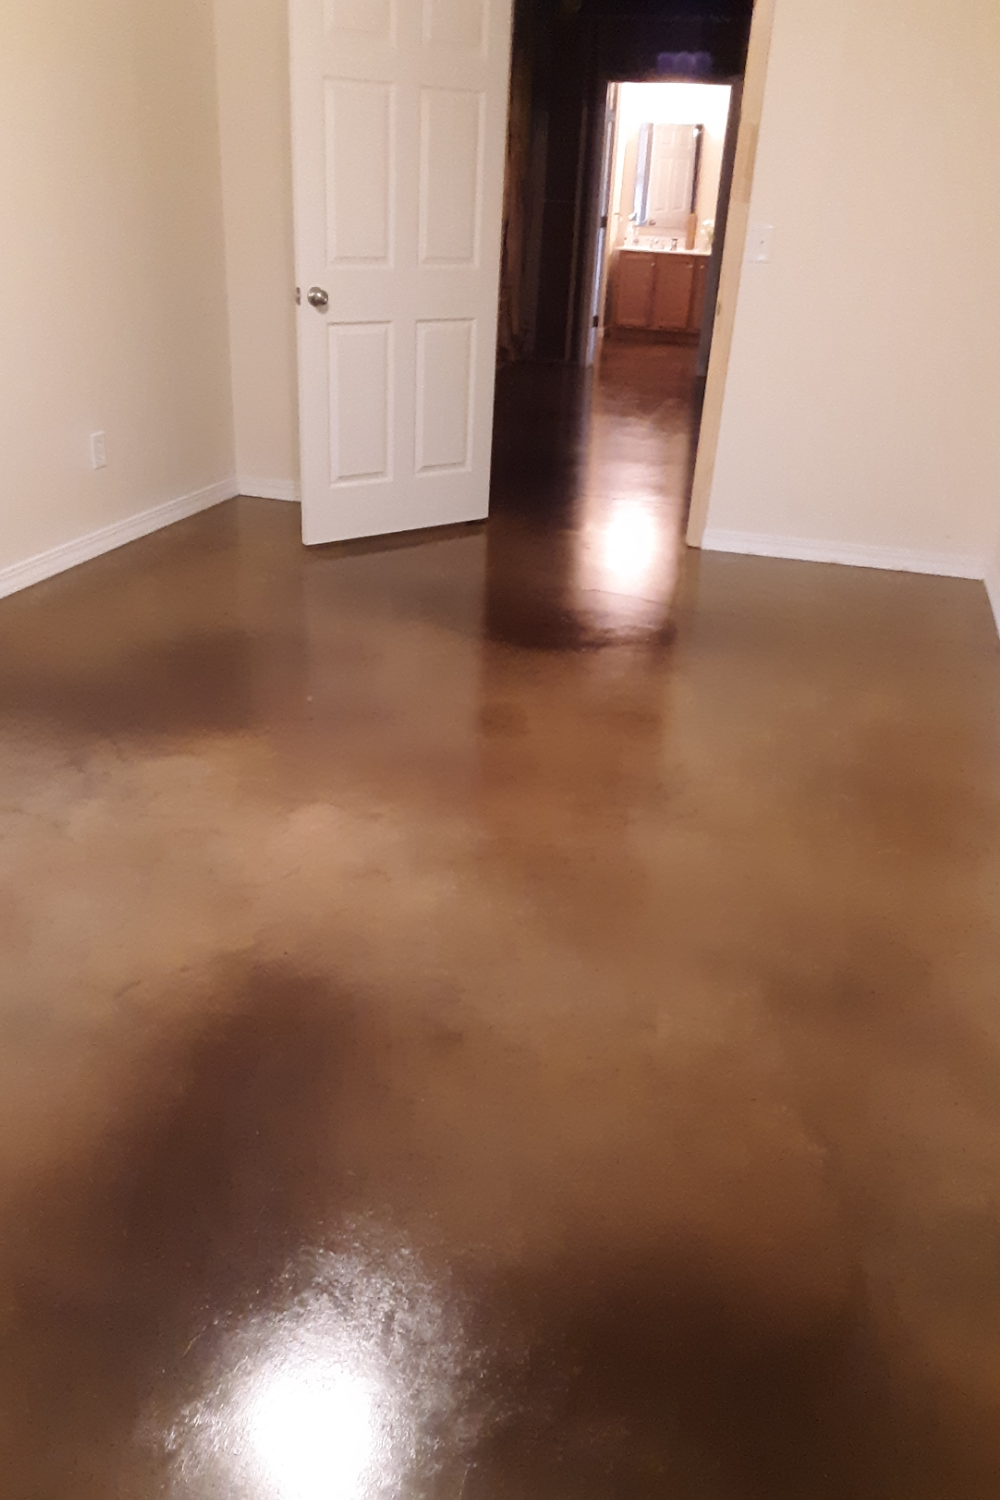
DIY Acetone-Dyed Basement Floor with Warm, Layered Tones
This customer transformed their unfinished basement floor using Acetone Vibrance™ Dye in Malayan Buff, Aztec Brown, and Sepia, layering colors from lightest to darkest for depth and warmth.
The result? A rich, inviting stained concrete floor—a stunning DIY project at a fraction of the cost!
Project Info:
- Project Completed In: 6 day(s)
- Estimate of Square Footage: 700 sq. ft.
- Project Description:
I used Direct Colors acetone dye to stain a portion of our basement. Floor buffer was rented and lots of elbow grease was used to clean floor. Direct Colors Hard Troweled Floor Pre-Treatment was sprayed on floor with pump sprayer, then water was removed with shop vacuum. Floor was then mopped one more time with just water and allowed to dry overnight. 3 different acetone dye colors was applied to floor, lightest to darkest. Acetone dye was mixed to instructions and applied with an acetone sprayer. When applying the 2nd color and 3rd colors, I used more of it in areas and also applied the color (sephia) with a sponge brush to try to add more detail and depth to color. It took 3 days to apply sealer with a roller, 1 coat for each day, (three coats of sealer total.) After 3 days Residential Concrete Floor Wax that was applied, again with a roller. Two coats of wax gave it a nice shine. - Personal Tips:
Carry around a small bucket to catch drips from acetone sprayer. Every time I stopped or paused spraying drips from sprayer got on the floor. You can also try to bleed them out as well (spray a little more on the spot to make it less noticeable). Use disposable shoe covers or some old shoes to spray acetone dye. Wear a respirator mask, acetone smell was intense. Don’t go cheap on the rollers, a less expensive paint roller was leaving streaks in the sealer, I switched to a microfiber roller which worked so much better. Wipe wax drips up immediately. I made the mistake of letting some wax drips sit on floor too long, thinking I would just roll over it and smooth it out when I got back to the area. It took to long and the drips started to dry before I got back leaving drops that were noticeable in the finished job. - Other Products Used:
floor buffer with scrubber pad
mop and bucket
acetone
acetone sprayer
respirator mask
disposable shoe covers
sponge brush
paint tray
microfiber roller with extension pole

