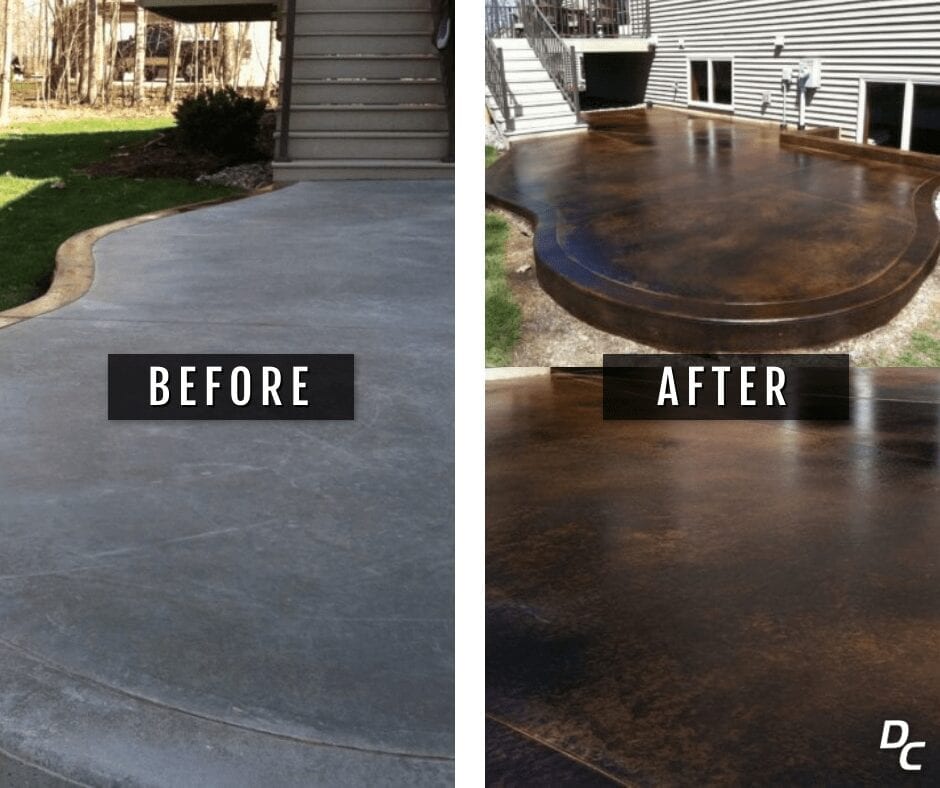
Black Acid Stain Concrete Projects
Explore our gallery of black acid-stained concrete. While labeled “black,” it often appears dark brown due to acid and concrete reactions. Seeking a true black? Consider our other black colorants.
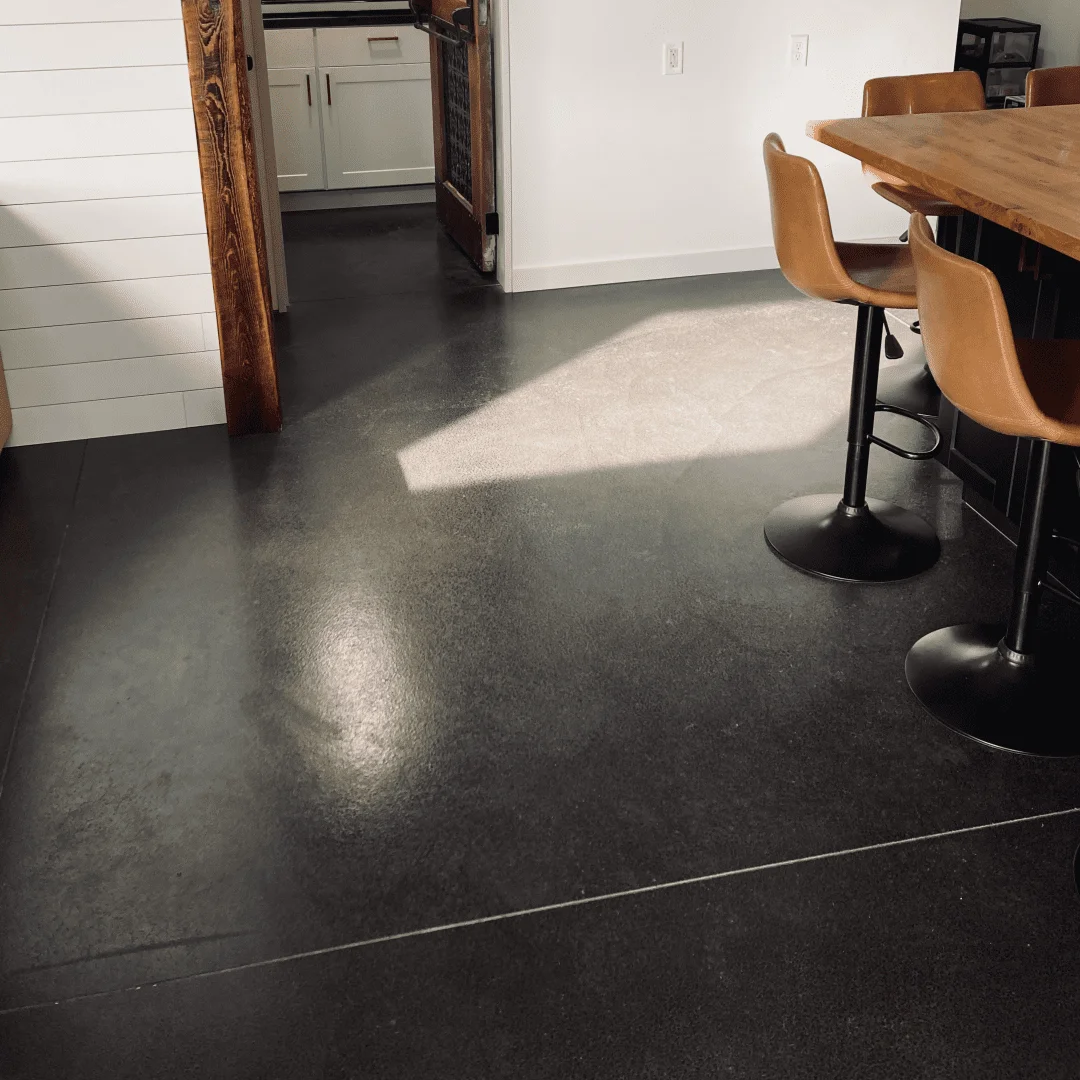
Garage to Apartment Makeover
See how a garage turned into a modern apartment, thanks to a sleek black acid stained concrete floor. This transformation brought style and personality to the space, making it a cozy and inviting home.


Ditching the Carpet for Black Acid Stain Concrete
If you’re considering tackling a concrete staining project, be sure to read about this homeowner’s experience using black acid stain from Direct Colors.

It all started with the decision to rip up the carpets in the front room and hallway, revealing a floor covered in mess left behind by the contractors who built the house.

After a week of scrubbing and using an angle grinder to remove the stubborn lines around the walls, the floor was ready for staining.

The homeowner applied the black acid stain in overlapping circles, using about 1.5 gallons in total.

After letting the stain turn a milky, clouded color, the floor was flooded and scrubbed to remove any residue.

The homeowner then waited for the floor to dry completely before starting the sealing process, applying two coats of sealer in opposite directions for the best coverage.

After letting the sealer fully cure, the plastic was stripped off to reveal a beautiful, finished floor.


The homeowner’s tips? Make sure to prep well and follow the instructions closely, and don’t hesitate to reach out to the Direct Colors customer service team for help throughout the process.
Please be aware that each photo in this gallery showcases projects accomplished with our Black EverStain™ Acid Stain and is provided by actual customers, serving as a source of inspiration. However, since EverStain™ is semi-transparent, the final appearance of your project will be influenced by the initial color and condition of your concrete surface, and thus, your final results might vary. For the best results, we strongly recommend performing a small test on your specific surface before applying the stain to the entire project to ensure the final look aligns with your expectations.
Mechanical Room Transformation
Watch our customer’s amazing transformation of their mechanical room using black EverStain™ acid stain. Coming up next, see how Coffee Brown adds its charm to the rest of the house.

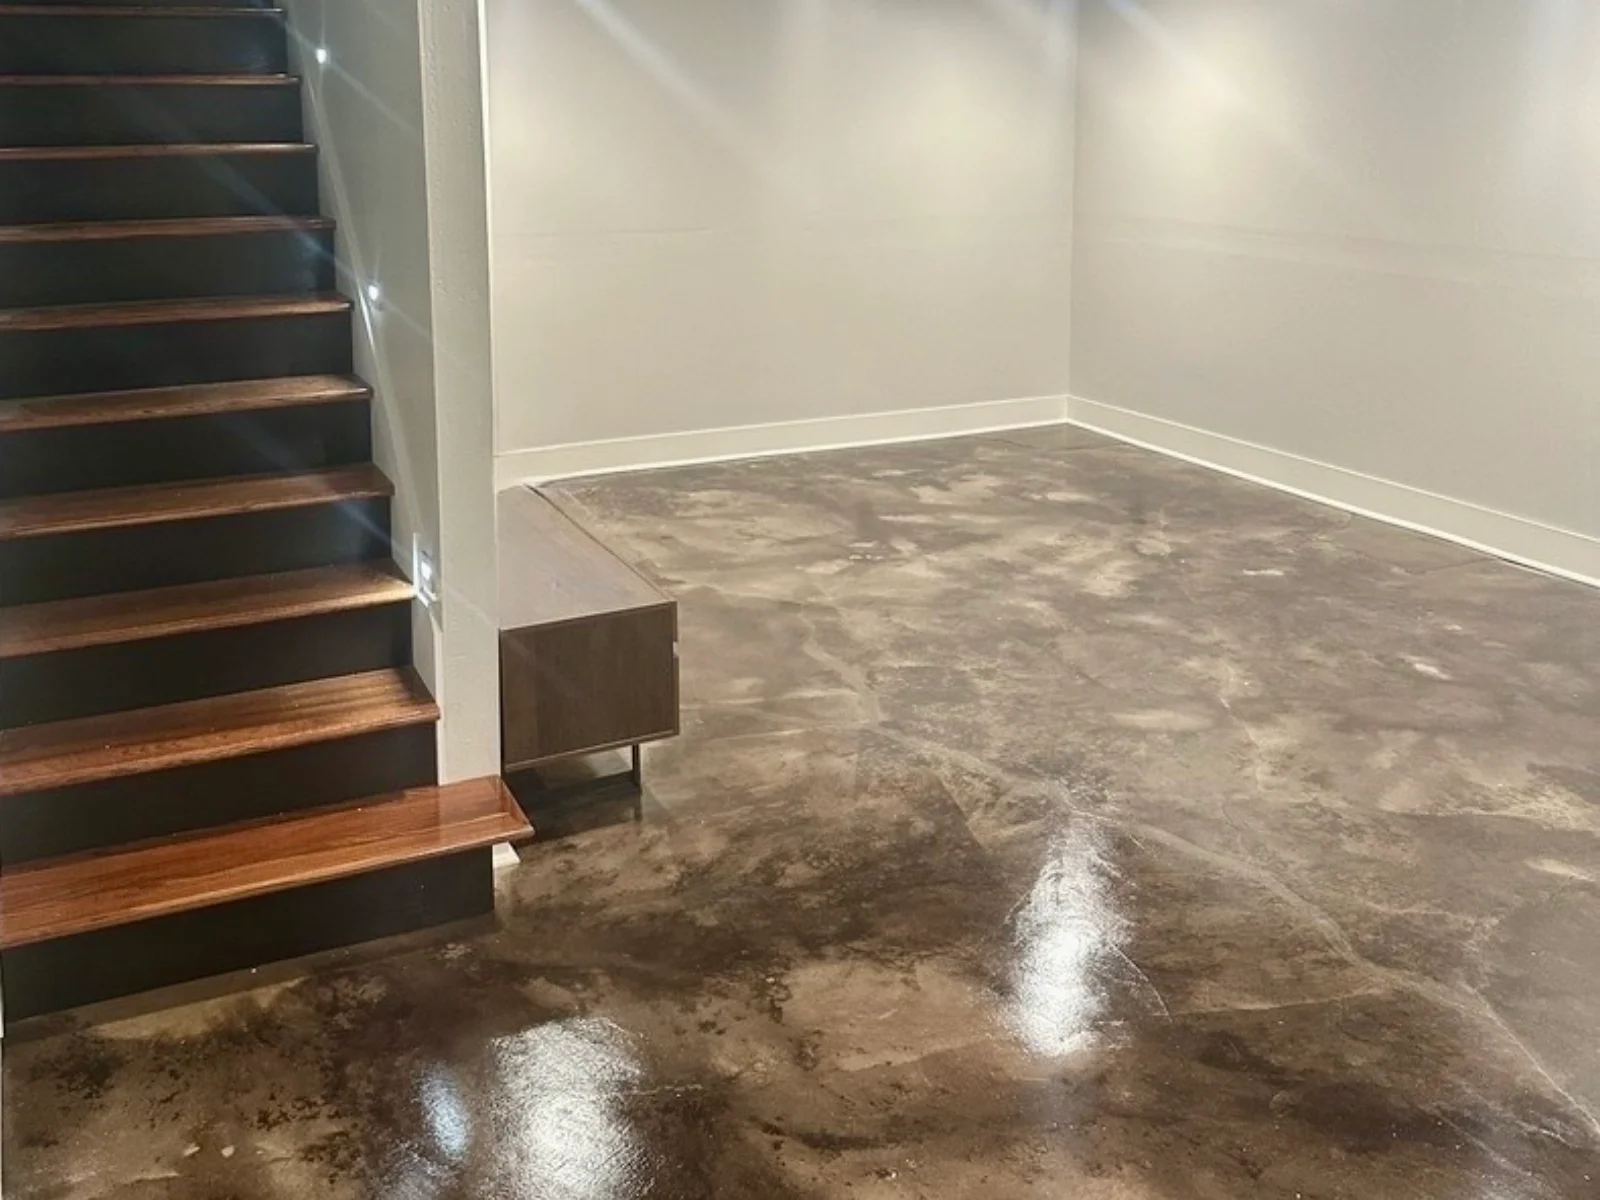
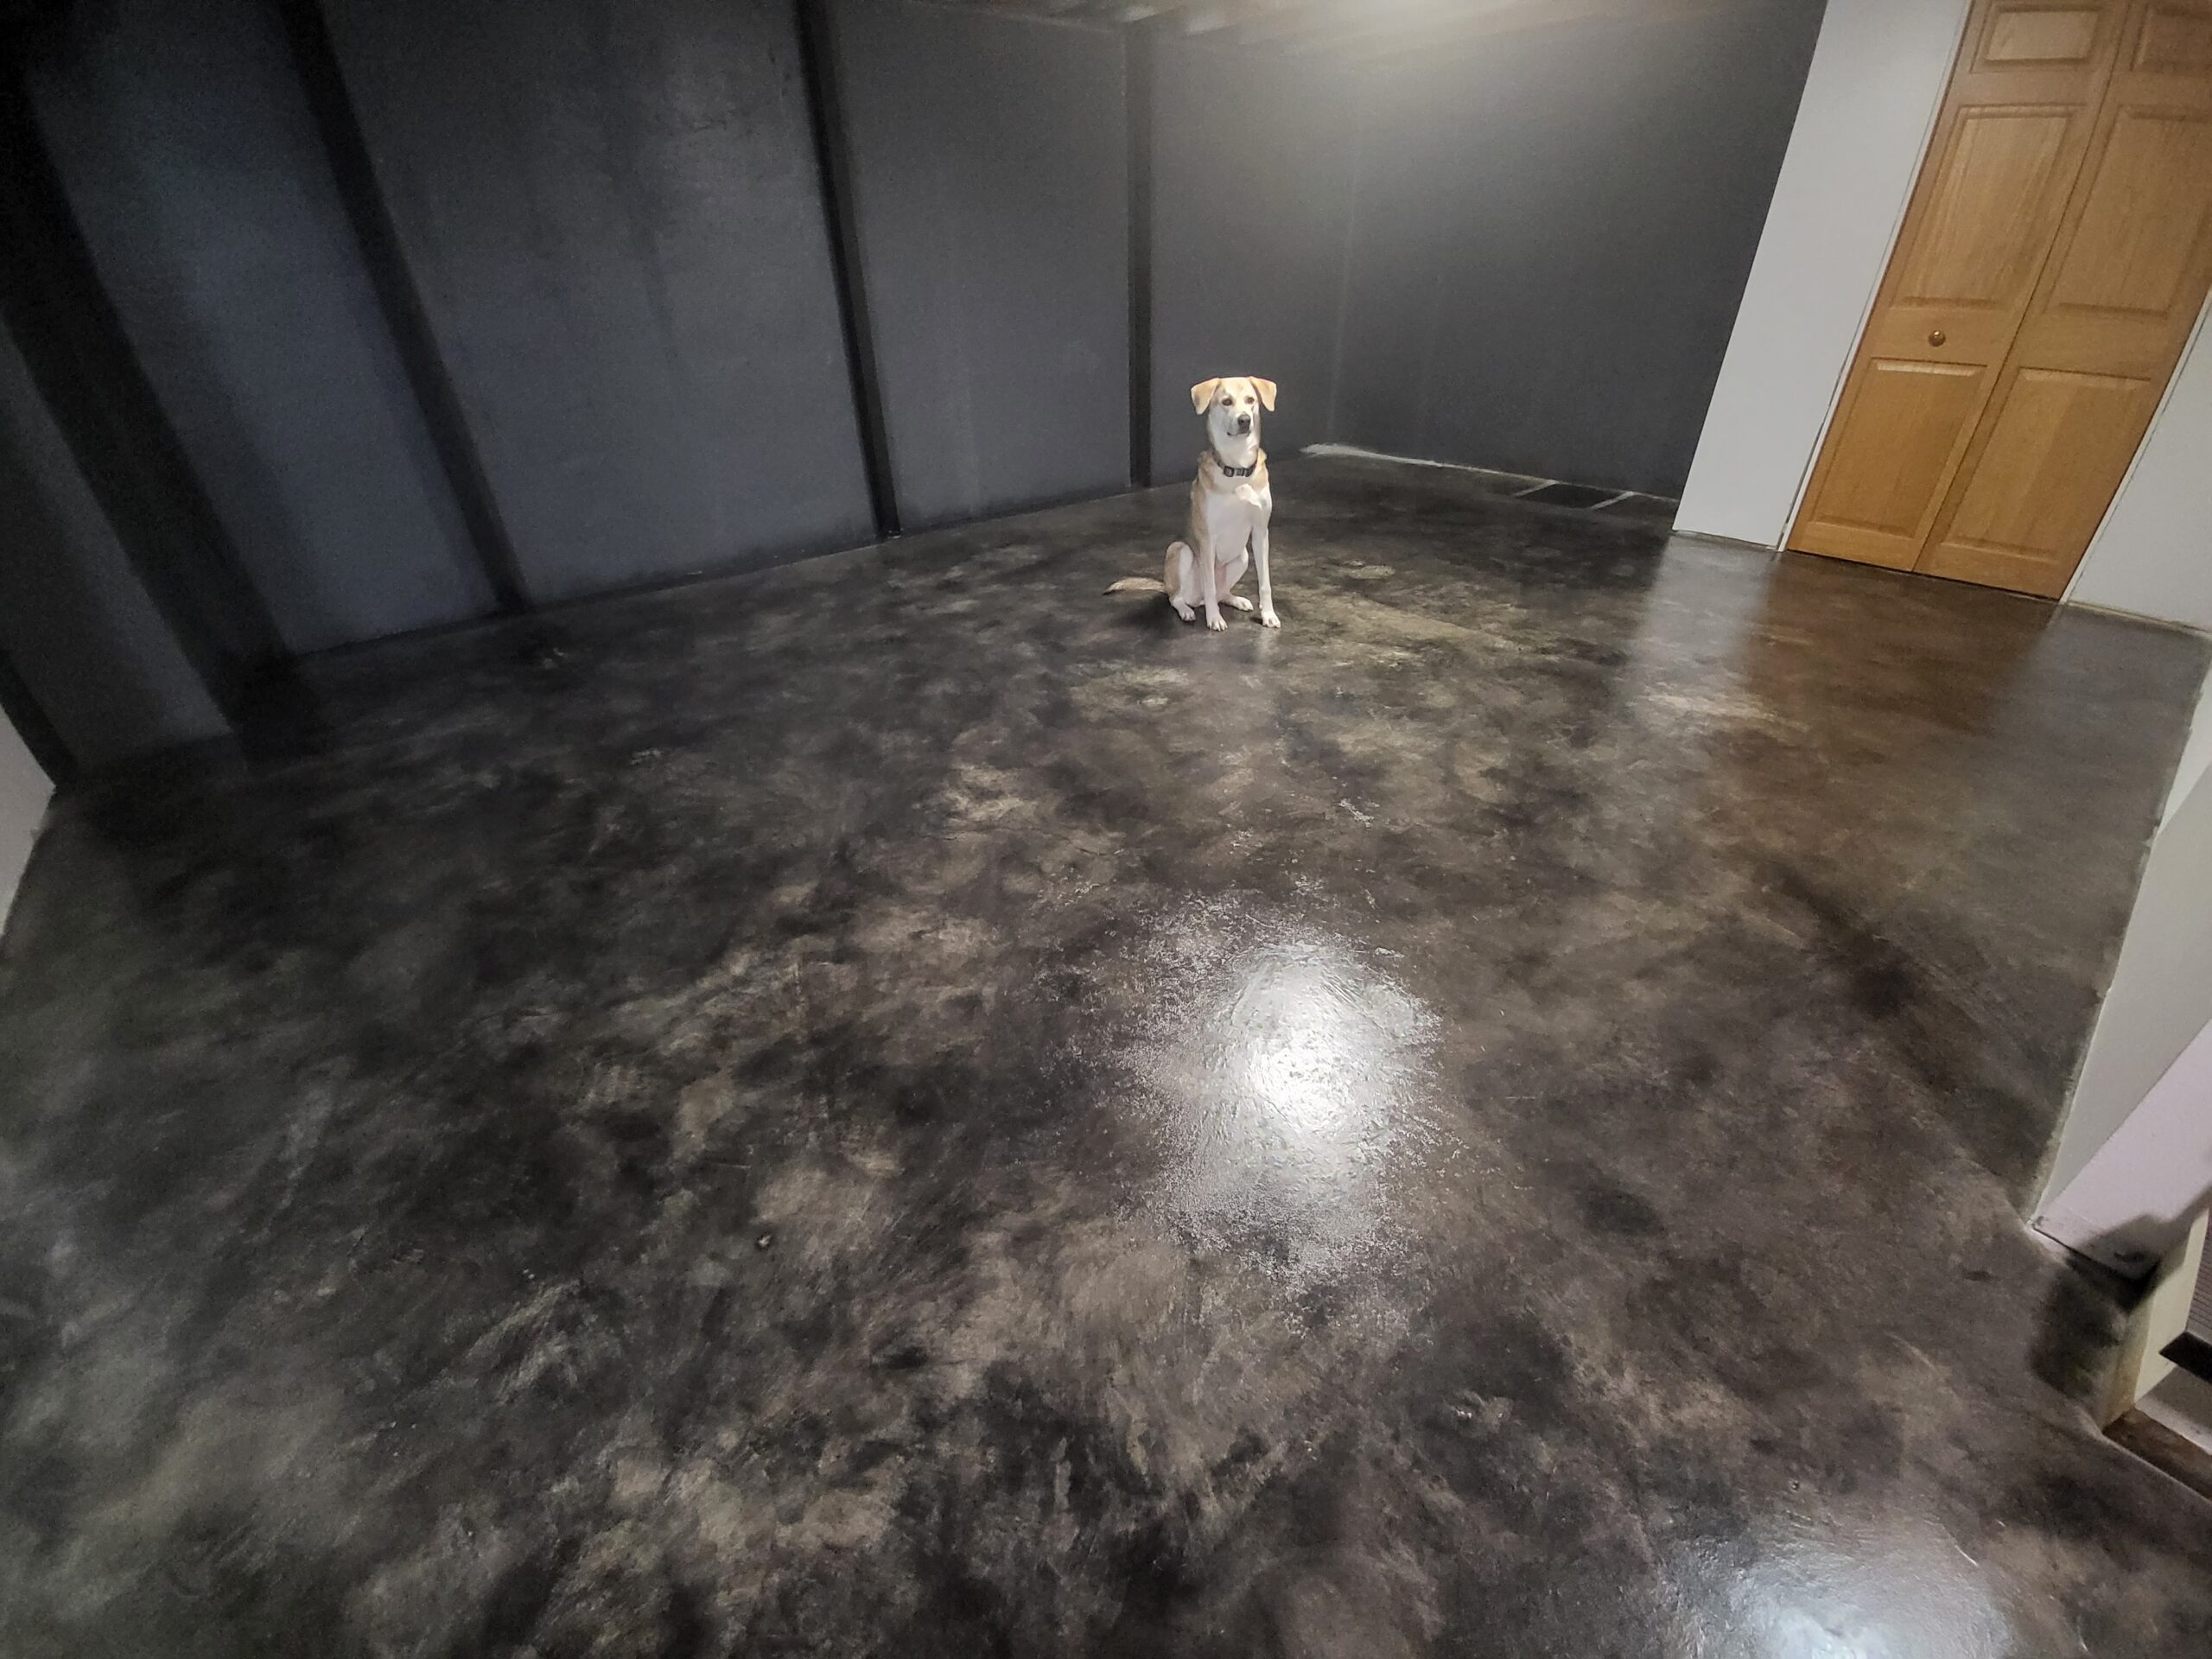
Carpet Begone! Black Acid Stain Concrete Flooring in the Man Cave

If you’re looking to upgrade your basement flooring, consider following in the footsteps of this customer and using black acid stain from Direct Colors.

After removing the existing carpet and preparing the concrete surface, they applied the stain using a pump sprayer and a circular motion, following up with a light scrubbing of the stain.

After allowing the acid to etch for eight hours, they neutralized the surface and allowed it to dry overnight.

Next, they applied a coat of acrylic sealer with a roller, waiting 24 hours before adding a second coat. Finally, they finished off the project by waxing the floor three times.

While this customer had a successful project overall, they did recommend using a higher quality concrete patching compound that is closer in color and will take the stain better.
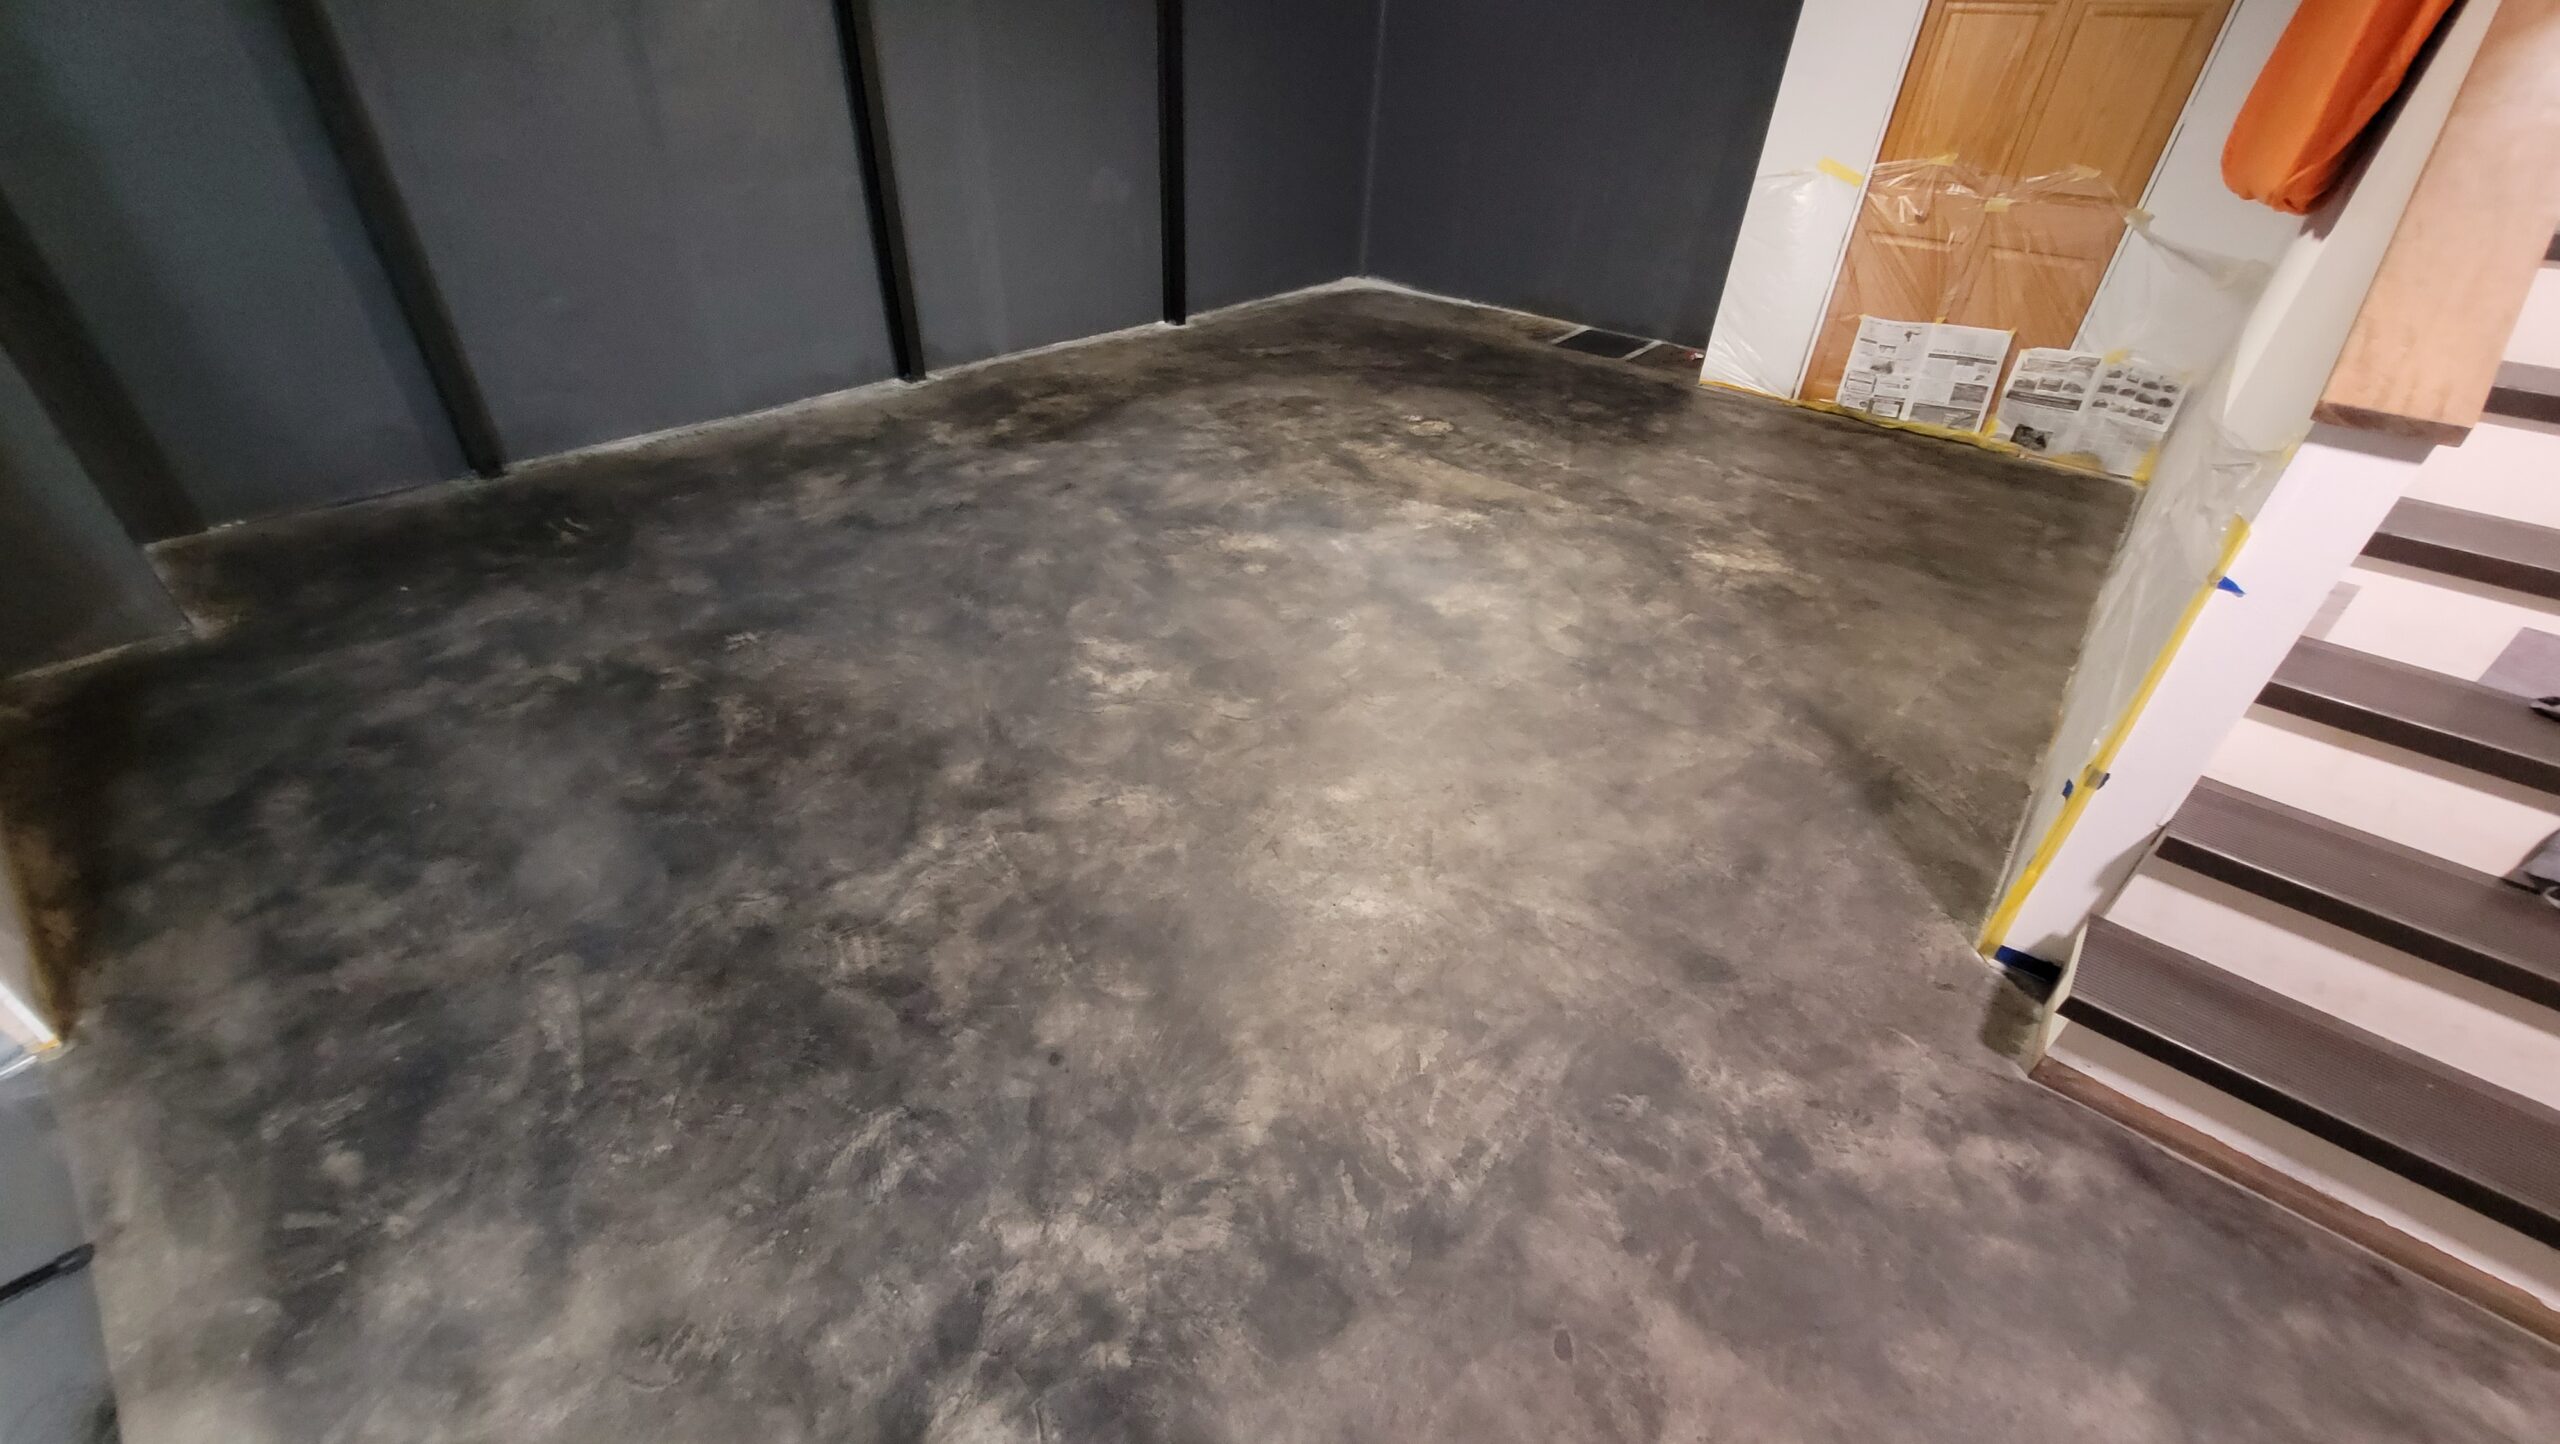
From Flood-Prone to Fabulous: A Black Acid Stain Concrete Basement Makeover
If you’re looking to give your basement floor a fresh start, consider following in the footsteps of this customer and using EverStain™ Acid Stain in black.

The key to a successful project, according to this customer, is proper prep work. They recommend taking the time to thoroughly clean and prepare the surface, as the parts of the floor that turned out the best were the ones that received the most attention to detail.
Despite taking a few days longer than expected, the end result was worth it and the customer is already planning to use Direct Colors for their next project.

It’s also important to be flexible and go with the flow, as imperfections can add character and make the project your own.

In addition to the EverStain™ Black Stain and Seal Kit, this customer used Satin ProWax Polish™ to give their floor a polished finish.

They also utilized a floor adhesive remover called Klean Strip to tackle stubborn stains that the degreaser couldn’t remove.
The Mottled Black Acid Staining Technique: Achieving a Beautiful, Random Pattern on Concrete Surfaces
The mottled black acid staining technique is a popular way to add a unique, modern touch to concrete surfaces. It involves applying the stain in a random, mottled pattern, creating a beautiful, natural-looking finish.

This technique is easy to do and can be achieved with just a few simple tools, making it a great option for DIYers looking to transform their floors, countertops, or other concrete surfaces.

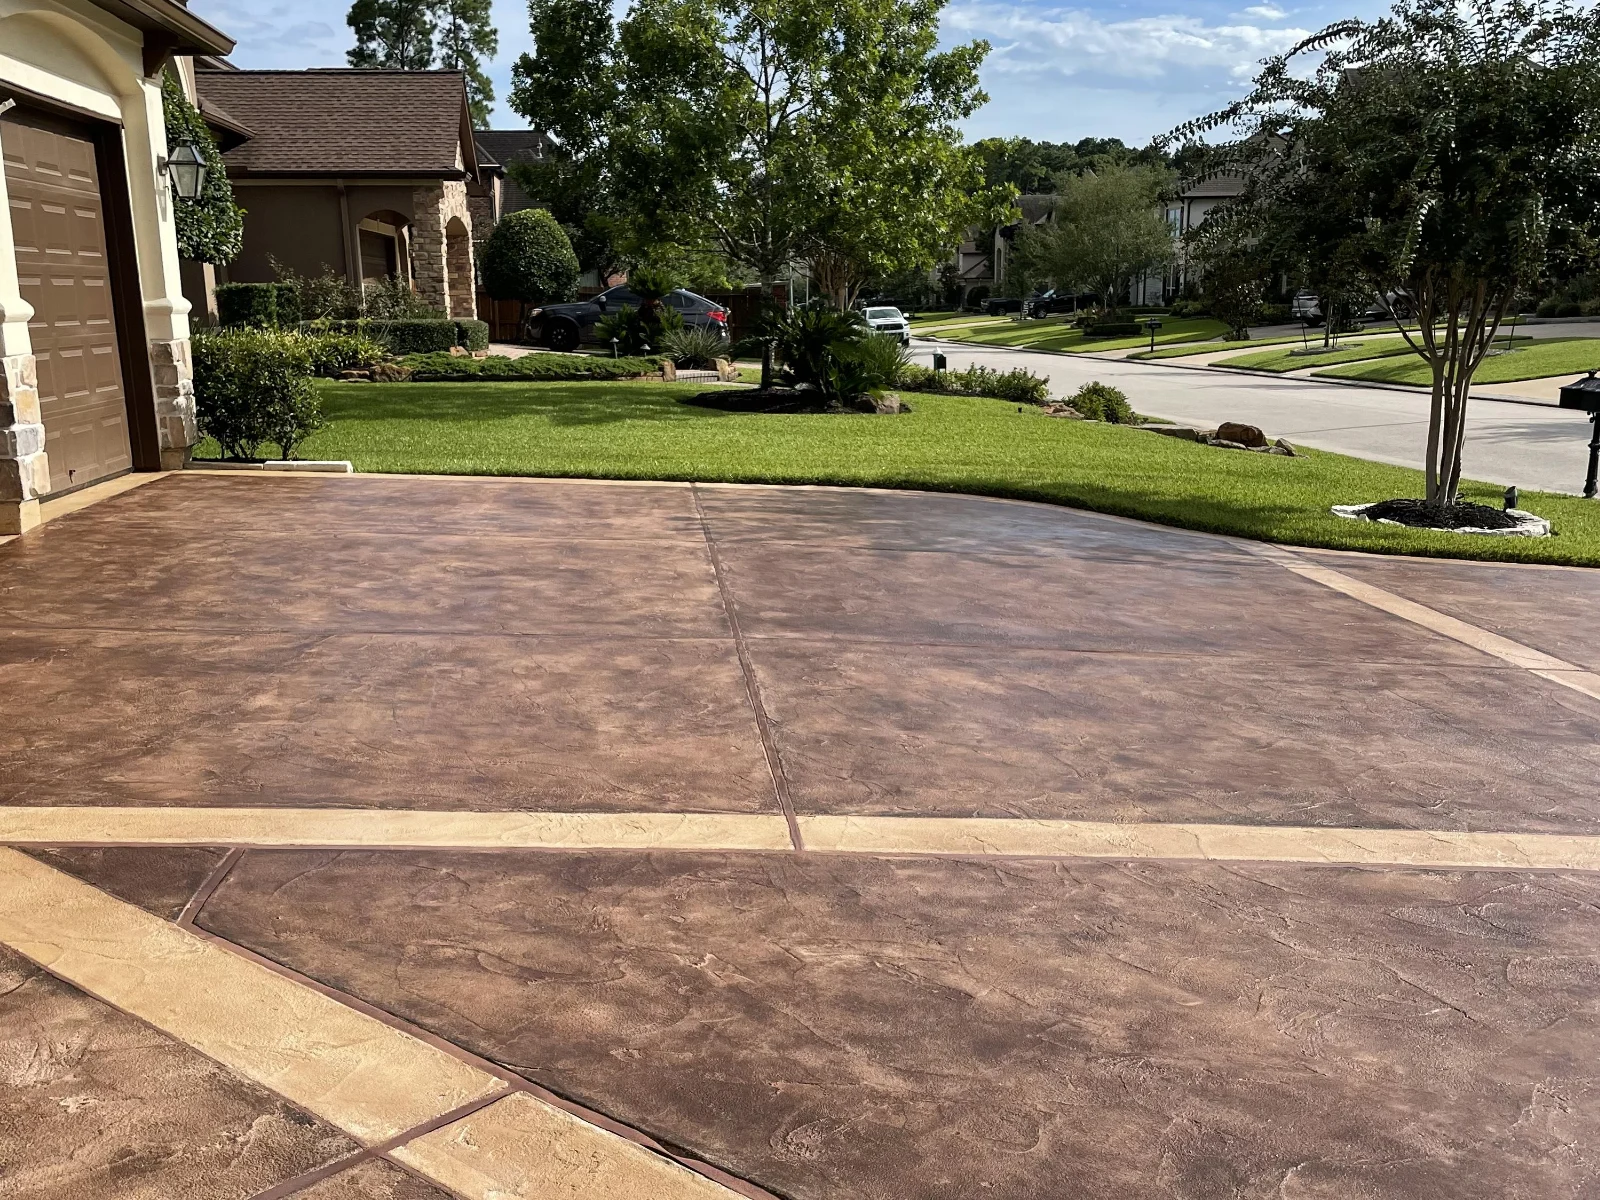
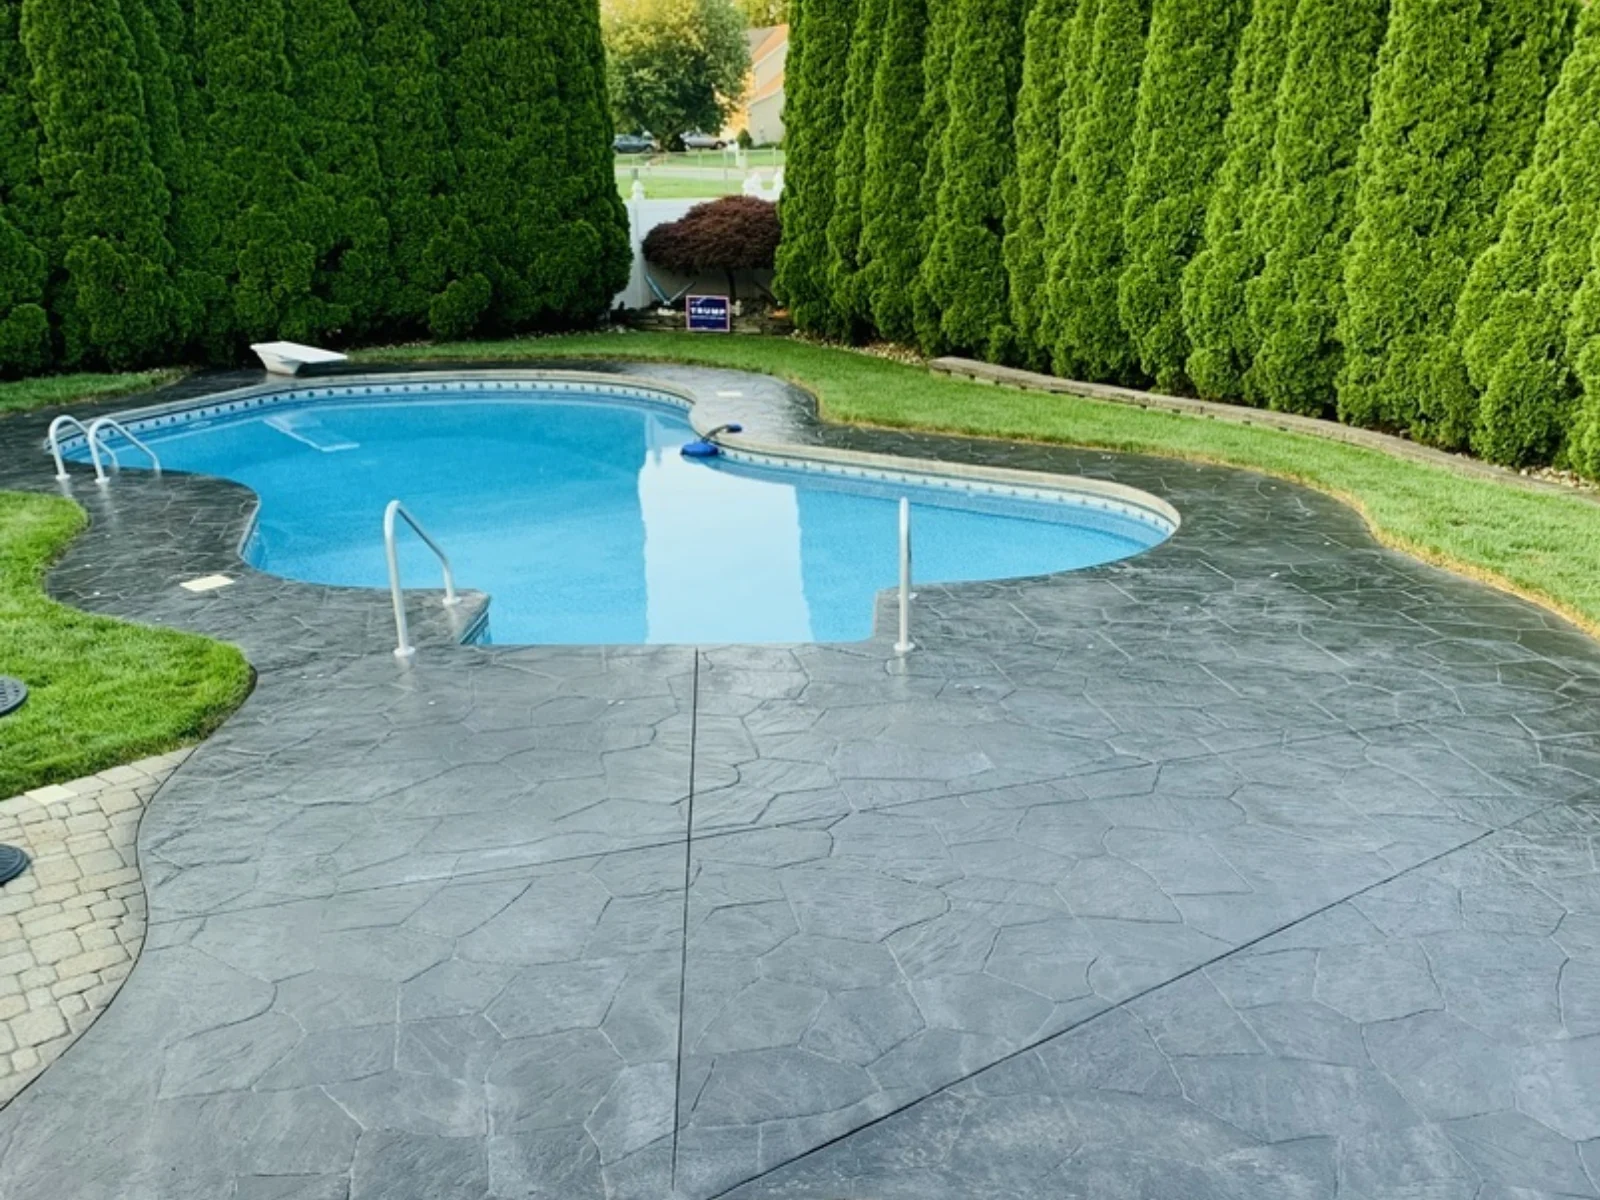
Cracked Patio Transformation: From Eyesore to Elegant!
Turned a problematic patio crack into a delightful faux flagstone design using Black Acid Stain. A simple sprayer and careful taping led to a stunning outcome. Say goodbye to unsightly cracks and hello to stylish flagstone!


Patio Pizzazz: A Touch of Black Magic!
Enhanced a stamped and black antiqued patio by introducing select tiles with a splash of Black Acid Stain. A subtle touch that adds depth and intrigue to the design.


Retaining Wall Revival: From Blotchy to Bold
Our once-blotched retaining wall gets a facelift! After pressure washing, I played with sample blocks to perfect the color. Settled on a bold black stain, sealed it for longevity, and now? A naturally varied, eye-catching wall that proudly stands beside our brick home.


Project Info:
- Project Completed In: 5 day(s)
- Estimate of Square Footage: 1000 sq. ft.
- Project Description:
When our home was built in 2014, a retaining wall was installed in the front of the house using buff colored retaining wall blocks. As time progressed, these blocks became blotchy with mold/mildew and also stained with red clay from the soil behind the wall seeping through. It looked pretty bad. I started by pressure washing the wall. I bought several buff colored retaining wall blocks from Home Depot (about $3 each) and ordered a trial kit from Direct Colors. I prepare two sample blocks- one with half black and half coffee, curing for 4 hours. The other block I used to test the difference in color using the black stain, applying 4 stripe at one hour intervals so that at the end, I had a stripe at one hour of curing, 2 hours, three hours and 4 hours. I used the sample blocks to check for color compatibility with the brick exterior of our home. I selected black stain at 1.5 hours for the final job. I did one more test, staining one block in the actual wall just to make sure that tha color there would not stray too far from the color on the test blocks. That was a success, so I proceeded to stain the entire wall using a pump sprayer, the kind used for deck stain. I neutralzed at one hour using the same sprayer. I let the entire job dry for 2 days, then applied the solvent based sealer again with a plastic pump sprayer. I had to work fast with the sealer because it starter gumming up the sprayer. But I did finish and rather than try to clean up the sprayer, I just threw it away, It was pretty inexpensive at about $15 and I would have easily spent that on a can of solvent to try to clean it up. In the end, I found that individual blocks reacted in different ways apparently due to variable in the contents of the concrete in each block. I did anticipate thias and just accepted that the wall would not likely have a perfectly uniform color. This in my view makes the wall look more natural. - Personal Tips:
1. Do get the trial kit and test the stain on the actual surfaces which you will be staining.
2. Test the stain colors at different curing times to see what the final colors could be. Then you can choose the right curing time for your project.
3. Use the solvent based sealer since it will have a longer life. You may have to sacrifice a pump sprayer but it is worth it.
4. For a textured surface wall like this, where the absorption rate is likely to be higher than smooth concrete, I recommend ordering about 25% more product that the coverage guidelines on the label would dictate. This proved to be a good rule of thumb on my project.
5. For a retaining wall, don’t forget to estimate for the course of capstones on top of the wall. It’s easy to miss that. - Direct Colors Products Used:
3 x 1 Gal. Black EverStain™ & EasySeal™ Satin Kit
- Other Products Used:
Super clear sealer
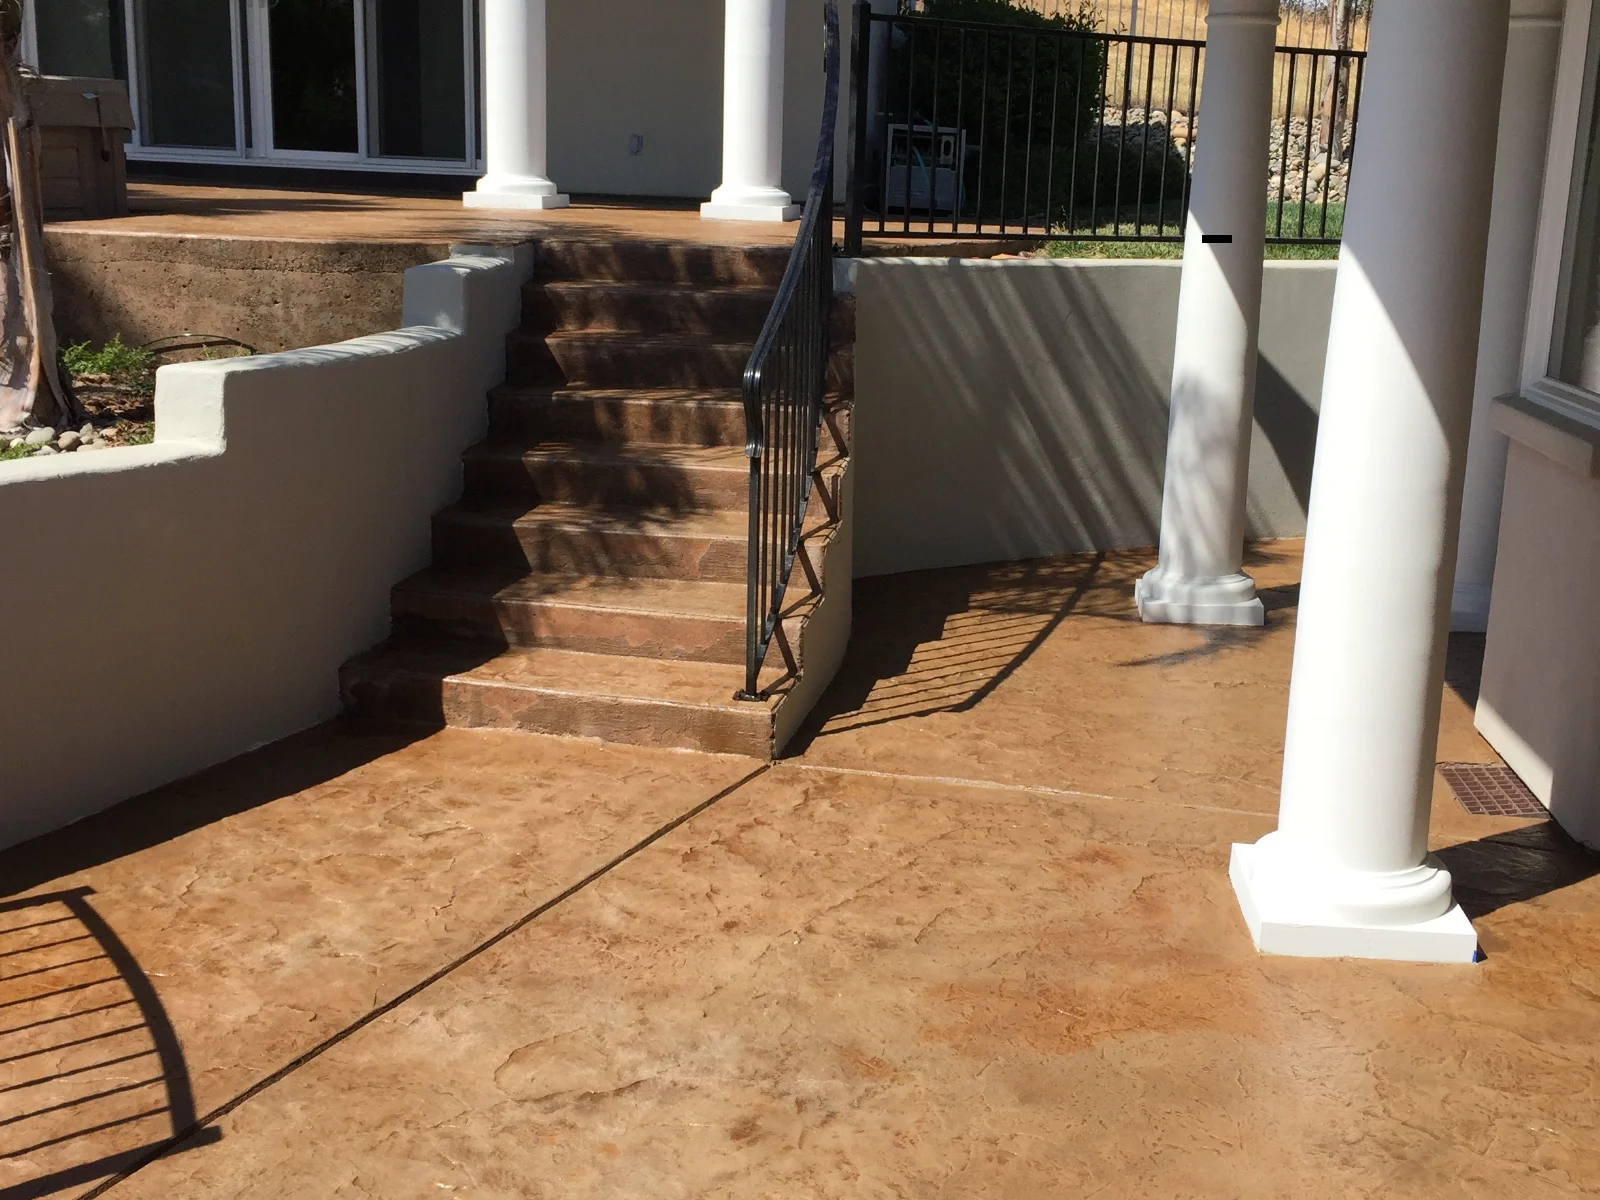
Industrial Chic: A Black and Coffee Brown Acid Stained Concrete Floor
Get the industrial look you crave with this stunning black and coffee brown EverStain™ acid stained concrete floor.

By diluting the acid stain at different strengths, you can achieve a layered, multi-tonal finish that adds depth and character to your space. Perfect for a residential setting, this flooring option is durable and low-maintenance.


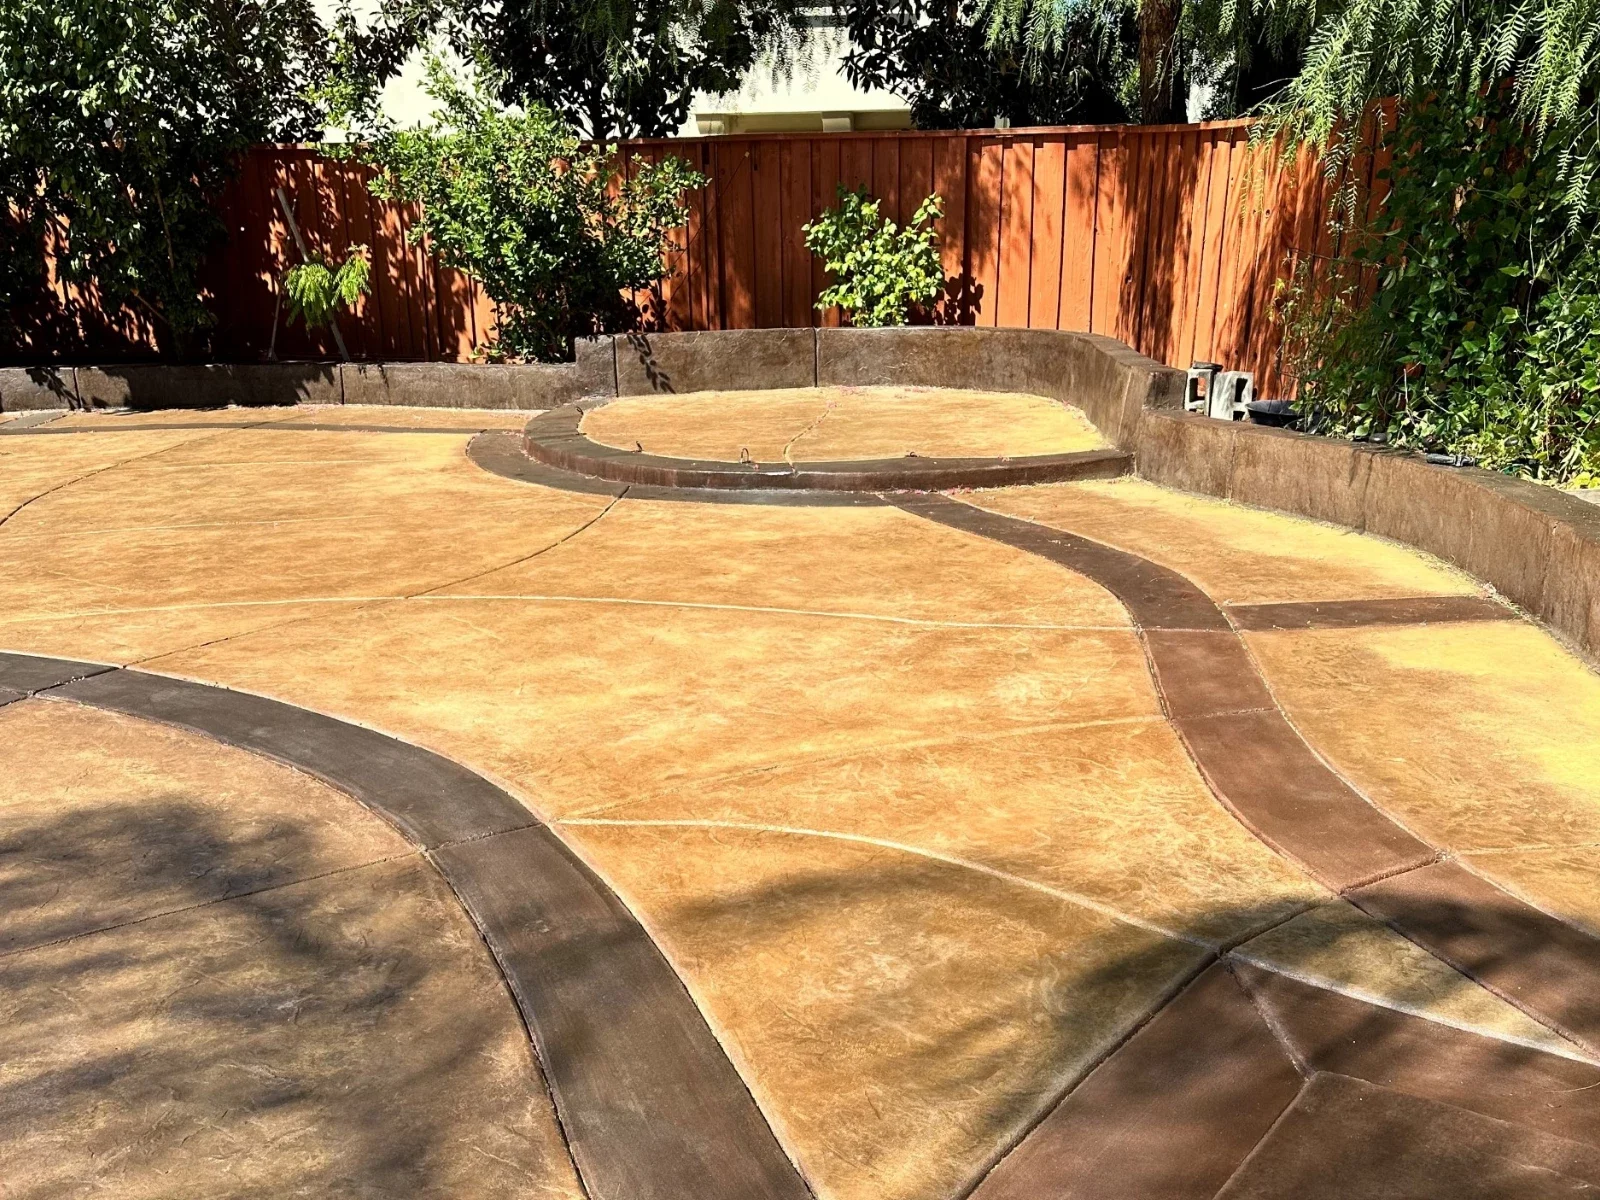
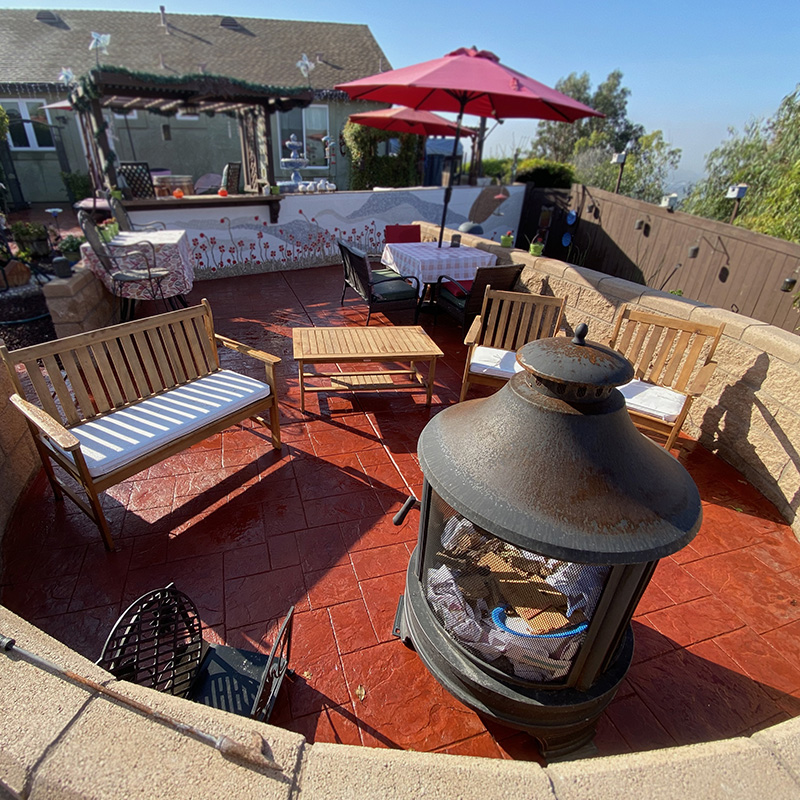
Blending Ages: A Patio’s Dual-Toned Dance
On a quaint round patio, old meets new as 25-year-old concrete harmoniously blends with its 6-month-old counterpart, thanks to the magic of Coffee Brown and Black EverStain™. With a central fire pit casting cozy vibes, this patio is a testament to timeless transformations. Pro-tip: Sun’s out? Work swiftly, and don’t forget those spikes!


DIY Acid Staining: How I Transformed My Office’s Floors on a Tight Budget and Timeline
As the operations manager and project estimator at Valtex, LLC, a subcontractor specializing in full shell construction, I recently had the opportunity to take on a new project: the flooring for our company’s headquarters office.

At just $0.50 per square foot, it was a no-brainer. The only catch? The project covered approximately 3,500 square feet and I had never worked with acid stain before.
While the idea was well received, I found that quotes for the project were almost as expensive as other flooring options. That’s when I discovered Direct Colors and the possibility of doing the project myself.

To make matters more challenging, I only had 3 days to complete the project from start to finish. Despite my lack of experience, I was able to complete the project thanks to the wealth of resources on the Direct Colors website, including videos, testimonials, and helpful customer service.

The process was straightforward, and all of the products worked as described. My biggest tip for anyone considering a similar project is to prepare as much as possible before you start.

This includes digging into all of the resources on the website, giving yourself plenty of time based on the size of your project, and being patient. Prep work is key, and it’s important to take your time to ensure a high-quality end result.

Other tips I learned along the way include wearing spiked shoes or cleats to avoid footprints, using paper rather than plastic to mask off areas where you don’t want stain, wearing a mask or respirator in low-ventilated areas, applying light colors first, and checking the activation time for your specific colors. I also recommend pouring water on a test spot after applying the acid to check the progress of the activation.

Overall, I had a great experience with Direct Colors and I’m actually considering starting a sub-company doing acid staining. The process was enjoyable and the end result is stunning. If you’re considering a similar project, don’t hesitate to give Direct Colors a try. Your masterpiece is just an order away!
Veined Kitchen Floor: Coffee Brown & Black Stain
See how a customer used Coffee Brown and Black acid stain to create beautiful veins on their kitchen concrete floor. These photos reveal the impressive makeover that added warmth and charm to the space.
")


NOTE: Each stain color has a different activation time to fully color the concrete. Read Acid Stain Activation Times before starting your project
")

")

")


")


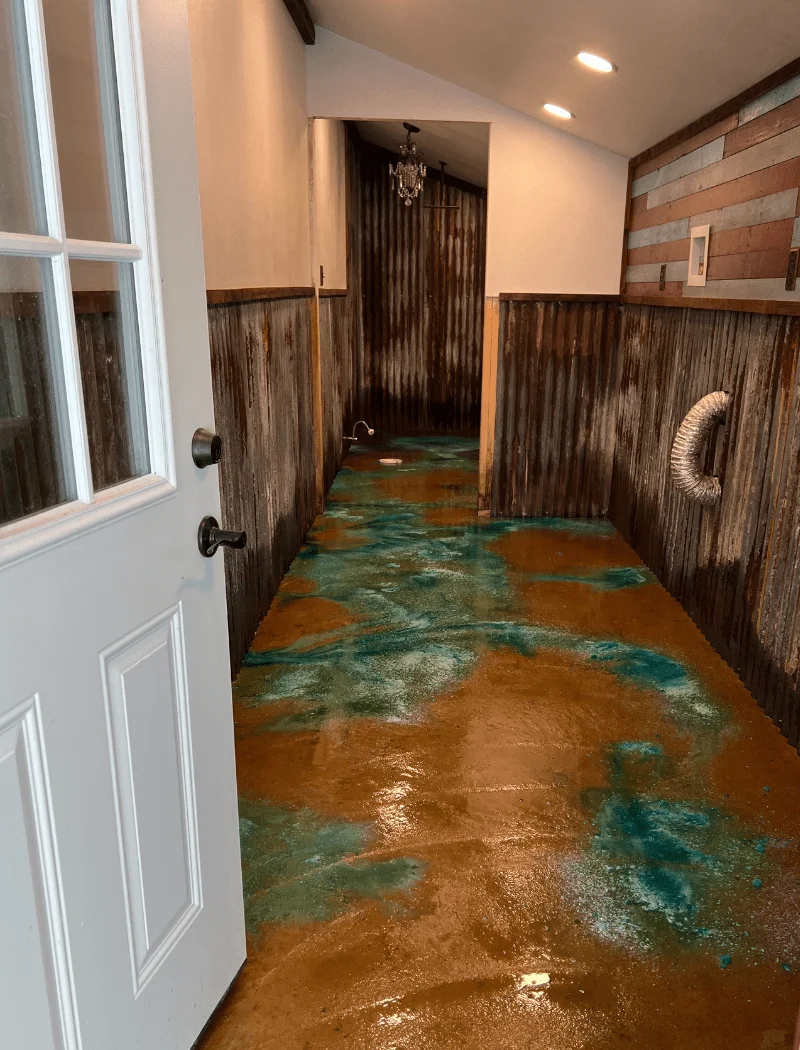
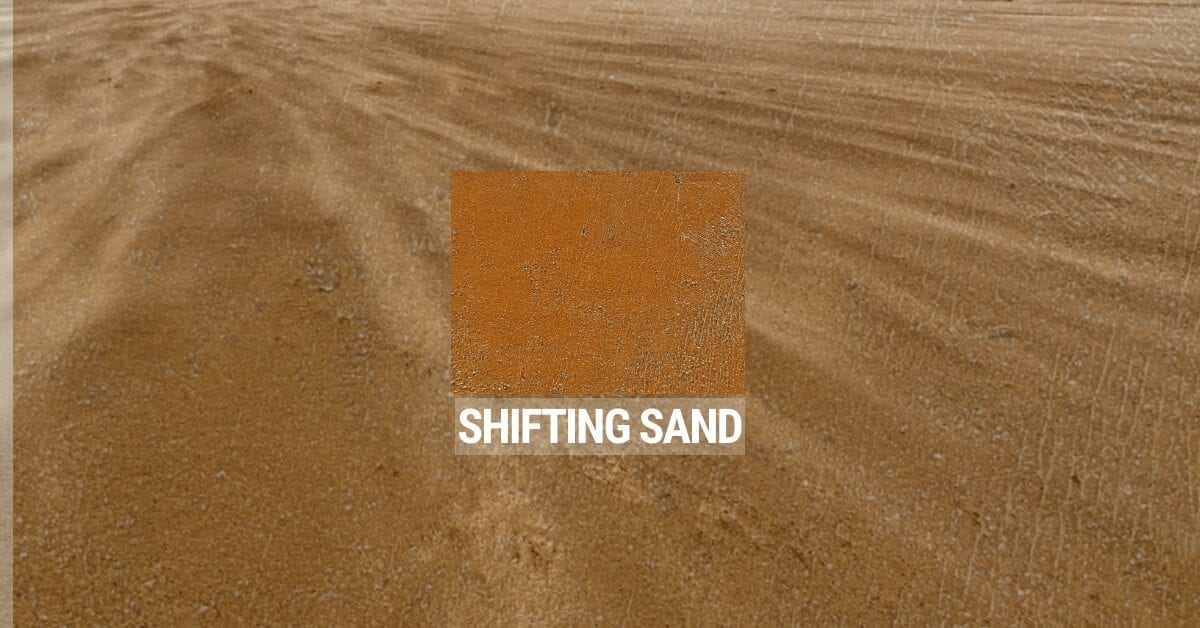
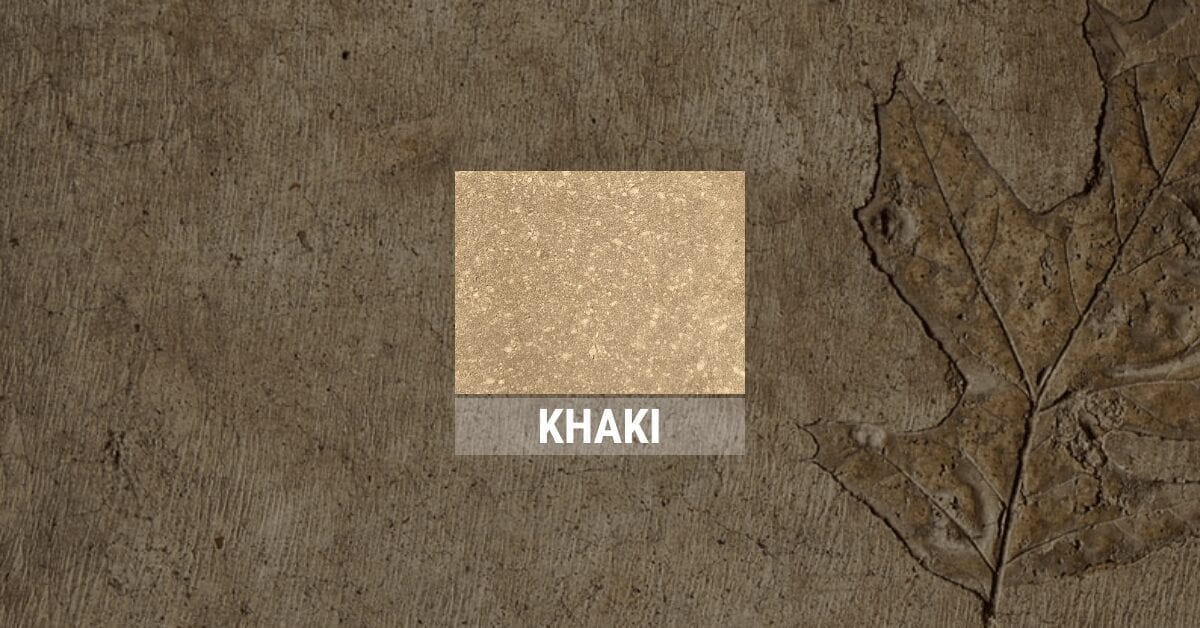
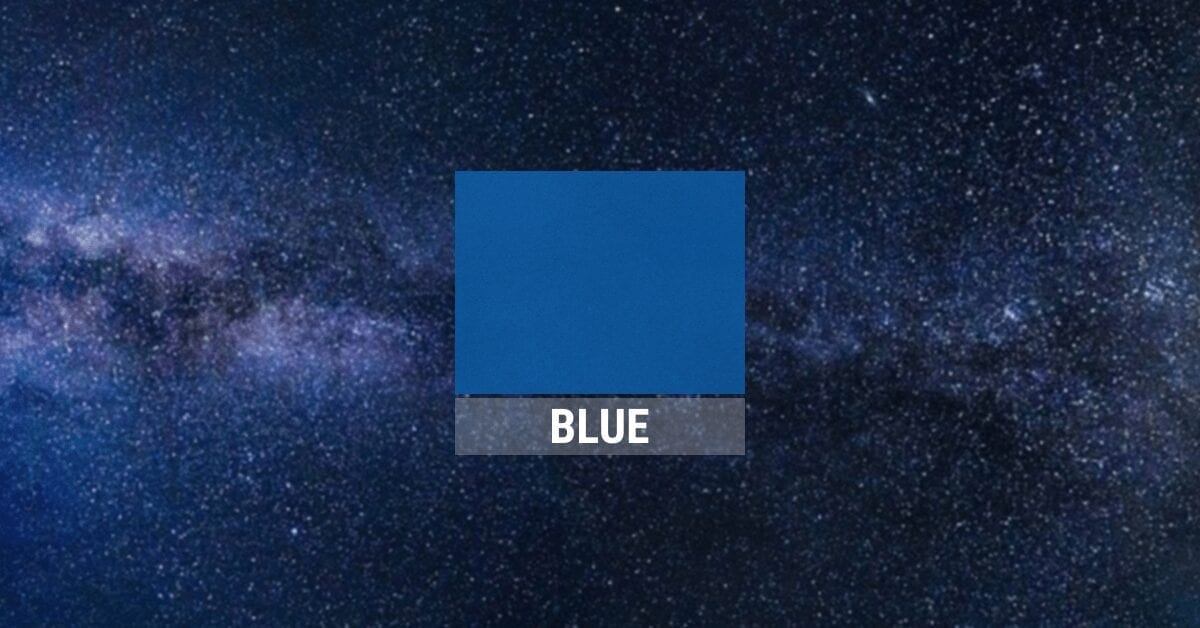
 - Azure Blue - Coffee Brown - Shifting Sand - Before 3")


 1")
 2")
 3")
 4")


")
")


")


")


")


")


")
")


")


")
")
")


")


")


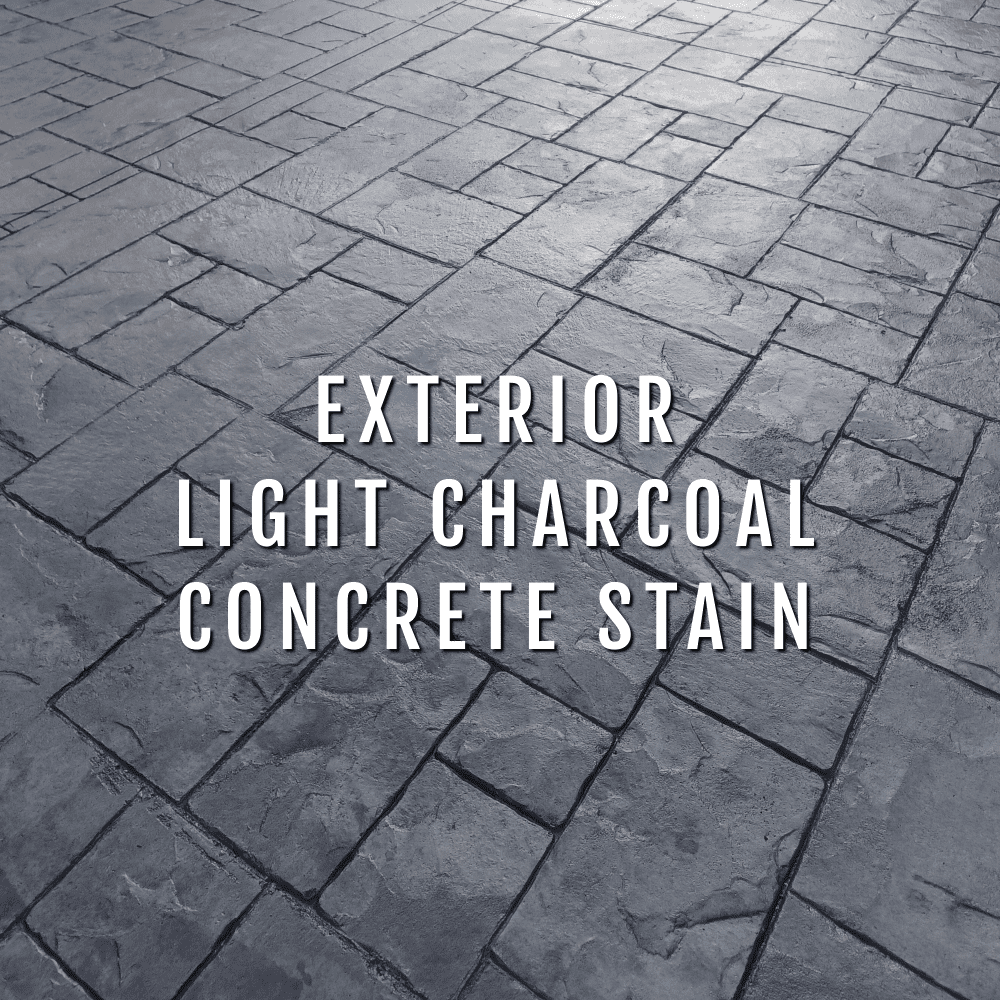
. light-charcoal - Basement")


")


")


")


")


")


")


")


")
")
")
")
")

")


")


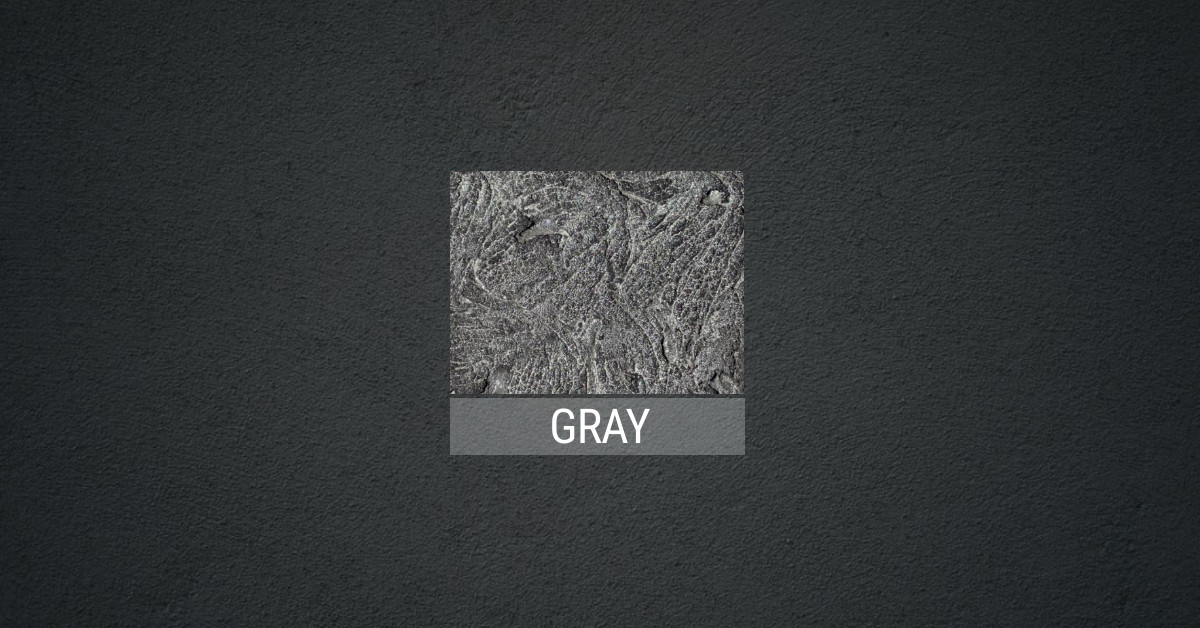
 Concrete Pigment")